


It looks like "going live" is another thing we all have to figure out how to do to remain relevant in this very Facebook-driven world. But why would you ever want to go live? That's really up to you.
If you're a personality, an artist, entertainer, brand, business, or just a wonderful Facebook friend, then going live is a good way to engage with your audience or even your mom down in Florida (you know she's going to be all up in your live feed).
Make Sure You Have a Good Connection
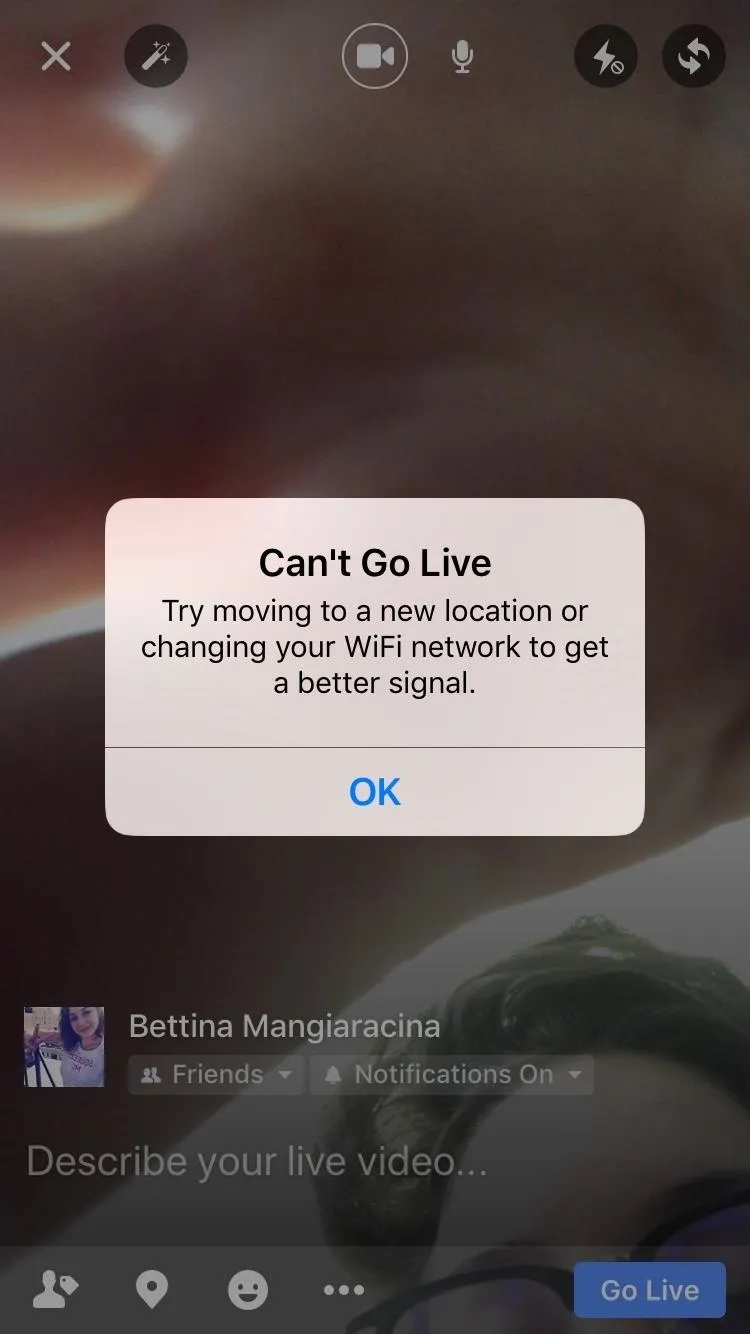
Before you go live, though, I recommend making sure that you have a strong signal. Wi-Fi tends to work best, but if you can't get on a Wi-Fi network, then make sure you have at least a 4G data connection. If you have a weak signal, then the "Live" button will be grayed out or you'll receive a "Can't Go Live" error message.
Set Up Your Live Feed Preferences
Whether you're on Android or an iPhone, the process is pretty much the same. To begin, open up your Facebook app, then wander to where you would go to update your status. Right below the empty status box, you'll see a "Live" button. Tap on that to open up the live feed on your camera. Alternatively, you could tap inside the empty status box, then select either "Go Live" or "Live Video" to start one.
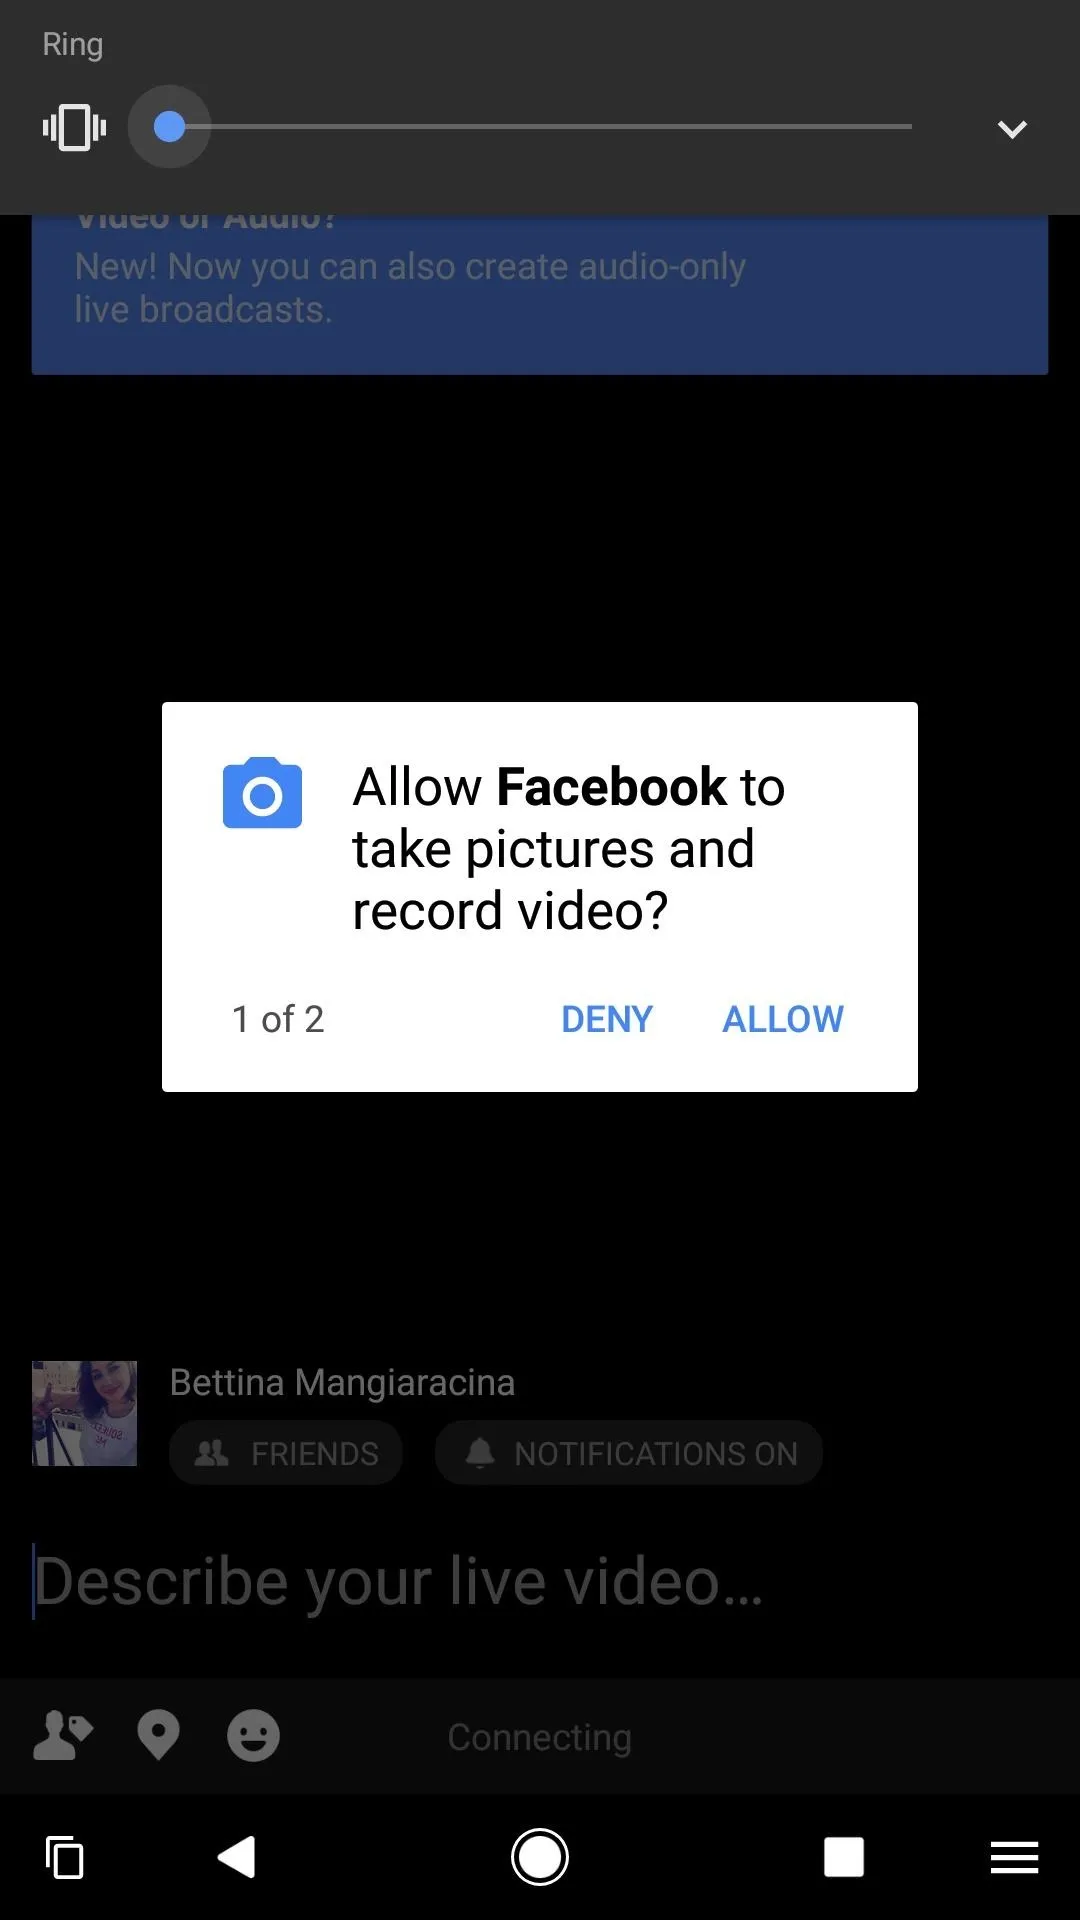
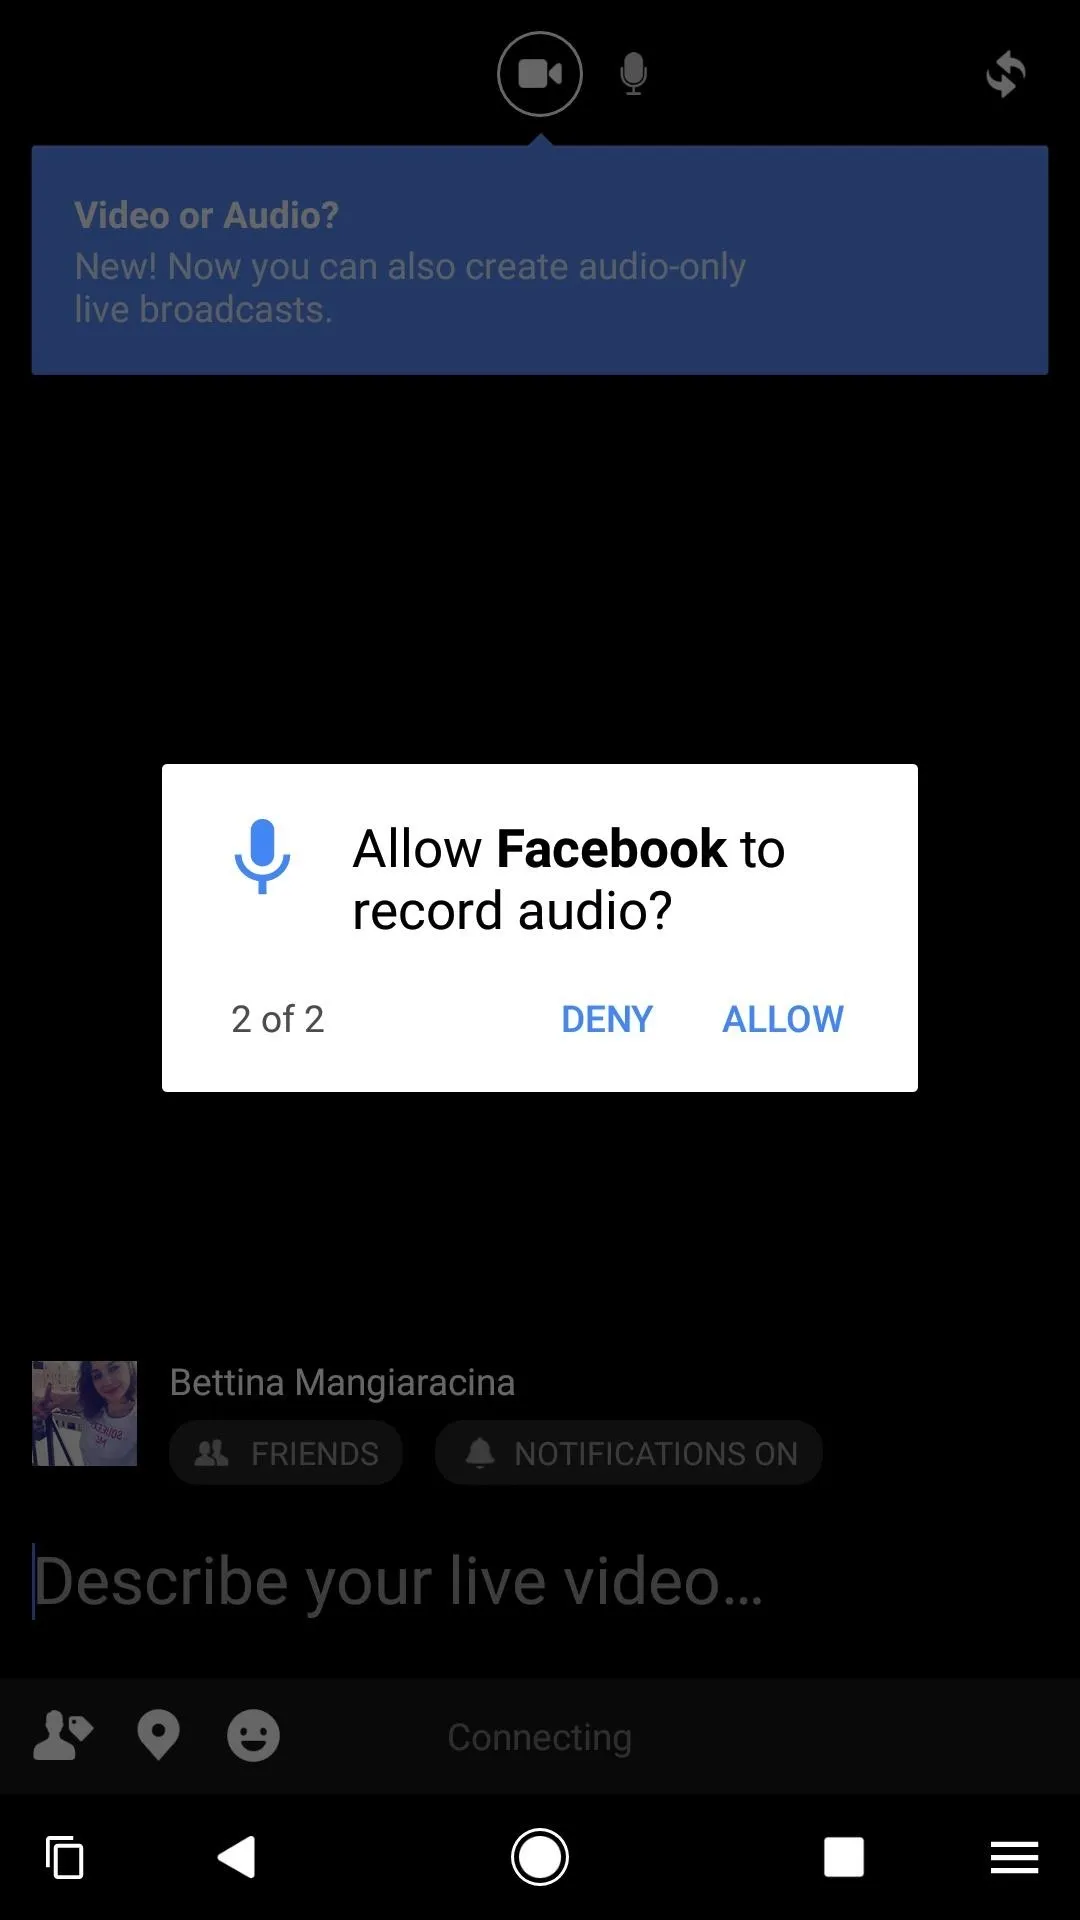
If you haven't already done so on your Android or iOS device, you will have to allow Facebook access to your camera and microphone when prompted. Then, before starting to shoot anything, choose the privacy setting under your name at the bottom, like you would any other status, so you can choose between Public, Friends, or any other group available.
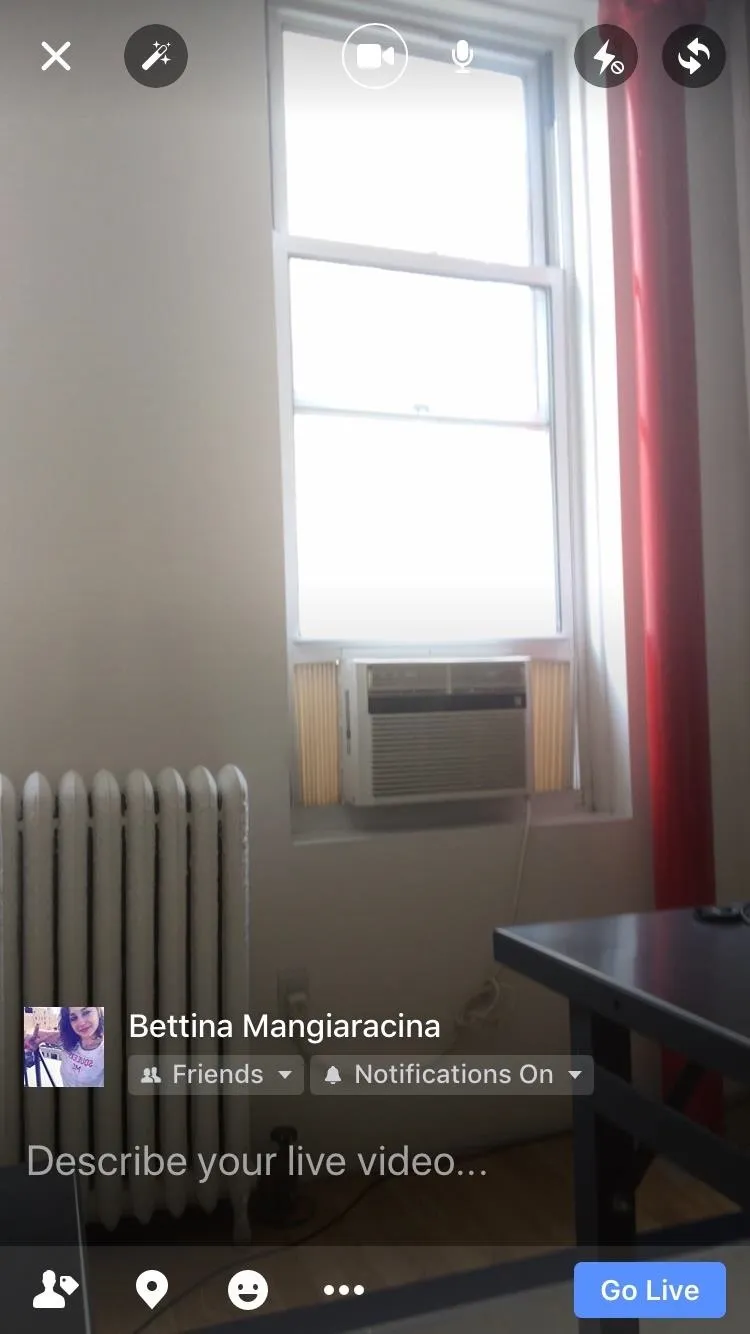
After choosing how public you want your live video to be, write a description to go along with it where it says "Describe your live video." This isn't mandatory, but it's a nice way to let people know why you are going live and what you will be doing.
You also have the option to tag friends, geotag a location, choose to enable notifications that you're live, and add an activity to your video.
But before you actually go live, make sure to set up your camera view. By default, it starts as a selfie view using your front-facing camera, so if you want to change the view to your rear camera, then tap on the rotating arrows icon in the upper right-hand corner of your screen.
Go Live, for All to See
When you're finally all ready to go live, tap on the blue "Go Live" button at the button right-hand corner of your screen. You'll see a "3-2-1" countdown, and then you will be live. You can record for up to four hours if you'd like.
Other people will see a "live now" indicator next to your name in your live video post, and it will have a red "LIVE" button on the video which can be expanded to show how long you've been live already. After the event has ended, it will be converted to a regular video with a "was live" indicator next to your name.
Follow me on Instagram @b3t.tina to see how I'm currently using these social media tips and tricks for Instagram and Facebook.
- Follow Gadget Hacks on Facebook, Twitter, Google+, YouTube, and Instagram
- Follow WonderHowTo on Facebook, Twitter, Pinterest, and Google+
Cover image and screenshots by Bettina Mangiaracina/Gadget Hacks


Comments
Be the first, drop a comment!