


No matter your reasons, you might need a second phone number that's a little more disposable than your primary number — a "burner" number, so to speak. If you create this burner number using Google Voice, you'll get new functionality like call forwarding and voicemail transcripts, and best of all, it's completely free.
Creating a disposable phone number will let you make calls and send texts while hiding your real number. It can be used as a safety measure when exchanging numbers with new people, as it provides a buffer if things go wrong. With Google Voice, you can create, change, and even delete this second number with a few clicks, so you'll be ready for whatever situations arise.
Limitations of Google Voice
Before we get started, there are a few limitations with Google Voice that you should be aware of. First, Google Voice requires users to link a phone number in order to use the service. So for those who want a truly untraceable burner number, this isn't possible.
Second, your Google Voice number must be linked to a cell phone number or a landline number within the United States. VoIP numbers can't be used to create a new Google Voice number. However, you can add one to forward calls to once the Google Voice number is already established.
Finally, changing or deleting your burner number can only be done from the Google Voice website, as there is no way to accomplish this within the app. More specifically, you'll need to use an actual computer, as the mobile browser won't let you accomplish these tasks. You should also know that changing your burner number will cost $10, but deleting the number is free.
Install the Google Voice App
First off, you need a Google account in order to use this service, so sign up here if you haven't done so already. Once you have one, install Google Voice from either the App Store or the Play Store, depending on which OS you use.
Pick a New Phone Number
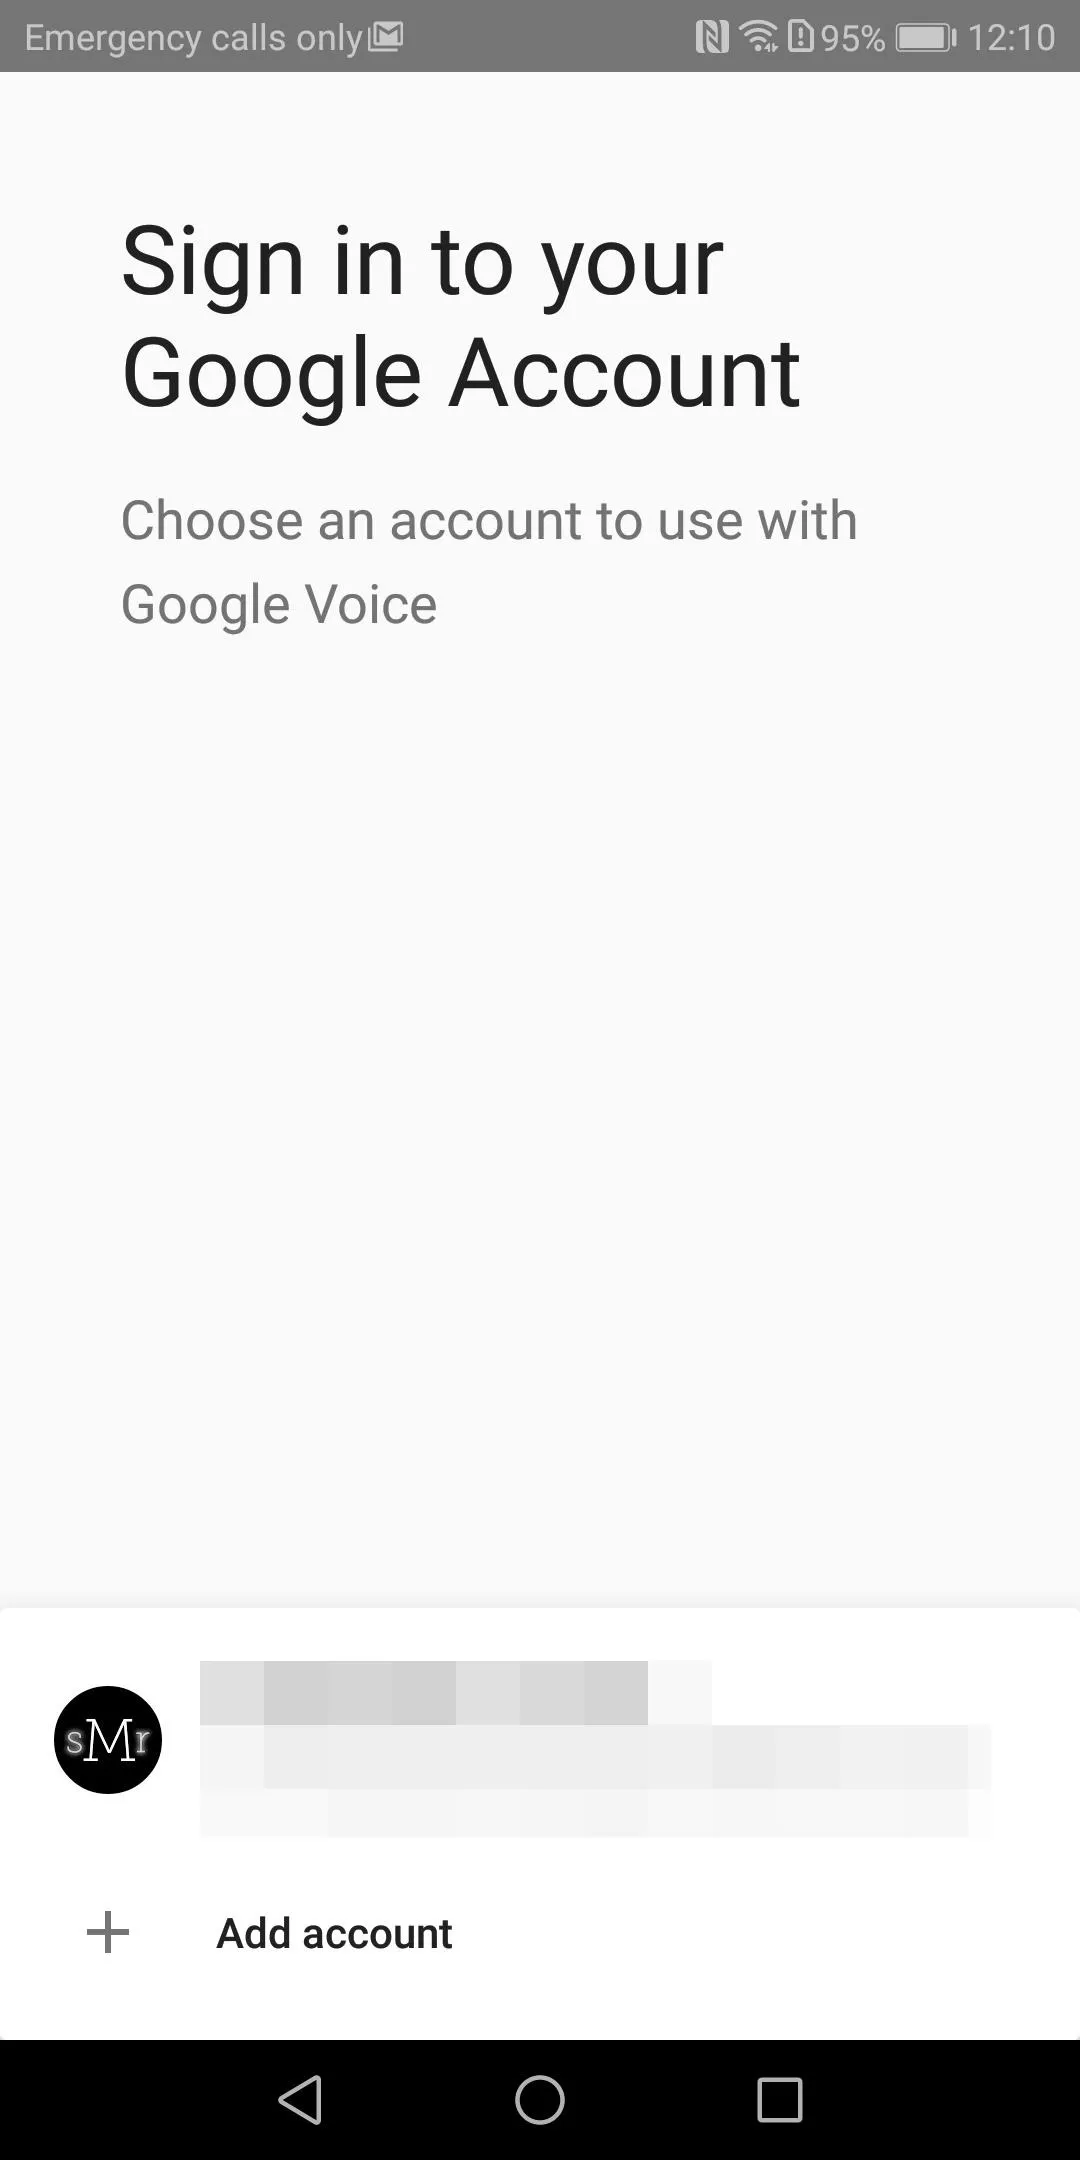
Once installed, open the app and select your Google Account which should be located along the bottom of your screen. For iOS users, if you haven't already installed a Google app before, you may not see an account here. Choose "Add account," then sign in with your Google account information.
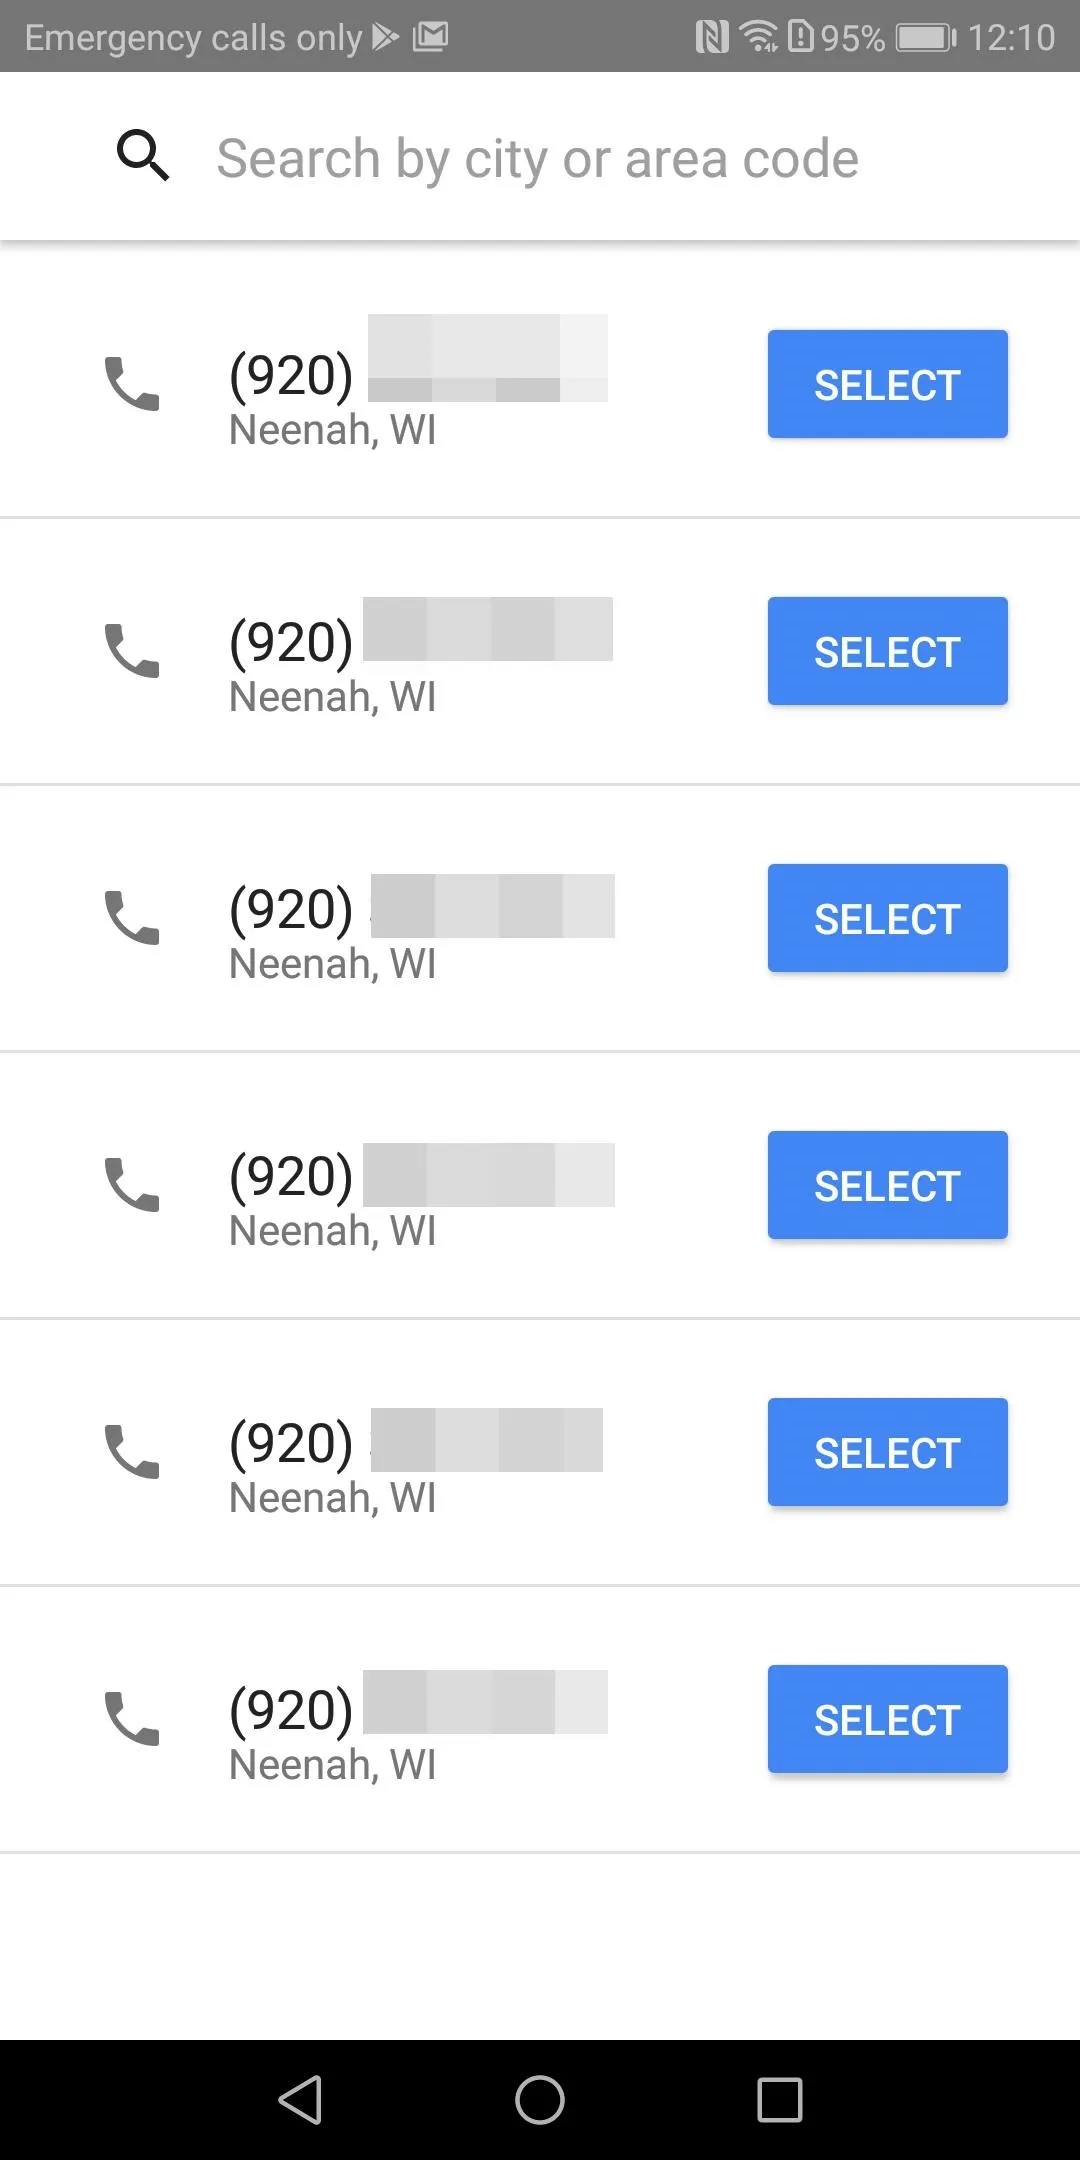
Select "Continue" to advance to the next page entitled Choose a Google Voice number. Choose "Search" to begin the process of choosing a number. In the search bar, search for the area you want your new number to be from, by either typing in a city or a desired area code. Google will provide you a list of cities based on the entry. Select a city and choose a number from the list presented to you. This will be your "burner" number.
Activate Your Burner Number
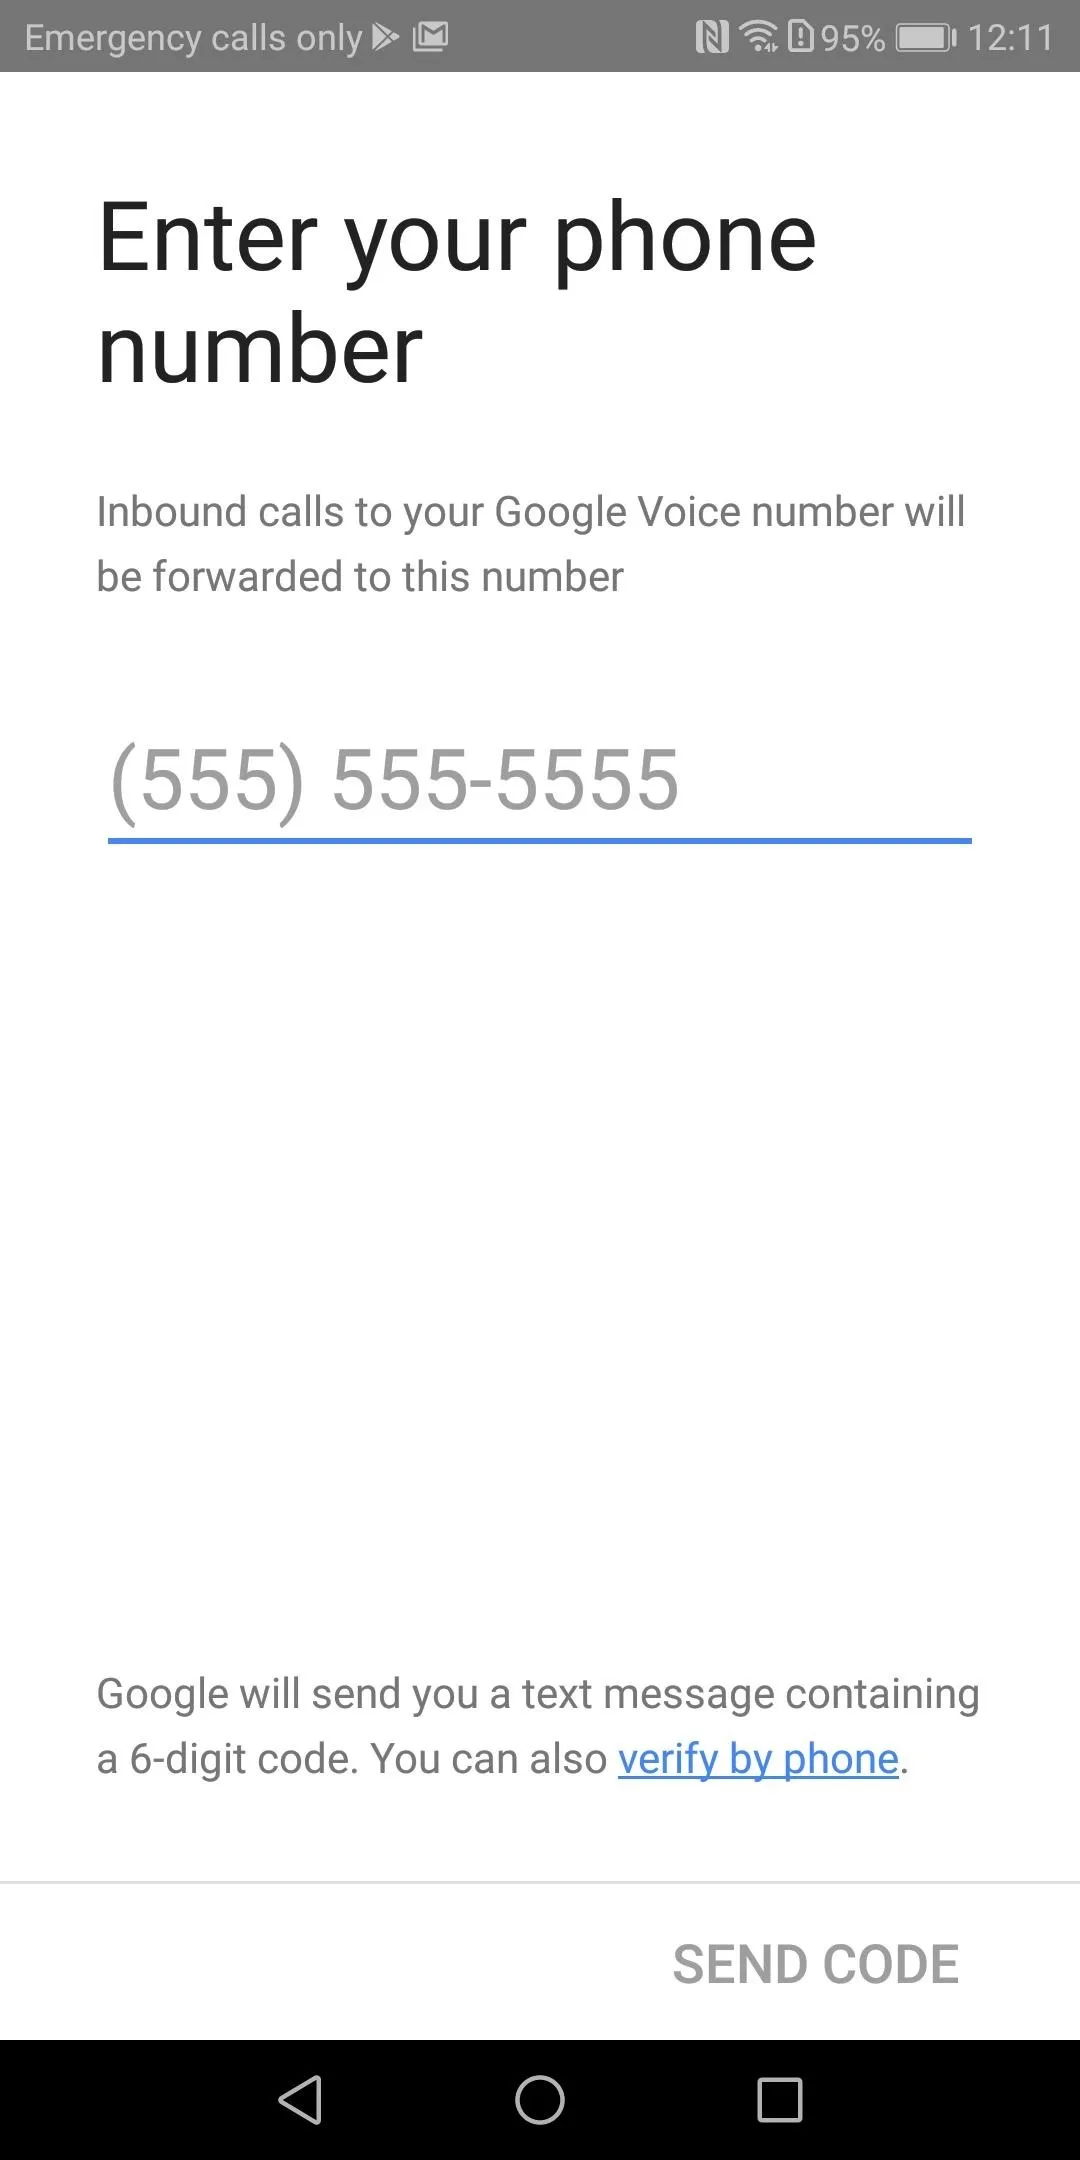
After choosing the number, the app will ask you to you link a phone number to the Google Voice number. Once the numbers are linked, calls to your Google Voice number will be forward to your phone. Input your telephone number and Google Voice will send you a code via an SMS message.
This step is a requirement, so you'll need to input a working US-based landline or cell phone number. Sadly, there's no way around this stipulation — see the Limitations of Google Voice section above for more info.
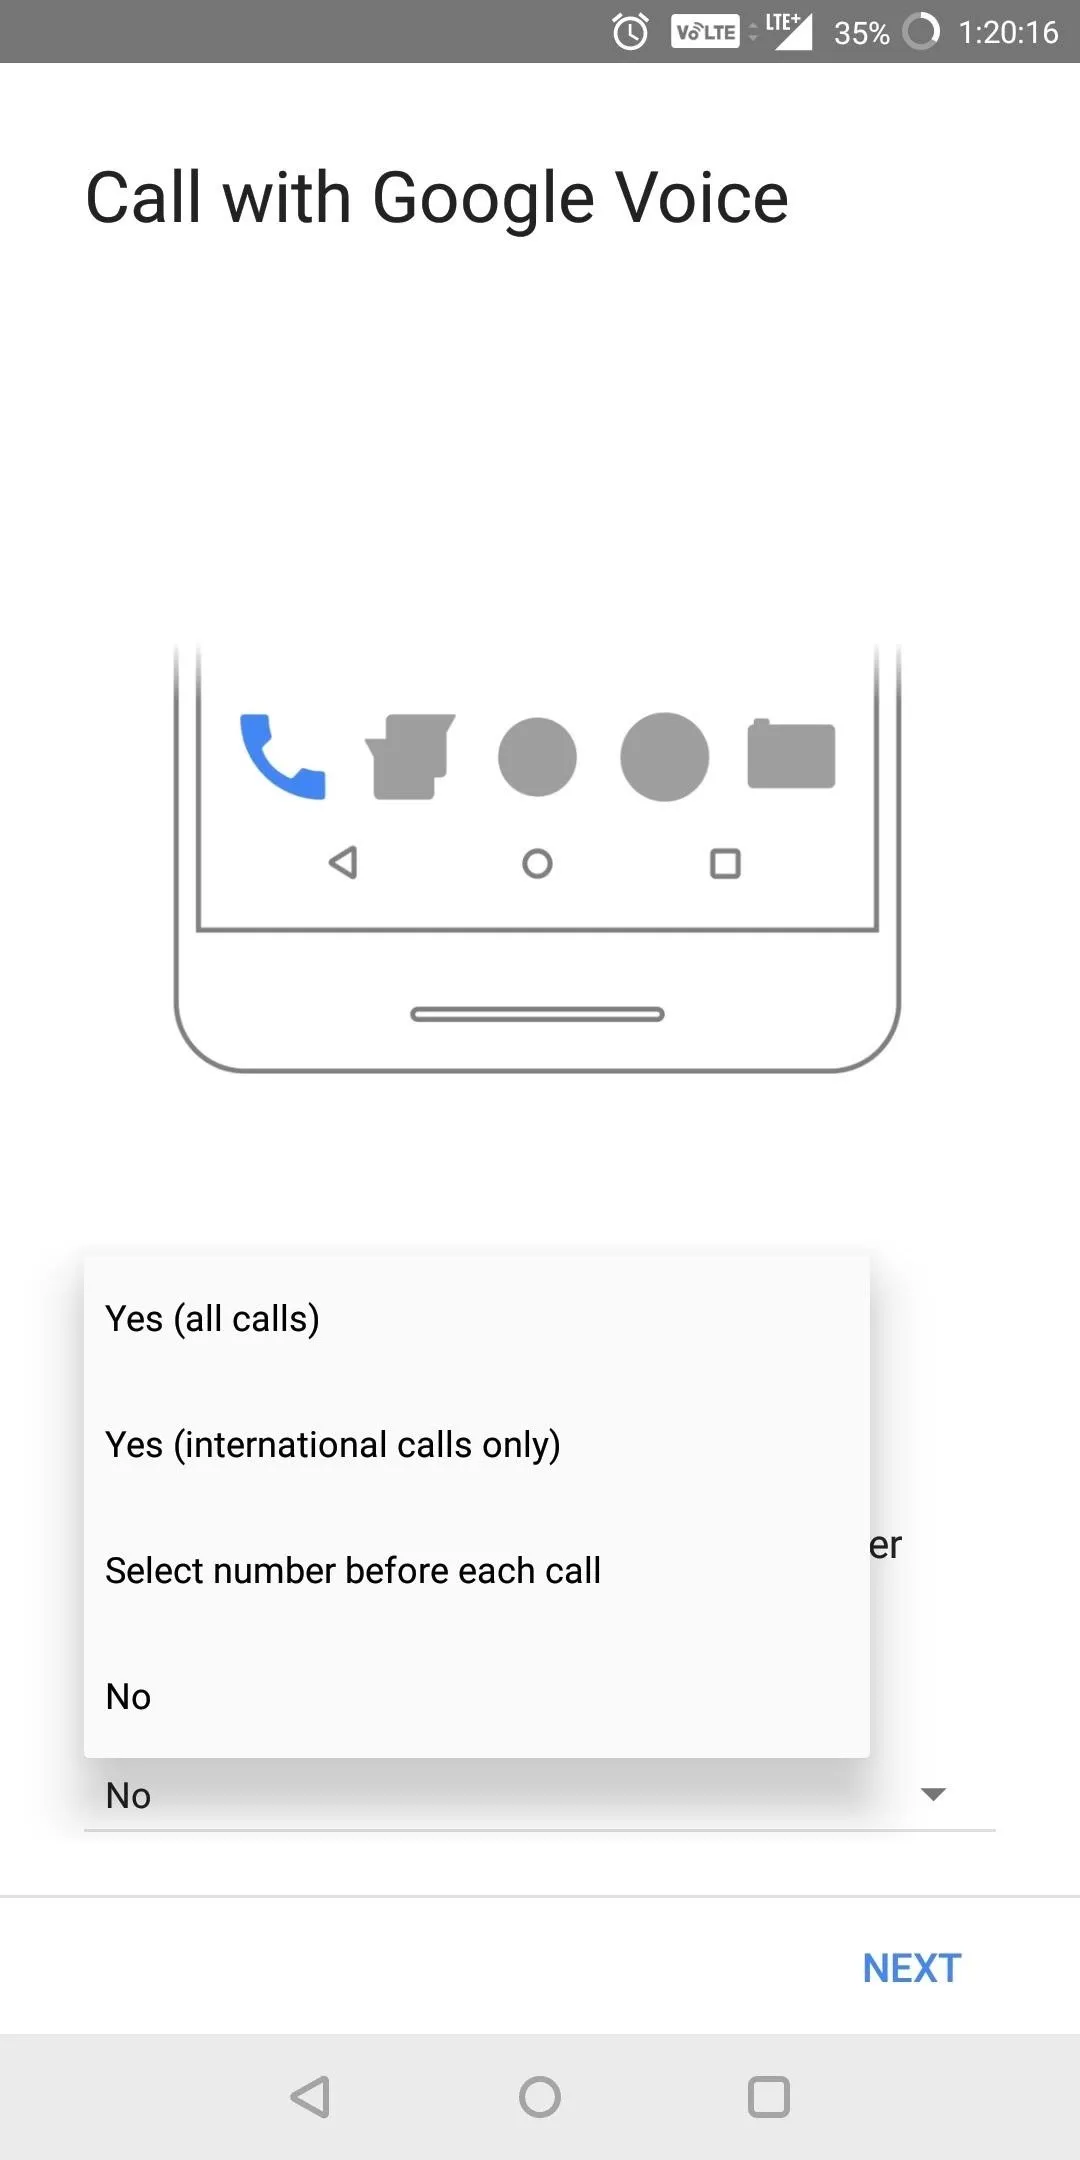
Once Google Voice has successfully activated your new burner number, the next screen will differ depending on the operating system. When using Android, you will be presented with a screen labeled Call with Google Voice. Select the down arrow next to "No," which will present you with four options. Choose "Select number before each call" to be able to make outgoing phone calls with both numbers. Select "Next," then "Finish." On iOS, you'll simply be taken to the main screen instead.
Use Your Burner Phone
From now on, you will be presented with a number of tabs whenever you open the Google Voice app. Android devices have three tabs, while iPhones and iPads have four tabs. The first tab is your messages, which will display any text messages involving this second number. The second tab is your phone history, and the third tab contains your voicemail. All your voicemail messages will be transcribed so that you can read them when listening isn't possible. The fourth tab, exclusive to iOS, is a dialer that you can use to make outgoing calls with your Google Voice number.
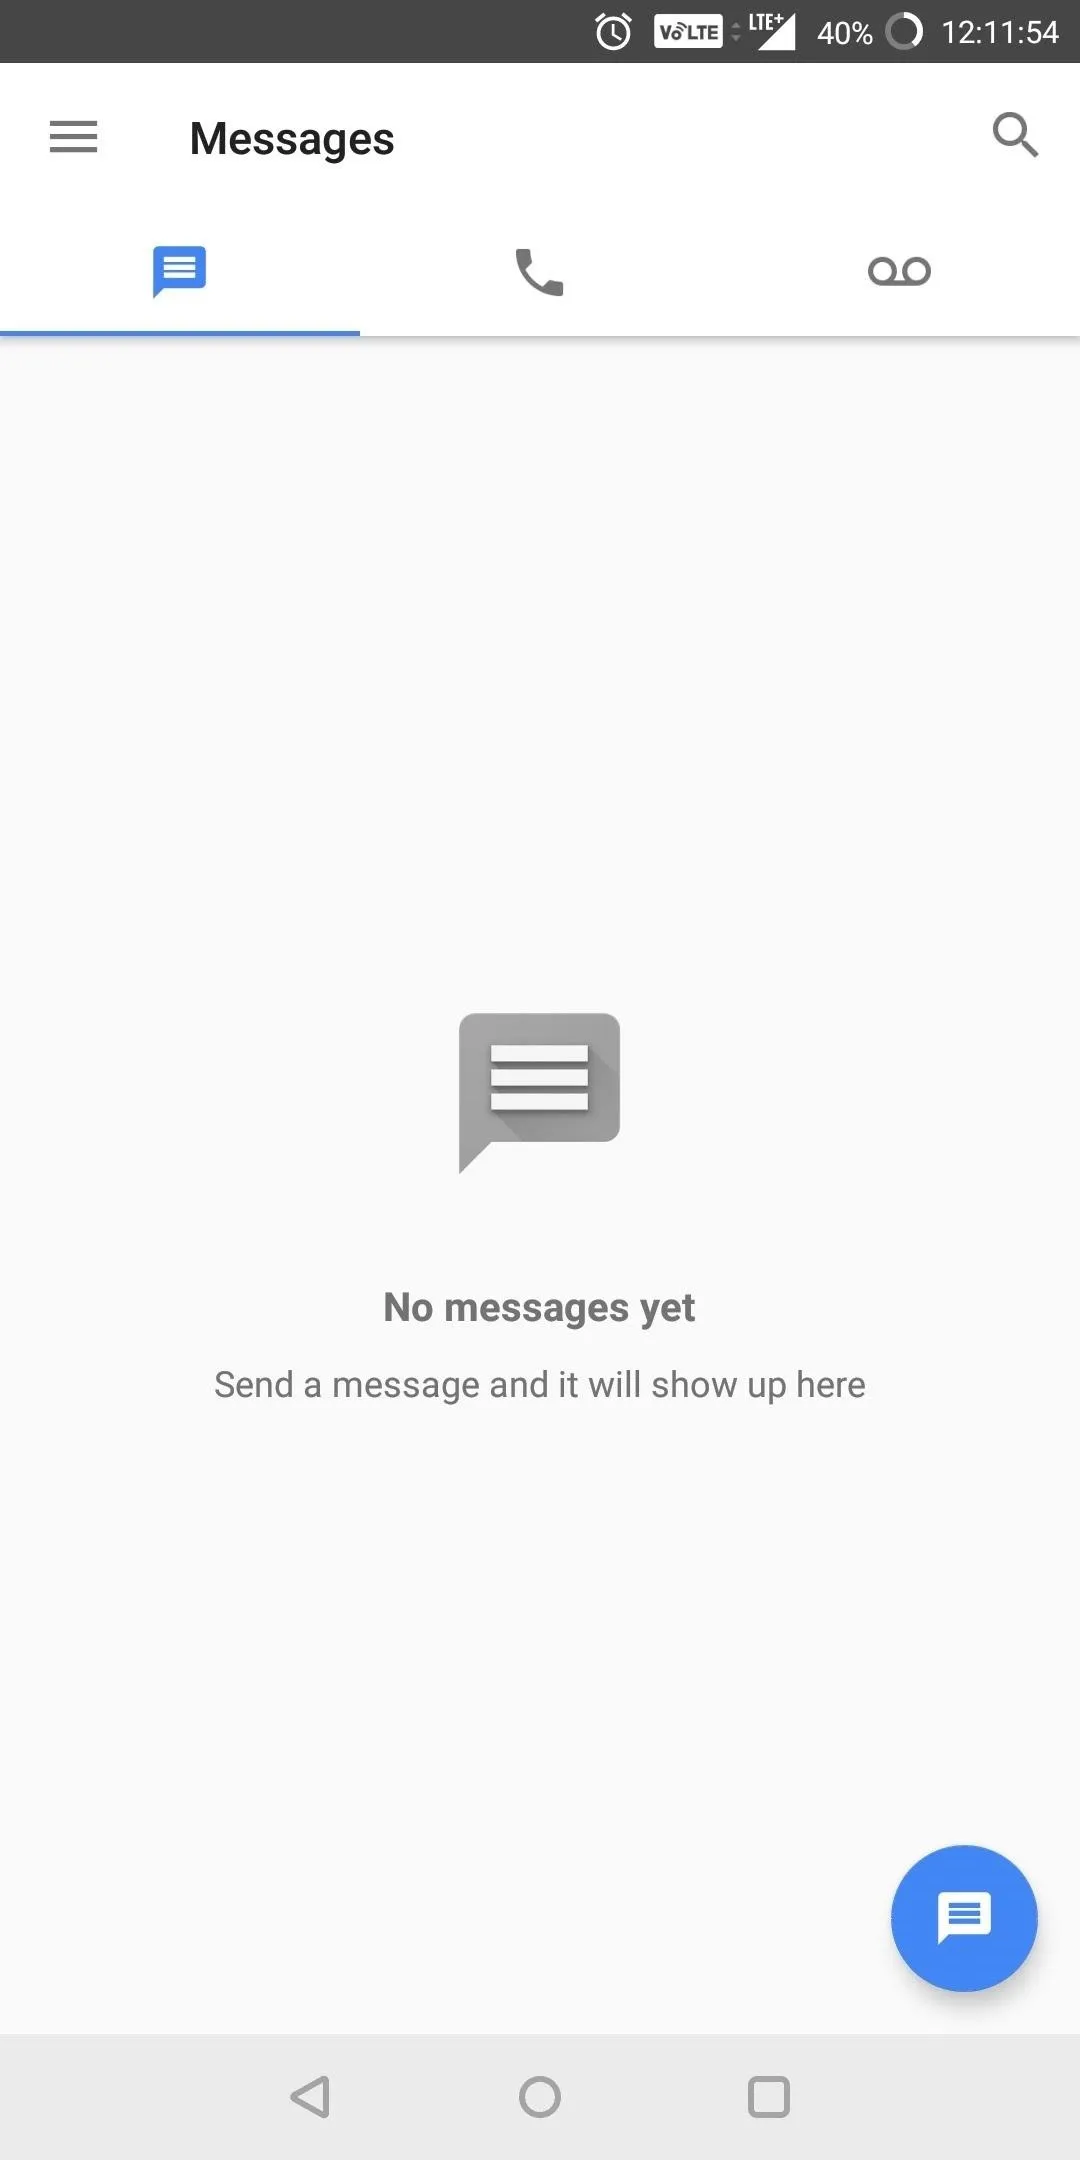

To send a text message, you can use the blue icon in the bottom-right corner of your display. While this button is available on any tab on iOS, Android users must be under the messaging tab to send a text message. Additionally, you can use your Google Voice number to register with Signal Private Messenger to send encrypted messages.
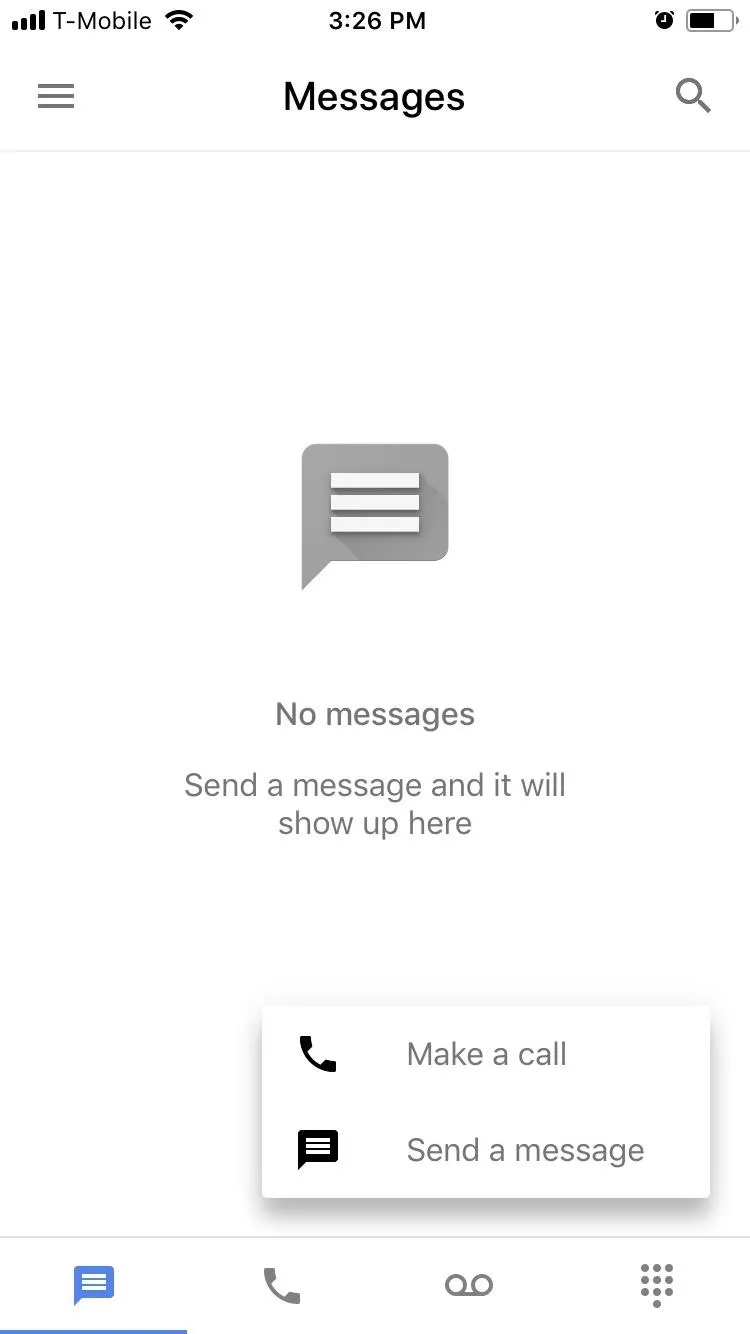
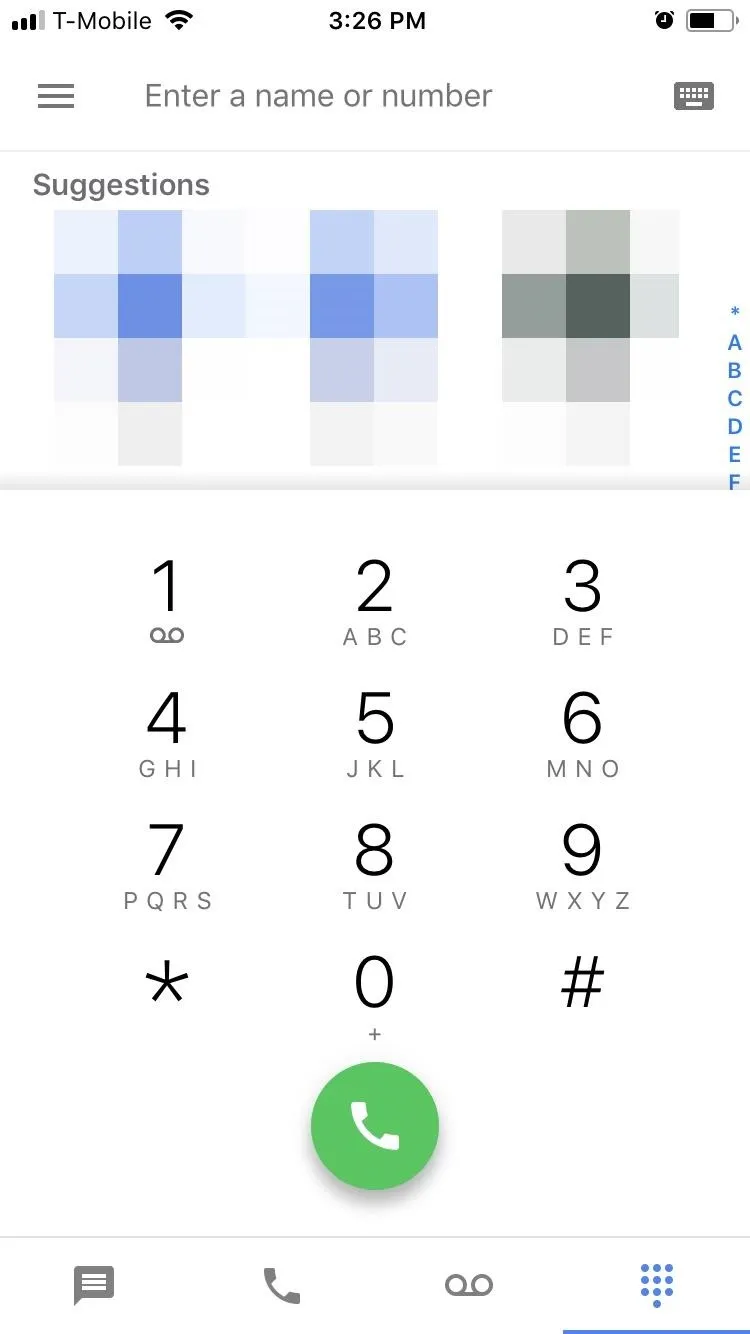
The actual process of making a phone call differs depending on the operating system you are using. For iOS users, just tap the blue icon in the bottom-right corner of your screen while on any of the first three tabs, then choose "Make a call." In addition, the fourth tab will bring up the dialer, which will accomplish the same thing.
Android users have more flexibility. Phone calls can be made using the built-in dialer within the Google Voice app or the default dialer that came with your phone. To use the app, navigate to the second tab containing your phone history and select the blue icon in the lower-right corner of your display.
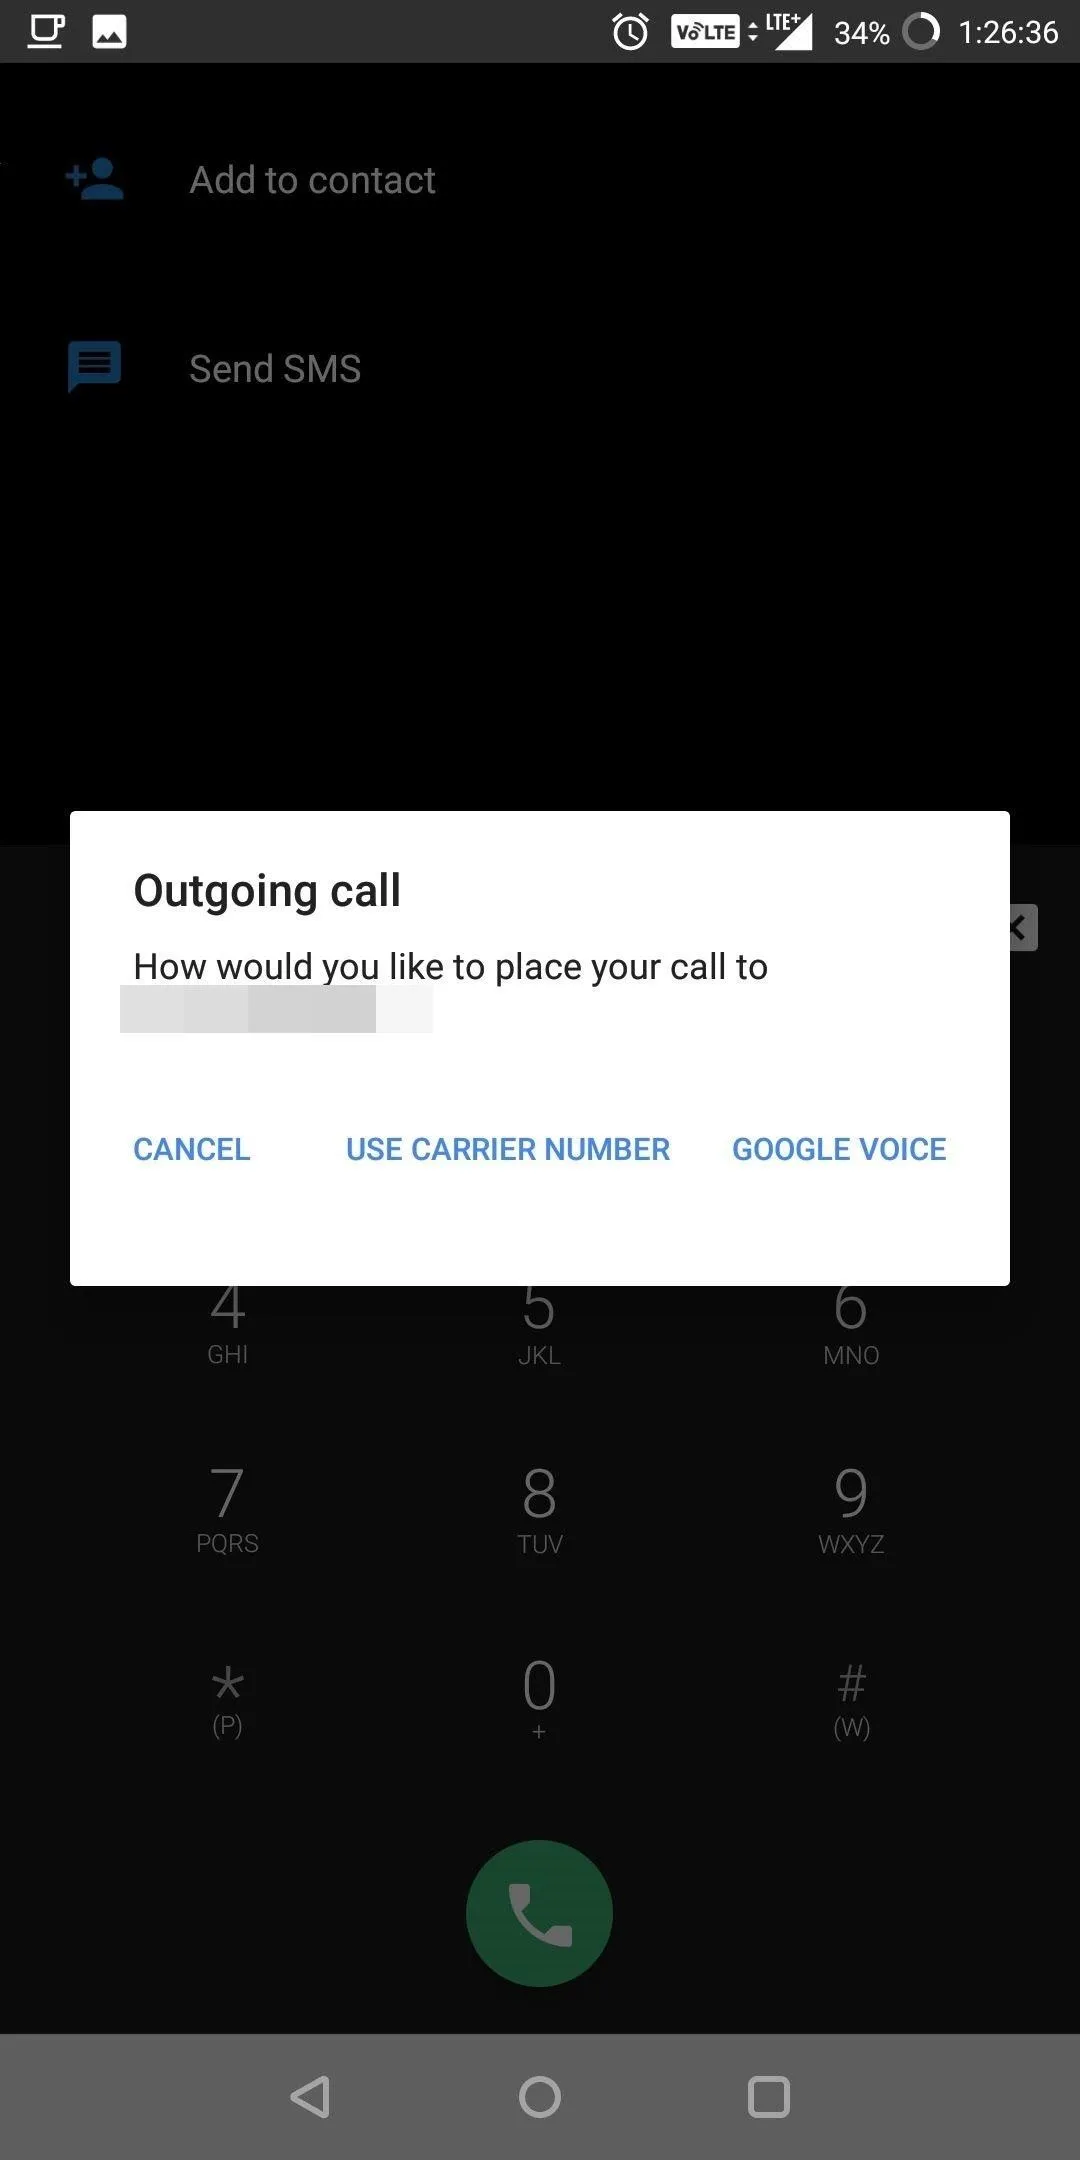
To use your default phone app for making calls with your Google Voice number, just open up the dialer and input a number. Once you send out the number (using the green dialer button), a pop-up will emerge asking if you wish to use your carrier number or your Google Voice number. Select your Google Voice number on the next page, then you'll see a message saying "Calling via Voice" indicating that your Google Voice number is being used.

Despite its limitations, Google Voice is an excellent way to create a burner number. Unlike other options, Google Voice is completely free as long as the number you are calling is within the United States. What do you think about Google Voice so far? Let us know in the comments below.
- Follow Gadget Hacks on Facebook, Twitter, YouTube, and Flipboard
- Follow WonderHowTo on Facebook, Twitter, Pinterest, and Flipboard
Cover image and screenshots by Jon Knight/Gadget Hacks


Comments
Be the first, drop a comment!