


Signal Private Messenger is famous for its end-to-end encryption, but you can't even use the messaging app without having a real phone number attached to it. Luckily, there is a way around this limitation, so you can use Signal even if you don't have a valid SIM card in your smartphone.
When you first open up the Signal Private Messenger app on your iPhone or Android phone, you'll need to input your device's phone number in order to verify the new account. However, if you don't have a working SIM card, have a bad cellular connection and can only use Wi-Fi, or just flat out don't want to use your real phone number, you can use a Google Voice number to complete the process. This will be the number that other Signal users will be able to contact you with.
Why You Want to Use Google Voice
If you want to use a free burner SMS number to create your Signal account, you can, but so can anybody else who has access to the number and its online SMS system. If they use the same burner number online, they can kick you out of your Signal account, since only one mobile device can be linked to a Signal account. You would have to uninstall and reinstall the Signal app and reuse the number to gain back access, but this becomes a tug of war between you and everyone else.
Trust me, you want your own private phone number to use, and Google Voice is the best free option for that. So, after installing the Signal app (Android, iOS) from Open Whisper Systems on your phone, proceed below to set it up.
Install Google Voice on Your Phone
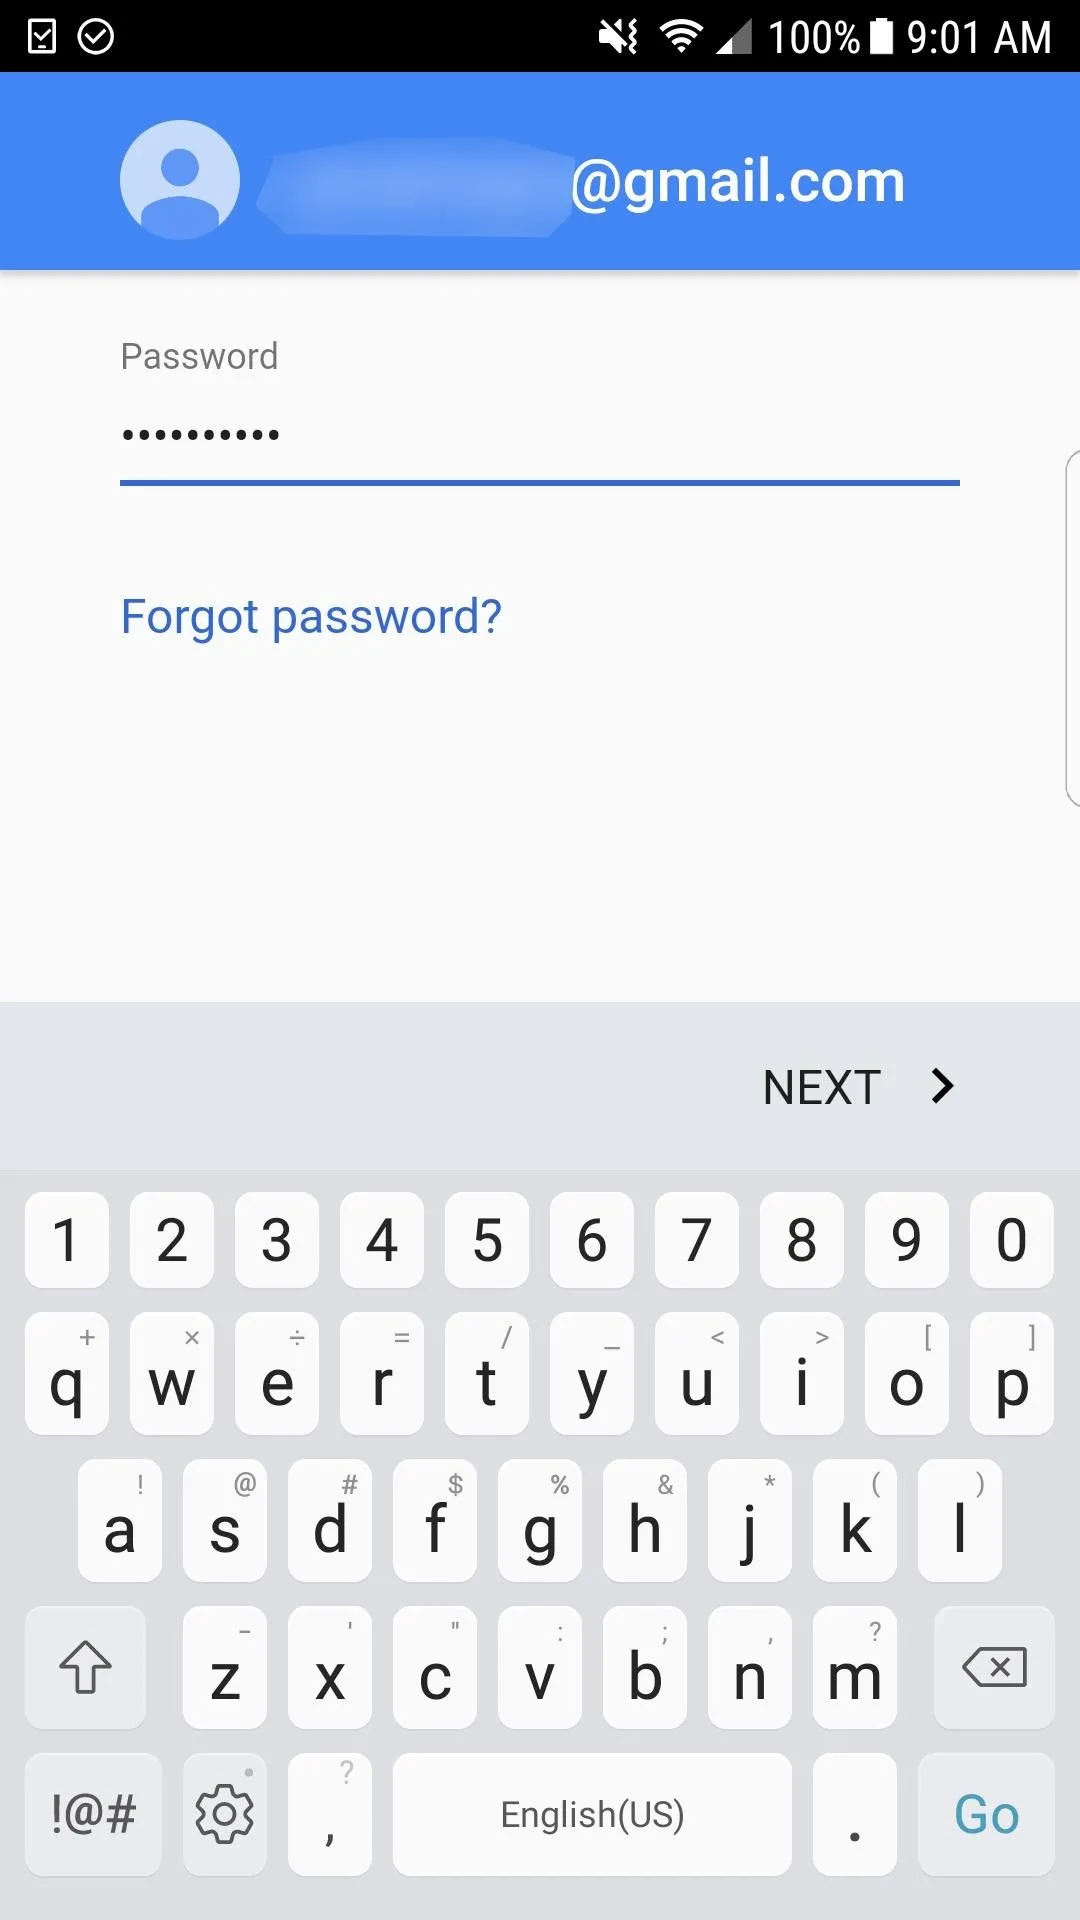
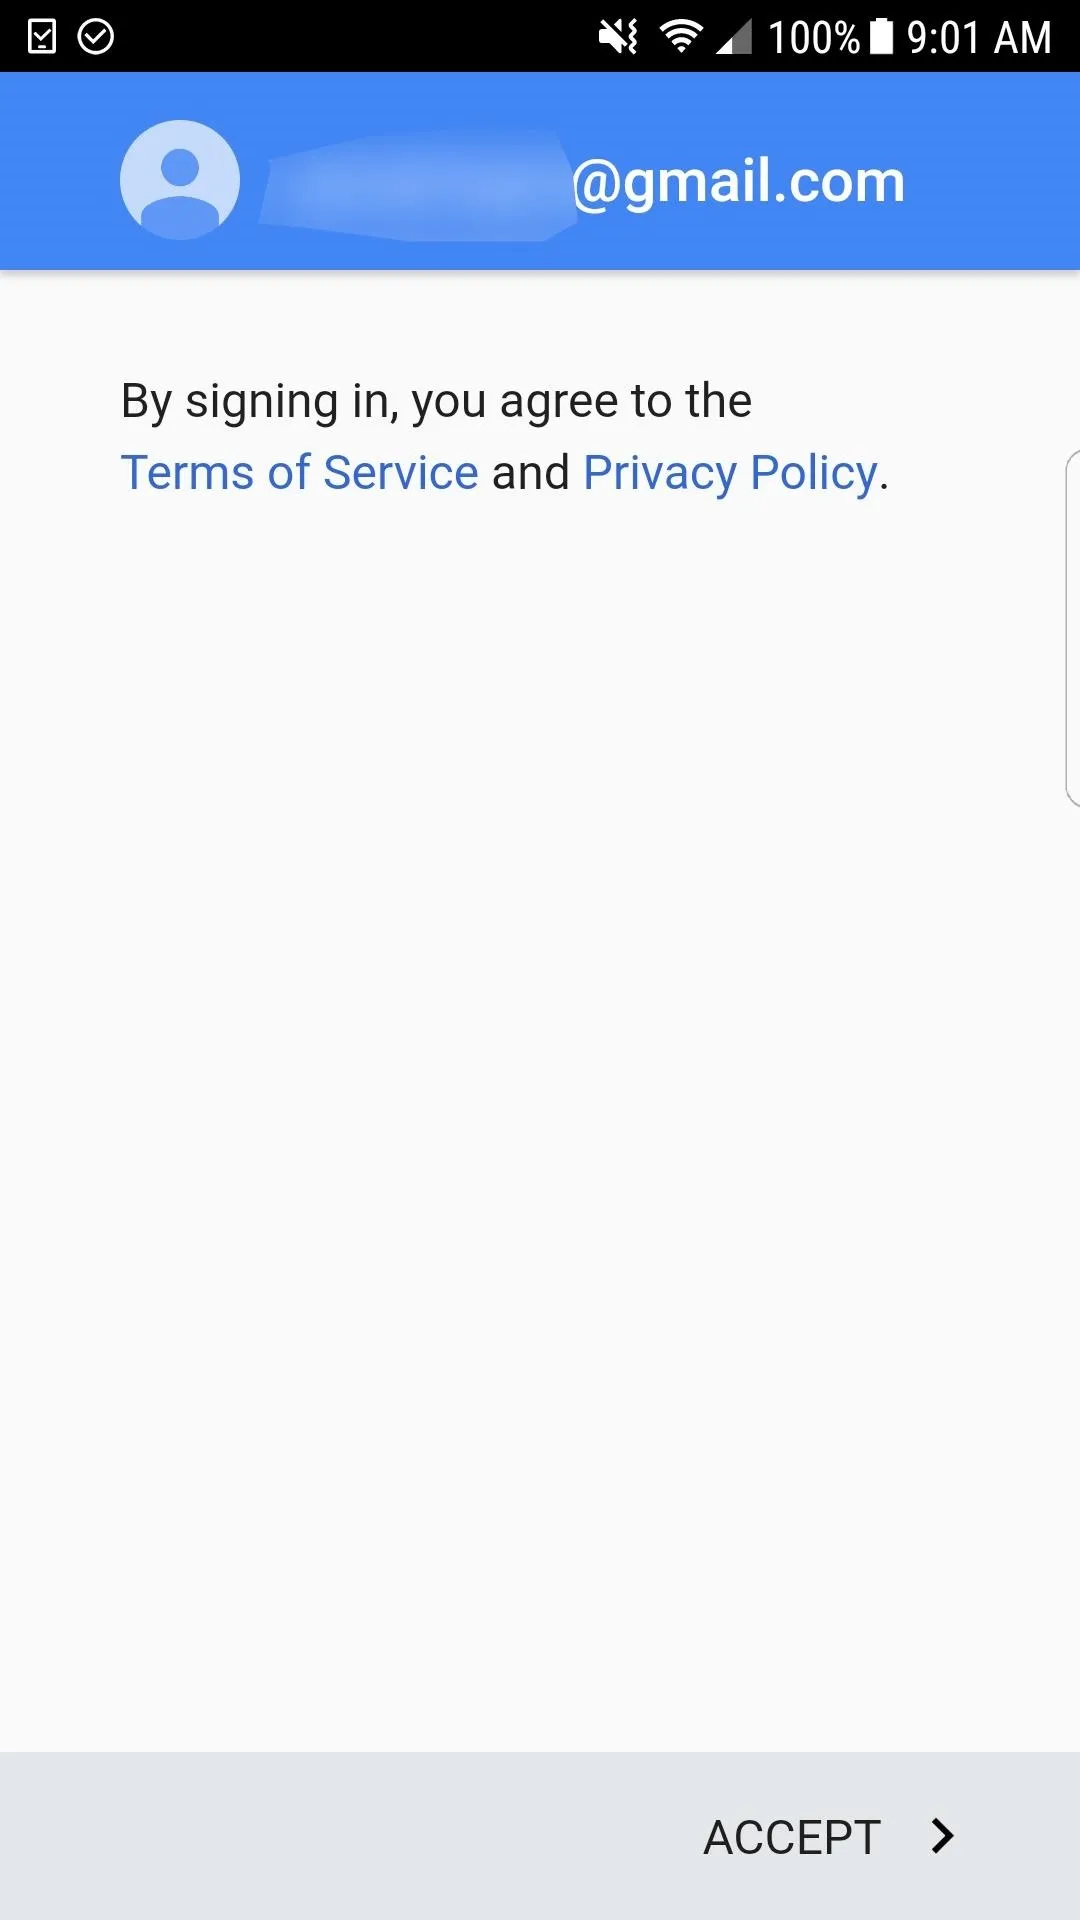
The easiest way to make a Google Voice number is to install the Android or iOS version of the Google Voice app on your phone, but you can also use the website on your computer. Once you've done that and logged in to your Gmail account, you can follow the on-screen prompts to create a new Google Voice number.
If you already have a Google Voice number that you would like to use with Signal, you can skip down to Step 5 right away — you don't need to do these first four steps. This is more for those who don't or for those who want to use a different Google Voice number. For the latter, make sure sign up with a different email address than your other Google Voice account.

Create a Google Voice Number
You will need to use your device's phone number to link to Google Voice for verification and text/call forwarding. If you don't have a phone number on the device, you can set up a Google Voice number using another number you own, like another mobile phone number or a landline. Later on, you can disable text/call forwarding in your Google Voice settings if you don't want that.
Google Voice only accepts "approved" carriers for verification purposes. You won't be able to use a VoIP number, another Google Voice number, a number that has already been linked to another Google Voice account, or a number that has been flagged by Google for abuse. So if you get an error while running through this process or if you complete the process but it brings you back to the screen to select your Google Voice number again, try a different number.
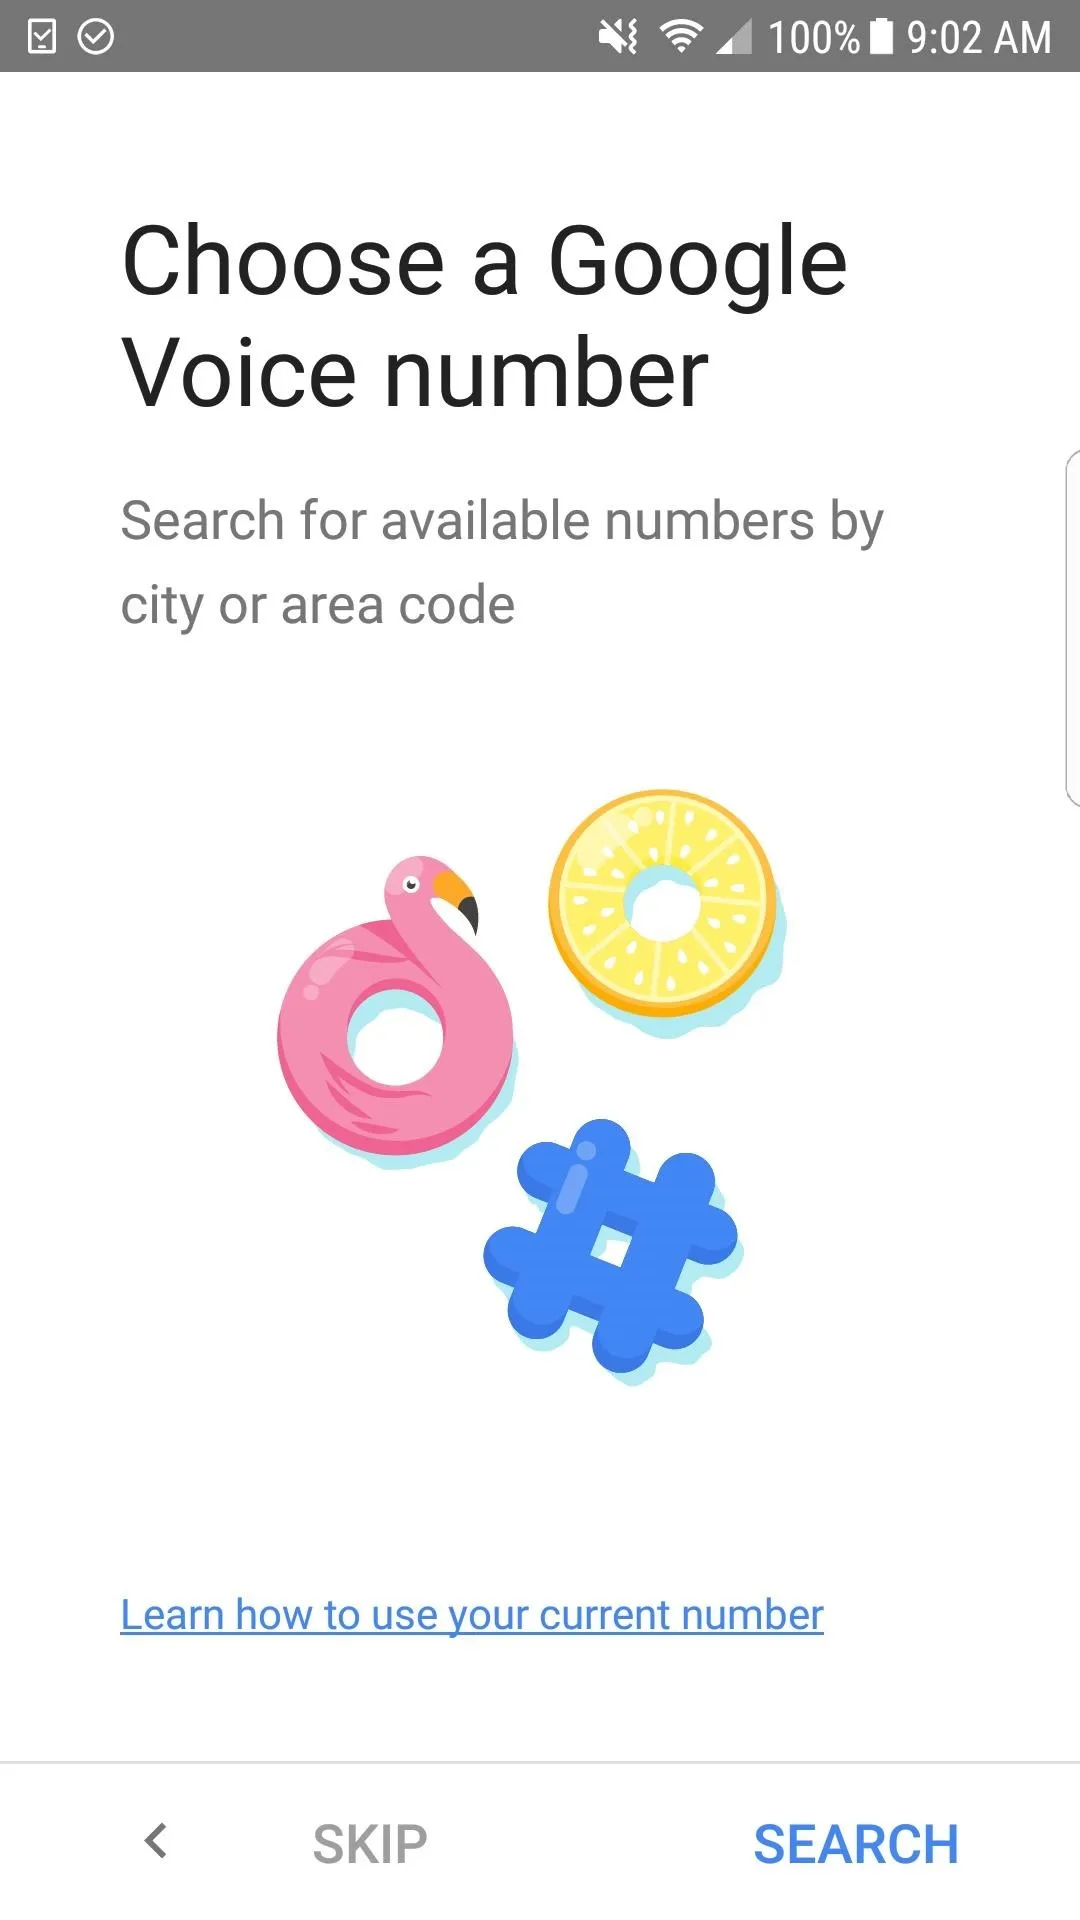
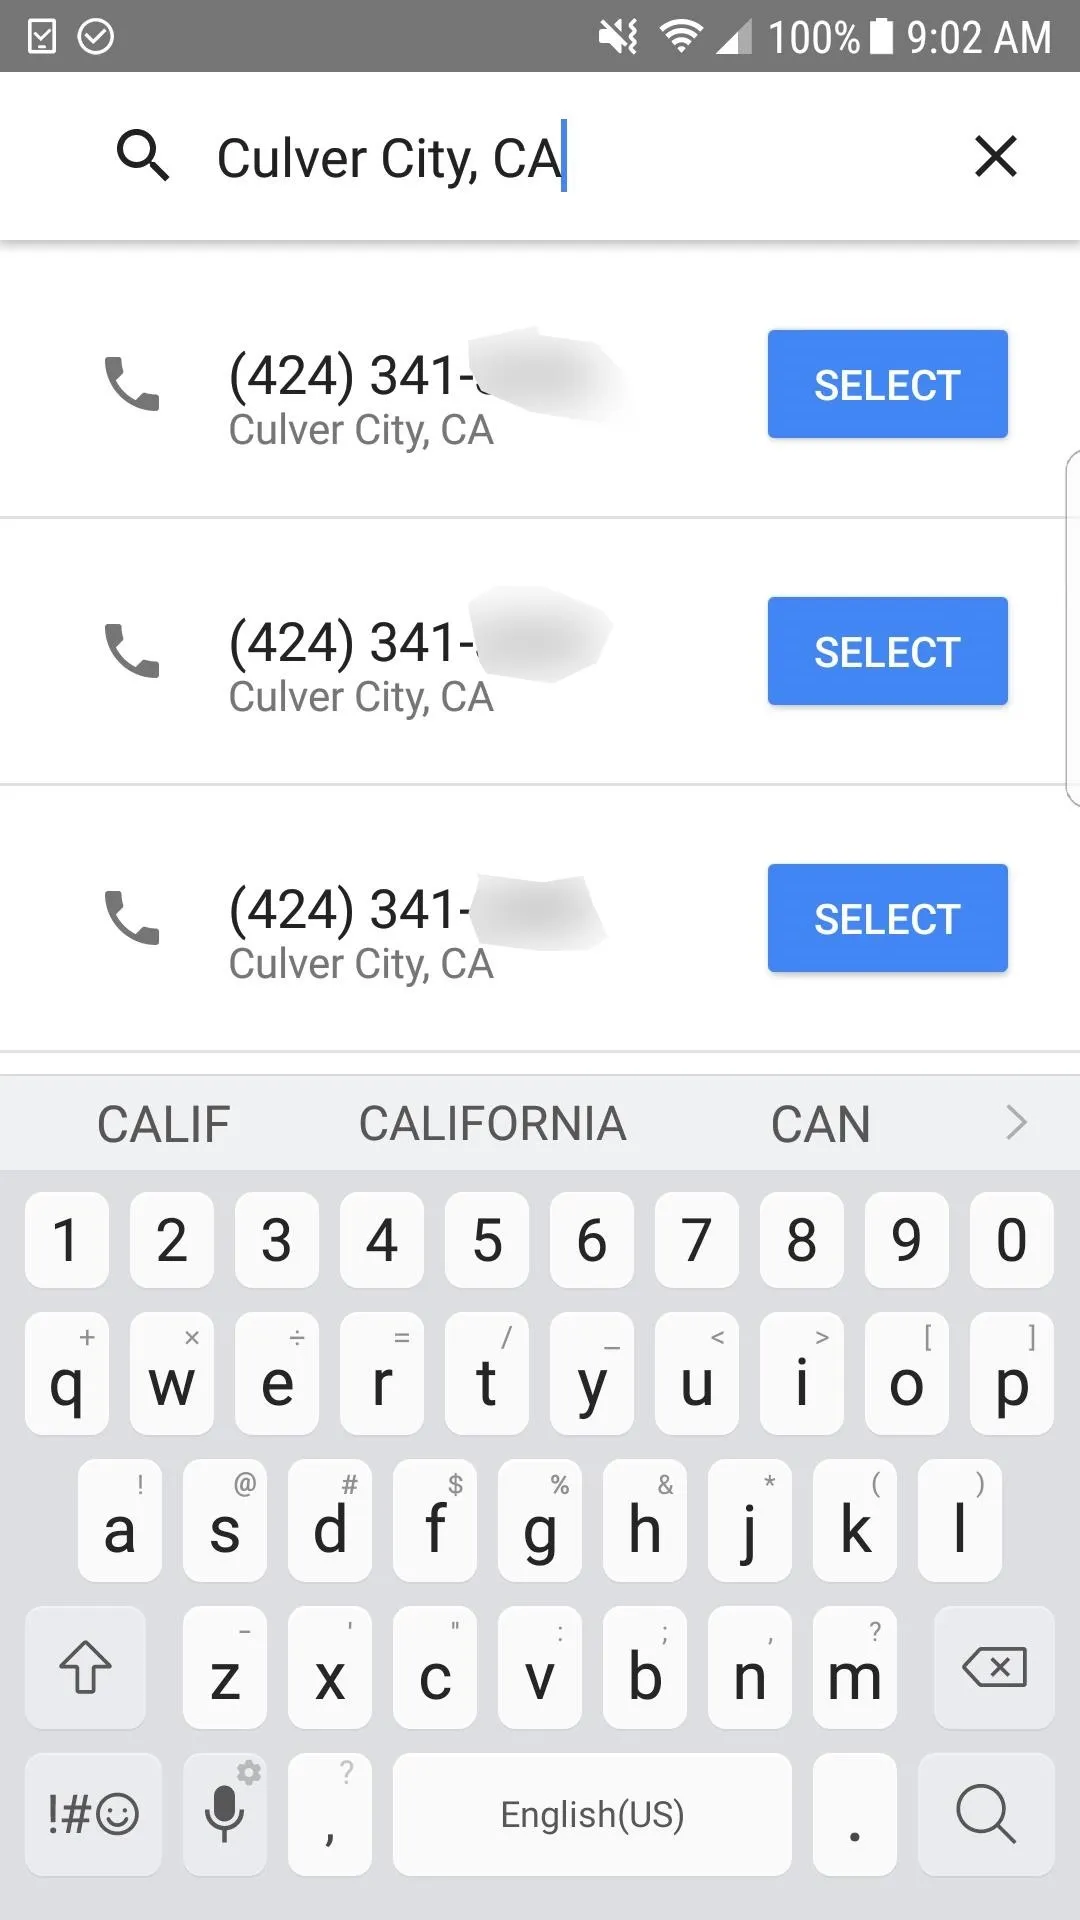
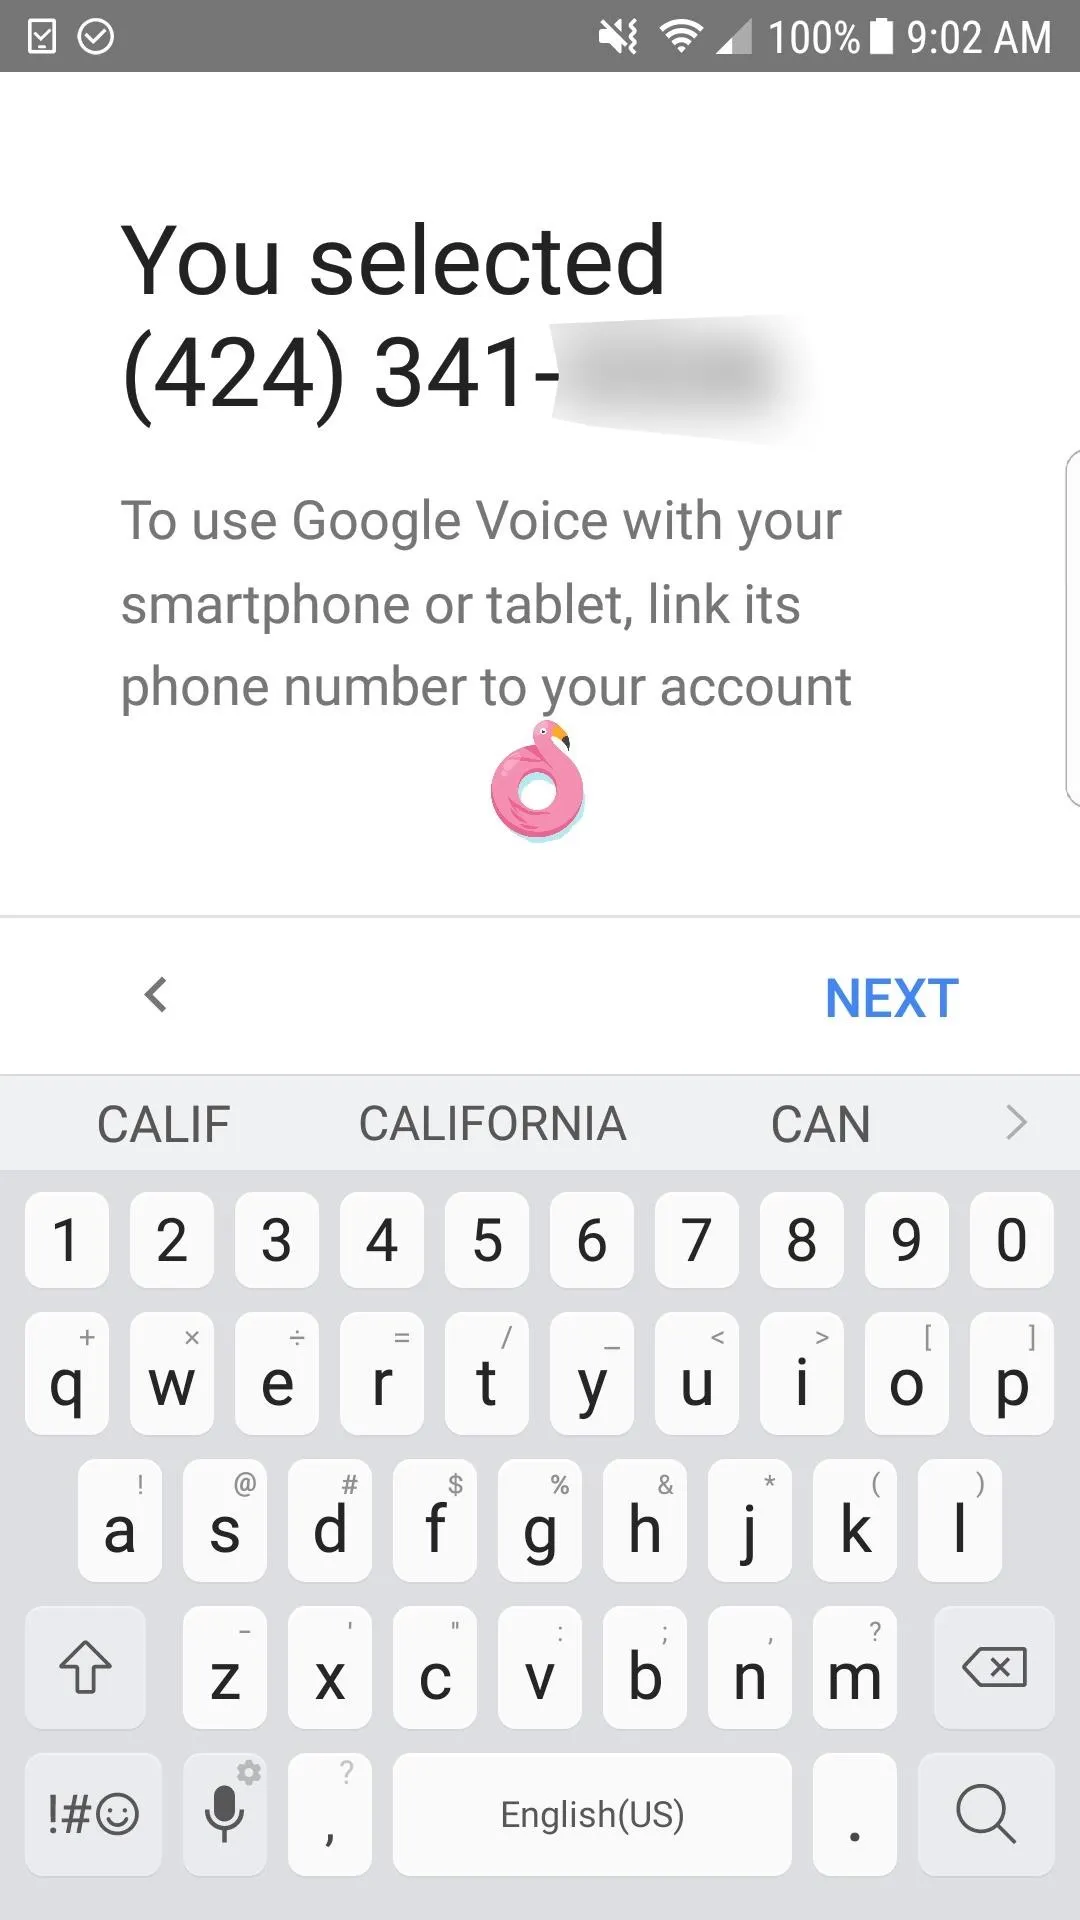
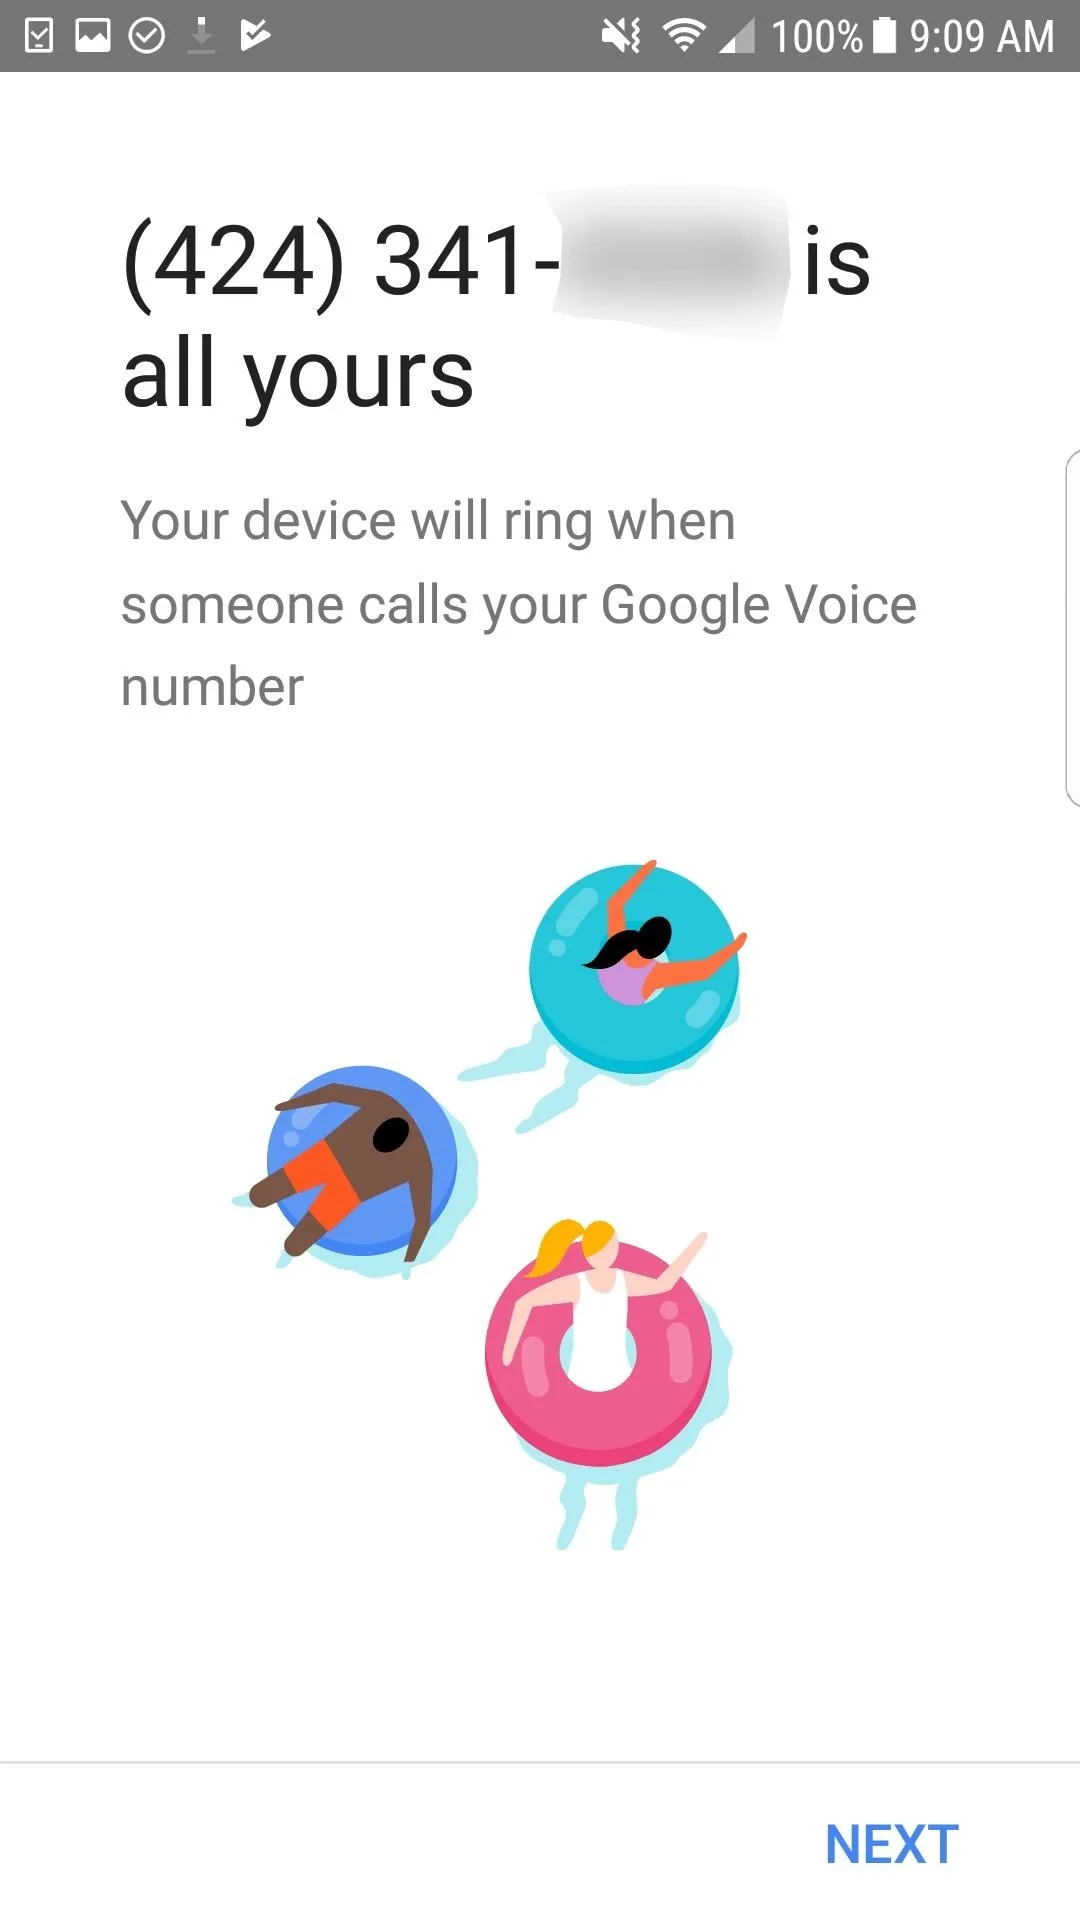
Hit "Search" to start the process, then choose from a list of nearby locations or search for your own area code. On the next screen, select the Google Voice number that you'd like, then tap "Next" to continue.
Link a Number with Your Google Voice
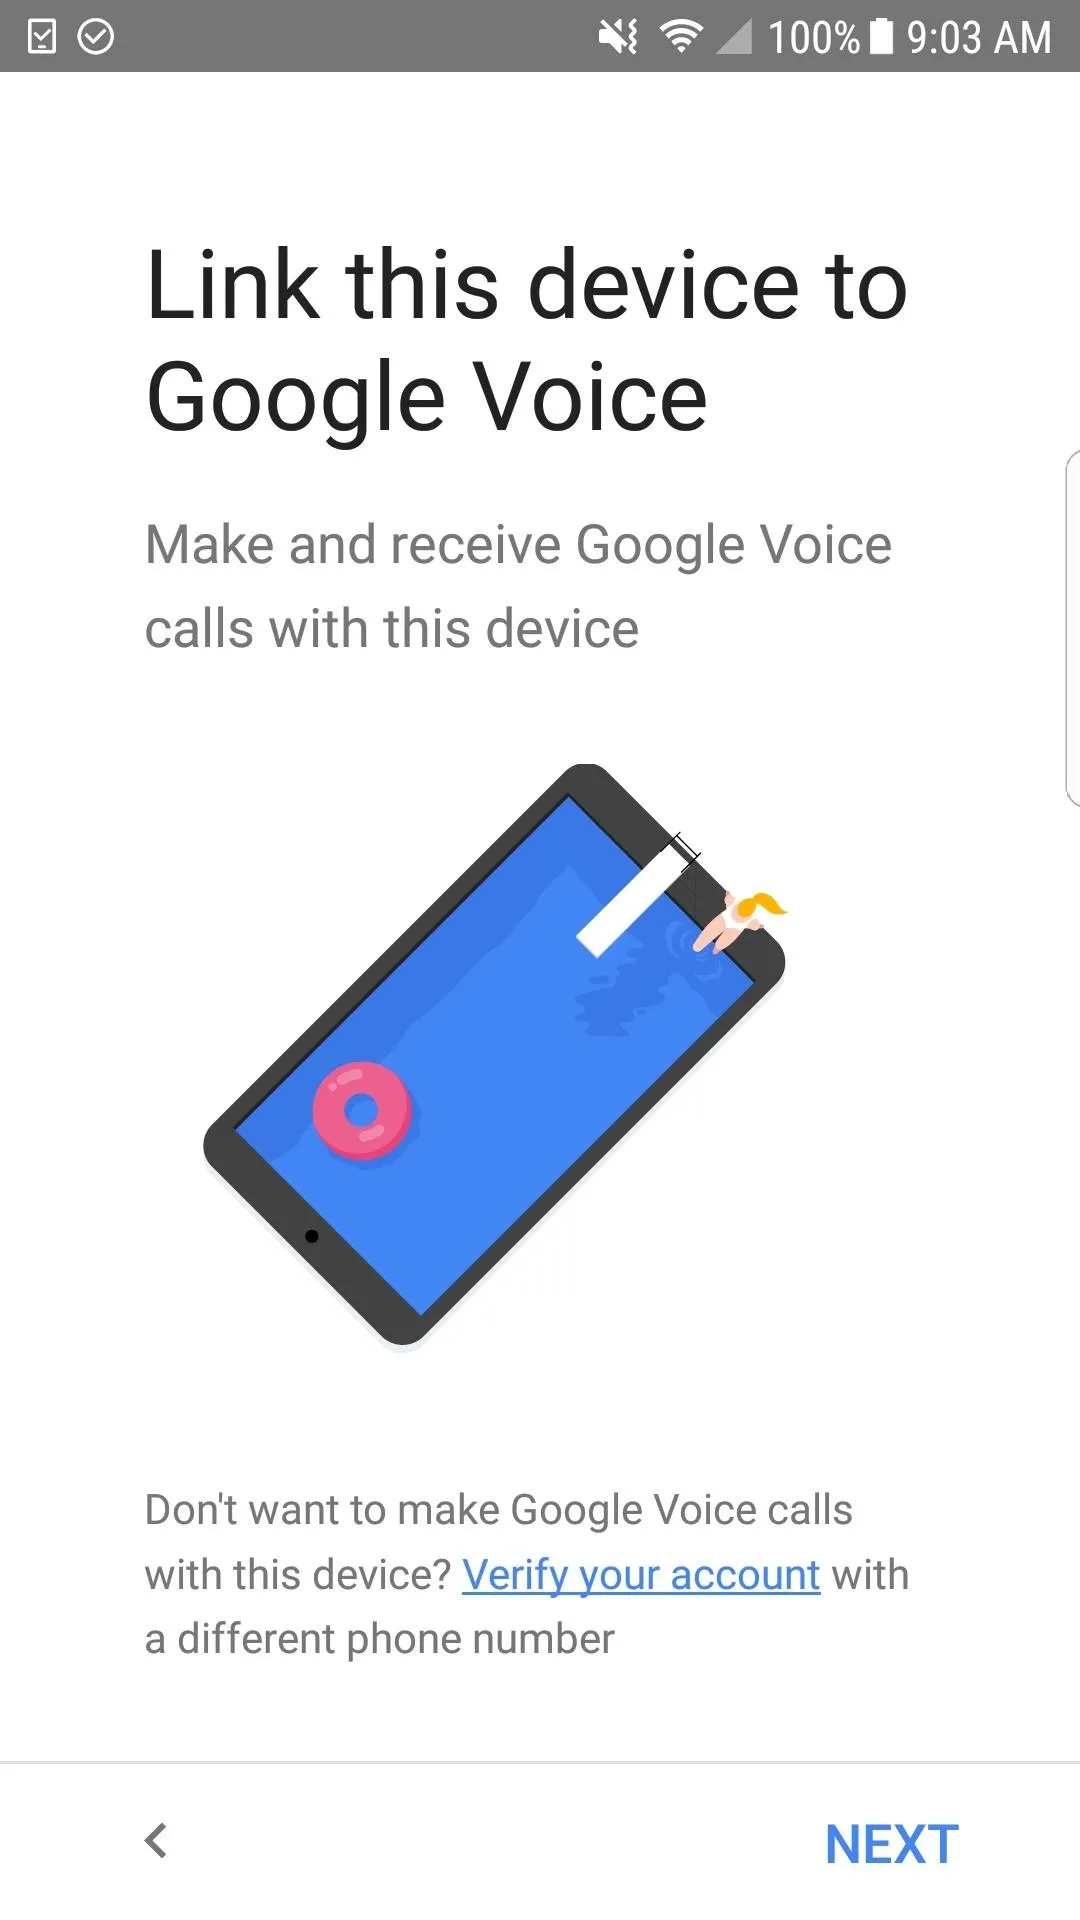
You'll now need to link Google Voice to your device so you can make and receive calls using this number. This makes sense if you're using your actual mobile number to verify with Google Voice, but you still have to complete this step if you're not. You can unlink the number later (in the next step), and you'll still be able to listen to voicemails on Google Voice either way.
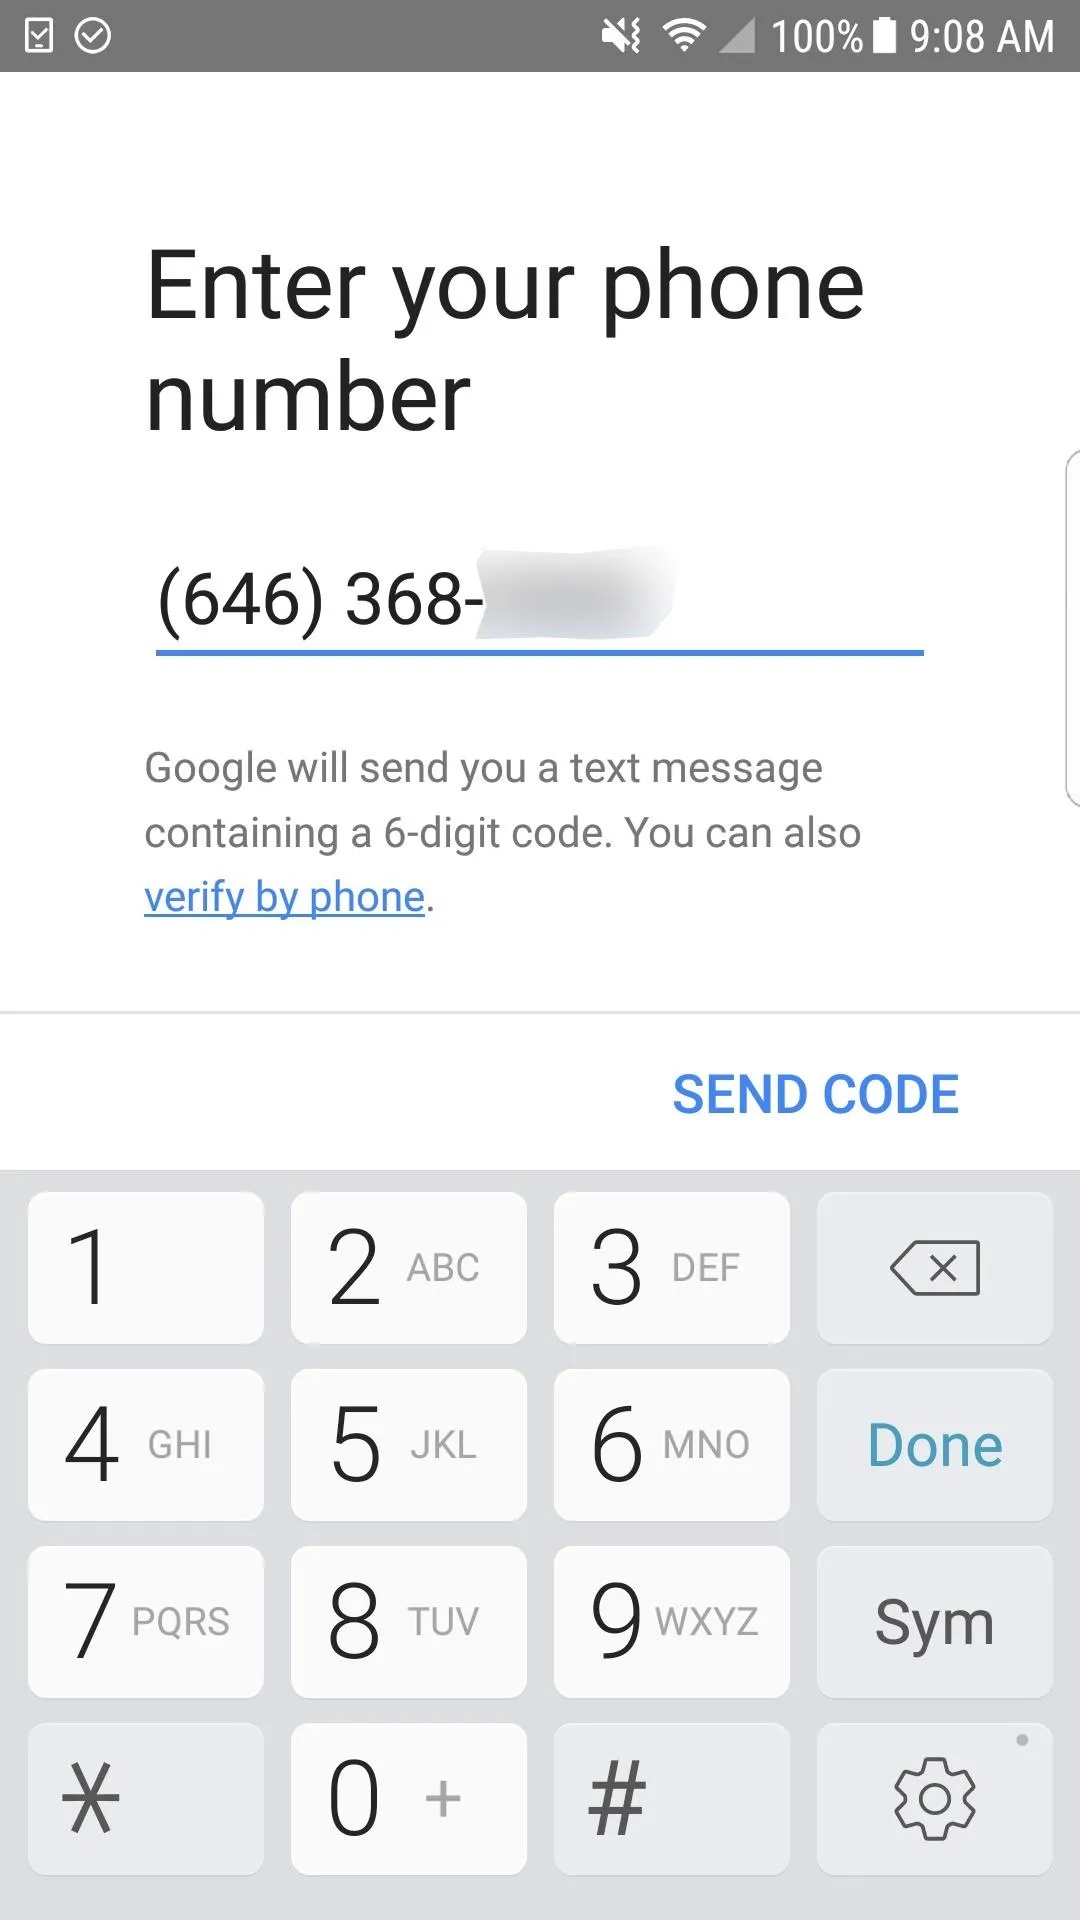
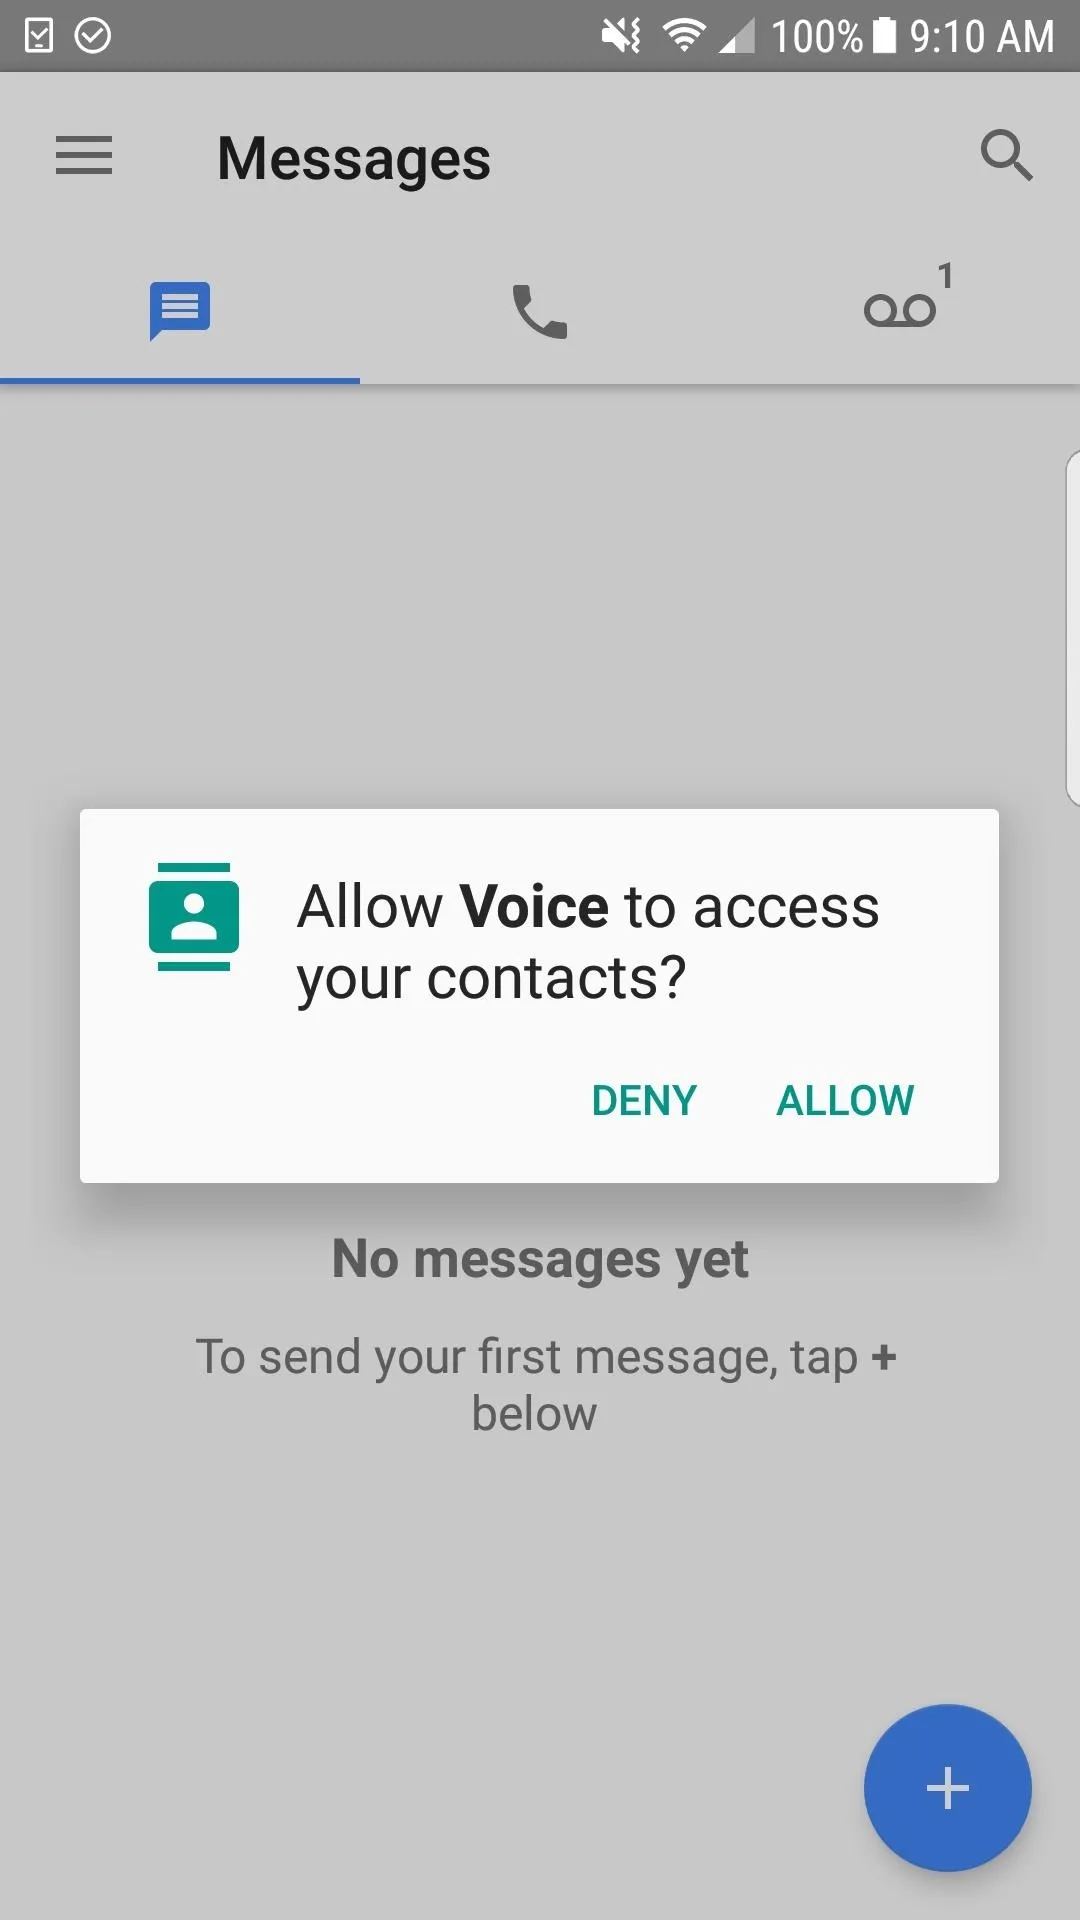
Hit "Next" to start linking your number, then give Google Voice permission to make/manage phone calls and send/view messages. Now enter the mobile or landline number you're using to verify your account and tap "Send Code" for SMS or "verify by phone" for a landline, then follow the prompt to continue.
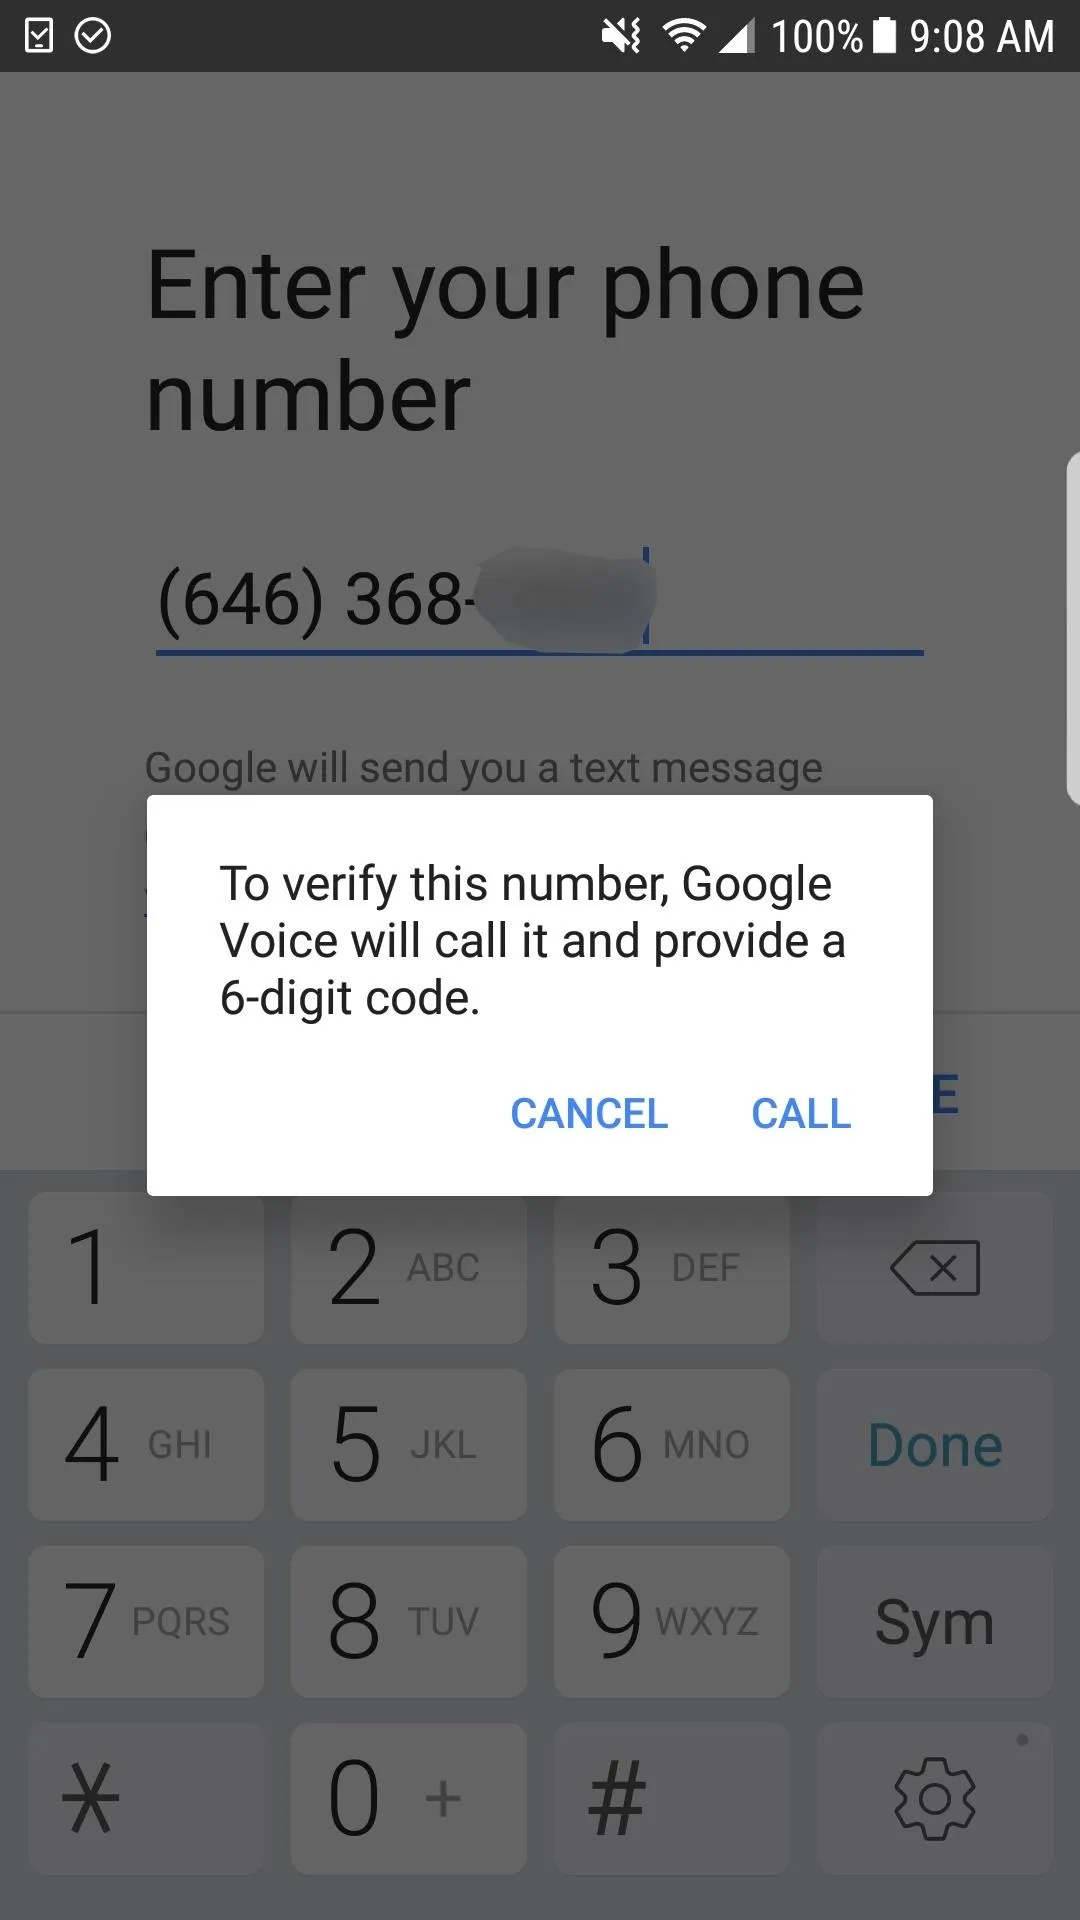
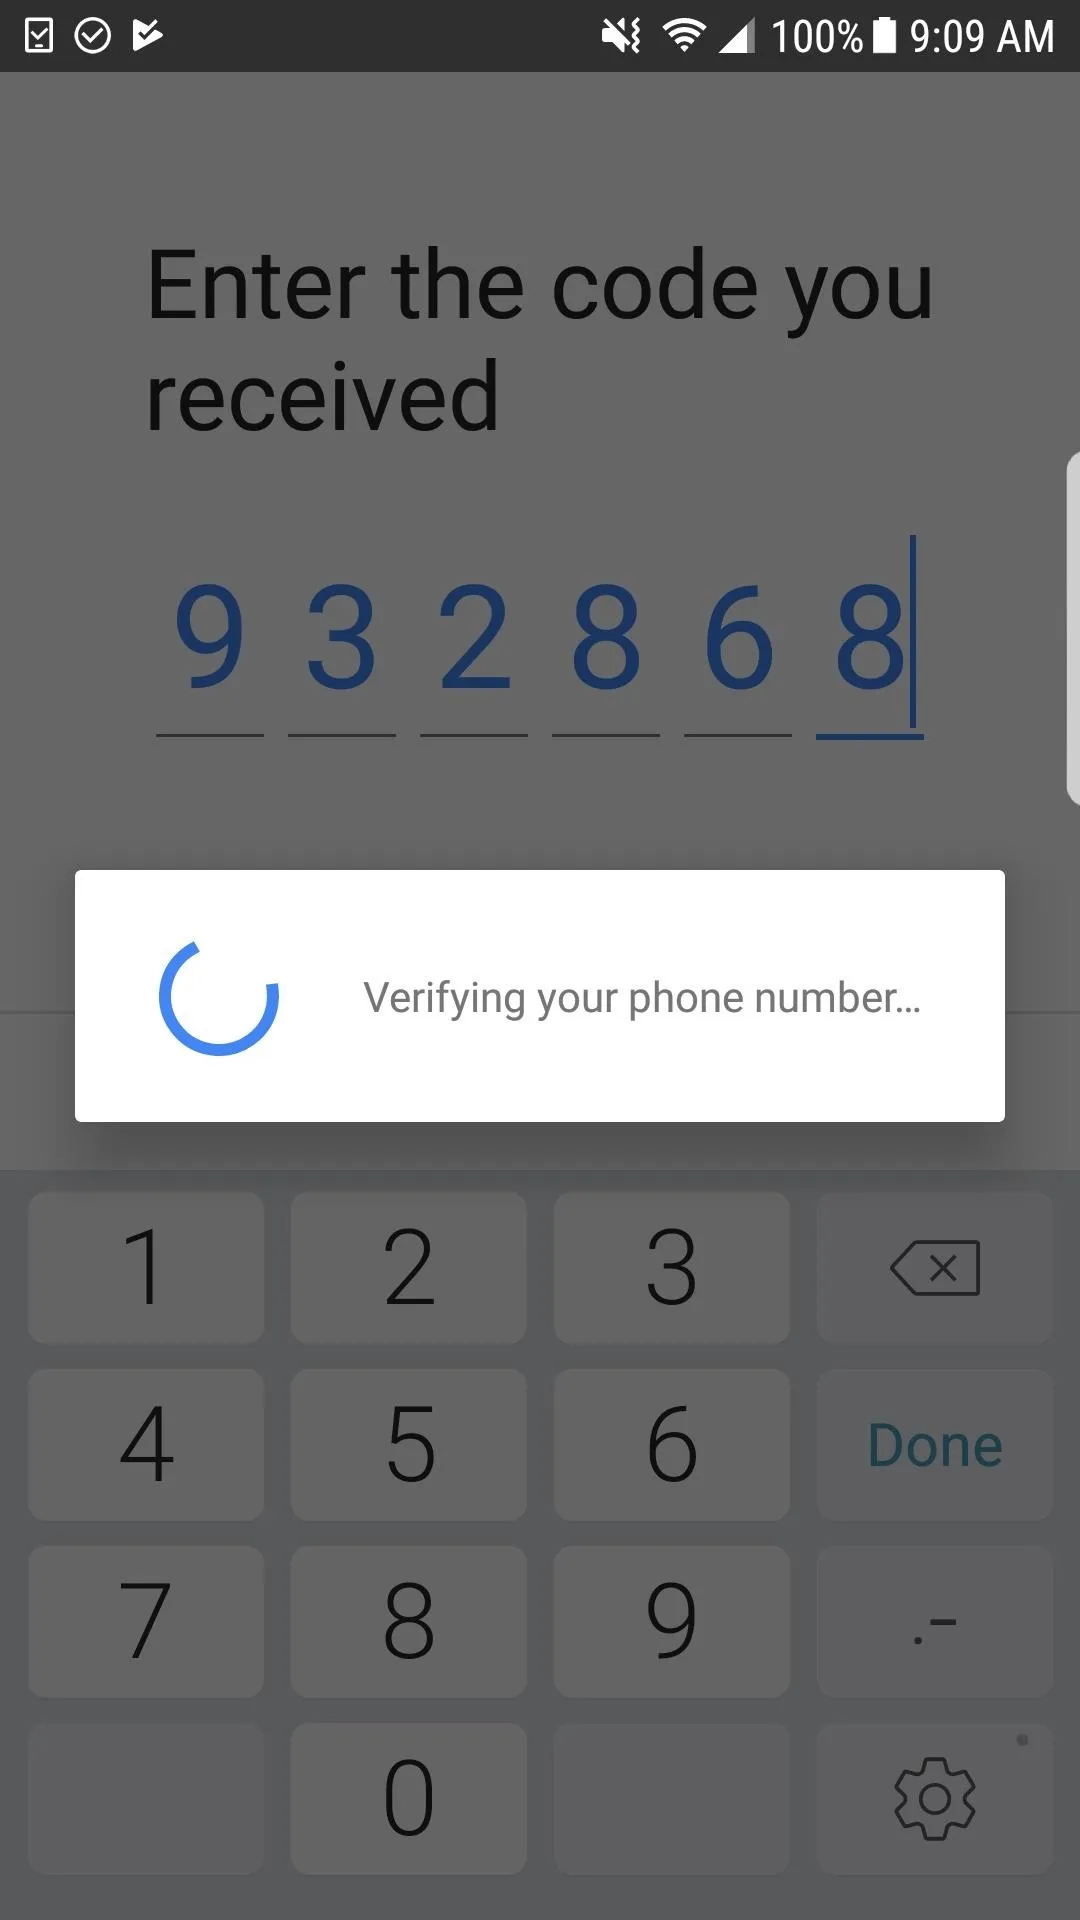
Once you get the 6-digit code either through an SMS, phone call, or voicemail, input it into the on-screen prompt and continue setting up your new number.
Unlink the Number in Google Voice (Optional)
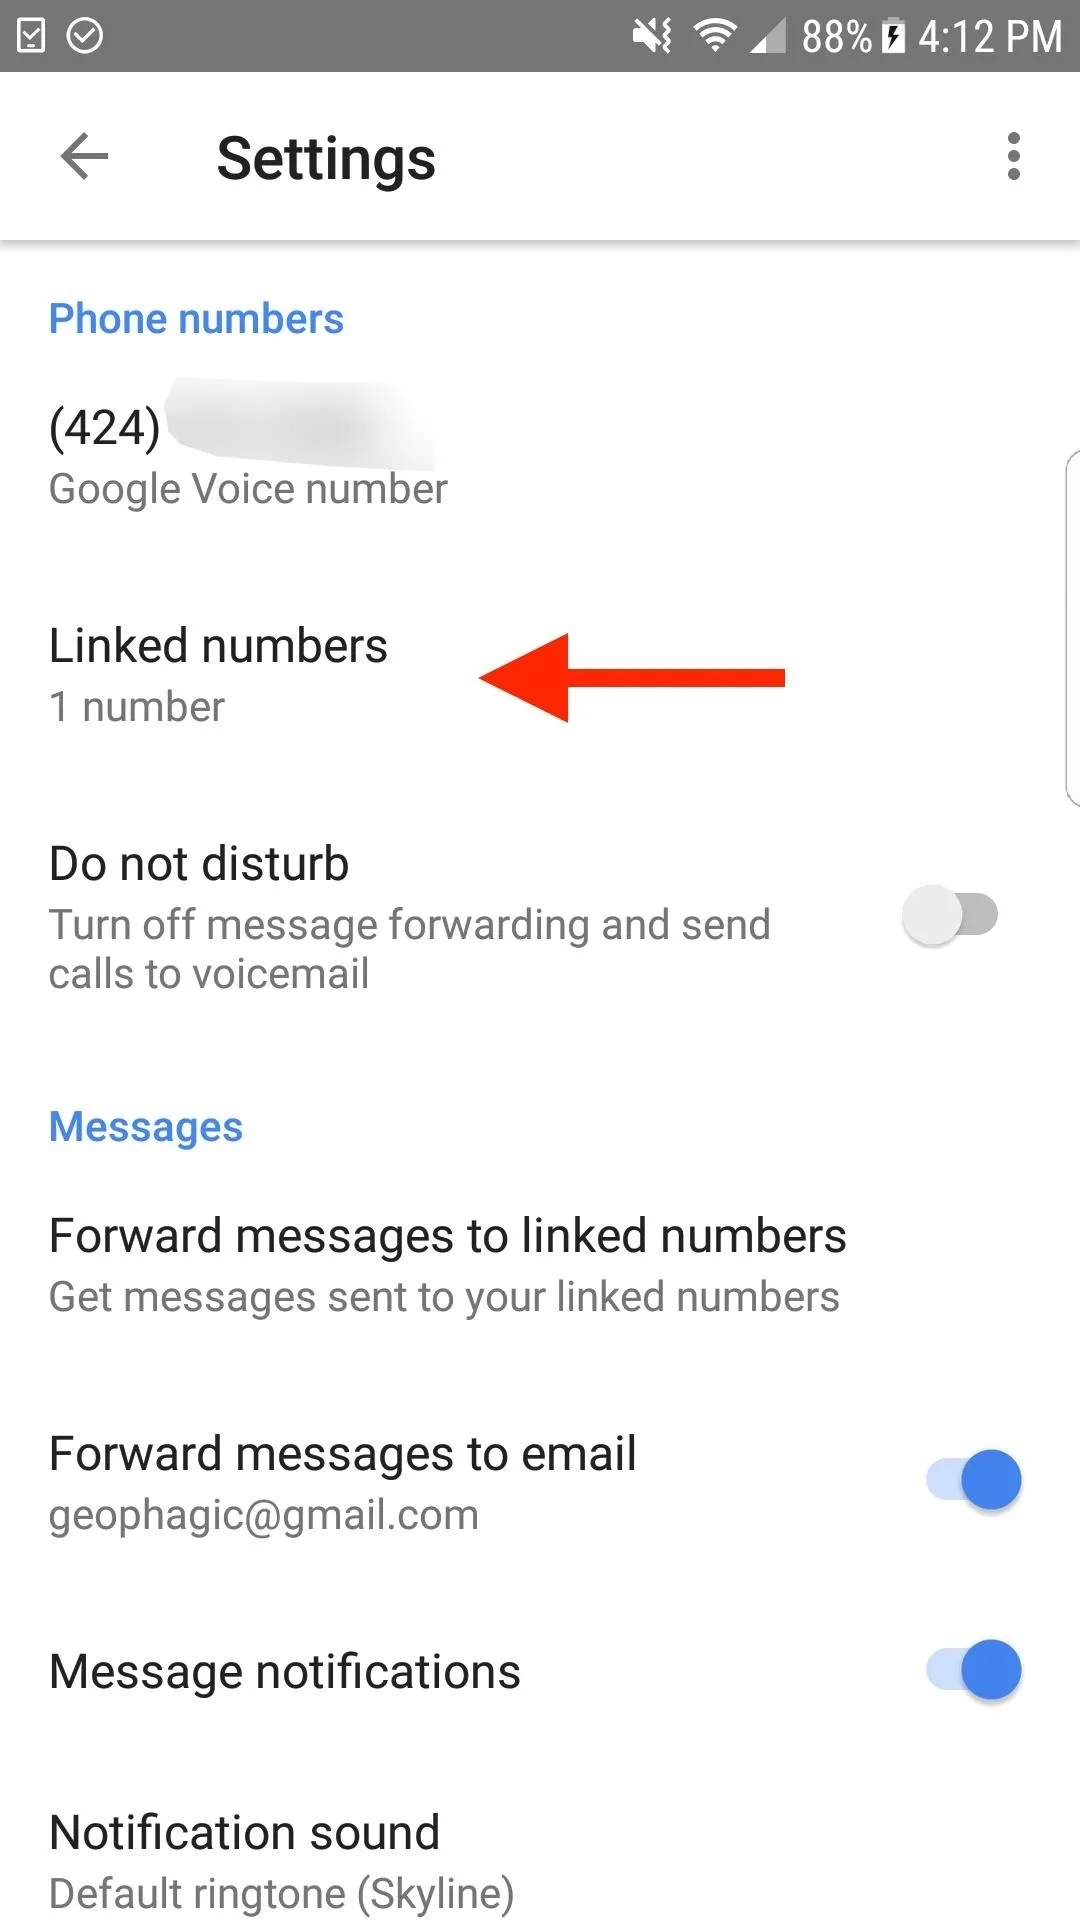
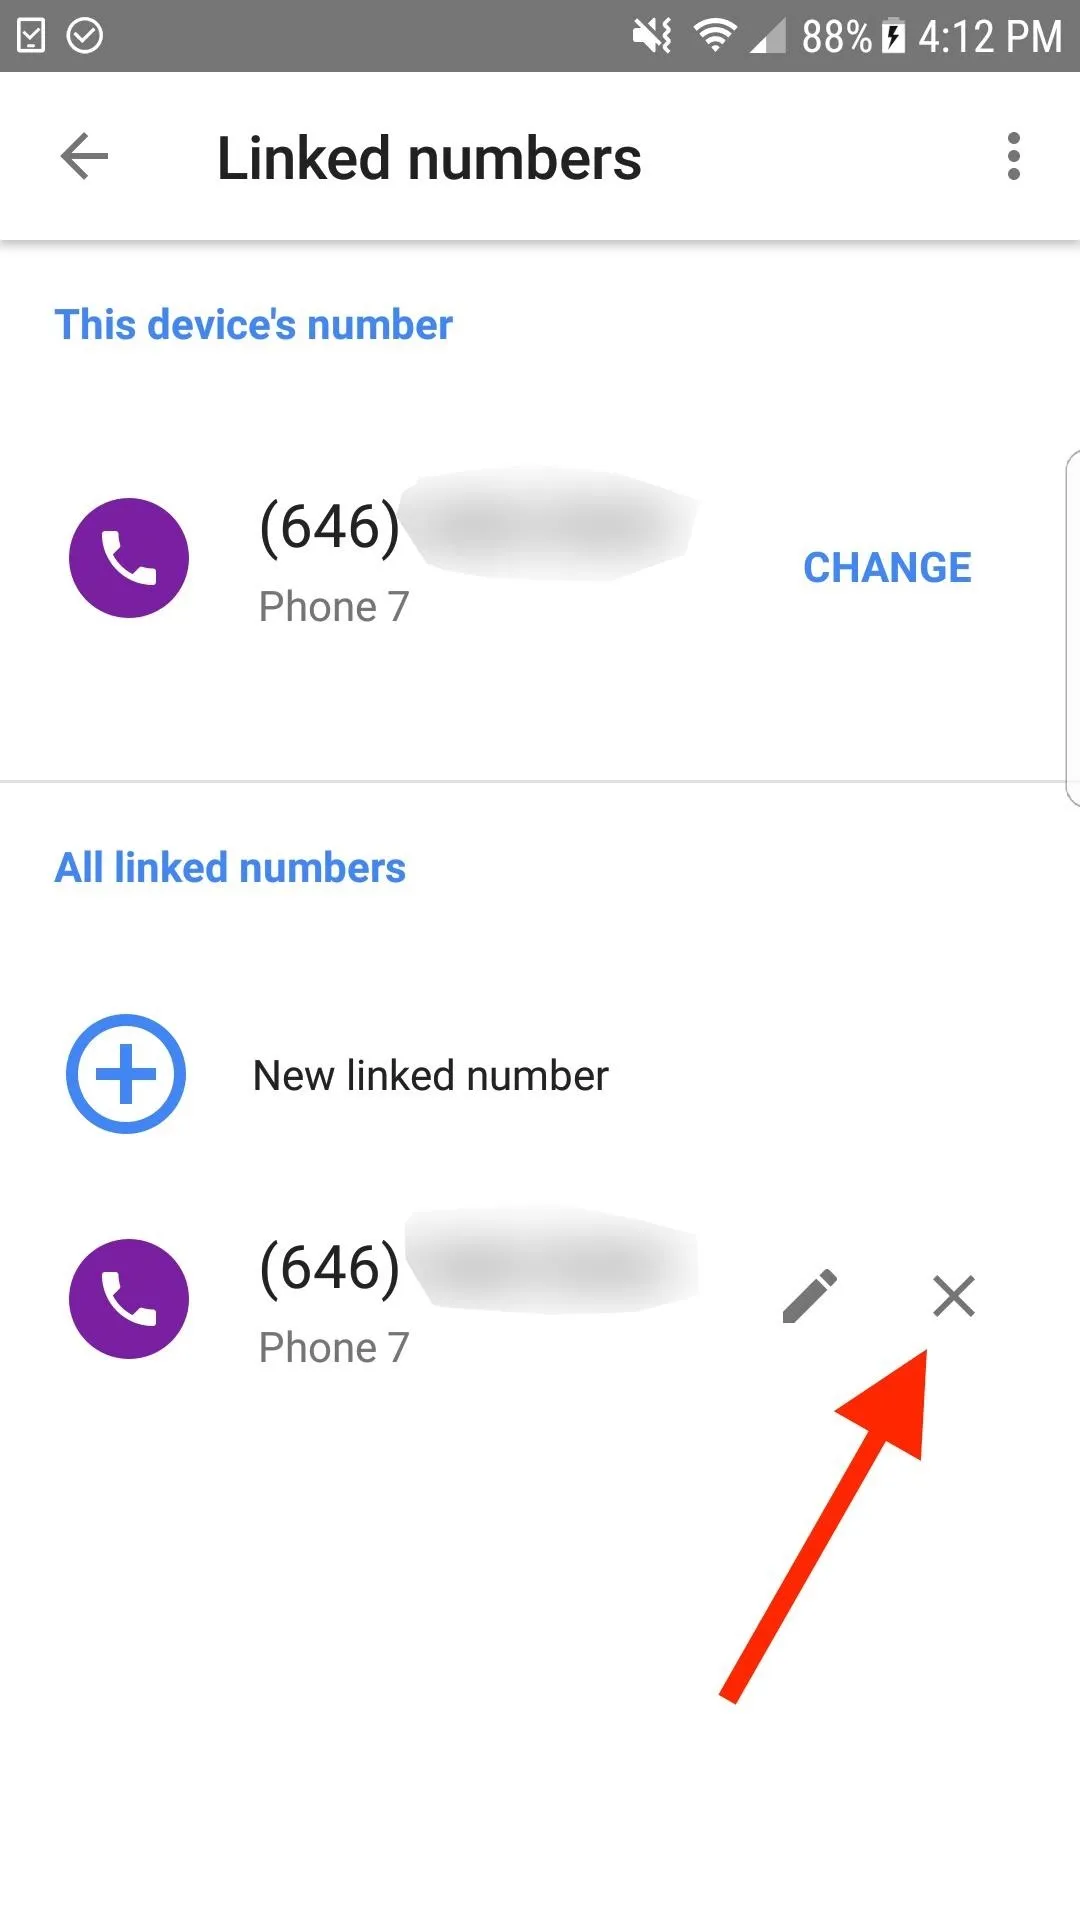
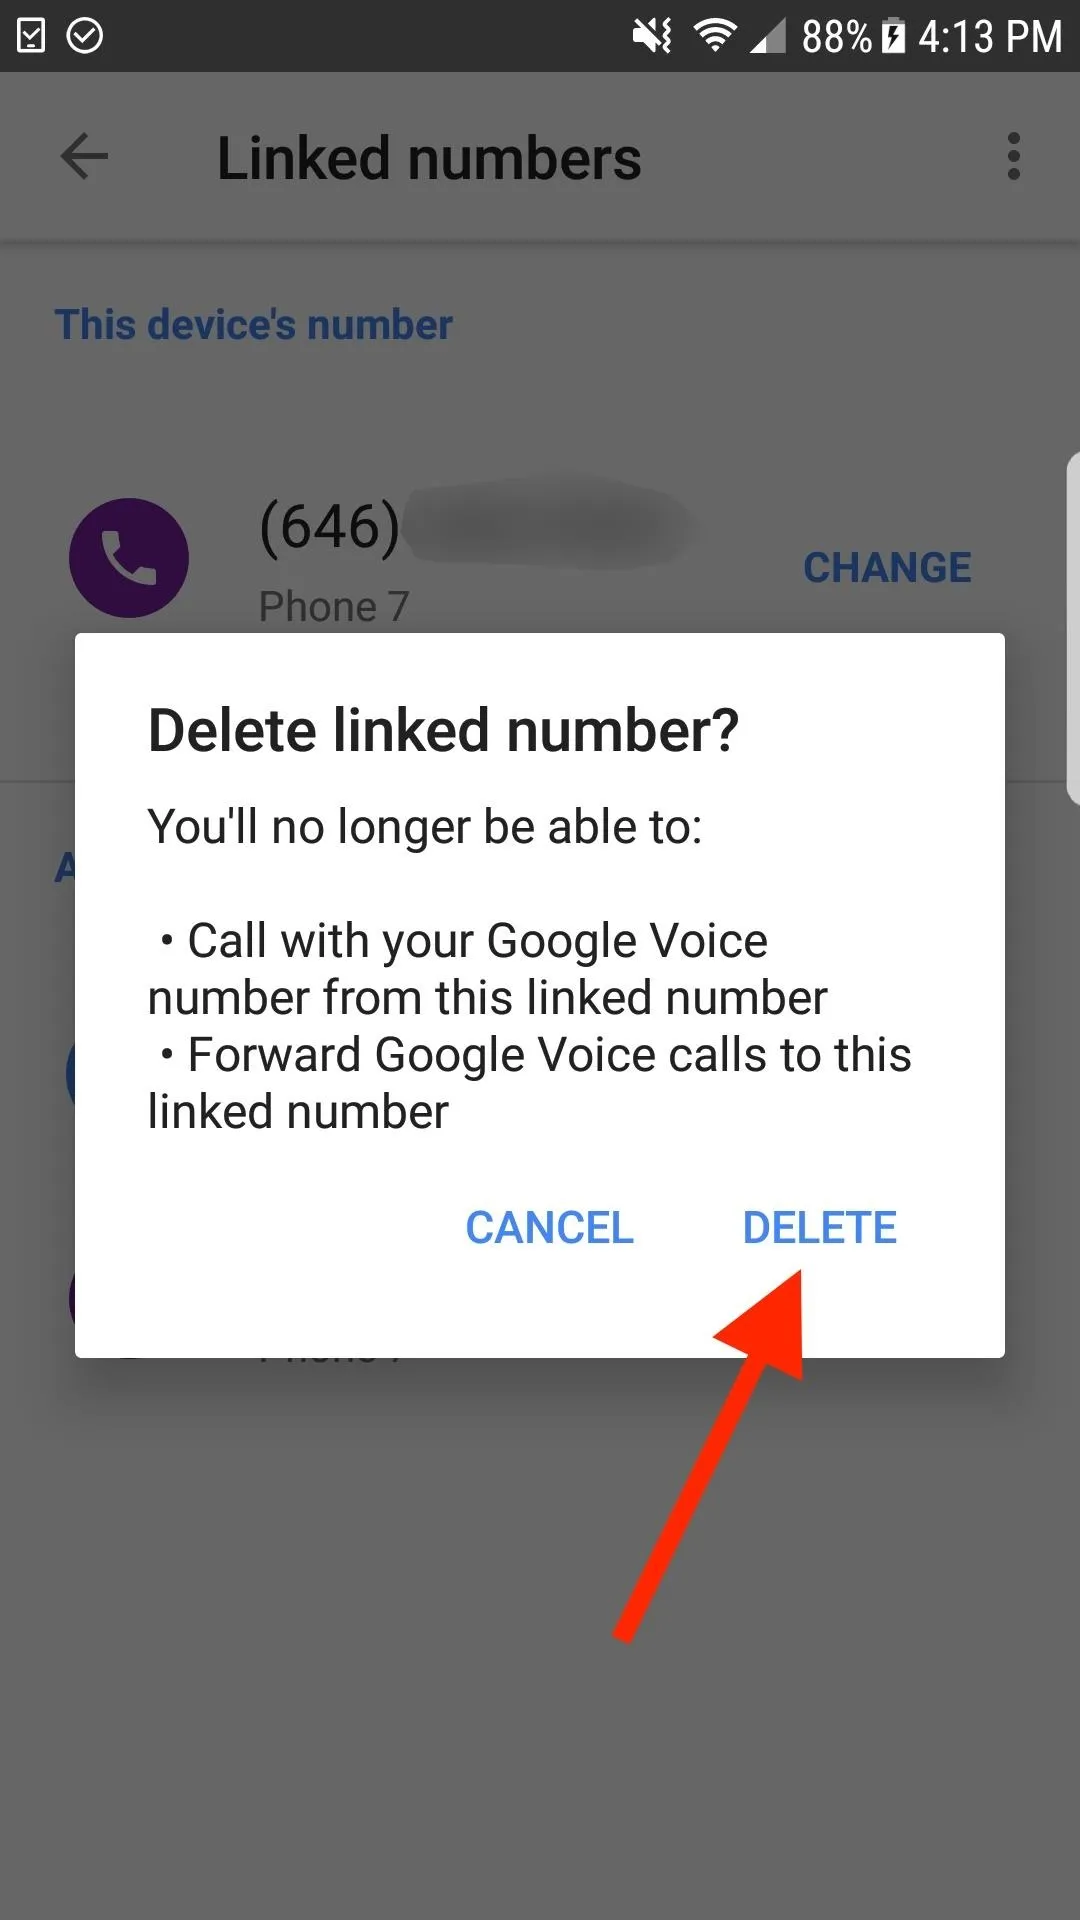
To unlink the number you just used to verify the Google Voice account, hit the hamburger icon in the top left of the Google Voice app, tap on "Settings," then "Linked Numbers." On the next screen, just tap "X" next to the number to remove it, then tap on "Delete" to confirm. Call/text forwarding to that number will now cease.
Register for Signal with Your Google Voice Number
This is seeming too easy, right? Well, if you have a working SIM in your phone and used that to connect to Google Voice with text/call forwarding on, you'll have no problems. If you have no SIM or no cellular service, you may run into issues. It's good to try first to make sure you don't do more work than necessary.
When you first open Signal, it will immediately ask you to sign in or activate your phone number. To activate, just input the Google Voice number you created in the previous step, hit "Register," then follow the prompts to send an SMS code to it. Once you get it in the Google Voice app, just enter it on the screen to verify your new Signal account and you're done.
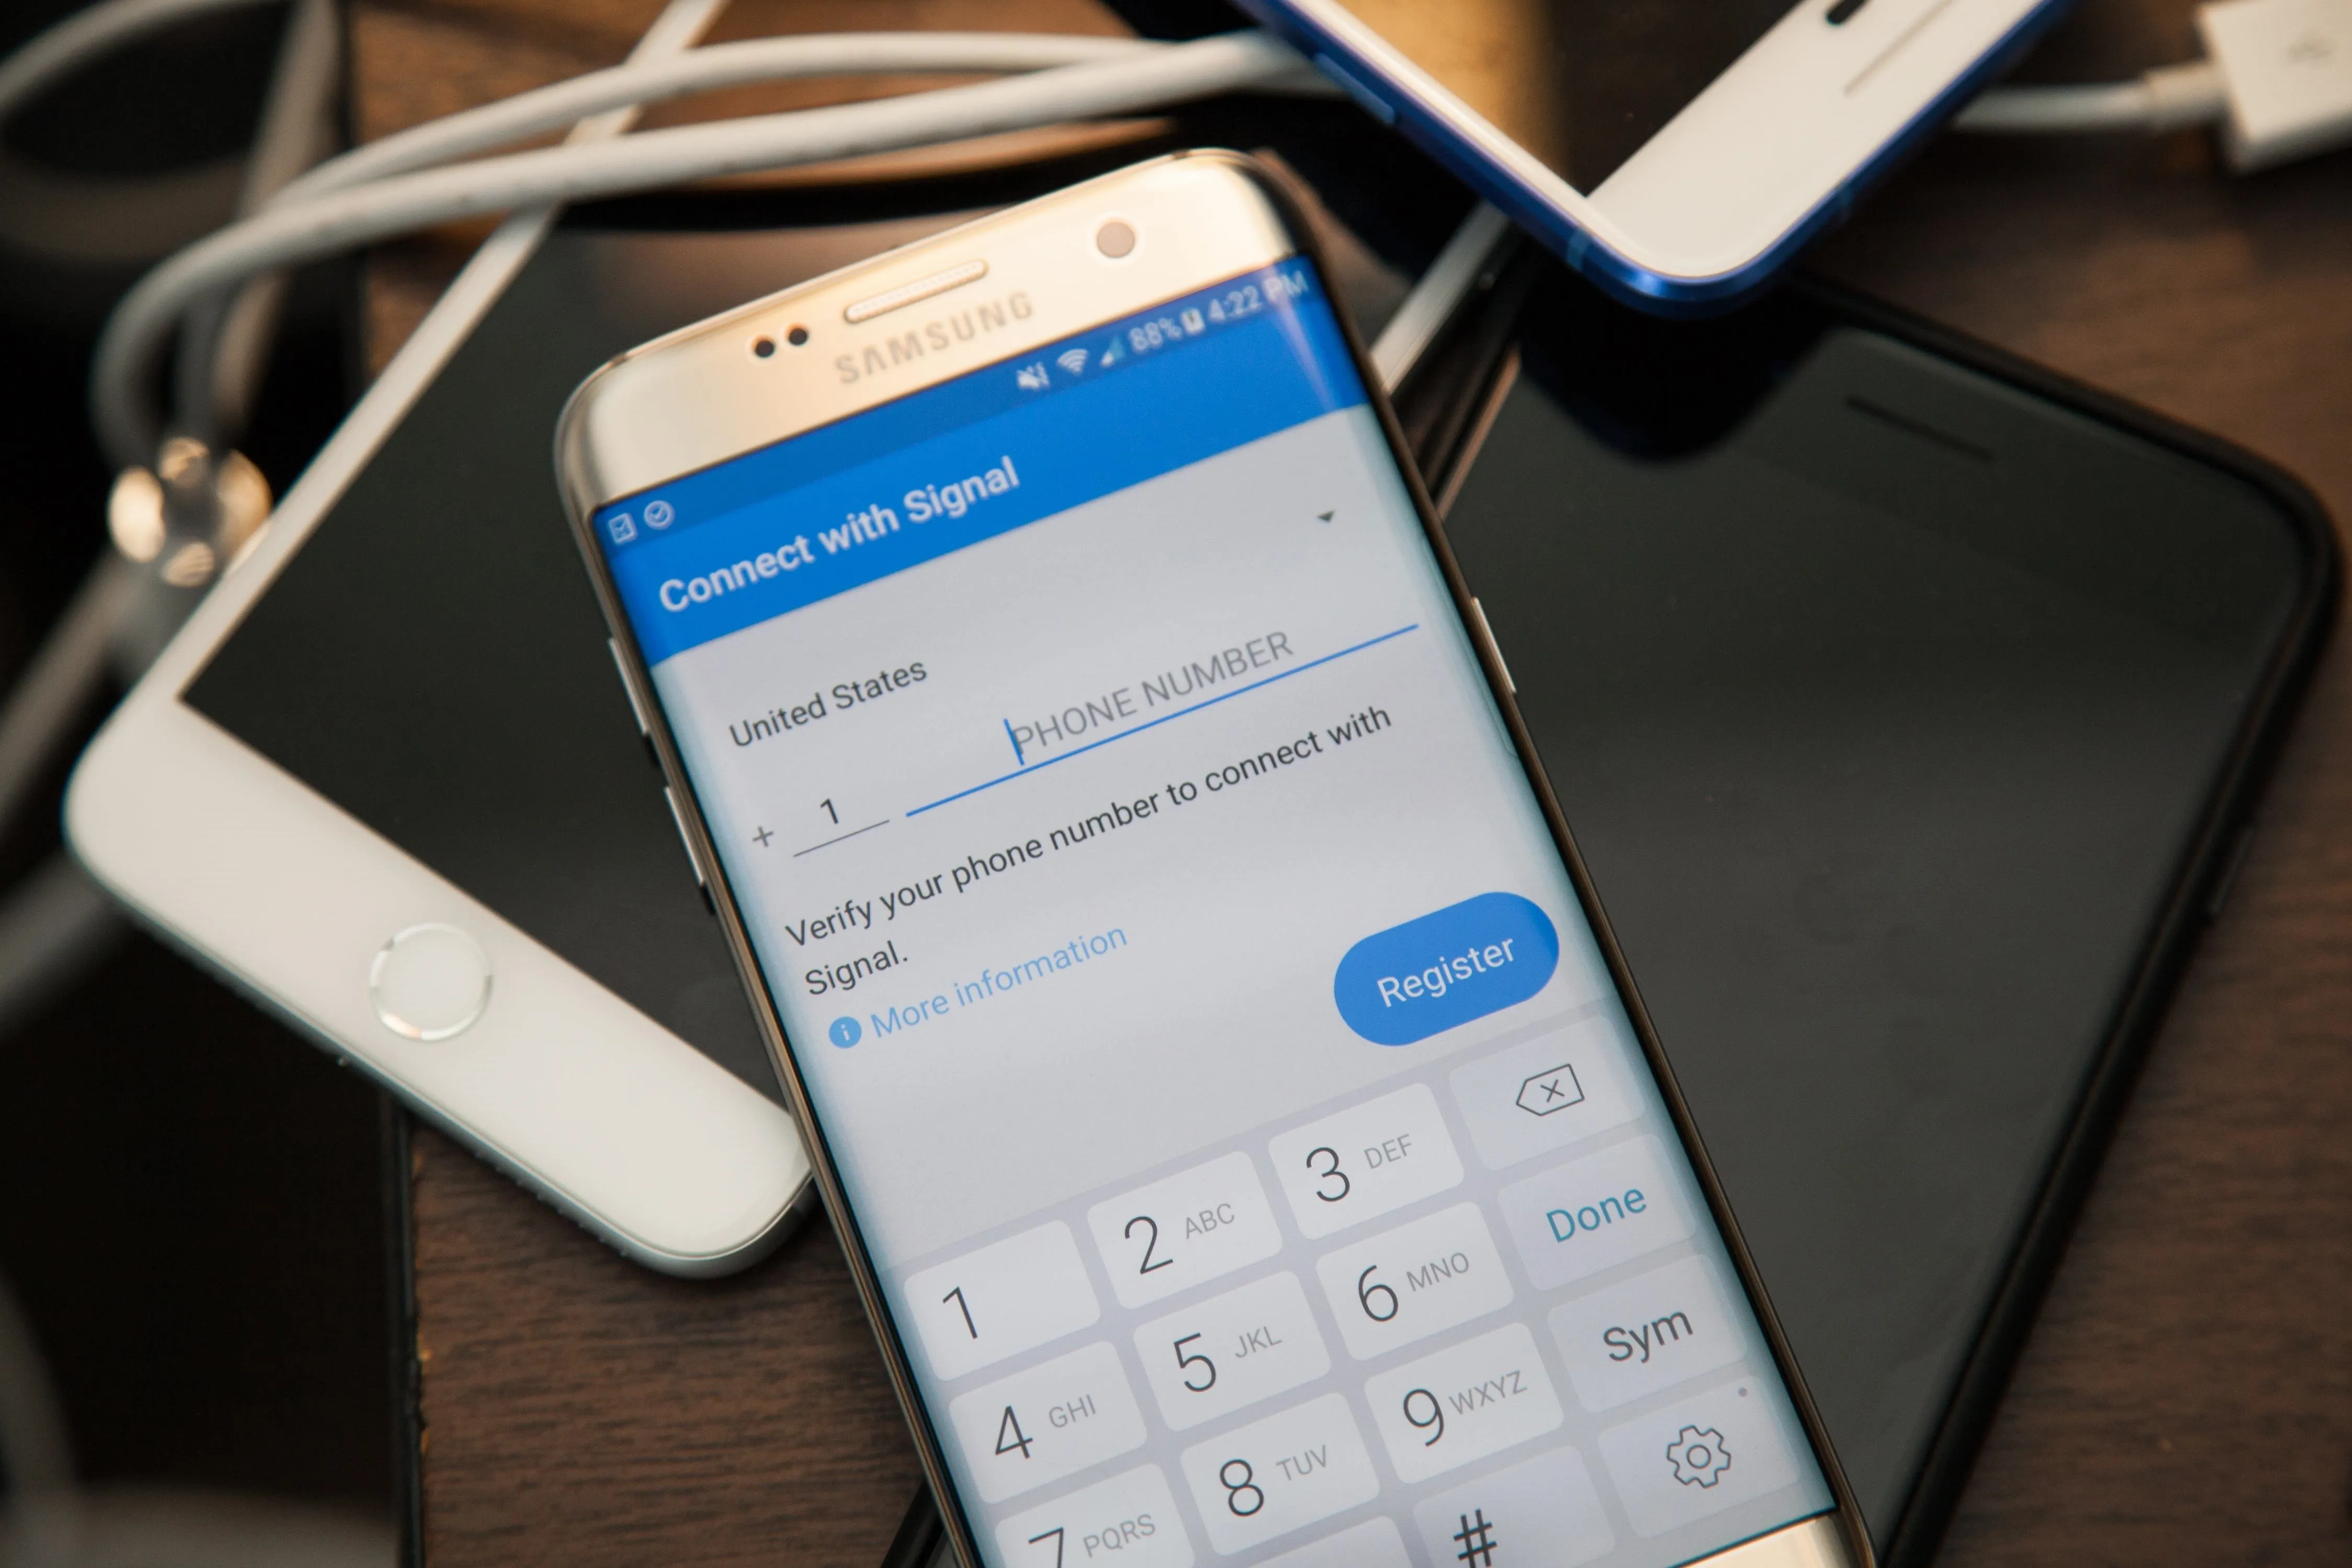
Justin Meyers/Gadget Hacks
Trouble Verifying?
If it didn't work for you and Signal continues to try to connect without letting you input the SMS code, it's probably because you have an Android phone with a Google Voice number that doesn't have text forwarding on, probably because you don't have a working SIM card in the phone.
This doesn't affect iPhones, since you can just input the code right away, but Signal on Android will attempt to catch the SMS coming into your main messaging app as verification; It will just get stuck on "Waiting for SMS verification." If that's the case, you'll have to let the process time out and choose to send a code via a phone call instead.
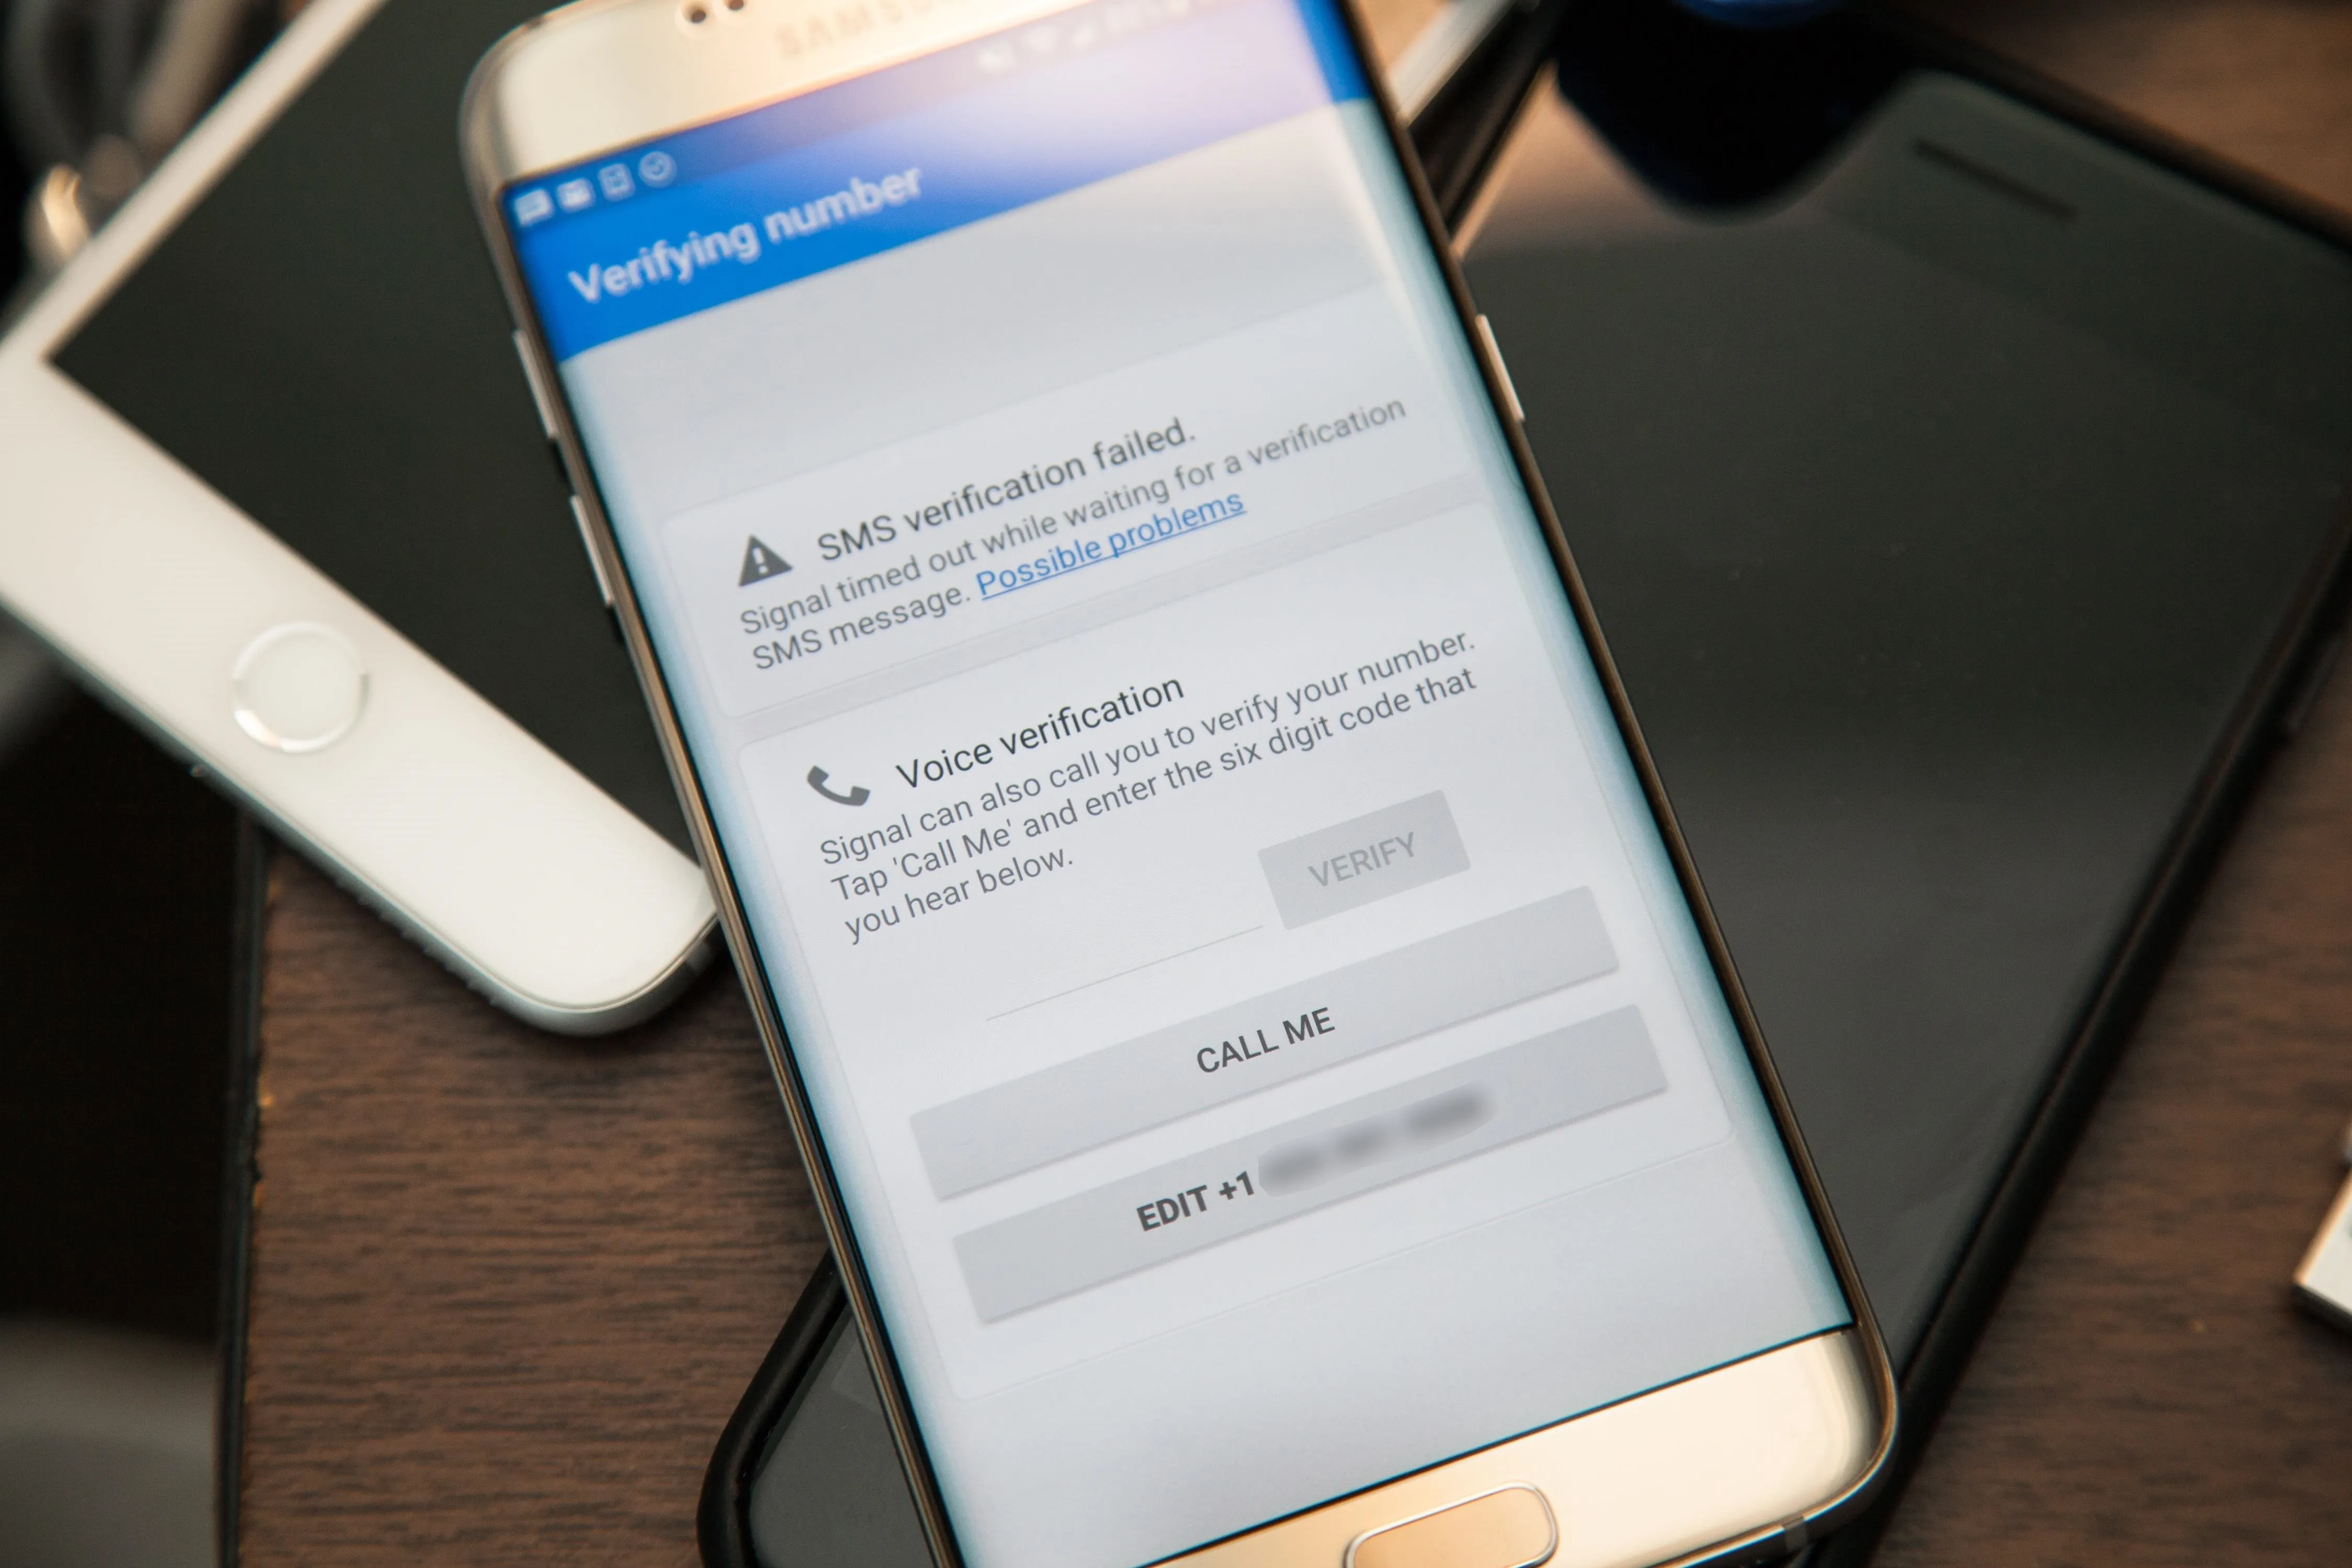
Justin Meyers/Gadget Hacks
After getting an "SMS verification failed" warning, you'll have to perform the Step 6 to make sure the call can go to voicemail, since you likely won't receive the phone call either.
If you really want to get a call instead of a voicemail, you can forget about Step 6 and install and set up Google Hangouts on Android to receive the phone call over Wi-Fi, but you'll also need to install the Google Hangouts Dialer app. You'll also need to make sure that "Incoming phone calls" is toggled on in its settings before you can receive calls to your Google Voice number via Hangouts. Then you can retry Step 5 to receive a phone call over Wi-Fi.
For this guide, we'll just do the following step so we don't have to install any more apps. Some of you may use this Google Voice number only for Signal anyway, so receiving regular calls via Google Voice might not be so important in the long run.
Fix SMS Verification Timeouts (If Necessary)
If you experienced the issue mentioned above where Signal appears to find the SMS coming in on your phone, but you don't have a working SIM card or text forwarding on in Google Voice, you'll need to choose a phone call for verification instead of a text message.
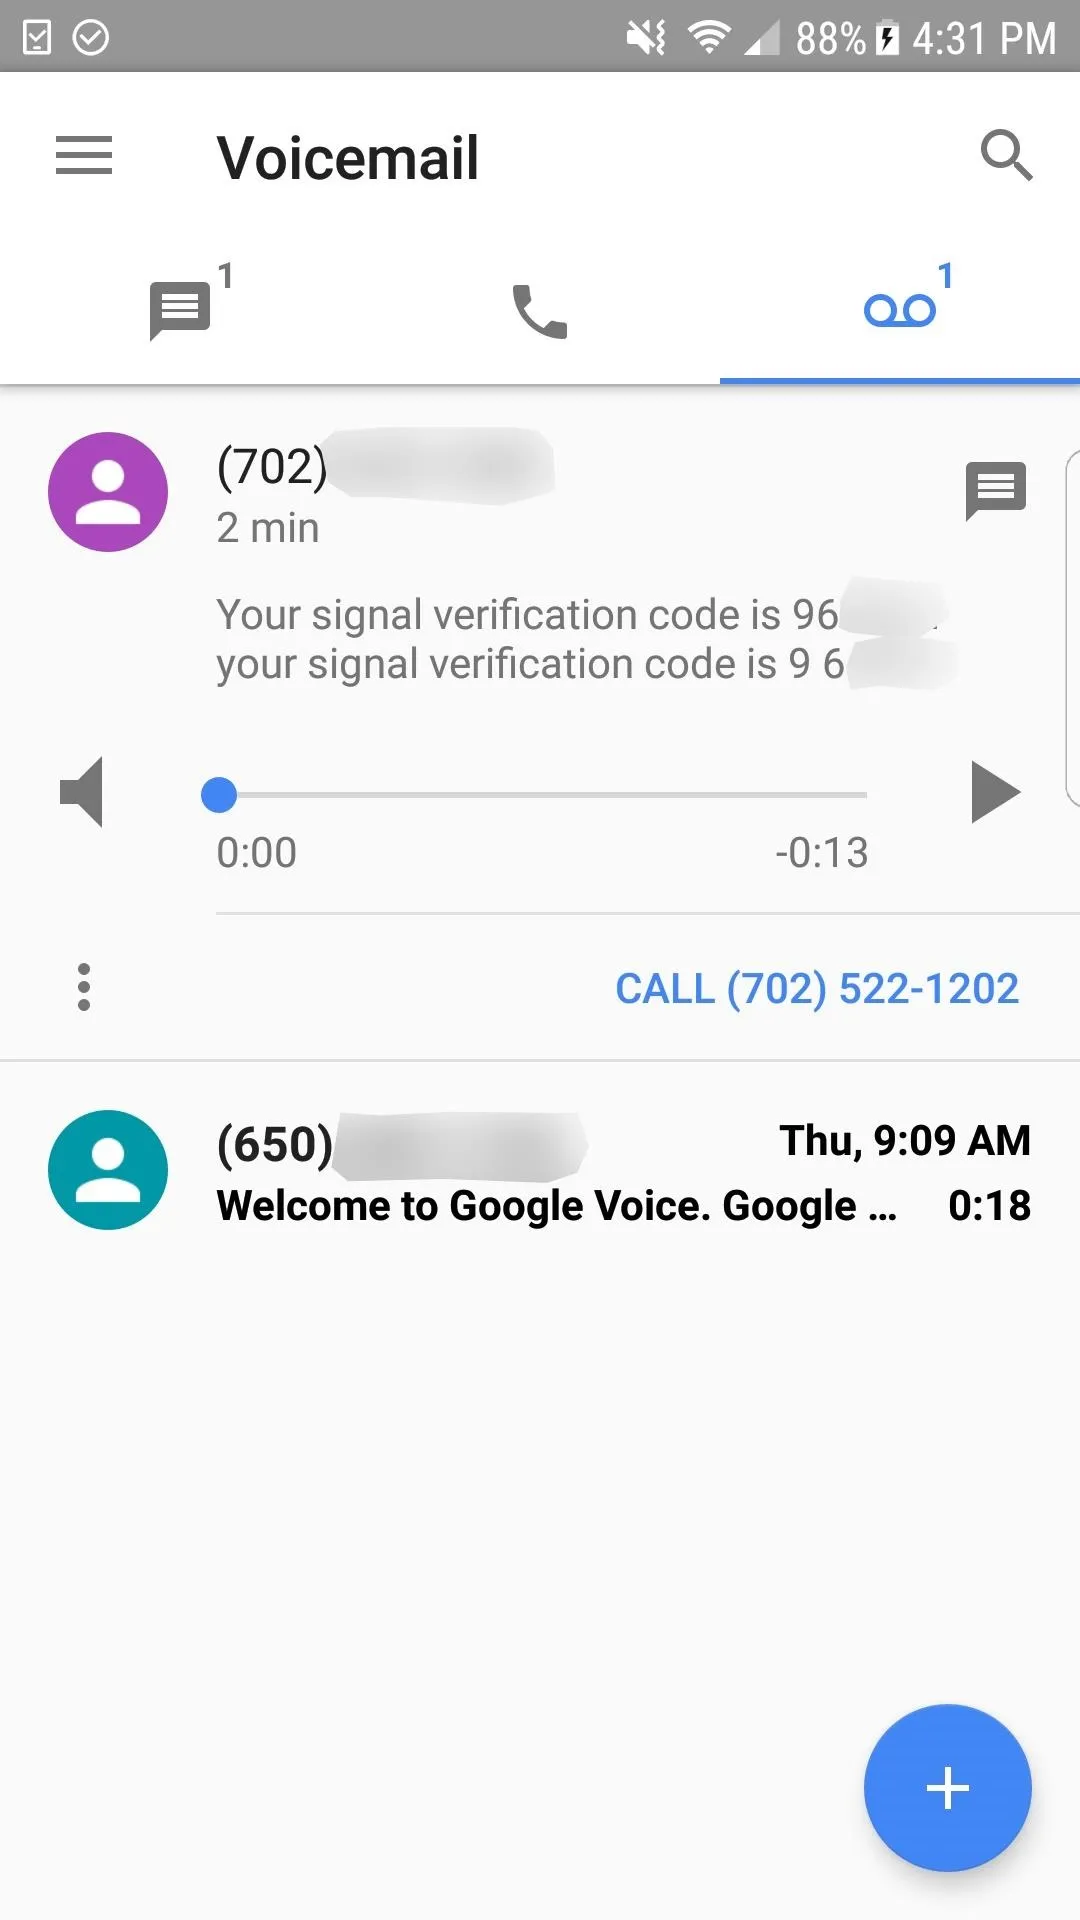
If you don't have a working SIM card, you won't be able to answer the call when it comes in on your phone. It will go straight to voicemail. However, by default, Google Voice makes the caller say his or her name before attempting to connect the call. Since a robot is sending you a verification code, it will attempt to give the verification code on the "say name" prompt, therefore, no voicemail will be left.
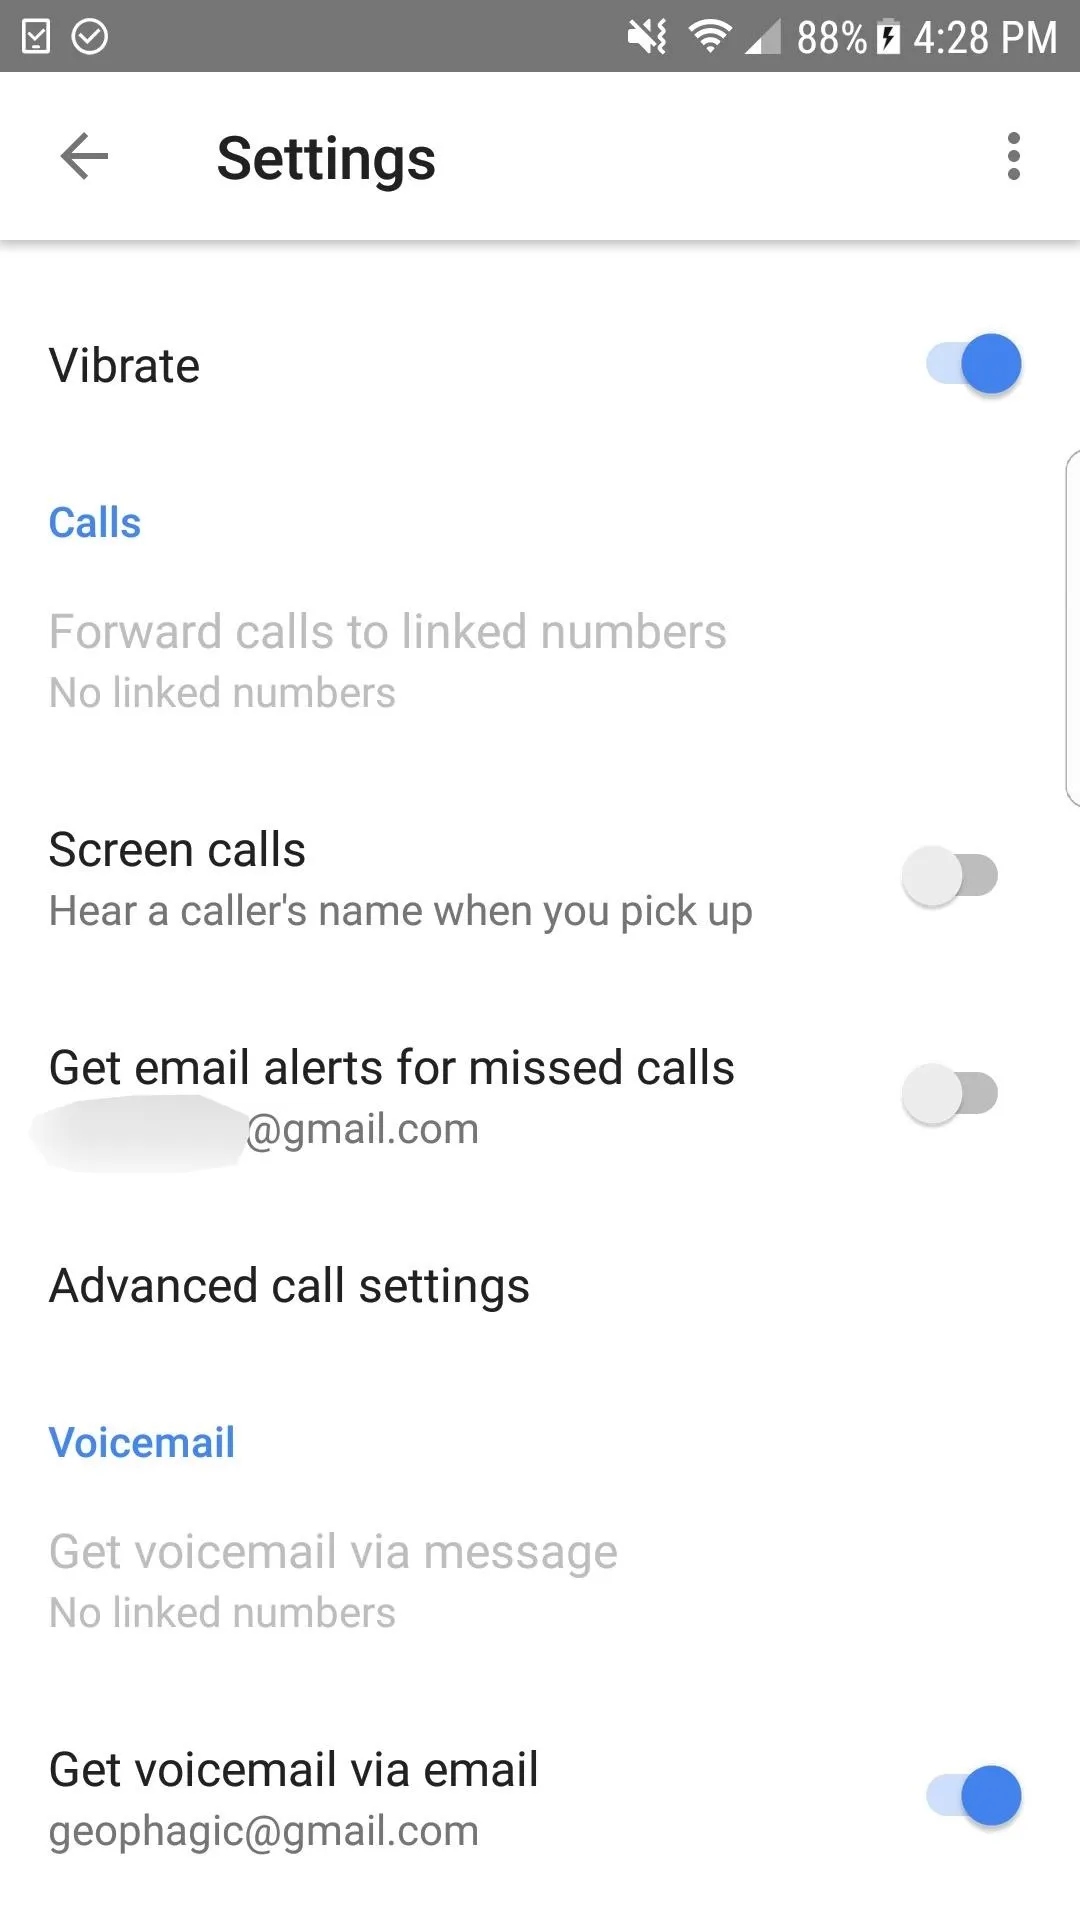
To fix this, in the Google Voice app, open up the sidebar menu on the left, then select "Settings." Scroll down until you see "Screen calls: Hear a caller's name when you pick up." By default, this is toggled on, so all you have to do is toggle this off.
Now you're ready to go back to Step 5 and try again, making sure to select a phone call after the initial SMS verification fails (you can't just select the phone option on Android). Then just check your Google Voice voicemail and enter your 6-digit pin on the Signal screen, followed by "Verify."
Afterward, you should be all set and running on Signal for calling and message with end-to-end encryption. You can visit the Settings in Signal to adjust your preferences before you get going, and then you can invite friends if necessary.
- Follow Gadget Hacks on Facebook, Twitter, Google+, YouTube, and Instagram
- Follow WonderHowTo on Facebook, Twitter, Pinterest, and Google+
Cover photo and screenshots by Justin Meyers/Gadget Hacks


Comments
Be the first, drop a comment!