


Google Lens is a fantastic addition to Google Photos for Android and iOS that allows your smartphone to identify a number of things in your pictures, like landmarks and contact info. Using this power, you can even find out how to buy almost any product you've taken a photo of — you don't even need the barcode.
If you've ever used Google Lens before, this process is really similar to how you'd use it otherwise. However, if you're new to Google Photos and Lens, you may be surprised to find out everything that's tucked inside it.
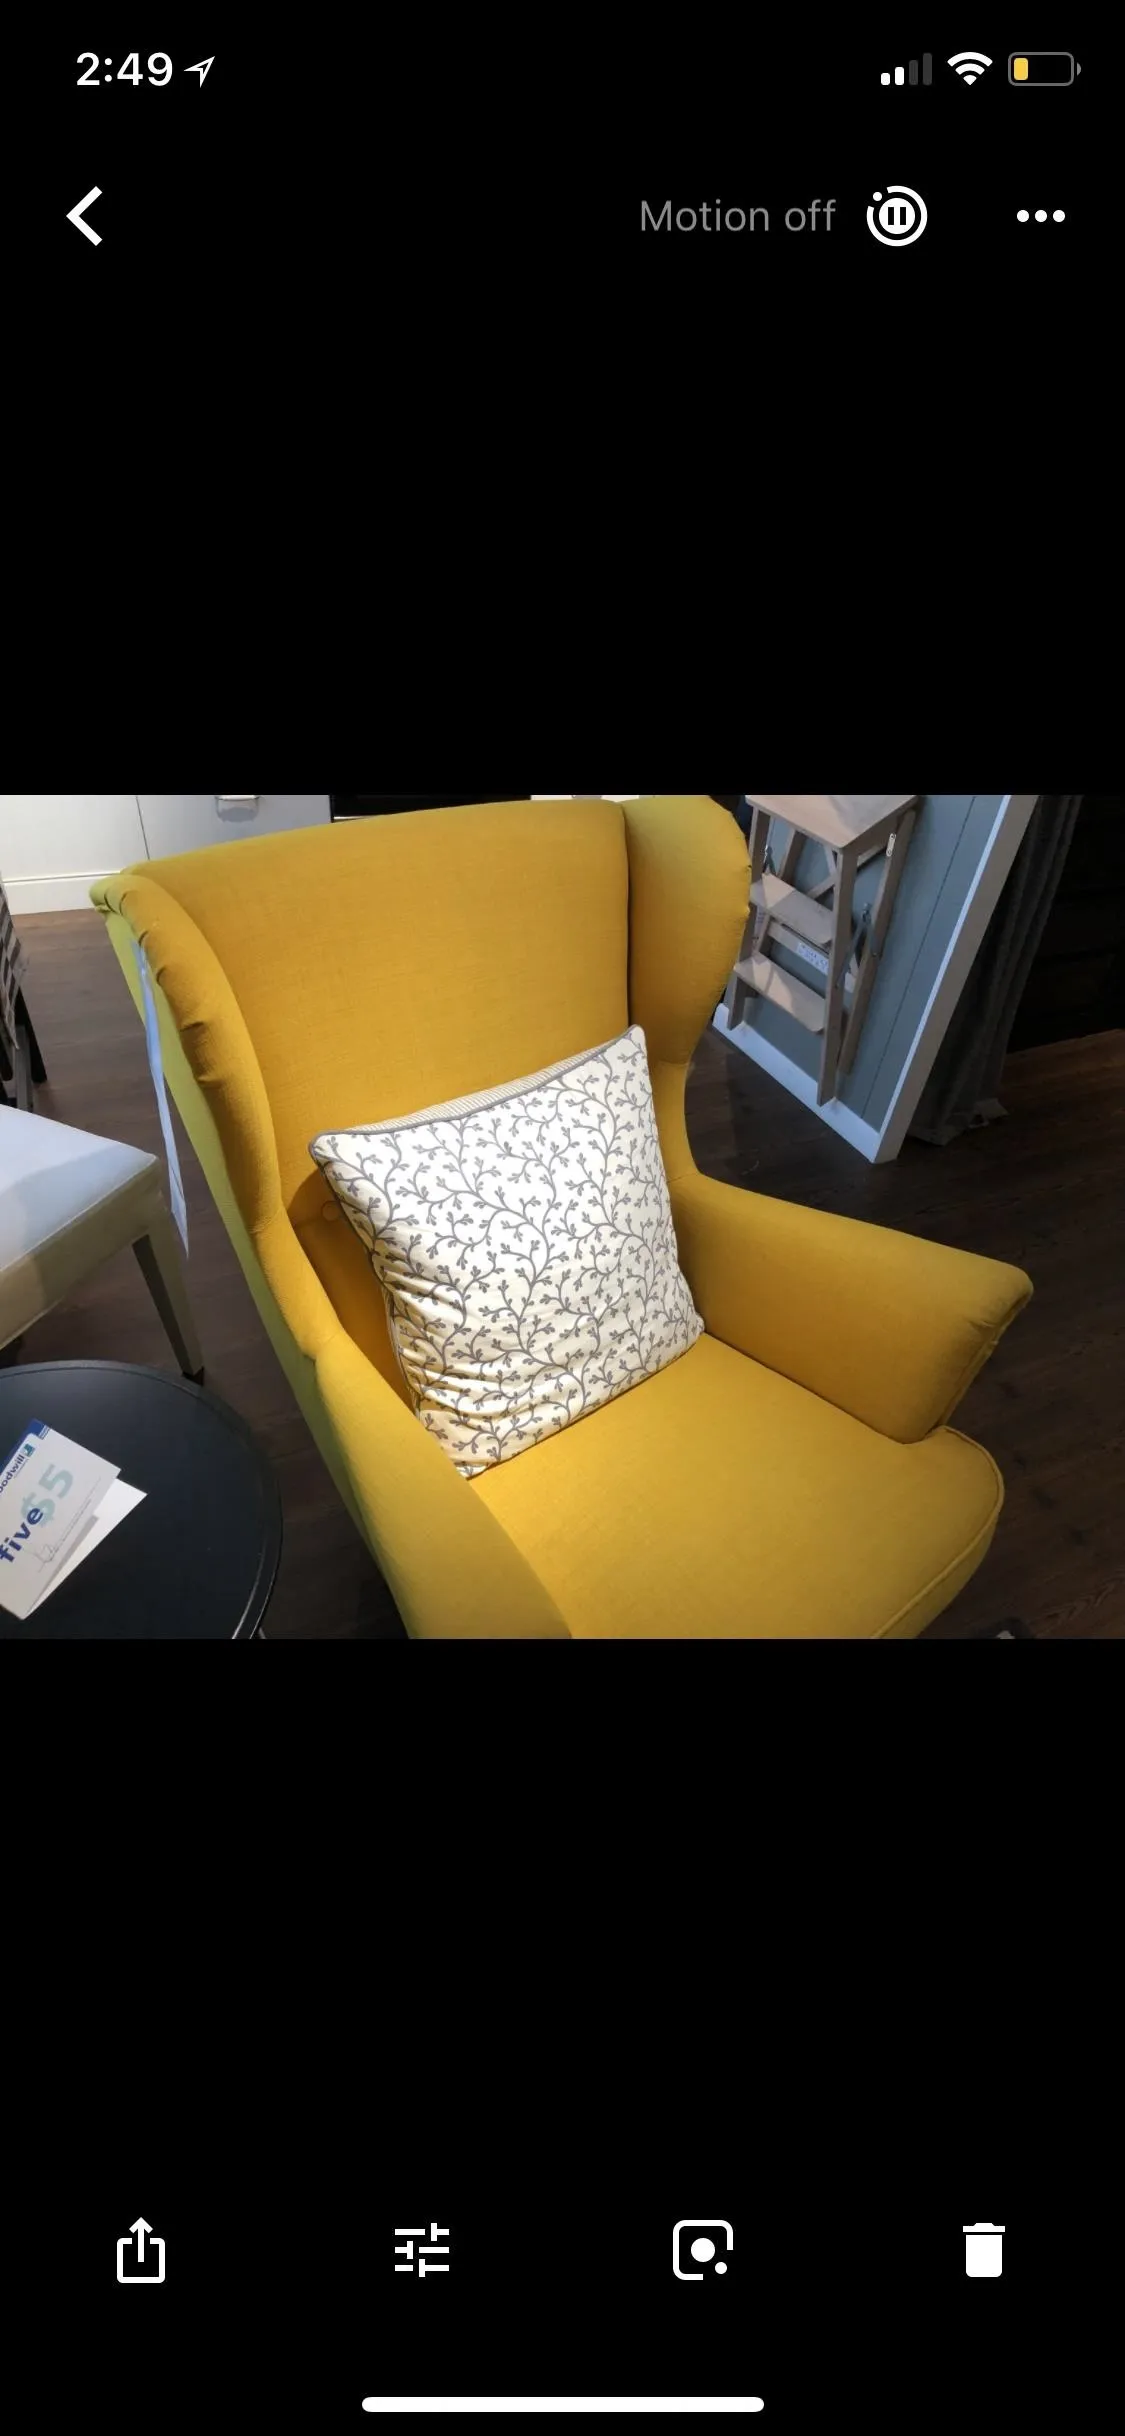
This application of Google Lens is great for going back through your photos and discovering (or rediscovering) products in your pictures that you want to purchase or, at least, want to see how much it will cost to purchase. So if you ever took a photo of something you loved in a store but didn't want to pay for it right then, this makes it easy to get more information about the item after the fact.
Locate the Photo (Or Take a New One)
Google Photos doesn't just work on images you upload to Google's cloud, the app can view all of the photos in your default photos app too (you will need to give Google Photos permission to access your gallery if it's the first time doing so). That means anything you've taken a photo of with your iPhone or Android phone can use Google Lens (as long as the picture can be accessed by Google Photos).
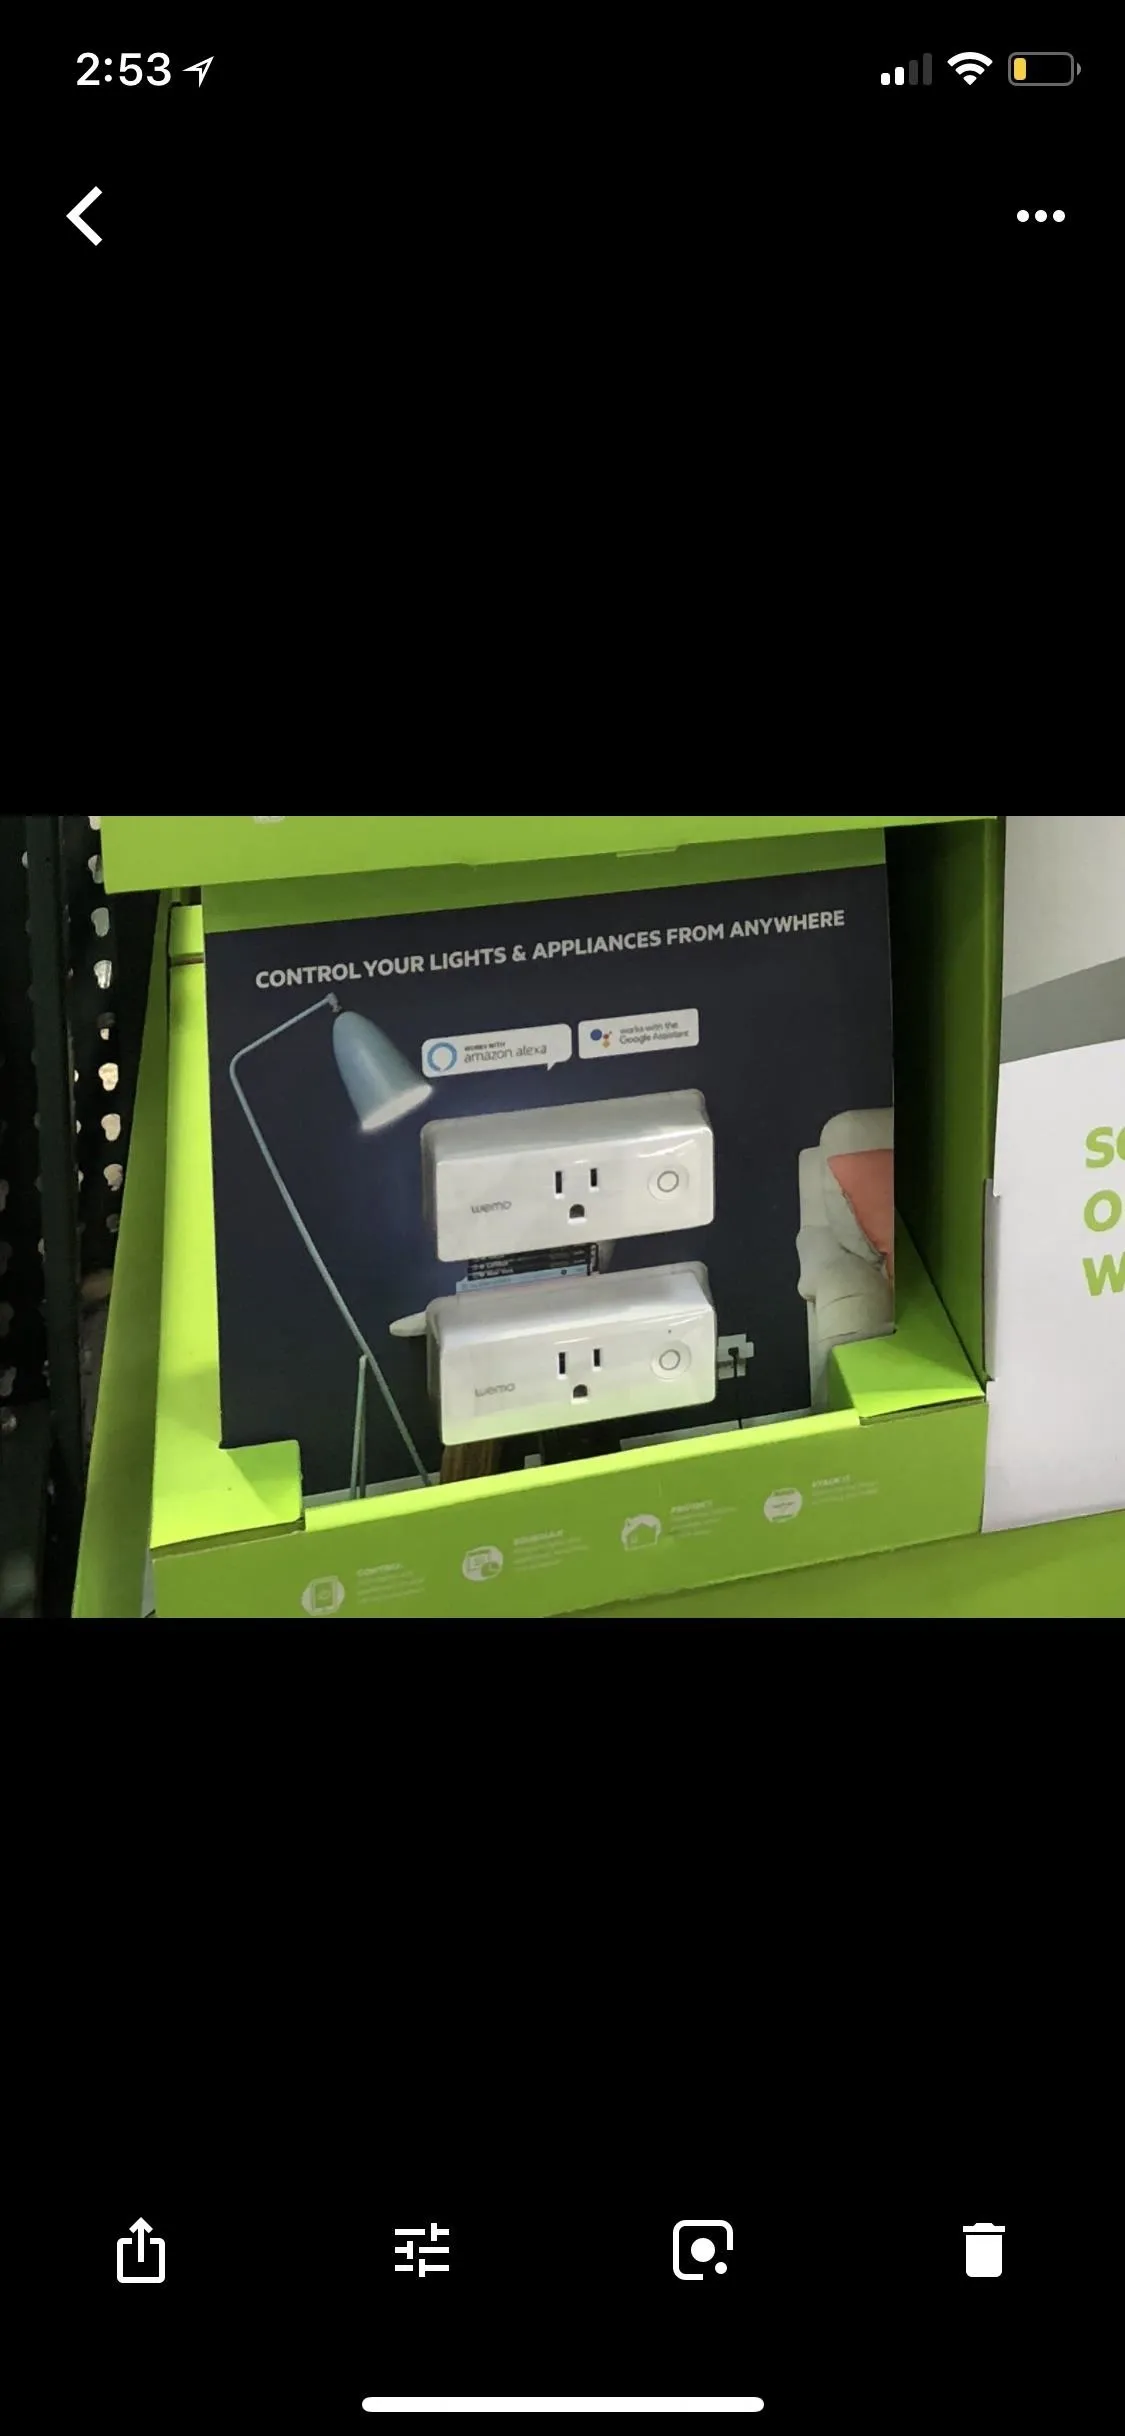
If you don't already have a product photo and want to test this feature out, take a picture of an item you'd like to buy, whether it's in a store, at a friend's house, or wherever ... even in your own home if you just want to see what Lens can do.

Use Lens to Identify the Product
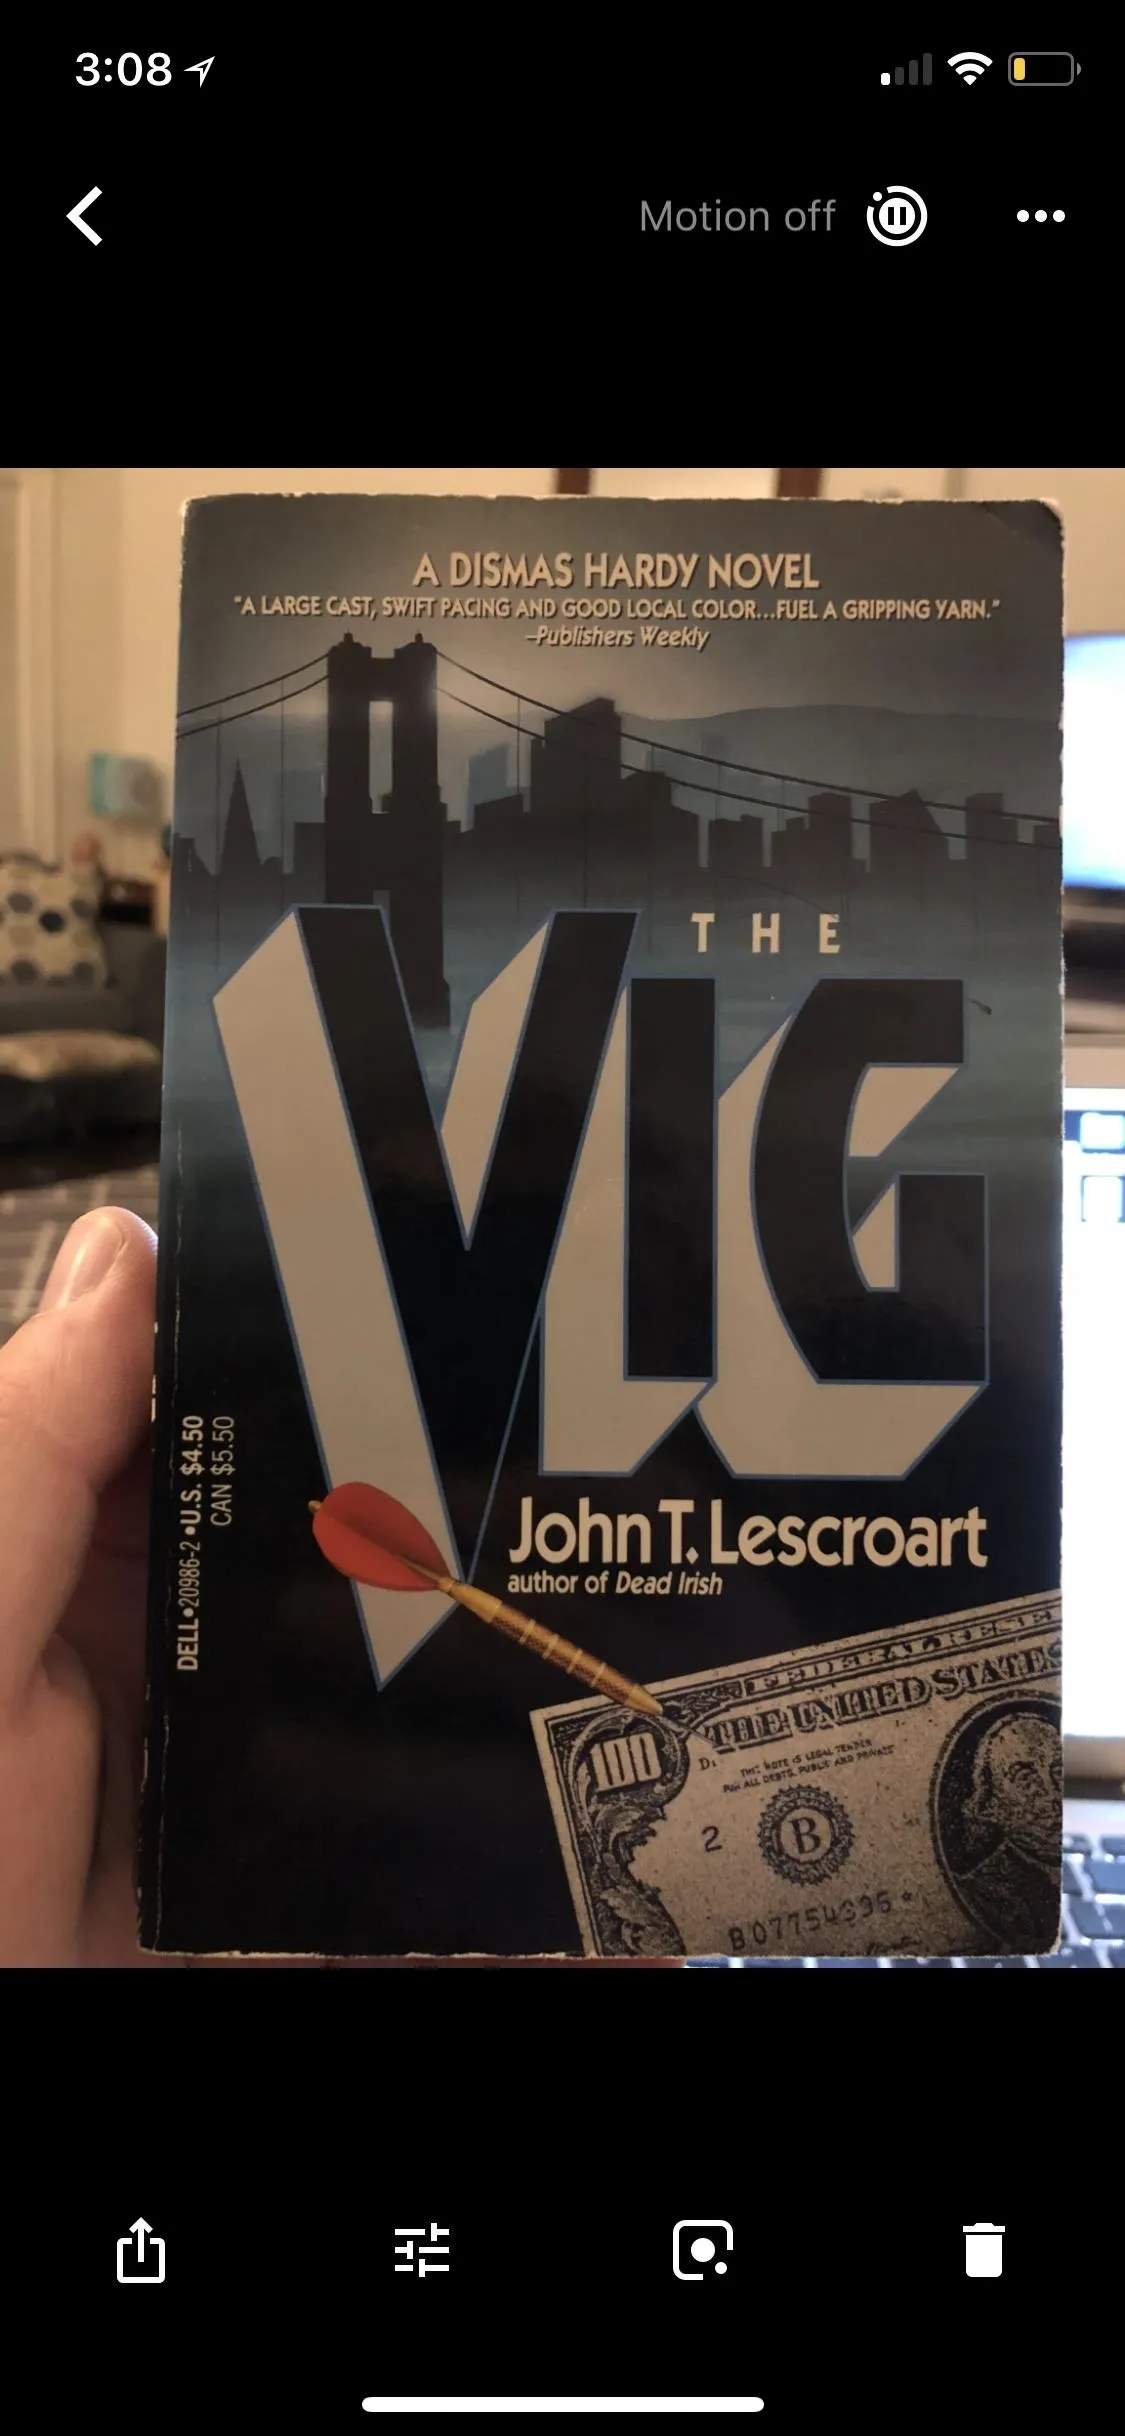
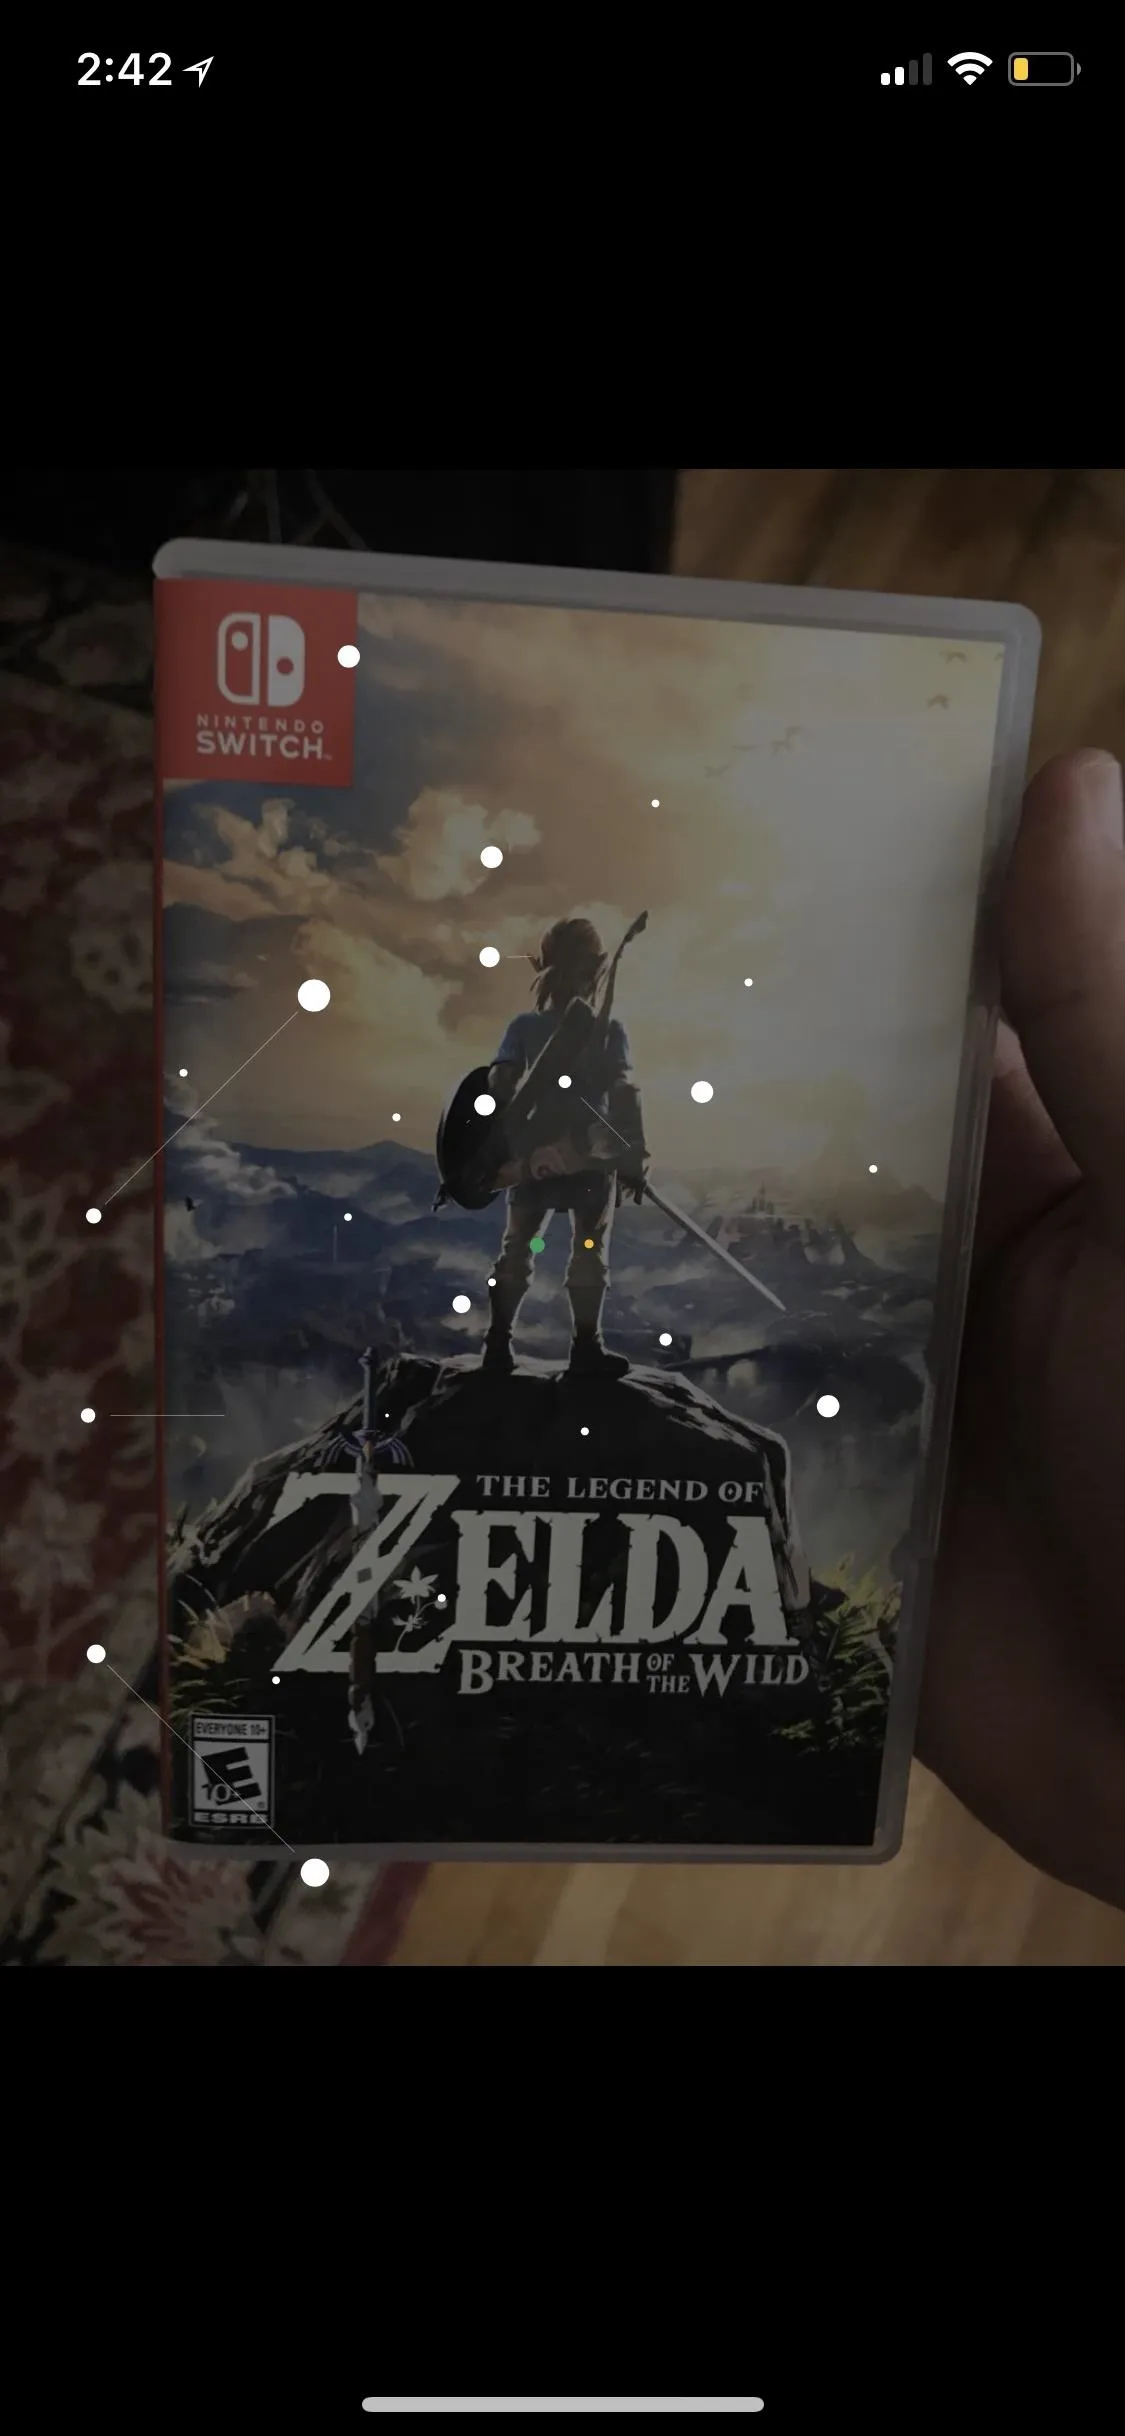
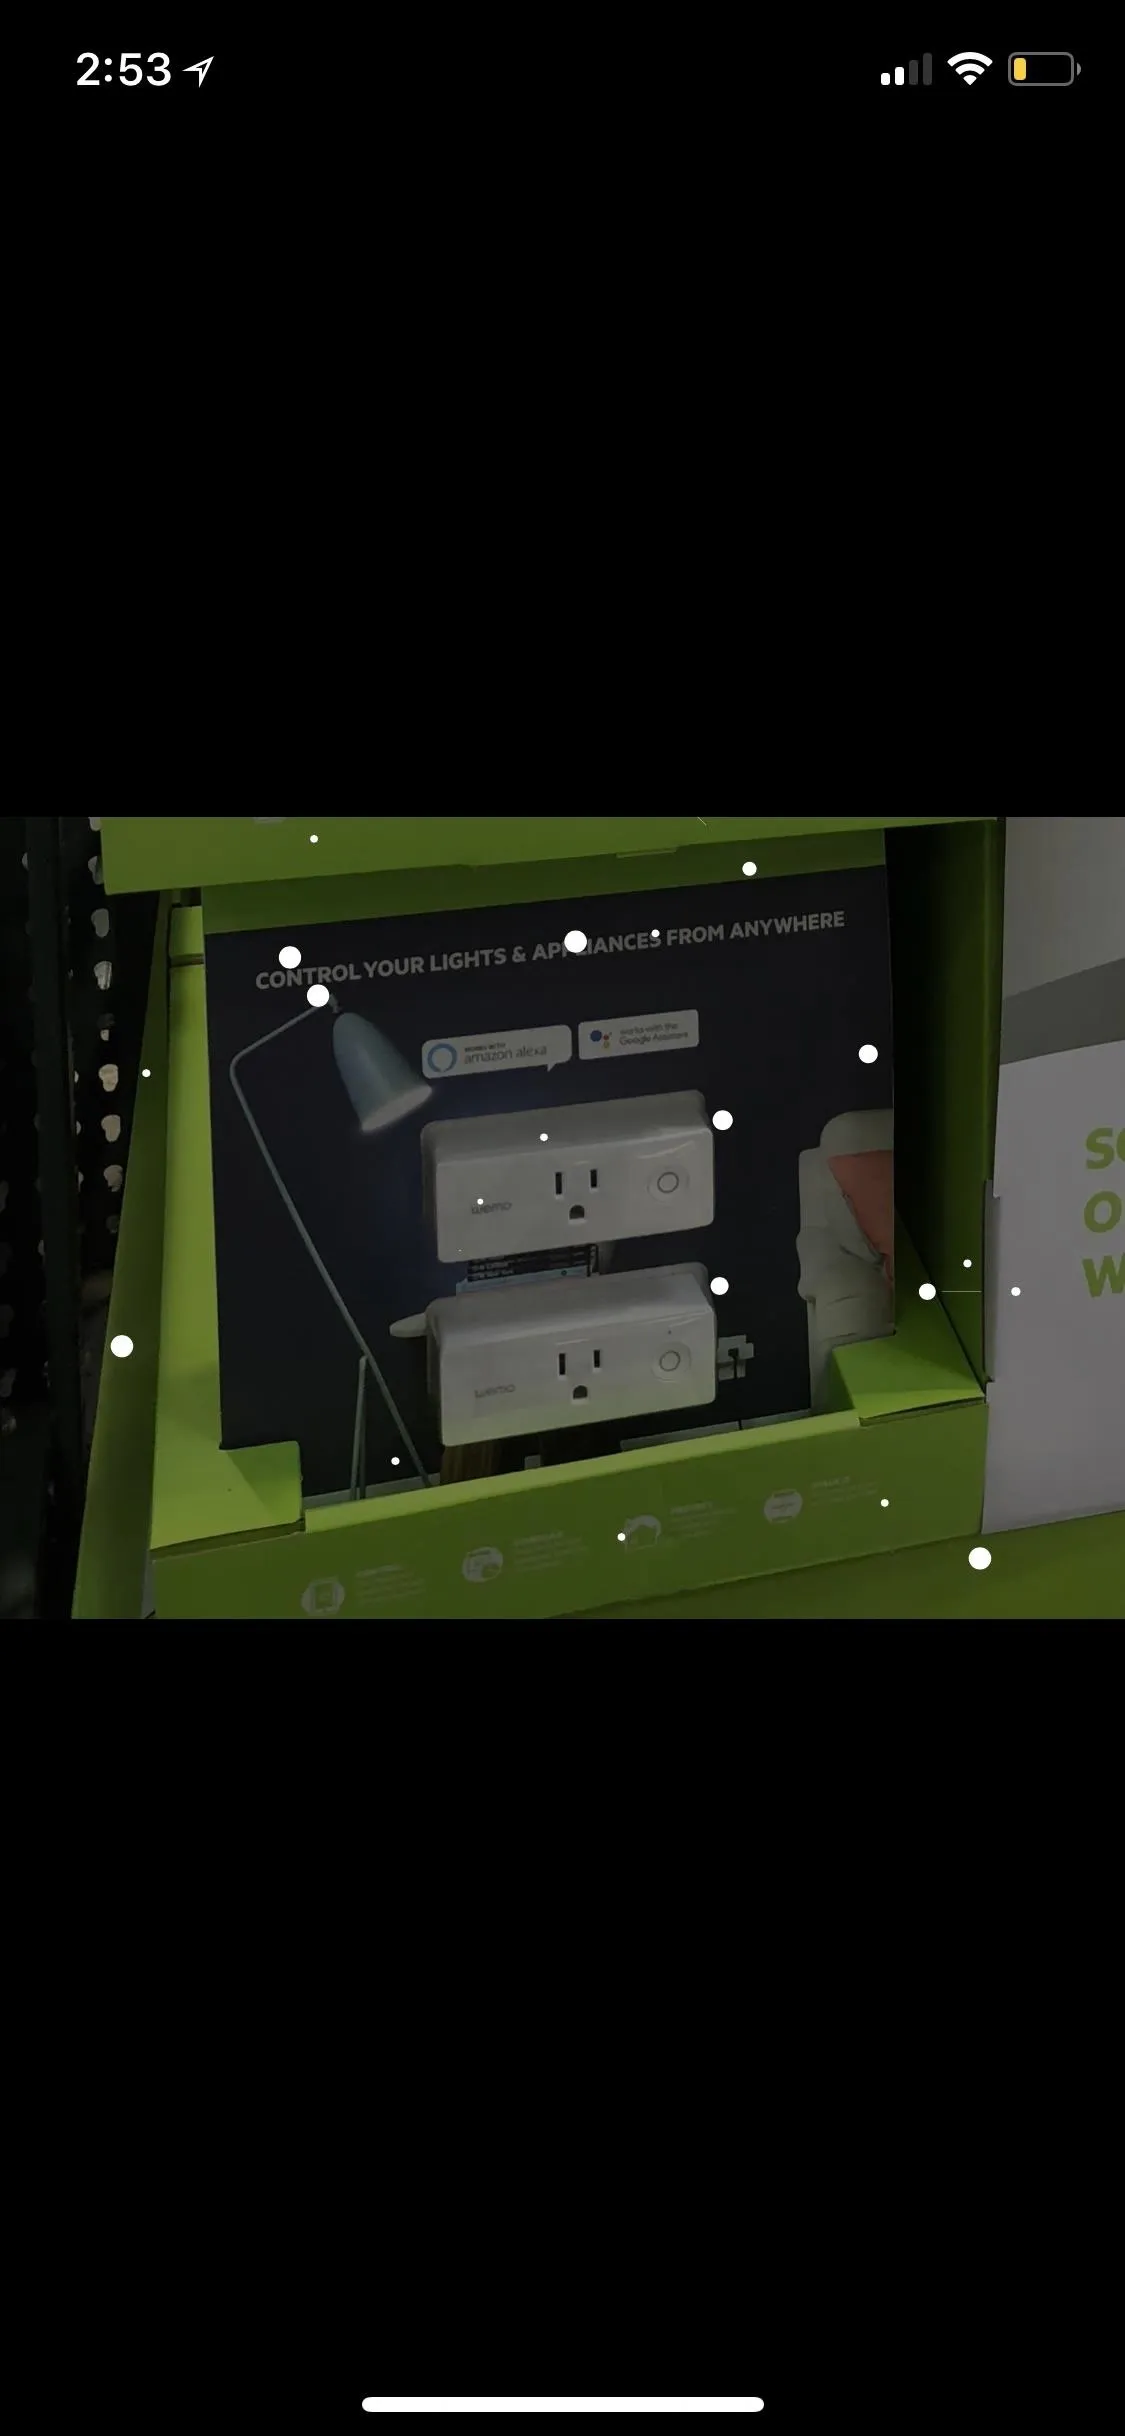
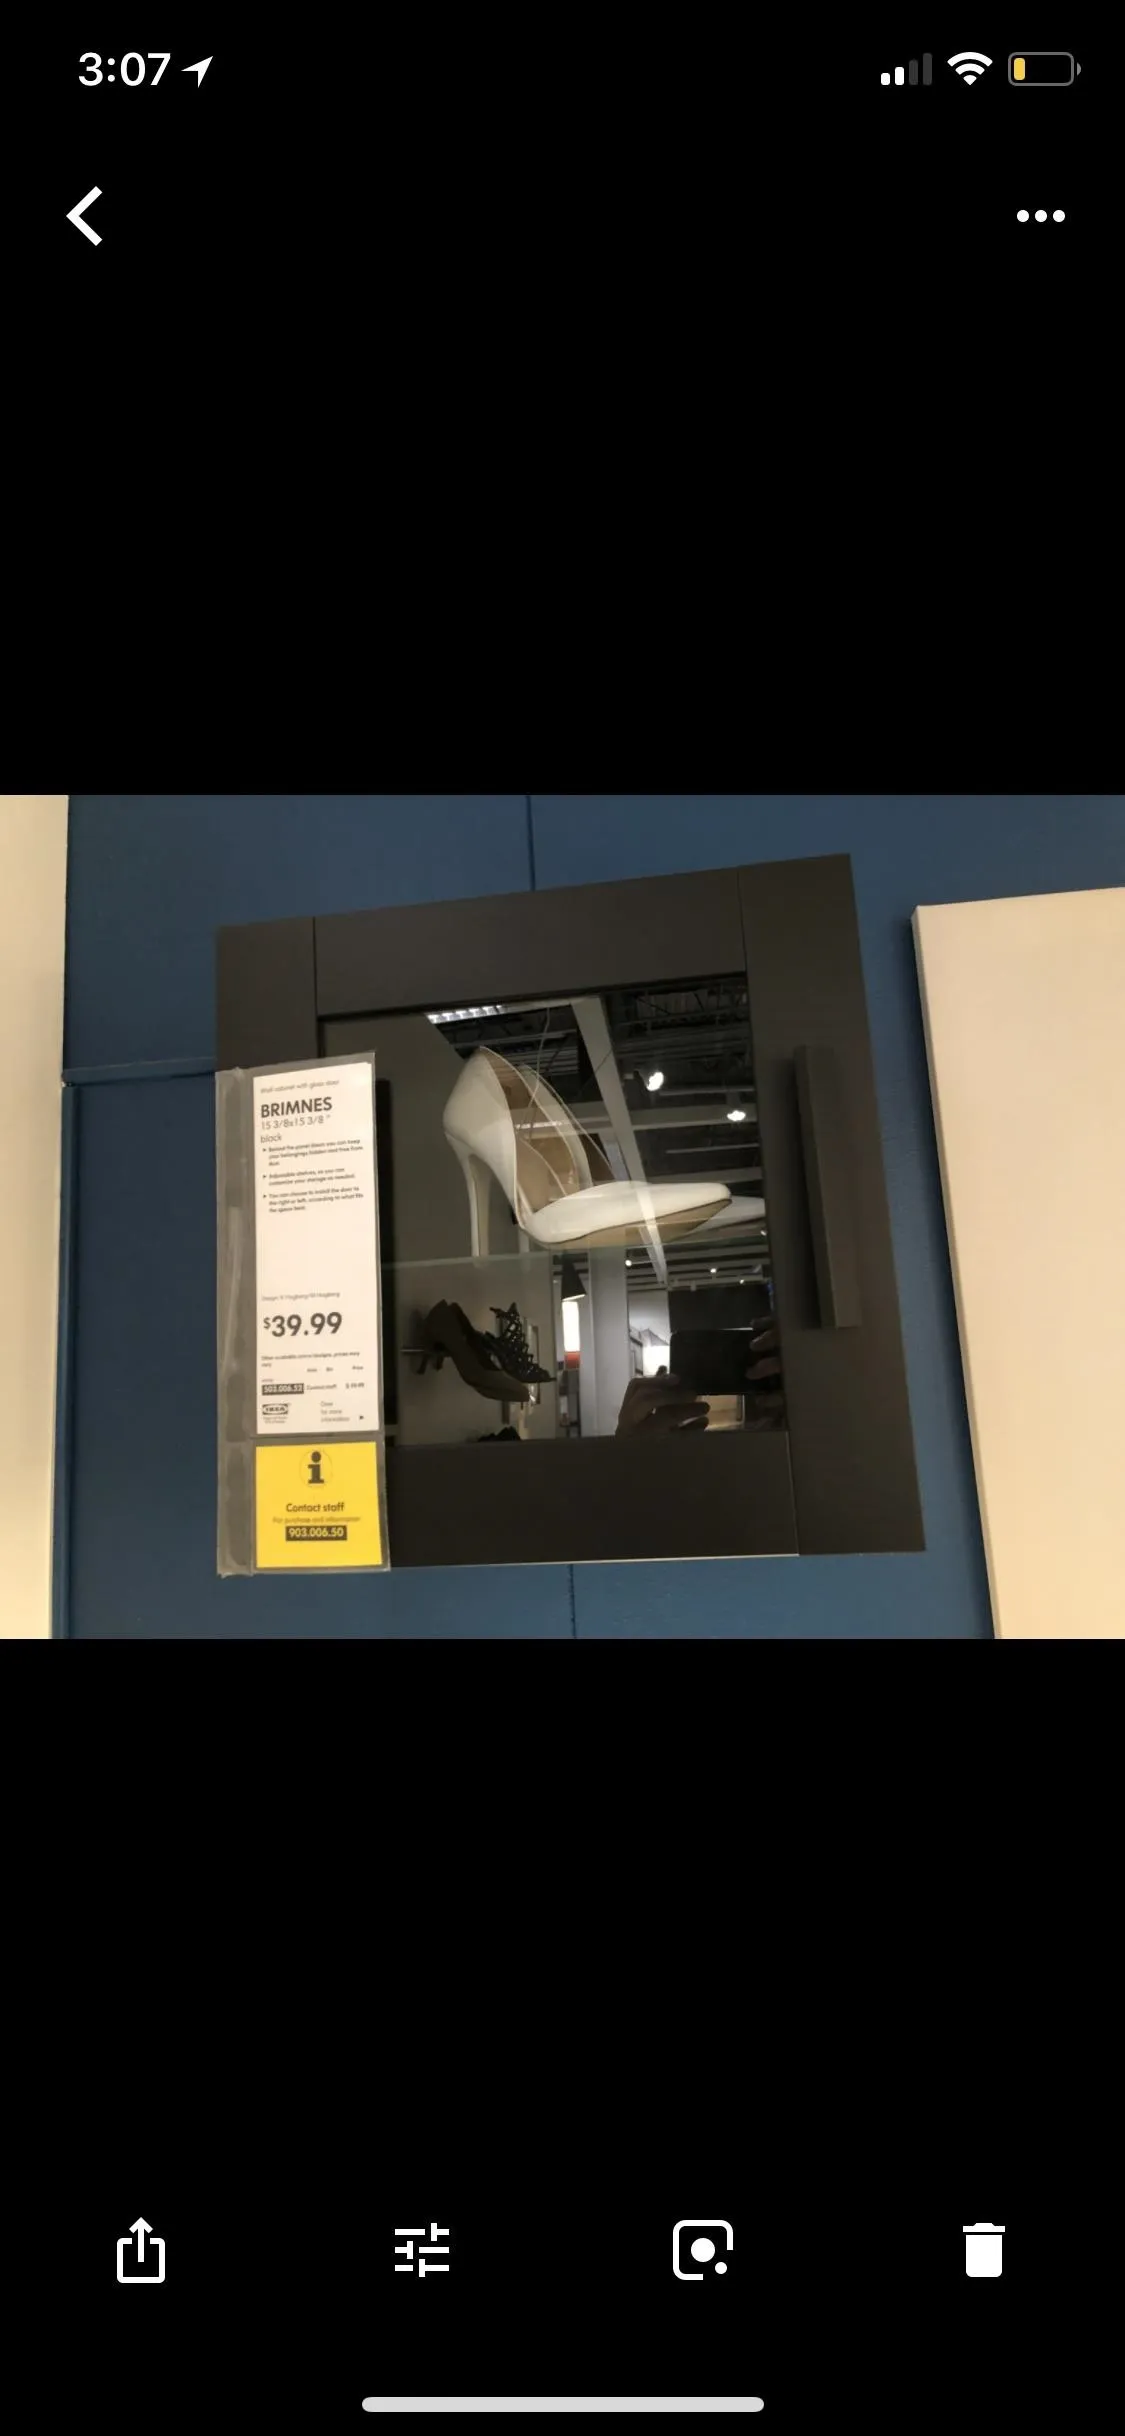
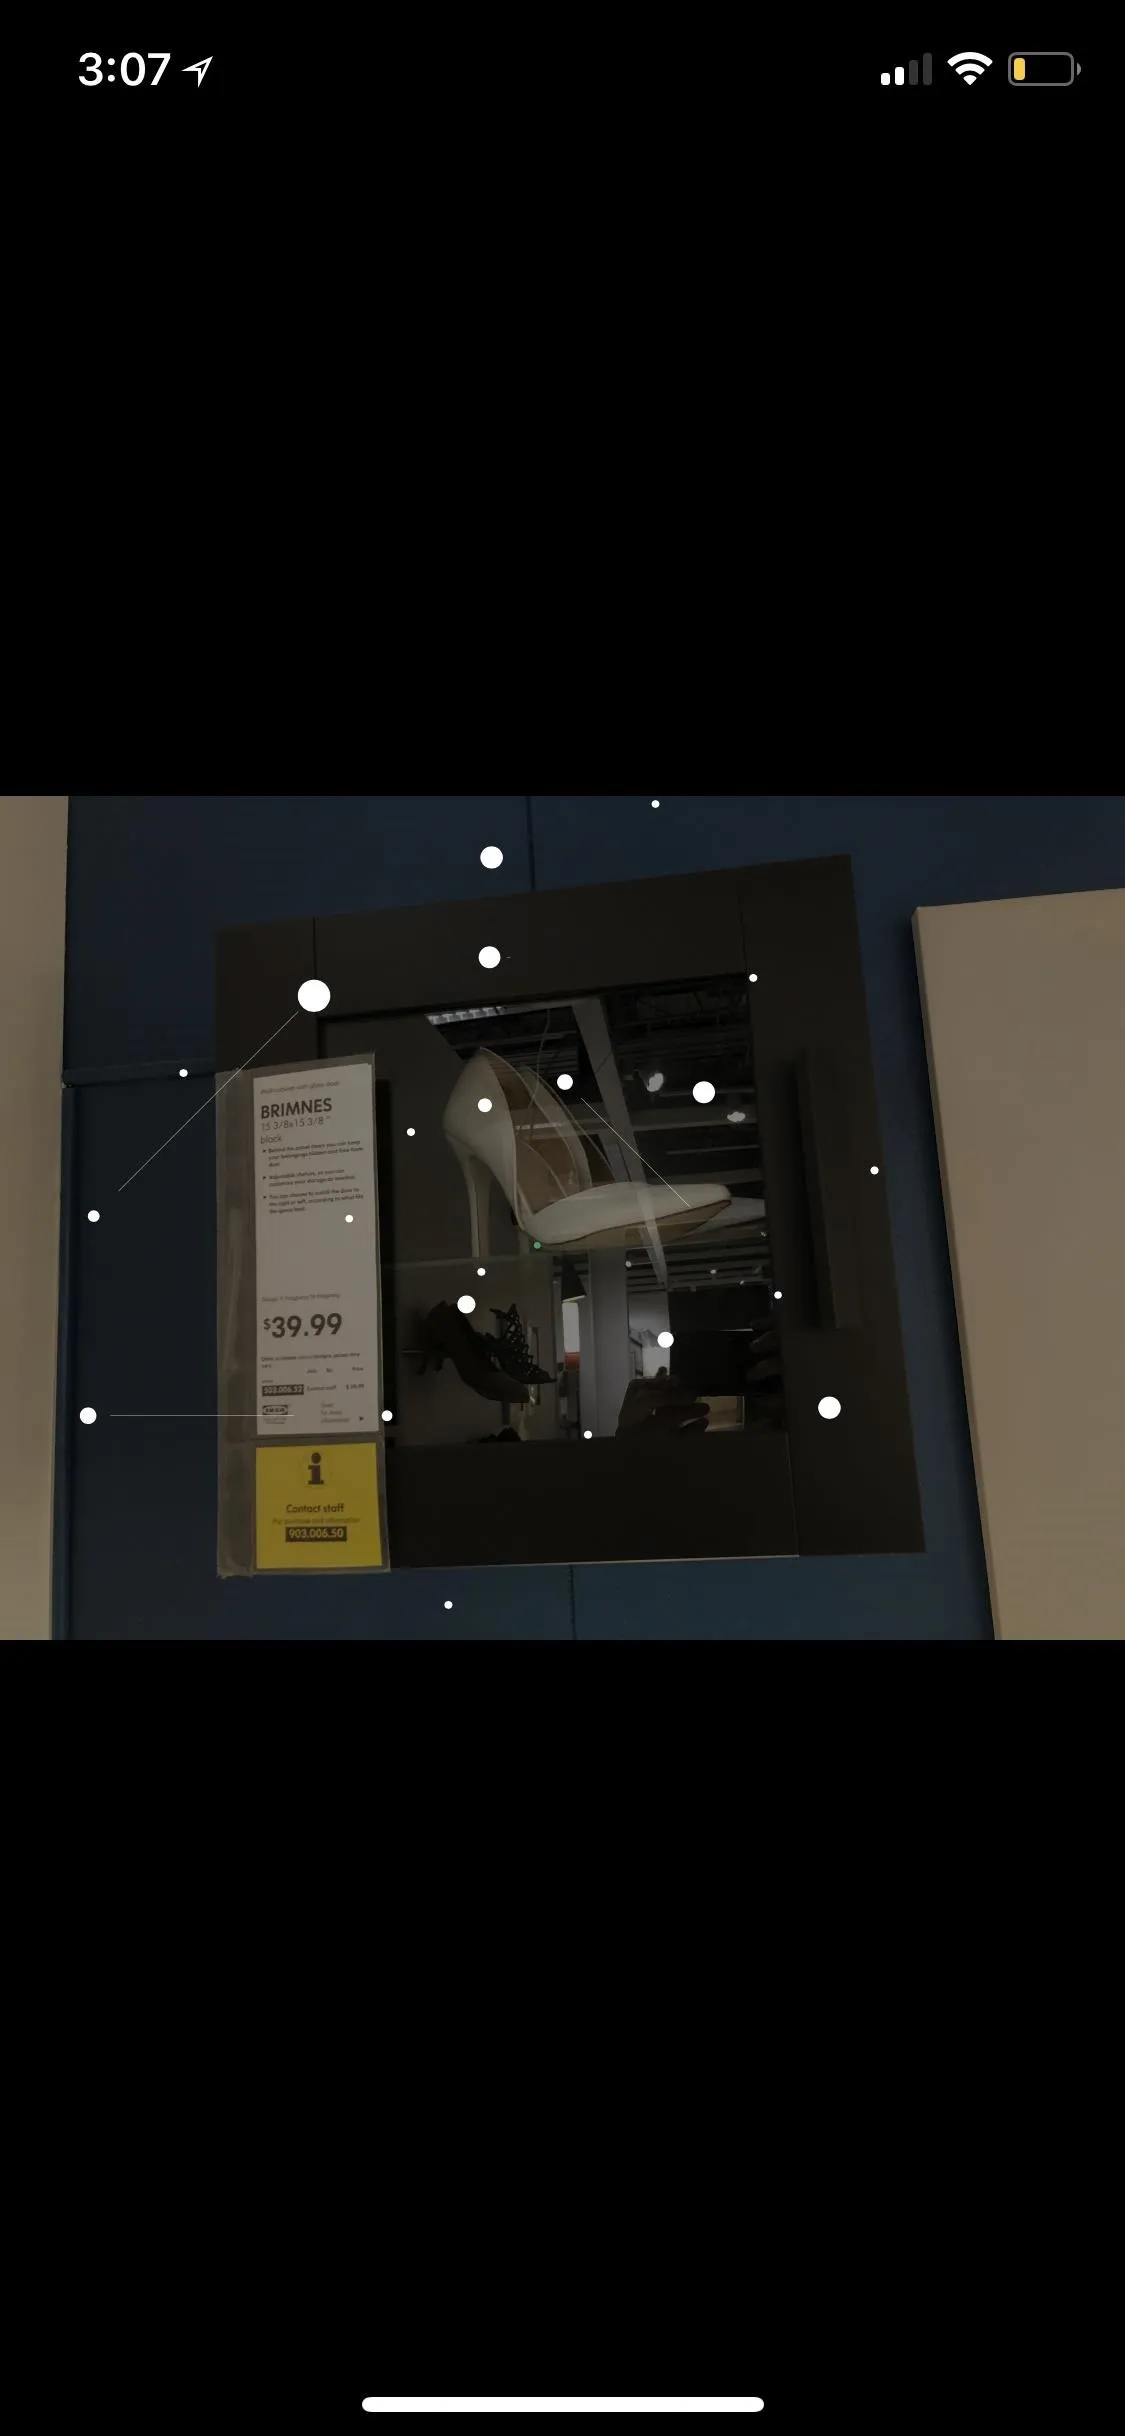
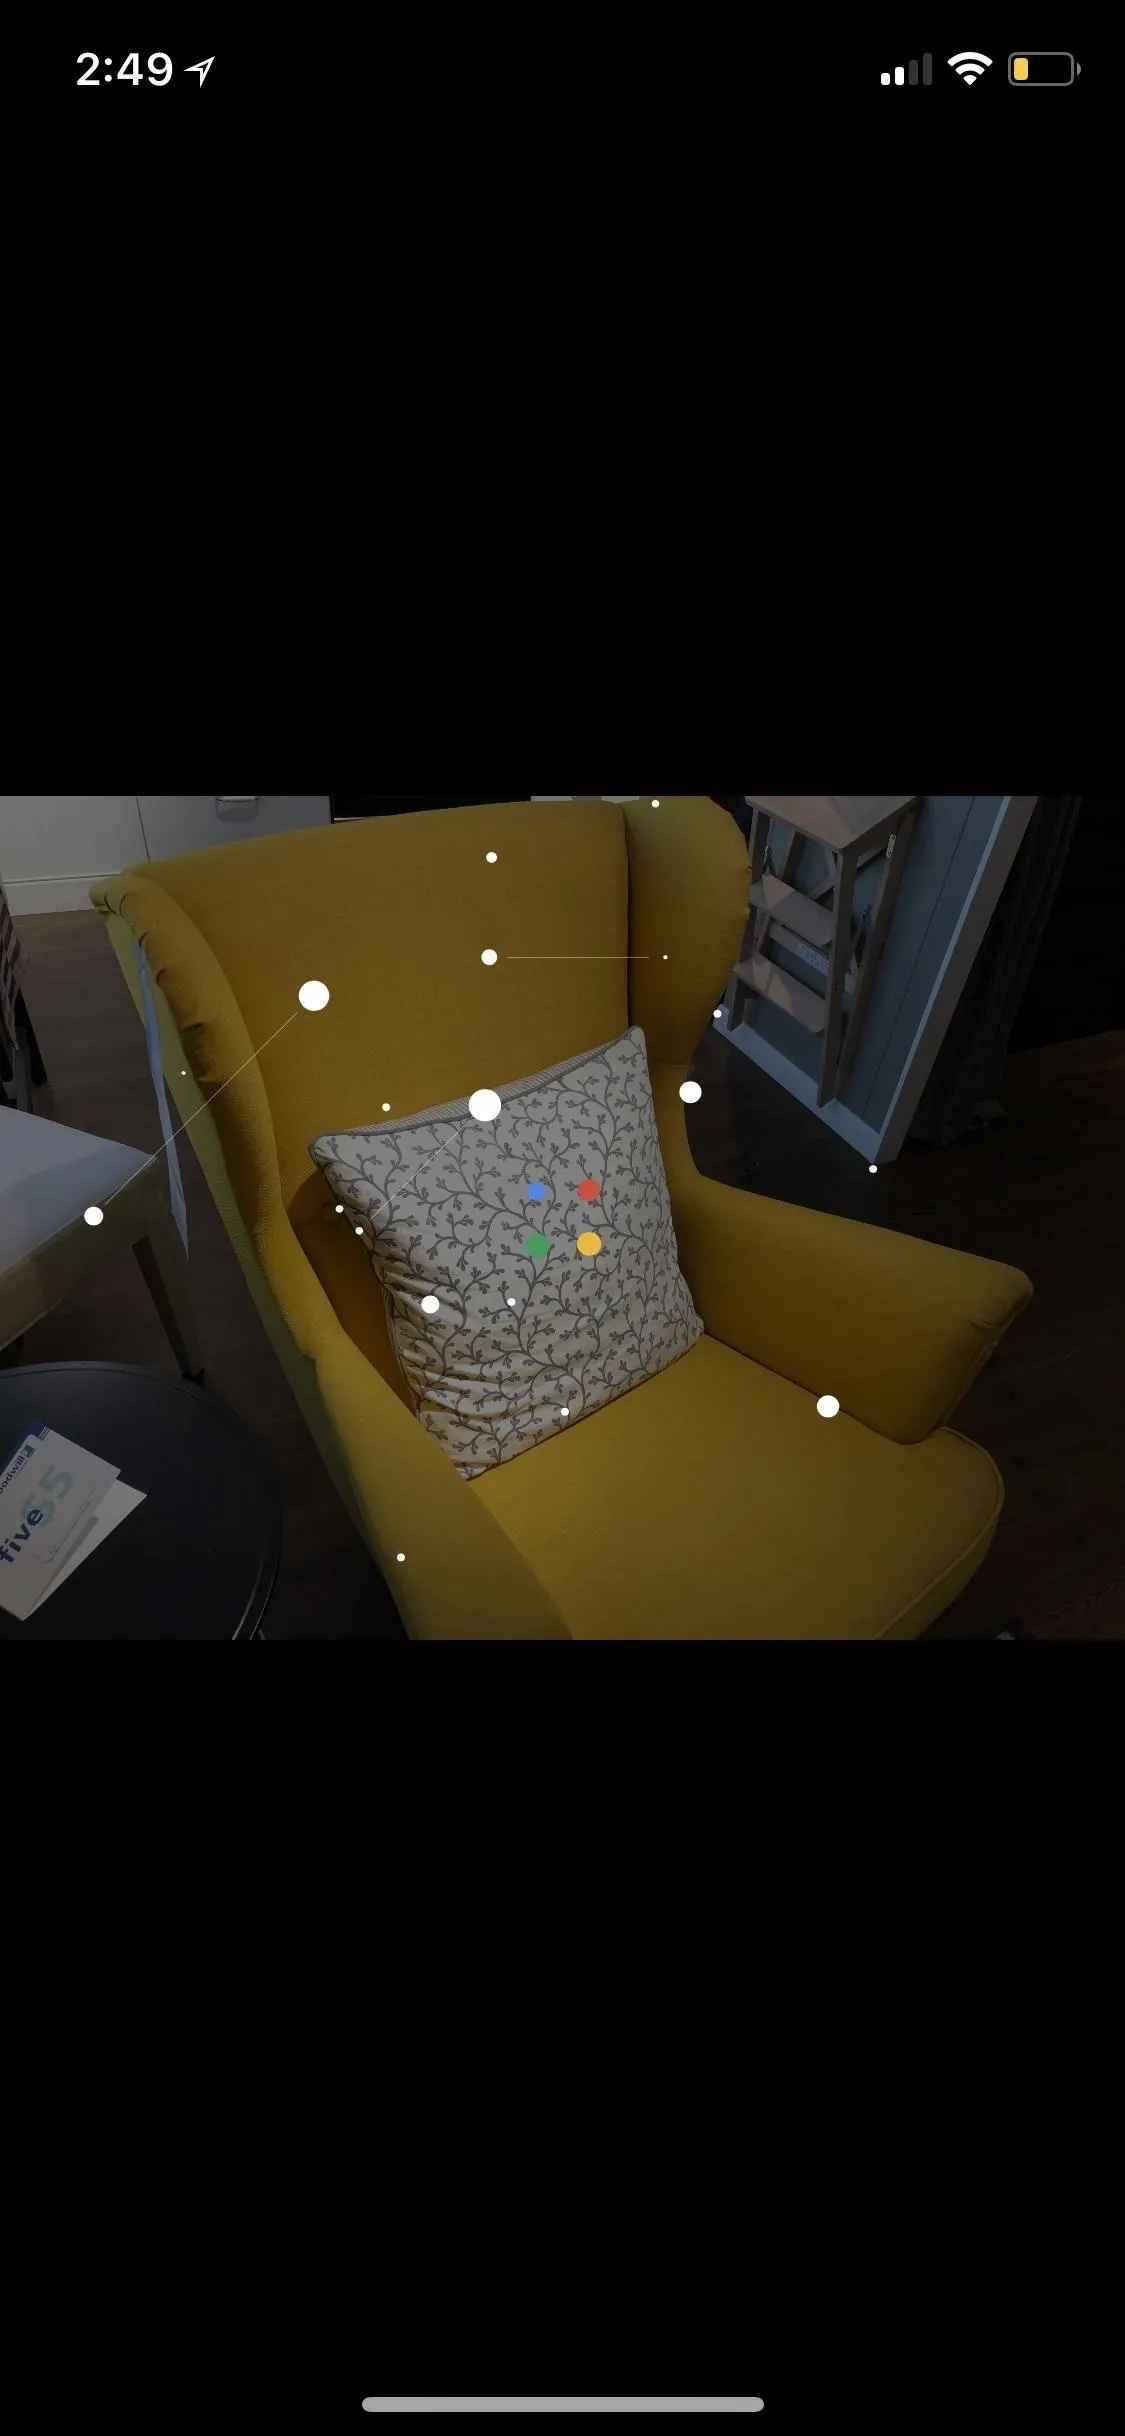
Once you open up Google Photos, find the photo of the product in one of your folders, then tap on it to view it. Next, hit the Lens icon (the white dot inside an incomplete square). Google will then scan and (hopefully) identify your product. If it does, you should see some useful information pop up at the bottom. This info will vary depending on how Lens recognizes the object.
For instance, it may give you some "quick facts" description about the product with an option to choose "Search results," which will bring you to a Google search for the item in your browser.


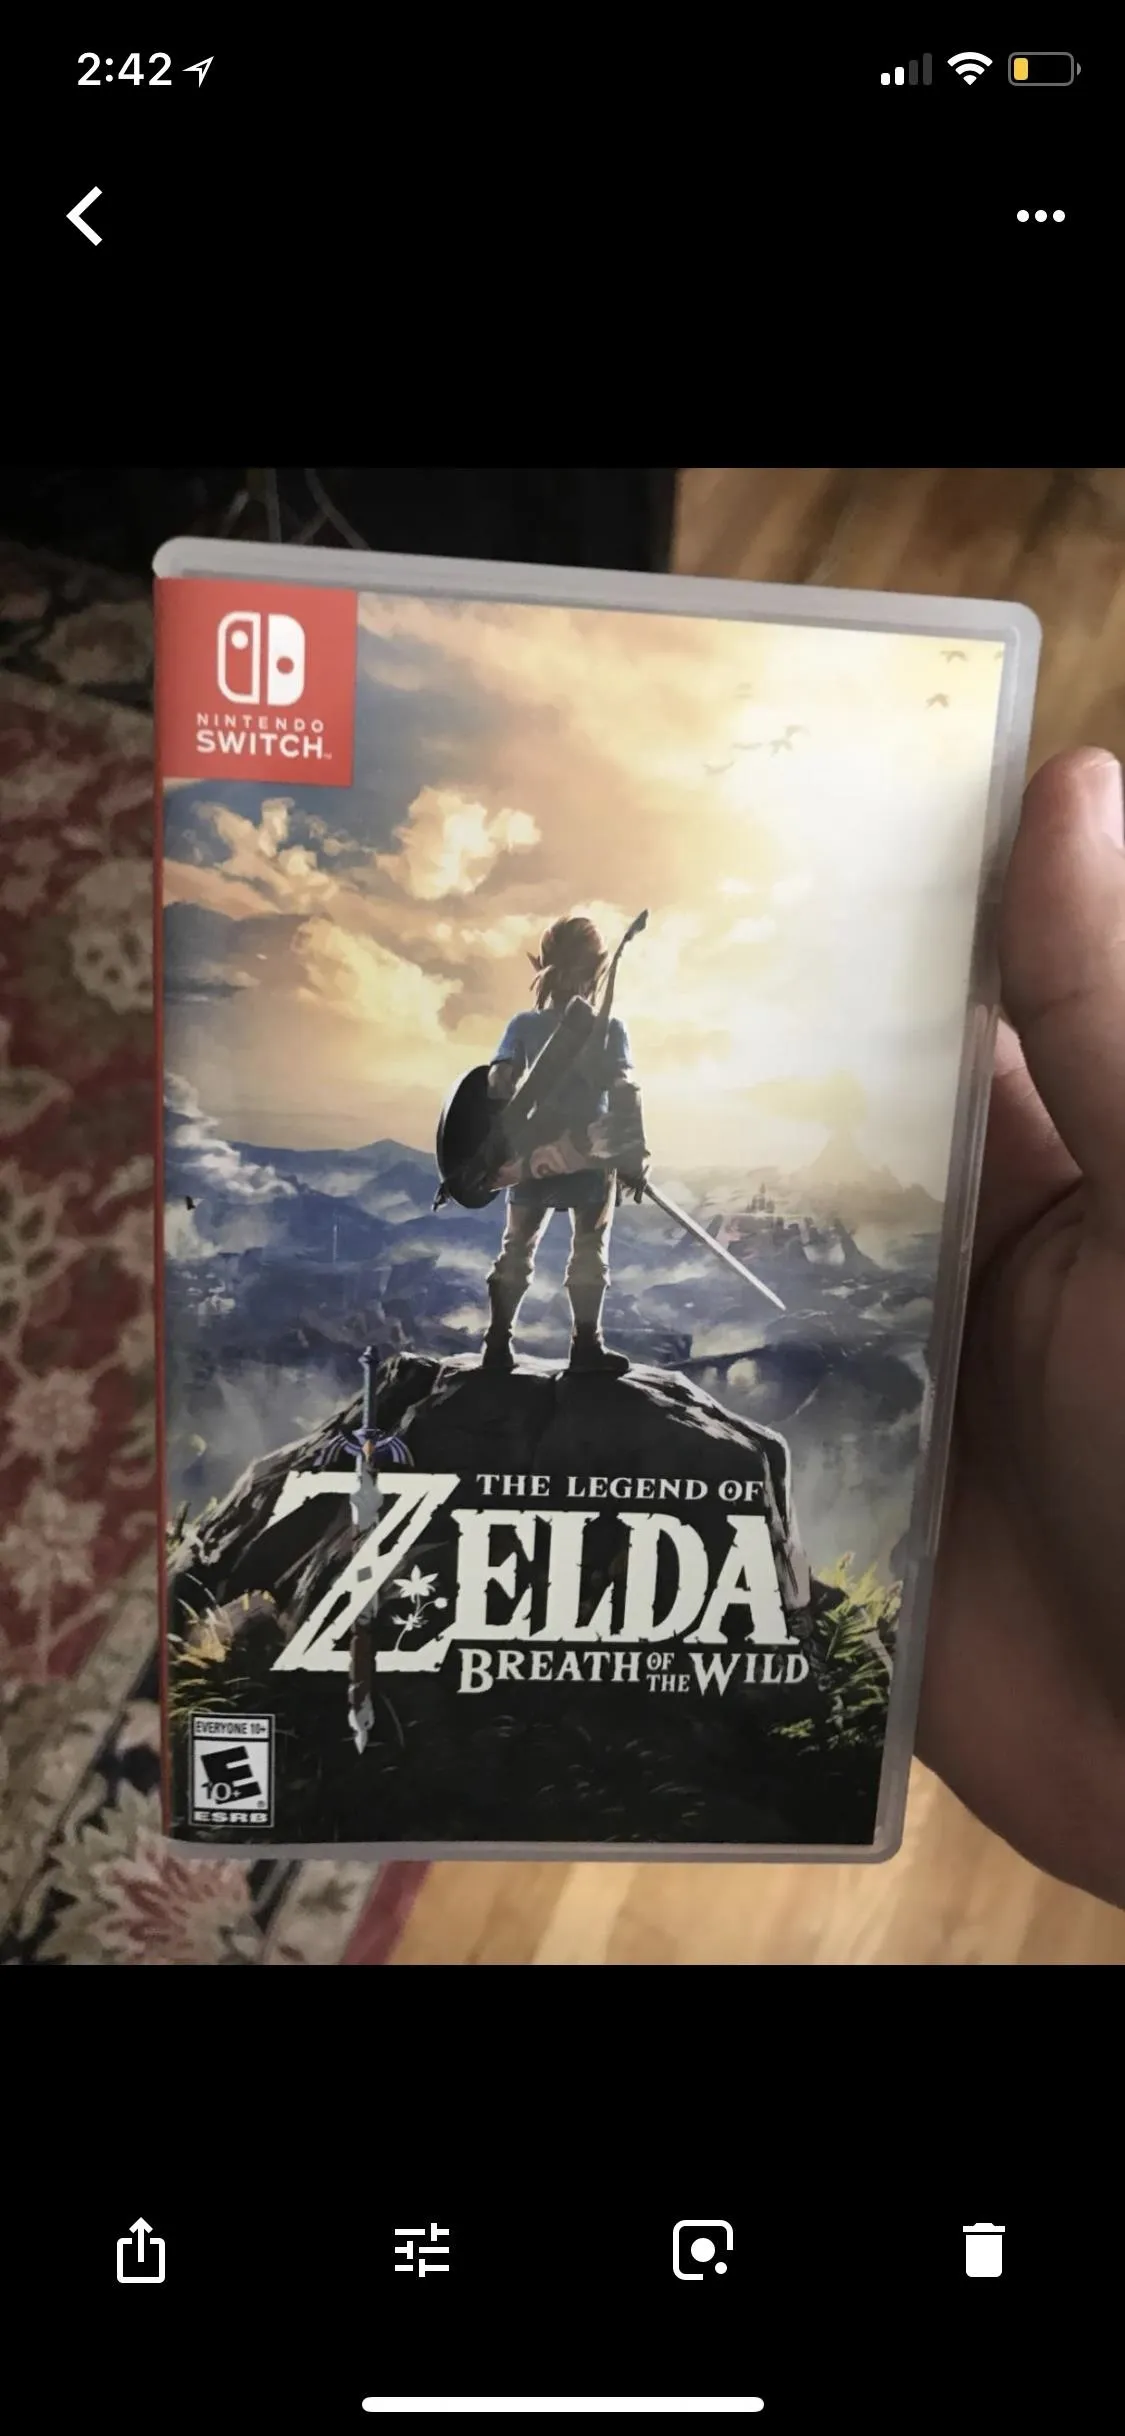
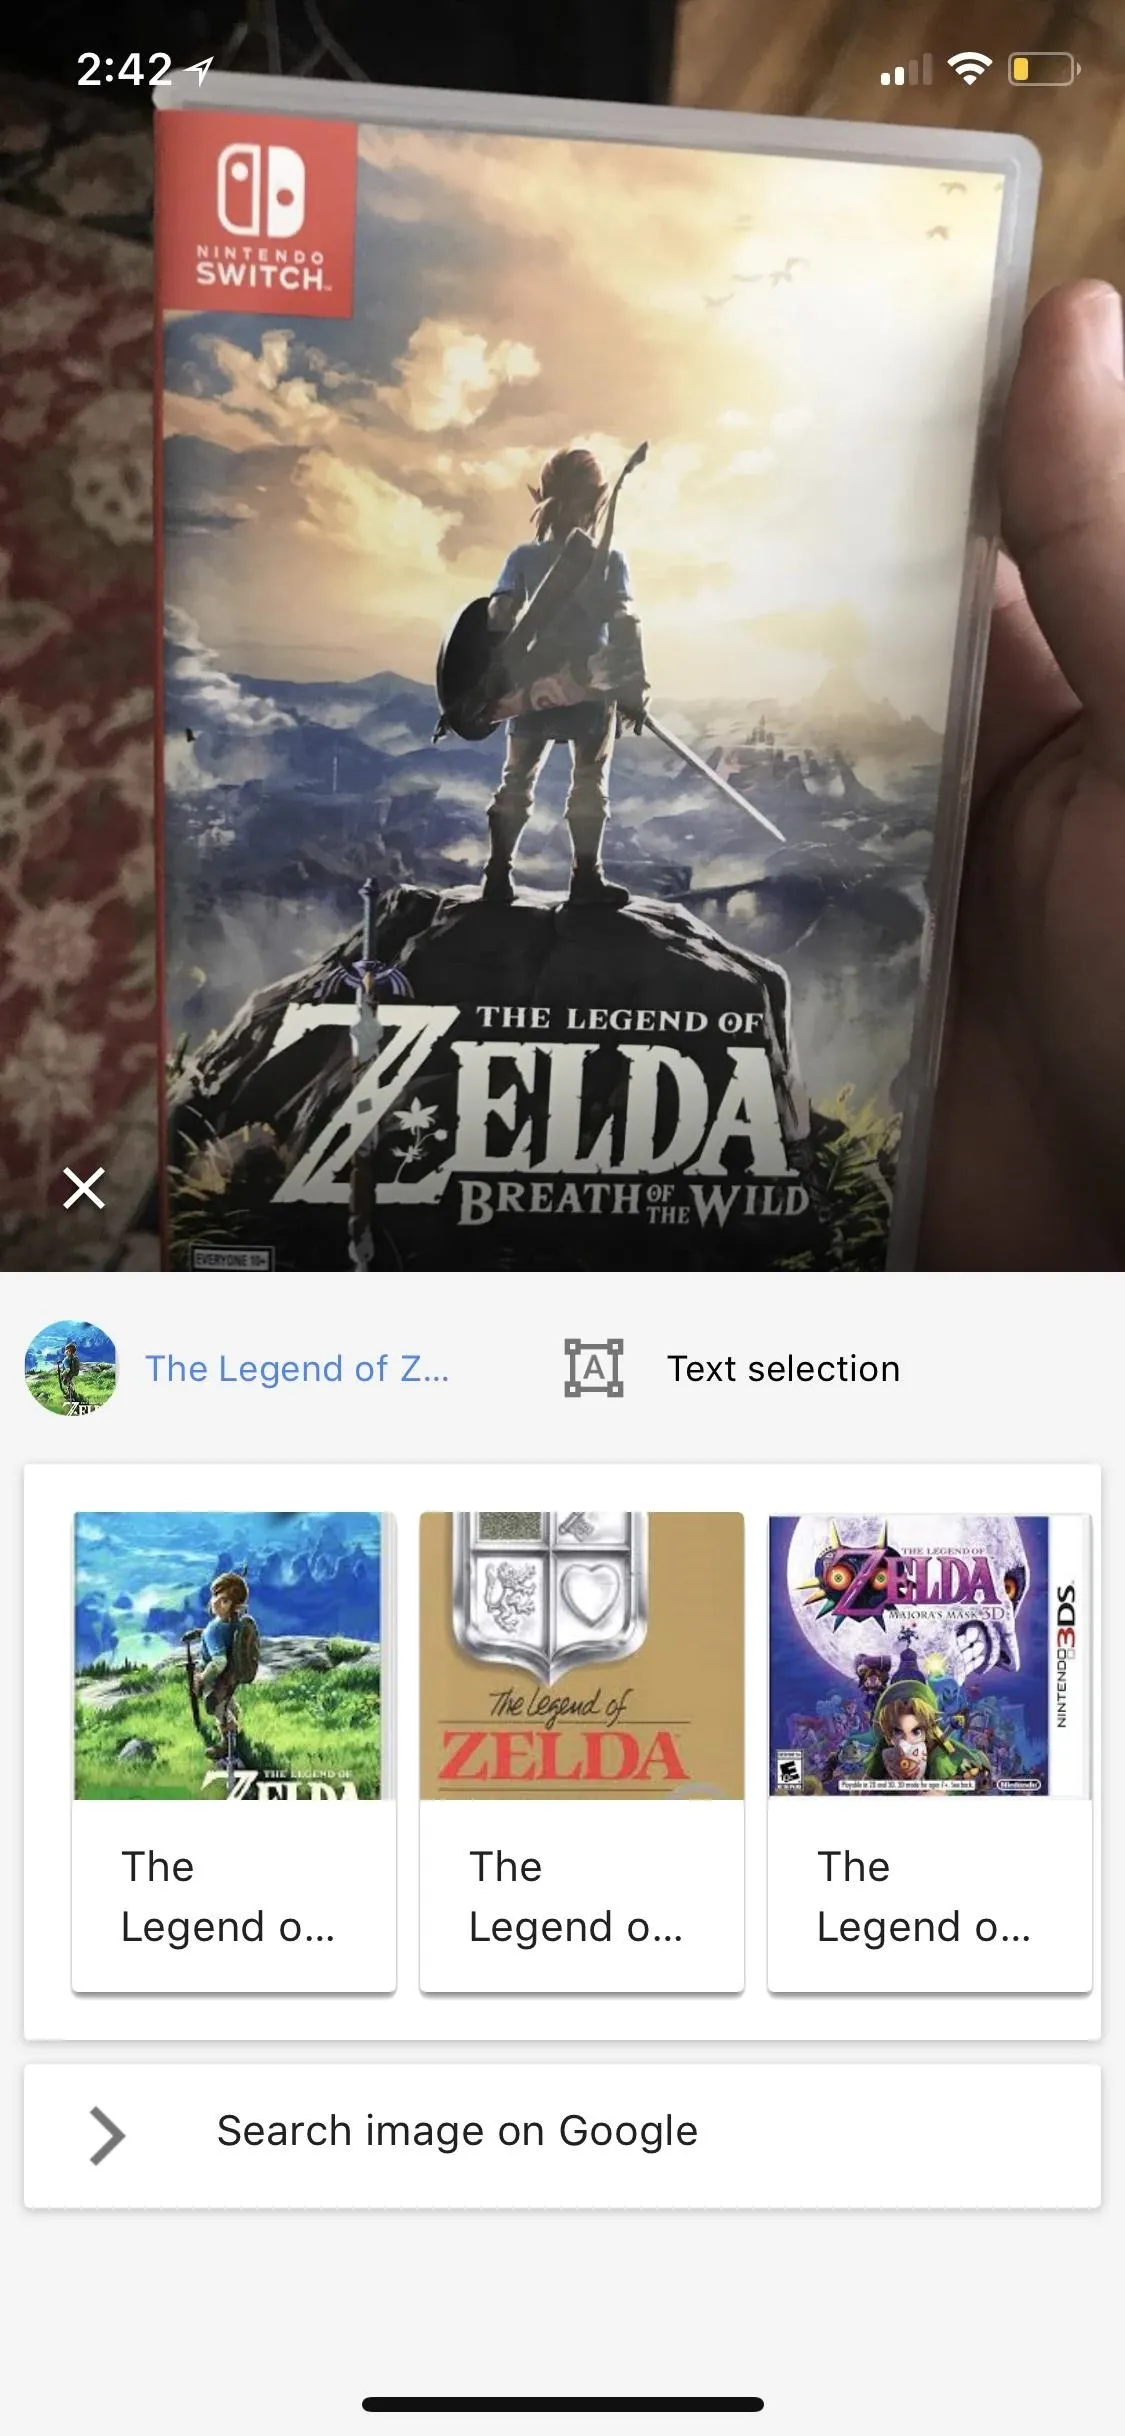
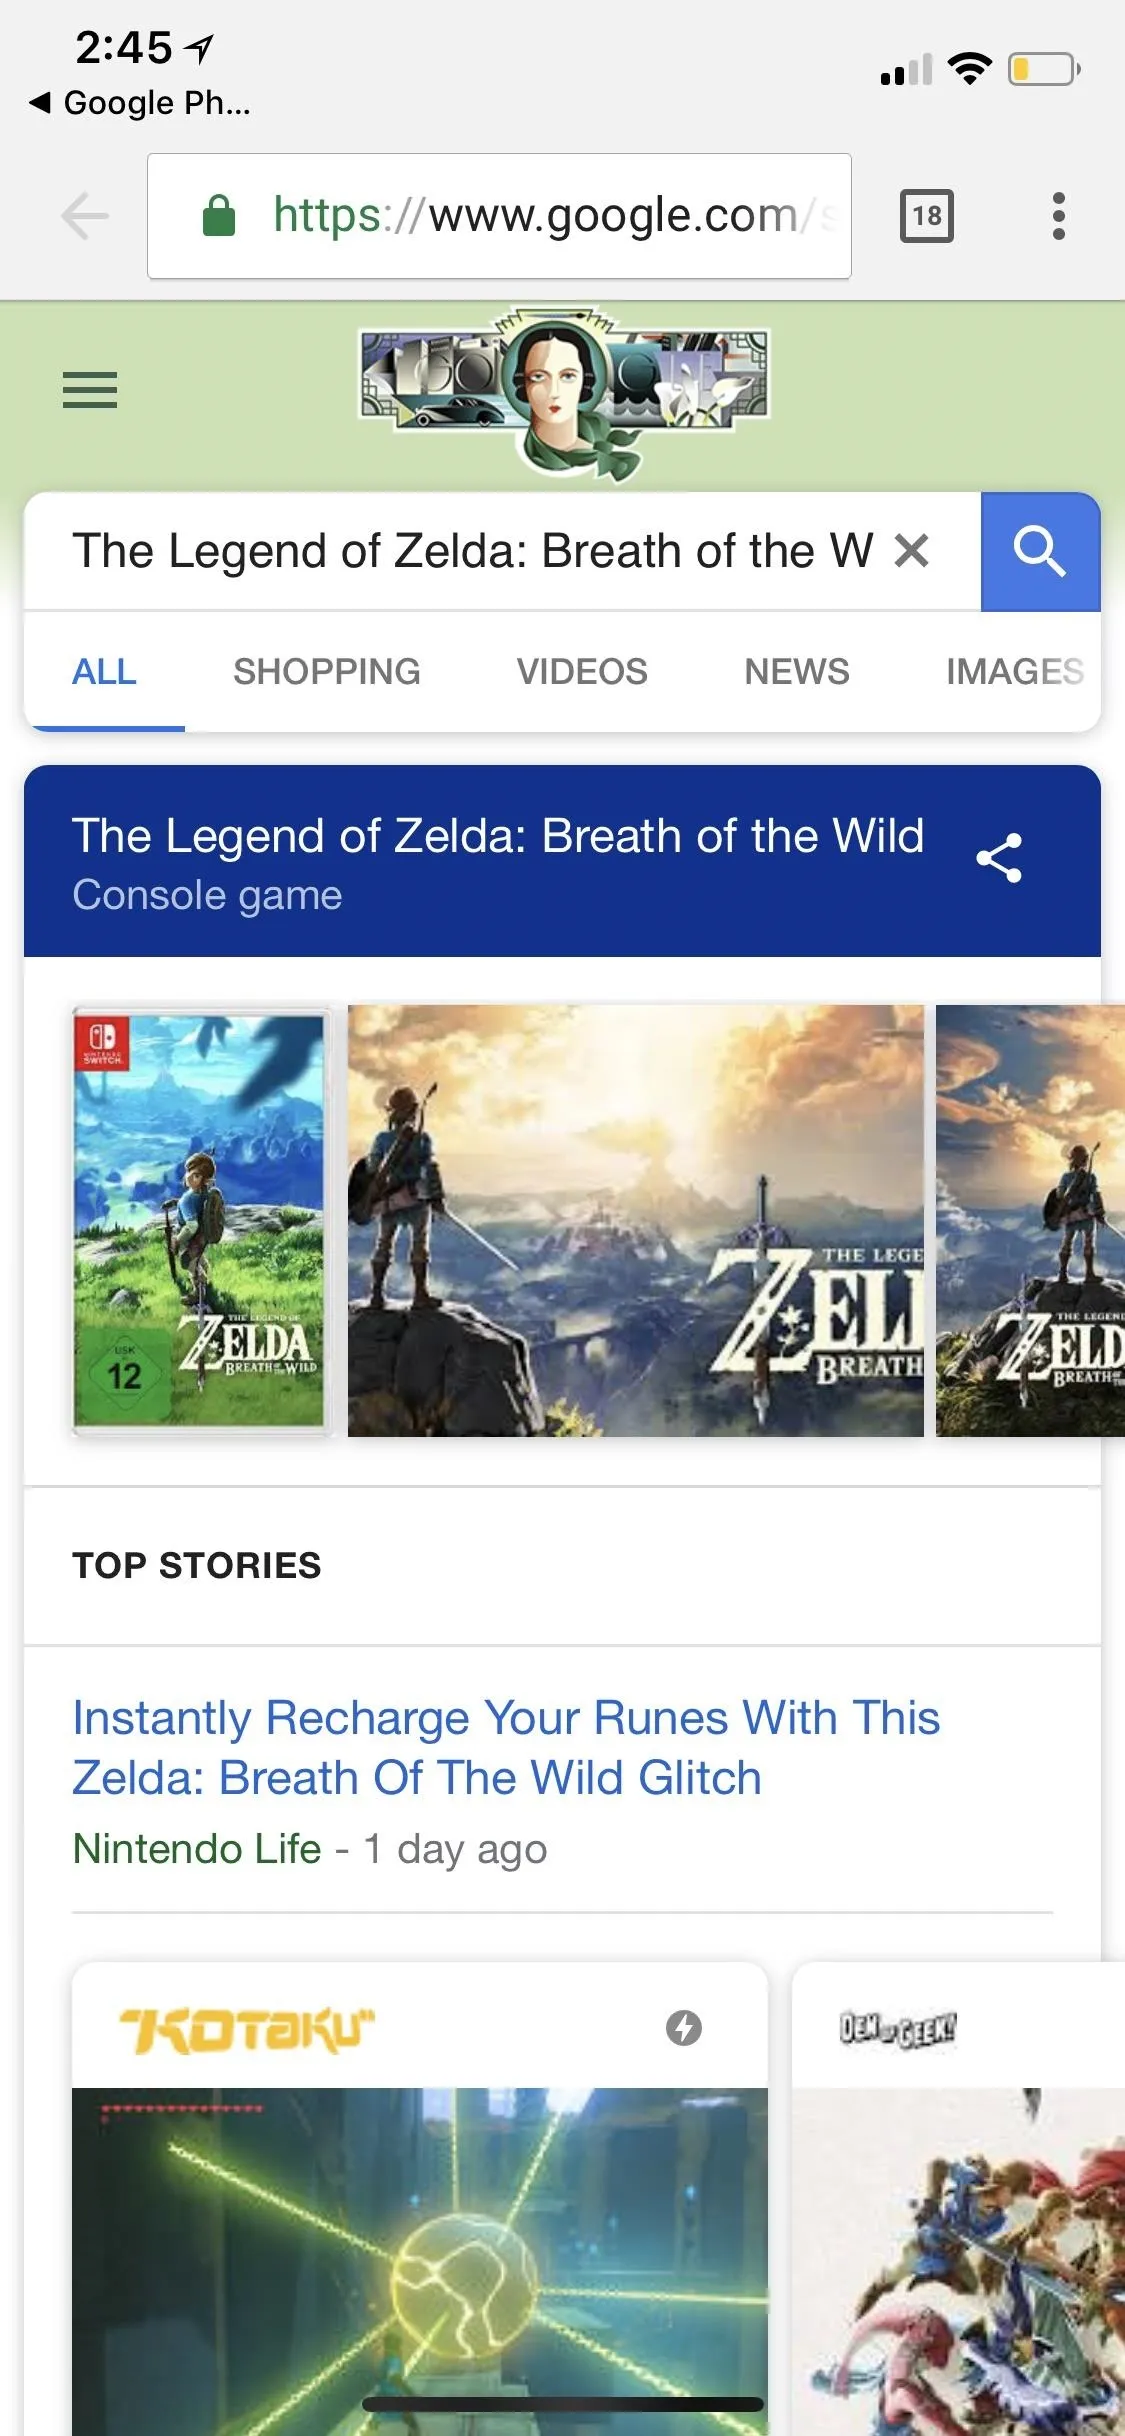
Oftentimes, instead of the "quick facts" description, it will show you a horizontal carousel of items that match it or are similar. For example, when I used Lens on the front of Legend of Zelda: Breath of the Wild, it correctly identified it as the first result, though, it also showed a couple other Legend of Zelda games as alternate results. If this is the case, just tap on the correct result to open up a Google search in your browser.
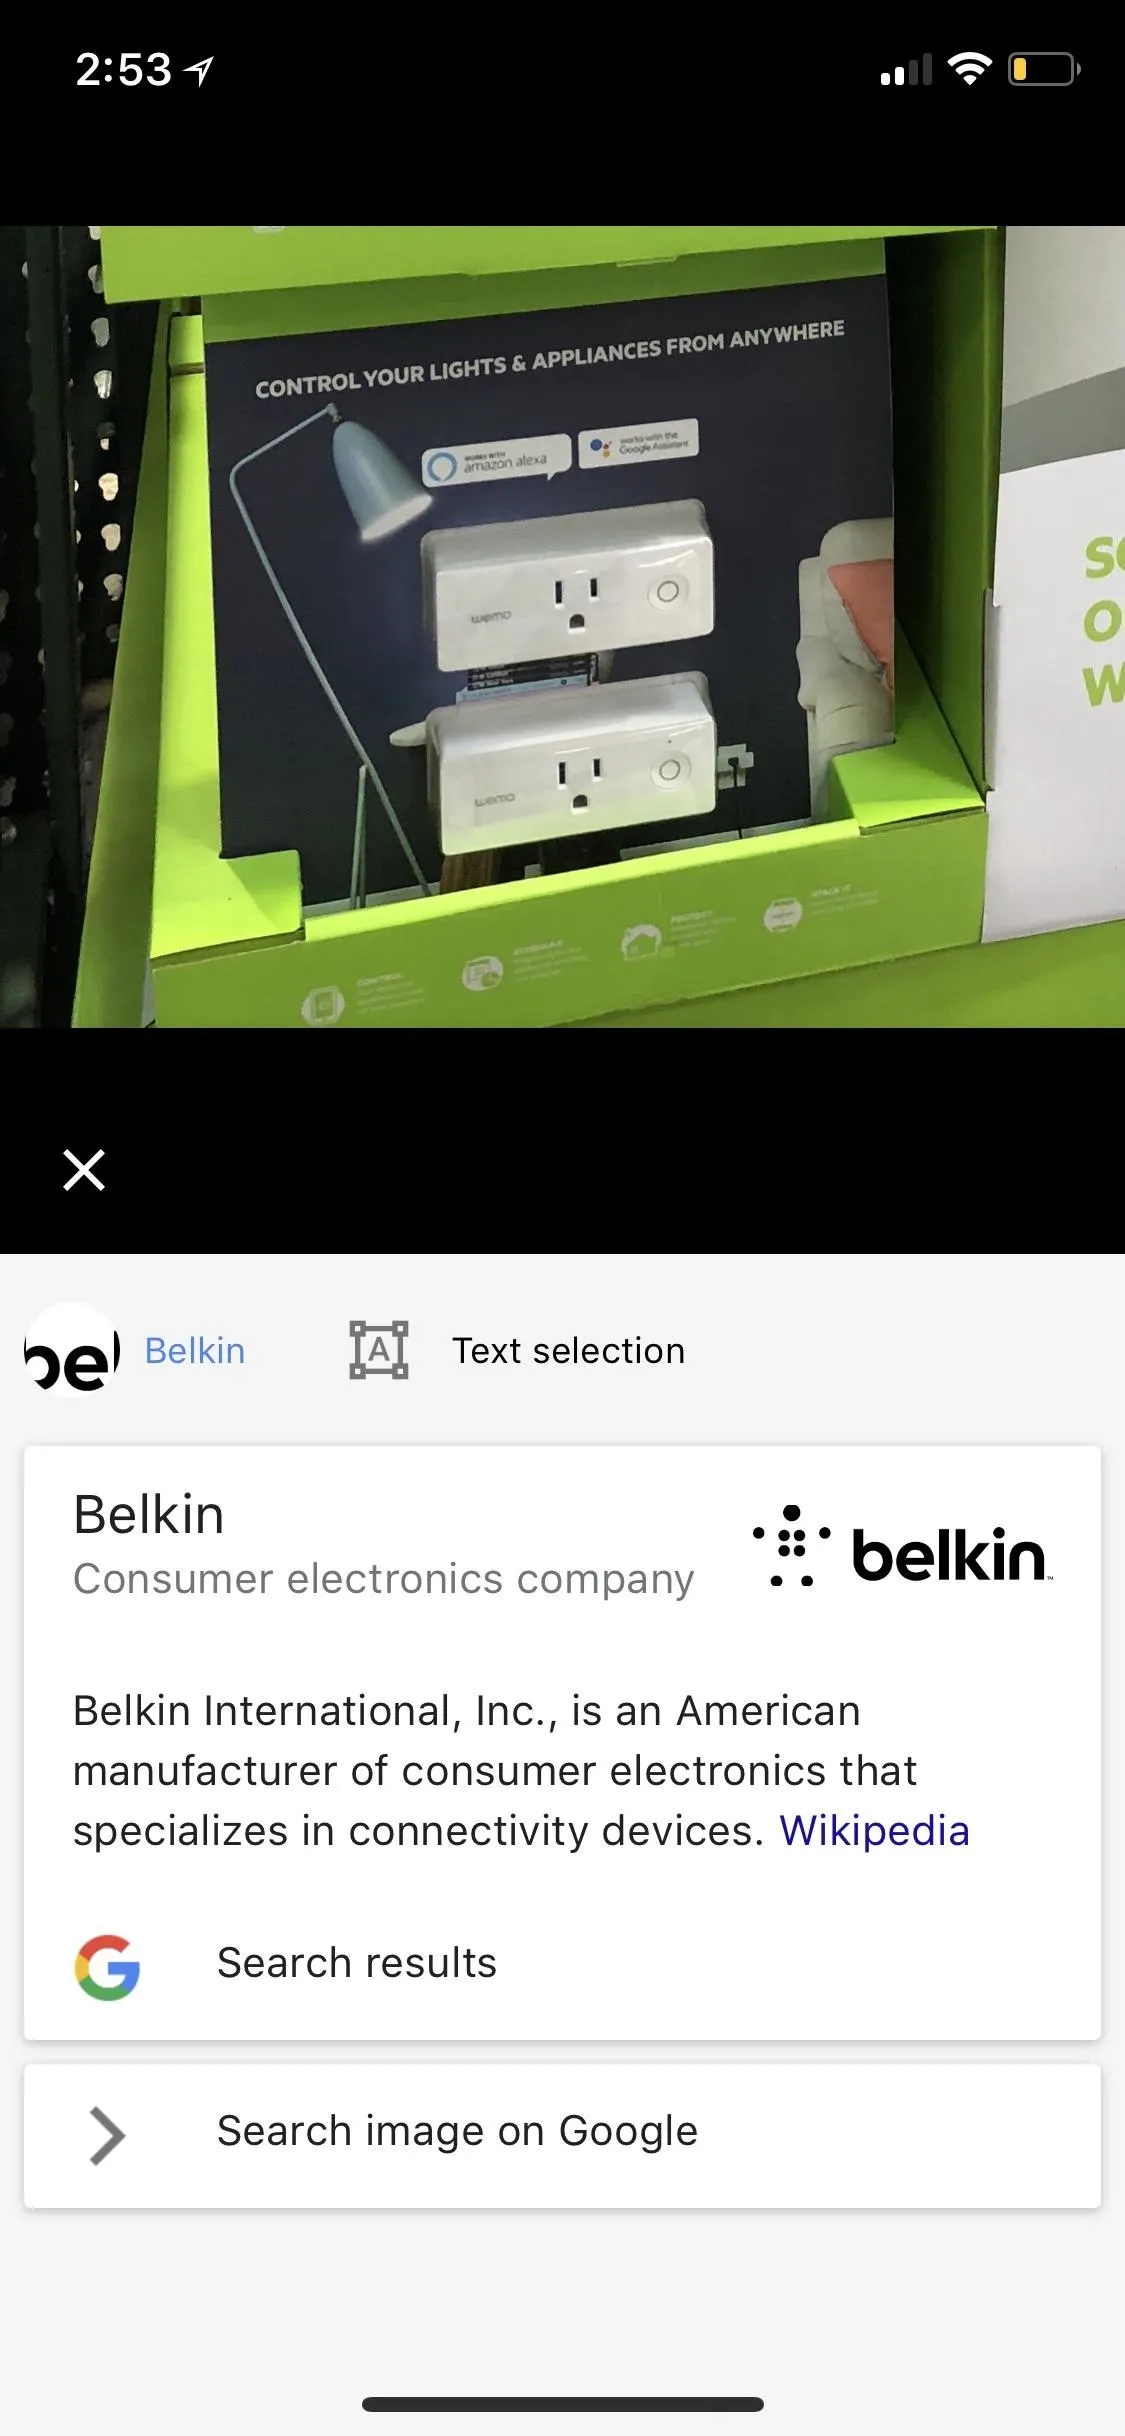
Every now and then, when Lens scans one of your photos, it'll give you a generic description for, say, the company, instead of the product itself. Tapping "Search results" or "Search image on Google" may still help you locate the item.
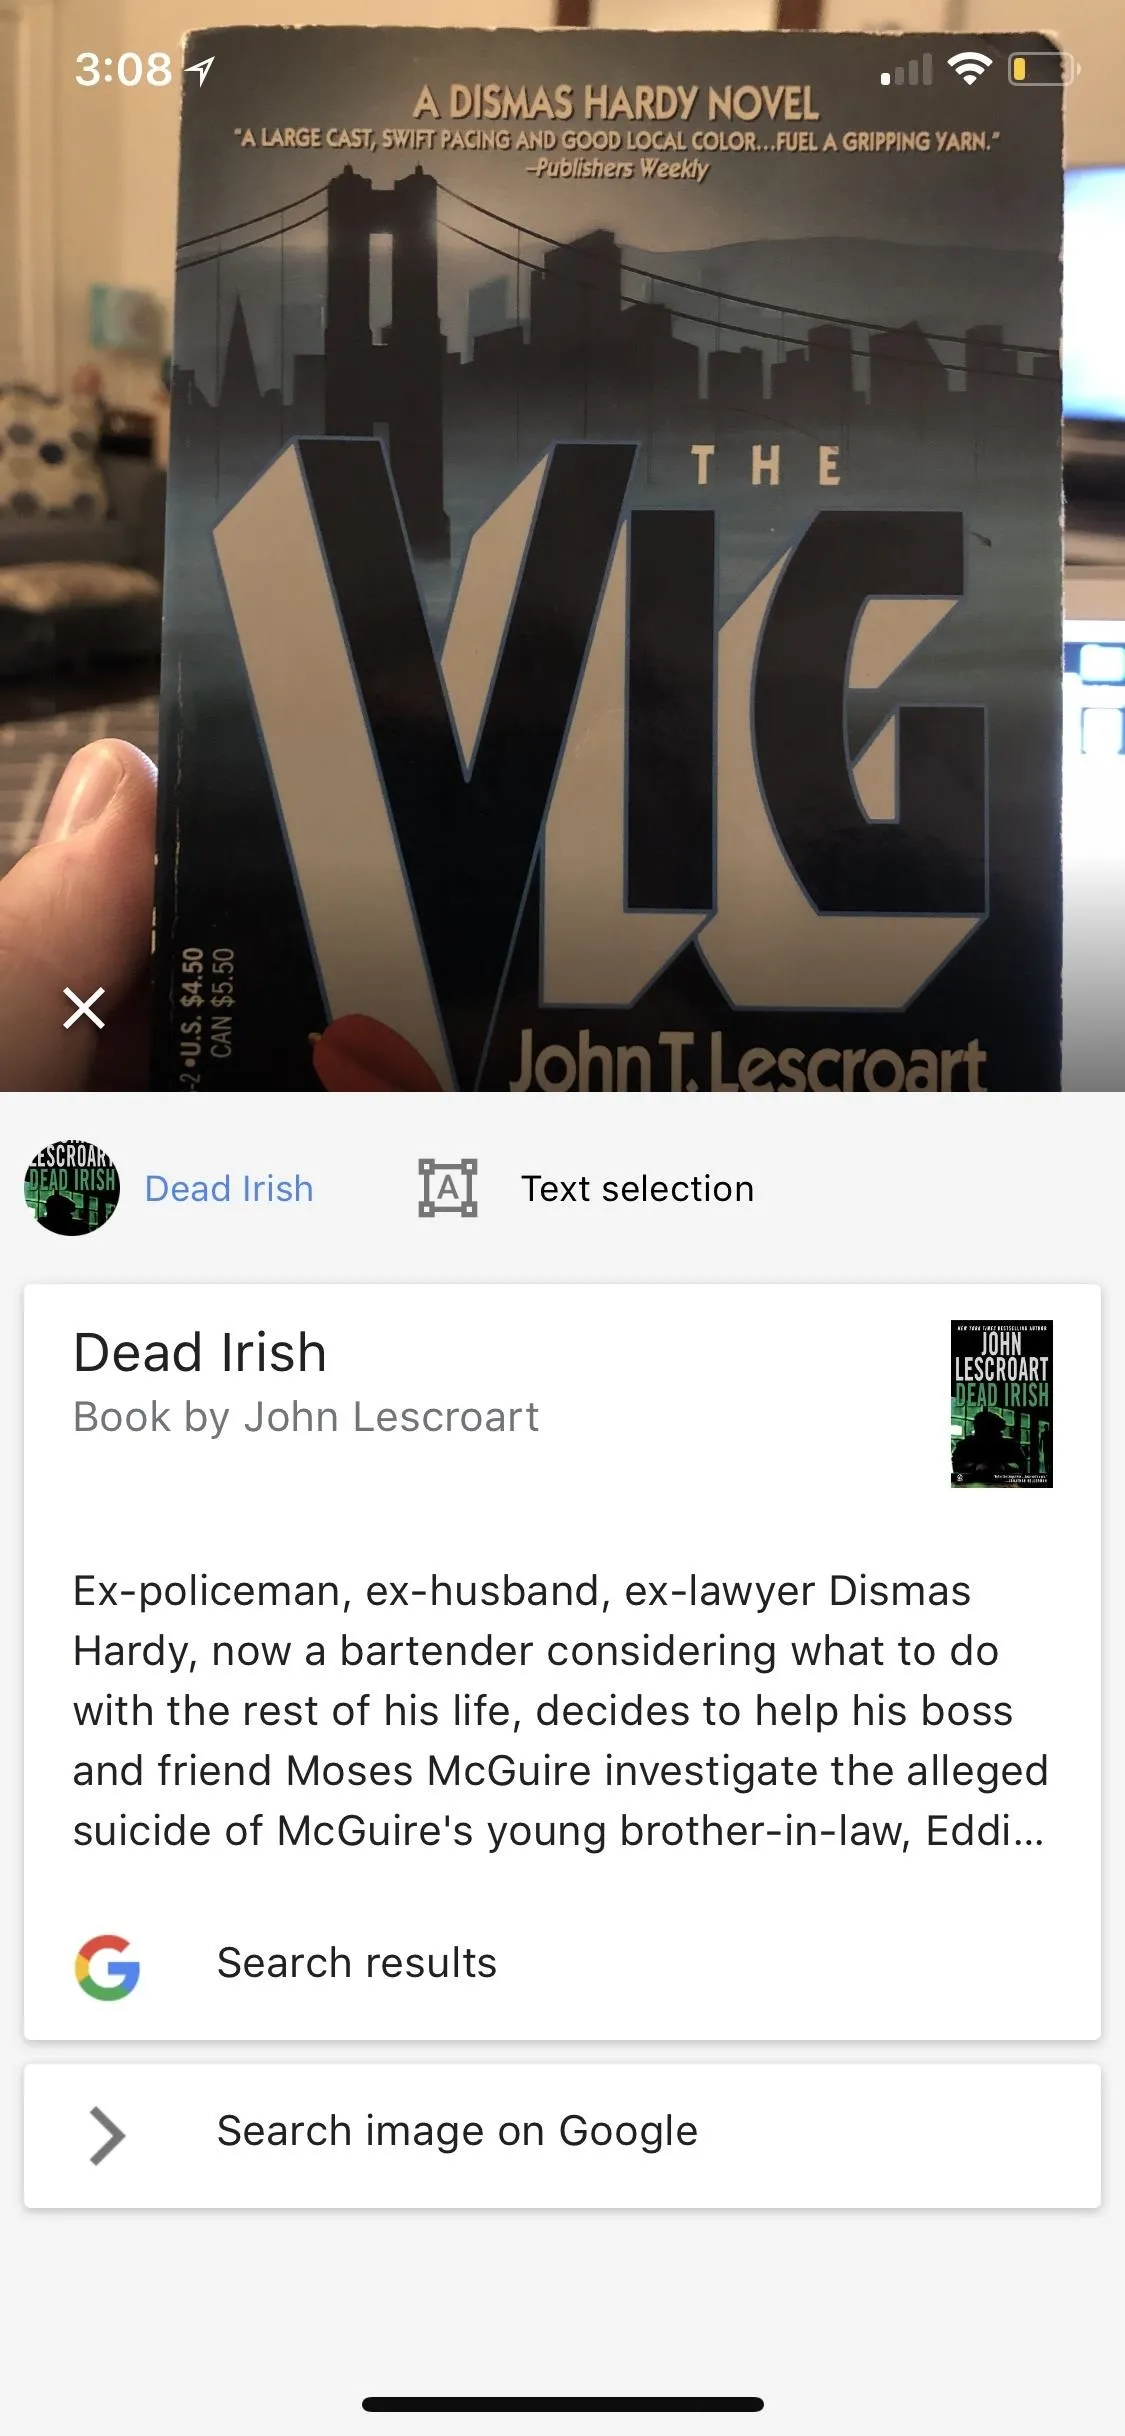
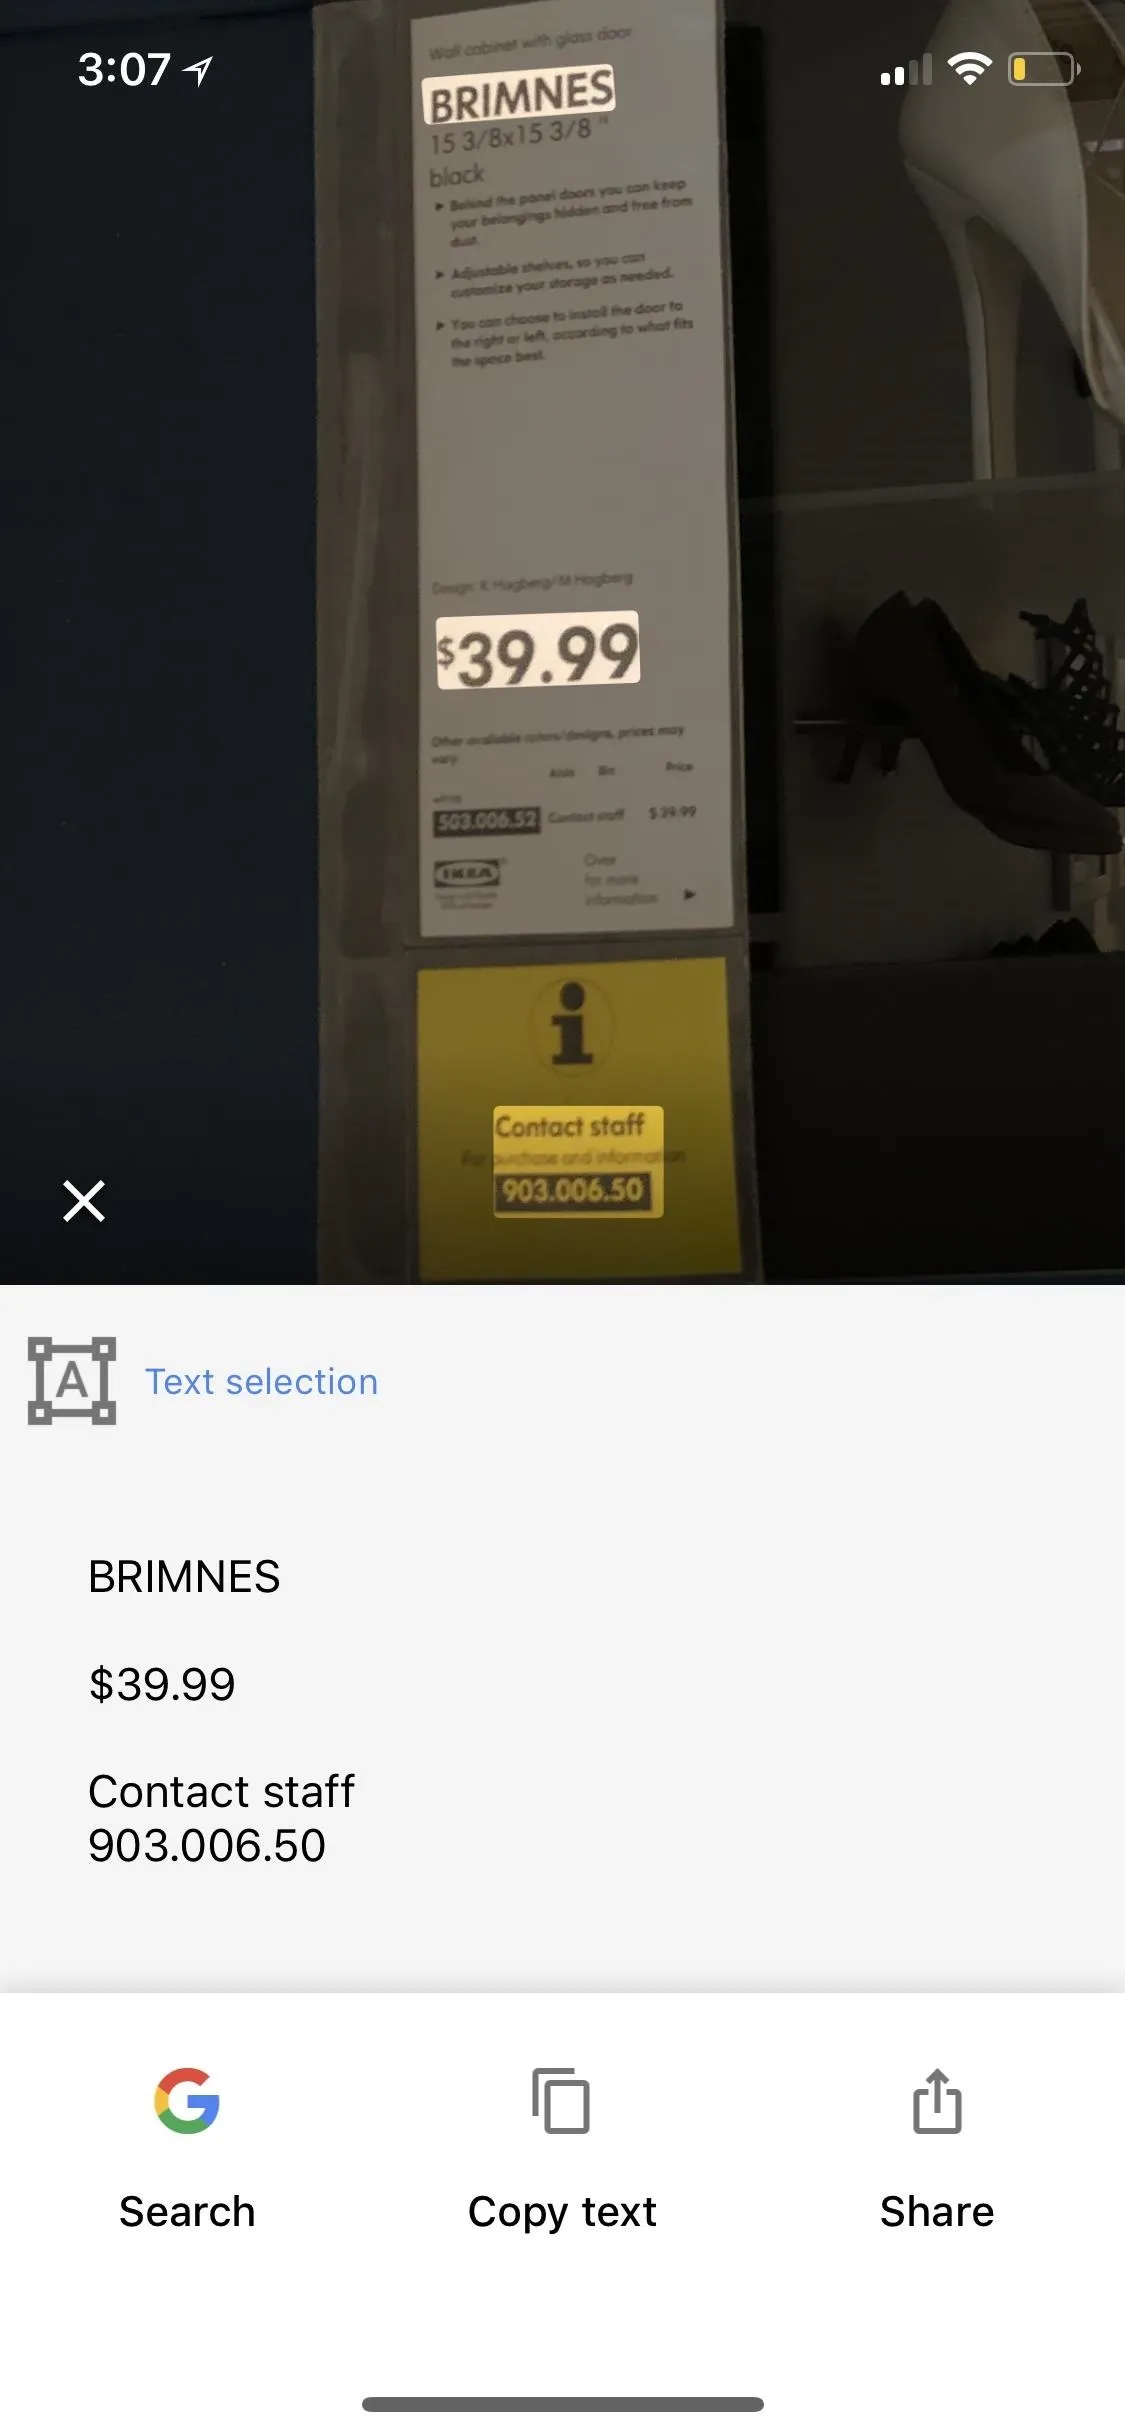
Sometimes, it will scan the text in the image itself if that's more noticeable than the product itself. If that's the case, when the info card comes up, tap on "Search" to open up the search results in your browser.
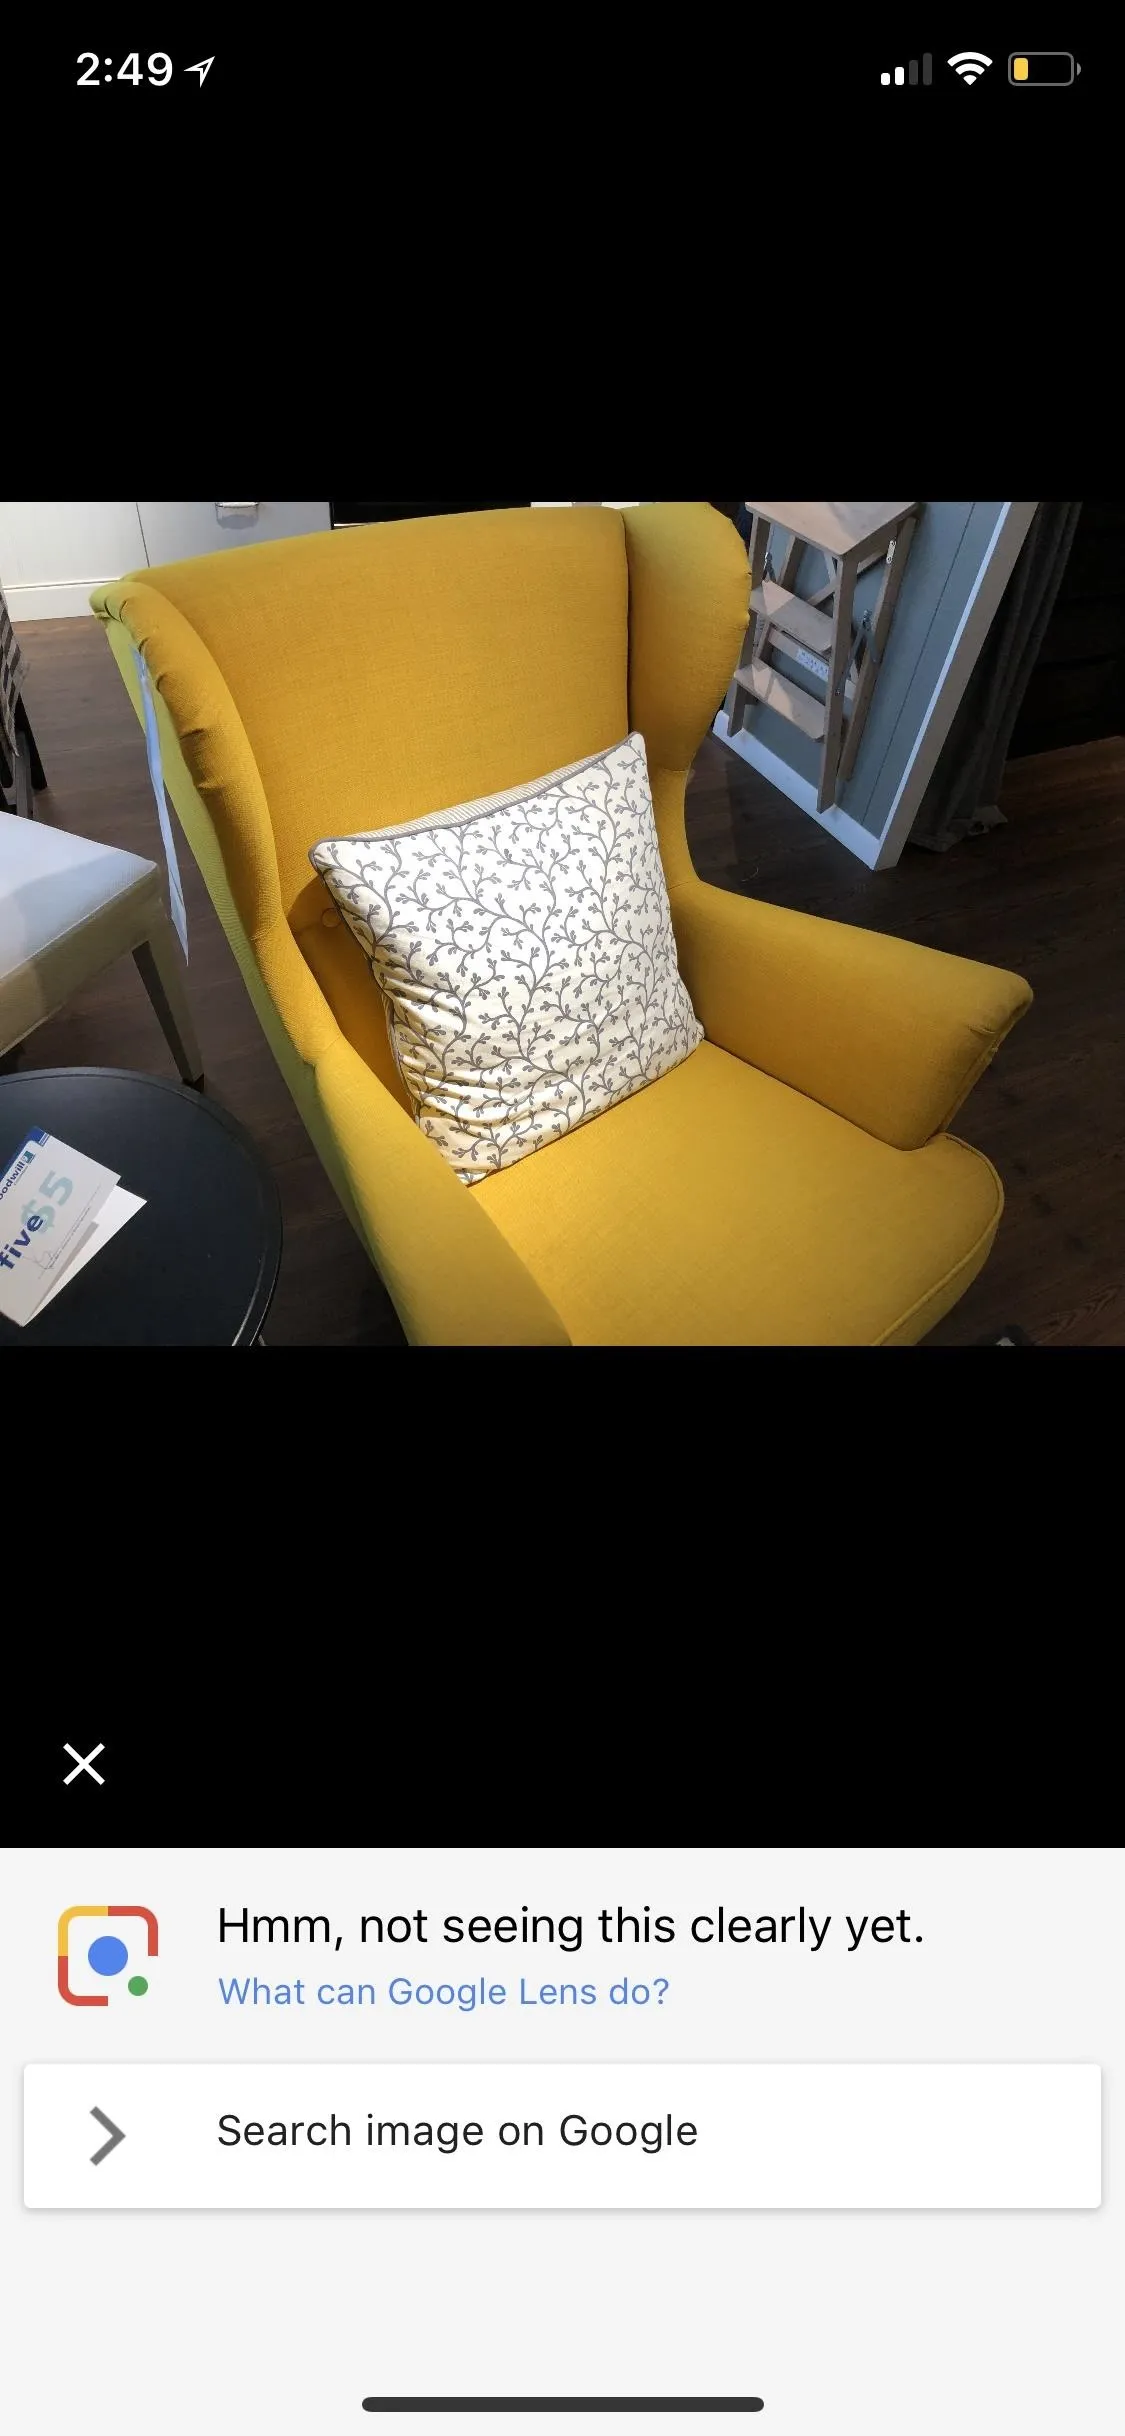
If it can't determine what the product is, it'll give you an alert saying "Hmm, not seeing this clearly yet." In this case, you can tap "Search image on Google" to do a reverse image search in your browser.

See Prices & Even Buy the Product
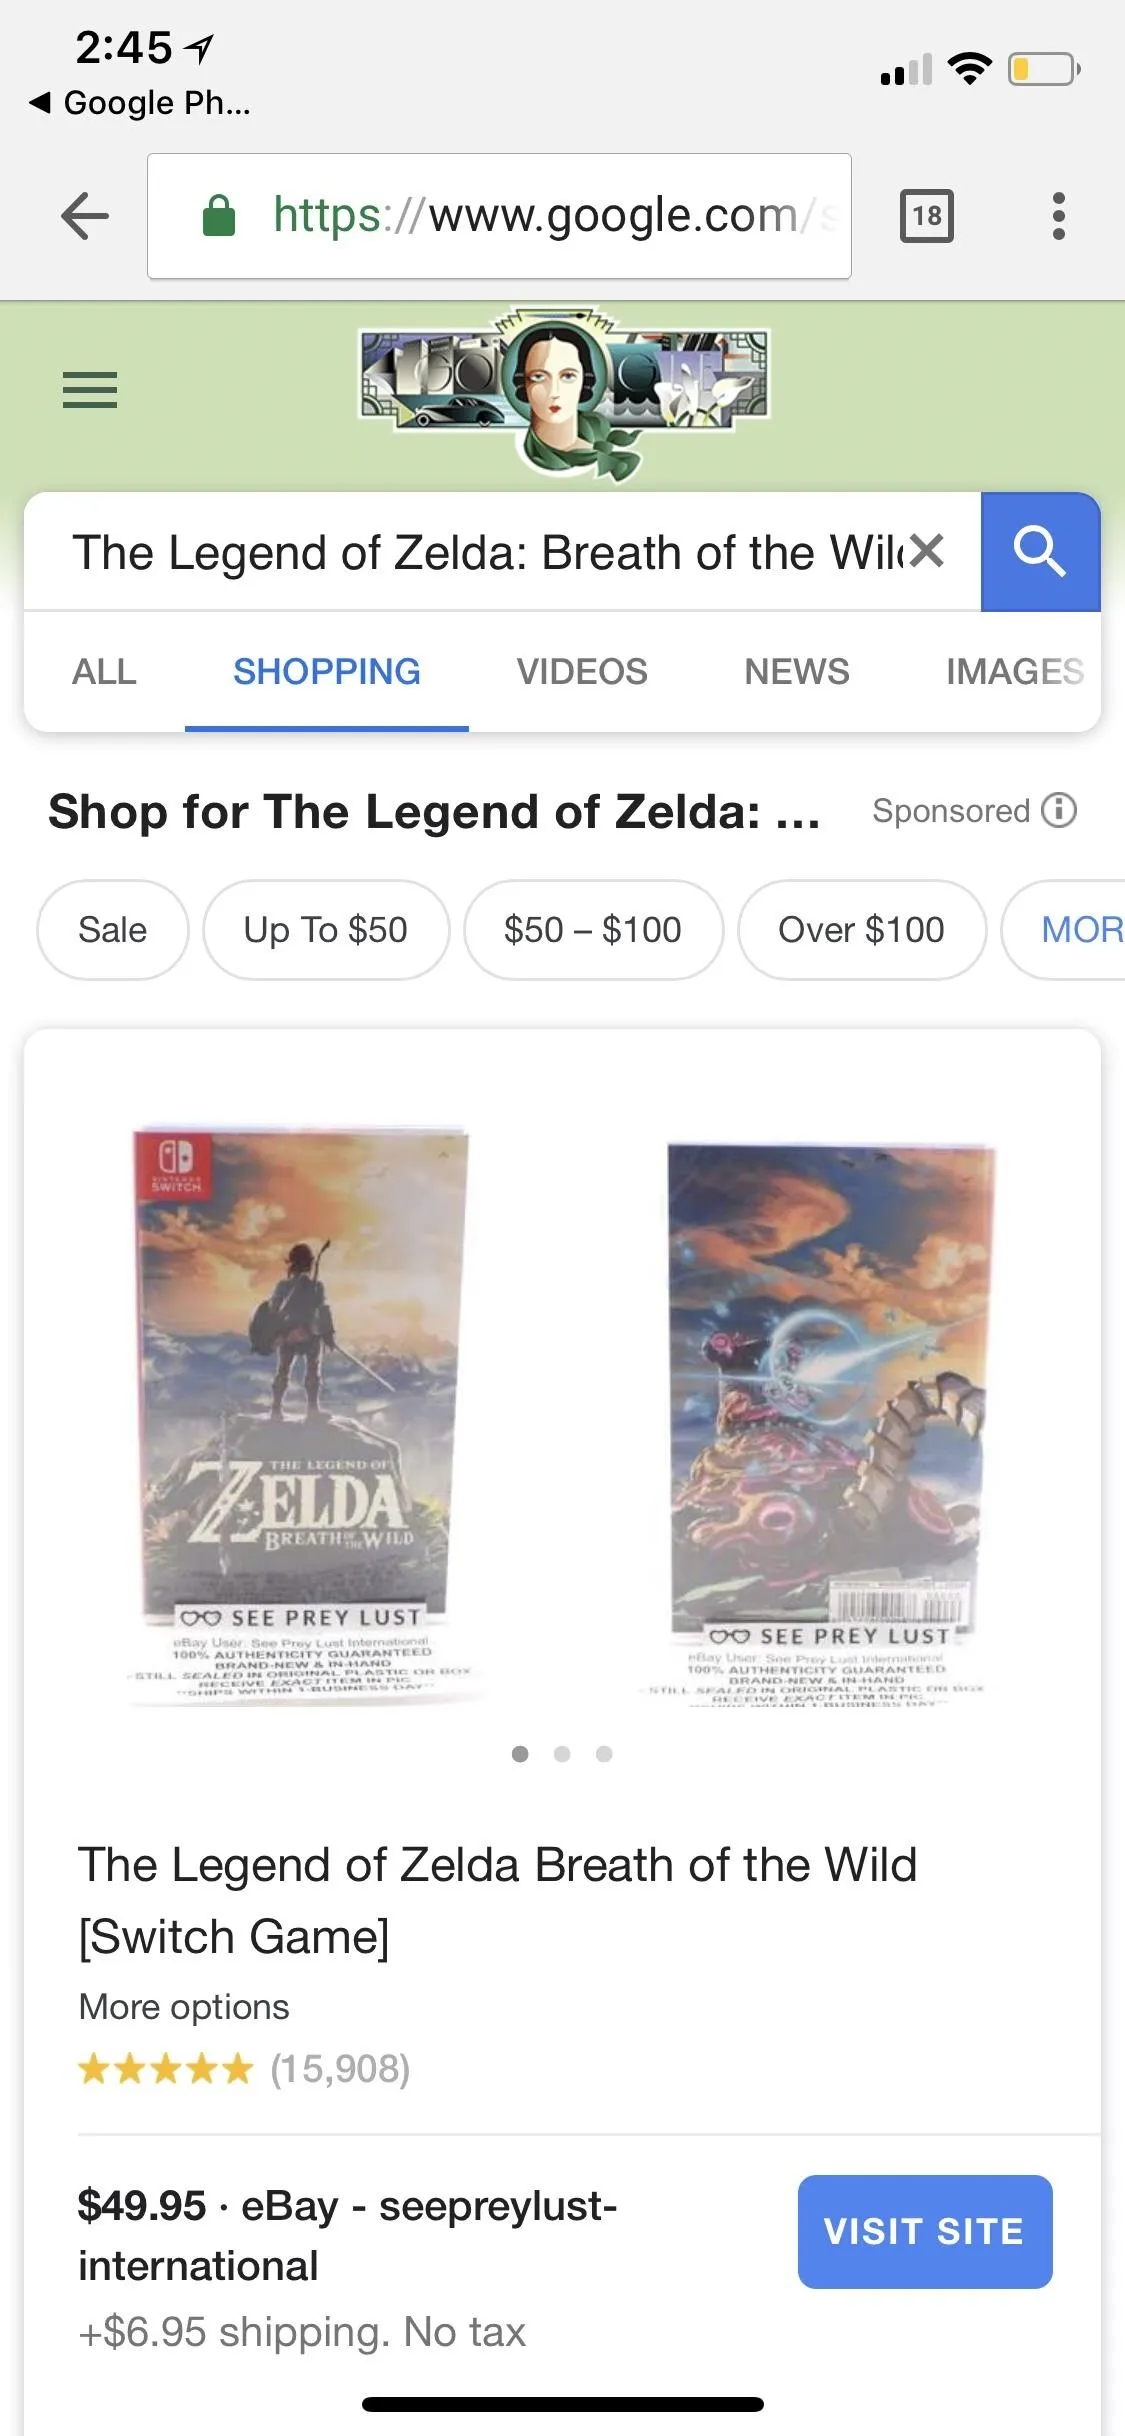
Once on the Google search results in your browser, you can either scroll through the results until you find a storefront to buy your product or you can tap the "Shopping" tab along the top. I recommend the latter, as Google does a good job of aggregating prices from a myriad of vendors, so you don't need to comb through pages of Google search results to find the best deal.
In some cases, you may need to manually add a keyword into the search results, especially if the search it performed is something that can be applied to many different things.

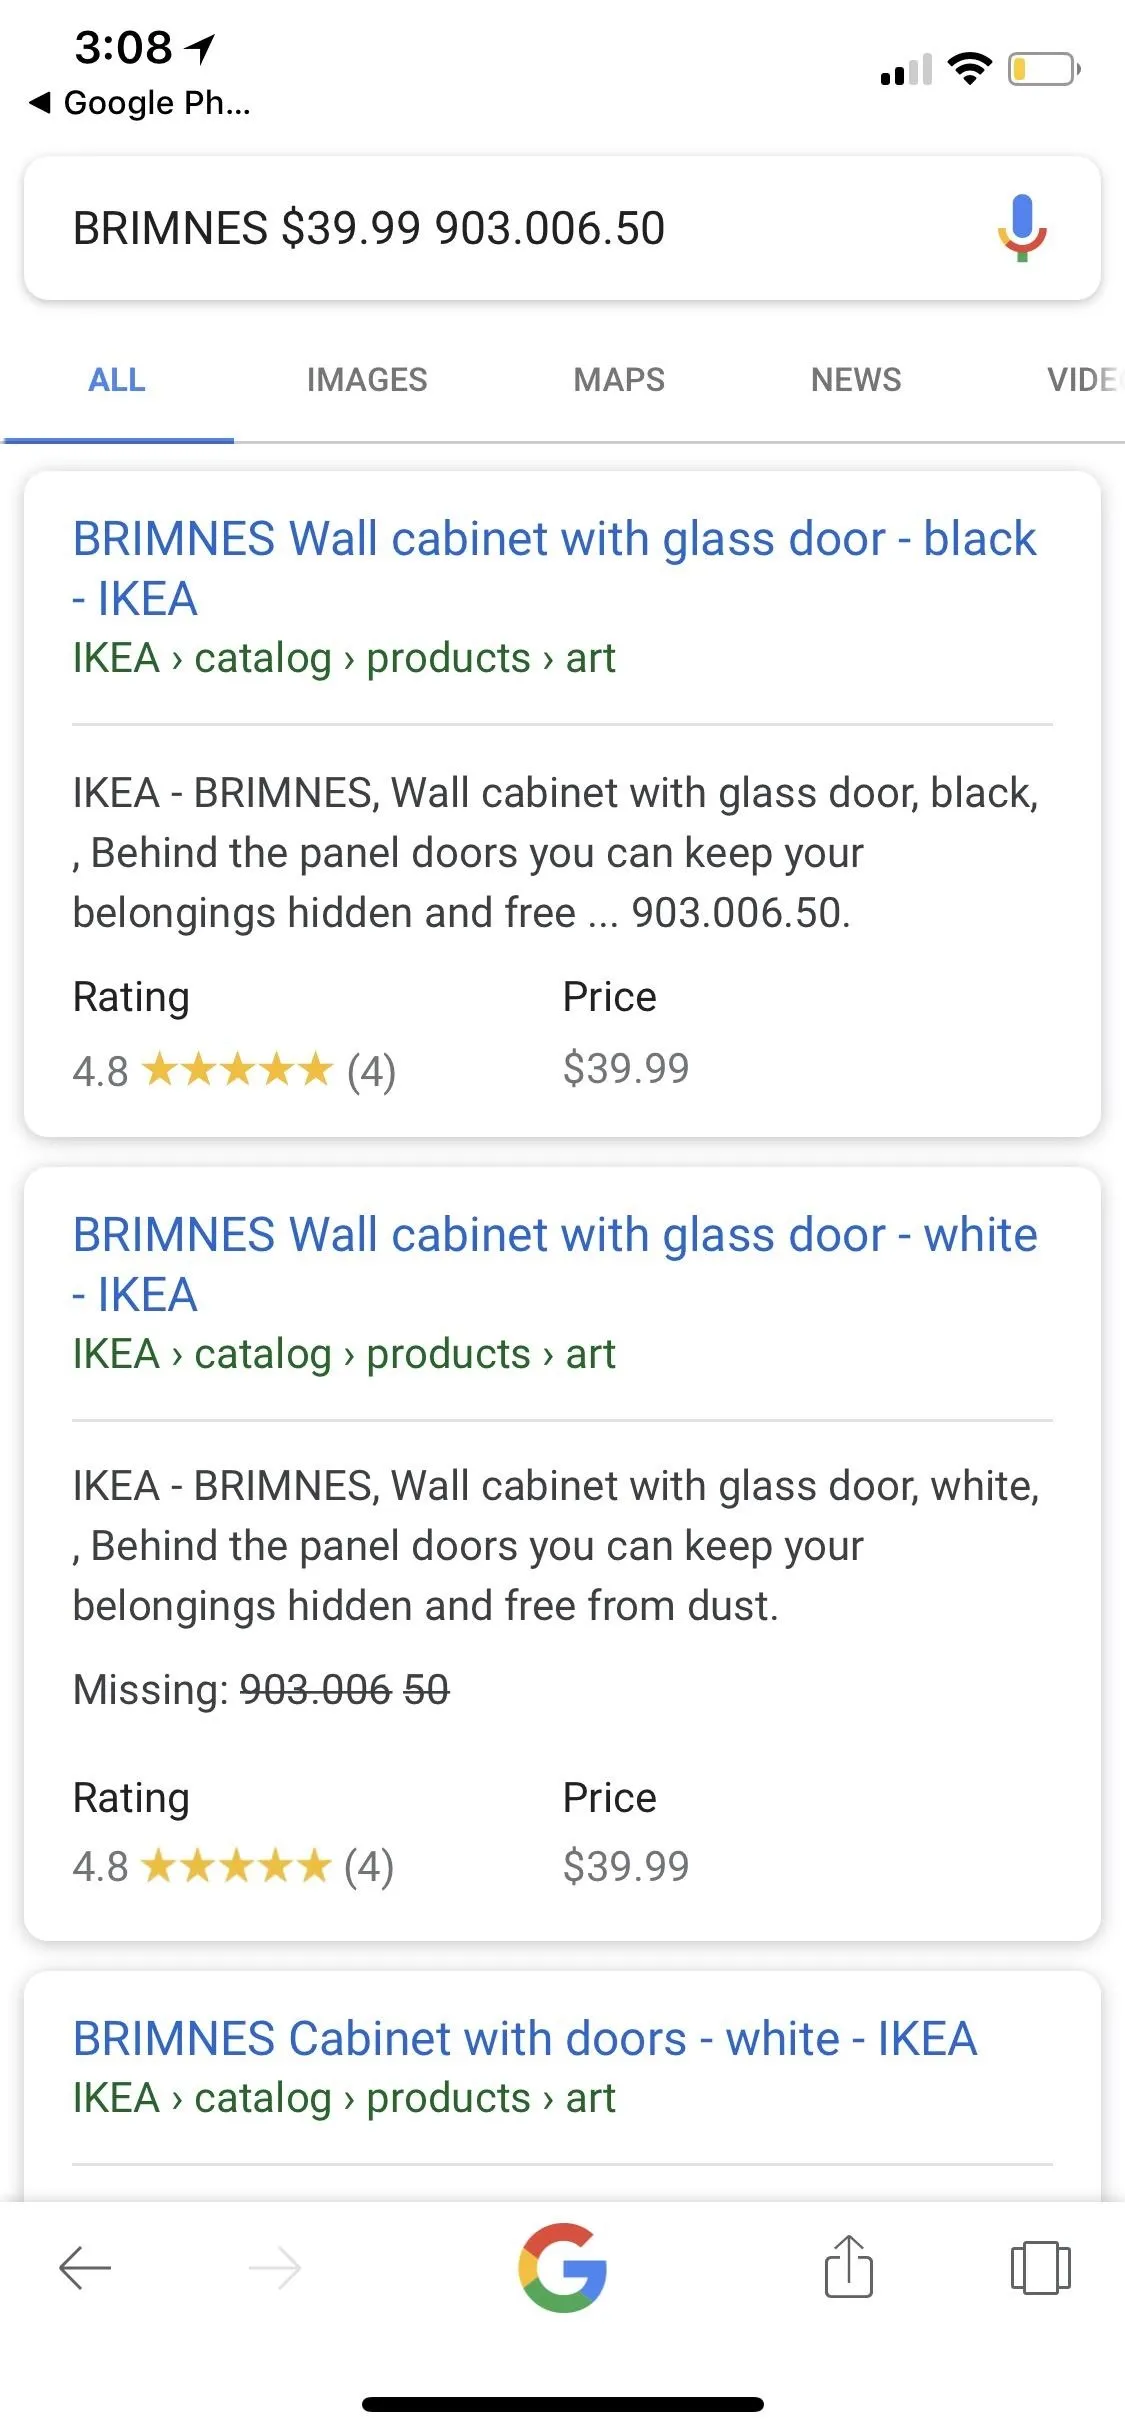
Other times, it'll be right on the money and you won't have to adjust the search terms at all. The hard part is just deciding where to buy it from!
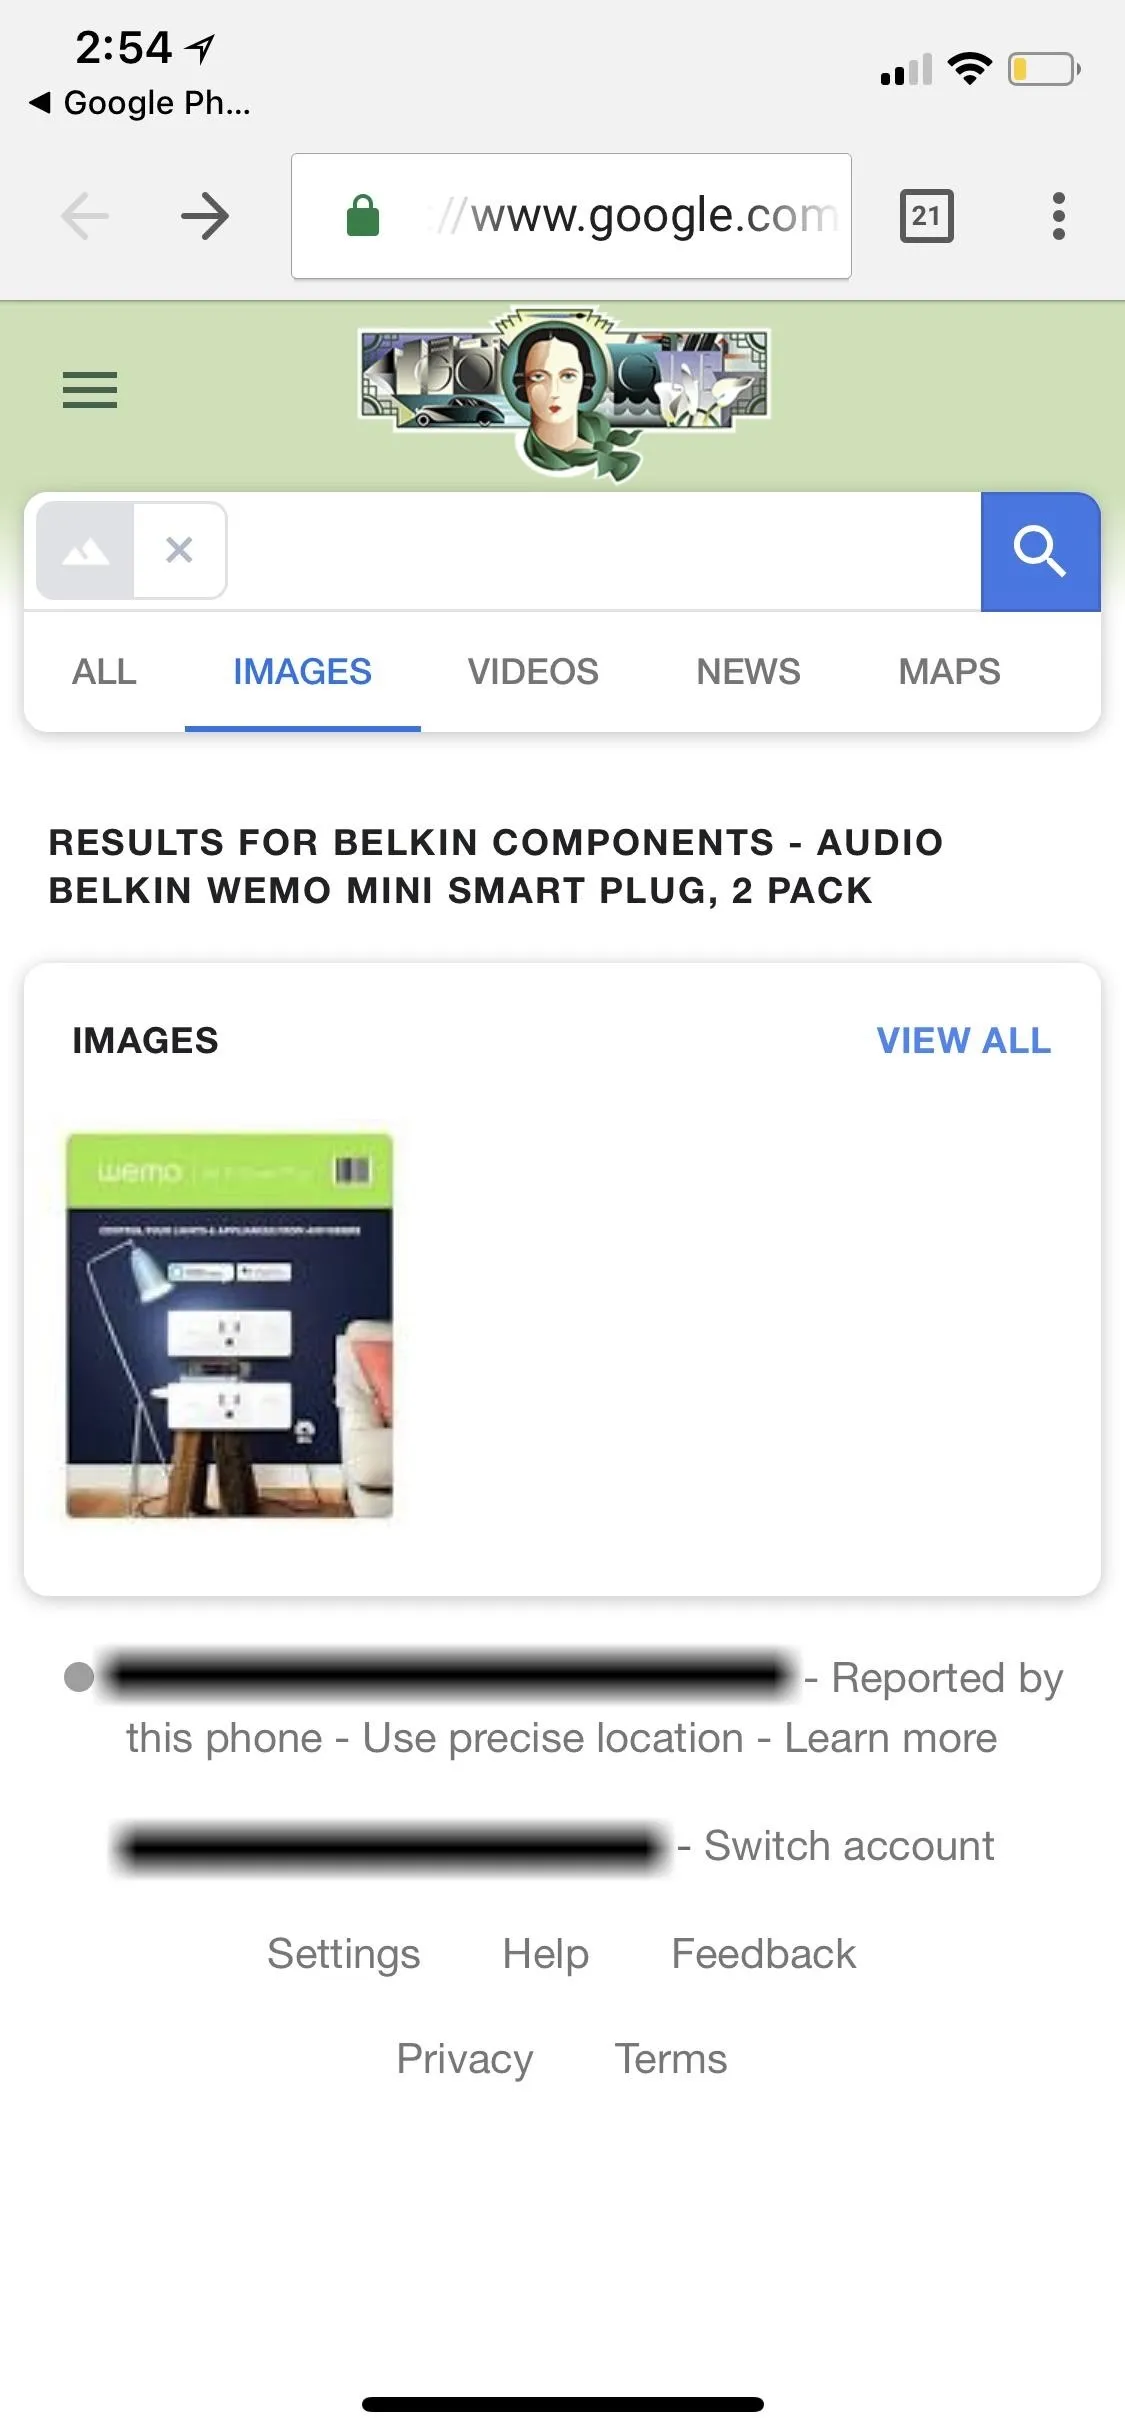
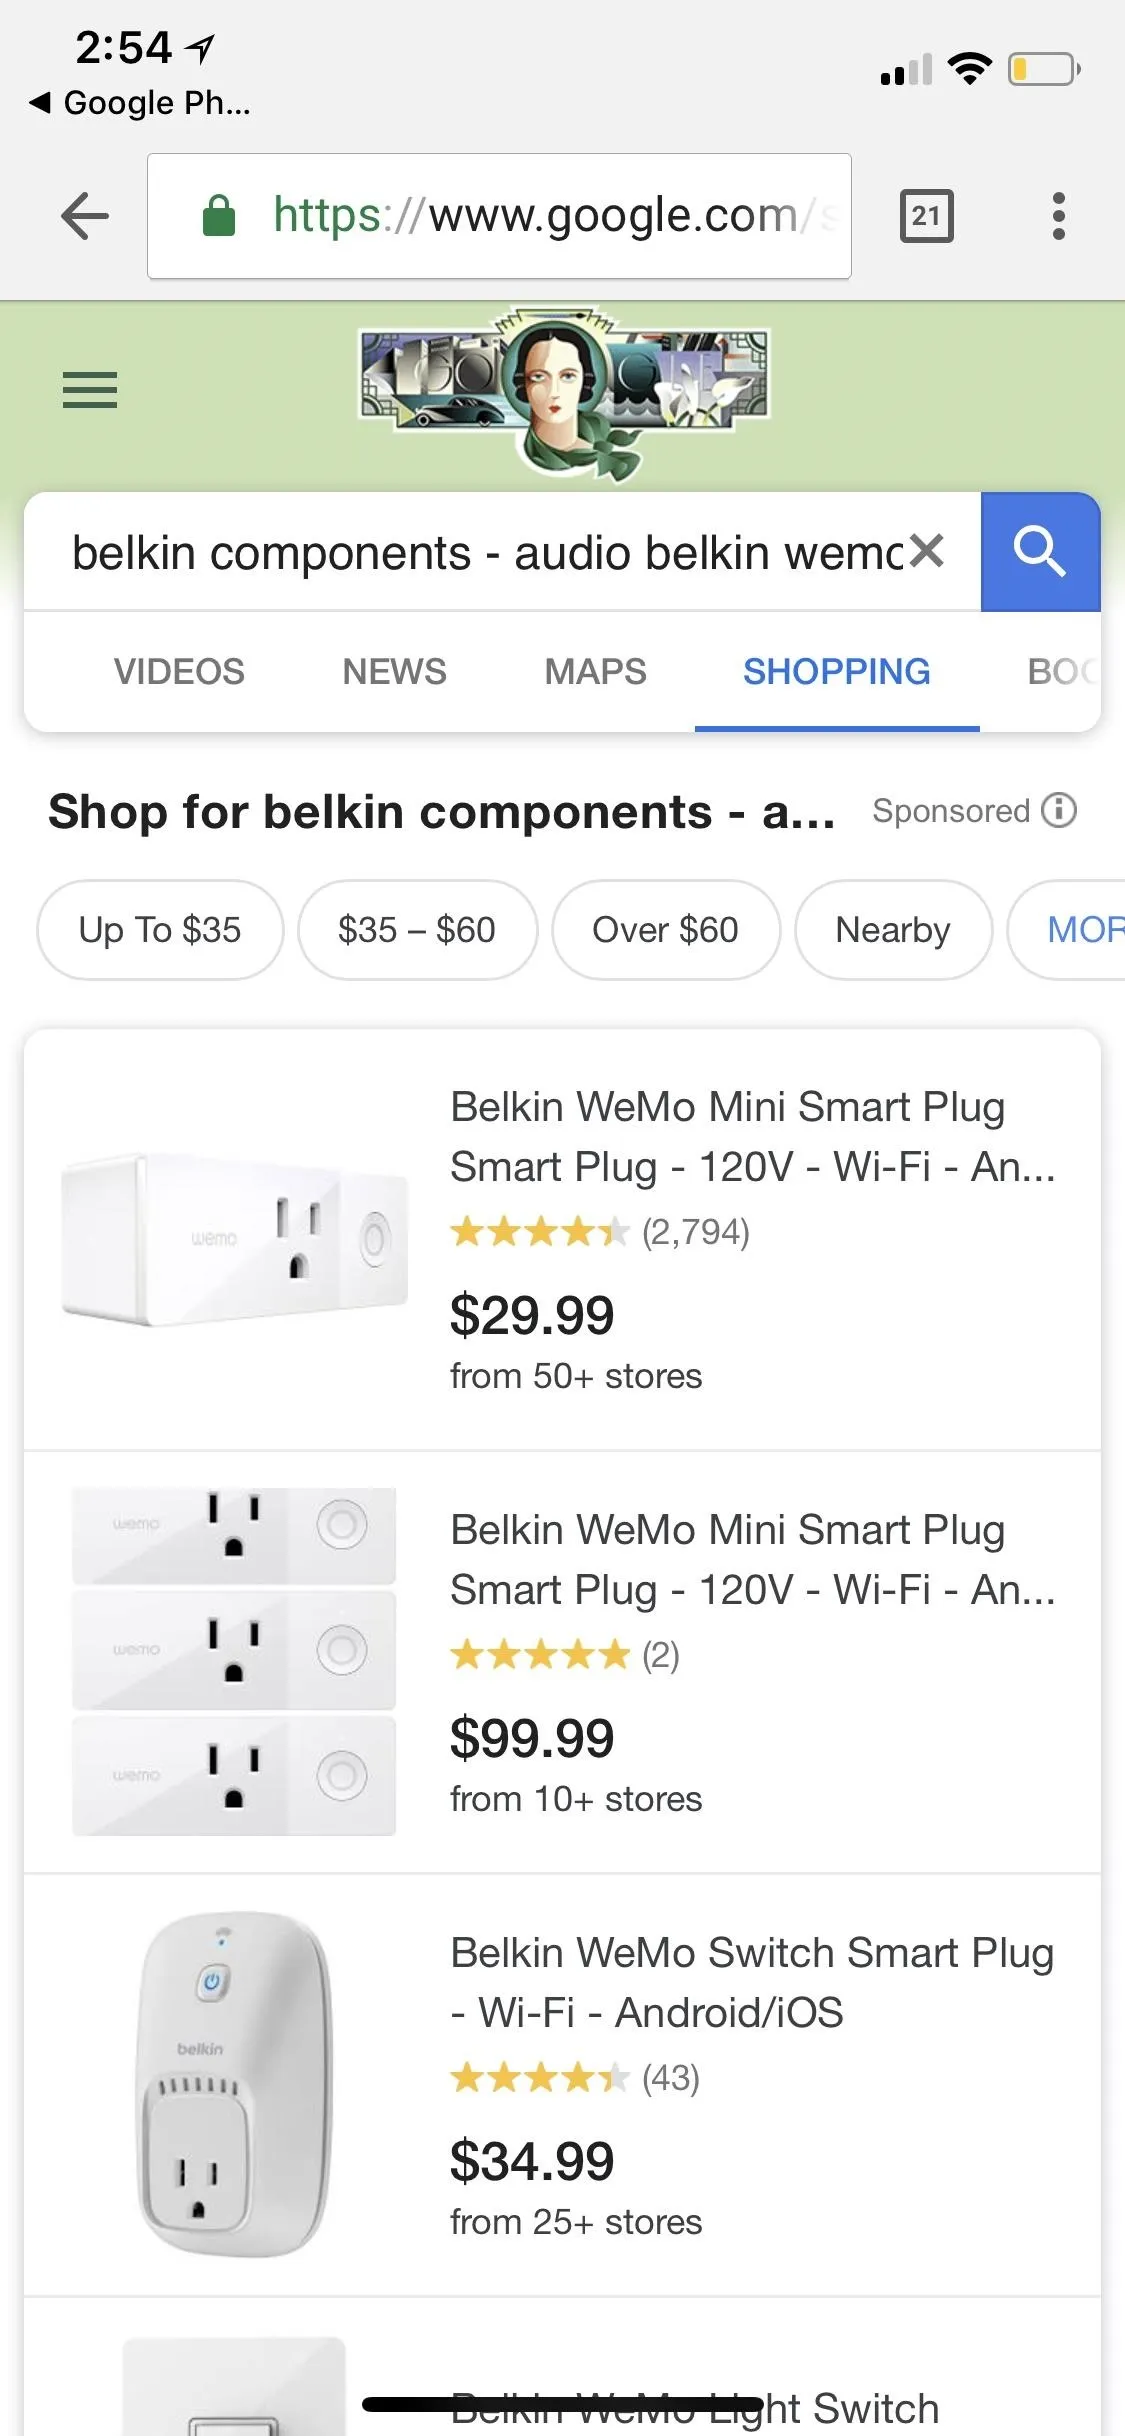
If you performed a reverse image search because Lens couldn't immediately identify the product, you may be able to tap the "All" or "Shopping" tab to find what you're looking for. This doesn't work in all cases, depending on what search terms Google added to the image file, but it's worth a shot.

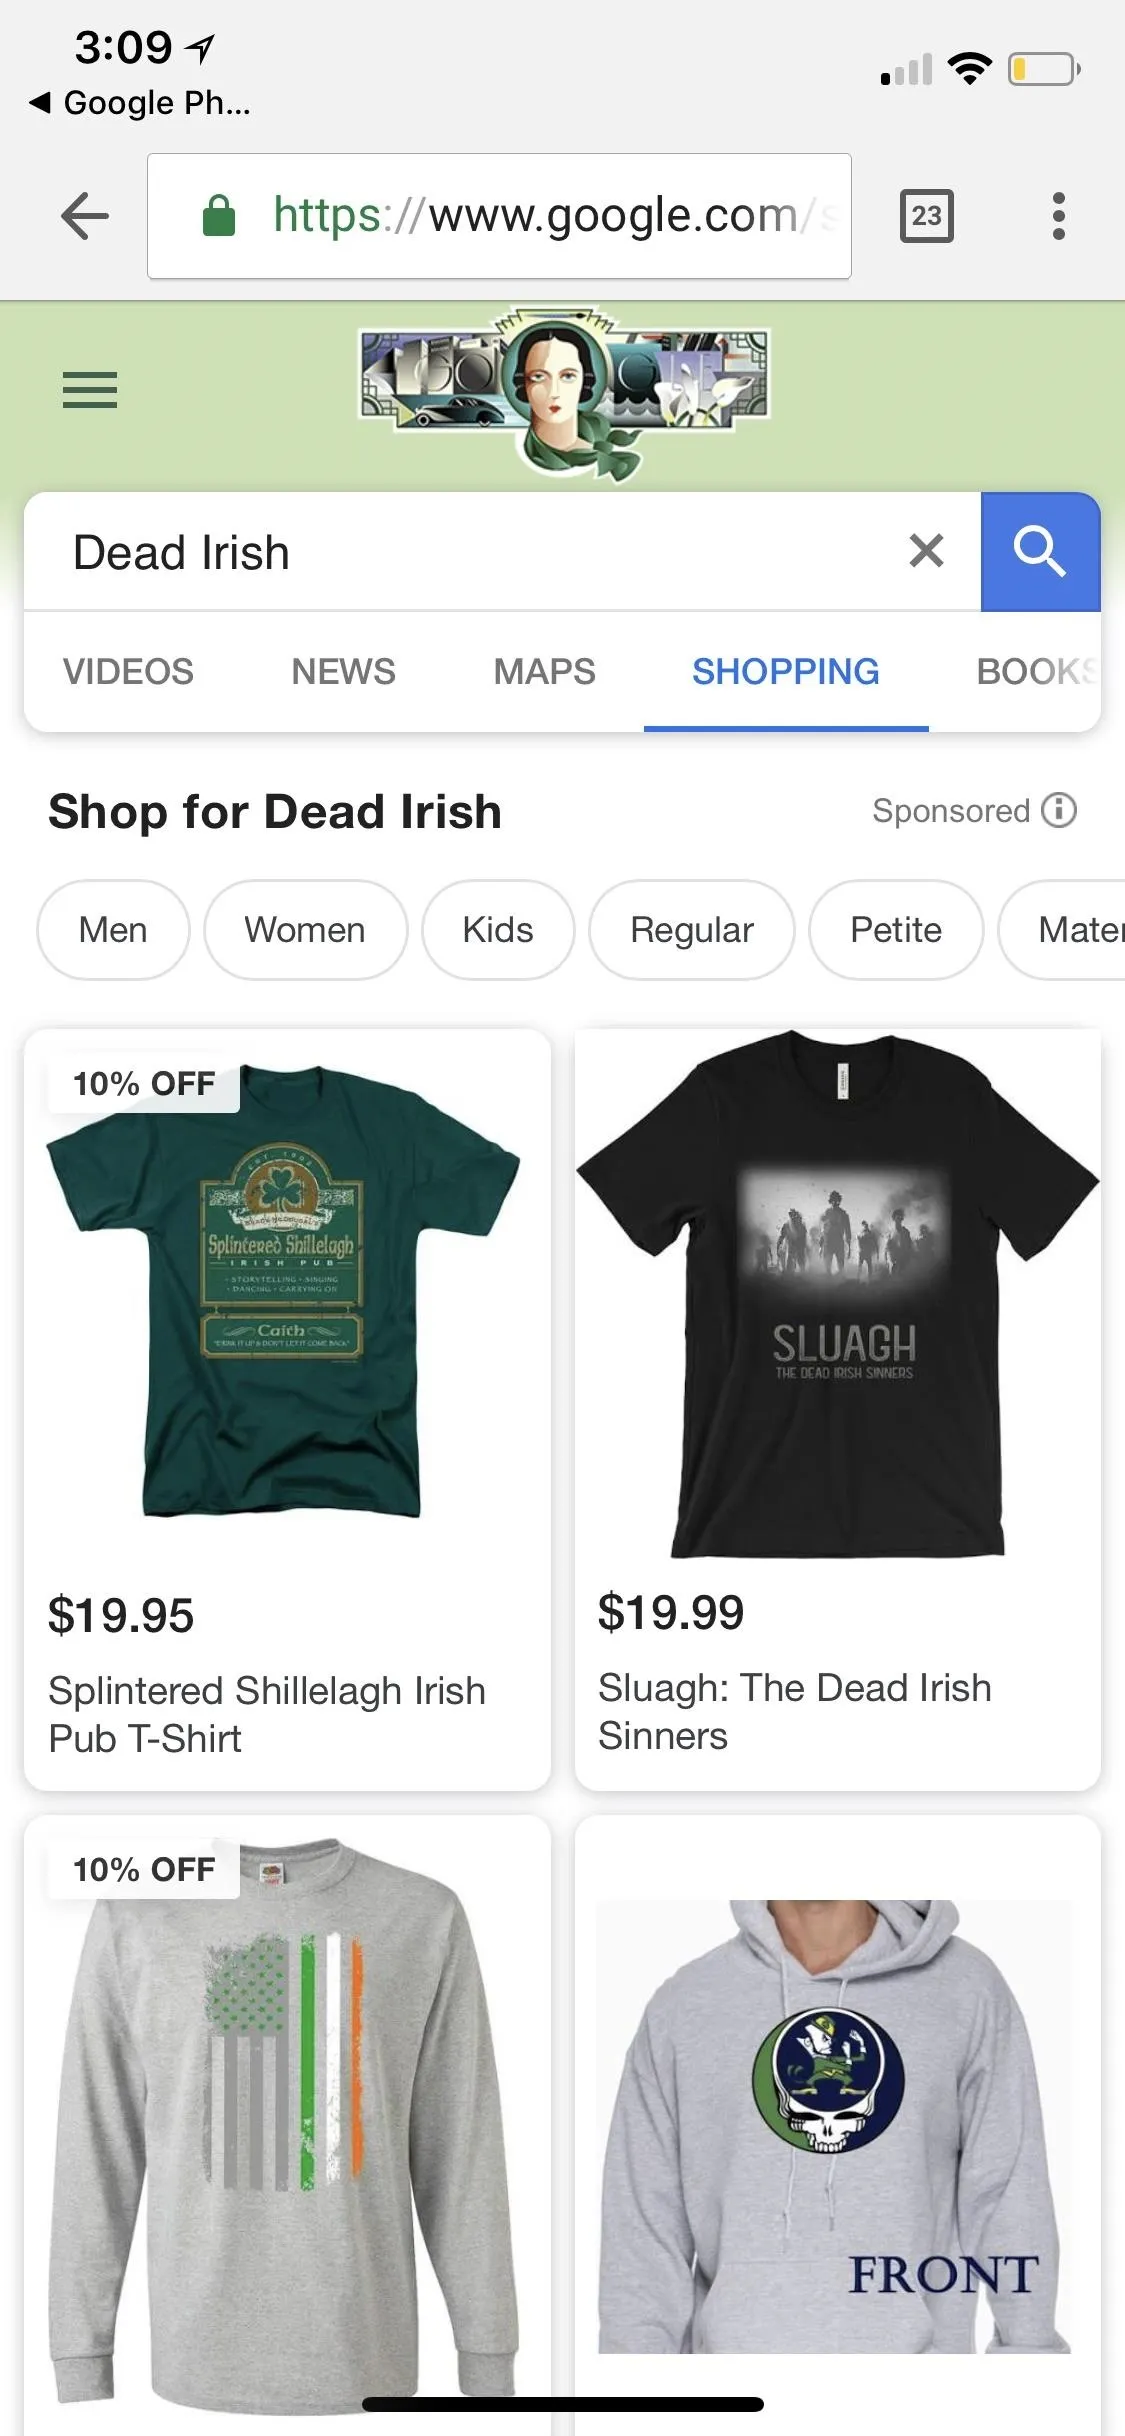
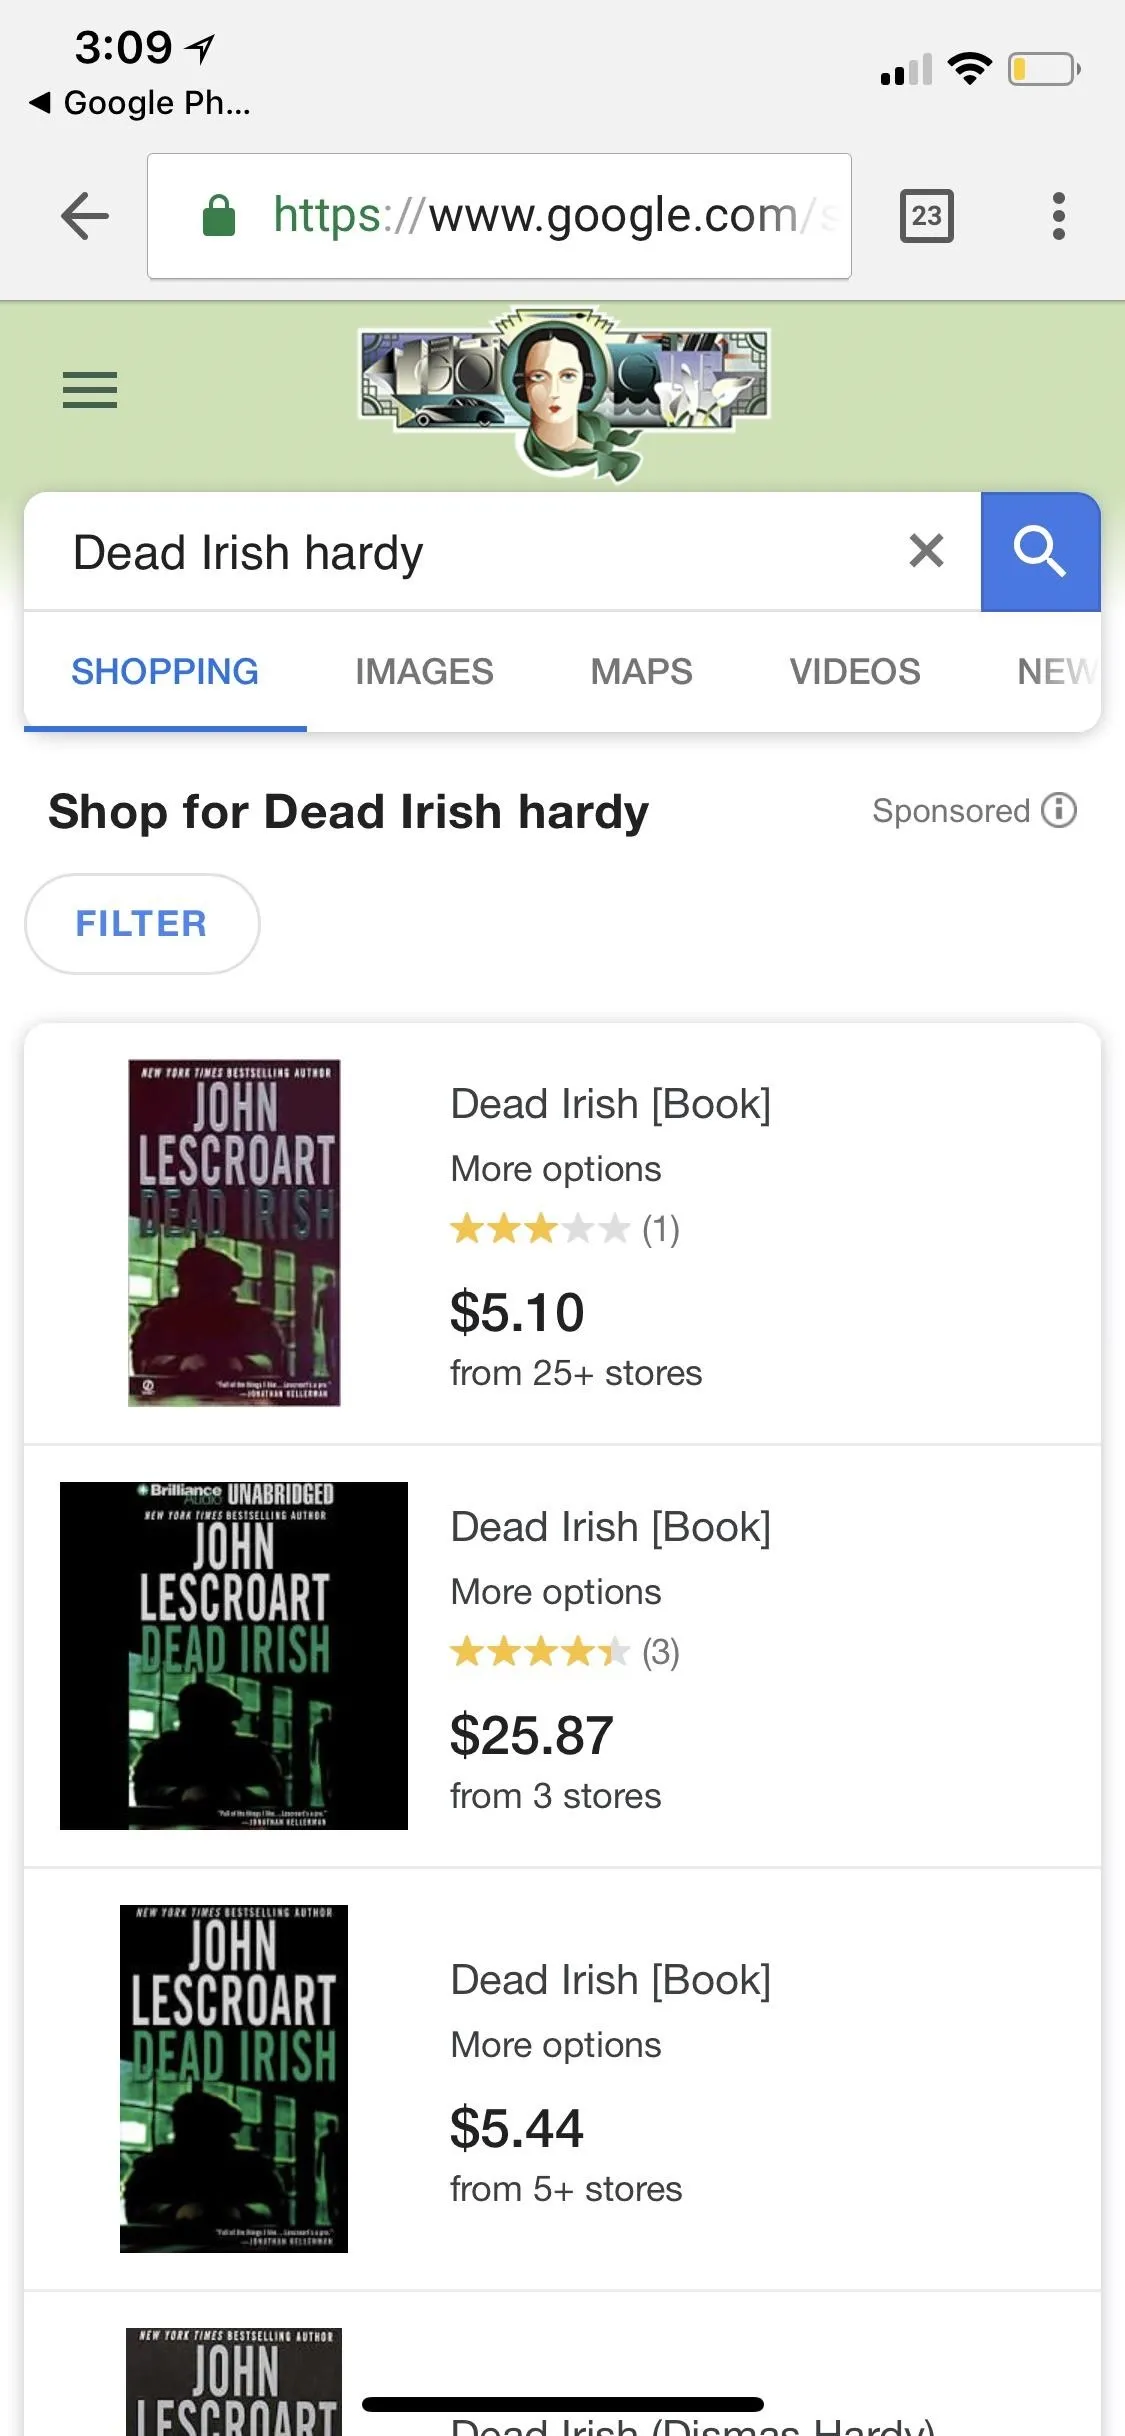
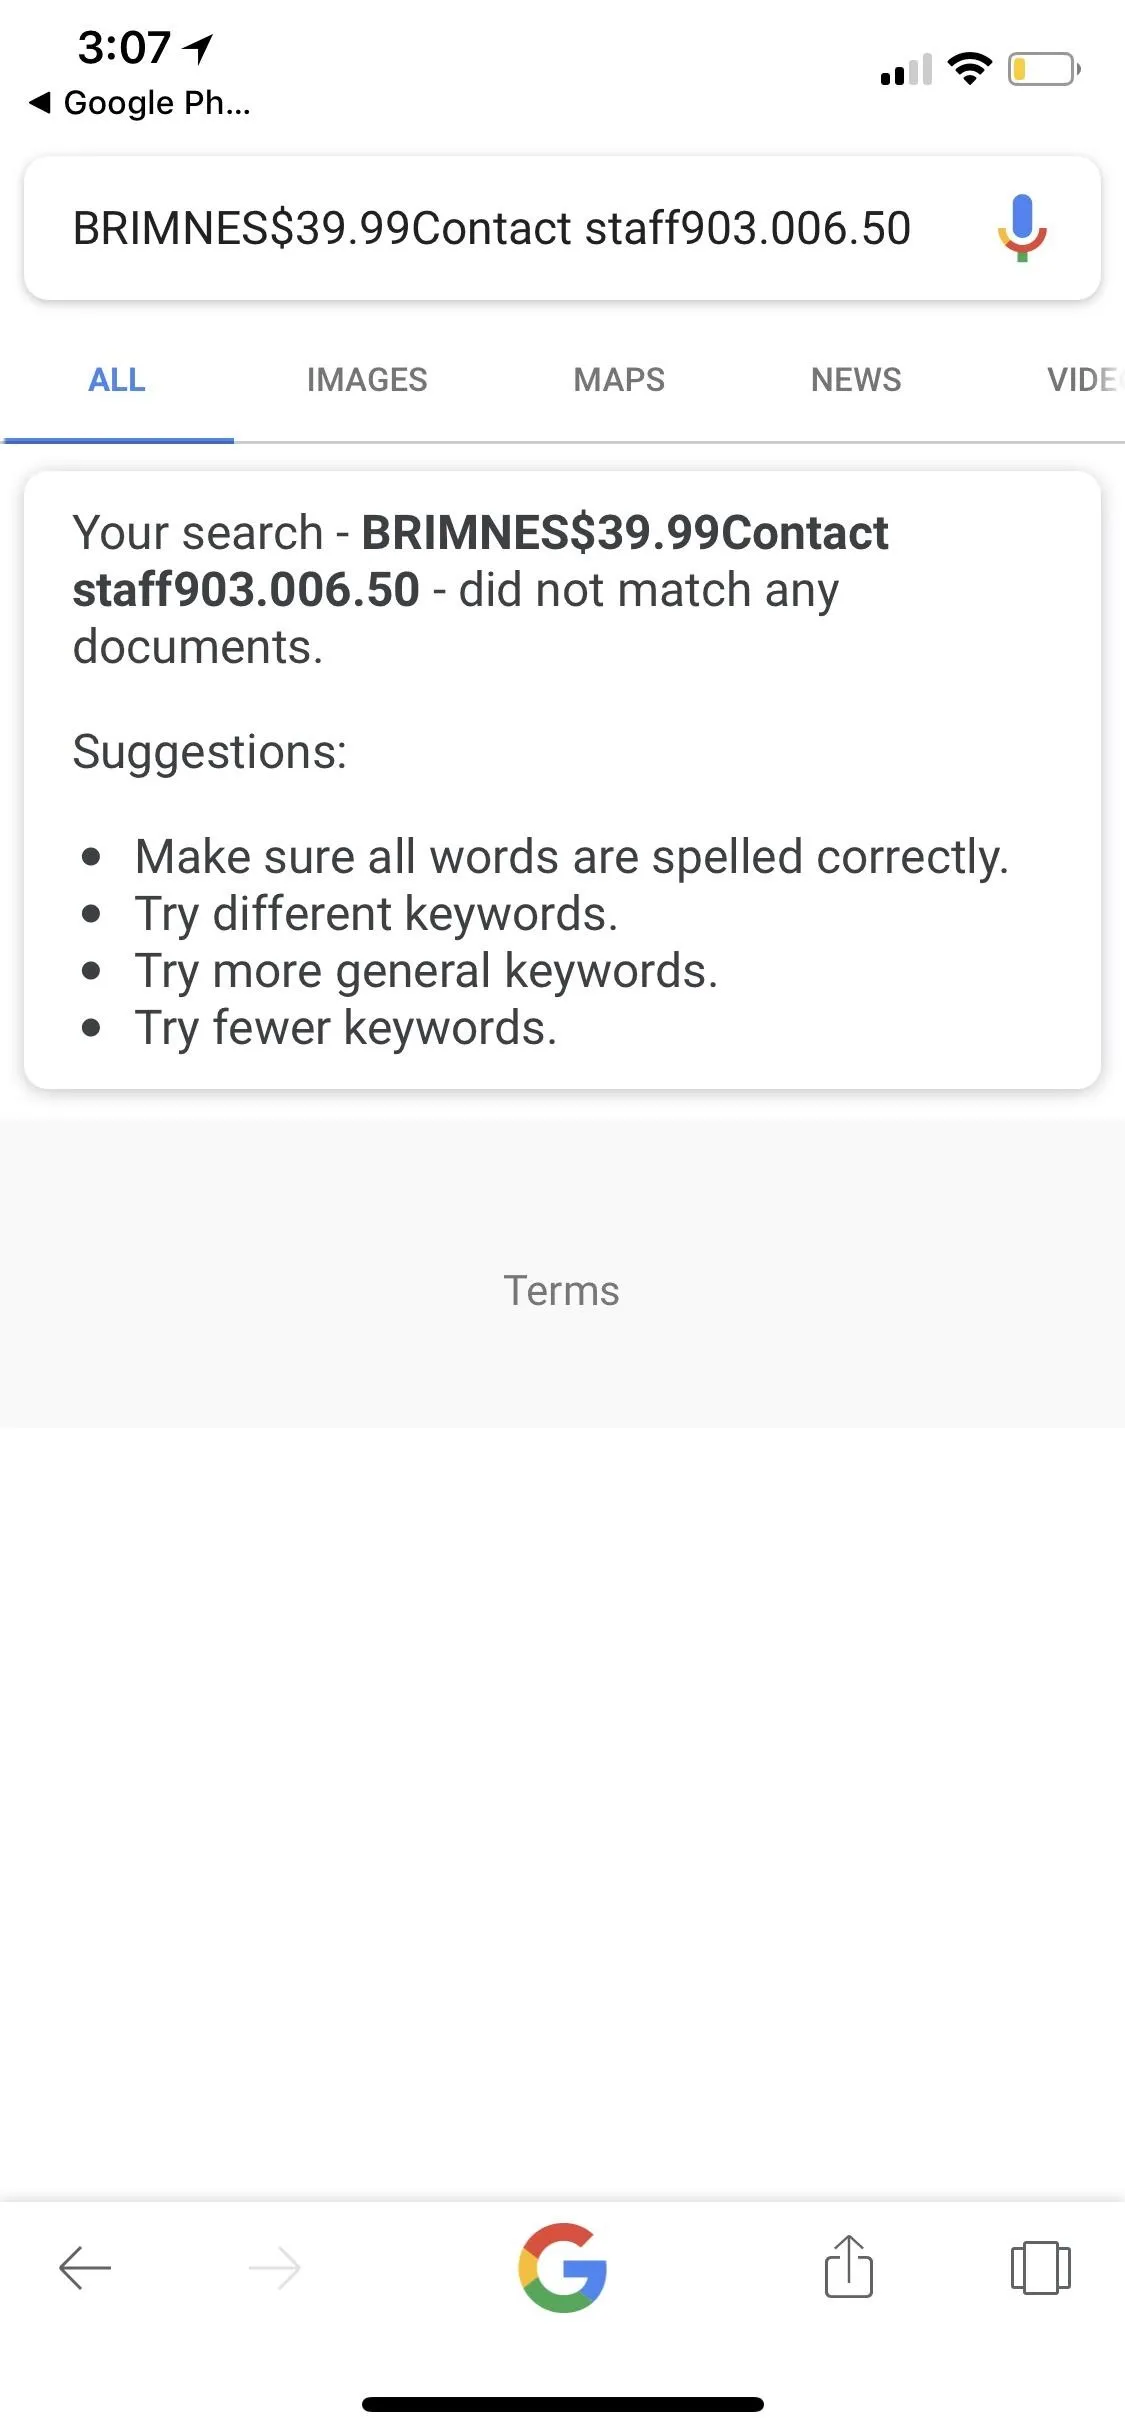
When a search was performed based on text selection, you will probably have to tweak the search term a little to get worthwhile results — or any results. For example, for the IKEA shelf below, I simply added some spaces and removed the "contact staff" text.
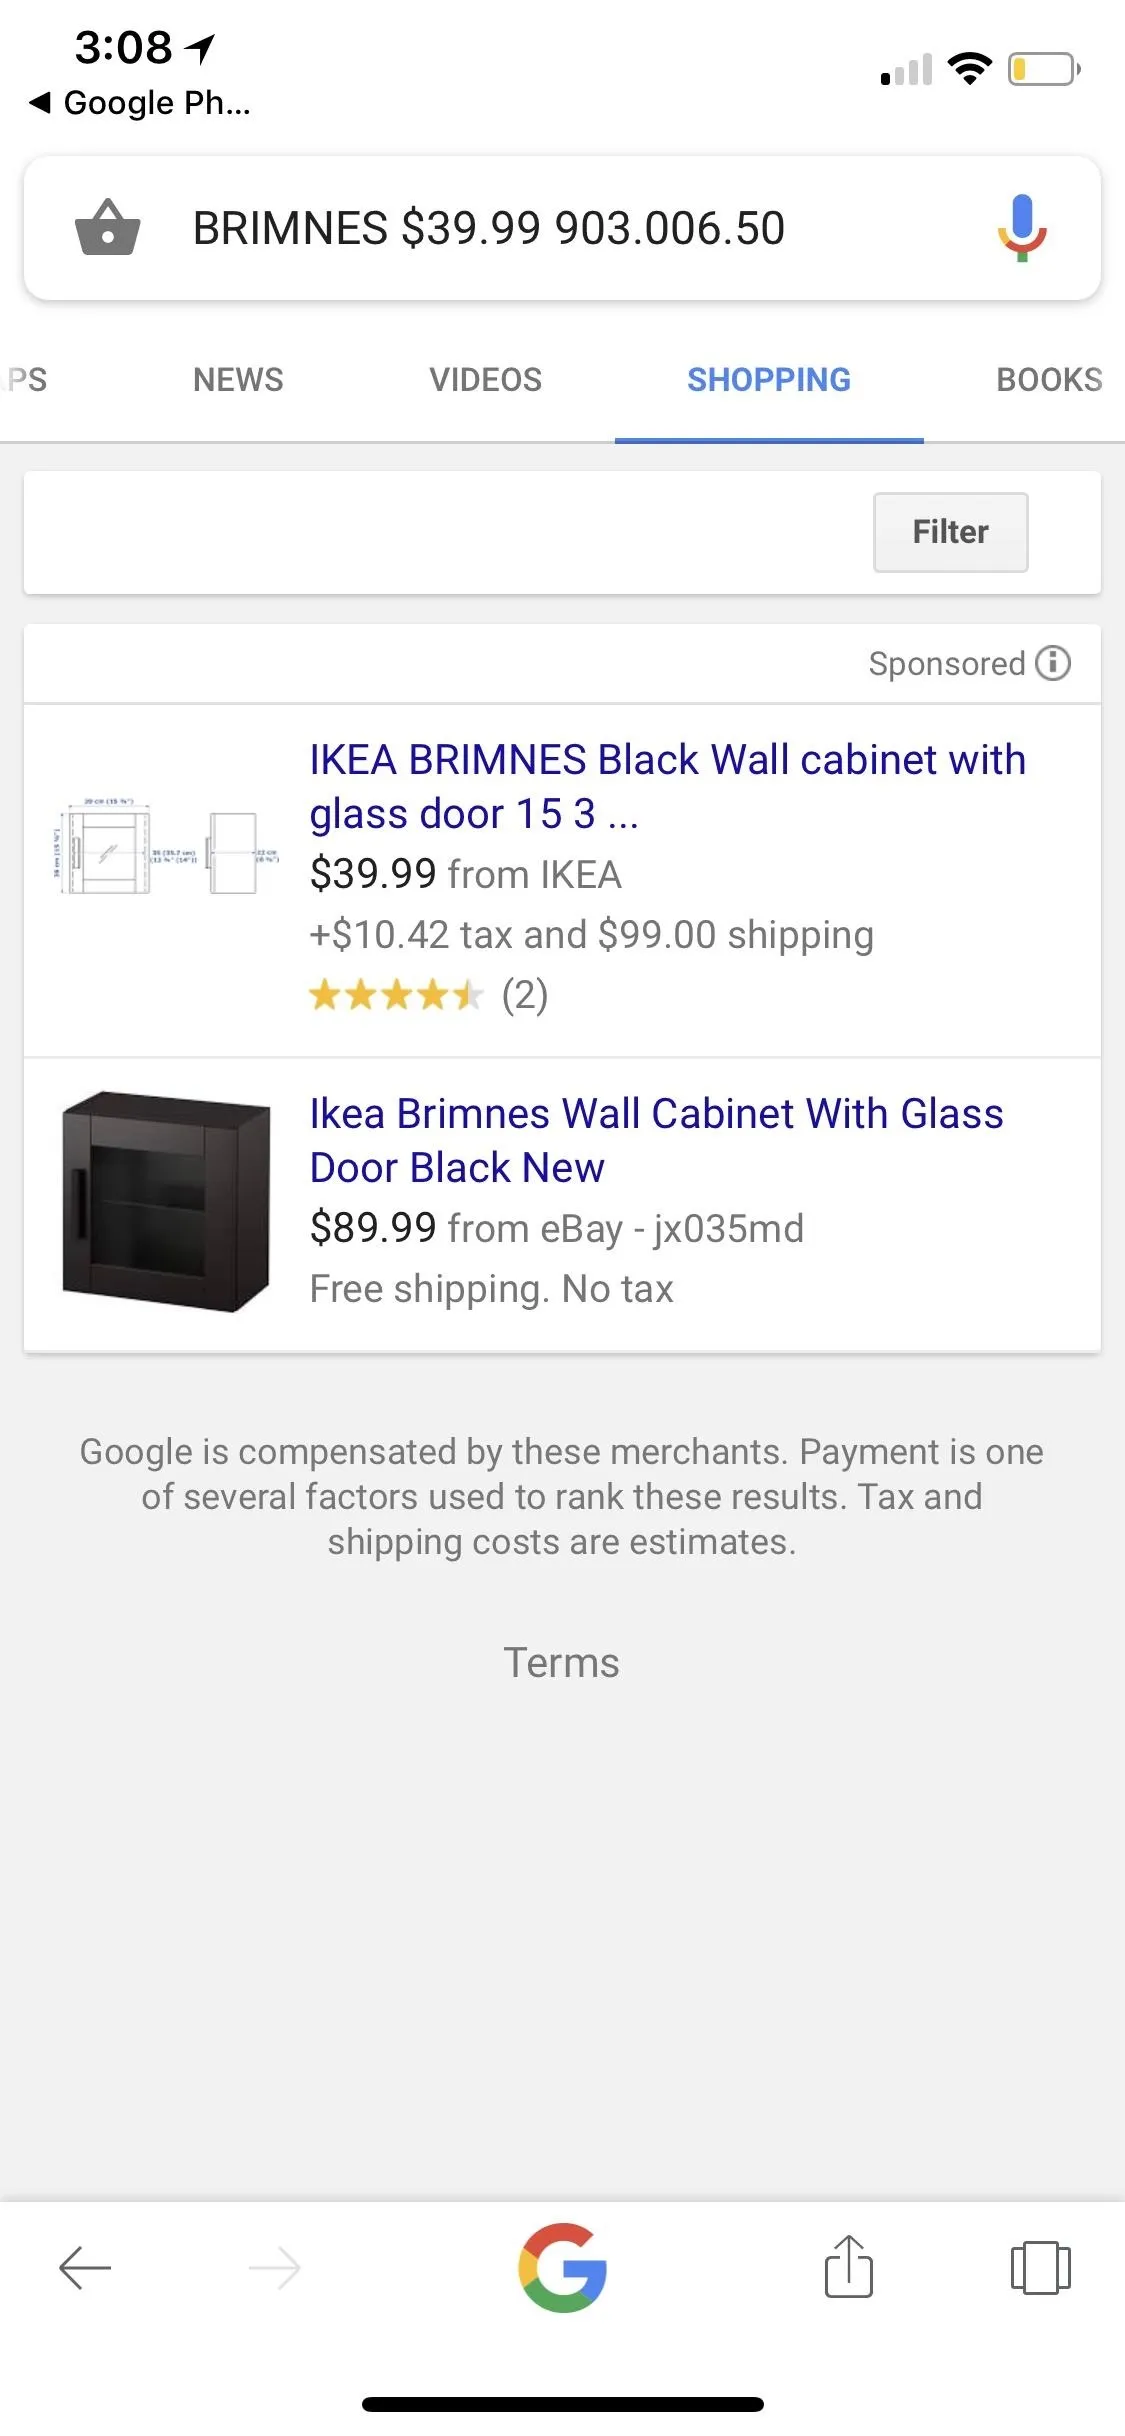
As you can see, there's a lot of ways Google Lens can help you buy some of the products in your images. Once you get to the search results or "Shopping" tab, it's only a matter of picking the right vendor and proceeding to checkout as you normally would (unless you're just checking prices, of course).
- Follow Gadget Hacks on Facebook, Twitter, YouTube, and Flipboard
- Follow WonderHowTo on Facebook, Twitter, Pinterest, and Flipboard
Cover image by Brian Lang/Gadget Hacks; Screenshots by Justin Meyers/Gadget Hacks


Comments
Be the first, drop a comment!