


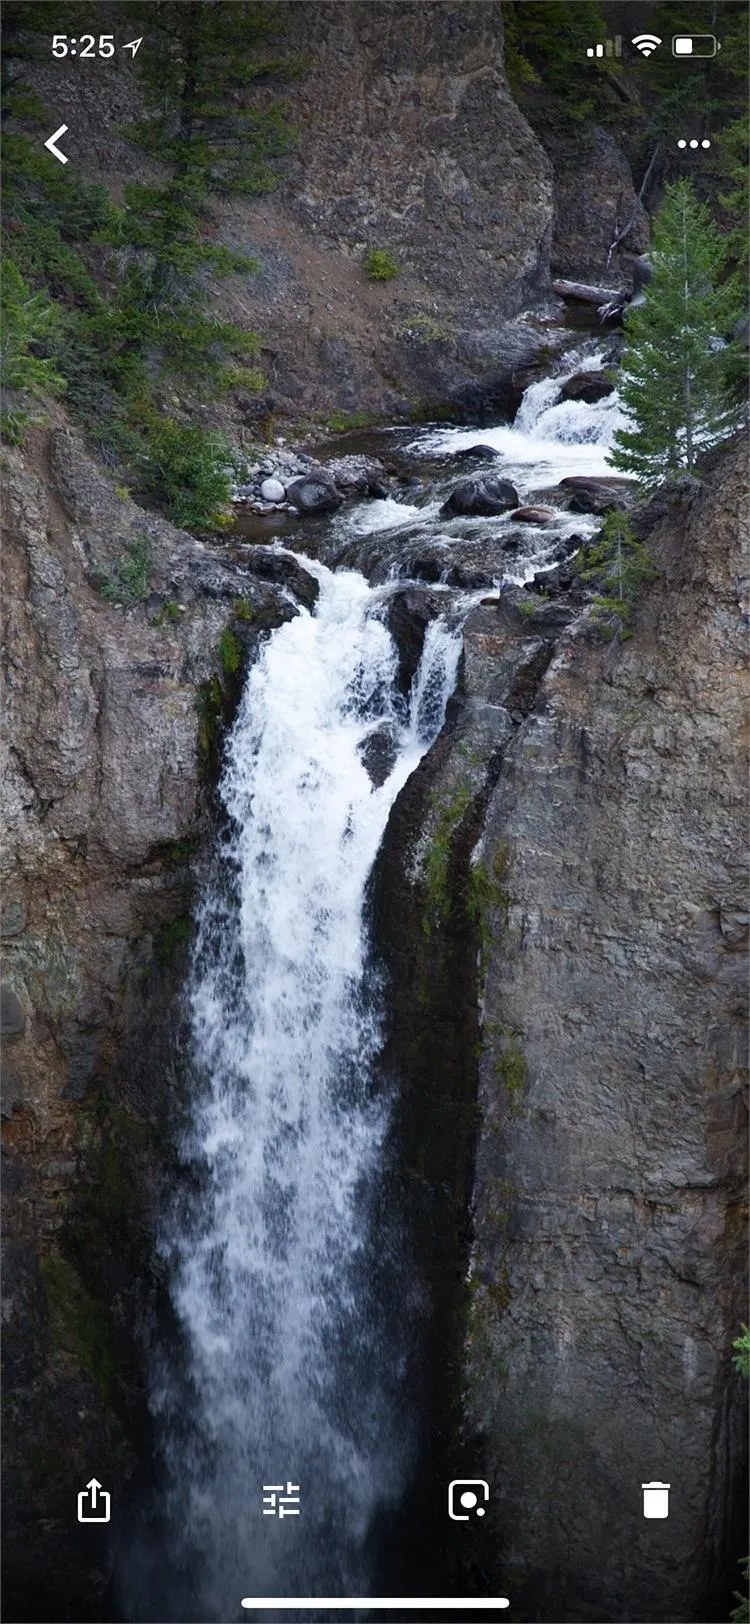
When traveling or sightseeing, you may come across a landmark you can't quite identify and want to know what exactly it is and the history behind it. It could be a building, waterfall ... anything. If there are no signs around or they're in a different language, you'll have no idea what you're looking at. Fortunately, Google Photos can be your personal tour guide with the power of Google Lens.
Google Lens isn't just useful for when you are actually out and about, it's most useful when you're looking at the photos you took from years ago but can't remember what something in the picture was. This tool makes the trip down memory lane that much easier and could even help get you organized.
To use the Google Lens feature, you'll need to have Google Photos installed on your iPhone or Android phone. Other than that, there's very little setup required. You don't even need to upload pictures to the cloud — Google Photos will automatically draw from your photo library and use all the locally stored images on your phone.
Find the Image in Google Photos
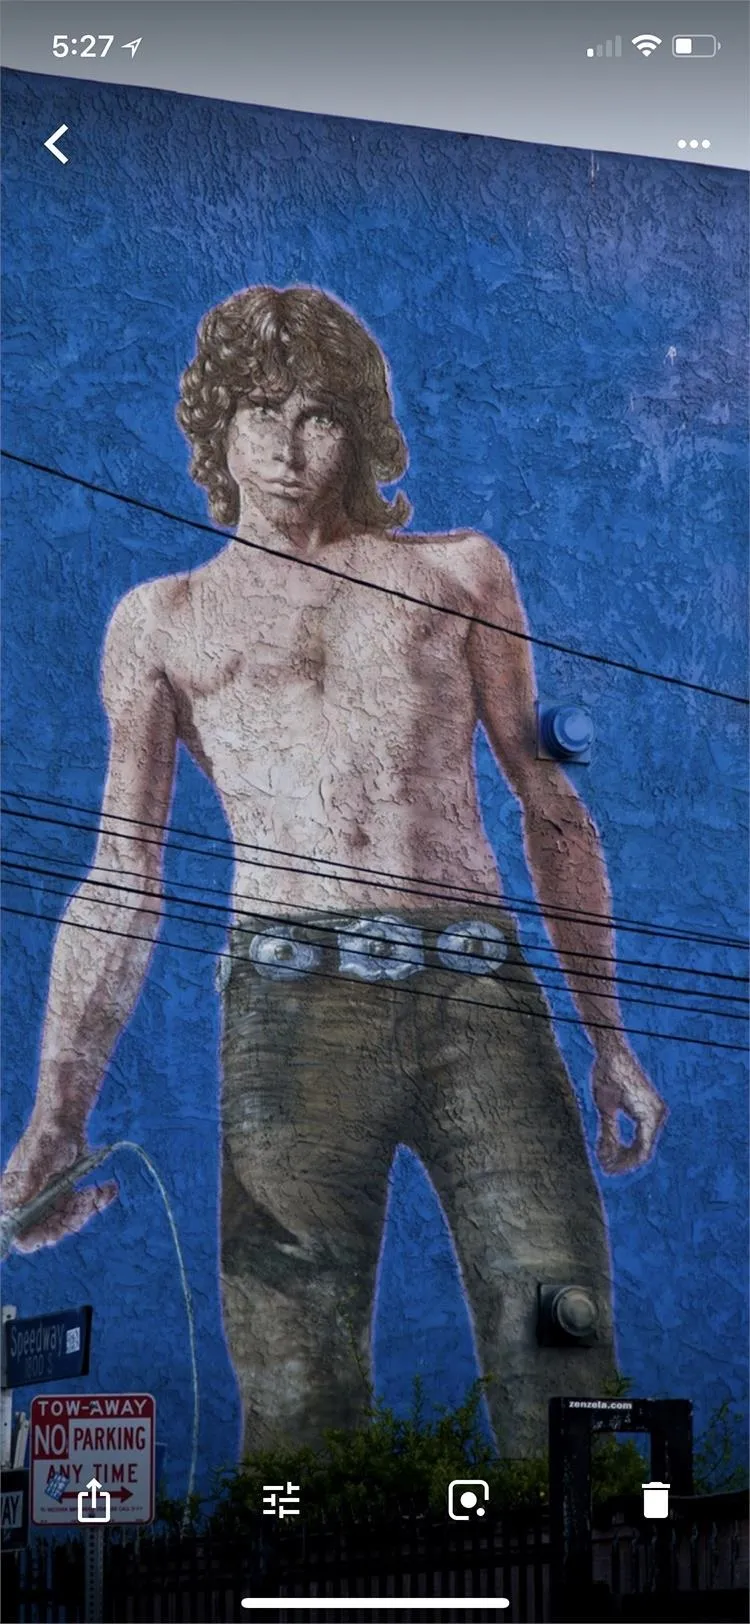
Whether it's an old photo on your device, one you just took, or even something you found online somewhere and saved to your phone's storage, Google Lens can scan them all. Go ahead and open up the Google Photos app on your Android or iPhone, then locate the image with the landmark you're trying to identify. (If this is your first time using Google Photos, you may need to grant it permission to view your photos.)
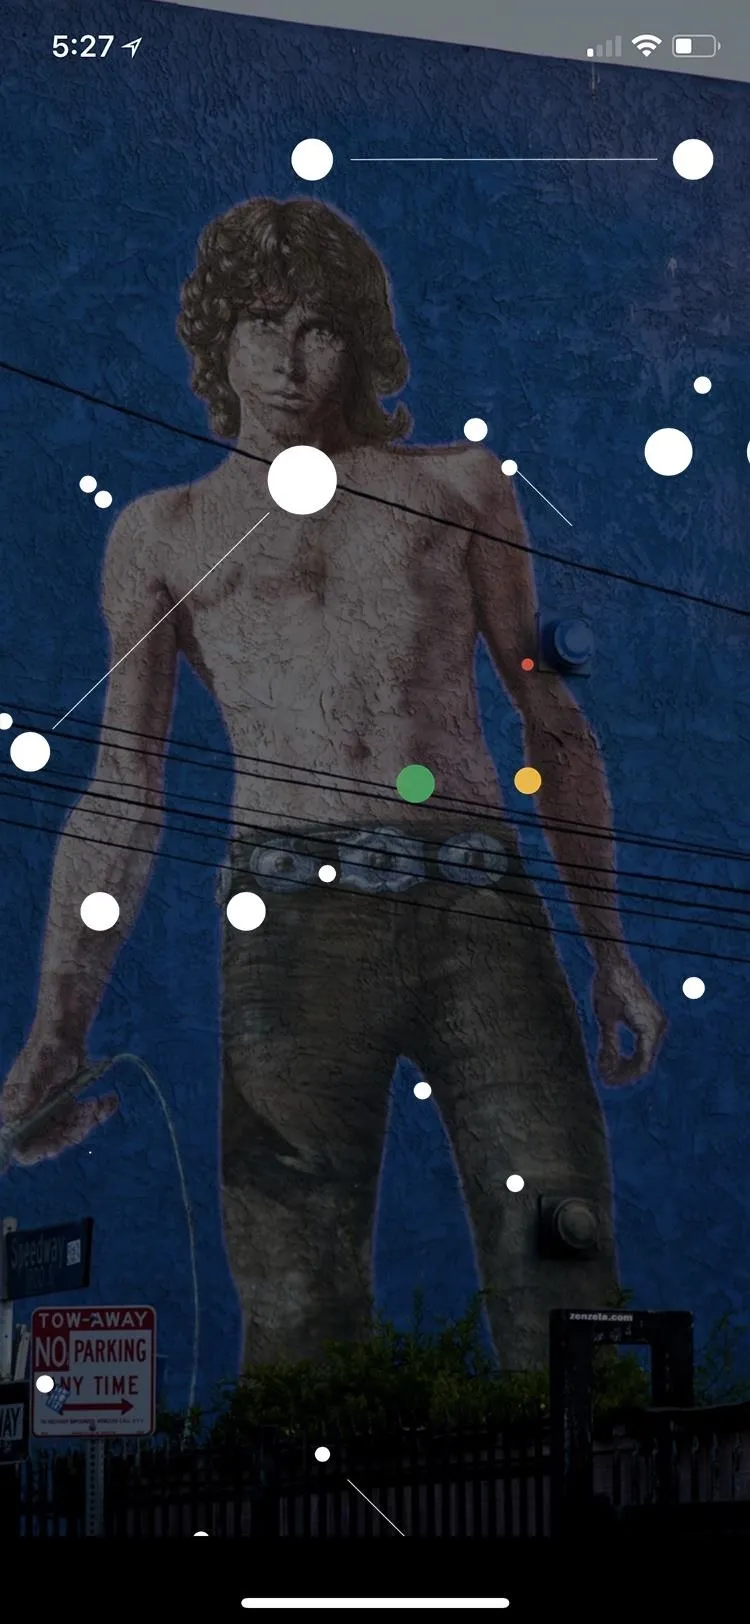
Scan the Landmark in the Image
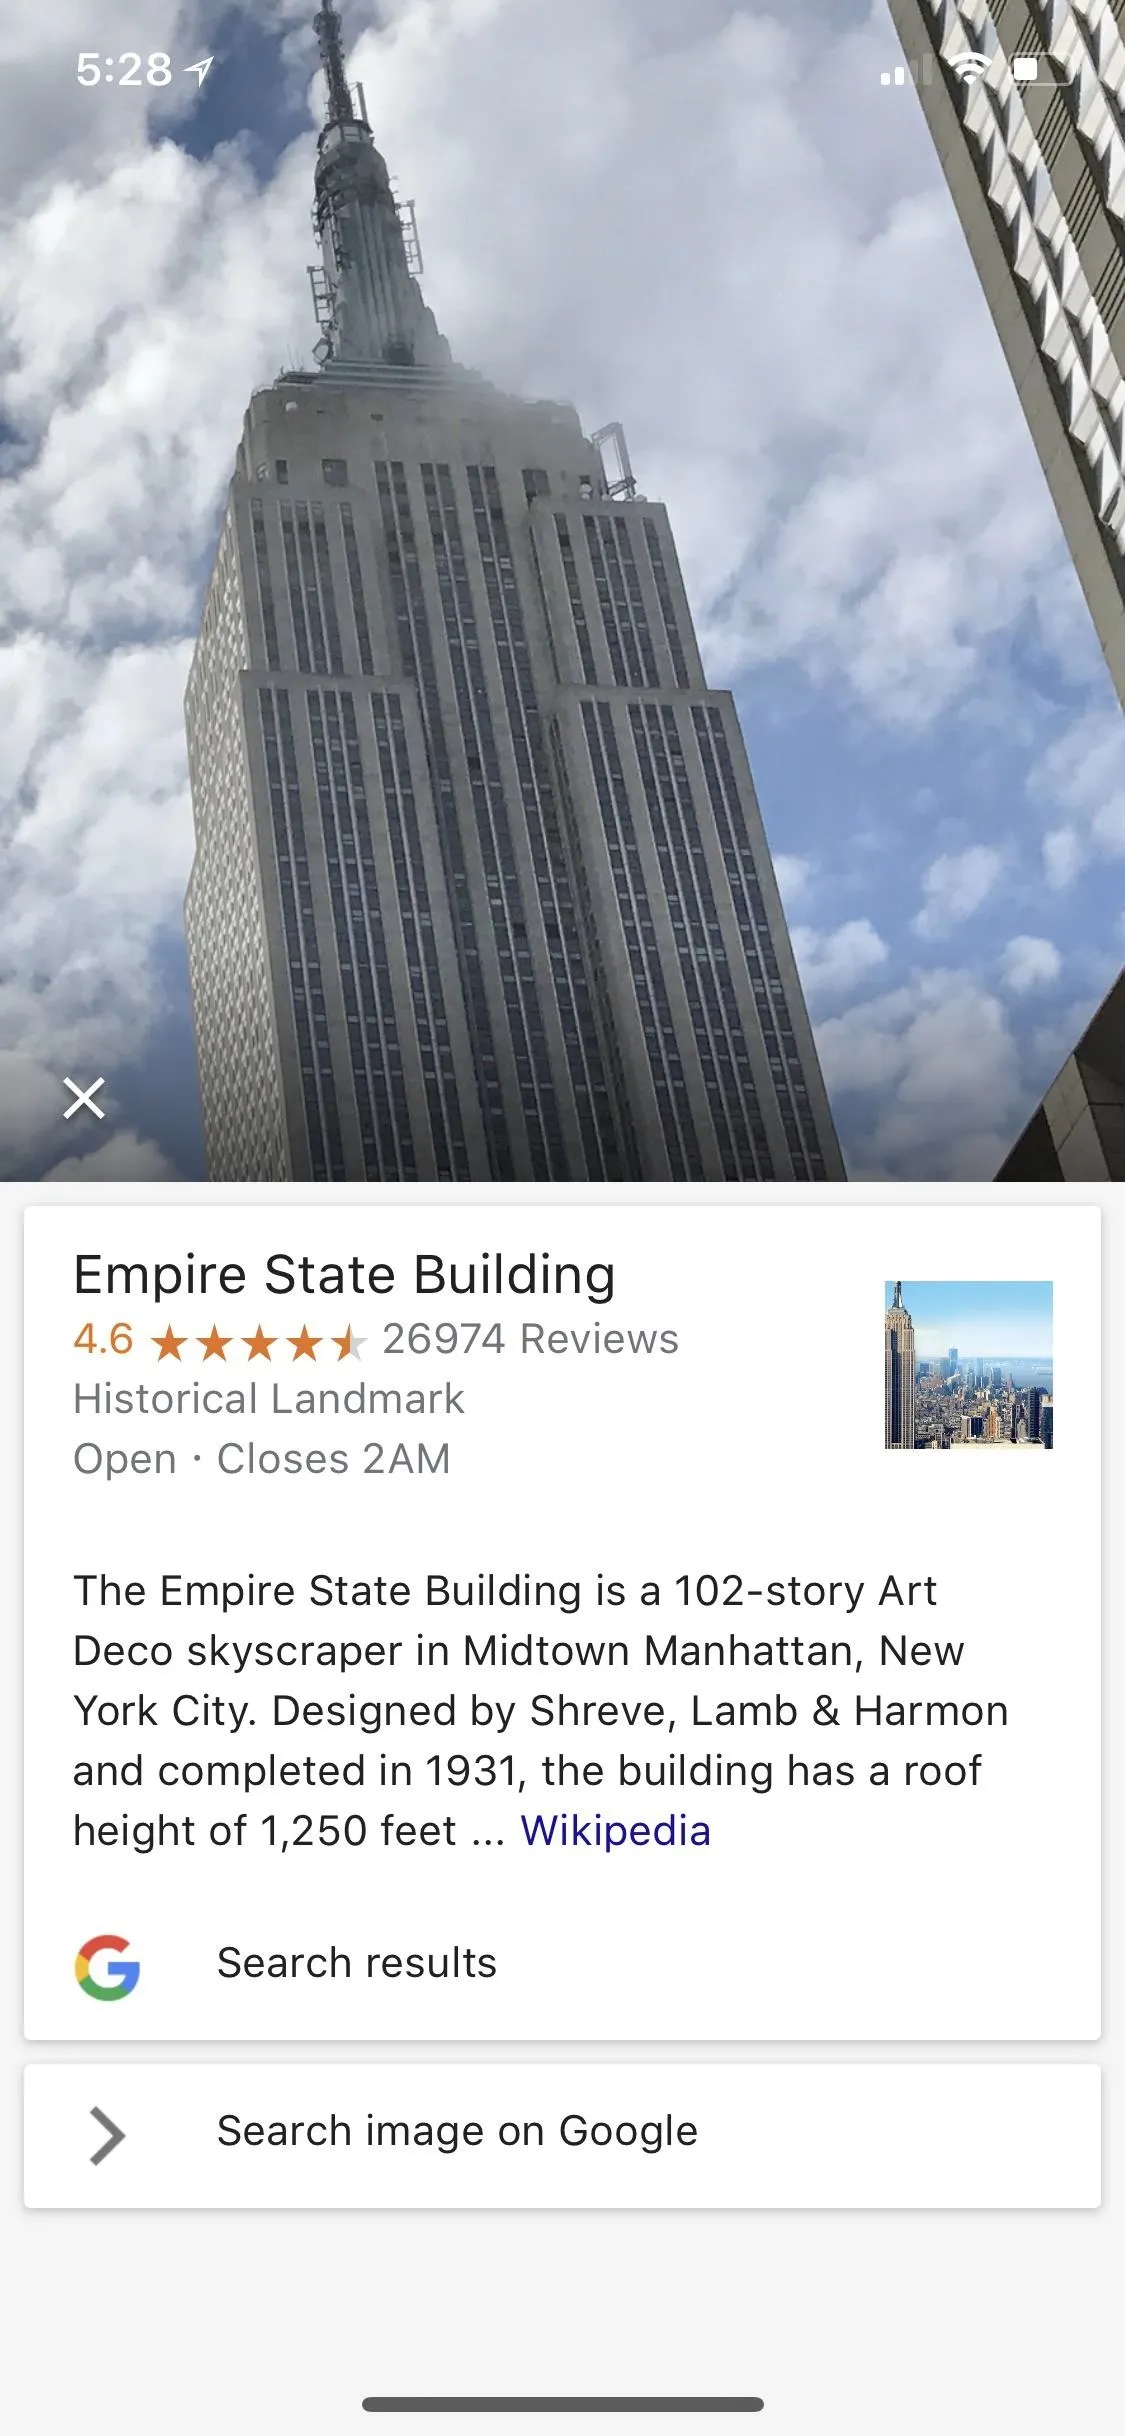
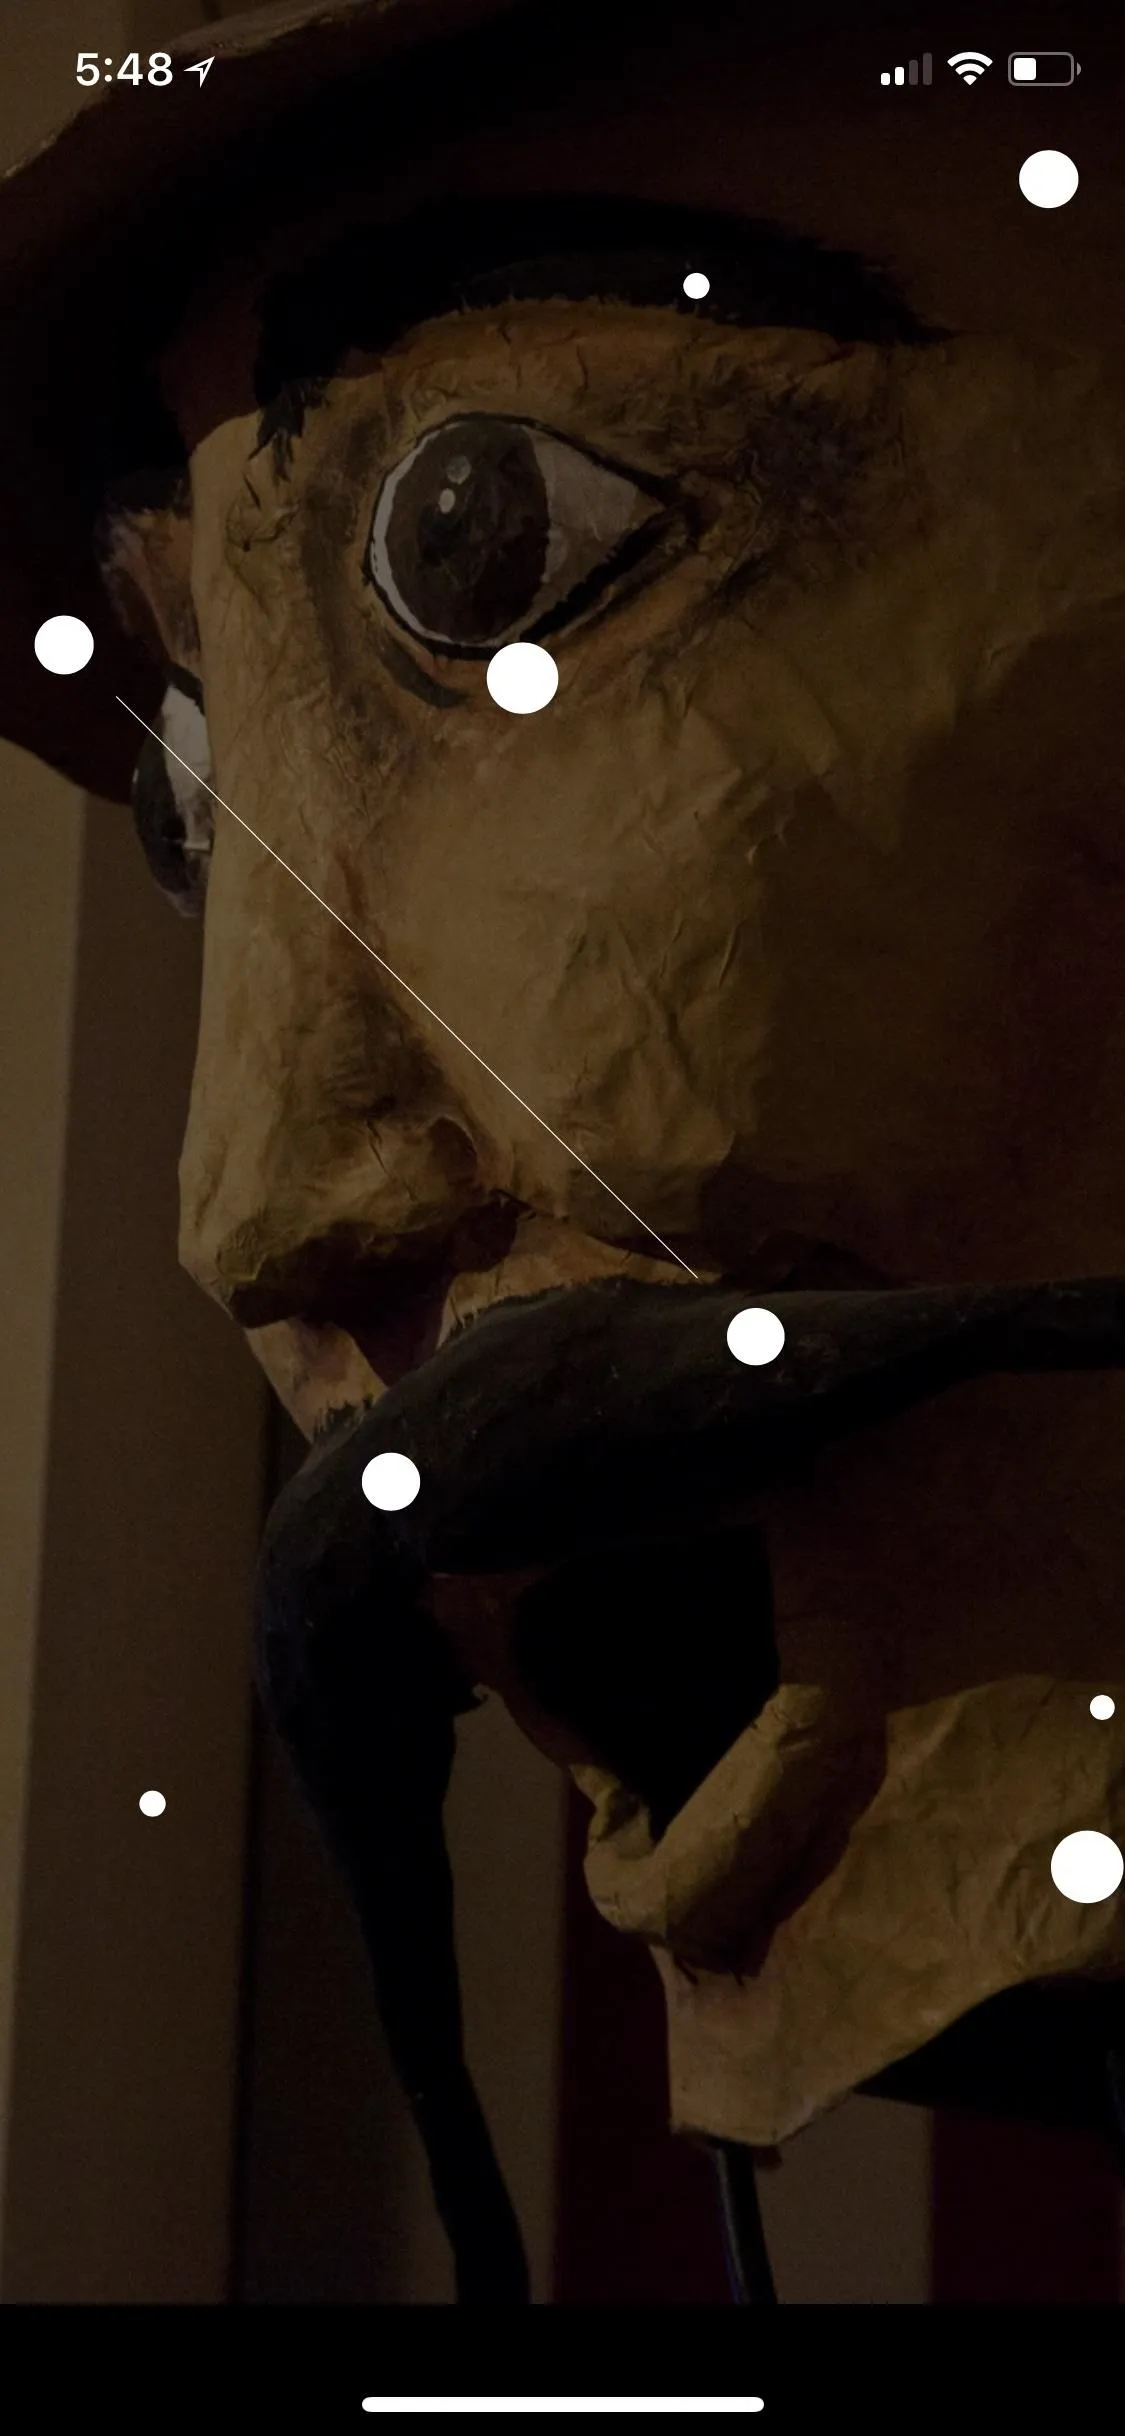
Once you've selected the photo with the landmark that needs to be identified, tap the Lens icon (the white dot inside an incomplete square) in the bottom menu bar. Google will then start scanning the image.
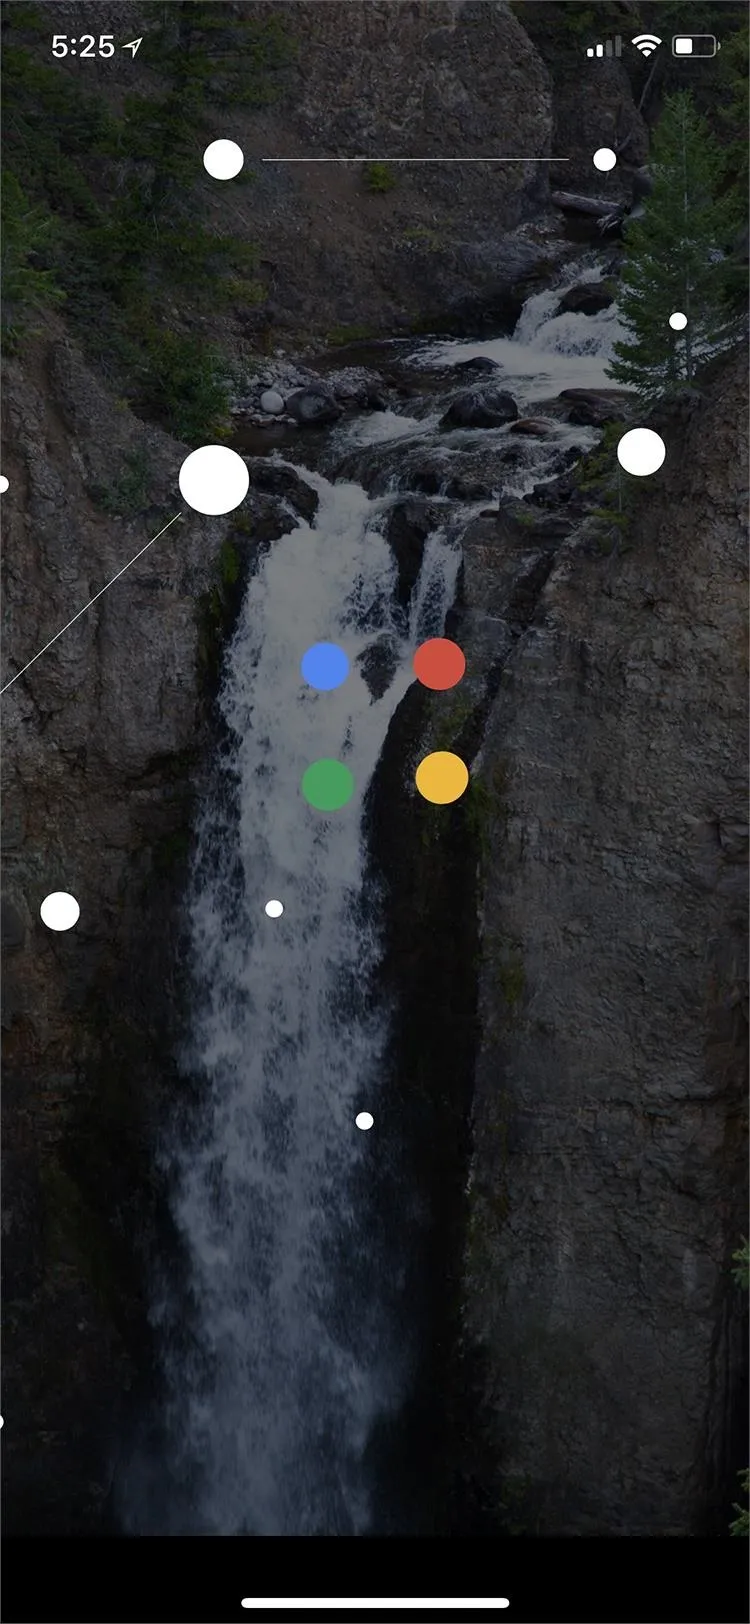
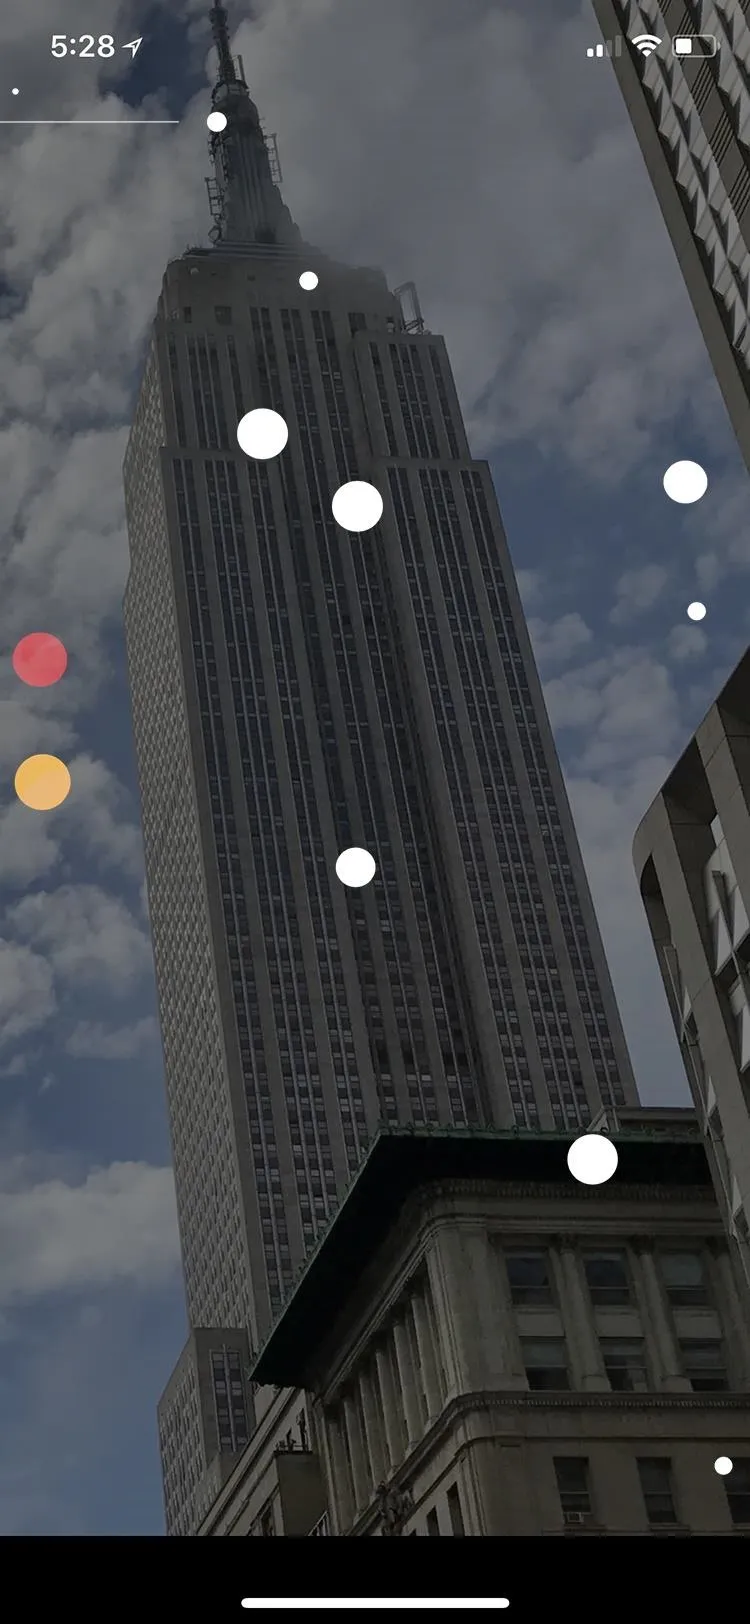
Get Your Results
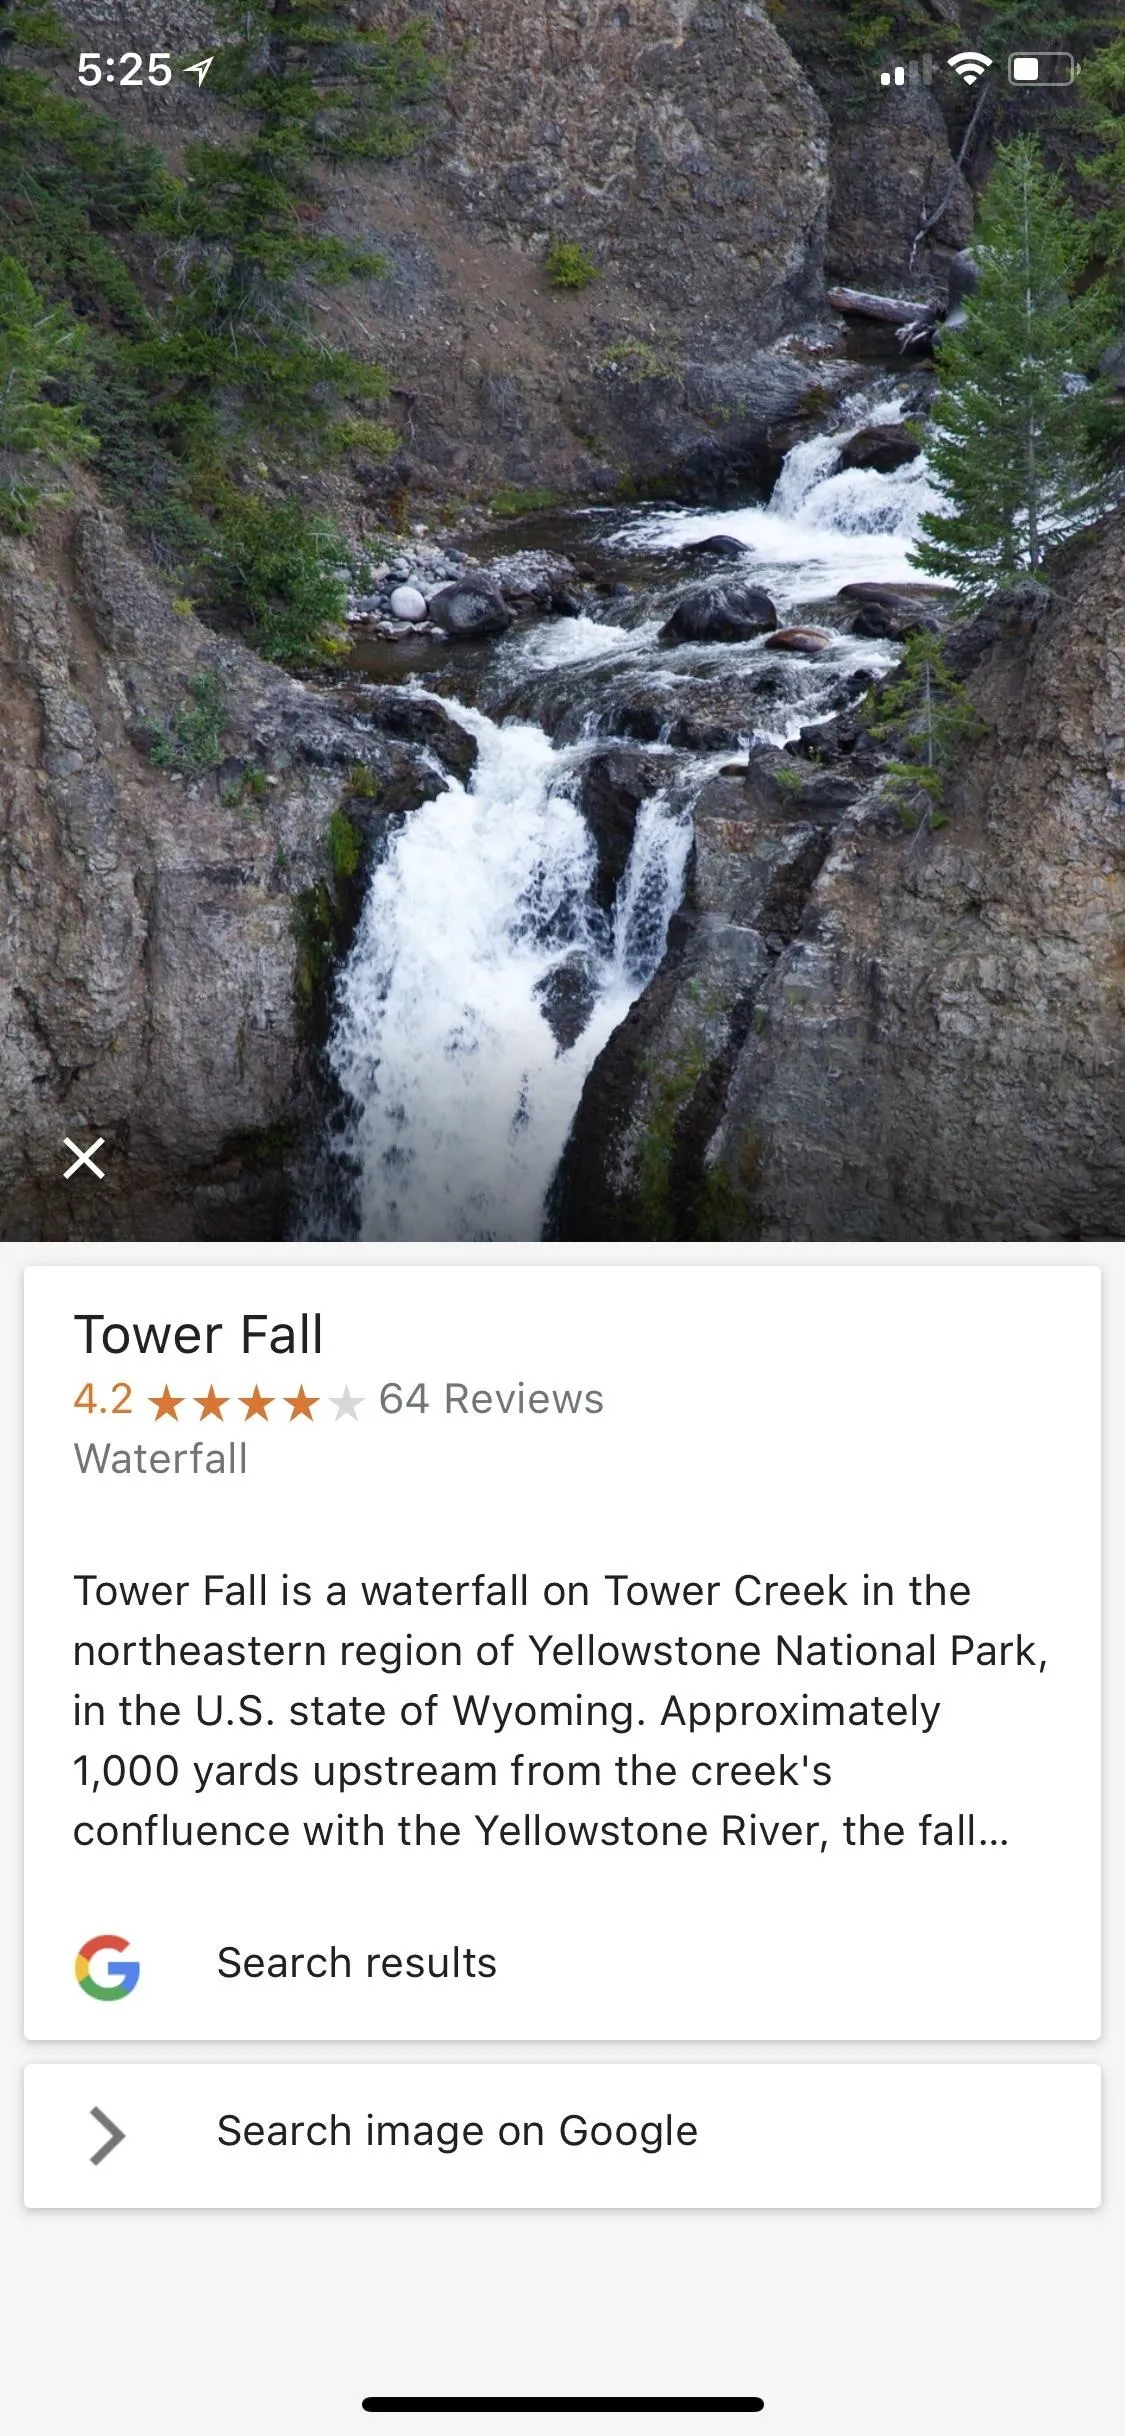
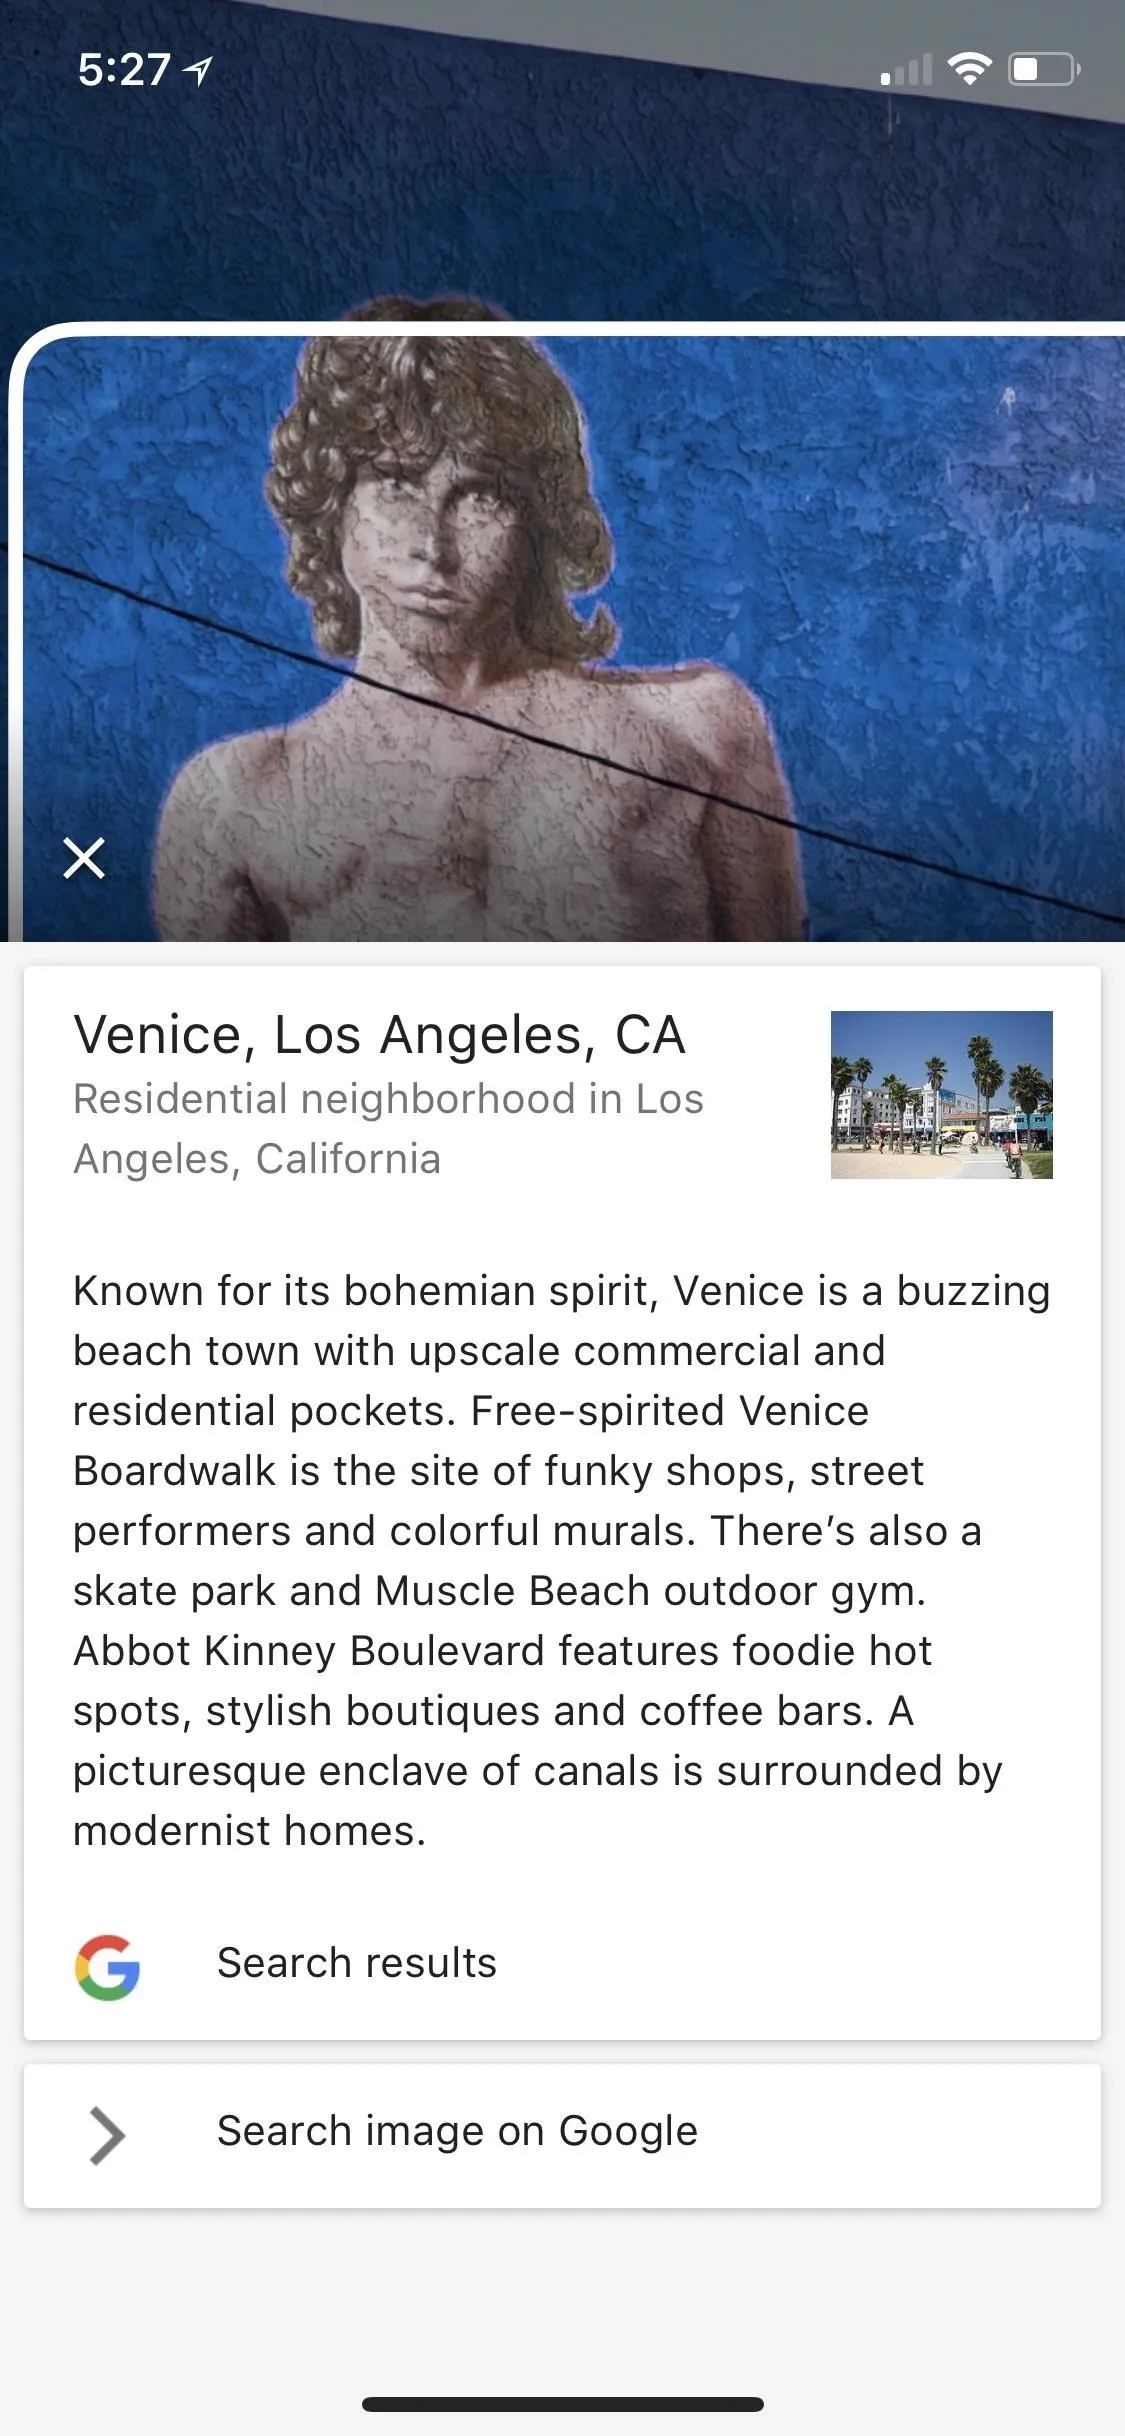
Once Google Lens has finished scanning your picture, if it successfully identified something, the identified feature will be highlighted and a card will pop up with the name of what was matched, as well as some "quick facts" about it. If the description came from Wikipedia instead of Google, there will be a link to read the rest.
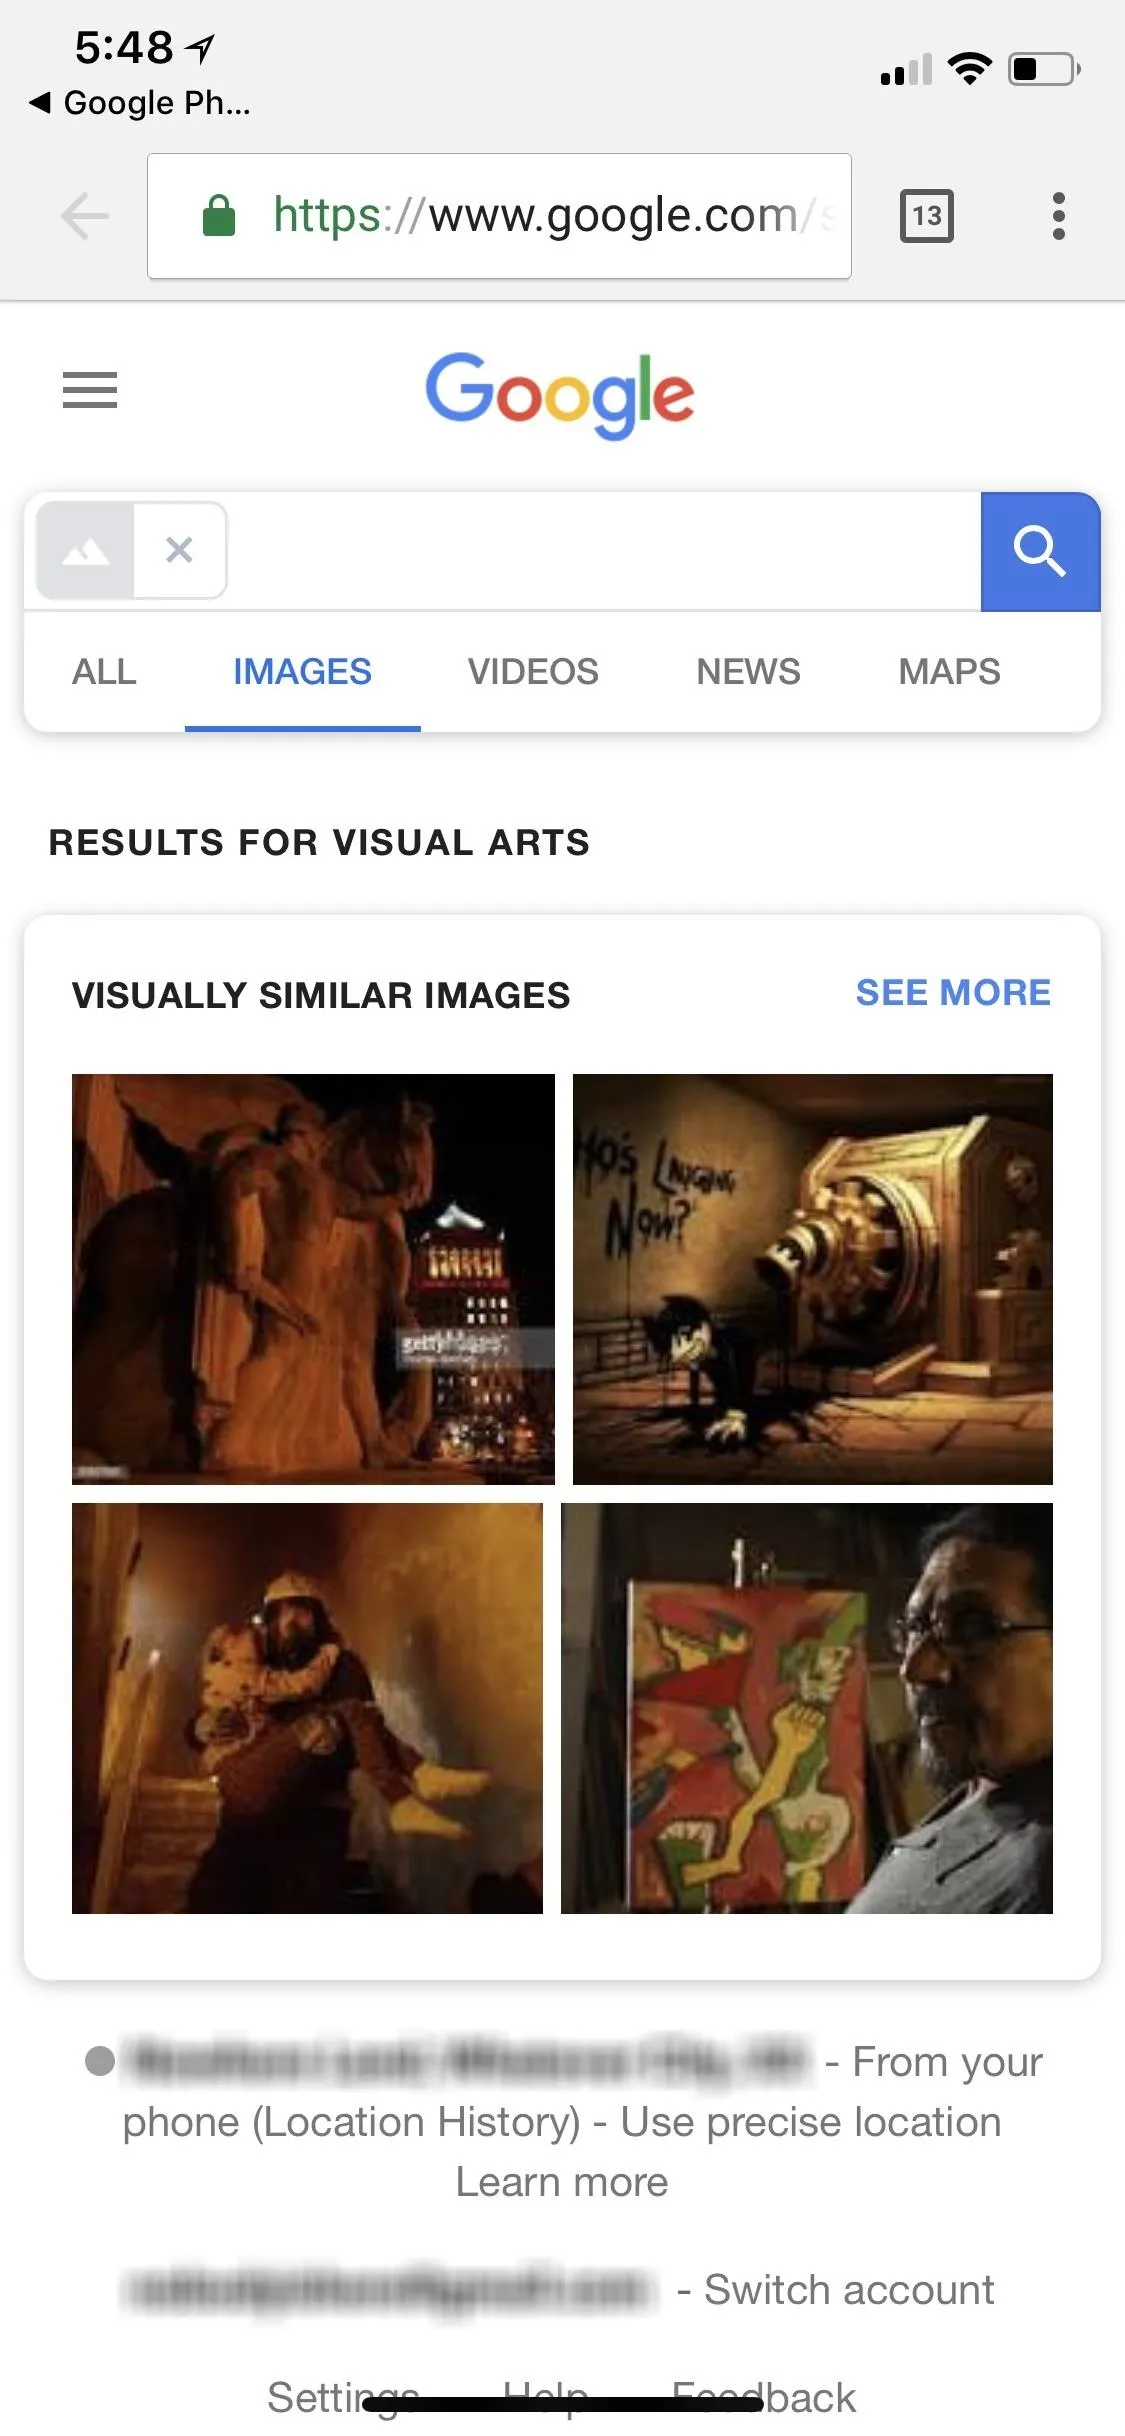
You can also tap on "Search Results" to open up your browser or "Search image on Google" to do a reverse image search of the picture, in case it's not yours and you're trying to locate the original photographer (or for whatever reason you'd want to do a reverse image search).
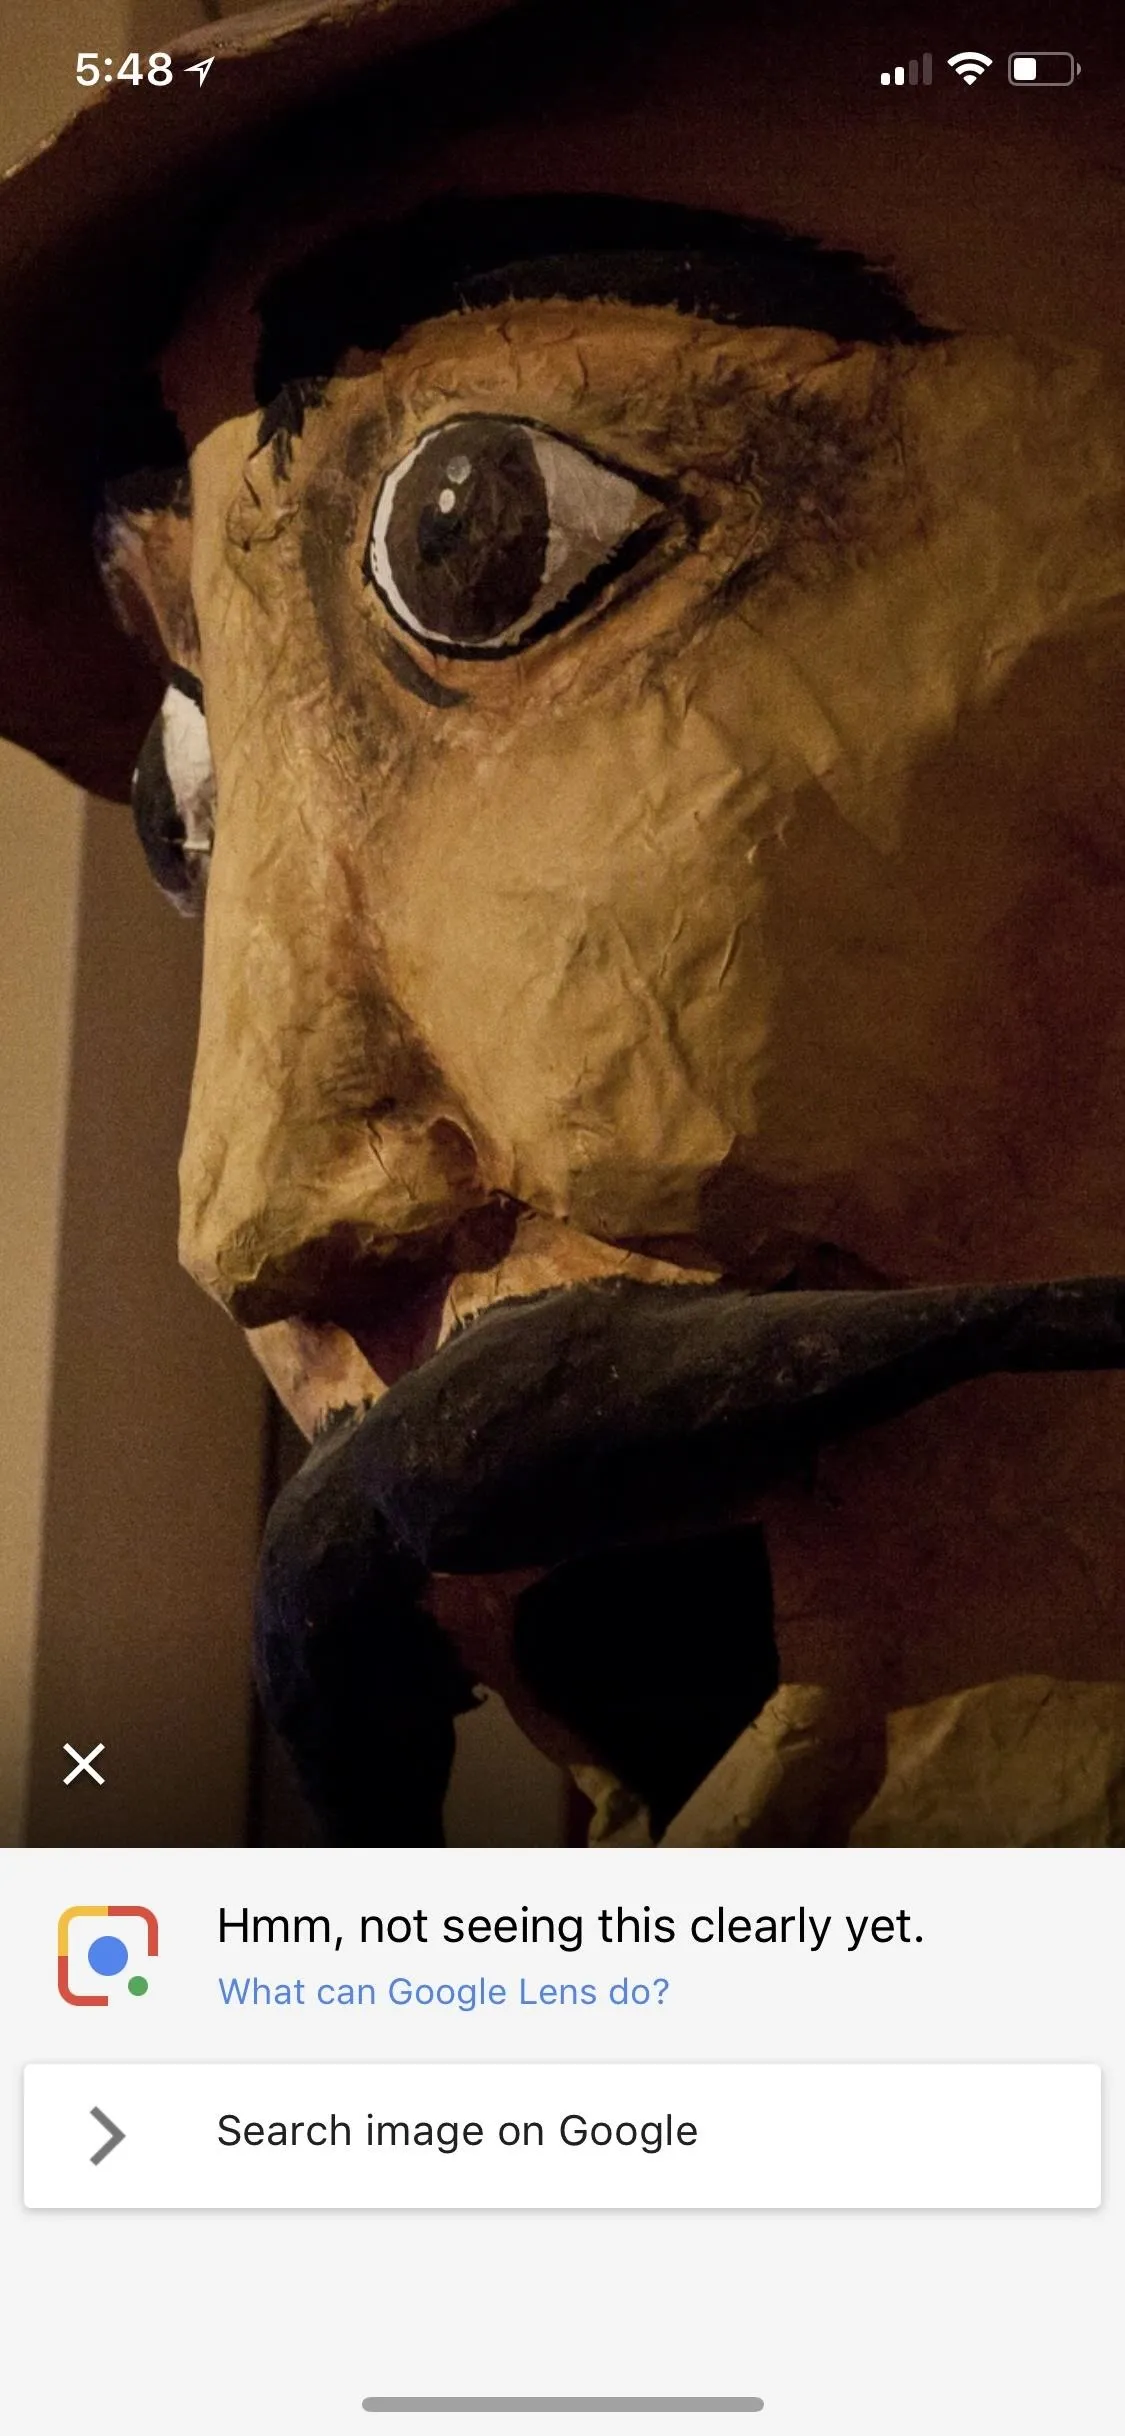
When Google Lens has a hard time identifying a landmark, point of interest, monument, or notable building in your photo, it will give you a messages such as "Hmm, not seeing this clearly yet," along with an option to "Search image on Google" to see if a reverse image search will do a better job at helping you figure out what's in the photo. In my experience, if Google Lens can't get it right away, a reverse image search isn't going to be much helpful either.
- Follow Gadget Hacks on Facebook, Twitter, YouTube, and Flipboard
- Follow WonderHowTo on Facebook, Twitter, Pinterest, and Flipboard
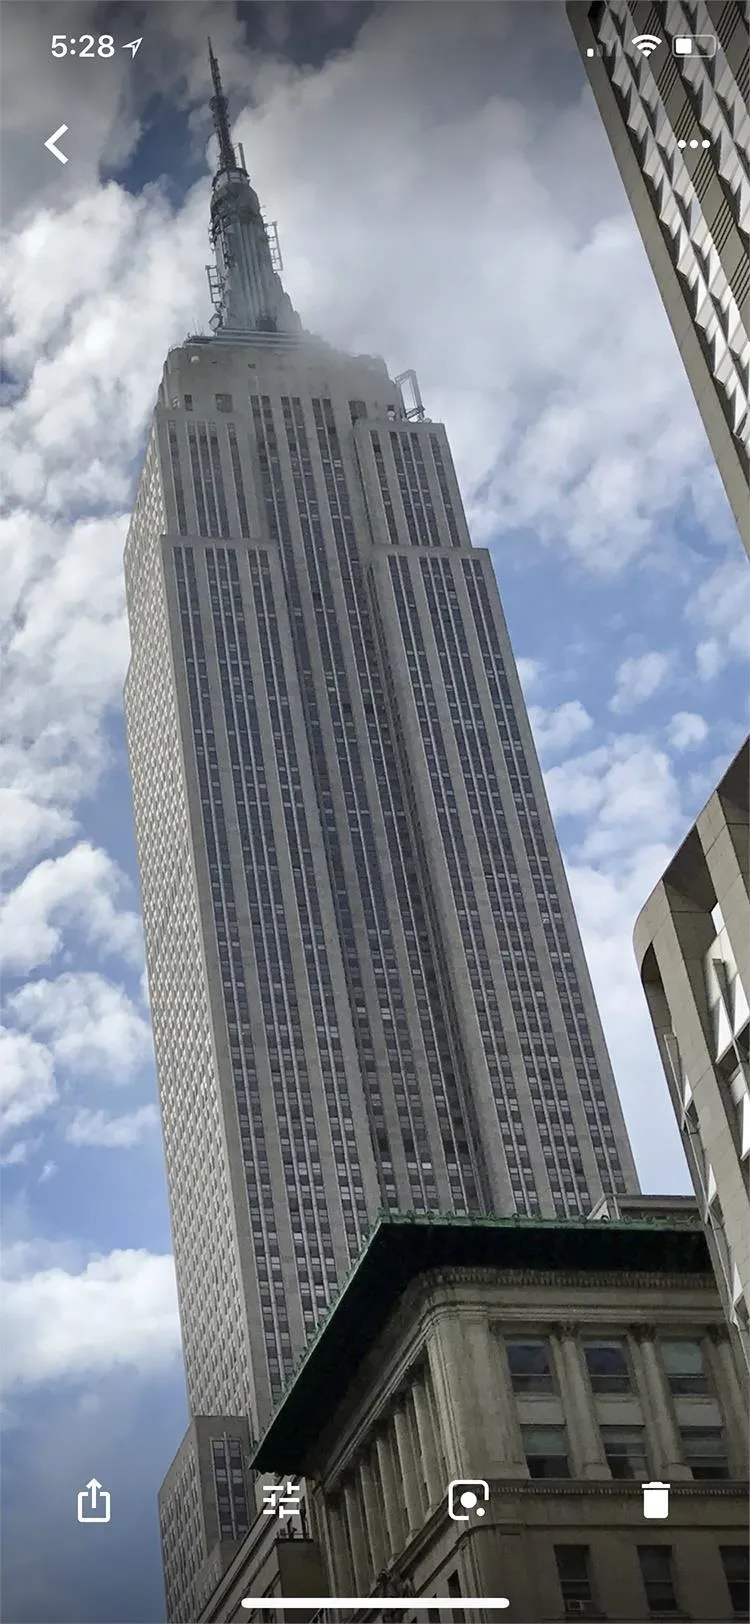
Cover image, photos, and screenshots by Justin Meyers/Gadget Hacks (except: Empire State Building photo by Jake Peterson/Gadget Hacks)


Comments
Be the first, drop a comment!