


You really can't beat Google Photos. Not only does it give you free unlimited cloud storage and let you search for almost any object in one of your pictures, but it also packs a few powerful editing tools. Among these is a dead-simple way to create your own animated GIFs out of any set of pictures.
The GIF maker in Google Photos doesn't have many jazzy features. You can't add text, nor can you use custom transitions or even add video clips to your animation. But what it can do is combine a series of still photos into an easily-shareable GIF in just a few seconds. Even better, this works exactly the same regardless of whether you're using an Android or an iPhone.
Plan Your GIF
This first step is critical. Google Photos doesn't let you change the time of individual frames in your GIF, nor does it really let you tweak anything during the creation process. As such, you'll need to plan ahead — unless, of course, you're okay with a GIF comprised of random photos flashing by with no particular connection.
To be clear, you can make a GIF out of any set of photos. But a good-looking GIF requires some forethought.
The best way to get a great GIF is to take a set of pictures in fairly rapid succession. Don't hit the shutter button as fast as you can because the GIF frames each occupy one second. Instead, take pictures roughly one second apart to time them with the frames of the GIF you'll create. And perhaps most importantly, stay stationary while you're taking the entire set so that the perspective doesn't jump around.
Select Photos to Add to Your GIF
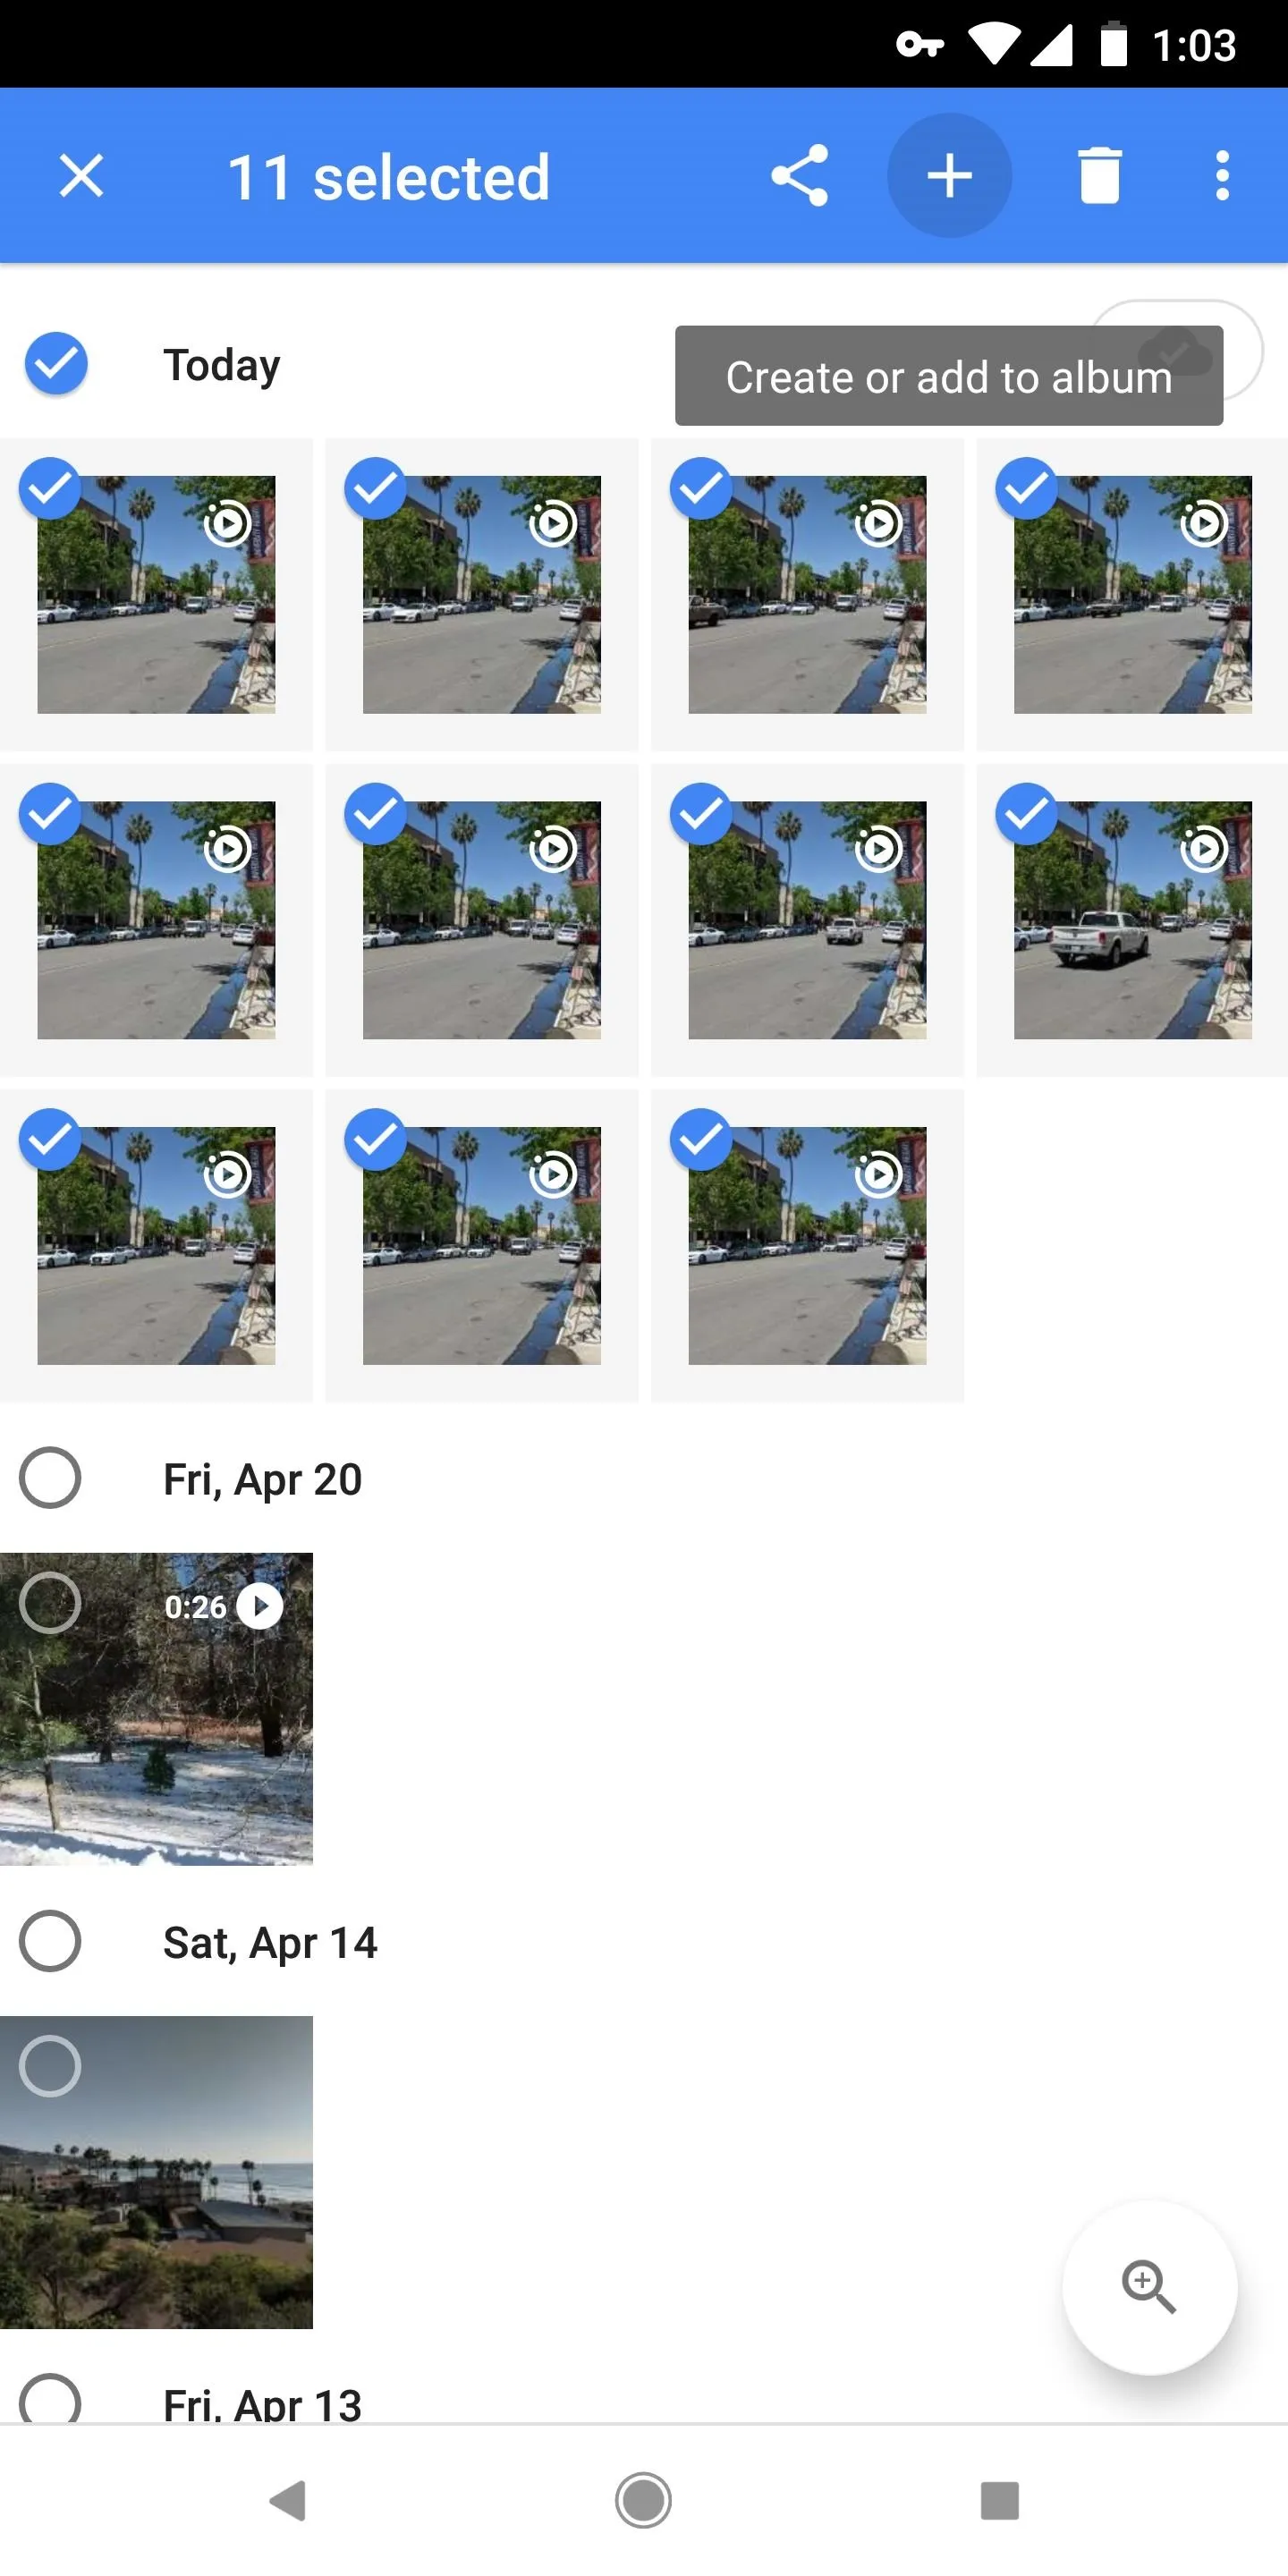
When you have your photos ready, the next step is really simple — just batch-select all of the pictures that you'd like to add as frames in your GIF. Keep in mind that the order you select the images in matters. The first image you select will be the first frame in your GIF, the second will be the second, and so on.
This is a great time to try out Google Photos' cool batch-selection gesture if you're not familiar with it. It works a lot like drawing a selection box around multiple items with your mouse on a computer. Just long-press the first image, then drag your finger (without picking it up) until all of the images in your sequence are selected.

Create Your GIF
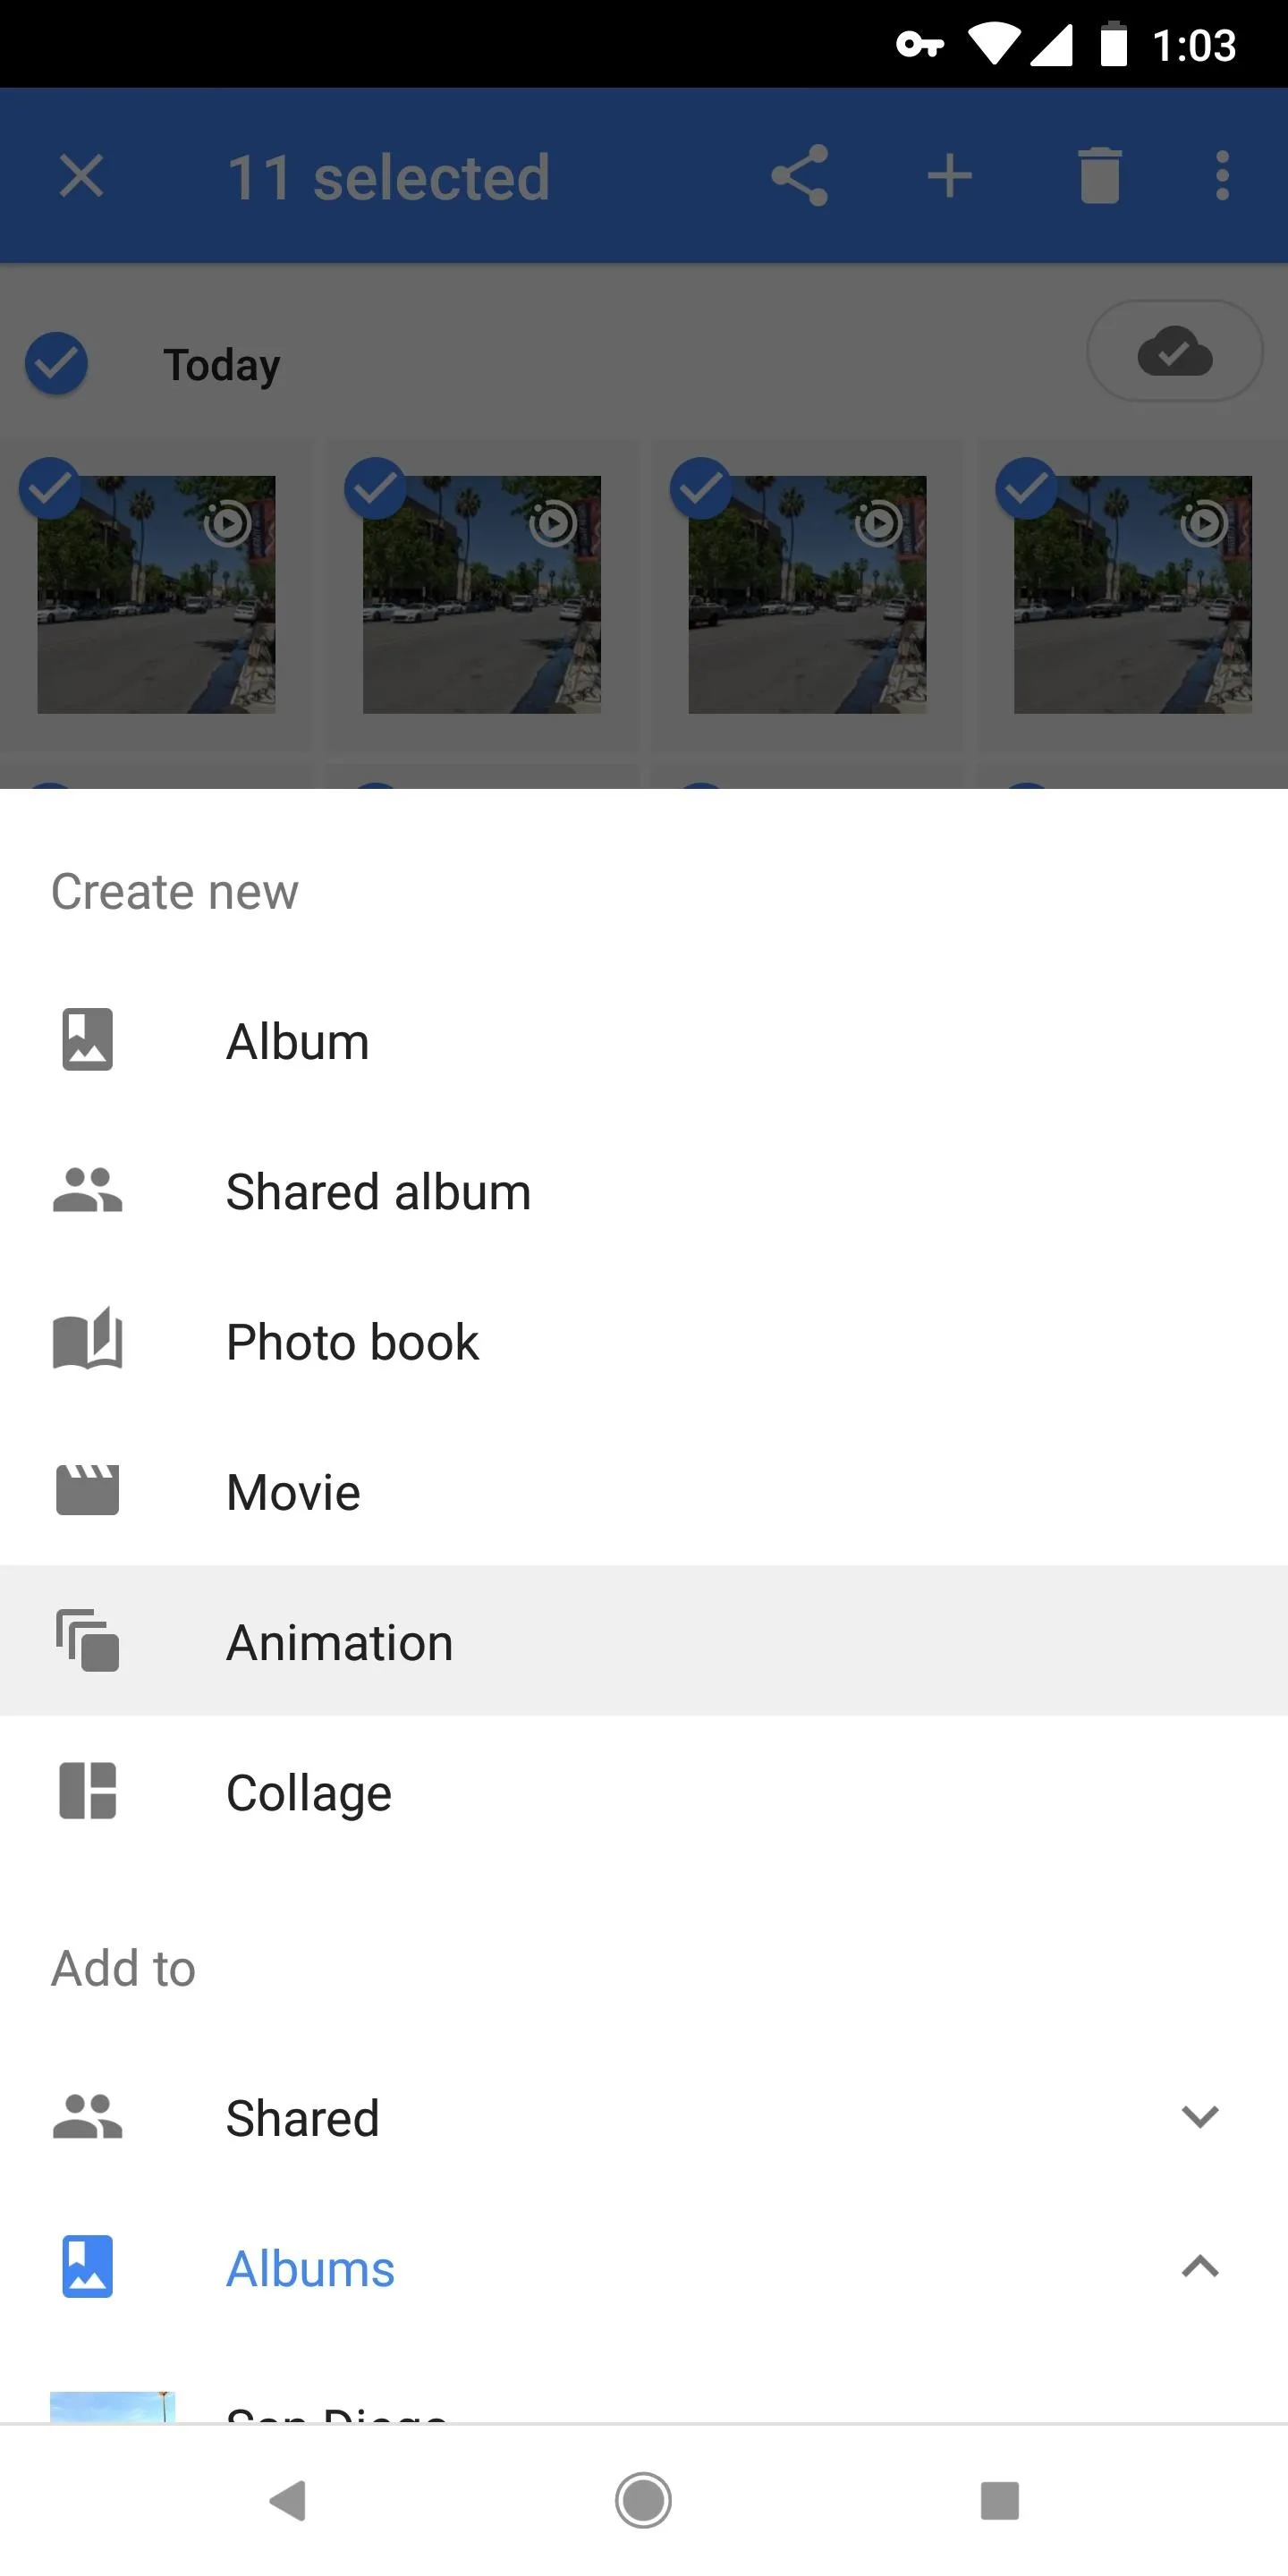
With your pictures selected, tap the + button at the top of the screen, then a menu will emerge. Select "Animation" from this menu, then wait a few moments while your GIF is created. When it's done, you'll be greeted by your GIF, where you can easily share it using the share button at the bottom of the screen.
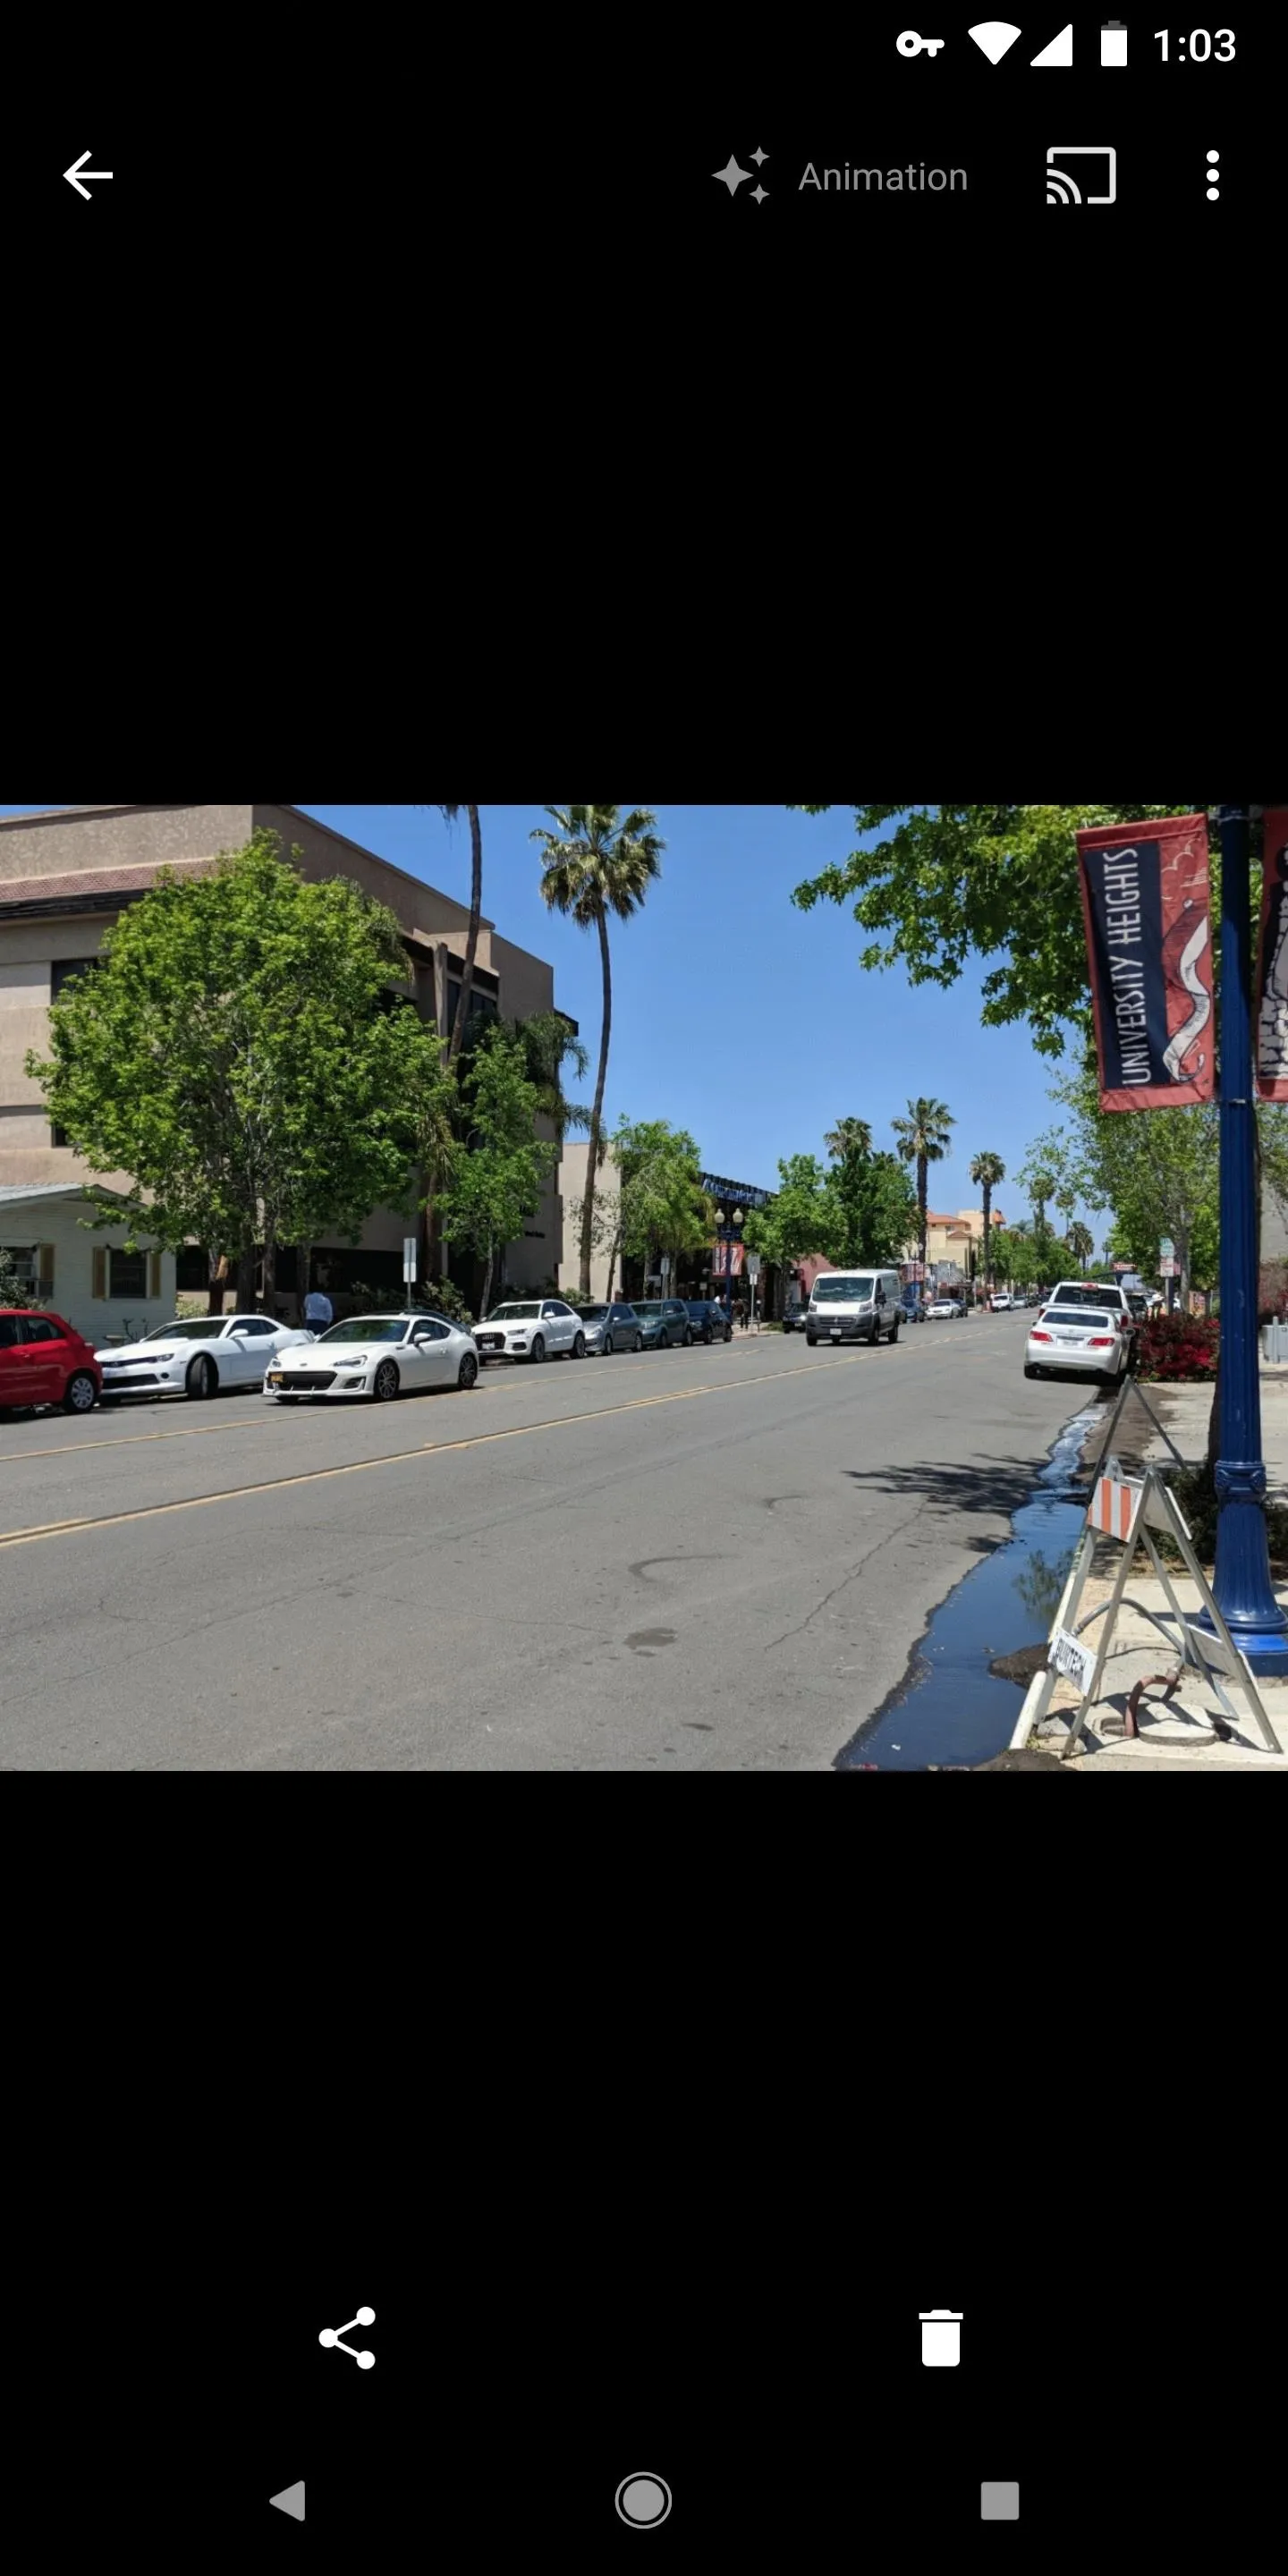
The end result is actually quite nice. Google applies a little image stabilization where it can, and the GIF loops endlessly like it should (none of that three times and out stuff you'll see with other GIF makers). The quality is decent and the file size is minimal, so it's a super-shareable GIF of your own creation!

GIF I created entirely in Google Photos.
If you don't mind, we'd love to see some of your own Google Photos GIF creations. Take a second to drop a link to your favorite GIF in the comment section below!
- Follow Gadget Hacks on Facebook, Twitter, YouTube, and Flipboard
- Follow WonderHowTo on Facebook, Twitter, Pinterest, and Flipboard
Cover image and screenshots by Dallas Thomas/Gadget Hacks


Comments
Be the first, drop a comment!