


As cheesy as it sounds, #HODL became a thing for a reason. A lack of discipline when dealing with cryptocurrencies can lead to impulse buys and panic selling, and ultimately, depleted funds. Luckily, Coinbase has a way to safeguard your cryptocurrency savings to not only protect them against thieves, but to also help you resist the urge to sell off your investments.
Coinbase gives you the ability to store your Bitcoin (BTC), Litecoin (LTC), Bitcoin Cash (BCH), and Ethereum (ETH) in vaults, which are basically the cryptocurrency equivalent of a savings account. Vault wallets are specialized wallets that need varying degrees of authorization to withdraw from, along with a set amount of time until the funds are released to prevent immediate withdrawals.
Though available within your Coinbase app upon successful creation, a vault wallet has to be set up on Coinbase from your PC or Mac. The process is pretty simple, though, so keep reading to find out more on how to create cryptocurrency vaults.
Create a Vault
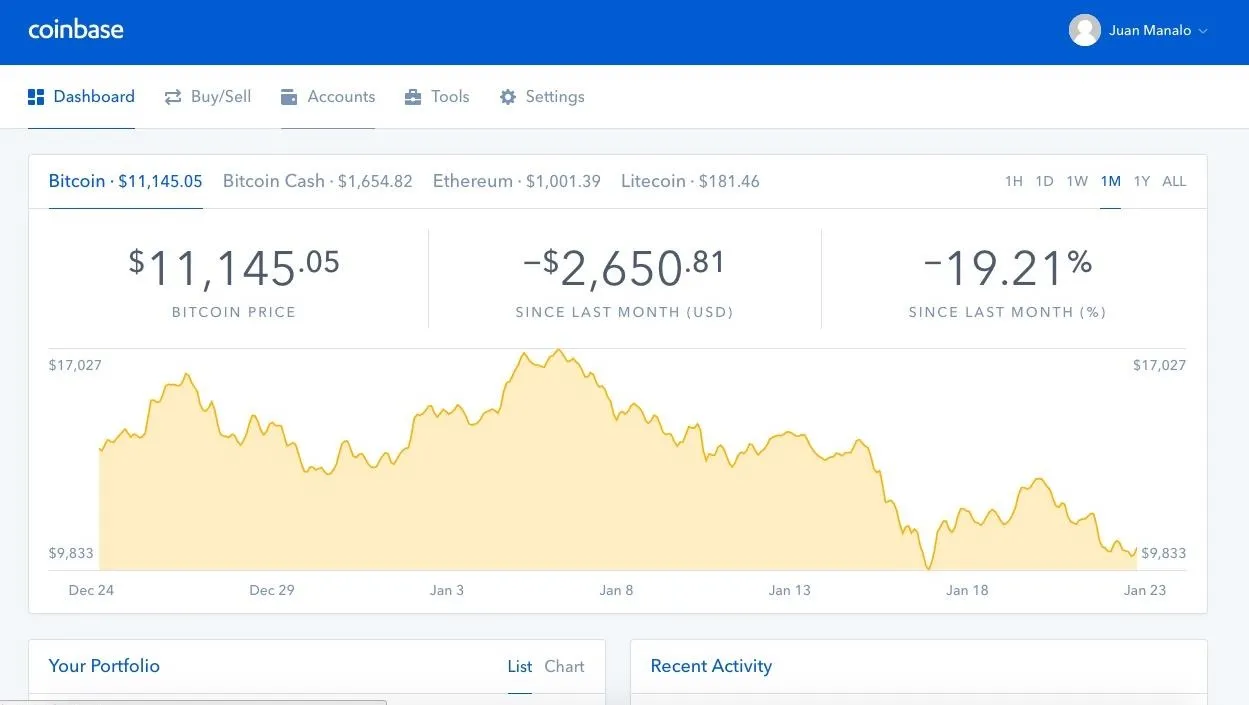
To get the ball rolling towards creating a vault, open the browser on your PC or Mac, head over to Coinbase, and sign in. Once inside your personal dashboard page, click on "Accounts" on the top of the page.
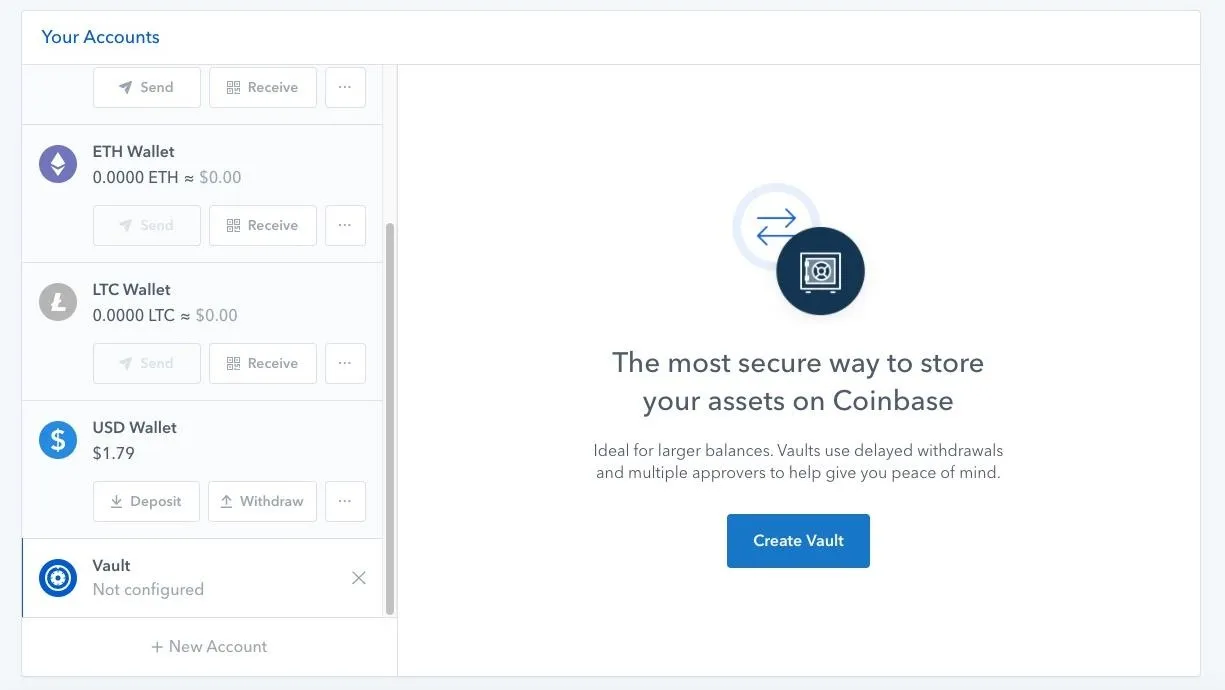
You'll be taken to your personal account page, featuring all your available cryptocurrency wallets in Coinbase, so scroll down on the tab to the left containing your wallets, then click on "Vault" to proceed.
Pick the Currency
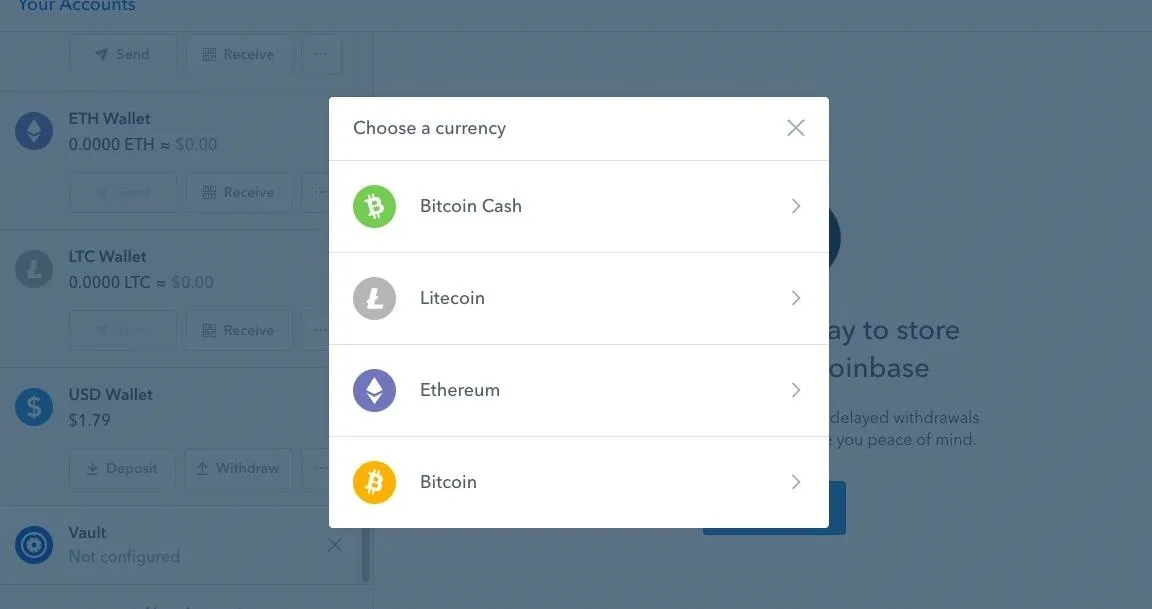
Now, choose the cryptocurrency that you want to create a vault for. Coinbase lets you create vaults to securely store BTC, BCH/BCC, LTC, and ETH, though note that the feature is not currently available for USD.
Configure Your Vault
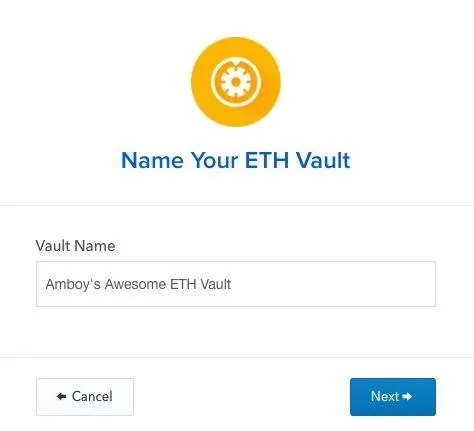
Once you've picked the digital currency you want to create a vault for, Coinbase will ask you to give it a name. So input the name (something that'll make it easy to remember), then click on the blue "Next" button once you're done.
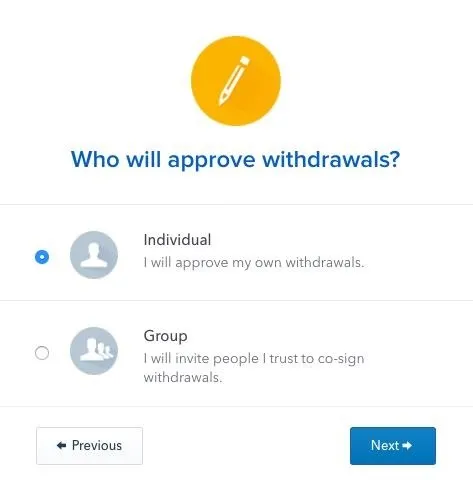
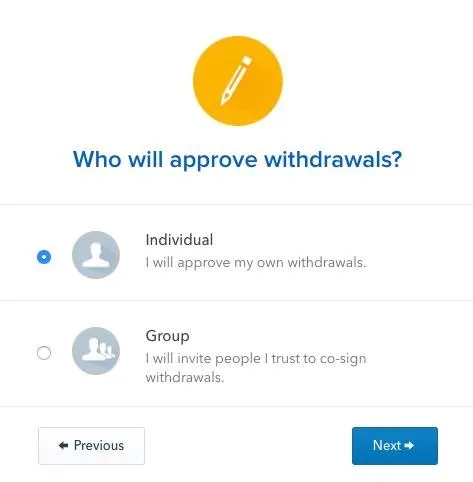
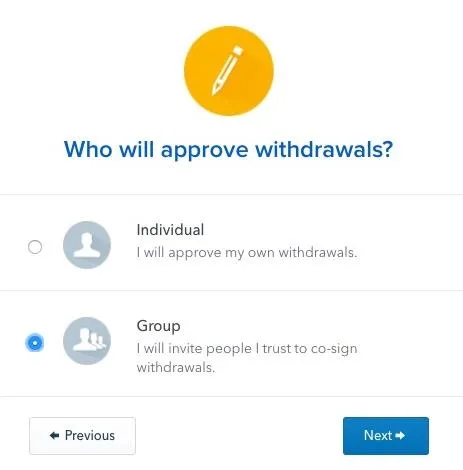
After naming your vault, you'll now need to choose how you can withdraw funds. The two options are either individually approved, or withdrawals that are approved by a group of trusted co-signers. In essence, an individual vault requires only your authorization to withdraw funds, whereas a group vault needs a majority consensus to let the withdrawal go through successfully.
Setting Up an Individual Vault
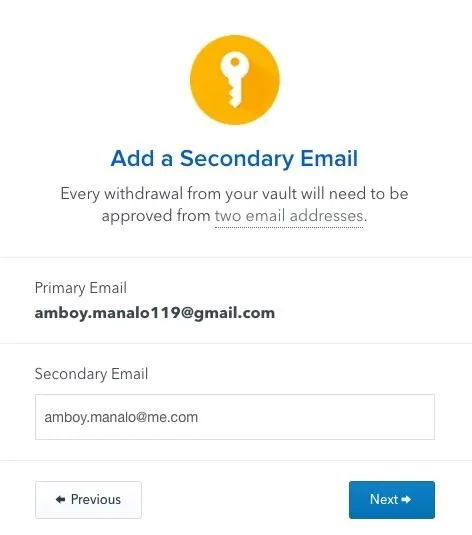
If you opt to set up your vault to require individual approval, Coinbase will only need your permission to withdraw funds. As an added security measure, however, you're required to provide a secondary email address that'll be used to notify you if you decide to withdraw funds out of your vault. So enter your secondary email once prompted, then click "Next."
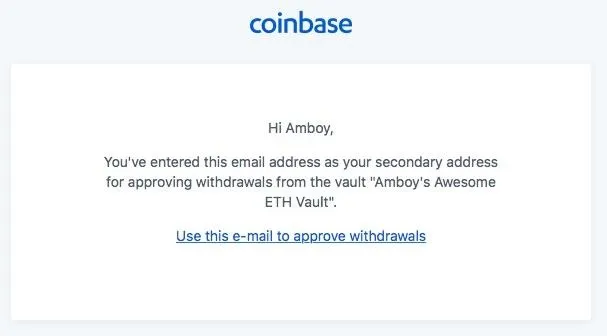
Coinbase will now send a confirmation email to the secondary address you just added in, so open that email account to retrieve the email and confirm the addition by clicking on "Use this e-mail to approve withdrawals" on the bottom of the message.
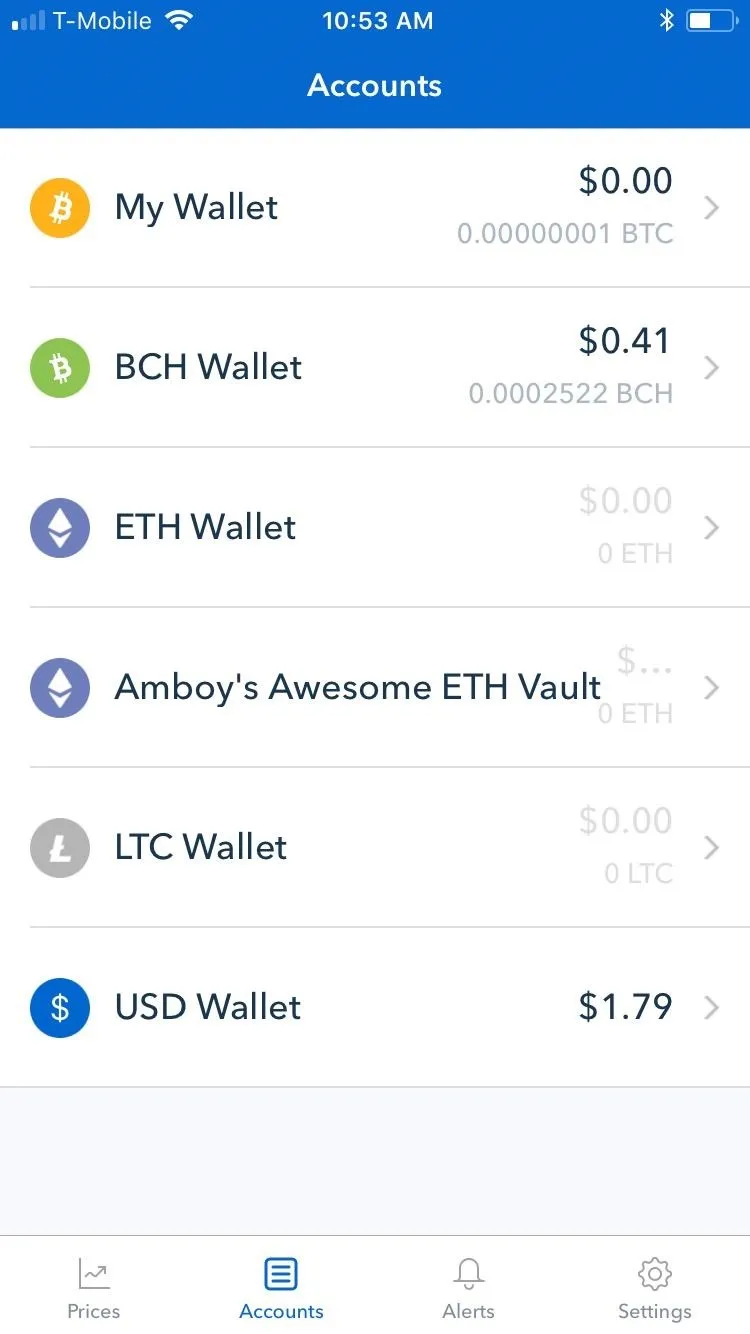
A toast notification will now appear on your PC or Mac as a new browser window, letting you know that your secondary email has been successfully confirmed. You're now free to open Coinbase on your Android or iPhone, where you'll see your newly-created vault within your "Accounts" page. At this point, you can proceed to Step 4.
Setting Up a Group Vault
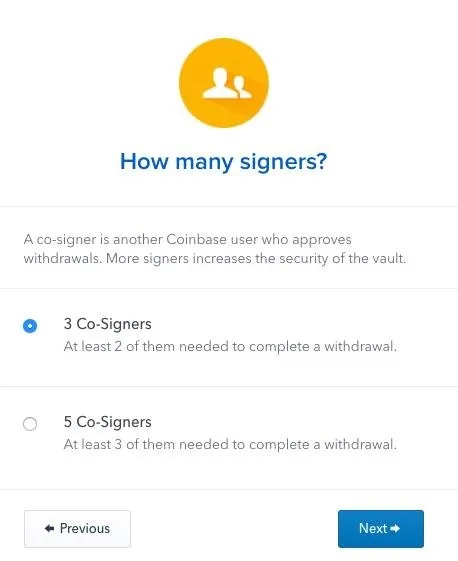
If you want to set up a group vault instead, Coinbase will require multiple authorized users to verify your withdrawal via email confirmations before its releases your funds. It's important to note that as the account holder, you alone can request a withdrawal, and you only need a majority consensus — either 2 out of 3 or 3 out of 5 users, to be exact — to confirm your withdrawal. That said, it's extremely important to designate people you totally trust as co-signers.
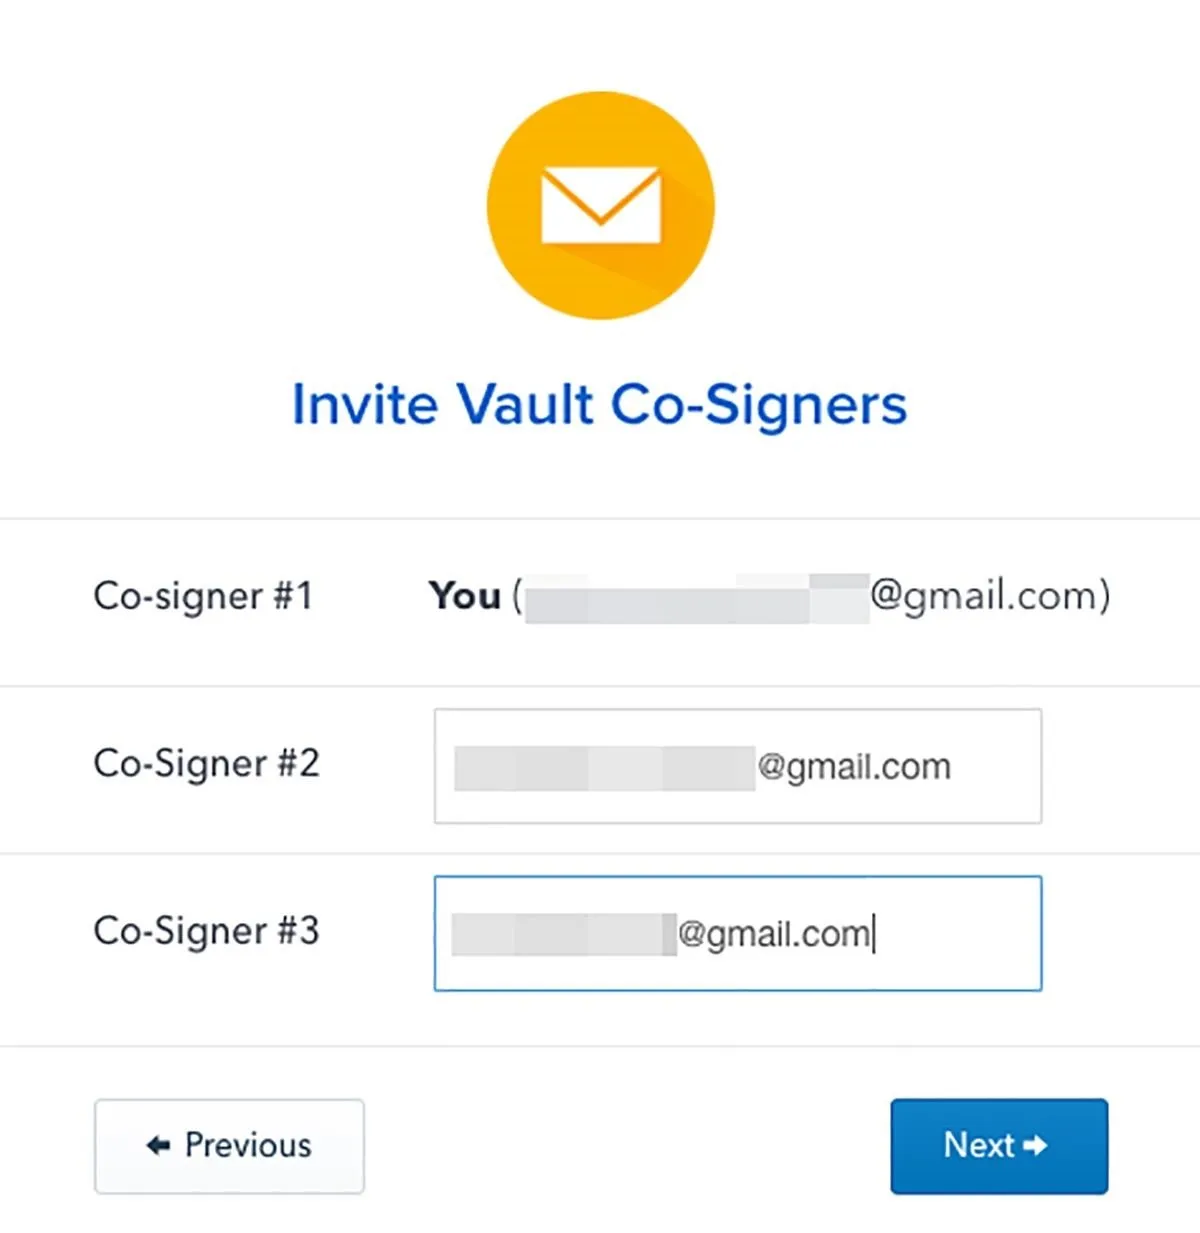
Once you've selected the desired number of co-signers for withdrawal authorization, enter their email addresses in the required fields. Since your co-signers also need to have an account with Coinbase themselves, they'll need to register with Coinbase if they haven't already done so.
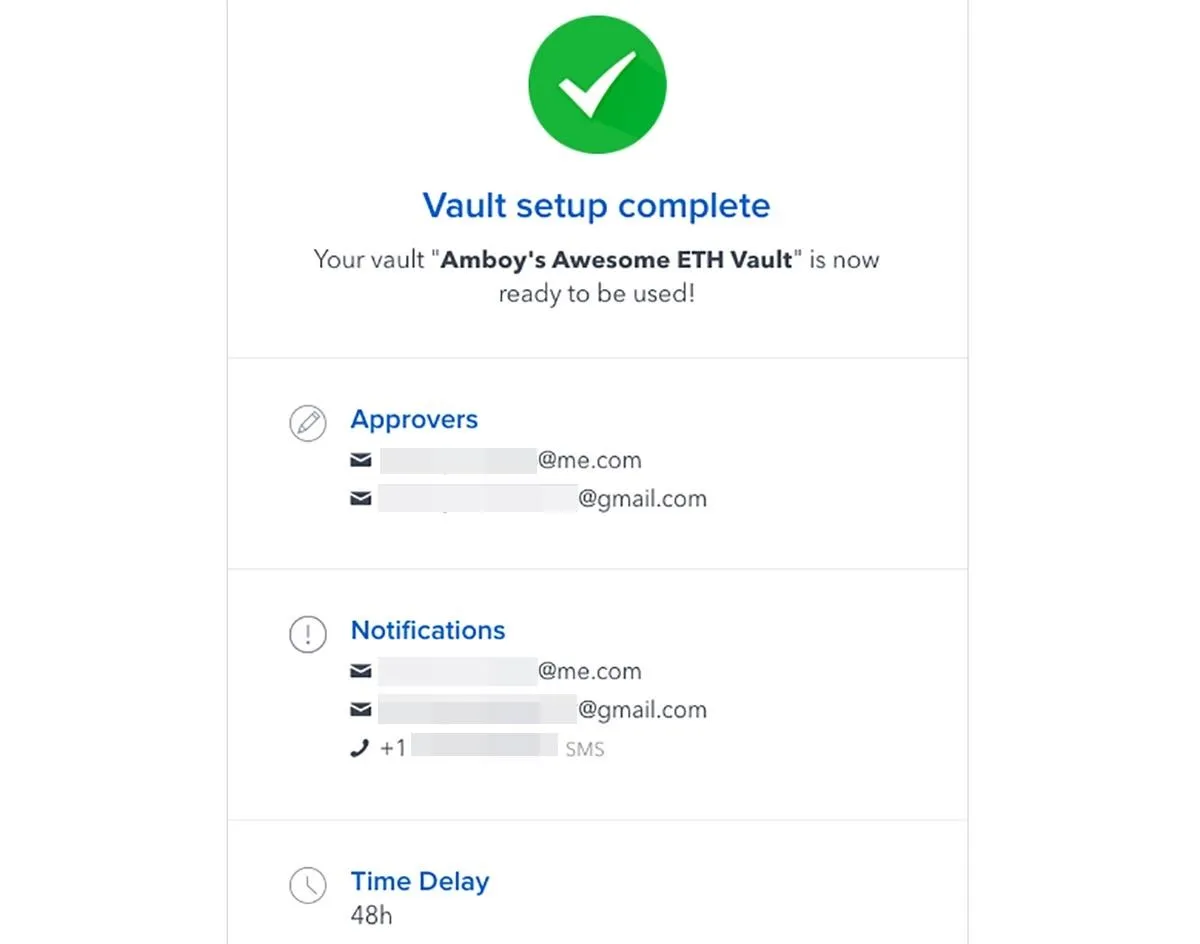
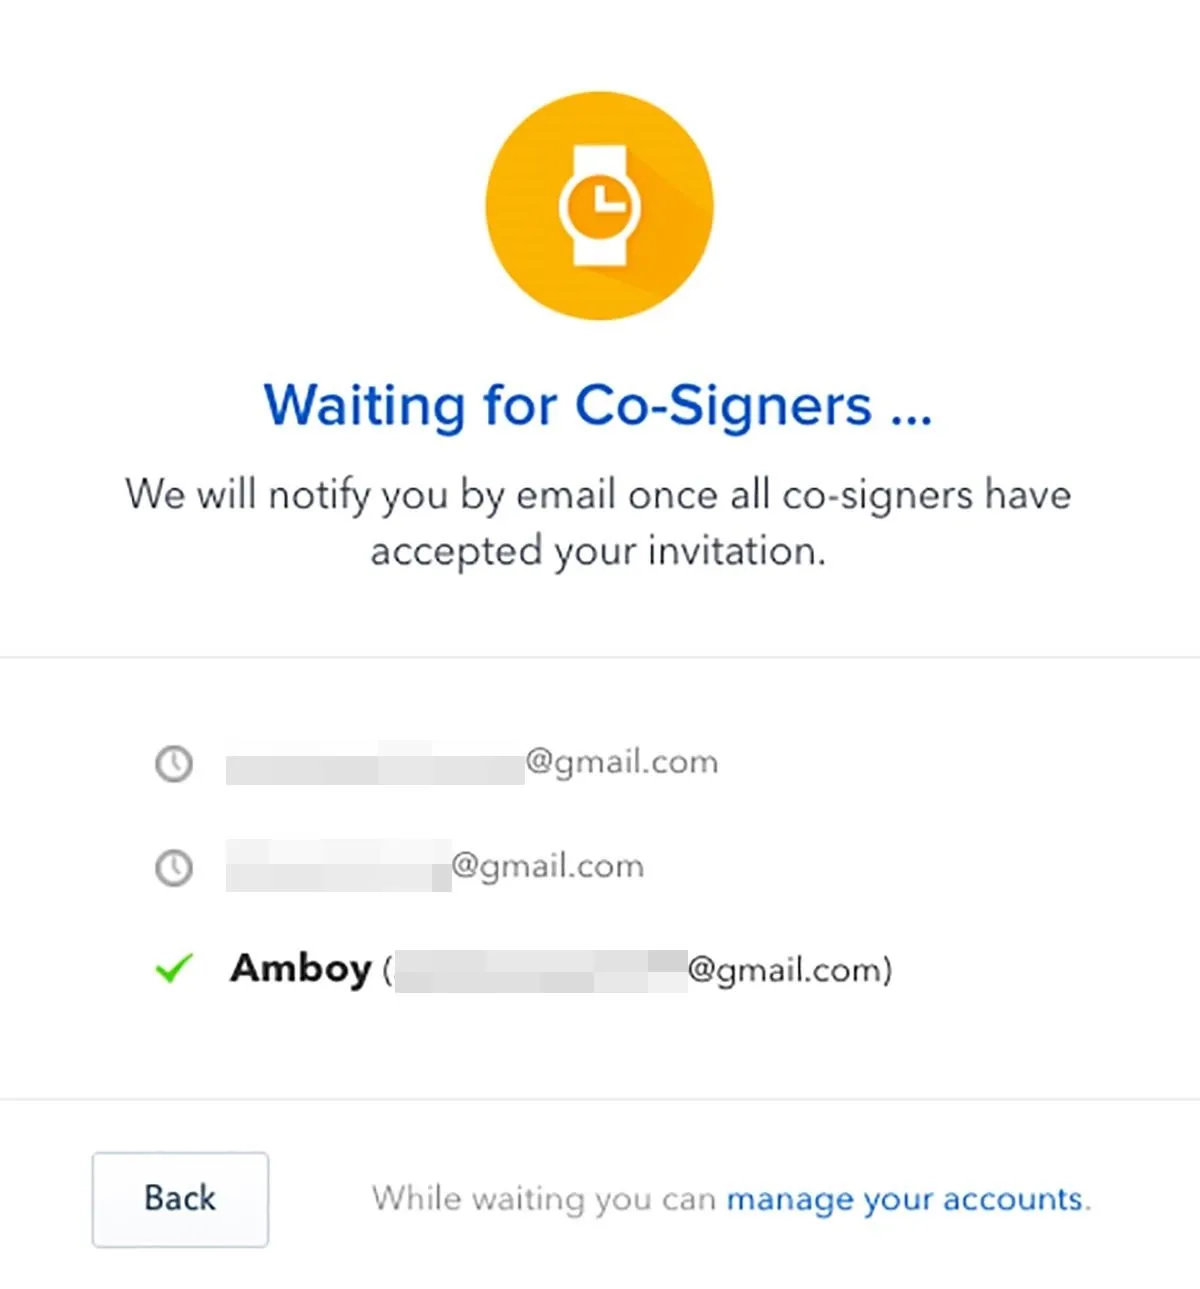
At this point, we highly recommend leaving the browser page alone while you wait for your co-signers to approve. Otherwise, the vault might not get created even if they successfully confirm. The page will update automatically as your co-signers approve, and the vault will finally be created once all your co-signers are accounted for.
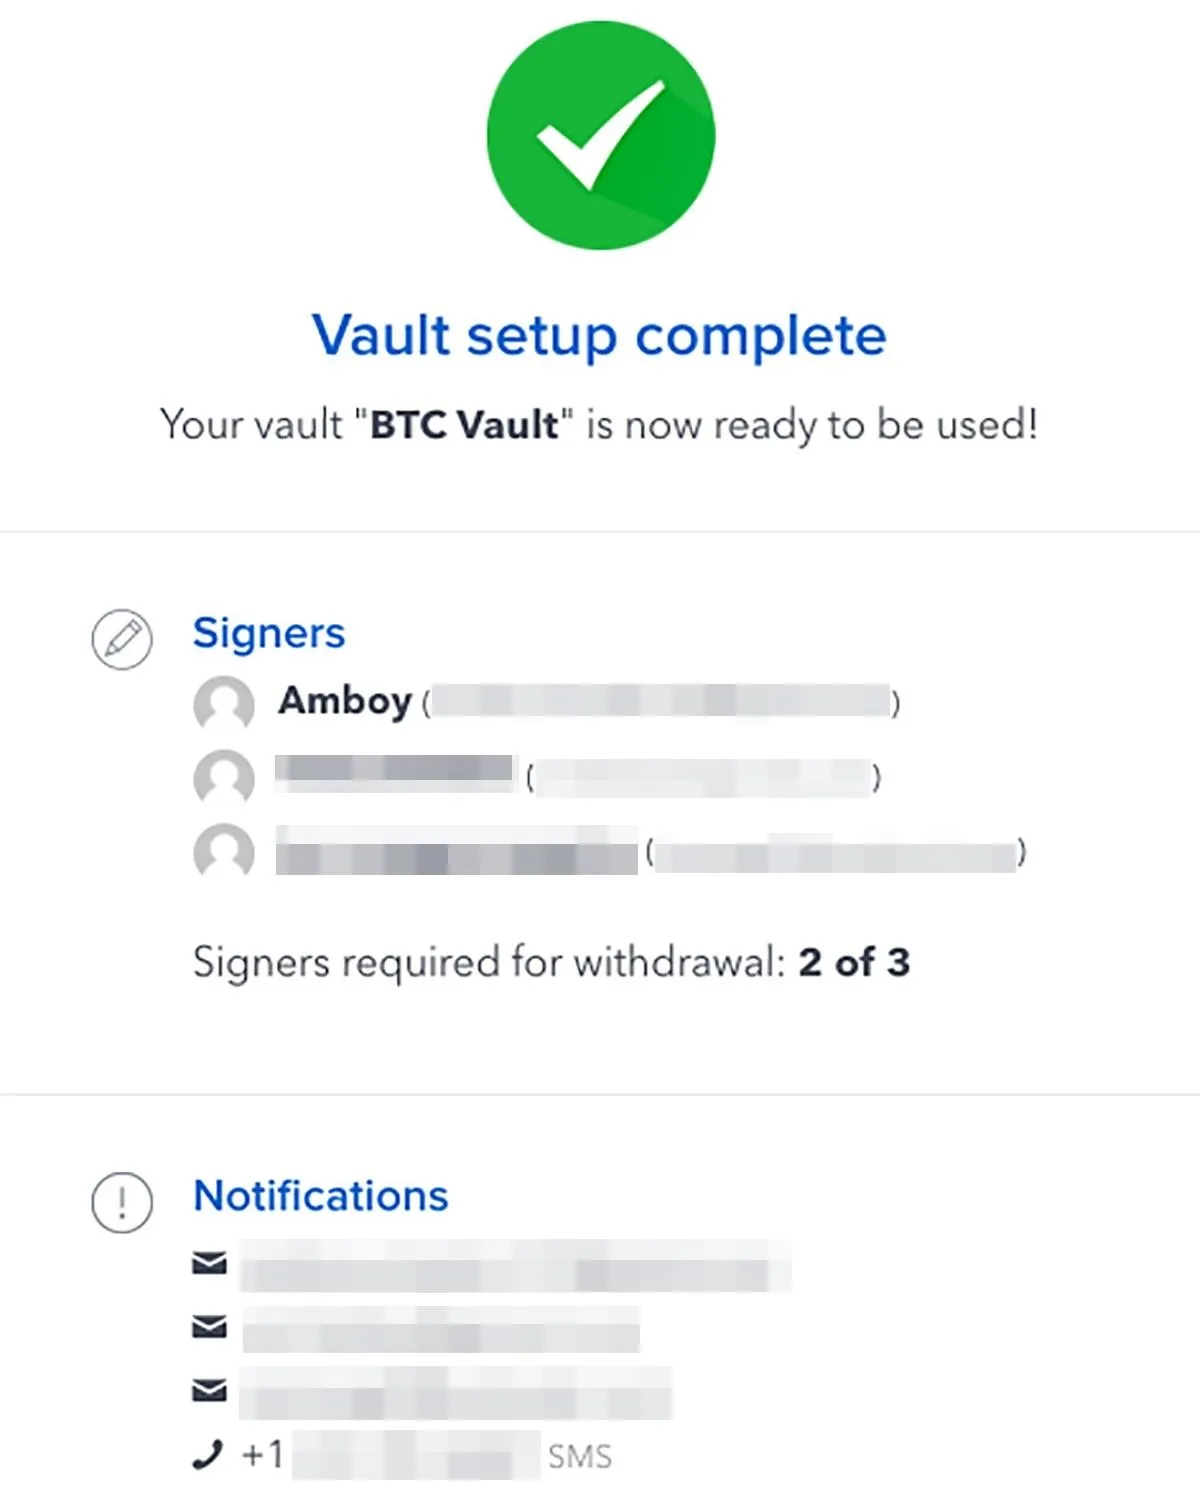
You can now exit Coinbase from your Mac or PC after your group vault's successful creation, and open Coinbase on your Android or iPhone to view your newly-created vault wallet from within the "Accounts" page of the app.
Transfer Funds to Your Vault
Now that your vault is up and running, it's time to transfer some funds from your regular wallet into your vault for safekeeping. The process is straightforward — just input your vault's address along with the desired amount into their corresponding fields within the "Send" page of the outgoing wallet. If you'd like to learn more about sending and receiving cryptocurrencies to and from Coinbase, head to the link below for an in-depth guide:
If you have an Android device, you have the added option of depositing into your vault wallet using your linked bank account. The process is similar to buying cryptocurrencies from your regular Coinbase wallet as we've detailed here.
Withdrawing from Your Vault
Withdrawing funds from your vault into a regular wallet works the same way as outlined in the link provided on the previous step, but with a few key differences. First, in order for the withdrawal to process, you'll first need to either authorize it using your secondary email, or have a majority consensus — depending on what kind of vault it is — to release the funds.
Finally, Coinbase has set a 48 hour delay for any withdrawals out of your vault. So if a withdrawal was initiated at 12:00PM on a Monday, your funds won't be available in your regular wallet until 12:00PM Wednesday, provided there no delays on the cryptocurrency's blockchain.
Unfortunately, while you can initiate vault withdrawals from your Coinbase app if you're using an Android device, vault withdrawals can't be performed on its iOS counterpart. We'll go more into detail with regards to withdrawing BTC, BCH, LTC, and ETH from your Coinbase vault very soon, so stay tuned.
- Follow Gadget Hacks on Facebook, Twitter, YouTube, and Flipboard
- Follow WonderHowTo on Facebook, Twitter, Pinterest, and Flipboard
Cover image and screenshots by Amboy Manalo/Gadget Hacks


Comments
Be the first, drop a comment!