With all the hype surrounding meteoric rise of Bitcoin (BTC), Litecoin (LTC), Ethereum (ETH), and Bitcoin Cash (BCH), it's easy to overlook the fact that you can send and receive cryptocurrencies as a form of payment. And thanks to Coinbase, sending and receiving digital coins couldn't be any easier.
Unlike buying and selling, Coinbase doesn't charge any fees when it comes to sending and receiving cryptocurrencies. Due to the nature of the blockchain, however, transaction fees are incurred whenever digital currency is sent from one wallet to another, and can vary from coin to coin, but also in relation to USD. If you'd like to learn more about the average fees for bitcoins, litecoins, ethereum, and bitcoin cash, head over to Bitinfocharts to get a clearer picture.
That said, sending and receiving digital currencies on Coinbase is easy once you have your account set up, and the process is the same regardless of whether you're using an iPhone or Android device. We've covered the process in more detail below, so read further learn more about sending and receiving cryptocurrencies.
Pick a Cryptocurrency to Send or Receive
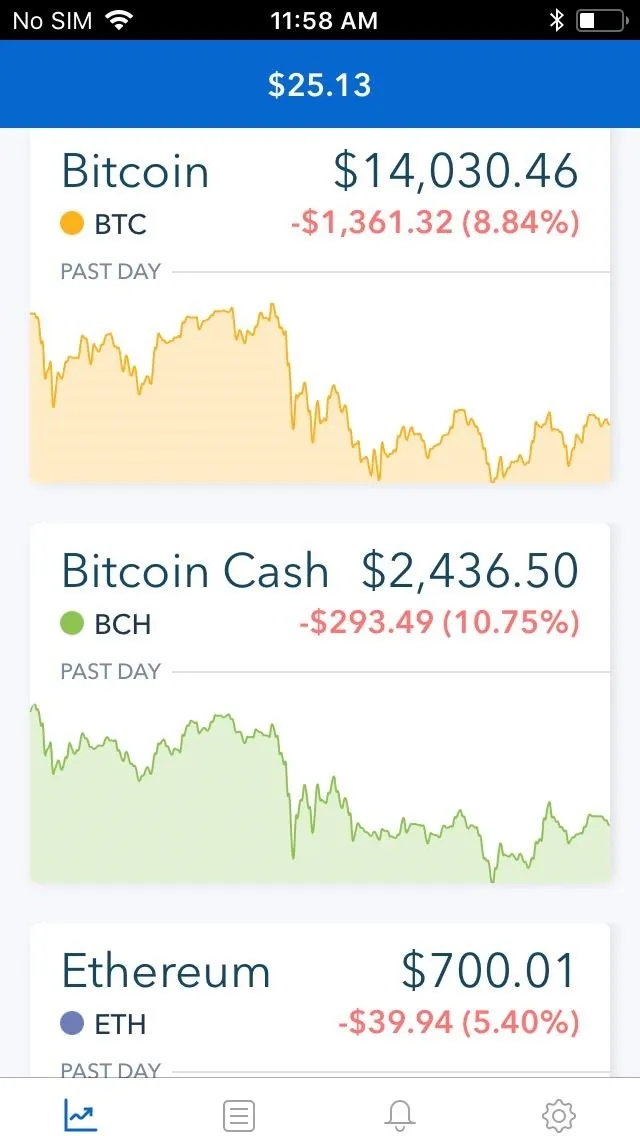
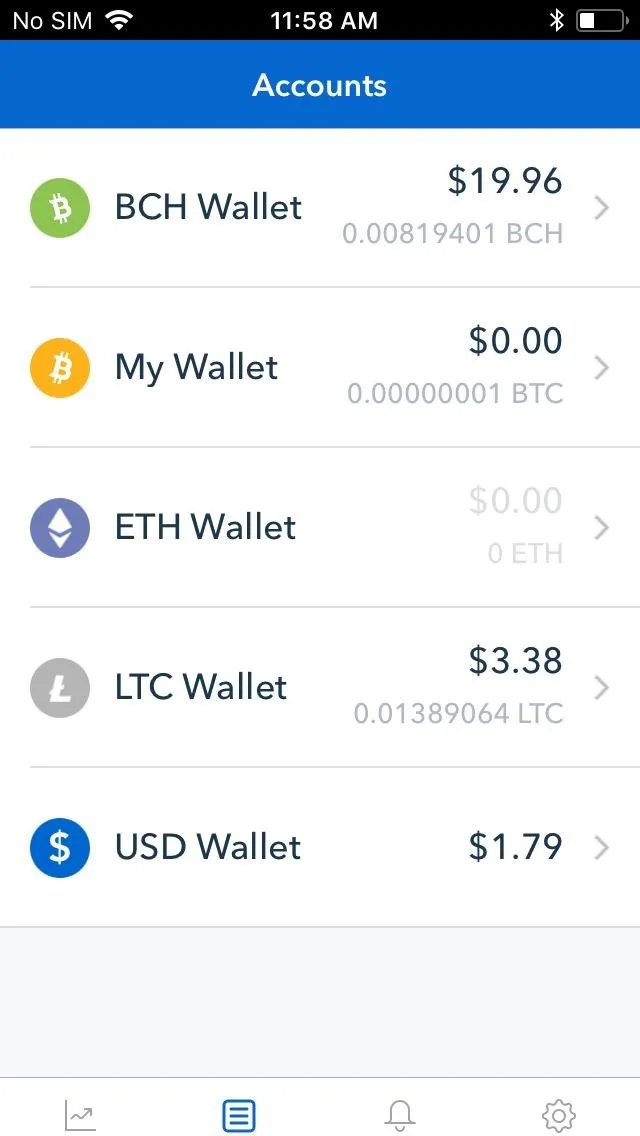
To get started, open Coinbase and access your wallets by tapping on "Accounts" at the bottom of your screen. From there, tap on the wallet you wish to conduct a transaction with.
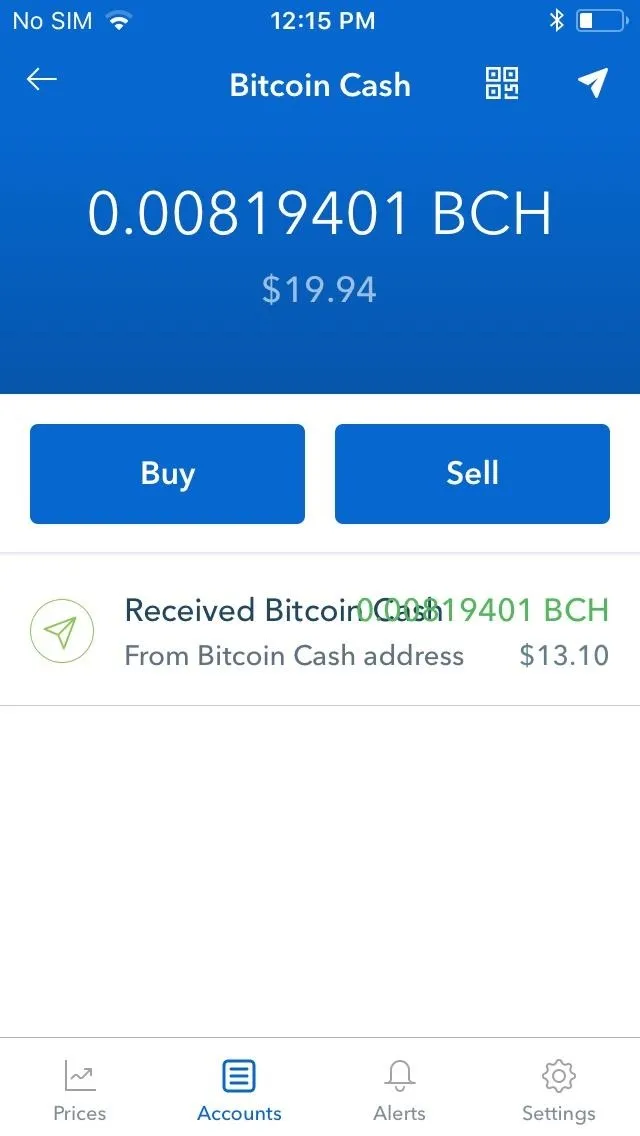
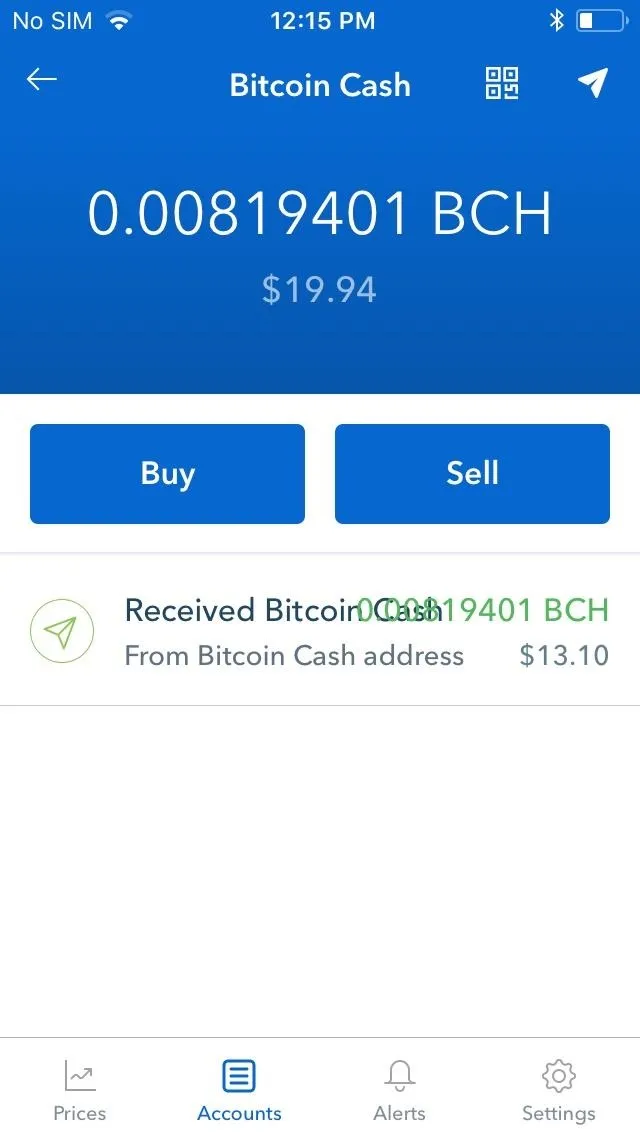
You'll now be taken to that particular coin's wallet, which shows your transaction history. We'll use Bitcoin Cash (BCH) for the rest of this guide, but the steps are exactly the same regardless of which cryptocurrency you choose.


Send Bitcoin Cash
To send bitcoin cash, first tap on the paper airplane button in the upper-right corner of the screen. Inside the "Send" page, pick the amount of BCH you want to send.
You can choose between BCH or USD by tapping on the arrows next to the denomination to rotate between the two. If you go with BCH, you have the additional option of sending the entire content of your wallet by tapping on the "Use Max" button below the BCH amount.
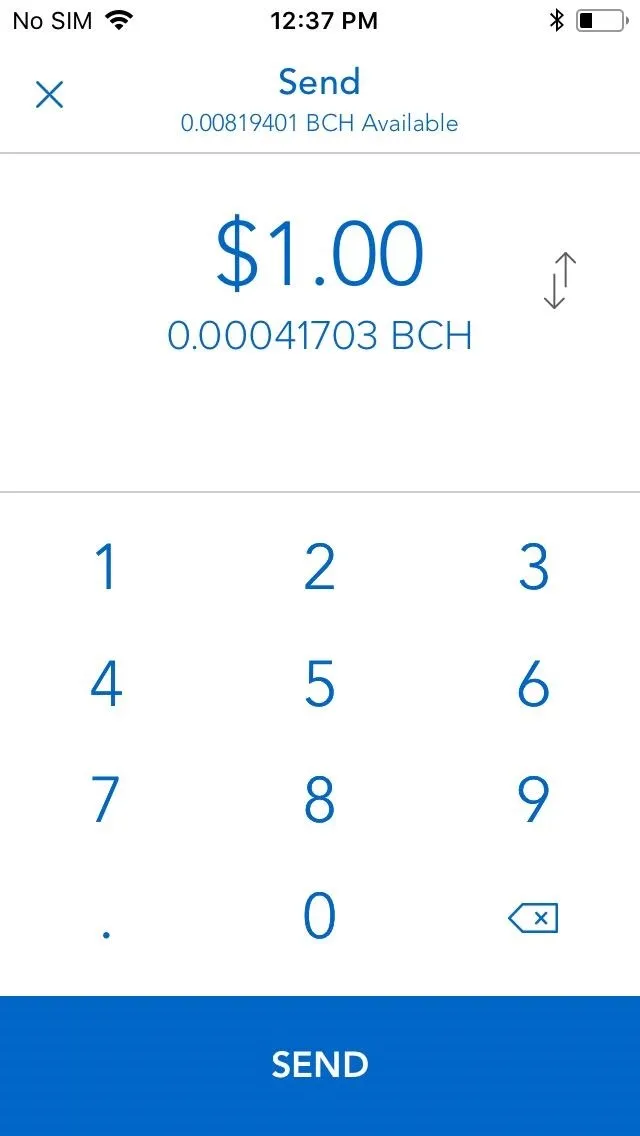
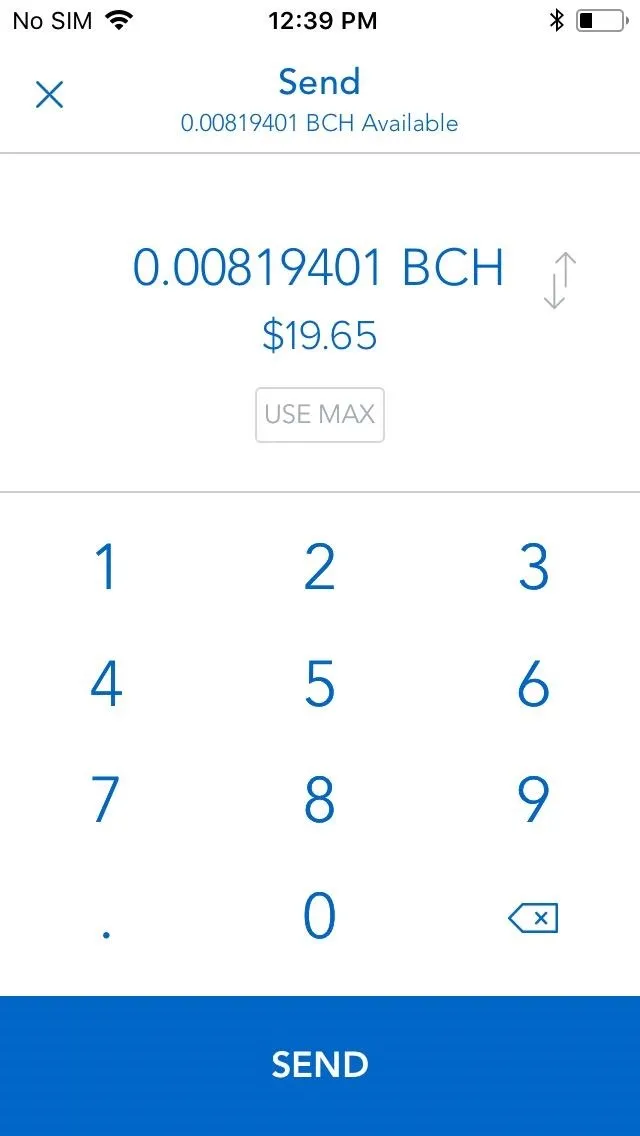


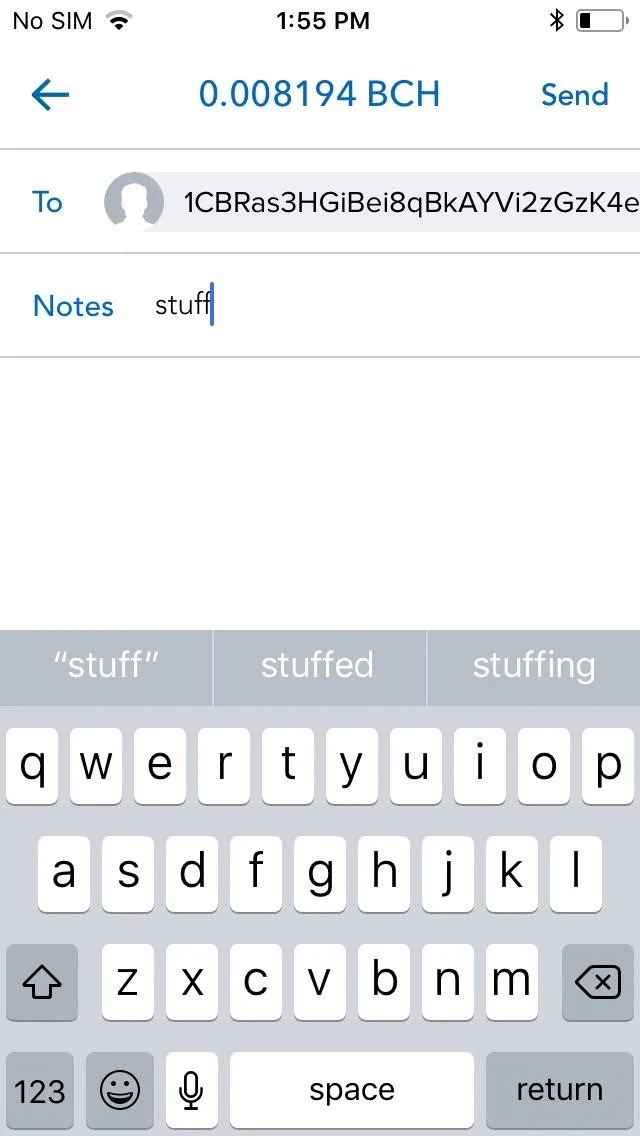
Once you're satisfied with the amount of BCH you want to offload, tap on the blue "Send" button (iOS) or hit "Continue" (Android). You'll now be taken to a confirmation page to enter the recipient's address and any additional notes you may have.
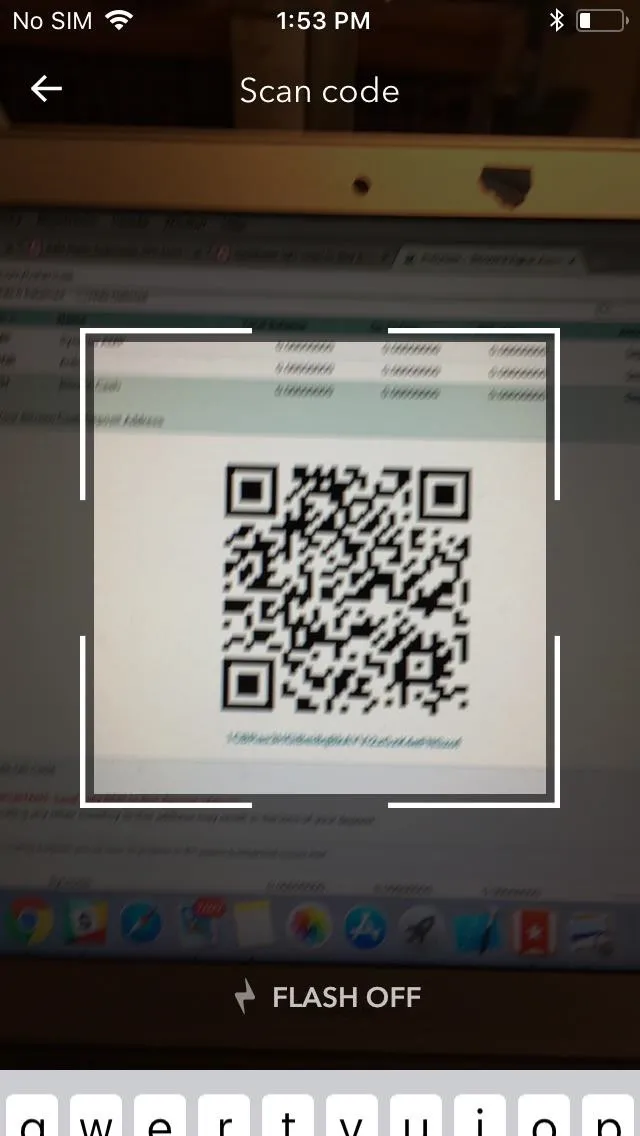
If your recipient has a Coinbase account, you can simply input the email address associated with his or her account. If you're sending to a wallet that's not connected to Coinbase, you'll have to either input or paste the exact wallet address, or use your phone's camera to scan a QR code. To use the latter, tap on the QR button to the right of the recipient's address tab, then grant Coinbase access to your phone's camera from the permission prompt that appears.
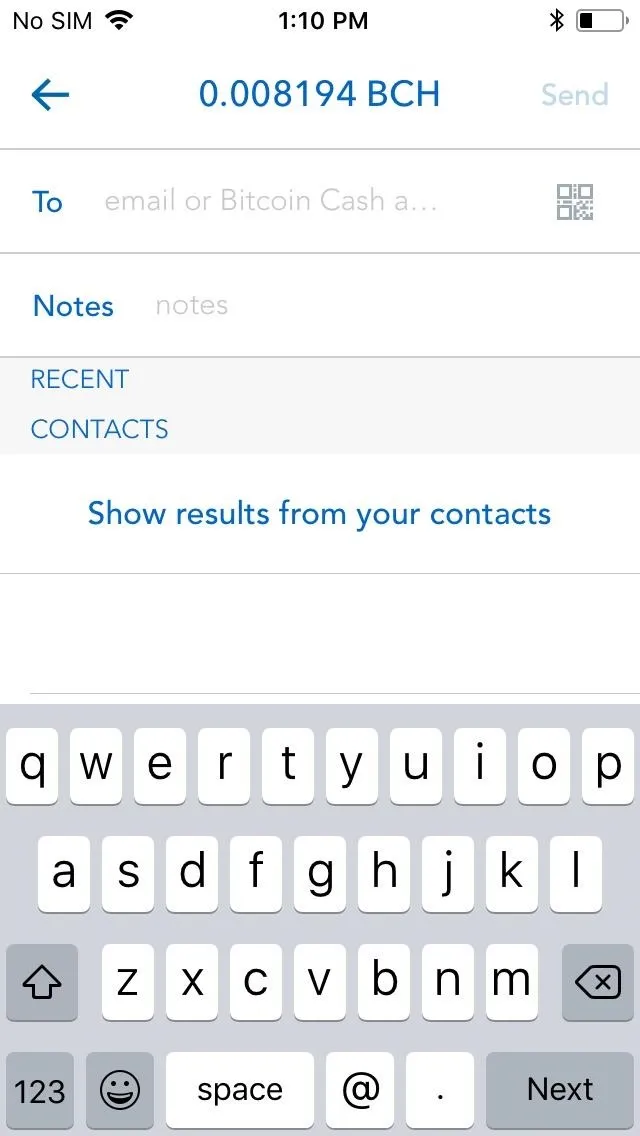
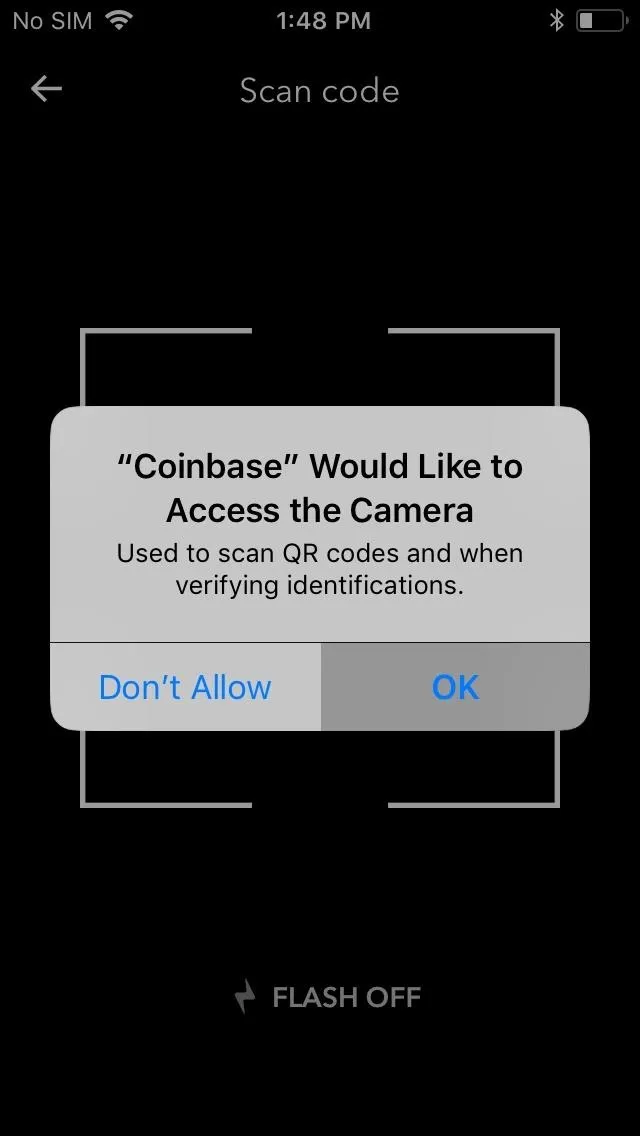


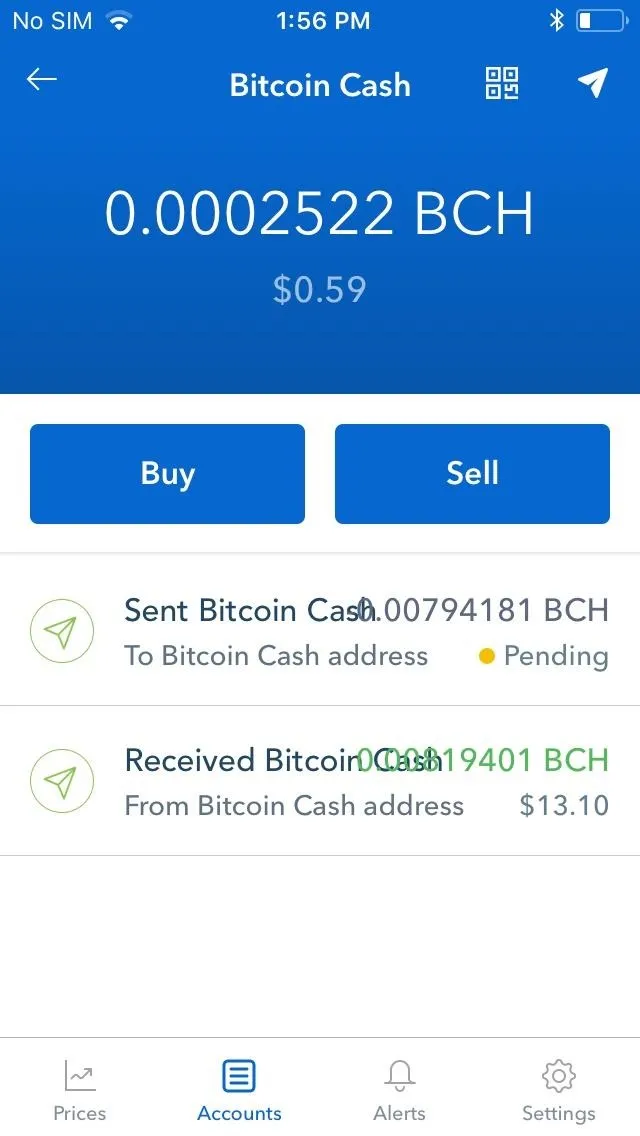
Now, use your phone's camera to scan the QR code of the wallet you're sending BCH to, and its address will automatically populate the recipient's address tab. Tap on "Send" in the upper right corner of the screen once the address has been populated. Coinbase will send out the funds and take you back to your BCH wallet page, showing your most recent transaction at the bottom.


Receive Bitcoins (Optional)
Receiving any cryptocurrency — no matter its current price — is always awesome. To receive BCH, start off by tapping on the QR button next to the paper plane icon in the upper-right corner of the screen within your BCH wallet page. You BCH address will now appear in QR form, so if you're doing a face-to-face transaction, simply have the sender scan it using the same method outlined in Step 2 above.
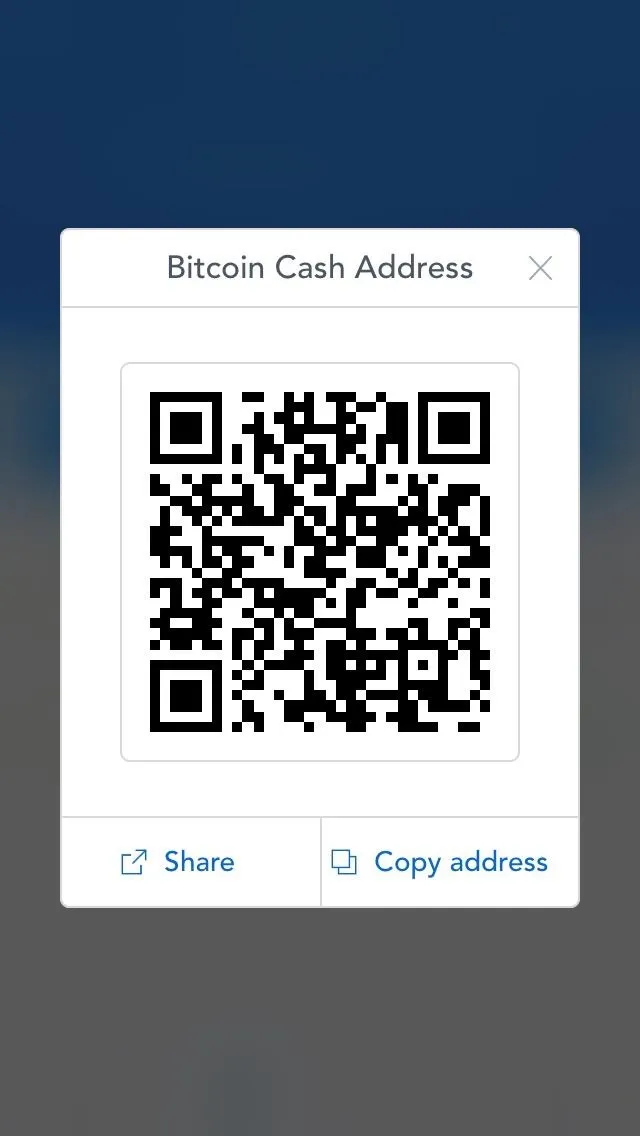


If the sender is farther away, either tap on "Share" or "Copy Address" if you have an iPhone, or simply "Copy Address" for Android users to share your address to the sender by email or text message.
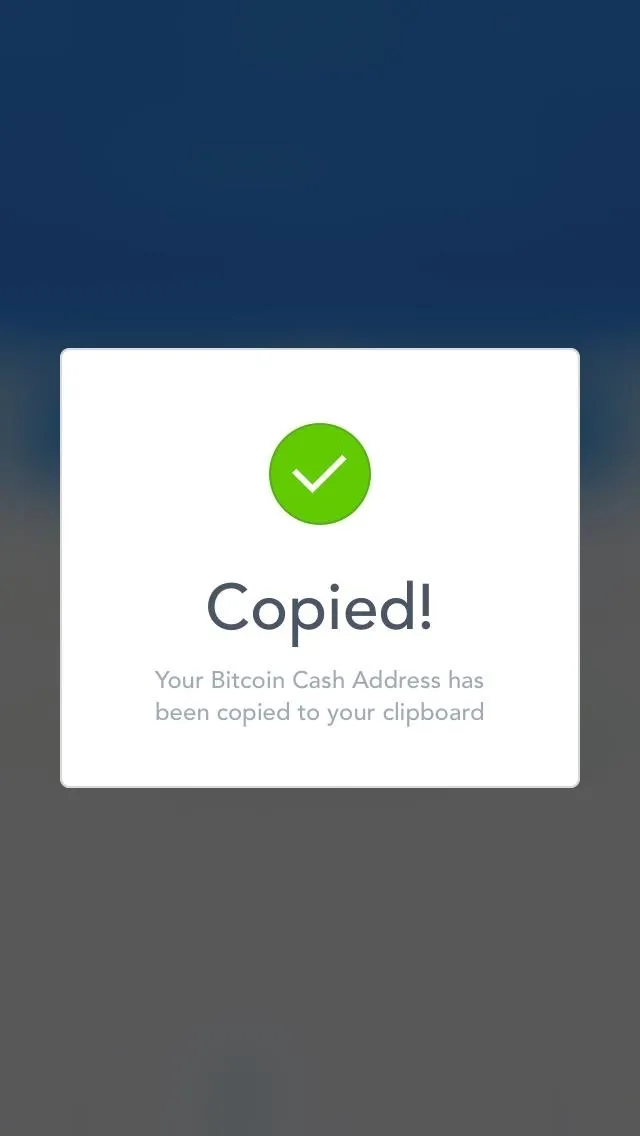
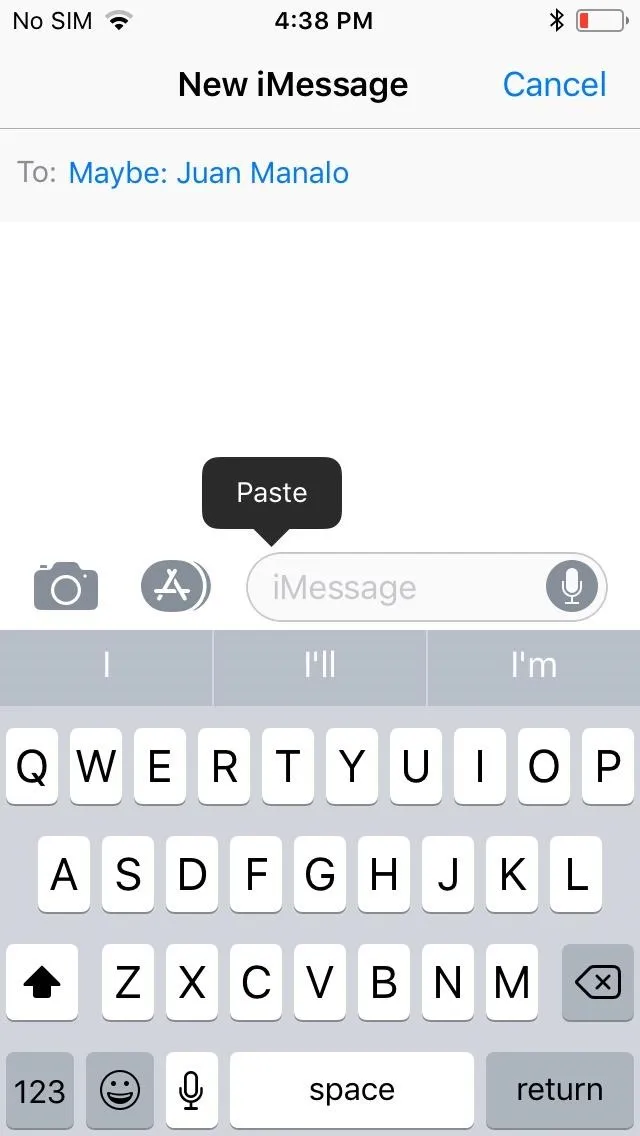
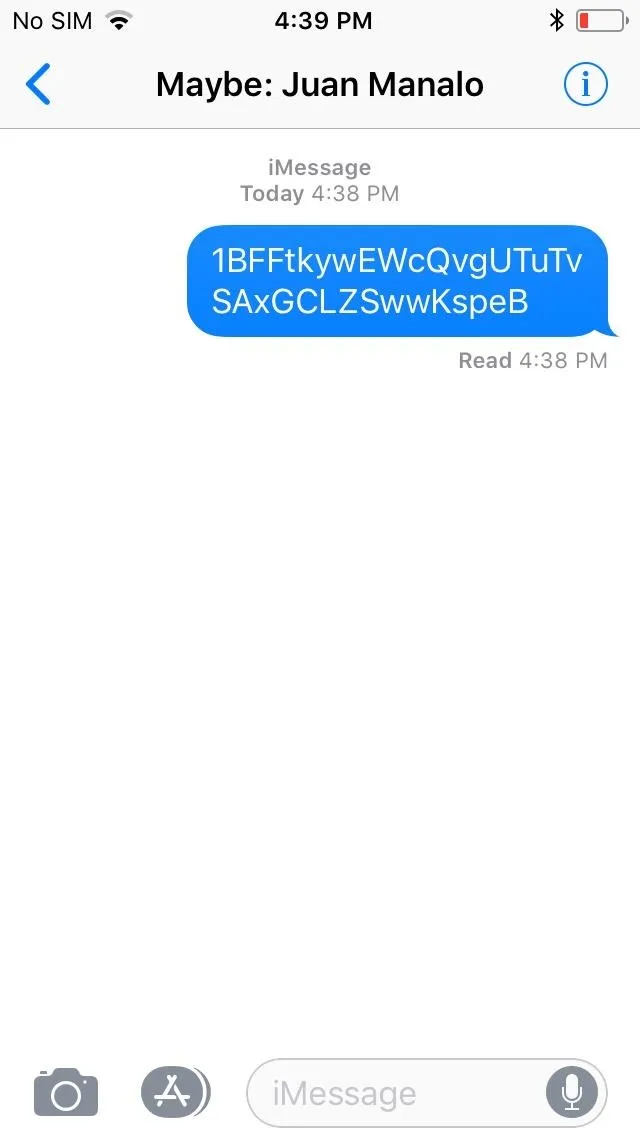


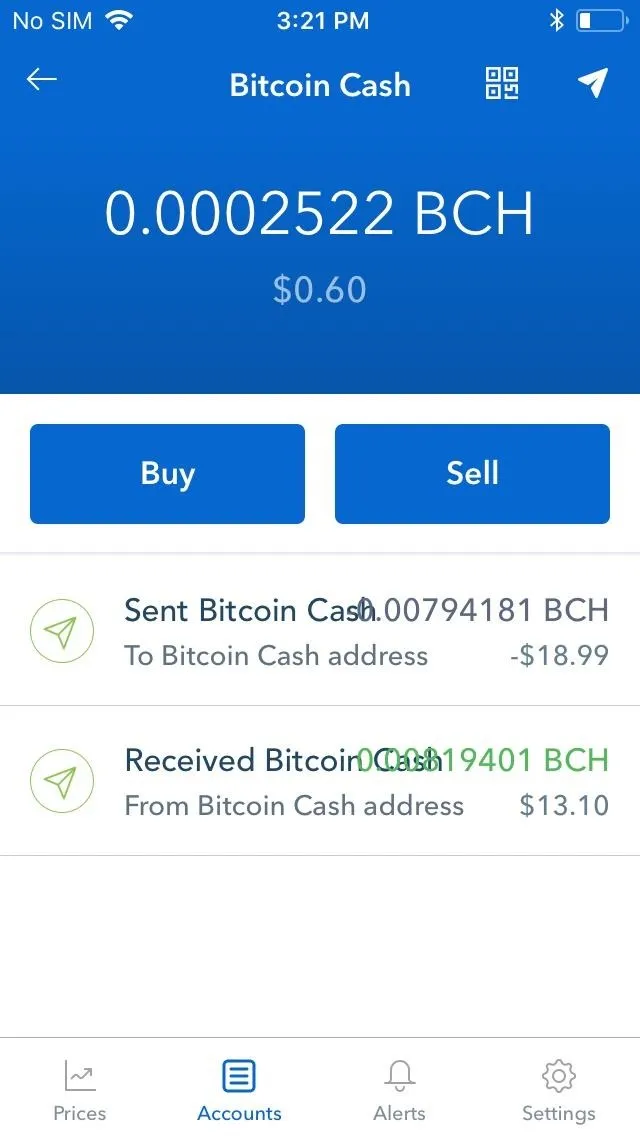
Once the sender sends cryptocurrency your way, the pending transaction will be logged — usually within minutes — into the coin's corresponding wallet under the transaction history tab on the bottom half of your wallet. When the transaction finally clears, the amount received will be added onto your wallet's balance.

- Follow Gadget Hacks on Facebook, Twitter, YouTube, and Flipboard
- Follow WonderHowTo on Facebook, Twitter, Pinterest, and Flipboard
Cover image and screenshots by Amboy Manalo/Gadget Hacks






Comments
Be the first, drop a comment!