


Twitter is a science. The smarter you post and engage with others, the better chance you have at building a bigger audience. Scheduling your tweets is one way to get there. Most engagement occurs at specific hours, but you may not be around then to post your tweet manually. While the official Twitter app on iOS and Android doesn't allow you to schedule, there is another way.
Hootsuite and Buffer are just a few of the third-party apps that allow tweet scheduling, but if you don't want to download another app or give up your Twitter credentials, you can use Twitter's own tools instead. These tools may not be in the Twitter mobile apps, but there are other ways to access them on your phone to create a tweet and schedule it for later. The first tool below is easier than the second, but the second one does give you more control.
- Don't Miss: The 5 Best Free Twitter Clients for iPhone or Android
Use TweetDeck
Although it used to be a third-party app, TweetDeck, created in 2008, was purchased by Twitter for $40 million in 2011. That deal brought multiple timelines, tweet collections, and yes, scheduled tweets, right to Twitter. Using the TweetDeck method is faster and less complicated than the second method below, but the feature is limited in comparison. Still, for most of you, TweetDeck is the way to go.
Sign in to TweetDeck
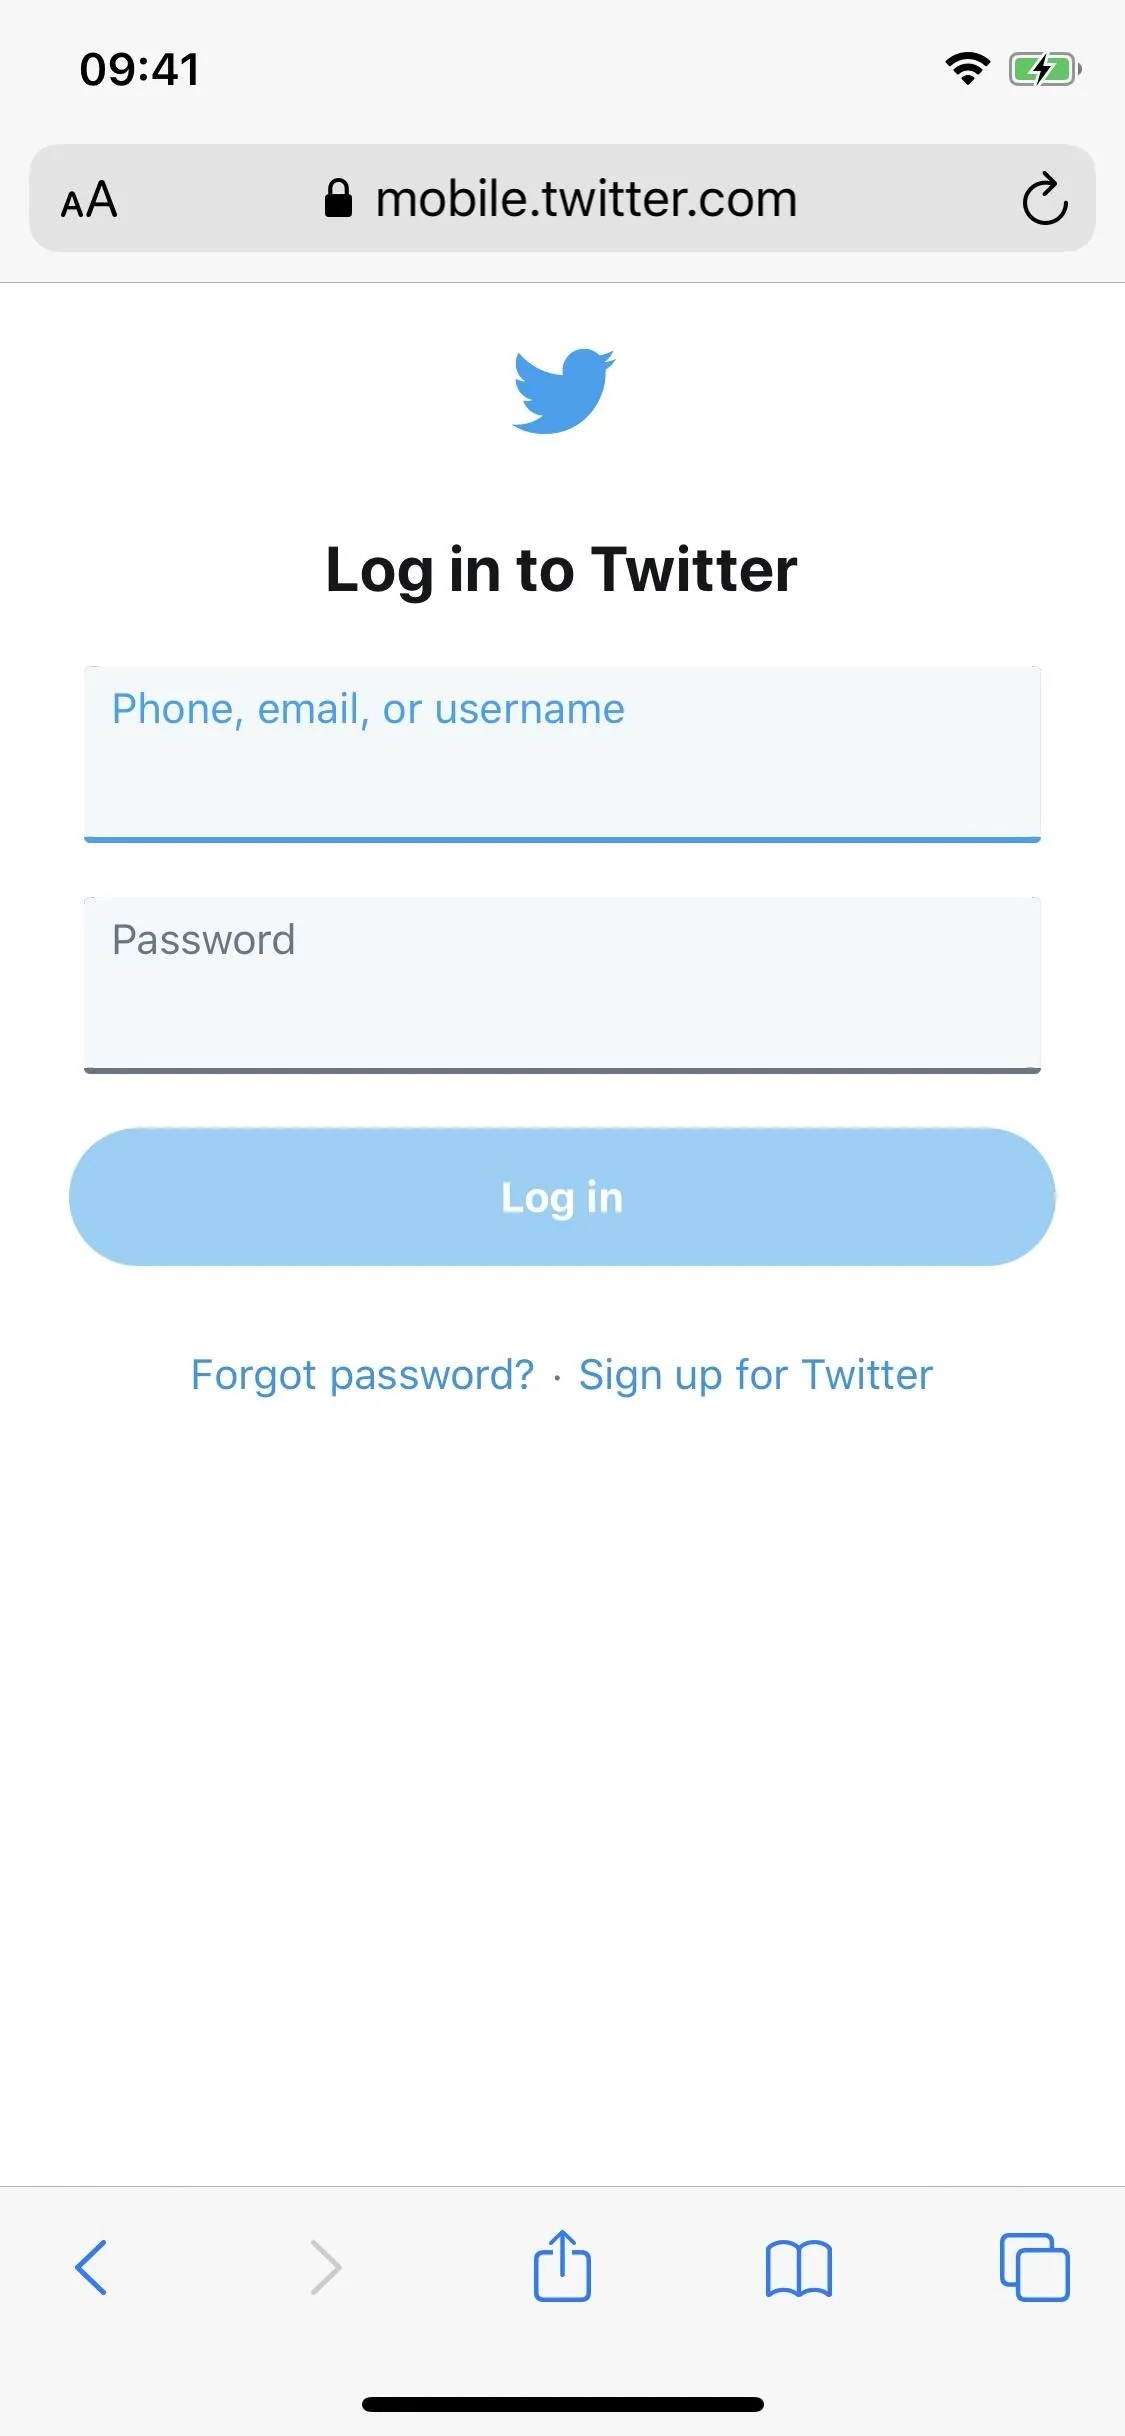
If you're already logged in to Twitter in Chrome, Safari, Firefox, or another mobile browser, you can go directly to tweetdeck.twitter.com there to view the TweetDeck interface. If you're not logged in, after opening the link, tap on "Log In" and sign in with your Twitter credentials.

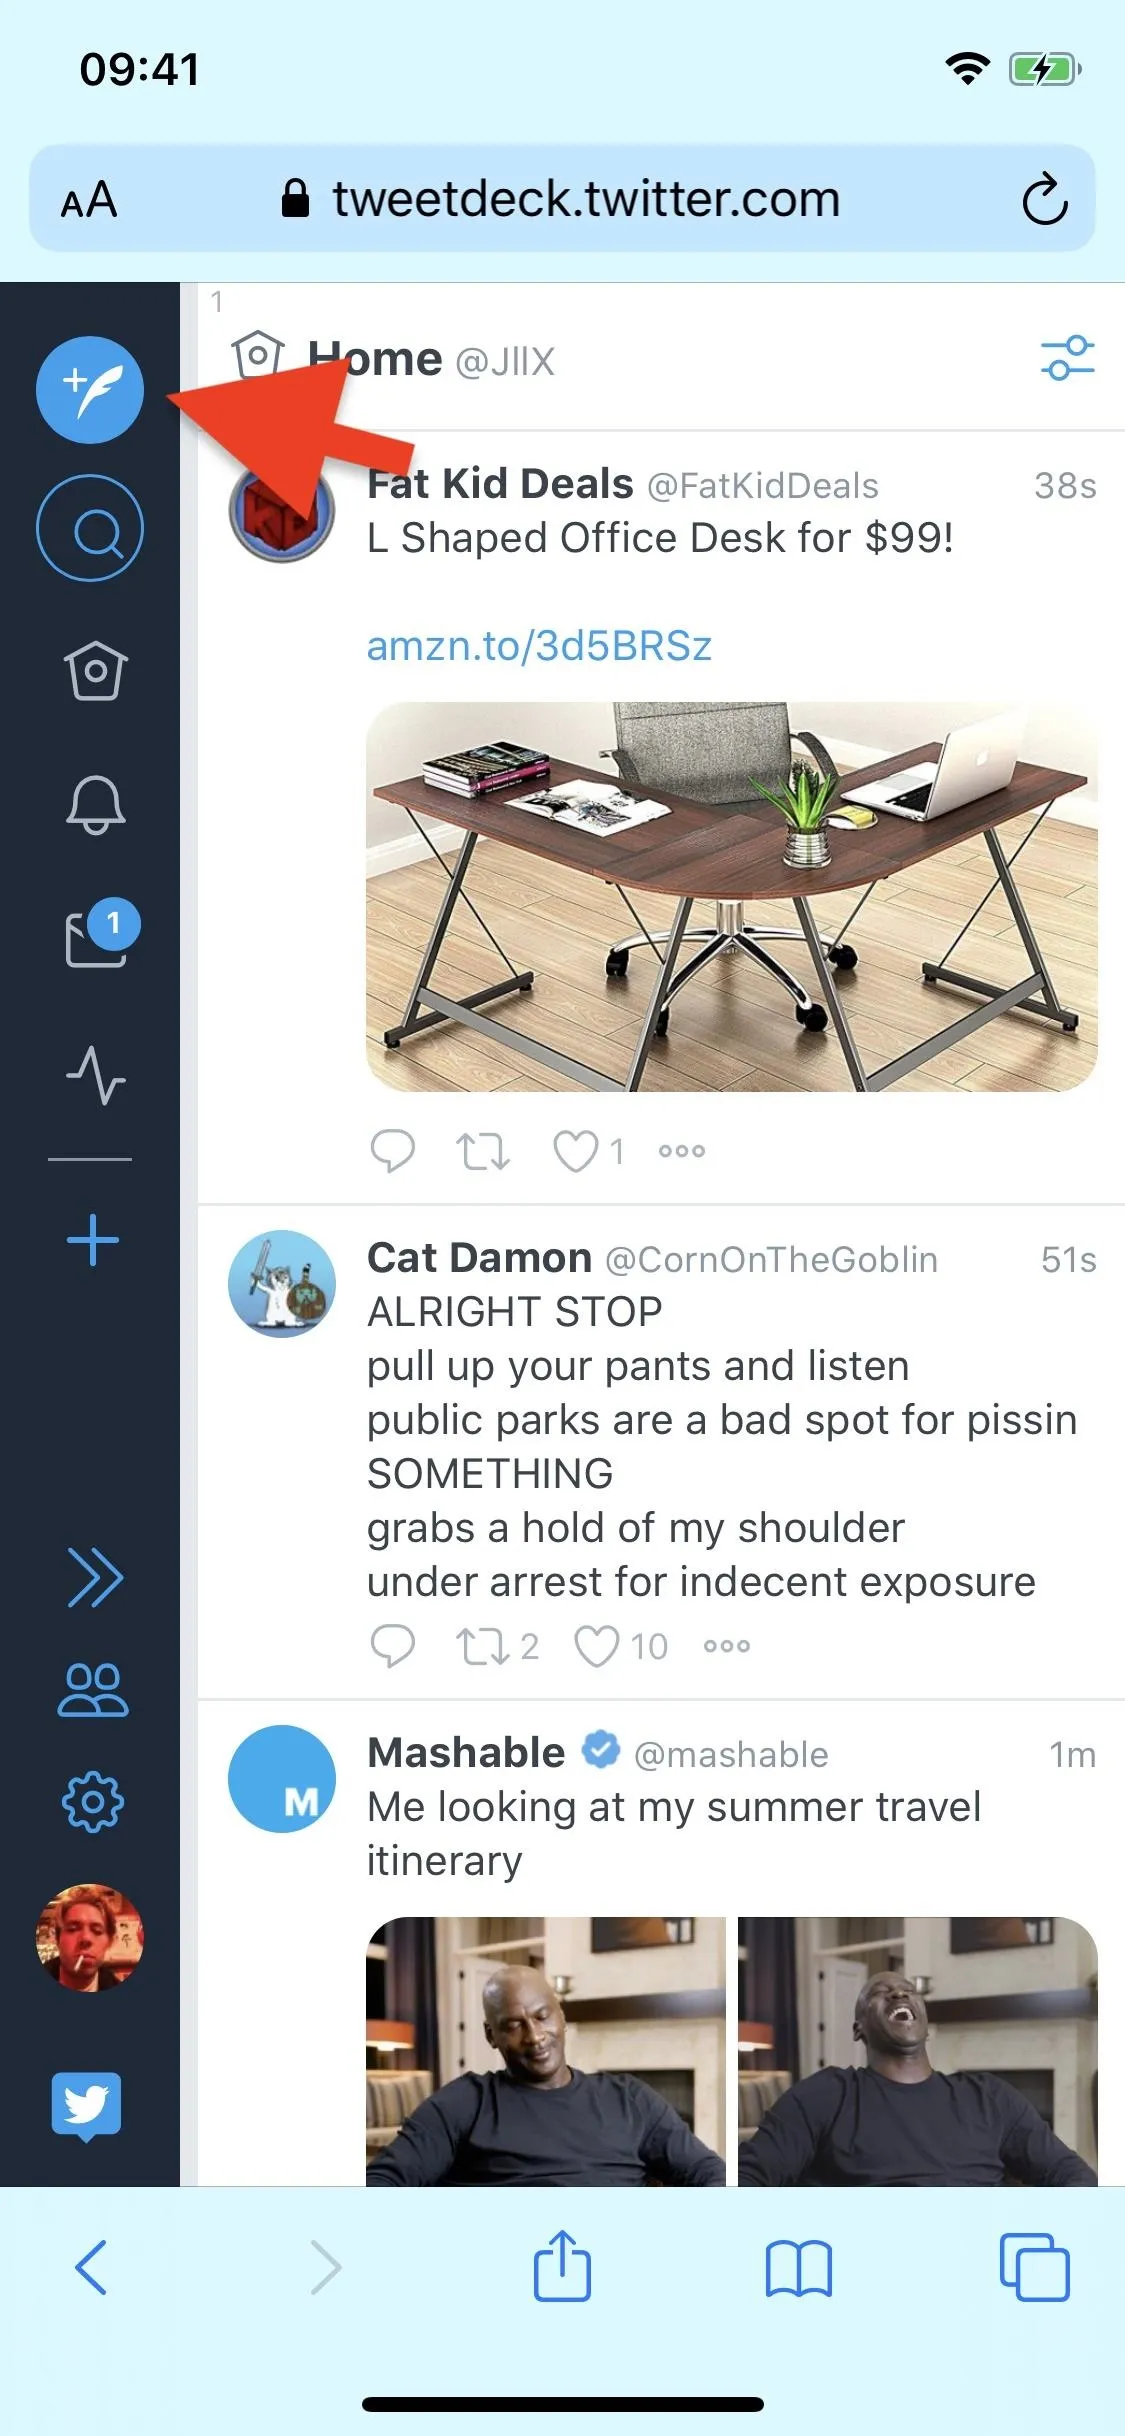
Compose Your Tweet
Before you can schedule a tweet, you must first compose one. Tap on the new tweet icon in the top left to start one. Alternatively, you can tap on any tweet you see in one of your column feeds, then touch in the "Reply to" field to start a new tweet.
You can write your tweet just like how you would on the Twitter app, as well as add a photo, GIF, or video. If you are replying to another tweet, you'll want to tap the expand button (the box with an arrow pointing outward) to see the "Add images or video" button and other options.
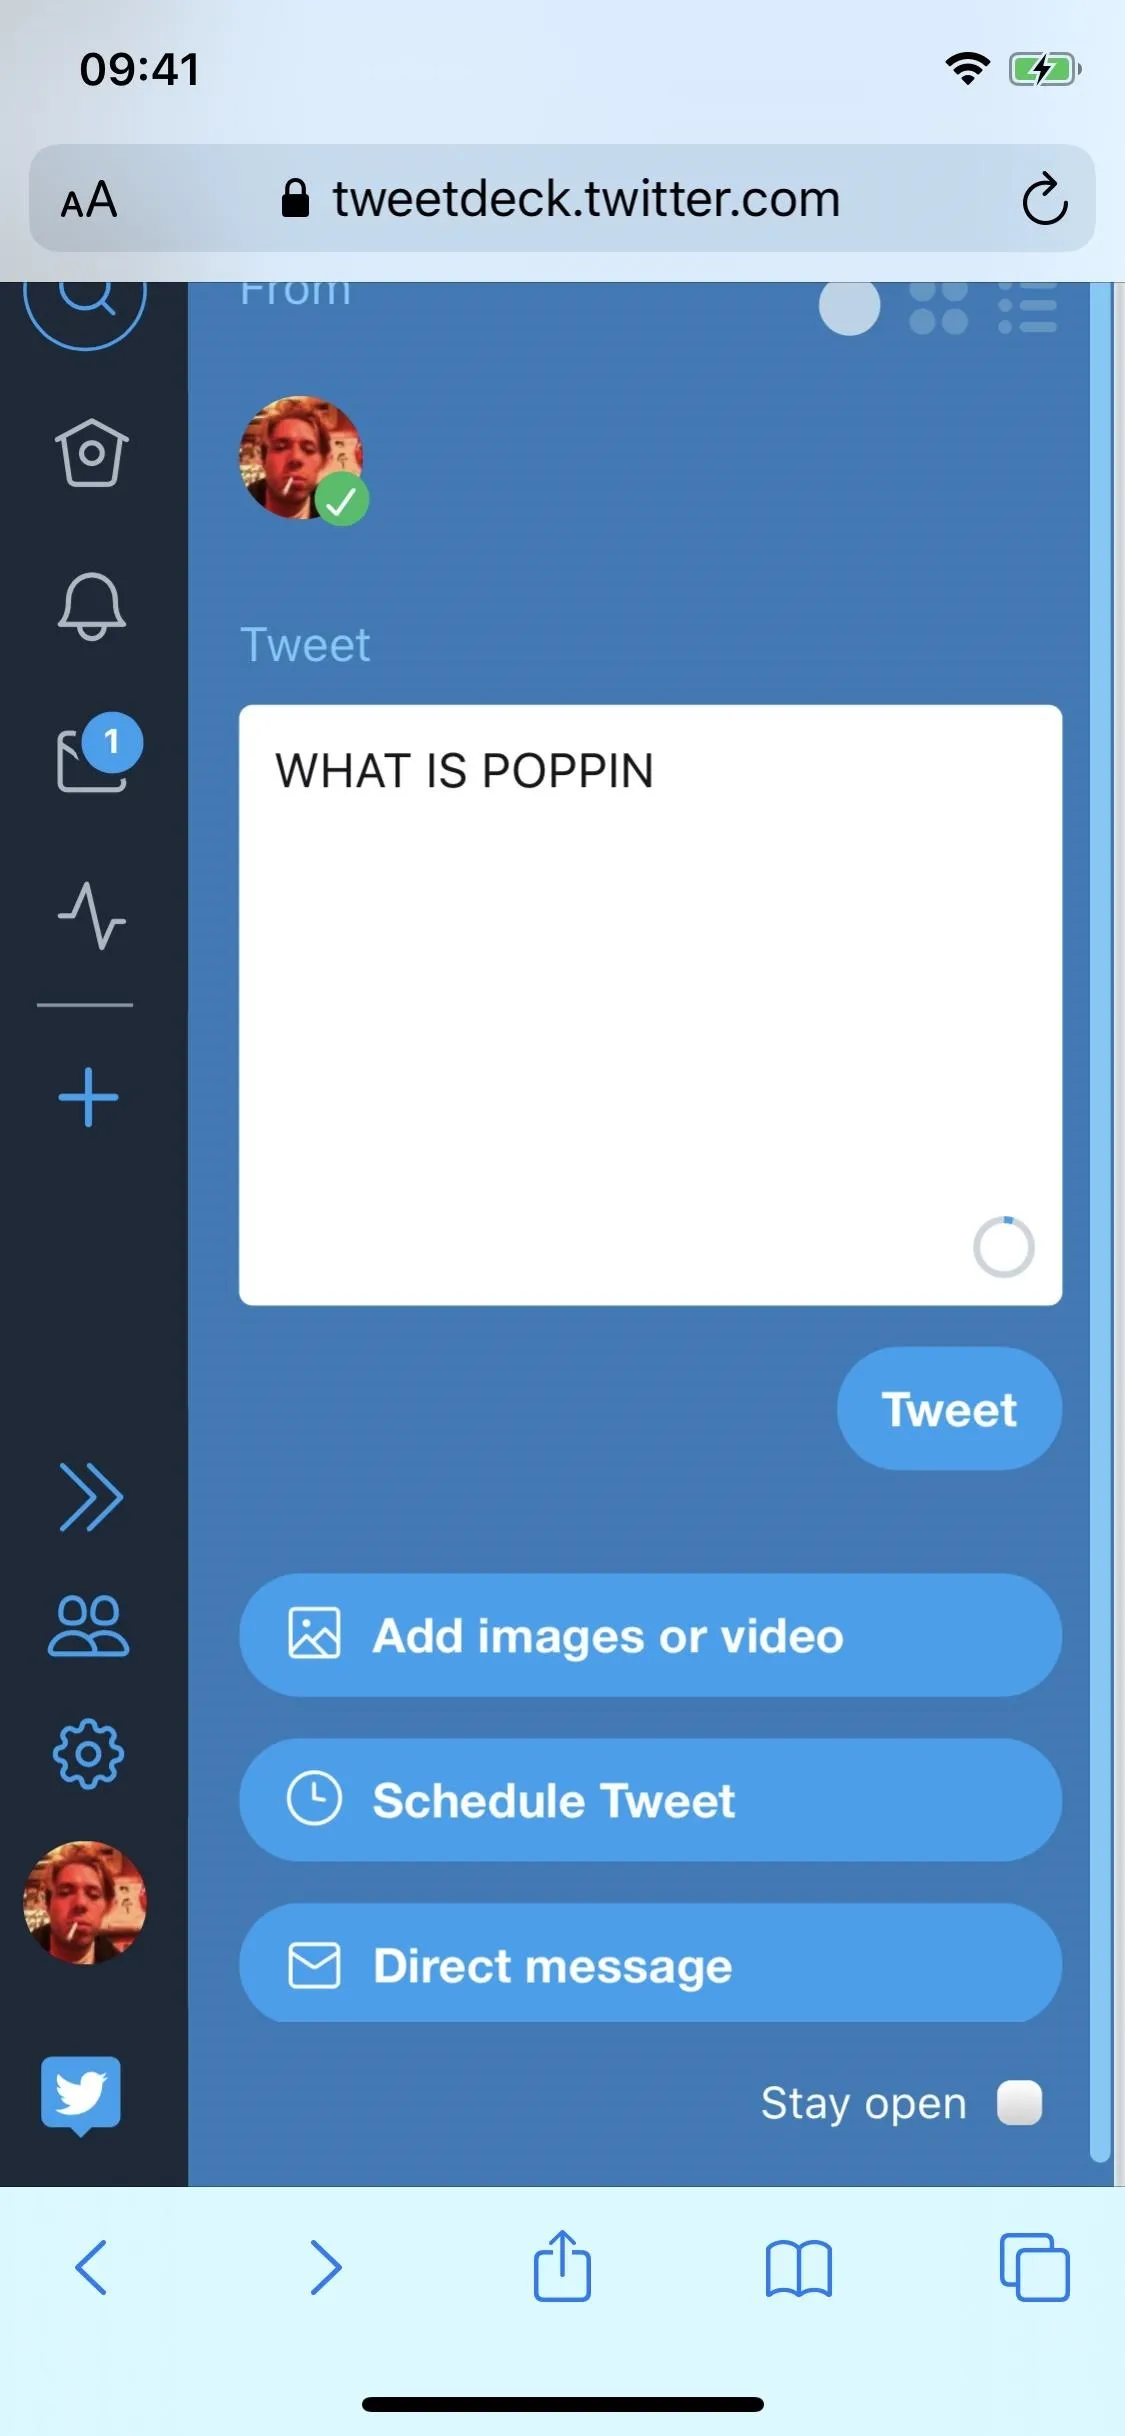
Schedule Your Tweet
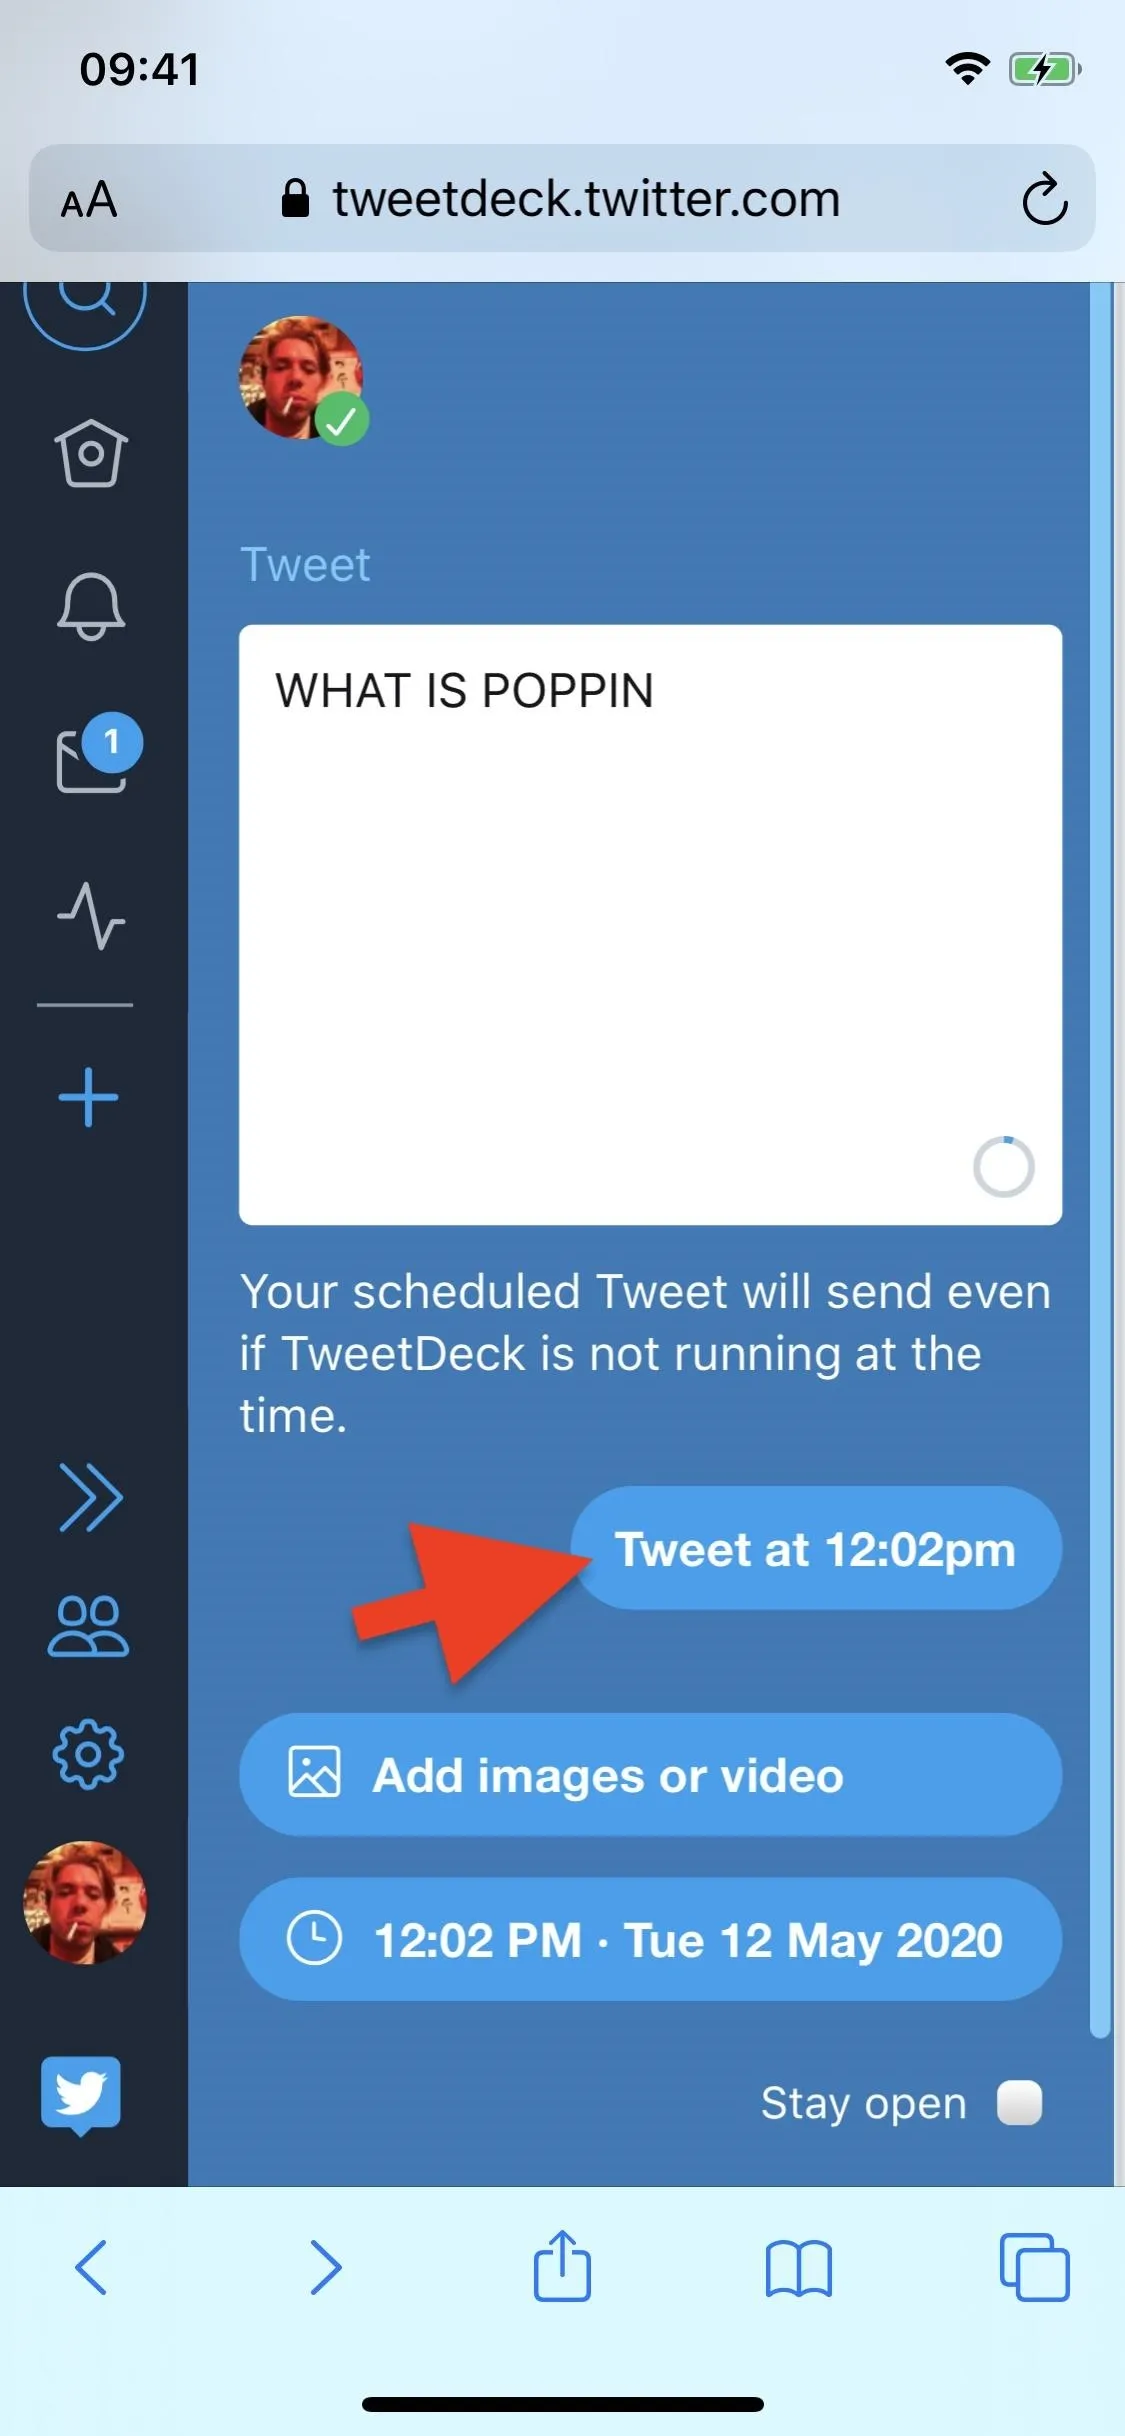
Once your tweet is done, tap on "Schedule Tweet" underneath your draft, and a calendar will appear. If you don't see the "Schedule Tweet" option, again, expand the draft window if you're in the minimized view.
In the calendar, you can choose the time and date, including day, month, and year. TweetDeck also gives you a default time you could use if you just want to roll with that. With your date and time set, tap on "Tweet at [time]" to schedule the tweet.

Manage Your Scheduled Tweets
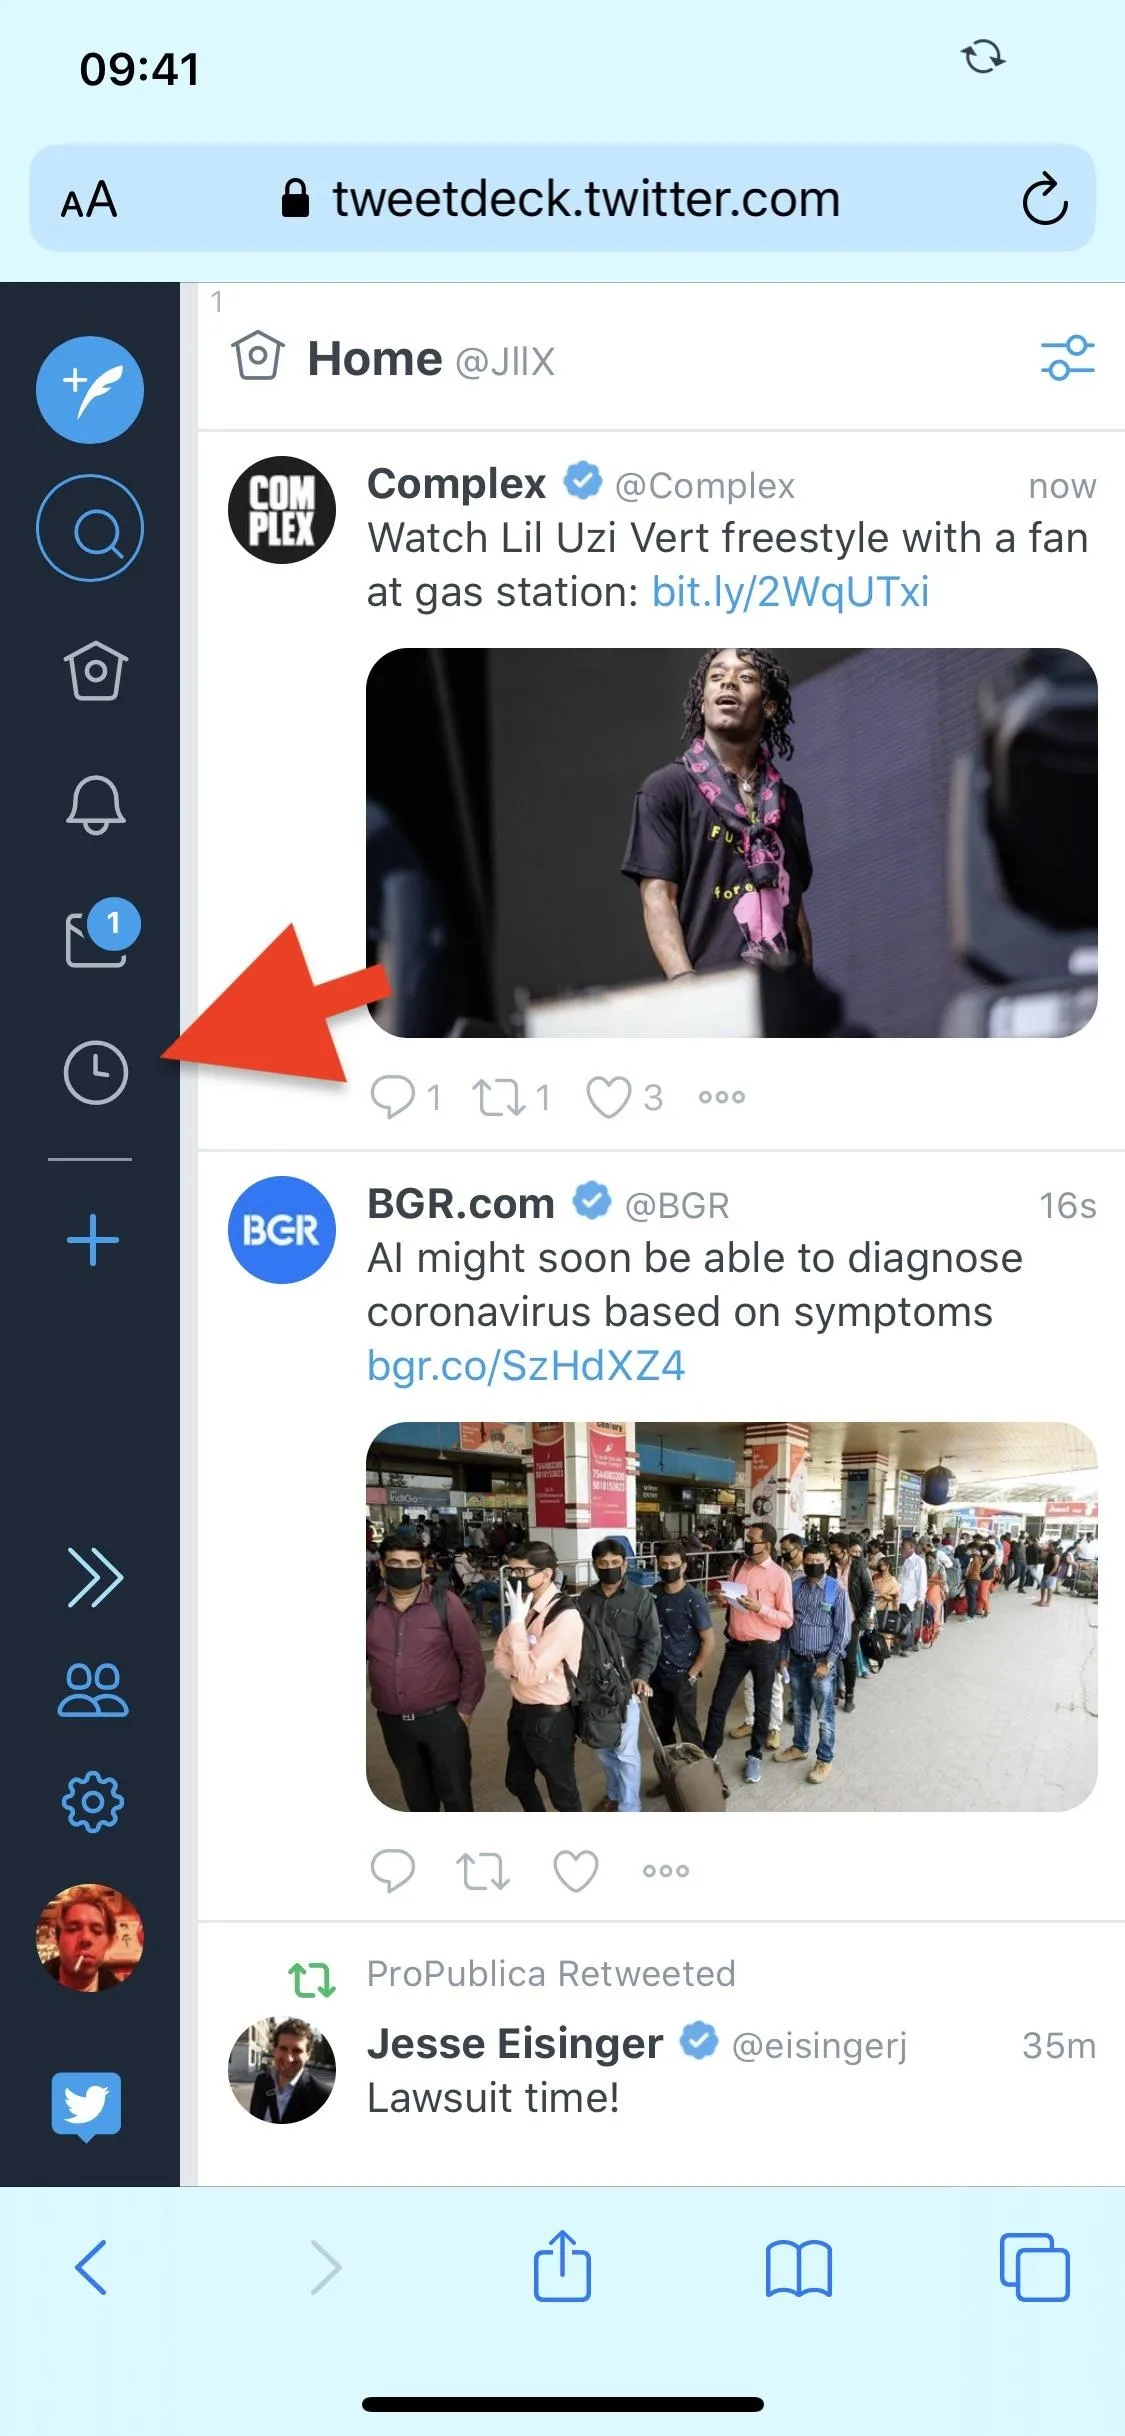
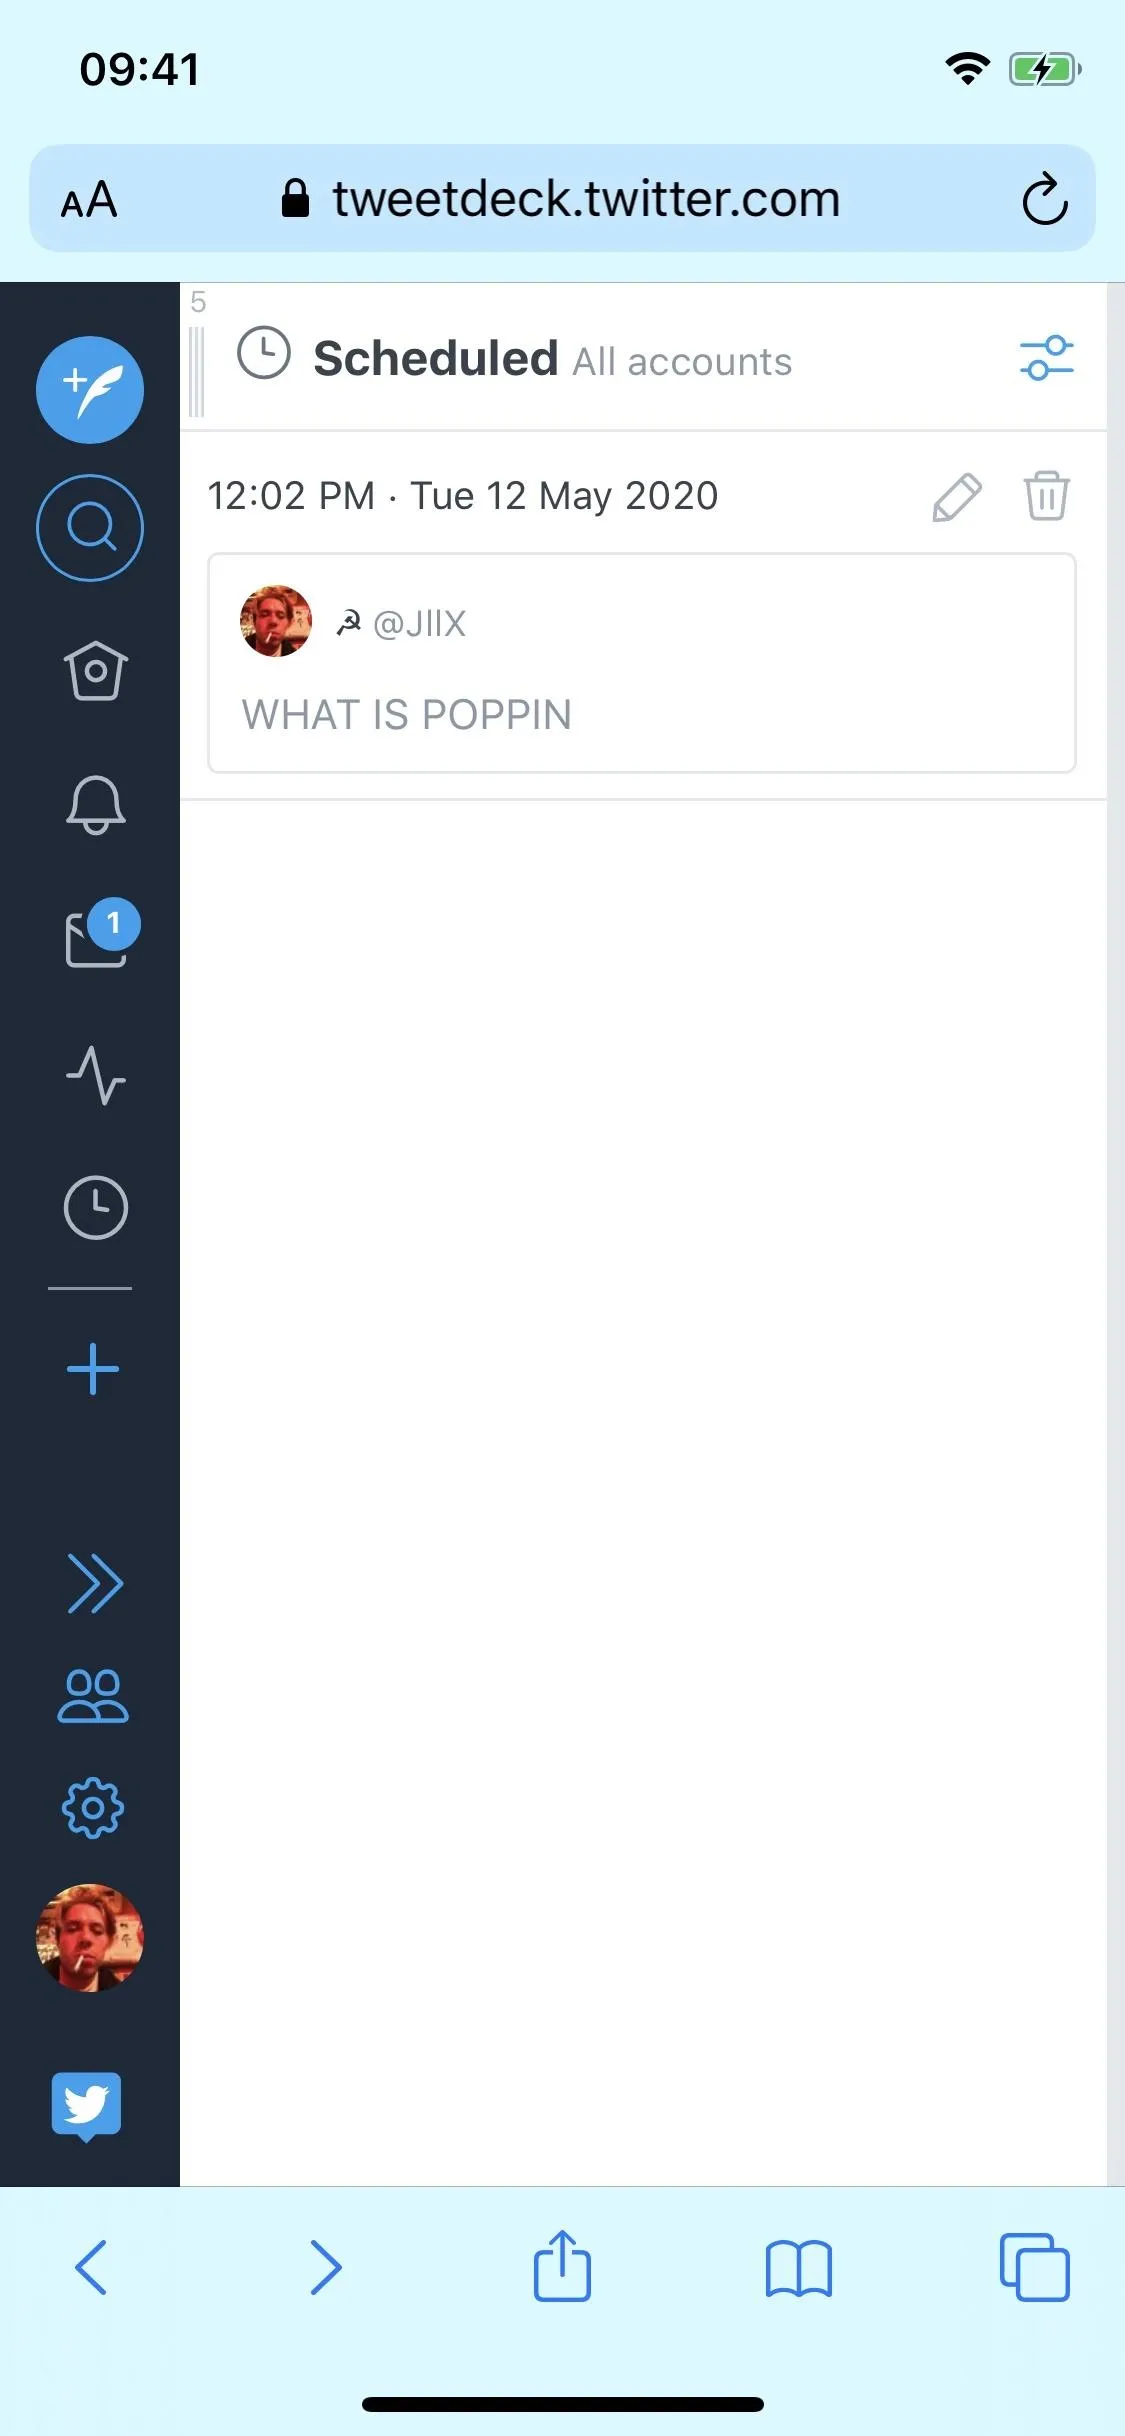
All of your scheduled tweets can be access through the scheduled tweets panel. After scheduling a tweet, you should be taken there directly, but you can also get to it by tapping the clock icon in the sidebar menu (you may have to scroll up on the bar to unhide it) or by swiping left from the home page until you reach it.
In the scheduled panel, you can tap the trash can icon next to a tweet to delete it, or you can tap the pencil icon to edit it. When editing, you'll be taken back to the expanded draft view where you can tweak the tweet, change the time and date, or add media. And that's all there is to it.
Use Twitter for Business
TweetDeck is fast and easy to use, but scheduling a tweet through a Twitter for Business account can be better if you want to add cards or polls to your tweets, as well as advertise them (if you're building your brand). You may not know it, but everyone with a Twitter account also has a business account. Aside from scheduling tweets, it's where you can check analytics, build campaigns, figure out interest-based targeting, and more.
However, before continuing, know that you need you will need to provide Twitter with a debit or credit card. Without it, the new tweet button will not appear.
Sign in to Twitter for Business
If you're already logged in to Twitter in Chrome, Safari, Firefox, or another mobile browser, you can go directly to business.twitter.com there to view the Twitter for Business tools. If you're not logged in, after opening the link, tap on the three-dash menu icon in the top right, hit "Sign in," then log in with your Twitter credentials.


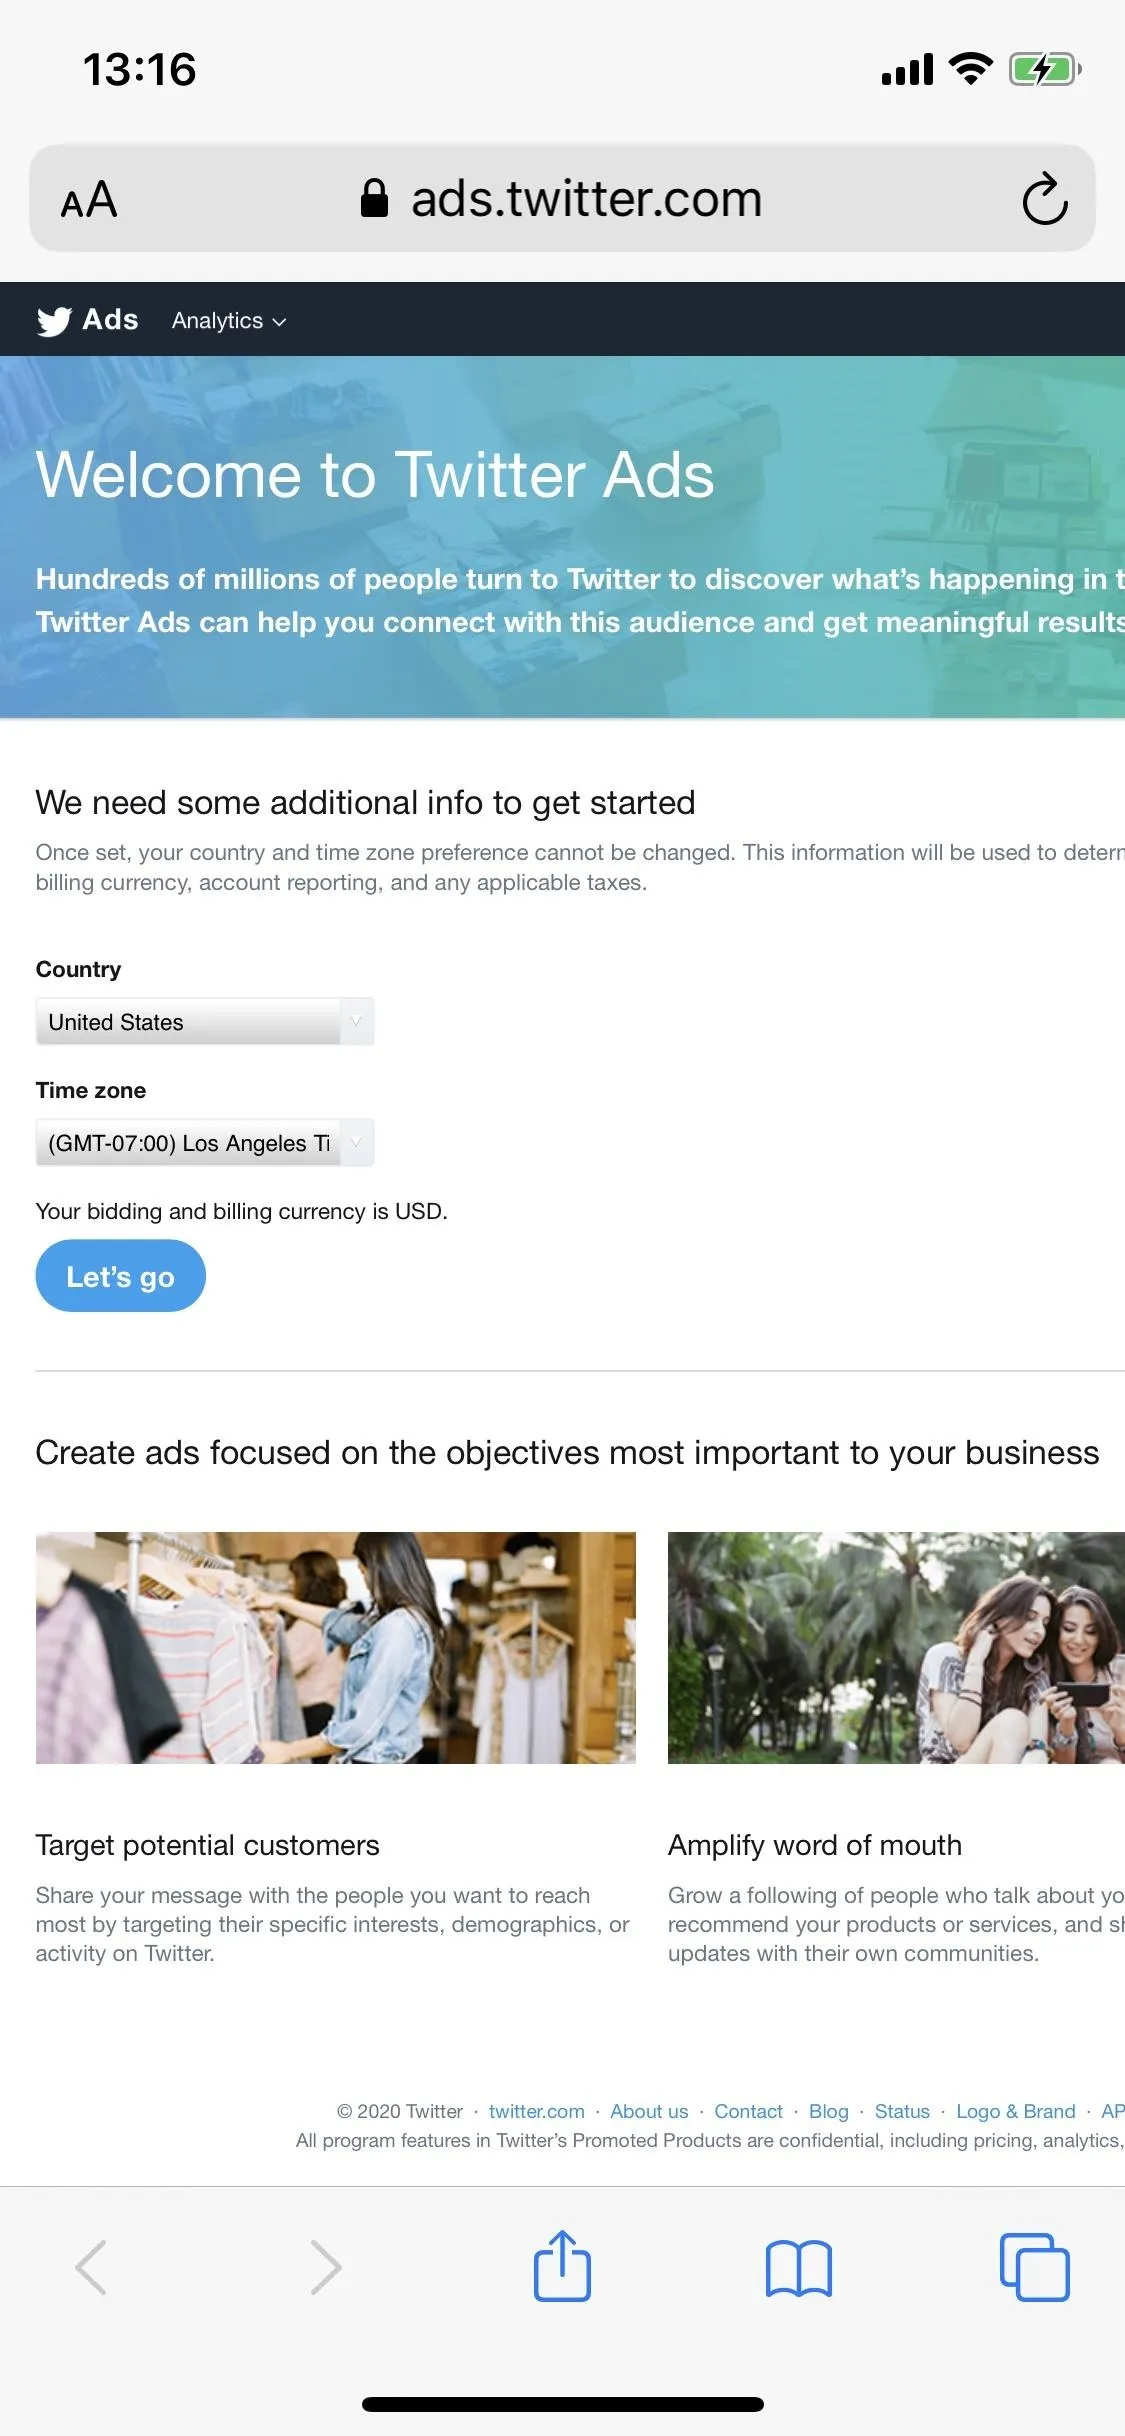
Go to the Twitter Ad Page
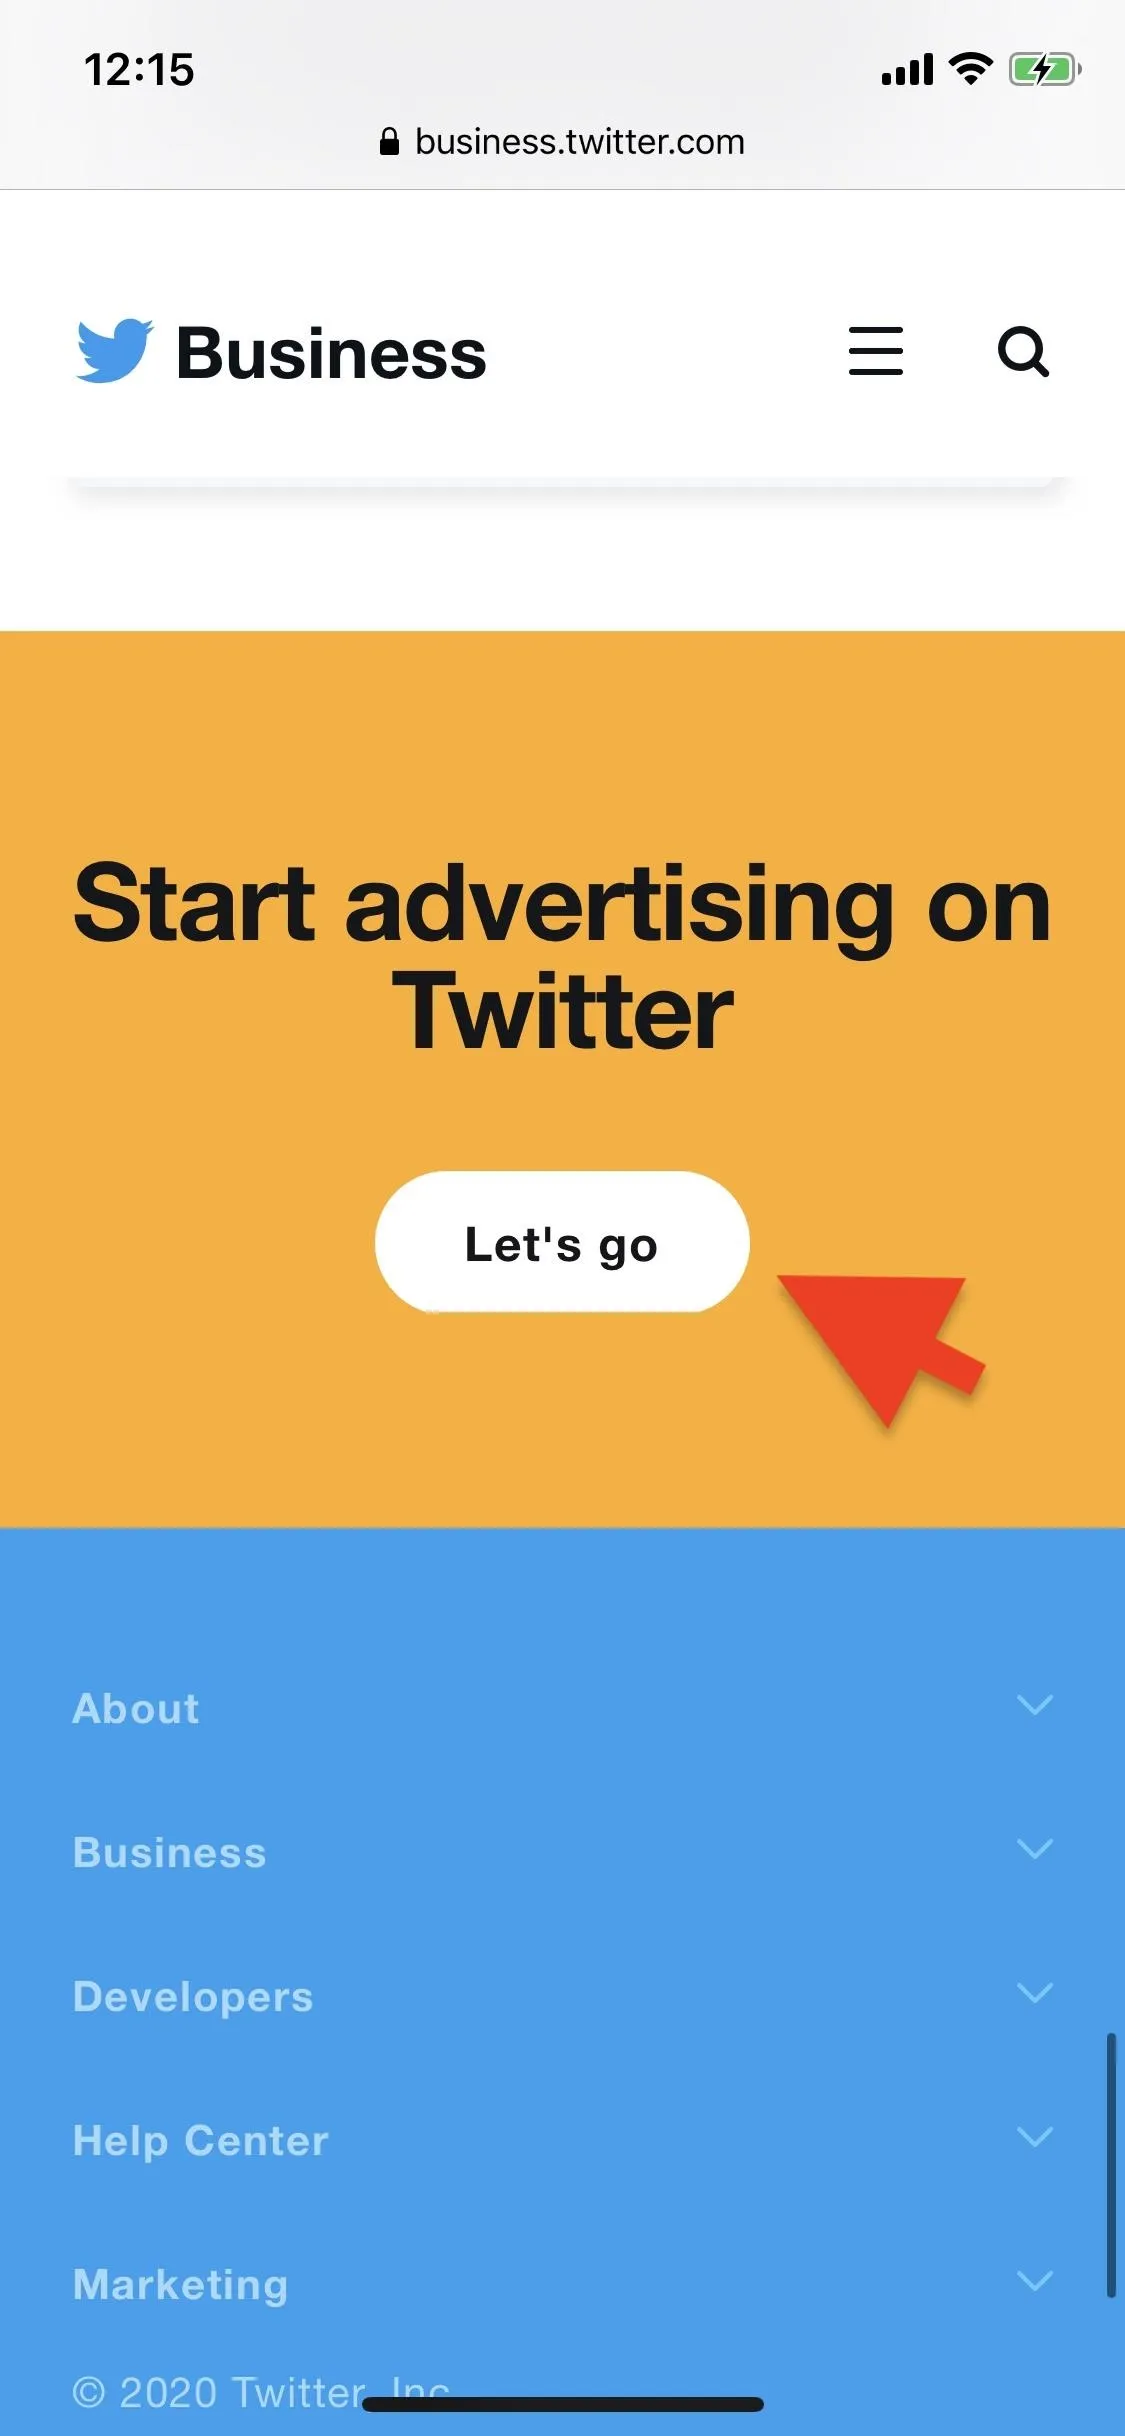
Once you log in, you'll be taken back to the Twitter for Business home page. Scroll down to the bottom of the page and tap on "Let's go" within the Start advertising on Twitter banner. You could also just visit ads.twitter.com as well, which will take you to the same place.

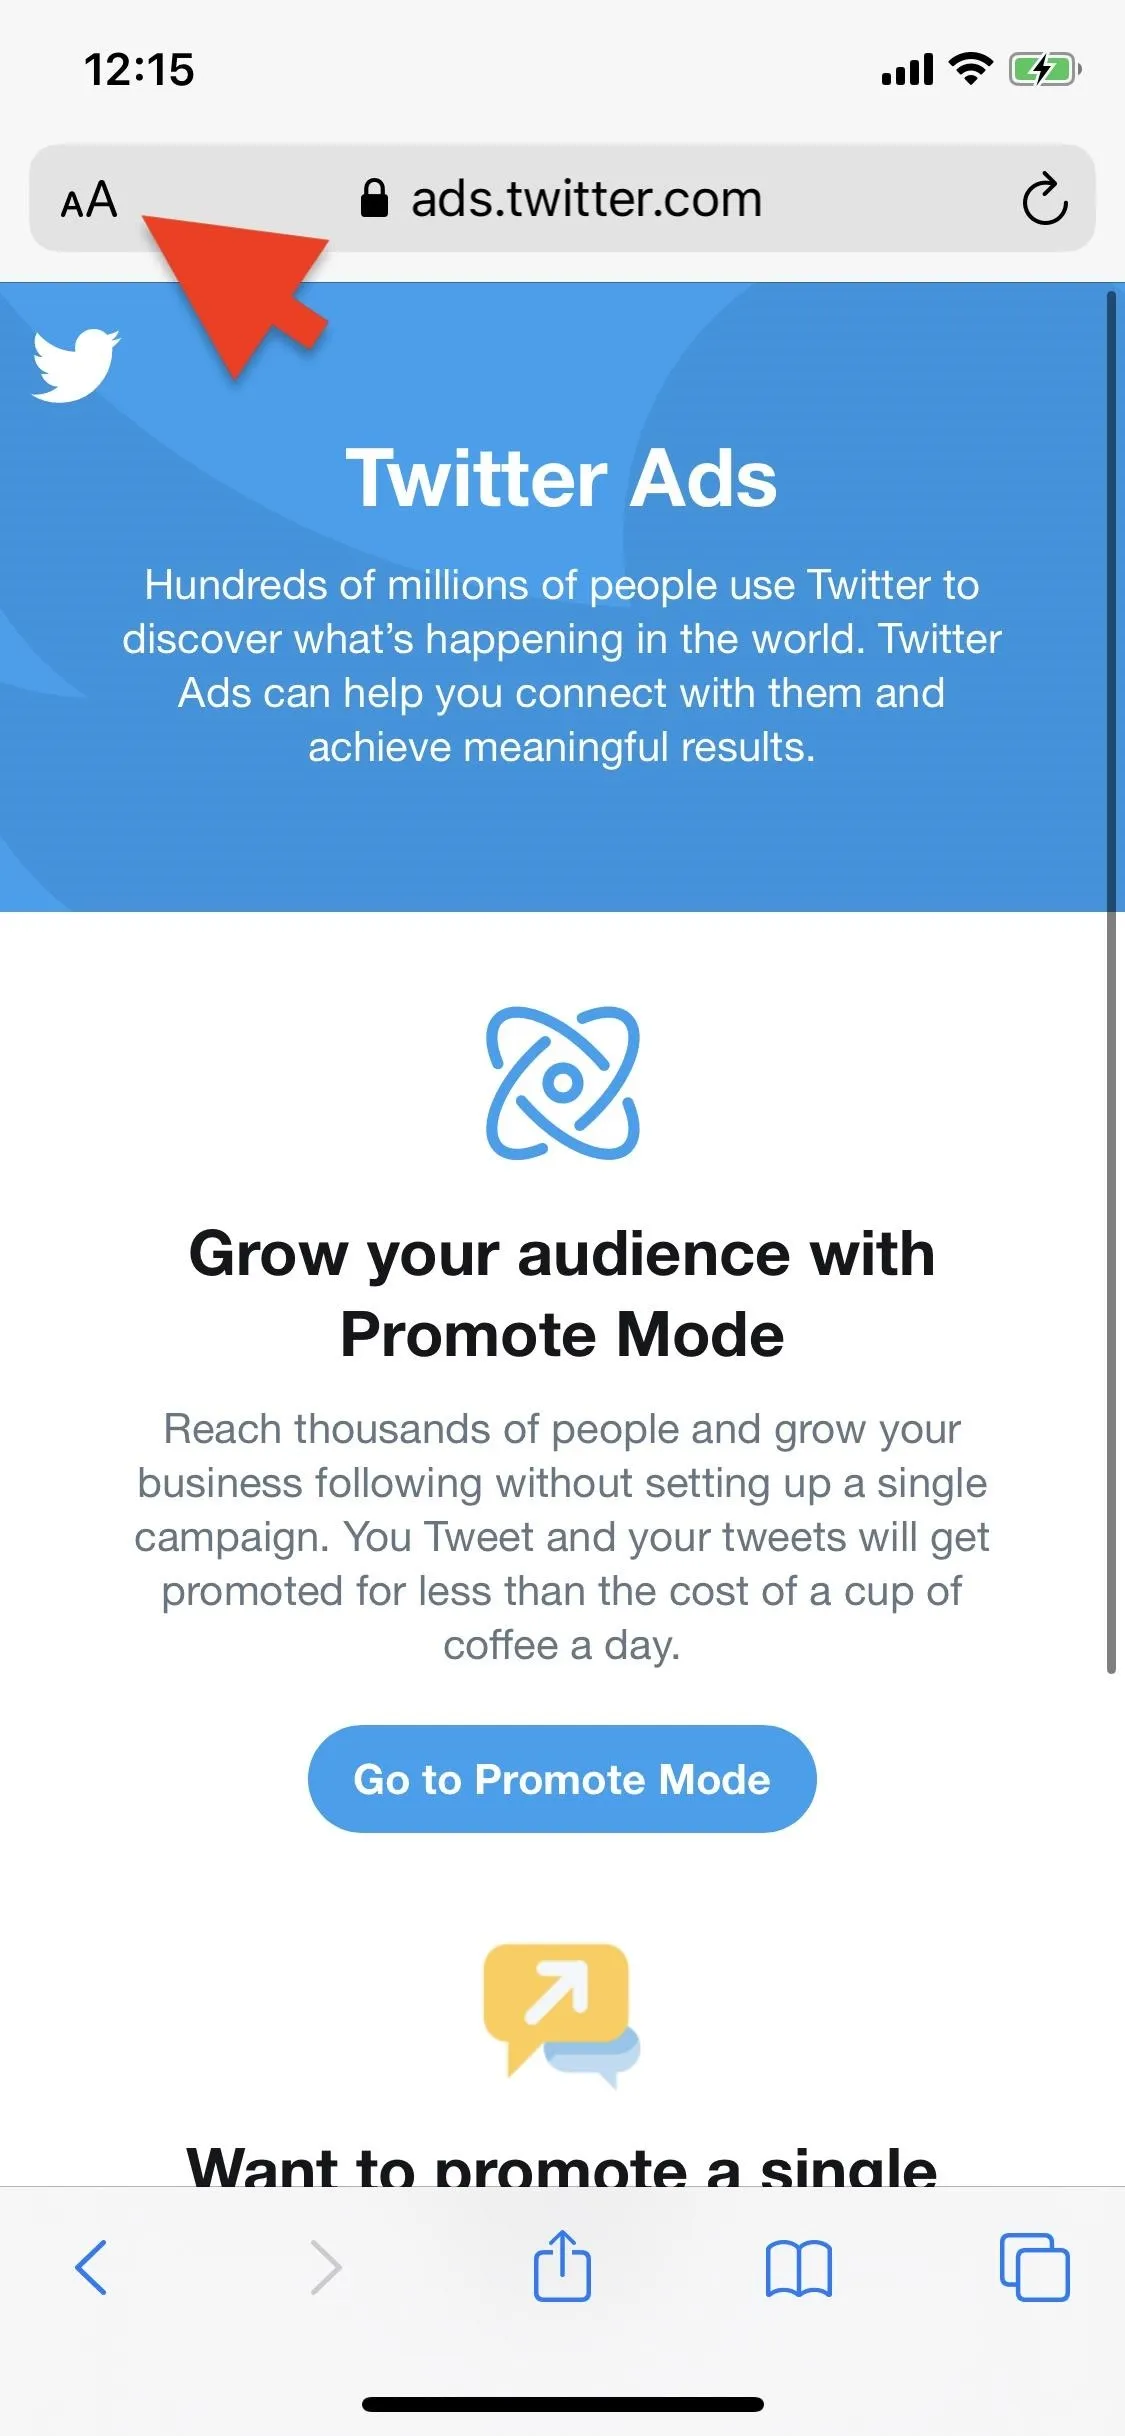
Request Its Desktop Site
On the Twitter Ads page, you can create advertisements and promote tweets, but we're not interested in that. We want to check out the analytics and tools, but they aren't visible on the mobile site. The only way to do so is to request the desktop version of the webpage.
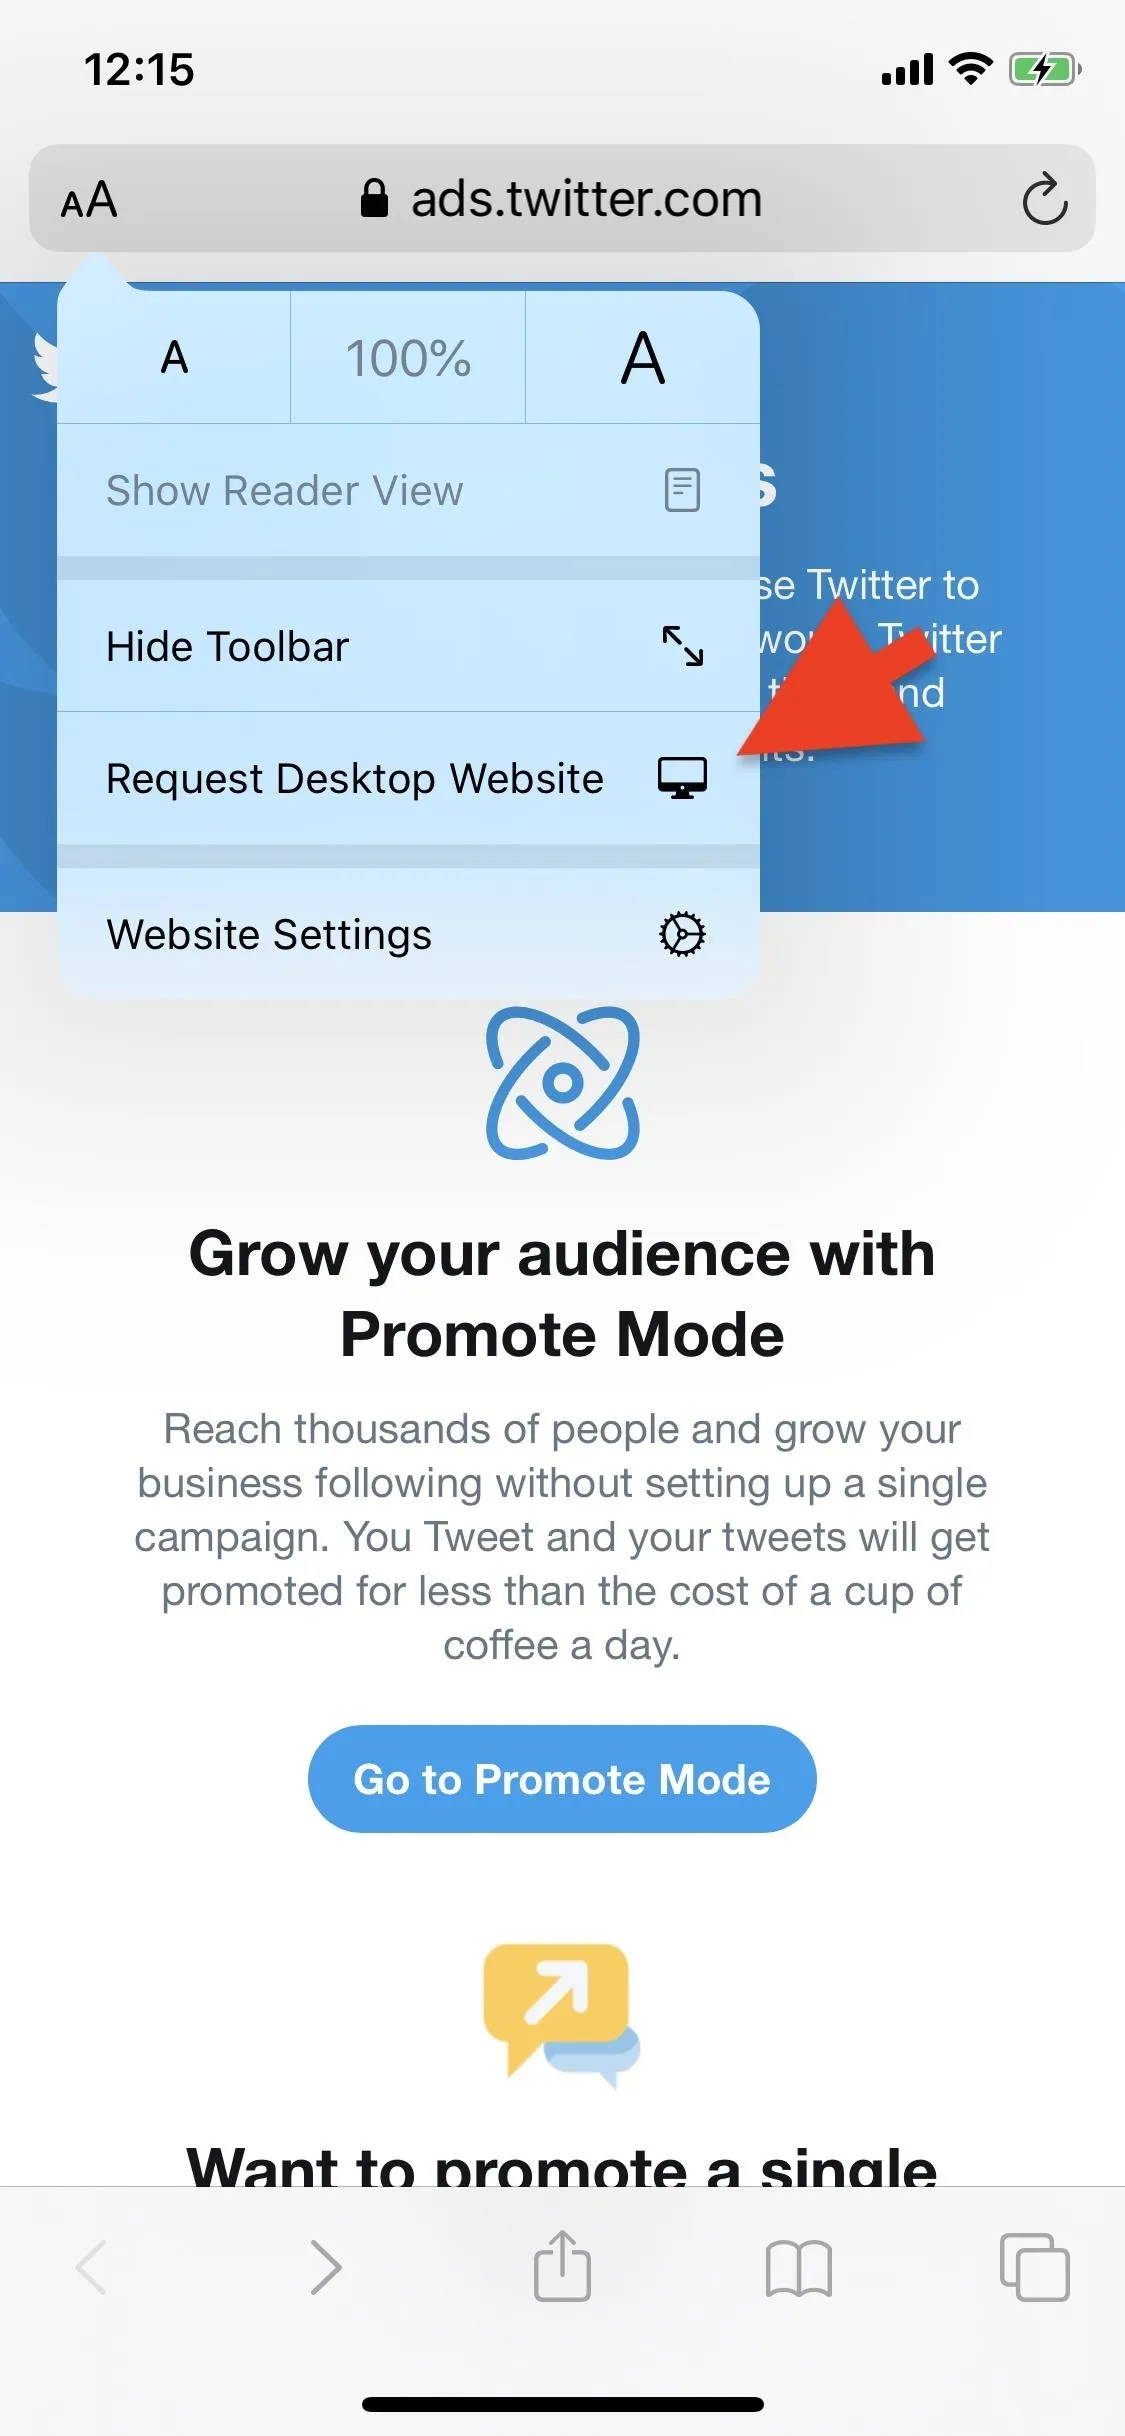
Depending on which web browser and operating system you're using, the process will differ. If you're using Safari on iOS (pictured below), tap on "AA" in the top left, then on "Request Desktop Website." In Chrome, Firefox, DuckDuckGo, or Opera for Android or iOS, tap the ellipsis menu icon, then find the "Desktop site" or "Request Desktop Site" option.
If you're redirected to the business subdomain, tap the "Go to Twitter Ads" button to return (you may need to request the desktop site again in that case).
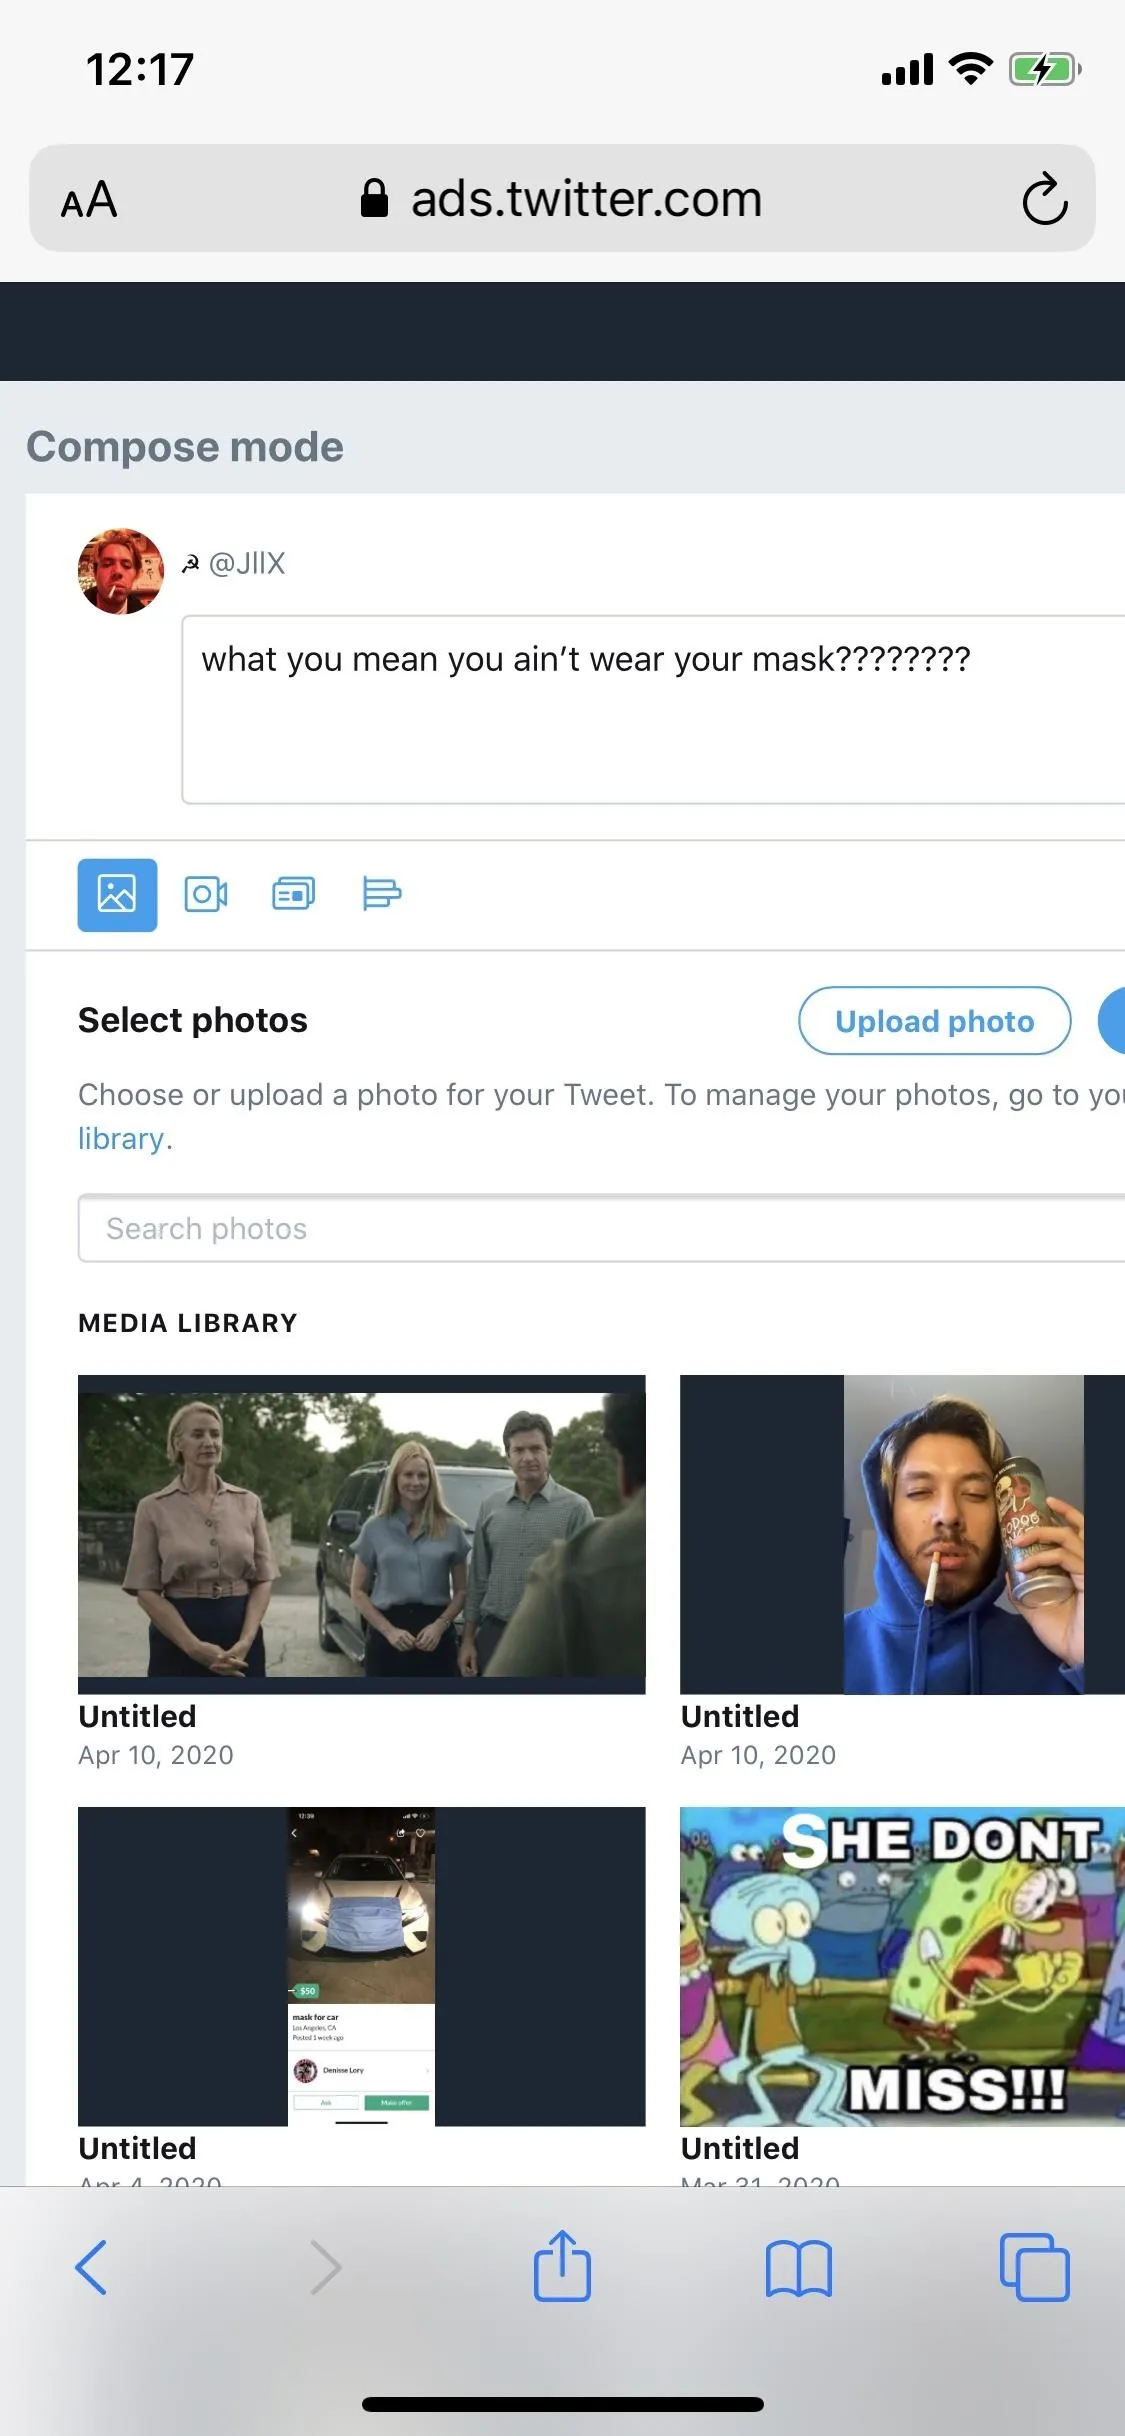
Compose Your Tweet
The desktop version of the Twitter Ads page will be semi-difficult to navigate, but you can get through it by scrolling and pinching in to tap on smaller icons. To get started, tap the blue new tweet button in the top right next to your profile image. If you don't see the button, you have not added a debit or credit card yet to the account. To do so, tap your name or business name next to your profile image, choose "Add new payment method," and follow the directions to add a card. Afterward, the blue new tweet button should appear.
Much like with the official Twitter app, you can add a photo, video, card, or poll to your tweet. You can go through your media library on Twitter (which are images and videos you've uploaded before) or your smartphone's gallery. Also, make sure to uncheck "Promoted-only," or else your tweet will only be "shown to users targeted in your ad campaigns," which won't make sense if you don't have an ad campaign.

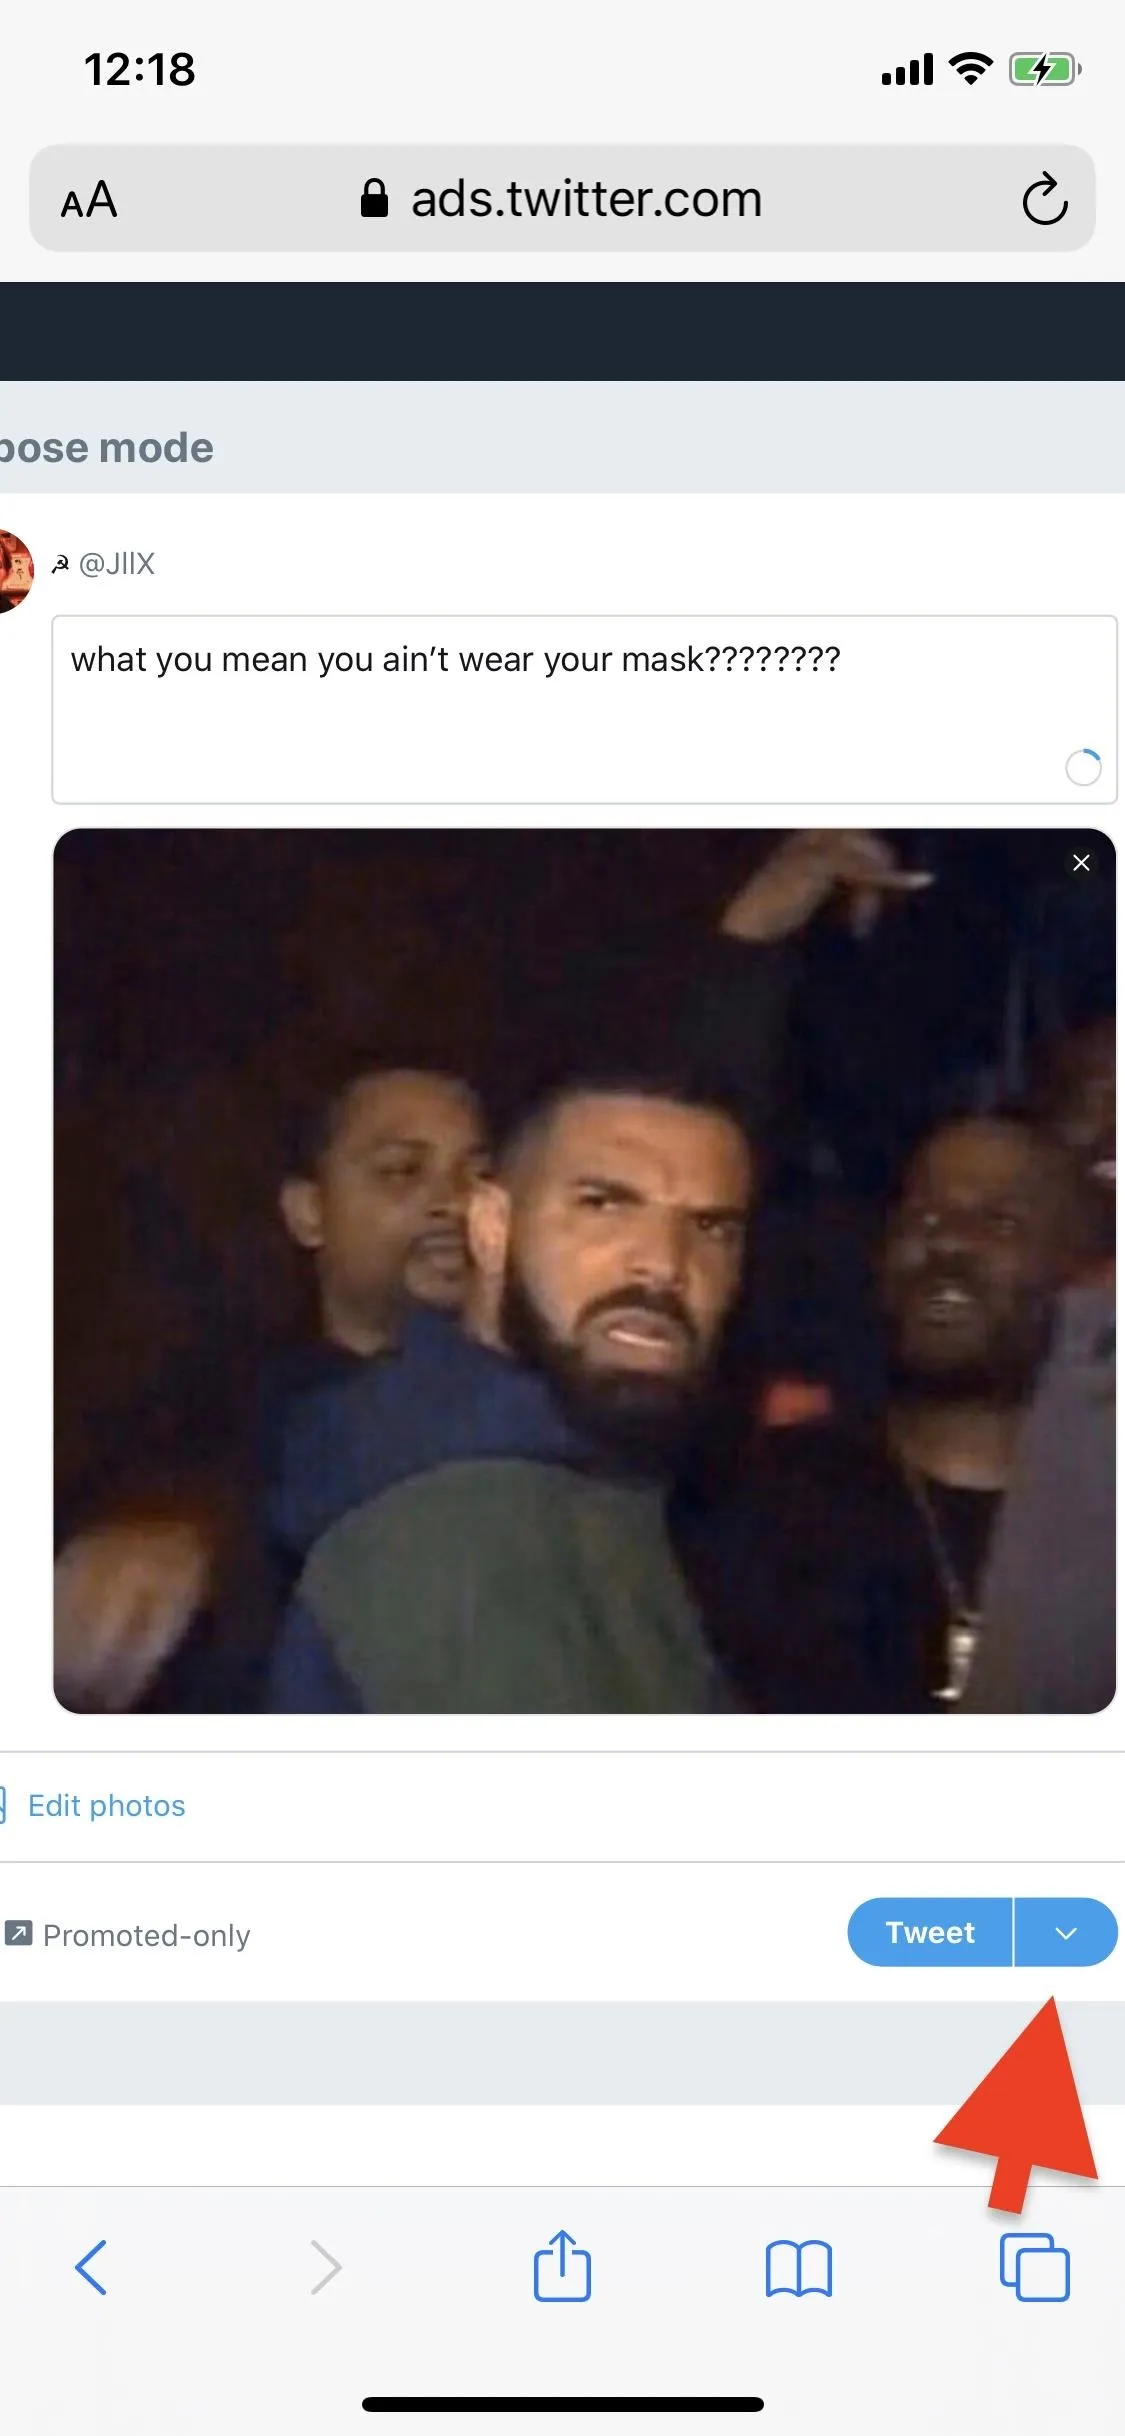
Schedule Your Tweet
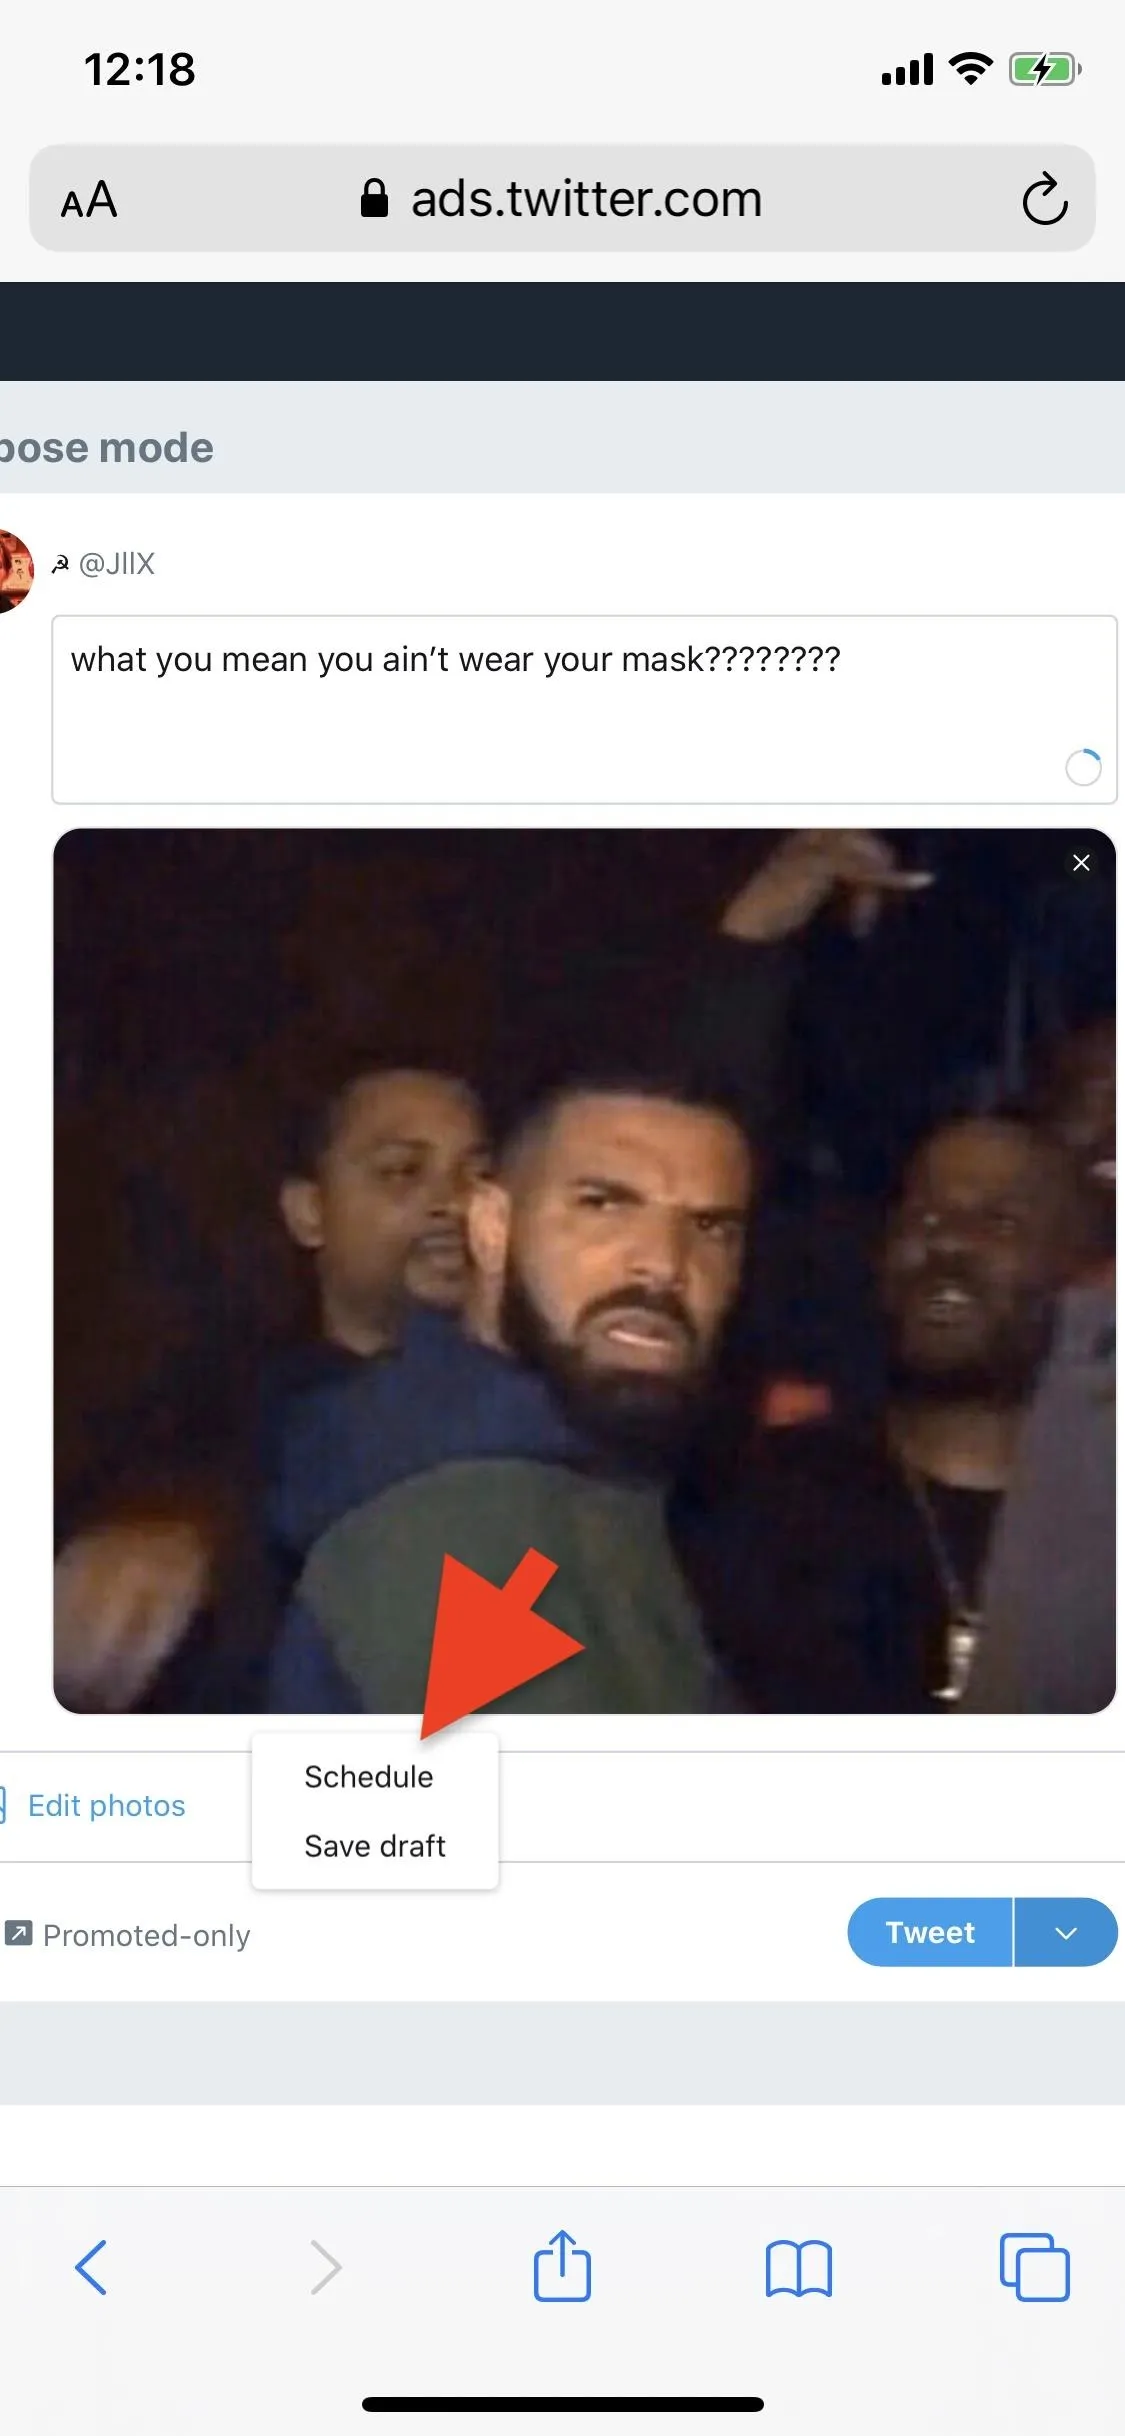
Now, to schedule the tweet! Once the tweet is drafted, tap on the drop-down icon in the blue button next to "Tweet." A pop-up will appear to the left of the screen: tap on "Schedule."
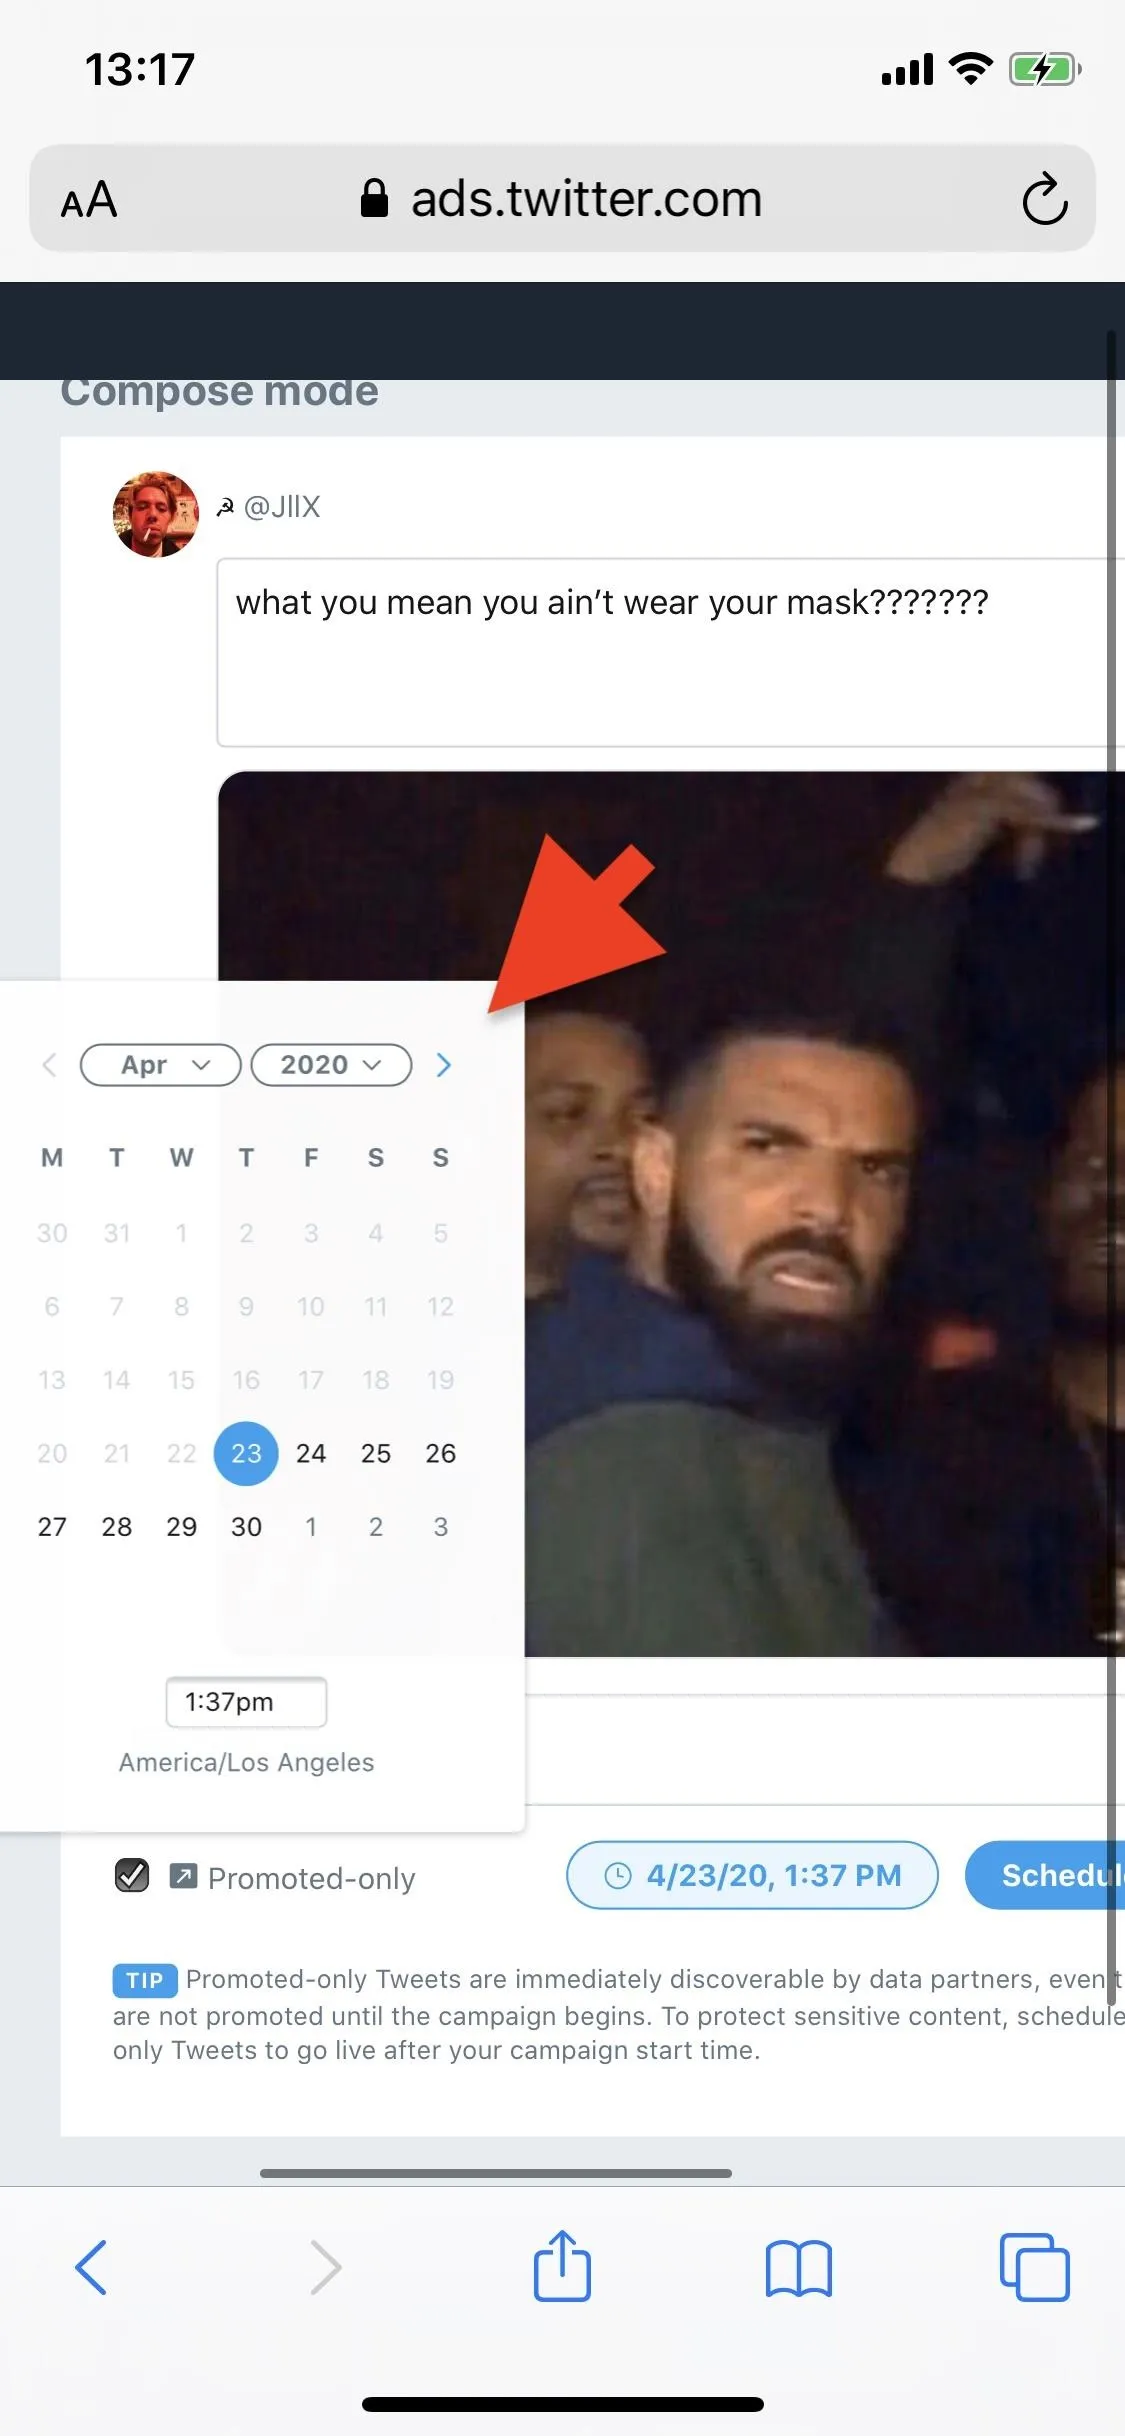
Next, tap on the button that shows the date and time the tweet will be posted. A calendar will then appear, where you can change the year, month, day, hour, and minute. Hit the blue "Schedule" button to schedule the tweet for later.

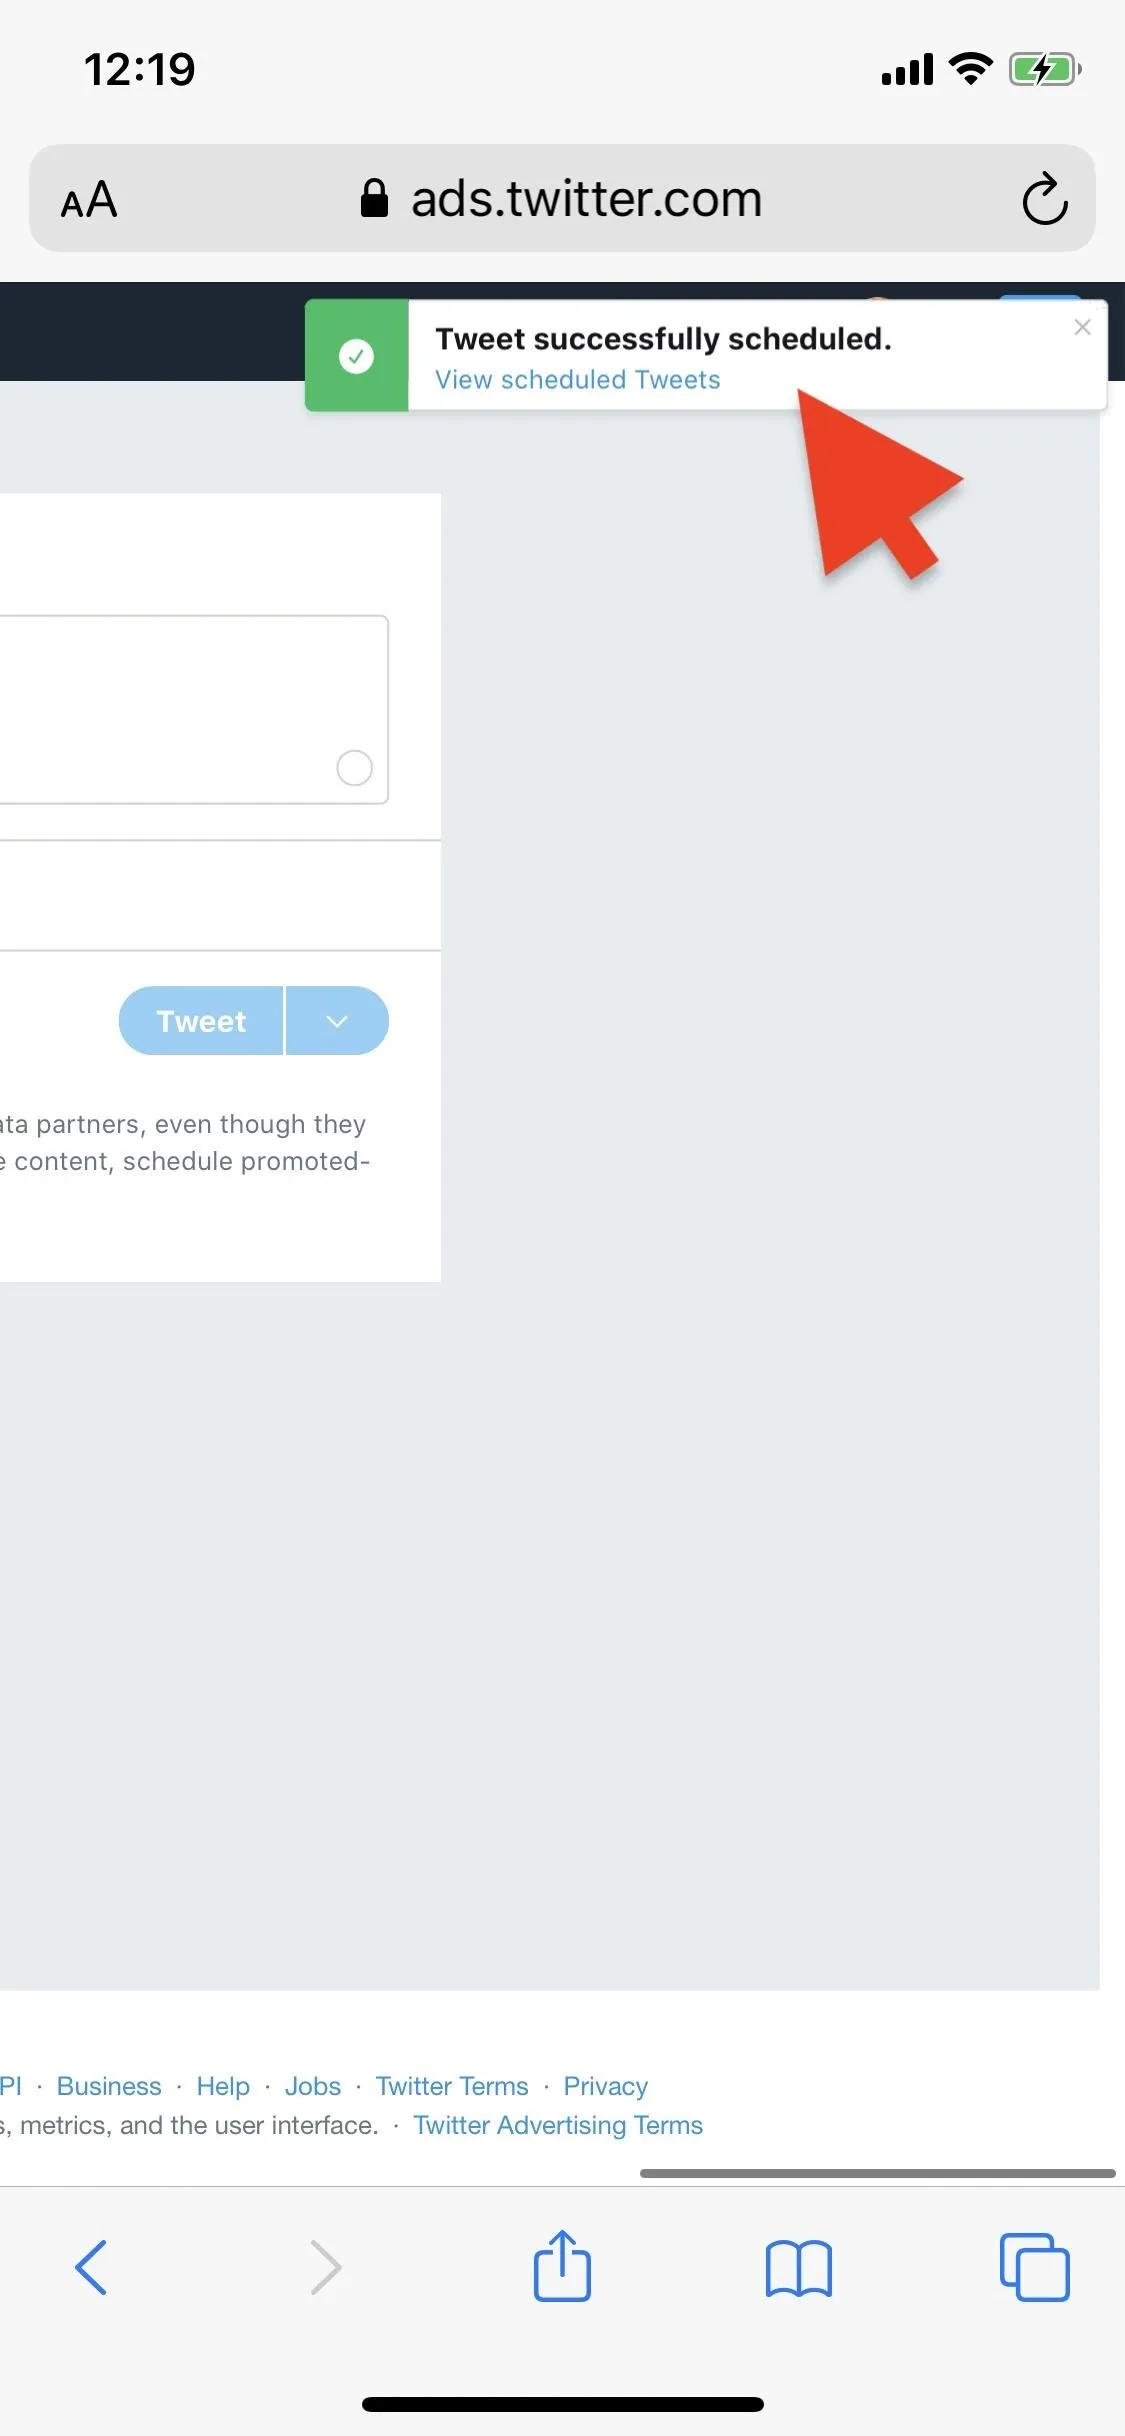
View Your Scheduled Tweet
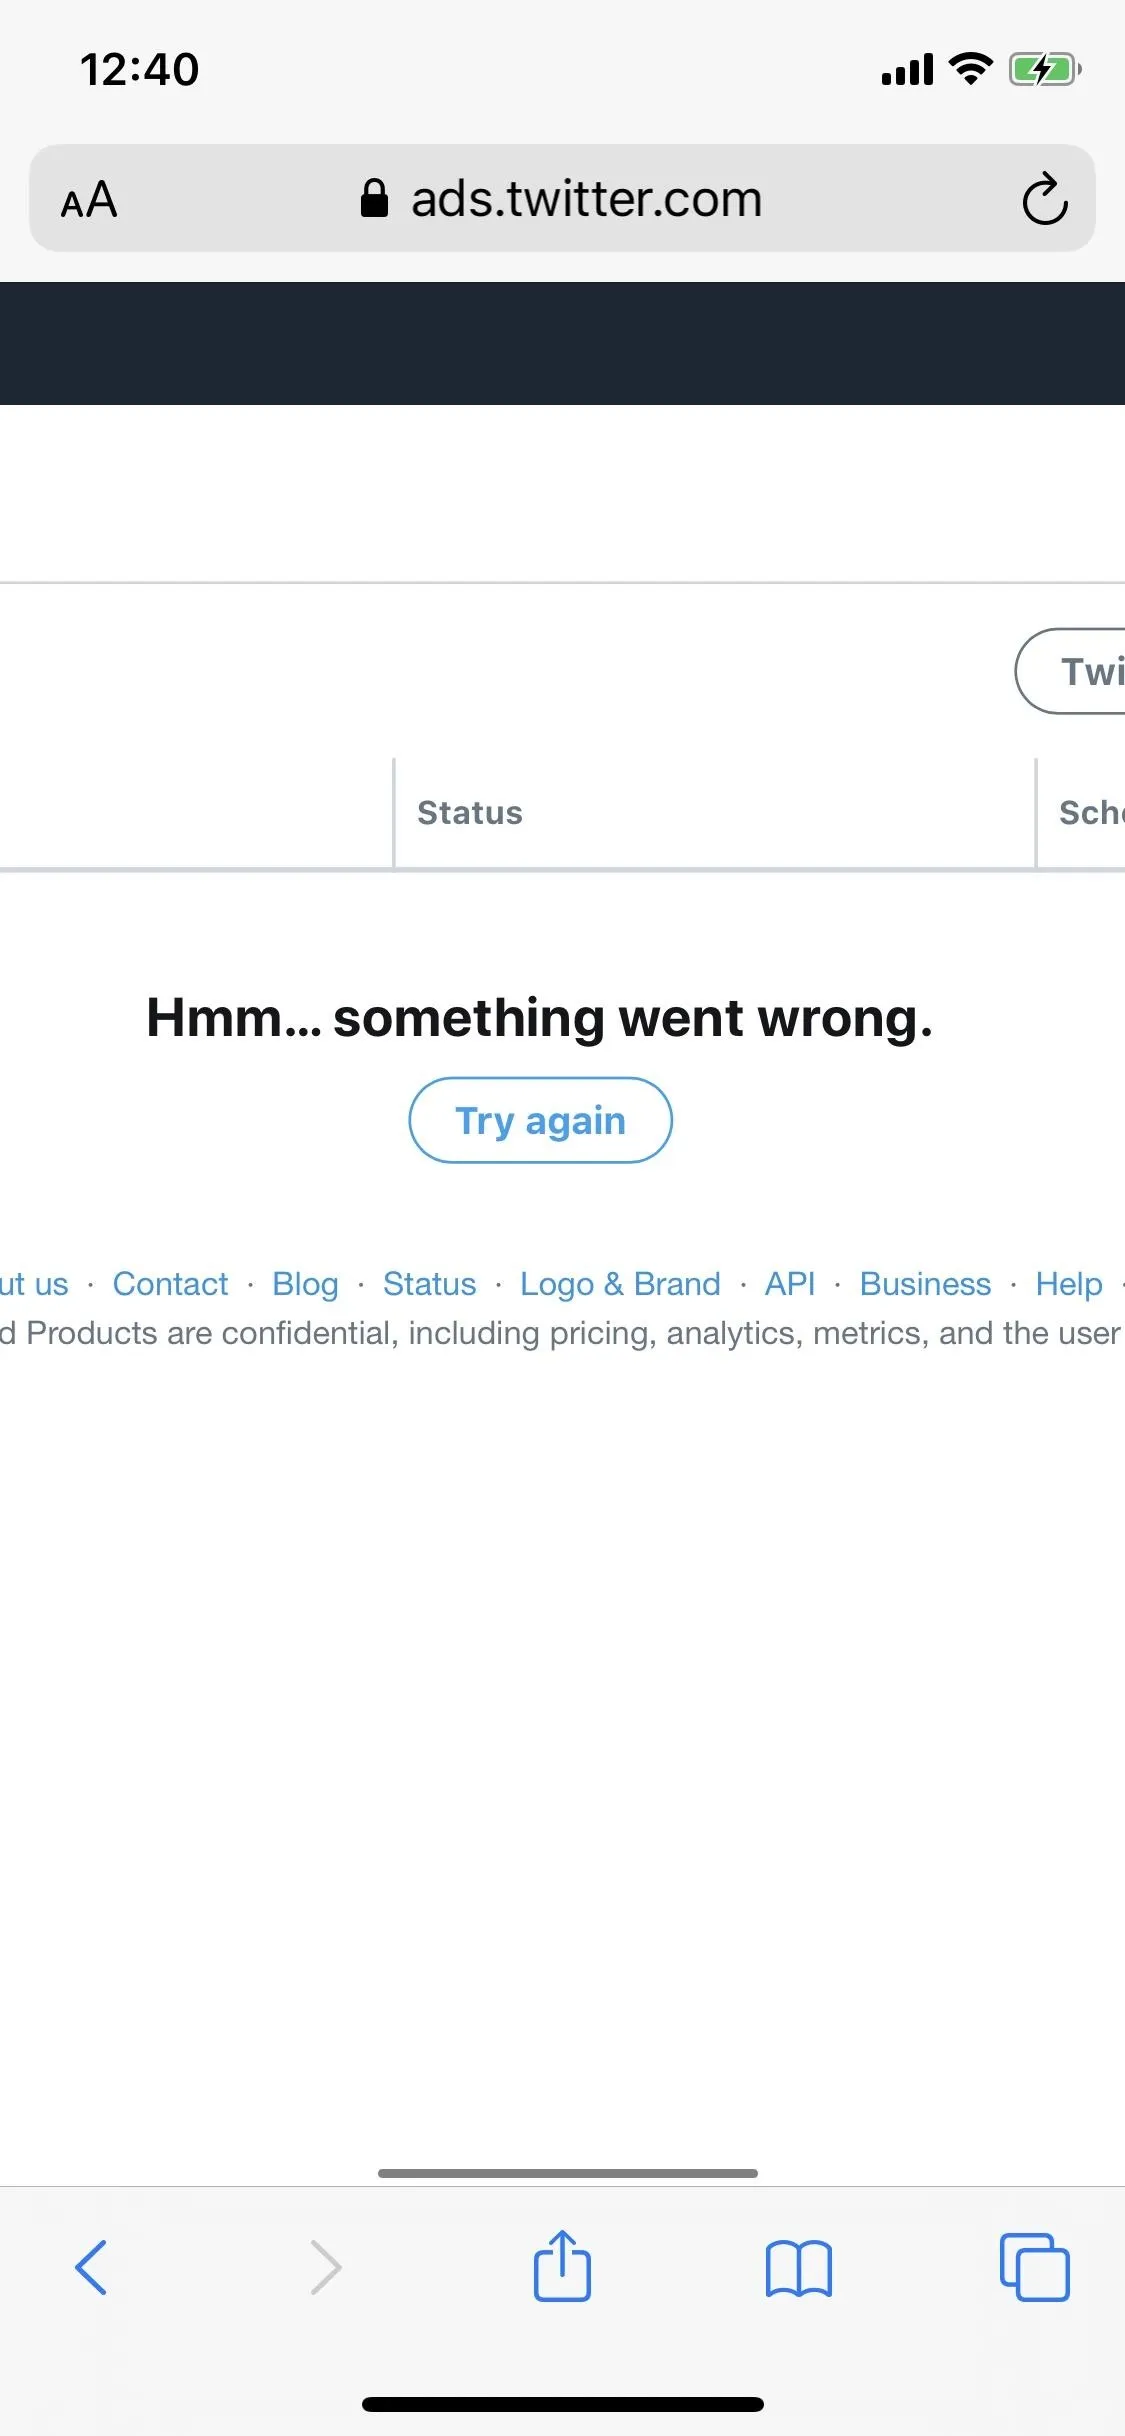
As soon as you schedule a tweet, a notification will appear at the top of the page that says "Tweet successfully scheduled," but if you tap on "View scheduled Tweets," you won't be able to see anything. Chalk it up to a bug, but even if your tweets don't appear in scheduled tweets, they will still be posted.
You could also select "Creatives" then "Tweets" from the top navigation bar, then filter to show only "Scheduled" tweets, but we also haven't been able to get any to show up in there even though they ended up tweeting on time. Your mileage may vary.
So, be careful. Make sure your tweet is solid and scheduled when you want, because you may not be able to change it using this method. If you're worried about that, maybe TweetDeck is the better option for you.
Below you can see the tweet being posted to Twitter, which was scheduled using this method (even though I couldn't find the scheduled tweet in the tools).


Cover photo and screenshots by Nelson Aguilar/Gadget Hacks


Comments
Be the first, drop a comment!