


Everything you post on social media lives there forever — even if you delete it. Just ask anyone that's ever posted something stupid. Instagram does not provide built-in tools to save or download images and videos from other users, but there are workarounds. Third-party tools make saving other people's photos and videos easy, and there are always screenshots.
To keep your embarrassing, scandalous, controversial, and risky posts on Instagram from falling into the hands of your grandma, ex, boss, teacher, college admissions department, or another entity that may frown upon your social life, make a Finsta. The term, which is straight out of the millennial slang textbook, stands for a "fake Instagram" account. A Finsta is where you can post anything your heart desires without worrying too much about who can see it.
All those photos of you passed out drunk or smoking weed? Post them to your Finsta. All those goofy selfies? Upload them to your fake Instagram account! You can unabashedly be yourself, without having to deal with what others will say, but you also need to make sure that your phony account is invisible to the outside world.
You could, and should, make your Finsta private, which makes it impossible for outsiders to see your posts, but that's not enough, especially when there are prying eyes everywhere. If you don't want anyone outside of your small circle to even see that your account exists (because then they'll start asking questions), make sure it's nearly impossible to find.
Below, you'll see how to create a brand new account, come up with a unique and untraceable username, use a dummy email, write up a realistic biography, and erase your phone number from your account, along with other tips, so that no one will ever find your Finsta — unless you want them to.
Create a New Account (Optional)
If you already have an Instagram account that you want to turn into a Finsta, great. If not, you can create a new one now to start from scratch. To start, open Instagram. If you're not signed in to an account, there will be a link to "Sign Up." Tap that and follow the on-screen instructions to sign up in your preferred manner.
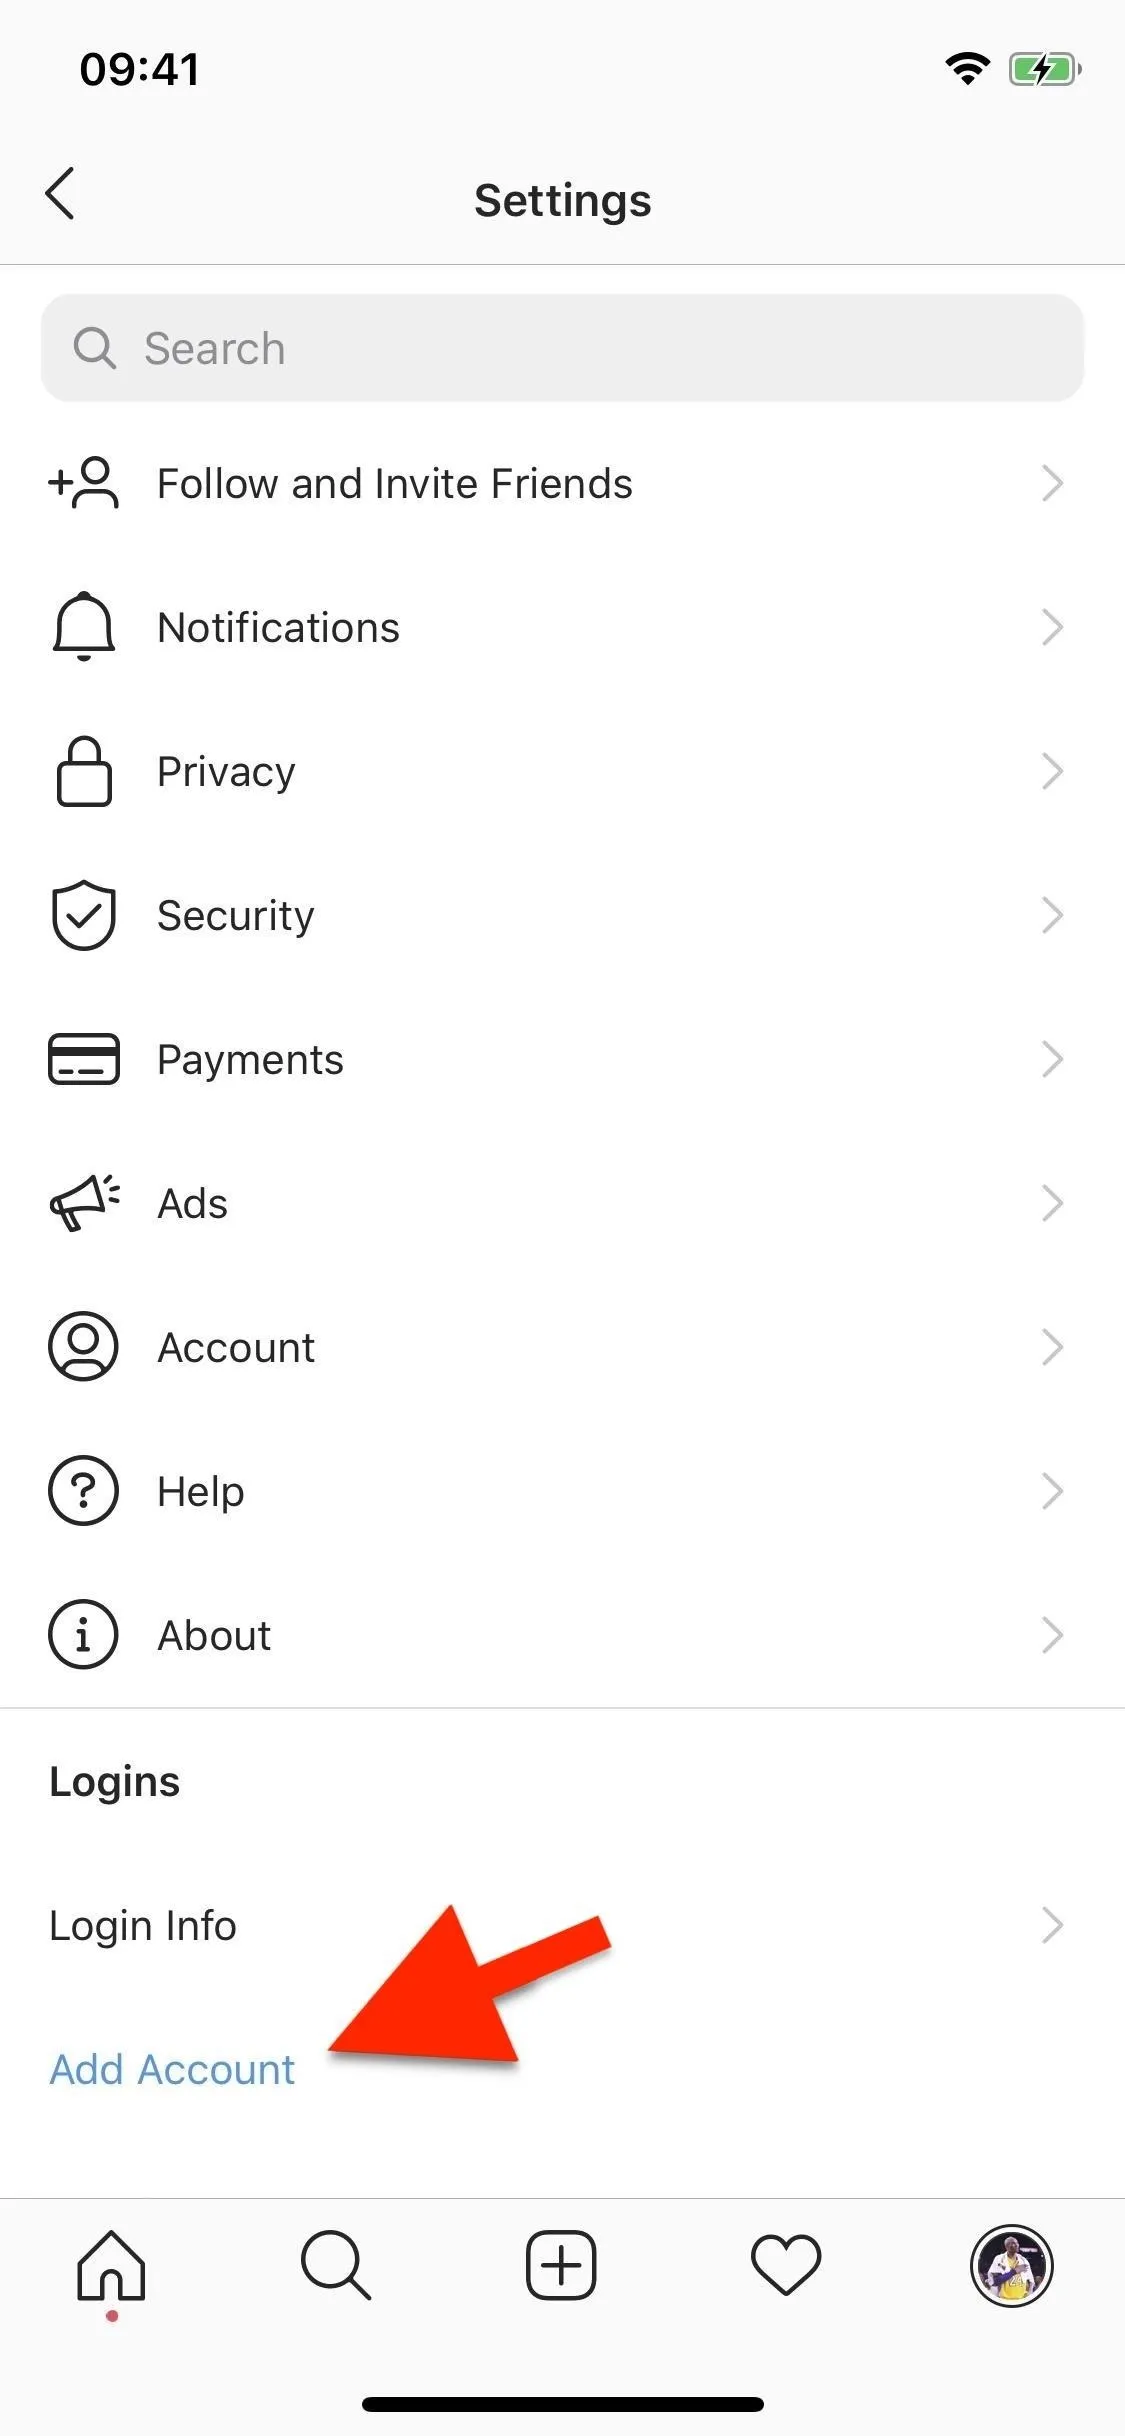
For those of you already logged in to an account in your Instagram app, tap your profile icon, then the three-lined icon in the top right, and select "Settings." At the bottom of Settings, tap "Add Account." If you're on an Android device, it's quicker to just long-press your profile icon at the bottom, which brings up an option to "Add Account." Finally, select "Create New Account" and follow the on-screen instructions to sign up in your preferred manner.
Whichever route you take, make sure to read the following steps below before you actually create the account. That way, you know what username to choose, what to do with your profile image, etc.


You'll be asked to do several things, such as choose a username and email address, and we address most of that below. However, there are a few things you should know if you're creating a new account:
- Don't link a new account to one of your existing accounts. It makes it easier to log in, but you may want a completely separate account with its own unique email. If someone hacks into your main account, they can easily get access to your Finsta if the two accounts are connected. So choose "Create New Login" on the Choose How to Login screen.
- Add an email address instead of a phone number. Other people that have your phone number saved in their contacts may be able to find your account if your number is attached. Choose a random or throwaway email address that's not linked to anything but your Finsta.
- Don't connect to Facebook. Once your profile is complete, Instagram will ask you to connect to Facebook. It isn't necessary, and you don't want your Finsta connected to your real Facebook account anyway.
Think of a Unique Username Disconnected from You
As much as you'd like to come up with a witty or funny username for your Finsta, that's not the way to go, and I'll tell you why: it makes it easier to find. For example, let's say you're a huge Led Zeppelin fan and go with TravelingRiversideBlues69 for the username. That makes it easier for someone to find your Finsta because you may post Led Zeppelin content to your regular Instagram account, which creates a connection between you and the Finsta.
For the best Finsta, you want a realistic name so that you fit in. You could go with a random, like Firefly128242, but the account may look suspicious enough that others will think it's a fake account. Instead, use a name generator to come up with a real name. If you're a male, go with a female name. If you're a female, use a guy's name. You get the picture.
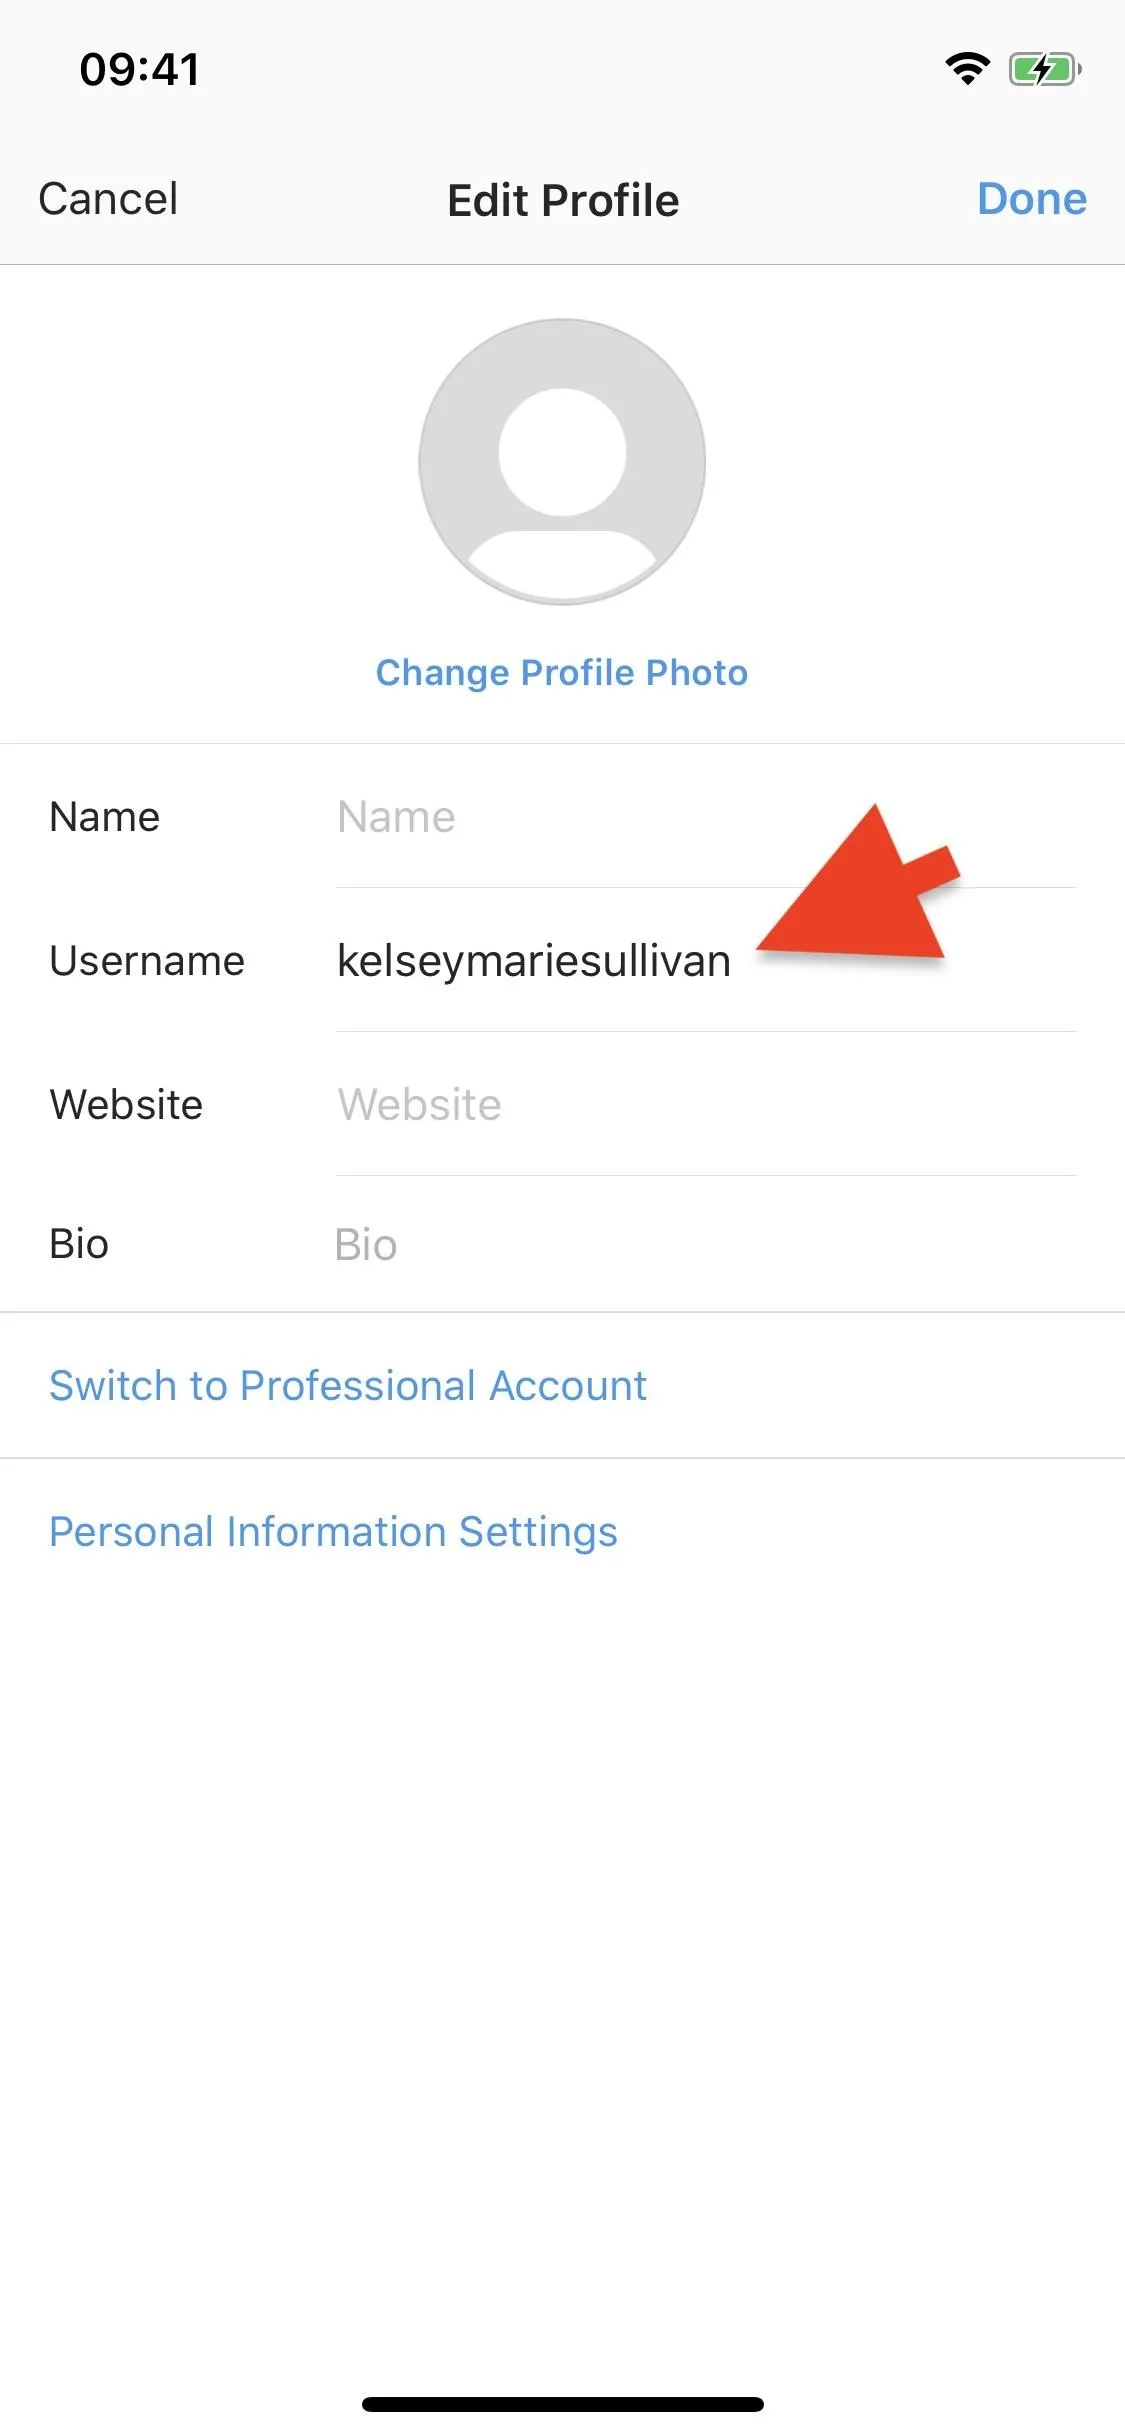
I'll go with the name Kelsey Sullivan and the username KelseyMarieSullivan. KelseySullivan was already taken, and instead of adding numbers to the end of it (which fake accounts and bots do), I added a middle name to keep it more realistic.
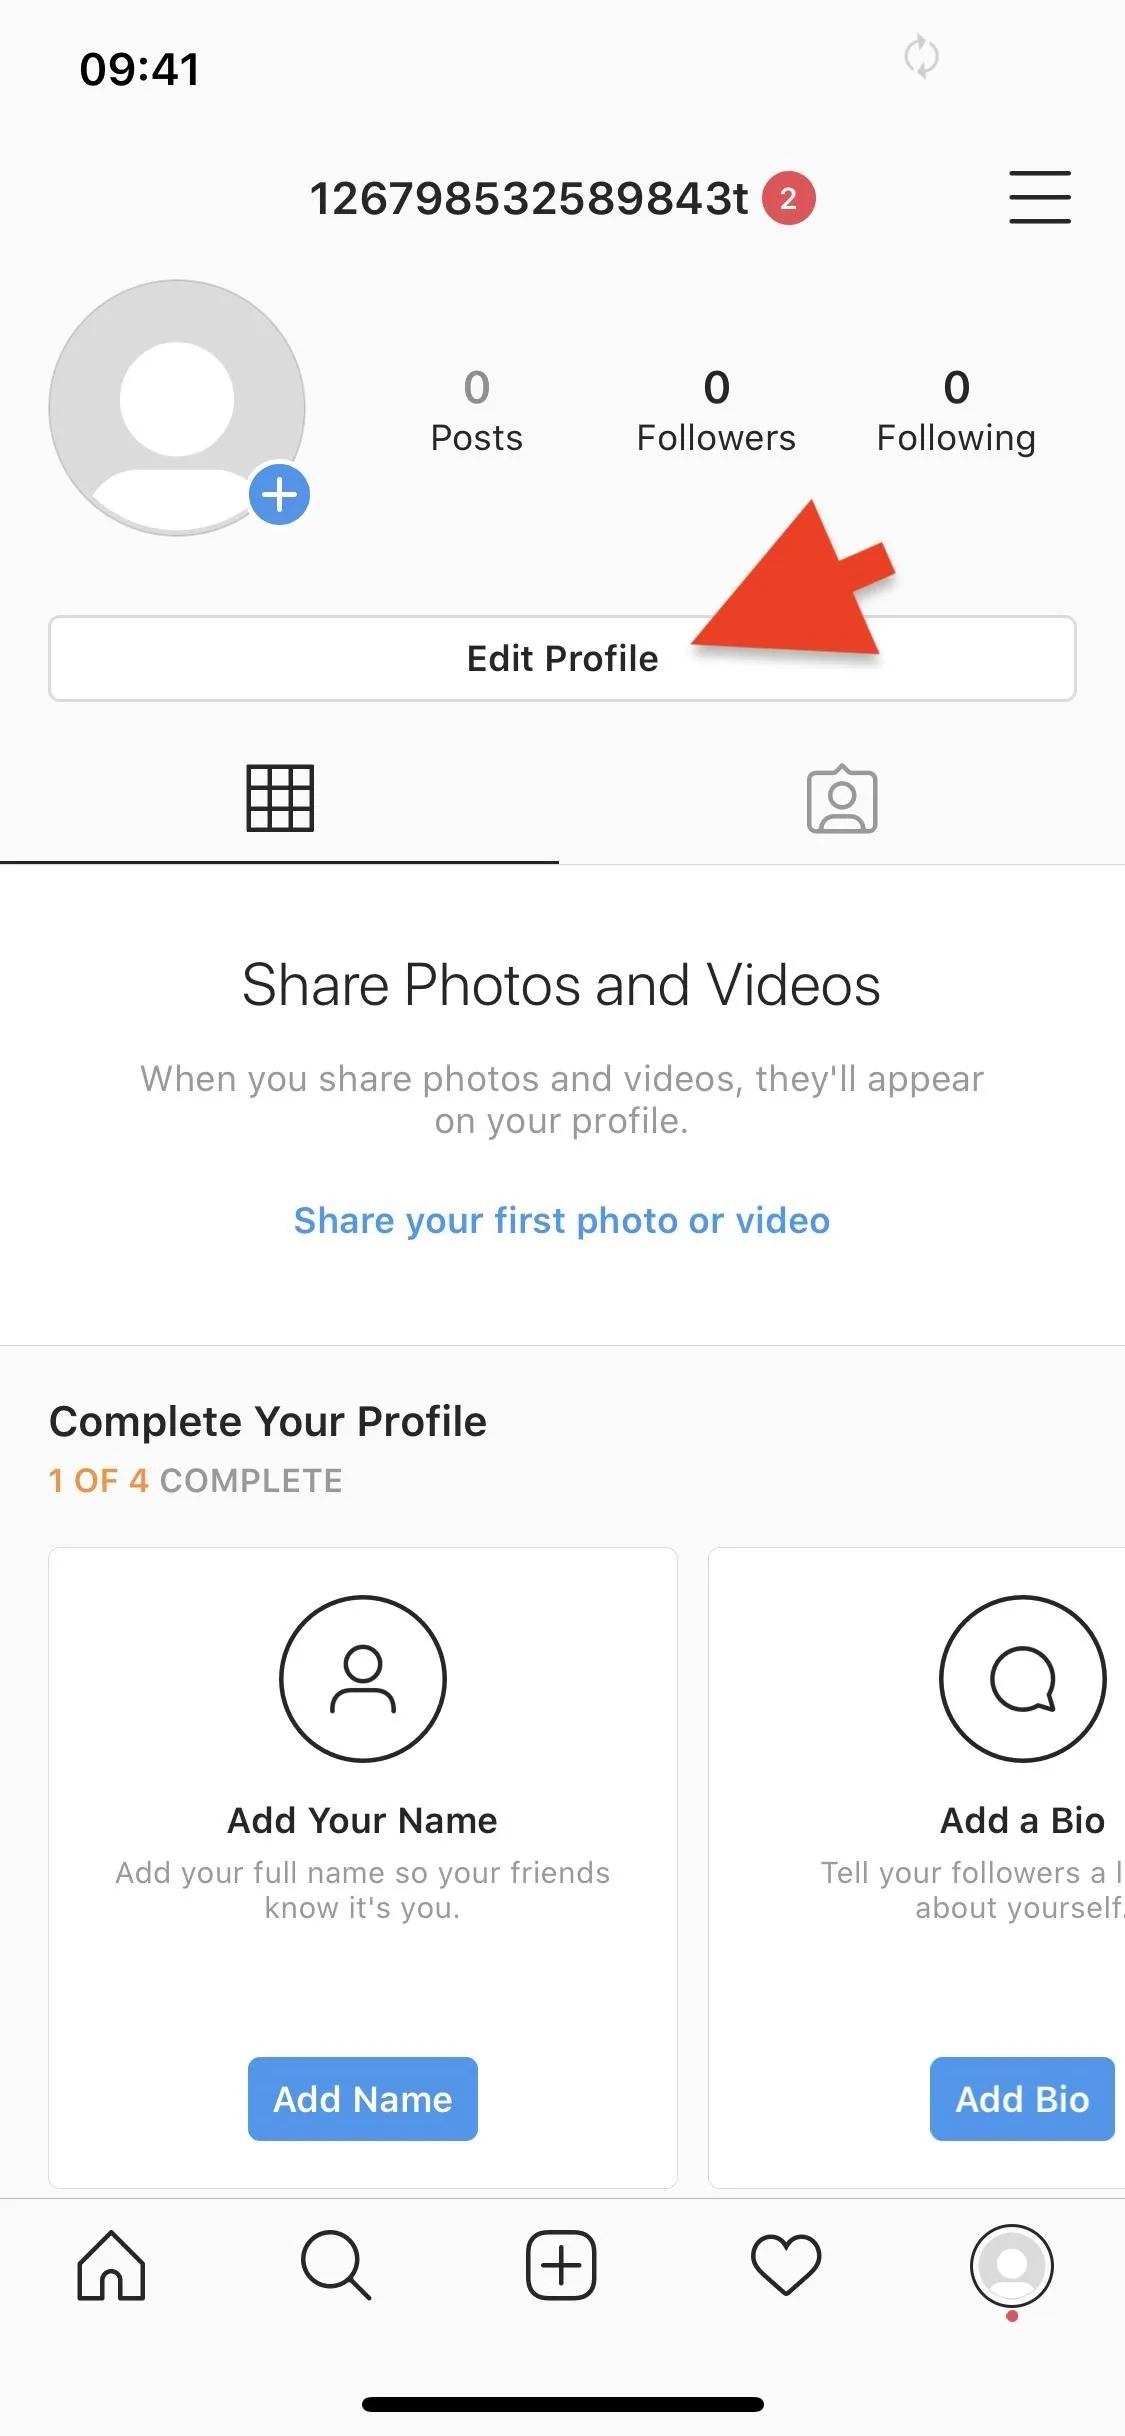
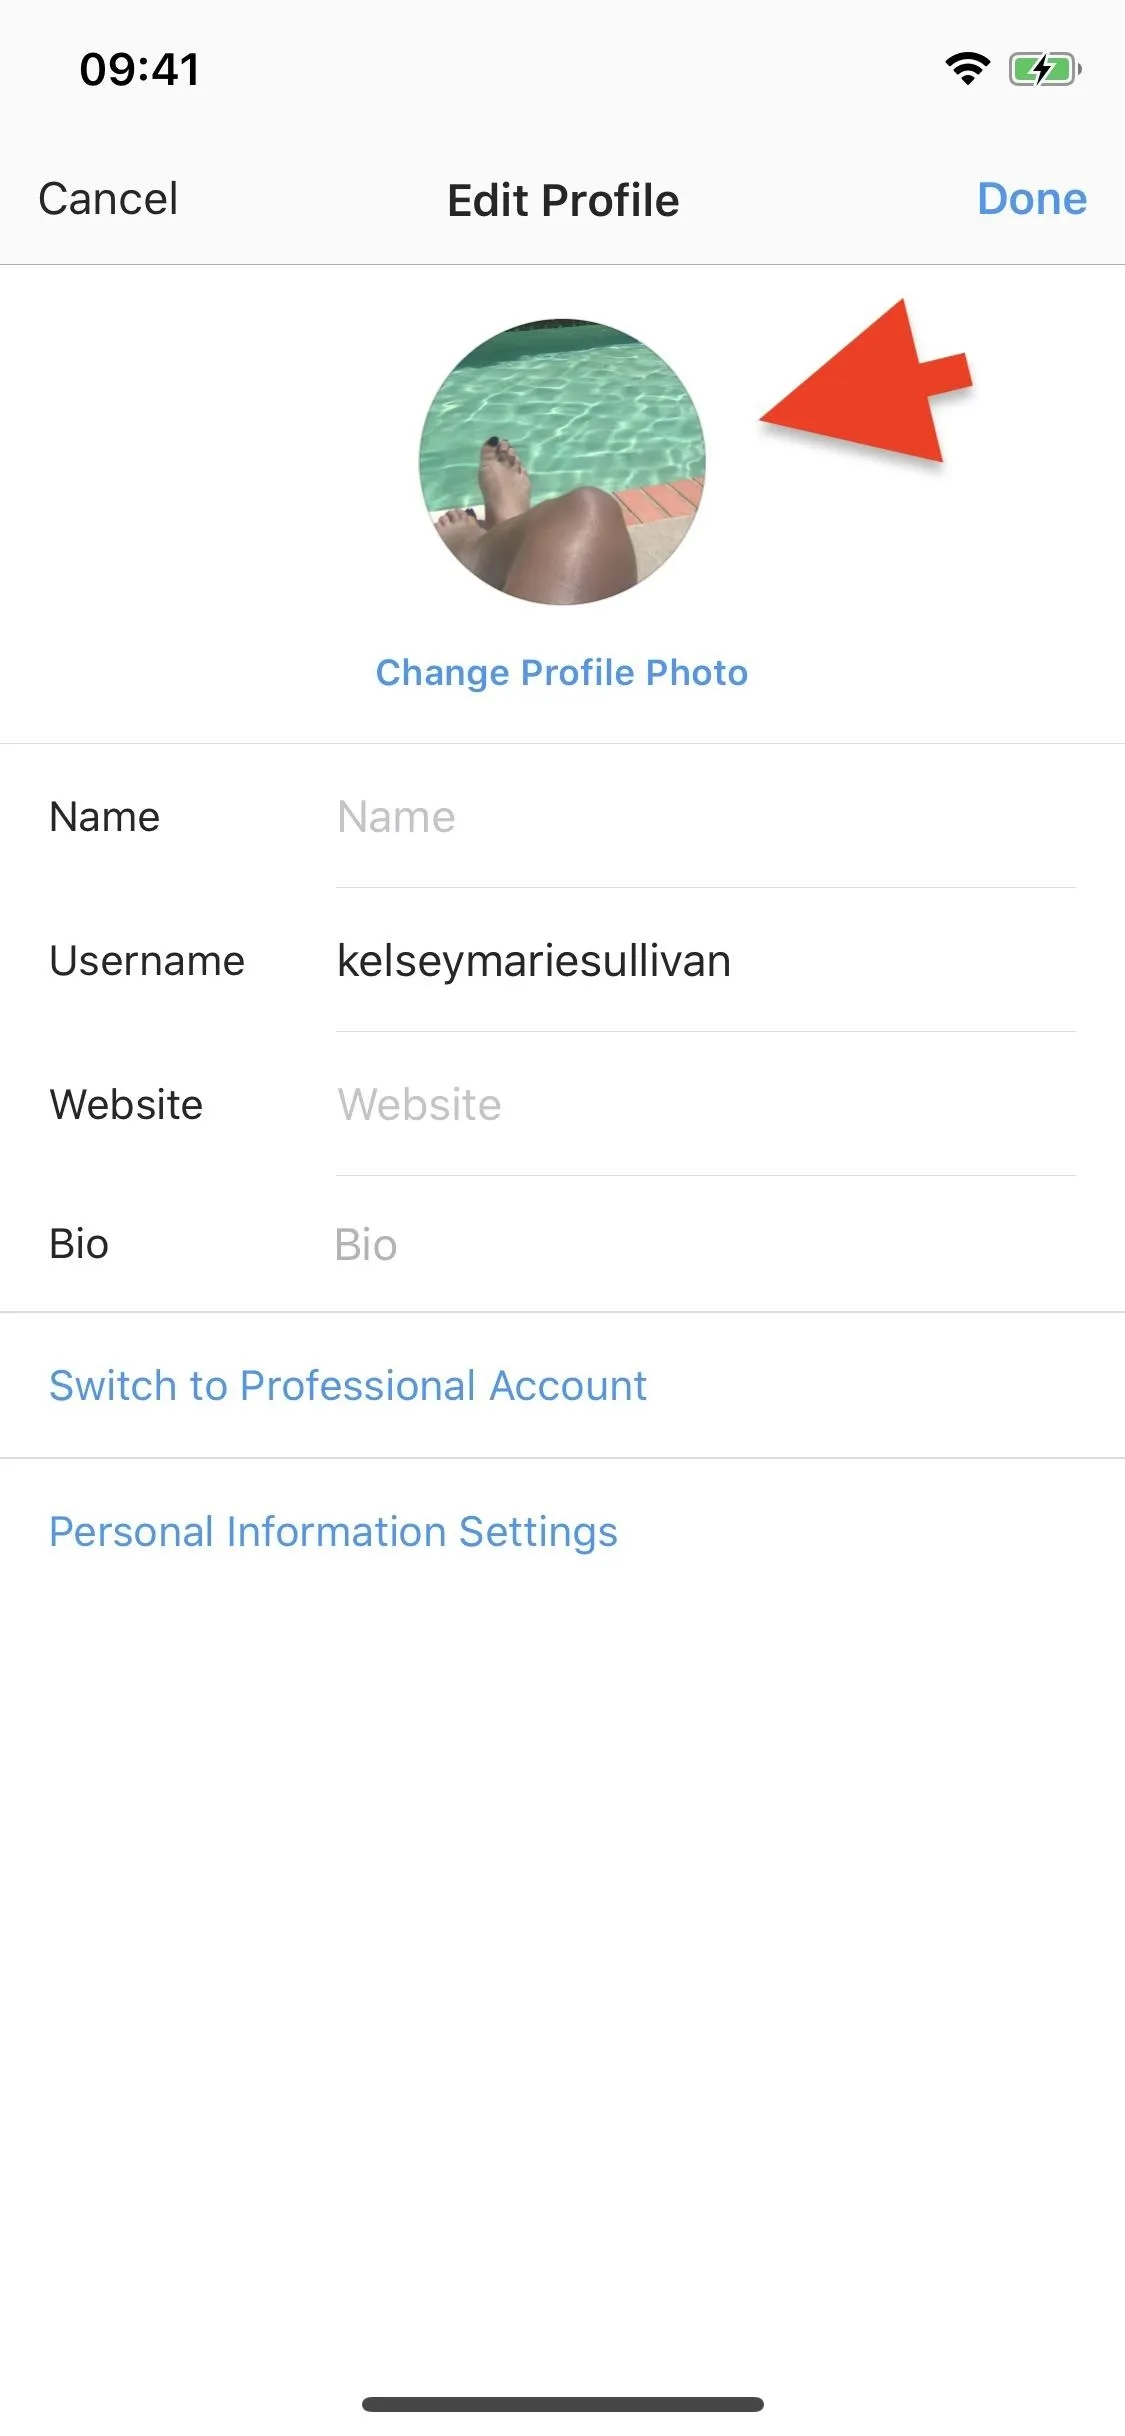
If editing an existing Instagram account, tap your profile icon, then "Edit Profile." Next, enter the new username into the Username field. If it's random enough, you won't have any problems securing it. The simpler it is, the higher the chances that someone else already has it, so add only a few numbers or change the name slightly if needed. Hit "Done" to finish up.
Don't Use a Photo of Yourself as the Profile Picture
As dumb as it may seem to say this, you should definitely not use a photo of yourself as your profile picture. You may want to get creative with a selfie, but don't upload anything that might remotely link back to you. Don't even upload a photo of your favorite band or movie since it creates a link between you and the fake account.
If you're going with a realistic-sounding name for the username (as mentioned in the previous step), you should put up a genuine photo, as in something random from your phone's gallery or the internet. You can easily find a photo of a random person on Instagram, but you could also go with a picture of the beach, some art, kids (to make it seem like you're a parent), nature images, an Animoji, etc.
Go through your friend list, study the photos they post as their profile pictures and do something similar. Just don't upload a photo that you may have posted on your real account. I'll be using a photo of someone's legs at the pool, which is a common upload on Instagram.
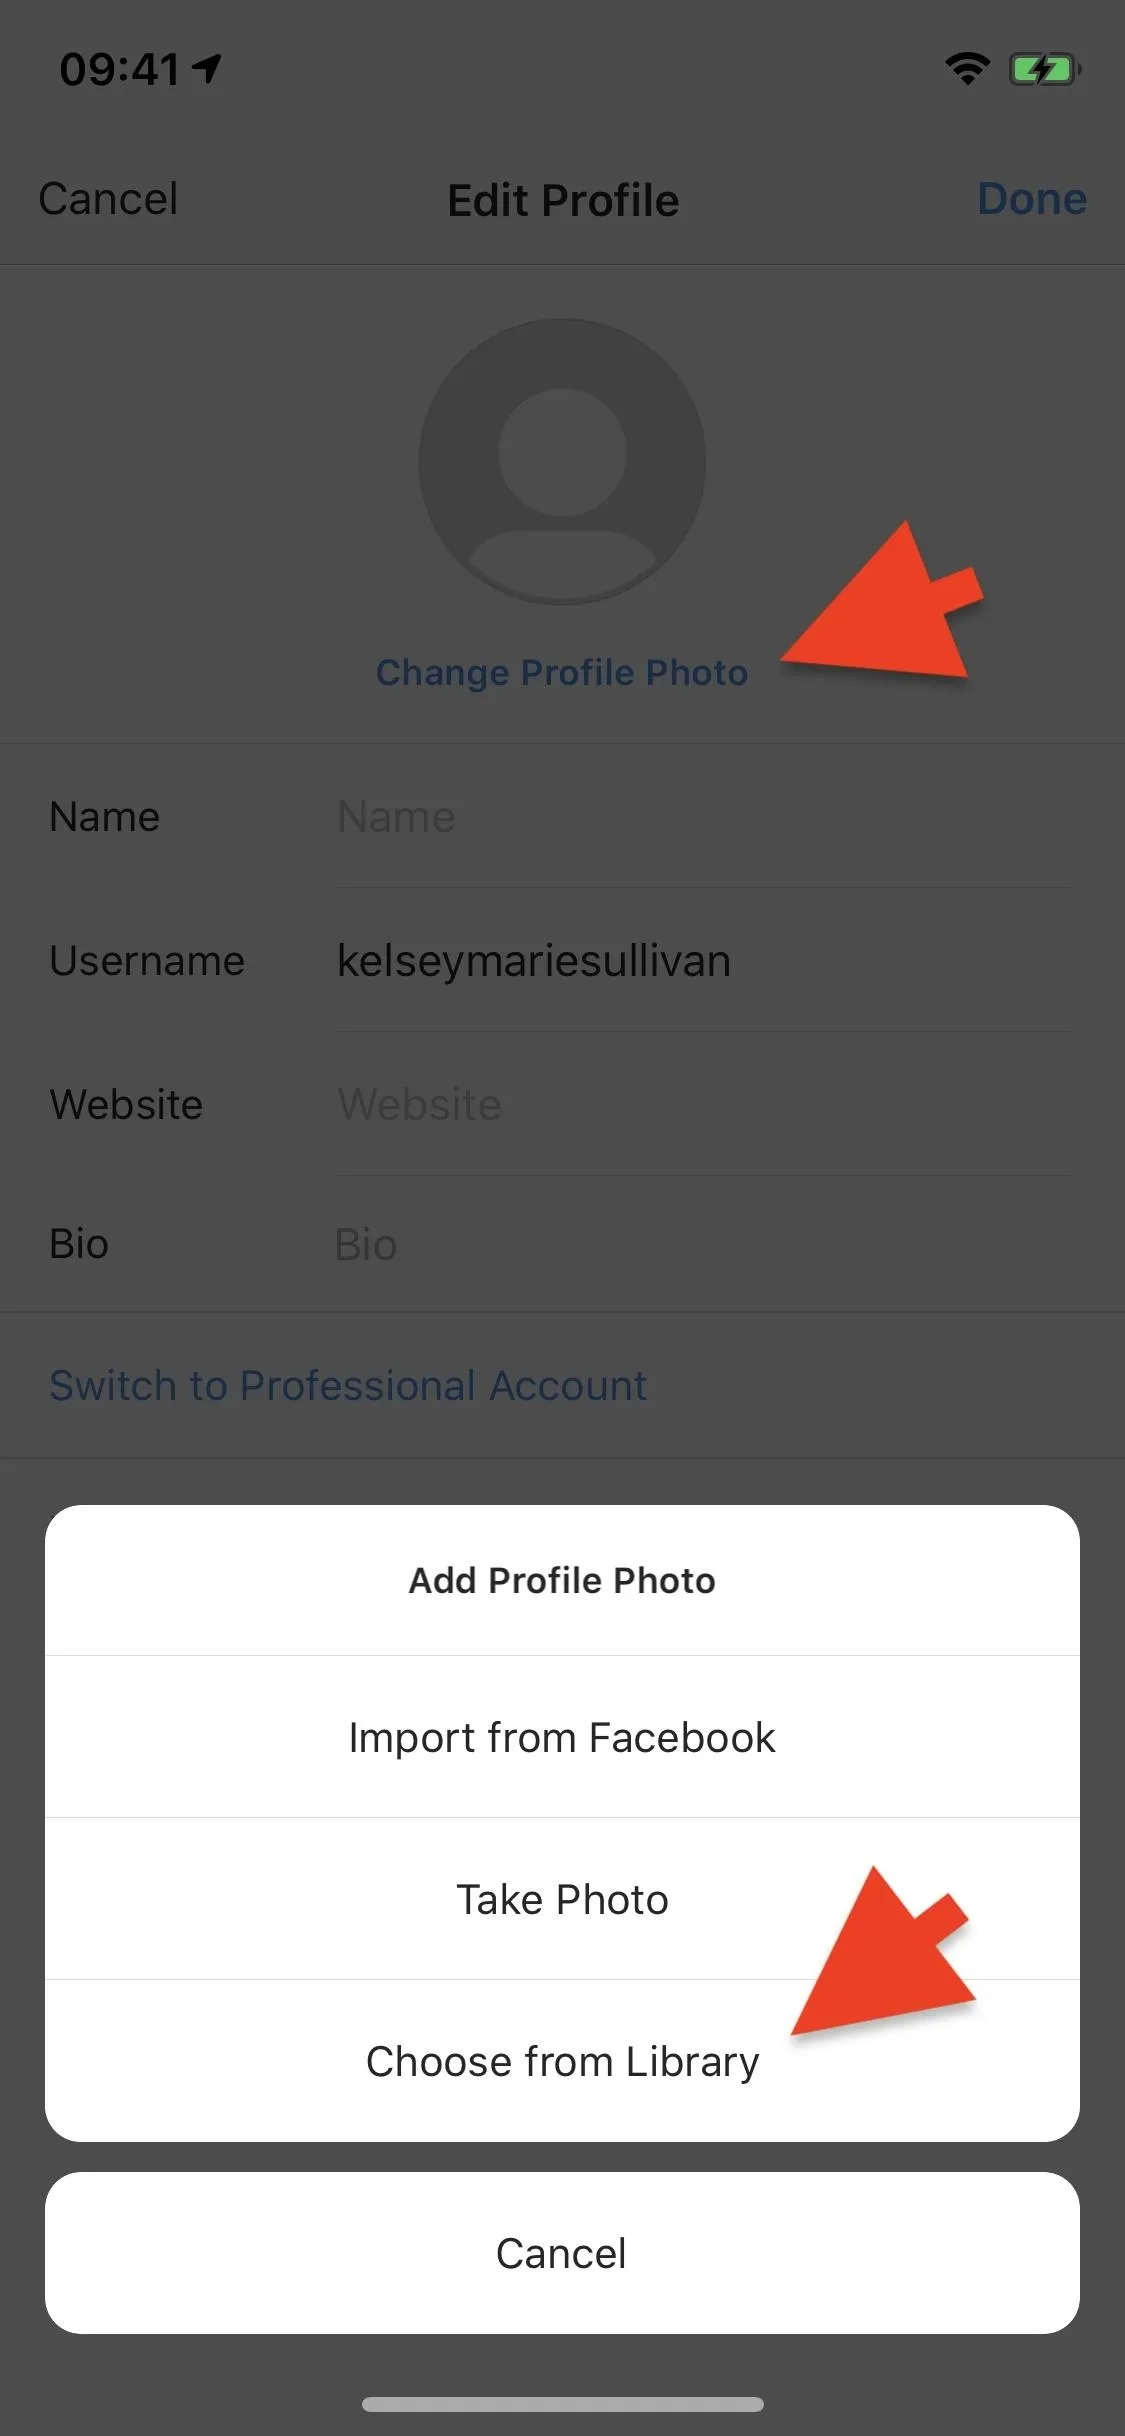
In the same "Edit Profile" page where you added your username, you can also add your profile photo. Tap on "Change Profile Picture," then on "Choose from Library," and find the picture. Adjust it, and hit "Done" to upload it to your account.
Add a Realistic Name & Bio
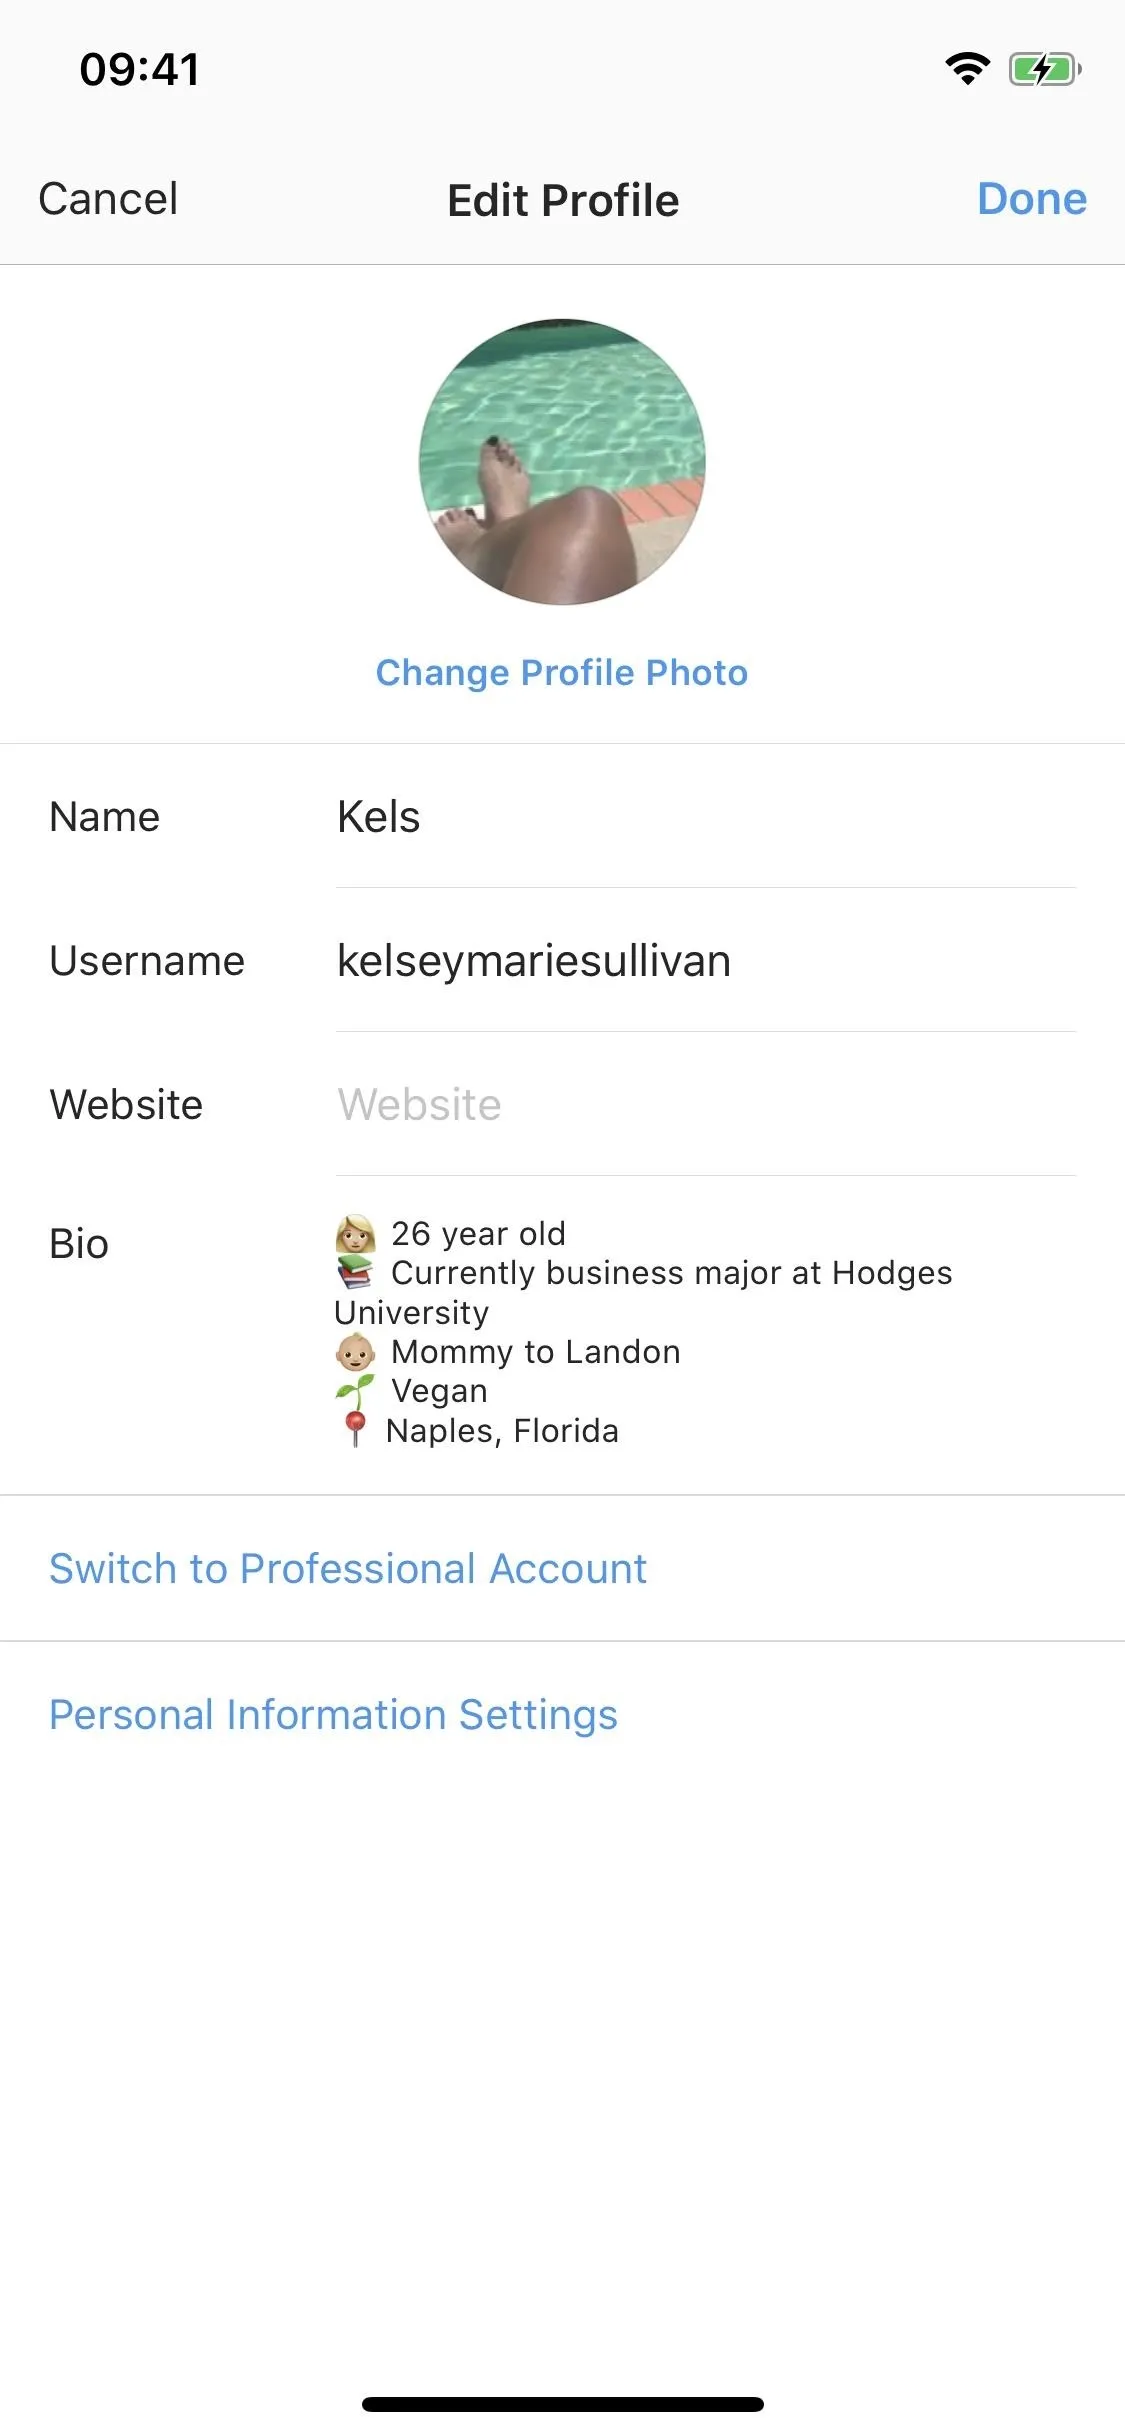
The final few touches to add to the Edit Profile page are the name (which is just the username but in first and last name format) and bio. For the Name section, type in the name (or nickname) based on the username. However, if you went with a random username that doesn't include a name, come up with a real-sounding one.
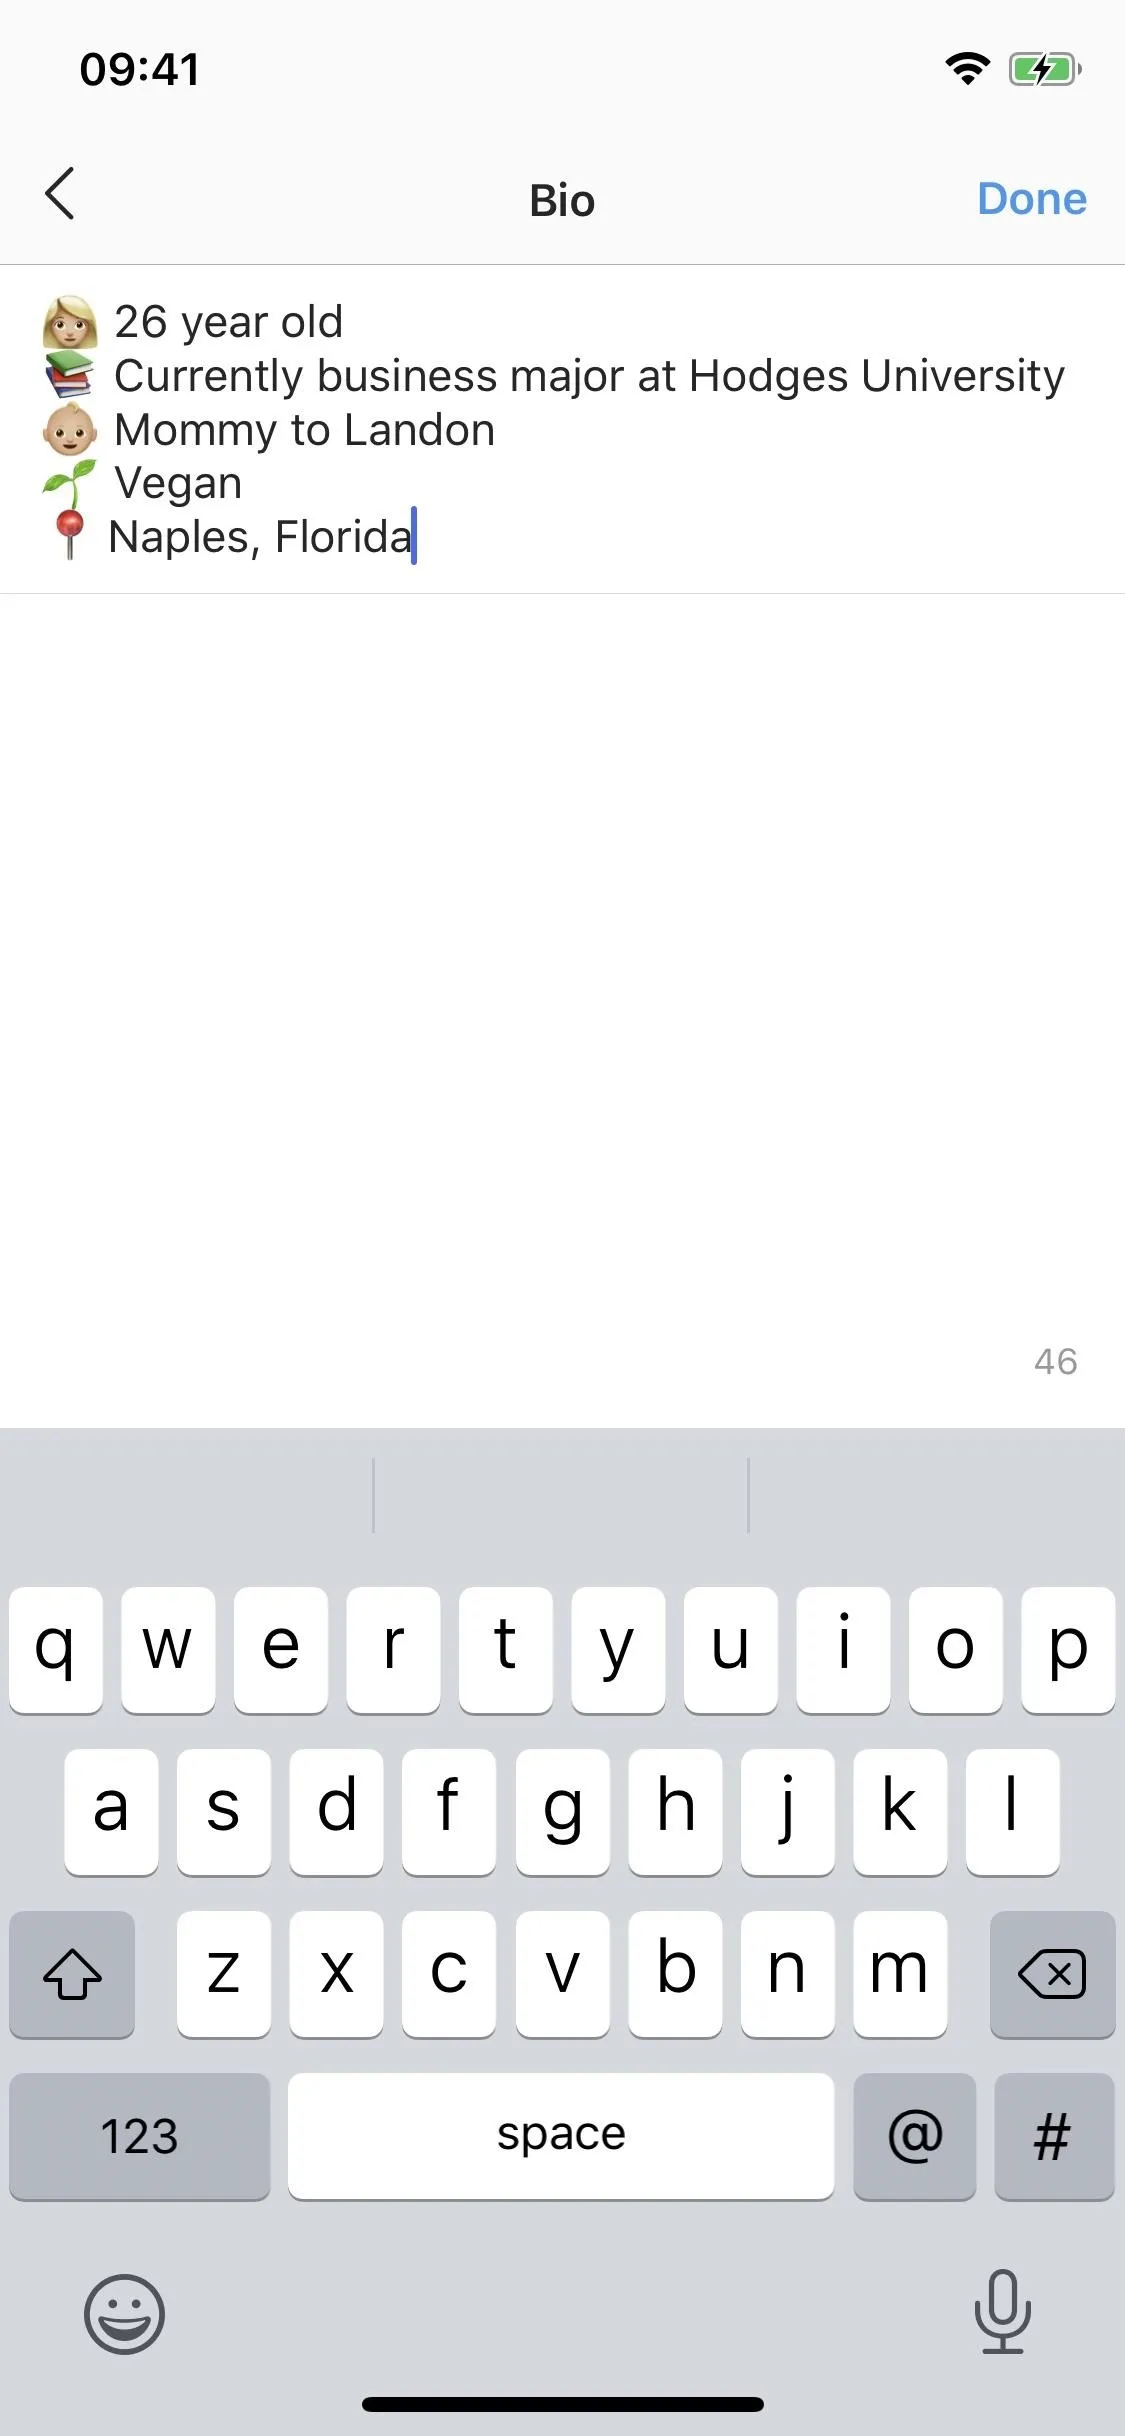
As for the Bio section, you can go with several classics: job title, age, current city, bible verse, random emojis, relatable hashtags, current or previous education, random quote, romantic status, hobbies, children's names, and so on. You can go simple or add a few of those above. I'll use a combination of them.
Pro Tip: The account may not have many followers at first, so you can ward off suspicion of a fake account by adding "New account, last one got hacked" or something similar to the bio. Accounts with very low numbers in followers and followings are many times fake, but with this addition to the bio, it makes it seem like it's both a new and legitimate account.
Make the Account Private
It may be obvious, but it's not necessary if you're making an account to share art or random photography, which can still fall under the "Finsta" category, without it being NSFW. However, if you want a Finsta that only people you approve can see, you probably want this setting enabled.
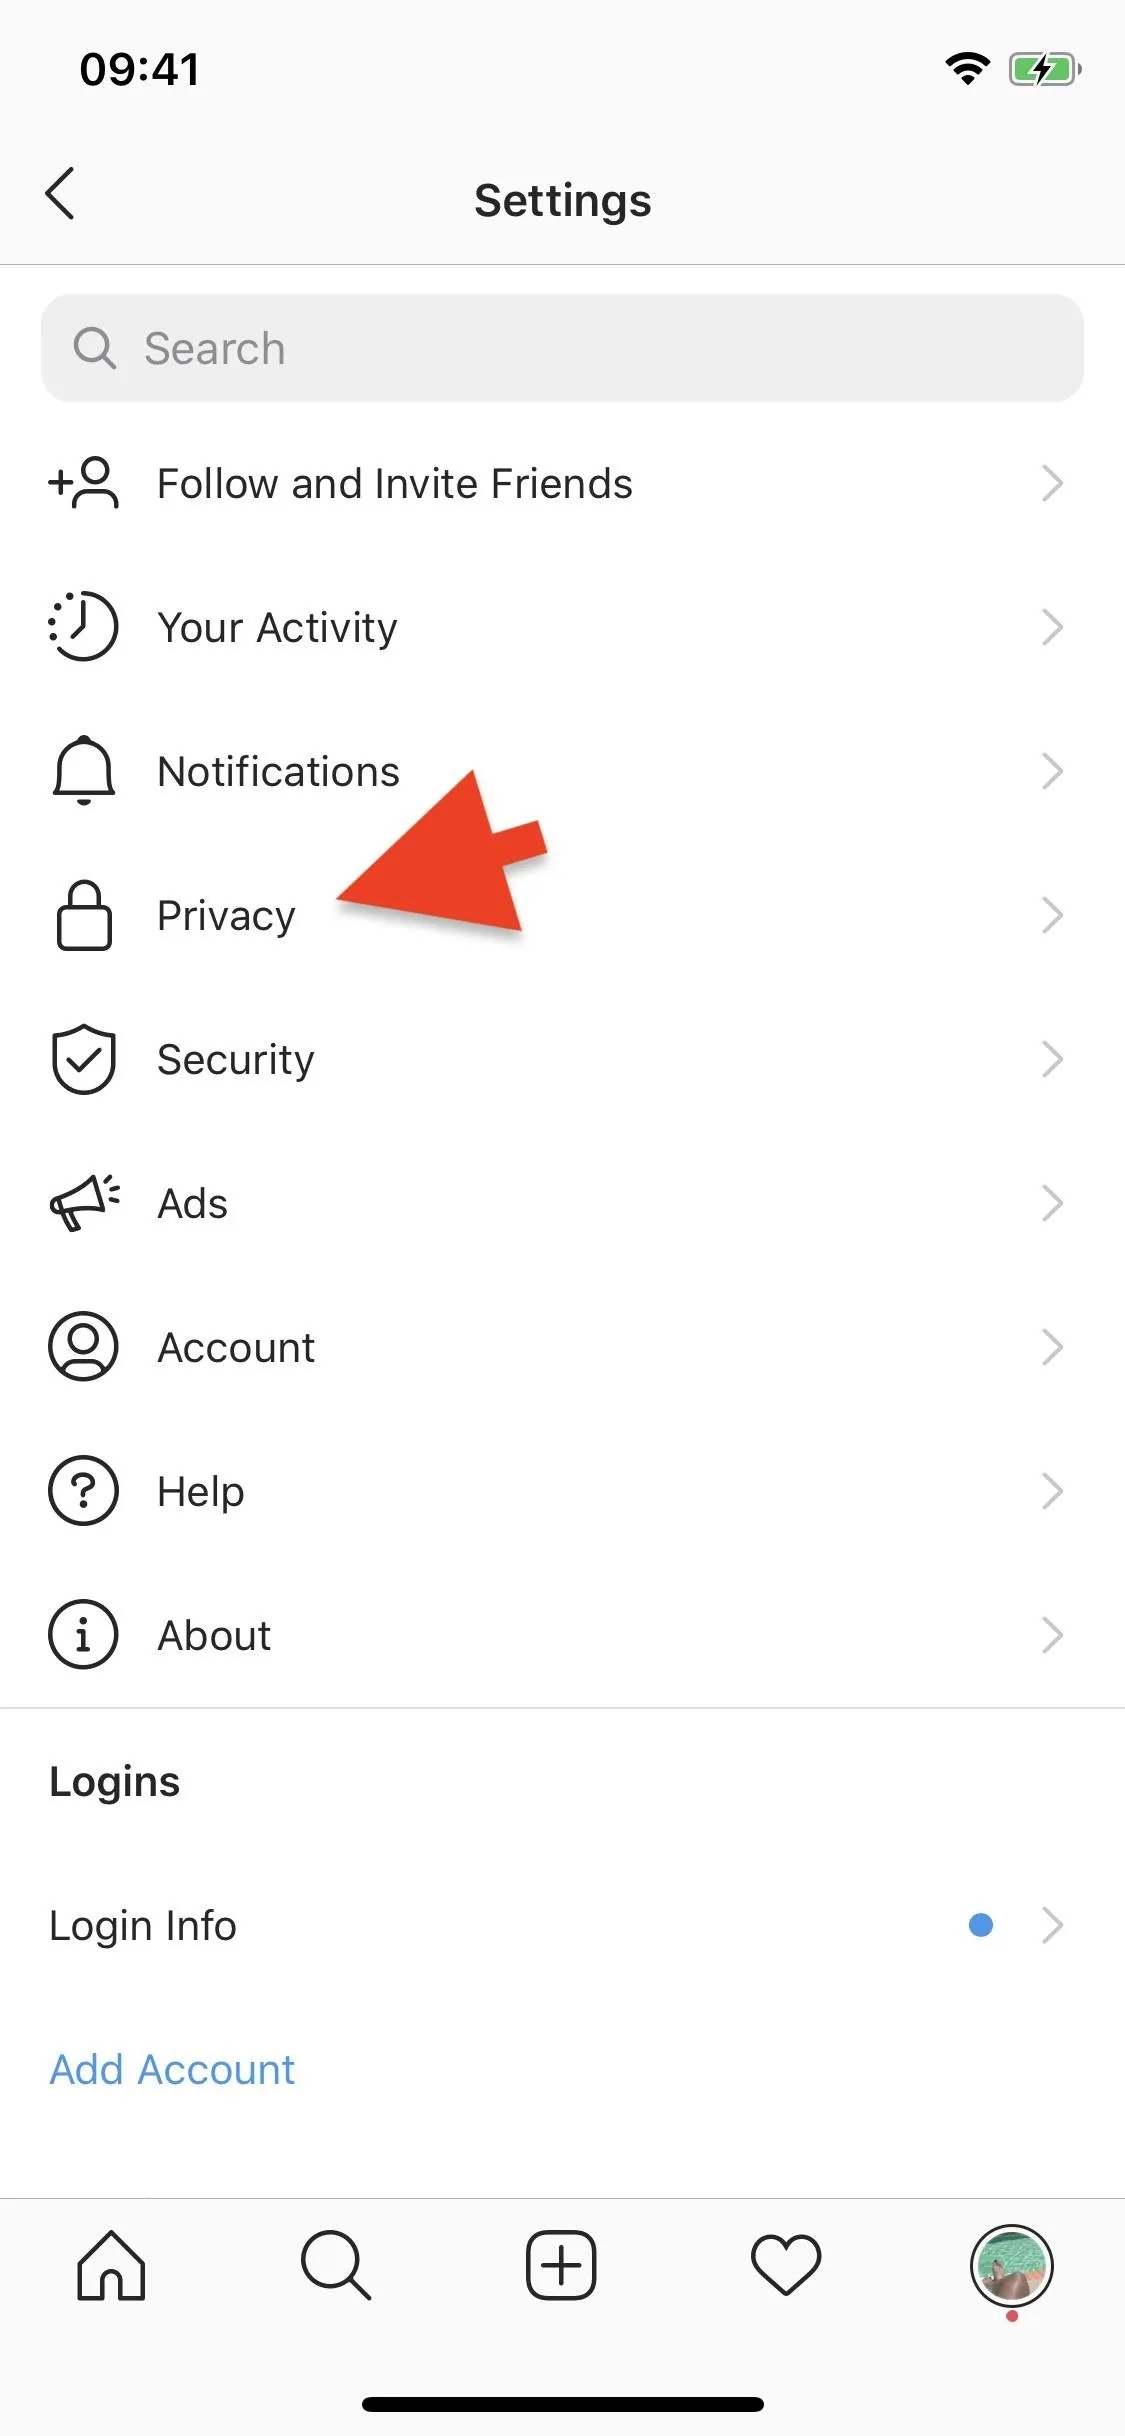
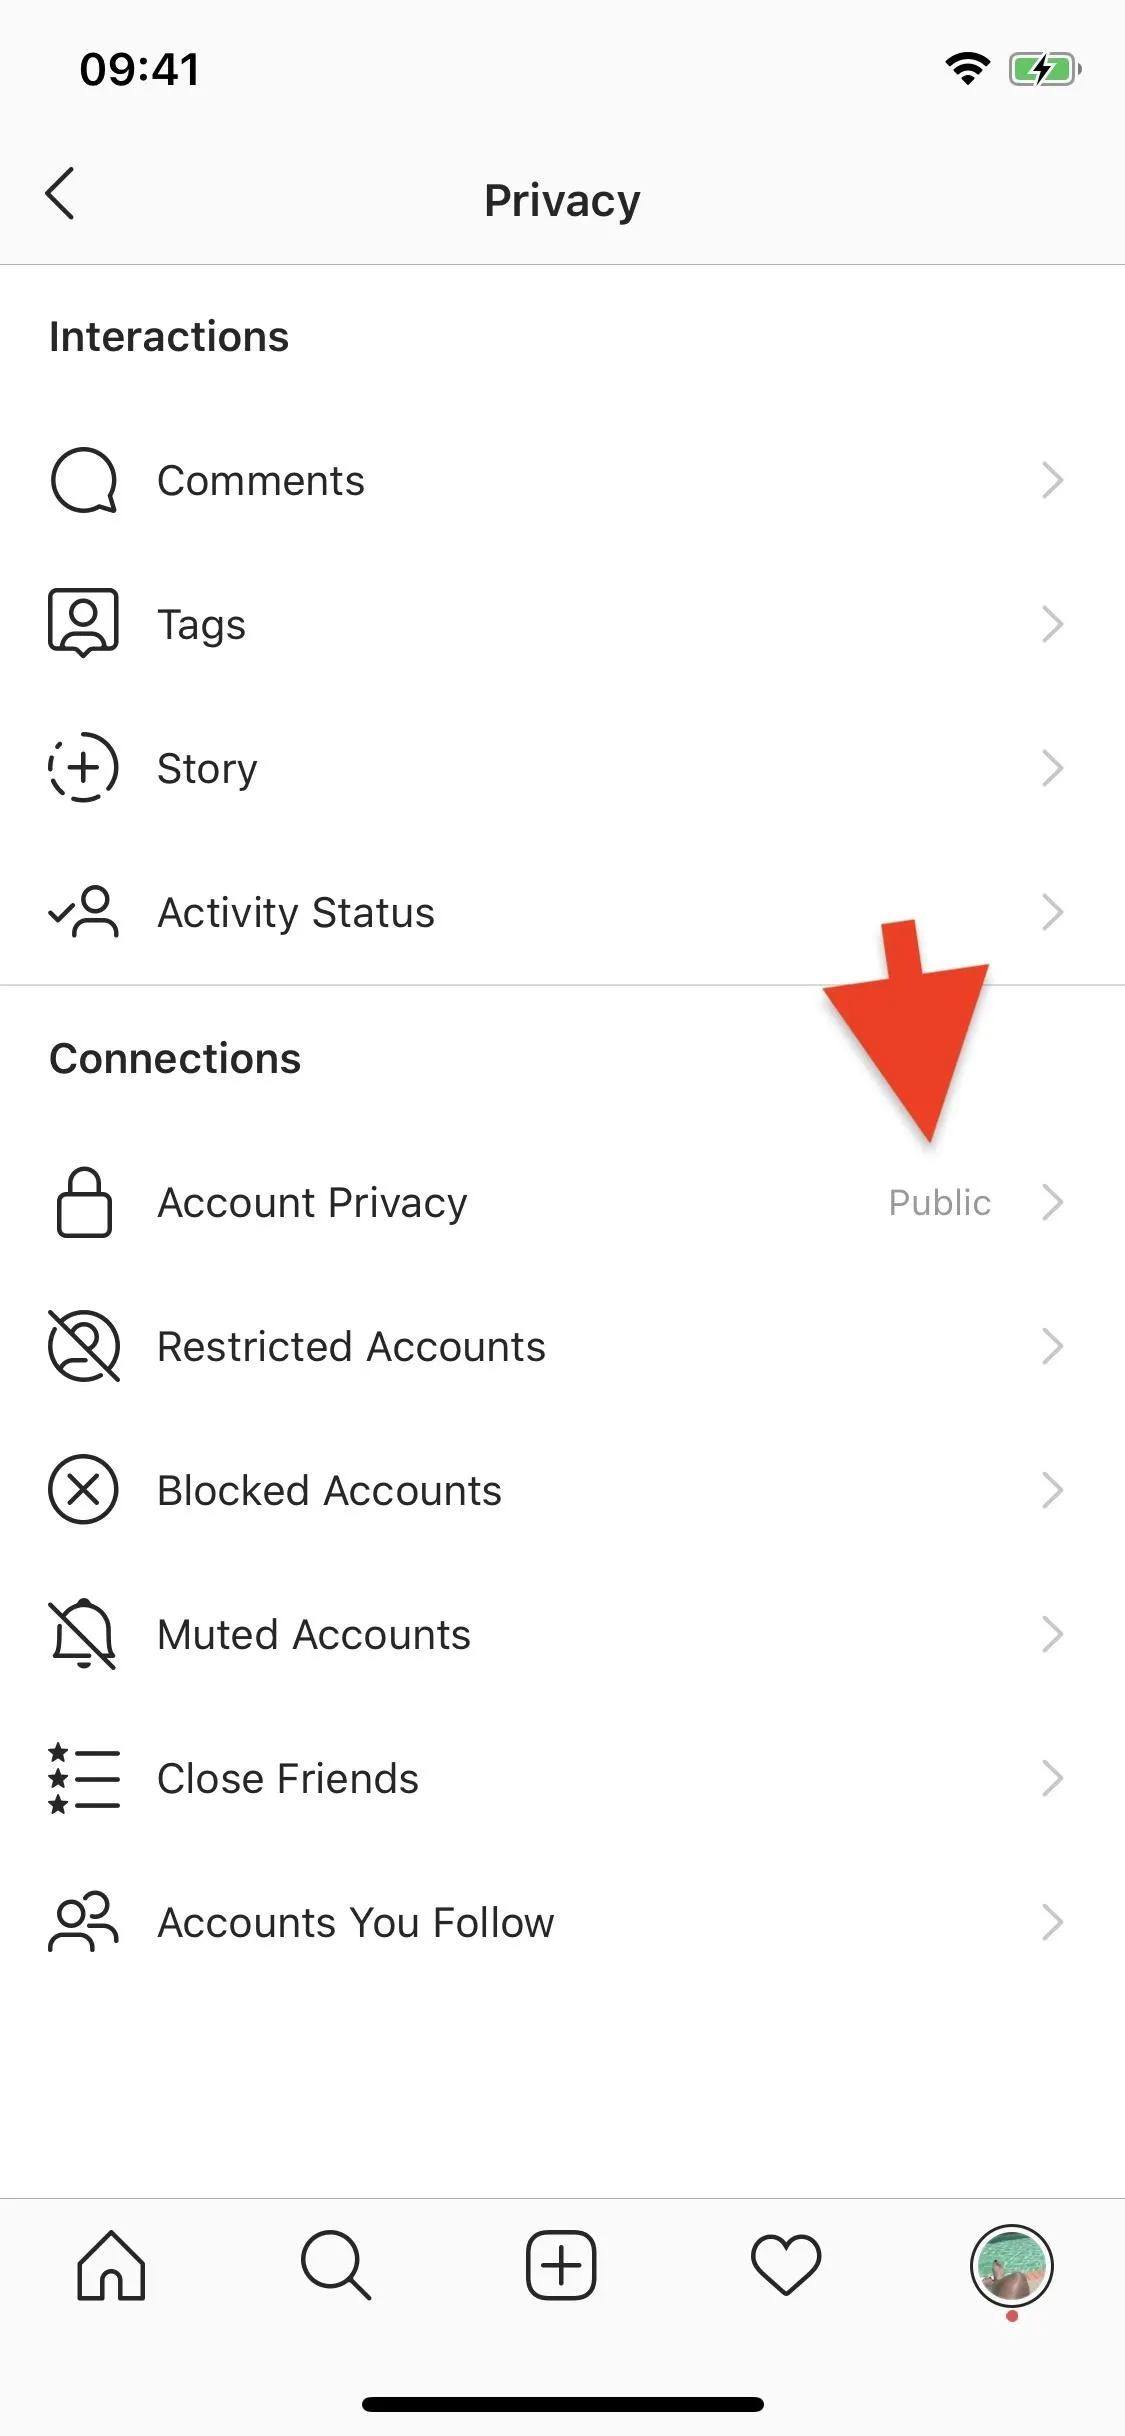
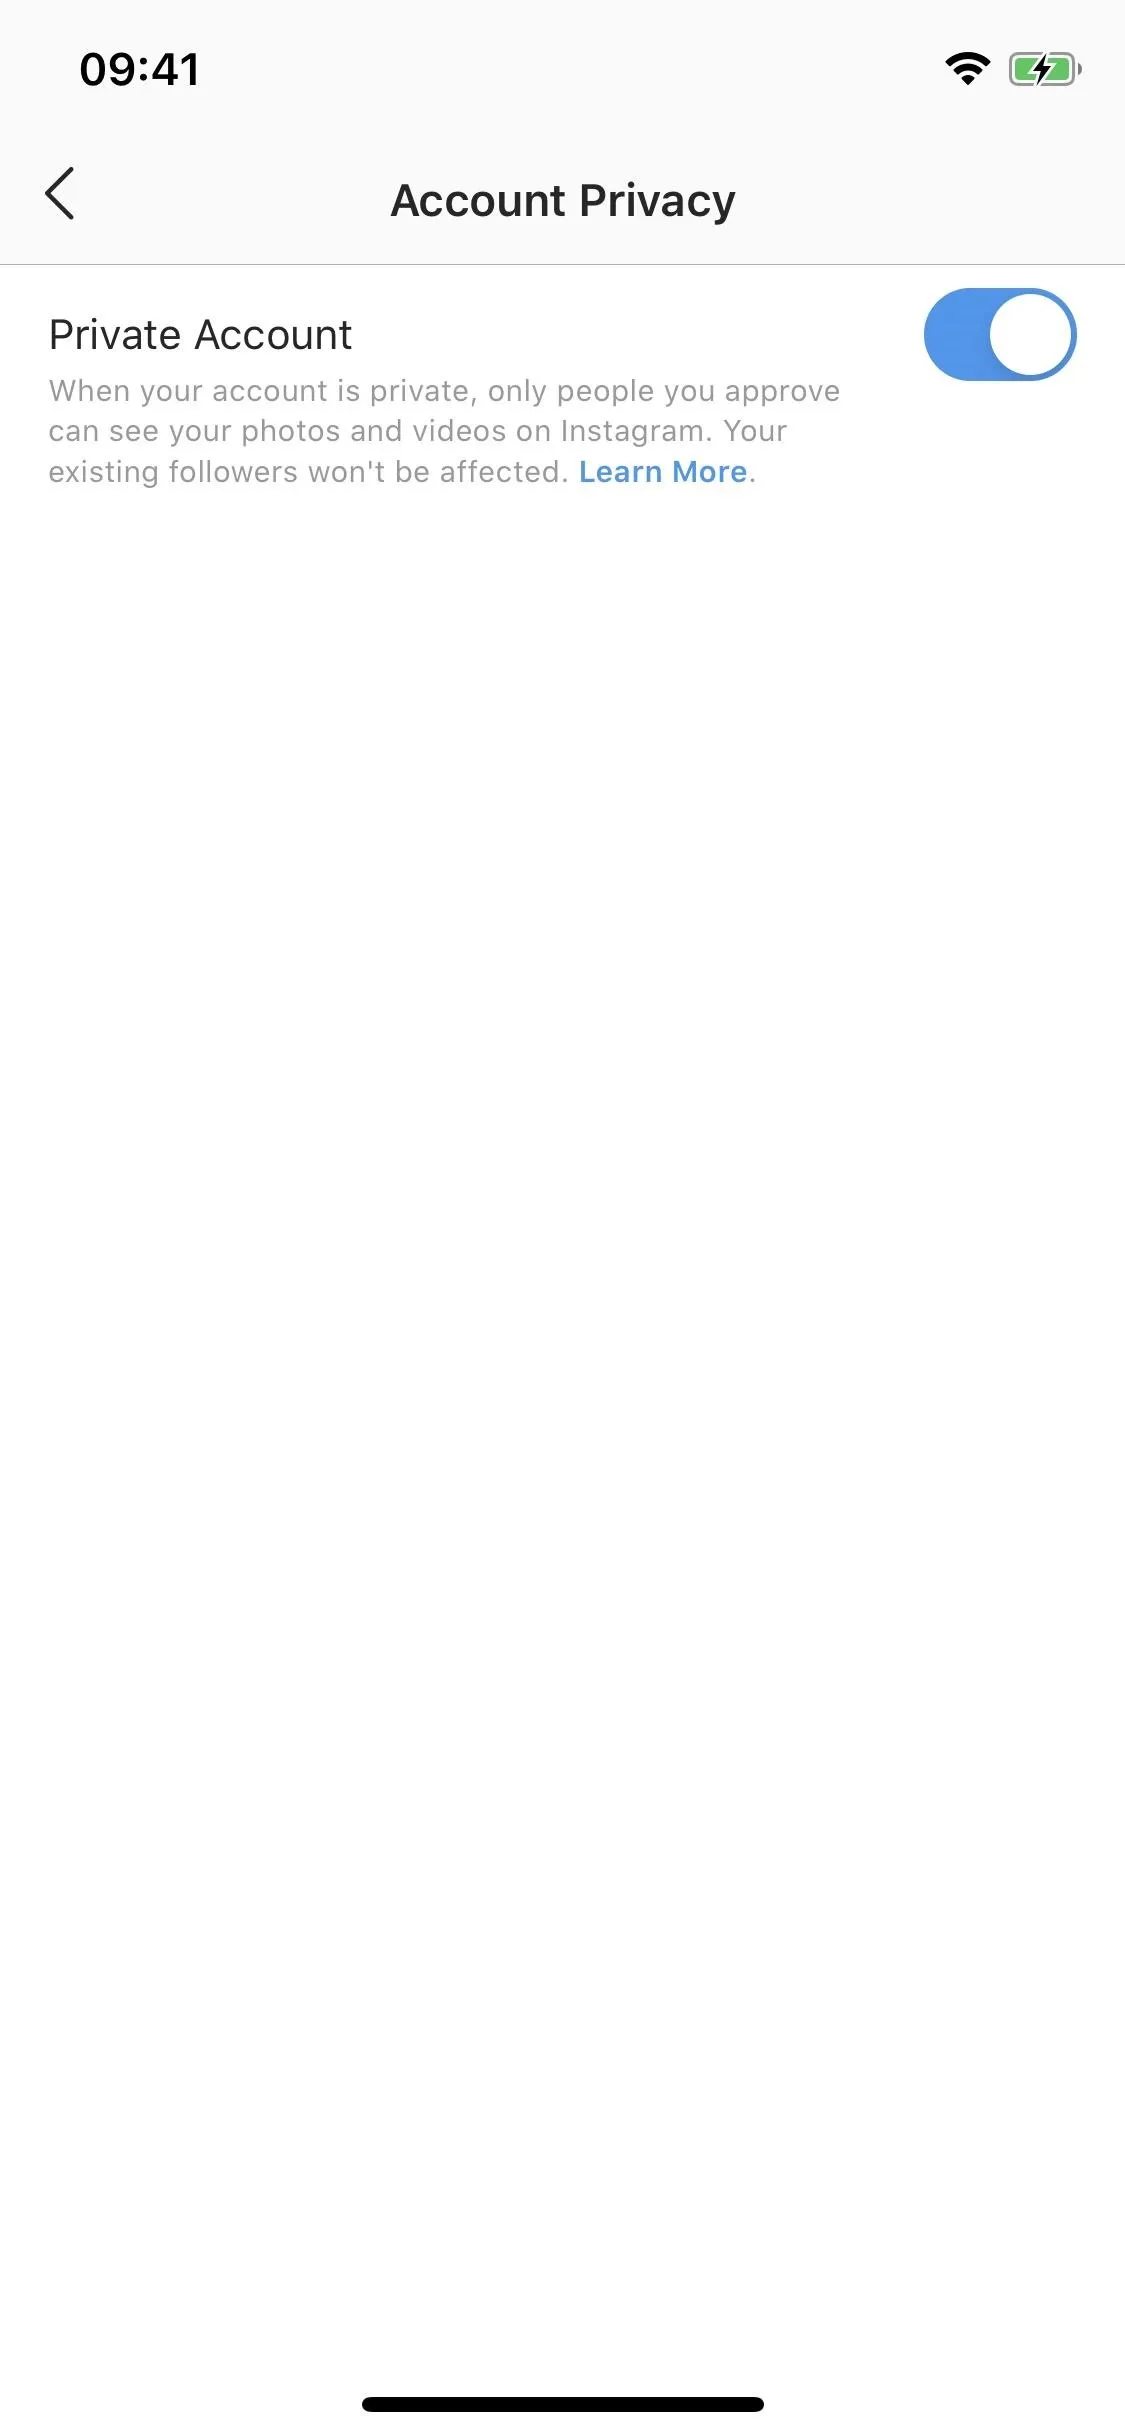
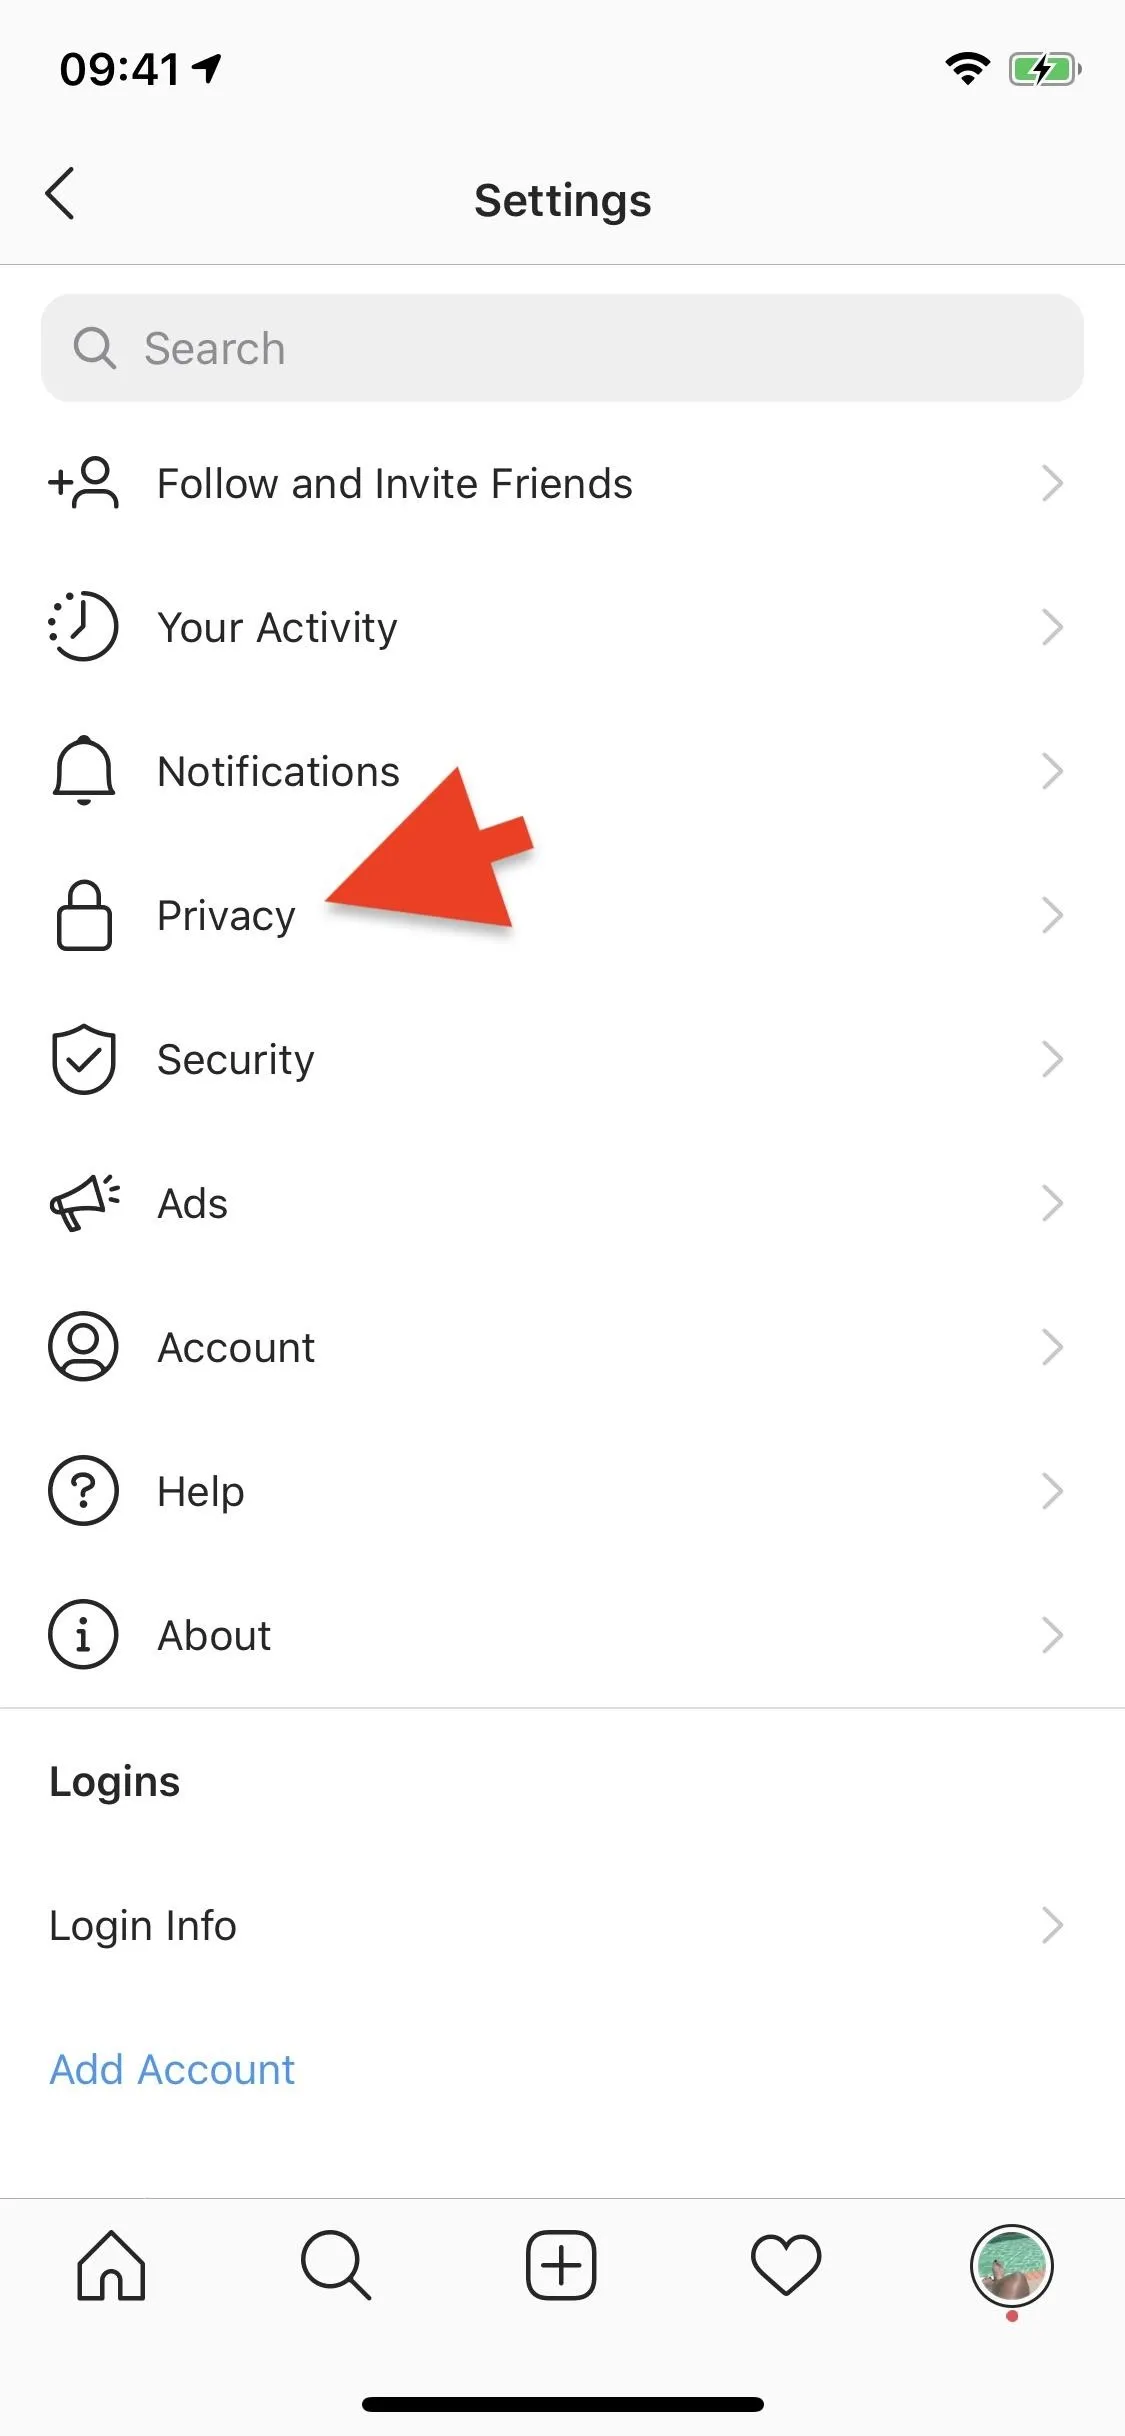
To make your account private, tap your profile icon, then the three-lined icon in the top right, and select "Settings." Next, go into "Privacy," then "Account Privacy," which will most likely say Public. Tap that, then toggle on "Private Account." Only people you approve will be able to see your posts and stories on Instagram going forward.
Remove Your Phone Number & Add a Dummy Email
When you created the account, you may have used your phone number to secure it. However, others can find your account if your phone number is linked and they have your number in their contacts. The best thing to do is to remove your phone number and replace it with an anonymous or throwaway email.
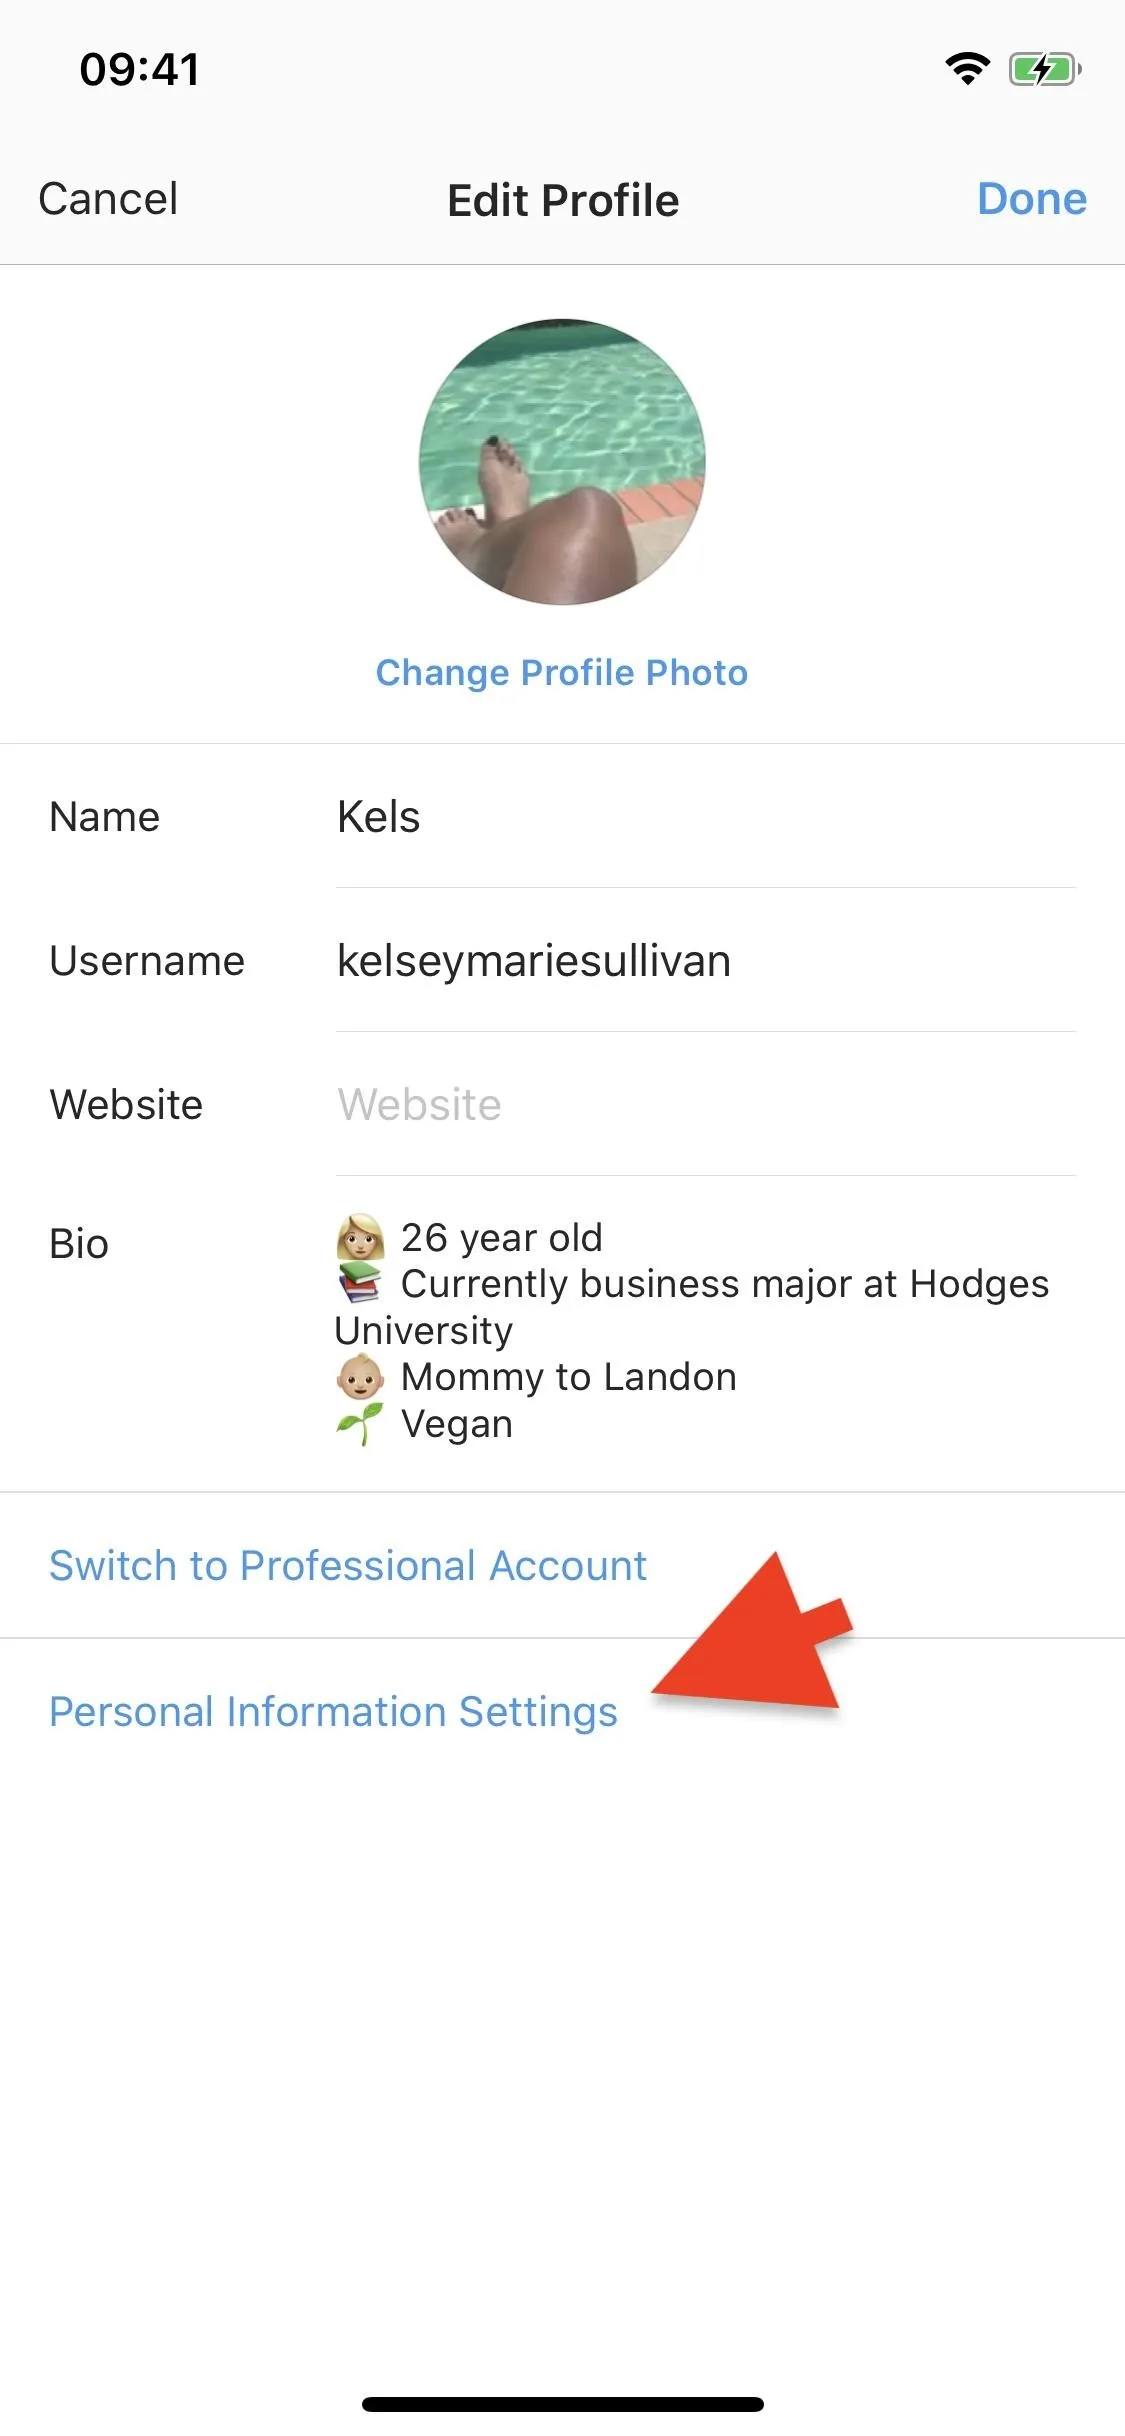
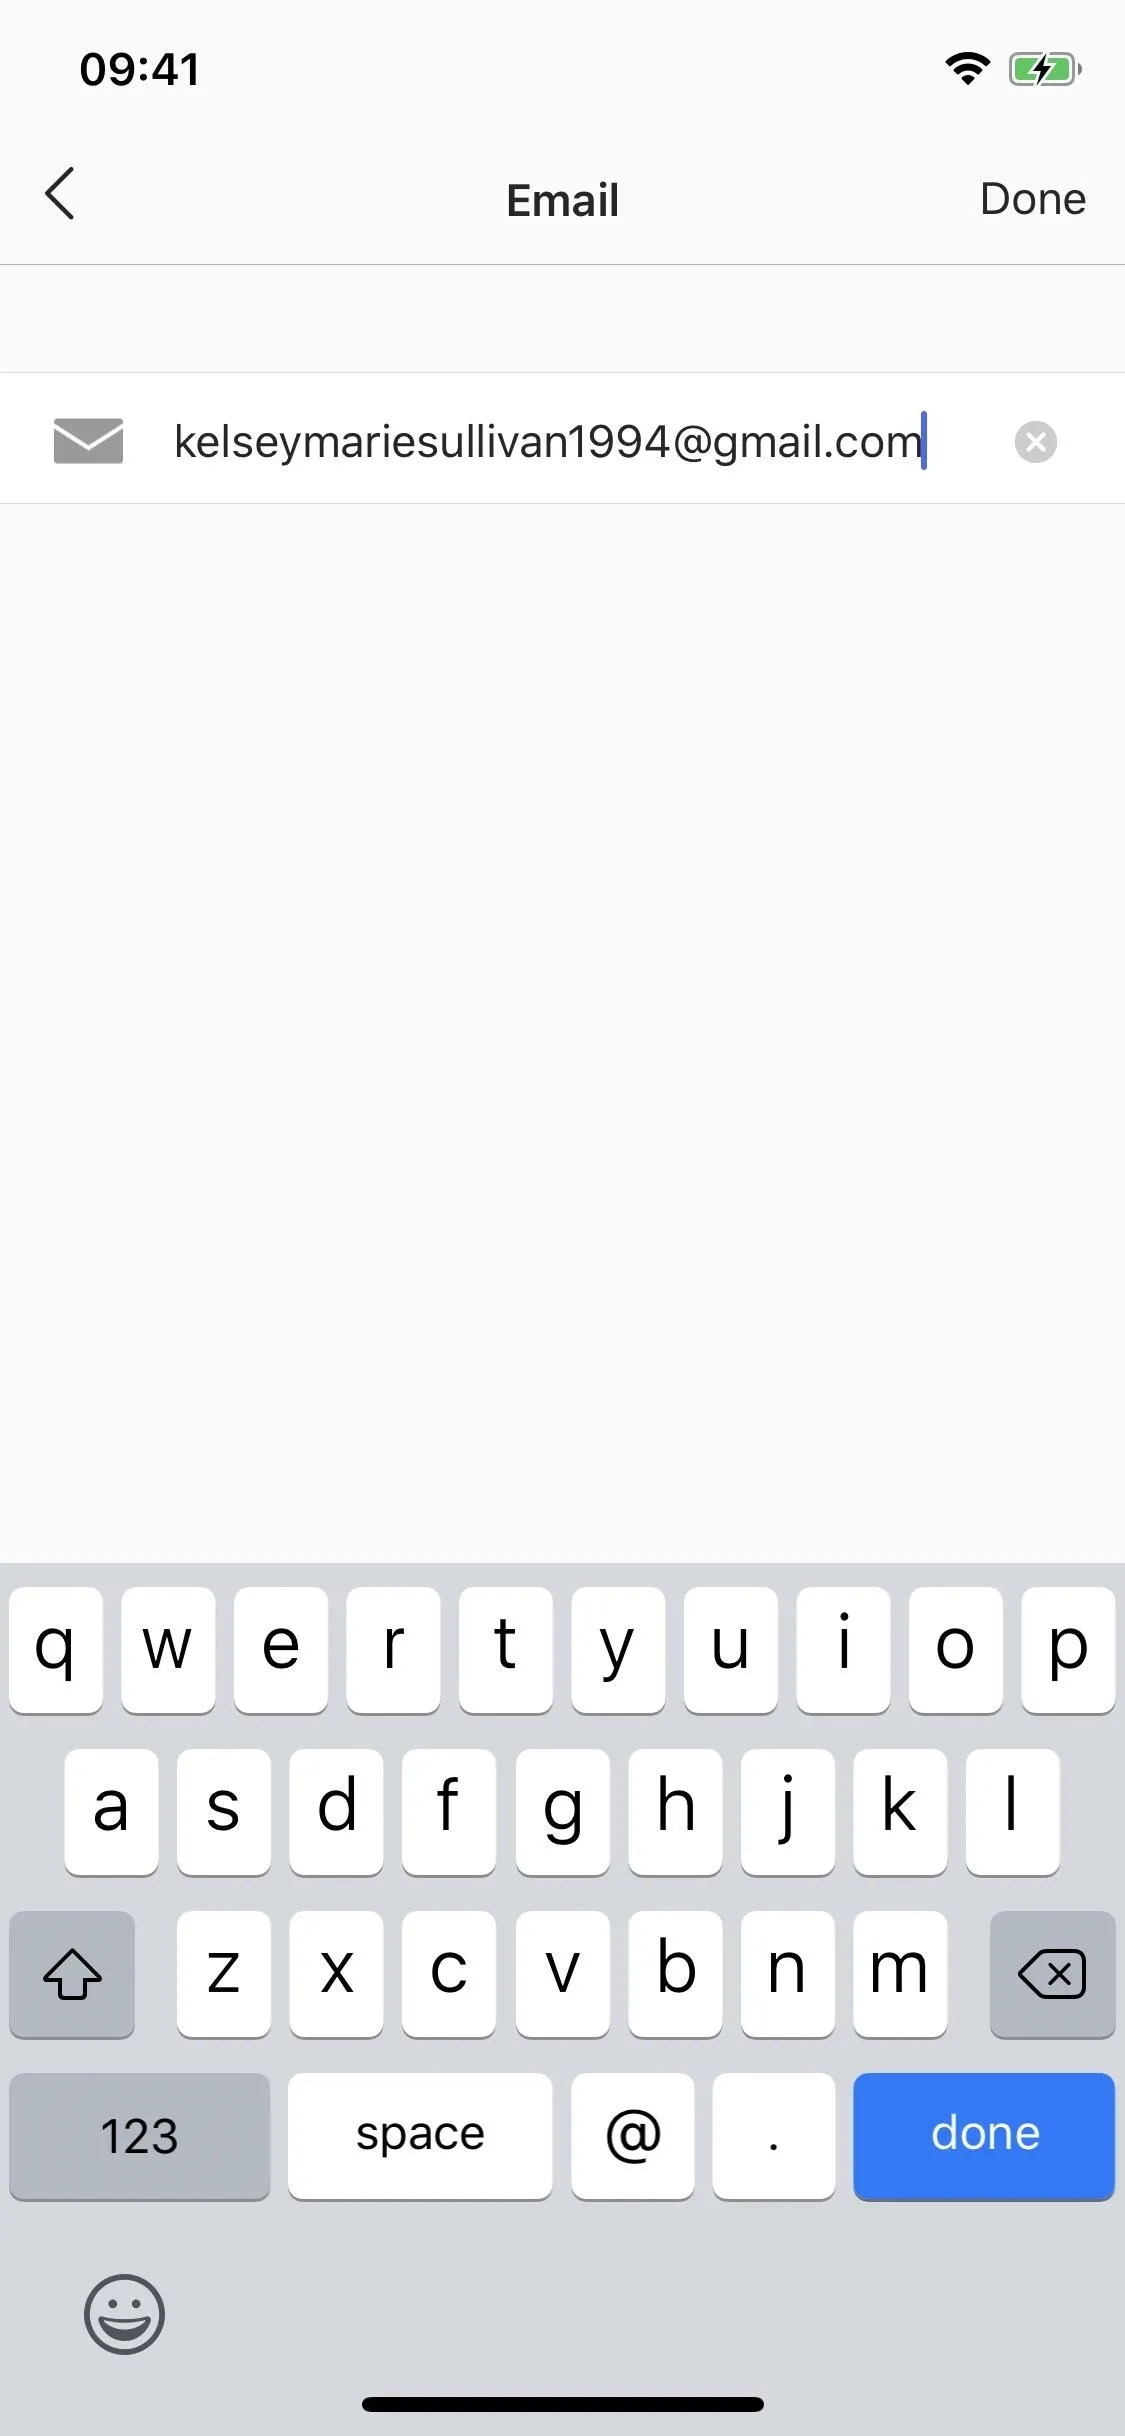
I created an email account just for my Finsta, so I'll be using that. Tap on your profile icon, then on "Edit Profile." Now, go into "Personal Information Settings," and here you'll see what's connected to your account. If you want to remove your phone number, you'll first have to add an email (it requires one of the two). Just tap on the Email field, type in your email, and then tap on "Done."
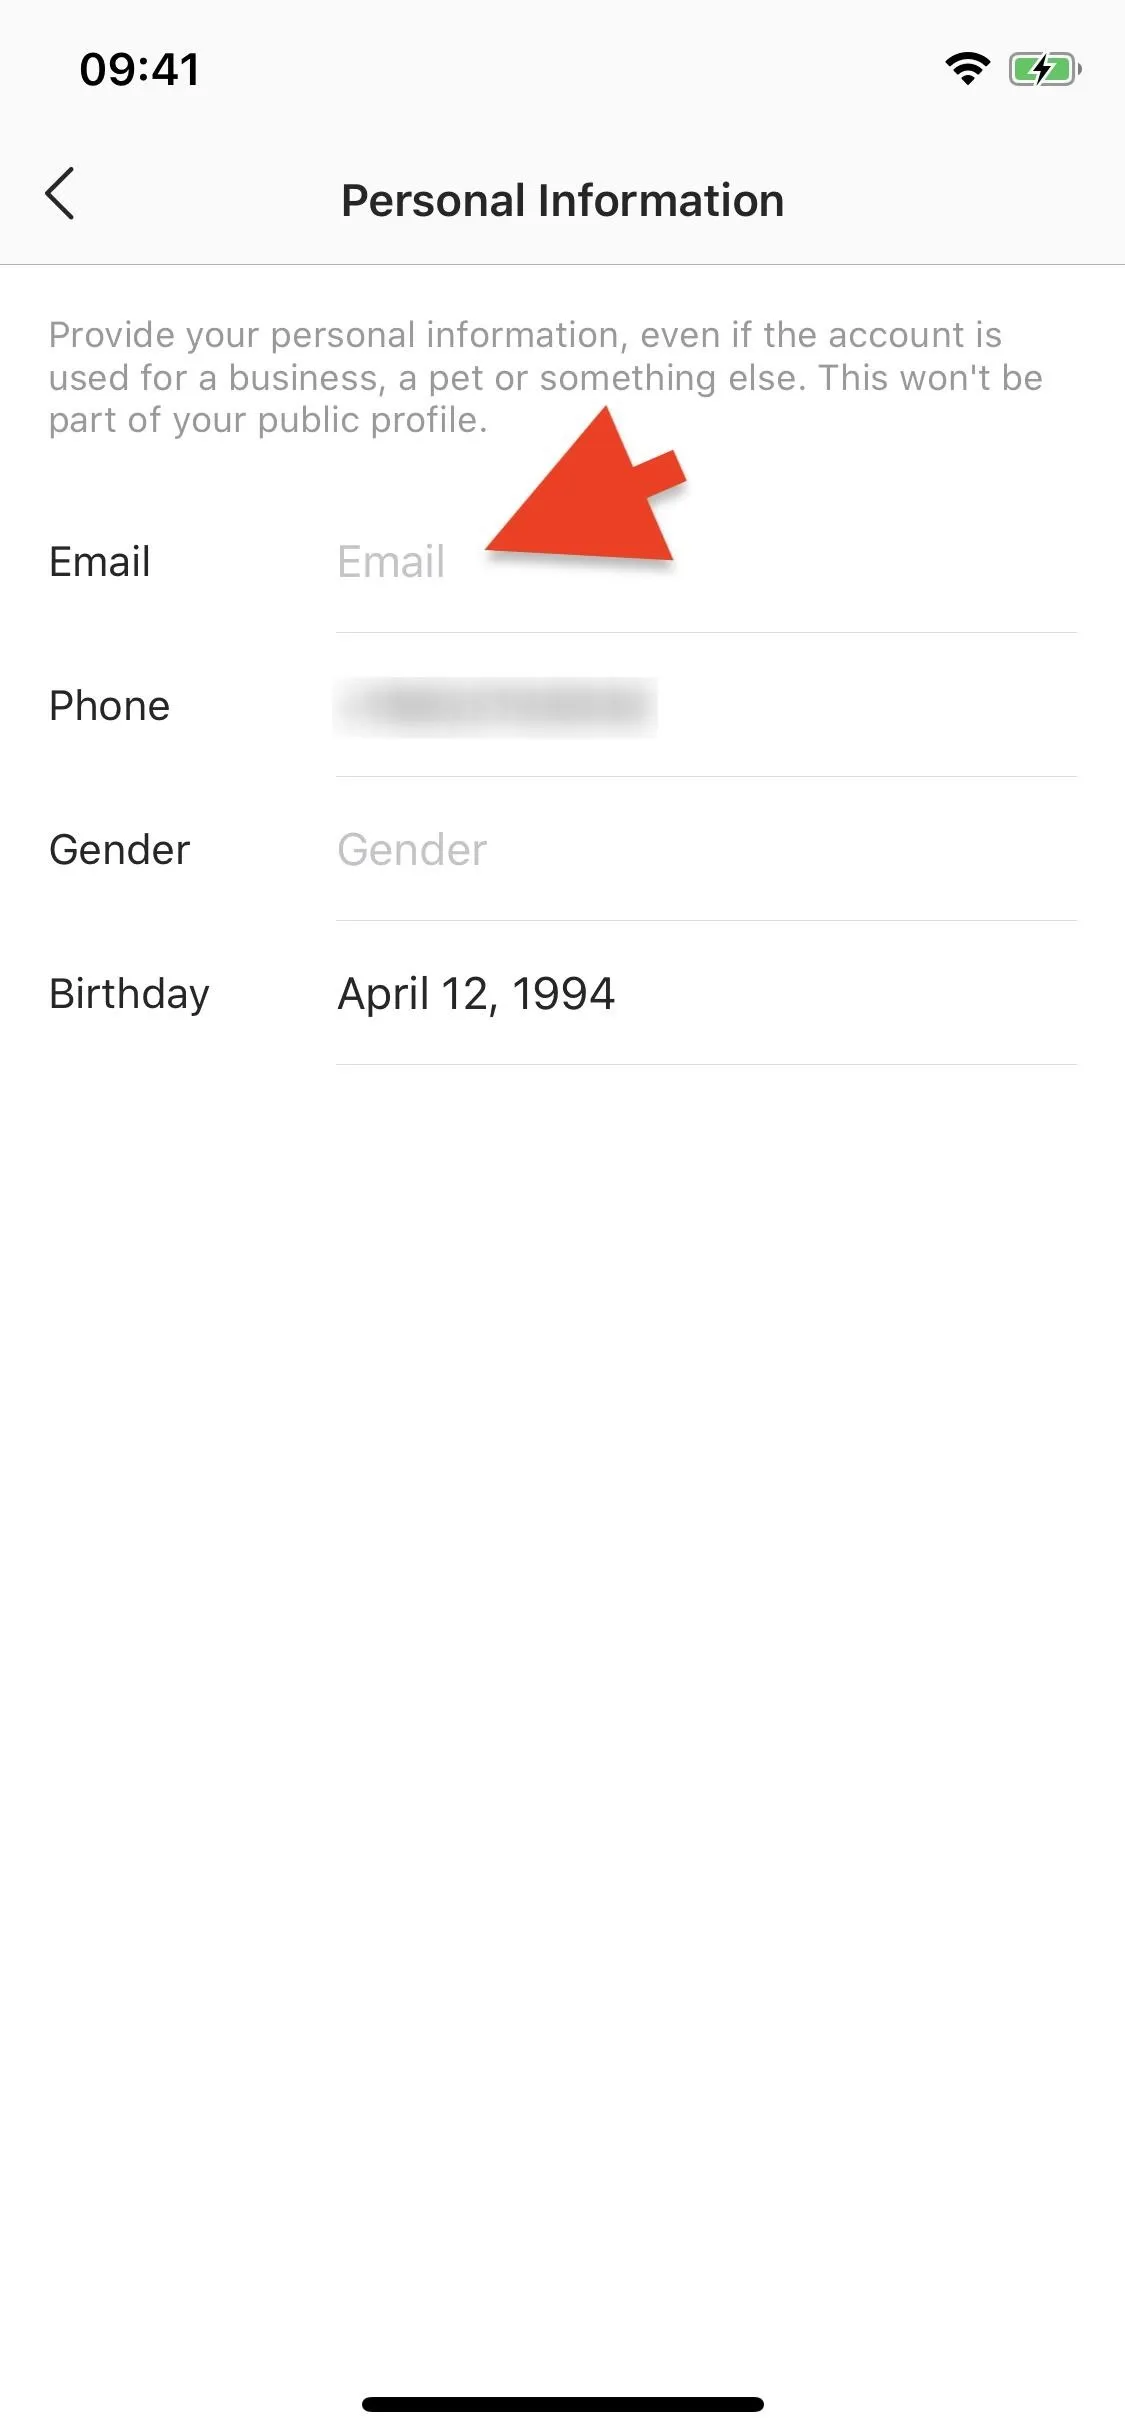
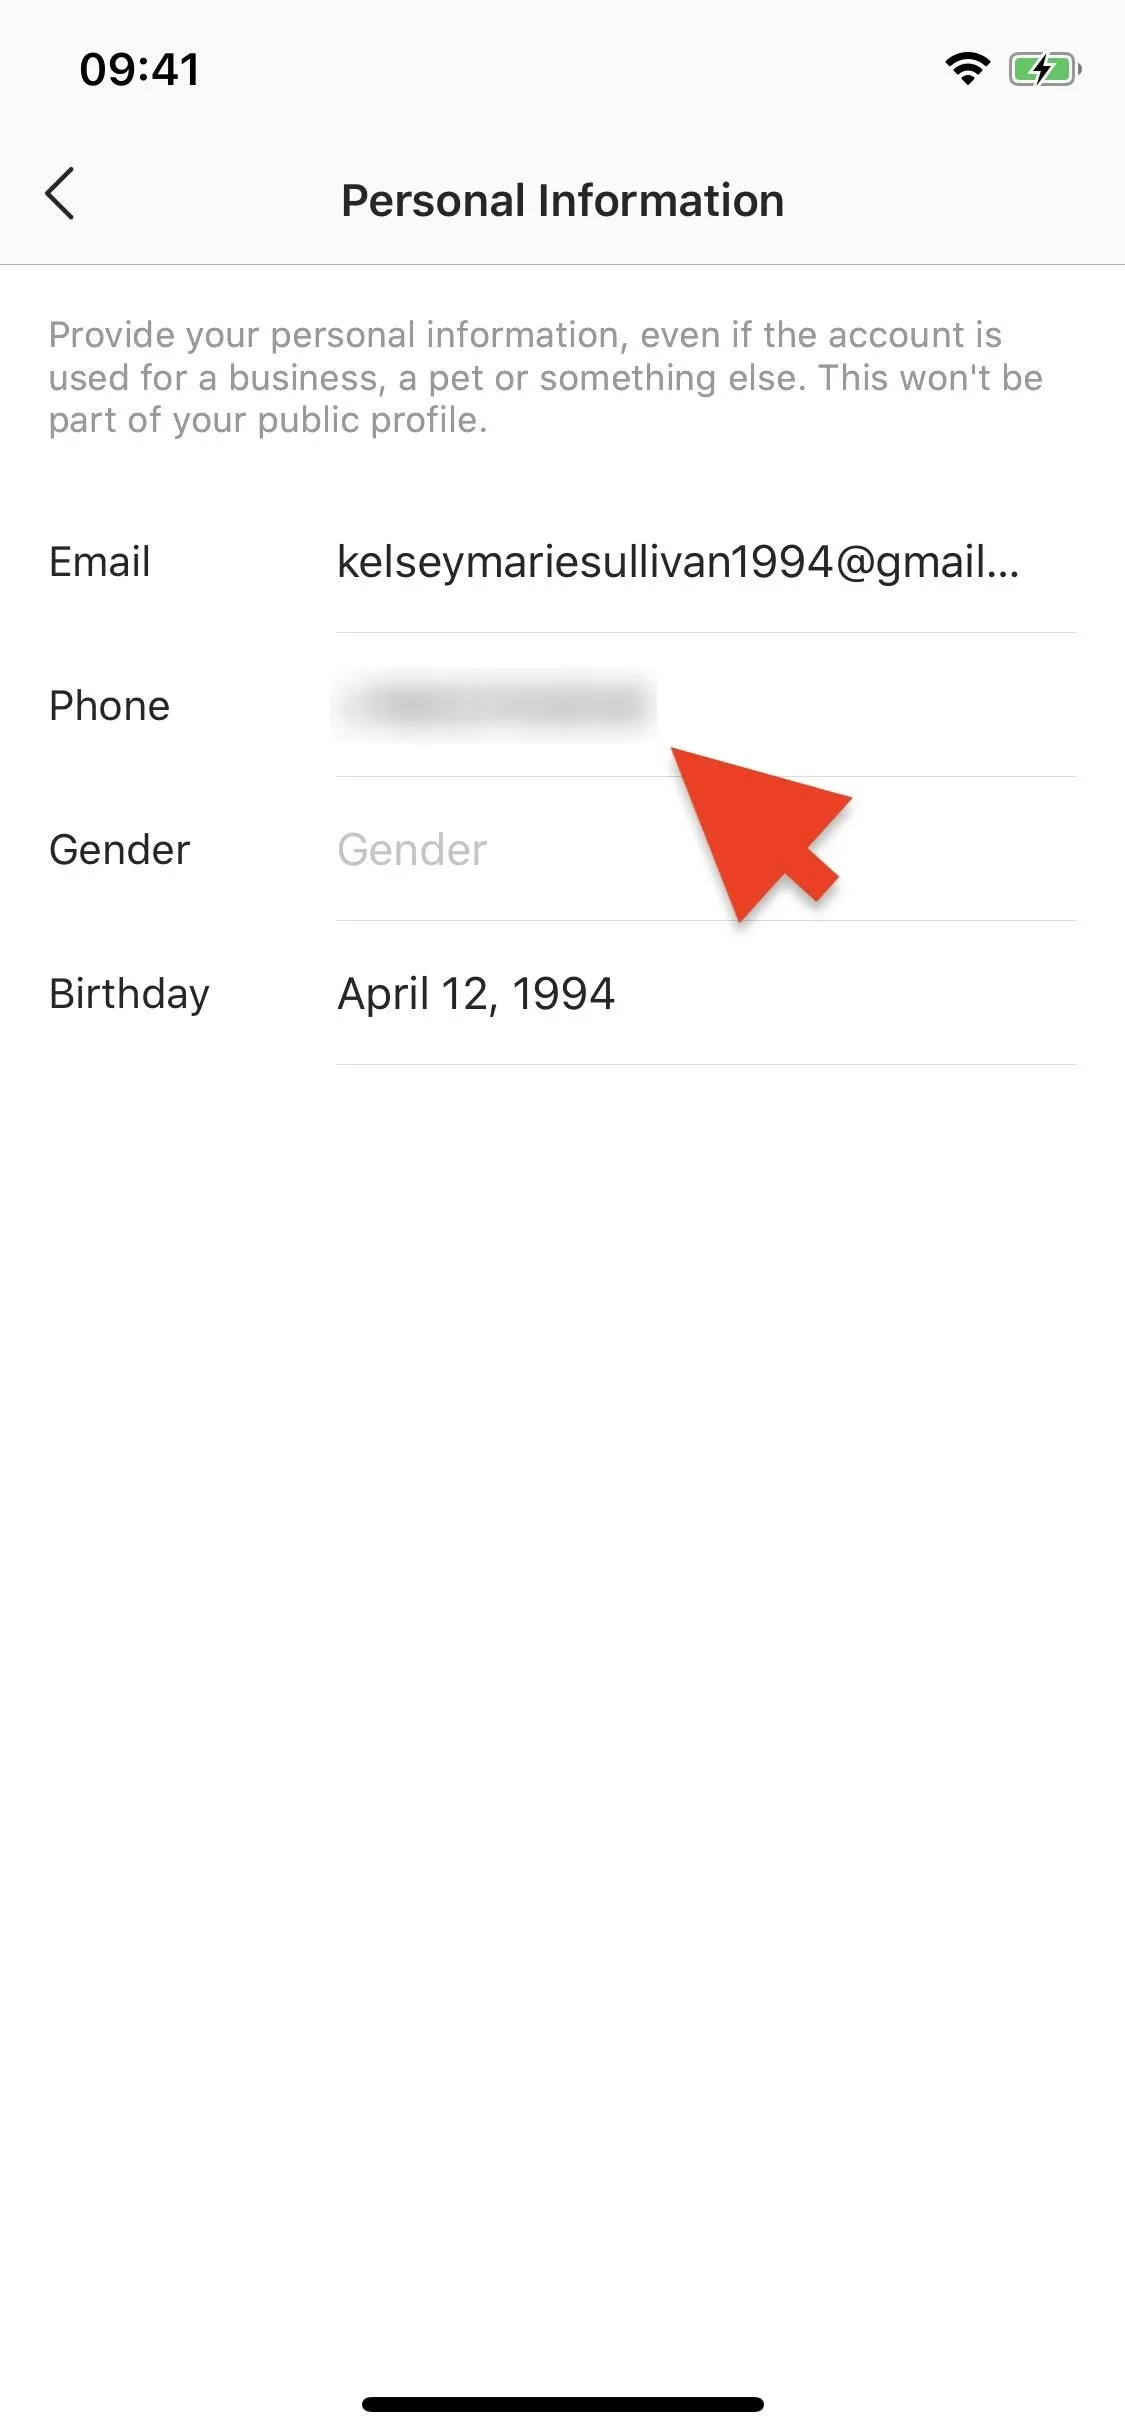
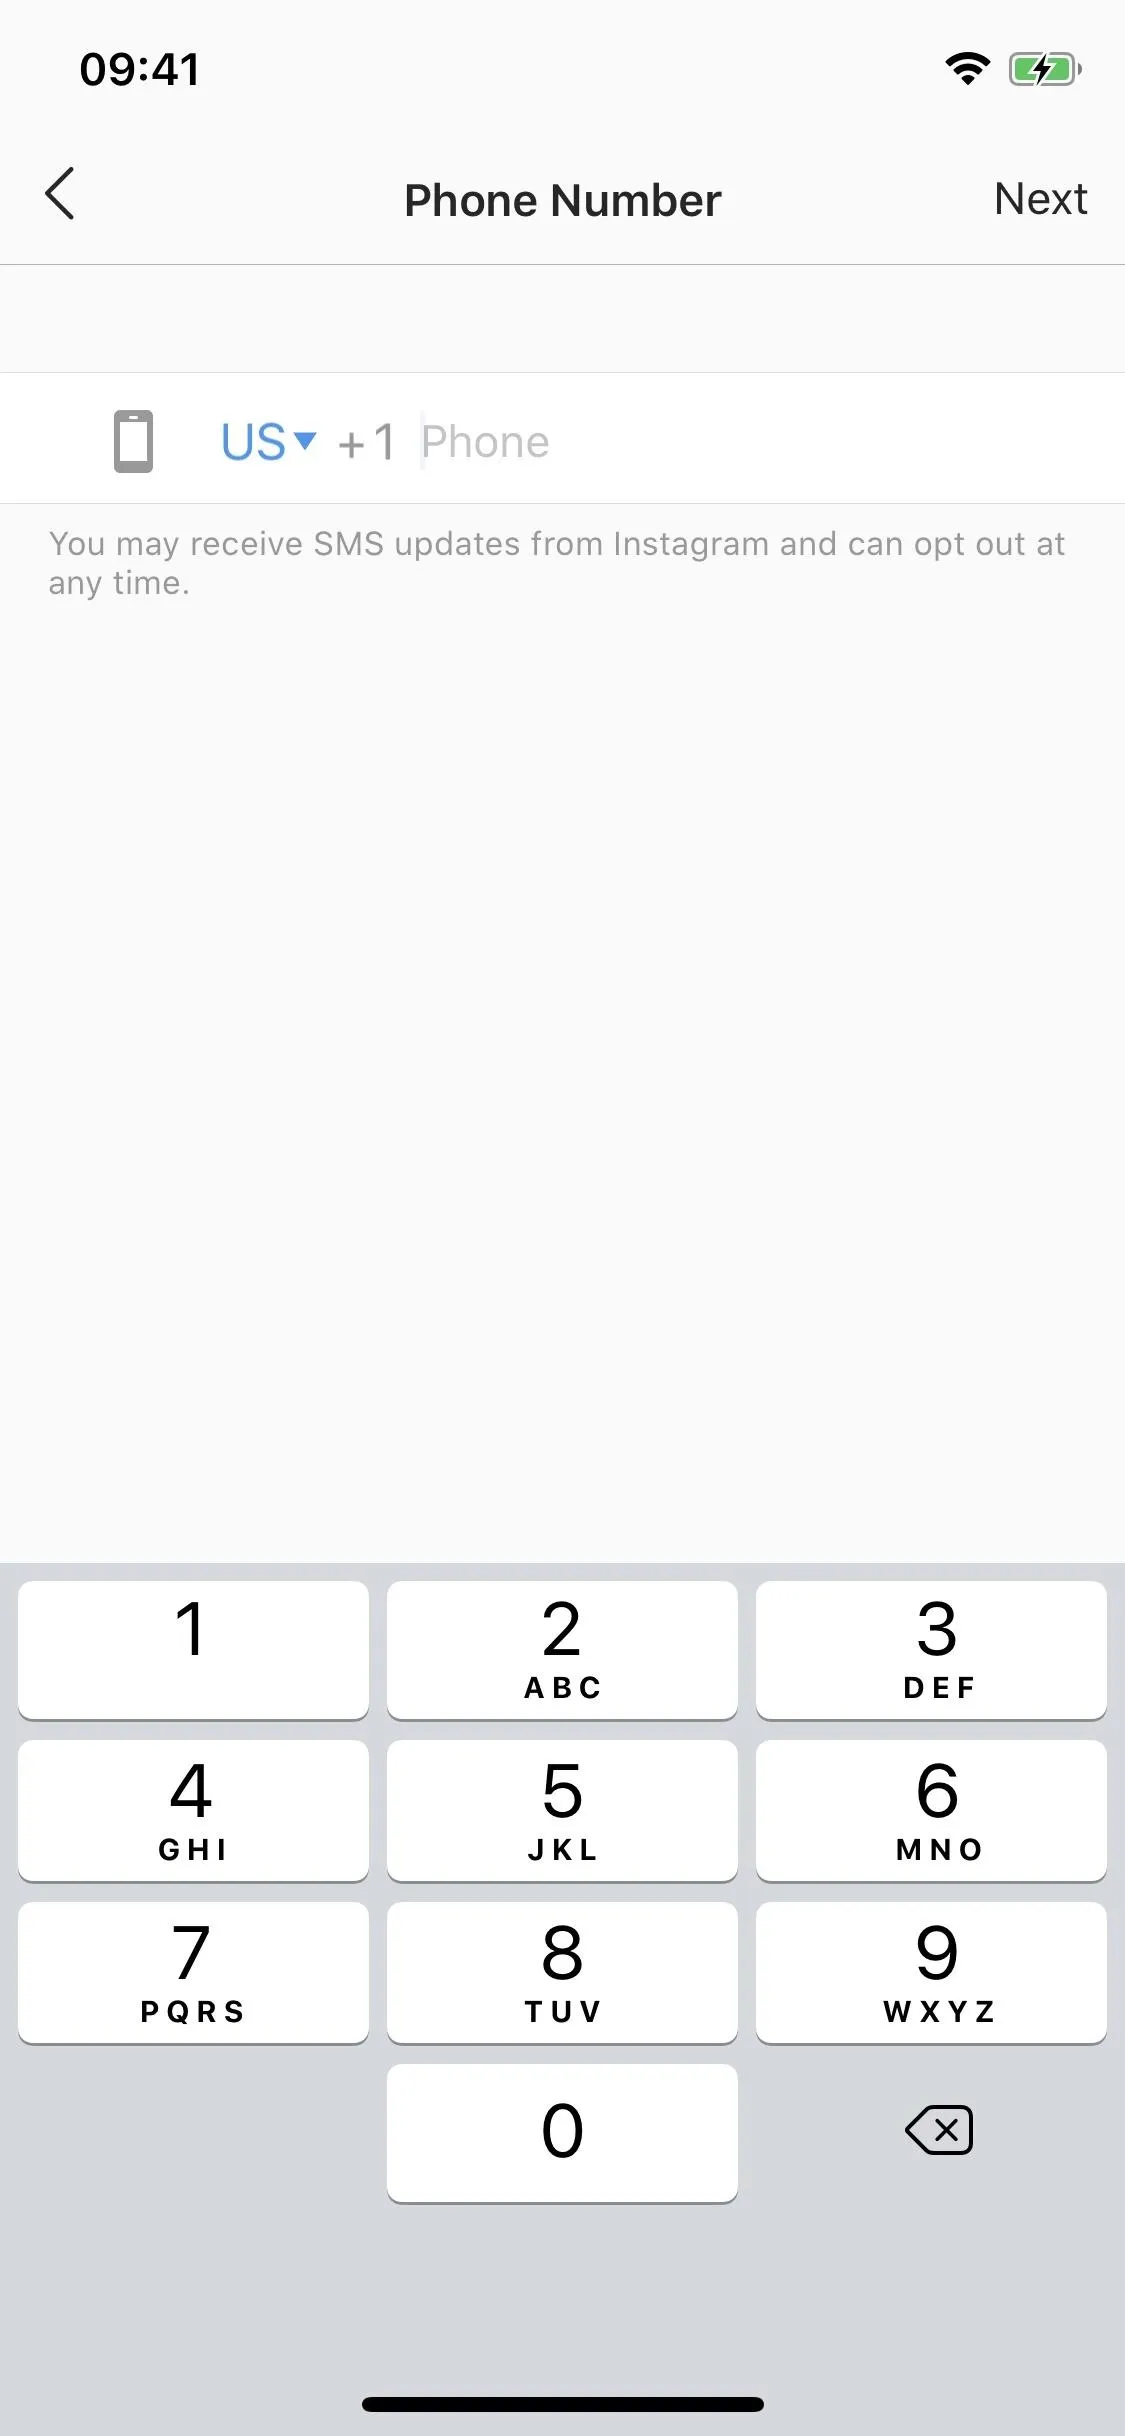
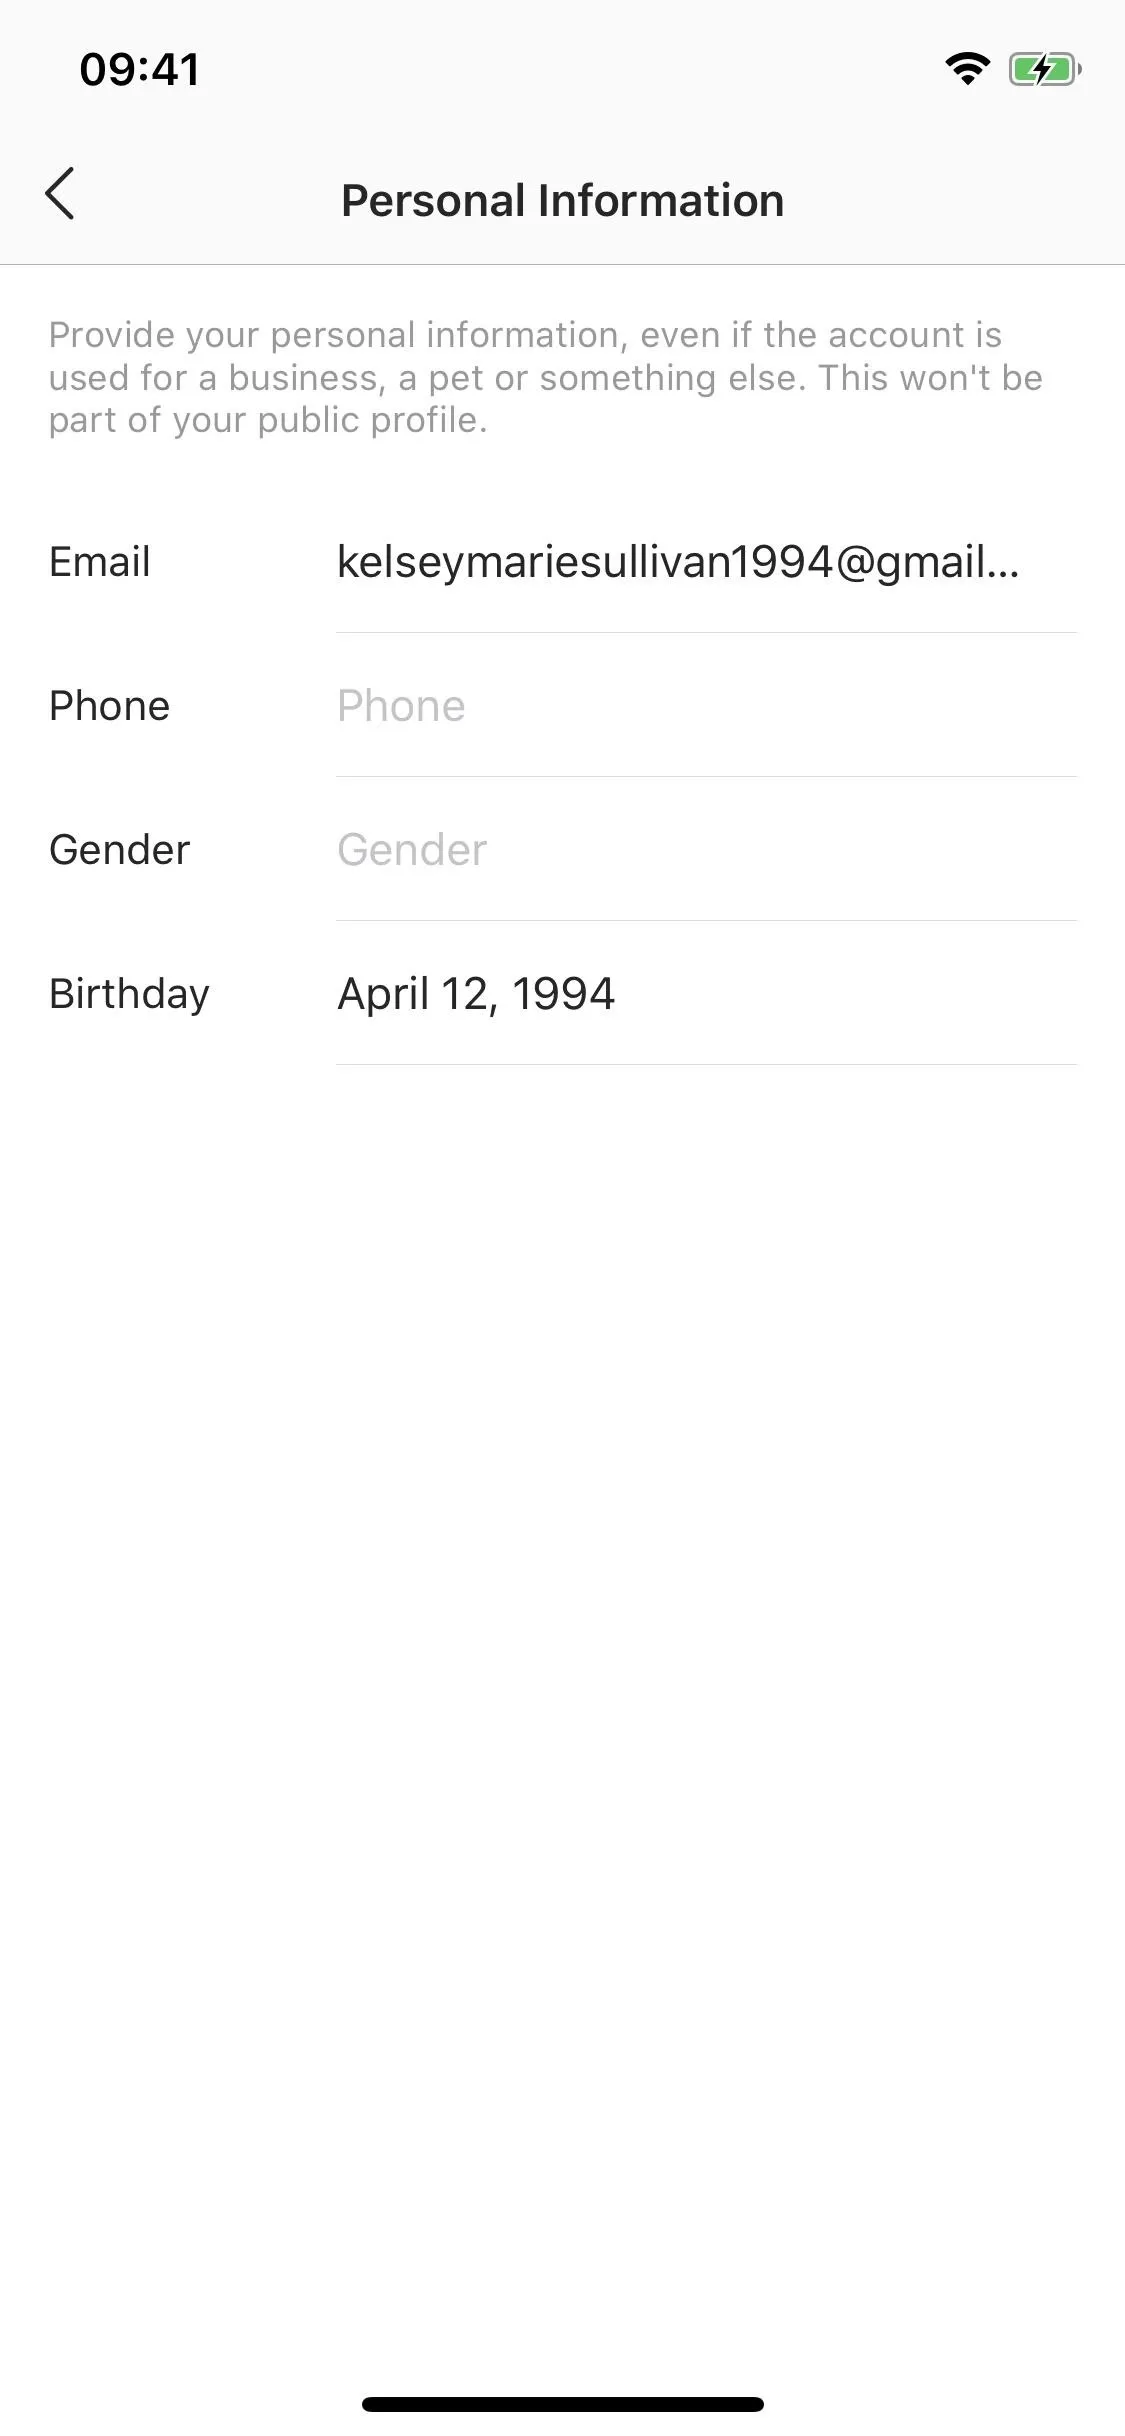
Once the new dummy email is added to your account, you can tap on the Phone field and erase the phone number. Hit "Next," and it will be deleted from your account.
Approve Tags Manually
Anyone can tag you in a photo, which is usually great. But if someone tags your Finsta on their account, it makes it that much easier to be found by other people. For this reason, you should approve tags manually so that no one can tag you in their photos unless you allow it.
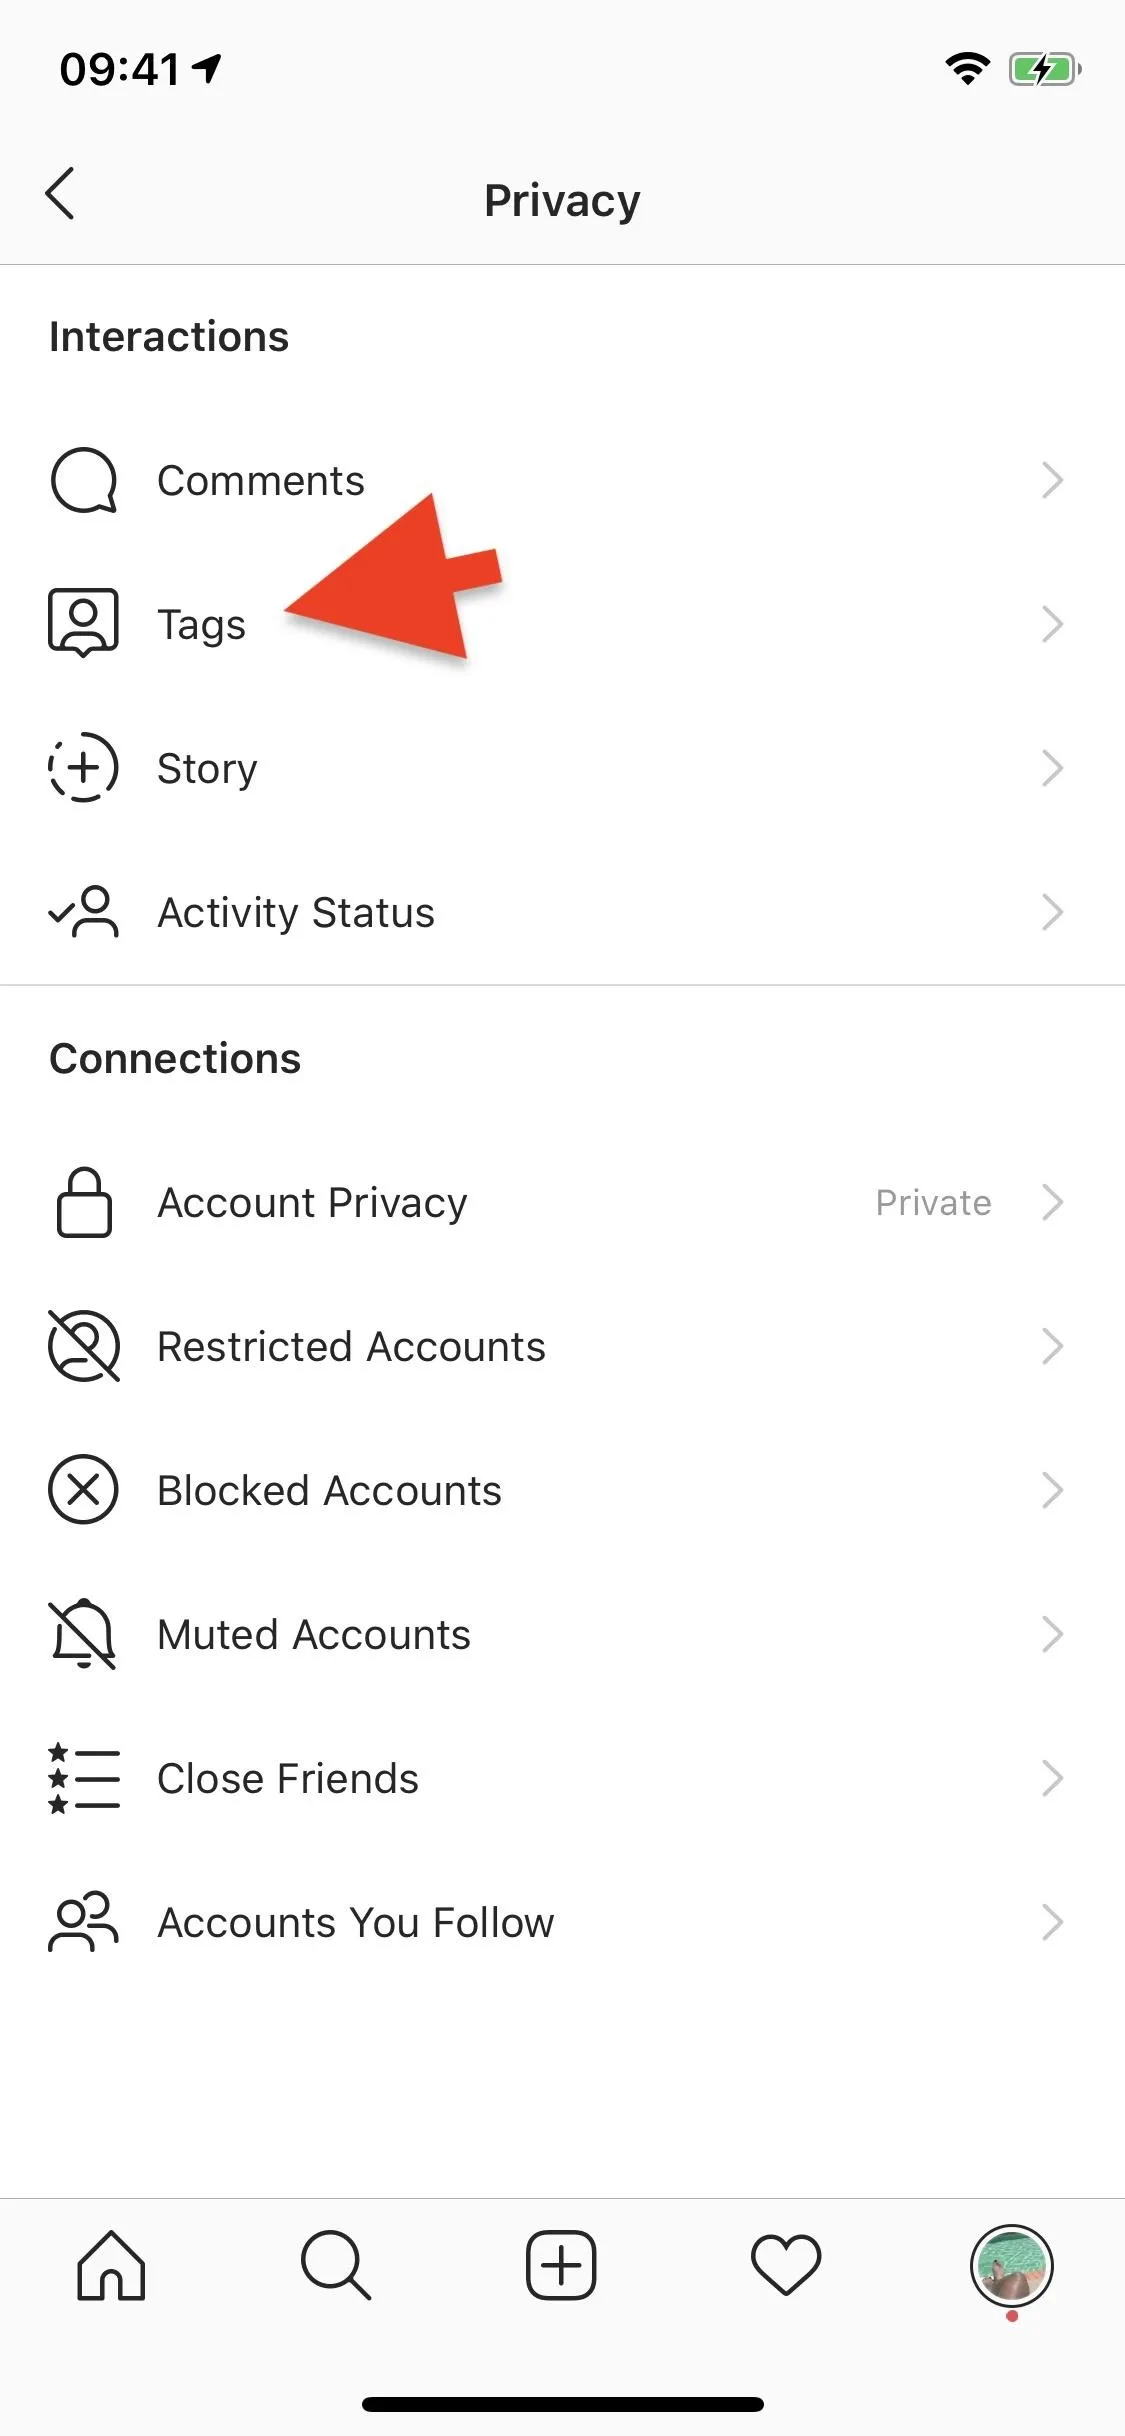
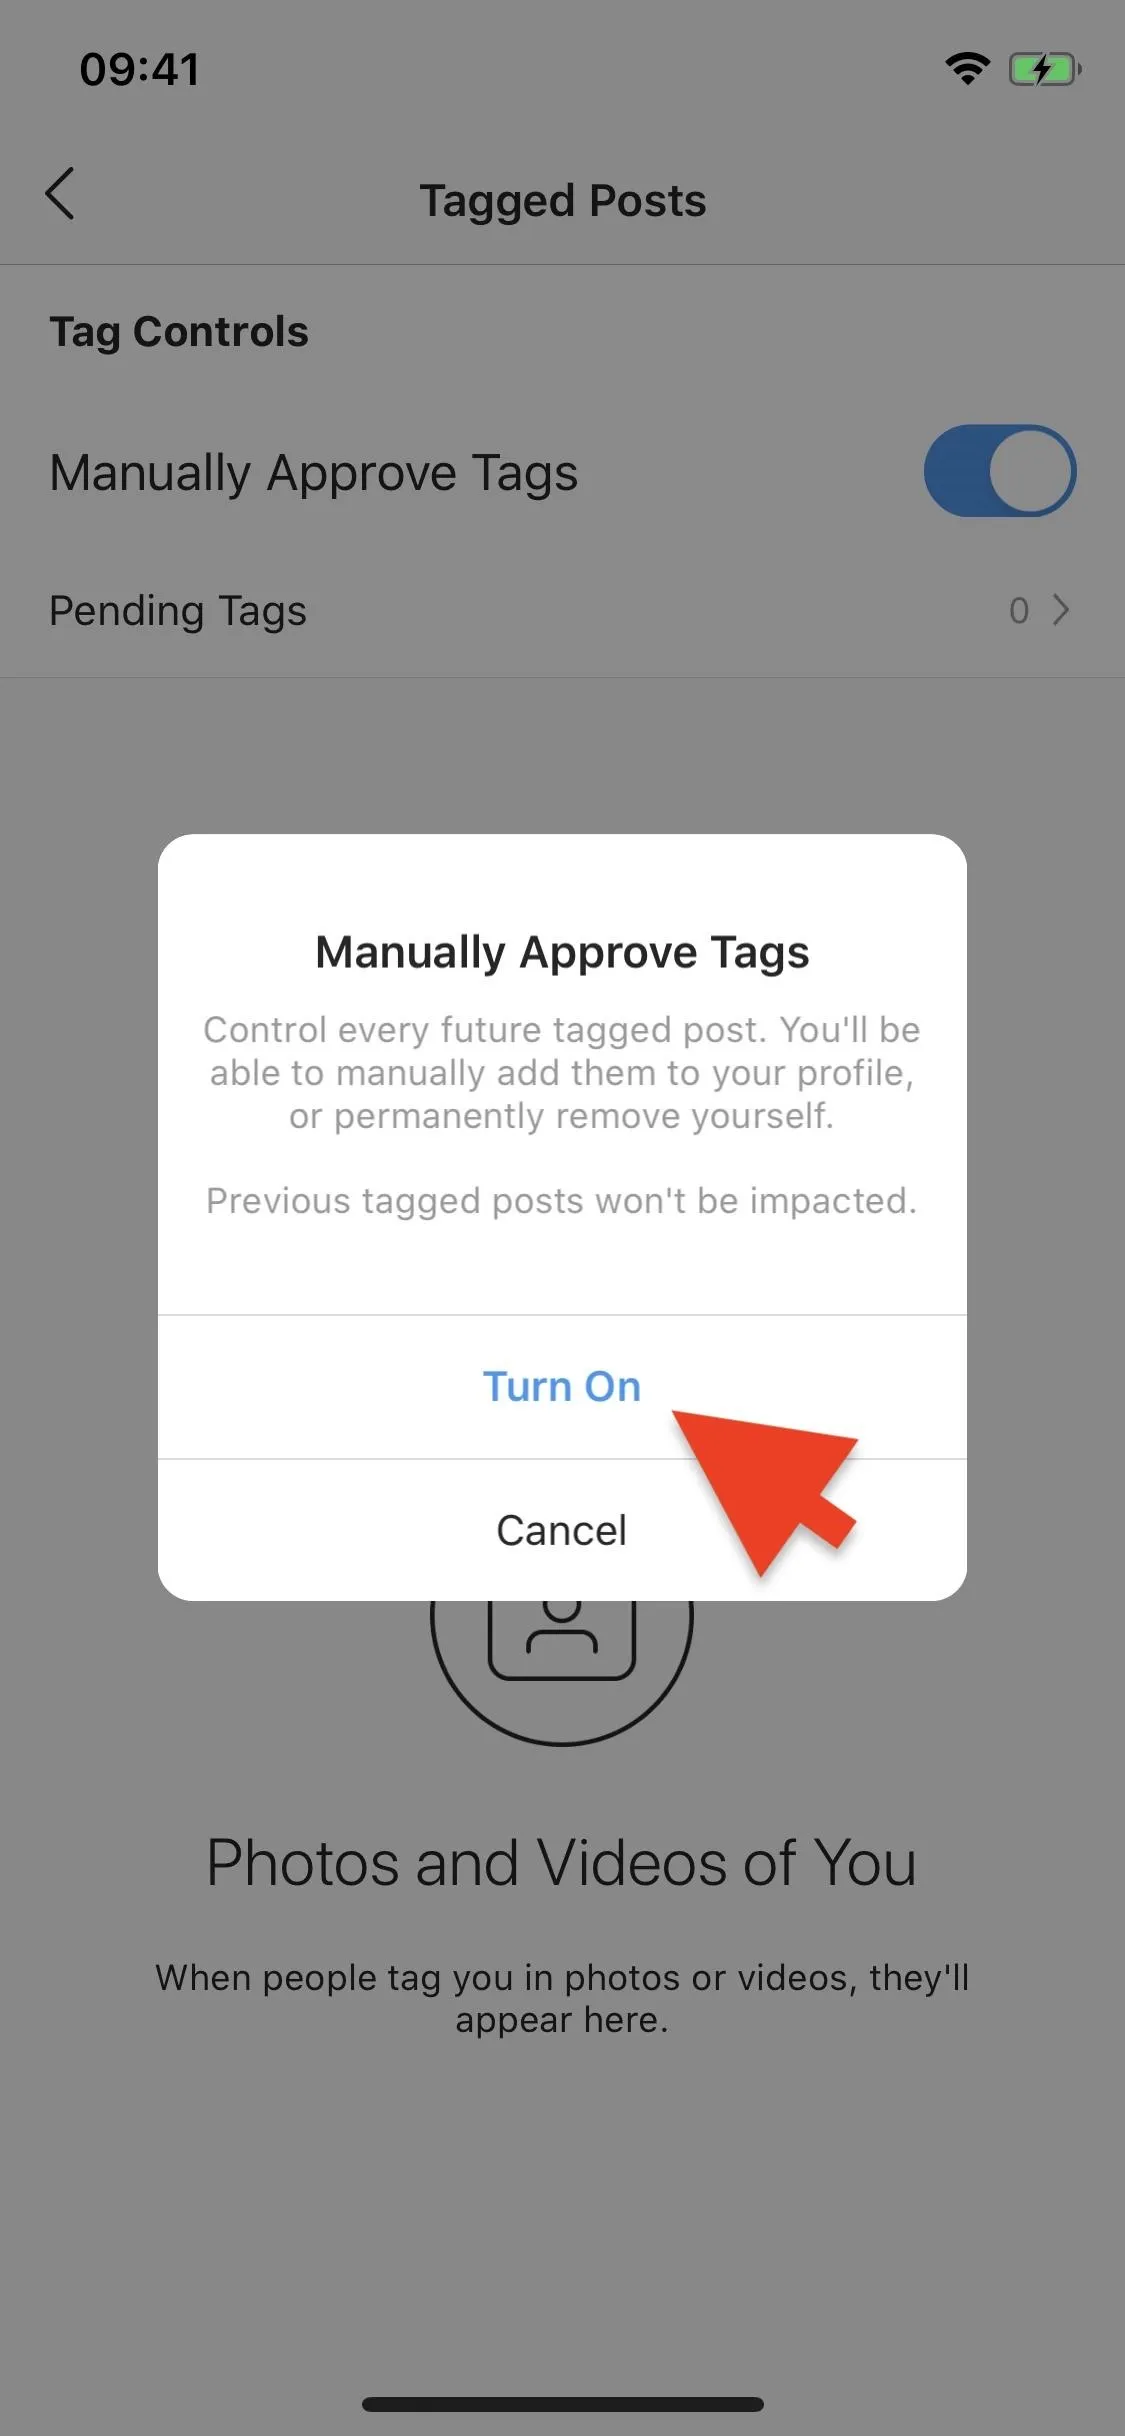
In the Settings menu, tap on "Privacy," then on "Tags." By default, "Manually Approve Tags" is disabled. To enable it, toggle the setting on and select "Turn On" to control who can tag you in their posts (which is preferably no one).
- Learn More: How to Keep People from Tagging You in Posts
Unlink Any Connected Accounts (Facebook, Twitter, Etc.)
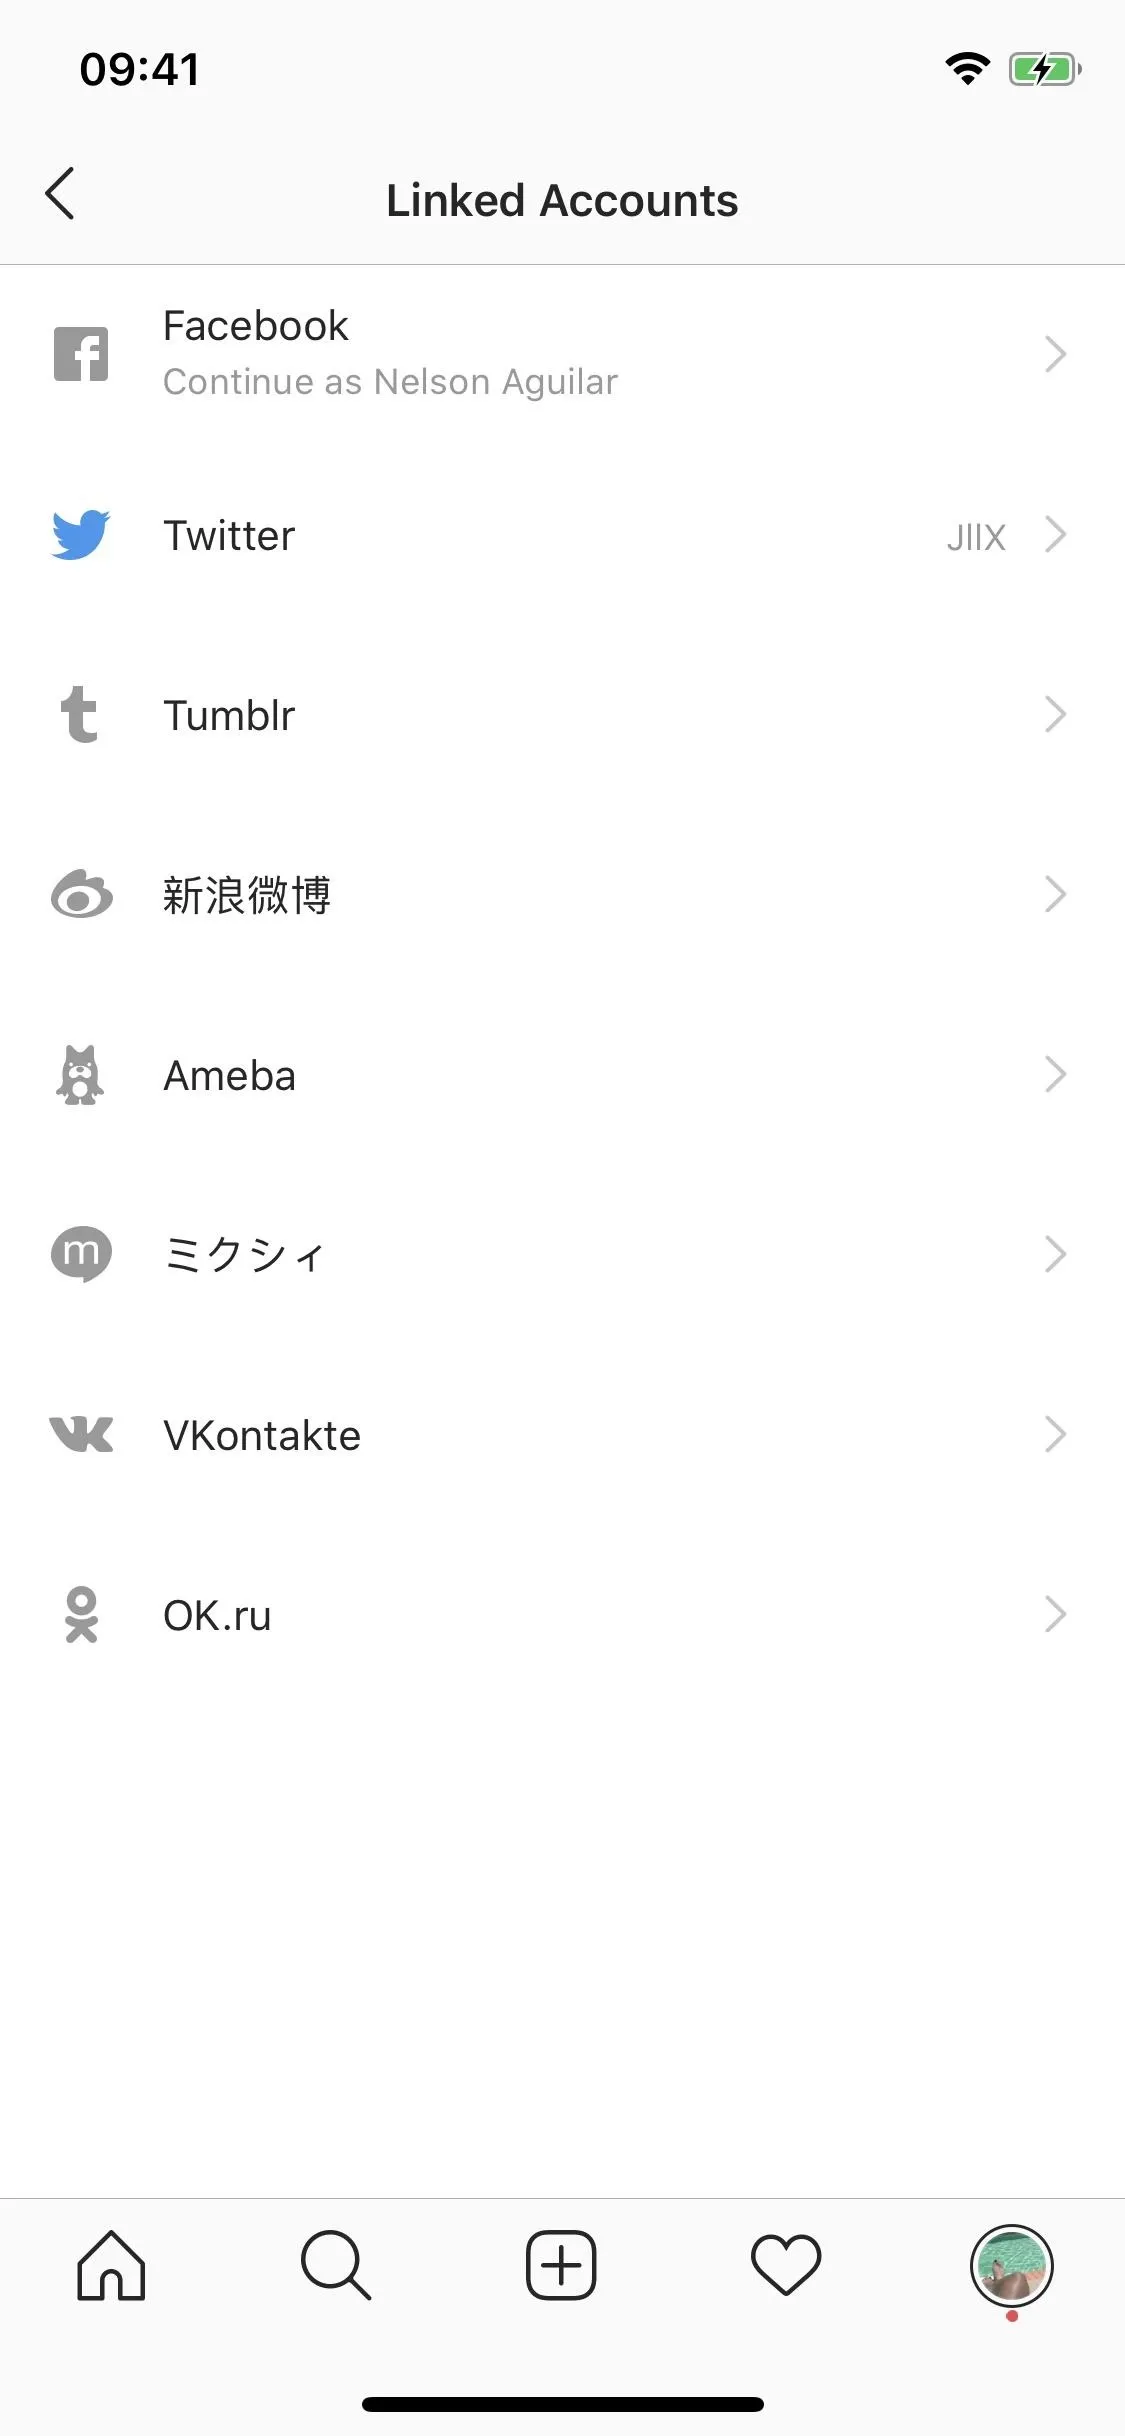
Another thing that can link you to your Finsta is if your fake account is connected to any of your real accounts, such as Facebook, Twitter, Tumblr, and other third-party apps. First, check if your Finsta is linked to any of these accounts.
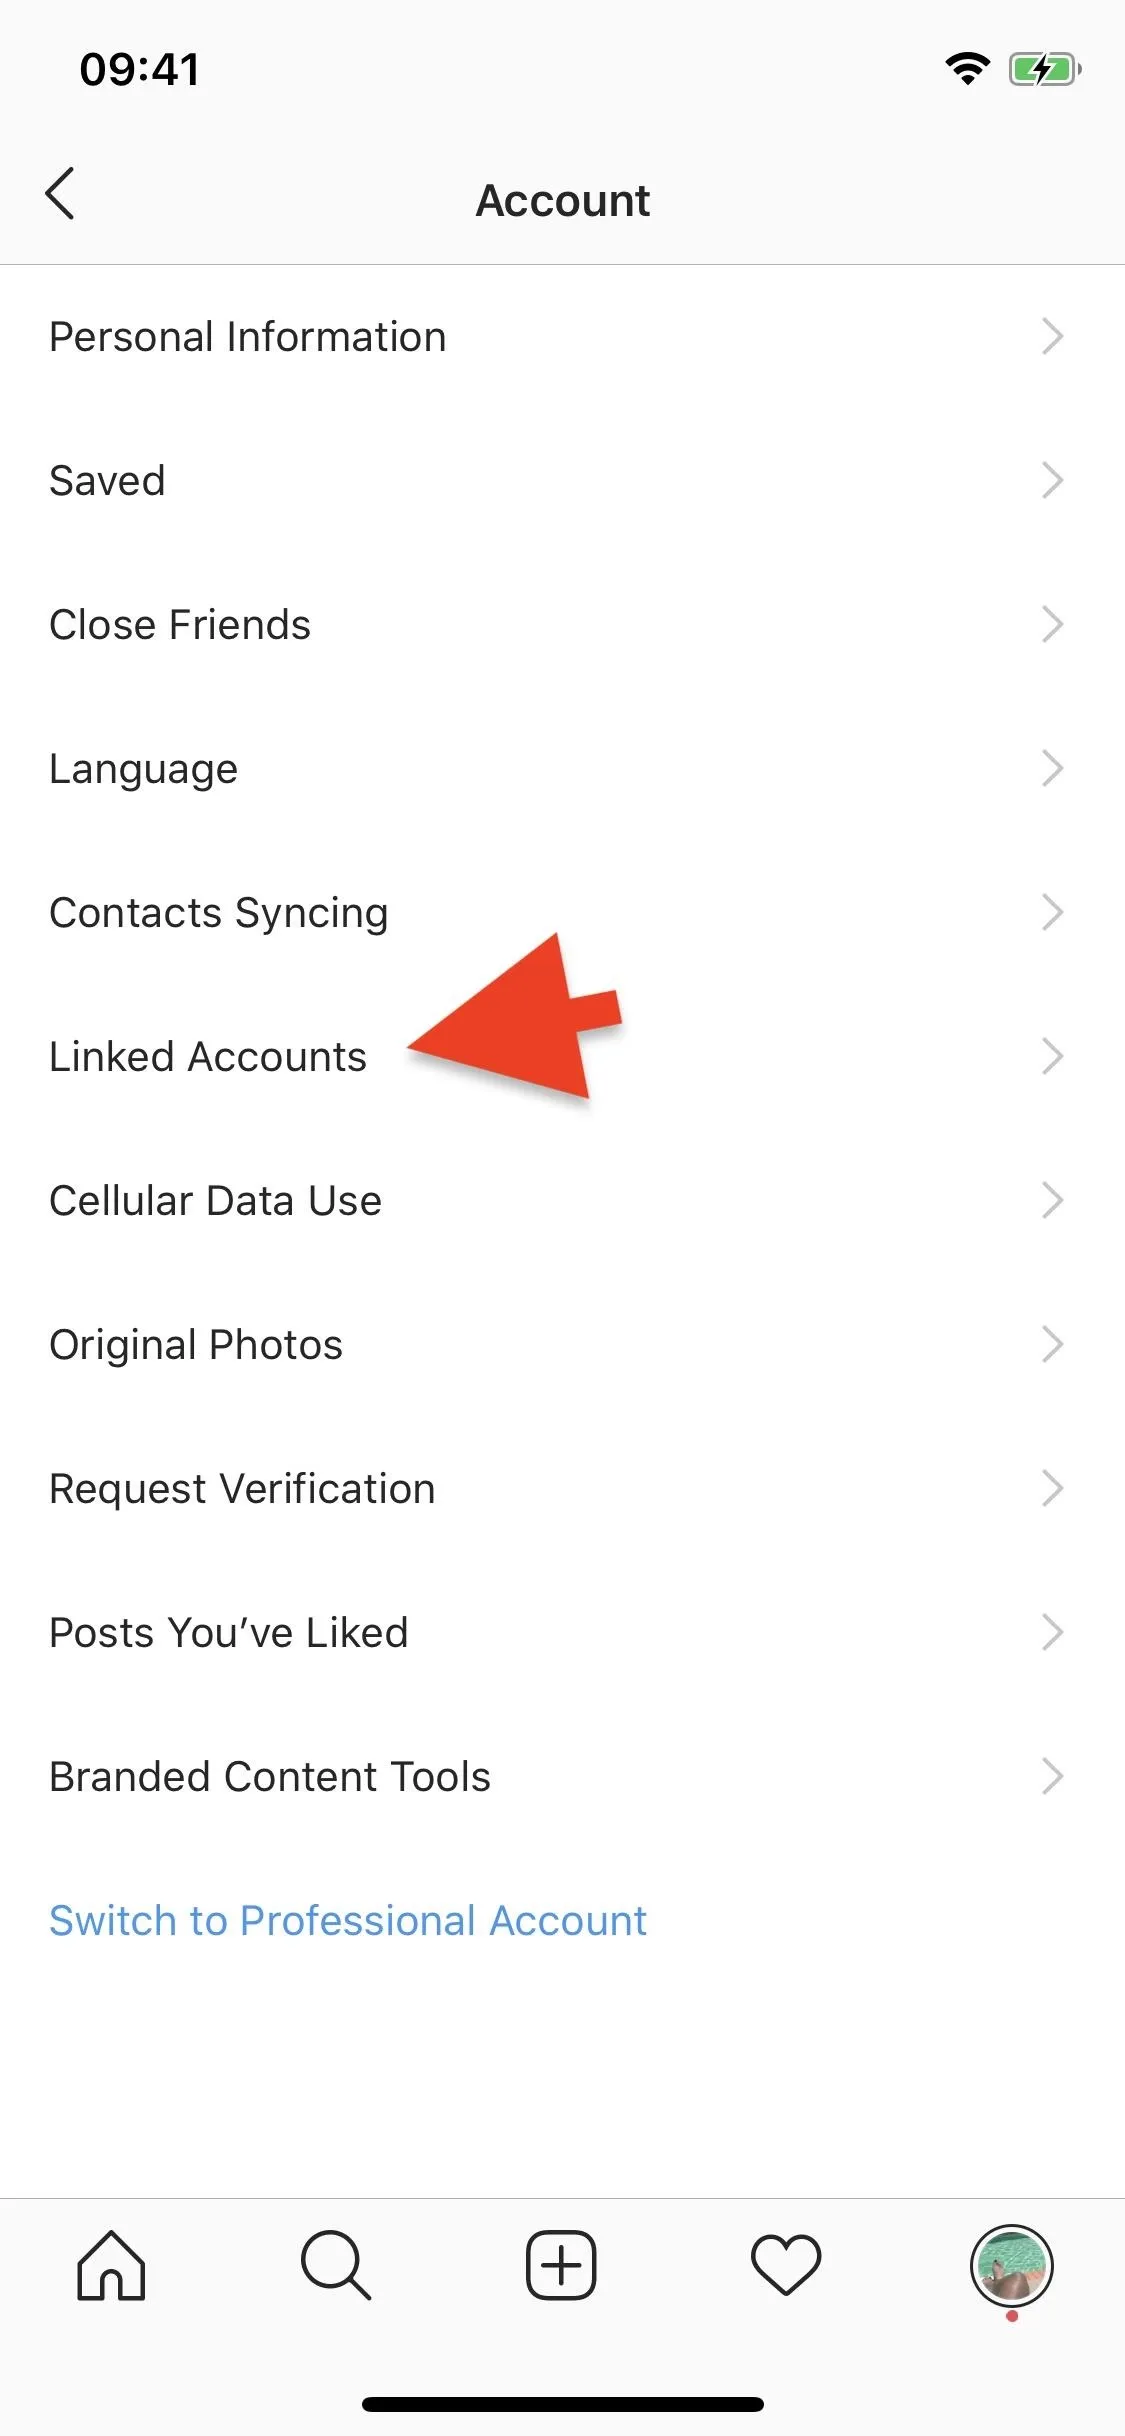
In the Settings page, tap on "Account," then "Linked Accounts." If any of the accounts listed are in blue, that means they're connected to your Finsta.
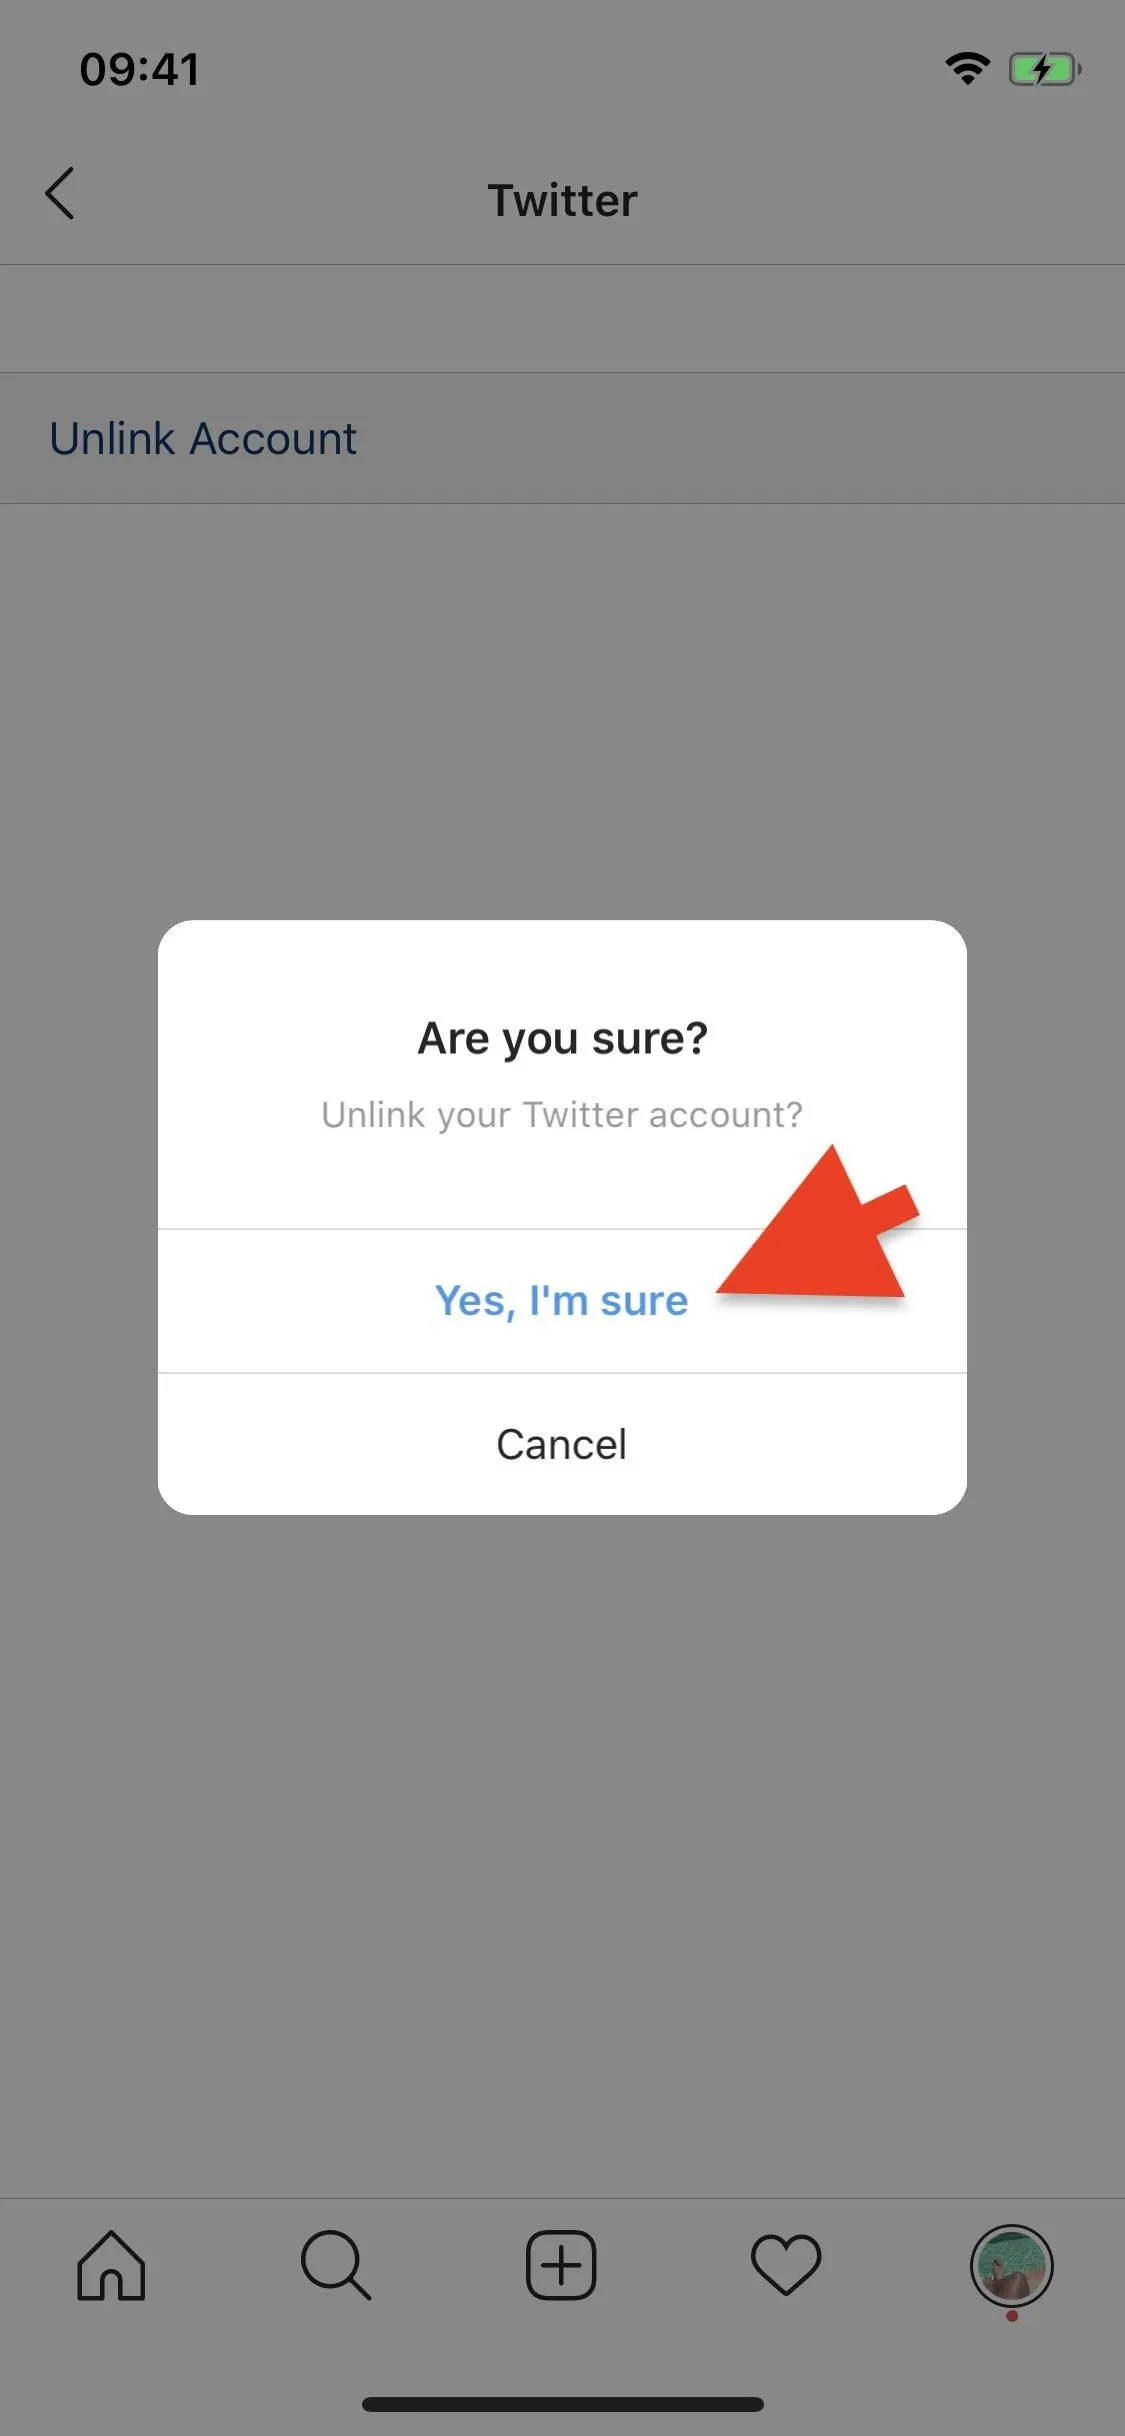
To remove an account, tap it, then choose "Unlink Account." Tap on "Yes, I'm sure" when the pop up appears, and the account will be removed from your Finsta.

Other Helpful Tips for Your Instagram Accounts
The steps above should help you have a more secretive Finsta, but there are other tips you should follow so that no one you know can find your account:
For Your Finsta
- Tell your friends not to post your username in their Stories or comments. While you can stop others from tagging you in their posts, there is no way to prevent them from tagging you in a Story or someone else's comments.
- Don't follow your main account. The easiest way to find your Finsta is by going through the list of people you follow, or that follow you. Don't follow your main account with your Finsta, and vice-versa.
For Your Main Account
- Make it private as well. If your main account isn't already private, make it private. The harder it is for people to see your main account, the harder it'll be for them to find your Finsta.
- Remove all tagged posts from your account. The easiest way to find someone's Finsta is to go through their best friend's followers. And the easiest way to find best friends is to go through their tagged posts because, usually, the closest friends tag people in photos. If you remove yourself from tagged posts, that makes it harder to track your best friends and Finsta.
- Remove tagged posts from only friends and family that follow your Finsta. If you don't want to remove all of your tagged posts, then just remove yourself from your friends' and family's posts that follow your Finsta.
- Don't mention you have a Finsta on your main account. This is obvious, but don't get cute and post that you have a Finsta on your main account. It won't be hard to track down if someone really wants to find it.
Cover photo and screenshots by Nelson Aguilar/Gadget Hacks


Comments
Be the first, drop a comment!