


Smartphones are now indispensable when traveling. Domestic and overseas travel alike require food, navigation, translation, and so much more to make work or vacation successful. Gone are the days of lugging multiple tourist books around with you everywhere you go — you need to let your smartphone handle the dirty work.
We've dived into all the apps and settings you need to download and check to make sure you travel like a pro. Need to ask for the bathrooms in French? We have you covered. Want to find the best Tex-Mex joint in Austin? Done. Need to compare whether it'd be faster and cheaper to take a plane or train to your European vacation? This might sound insane to Americans, but that's actually a good question that we can easily help you solve.
Everyone's travel plans are different, so you might find some areas of this article more helpful than others. We've broken the entire thing into specific sections for any travel needs. Feel free to simply read through the entire piece or, if you have specific questions, click on any section in the quick list below to see answers.
Jump to a section:
- Getting the Basics Set Up
- Preparing to Spend Money
- Enabling Personal Safety Features
- Getting Through Customs Without a Hitch
- Making Air Travel Less Stressful
- Getting Around a New Place
- Finding Cool Things to Do in a New Country
- Staying Connected in a Foreign Country
- Keeping Yourself Entertained During Downtime
- Logging Everything You Do
Getting the Basics Set Up
While no two trips are quite alike, there are steps every traveler can take to ensure their smartphone is primed for adventure. The last thing you need, whether one city over or an ocean away, is to have your iPhone or Android phone fail you with basic tasks.
1. Update Your System Software
Your phone should always be updated to the latest system software available. Not only are you missing out on any new features in later updates, but OEMs and carriers add security patches to updates to squash vulnerabilities found in previous software versions.
While using an outdated phone can pose its own issues at home, while traveling, it can result in an all-out nightmare. If you need to update your phone, but find yourself in a location where you can't download the latest update, you're totally out of luck. We talk about finding free Wi-Fi later in the article, but even then, your closest option might not be fast enough for downloads.
Trust us — before you step out your front door, update your phone. On iPhone, do this from Settings –> General –> Software Update. On Android, either go to Settings –> Software Update or Settings –> System –> System update. It may vary slightly across Android devices since there are so many different types.
2. Update All Apps You'll Use
In the same vein, make sure all of the apps on your device — or, at least the apps you know you'll use on your trip — are fully updated. You don't want old bugs or issues stopping you from finding the best pizzeria around. Some apps won't even let you continue using the app until you update. The best deterrent is to update, update, update.
New updates come out all the time. Best practice? Reload that updates page minutes before you leave the comfort of your home Wi-Fi. That way, you'll be as up-to-date as you can be, and won't need to worry about your ride-sharing app betraying you in a strange, new city.
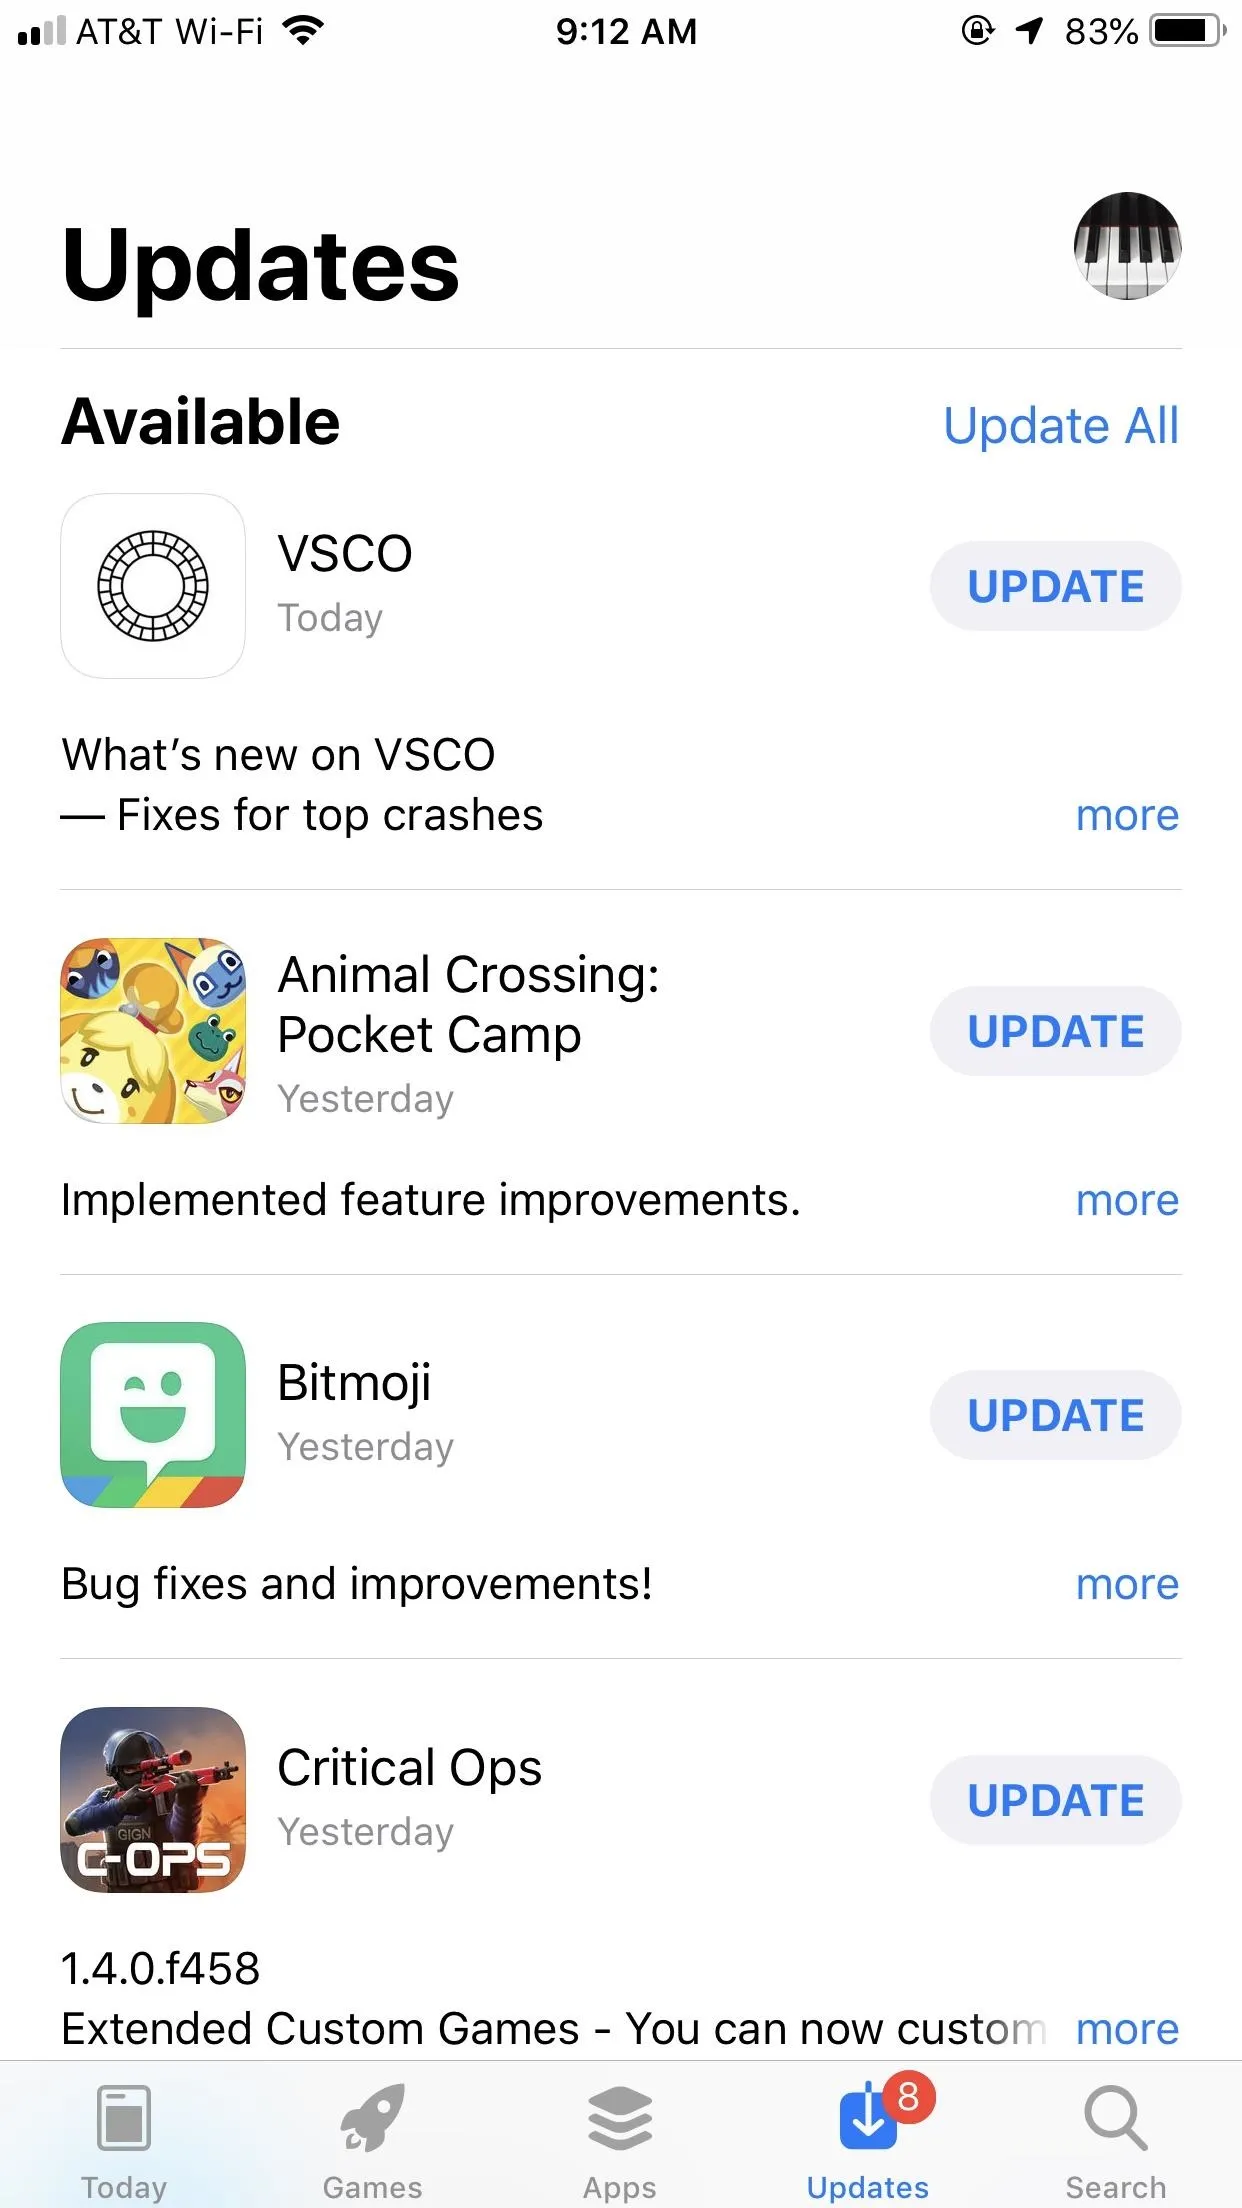
iOS (left) vs. Android (right).

iOS (left) vs. Android (right).
Sometimes, you might be in a rush to get out the door. In those cases, it's better to prepare now by making sure your apps are set to auto-update. On iPhone, go to Settings –> iTunes & App Stores –> Updates (under Automatic Downloads). On Android, open up the Play Store, tap the hamburger icon, select "Settings," and you'll find the "Auto-update apps" setting there.
3. Take Control of Your Date & Time Settings
If you're traveling across time zones, whether domestically or internationally, it can mess with your phone and its apps. Make sure before you leave your home time that your phone's "Date & Time" settings are set to "Automatic." You can also manually change the settings to your new time zone.
On iPhone, you'll find these settings in Settings –> General –> Date & Time (note: "Date & Time" is locked to "Set Automatically" if using Screen Time). On some Android devices, they'll be in Settings –> System –> Date & time. On others, in Settings –> General Management –> Date and time. Again, it may vary slightly across Android devices.
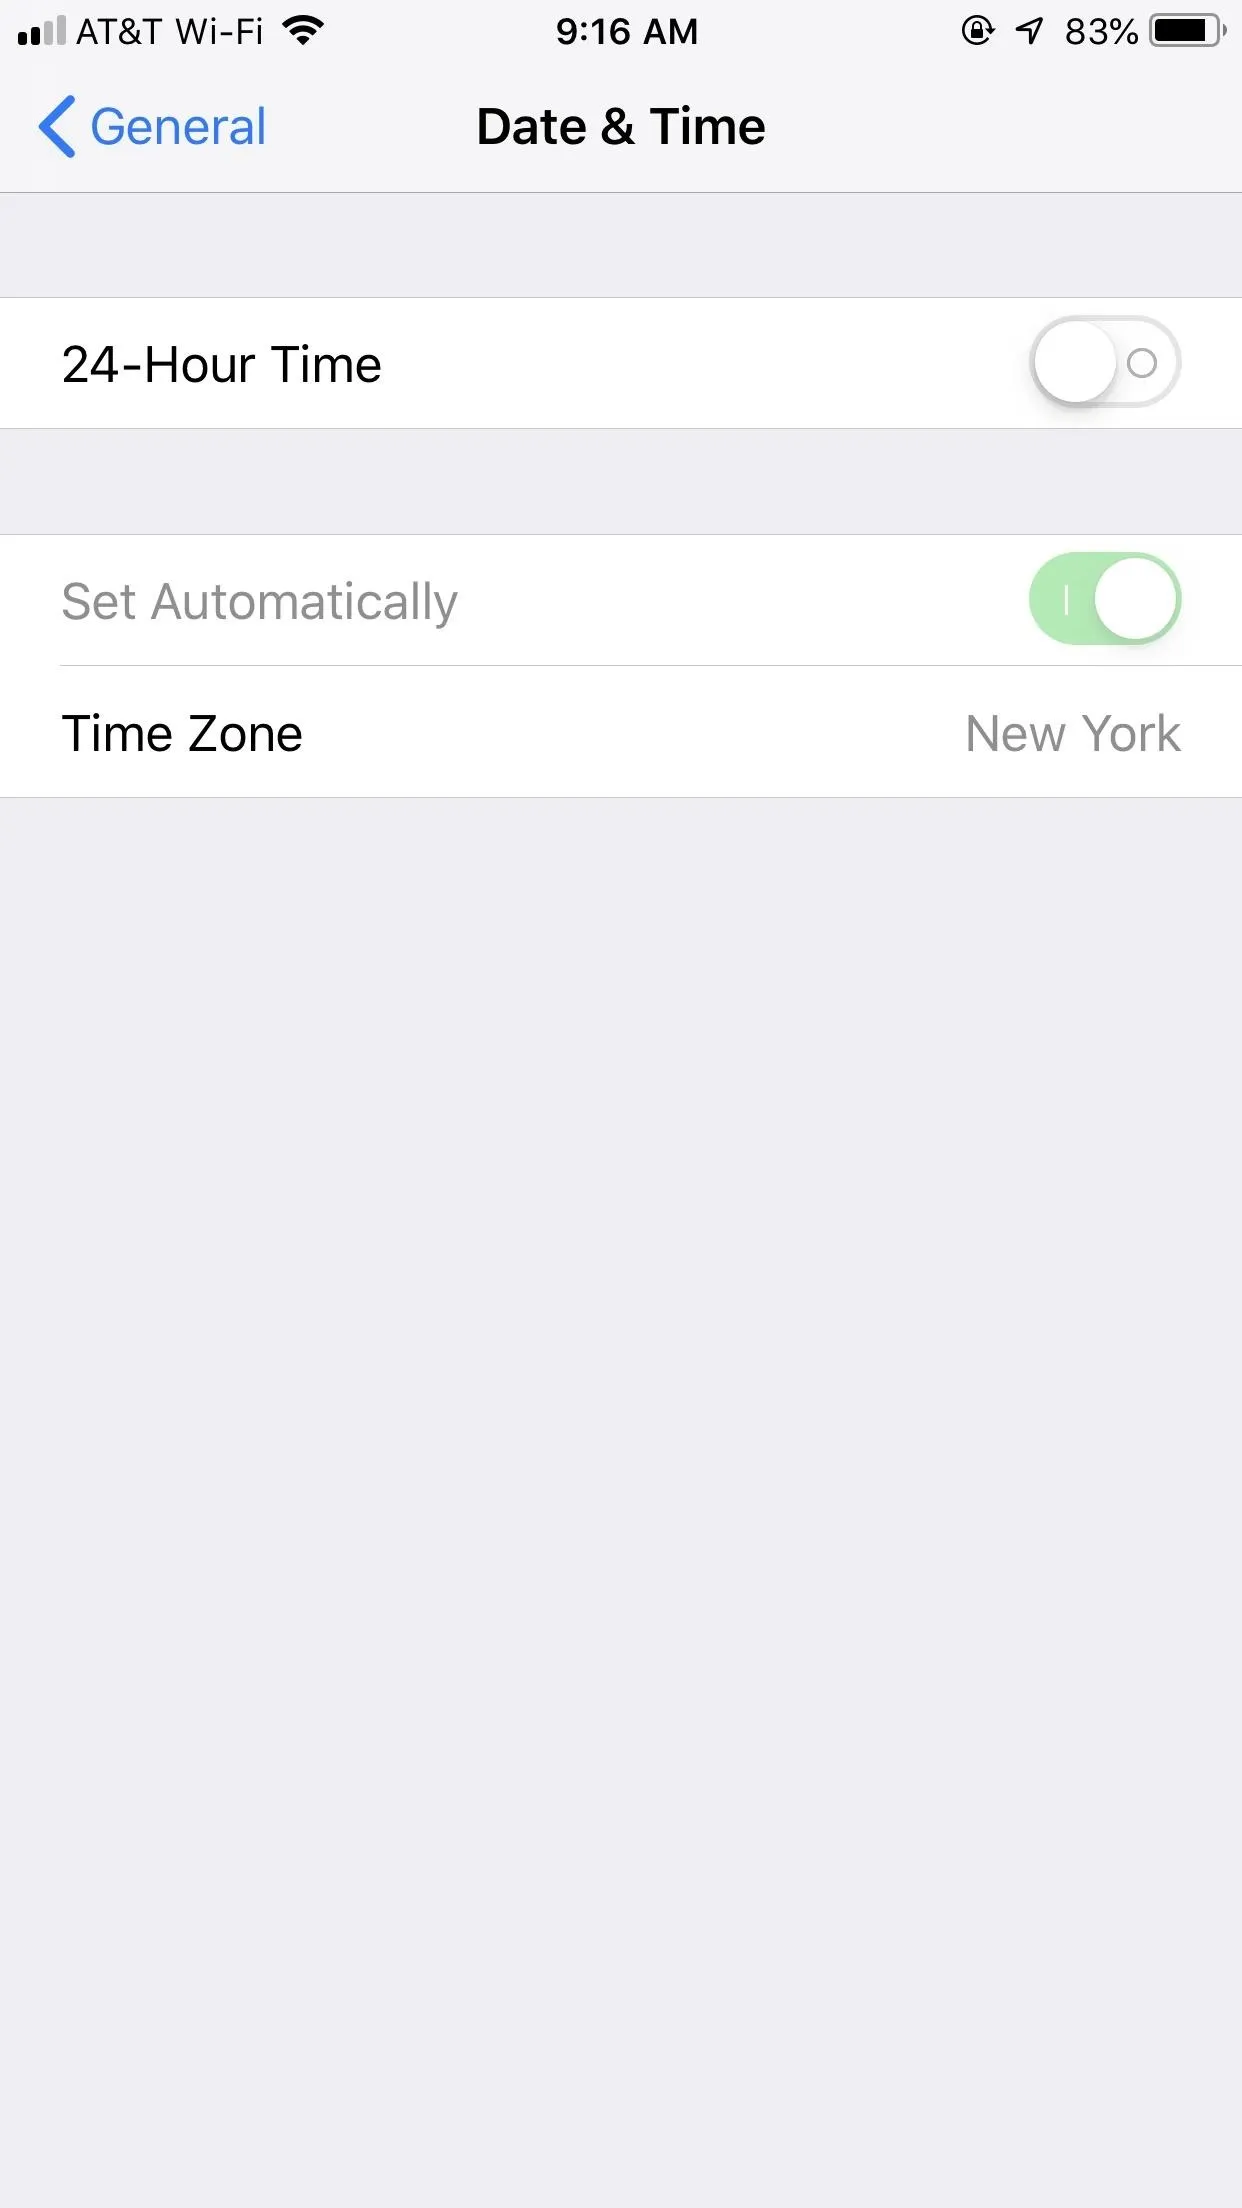
iOS (left) vs. Android (right).
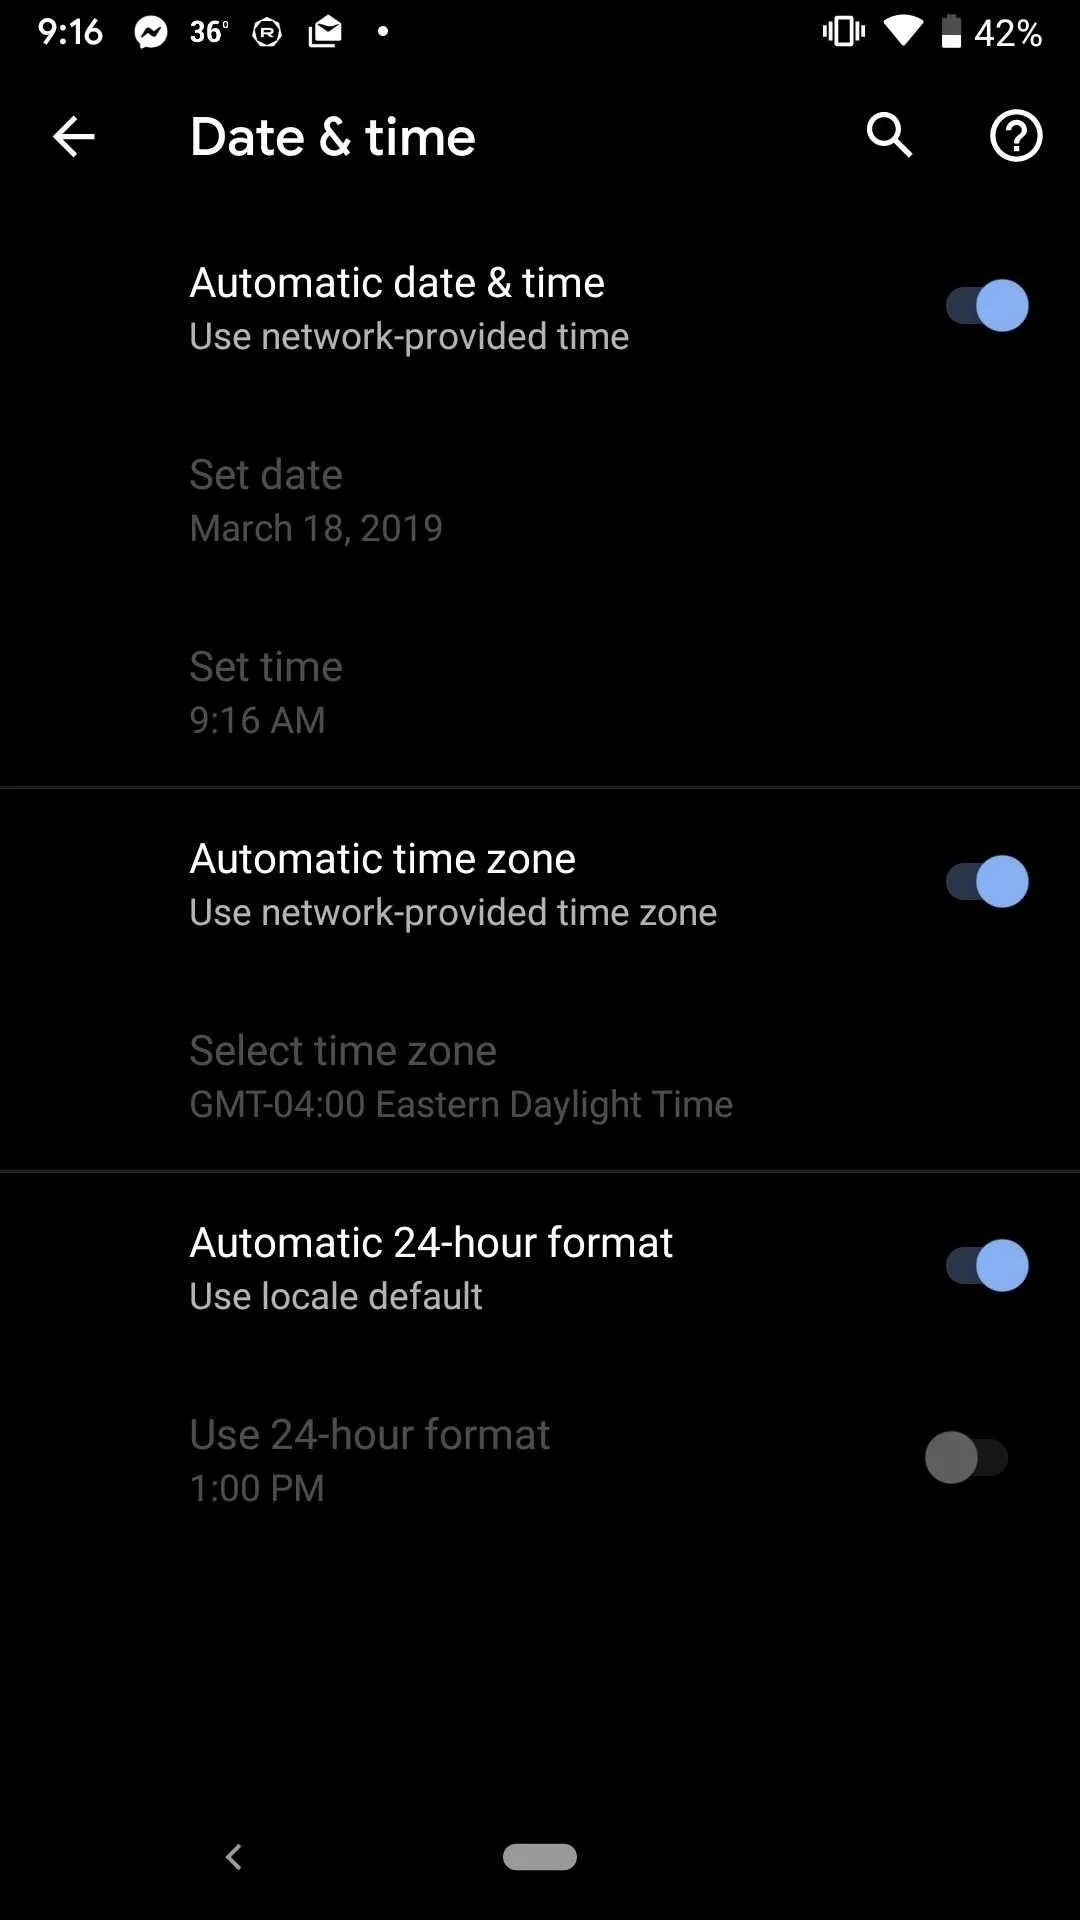
iOS (left) vs. Android (right).
Preparing to Spend Money
Money is a universal language, even if currencies differ. No matter your trip, you're going to be spending your cash — cabs, food, accommodations, maybe a little shopping — they all require a method of payment. Setting up your phone to handle these payments, no matter where in the world you may be, can make paying for your trip much easier.
1. Set Up Mobile Wallet
Digital wallets increase security when making payments. You aren't sharing your card or bank info with the vendor, so you don't need to worry about card or identify theft. Scammers hate this one neat trick. Even if you lose your phone, no one will be able to use your digital money without your fingerprint or face.
Apple Pay
Apple Pay is the only way to go on iPhone. The service is remarkably secure, to the point that cash almost feels more dangerous (DNA, man). In the future, you'll even be able to sign up for an Apple Card, a credit card via Apple, but that's not until Summer 2019.
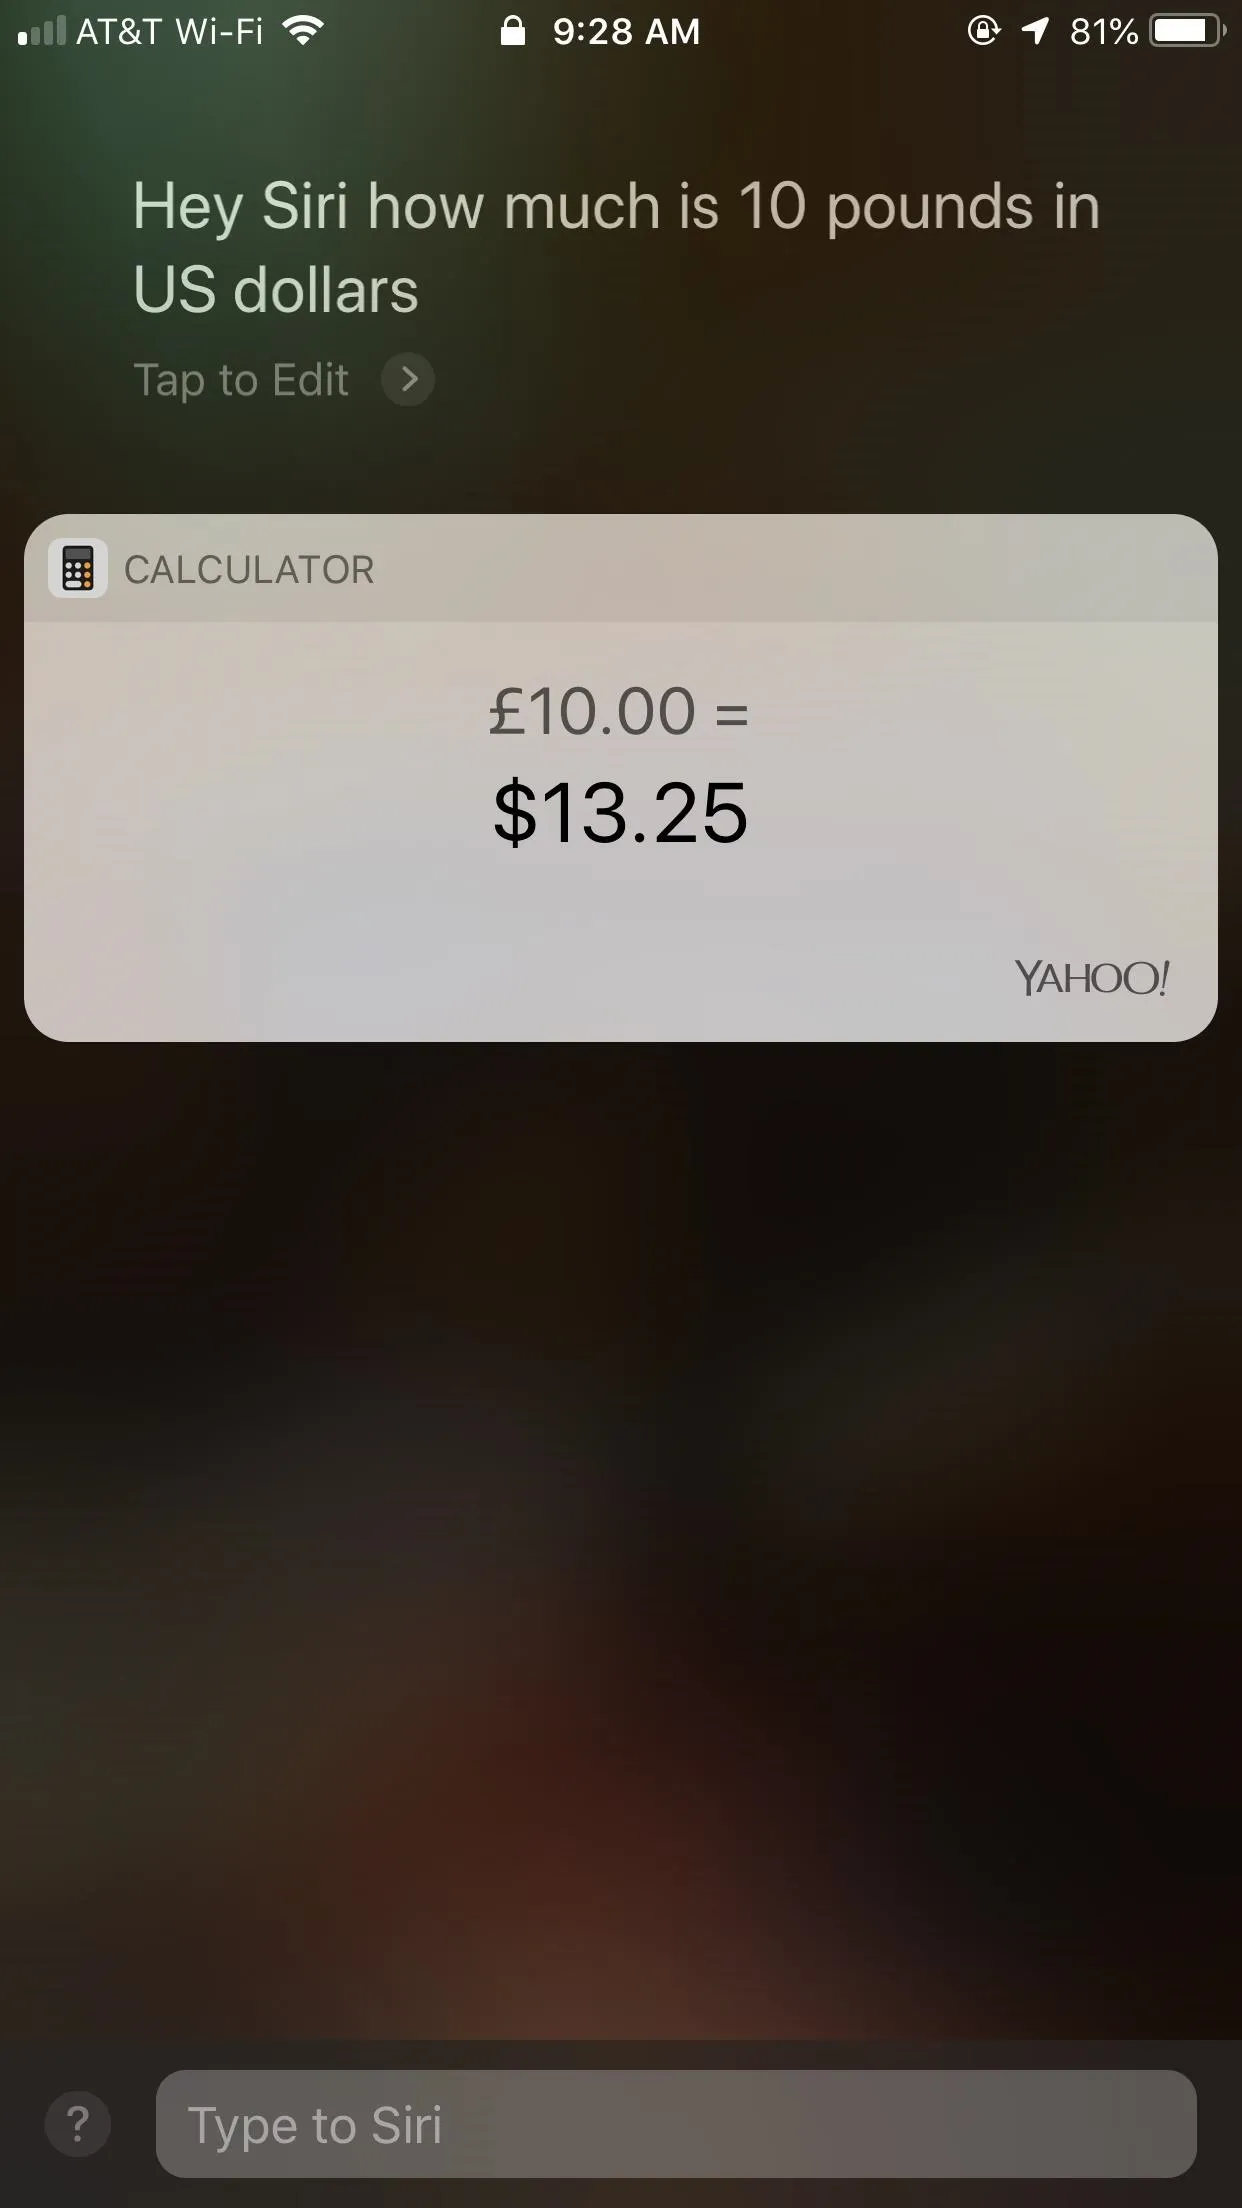
If you have an iPhone, make sure to set up Apple Pay before heading out on your trip. More and more stores and countries are accepting this form of mobile payment, so do yourself a favor and protect your payments. Plus, unlike some chip readers, its lightning fast. To set up Apple Pay, go to Settings –> Wallet & Apple Pay. You can add debit and credit cards here, as well as set up Apple Pay Cash.
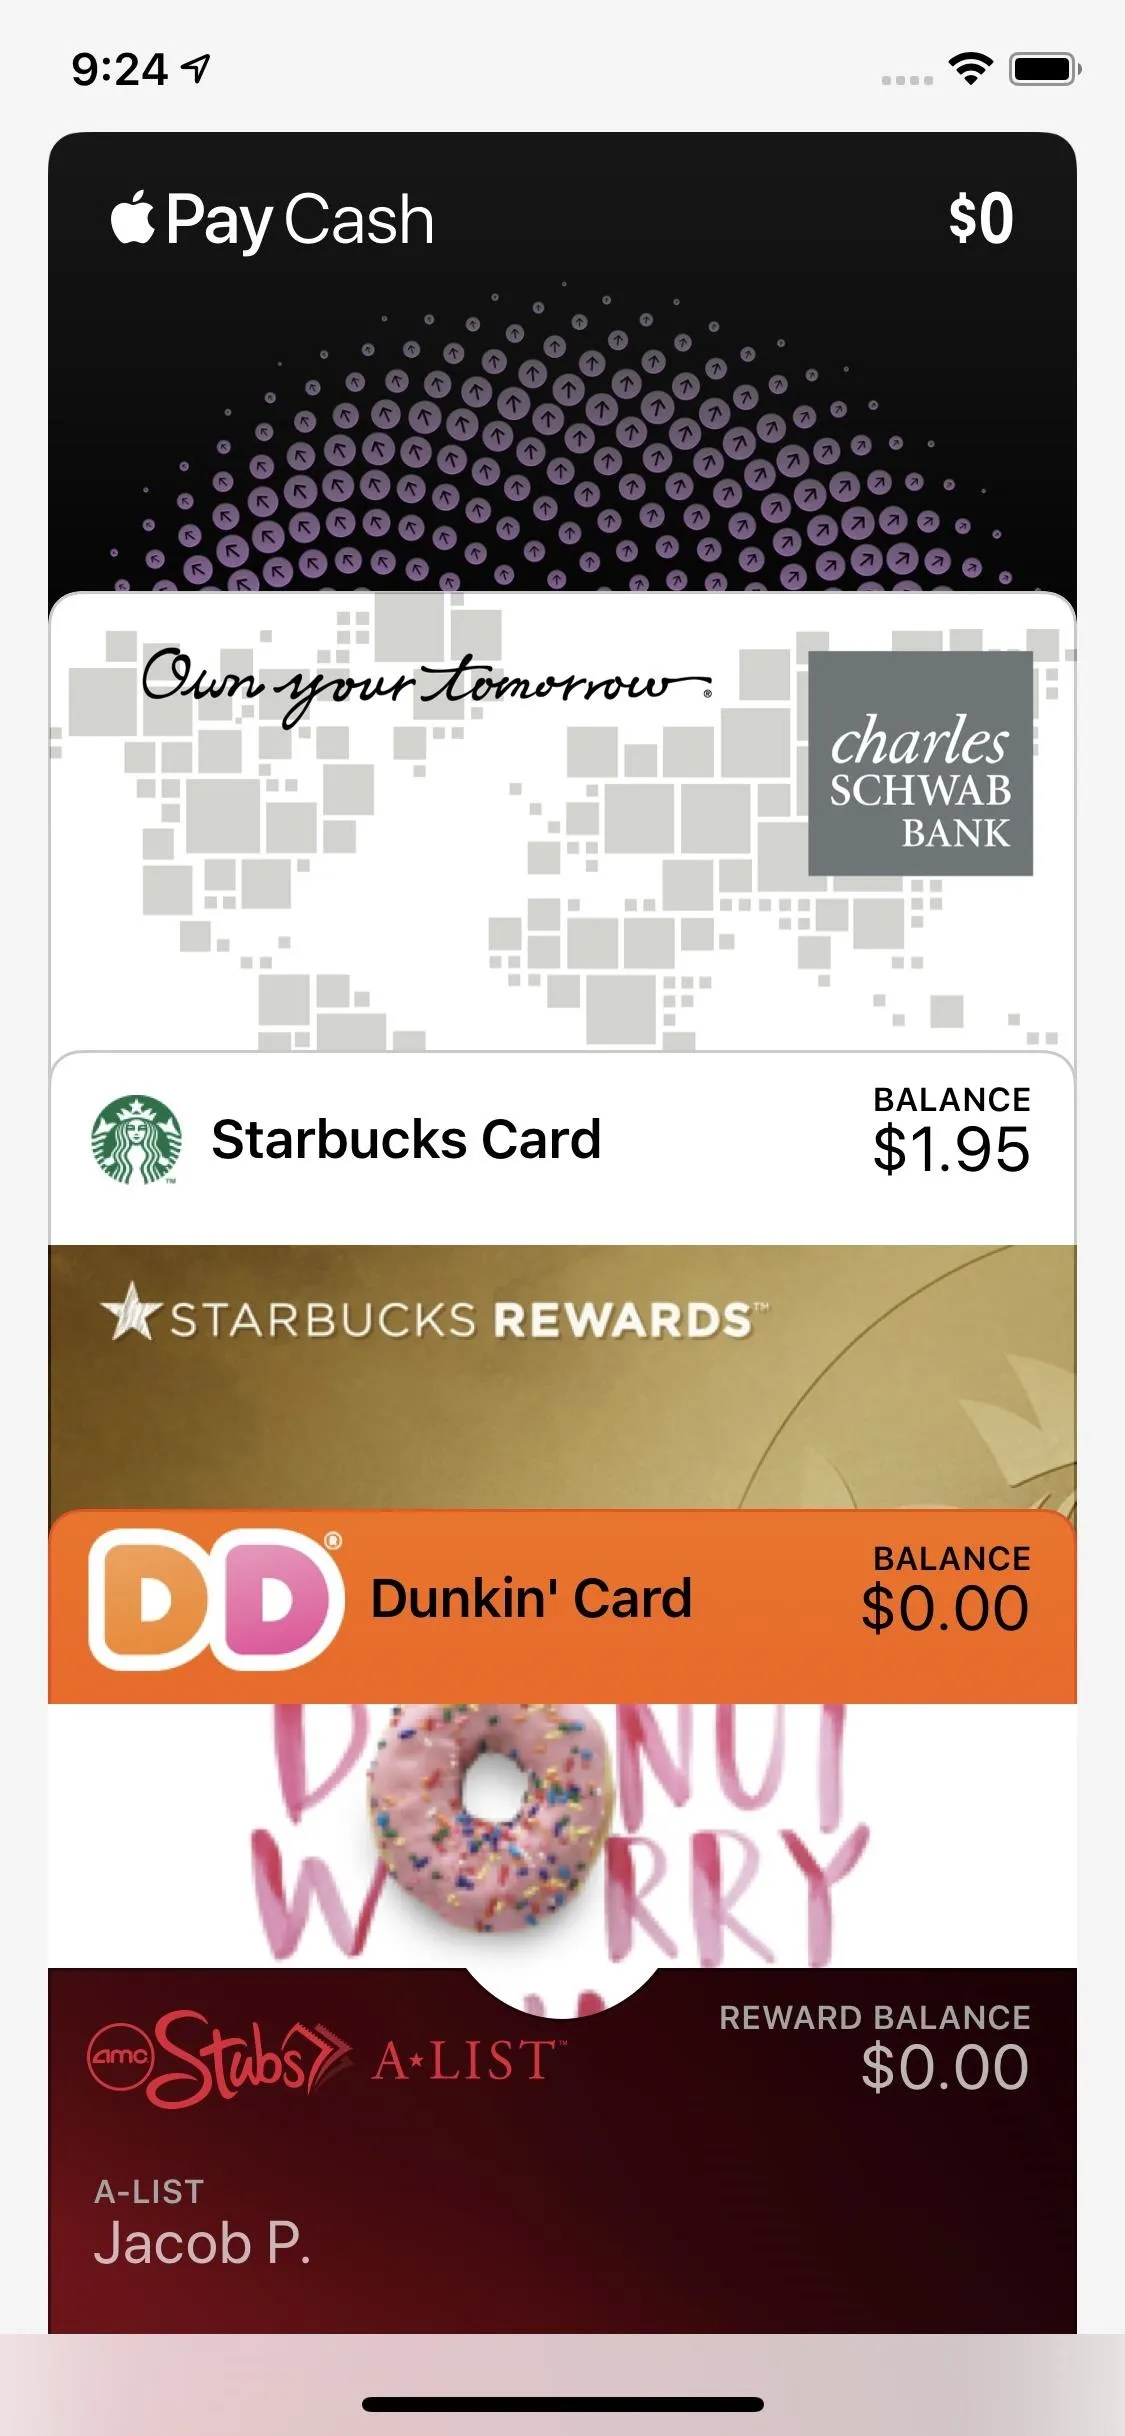
Using Apple Pay on an iPhone.
Using Apple Pay on an iPhone.
Google Pay & Samsung Pay
On the flipside of the smartphone spectrum, we have Google Pay (previously called Android Pay). To set it up, just open up the Google Pay app on your device (install it first if you don't have it).
Unlike iPhones, you might have some flexibility in digital payments on Android. For example, if you have a Samsung Galaxy device, there's the "Samsung Pay" app. It's actually better than Google Pay since it can be used anywhere, not just at tap-and-pay terminals, since it has both NFC and MST instead of just NFC.
Using Google Pay on an Android phone.

Using Google Pay on an Android phone.
2. Know the Limitations
Mobile payments are a no-brainer. At least, if you're traveling in your home country. Going abroad complicates the situation. While mobile payments can make it easy to avoid exchanging your country's currency for another, you might find that your bank or credit card issuer will charge you fees for using cards in other countries.
While you always should contact your financial institutions before traveling out of the country, you should also check in about any unknown fees that come with using your card with vendors abroad. If you have the opportunity, it's best to sign up for a card with no international transaction fees. However, that will be impractical for many people. Just make sure you catch up on your card's rules and regulations, so any fees you do incur aren't unexpected.
3. Convert Currency in Seconds
If you're traveling internationally, you don't want to make blind purchases. Currencies vary between all countries, so you can never be sure just by looking at how much something really costs based on your country's currency.
You don't need to make too big a deal about it, though. Just use your phone to convert the price of the item you'd like to purchase to your home dollar. There are a couple of ways to accomplish that:
Your Phone's Digital Assistant
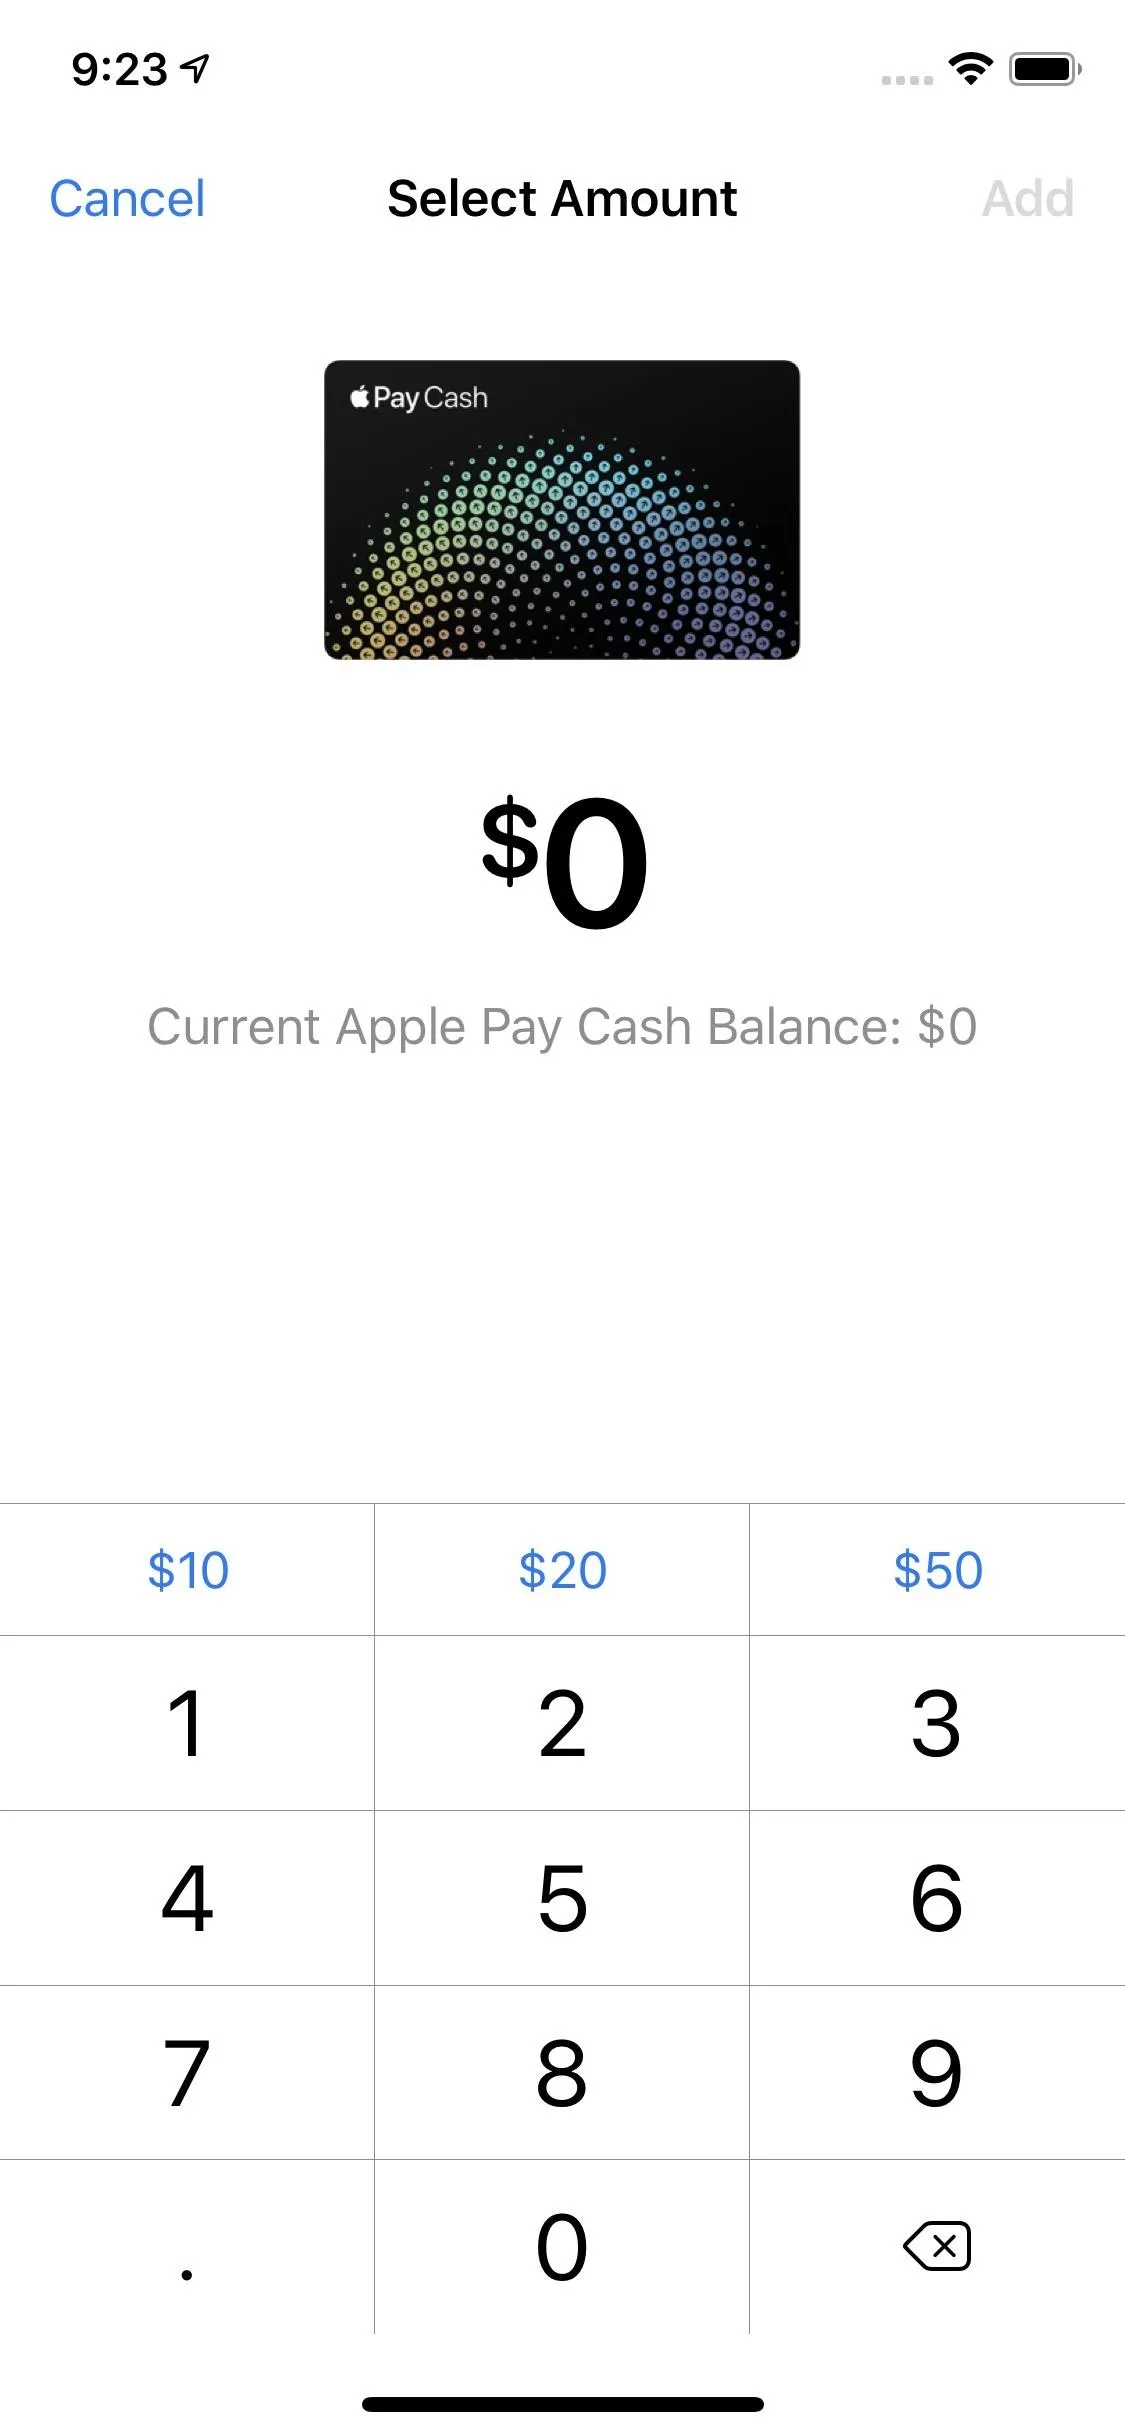
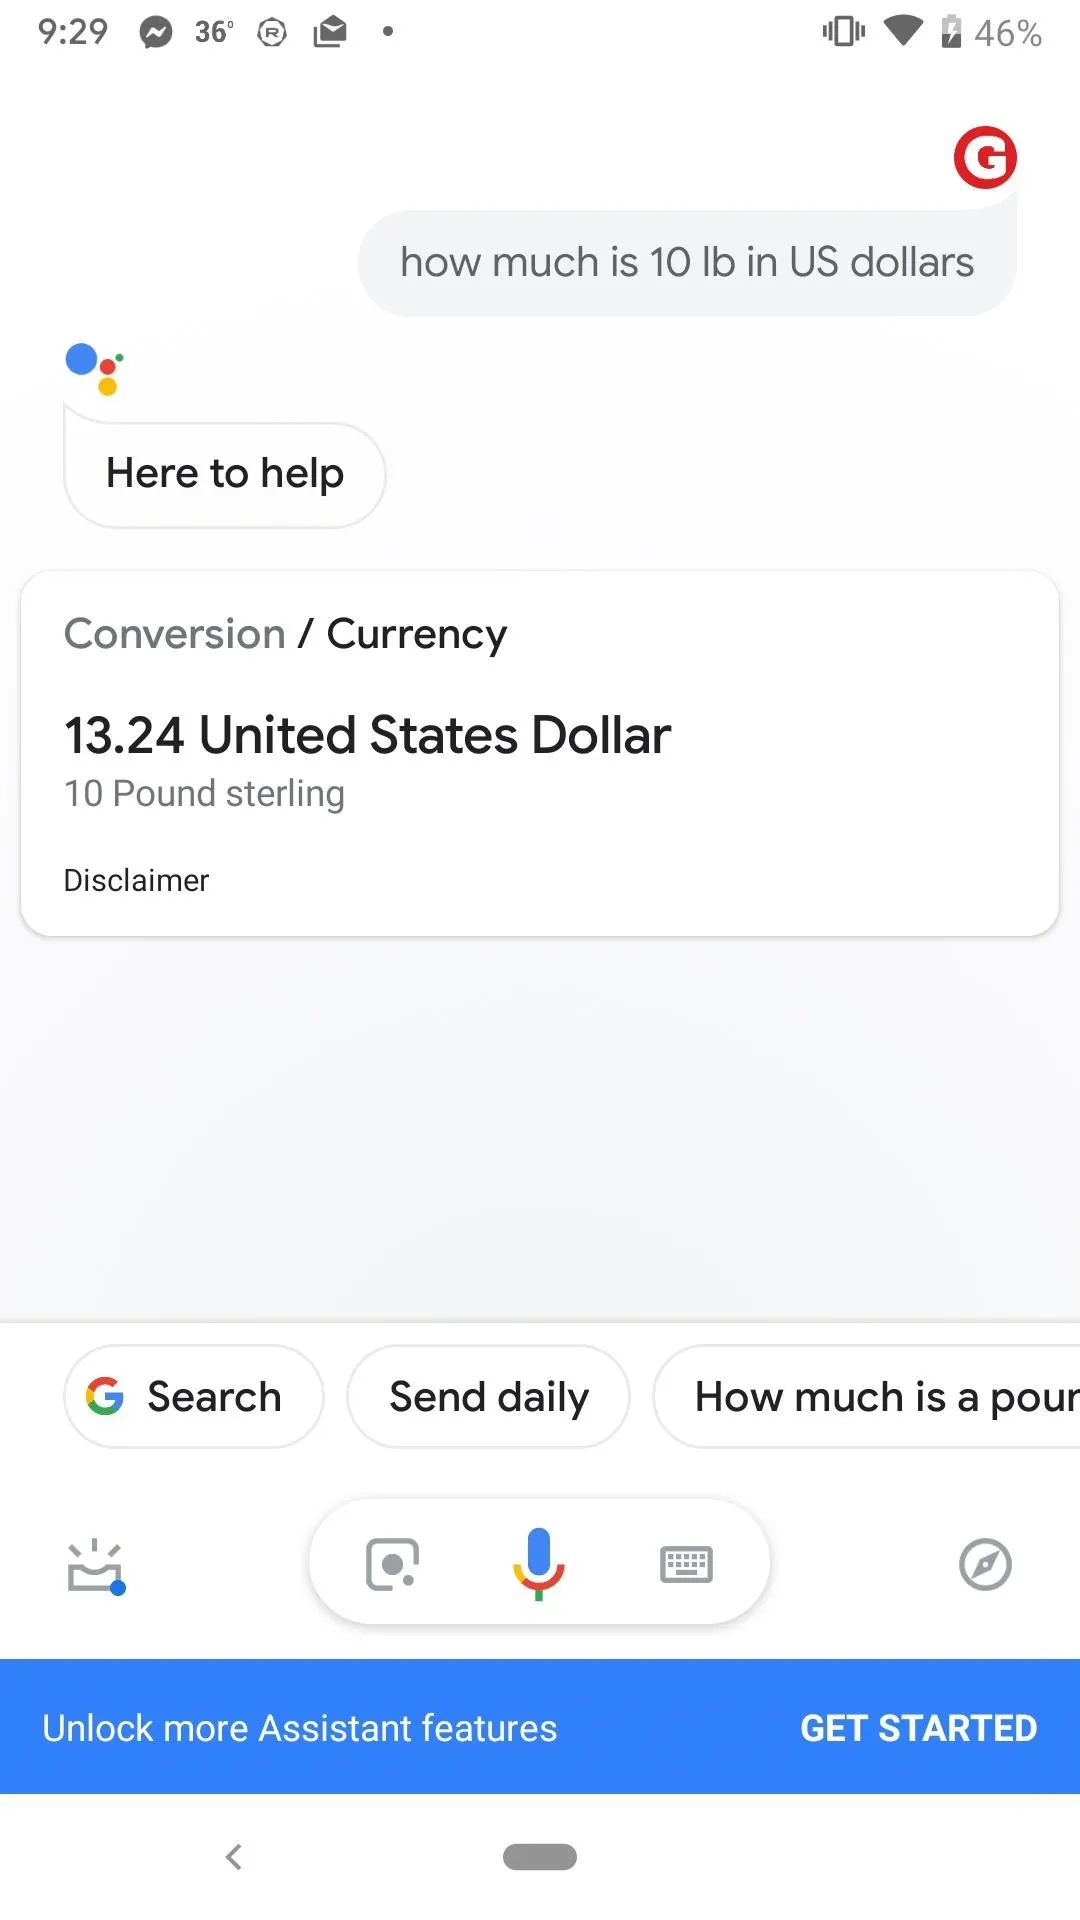
Whether you have an iPhone or an Android device, you have a personal converter on hand at all times. Both Siri and Google Assistant can convert currencies for you on the fly, so just ask if you need to know. If you use a different voice assistant on your phone, it's likely to be able to convert currency as well. (PS: While Siri is only available on iOS, Google Assistant is available on both operating systems).
Siri on iOS (left) vs. Google Assistant on Android (right).
Siri on iOS (left) vs. Google Assistant on Android (right).
Currency Converter Apps
If you're looking for something a bit more feature-filled, try a proper currency converter app. Not only can you convert individual transactions, but you can get a quick glance at multiple countries and how their currency stacks up to yours.
There are plenty of options on both the iOS App Store and Google Play Store to choose from, but we've included three of the highest rated options below to get you started.
- Install XE Currency: Android (free) | iOS (free)
- Play Store Link: Currency Converter Plus Free (free)
- App Store Link: My Currency Converter & Rates (free)
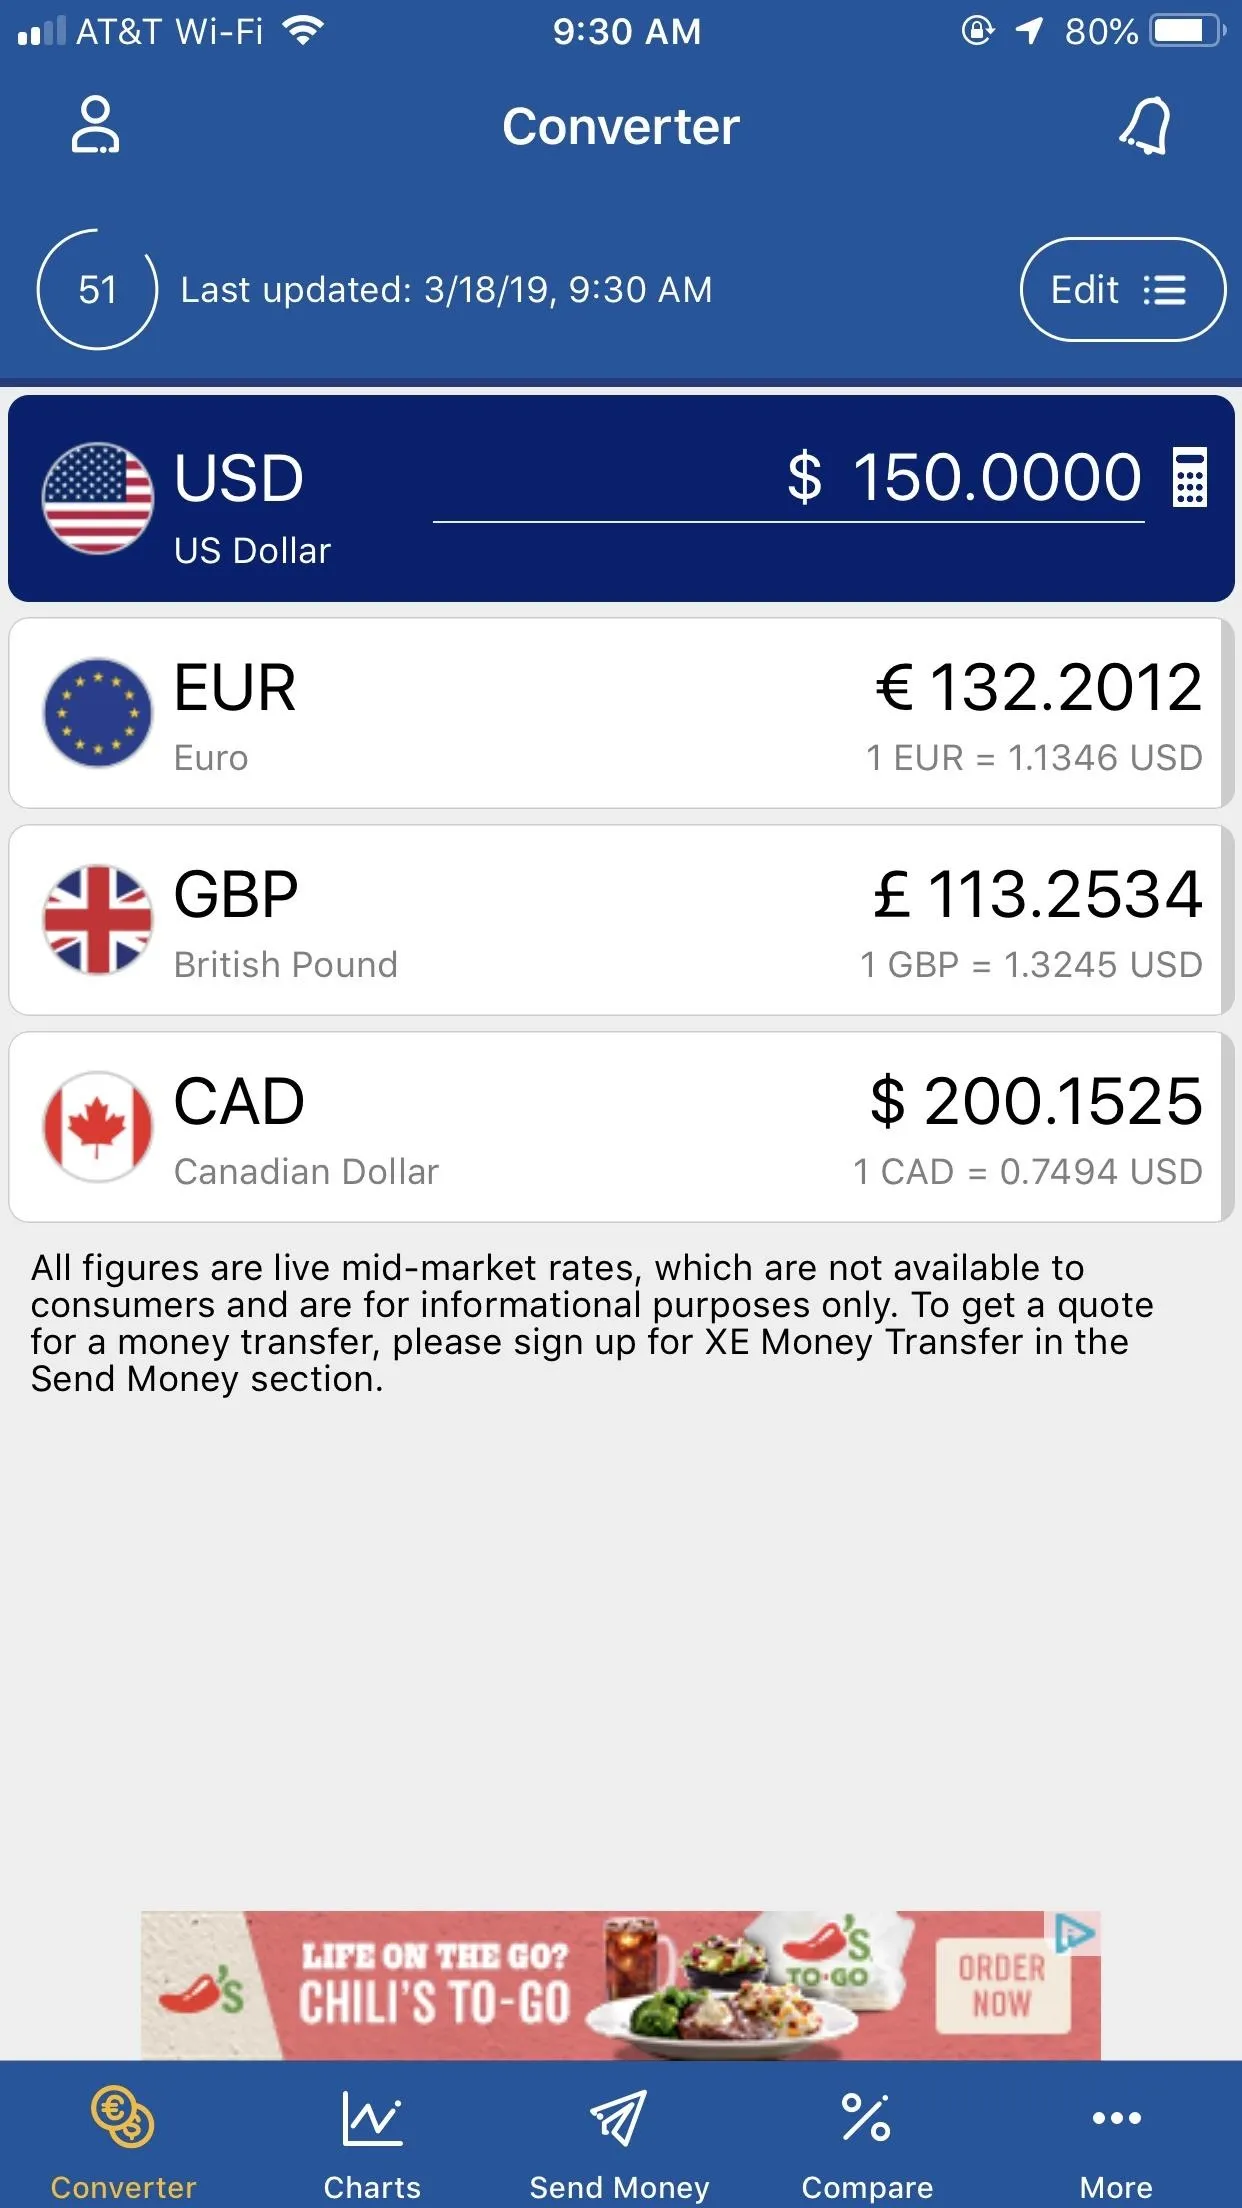
XE Currency on iOS (left) vs. Android (right).
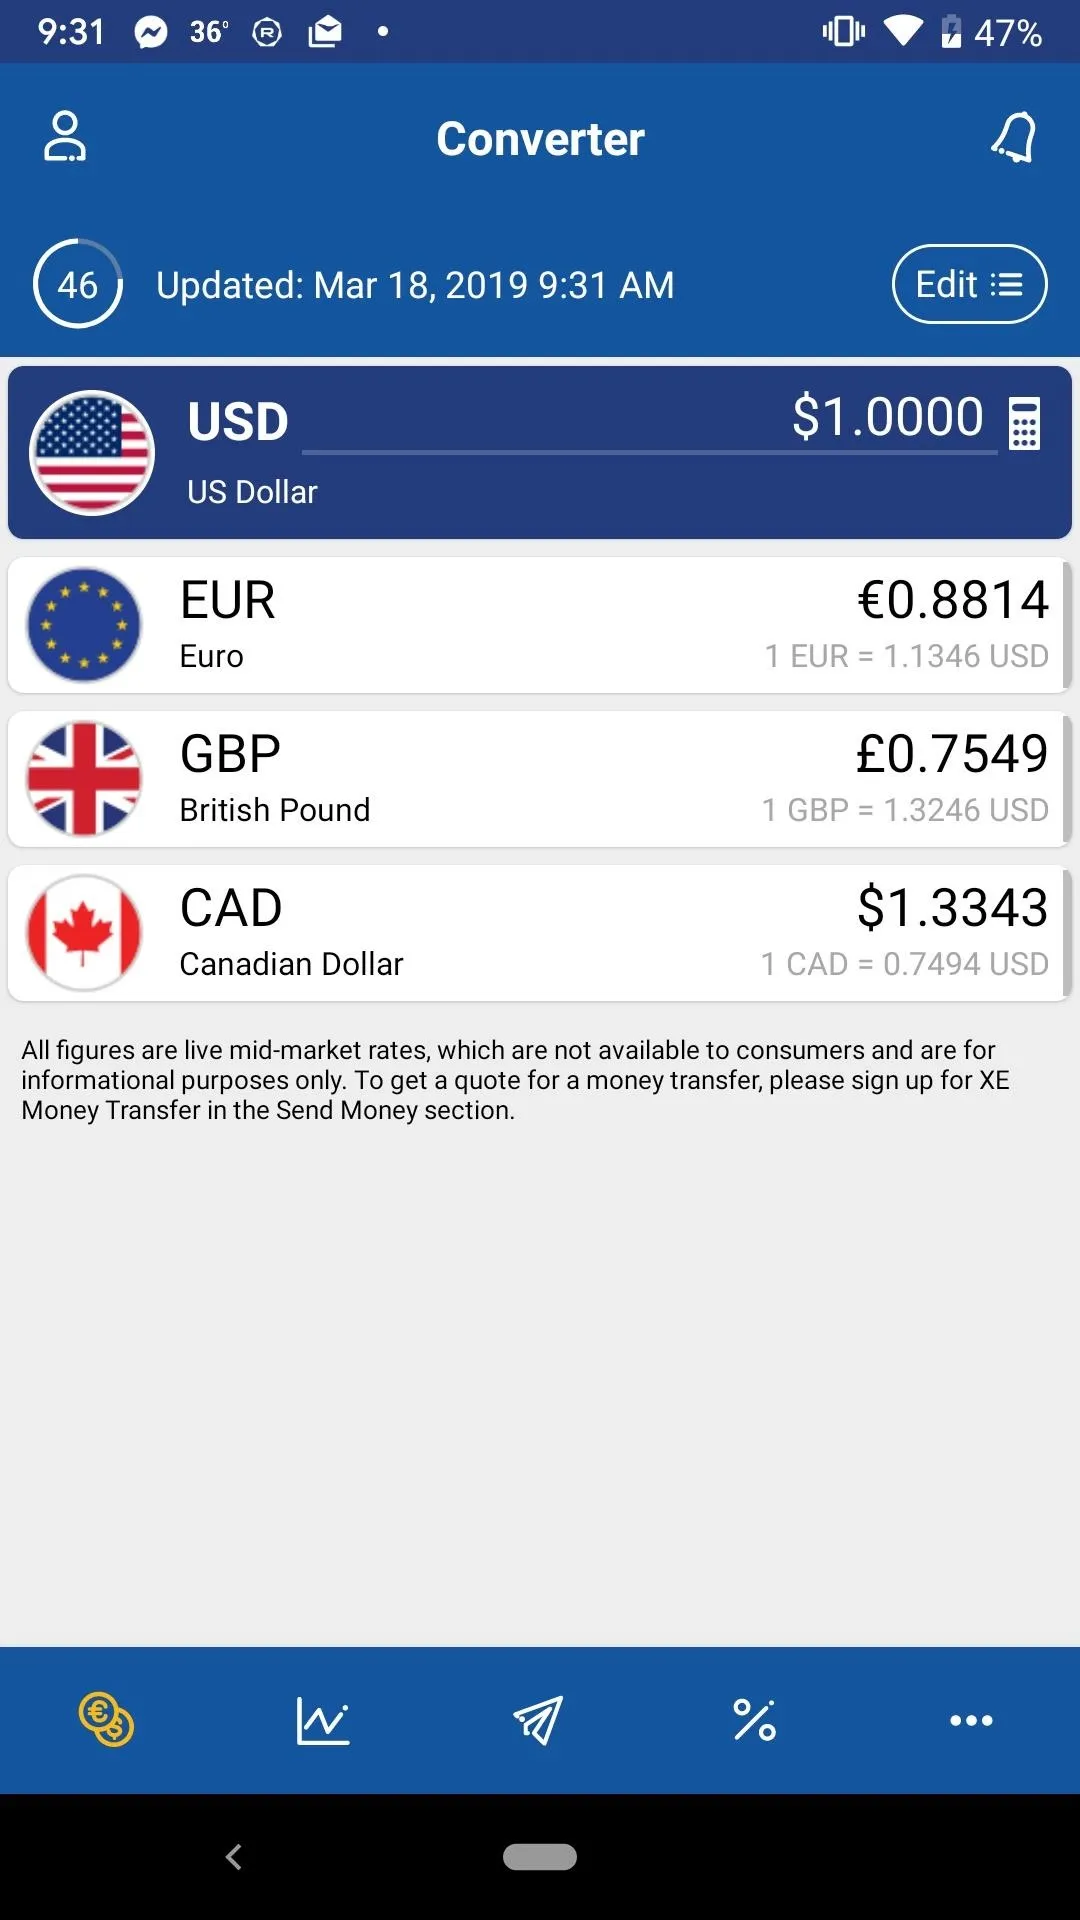
XE Currency on iOS (left) vs. Android (right).
Enabling Personal Safety Features
Traveling can be a lot of fun, but, like most things in life, it comes with some risks. Before you go, you'll want to protect both yourself and your phone with the following tips.
1. Quickly Disable Biometric Login
Our friends at both Apple and Google know that the data on your phone is valuable and shouldn't be easily accessible to anyone other than yourself. That's why both iPhone and Android comes with ways to immediately lock up your device, to stop others from using you and your biometrics to break into your own device.
iPhone (Face ID or Touch ID)
On iOS, Face ID and Touch ID are secure, convenient options for unlocking your iPhone. However, because it just takes your face or fingerprint to crack the code, bad actors can force you to open your device against your will.
Luckily, Apple makes it very easy to quickly disable both Face ID and Touch ID. If you ever feel threatened, or are worried your phone's biometric authentication will be used against you, make sure to use these tips.
- Full Guide: How to Quickly Disable Face ID on iPhone
- Full Guide: How to Quickly Disable Touch ID on iPhone
Android (Lockdown Mode in Android 9.0 Pie & Up)
Lockdown mode is a relatively new feature of the Android world. Introduced in last year's 9.0 Pie update, Lockdown mode disables both your fingerprint reader as well as extended options in the power menu. This locks up vulnerable entry points to your device, making it more difficult for intruders to exploit you or your phone to access your data. As an added bonus, it also hides all notifications on the lock screen until unlocked.
2. Quickly Call Emergency Services & Send Contacts Your Location
Just as you can quickly activate security settings to protect your phone's data, your phone has ways to quickly alert law enforcement in case there's an emergency. If you have an iPhone, you already have this feature built-in, and all it takes to activate it is a certain combo of physical button presses. Bonus: If you have emergency contacts set up, after the emergency call, they'll be texted your location.
- Full Guide: How to Use Emergency SOS on Your iPhone
If you have an Android device, your options here are unfortunately pretty slim. While you can search for "Emergency SOS" apps on the Play Store, most of the options are outdated or lowly rated, anchors you don't want to see on an Emergency SOS app. Your best bet is to simply dial emergency services via the "Emergency" option on the lock screen's PIN unlock screen.
However, when it comes to sending your location to your emergency contacts, it doesn't happen automatically as it can in iOS. Samsung has an SOS feature for Galaxy phones where you can click the power button three times to send location data to those you trust with your life. For other Android phones, an app like Call For Help does something similar.
- Full Guide: How to Use Emergency SOS on Your Samsung Galaxy
- Play Store Link: Call For Help (free)
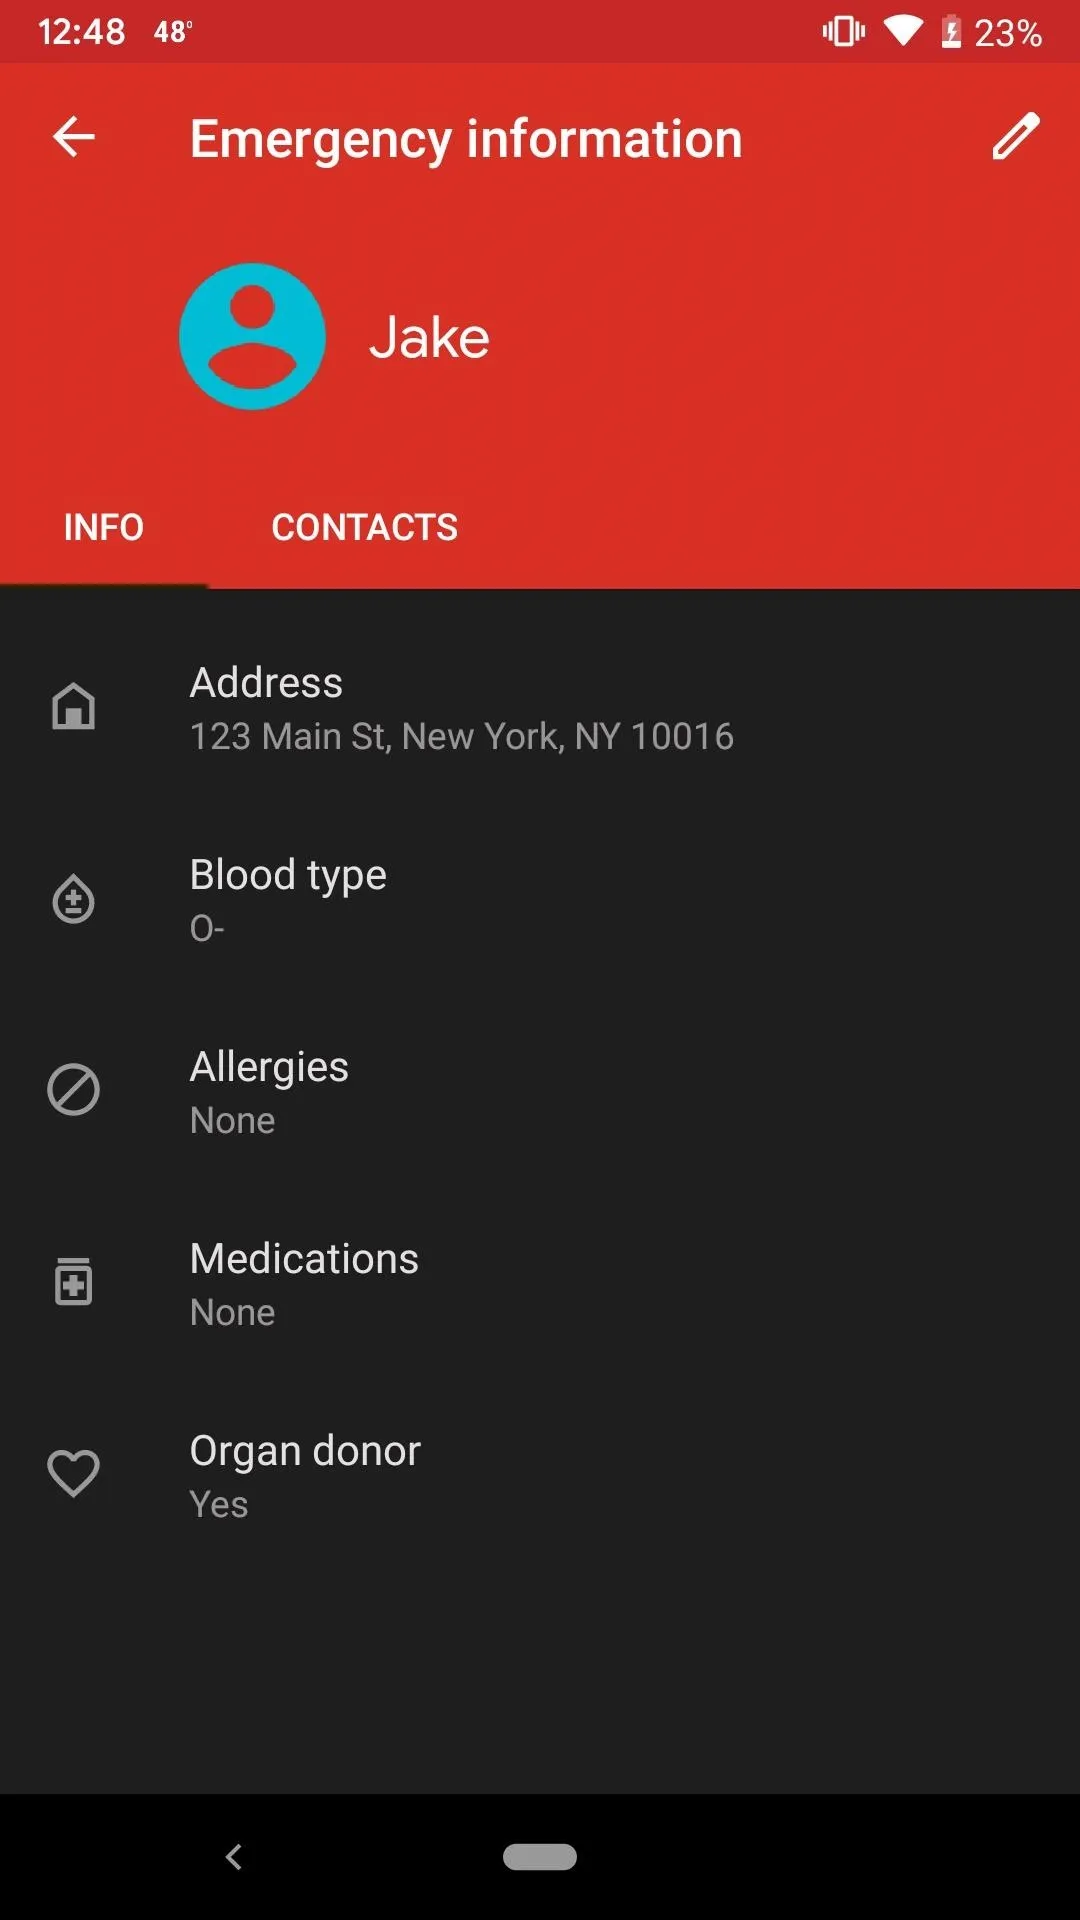
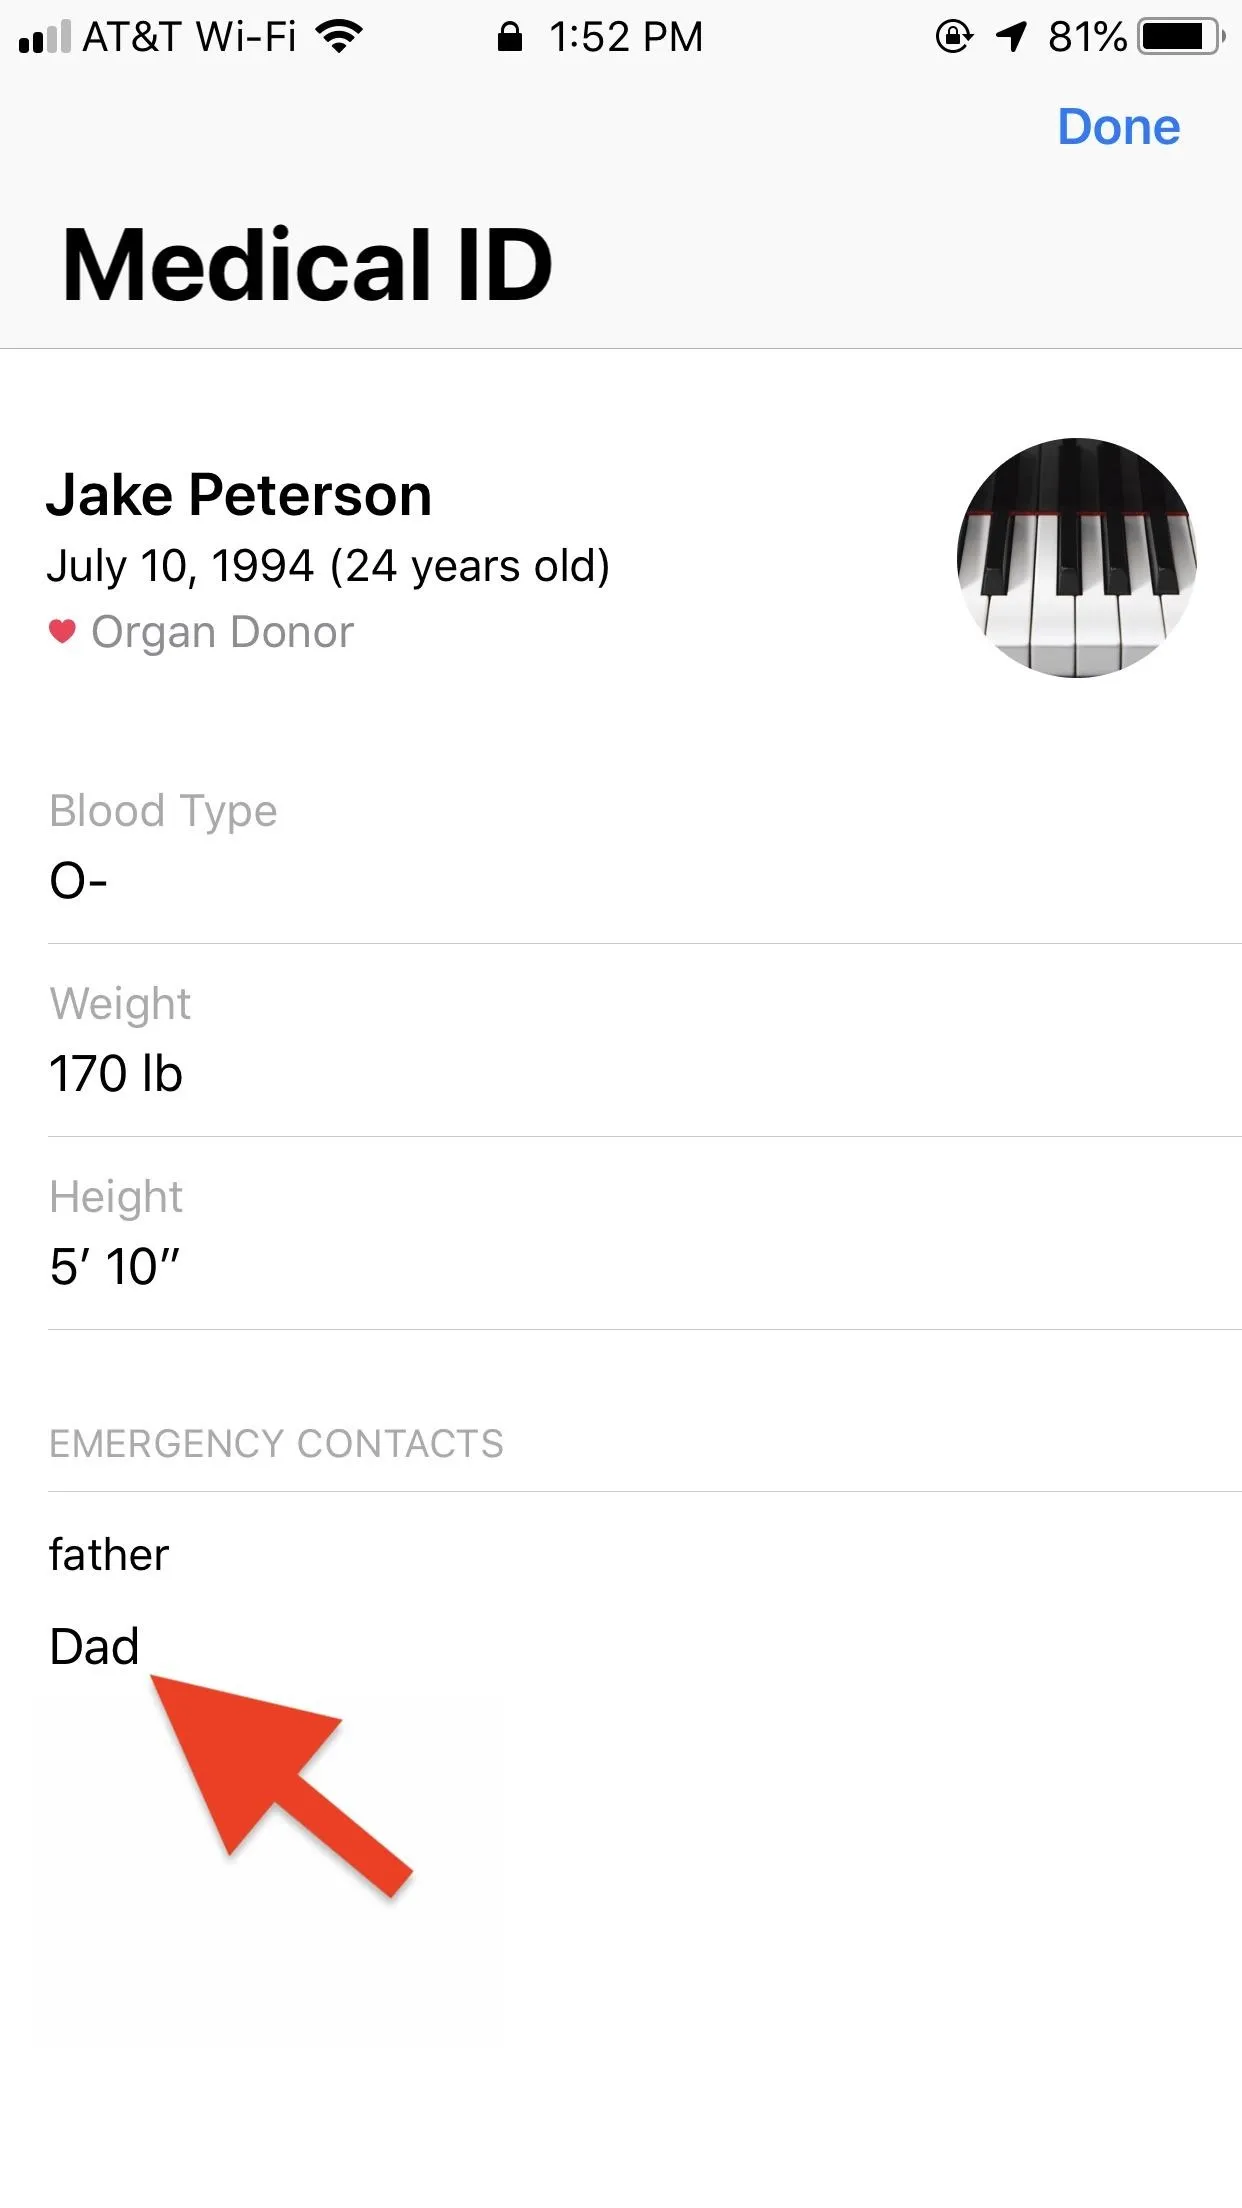
3. Set Up an Emergency Medical Card
It's tough to think about, but there may come a time where you aren't capable of speaking for yourself. In that case, it may be essential for first responders or doctors to know some important personal medical information.
That's where medical cards come in. You can set these digital cards up on your phone, easily accessible from the lock screen. That way, even if your phone is hopelessly locked, your information is open to the people who need it most.
Apple has this feature built into iOS, as does Android. On Android, search "Emergency" in the Settings, then tap "Emergency Information." Here, tap "Add Information" to enter your medical info to your Android device's Medical ID. You can find your Medical ID on the lock screen by swiping up to reveal the number pad, tapping "Emergency," then "Emergency Information" twice.
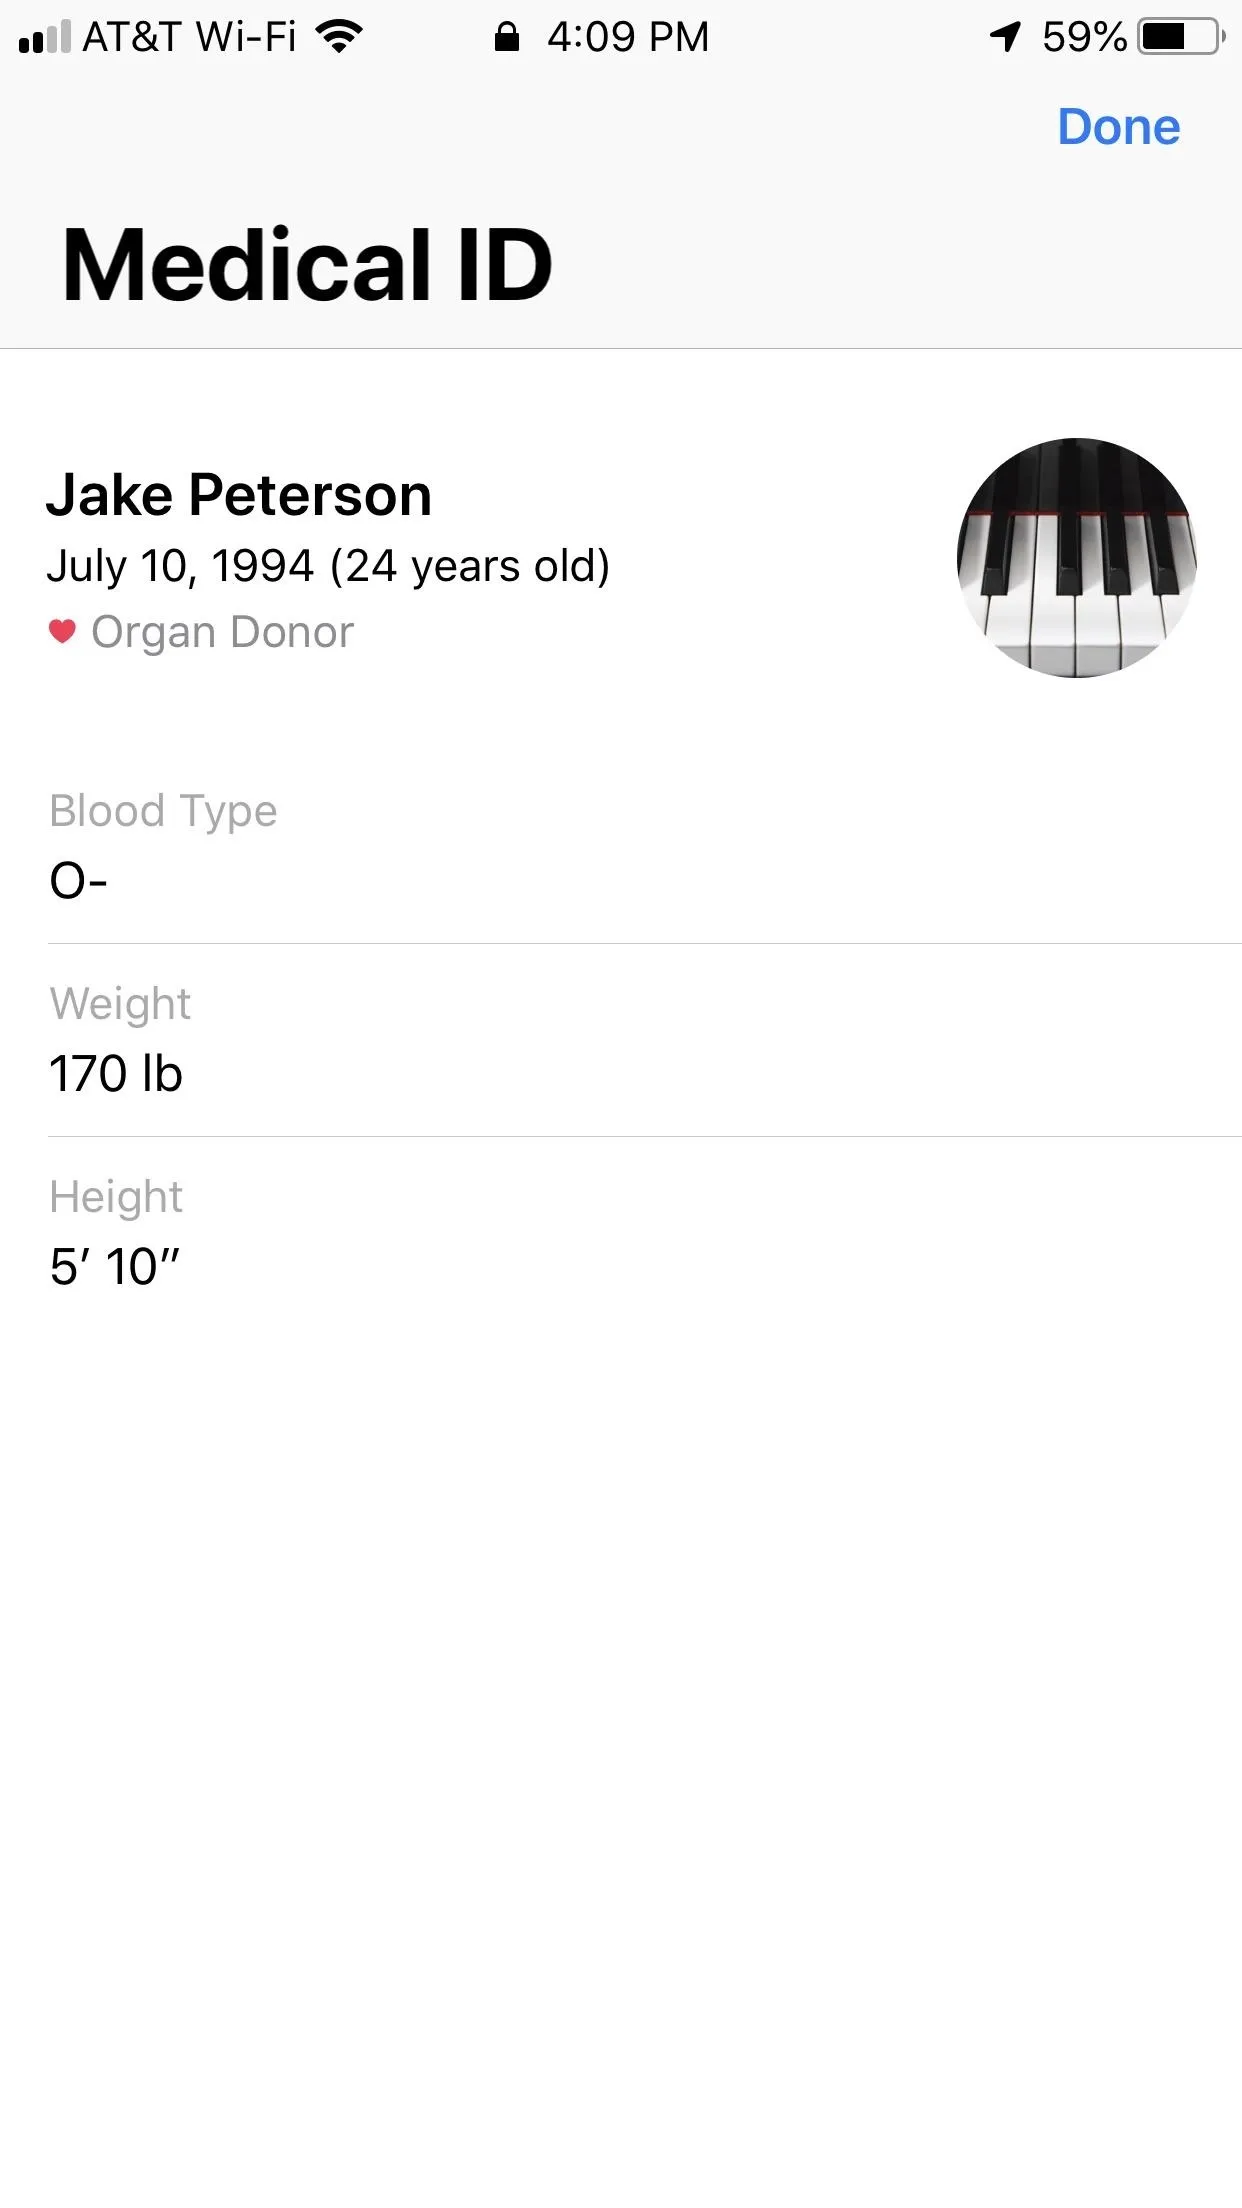
iOS (left) vs. Android (right).
iOS (left) vs. Android (right).
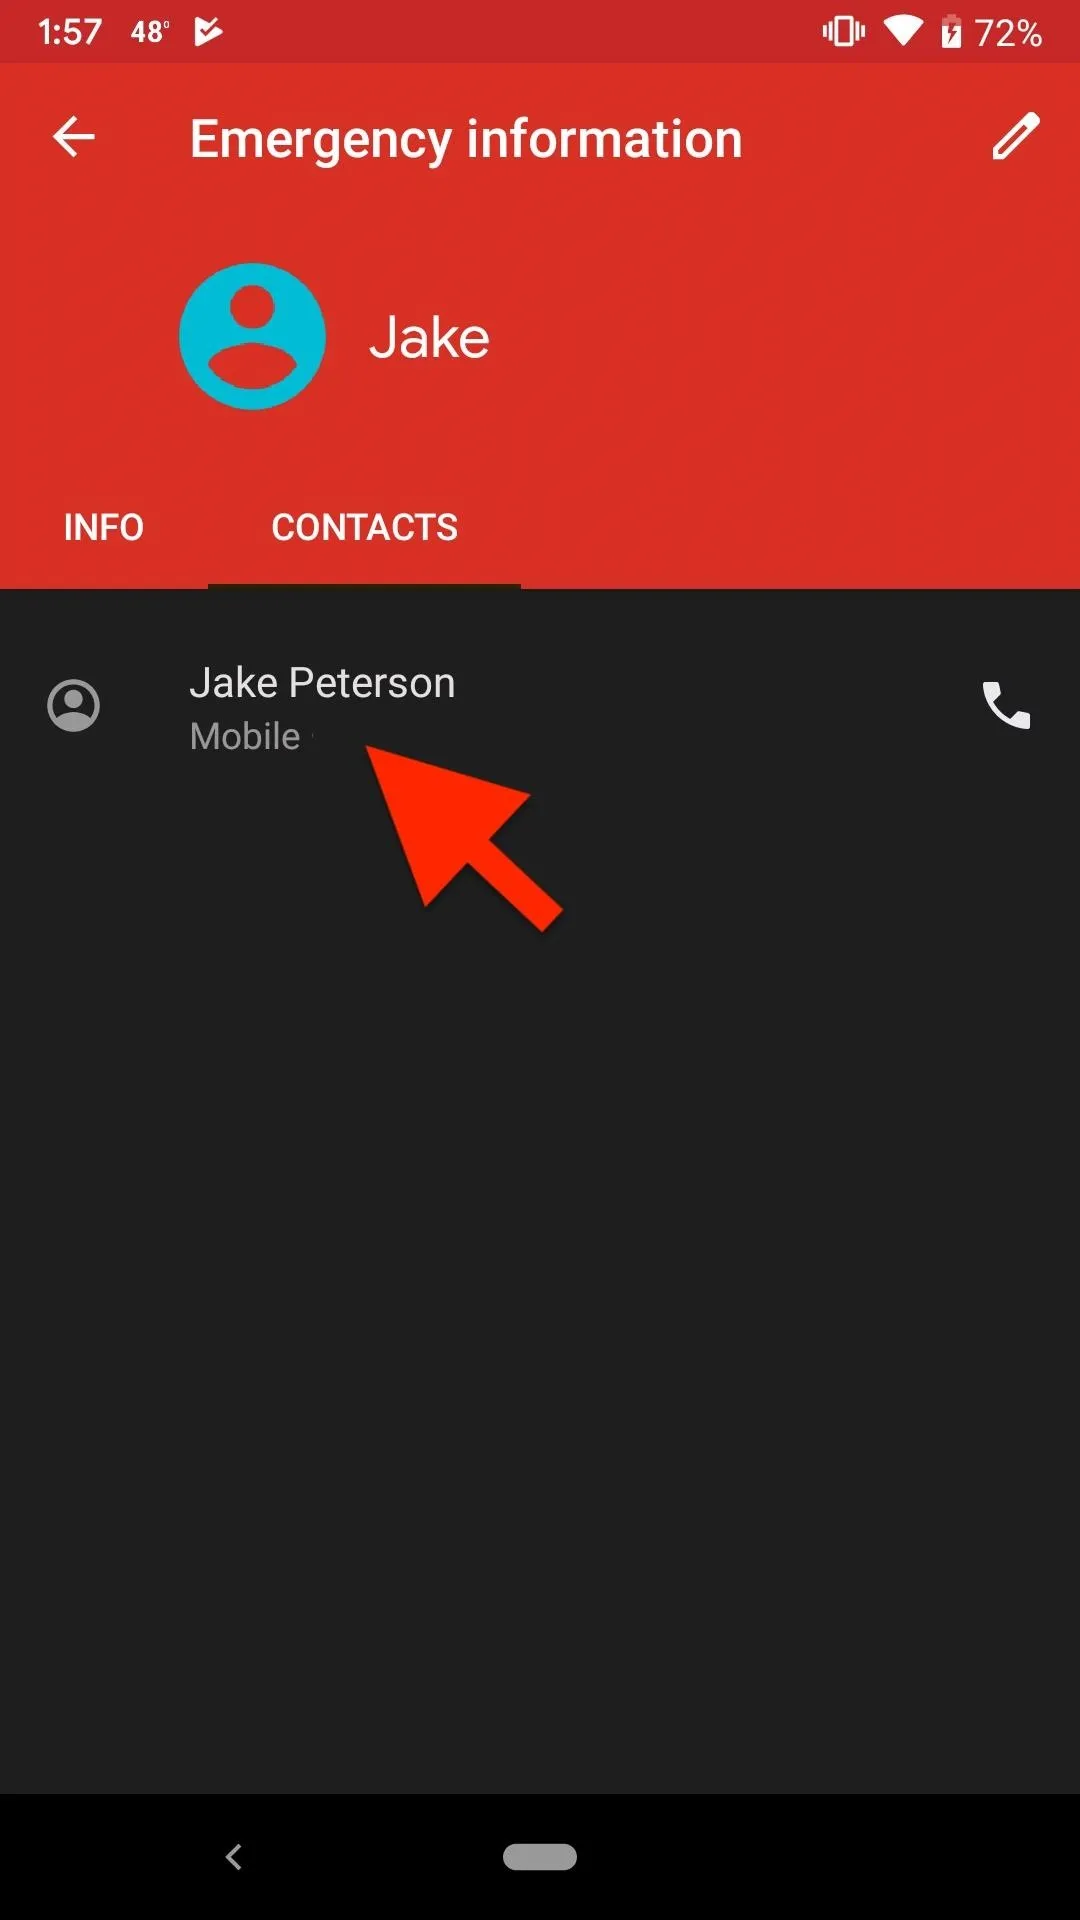
4. Set Up Quick Call for Emergency Contacts
If you have an Android device, there's a way to make calling specific contacts during an emergency faster than searching through your phone app. On stock Android, get back to the "Emergency" settings detailed in the step above. Next, select "Emergency contacts," then add contacts under Emergency contacts. Now, from the lock screen, you can swipe up to reveal the number pad, tap "Emergency," tap "Emergency Information" twice, then tap "Contacts." Tap on the contact's name to call them.
On iOS, you can add emergency contacts to your Medical ID card in the Health app. These contacts are used for Emergency SOS if you enable that option, but they can also be found on the lock screen. Just tap the contact's name on the Medical ID to begin a call.
iOS (left) vs. Android (right).
iOS (left) vs. Android (right).
Alternatively, on iOS, you can add a "Favorites" widget to the Today View. While not a perfect solution, you can prioritize emergency contacts to your favorites, so you can easily reach these contacts from the home screen.
5. Use Password Managers to Secure Passwords, Notes & More
When traveling, you don't want to worry about remembering all of your different account passwords. If you keep your passwords written down by hand, you don't want to take them with you, as one simple mistake can result in all of your passwords lost forever.
Instead, place your trust in a password manager. These services store your many passwords in a highly-secure, encrypted vault, protected by one single password. Once you add all of your passwords to your vault, you just need to remember that one master password, and you'll be all set, no matter where you are.
Our advice? Check out LastPass for both iOS and Android. Native AutoFill, competitive pricing, and top-notch security are just a few of the reasons why LastPass is king.
Getting Through Security & Customs Without a Hitch
What's worse than a 14-hour international flight? Going through customs at the end. The country you're traveling to doesn't know you, and as such, doesn't trust you one bit. Ideally, they'd like to know everything there is to know about you, though, more specifically, everything you have on you.
Those more interested in who you are will be at security checkpoints before you're flight. Both can be very interested in your phone, but you can use these tips to protect your data while your device is being handled by others.
1. Disable Biometrics
Always use a lock screen passcode, PIN, or password, in addition to biometric authentication. Before going through security or customs, either turn off the device or disable biometrics quickly as described above, that way no one can force you to use your fingerprint or face to unlock the device.
2. Protect Your Data
When traveling internationally, you should only leave with the data you need. Don't take sensitive materials with you that you aren't going to need on your trip. Border and security officers can only seize what's available to them, after all.
You'll also want to use encryption services where possible. These services can protect messages, calls, photos, files, and more behind a mathematical firewall. For instance, Signal is a good communication platform that's secure, and you can set it so it needs to be unlocked via a passcode, PIN, password, or biometric authentication.
- Don't Miss: Use Signal to Encrypt Calls & Texts on Android
- Don't Miss: 4 Best Apps for Private, Encrypted Messaging on Android & iPhone
- Don't Miss: How to Encrypt & Hide Photos, Videos & Files on Android
- Don't Miss: Hide Private Photos on Your iPhone
You can also disable notification previews on the lock screen, which can also be done device-wide on both Android and iOS, not just for Signal. And if you use Android's "Lockdown mode" (mentioned previously), it's a quick way to hide notifications in a just a few seconds.
- Full Guide: Keep Lock Screen Notifications on iOS Private
3. Use a Mobile Passport
Want to expedite your custom's visit and aren't afraid of government agents trying to access your data? Try using Mobile Passport. You might be surprised to learn that the app is recognized by 26 US airports and cruise ports. That's because the app is officially authorized by US Customs and Border Protection.
It works with both US and Canadian (B1 or B2 visa) passports, so if this applies to you, give it a whirl. The app walks you through exactly what to do when arriving in the US, and it will eventually produce a digital customs receipt good for up to four hours. Let's just hope that customs line isn't any longer than that.
4. Use myTSA to Breeze Through Security
You might also want to check out the myTSA app, which lets you check in on security wait times and what items you can bring on the plane, among other pressing TSA questions. This app will make check-in and security a breeze (aside from the lines, of course).
5. Make Sure Your Device Is as Secure as Possible
At the end of the day, you'll want to make sure your iPhone or Android device is as protected as it can be. There are dozens upon dozens of apps and settings for you to explore that will help keep the information on your device in the right hands. Whether it be customs enforcement or hackers online, you can take steps right now to ensure that no matter what the situation, your phone is as secure as it possibly can be.
- Don't Miss: iOS Privacy & Security Settings You Should Check Right Now
- Don't Miss: Android Privacy & Security Settings You Should Check Right Now
Making Air Travel Less Stressful
Flying might be the safest way to travel, but it's far from the most relaxing. Even if you don't have a fear of flying, everything about this type of transit can be stressful. Cramped seating, lack of storage space, and unruly passengers, not to mention all that comes with getting to and from the airport in the first place.
Keep your cortisol levels down by preparing with the following tips ahead of time. Who knows — you might even find an enjoyable flight in your future.
1. Use Apps to Track Flight Status & Long Lines
Your smartphone is an integral part of your travel itinerary. Don't discredit it as a great flight tool. Your phone can aid in the overall flying experience, to help keep things streamlined and organized.
You should download your airline's app, first of all. This will let you track your flight, stay on top of any alerts, and even download a digital boarding pass to your phone's Wallet app. There are other apps such as FlightStats for iOS and Android that let you track your flight, and you can even Google your flight number to see the same result.
Additionally, you'll want to use the myTSA app, as mentioned previously, which can show you how long lines are likely to be based of historical data. It also will show delay information as well as current weather conditions. You can even ask for live assistance if you need it.
2. Map Your Airport for a Successful Layover
Once you pass through security, open up FLIO, Apple Maps, or Google Maps to see a full map of your gate. If you want to find the nearest bar to help with some preflight jitters, all three can help you on your way. Maybe you'd like to do a little shopping instead? Whatever you need from your airport experience, a good map can help you find your way.
- Full Instructions: View Indoor Maps for Malls & Airports in Apple Maps
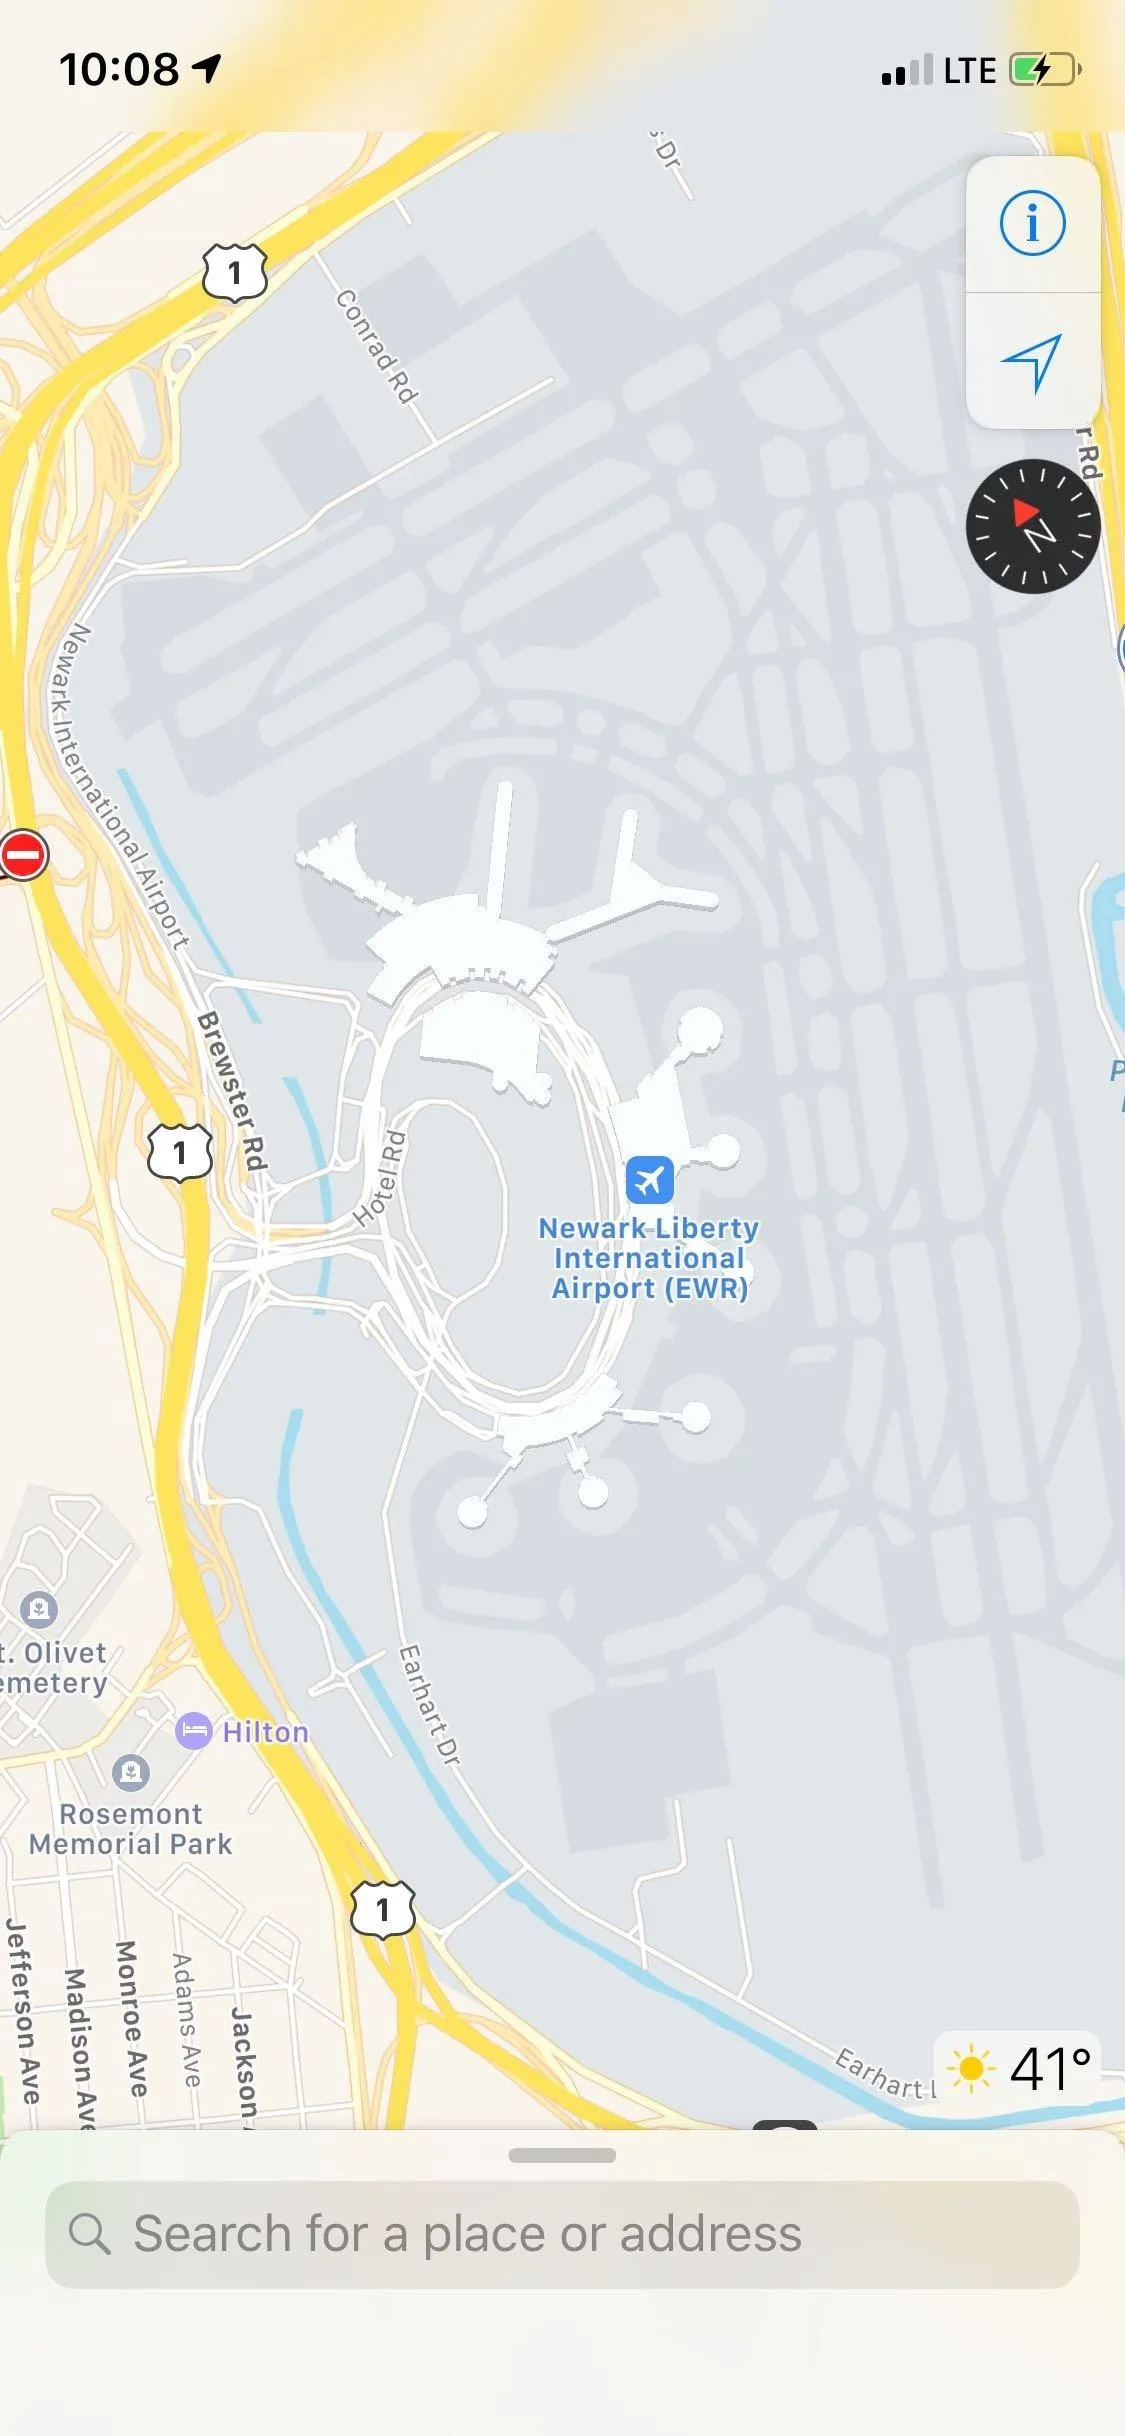
Apple Maps on an iPhone.
Apple Maps on an iPhone.
3. Distract Yourself from Your Fear of Flying
Flying is a scary thing — 35,000 feet in the air is nothing to sneeze at. If you have a fear of flying or are otherwise uncomfortable when airborne, here are a couple of tricks you can try to make yourself feel better.
Meditate
Meditiation can help with general anxiety and stress, so it seems a perfect fit with any flying fears you may have. Two of the most popular meditiations apps, Headspace and Calm, offer simple guided meditation sessions. Just pop in your headphones, press play, and focus on your breathing.
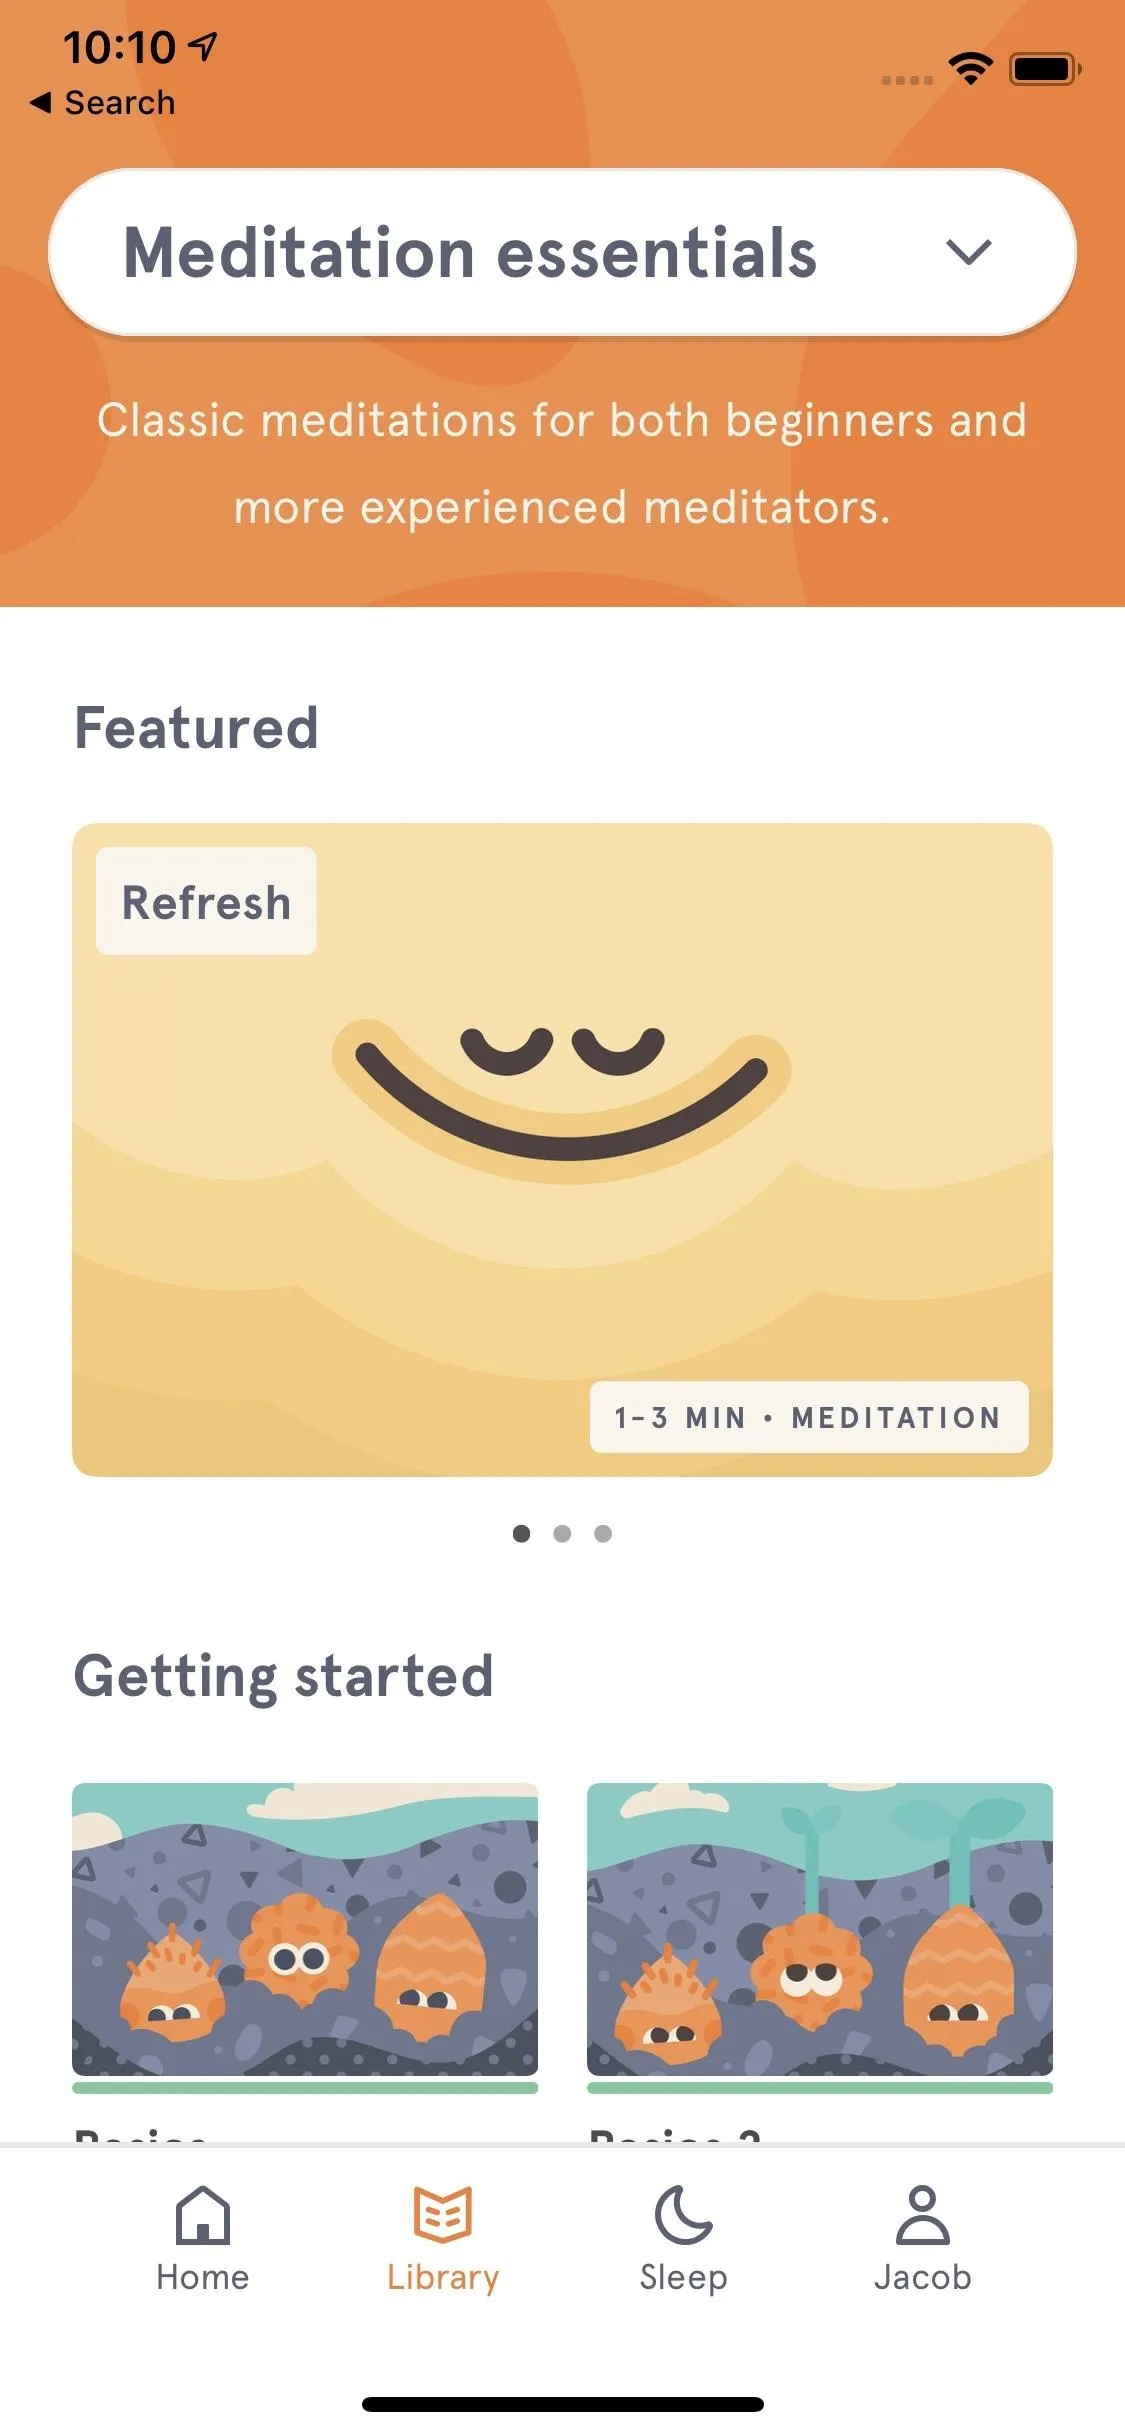
Headspace running on an iPhone.
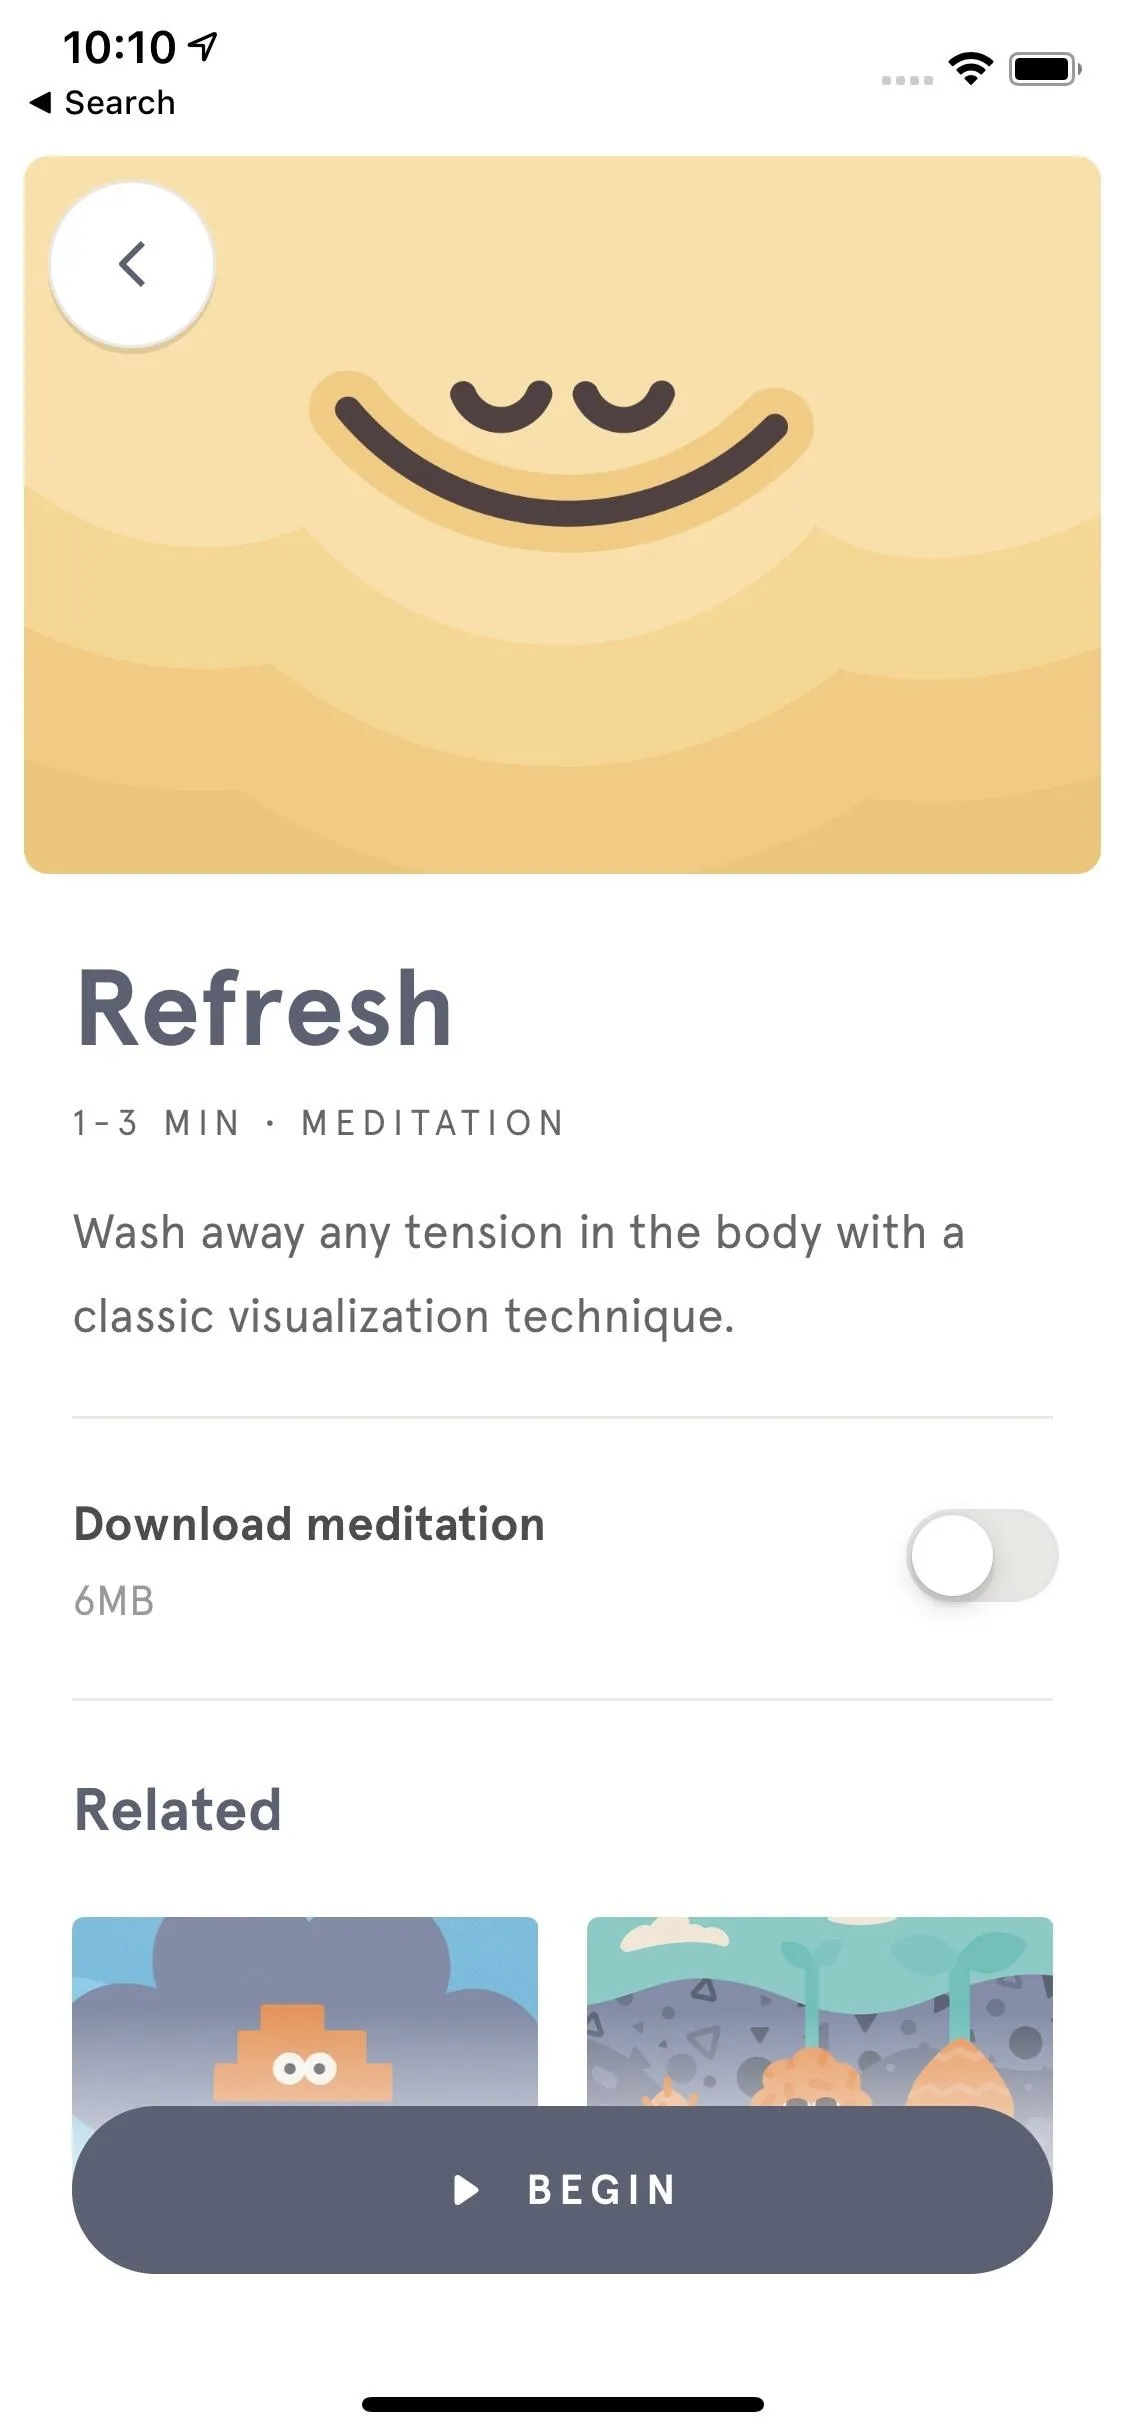
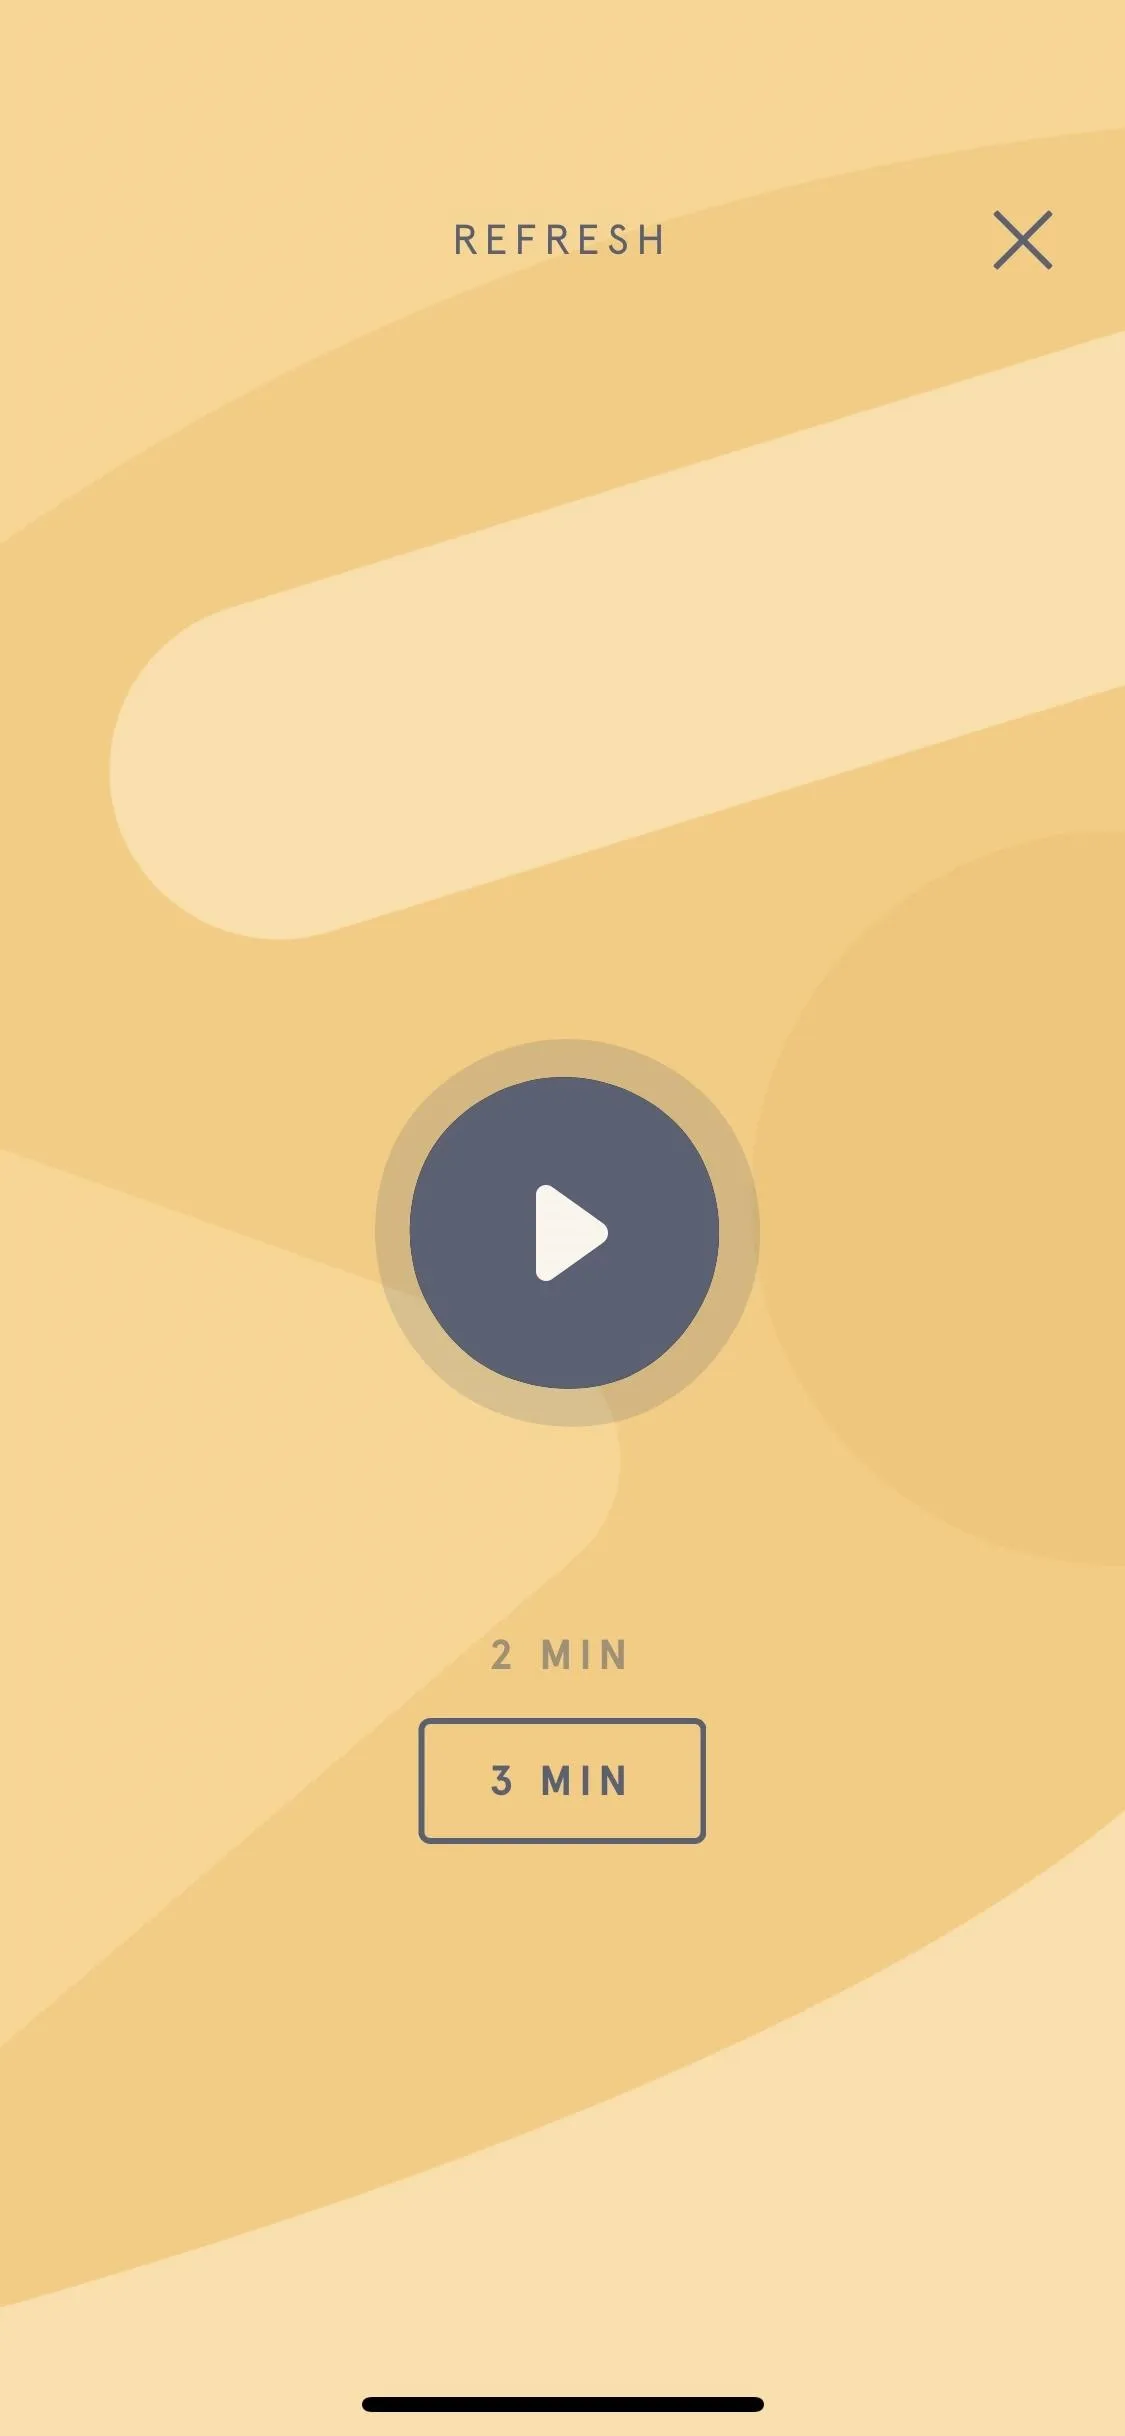
Headspace running on an iPhone.
Other Entertainment
We use entertainment to escape, so why not escape the confines of the plane for a good movie, TV show, or audiobook? There are so many different forms of digital entertainment you can stuff on your phone, and with a little planning, you can keep yourself booked all the way through the flight.
Most planes don't have Wi-Fi capable of streaming on your device, at least, without having to pay, so you'll need to download this content ahead of time. Jump down to Tip 9 below to learn all about downloading different media to your phone before your trip.
- Traveling Phone Tip 9: Keeping Yourself Entertained During Downtime
4. Opt for a Train Ride Instead
If it makes sense to do so, you might want to add a train trip to your itinerary. Many times, train travel can be both cheaper and faster than air travel — it just depends on your destination. Even in the States, you're better off taking a train between cities that are close enough together.
To see if it's worth taking a train, open up your navigation app of choice, and see how long a train would take to reach your destination. If it competes well with what a flight would take, take note of the company that runs the train. Download their app, then use the app for ticket prices and scheduling.
If the combination of time and price works out, a train might just be the better way to go. Below are a few examples for long-distance train companies and their apps. If you're not sure about the railway operators in the country you'll be visiting, Wikipedia has a good list of all the long-distance train services for each country, which should help you on the way to finding the right app.
- Install Amtrak (for US): Android (free) | iOS (free)
- Install Southern Railway (for UK): Android (free) | iOS (free)
- Install Thameslink (for UK): Android (free) | iOS (free)
- Install KorailTalk (South Korea): Android (free) | iOS (free)
- Install V/Line (for Australia): Android (free) | iOS (free)
- Install Trenes Argentinos (for Argentina): Android (free) | iOS (free)
Getting Around a New Place
So, you've found yourself in a new city. If only you knew your way around! Well, don't worry — with the right prep, your phone is the only companion you'll need to explore.
1. Use Ground Transportation in the City
At home, you've got your transportation routine down pat. When traveling? Things can fall apart. Sure, if you drive at home, driving in a new city might feel the same. But there's a big difference between driving in Denver and driving in London. If you aren't driving, navigating a new public transportation system can be daunting. You can take a cab, but even that requires some foresight. Follow the tips below to make sure you get everywhere you need to be on your trip.
Maps Apps
Whether you're behind the wheel or on foot, a good navigation app is essential when traveling. A paper map can't tell you which roads are blocked off for construction, nor can it tell you the exact subway car to enter for full travel efficiency. If you want to know which apps are the best for telling you where to go — and why — make sure to check out our full comparison.
Apple Maps (left), Waze (middle), and MapQuest (right).


Apple Maps (left), Waze (middle), and MapQuest (right).
Ride-Hailing Services
If you happen to be car-less, and the local public transportation just isn't doing it for you one way or the other, just call a cab. Of course, different cities operate differently — does the city you're in support Uber or Lyft more? Which one is cheaper? Are they both even options? This is the research you need to do before heading out to your destination. Of course, keeping both apps on your phone isn't a bad idea either.
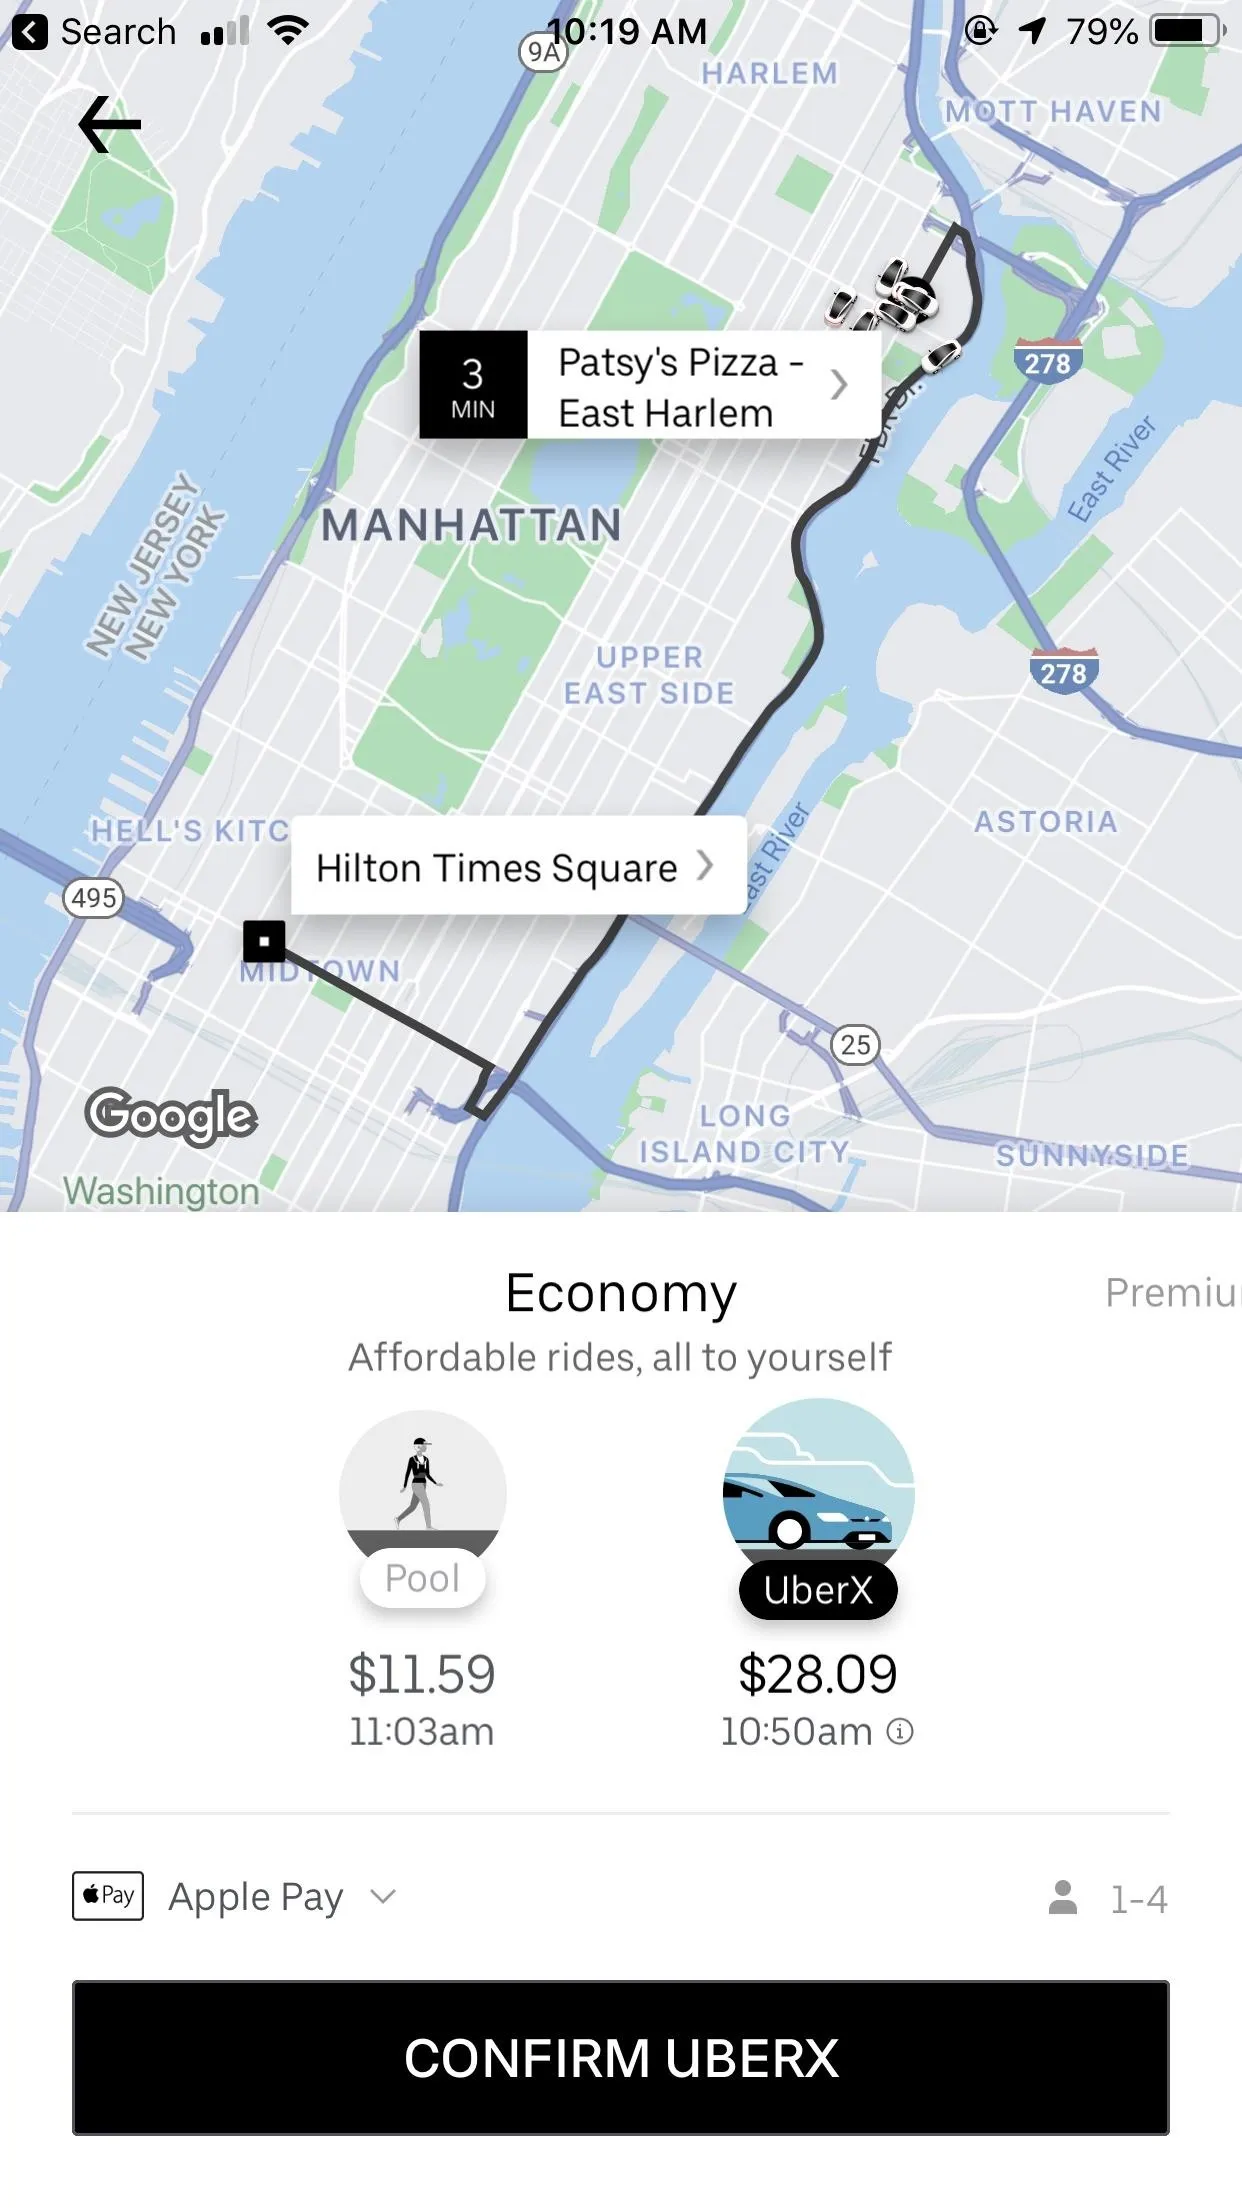
Uber (left) and Lyft (right) on iOS.
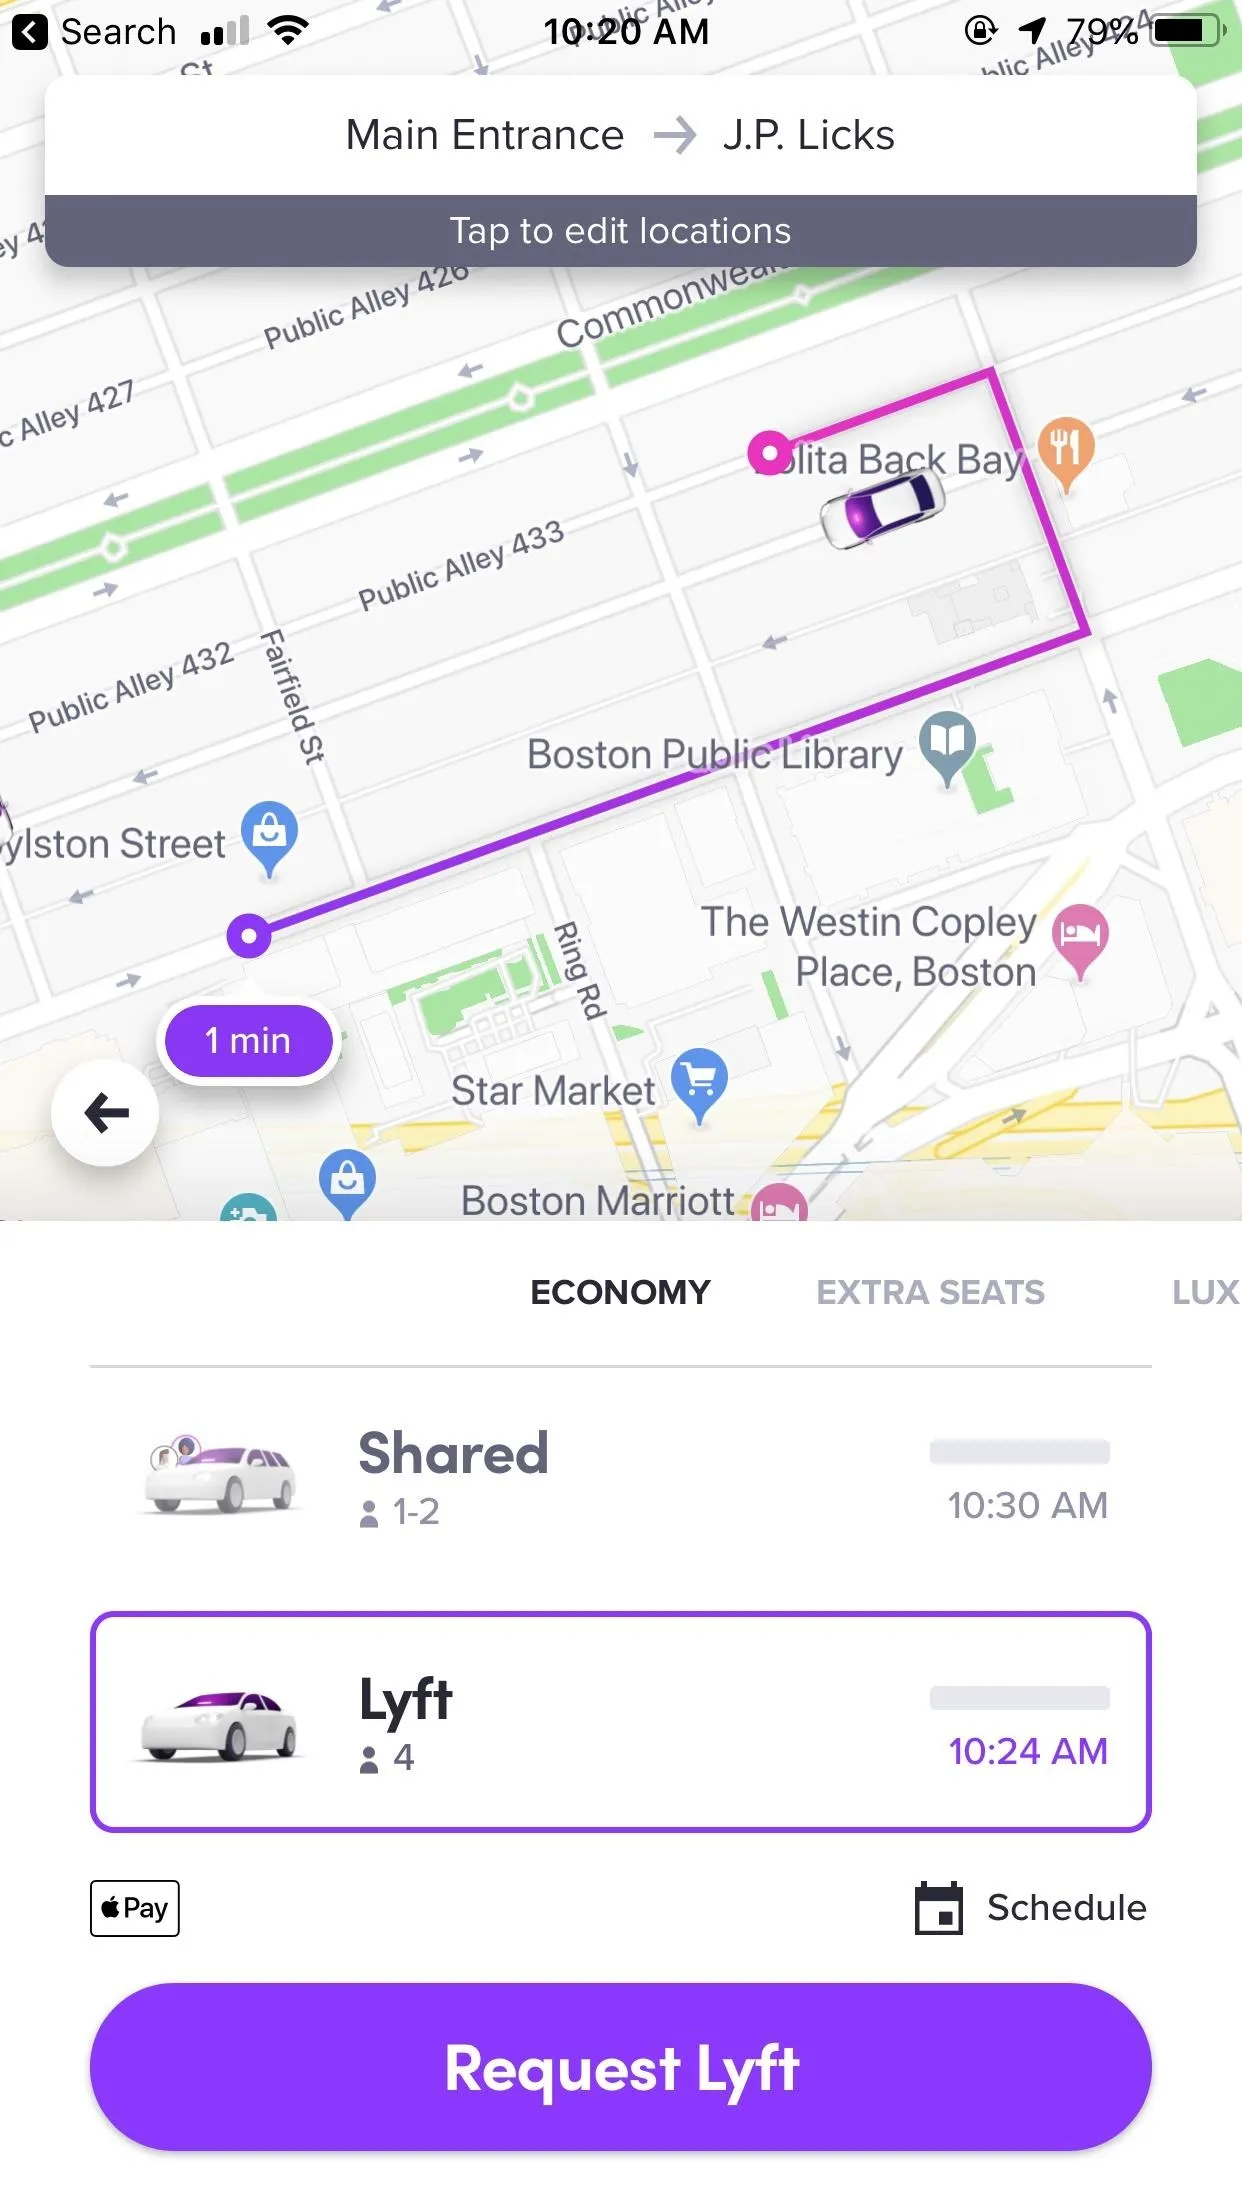
Uber (left) and Lyft (right) on iOS.
If you happen to be in New York, DC, or Chicago, you have an even cheaper option than Uber or Lyft. Try VIA, a ride-share service that acts as a bus. Every open seat in a VIA is available to any VIA rider along the route. Because so many VIA riders share the same car, costs go way down. It's a great option for saving money but, because of all the stops, it's not the best for time.
Alternative Modes of Transporation
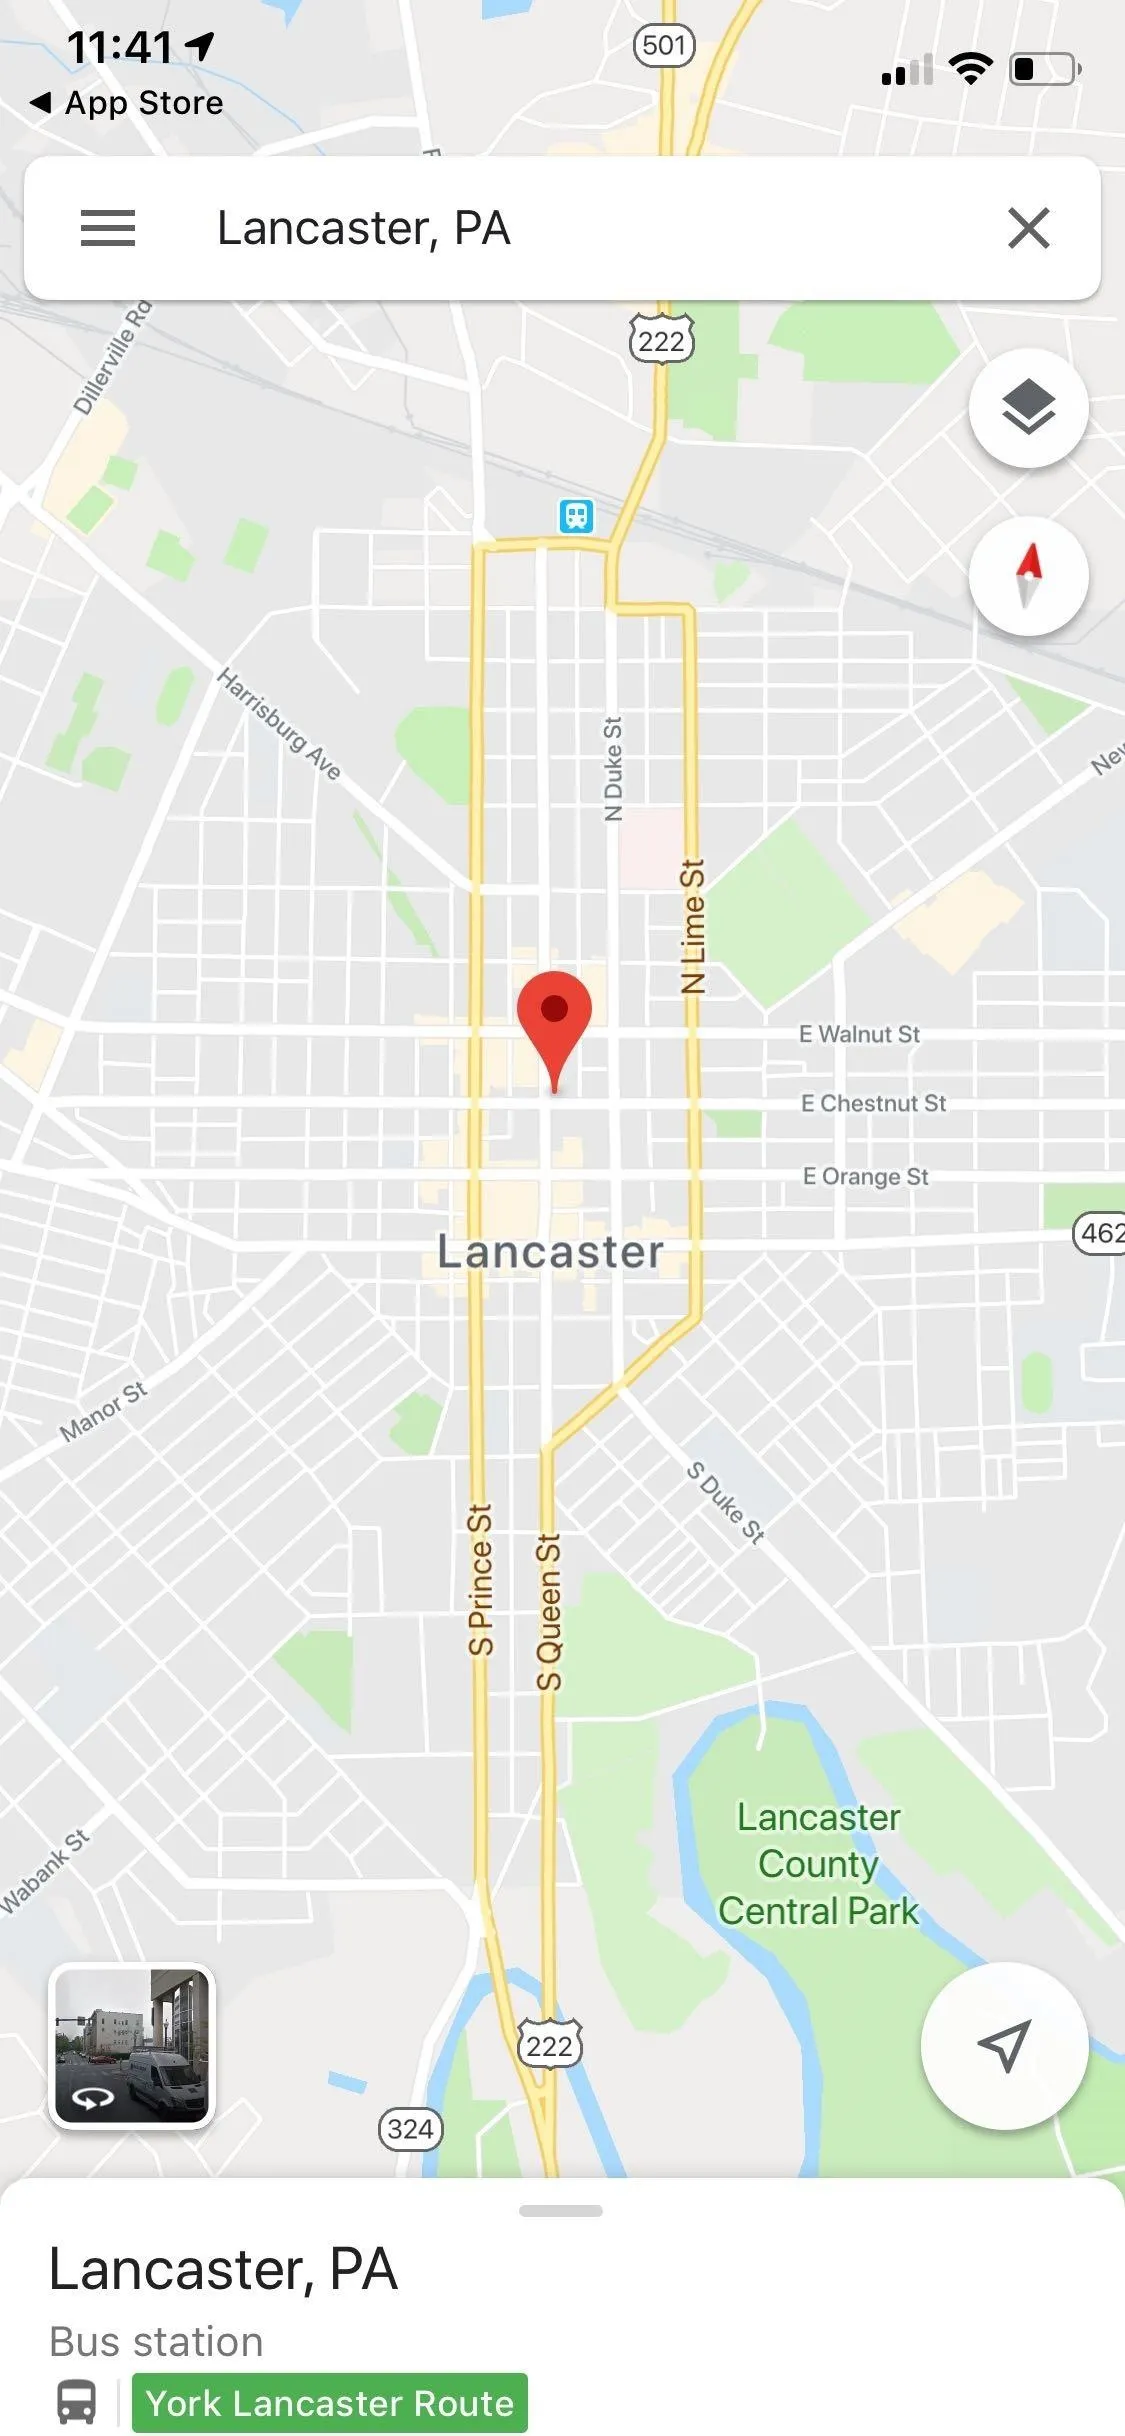
If the city you're visiting has decent publication transportation, it might be one of the 39 supported by CityMappper. CityMapper is like Google Maps but specifically for public transport, and we mean specifically. CityMapper will tell you which side of the street your subway entrance is on, which subway car you should enter, where you should exit, etc. It wants you to know the nitty-gritty to get you where you're going as quick as humanly possible.
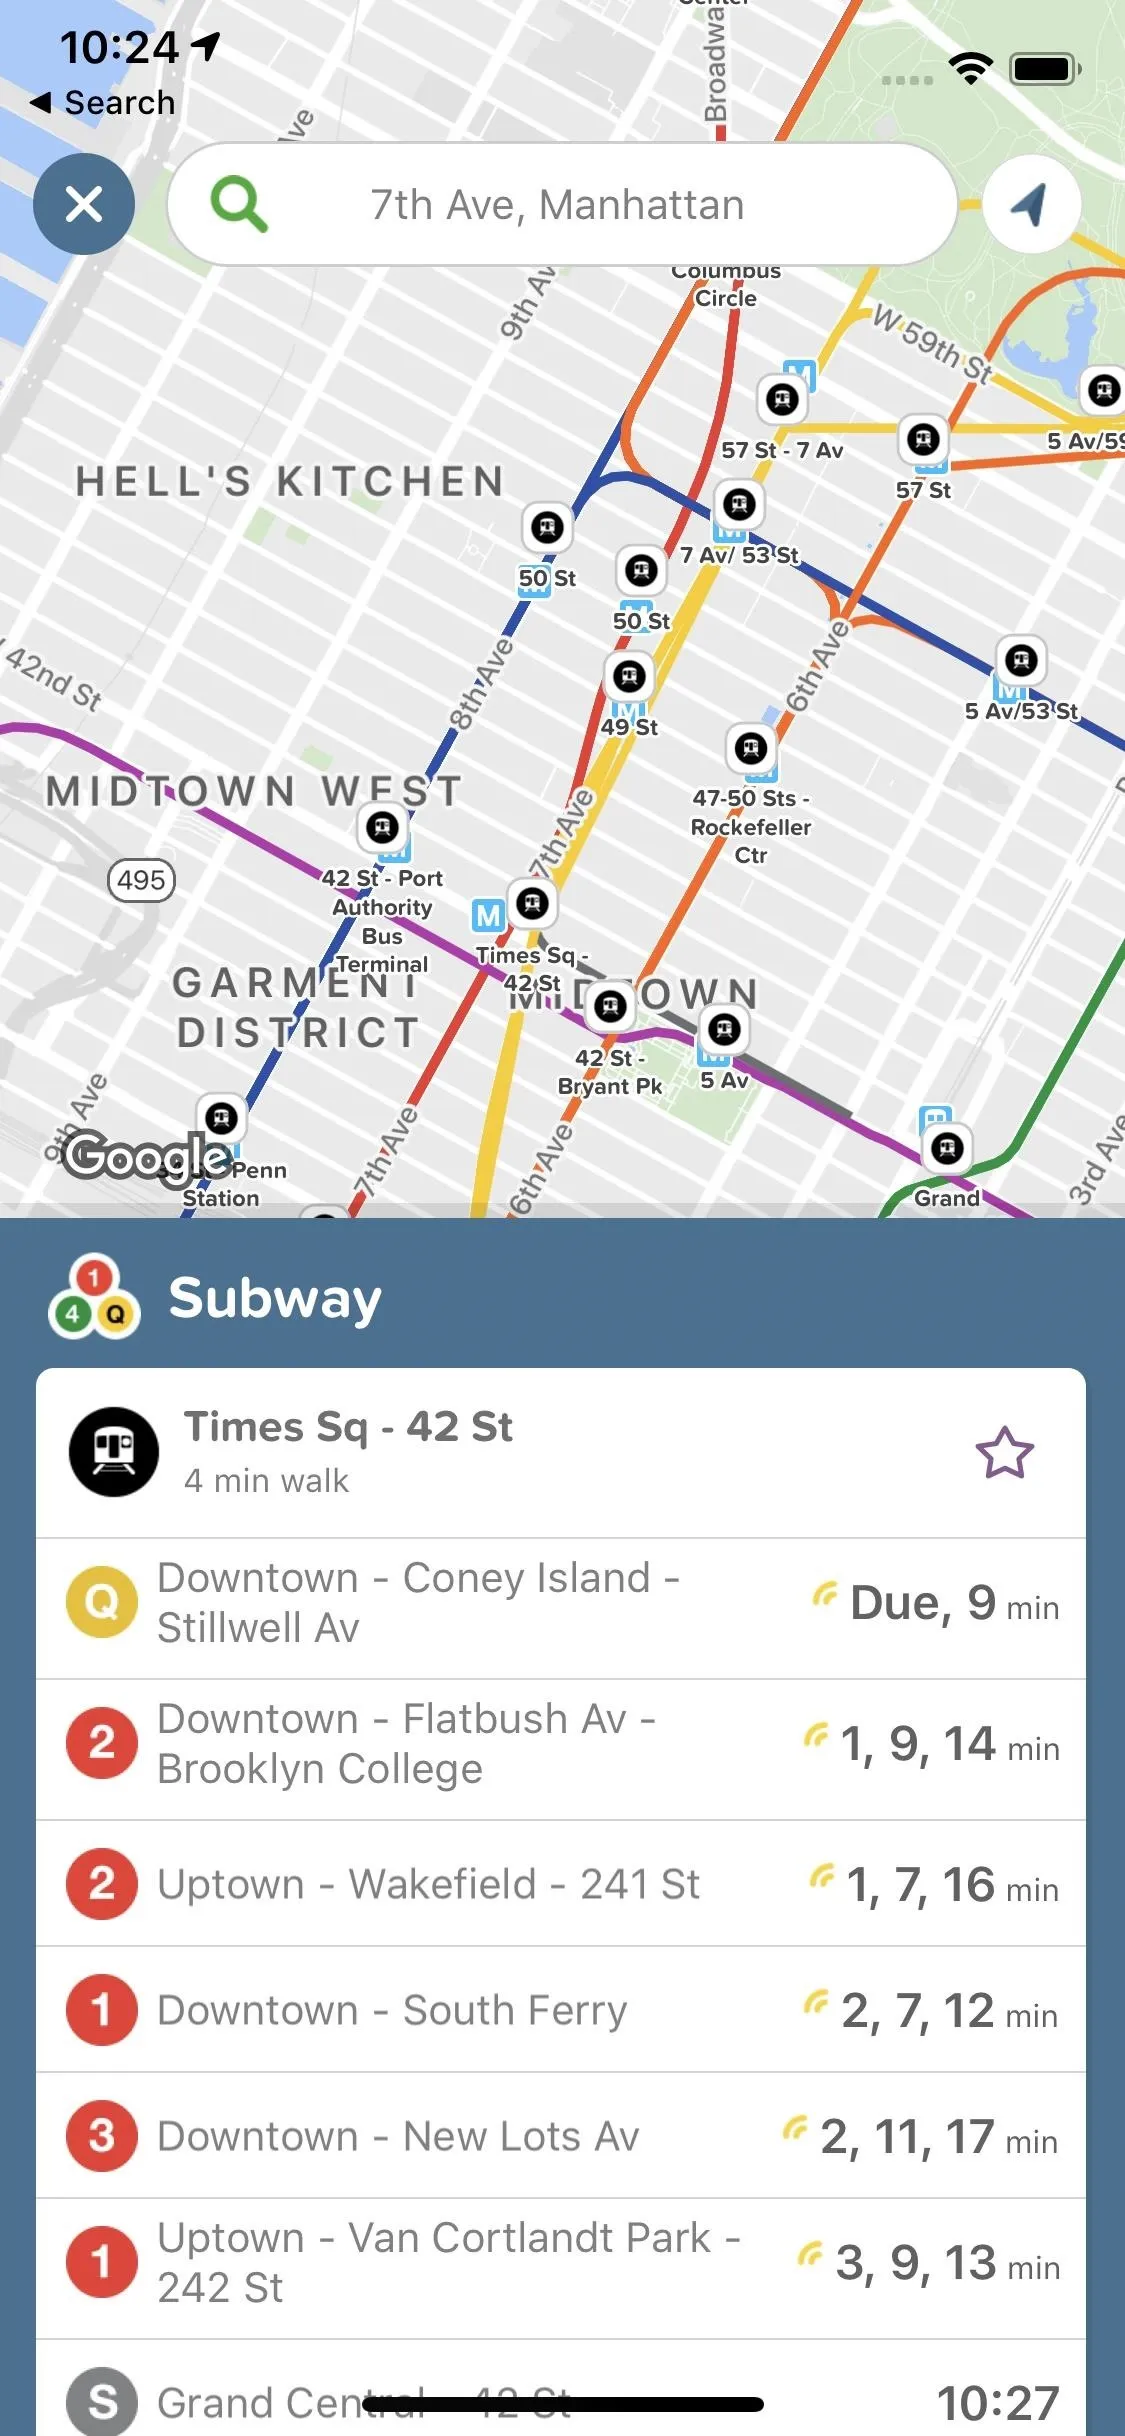
CityMapper being used on an iPhone.
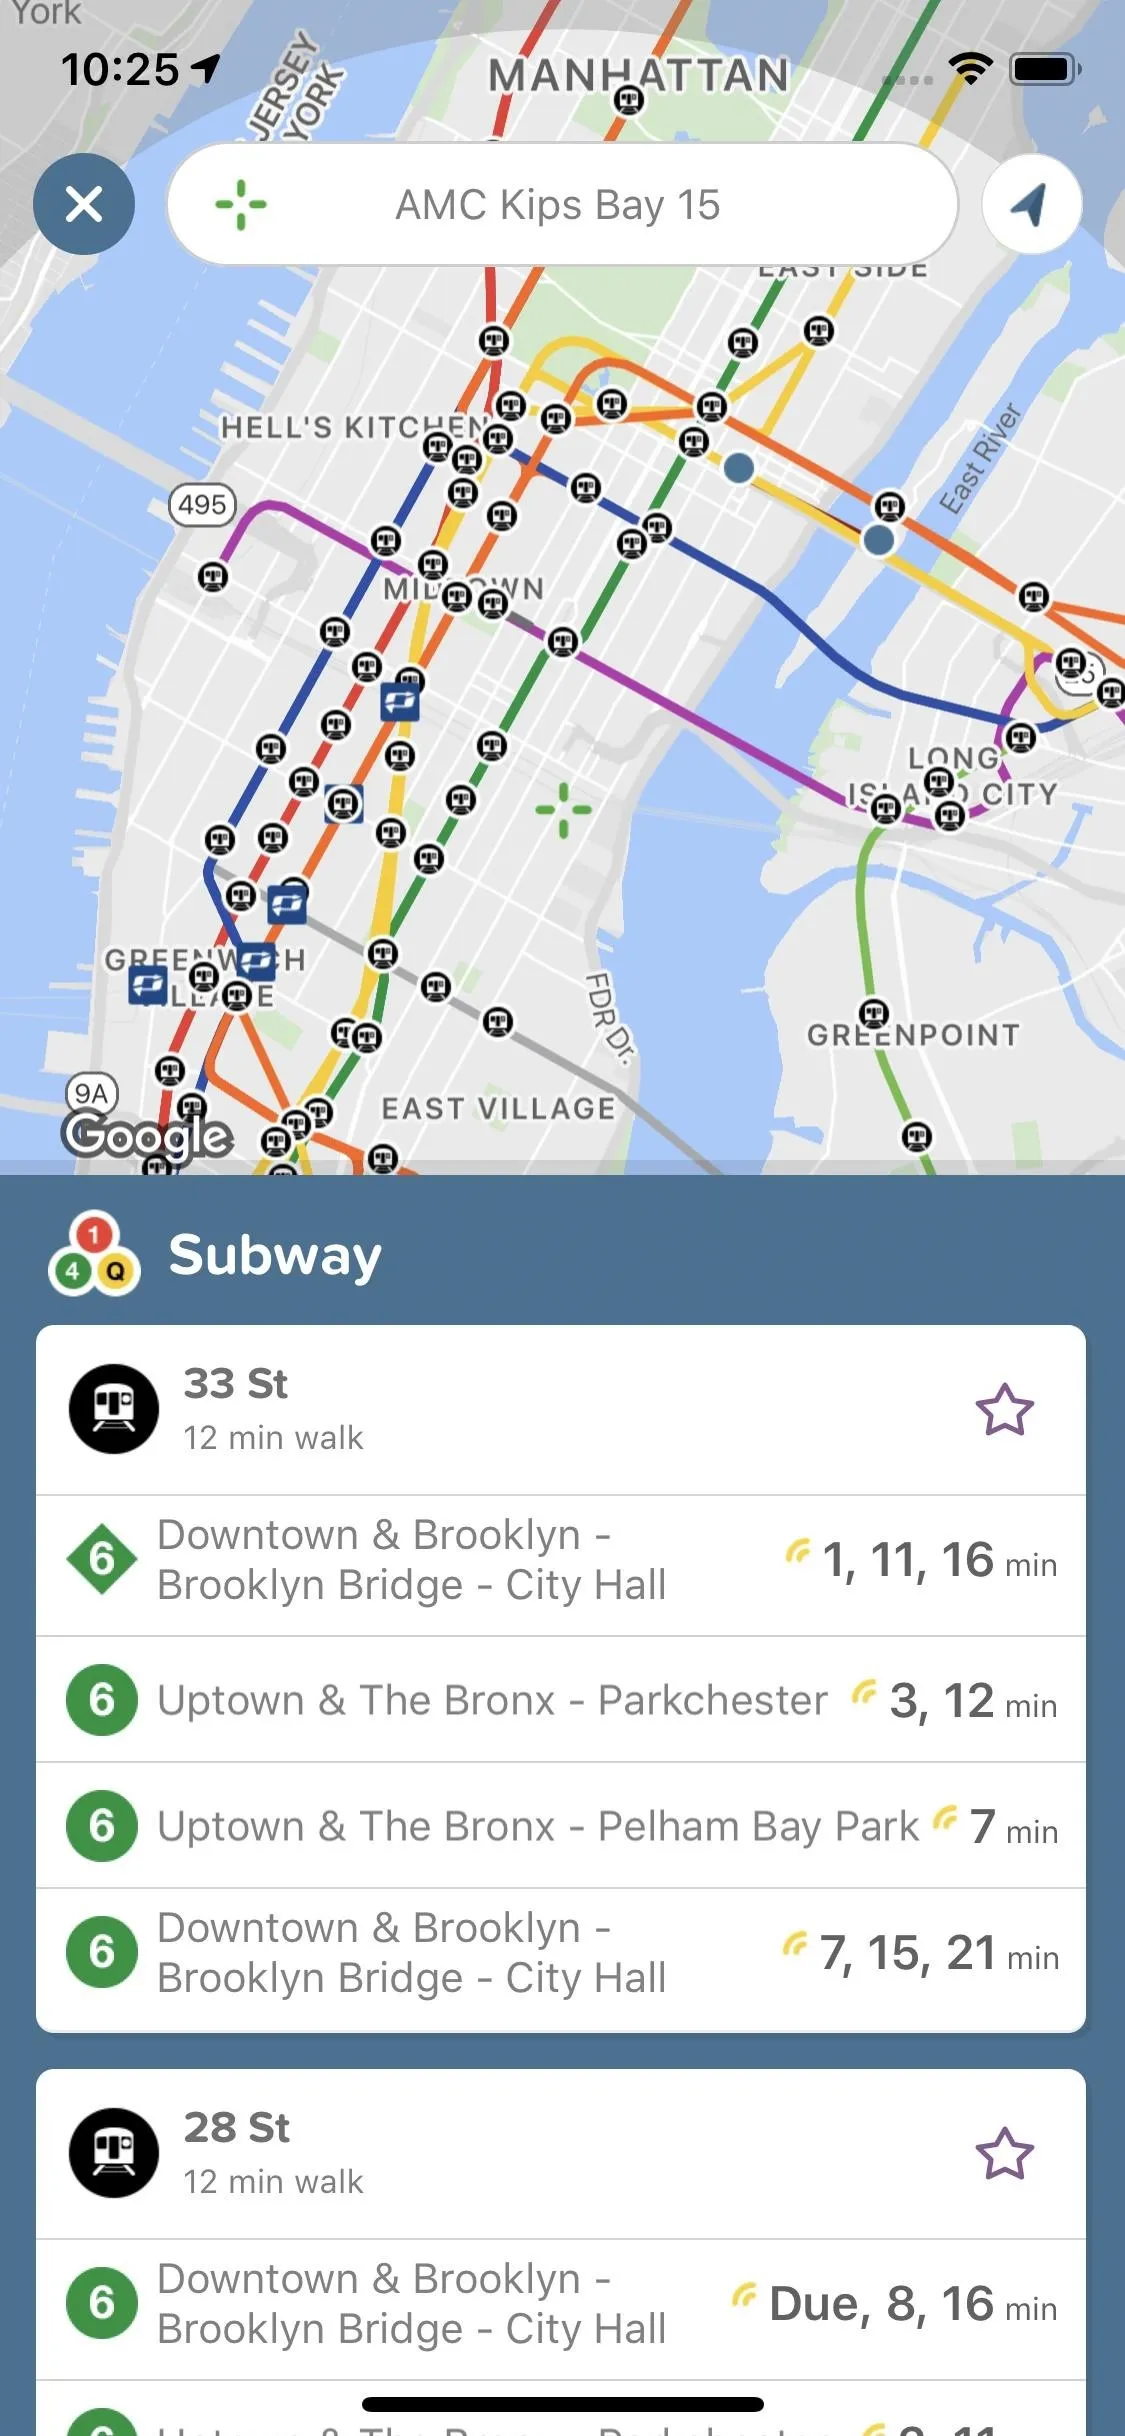
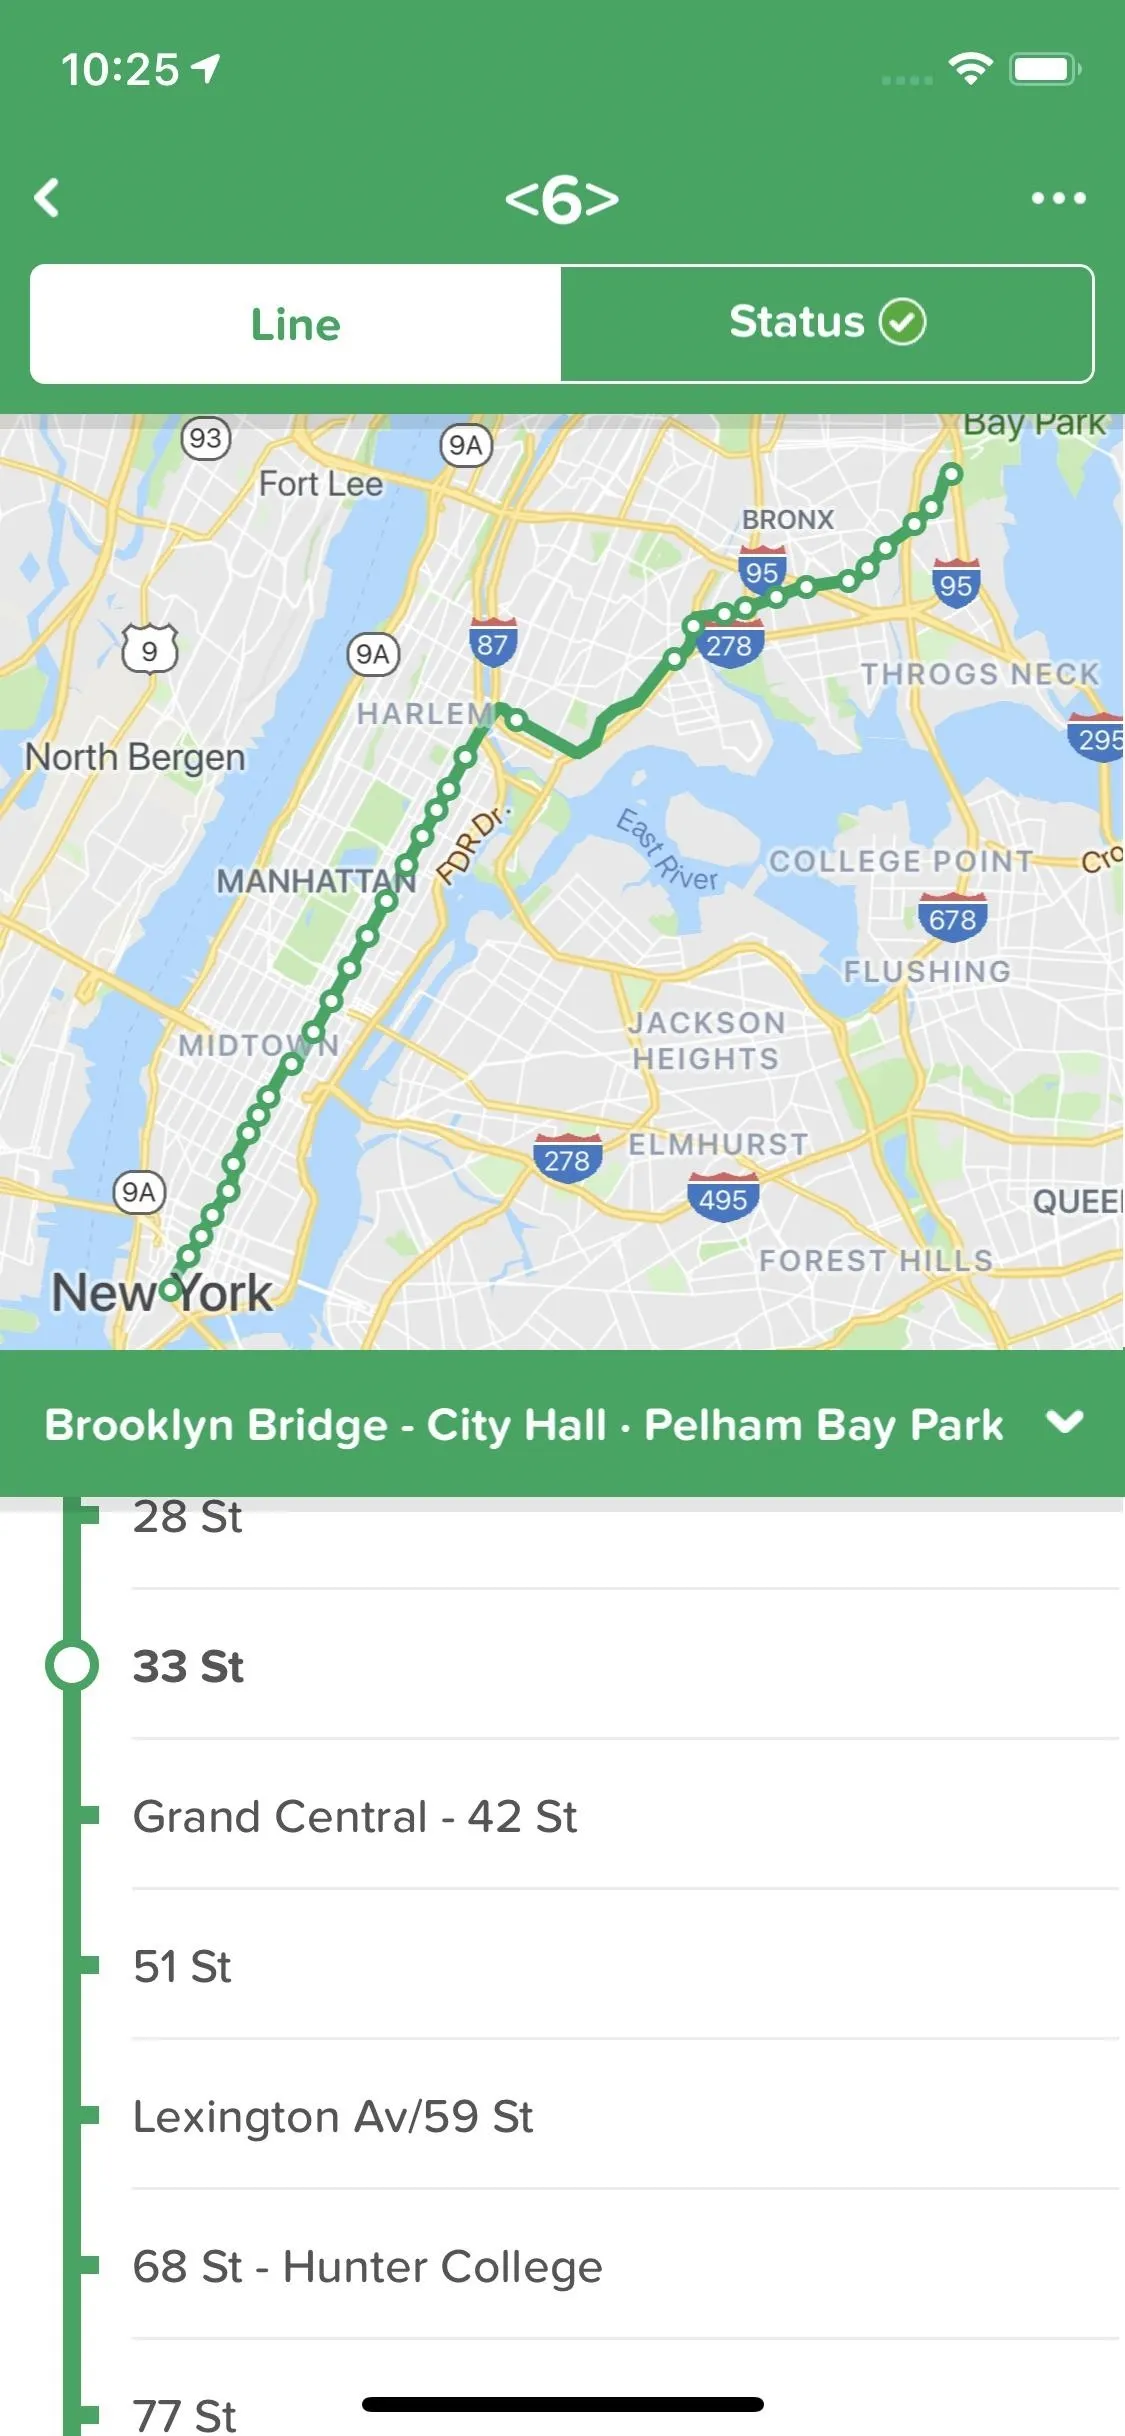
CityMapper being used on an iPhone.
Don't forget to check out the apps made by the transportation services in the country and/or city you're visiting. Cities like Paris and London have excellent official apps for finding your train and getting around efficiently. Just Google your destination, and see if they have an official app for you to use.
- Install Visit London: Android (free) | iOS (free)
- Install RAPT — Subway Paris: Android (free) | iOS (free)
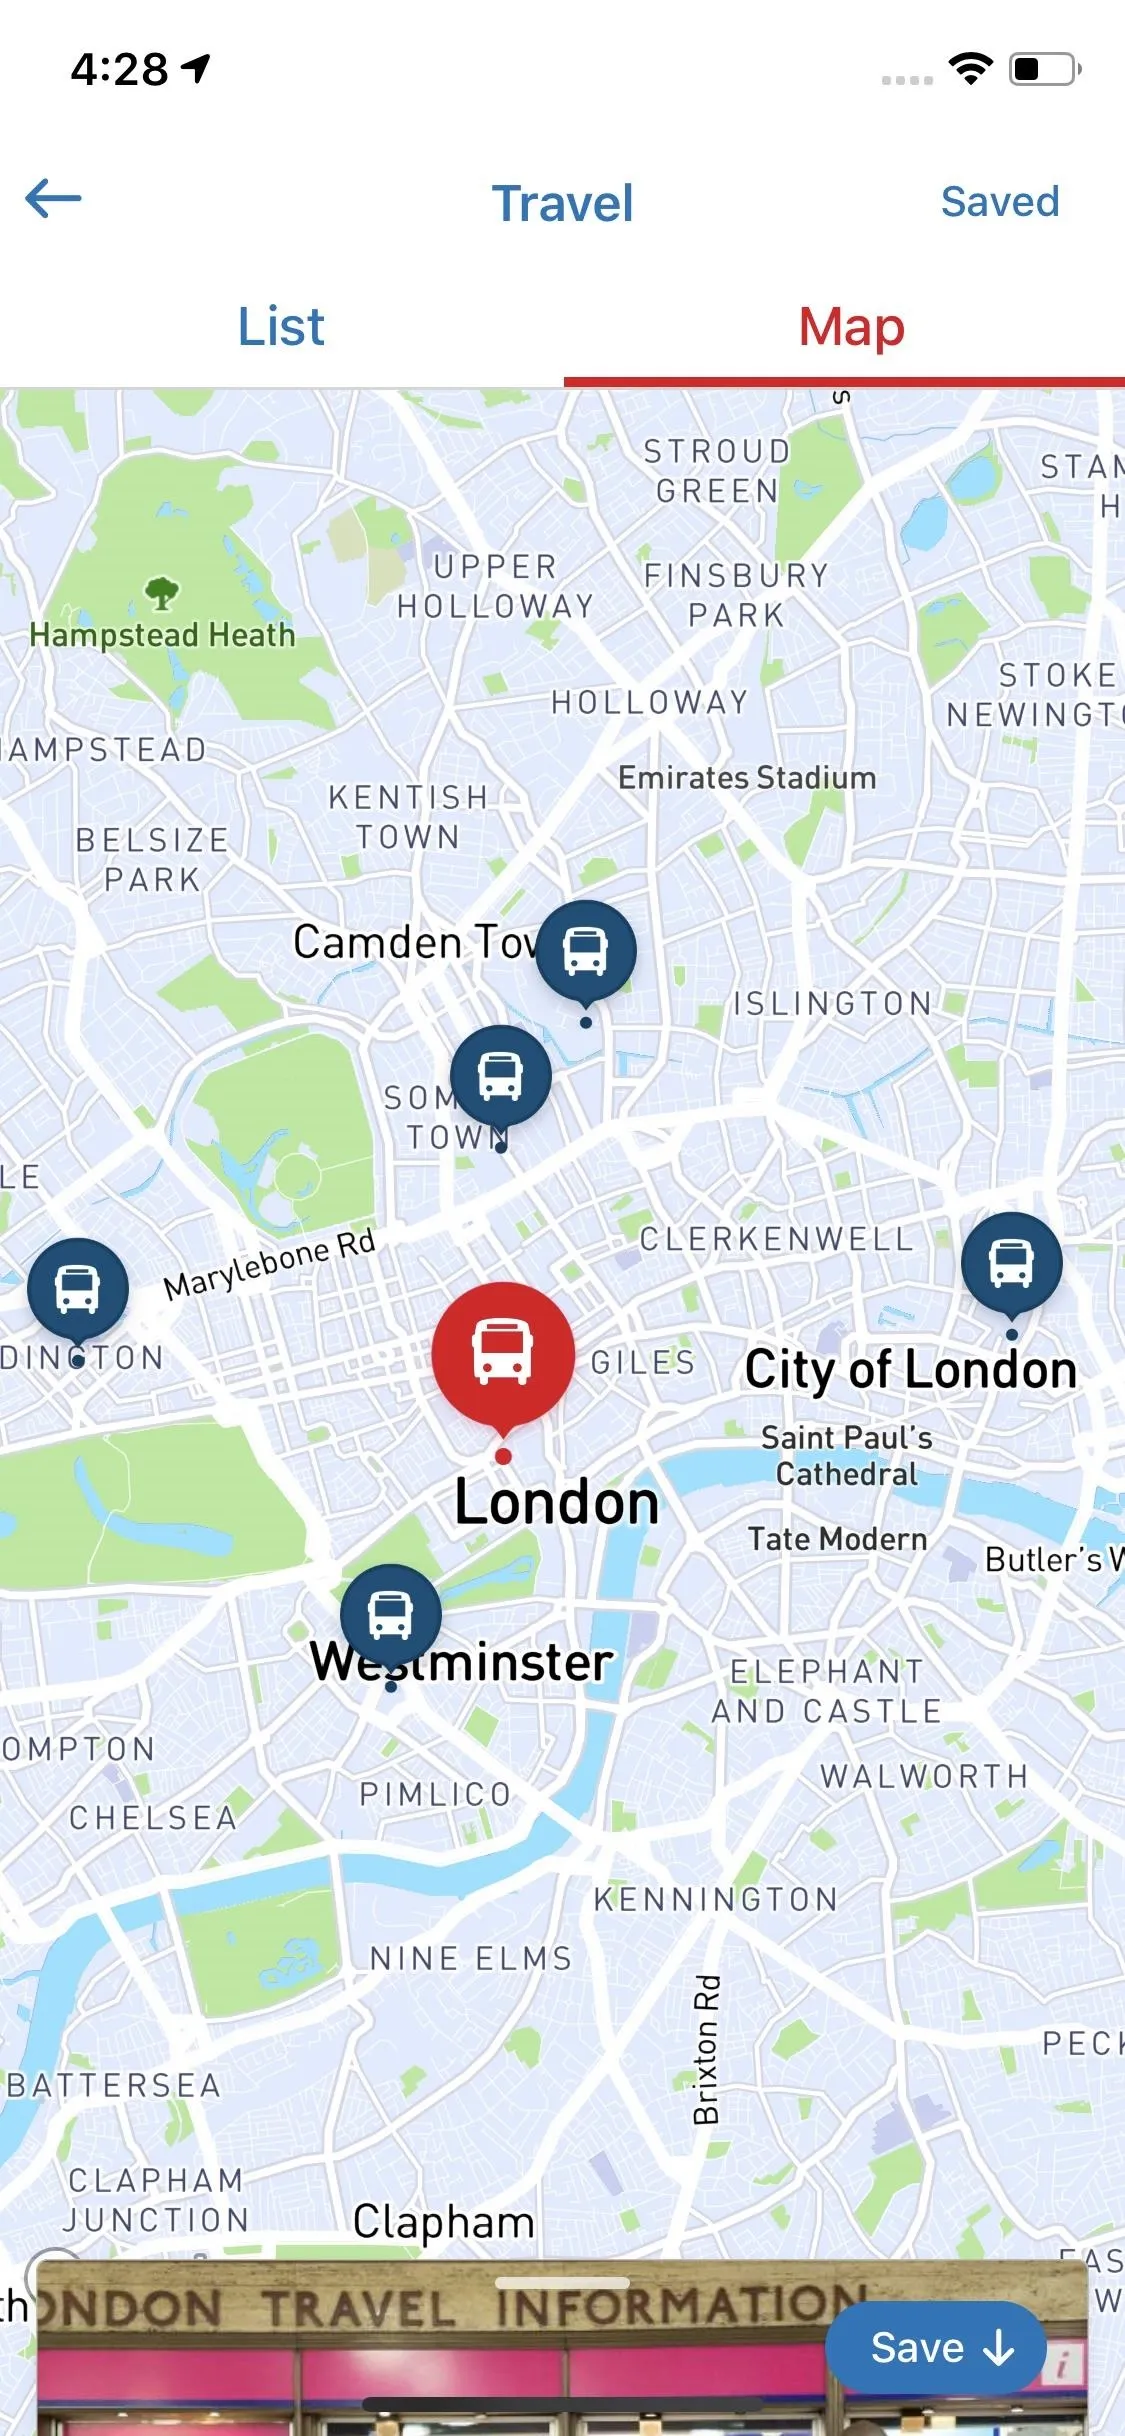
Visit London (left) and RAPT (right) on iOS.
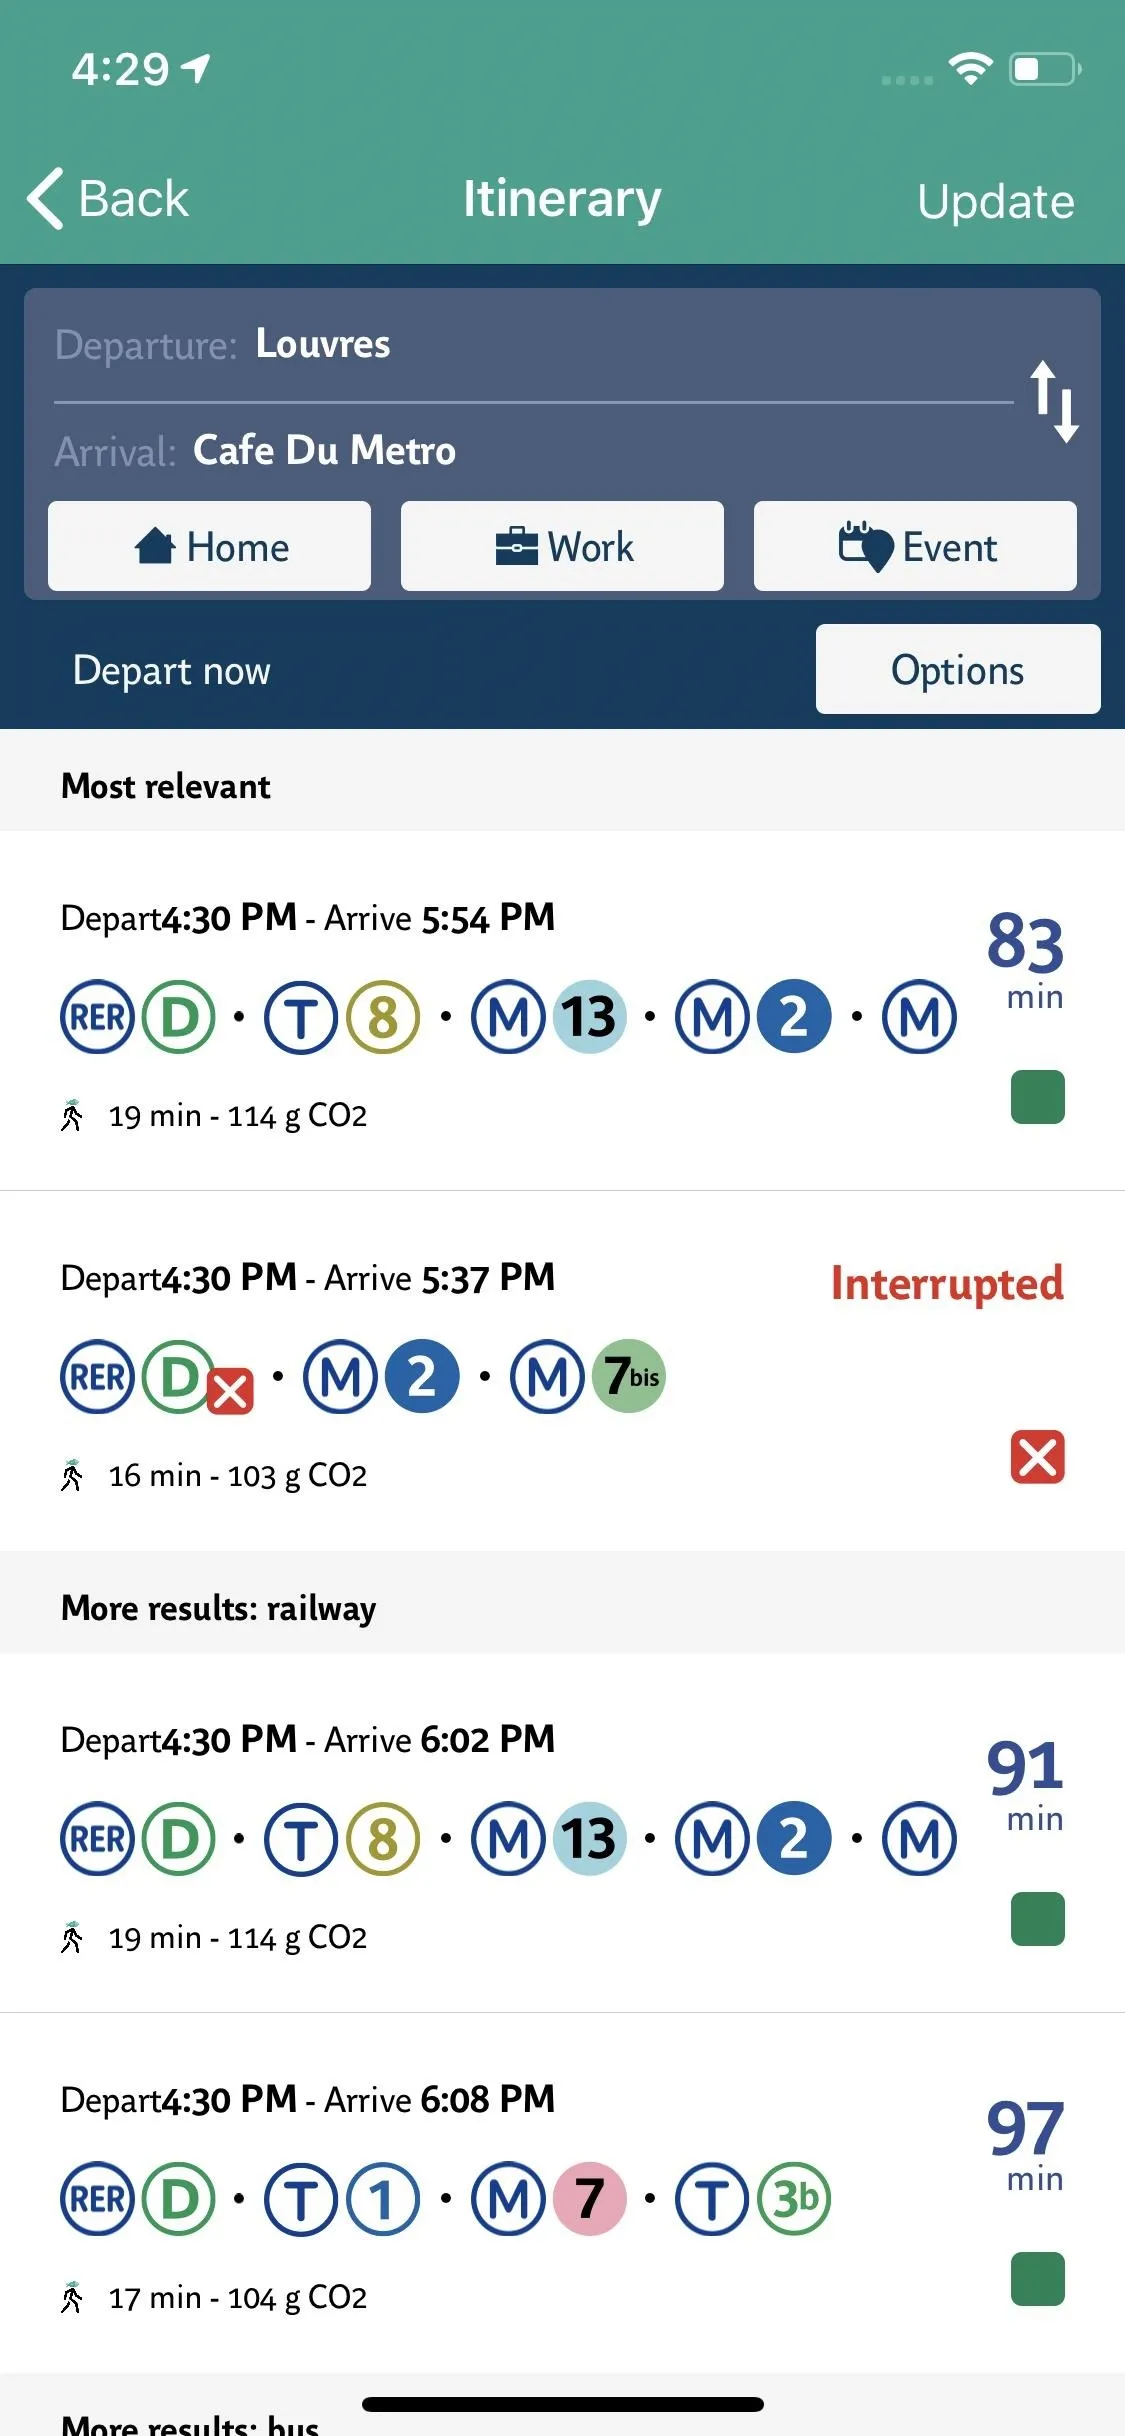
Visit London (left) and RAPT (right) on iOS.
If the city supports Bird or Lime, you might be interested to give them a try. Both services offer scooter-sharing — you locate a scooter, ride it to your destination, then leave it for the next rider to use.
Offline Street & Metro Maps
We'll talk about saving data in another section, but if you know you're going to be traveling to an area where a cellular network is few and far between or where you need to conserve your data due to steep international fees, you'll want to use offline mode in your navigation app.
Apple Maps and Google Maps both have easy ways to activate offline mode, to ensure safe navigation regardless of your current cellular connection. Waze used to offer offline mode, but scrapped the feature. It makes sense to a degree, as the app is all about real-time traffic information.
- More Info: How to Use Offline Mode in Apple Maps
- More Info: How to Use Offline Mode in Google Maps
Previously mentioned apps like CityMapper and Visit London offer offline maps as well. Double check the city's metro app to see if it also supports offline maps and navigation. Better yet, try out Ulmon's CityMaps2Go app. It lets you download interactive maps from all over the world for offline use. You only get one free map download, however, so make it count if you don't want to spend your change (we recommend downloading a map for the entire country you're in, not just the city, to maximize that free download).
CityMapps2Go being used on an iPhone.
CityMapps2Go being used on an iPhone.
2. Find Cheap Gas When You're Behind the Wheel
If you do have a car on your trip, one major expense — unless your company pays for it — is gasoline. While gas prices have certainly been higher, they've also been cheaper. Instead of driving around aimlessly looking for the best gas deal, why not let your phone do the work for you?
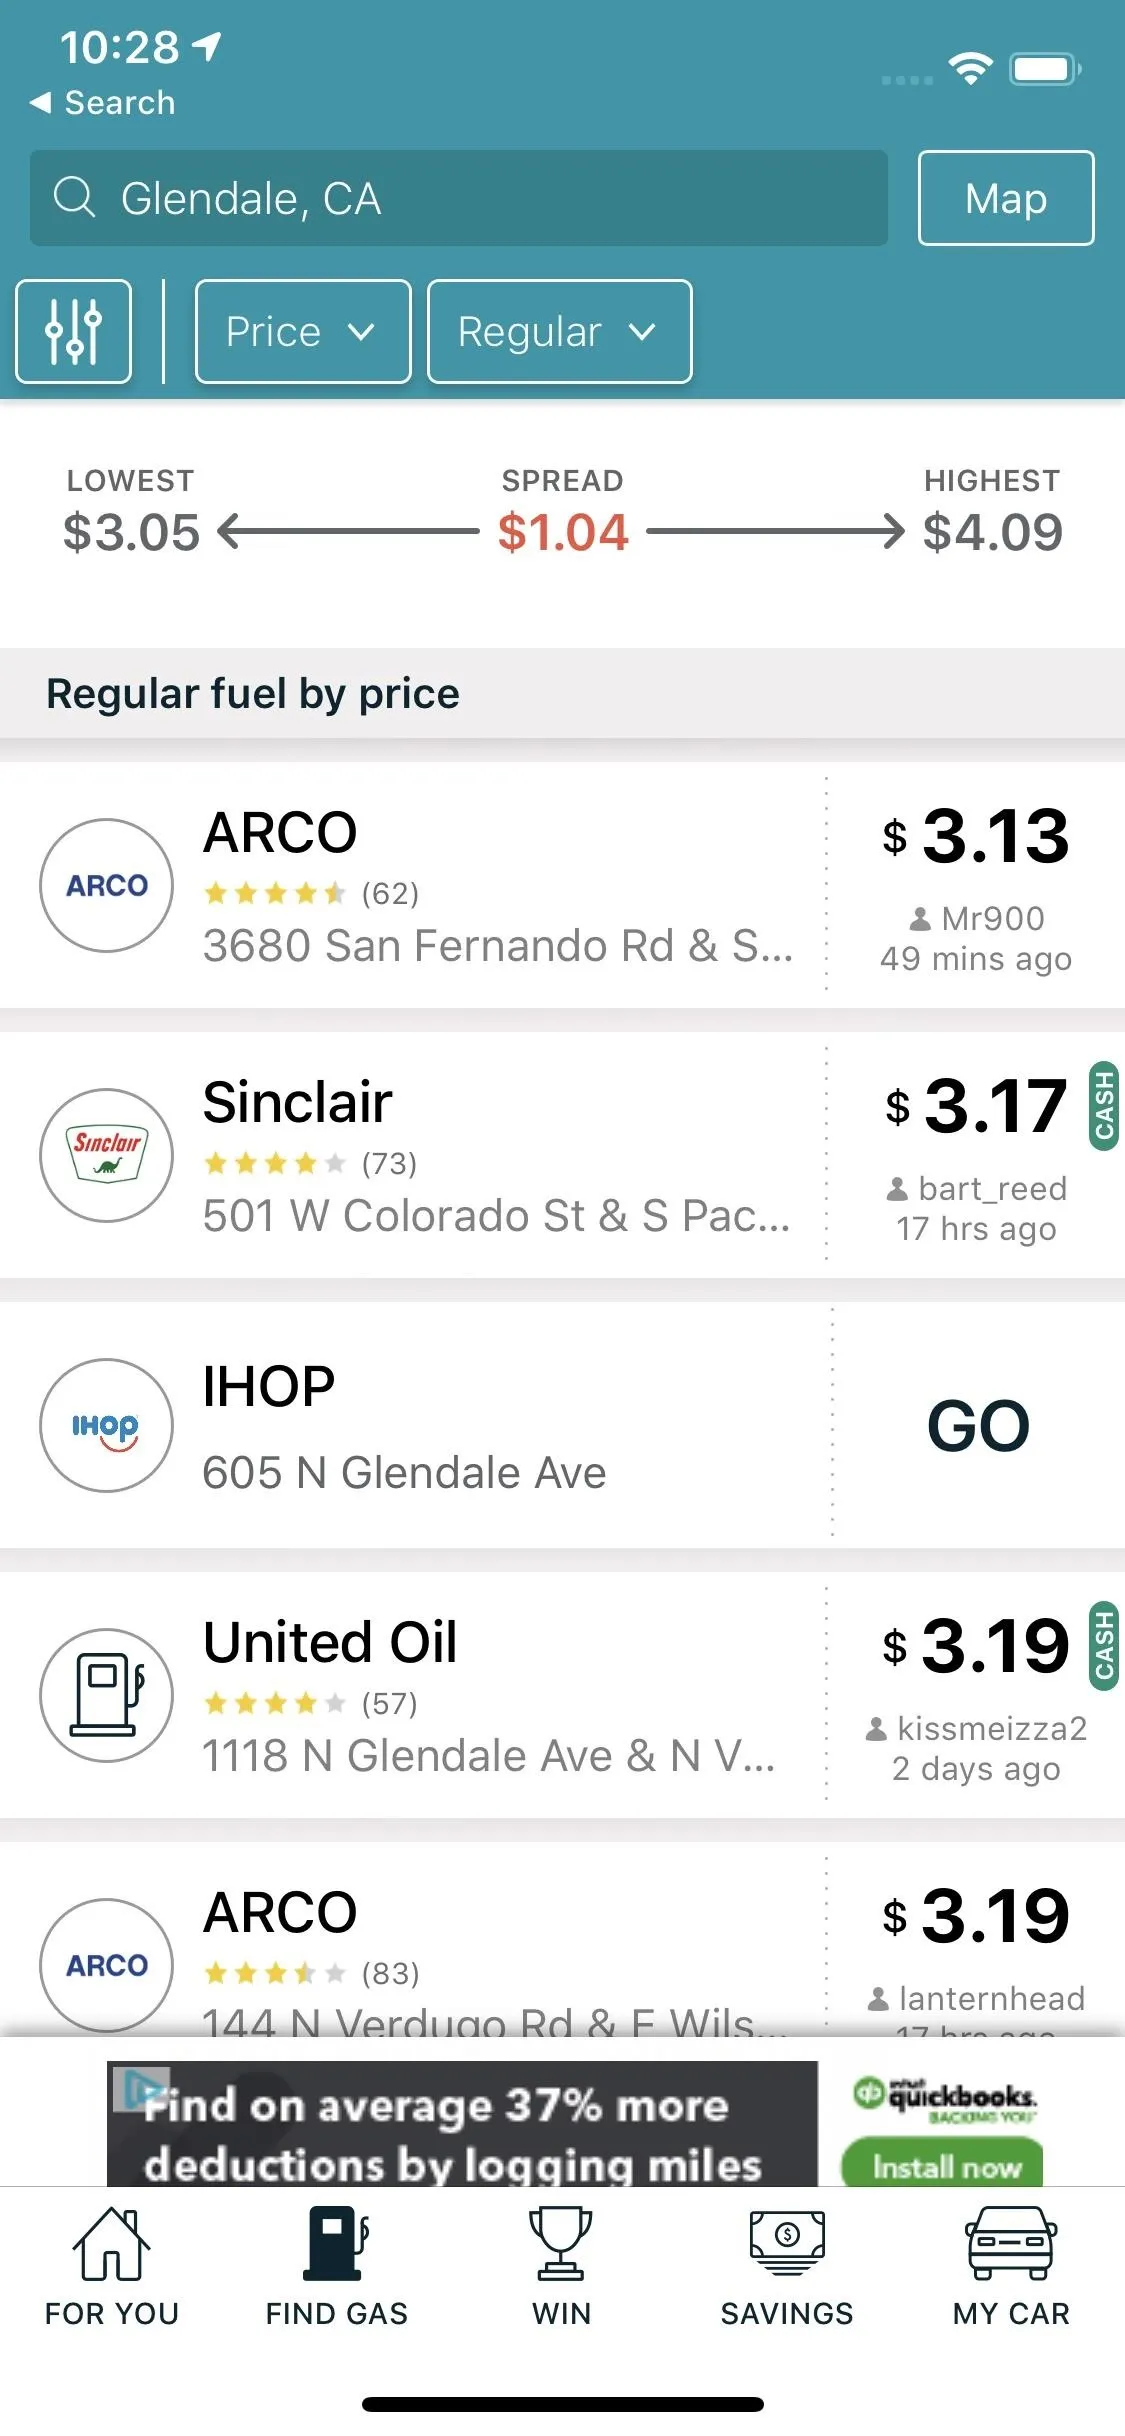
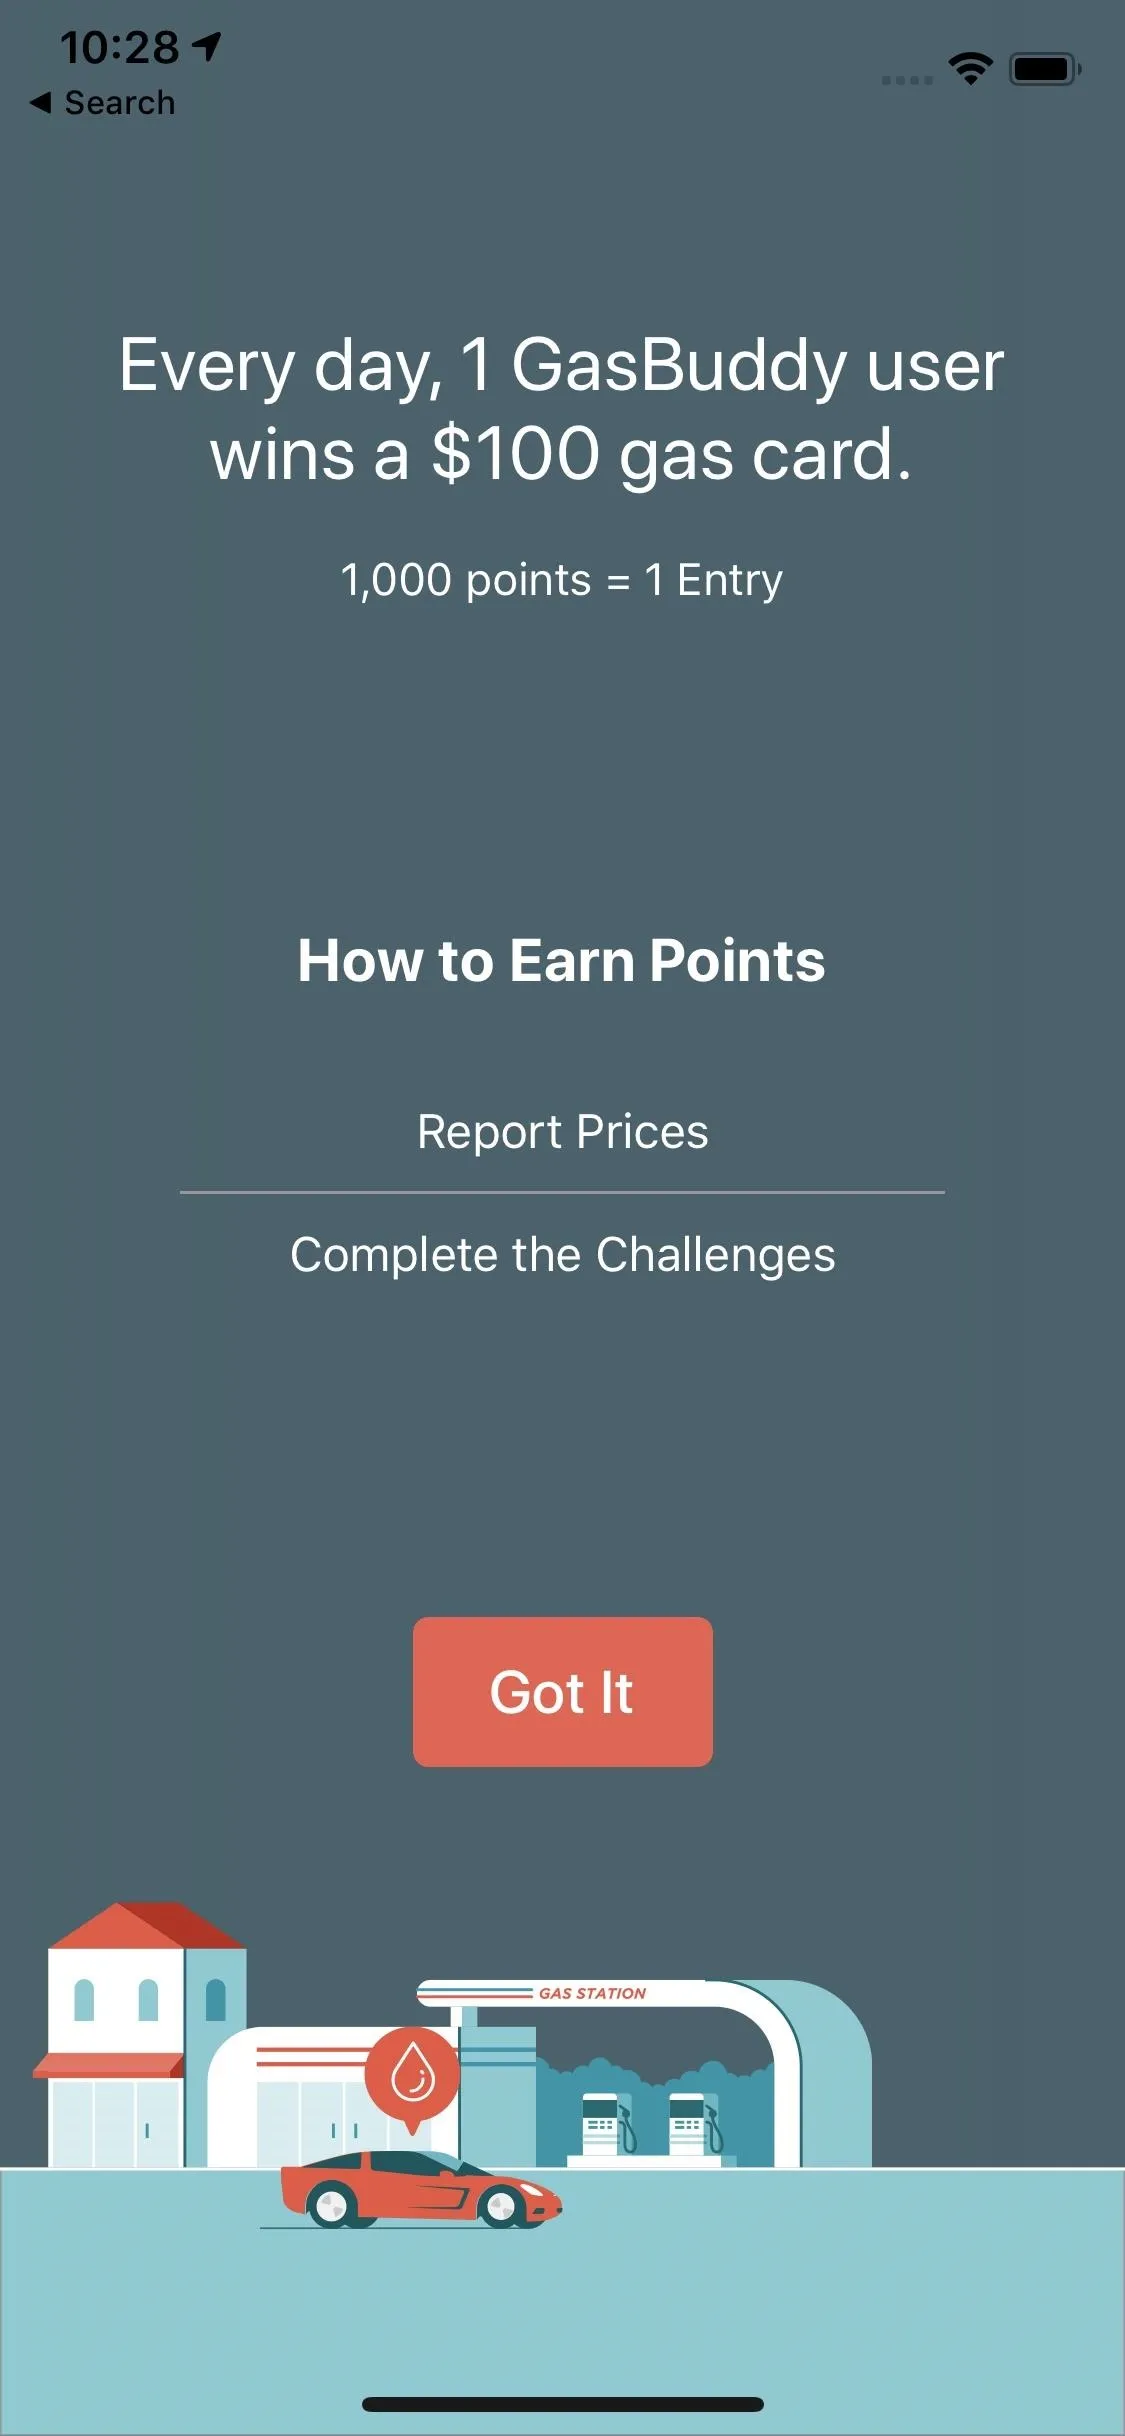
GasBuddy is a great solution for finding the cheapest gas in the US or Canada. Not only is it super easy to sort local gas stations from cheapest to most expensive, but the app also offers fun features, like "GasBack" rewards and challenges offering winners free gas. For other countries, you may have to just trust your gut, and Apple Maps, Google Maps, and the like can help you find the stations (Google Maps sometimes displays gas prices too, but not everywhere).
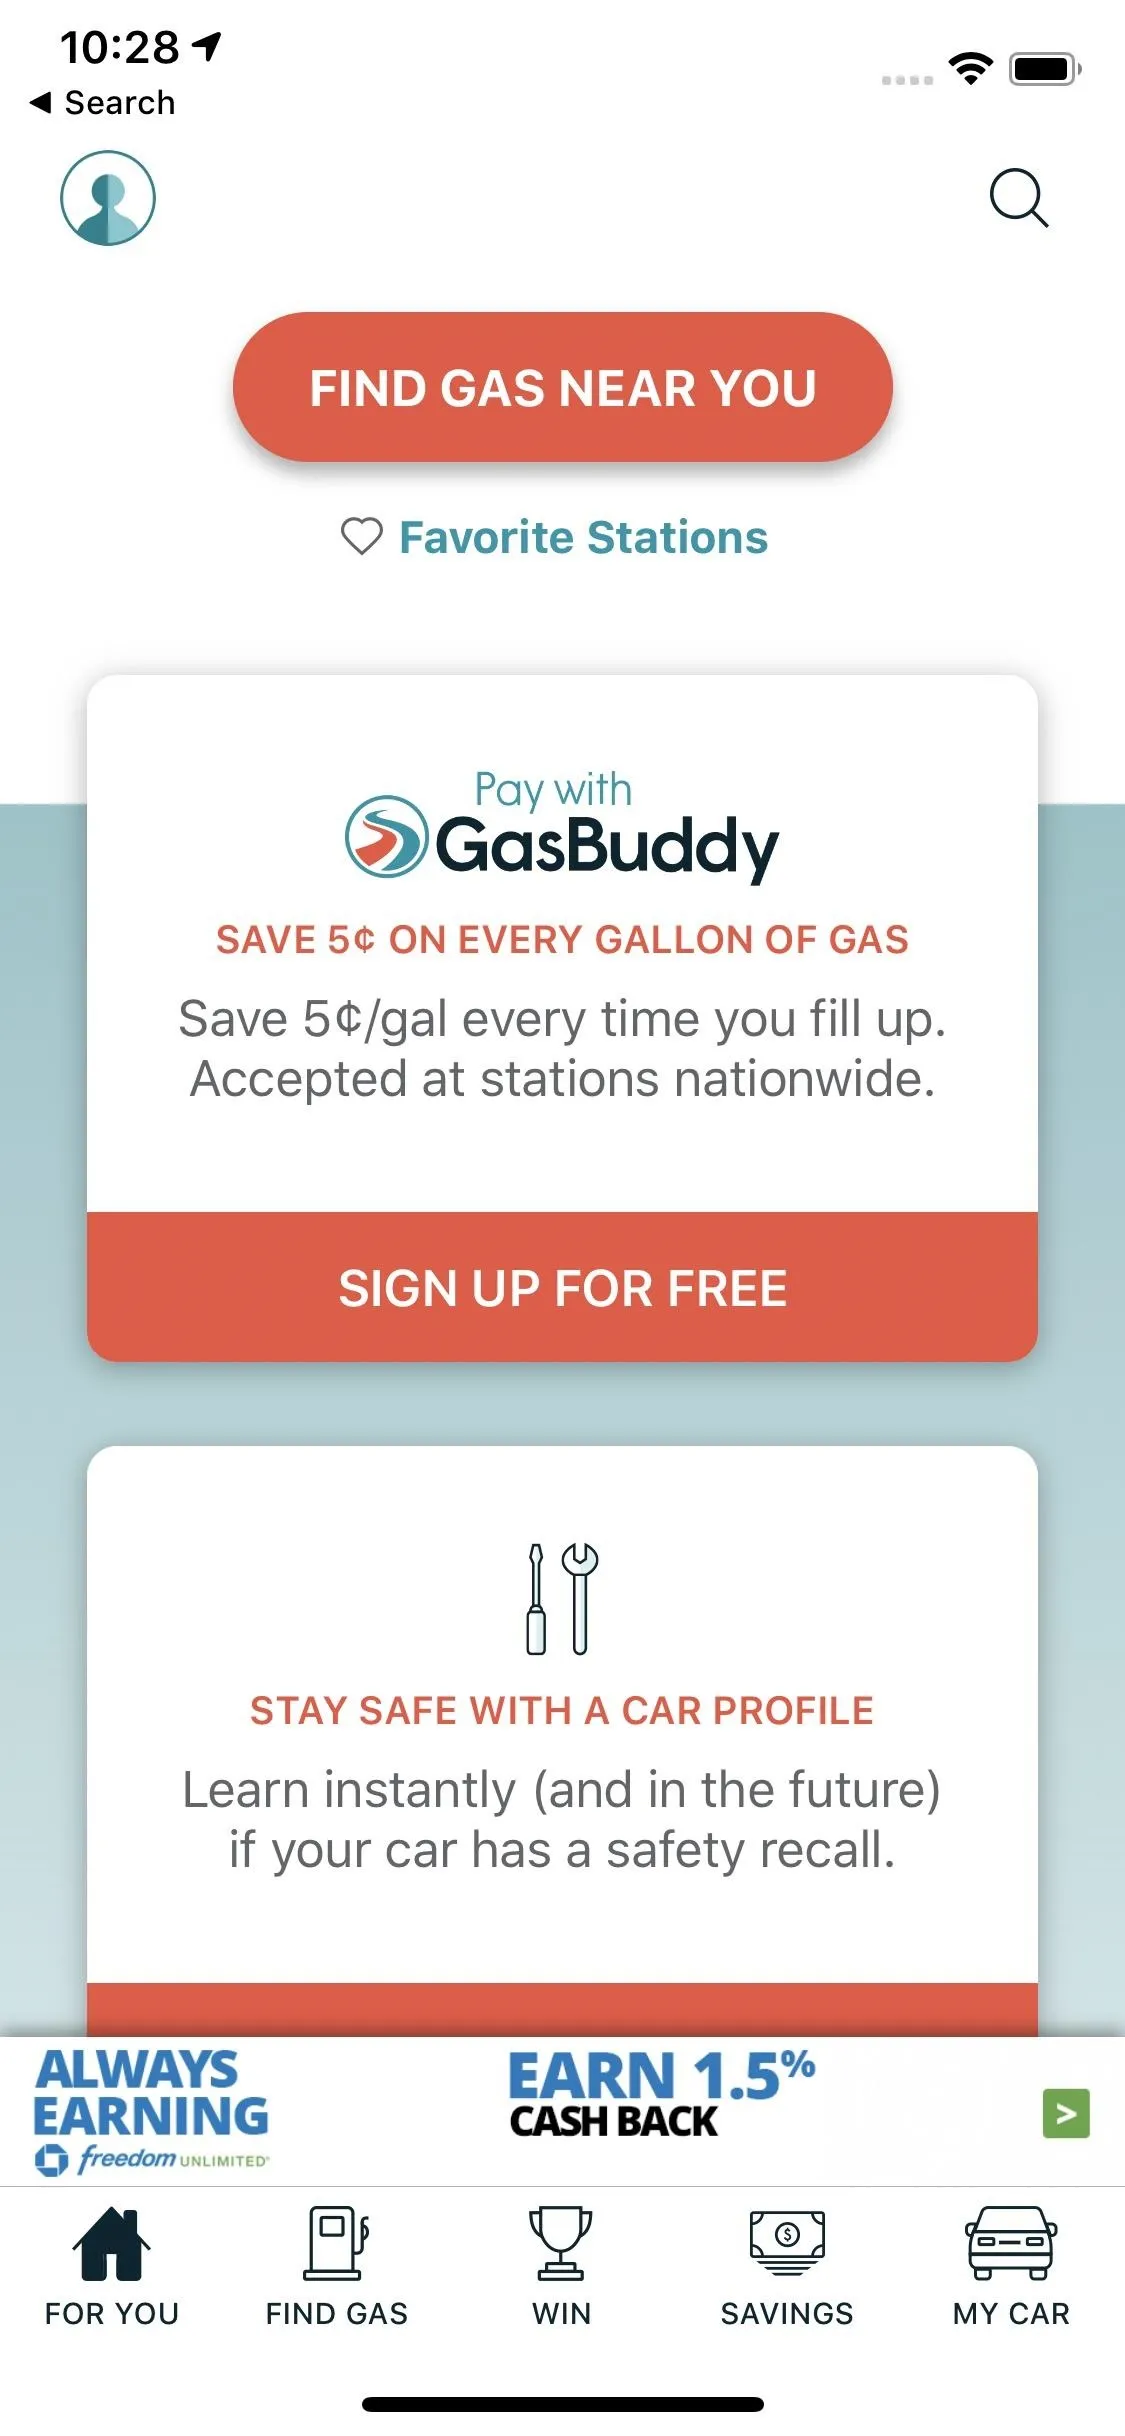
GasBuddy in use on an iPhone.
GasBuddy in use on an iPhone.
3. Use Language Translation Services
Easy — download Google Translate. There's nothing better for real-time communication. Using Google Translate's audio input, you can speak in English, and your friend can read your words in their native language. Then, they can speak in their language, and you can read what they're saying in English. This can all happen in a real-time conversation, no need to switch back-and-forth in the app.
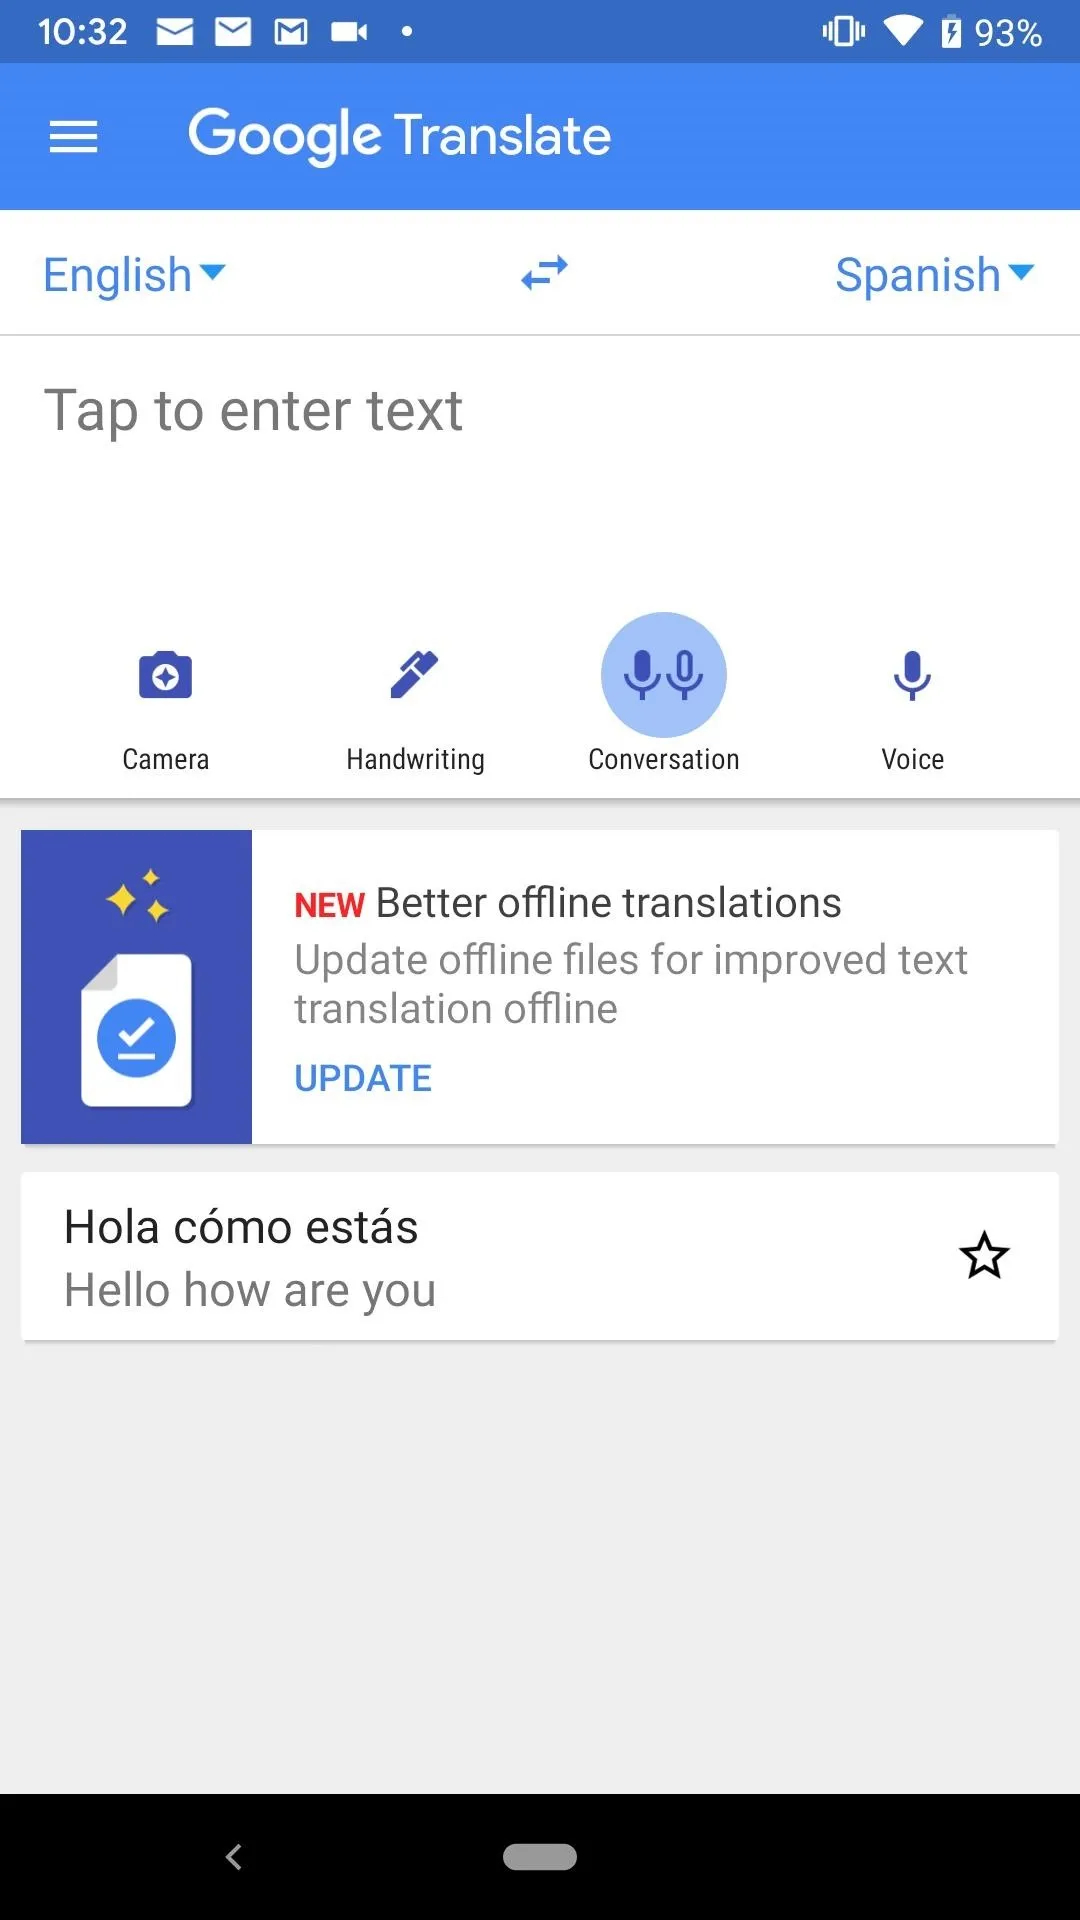
Google Translate works great on Android, but also on iOS.
Google Translate works great on Android, but also on iOS.
If you aren't in need of full conversations, your phone's digital assistant should do just fine. In fact, Google Assistant has Google Translate built right in, so you'll have access to Google's large library of languages. Siri, on the other hand, can now translate English into nine languages, and eight foreign languages into English — it's not nearly as useful as Google, but if you're on iOS, it's certainly better than nothing.
Learn Other Languages
If you have the time to dedicate to learning your temporary country's language, try downloading DuoLingo to pick up some vocab. DuoLingo offers you a fun and interactive way to learn languages, using bright illustration, smart lessons, and an overall engaging experience to do so. The app features 68 courses over 28 different languages, so there's a high chance the language you need is covered here.
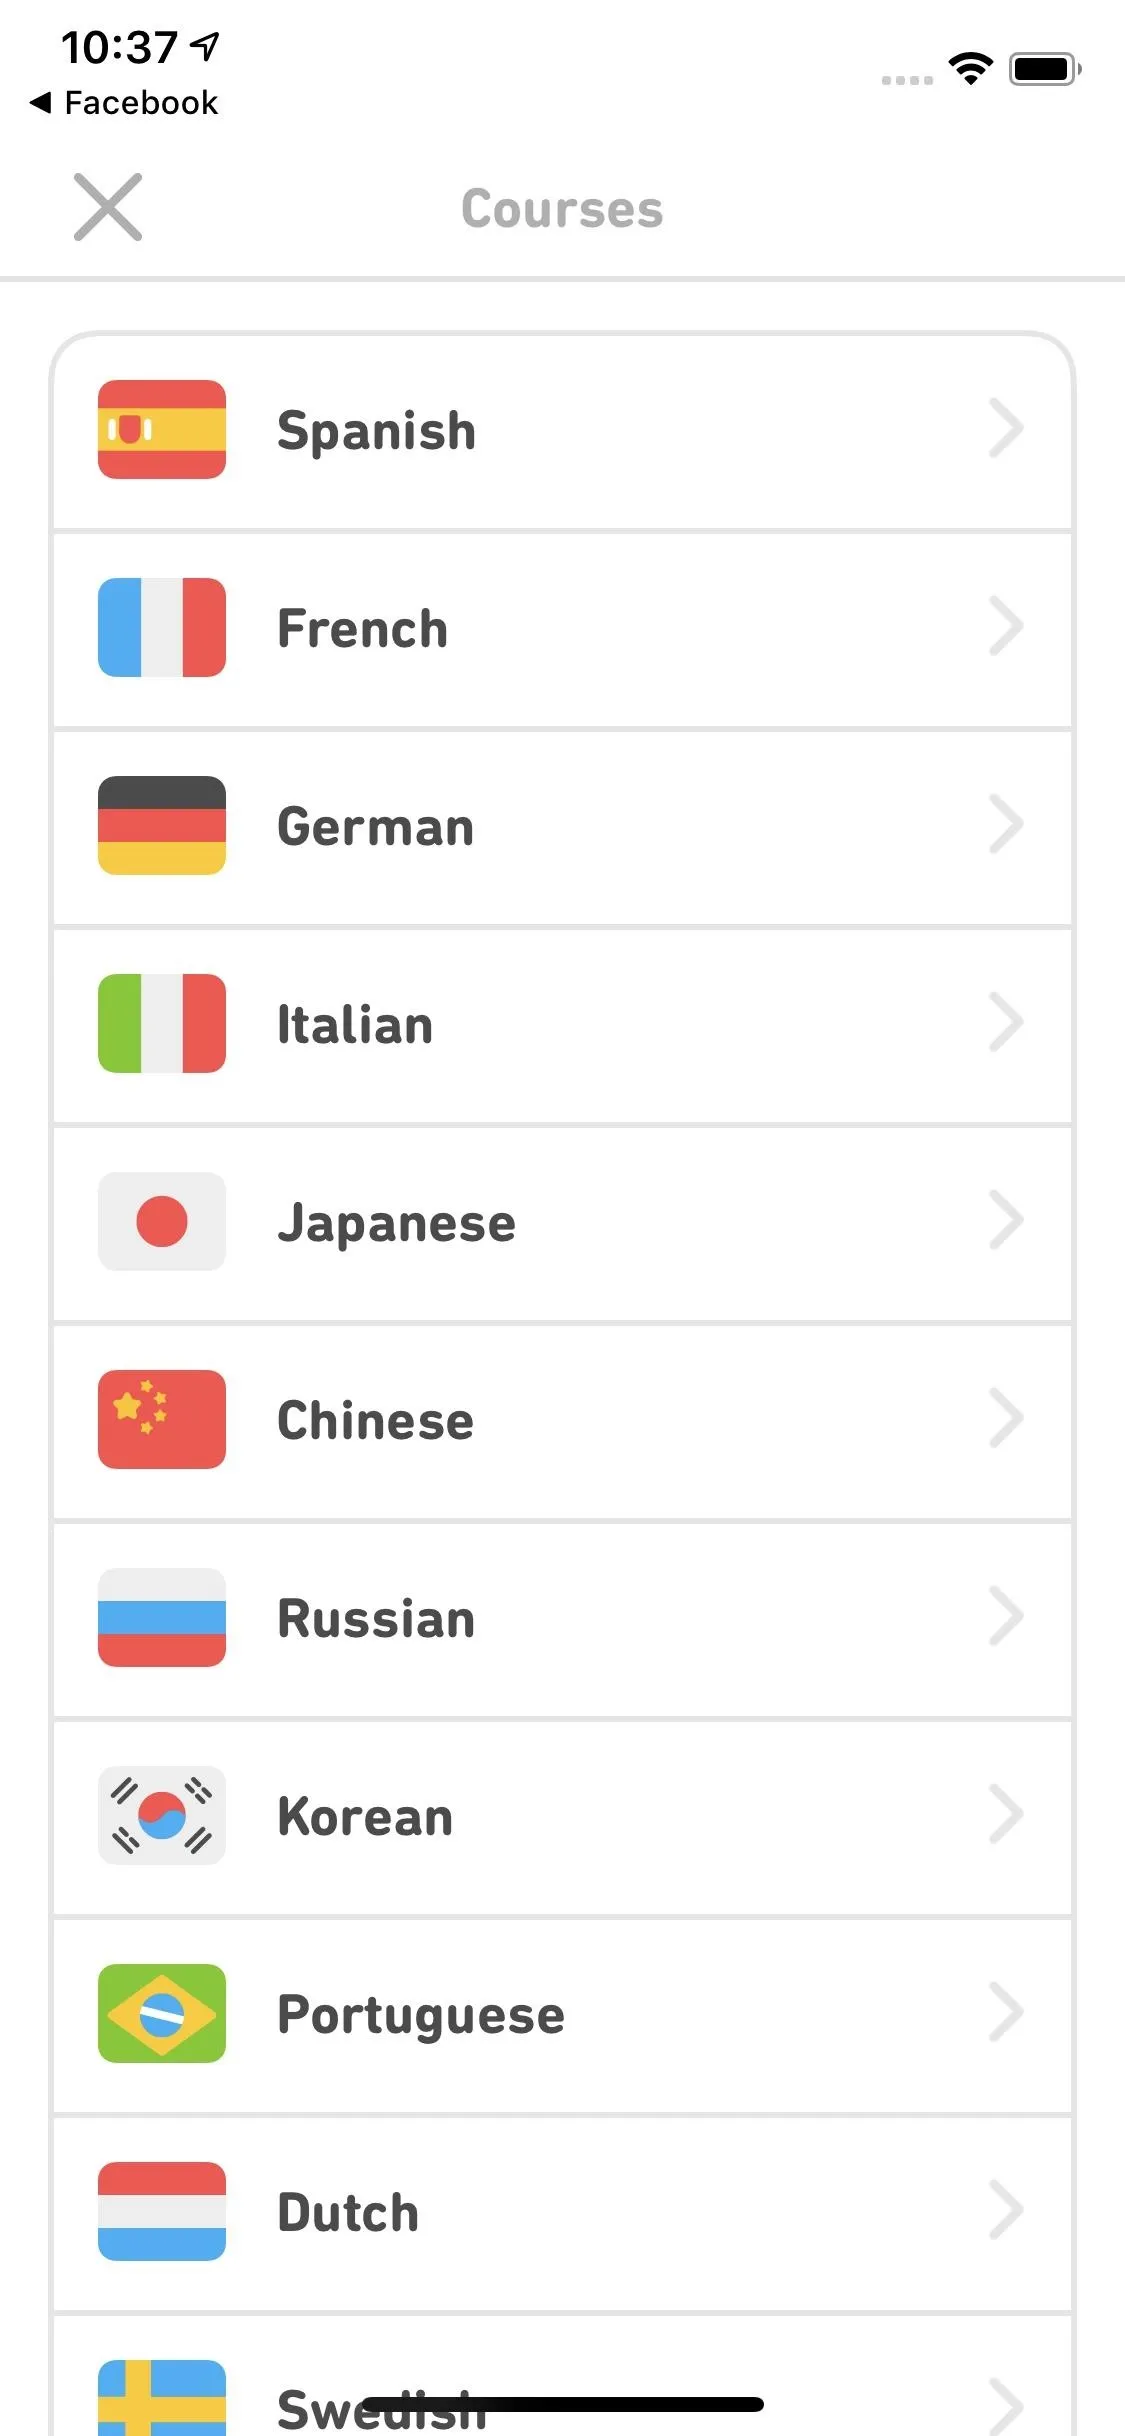
DuoLingo being used on an iPhone.
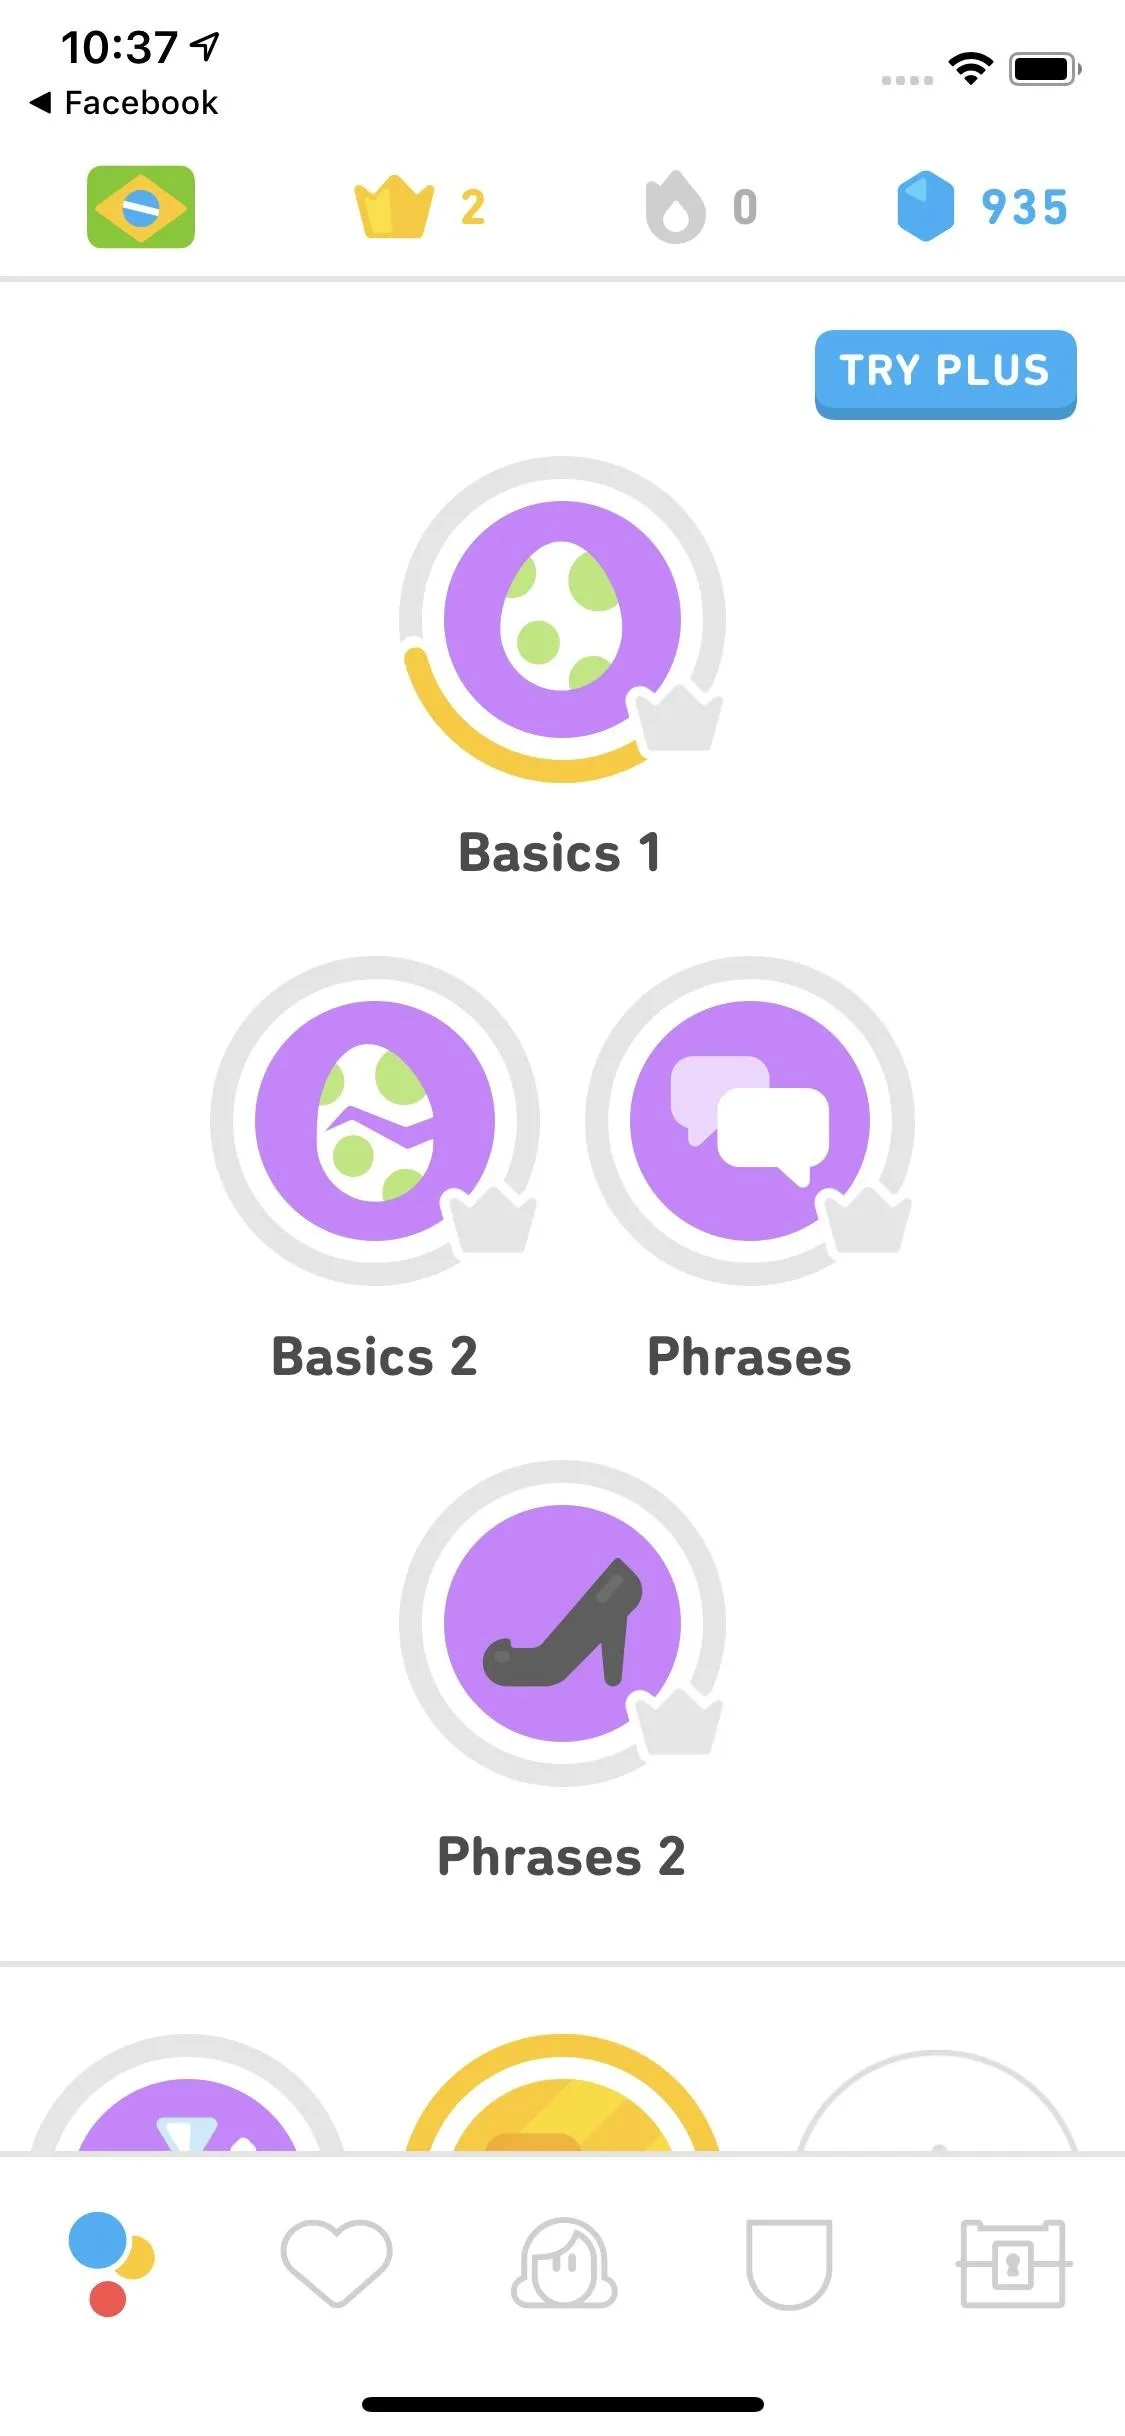
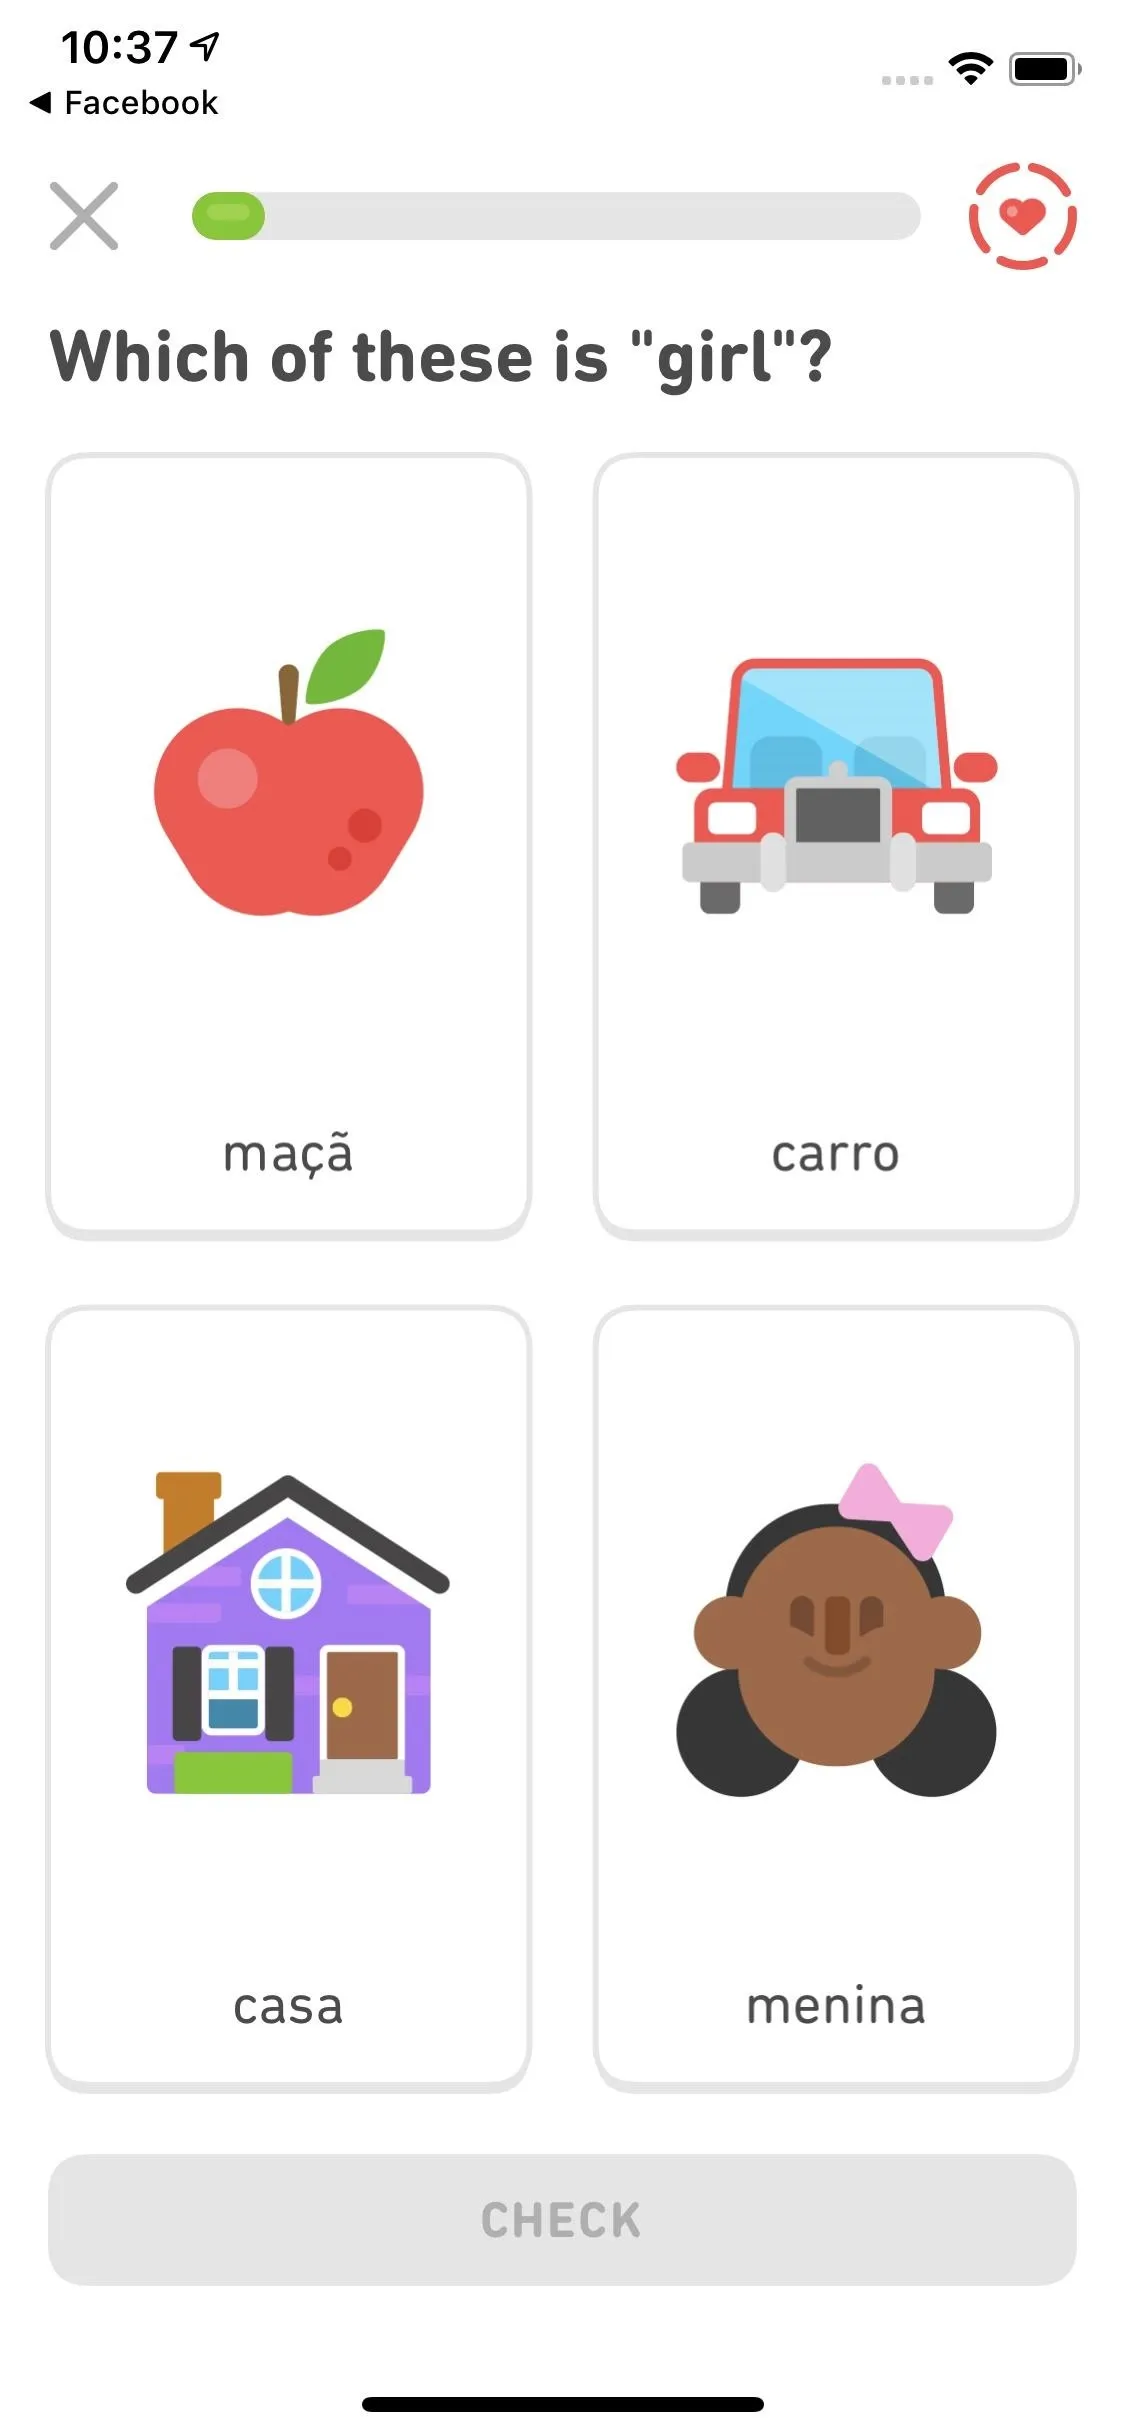
DuoLingo being used on an iPhone.
4. Find Cheap, Last-Minute Accommodations
Hotel plans fall through? Forget to book a room? Look, anything can happen when traveling abroad. Luckily, there's Hostelworld, an app that offers an easy way to book cheap hostels in your area. You book in-app, using your current location to find the cheapest yet highest-rated bookings around.
Even better, Hostelworld includes a feature called "Speak the World," translating up to 37 languages without needing to leave the app. If you forgot to download Google Translate, this option will certainly come in handy.
If you're looking for something a bit less bohemian, Airbnb can be a good option. Just make sure to double-check the reviews for each accommodation, and make sure you know what you're getting yourself into. Some units are private houses or apartments, but many times, you're simply renting a room in an occupied home.
5. Convert Measurement Units Abroad
Yes, America insists on using the imperial system while nearly the entire world relies on metric units. We're special, right? Unfortunately, that specialness doesn't make converting units easy. Who has time to change miles to kilometers in their head? Do you know how much 550 mL of beer is? No, of course not.
Enter: your phone. For quick conversions, just ask Siri or Google Assistant. For most conversions, you should have an answer as soon as you ask. Of course, sometimes you need something with more control. If you're looking to make some serious calculations, go with a true conversion app.
While the marketplace is rife with cheap apps for conversion, we've found one on each platform that's highly trusted amongst users. You should feel secure using whichever app applies to your phone.
- App Store Link: Unit Converter FREE (free)
- Play Store Link: ConvertPad (free)
Finding Cool Things to Do in a New Country
Getting to your destination is just half the battle. What you're going to do when you get there is the other half. New countries are daunting, and it can be difficult to know what the best things to do are just by winging it. Use the following apps, however, and you won't have to.
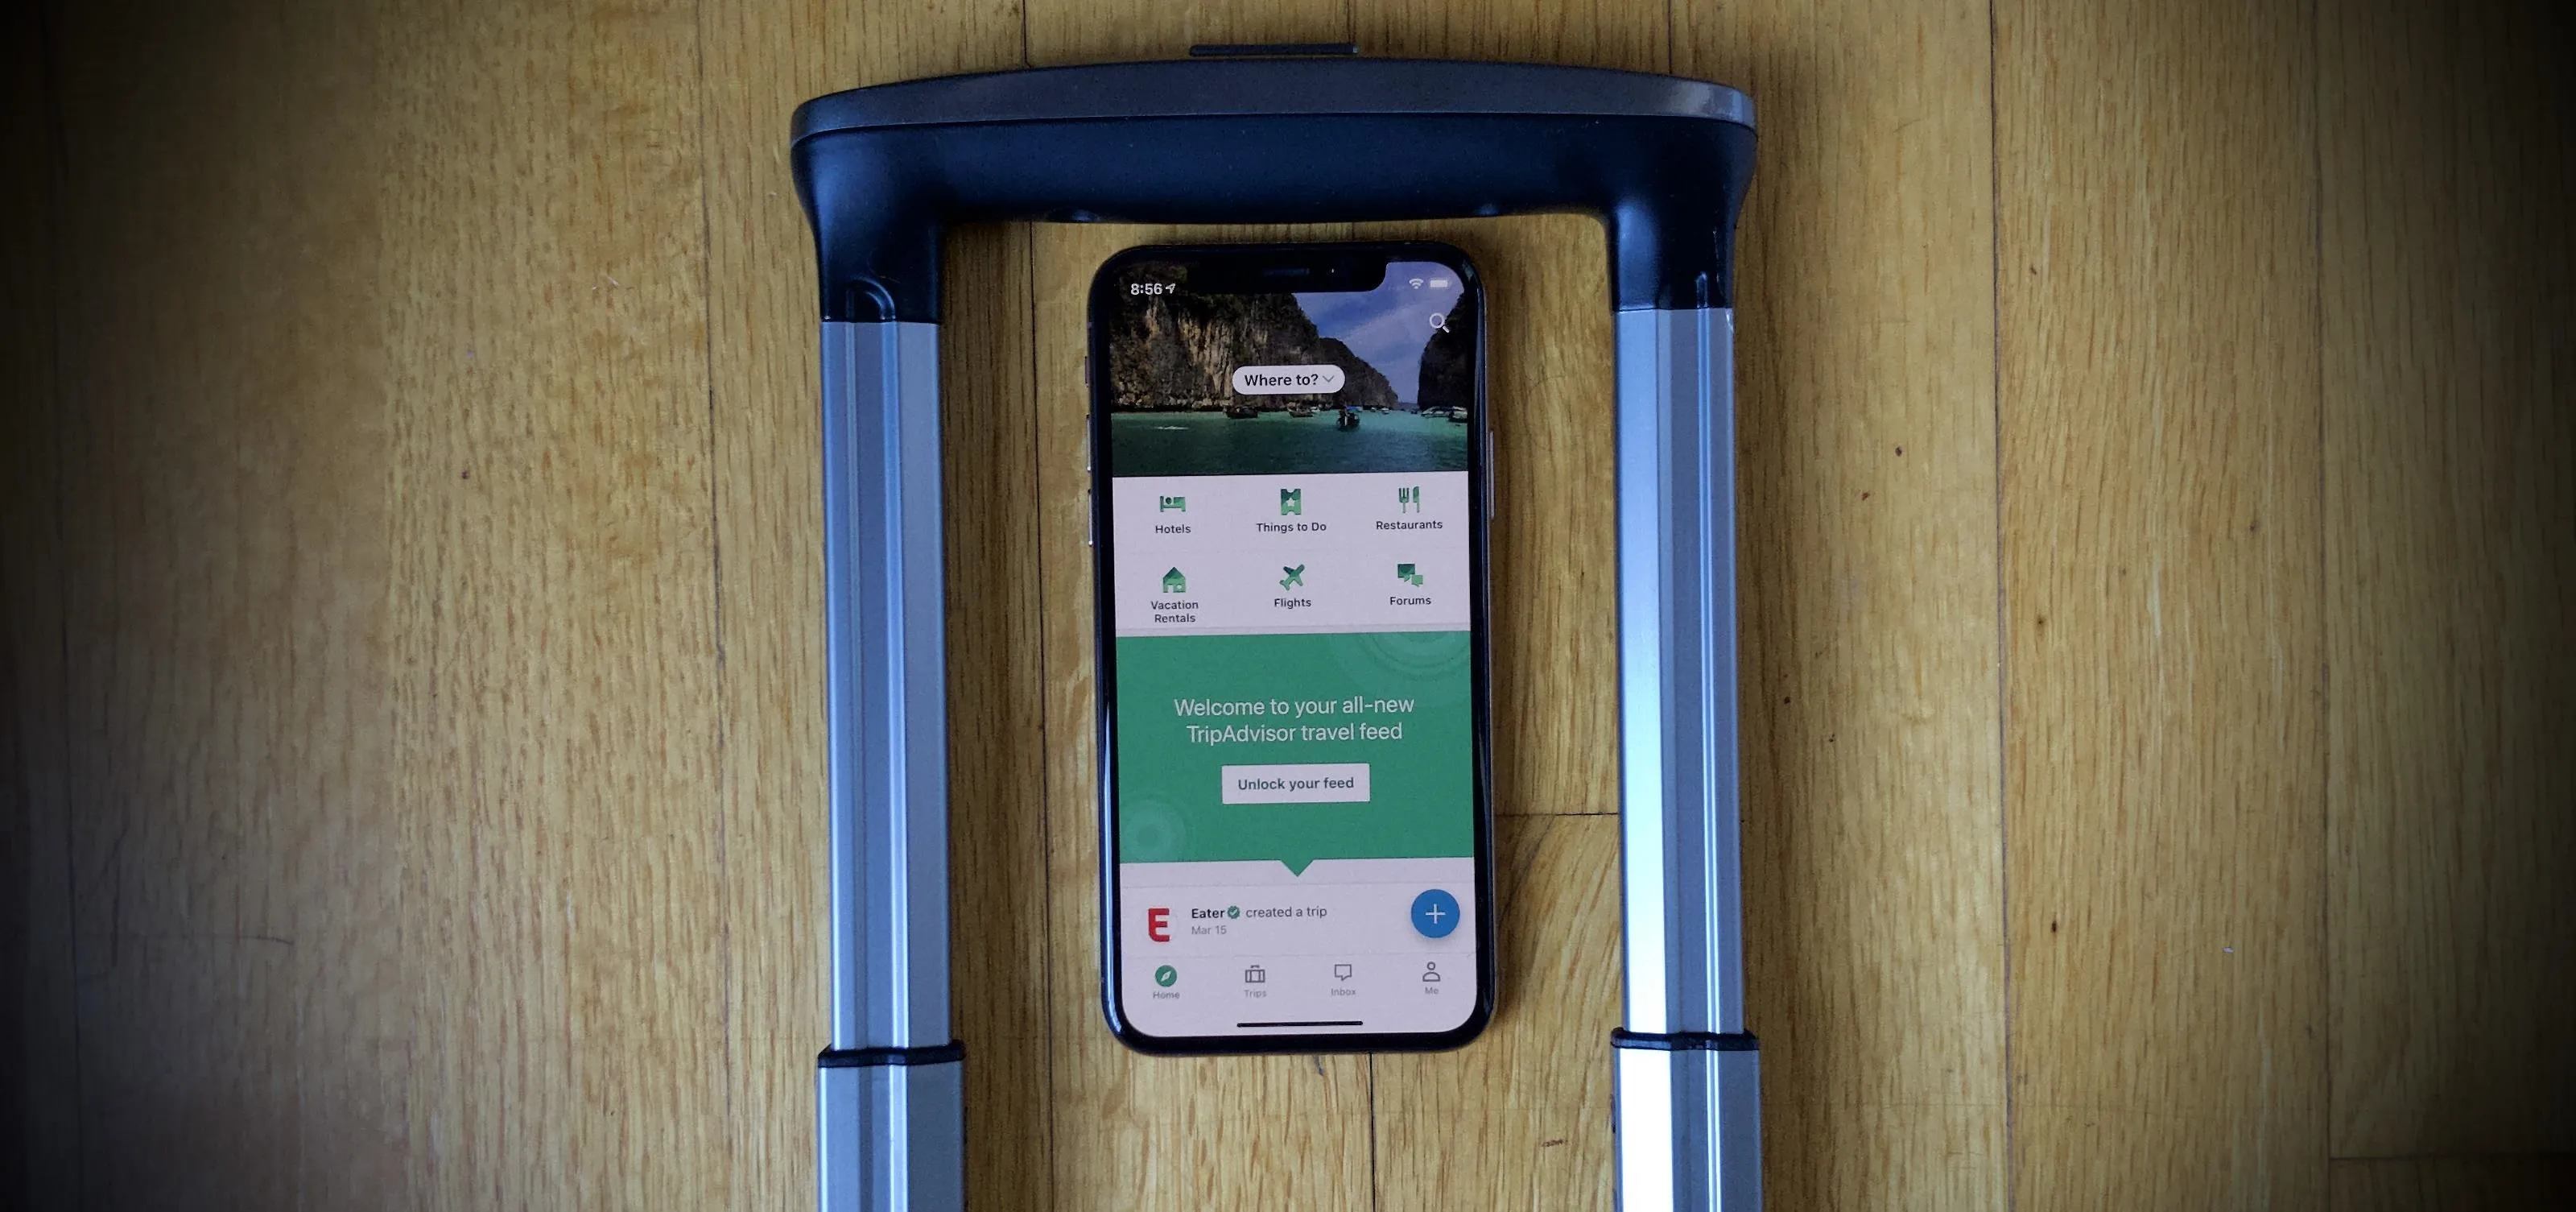
1. Let Review Apps Plan Your Entire Stay
Food, museums, tours, bars, hotspots, and more. Every country has its own, but it takes a local to know the best from the lame. Luckily, you don't need to actually know a local to find these places — just download a crowdsourced review app. Let people who have experienced your current country let you know what's what. If that bar sucks, they'll let you know. If that gelato stand rocks, you'll see that right away.
Undoubtedly, the international kings of digital tour guides are TripAdvisor and Yelp. In many, many countries, these two apps can be the difference between an incredible vacation and one where you get food poisoning.
Yelp on iOS (left) vs. TripAdvisor on Android (right).
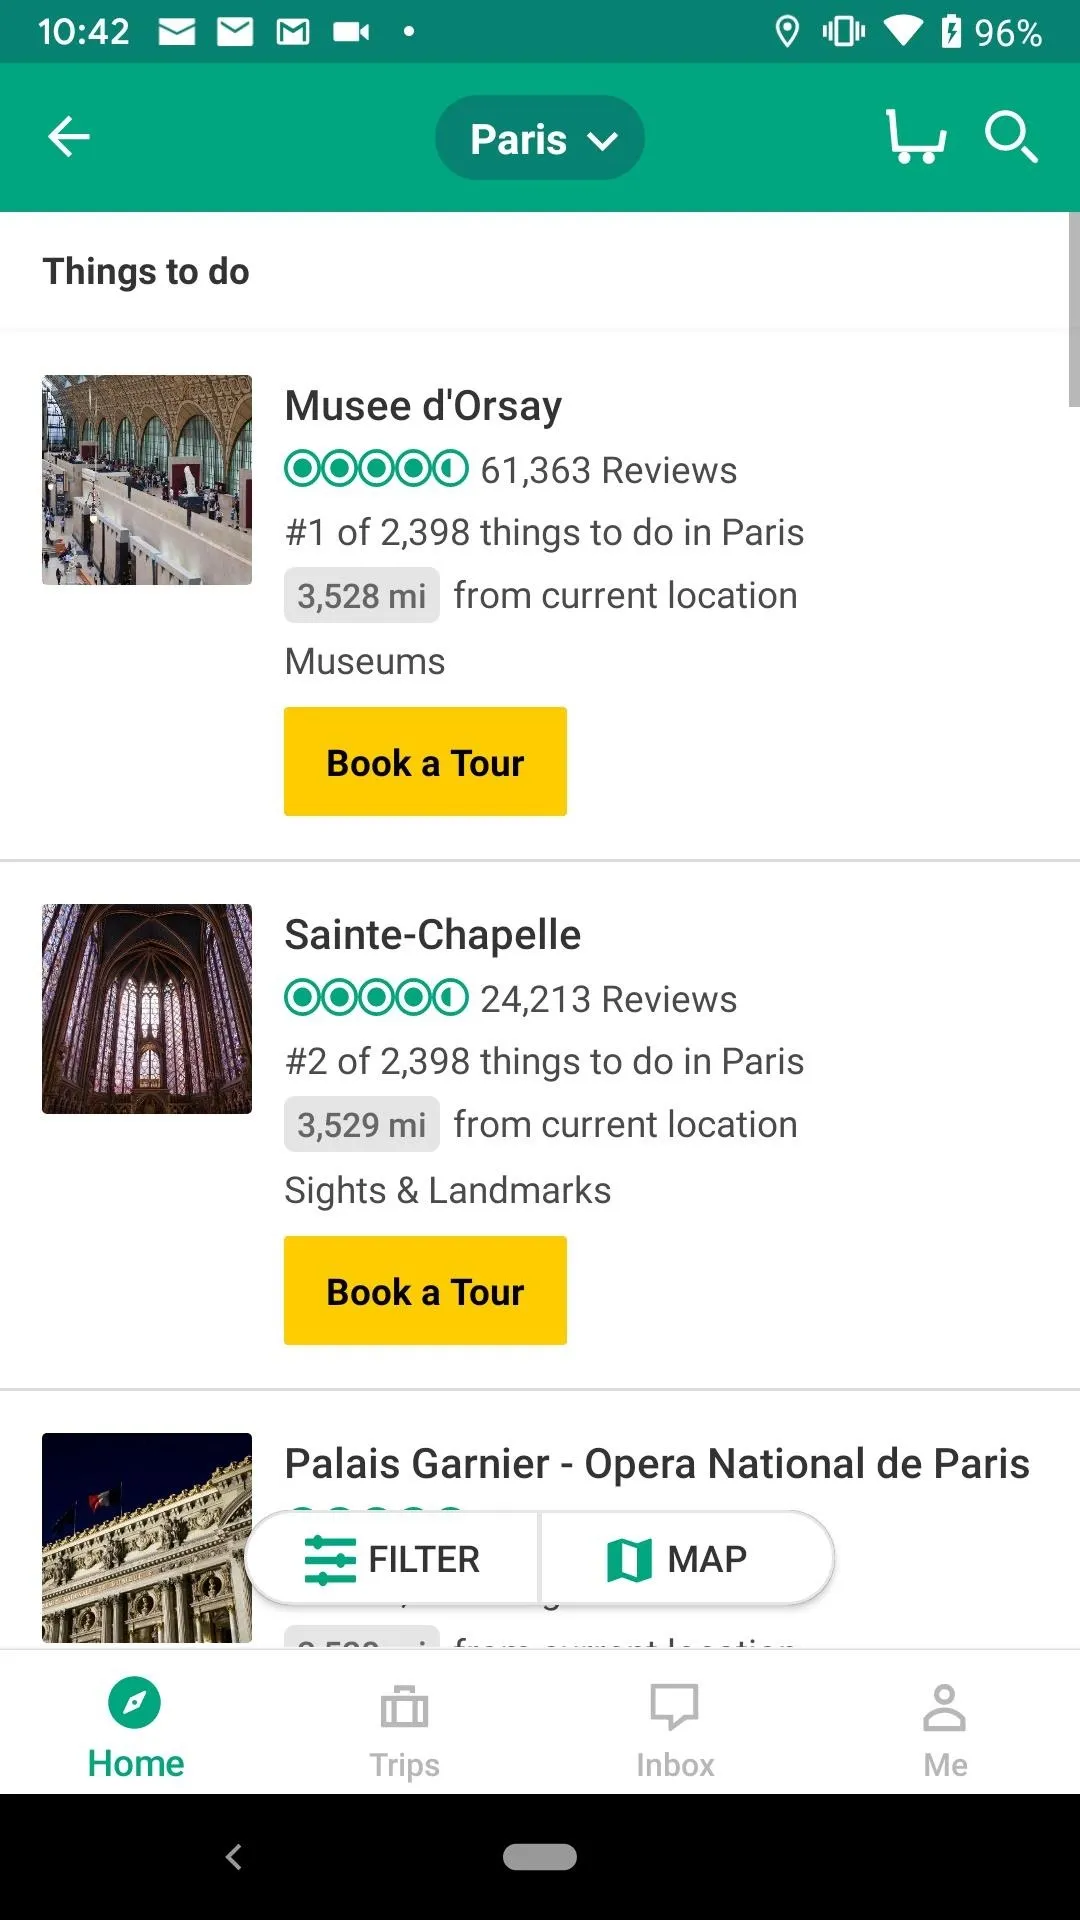
Yelp on iOS (left) vs. TripAdvisor on Android (right).
Of course, there are other options than these apps for help getting around. Navigation apps do more than GPS — Apple Maps shows reviews from popular local apps such as Yelp, TripAdvisor, Foursquare, and Pages Jaunes, and lets you book tables directly in-app. Google Maps shows Google Reviews, a highly popular platform which can be extremely helpful when trying to book dinner or an event. You can even buy tickets like you can with TripAdvisor.
2. Try More Local-Specific Review Apps
So, your temporary country doesn't support Yelp and Apple Maps isn't much help. Bummer. Before you wander into restaurants willy-nilly, think — what would the locals use? For example, OpenRice is the Yelp of Asia, Zomato has the market concerned in Australia and New Zealand, and FoodPanda covers a wide variety of countries like Austria, Canada, Finland, France, India, Bulgaria, Singapore, Hong Kong, and Pakistan.
When it comes down to it, you need to do a little research into the country you're heading to. What food apps does it support? Download whichever ones it does, and you'll be eating like a king.
- Install OpenRice: Android (free) | iOS (free)
- Install Zomato: Android (free) | iOS (free)
- Install FoodPanda: Android (free) | iOS (free)
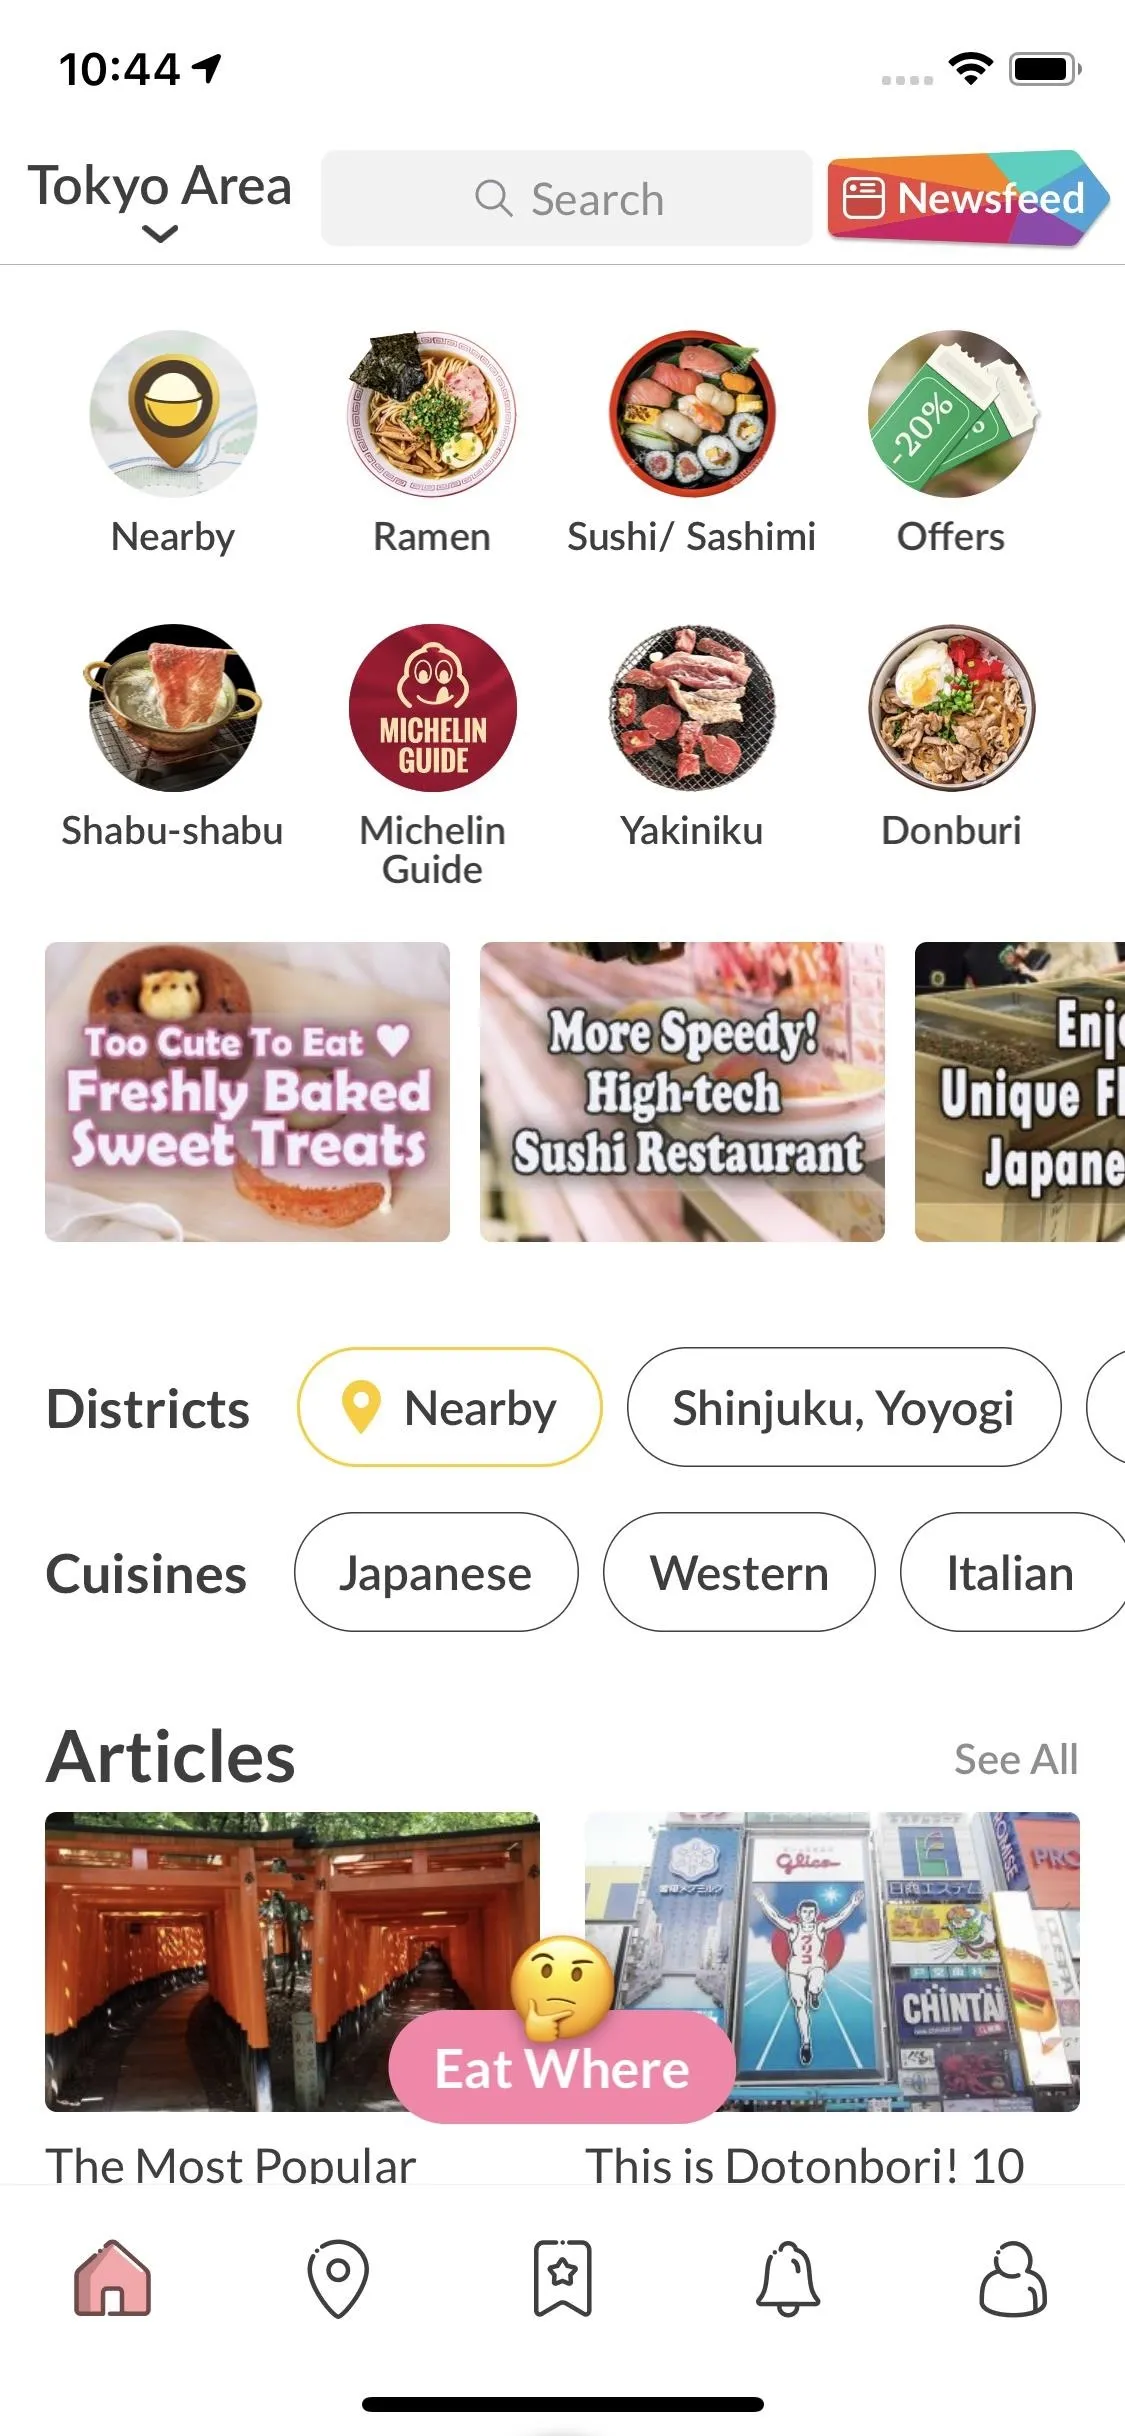
OpenRice (left), Zomato (middle), FoodPanda (right).
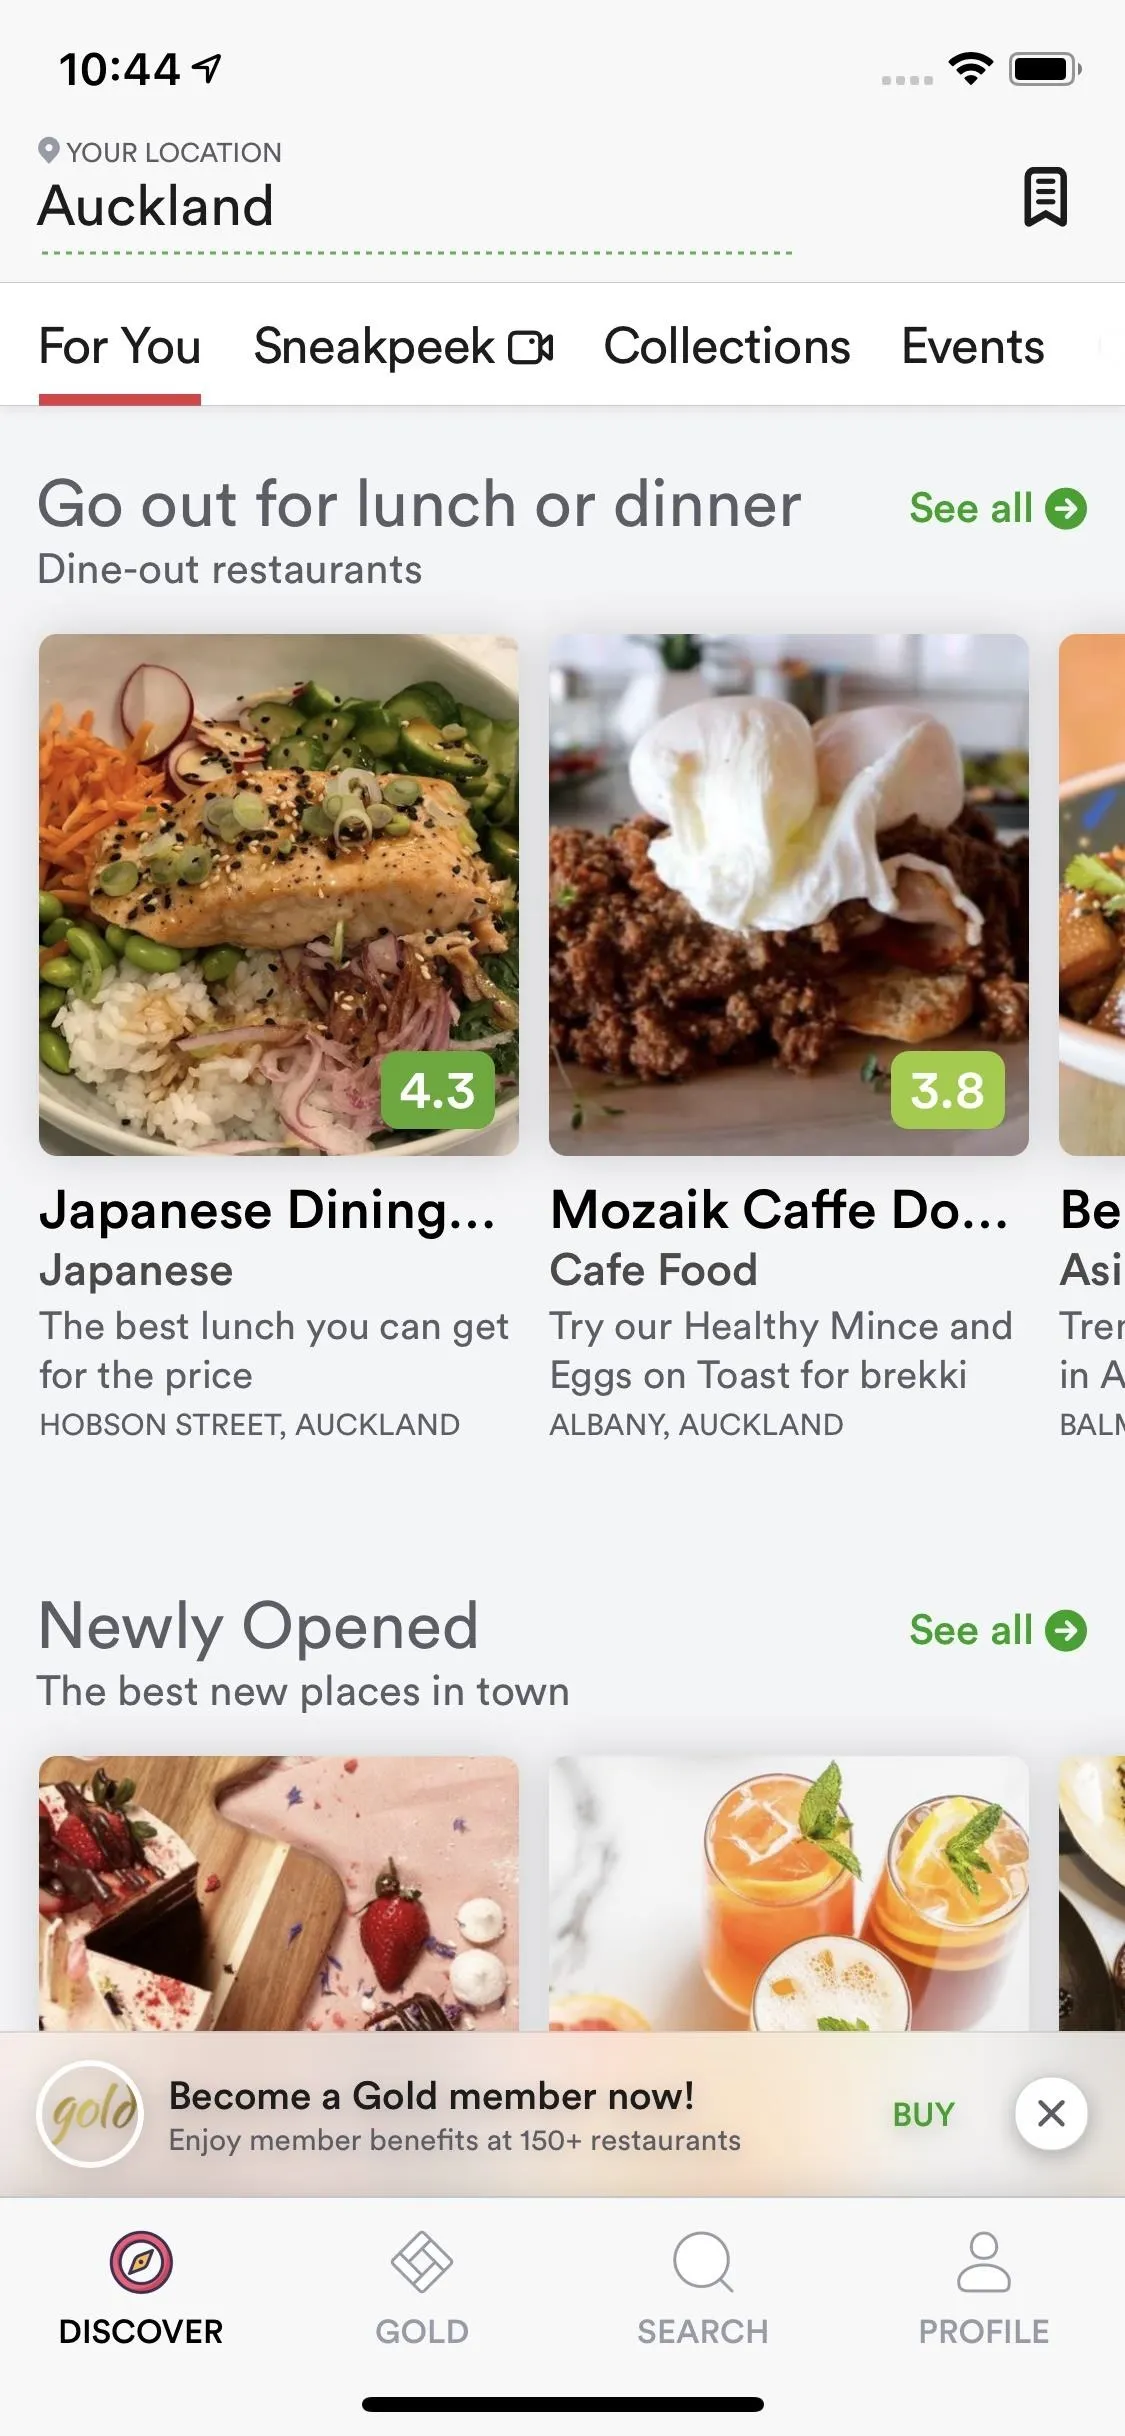
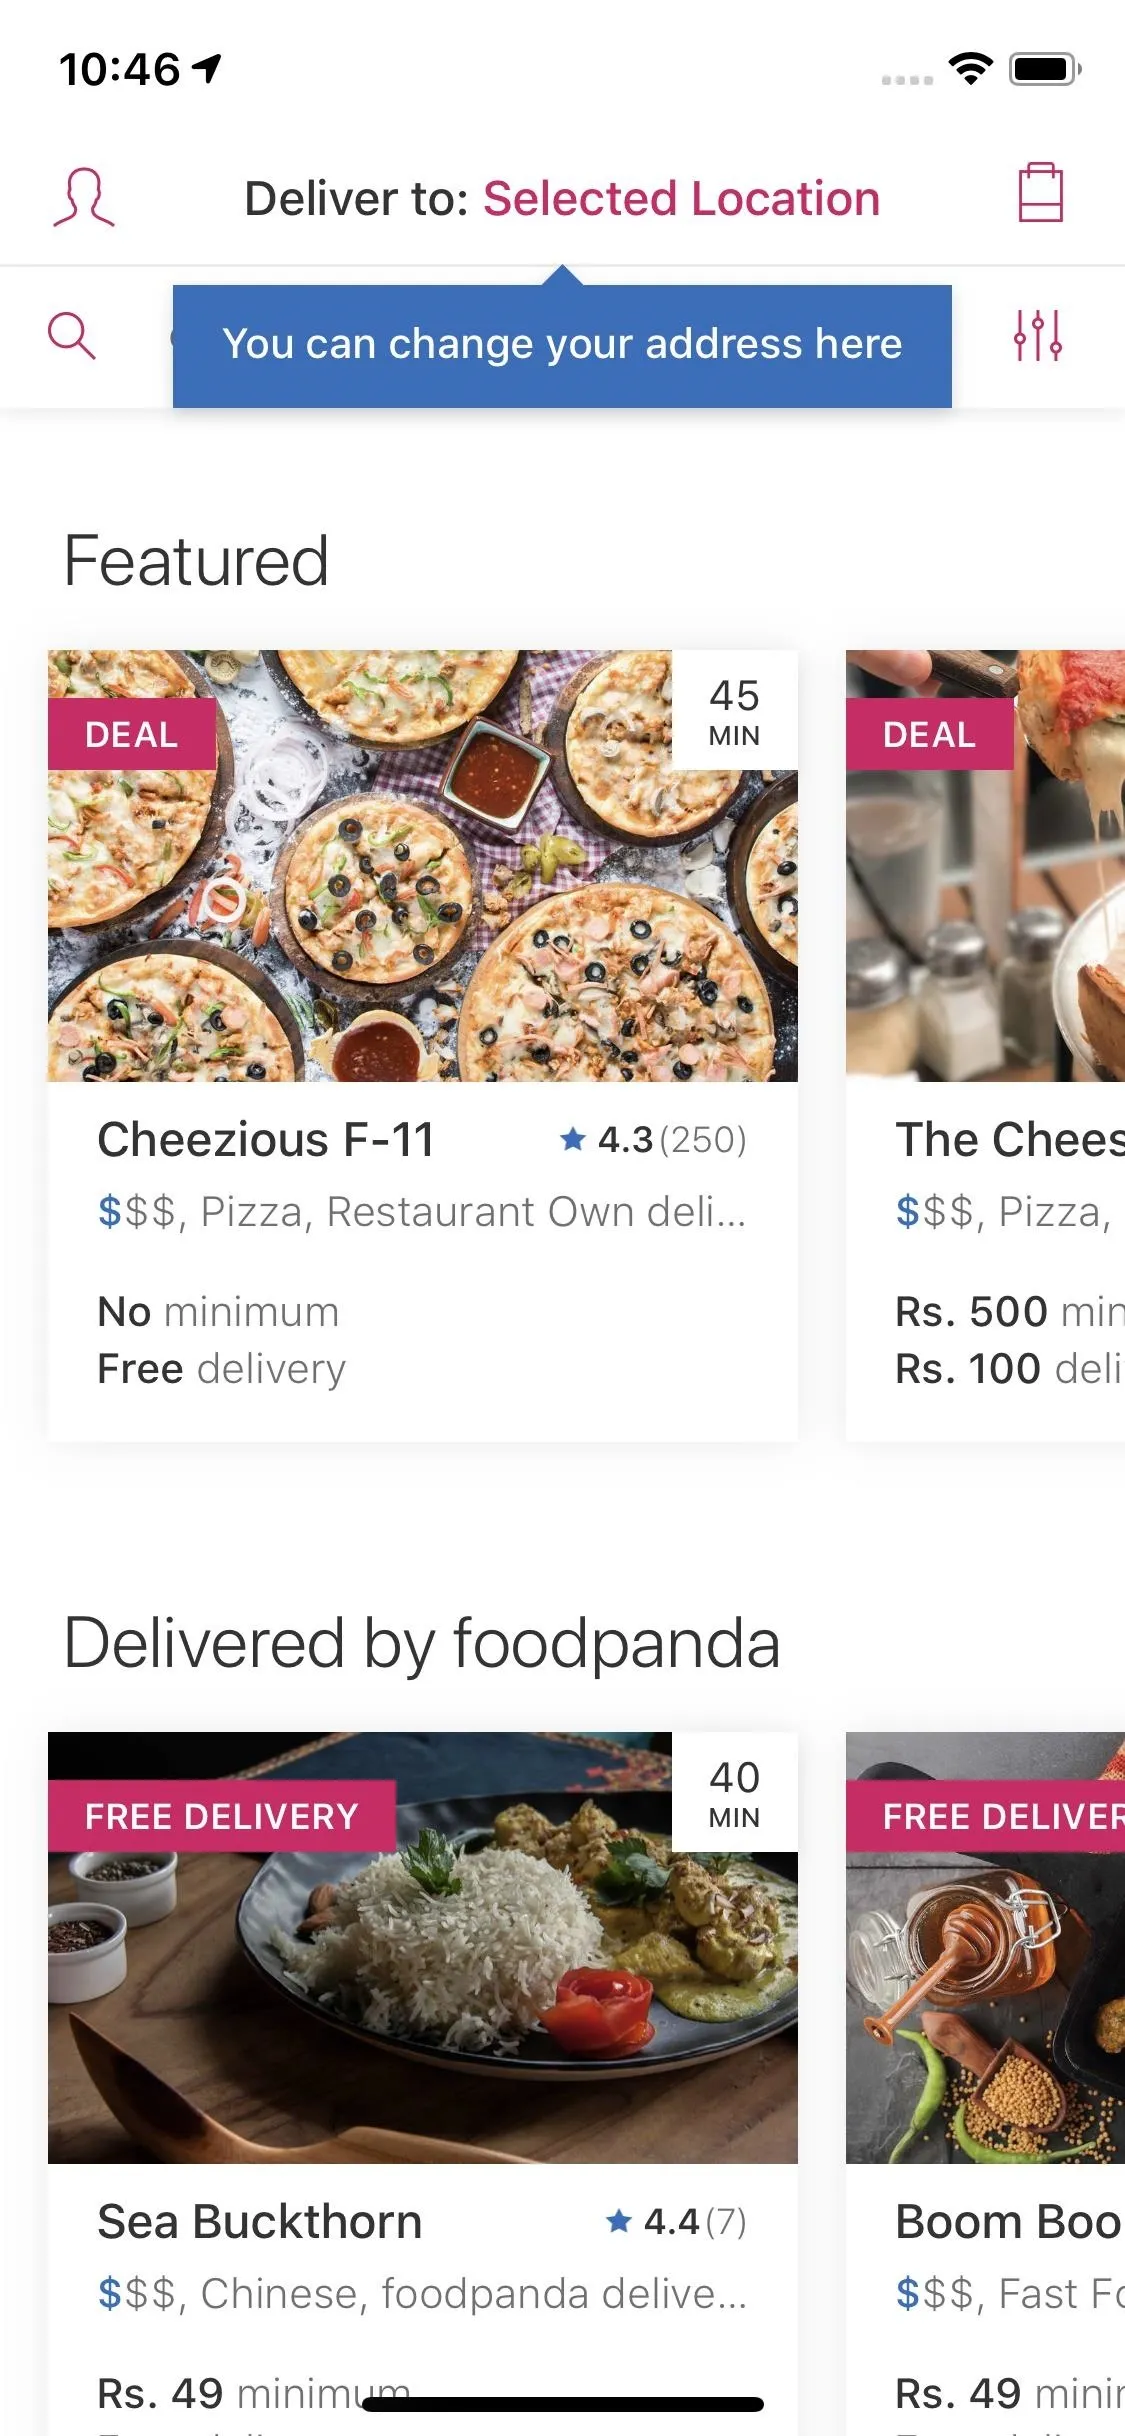
OpenRice (left), Zomato (middle), FoodPanda (right).
3. Be Led by a Pro with Travel Guides
While the above apps are all great in their own right, sometimes it's best to ask a professional. True travel guide apps are fantastic ways of hearing from experts in the city you're visiting. These apps use true-and-tested testimonials from people who know the cities inside and out. You know you're in good hands when you use one of these apps.
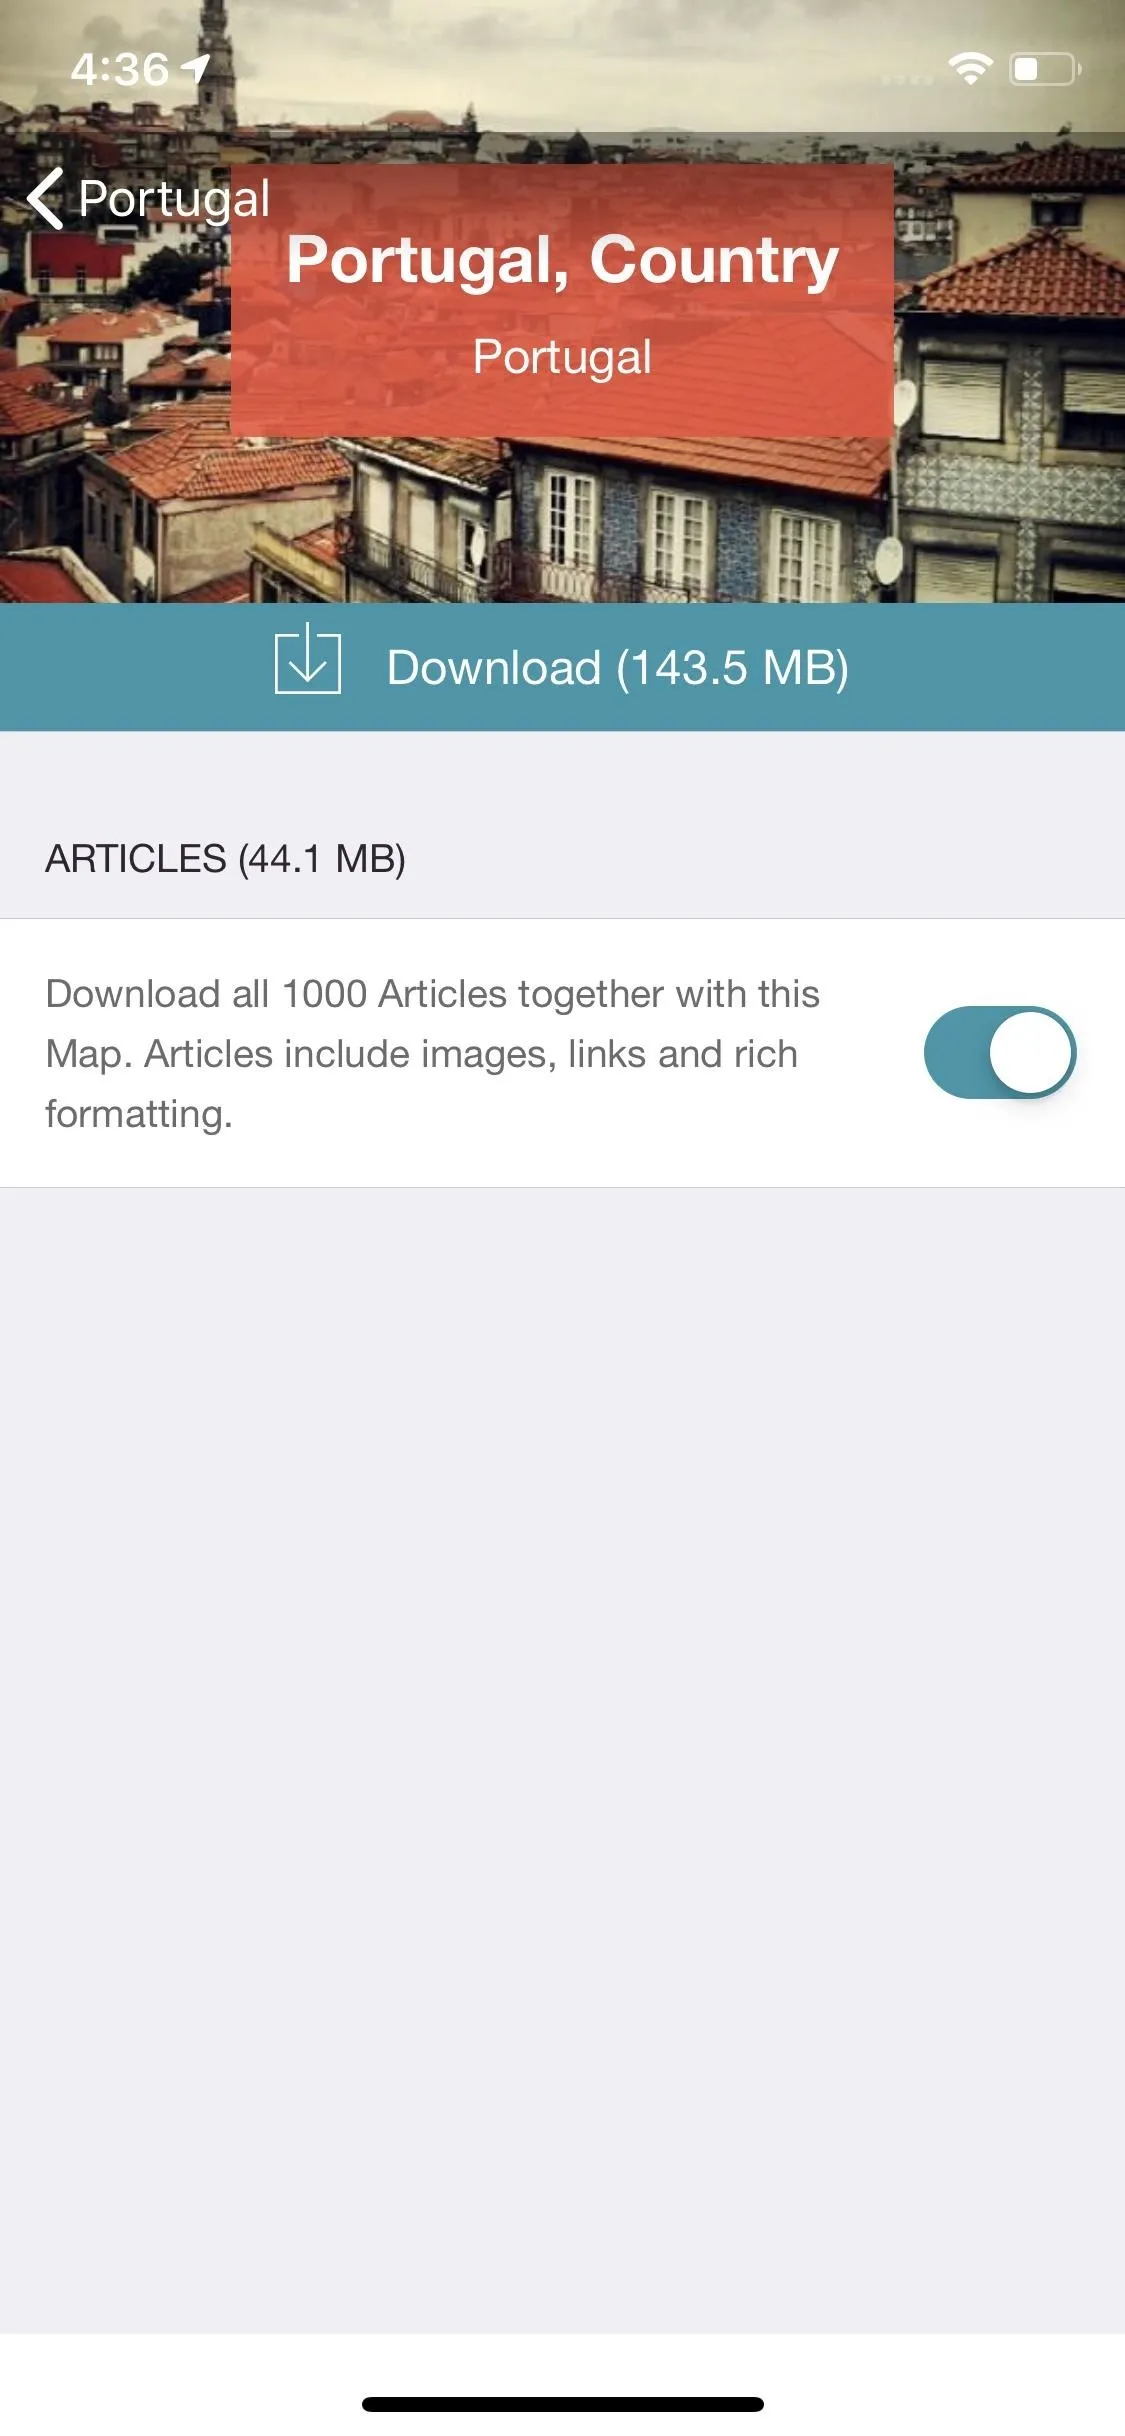
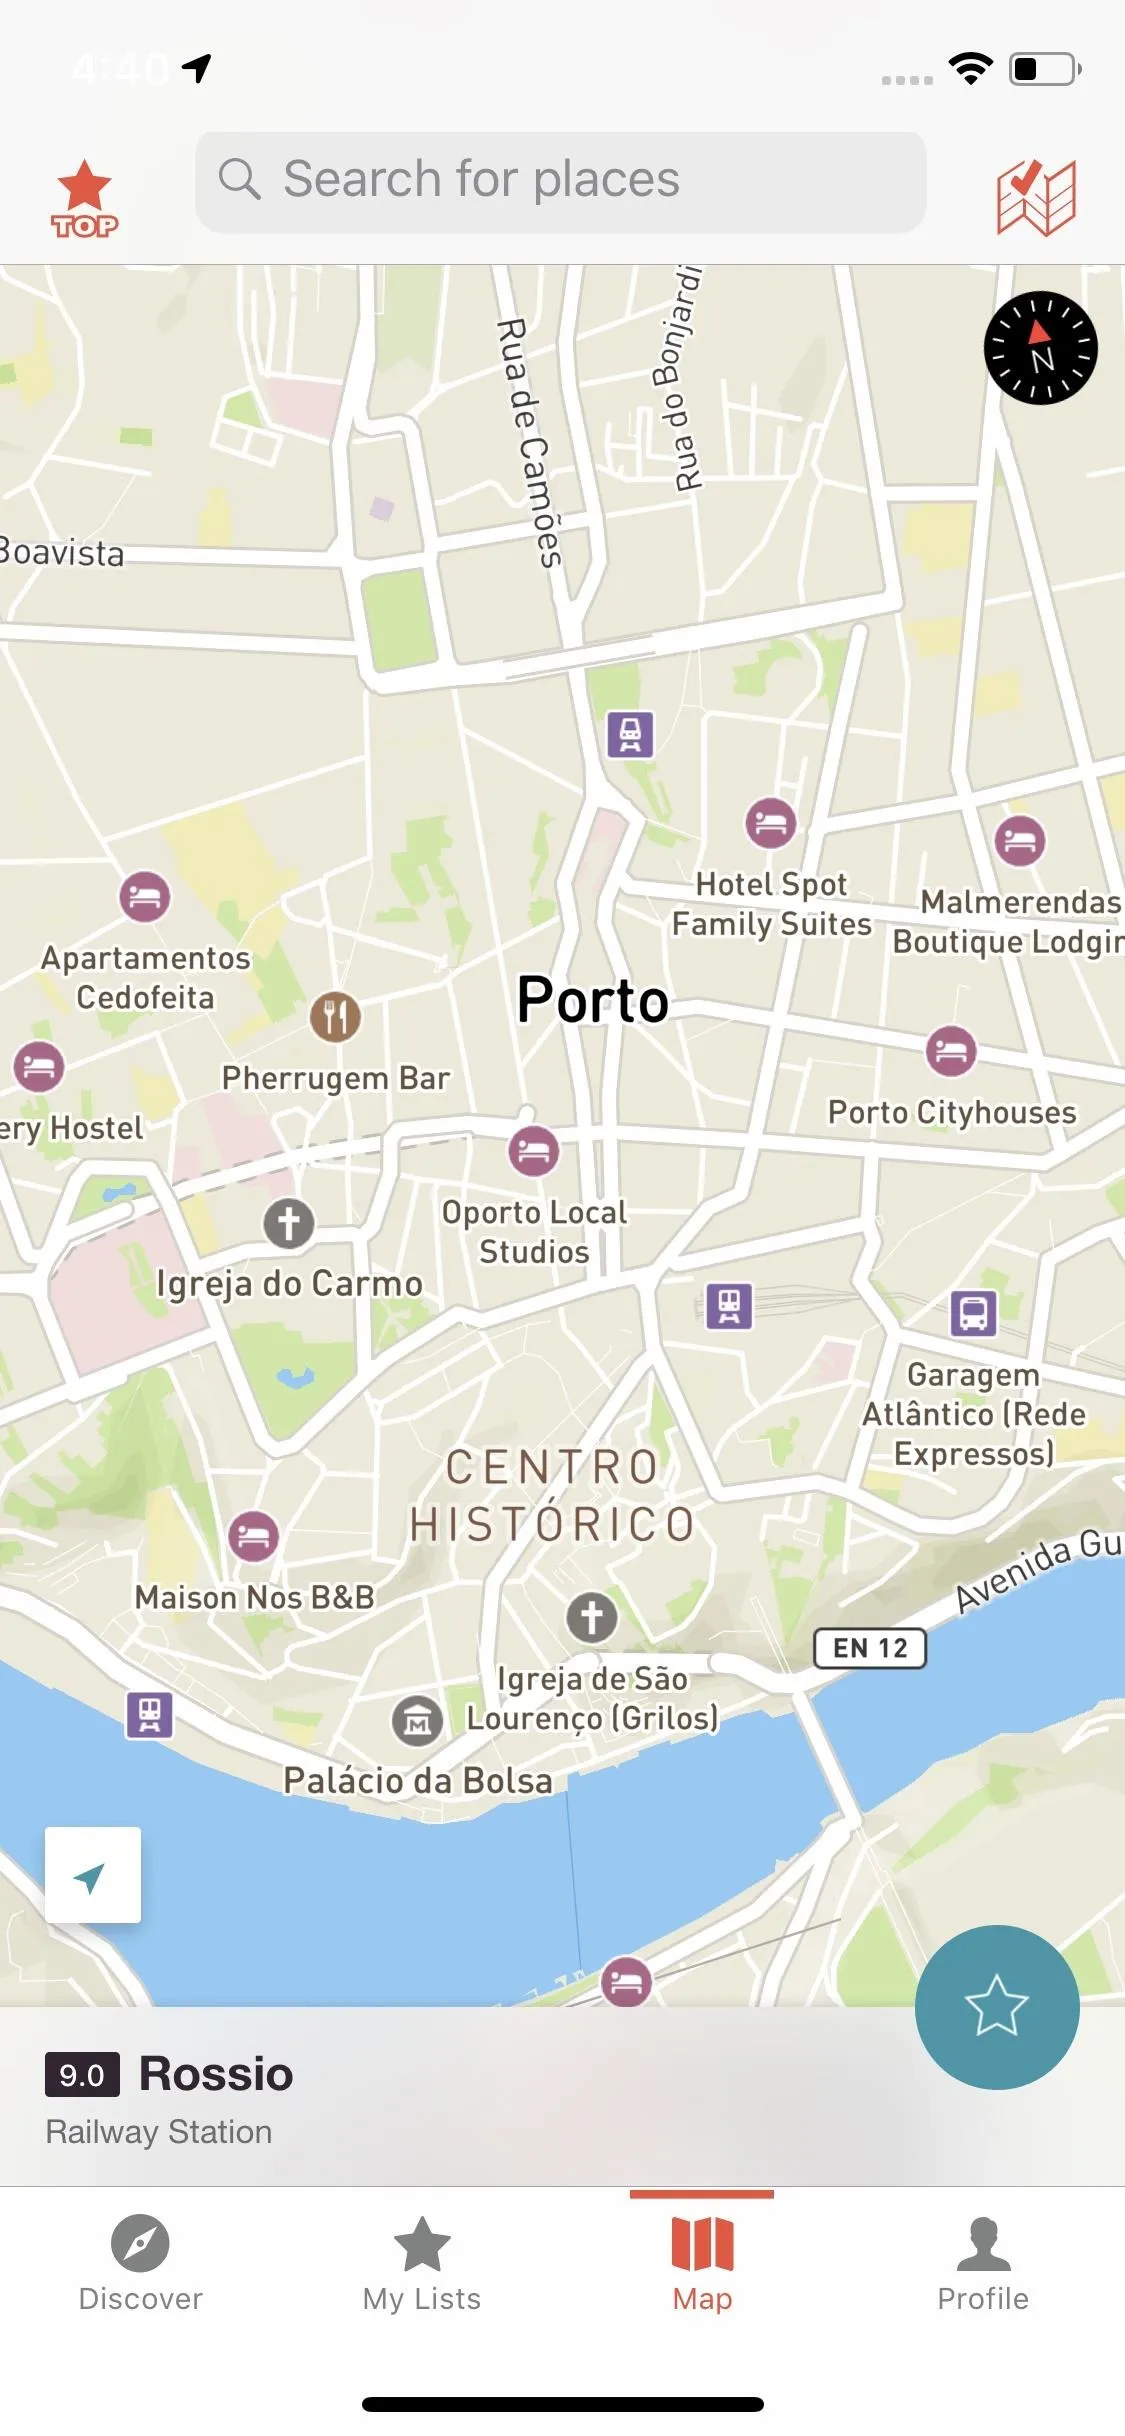
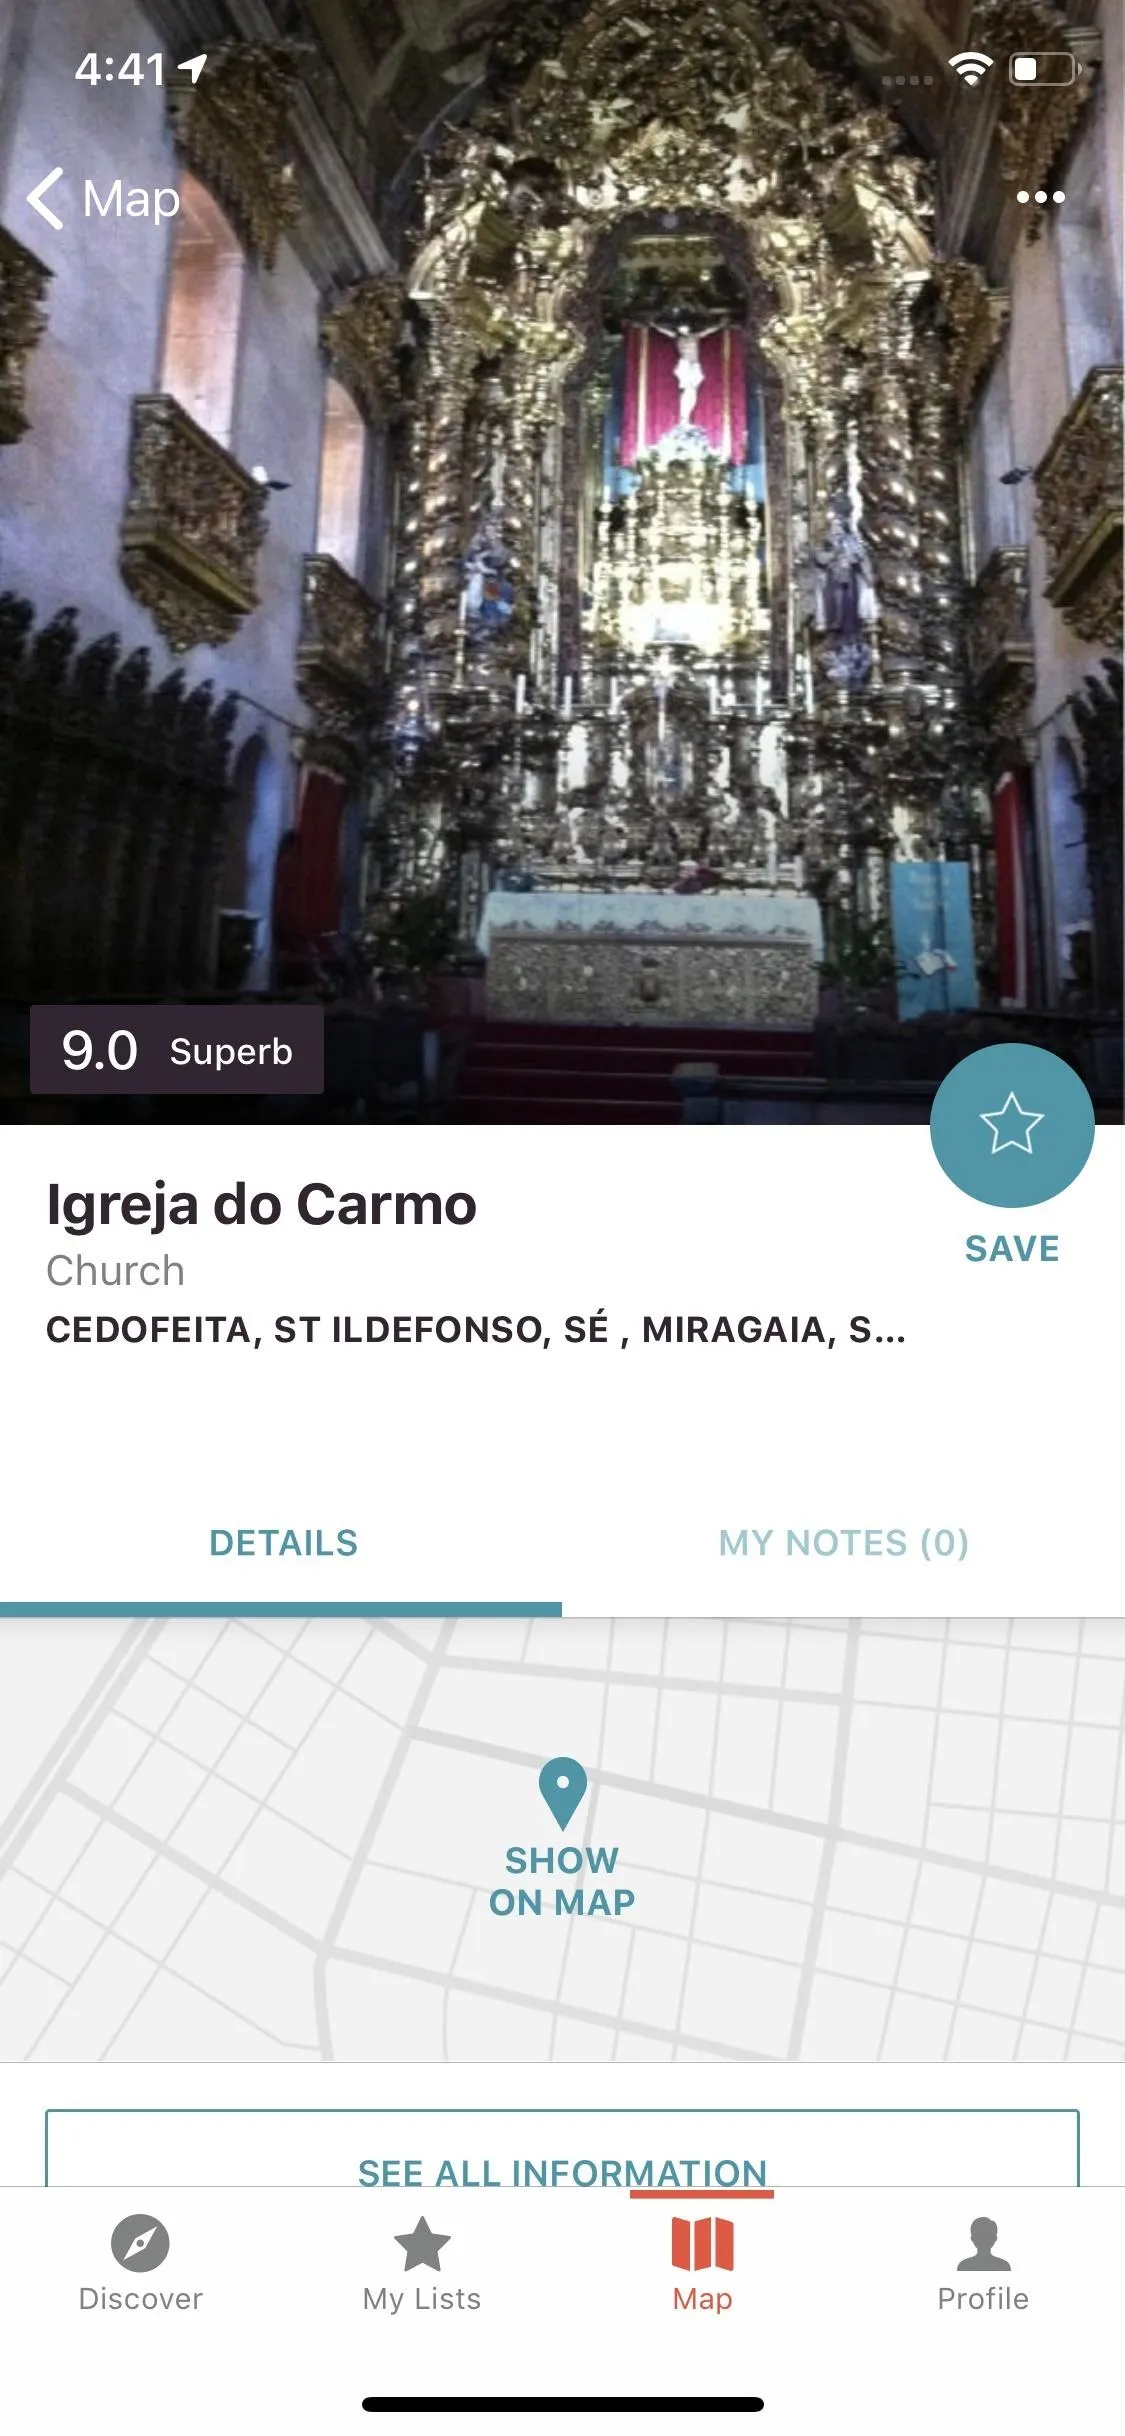
Ulmon, created of CityMaps2Go, has a travel app named Ulmon Guides. In it, you can download offline travel guides to the cities of your choice, so no matter your data situation, you can follow the advice of someone who knows what they're talking about. Funny enough, it appears Ulmon makes on iOS app for all guides but makes individual apps for each city for Android. If you use Android, you'll just have to search the Play Store for your city.
Lonely Planet has a similar app, featuring guides to over 200 cities, all in one app on either platform. Michelin also has a Michelin Travel app that has 30,000 points of interest covered in about 80 countries, with reviews from professional Michelin writers and its trademark ratings for restaurants, tours, and other destinations.
If you're in the mood for an audio tour, you can give Rick Steve's Audio Europe a spin, featuring over a hundred tours in 17 regions and countries of Europe. While the app hasn't been optimized for newer iPhones in quite some time, the audio is still as relevant as always, and they make a great companion to Rick's famous guidebooks.
- Install Ulmon Guides: Android (free) | iOS (free)
- Install Guides by Lonely Planet: Android (free) | iOS (free)
- Install Michelin Travel: Android (free) | iOS (free)
- Install Rick Steves Audio Europe: Android (free) | iOS (free)
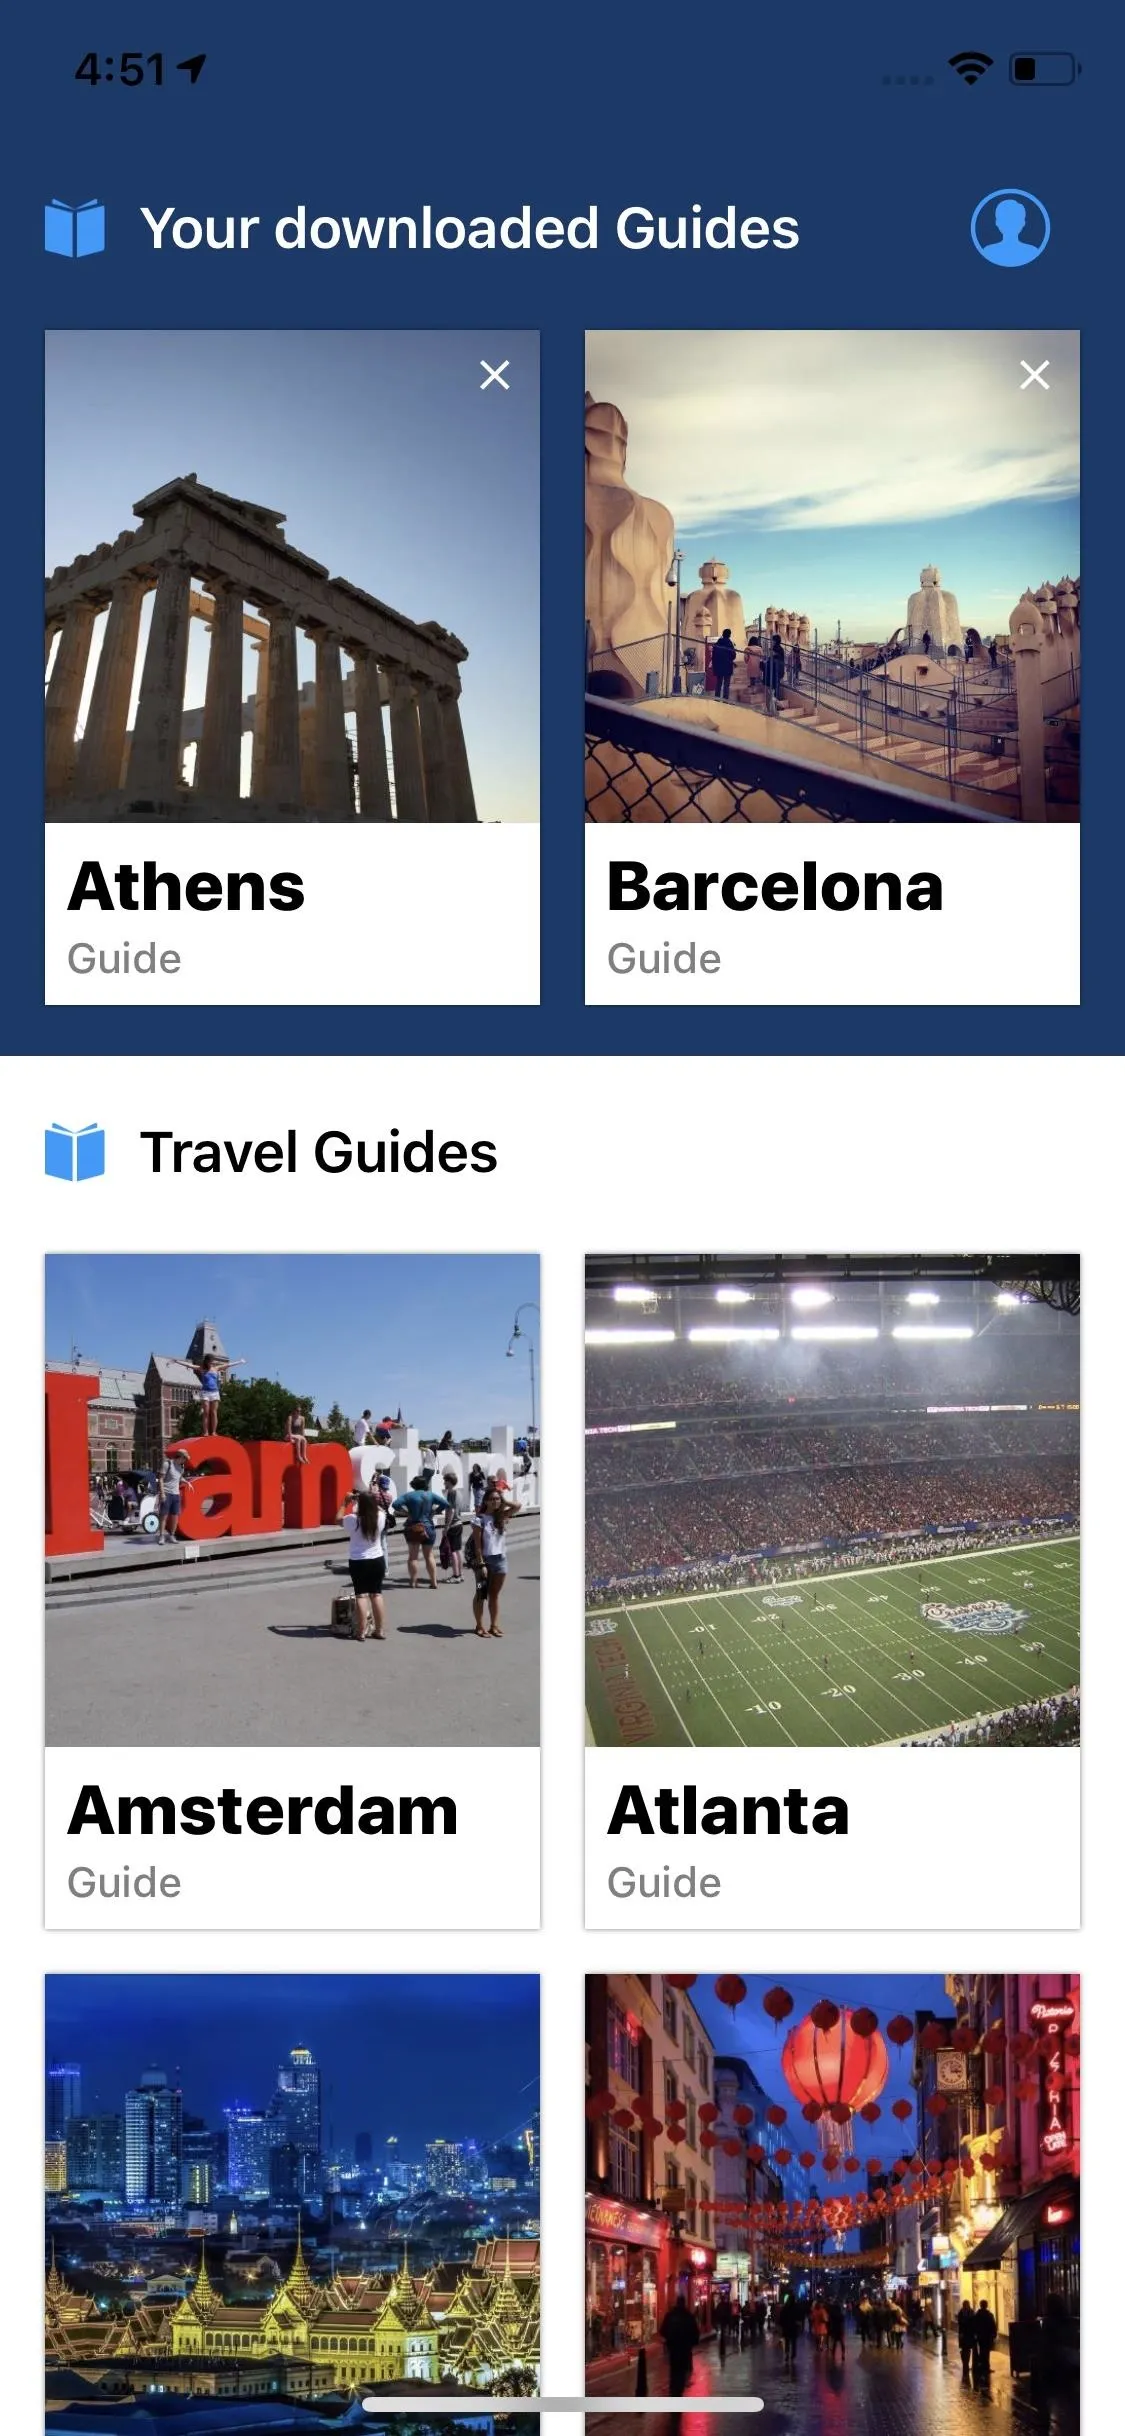
Ulmon Guides (left), Guides by Lonely Planet (middle), Rick Steves (right).
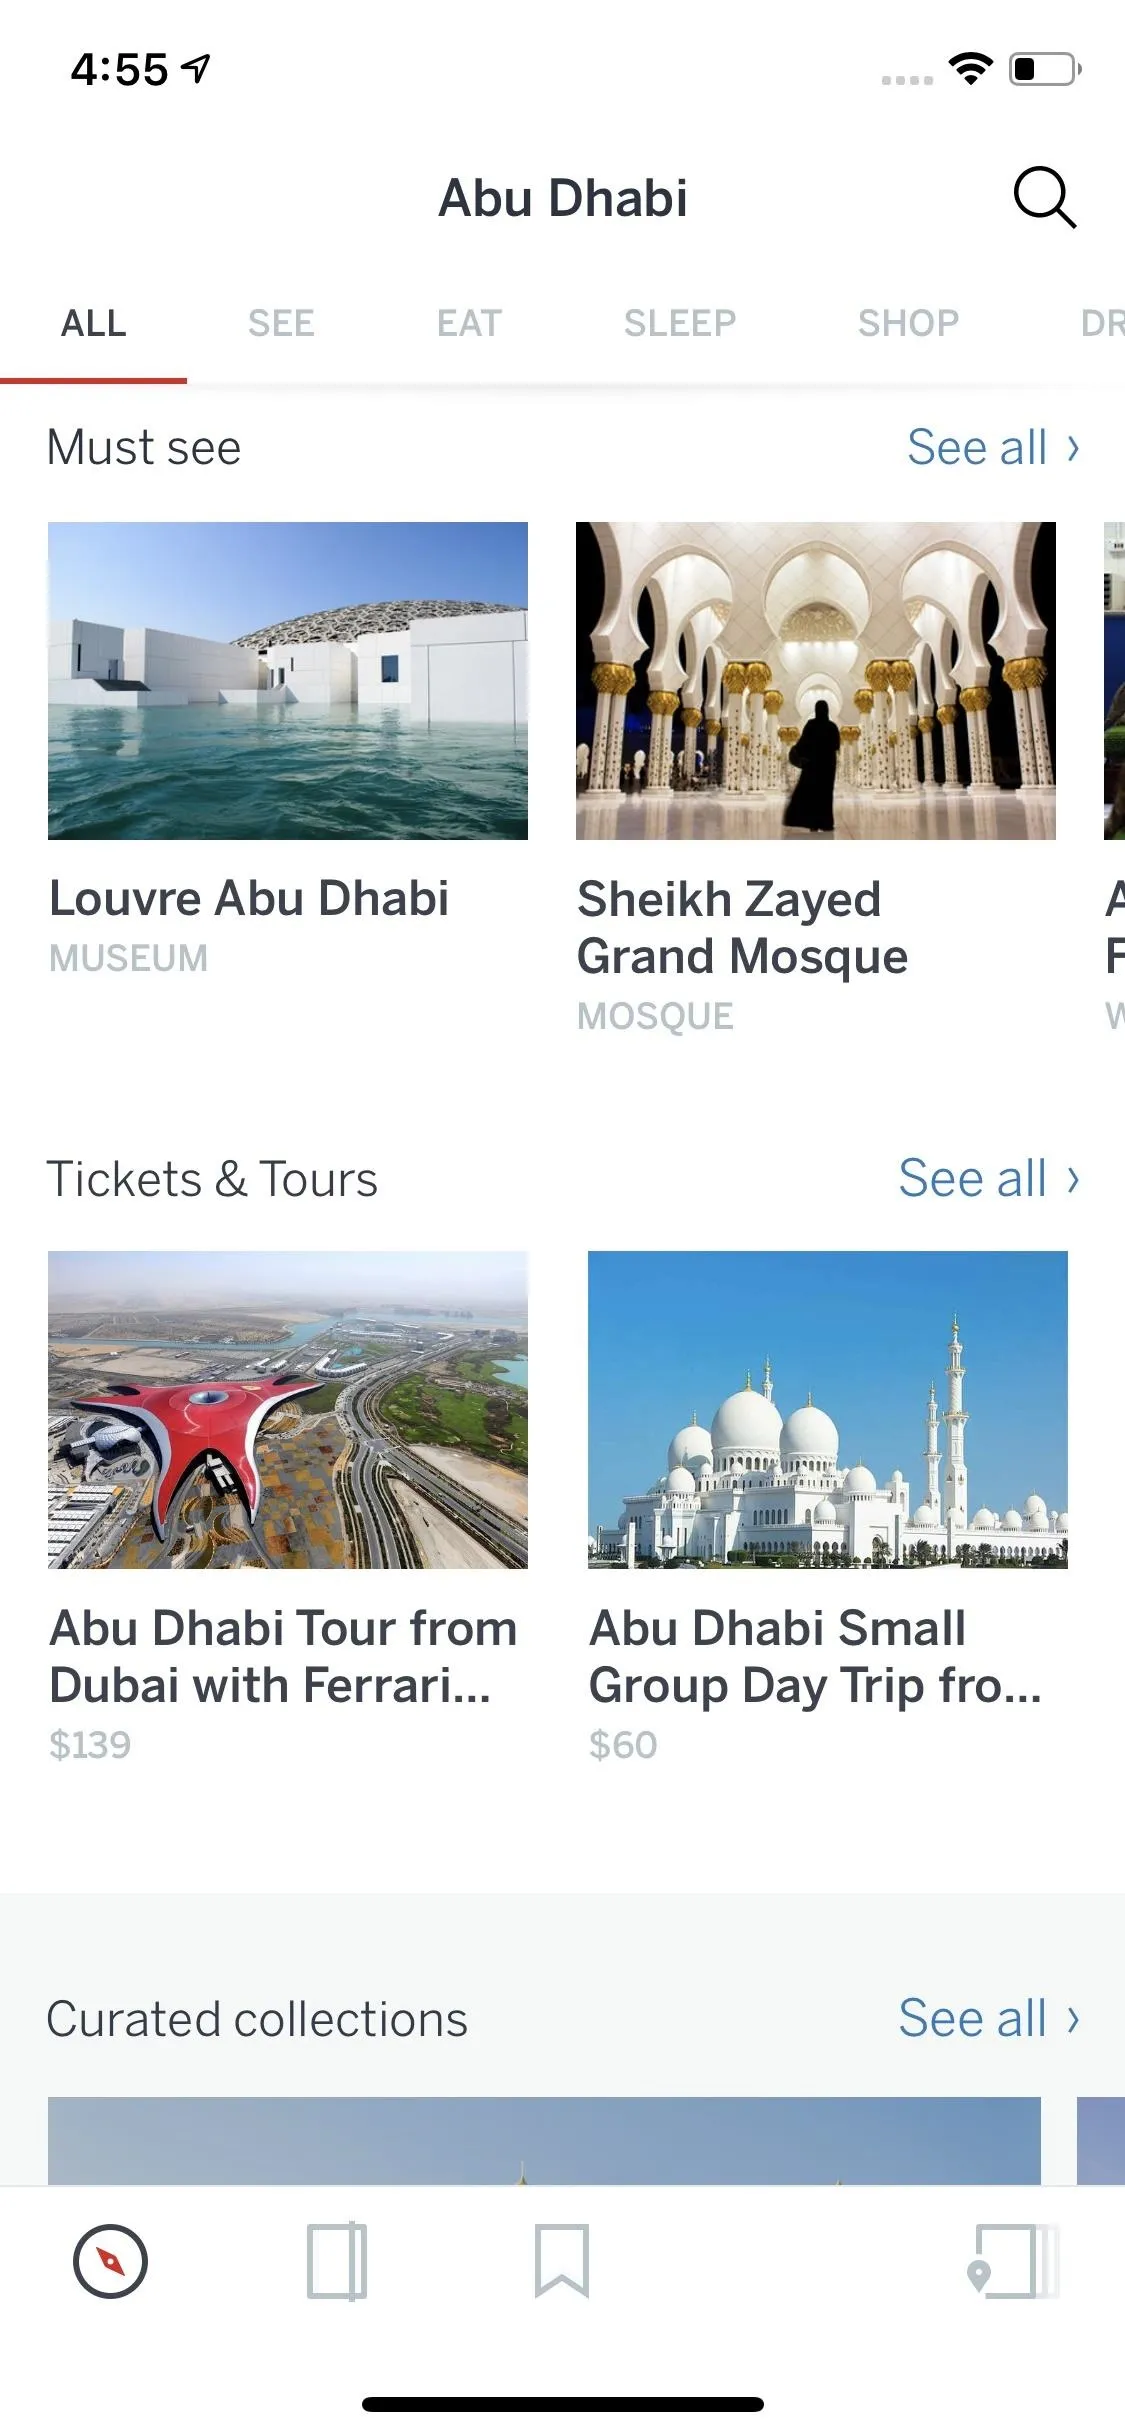

Ulmon Guides (left), Guides by Lonely Planet (middle), Rick Steves (right).
Staying Connected in a Foreign Country
If you're traveling out of the country you'll have to decide on how you'll stay connected. There are three main ways: 1. Stick with your local data provider and check out their international plan; 2. Get a local SIM card; or 3. Stick with Wi-Fi only.
1. Use International Data Plans
If you think carrier plans in the US are expensive and confusing, just wait until you try working with them abroad. It can be truly difficult to pick the right data plans for your travel needs. Carriers make things perplexing seemingly on purpose, don't give the full story, overcharge while abroad, etc. To pick the plan that's right for you, you'll need a little guidance, and we can help you out with that.
2. Use Your SIM Card/s Wisely
Do you think much about your SIM card? Perhaps not — most of us know it's tucked away in our phones, but never really think about it until we need to switch devices. When traveling internationally, however, SIMs are a major consideration. Your phone is your lifeline, but your SIM is what keeps it useful.
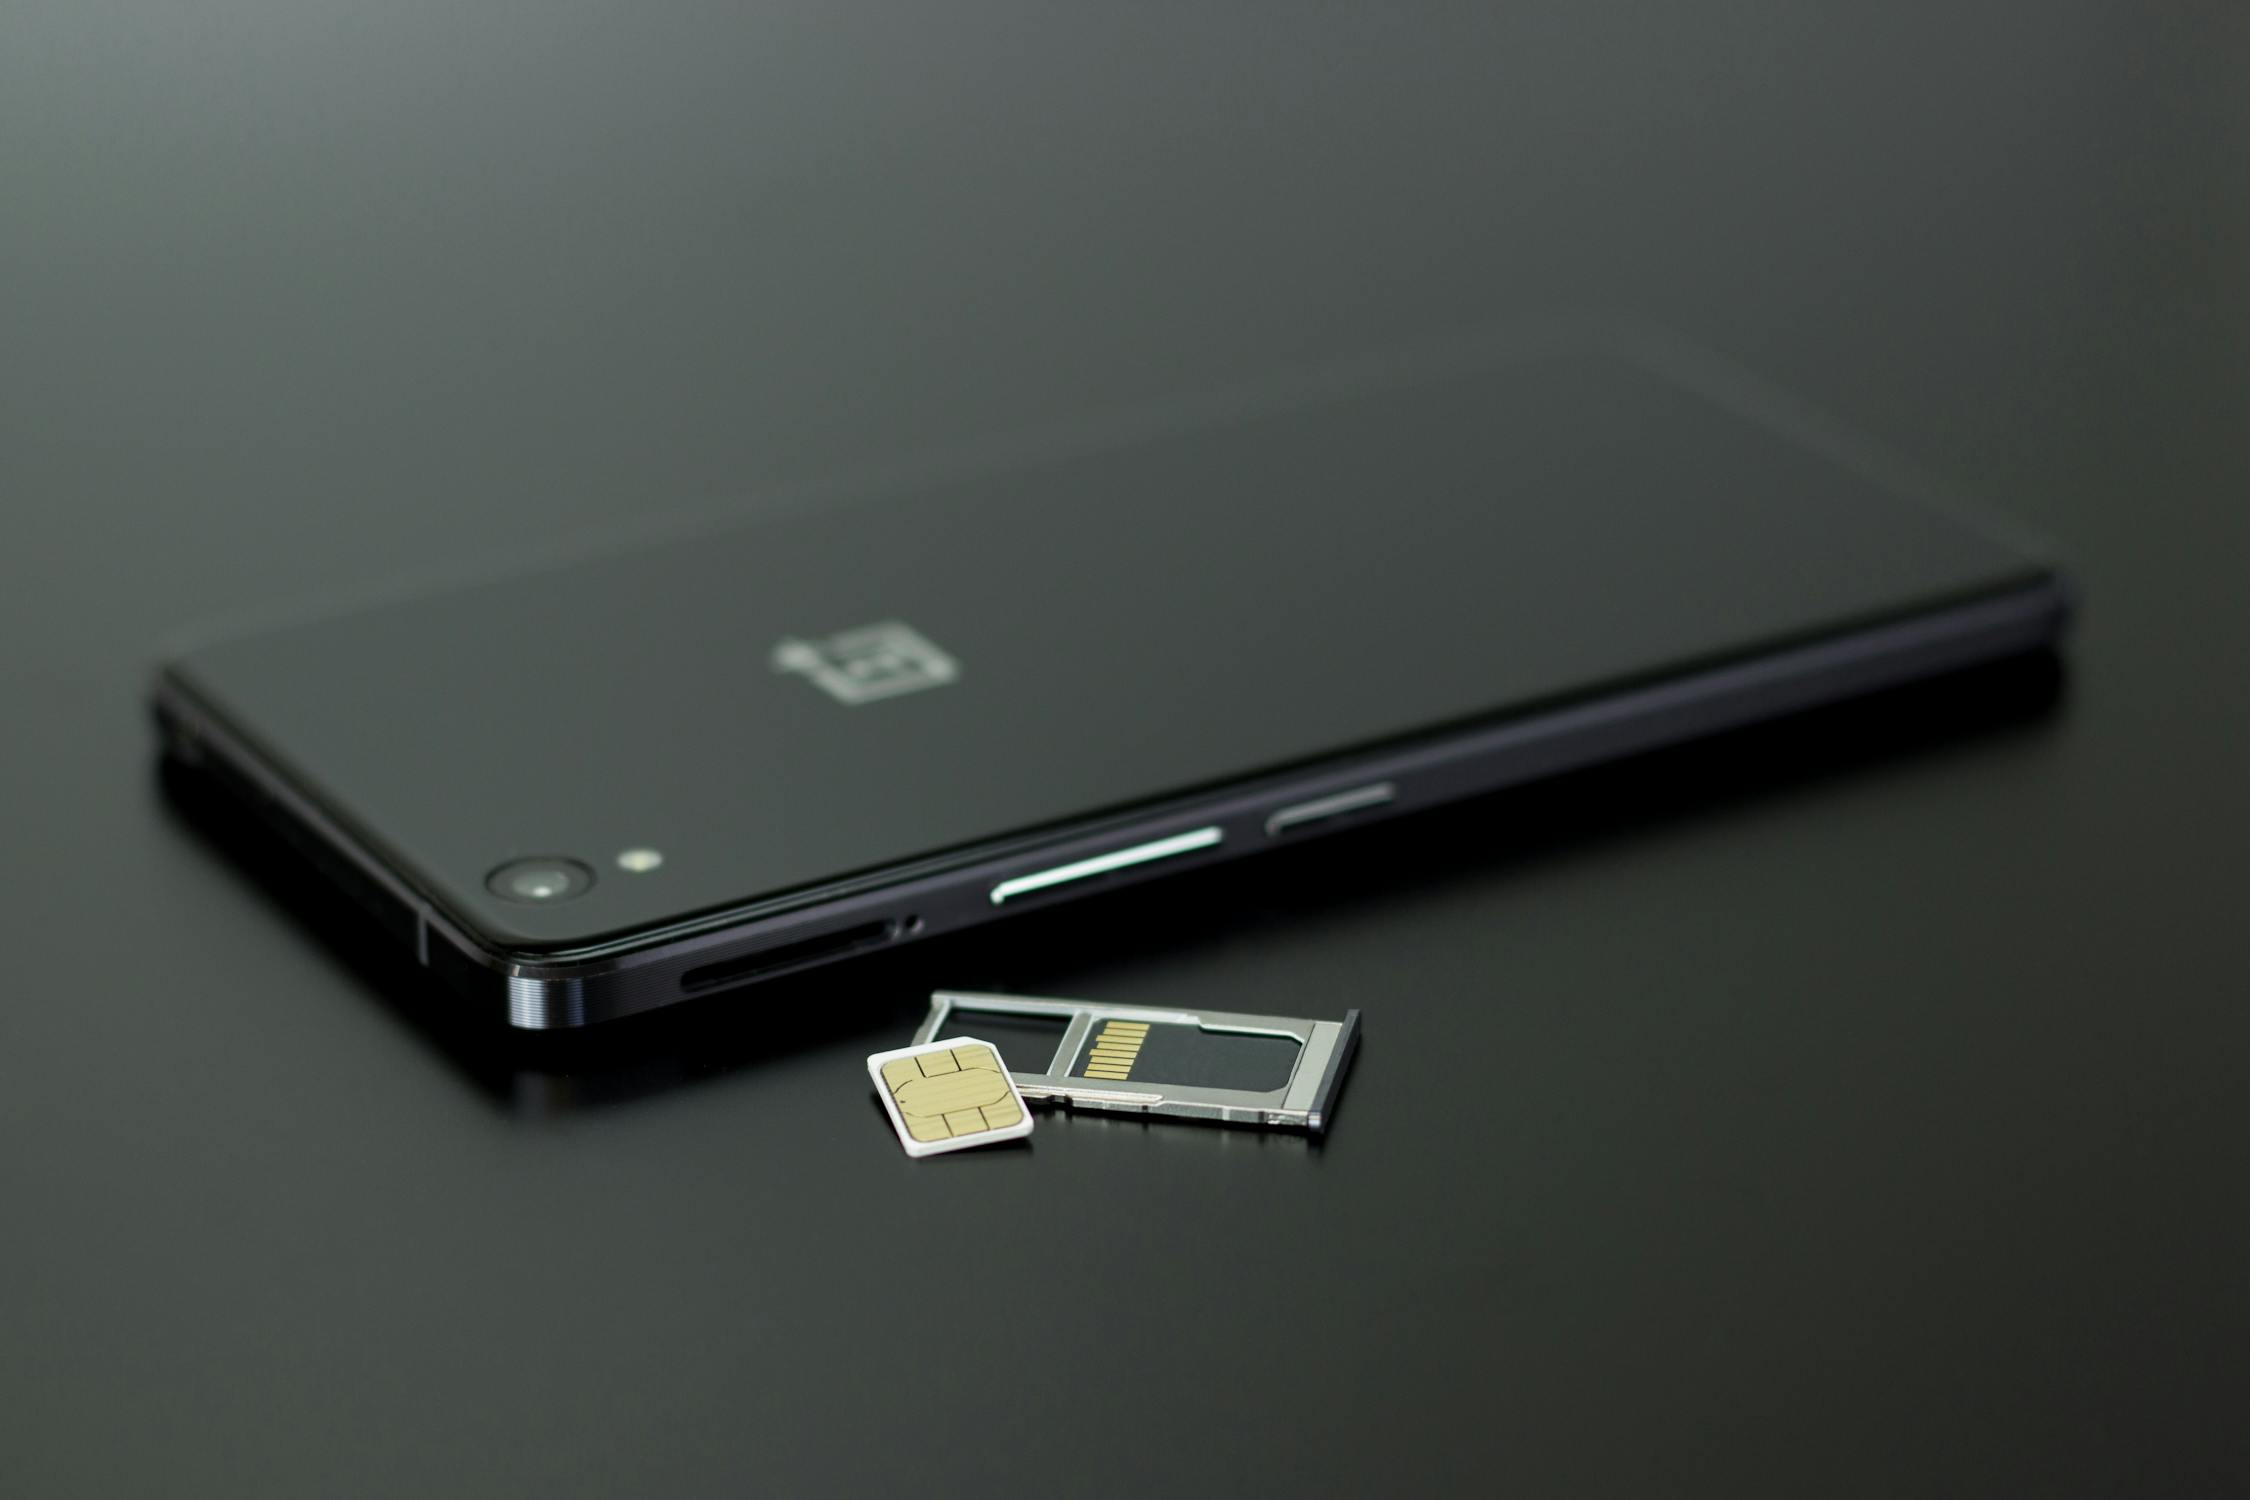
You have plenty of options when it comes to the types of SIM cards you go with for your trip. Firstly, you'll want to look into unlocking your iPhone or Android device to untie it from your carrier. Why trap yourself with AT&T when there's a whole world of SIM possibilities out there?
Now, let's talk SIMs. You can always wait until you get to your destination and buy a local SIM card if your phone is unlocked. Airports, subways, and other tourist areas have SIMs readily available to buy, so you shouldn't have trouble finding one. That isn't the only option, however. Consider Flexiroam — the SIM designed for phones without dual SIM capabilities. Flexiroam adds a microSIM to the SIM already in your phone and allows you to purchase international data plans at your leisure. Pretty convenient.
If you have a dual SIM device — such as the iPhone XS, XS Max, or XR — you could also go for an eSIM. Well, that language is a bit misleading. These phones already have an eSIM embedded into the device itself. What you need is a service, like GigSky or Truphone that can activate that eSIM and give you access to international carriers while abroad. See this list from Apple for eSIM supporters.
Don't have an iPhone? Well, while not the most popular feature in the US, there are plenty of Android devices that have dual-SIM capabilities. The only problem is, they need to be the unlocked or international versions, usually GSM-only (not good if your US carrier uses CDMA), as most US-based models omit dual-SIM functionality. Unlocked models of the OnePlus 5, 5T, 6, and 6T have dual SIMs, and the Google Pixel 3 and 3 XL, as long as it's running Android 10.0 or higher, is similar to iPhone with a physical SIM and eSIM. You can do a search on Amazon easily for "dual-SIM" Android phones.
3. Connect via Wi-Fi Only
Look, data plans are expensive, even when going through alternative sources. Unlimited data is a luxury, but one that you might not really need. If you want to save some money and choose a plan that gives you a small amount of essential data, you'll want to spend most of your trip connected to Wi-Fi only.
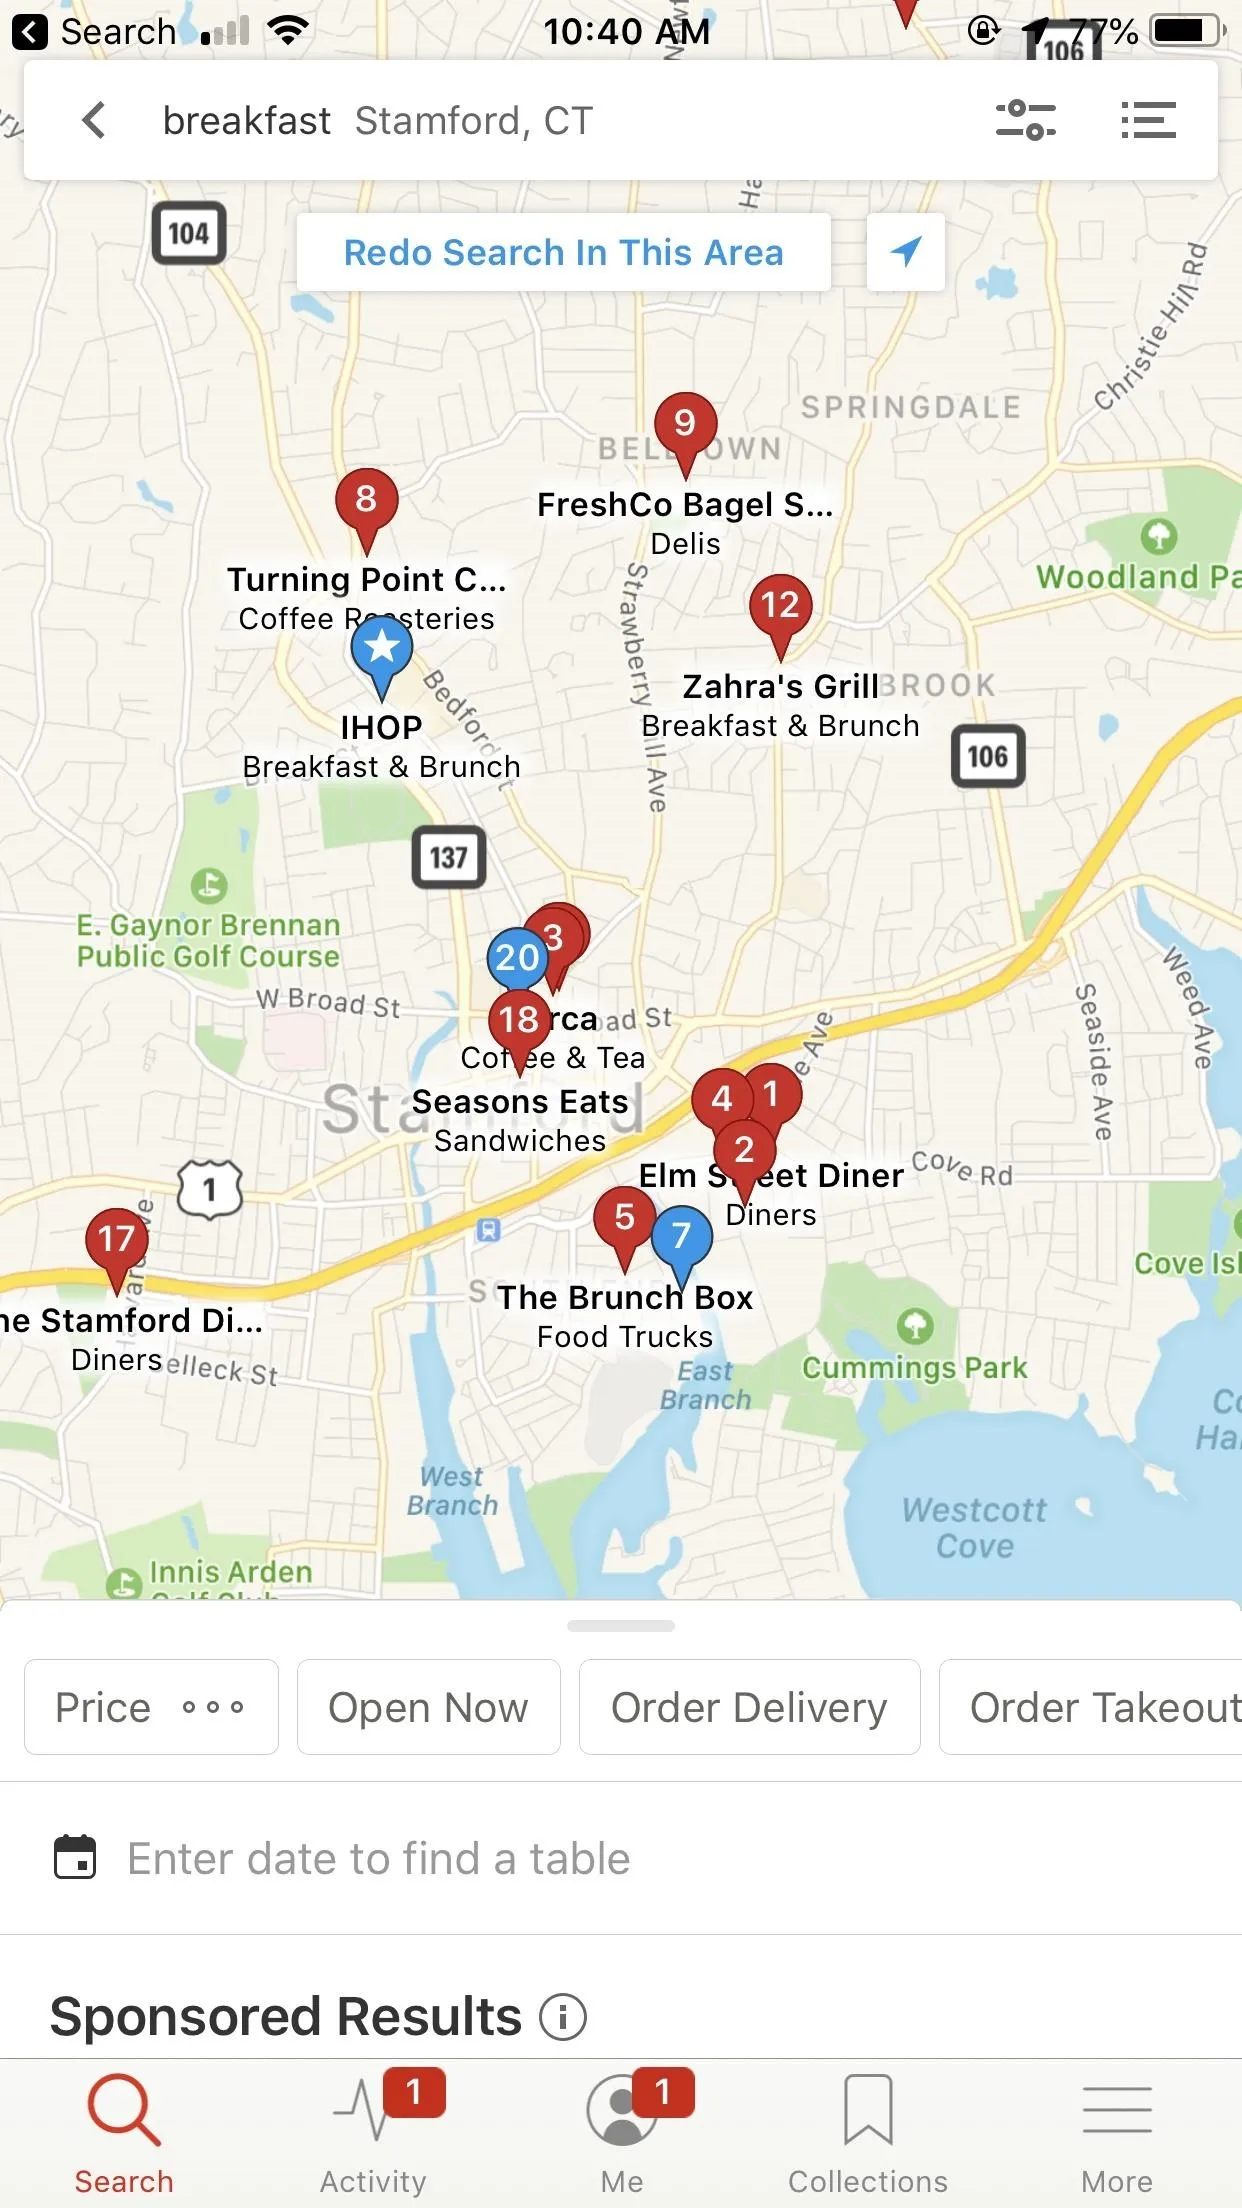
Staying connected to Wi-Fi can be tricky when in a new place, but it isn't impossible. Consider services like WiFi Finder or even Facebook — both offer users ways to locate the nearest public Wi-Fi hotspots, including the name of the actual network you'll connect to.

WiFi Finder (left) and Facebook (right).
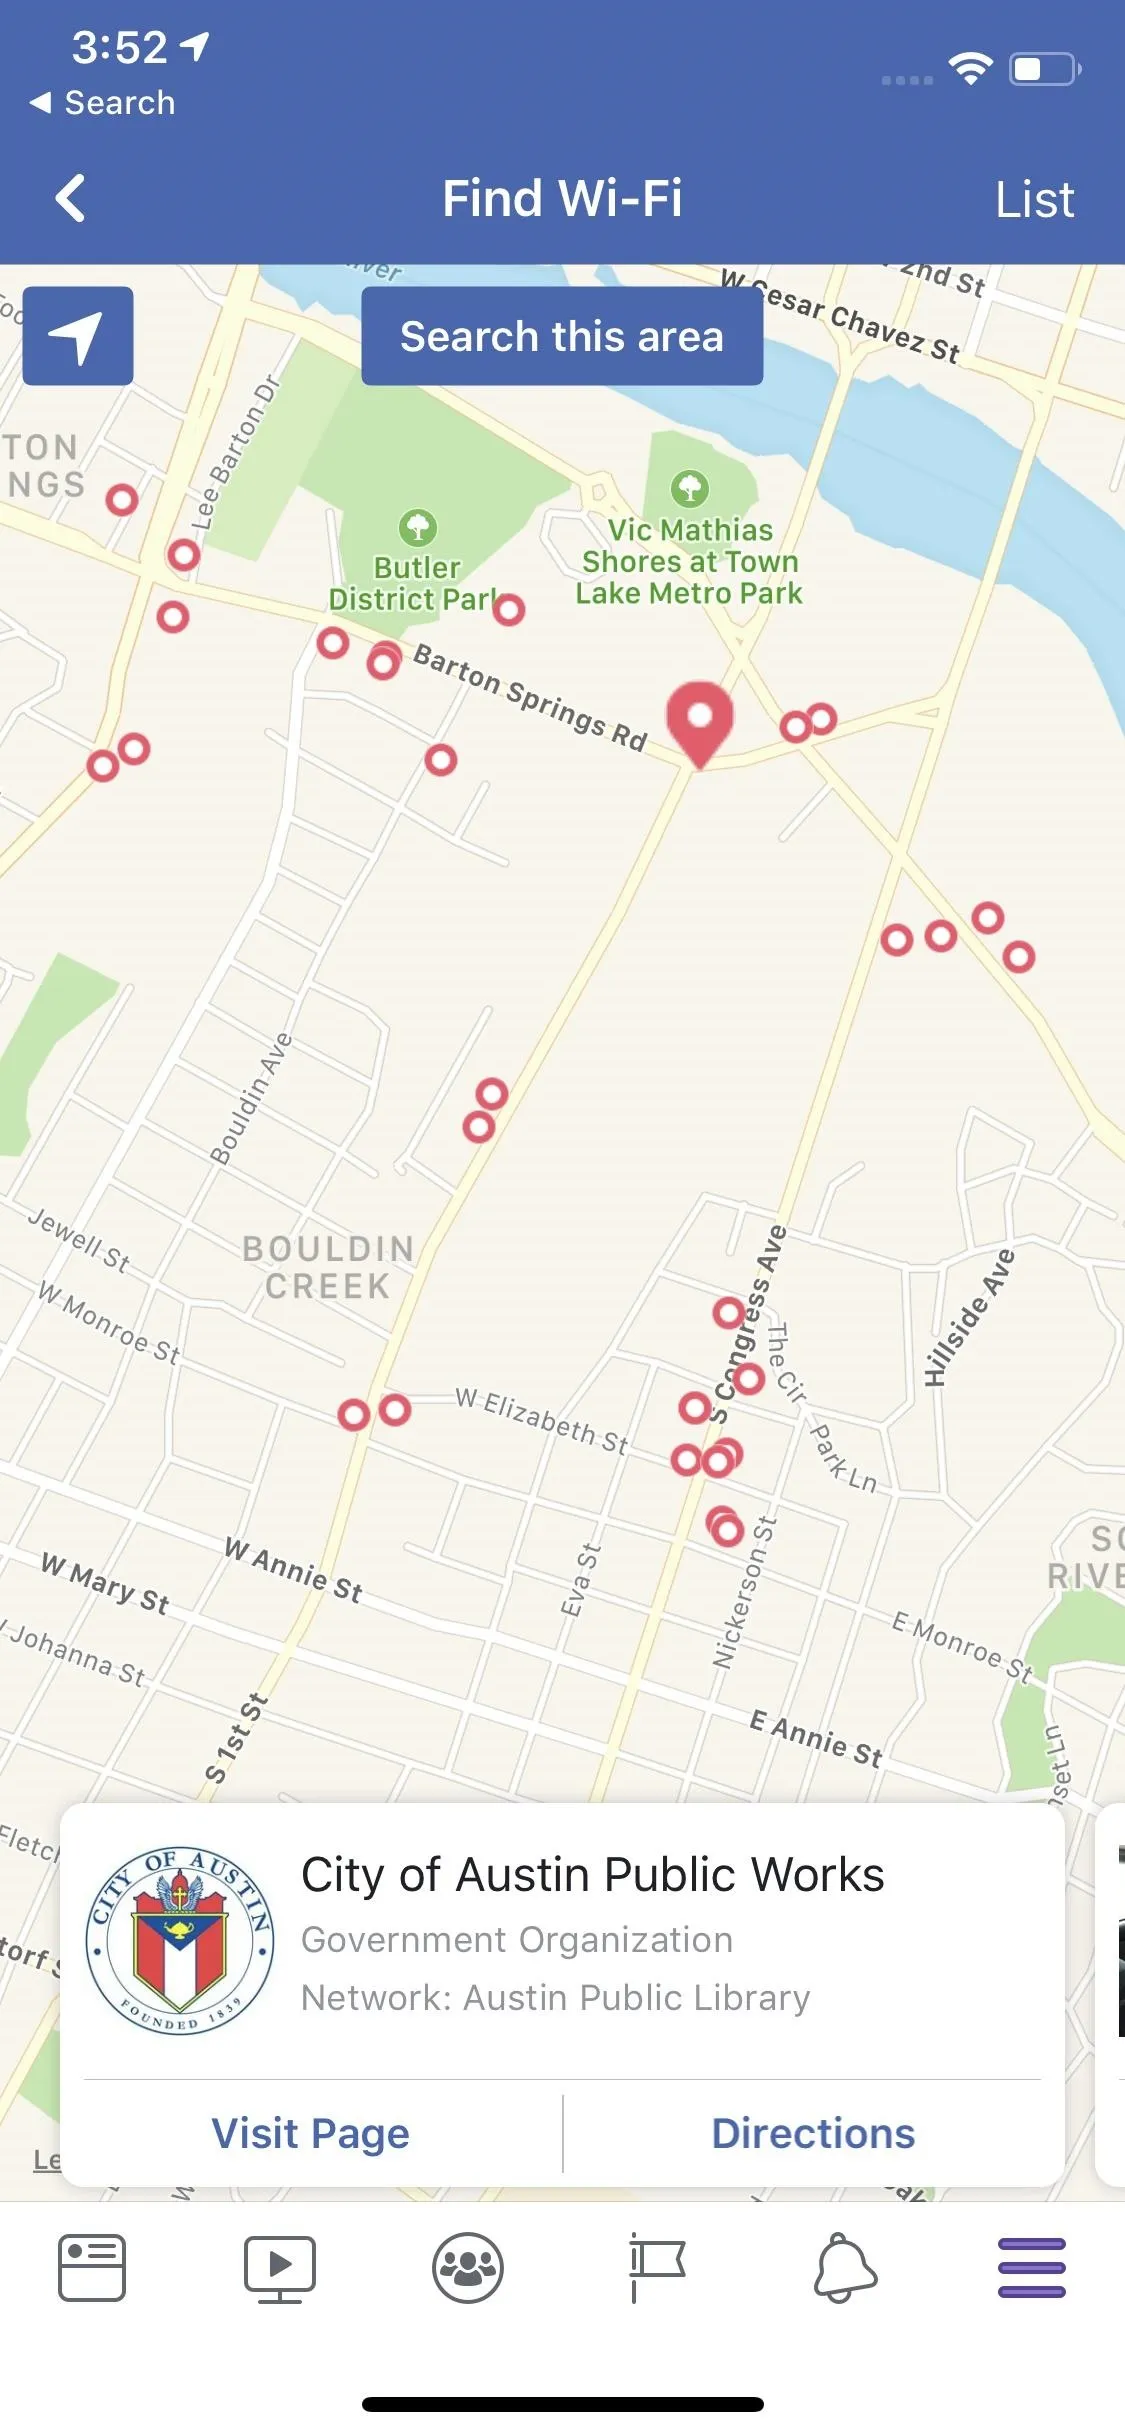
WiFi Finder (left) and Facebook (right).
"Why don't I just use the hotel's Wi-Fi?" you ask, justifiably. Of course, you can connect to your own hotel's network, but you might not want to. While free hotel Wi-Fi is the norm in the States, traveling abroad is another story. Depending on the country and the hotel selection, Wi-Fi might be charged by the hour or day. Why not take a page from many hotels in the US, where the free Wi-Fi is awful, but with better speeds locked behind a paywall?
4. Save on Your Limited Data Plan
You can try your best to stick just to Wi-Fi use but, just like at home, Wi-Fi isn't everywhere. Eventually, you're going to need to use your purchased data plan. That doesn't mean you need to waste it.
Background App Refresh
Ah, background data refresh. As a retail tech employee, one of my most-asked questions was about this confusing setting. "Do I need this enabled?" "Will I lose functionality if I disable it?"
Here's a brief refresher: The setting allows your apps to act as if they're open, even when you're doing something else on your phone. Twitter will be able to check for new tweets, so when you return to the app, you'll see them right away instead of needing to wait or reload. It's a handy feature for efficiency, but not one for conservative data use.
Disabling this background feature is a bit of a reverse devil's bargain. Yes, you might need to refresh your apps by hand, but you'll save both data and battery life (all those apps pinging their servers takes its toll on your phone's energy).
On iOS, you'll find "Background App Refresh" in Settings –> General –> Background App Refresh. While you can pick and choose the apps to disable Background App Refresh for, we recommend tapping "Background App Refresh" up top and setting it to "Wi-Fi" or "Off," especially when traveling.
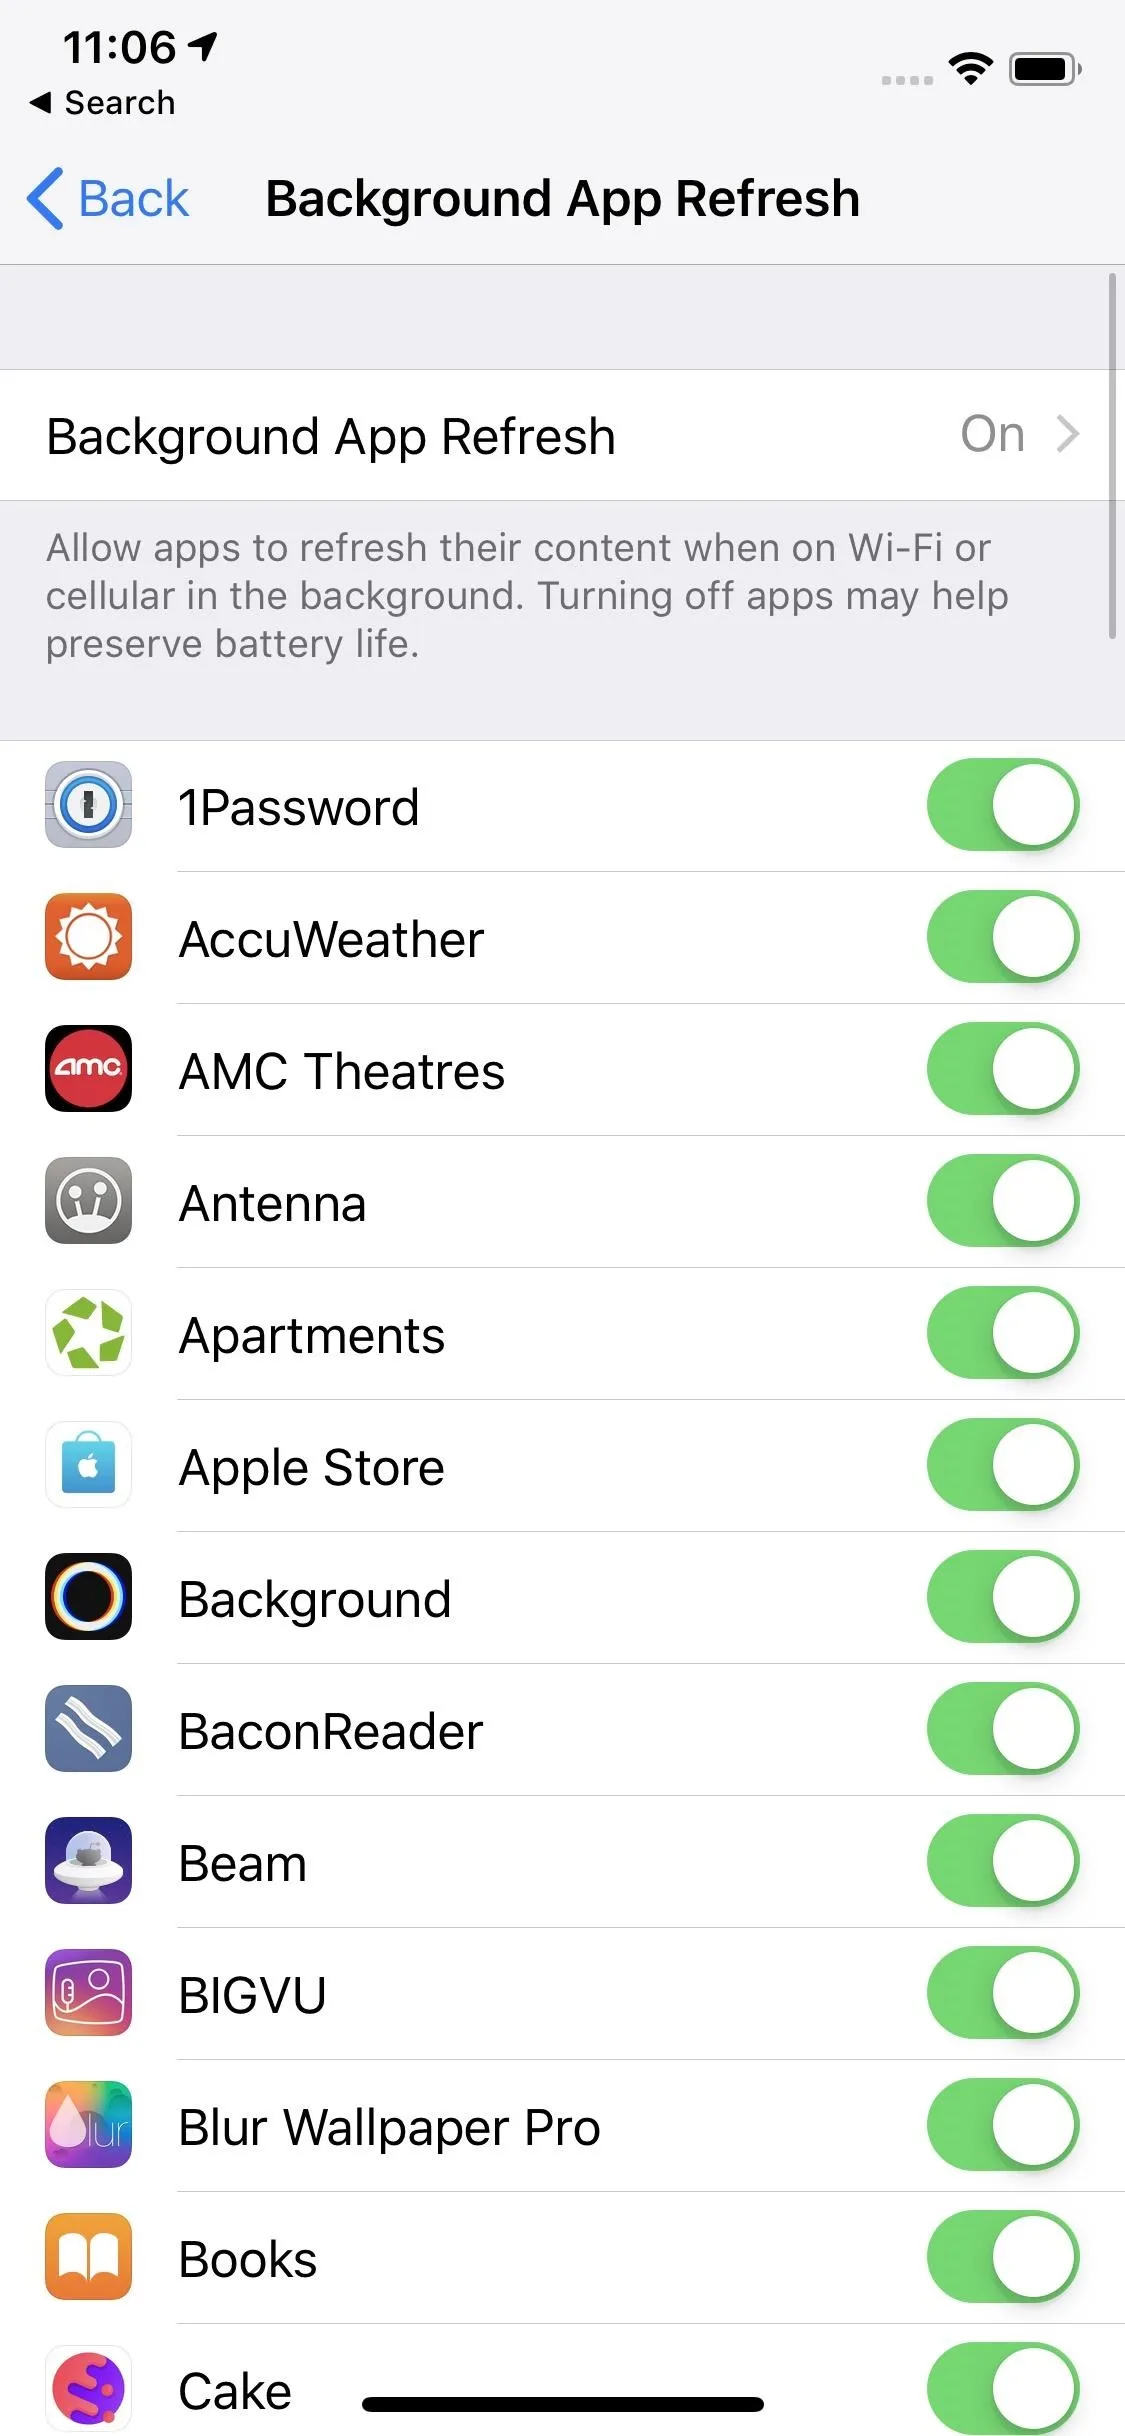
Background App Refresh on iOS.
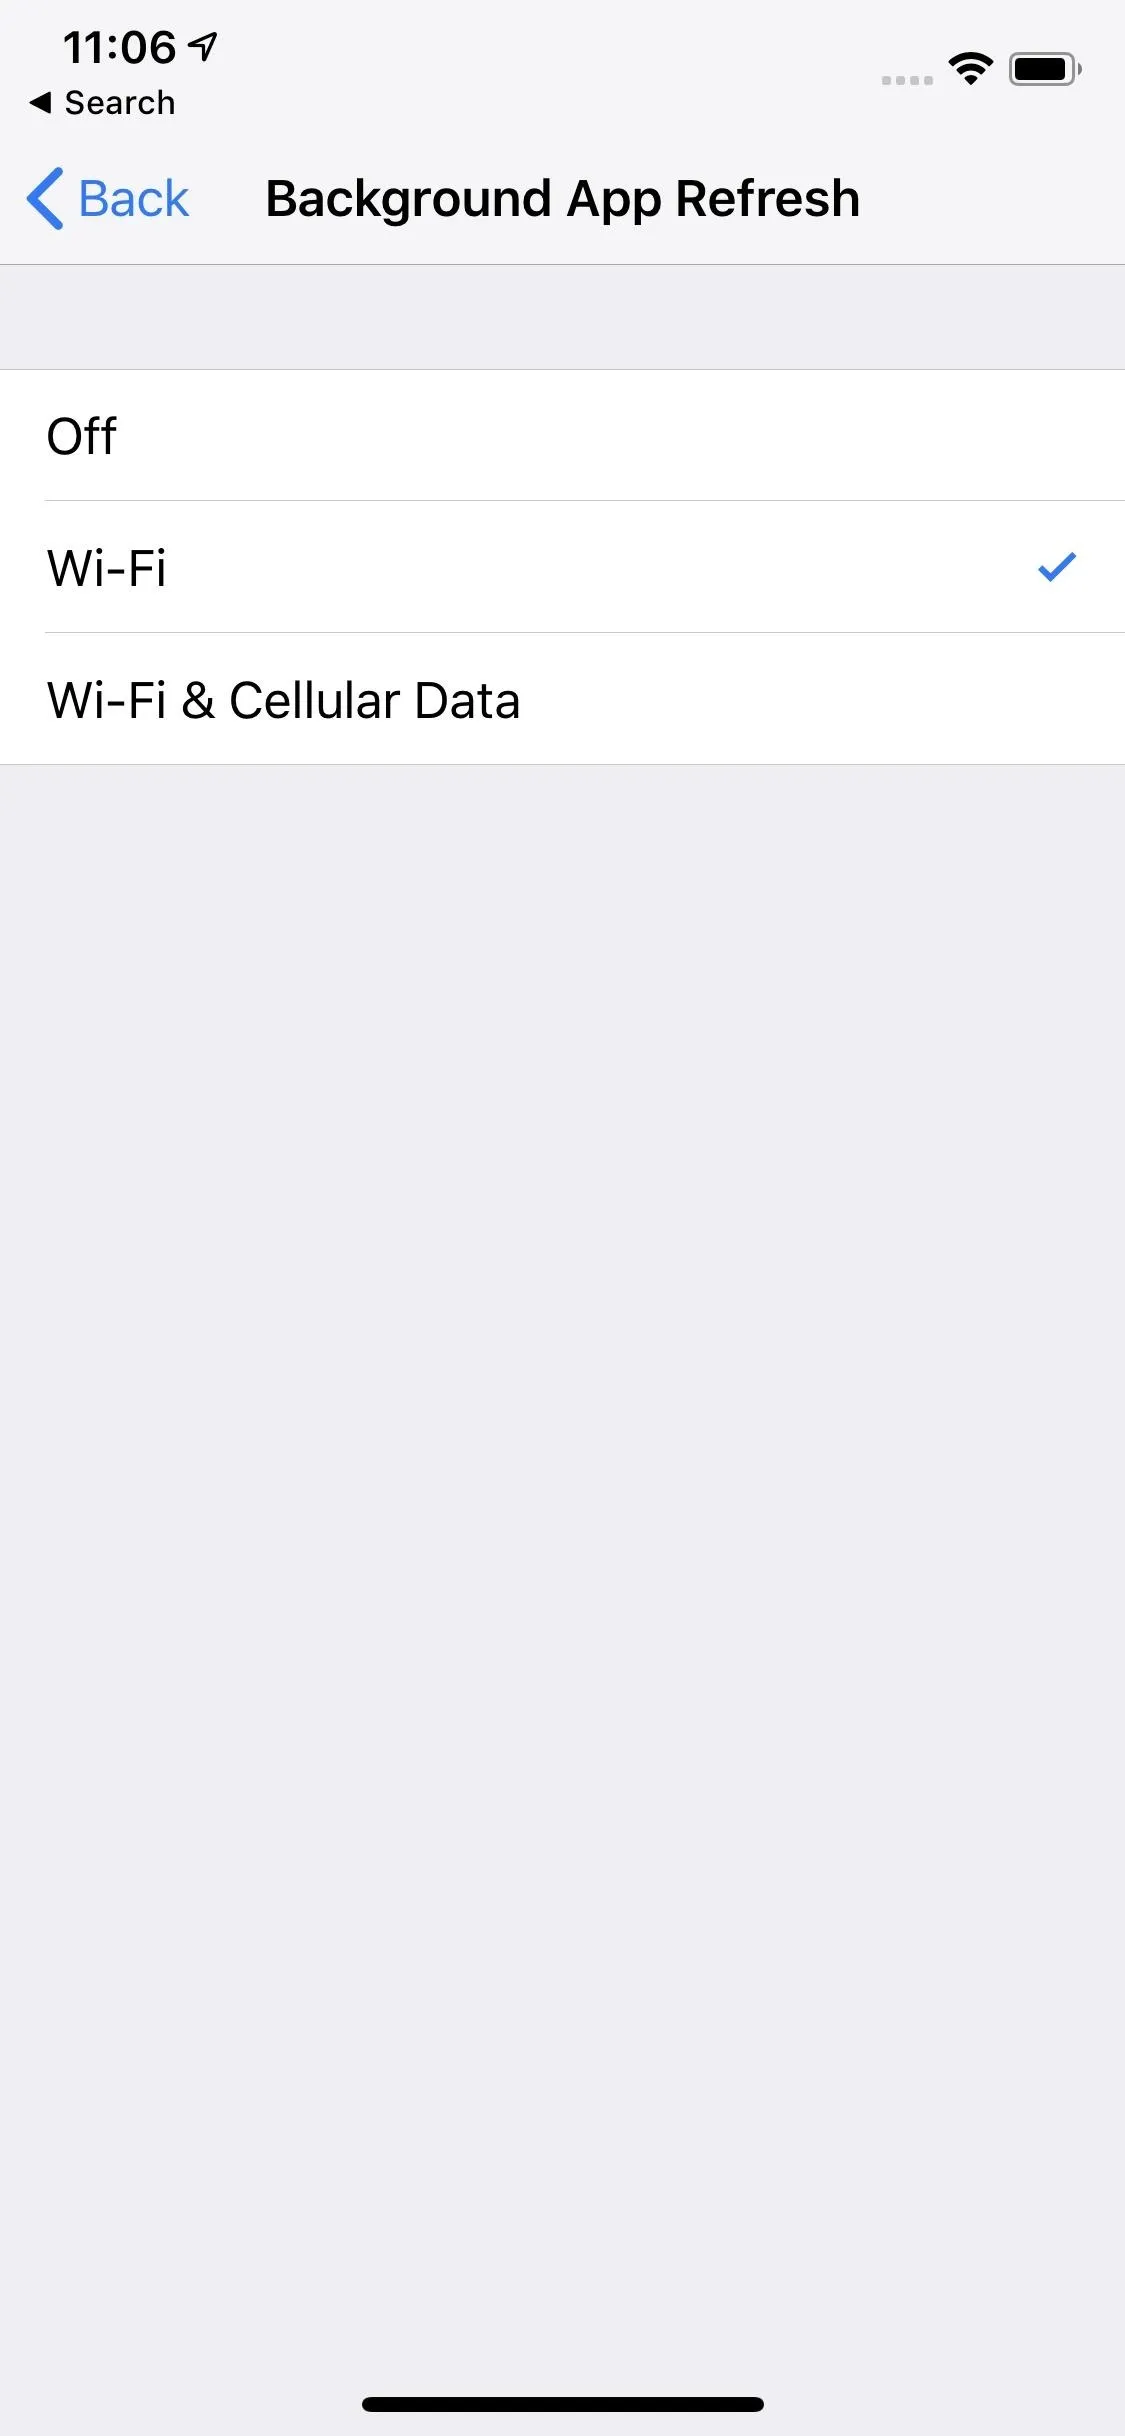
Background App Refresh on iOS.
You'll find similar options on Android by heading to Settings –> Network & internet –> Data usage –> Mobile data usage. On some devices, it may be in Settings –> Connections –> Data usage –> Mobile data usage. Other Android phones may be slightly different. Tap on an app's name from this list, then disable something like "Background data" or "Allow background data usage." If your phone has a "Data saver" setting, you can toggle that on to limit data in the background overall.
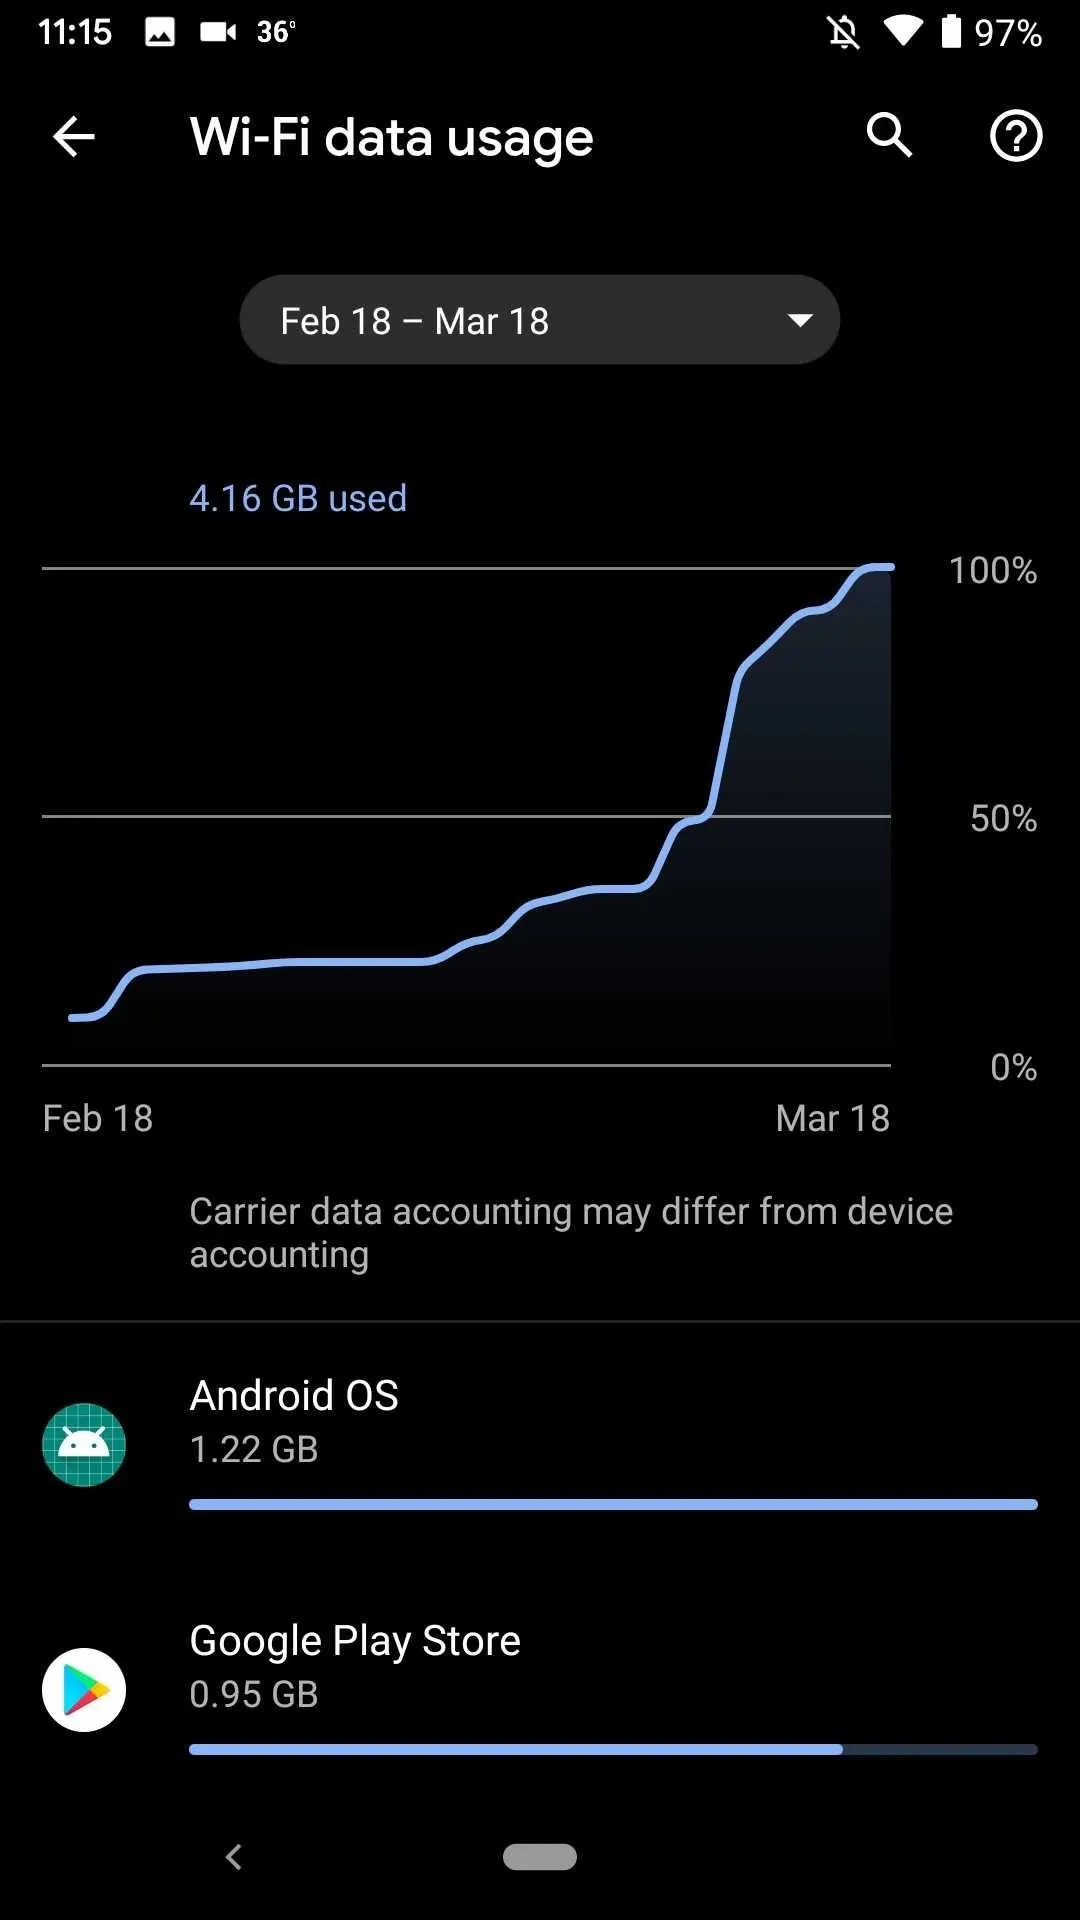
Data usage settings on Android.
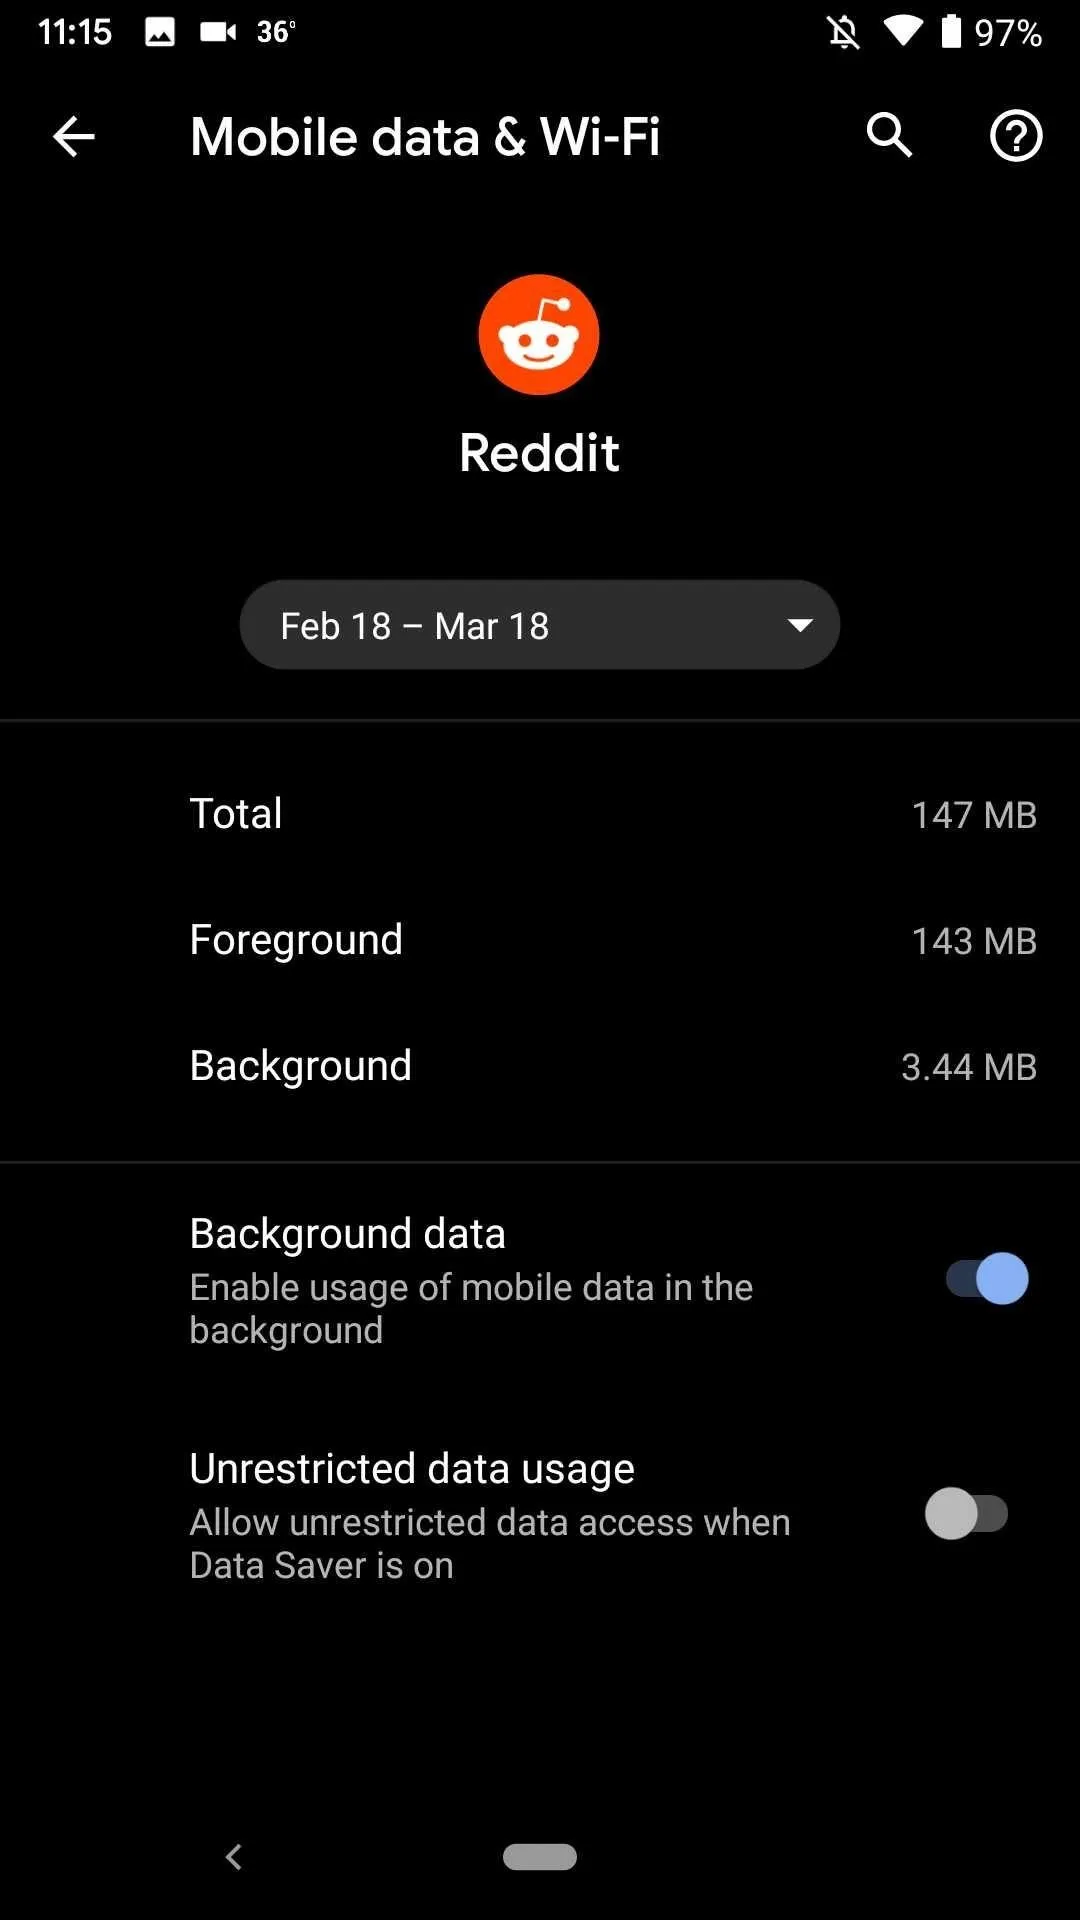
Data usage settings on Android.
Fetch Data
Like the above settings, Fetch attempts to pull data for certain apps in the background. Fetch differs slightly, however, as it involves apps that pull data from a server at regular intervals, like email or calendar apps.
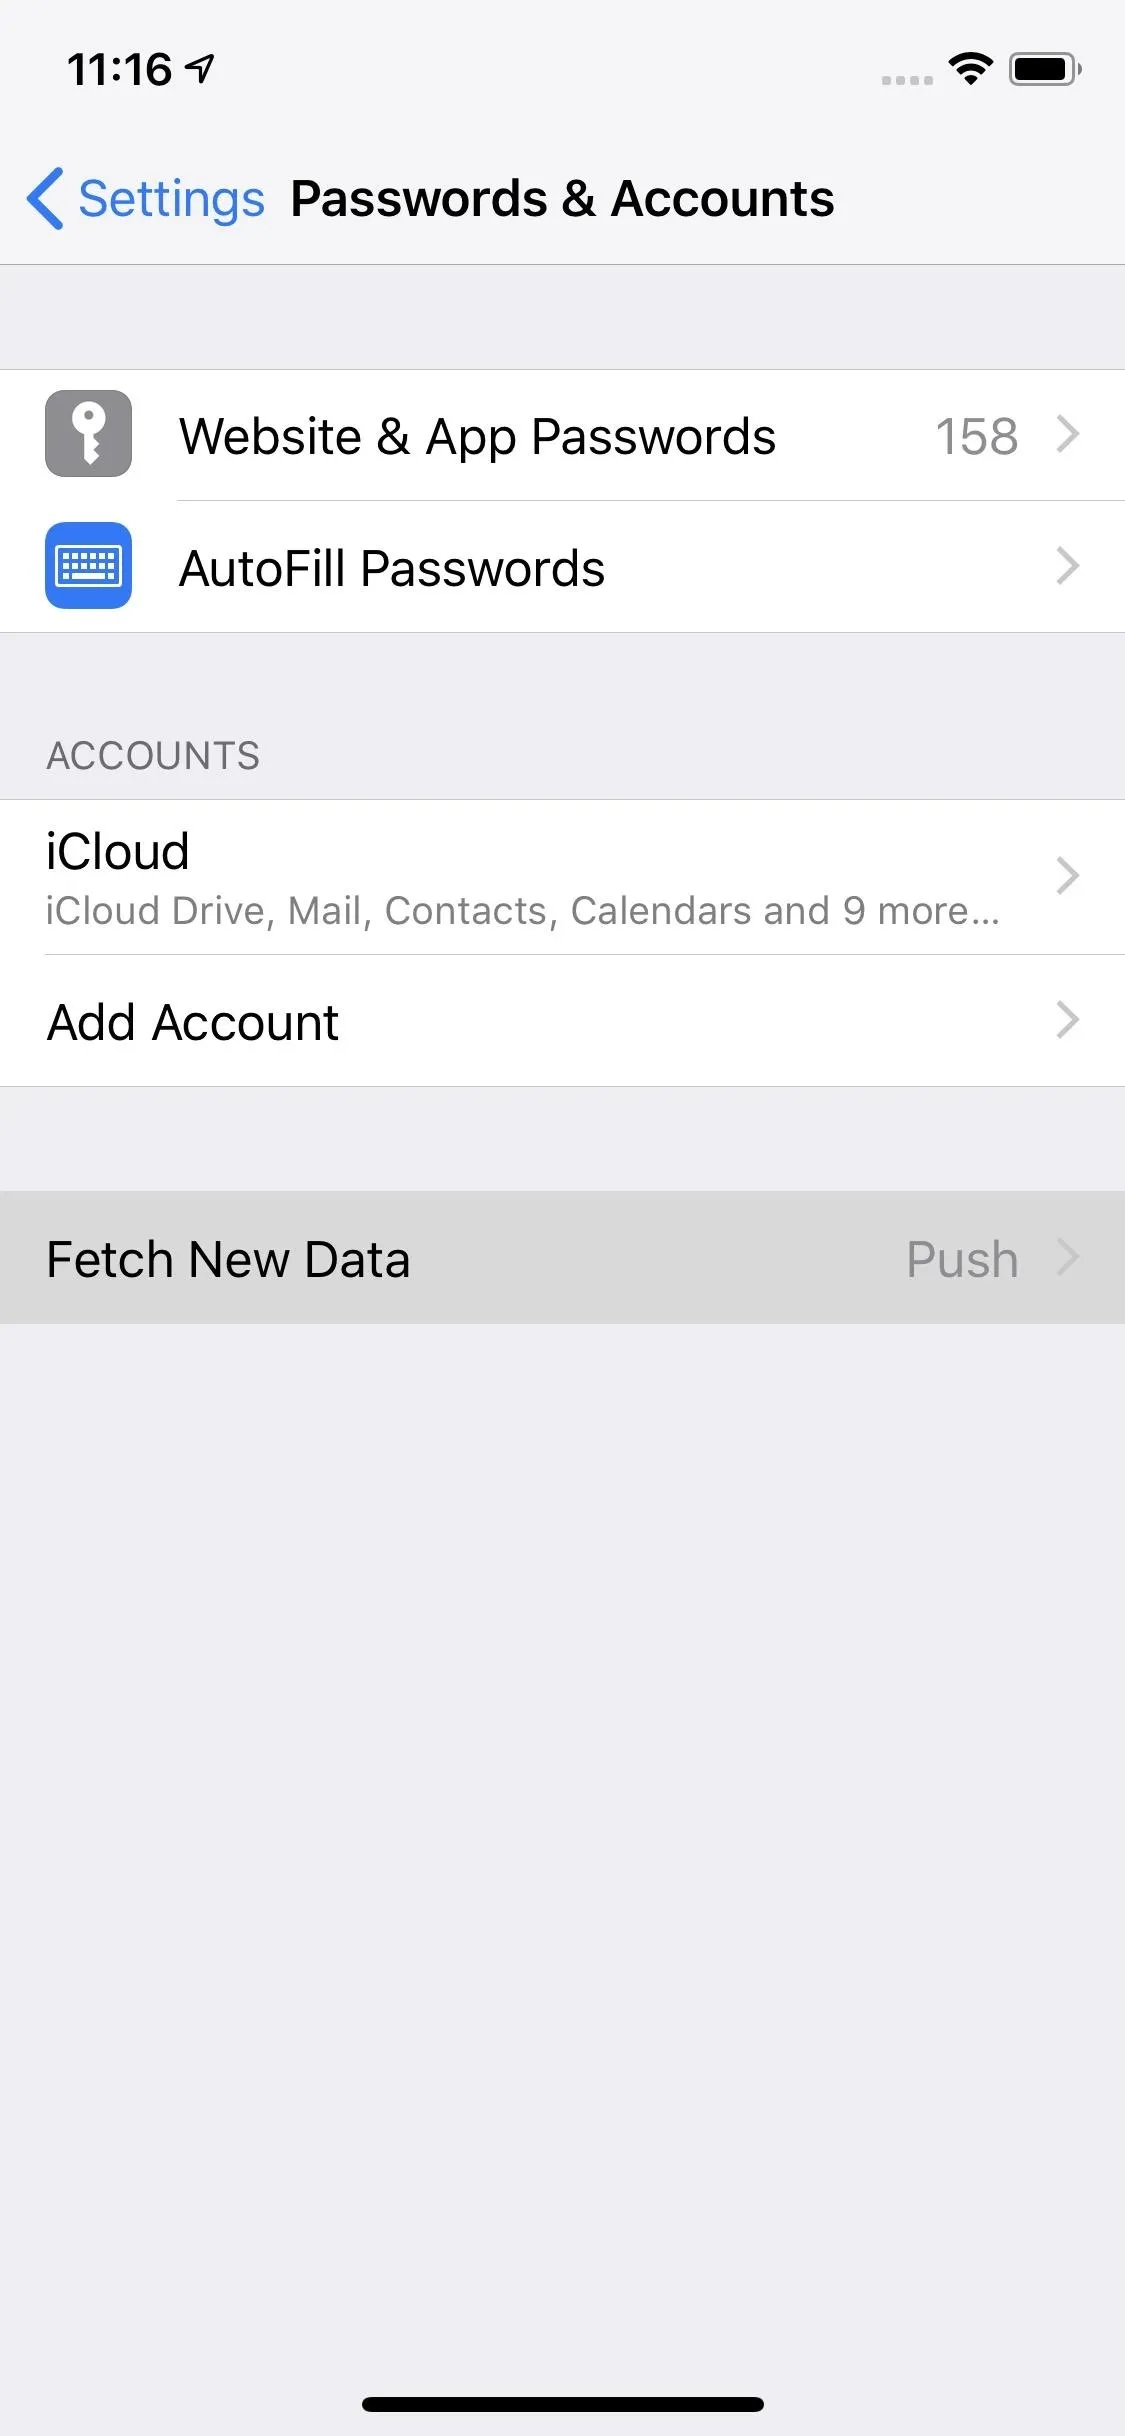
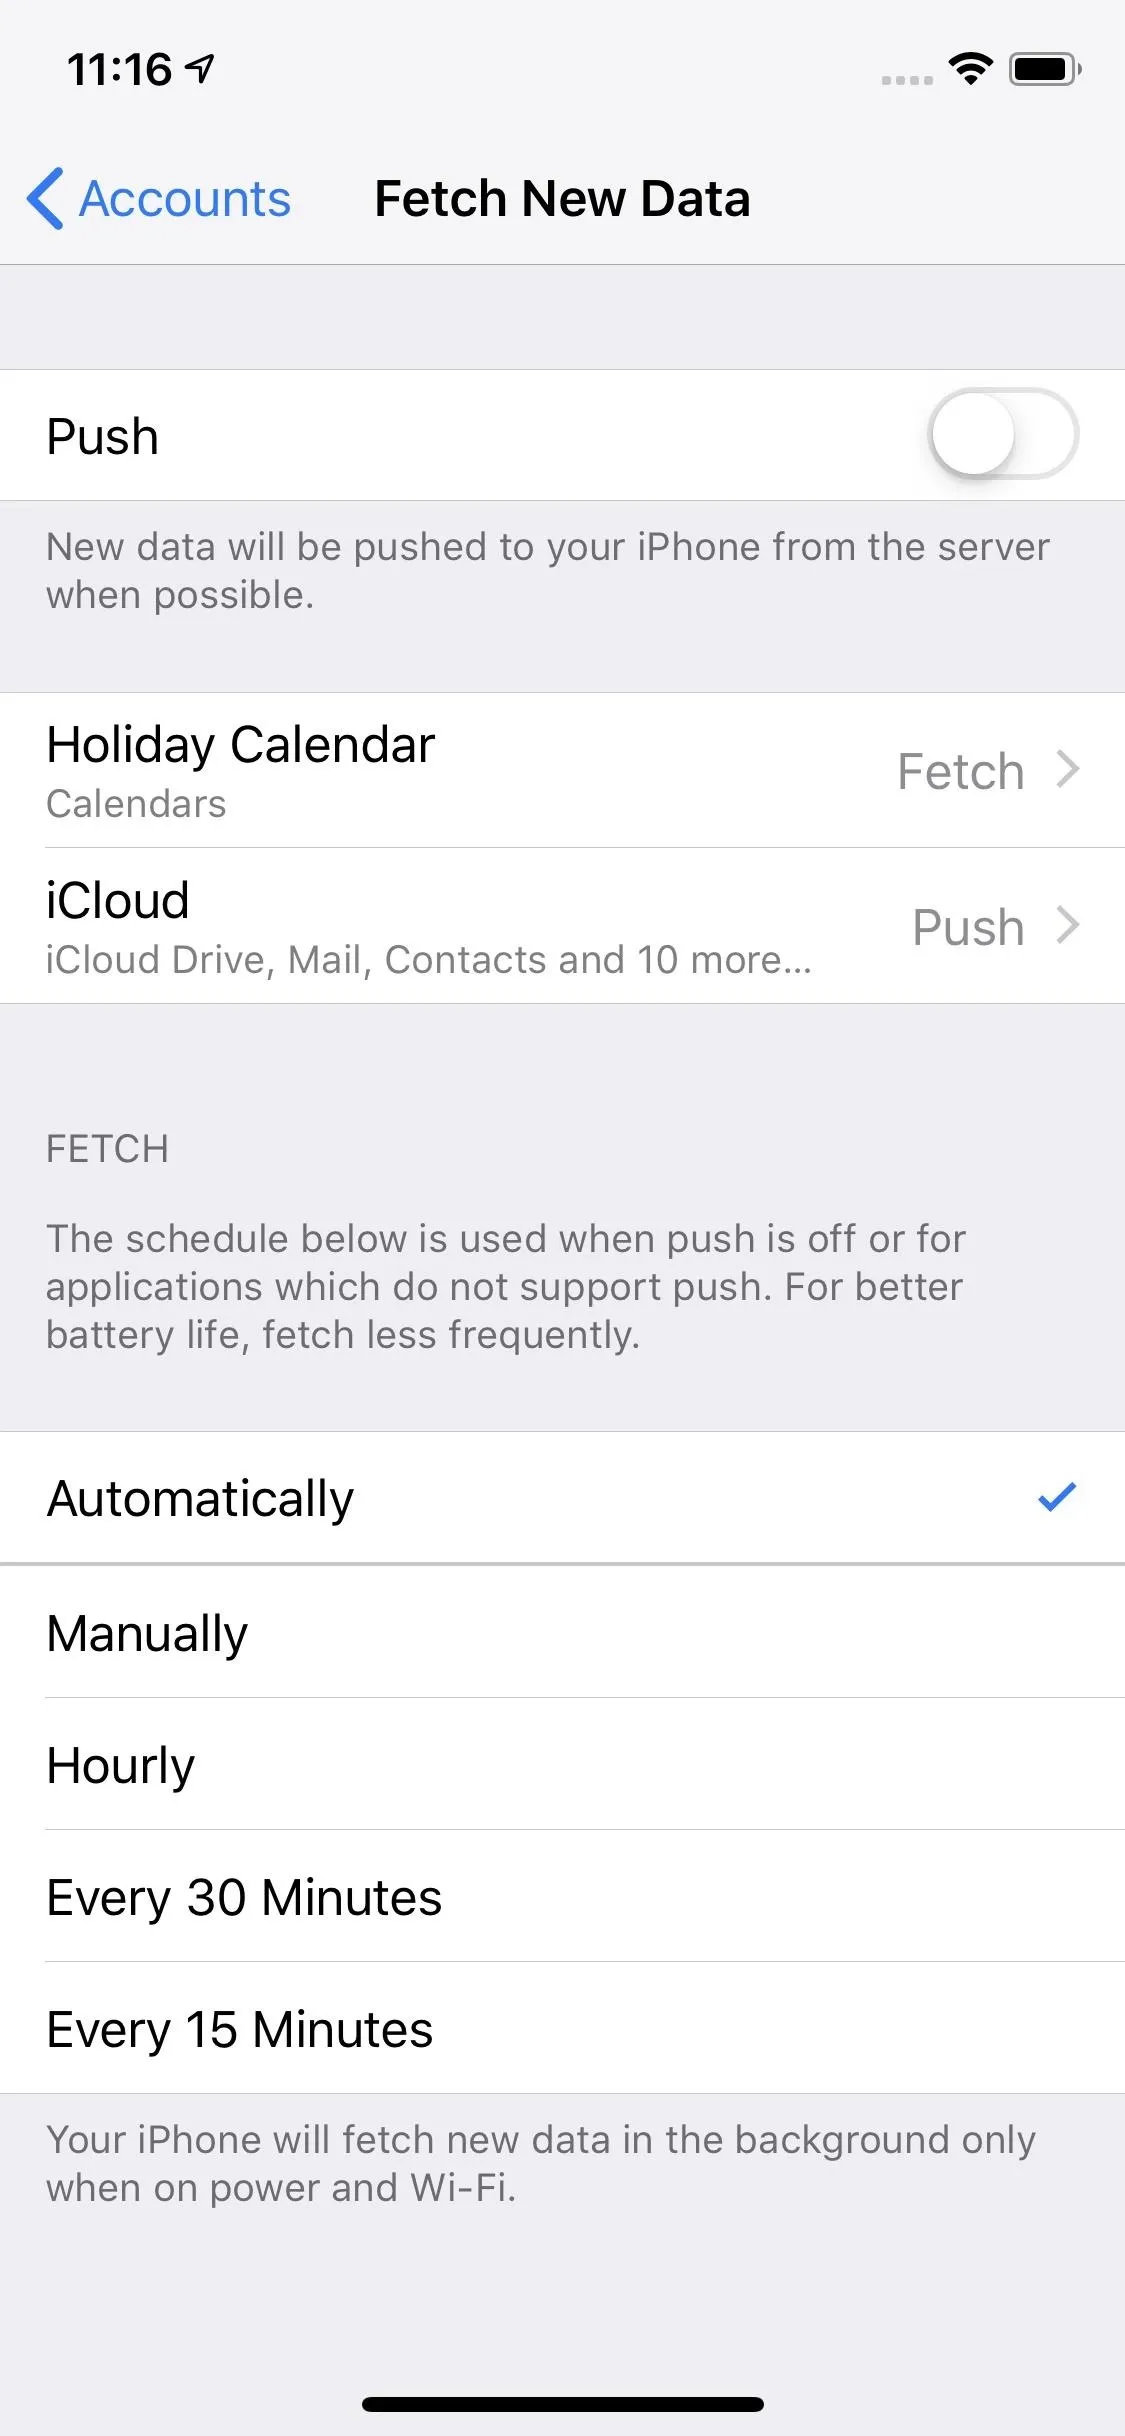
Make sure these apps don't drain your data while traveling. On iOS, you'll find Fetch in Settings –> Passwords & Accounts –> Fetch New Data. Here, you'll see all accounts and apps on your iPhone that use Fetch. First of all, ensure "Push" is disabled. That will block these services from getting new data as soon as it becomes available. Once you do, move down to "Fetch." You'll need to select "Manually" here, as this option will ensure data is only pulled when you request it.
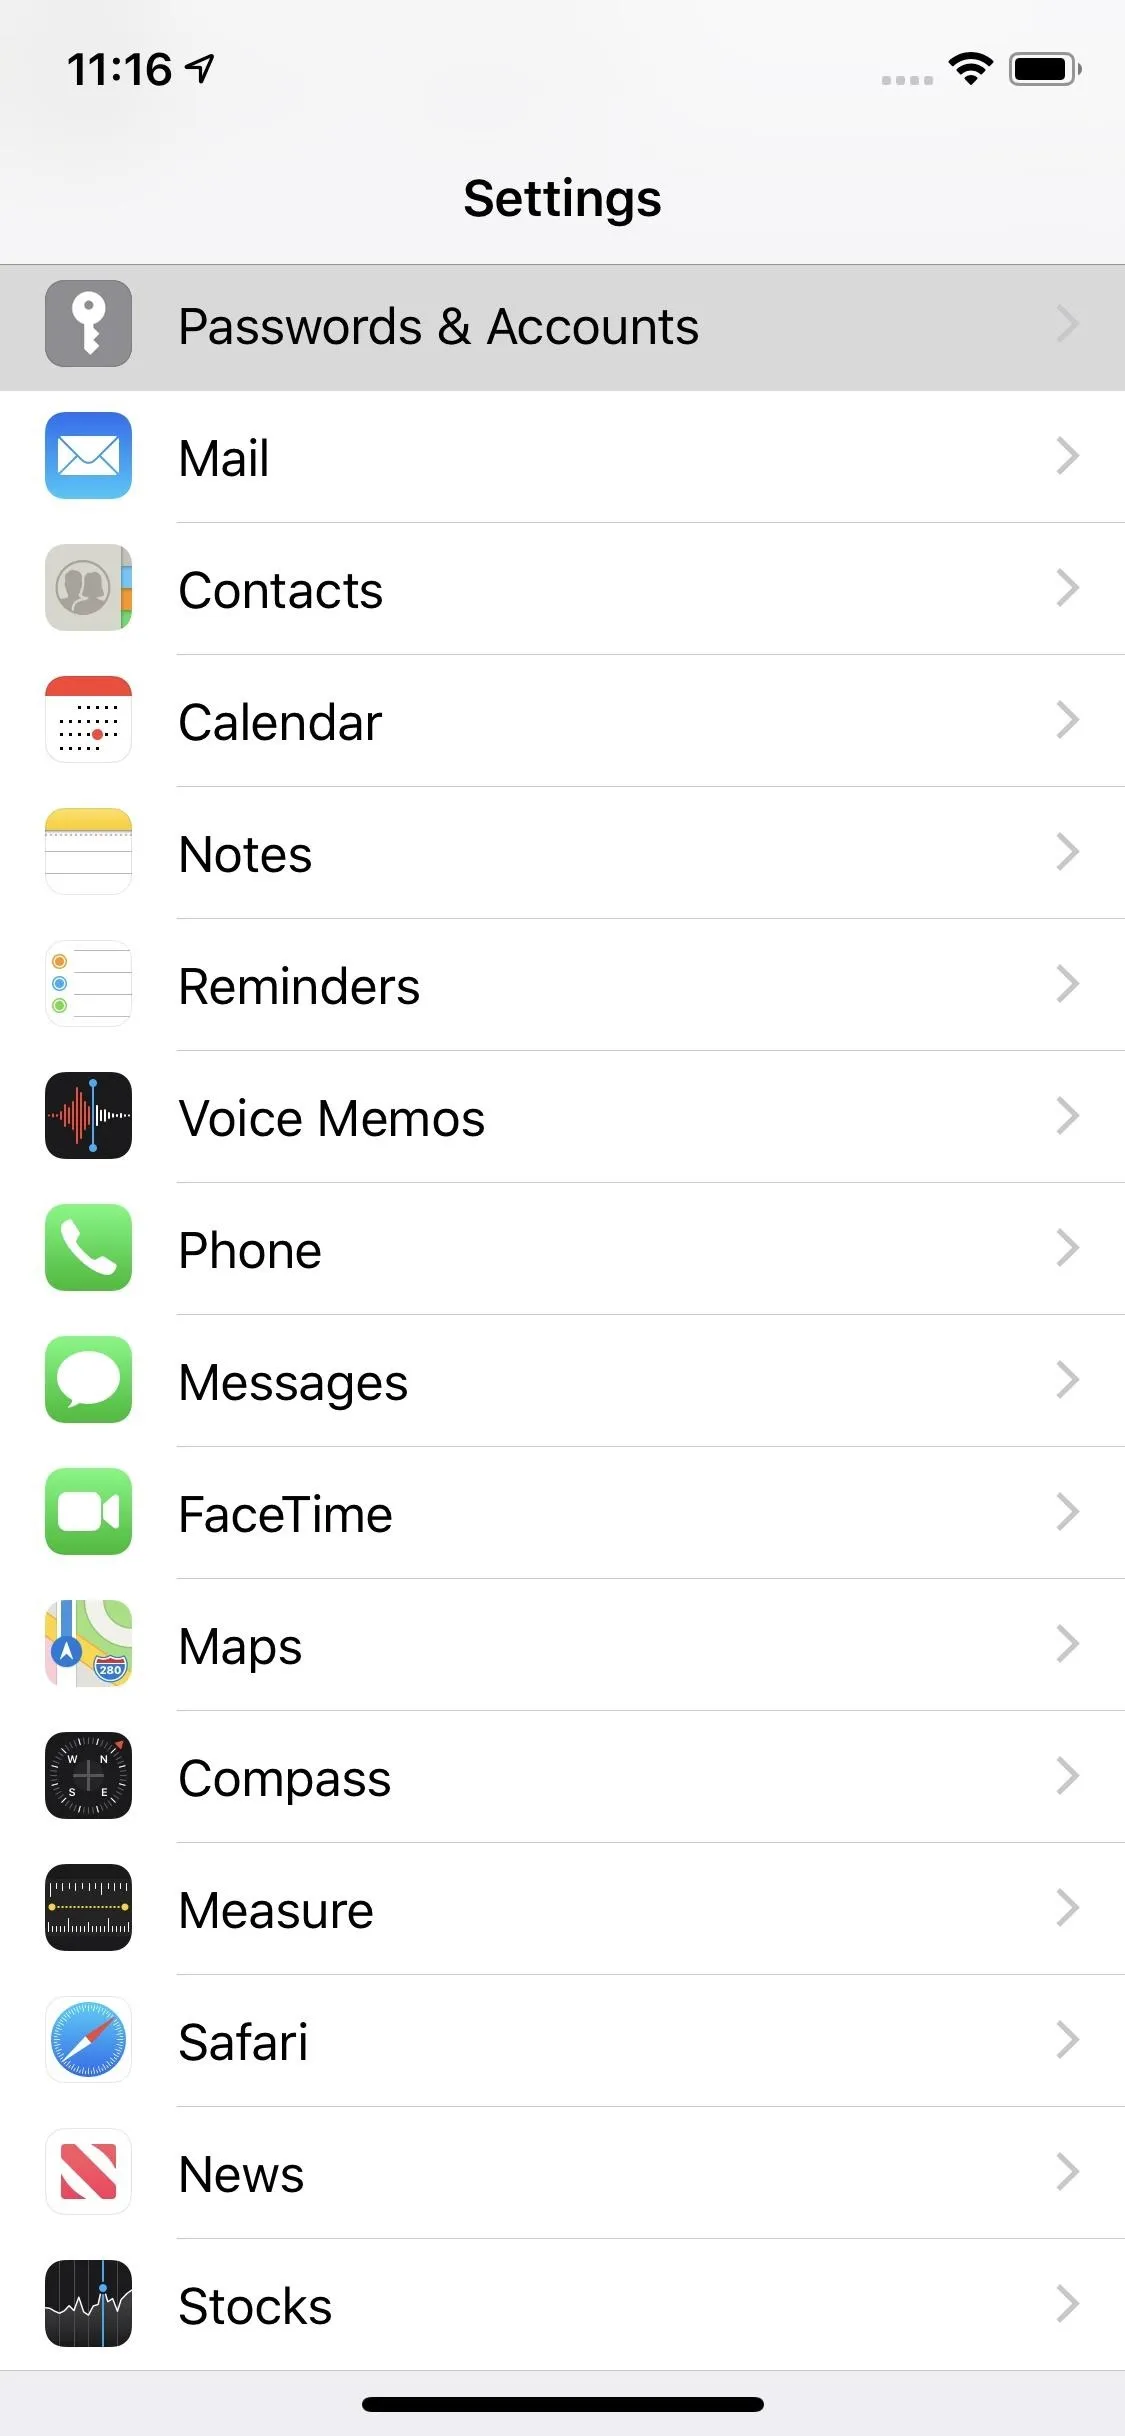
Fetch on iOS.
Fetch on iOS.
On Android, head to Settings –> Accounts, or it could be in Settings –> Cloud and accounts –> Accounts. Here, you'll see all accounts on your device that sync data in the background. There could also be an "Auto sync data" or "Automatically sync data" toggle. If you turn that off, fetch will no longer be an issue. If you only want to do individual items, tap each account, then tap each connected service. Ensure the slider in each service is disabled. If no slider appears, your job is done for you.
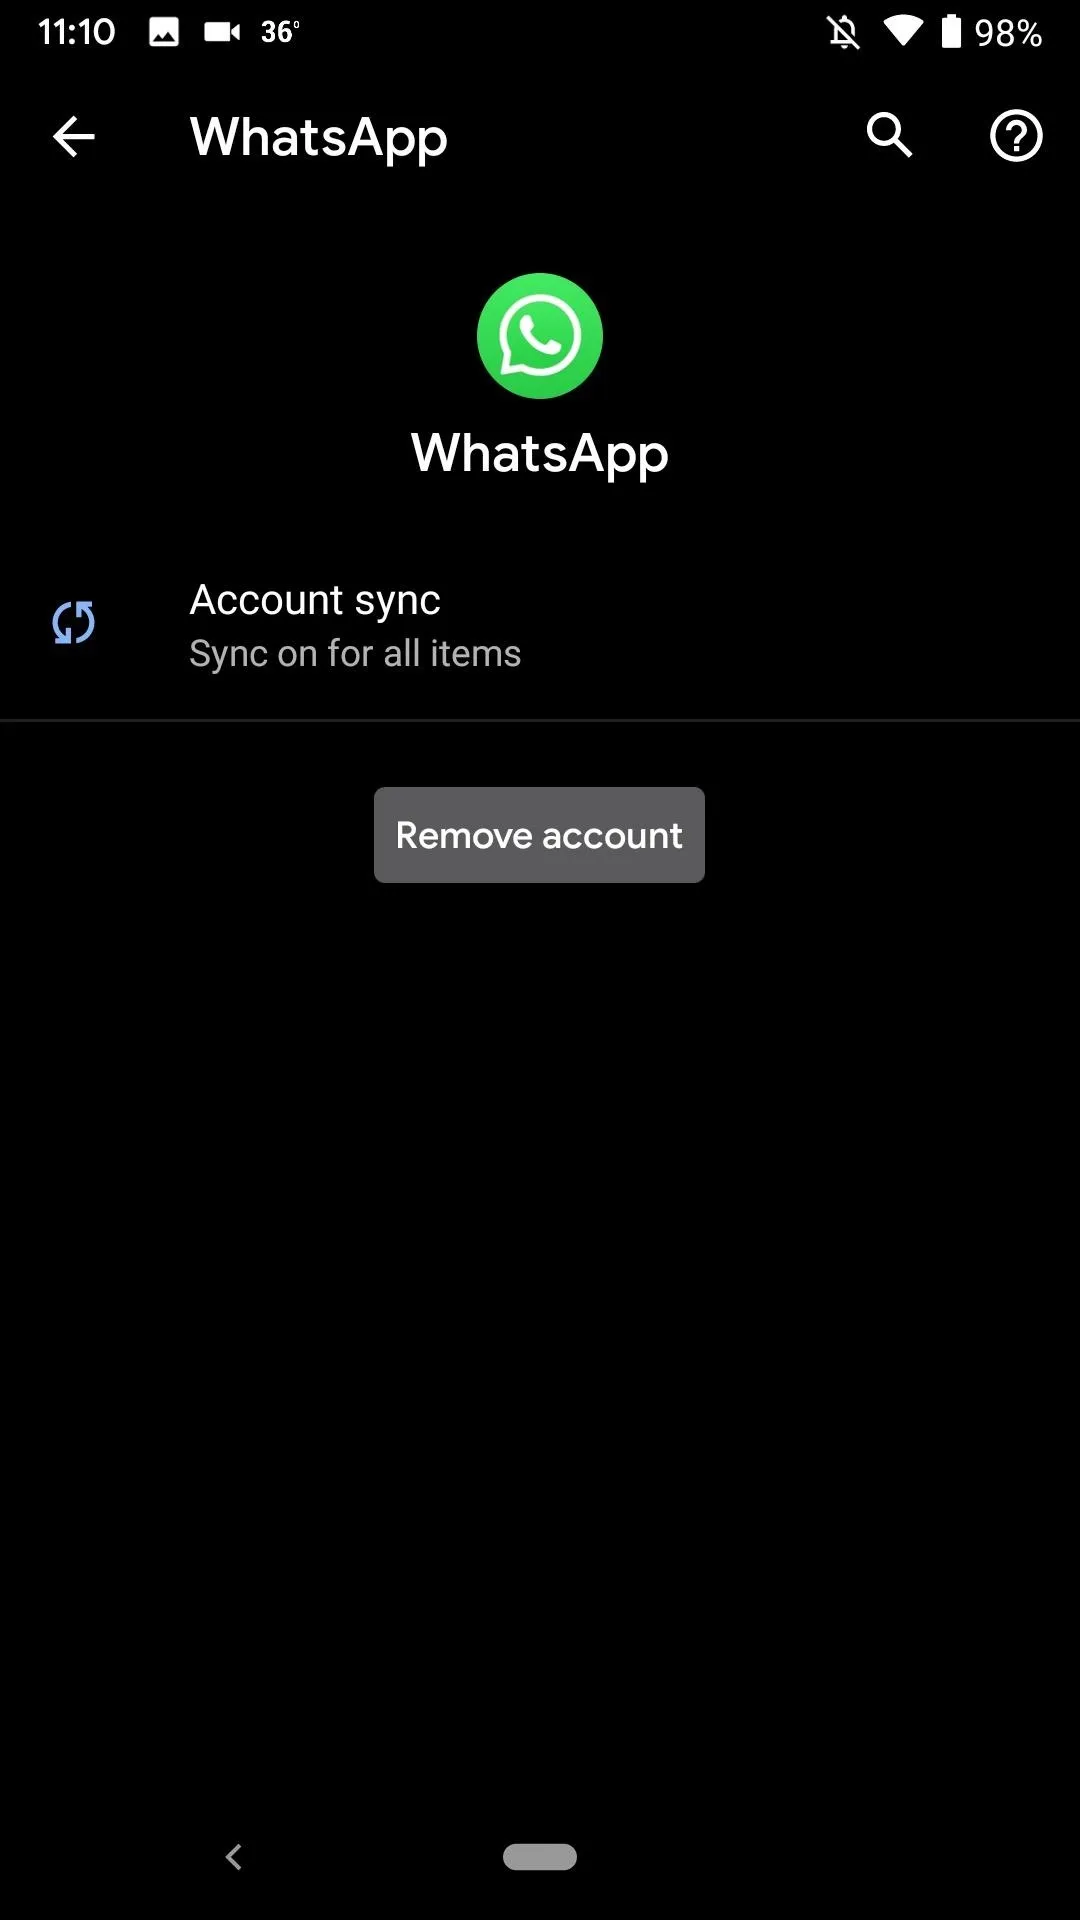
Fetch on Android.
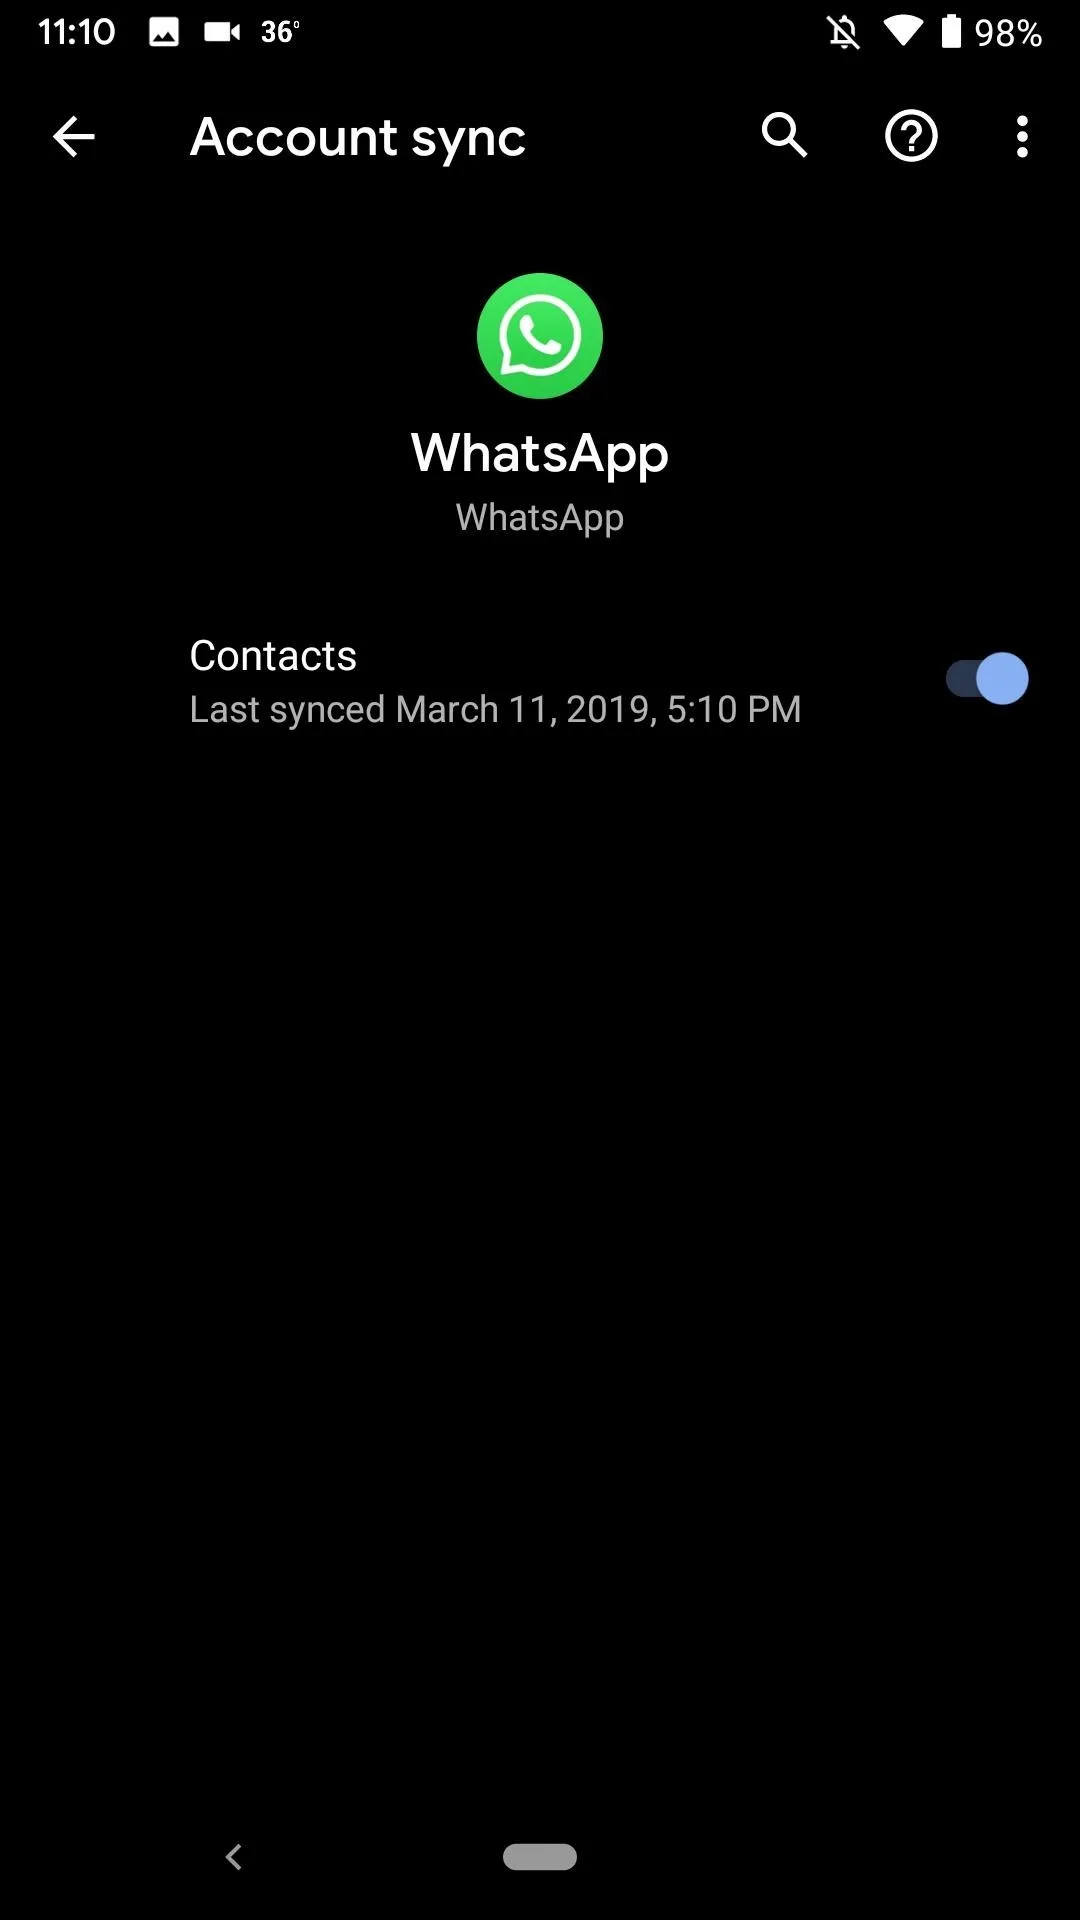
Fetch on Android.
Podcast Downloads
Listen to podcasts? That's great. What's not great is how huge podcast files are. These things are massive, and, unfortunately, podcast apps love to automatically download new episodes for "your convenience." Over Wi-Fi, this isn't usually an issue, unless your phone's internal storage is tiny (looking at you, 16 GB iPhone models). But if the app happens to be set to download over cellular, that's when you run into trouble.
Don't let your podcast app of choice drain your valuable international data. Dive into its settings, and make sure automatic downloads are either set to off or, at the very least, set to "Wi-Fi Only." Each app will have a different way to access the settings, so we can't show them all.
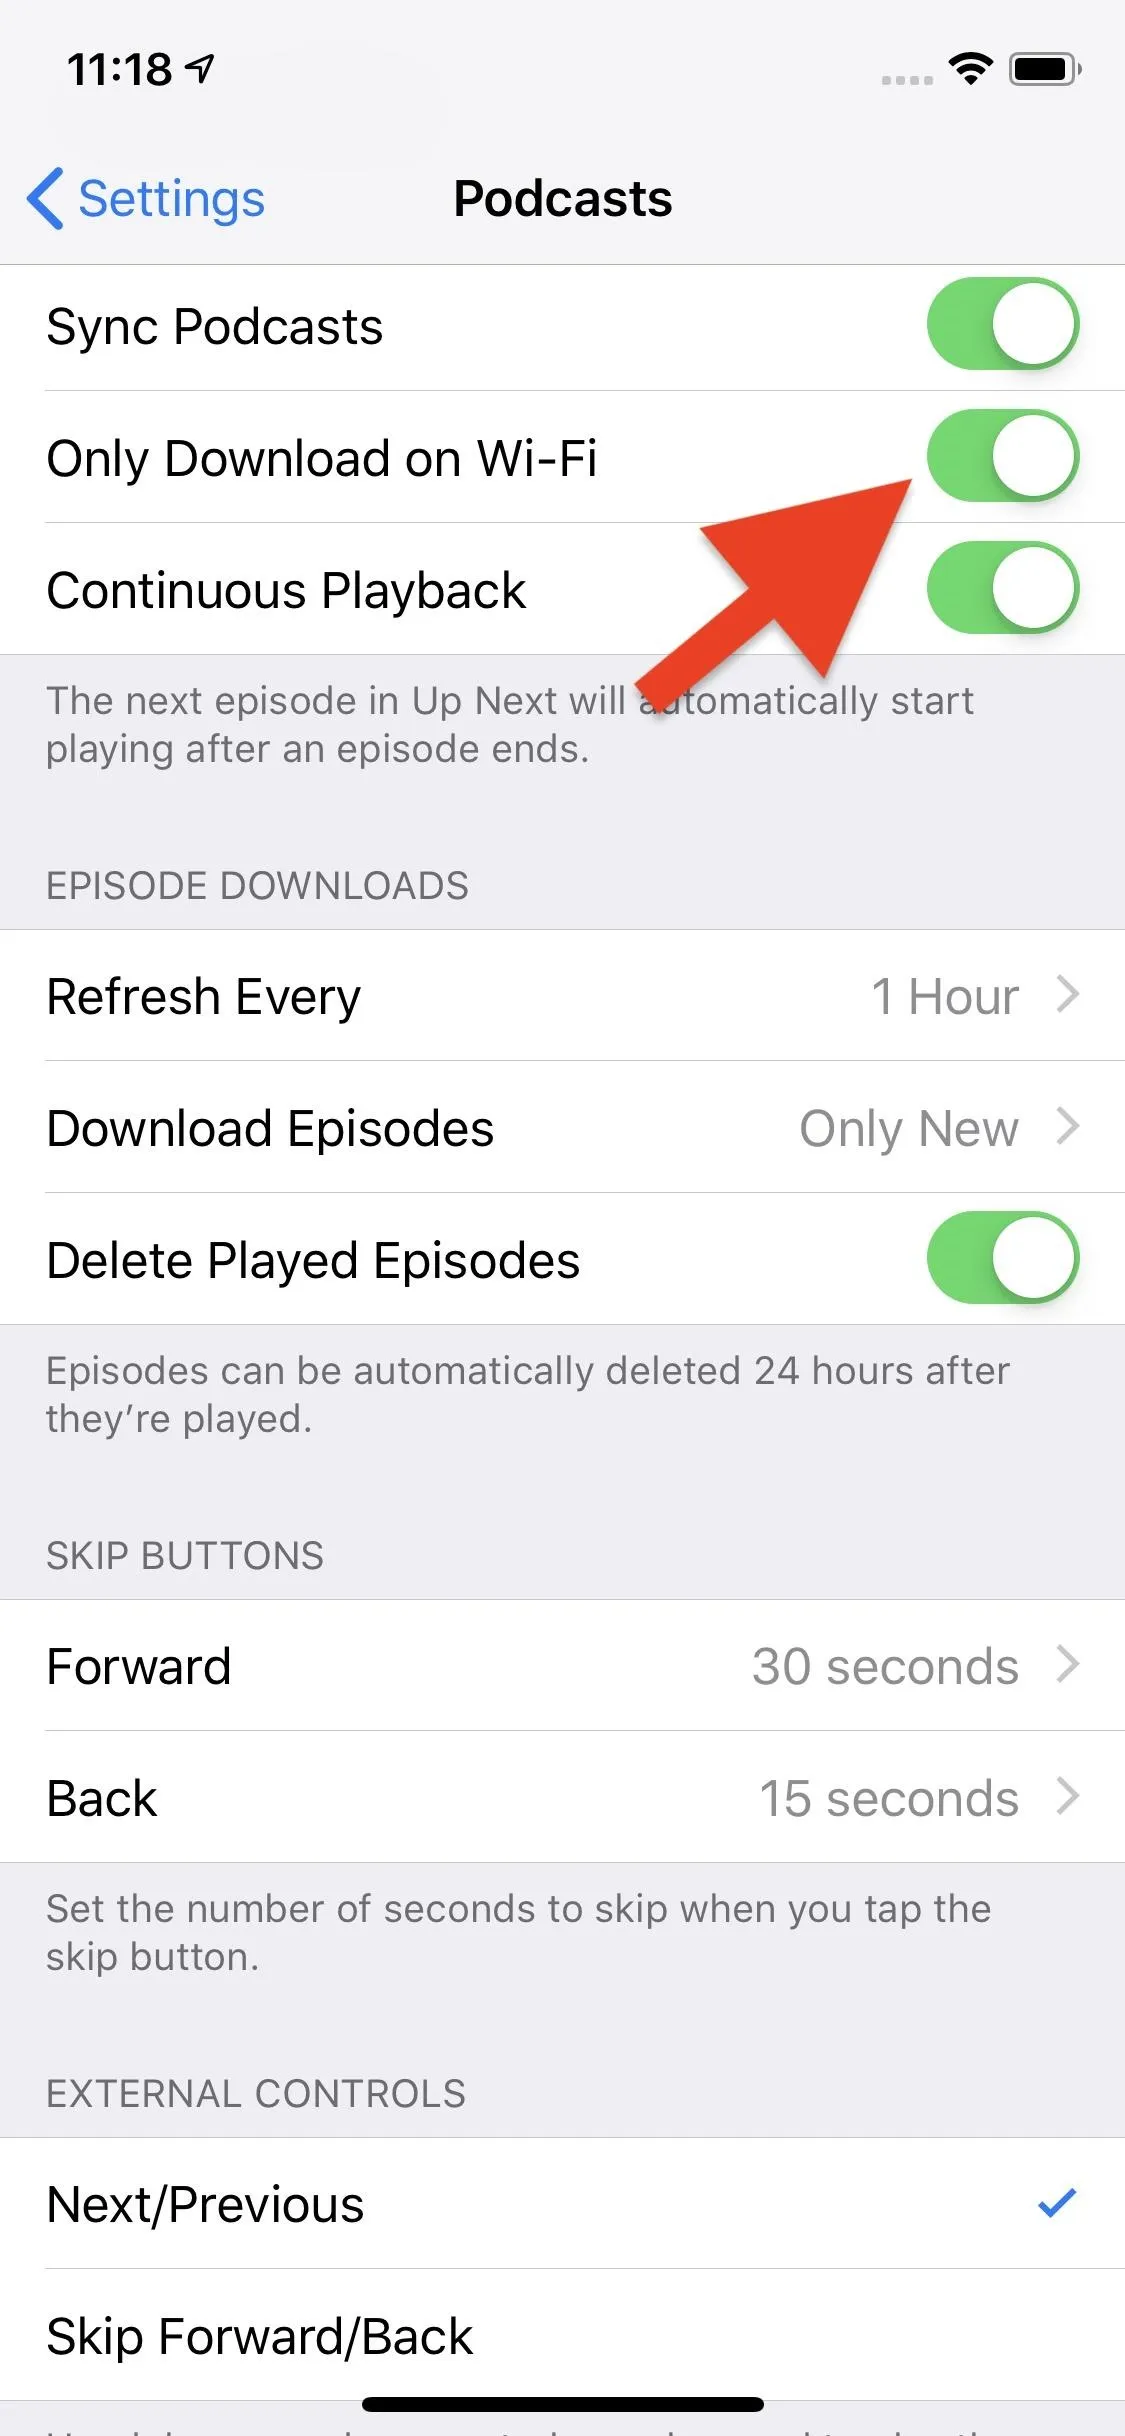
Apple Podcasts (left) and Overcast settings (right) on iOS.
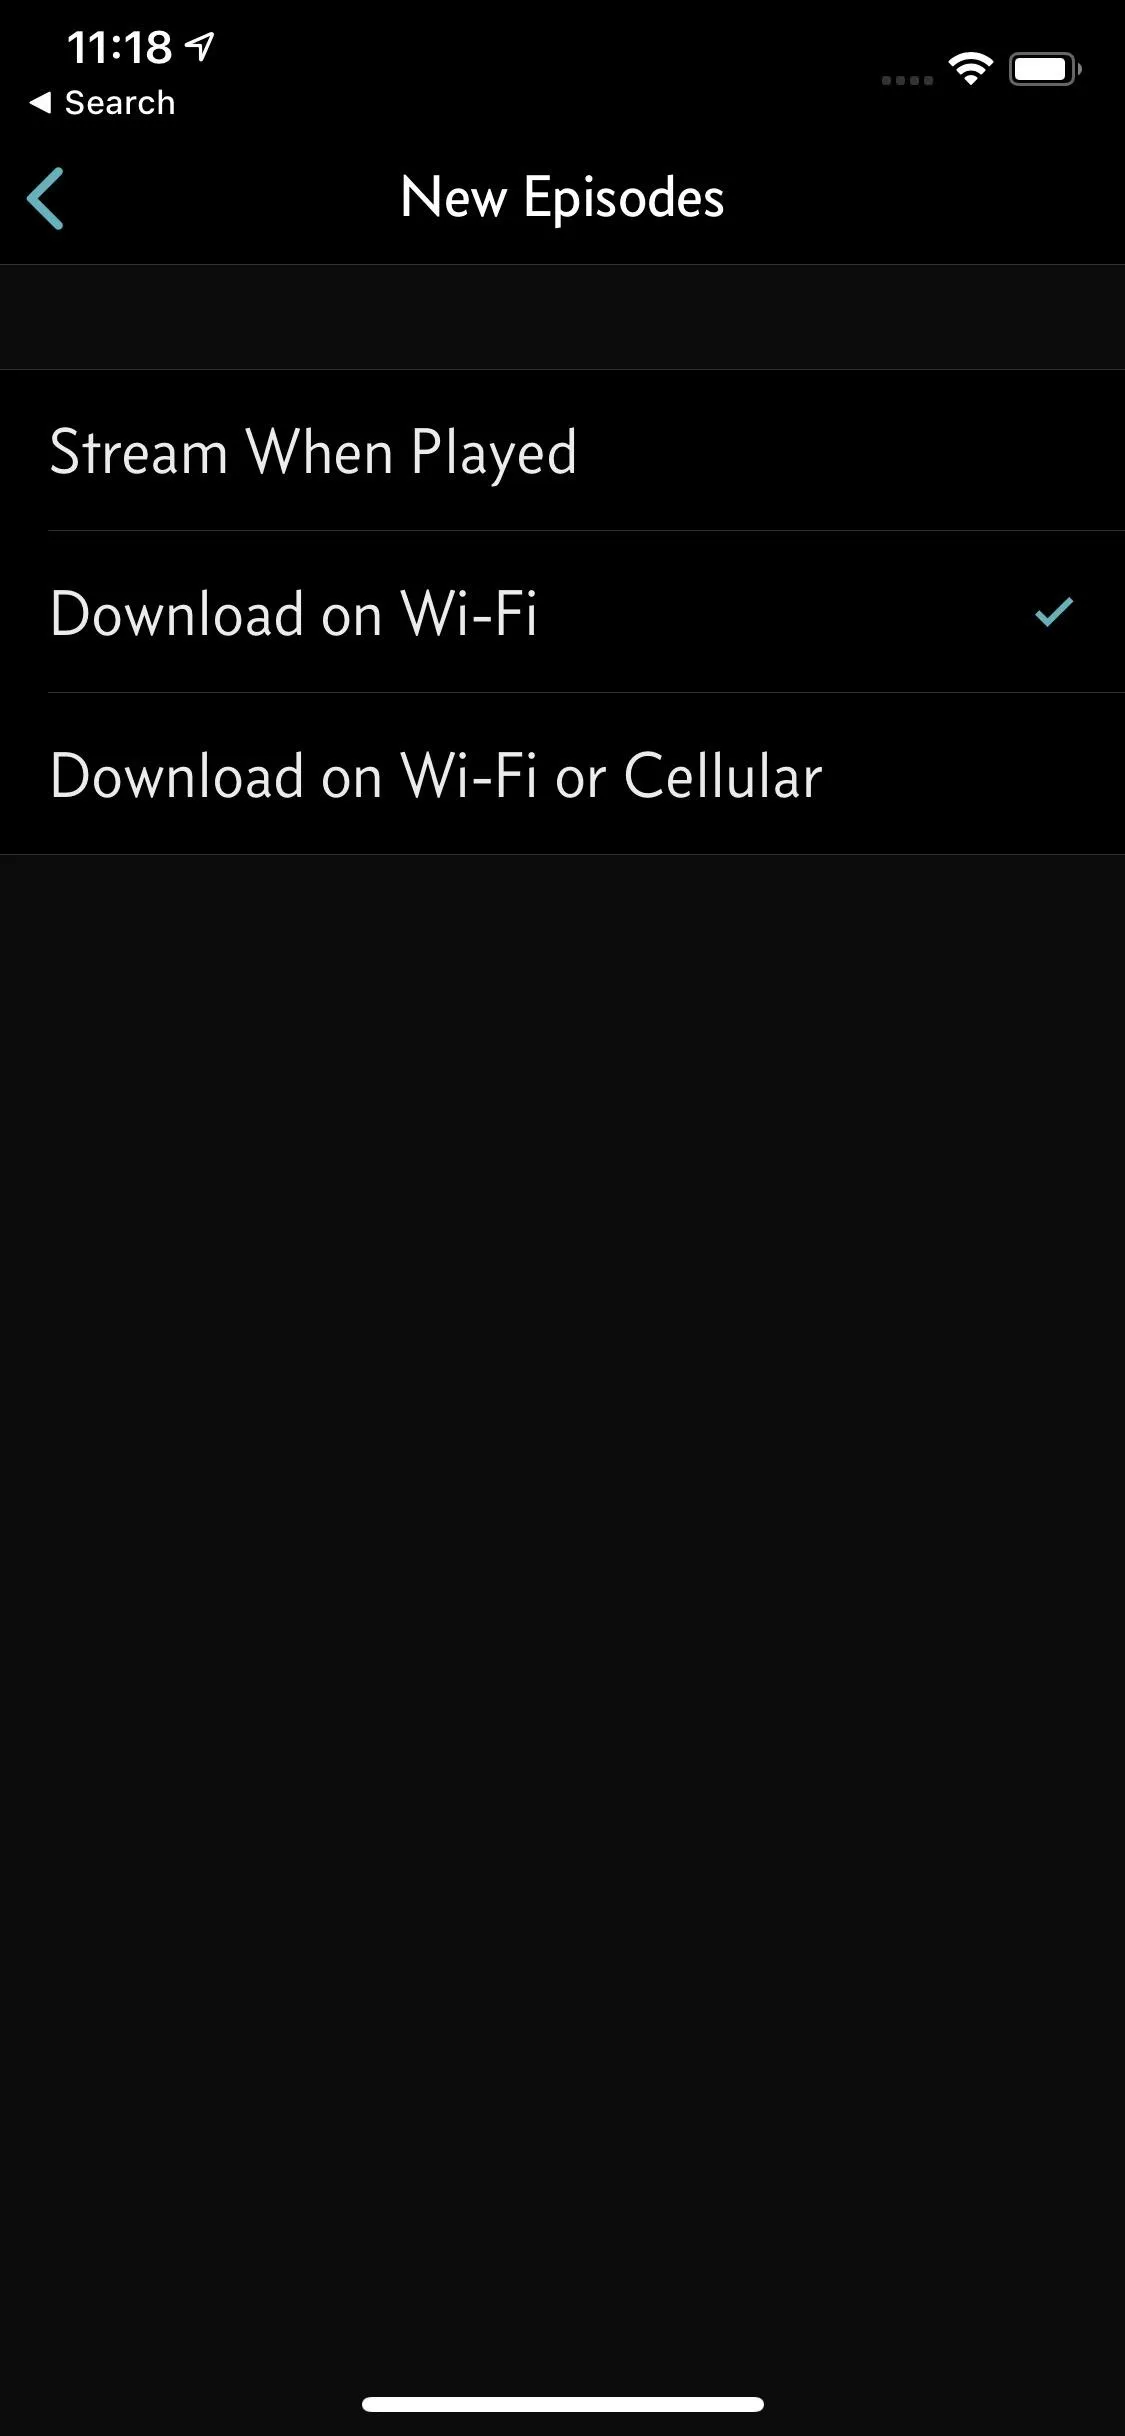
Apple Podcasts (left) and Overcast settings (right) on iOS.
5. Use a VPN to Stay Incognito Online
Do you use a VPN? Do you like being spied on? We know you don't, but if aren't using a VPN, you're just opening your internet traffic for anyone with a cause to see.
The problem is, VPNs, in general, are pretty confusing. There's a lot of misinformation out there, obfuscating what VPNs are really all about. That's why we spent a long time working on our VPN guide, to ensure you get the most accurate picture of how VPNs work and how they can help you stay private online.
Protect your browsing abroad — download a VPN before your trip.
- Full Guide: The 4 Best VPN Apps for iPhone & Android
6. Message Freely, No Matter Where You Are
Apple's iMessage is equal parts awesome and a pain. The actual service itself is excellent, chock-full of features to make communicating across your Apple devices fun and engaging. However, it's easily the reason it's so difficult to switch between iPhone and Android. Not only that, iPhone and Android friends have a difficult time communicating on the same platform unless you want to stick with — shudders — SMS.
That's why going with a popular third-party messaging app is good for so many people. Whether you're on Android or iOS, communicating with the same app is ubiquitous. You just need to be on the same app. Easier said than done.
Before heading out for your trip, check in with the friends and family you'd like to stay in touch with. See what platform everyone uses, and go with the one that's most popular. Or, start a campaign to get everyone on the same page.
Undoubtedly, the most popular messaging apps when traveling abroad are WhatsApp, Viber, and Facebook Messenger. If you're not short on space, we'd recommend you download all three. That way, you'll have more options for messaging, in case you make friends who use one app over another.
- Install WhatsApp: Android (free) | iOS (free)
- Install Viber: Android (free) | iOS (free)
- Install Facebook Messenger: Android (free) | iOS (free)
Keeping Yourself Entertained During Downtime
Long flight? Have some time to kill in the hotel? Gone are the days of being restricted to airport books, magazines, and local TV. Your phone is a personal curator of your favorite media. Make sure to set yourself up for entertainment success before hitting the road.
1. Download Movies & TV for Offline Viewing
Thanks to the ease of streaming movies and TV have never been better or more accessible. Of course, it's not just streaming. You can download these titles to take on the go as well, saving mightily on your data plan and keeping entertainment in reach when service is nonexistent.
- More Info: The 4 Best Apps for Downloading Movies & TV Shows
- More Info: How to Download Netflix Content to Your Smartphone
- More Info: How to Download Videos from Amazon Prime
- More Info: How to Download Showtime Movies & TV on Your Phone
2. Try Some Offline Games
An annoying trend in mobile games is the need for your phone to be connected to cellular data in order to play the game. Game Boys never gave us this much trouble. Luckily, there are still developers out there who aren't so greedy that their games need to send ads to your device to work. Go ahead and give their games a try on your next trip. Just remember to play with the internet when possible to give them some ad revenue.
3. Download Books for Quiet Relaxation
Contrary to popular sentiment, millennials aren't killing books. In fact, both digital and print books are alive and well. If you'd prefer to keep the reading materials to your mobile device, you have plenty of options to do so on both Android and iOS.
If you want to stick to native apps, both devices have their own digital bookstores — Apple Books and Google Play Books — to download titles from. If you want to try one of their competitors, however, Kindle is always an option on either platform. Amazon's option is often cheaper than Apple or Google's, so it's good to check prices across platforms.
- App Store Link: Apple Books (free)
- Play Store Link: Google Play Books (free)
- Install Kindle: Android (free) | iOS (free)
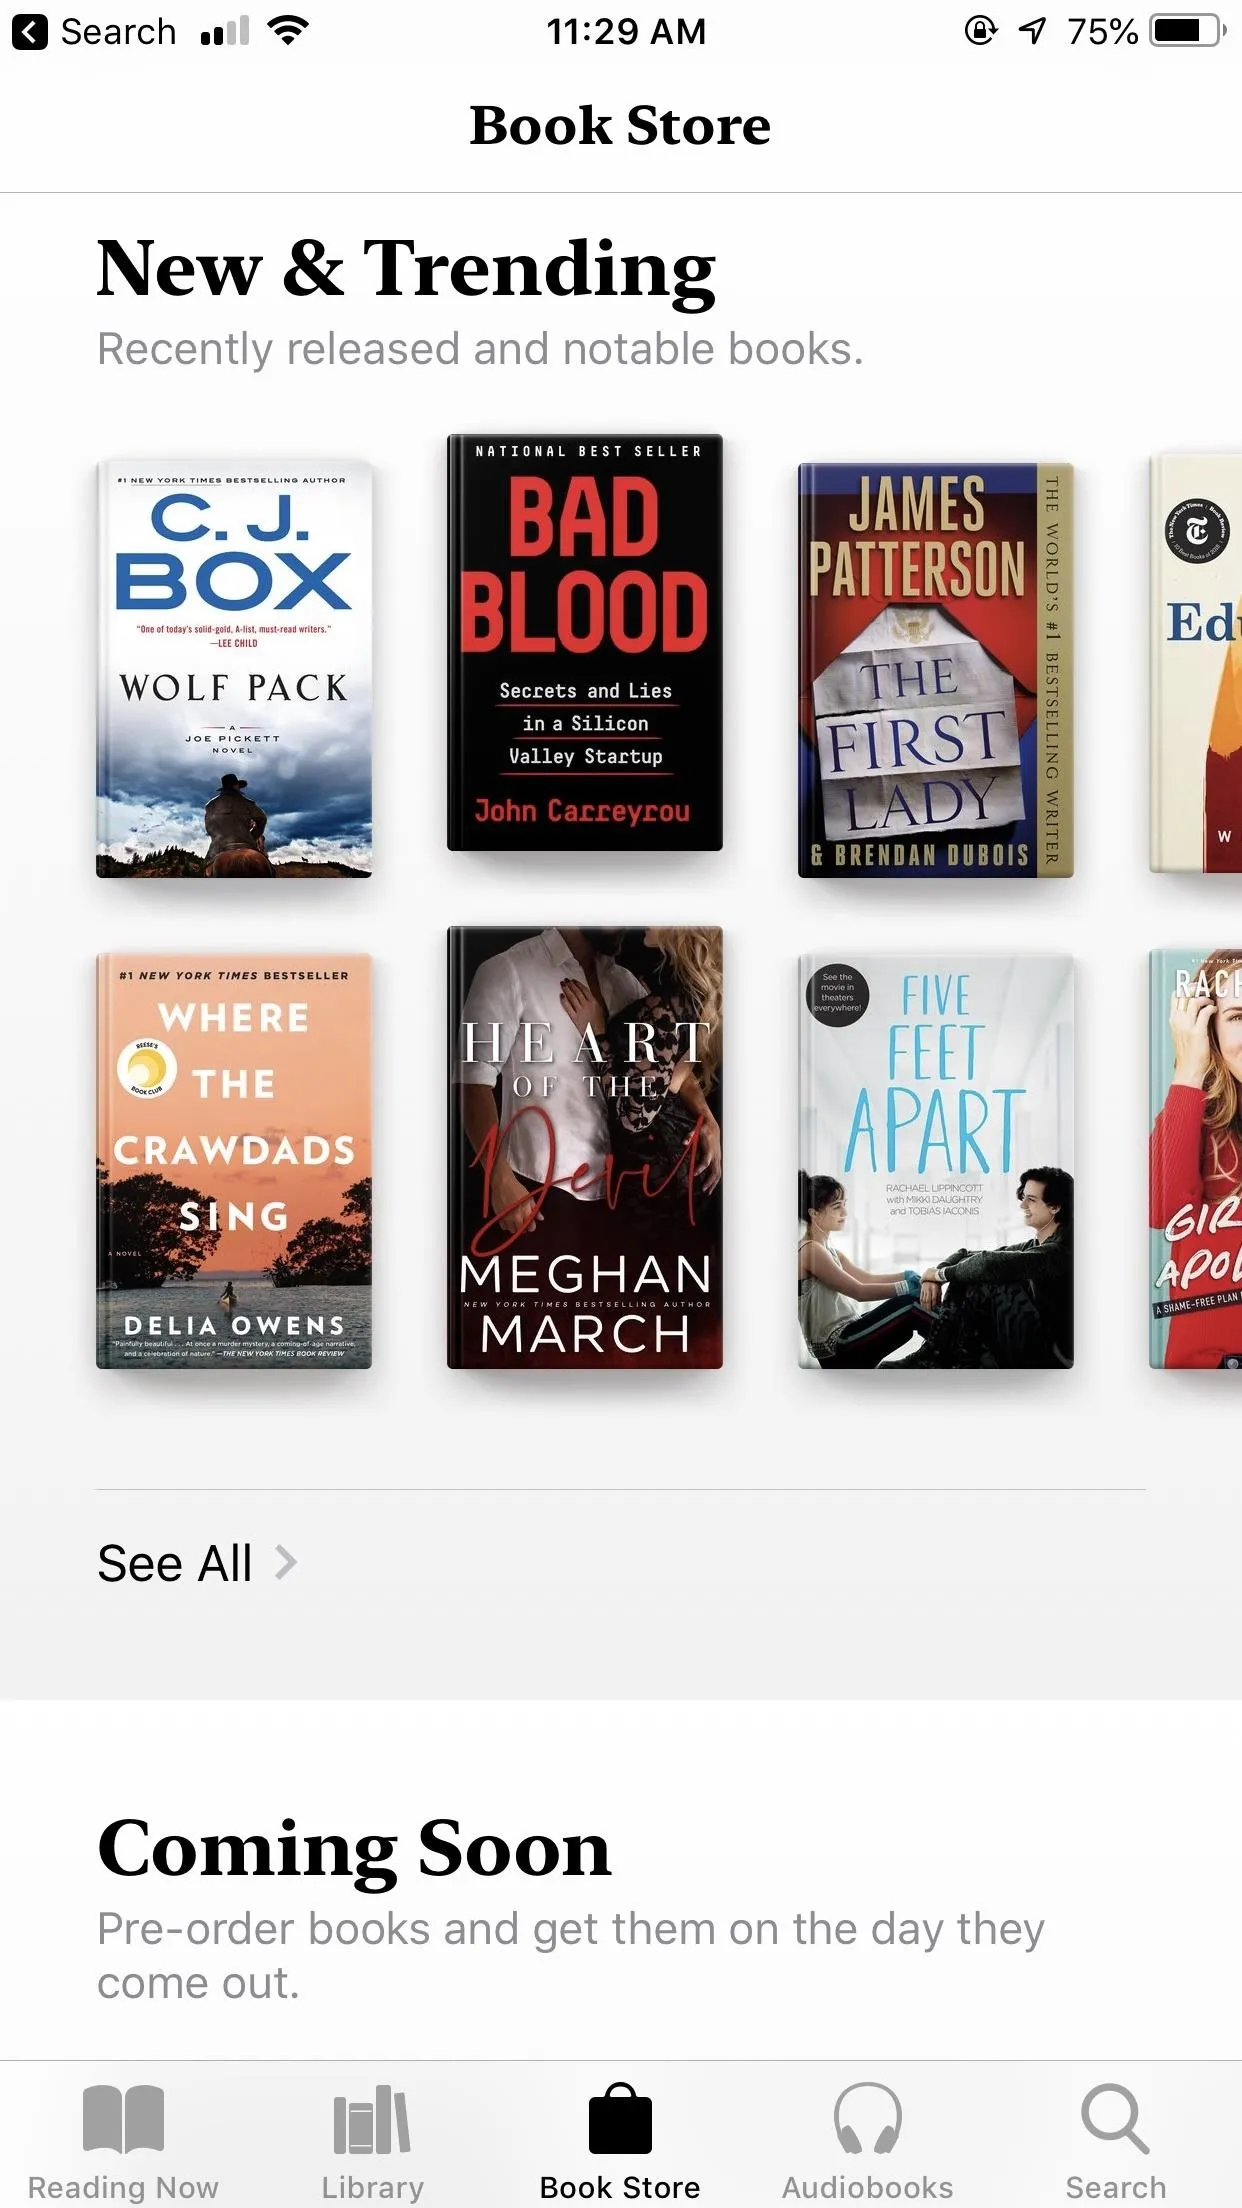
Apple Books on iOS (left) and Google Play Books on Android (right).
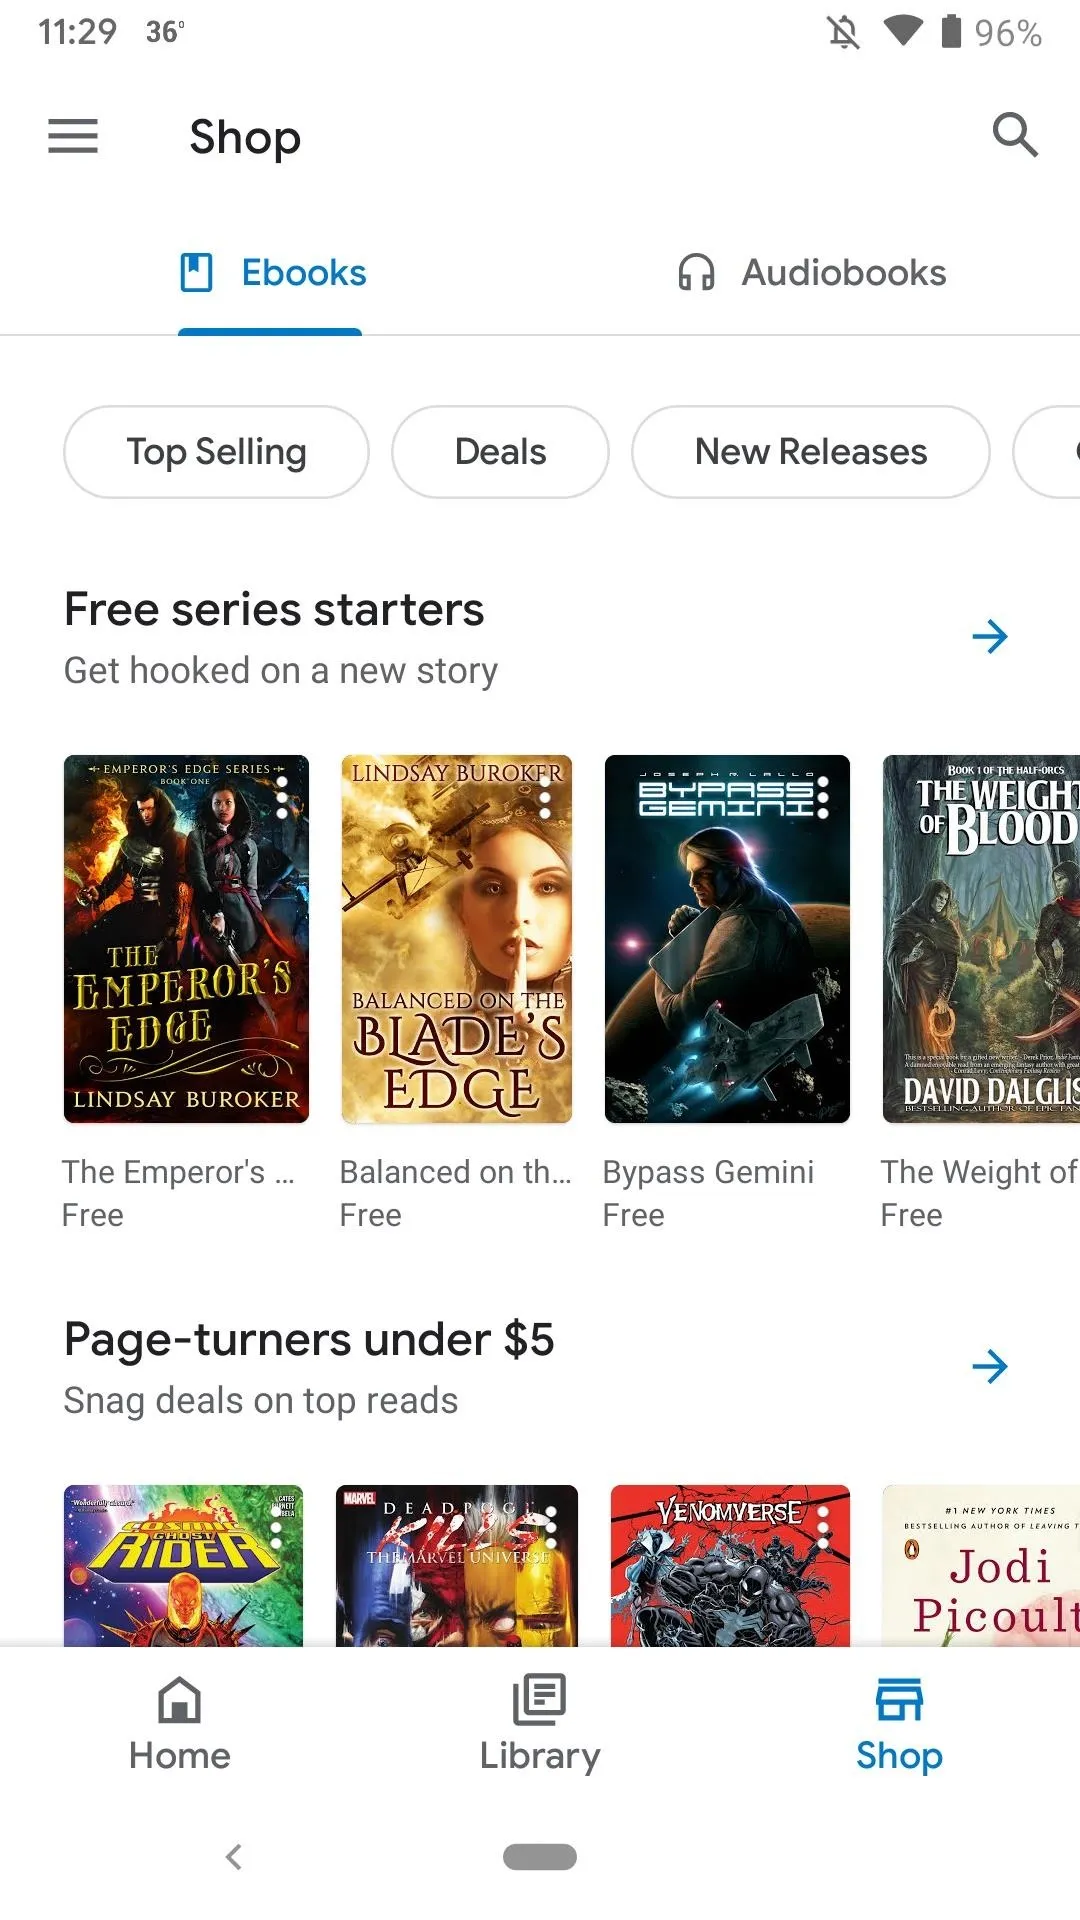
Apple Books on iOS (left) and Google Play Books on Android (right).
4. Have Someone Else Read to You
Don't feel like reading yourself? Hire someone else to do it. More specifically, download an audiobook. Apple and Google both sell audiobooks on their platforms, but you can find more options on Audible as well (like Kindle, owned by Amazon).
Audible is free to download, but does require a monthly subscription starting at $14.95/month, which gives you a credit (or credits) for audiobooks, in addition to discounts on additional audiobooks. If you listen to enough podcasts, however, you're bound to run into a free trial for the service.
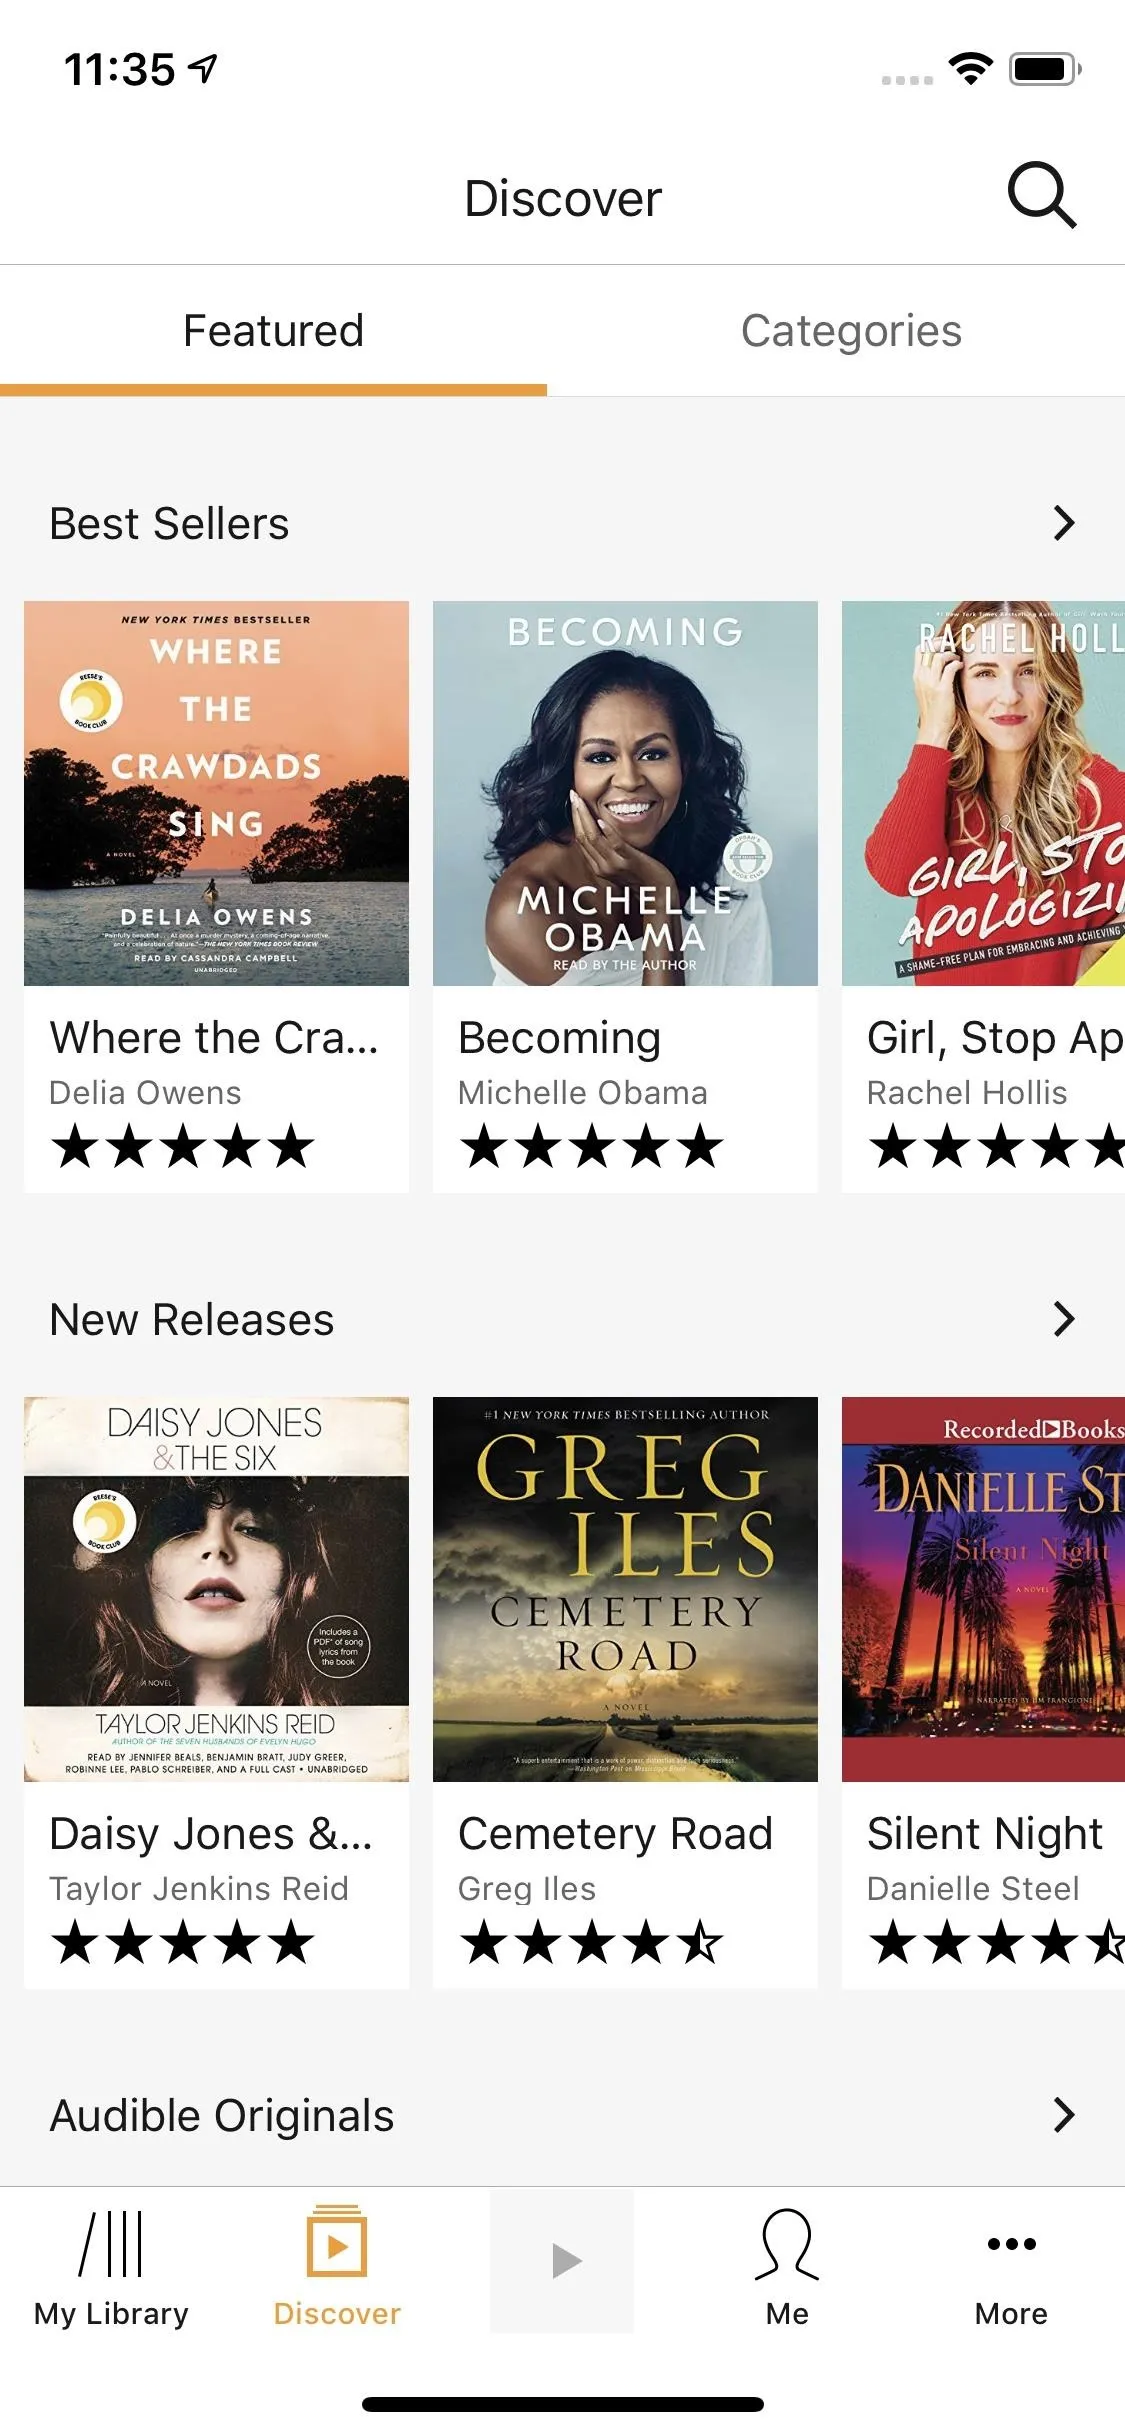
Audible being used on an iPhone.
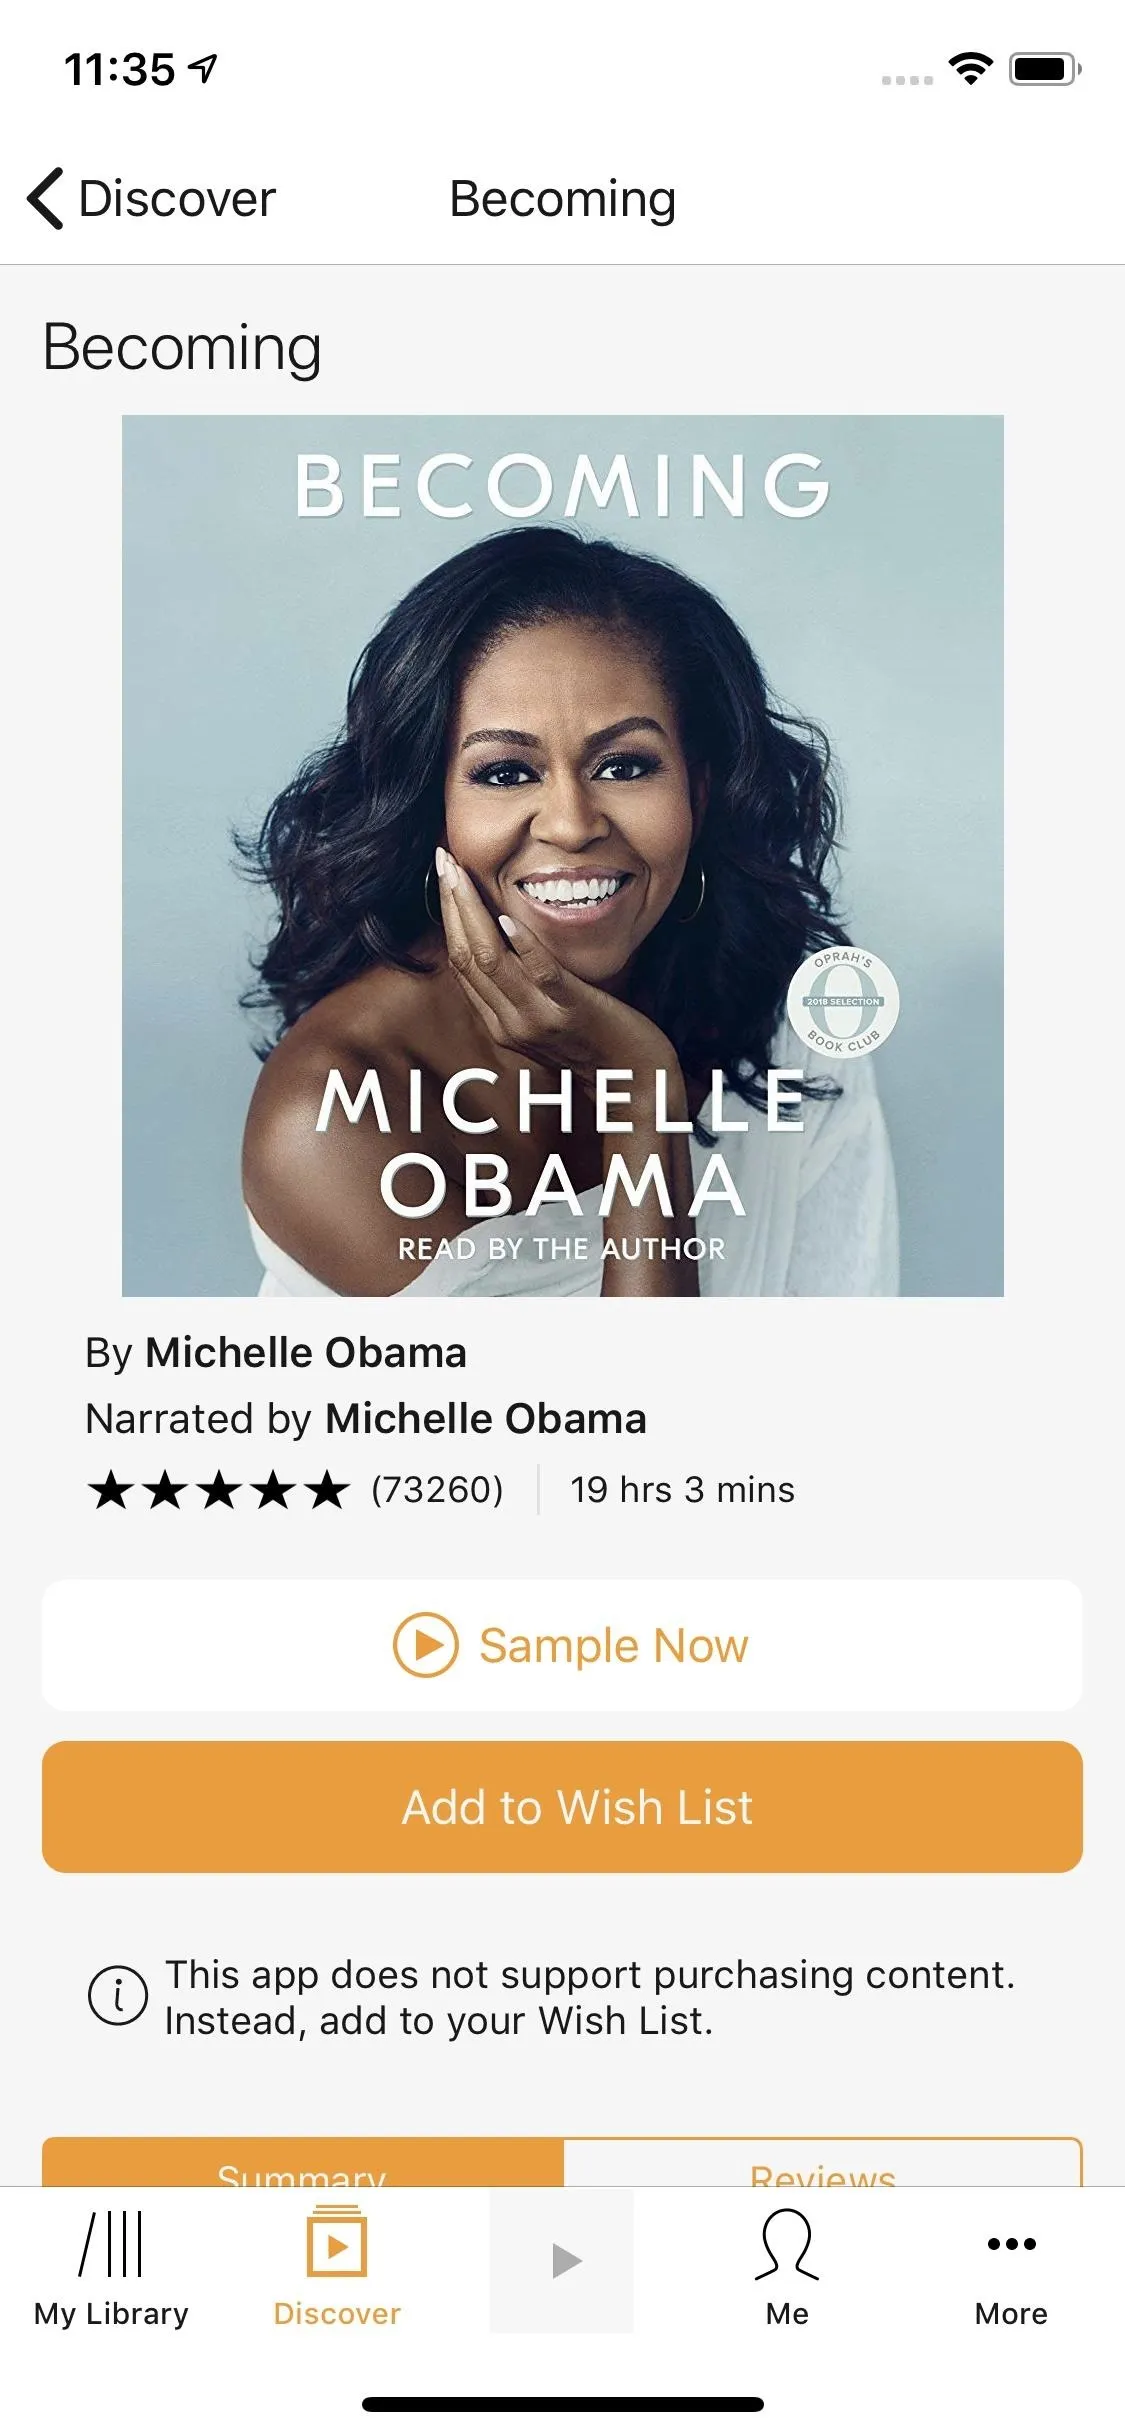
Audible being used on an iPhone.
5. Download Podcasts Beforehand
Speaking of podcasts, download some before your trip! If you aren't into podcasts, don't worry — there is literally something for everyone. What are you into? History? True crime? Politics? Talk shows? There's a podcast — scratch that, tons of podcasts — for any interest you could possibly have.
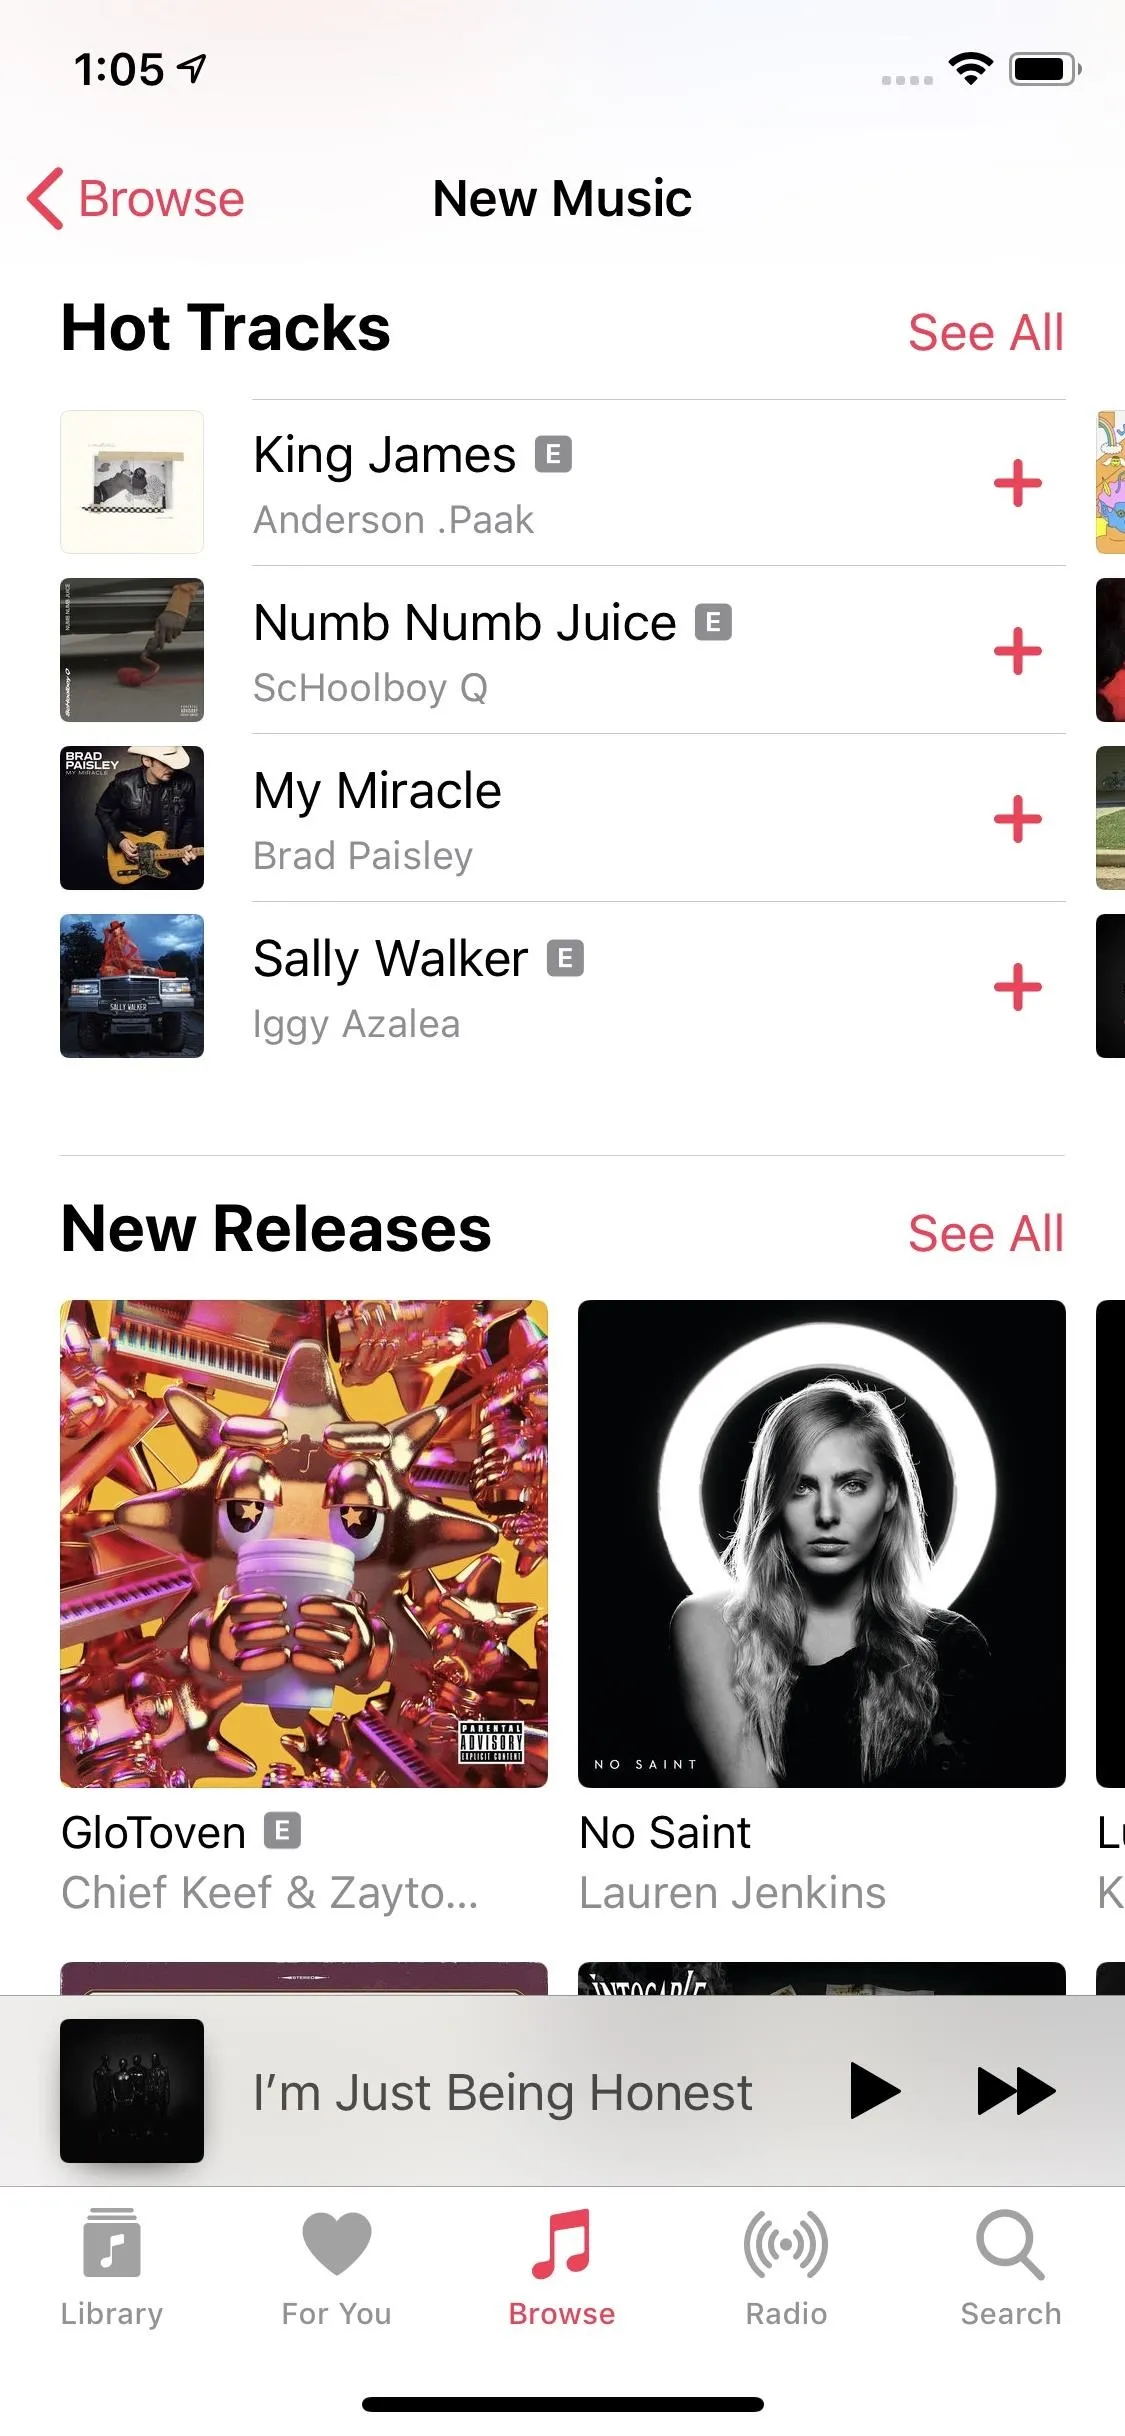
Just as there's a never-ending supply of podcasts to explore, there's a never-ending supply of podcast apps as well. Of course, Google and Apple both have stock podcast apps, but each platform has plenty of third-party alternatives. Here's just a taste of some of the best you can download:
- Play Store Link: Google Podcasts (free)
- App Store Link: Podcasts (iOS) (free)
- App Store Link: Overcast (free)
- Install Pocket Casts: Android (free) | iOS (free)
- Install Stitcher for Podcasts: Android (free) | iOS (free)
- Install Spotify: Android (free) | iOS (free)
- Install Castbox: Android (free) | iOS (free)
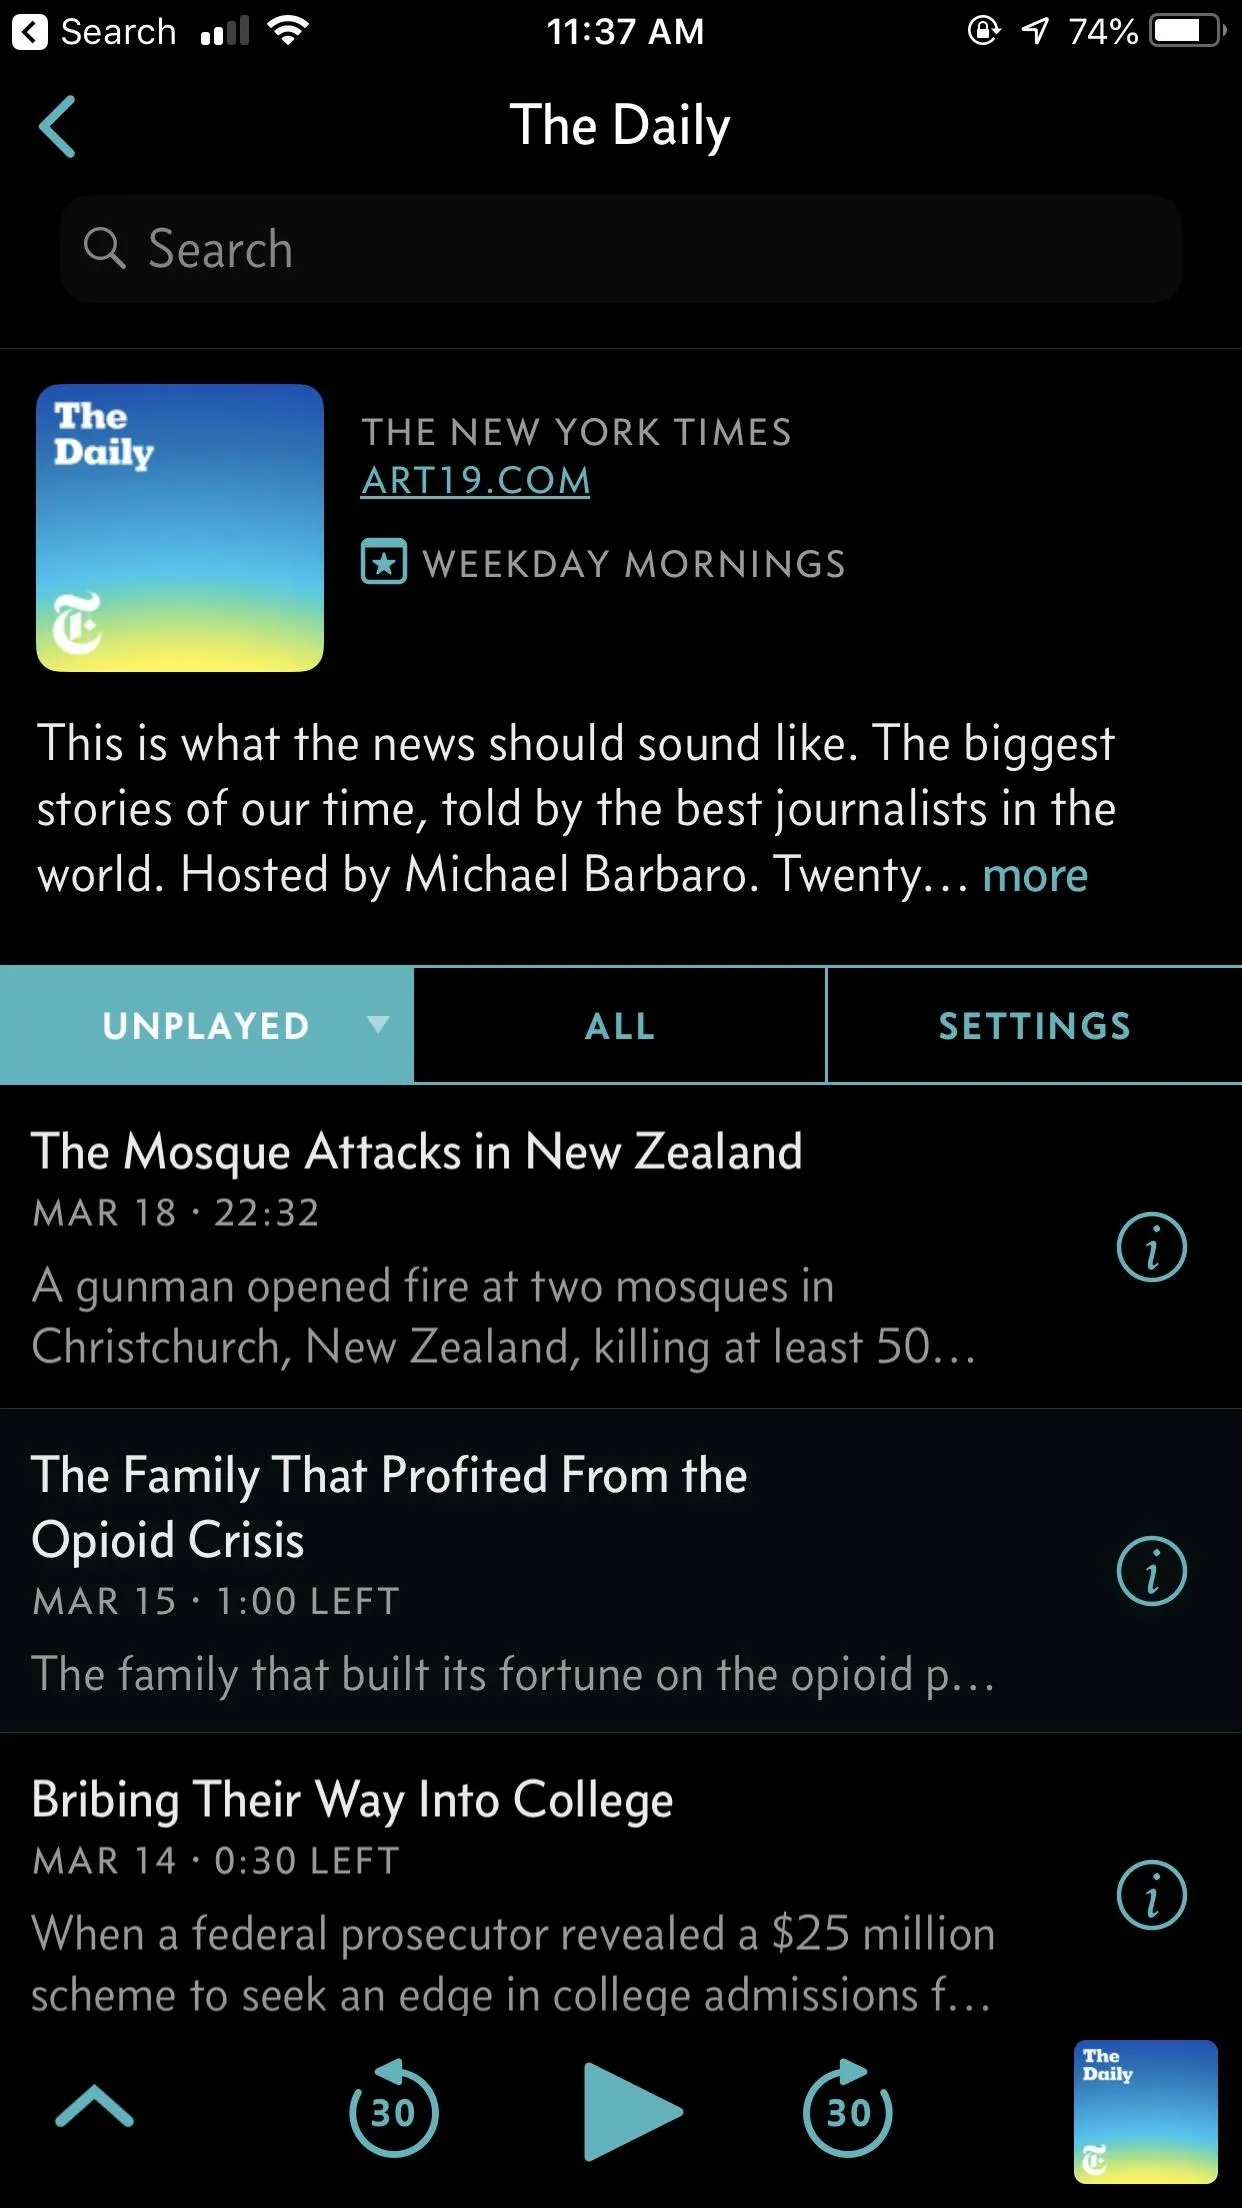
Overcast on iOS (left) and Google Podcasts on Android (right).
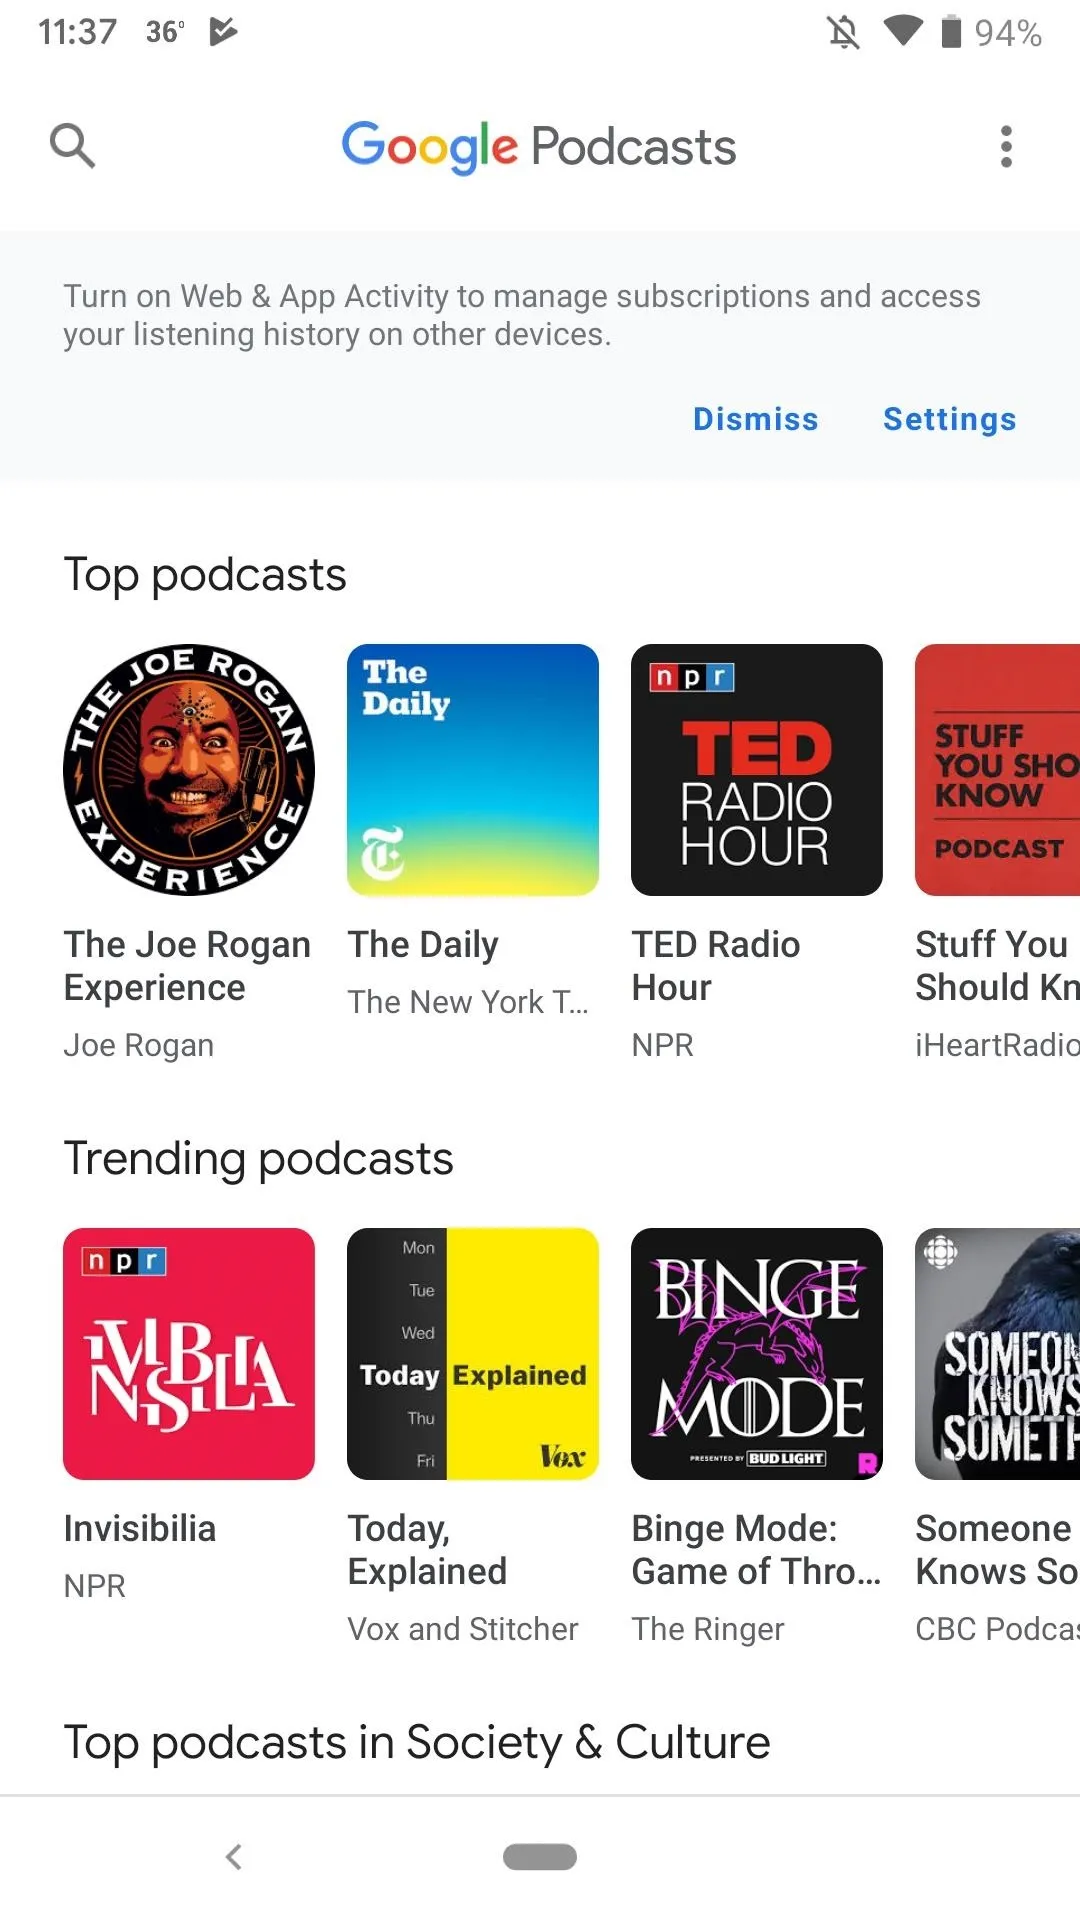
Overcast on iOS (left) and Google Podcasts on Android (right).
6. Download Music You Know You'll Want to Listen To
Portable music was really the first step into these digital media machines we carry around in our pockets. Napster and MP3 players, iTunes and the iPod. Today, we have iPhone and Android, but they still have the same basic principles when it comes to downloading music — plug in some headphones, sit back, and let the tunes wash over you.
Subscriptions
Nowadays, the trend is less about buying music and more about subscribing to services that let us listen to virtually anything we want whenever we want. And the majority of streaming services allow for downloads to listen to music offline, so you can download all your favorite music — or music you want to try out — before you head on your trip.
No doubt, Apple Music and Spotify are the kings in this field, directly competing for users as the two grow bigger and bigger. Still, Google puts up a good fight with YouTube Music, as the service includes YouTube Premium as well. It's not quite as good as the former, but it's tough to argue with offline and background playback for both YouTube Music and videos.
- Full Guide: How to Download Spotify Music for Offline Playback
- Full Guide: Auto-Download Tracks for Offline Playback in Apple Music
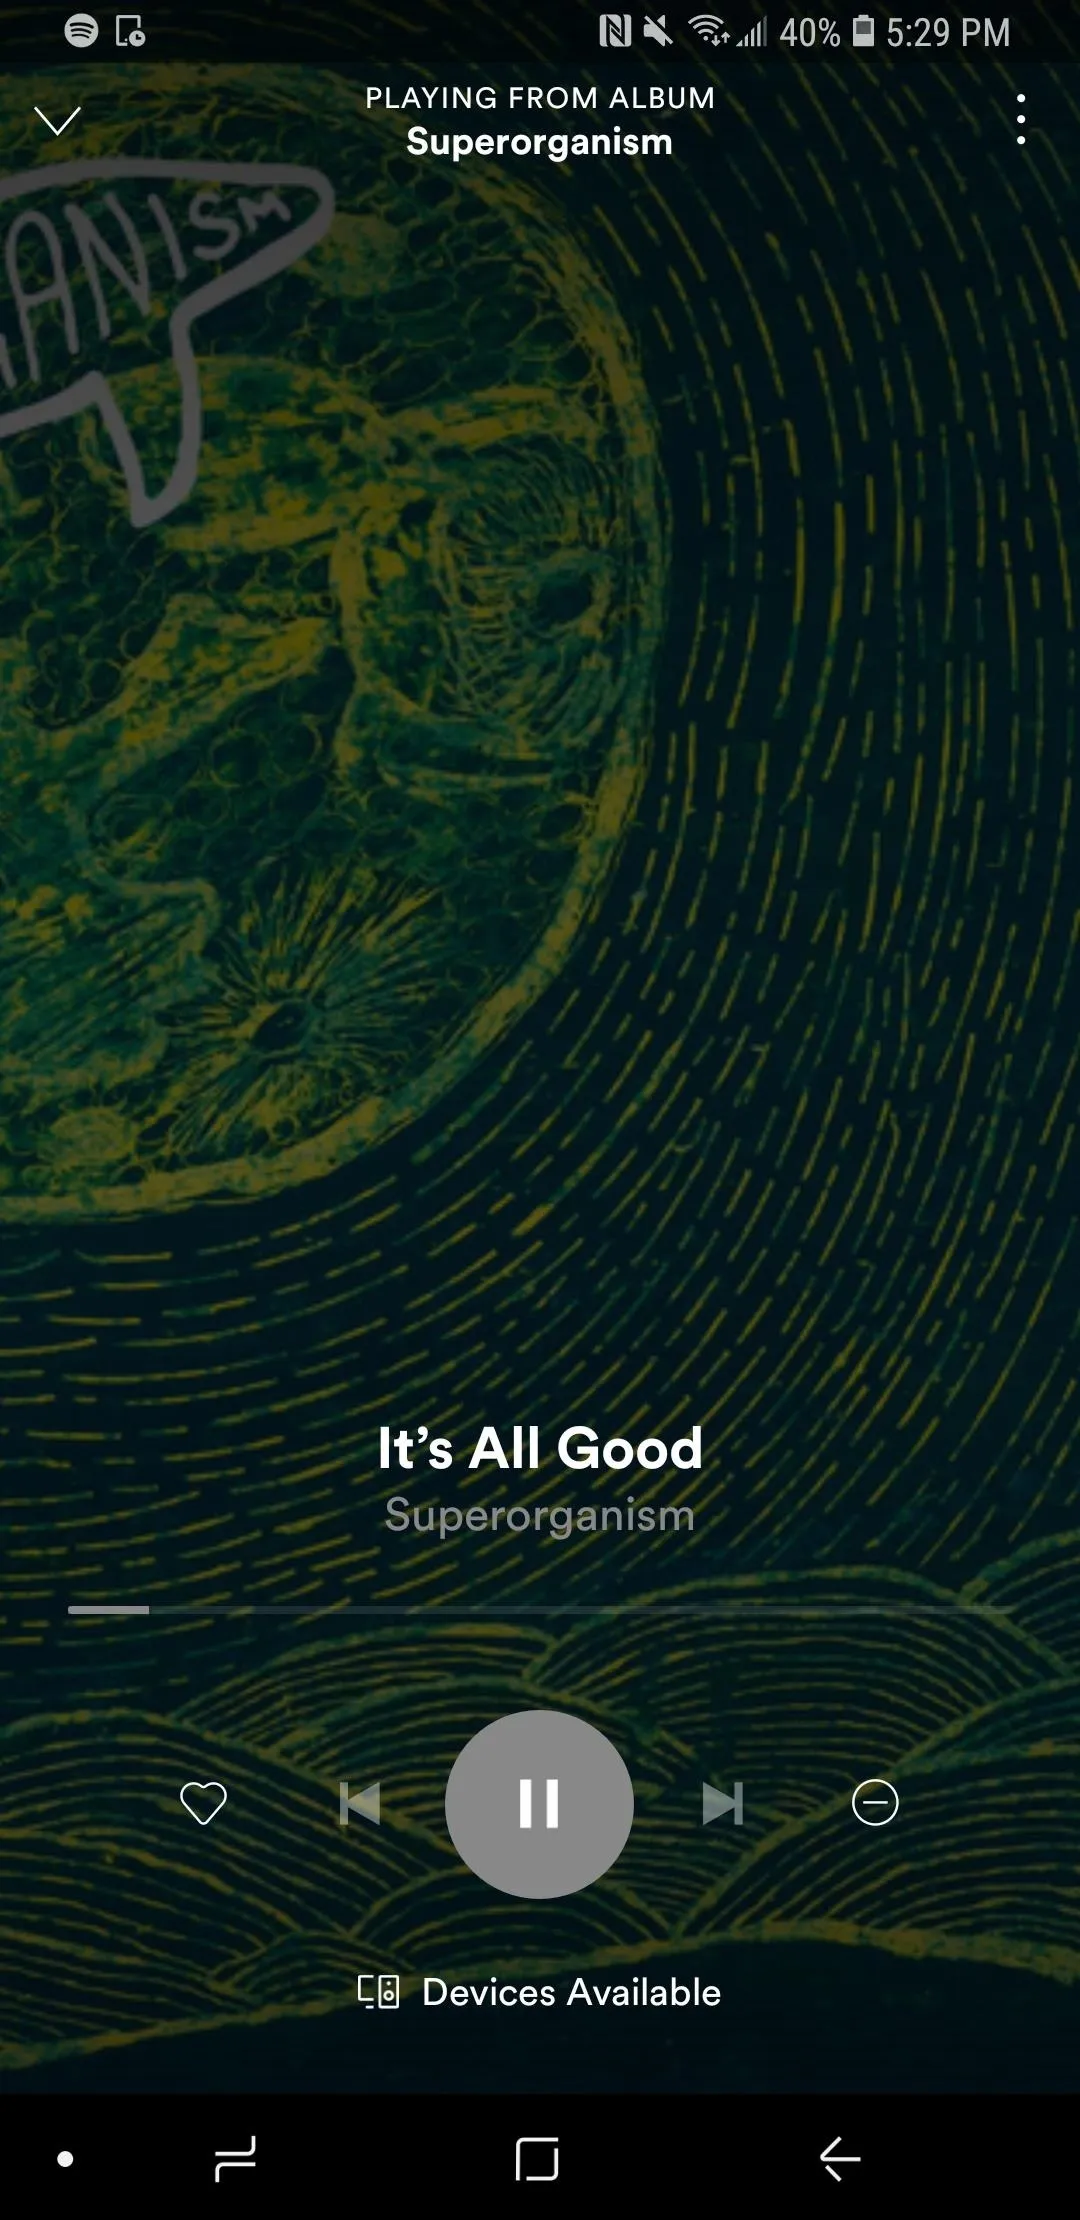
Spotify on Android (left) and Apple Music on iOS (right).
Spotify on Android (left) and Apple Music on iOS (right).
Another service you gain access to with YouTube Music is Google Play Music. You might not want to use it, though. Google Play Music is essentially the same as YouTube Music, but a bit of a relic, as Google has unabashedly put all their development into YouTube Music. The former is much more up-to-date aesthetically. Still, Google Play Music works, so feel free to use it instead if you want a little nostalgia kick.
Tidal is another good service that allows offline playback, even for its high-fidelity tracks. But for those lossless hi-fi tracks, you'll be paying double ($19.99/month) than for the service without it ($9.99/month). Either way, both versions have over 75,000 music videos and a song database of more than 60 million.
Possibly the black sheep of the group is Amazon's service, but if you subscribe to Prime, you get Prime Music for free. It's limited to about two million songs but might offer a nice way to save some money by cutting out one of the other services here. However, Amazon also has Amazon Music Unlimited with over 50 million songs, which is available without a Prime account, and Prime users can get a discount on its $9.99/month price tag.
- Install Apple Music: Android (free) | iOS (free)
- Install Spotify Music: Android (free) | iOS (free)
- Install YouTube Music: Android (free) | iOS (free)
- Install Tidal Music: Android (free) | iOS (free)
- Install Google Play Music: Android (free) | iOS (free)
- Install Amazon Music: Android (free) | iOS (free)
Purchased Music
If you have music on your iTunes library on your computer, you can sync that content with your phone as you always have. However, if you use iTunes Match or simply buy music from iTunes, you may have all of your music in iCloud, and in either scenario, you can download those tracks onto your phone for offline use.
The same is true if you buy from and store music on Amazon or Google's cloud music services. And while you can purchase music on Tidal, you cannot download those files on your phone via its app. Downloading your tracks on supported services works similarly to downloading subscription tracks.
Logging Everything You Do
What's the point of going on vacation if you can't brag about it to your friends back home? We're just kidding, but logging your trip can be a fun way to both relive the memories when you're back at the office or to share with your followers on social media. There are plenty of ways to make sure your trip is properly cataloged:
1. Use Camera & Editing Apps to Make Your Shots Look Great
Need a short list of apps and services that can transform your vacation pics? We have plenty of guides on the subject, from apps you can download to the apps already on your device. You don't need to go far to totally transform your phone's pictures:
- Don't Miss: 8 Free Must-Have Photo Apps for iPhone
- Don't Miss: How to Shoot Portrait Mode on Any Android Phone
- Don't Miss: Best Camera Settings on the Galaxy S9
- Don't Miss: Great Live Photo Features on iPhone
- Don't Miss: Everything You Need to Know About Apple Photos
- Don't Miss: Everything You Need to Know About Google Photos
- Don't Miss: Everything You Need to Know About Snapseed
2. Use These Apps to Make a Great Story
The apps above will help you take and make some great shots. But what if you want to take those shots to social media? We know all the apps you need to download to make a perfect story, from extra photo apps, to collage and template apps, to video croppers and editors. We know where the best stickers can be found and, overall, how to make your stories look professional.
- Full Guide: All the Apps You Need to Make a Perfect Story
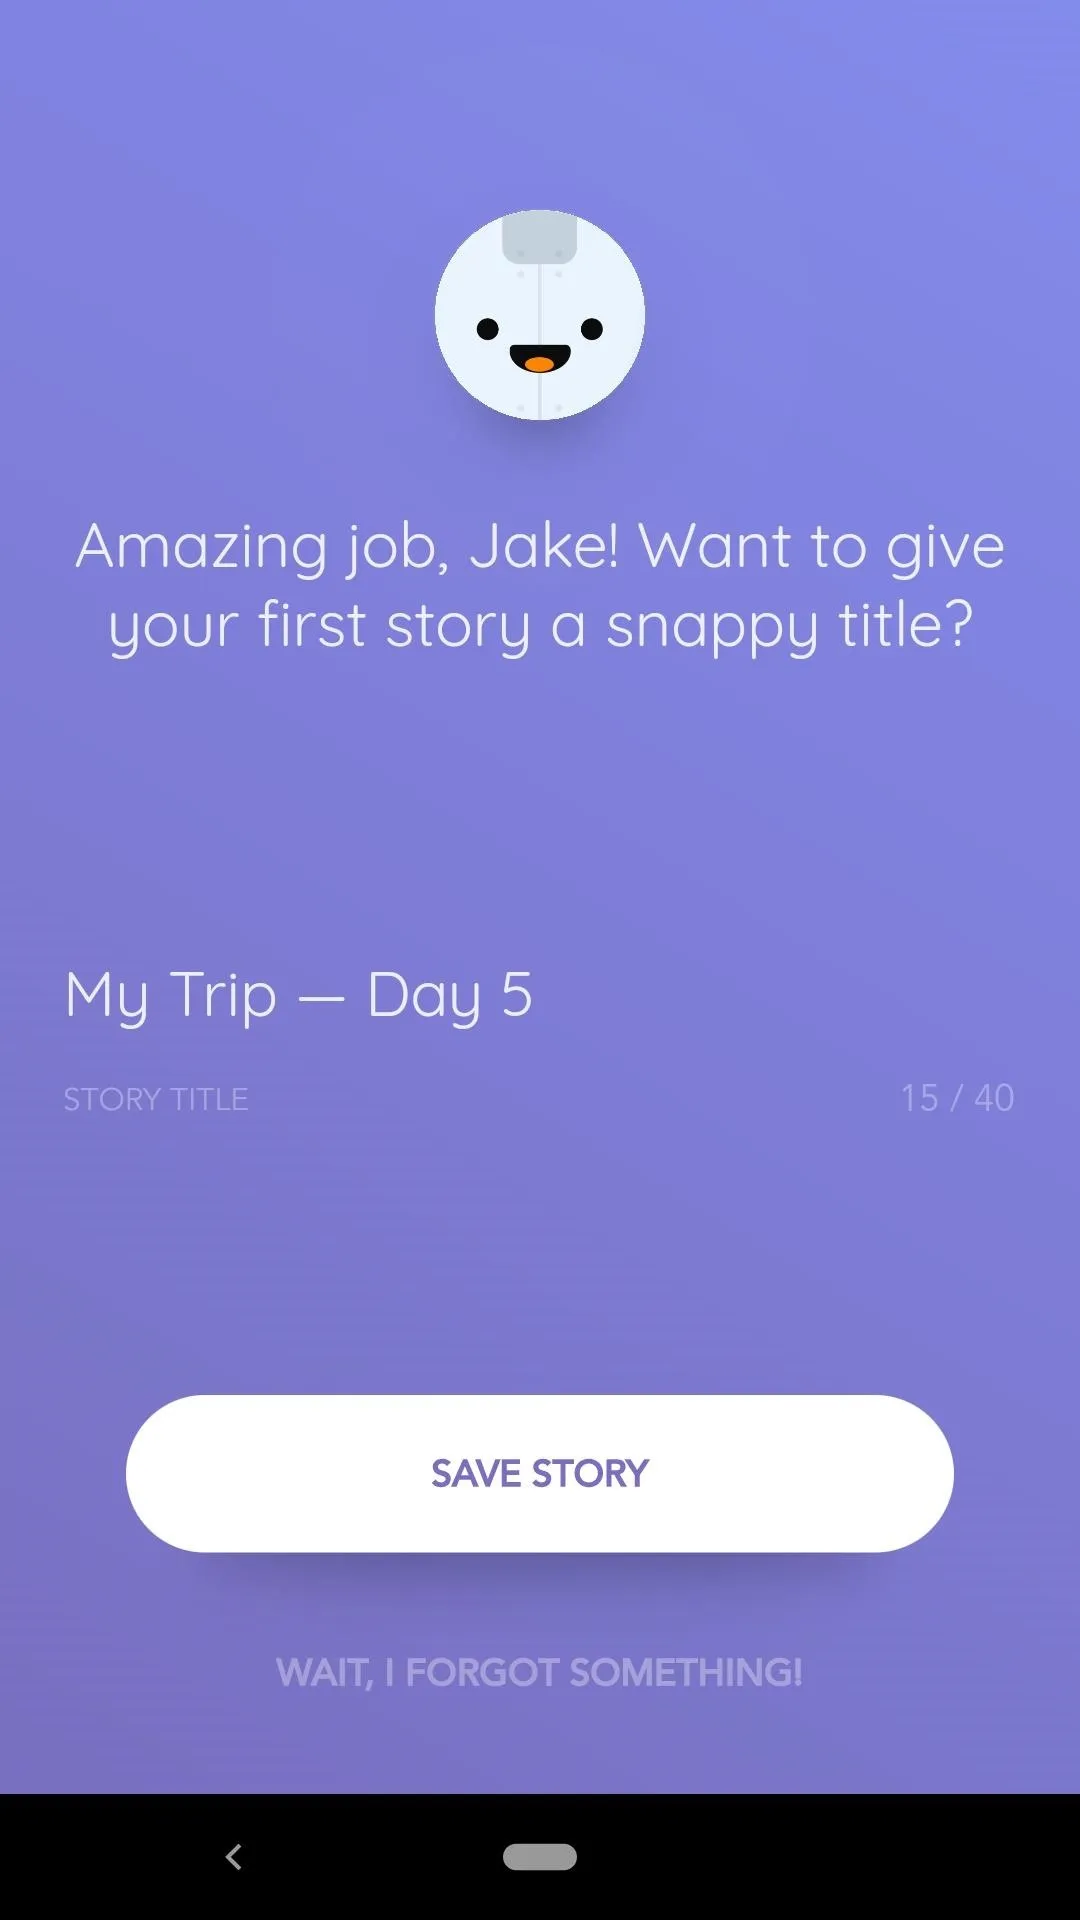
3. Document Your Trip with a Journaling App
You don't just need to use your phone's stock notes app to record your journeys. Journaling apps can provide plenty of features to ensure each moment you want to document is properly conveyed. Rich text formatting, images, colors, organization, and more can help take your trip from your experience to the digital page.
Day One Journal is what you'd expect from a good journaling app — plenty of options, easy to navigate, an overall joy to document with. Reflectly is the same way, but adds another element with fun, automated journaling features. The app basically interviews you to streamline the journaling process — it asks how certain parts of your day made you feel, what you did, etc. It's a lot of fun, but does include a $29.99 yearly fee after the seven-day free trial.
If you'd rather not pay, Day One Journal might be more up your alley.
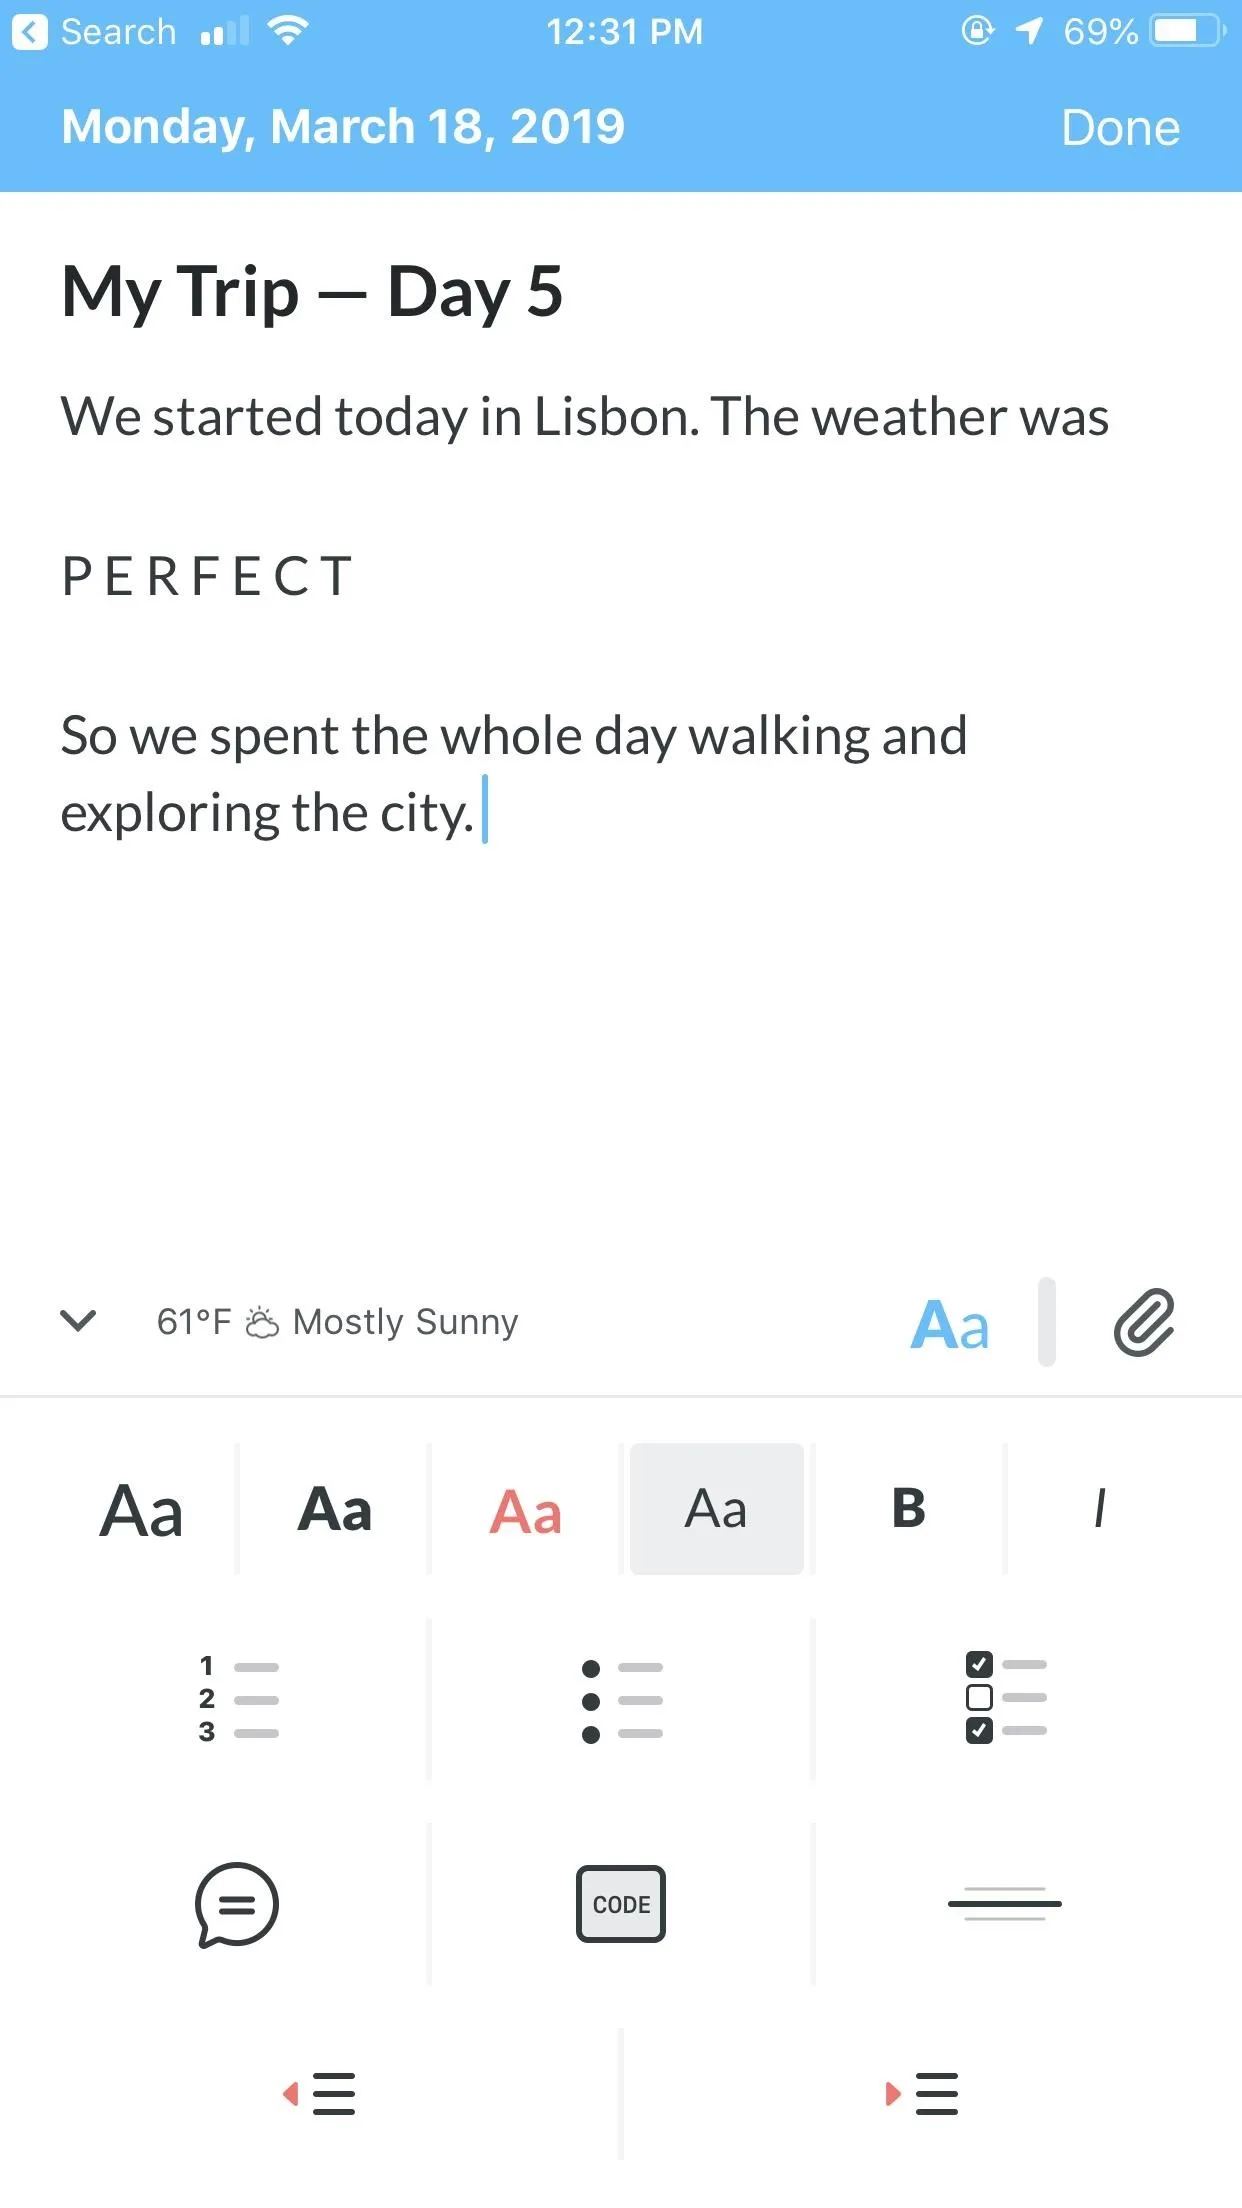
Day One Journal on iOS (left) and Reflectly on Android (right).
Day One Journal on iOS (left) and Reflectly on Android (right).
4. Prepare to Take Lots of Video
If you checked out our story apps roundup, you'll see there are apps to help you take and edit amazing video on your trip. However, none of that will be useful if you don't take the time to prep your phone first.
Here's the thing — video files are big today, where 4K videos on iPhone take up as much as 400 MB a minute, meaning a base model 64 GB iPhone can store roughly 2.6 hours of video (and that's ignoring system resources, so the number will really be a lot smaller). Android devices will take up similar amounts of space. We know you're going to keep apps and other media on your phone, so if you want to take a lot of video on your trip, make sure to leave room to do so.
Another tip? Lower the resolution of your video. Shoting 4K video at 60 fps will take up 400 MB per minute on iPhone, but 1080p 60 fps will only take up 90 MB. Again, Android phones will be similar. Still, this is your vacation we're talking about here. You want your video as high quality as possible. In that case, we recommend lowering your frame rate only if possible. Shoot at 4K/30 or 4K/24. The video files will still be large, but much smaller than 4K/60.
- More Info: How to Enable 4K Recording on Your iPhone
If you don't want to lose any quality and still have little built-in storage, if you have an Android device that supports microSD cards, make sure to buy one of those and use that to store all your video files on. If you don't have an option for internal expandable storage, you're next best option is USB flash drives. Depending on the port on your phone, that could be Lightning (iPhone), Micro-USB (Android), or USB Type-C (Android).
Conclusion — Traveling Requires a Lot of Phone Care
You can't leave for a trip and expect everything to be the same as it as home. You need to make sure you have the tools necessary to keep yourself on task, entertained, and secure.
Apps like TripAdvisor can ensure you hit up the restaurants and hotspots the locals do. Uber can get you home safe when you don't know where you are. And navigation apps like Apple Maps, Google Maps, and Waze can do the same when you're the one behind the wheel.
Making sure you download the right entertainment ahead of time isn't just good for keeping yourself busy during long flights or restless nights in the hotel room — you'll make sure you avoid crazy data charges from your network as well.
Your phone can also keep you secure — digital wallets can encrypt your payments, Emergency SOS can attract law enforcement in times of need, and there's plenty you can do to make sure your data is safe whether in a thief's hand or in security's.
Traveling can be tough, but with the right prep, your phone can keep you grounded. Just make sure to keep it charged.
- Follow Gadget Hacks on Pinterest, Reddit, Twitter, YouTube, and Flipboard
- Sign up for Gadget Hacks' daily newsletter or weekly Android and iOS updates
- Follow WonderHowTo on Facebook, Twitter, Pinterest, and Flipboard
Cover image and screenshots by Jake Peterson/Gadget Hacks, unless otherwise noted


Comments
Be the first, drop a comment!