


Thanks to their partnership with Tidal, over 30 million Sprint customers can access Hi-Fi audio on the go. And the Jay-Z-owned music service isn't limited to just Sprint customers — for $19.99/month, anyone can listen to lossless audio from their favorite artists. But streaming uncompressed audio files uses a lot more data than standard quality, so how do you use Tidal without hitting your data cap?
As usual, the answer's in the settings. Tidal offers users control of the quality of their music, so depending on whether you're using Wi-Fi or cellular, you can adjust the quality of the audio (and video) that you receive. These controls can easily accommodate users in all situations.
Adjust the Streaming Quality
To start, open Tidal for Android or iPhone and select My Collection from the bottom-right corner of your display. Next, tap the gear icon in the upper-right corner of your screen to open the Settings menu, then scroll down until you see the Quality section.
Here, you'll see five options for customizing the quality, and each represents a different situation. There's "WiFi Streaming Quality" for the times you're connected to your home internet, "Cellular Streaming Quality" for mobile data usage, then a few more options for the quality of downloaded music.
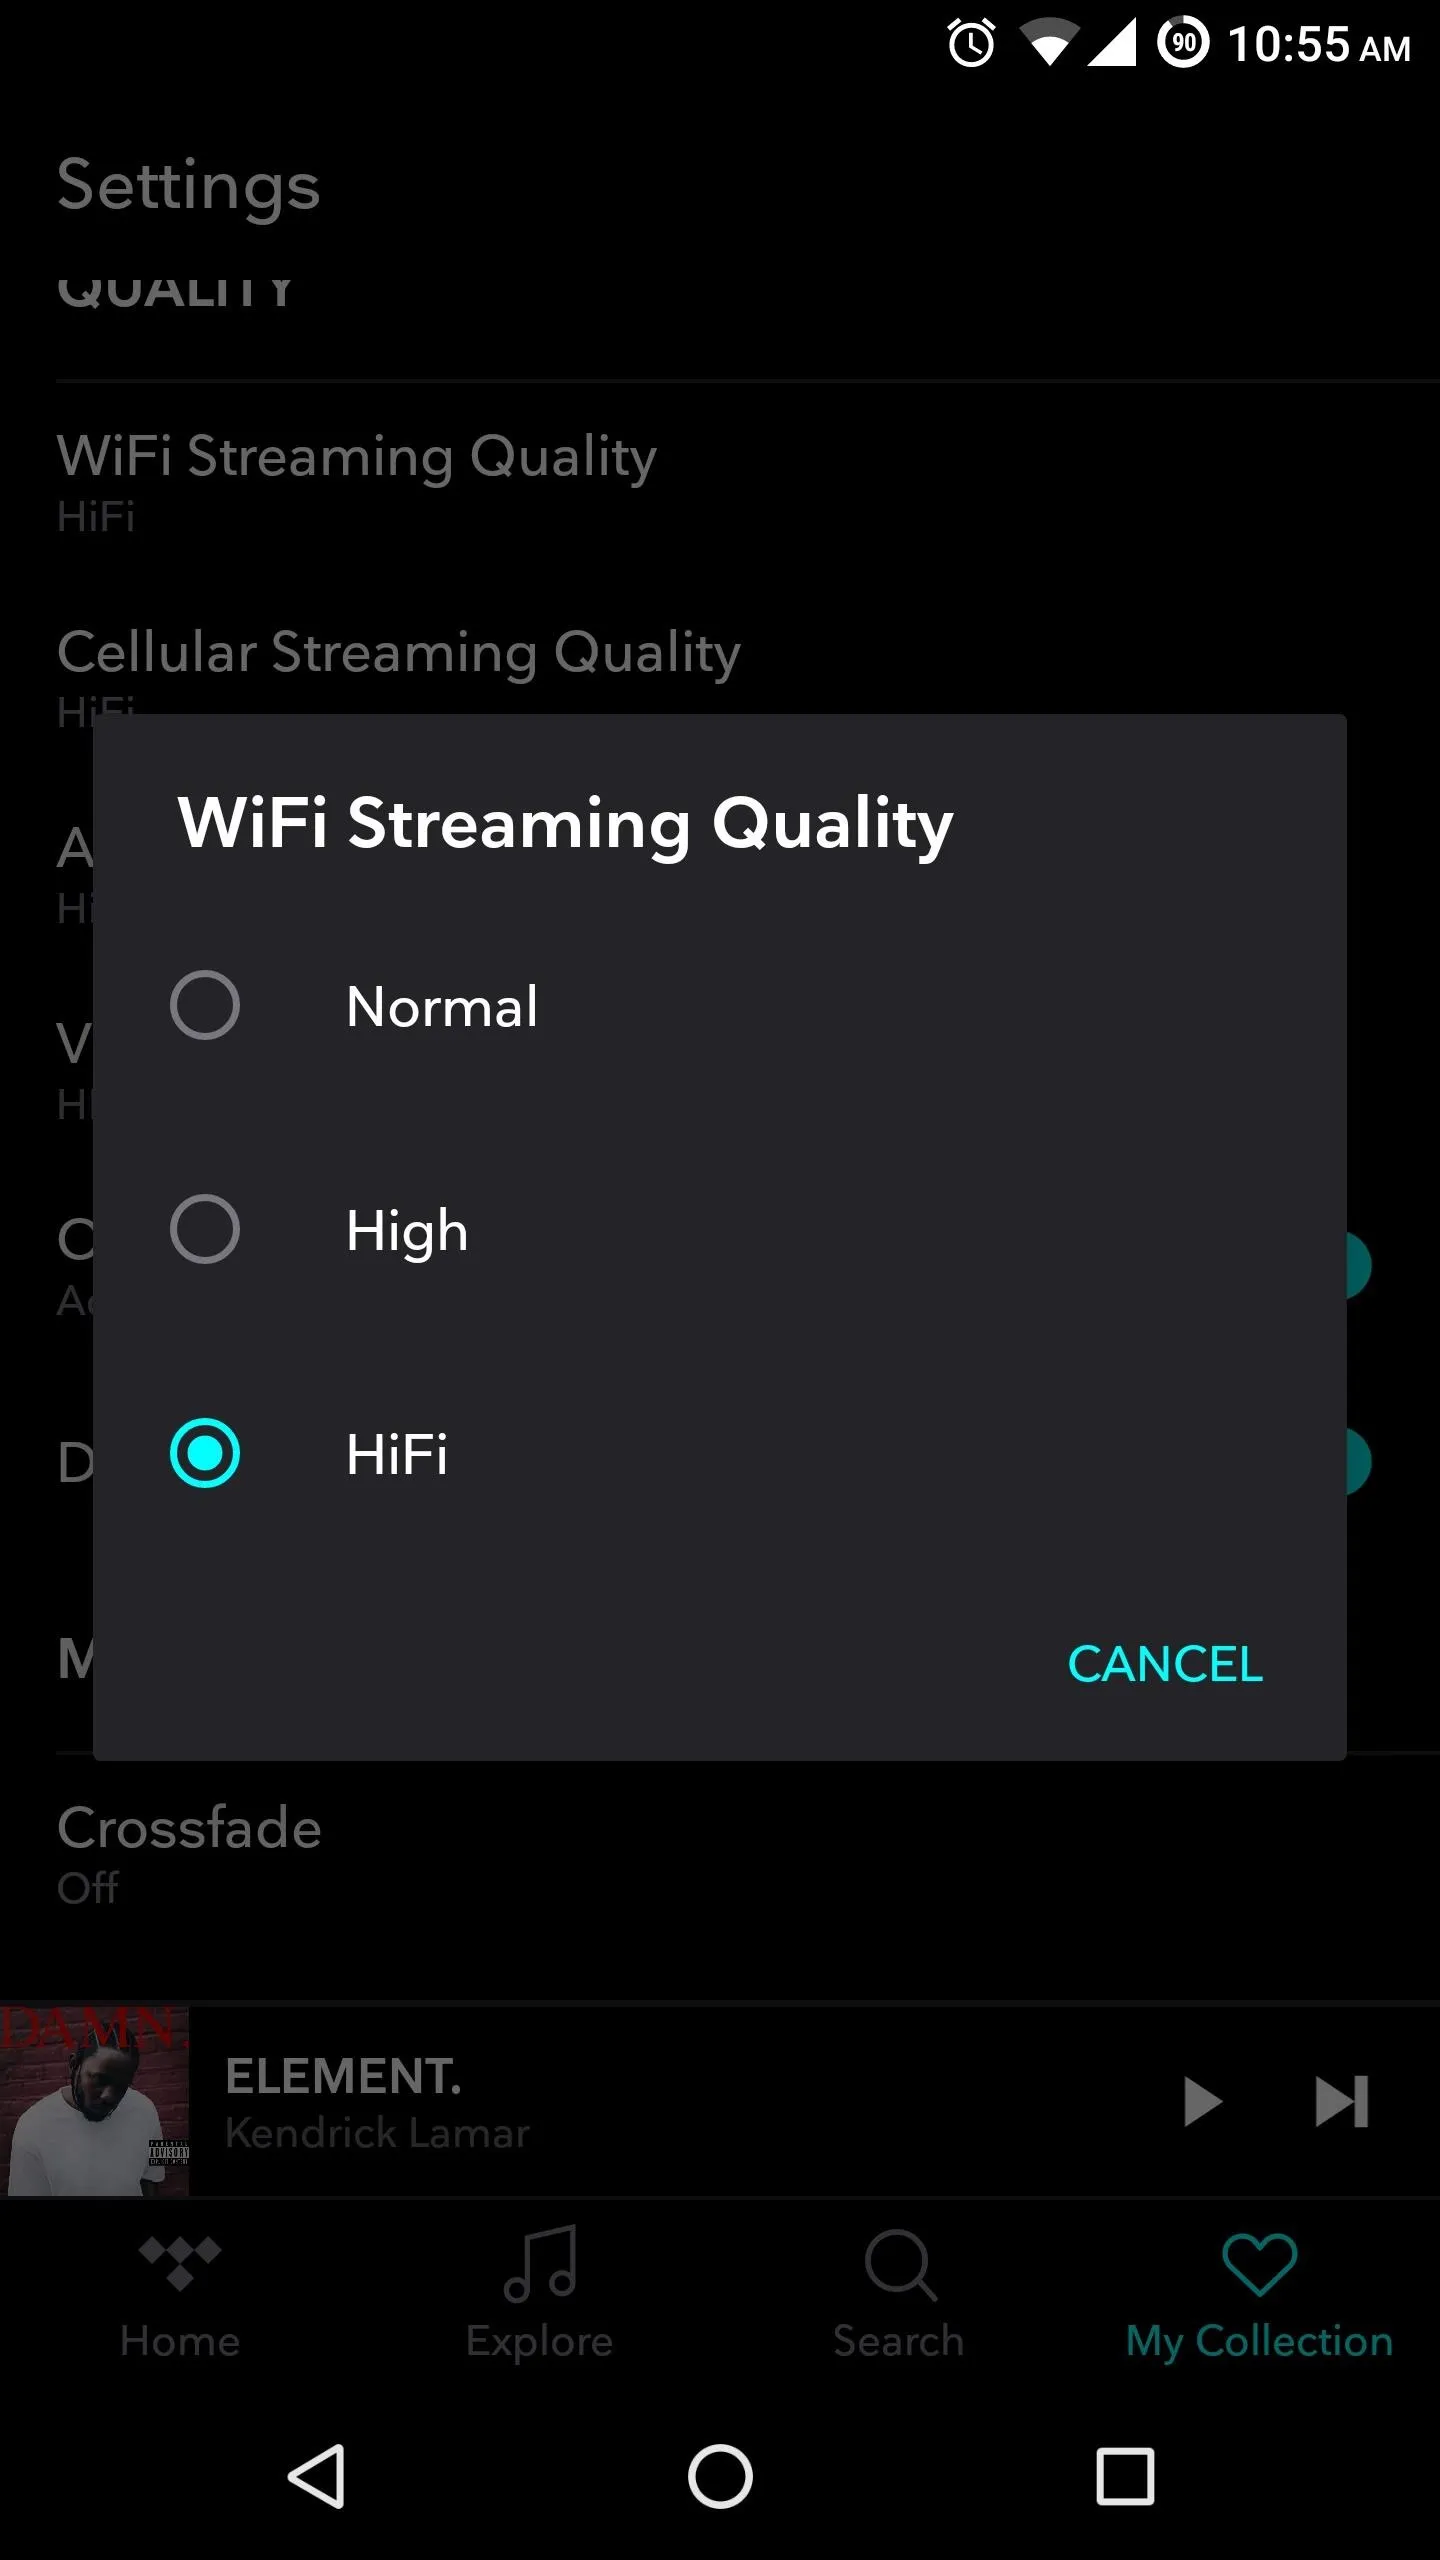
If you're on a limited data plan, we strongly recommend selecting "Cellular Streaming Quality," then choosing "Normal" to reduce Tidal's data usage while you're out and about. However, for folks with unlimited data plans, "High" or "HiFi" would be best. Beyond that, select "WiFi Streaming Quality" and choose either "High" or "HiFi" (depending on which one you paid for) to enjoy higher quality music while using your home internet, which usually isn't metered.
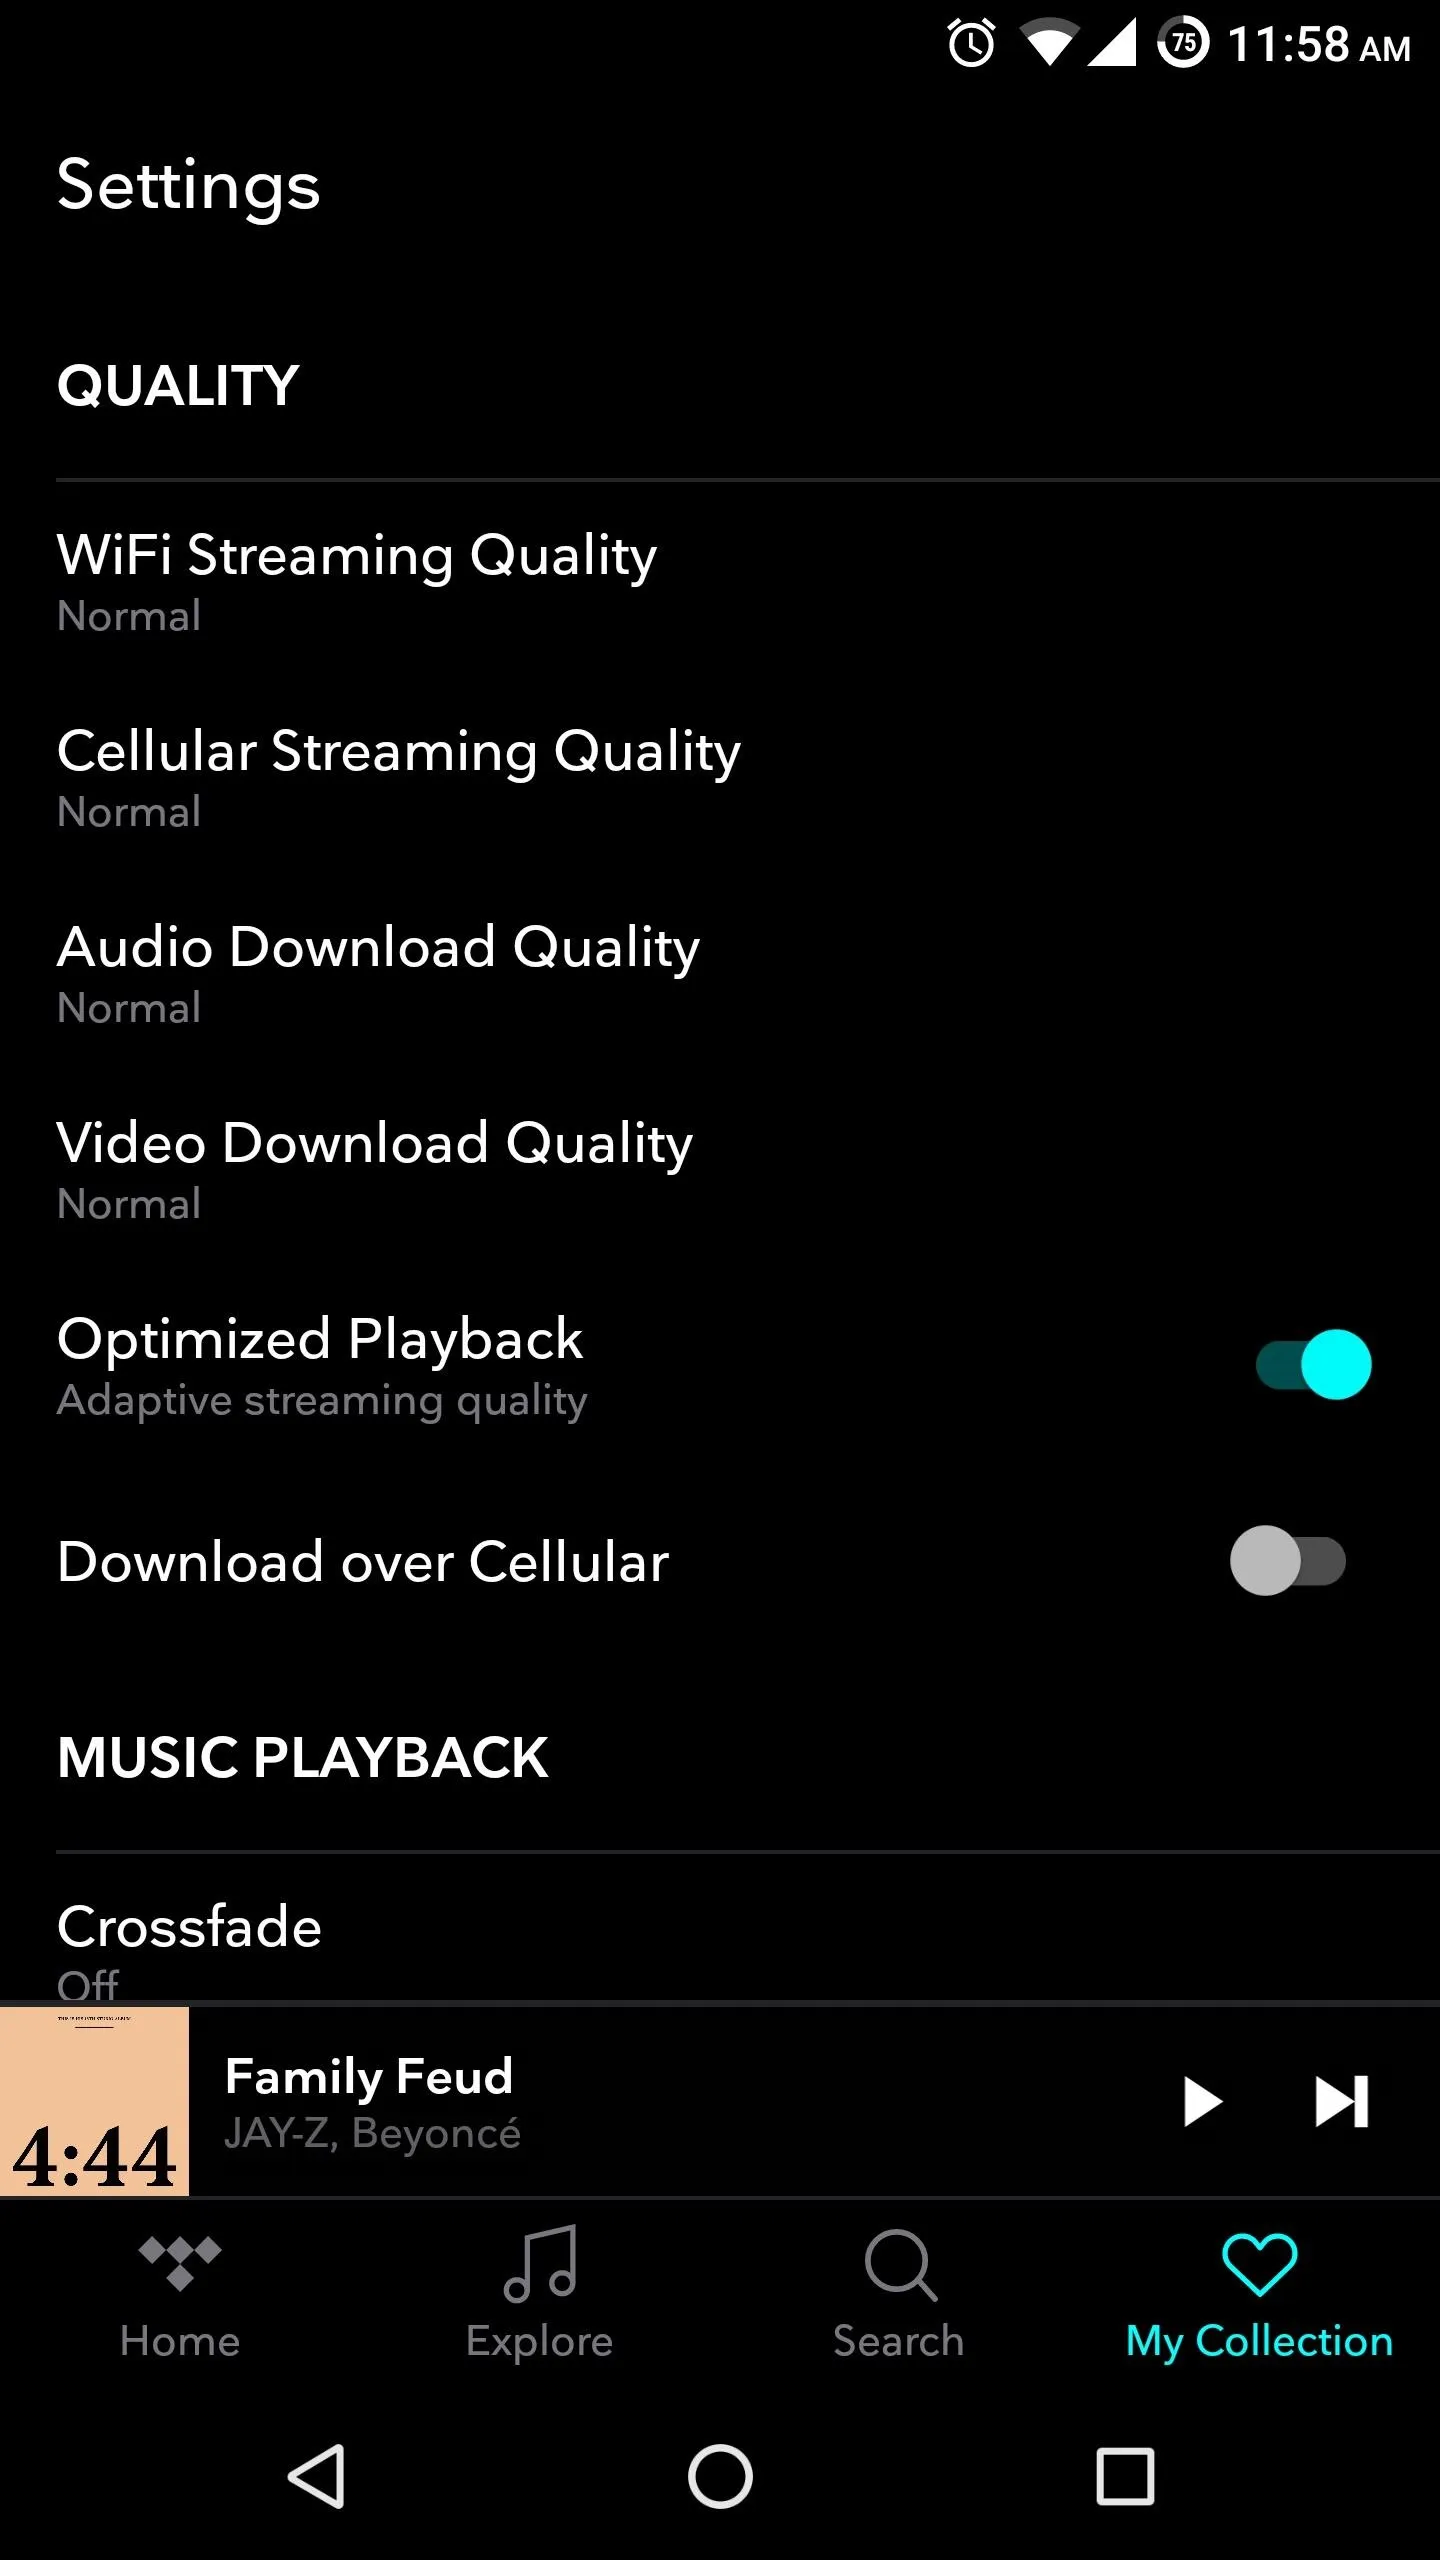
There is an option in the same grouping called "Optimized Playback." When enabled, this will adjust the quality of the stream based on the strength of your internet connection (similar to choosing "Auto" when watching YouTube).
If your home has weak signal areas or if you have an unlimited data plan and you travel to areas with a weaker data signal, enabling "Optimized Playback" can help prevent skips. However, for those on limited plans, we recommend turning "Optimized Playback" off so that Tidal always uses the streaming settings you selected above.
Adjust the Quality of Downloads
Since Tidal allows you to download music for offline listening, you can control the quality of the audio and video when downloading to your device.
By default, Tidal will only download when you are using Wi-Fi, so unless storage space is a problem, you should use the highest quality available. However, if you have low storage capacity, then reducing the quality of the downloads will reduce its impact on your storage. Select either "Audio Download Quality" or "Video Download Quality" and choose the option that's right for you.
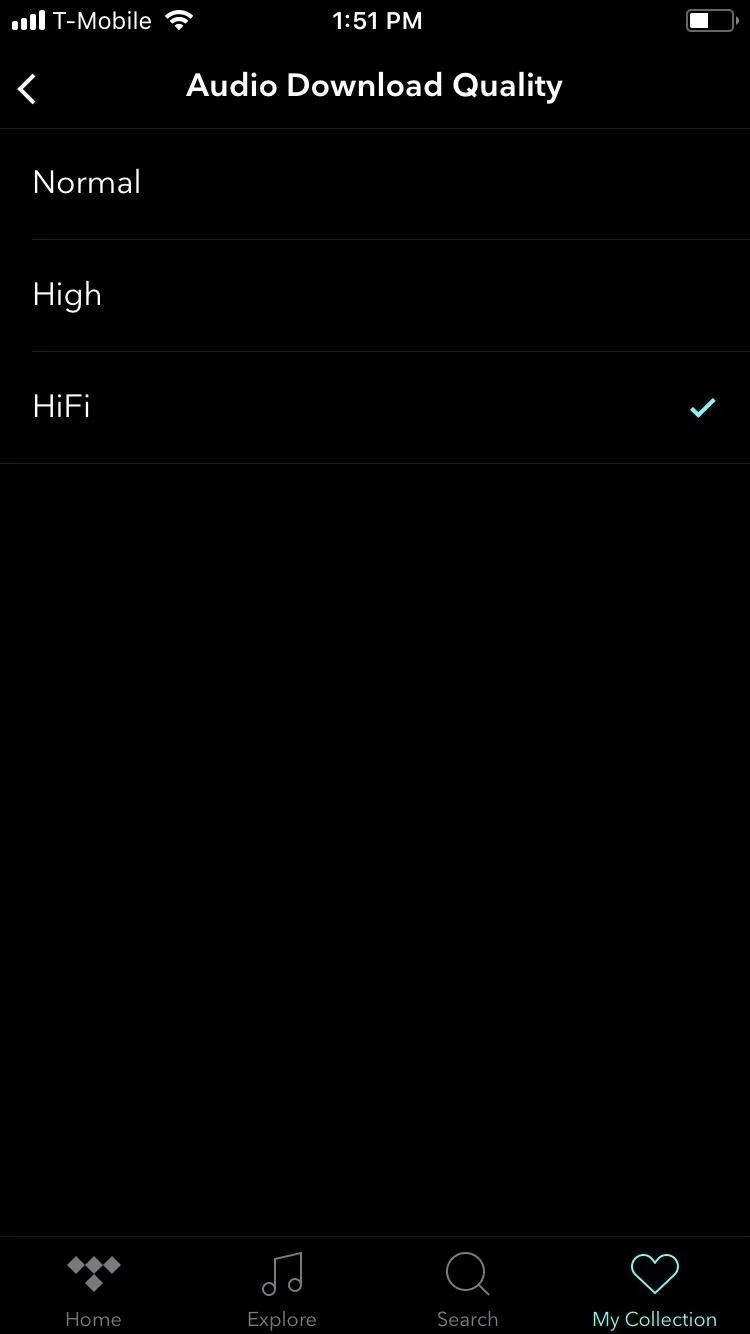
Audio Download Quality
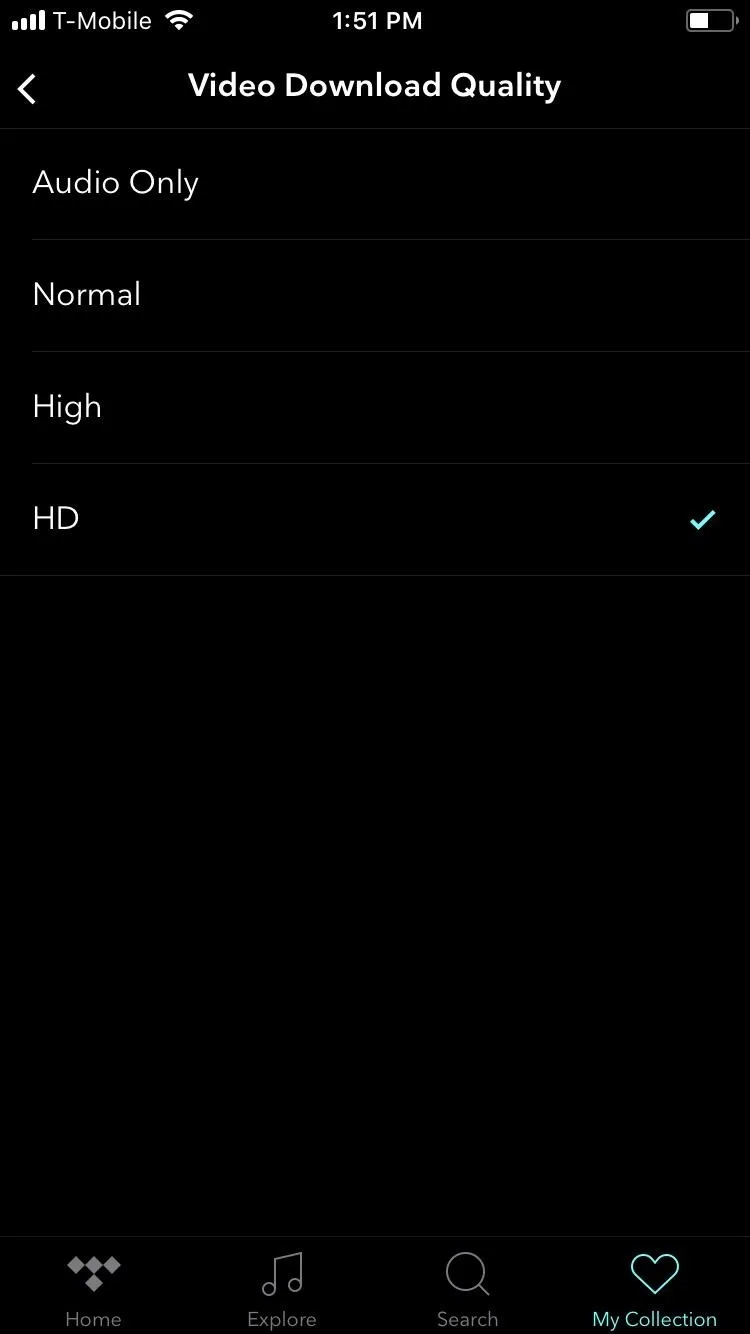
Video Download Quality
Audio Download Quality
Video Download Quality
While you're in this menu, you can also enable Tidal to download audio and video while using cellular data. We would strongly recommend not allowing this feature unless you have an unlimited data plan. However, if you do want to enable it, tap "Download over Cellular" and the toggle should change.
Tidal gives you control over your audio no matter what data plan you have. Whether you have an unlimited plan or a data cap, there's a setting to fit your usage without burning through your data. What quality setting are you using to stream your music? Let us know in the comment section below.
- Follow Gadget Hacks on Facebook, Twitter, Google+, YouTube, and Instagram
- Follow WonderHowTo on Facebook, Twitter, Pinterest, and Google+
Cover image and screenshots by Jon Knight/Gadget Hacks


Comments
Be the first, drop a comment!