


Between the Cambridge Analytica scandal and the revelation that Facebook logs your calls and text history on Android, many are considering joining the #DeleteFacebook movement. But it can be difficult to leave the site, because so much of its content is only available to active users. If you want to keep in the loop without sacrificing your privacy, you'll want to follow the steps below.
First, let's get this out of the way: Nothing on the internet is truly private. All of us who sign up for Facebook should know that every friend we make, event we accept, and picture we view is logged and tracked by the company. However, there are steps we can take when creating a new profile that can severely limit the information Facebook has access to. In fact, other than your activity on the site, Facebook won't see any of your personal data.
Make a Burner Email or Phone Number
First, if you truly want to use Facebook off the grid, you'll need to sign up with an email account or phone number that is only used for your new profile. If you use a preexisting email account or phone number, your messages, search history, connected apps and more can potentially be fair-game for Facebook and its advertisers. The best practice here? Start from scratch.
For a "burner" email, you can go about it a few ways. First, you can sign up for a new email account and only use it for creating your anonymous Facebook profile. You can choose whichever email service fits you best — the point is to make sure its only use is for your new Facebook account.
- Don't Miss: How to Open a New Gmail Account
However, the more secure method is to take advantage of the Temp Email app. With this app, it will generate a temporary email address that isn't associated with you or your personal information. With this app, you will receive any emails sent to this email address such as any account verifications or confirmation codes. And when you don't need it, you can hit "change," essentially getting rid of email forever.
Since Facebook lets you register with a phone number, if you decide a burner email address is too much trouble, you can always create a burner phone number. Like the email, this is a fake temporary number which allows you to register for and use Facebook while protecting your data.
There are several excellent choices on both the Play Store and App Store which we've already reviewed. In our testing, we found Hushed (Android | iOS) offers the best features for a burner number, but in the case of remaining anonymous, any of the apps on our list will do.
Use Island to Isolate Facebook (Android Only)
When you create a Facebook account on your Android device, Facebook will grab as much information it can access. We already learned that Facebook found a way to still access call history without alerting the user and without requiring a permission dialog. This is why, to protect yourself, you should completely isolate the Facebook app from your data. You can do that by using an app which takes advantage of Android's Managed Profile feature.
Island is an early access app which creates a sandboxed environment where you can clone apps and isolate them from your data. While it can't eliminate all data leakage (specifically device-bound data such as SMS and IMEI), it does prohibit apps from accessing information such as your call logs, contacts, and your photos.
- Play Store Link: Island (Unreleased) (free)
So first, download Island from the Play Store. Open the app and select "Accept" and "Accept & continue" on the next page. A new page will appear telling you Island is creating a work profile. This is the sandboxed environment.
Once completed, the main page will appear, which will include a few apps that are already installed in the sandboxed environment. To move Facebook to this environment, first make sure it's installed on your phone like a normal app, then select the Mainland tab at the bottom of Island's main menu.
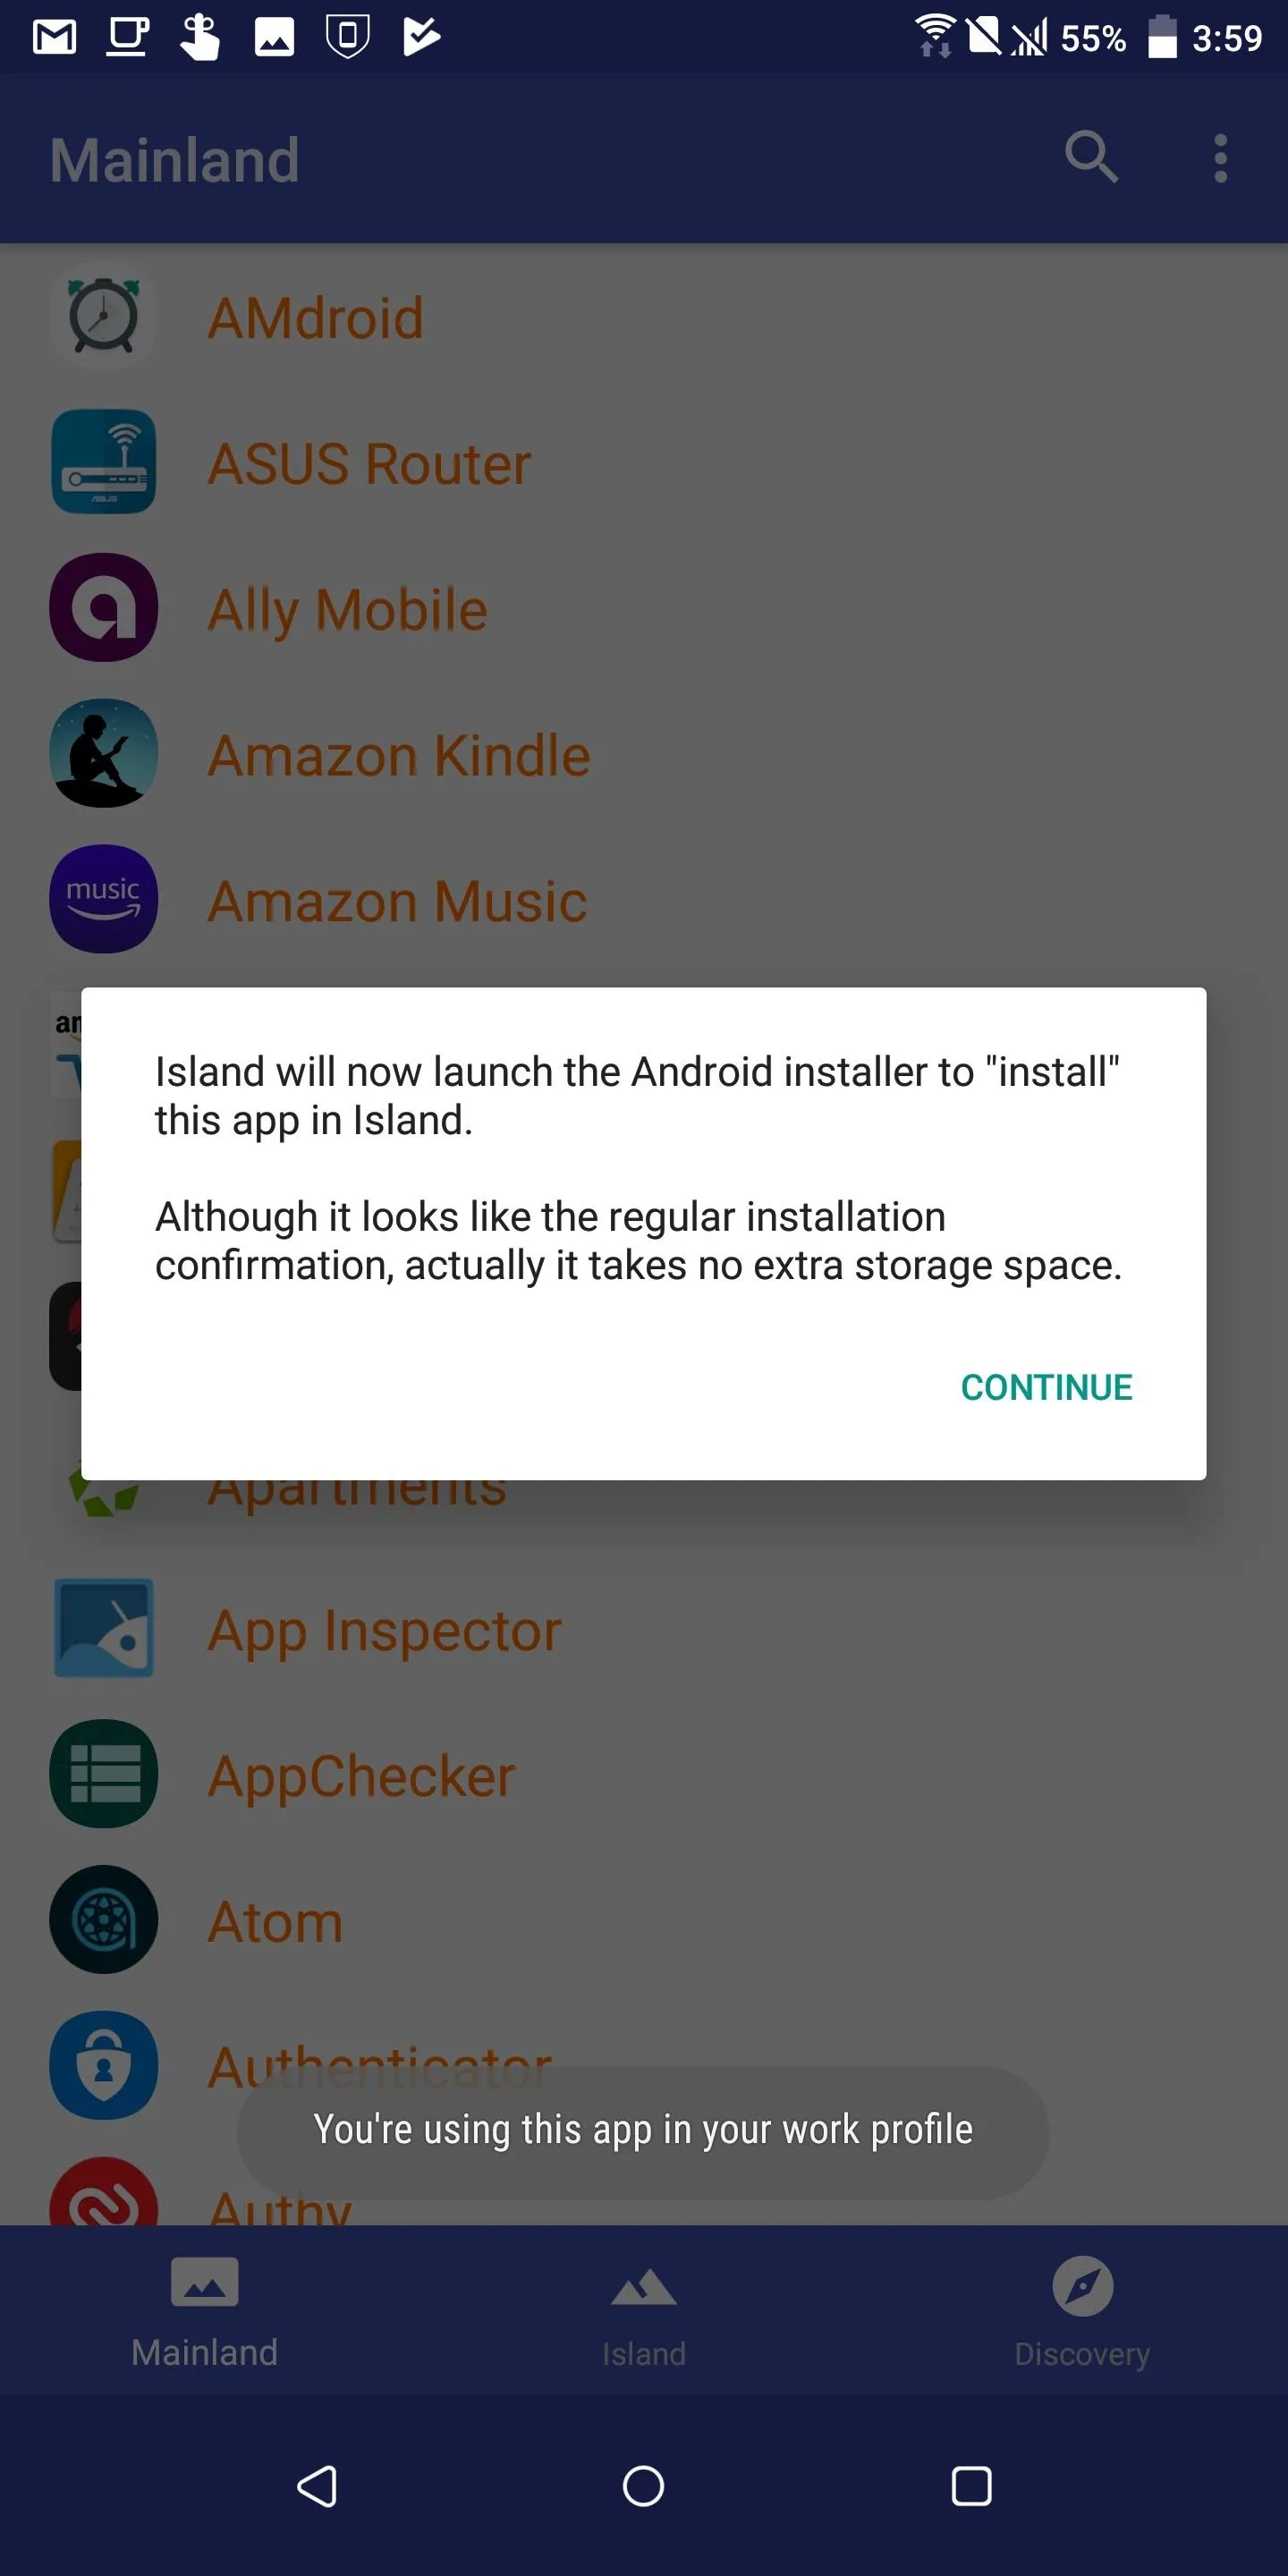
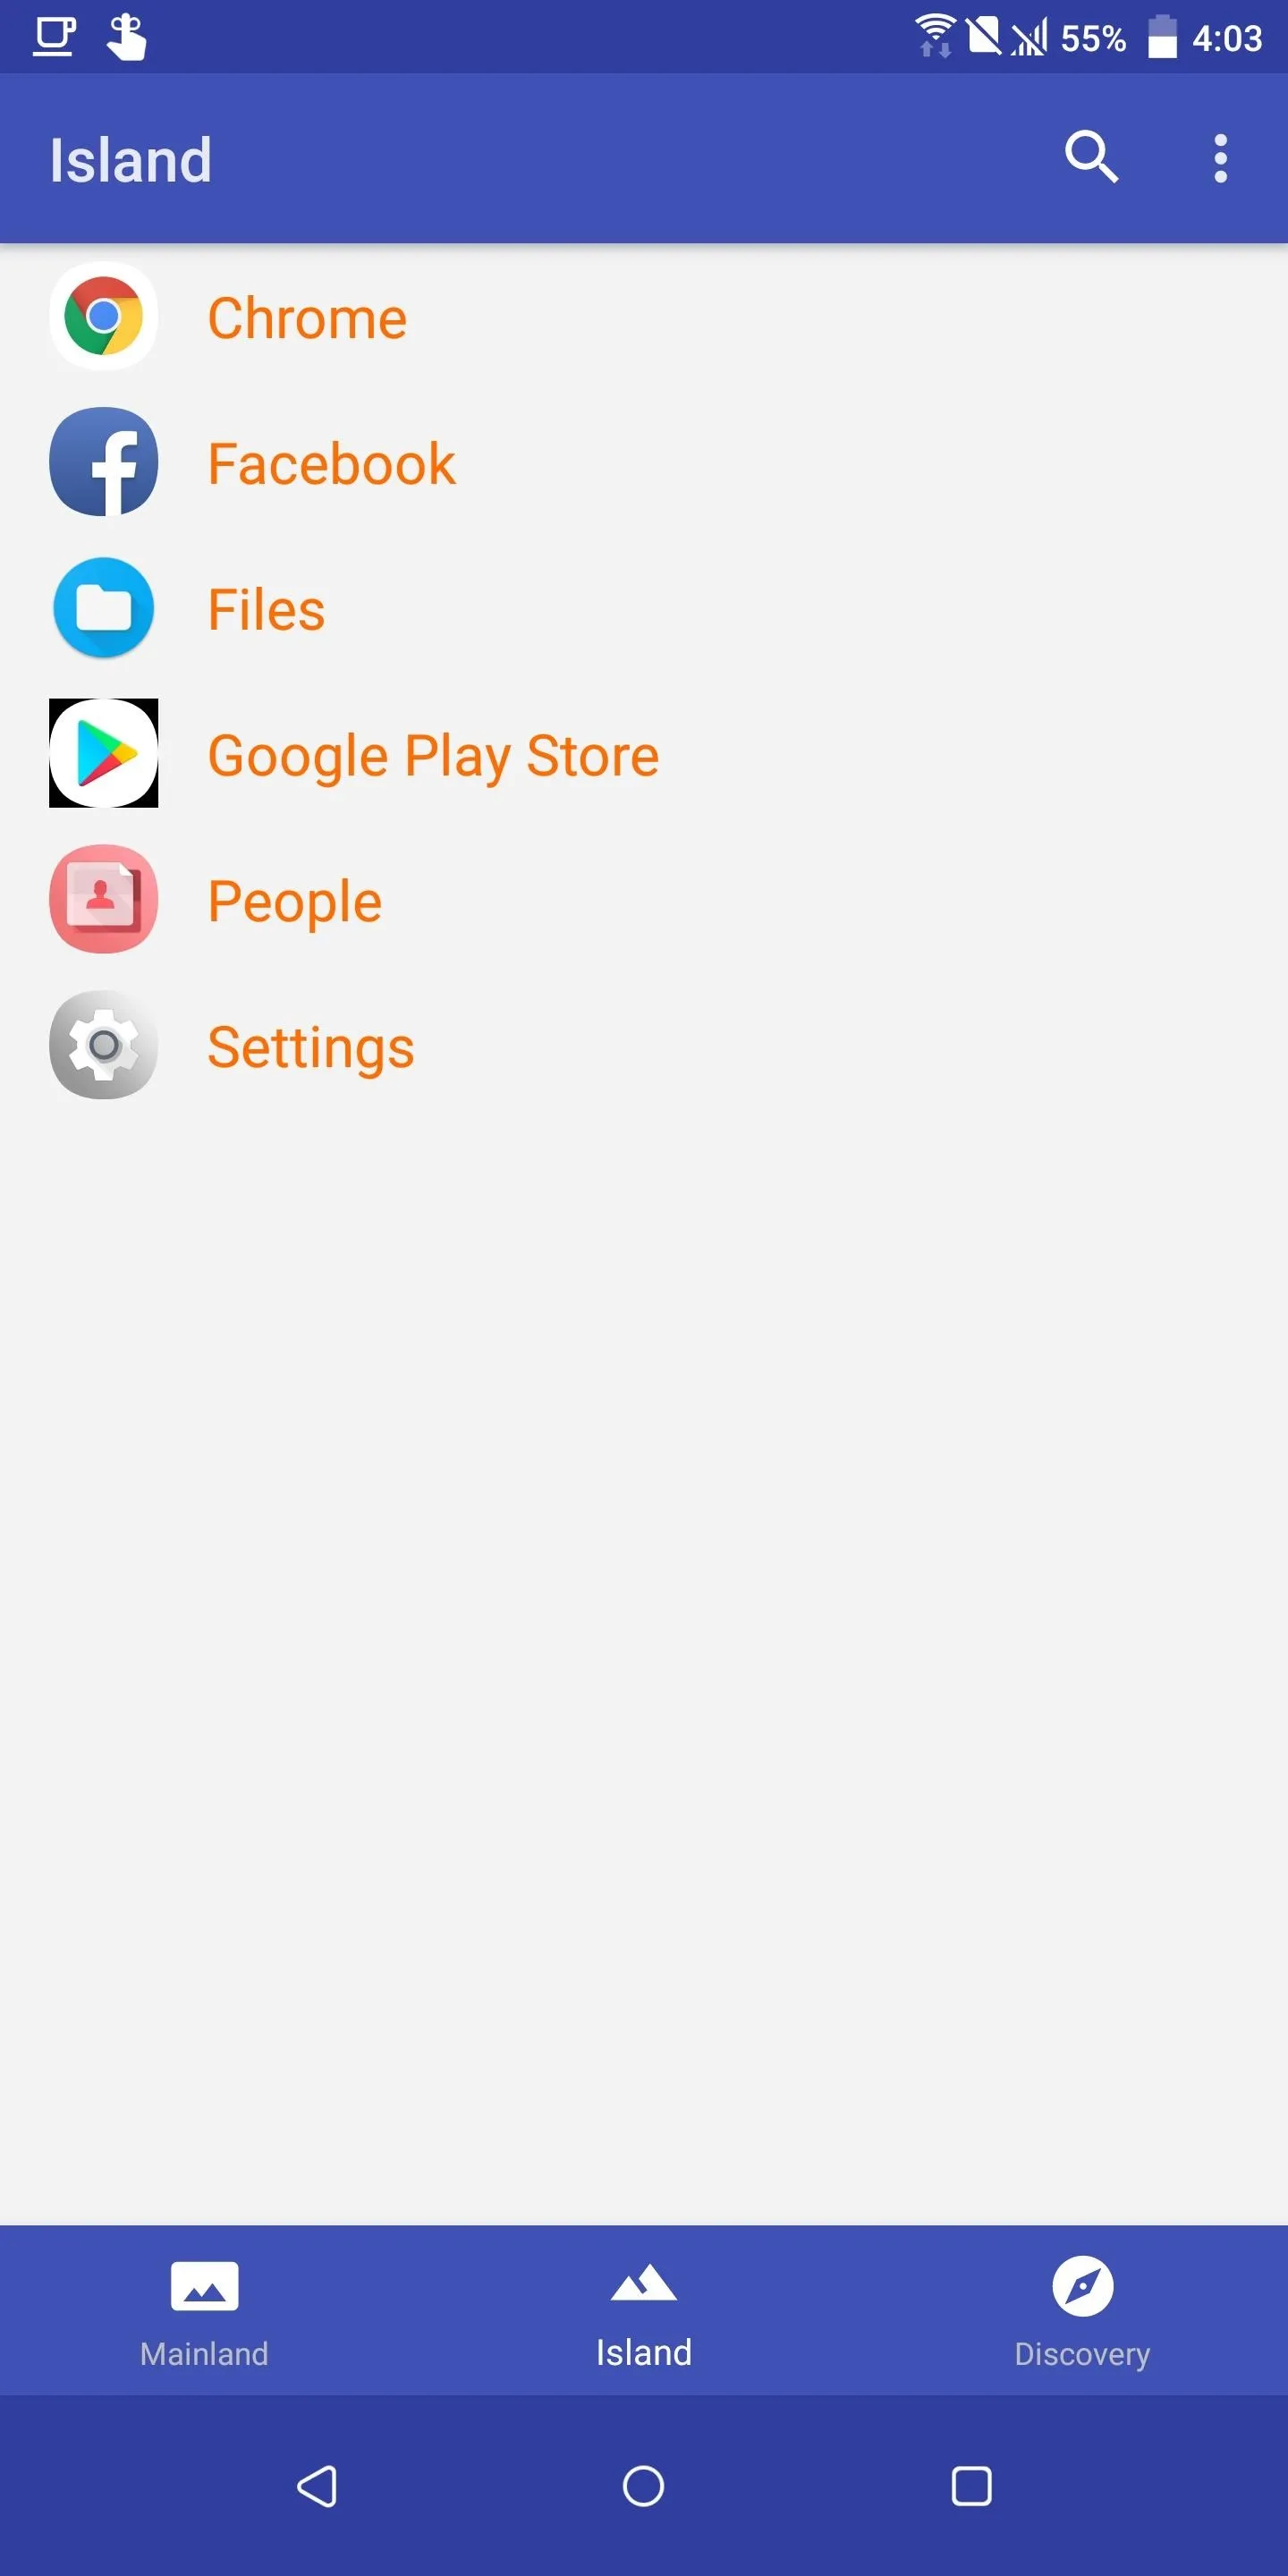
Now, select the Facebook app, and right above the navigation buttons, choose the crossed square. This will prompt you to allow Island to install the app. Select "Settings" and activate the toggle to enable the installation of the cloned app in the sandboxed environment. Once completed, return to the Island tab to see the Facebook app. You will also two versions of the app in your app drawer, the normal app and one with a suitcase icon on top of it (the cloned app).
Now uninstall the app on the "mainland" by navigating to the "App Info" page of the version which doesn't have a small suitcase icon on top of the icon (most launchers let you do this by dragging the icon to the top of your home screen, then dropping it on "App Info"). From there, simply tap "Uninstall" or "Disable." This will leave you with only the cloned app, which is isolated thanks to the sandboxed environment.
Detach Yourself from the Official Facebook App
This step is somewhat optional, but after seeing how much personal data the Facebook app can harvest from some devices, you'll probably want to ditch the official Facebook app altogether. The best way to do this is by using either the Facebook mobile site or a Facebook wrapper app.
If you're running Android, we recommend an app called Metal. It's a Facebook wrapper meant to replace the official Facebook app, and among other things, it blocks ads and uses less power than the official app. While it might not provide foolproof security, Metal won't request or use sensitive device permissions like its official counterpart. If you hop over to Settings > Permissions after installing it, you'll see Metal has no permissions enabled. Like the official app, we recommend installing Metal within Island.
- Play Store Link: Metal for Facebook & Twitter (free)
If you're on iOS and are missing the Metal experience, consider using the Facebook mobile site instead. While you won't get native security features, Safari does come packed with some privacy settings installed. Plus, Facebook's app will drain your battery — if nothing else, using the mobile site will extend your iPhone's lifespan.
Don't download the Facebook app — go to Facebook.com instead.
Install a VPN
Even with totally false credentials, Facebook can still track your location when using its service. While there are location settings to disable, if you want to make sure Facebook can't track your new account, the best thing to do is install a VPN.
A VPN, or Virtual Private Network, hides the ability for programs to determine your location based on your IP address. When using a VPN, you will be provided with a new IP address, and you can even choose its location. Additionally, it encrypts your data, preventing Facebook from accessing other apps' data running in the background or currently in use.
- Don't Miss: The 4 Best VPN Apps for Android & iPhone
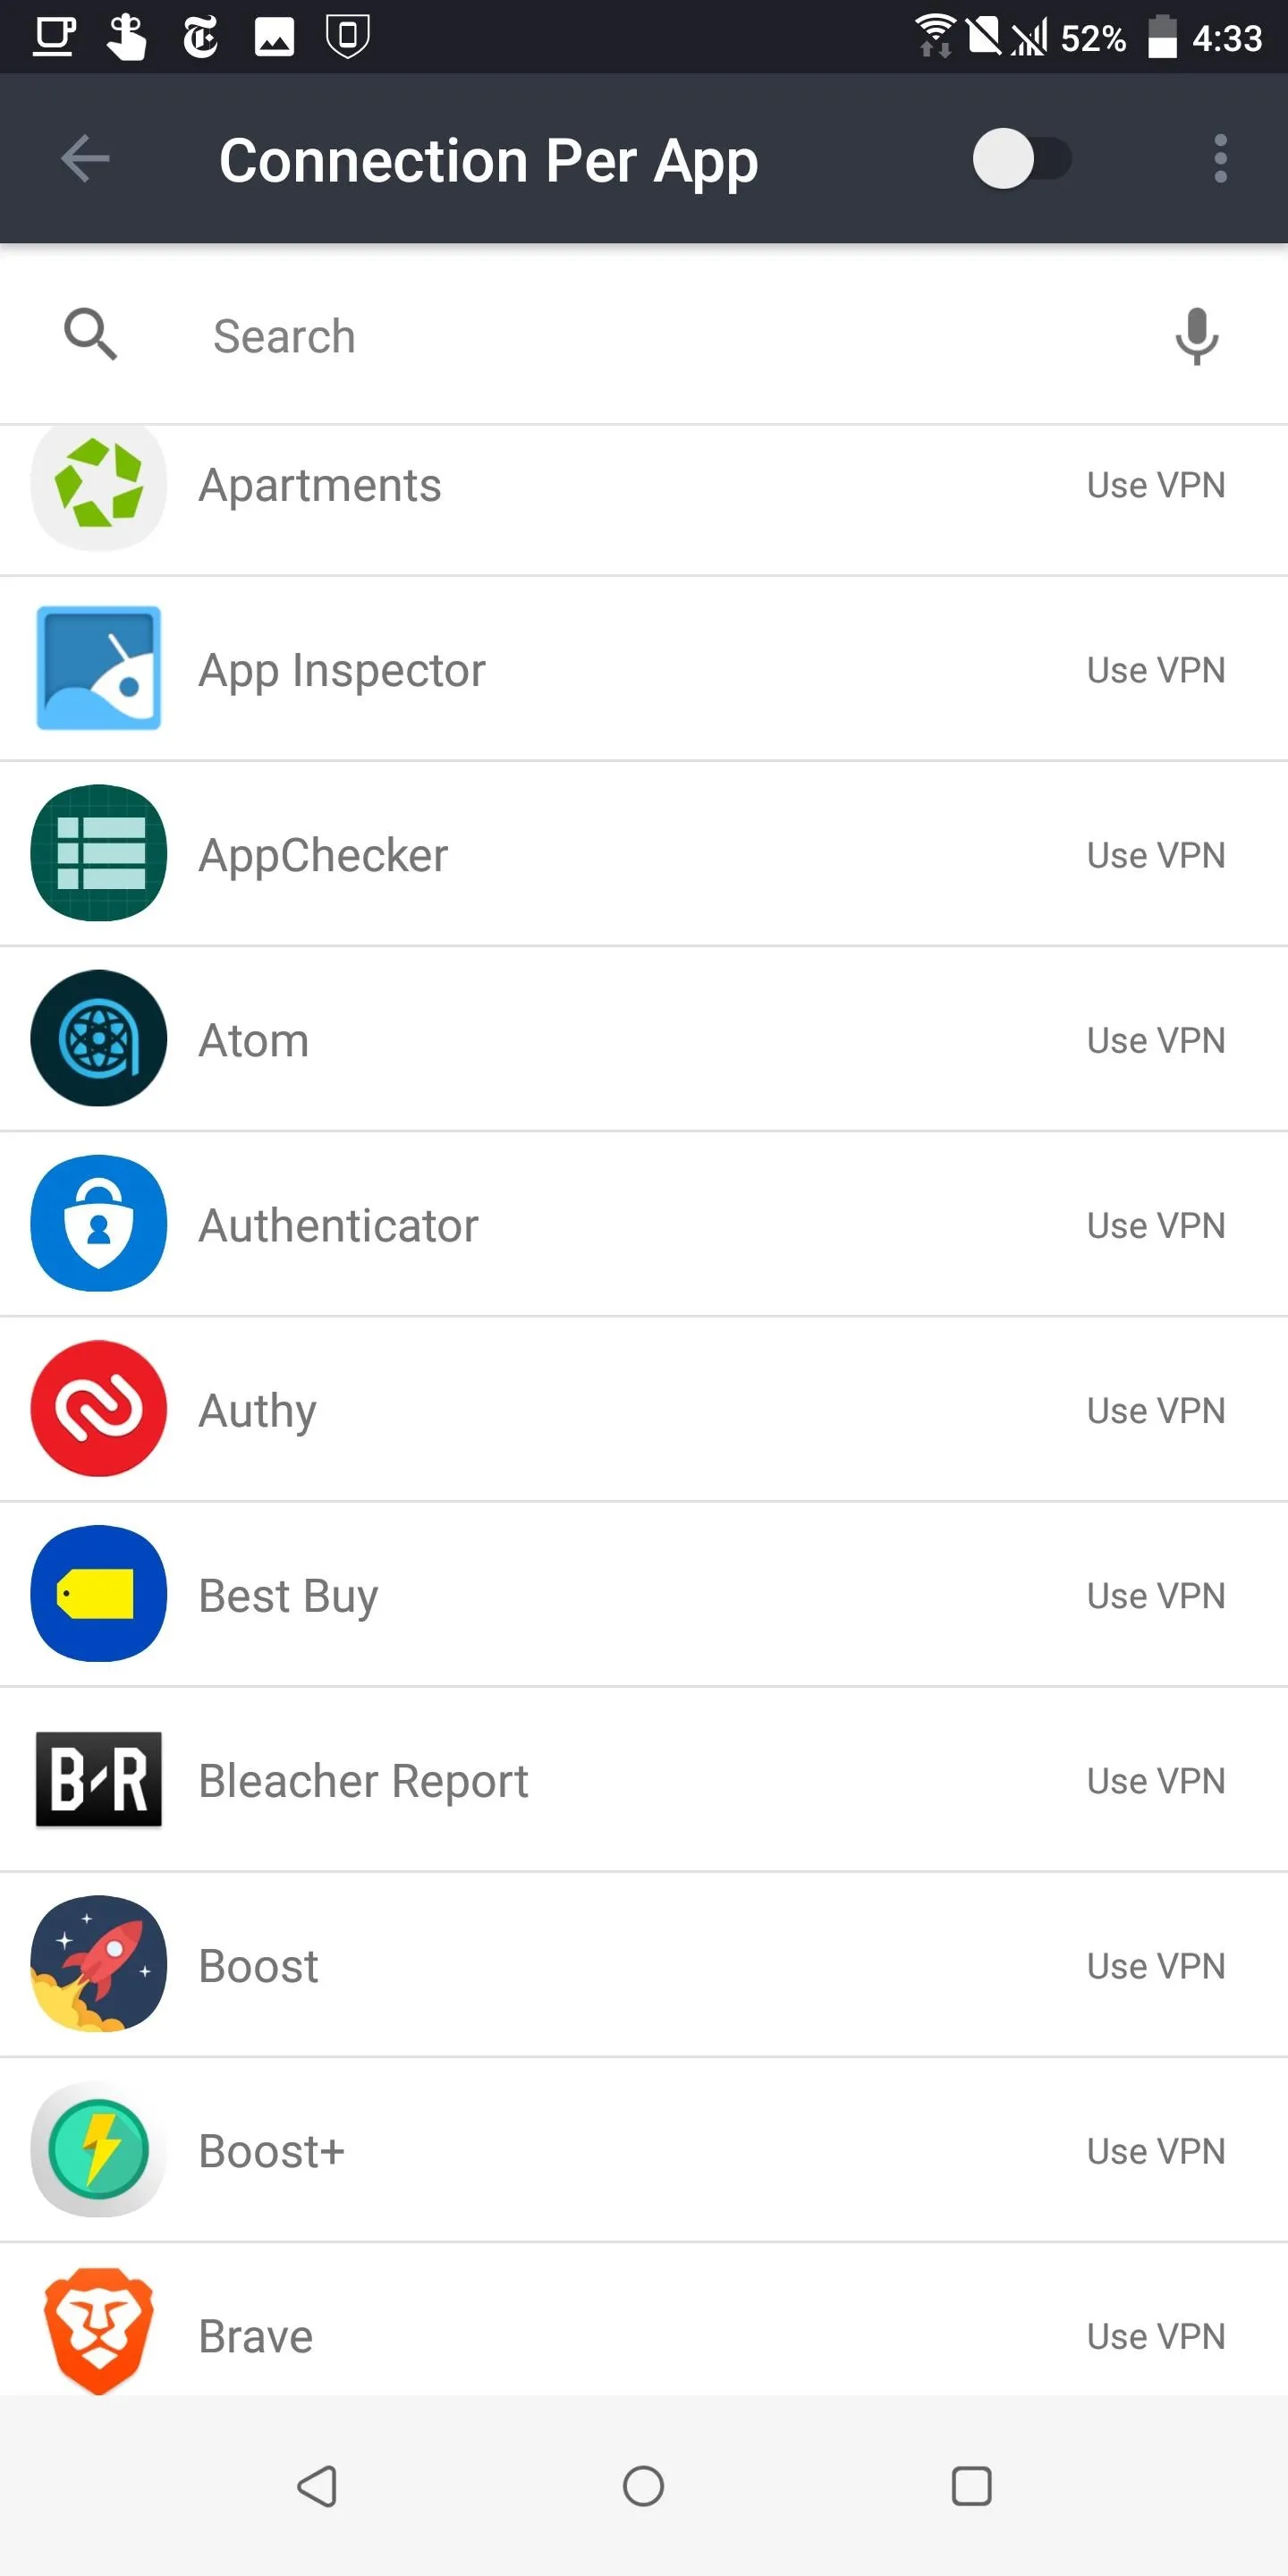
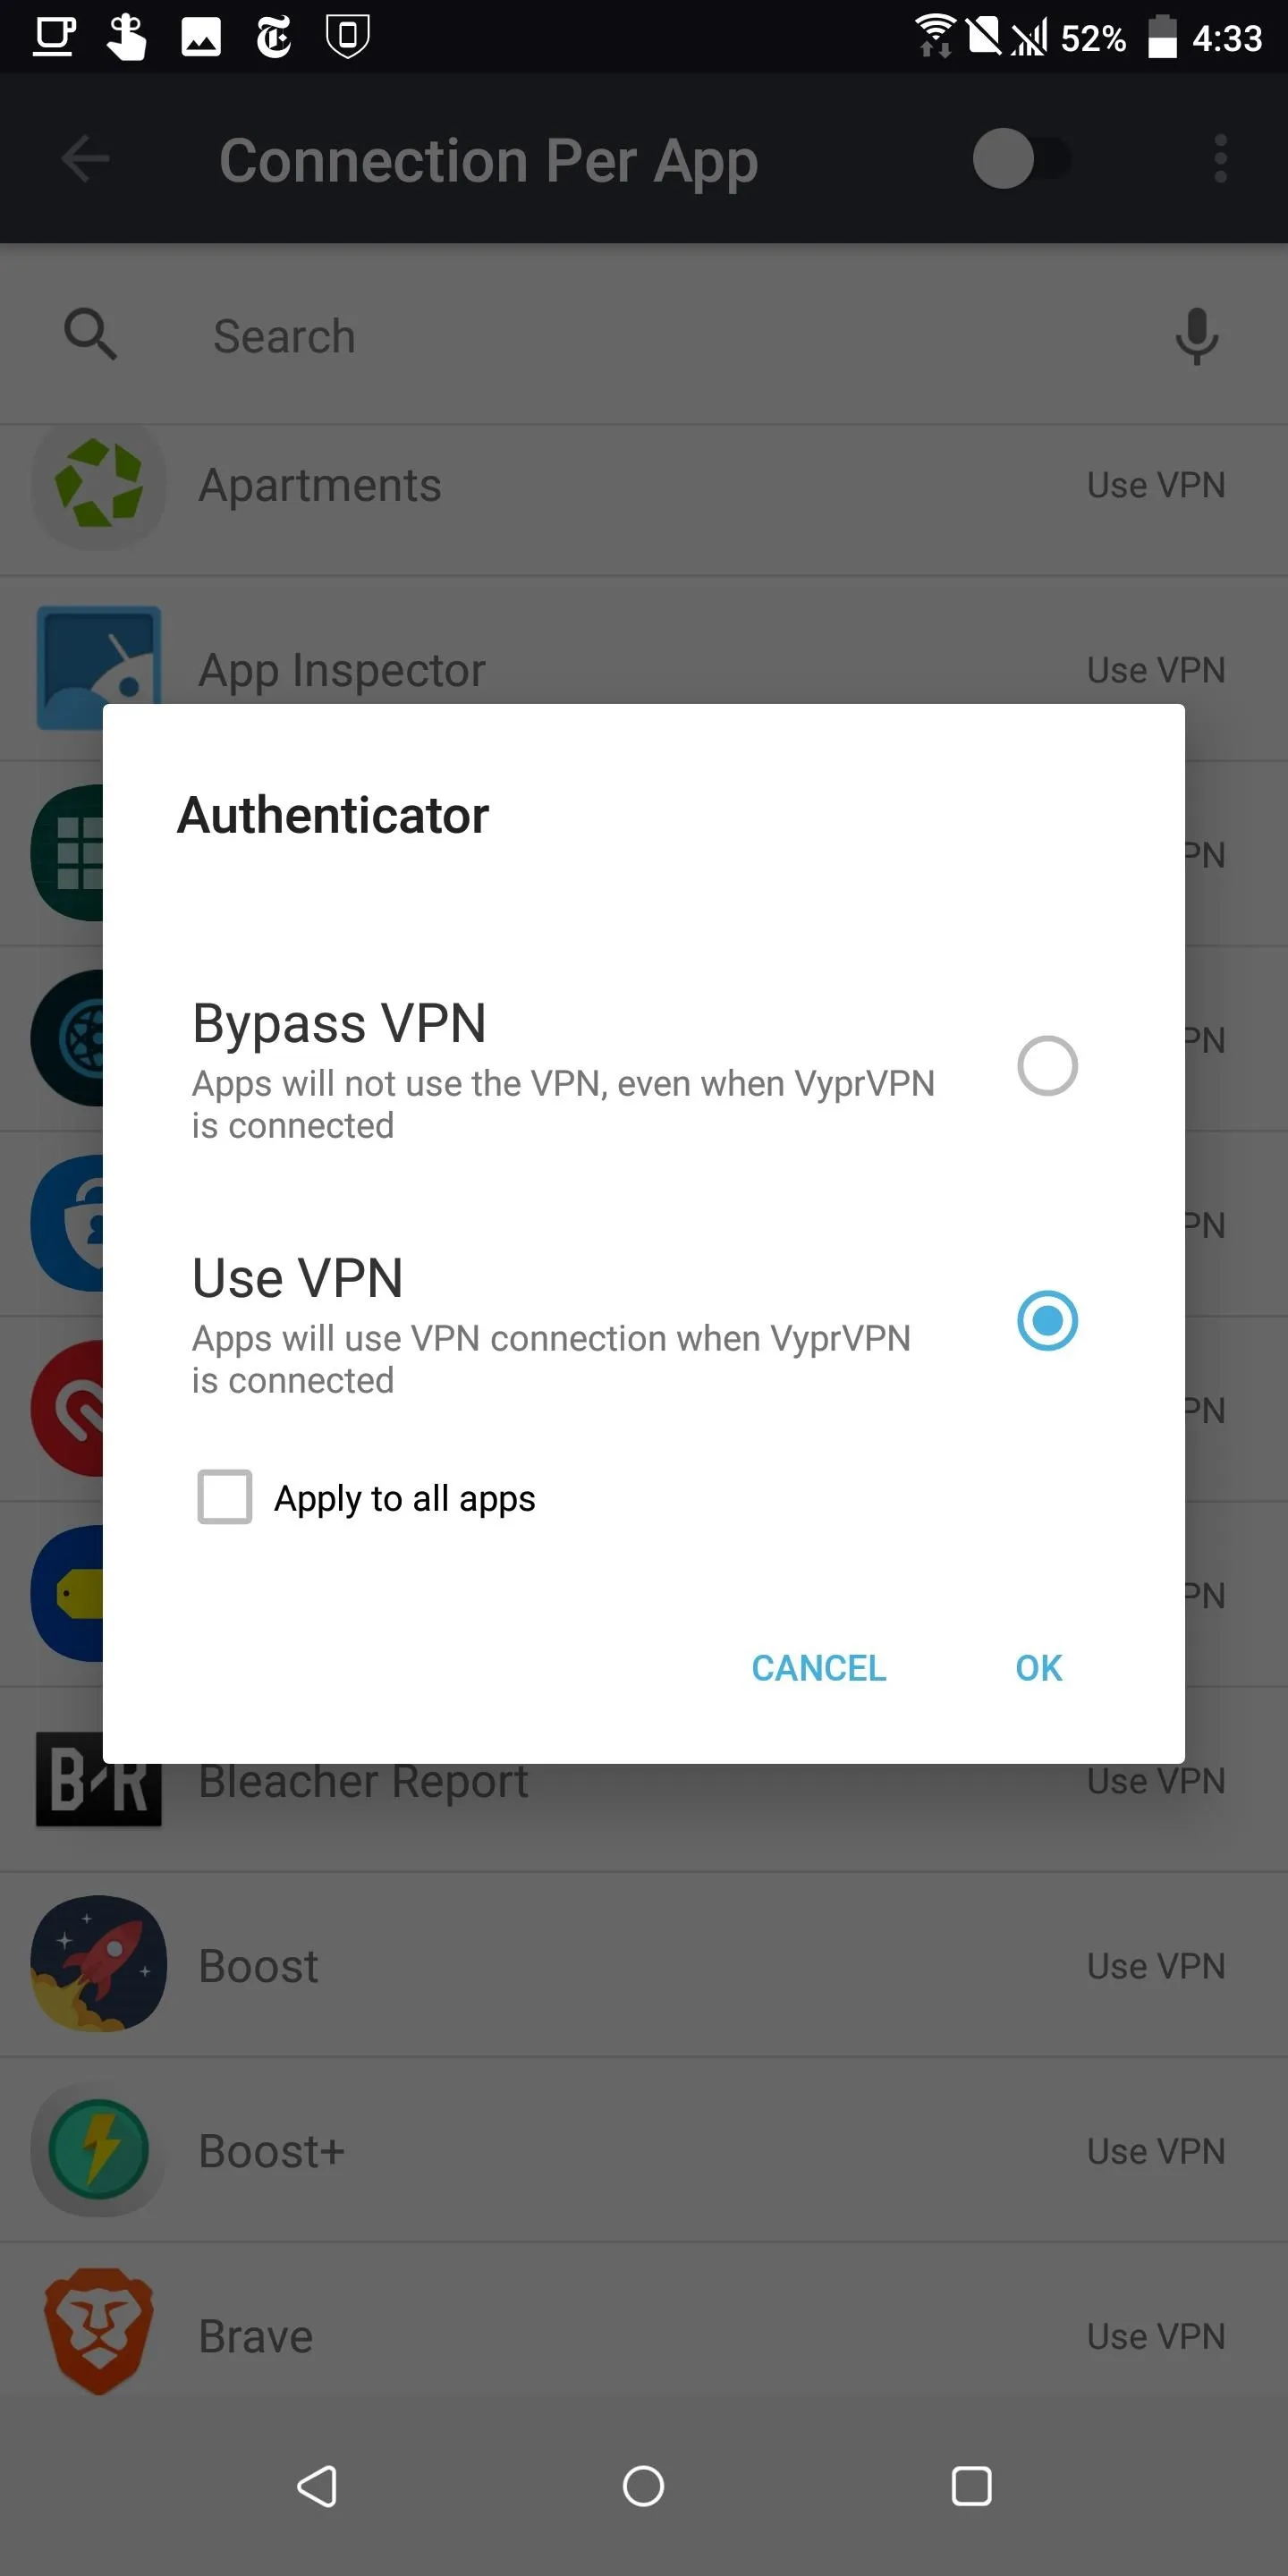
For Android users, you can take advantage of VyprVPN's "Connection Per app" feature. This feature allows you to control which app should use the VPN and which app shouldn't. You can configure it to always keep the VPN on when using Facebook, but disable it for other apps to speed up the connection.
Delete & Disable Location History Data
Facebook has a feature known as "Location History" which is a set of location logs it makes as you travel with the app. However, since your location can be used to identify who you are, for the purpose of anonymity, you should turn this off. Check out our guide on how this can be accomplished:
Create a New Facebook Account
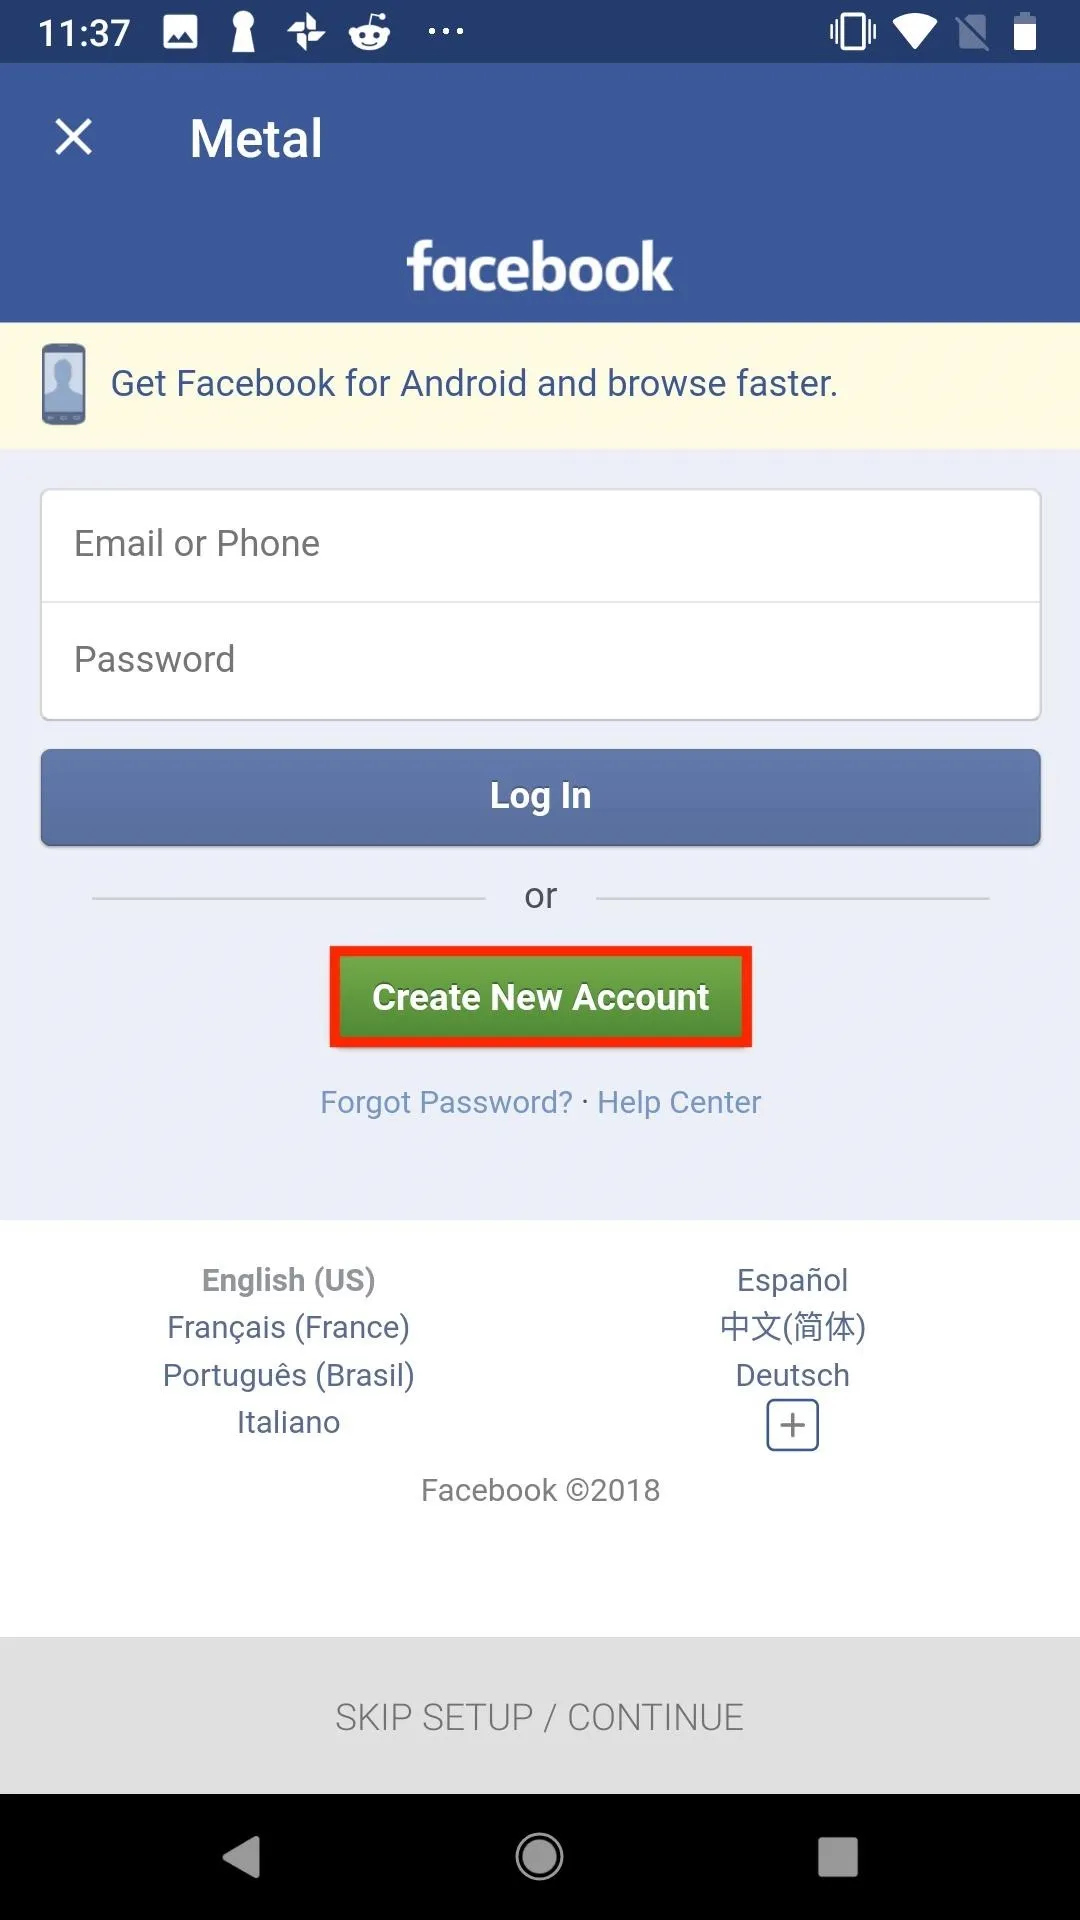
Once you have taken the above steps into account, whether on iOS or Android, it's now time to create that new Facebook profile. Head over to Facebook.com, or open Metal on your secondary user space to get started.
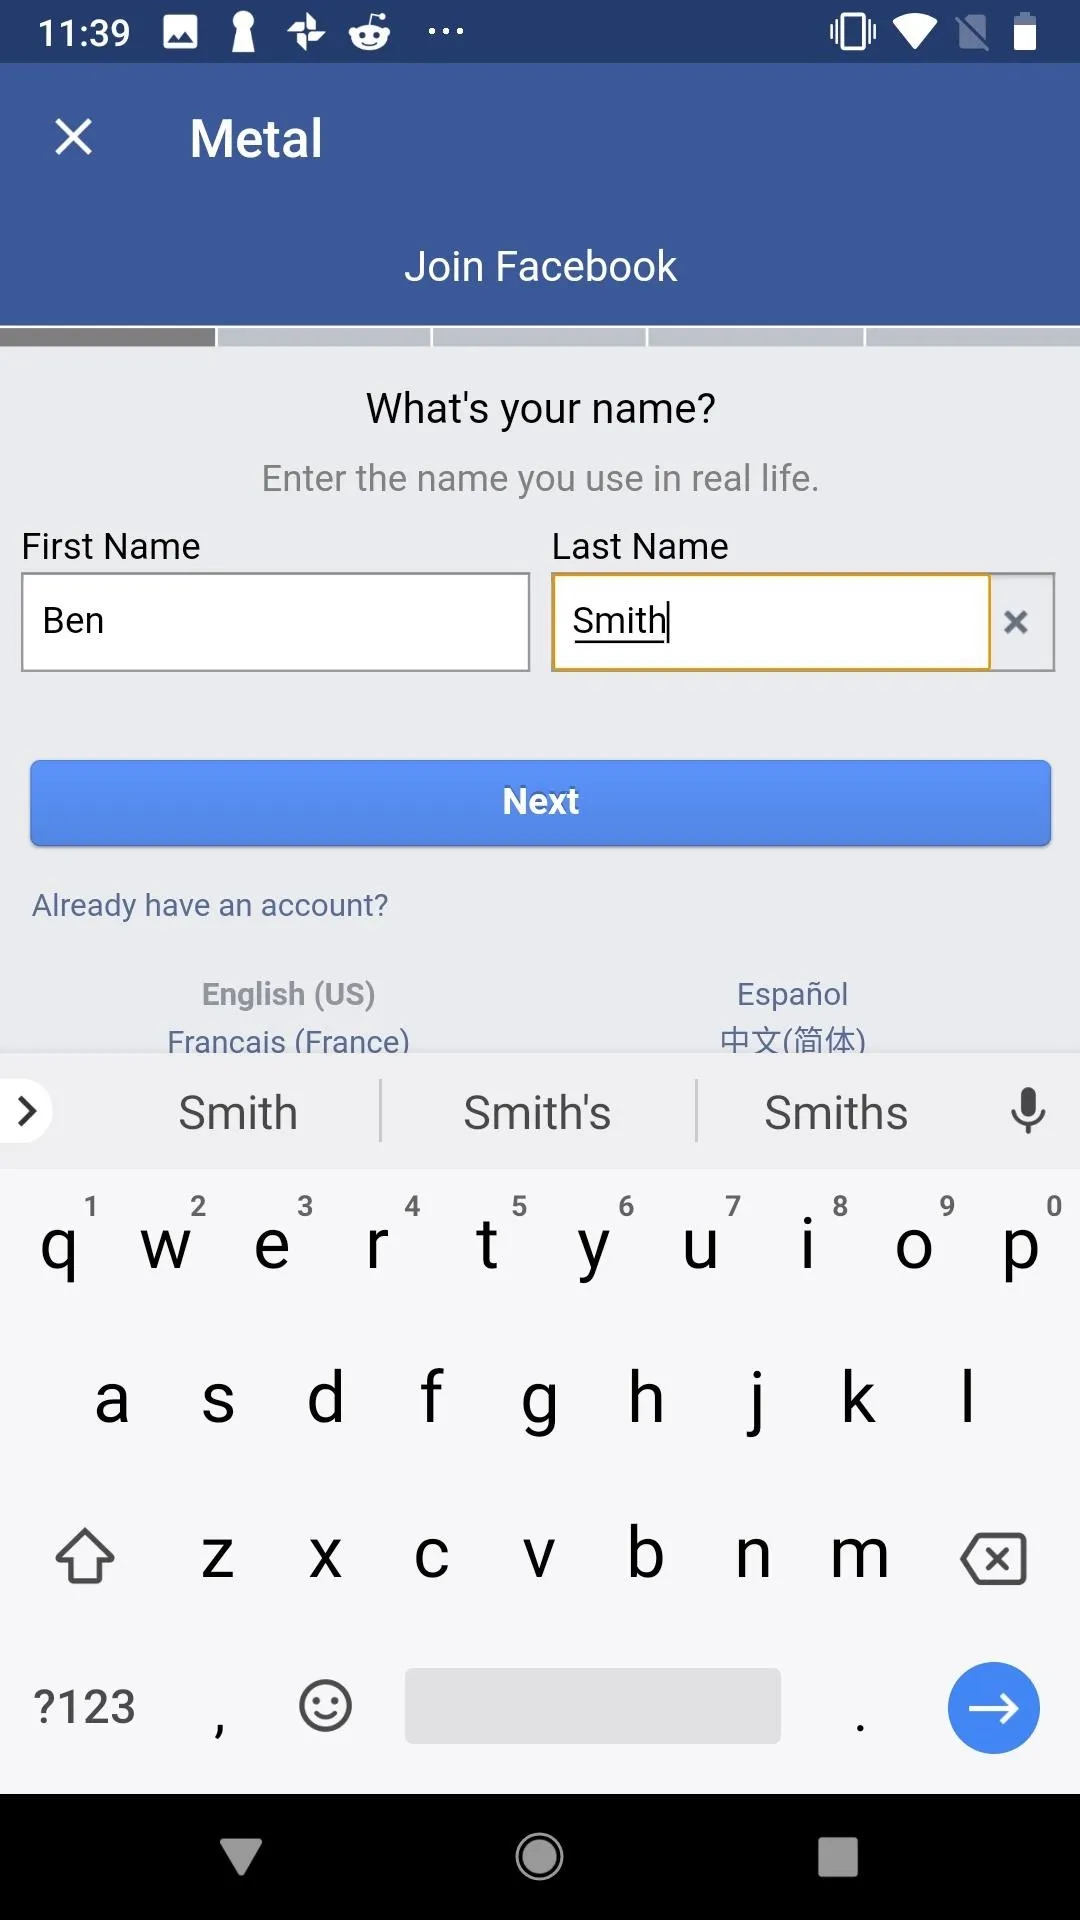
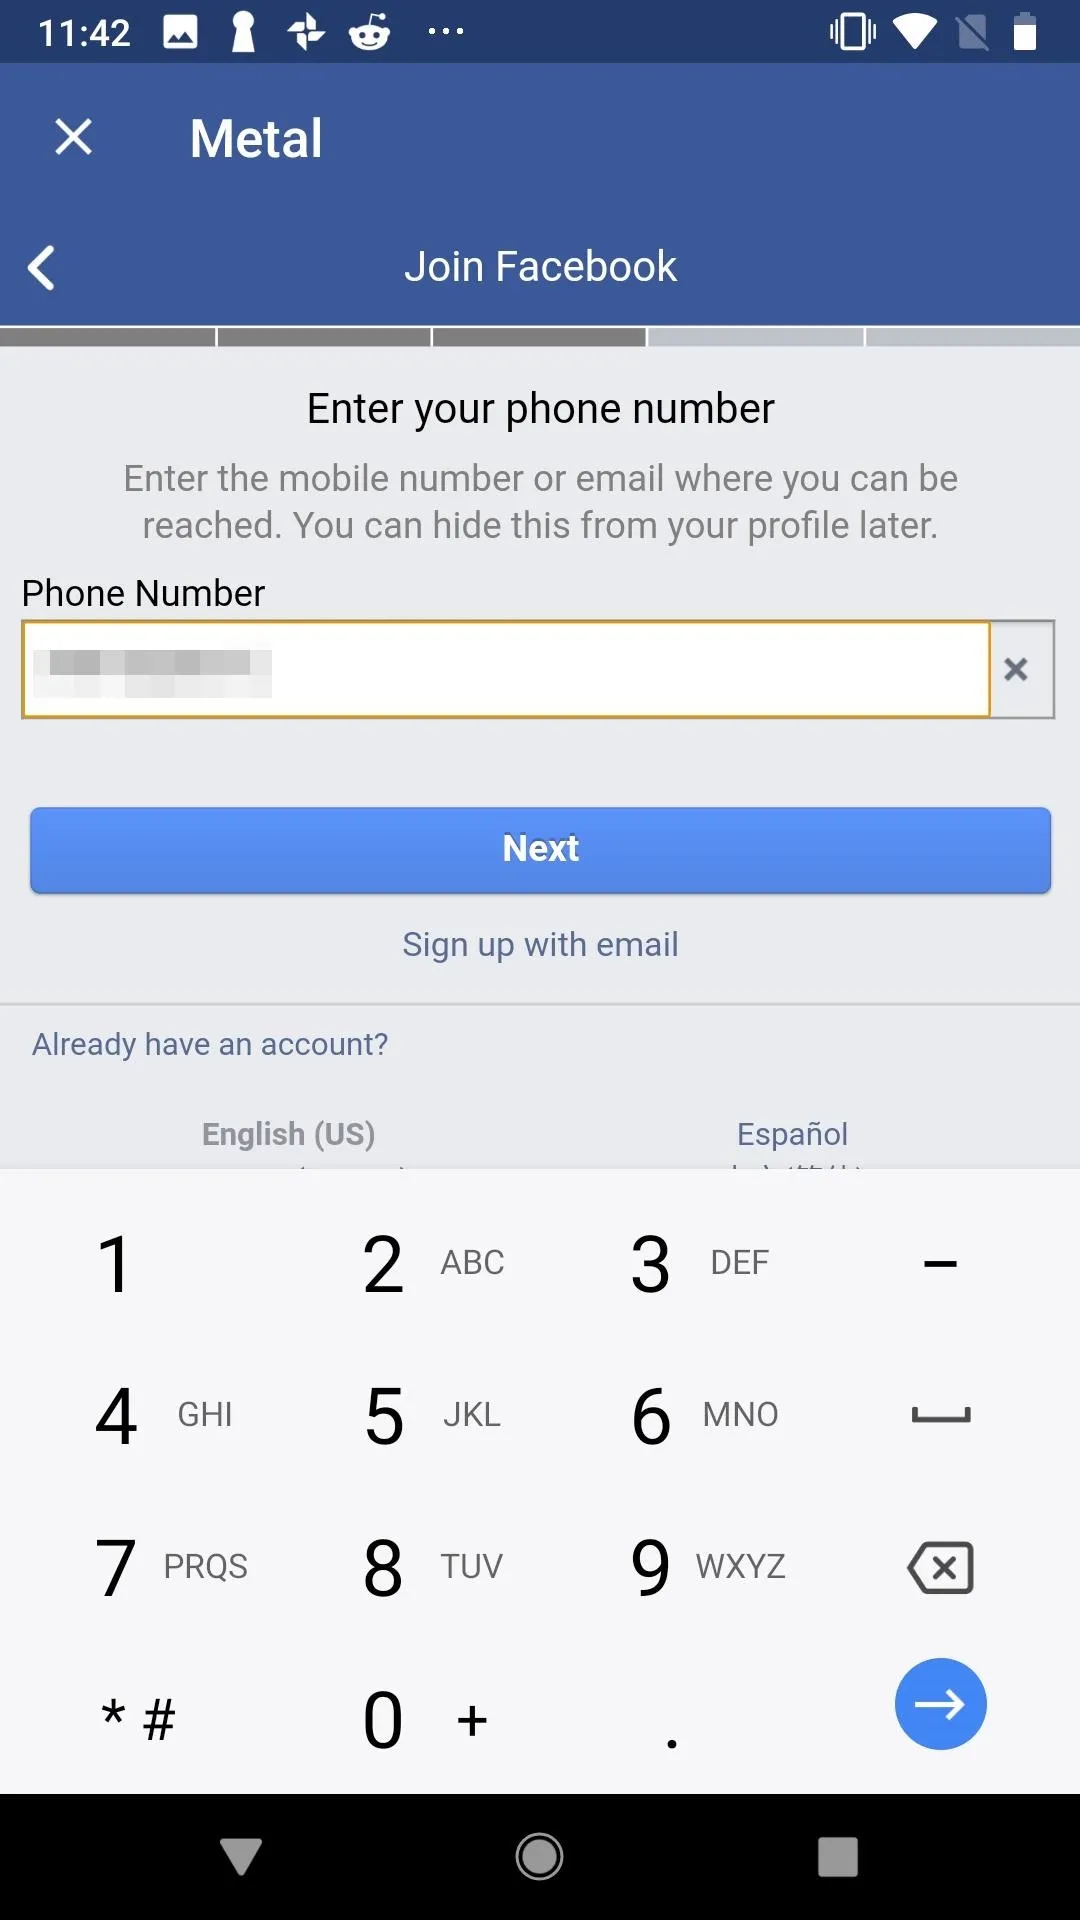
Tap "Create New Account," then enter a name, ideally something fake. Next, enter your burner number, or type in your burner email by tapping "Sign up with email" under Next. When finished, tap "Next."
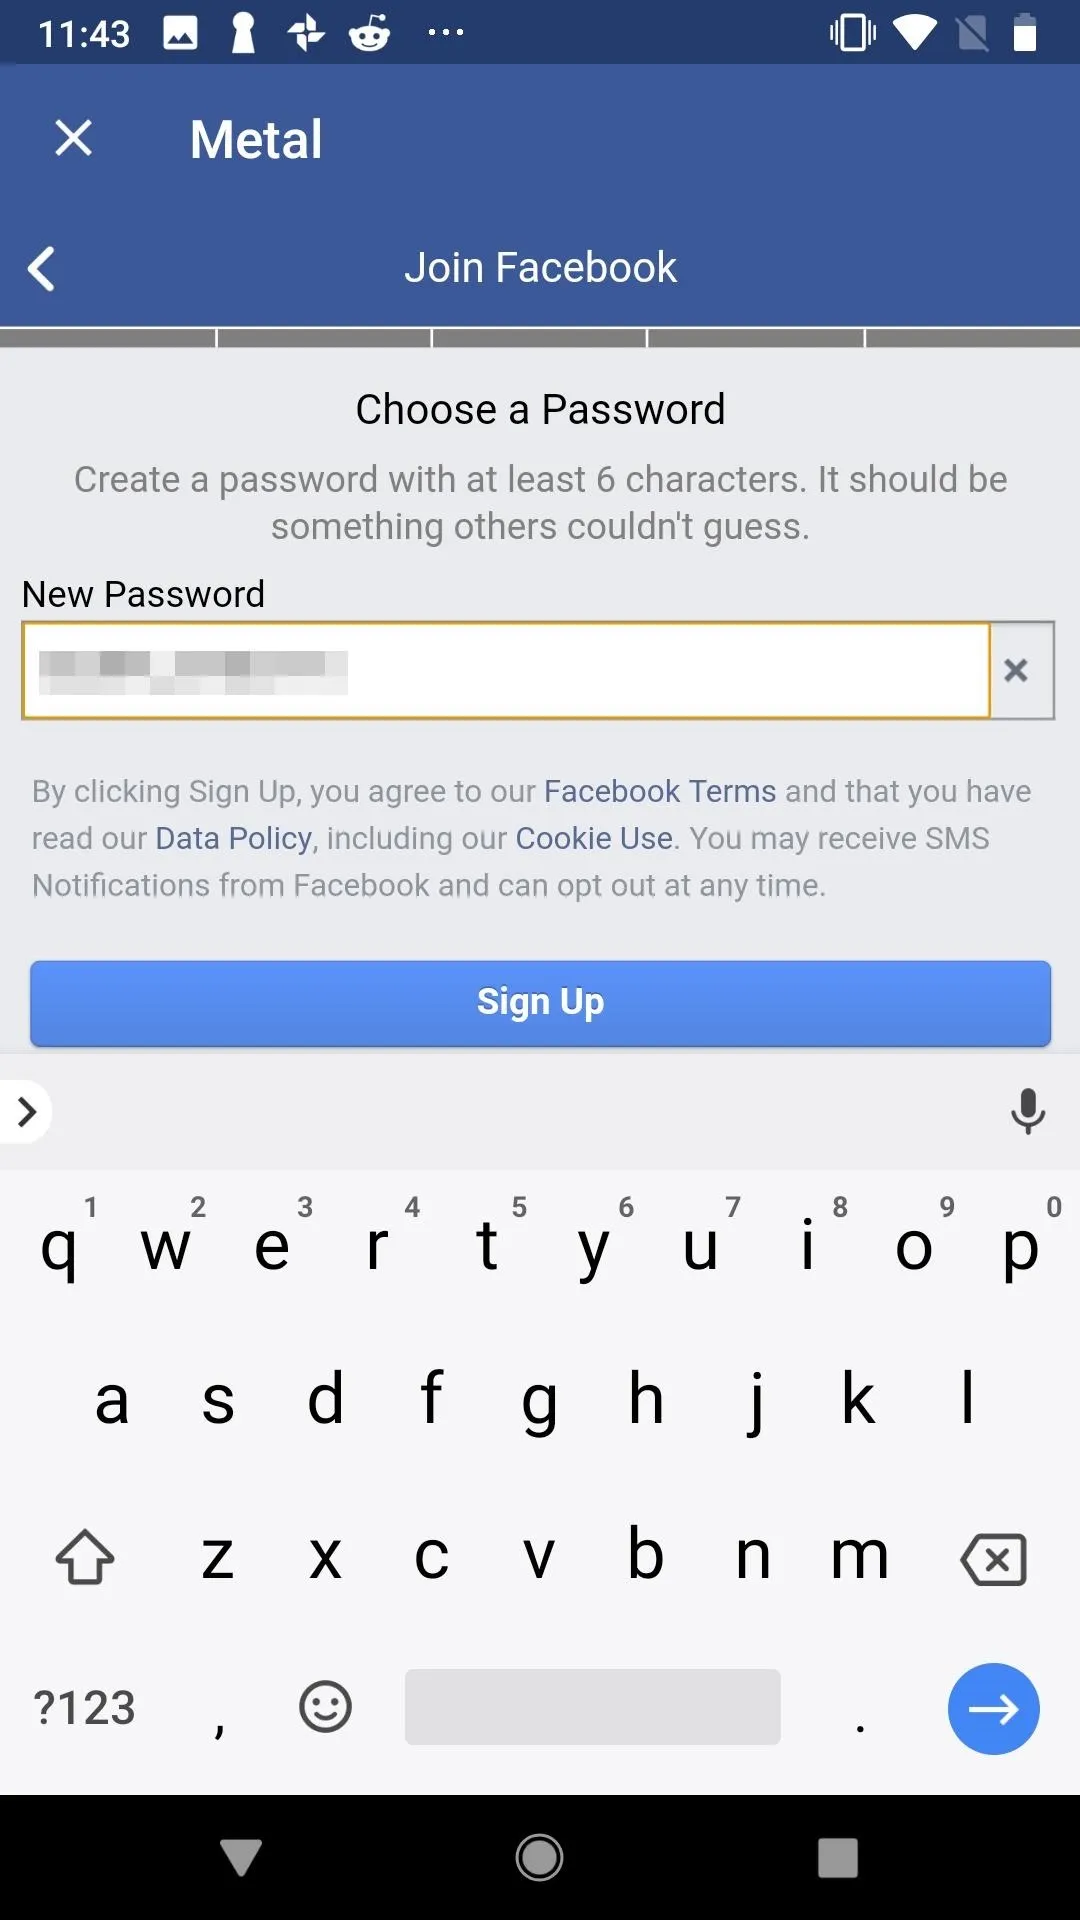
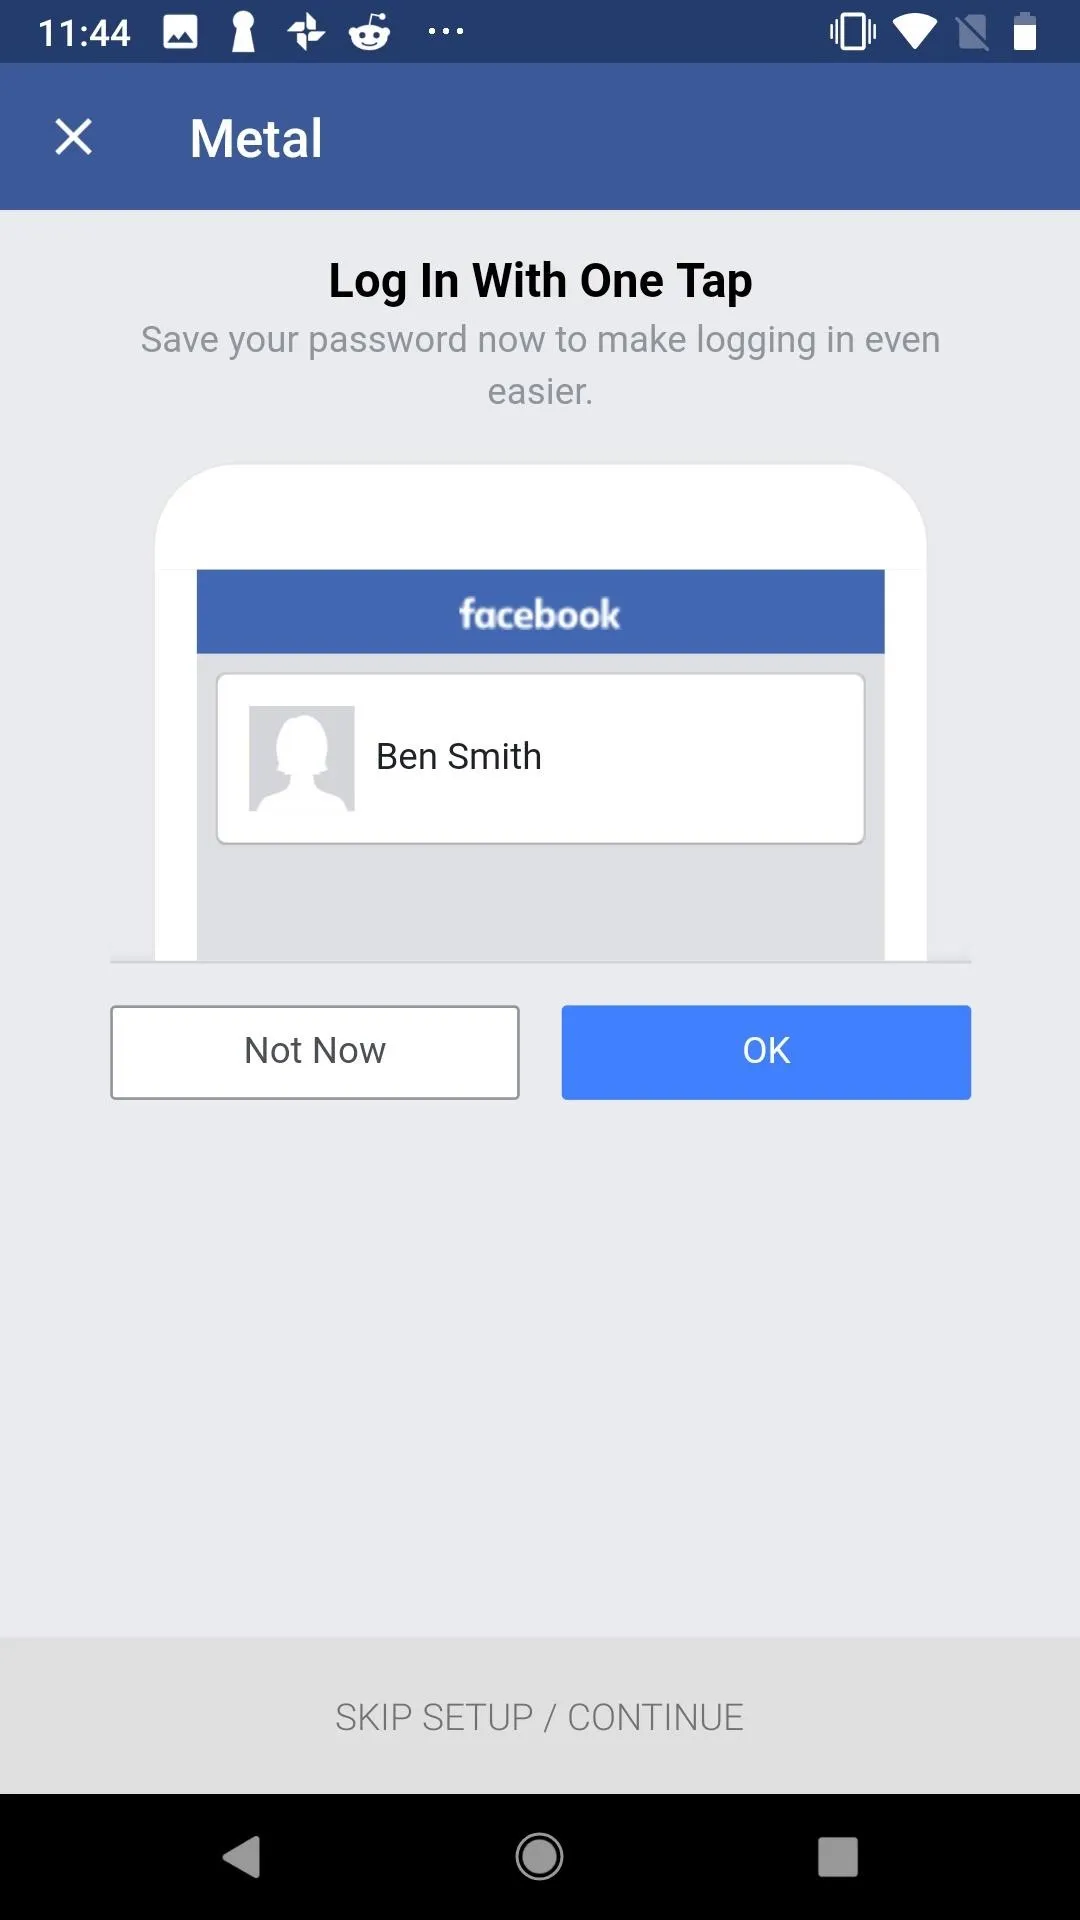
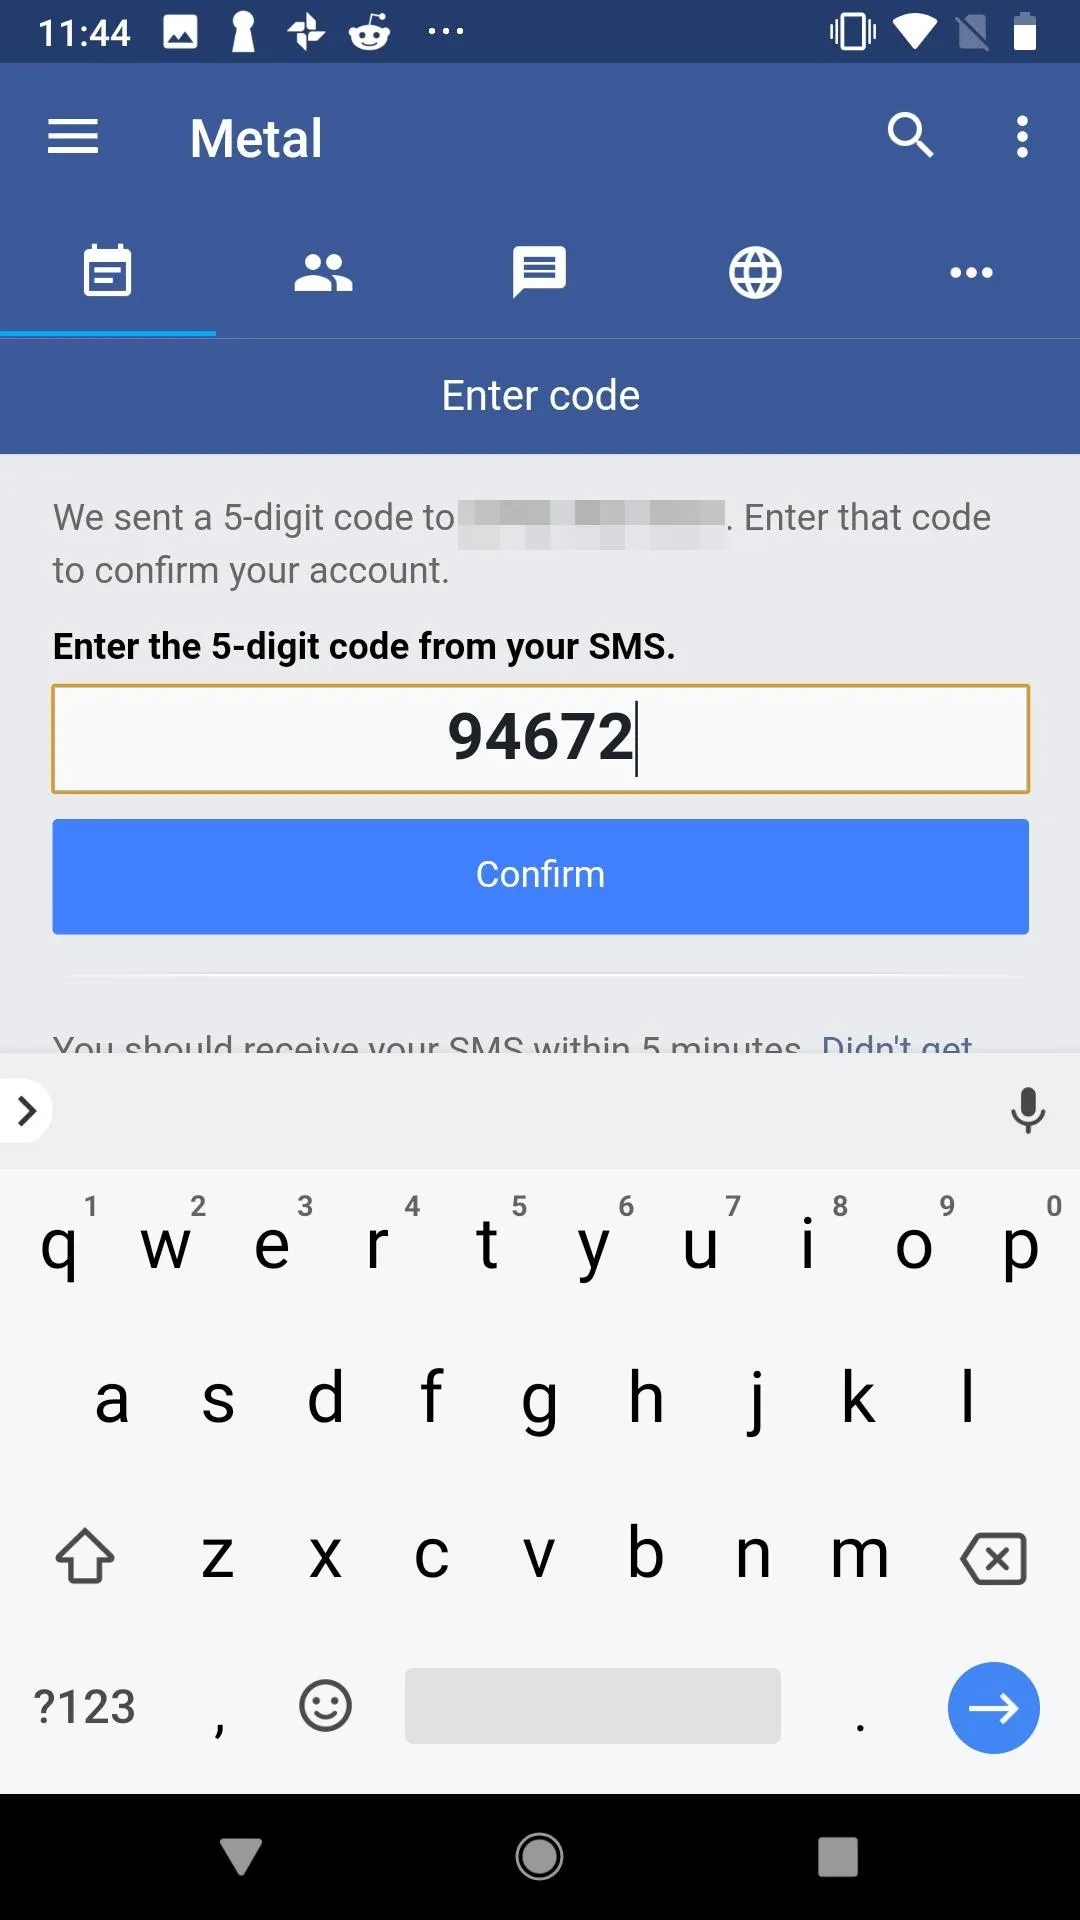
Next, enter a password, then tap "Sign Up." If prompted, you can choose whether or not to log in to Facebook with one tap, versus logging in with your name and password. Once you decide, Facebook will either send you an SMS code if you provided a phone number, or a verification email if you entered an email. Type the code here then tap "Confirm," or verify your account via Facebook's email.
Welcome to your new, anonymous privacy-centered Facebook account. Now you can view groups, events and more without having to use your personal information. Once you configure these settings ...
Change Your Facebook Privacy Settings
Just because you took the precautions in the steps above, that doesn't protect you from some privacy infringements on Facebook's part. Your account's privacy settings by default aren't perfect, and will only hurt your standing the longer you use your account.
To nip these problems in the bud, before you do anything with your profile, configure these settings. While Facebook still has plenty of ways to abuse your privacy after the fact, changing these settings gives you some armor against them. In today's world, you just have to take what you can get.
Block Hidden Permissions (Android — Root Required)
While Android does allow users the ability to manage permissions accessible by apps, there are far more that apps such as Facebook can access to learn more about, and you can't do anything about these by default. For example, even with the location permission turn off, Facebook can still determine your approximate location using your network, something location permission doesn't cover. This is why you need App Ops.
- Play Store Link: App Ops (free)
Originally a hidden feature in Android 4.3 Jelly Bean, App Ops let you adjust a large amount of permissions for individual apps, including those that Android doesn't have controls for by default. This app will also inform you when a permission will last granted. For most permissions, you either allow the app access, deny it, or only allow while in use, saving you battery and protecting your identity. For Facebook, we want to deny everything.
The easiest way to use App Ops is to have a rooted device. However, it is possible to use without root but requires ADB commands. Once installed, open App Ops and select "Facebook." Then go line by line, selecting each entry and denying it access, hindering the app's ability to learn who you are.
This article was produced during Gadget Hacks' special coverage on smartphone privacy and security. Check out the whole Privacy and Security series.
- Follow Gadget Hacks on Pinterest, Reddit, Twitter, YouTube, and Flipboard
- Sign up for Gadget Hacks' daily newsletter or weekly Android and iOS updates
- Follow WonderHowTo on Facebook, Twitter, Pinterest, and Flipboard
Cover image by Jake Peterson/Gadget Hacks, screenshots by Jon Knight/Gadget Hacks


Comments
Be the first, drop a comment!