


Just like Instagram, Photoshop Express for Android and iOS has its own set of filters you can quickly apply to any photo. It's simple, fast, and more customizable than using Instagram's pre-made filters. The options in Photoshop Express allow you to edit and change your filters to be exactly to your liking. Then, you can even save those edits as your own custom filters.
With the Instagram craze booming, this fast, easy, and precise method of editing photos is a must. On Instagram, you have filter options but are very limited to what it has chosen to include on its platform. Photoshop Express allows for more customization, just like in Adobe Lightroom, but Photoshop Express is much easier to understand than the extensive and often-confusing options that Lightroom offers.
Select a Pre-Made Look
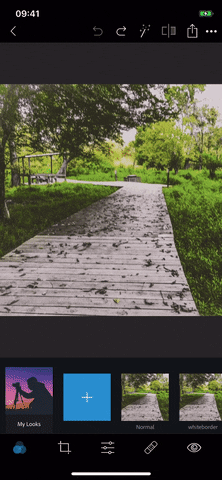
On your iPhone or Android phone, open the PS Express app, then select the photo you would like to edit. Next, tap on the three circles to open your filters, if they aren't already opened (it usually opens by default).
There are many different filter options, which Adobe calls "Looks," and PS Express has organized them into folders labeled Basic (or Free), Charm, White Balance, Matte, HDR, B&W (or Black & White), Portrait, Nature, Pop Color (or Splash), and Duo Tone. Each folder has looks that are different yet similar, with enough variance to want to try them all out, so there's a lot to explore and play around with.

Also, on iOS, the first Look in each folder is "Normal," which converts your photo back to its original state. On Android, you have to swipe all the way to the first "Normal" tab in the Looks slider to see the "Normal" option. Play with these filters and decide which ones you like best. Below is an explanation of each category:
1. Basic / Free
The looks mostly show a variety of filters with an emphasis on colors, such as "Winter" which cools down the image, "Summer" which raises the temperature, "Invert" which flips all the colors, and "B&W" and "Carmine" which remove all colors. There are some subtle filters and some more drastic ones that adjust color temperature, contrast, and the like. (As of this writing, there are 23 total filters in this category.)
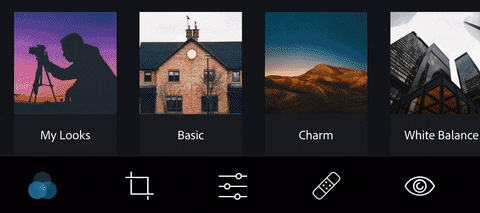
2. Charm
These are filters that give off a vintage feel, such as being washed out, faded darkly, hazy, and desaturated. If you're going retro, this is the first place to stop. (As of this writing, there are 24 total filters in this category on iOS and 18 on Android.)
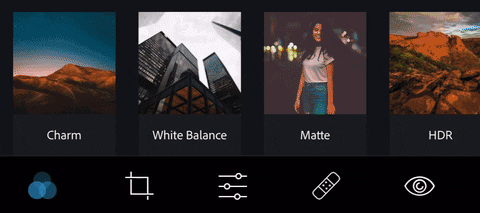
3. White Balance
Here, you'll find standard lighting settings such as "Fluorescent" or "Daylight" which adjust the color temperature. These filters will make your photos look like they've been taken under the specific lighting conditions described. (As of this writing, there are 6 total filters in this category.)
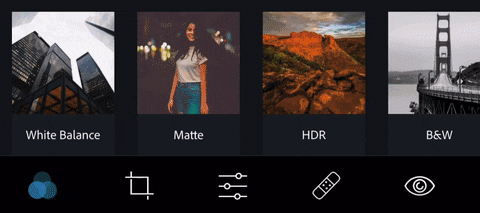
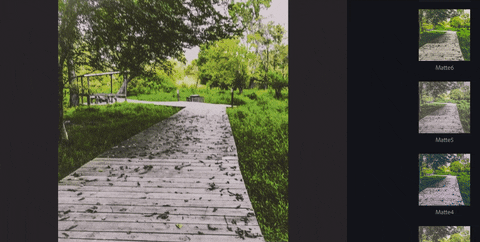
4. Matte
These looks do exactly what it sounds like; they dull and flatten your image by adjusting the saturation, contrast, and blacks, among other settings. (As of this writing, there are 6 total filters in this category, but only on iOS.)
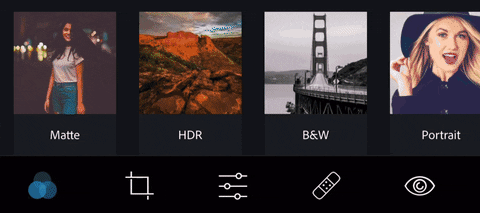
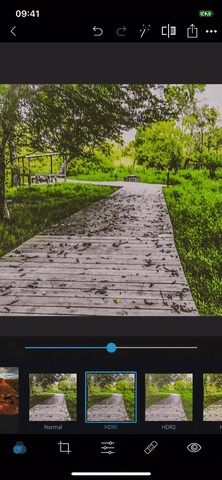
5. HDR
The high dynamic range filters create a greater amount of light and shadow detail on the image, so you'll see a lot of contrast, tint, and exposure adjustments, though, that's definitely not all. (As of this writing, there are 10 total filters in this category, but only on iOS.)
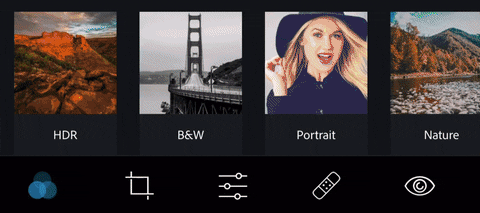
6. B&W / Black & White
This one is pretty self-explanatory, where the looks remove all colors, leaving you with blacks and whites. Some of these filters add fades to the black-and-white imagery, heavy contrast, and vignettes, and some interesting looks include "Infrared" and "Antique," the latter of which gives off a slight bronze feel. (As of this writing, there are 14 total filters in this category on iOS and 11 on Android.)
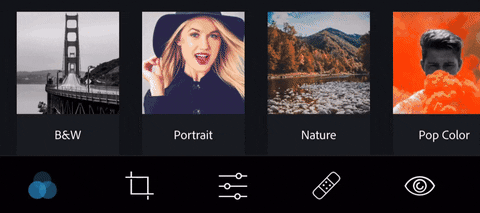
7. Portrait
These are filters that work best for a portrait style photograph, meaning a photo of a person, typically from the waist up. There are a few vignette options, a "Nostalgic" look, and some exaggerated filters to give your portrait a cartoonish look. (As of this writing, there are 10 total filters in this category.)
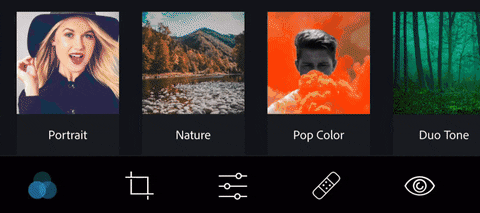
8. Nature
The filters in this category work best for a landscape-style outdoor photographs, meaning good old Mother Nature. Some will be better for lush greenery while others for reddish rocky terrain, and that's not all. Experiment with them based on the colors nature gives you. These can also work well for a photograph of a person from very far away. (As of this writing, there are 11 total filters in this category.)
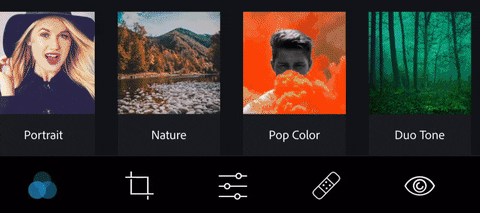
9. Pop Color / Splash
When you want to isolate a specific color in your photos, this is your folder, as it promotes one color and tones down the rest. When using these looks, be sure that you are choosing a photo that either contains a lot of the color you choose or contains a specific section that you would like to isolate with your choice color. (As of this writing, there are 9 total filters in this category.)
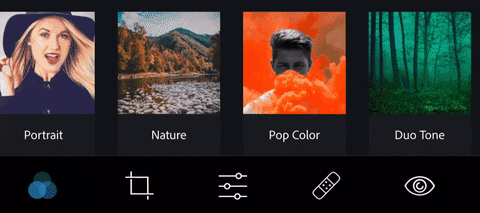
10. Duo Tone
Duo Tone, or duotone, refers to an image composed of two "ink colors." This category also includes tritones and quadtones as well. The process of creating a duotone image involves taking an image, putting it into grayscale, then replacing the mid-tones and/or highlights with a single color. (As of this writing, there are 15 total filters in this category.)
Adjust the Look's Intensity
All of the looks are adjustable using the sliding bar directly above the filter. Moving it down will decrease the intensity of the look and moving it up will increase the intensity, just like with Instagram's filters.
Create & Use a Custom Look
Whether you want to start from scratch building your own filter or want to use one of Adobe's Looks mentioned above to start off with, you can turn that customization into your own unique filter. Custom filters will be saved into the "My Looks" category.
The only things that will save in your custom filters are the ones you make in the "Adjustments" tab (the symbol with the three sliders at the bottom of your screen), which includes everything from "Exposure" and "Highlights" to "Color Noise" and "Gain." Play around with the options here until you find a look that suits your image.
Once you've found adjustments you like while editing your photo, tap "My Looks" on iOS or just scroll to the beginning of the Looks bar on Android. Next, tap the blue square with a plus symbol in the center, name your filter, and tap "Save Look."
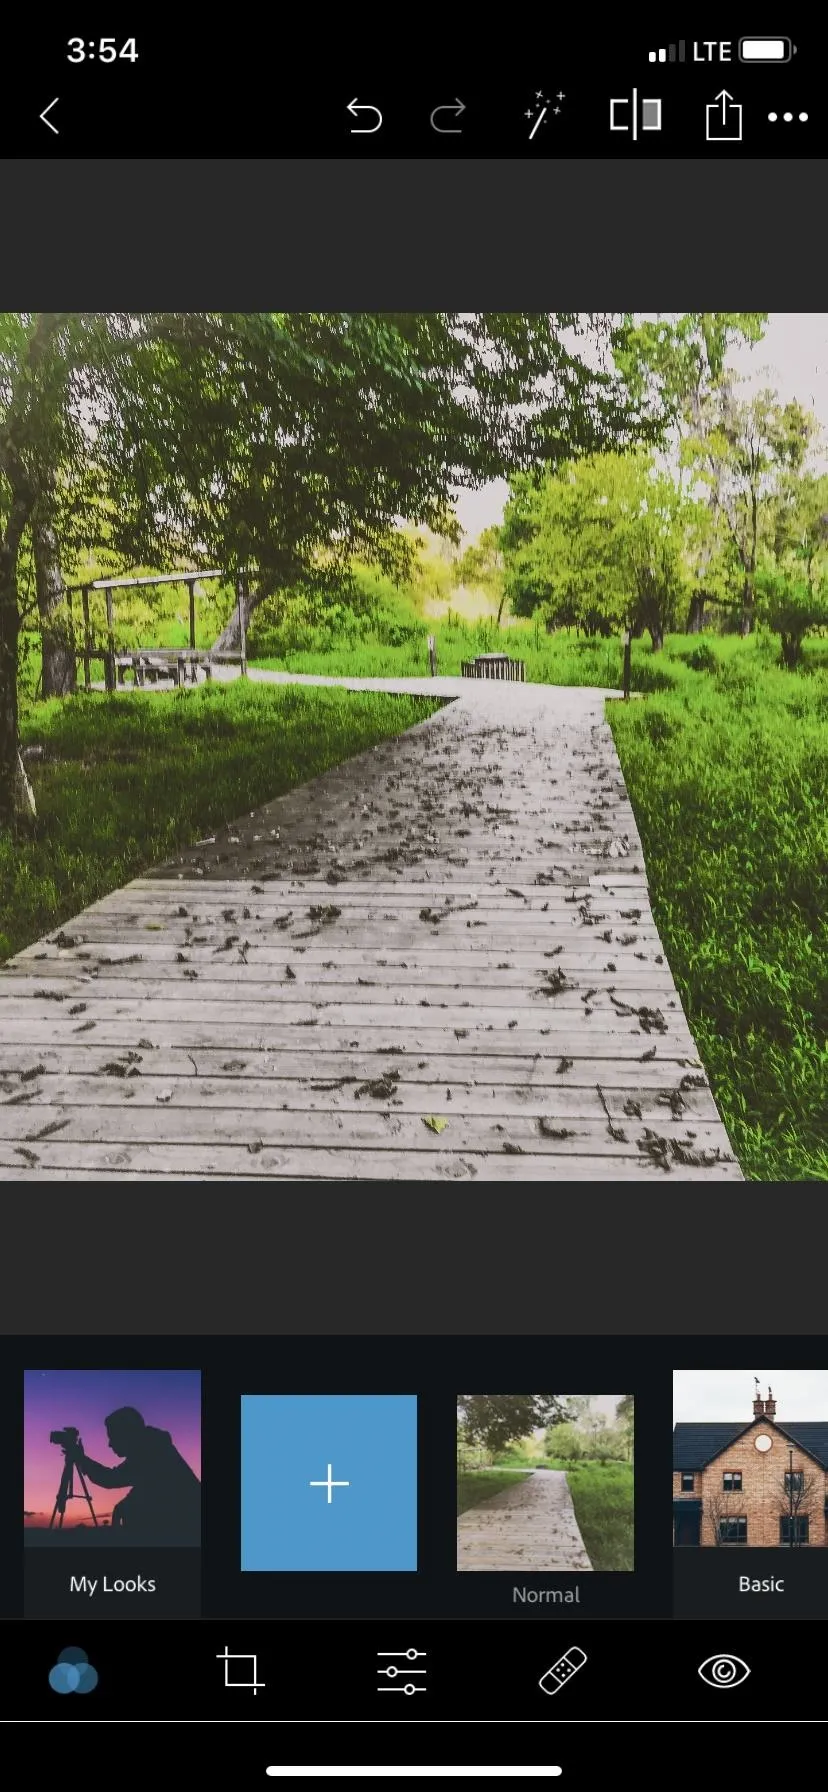
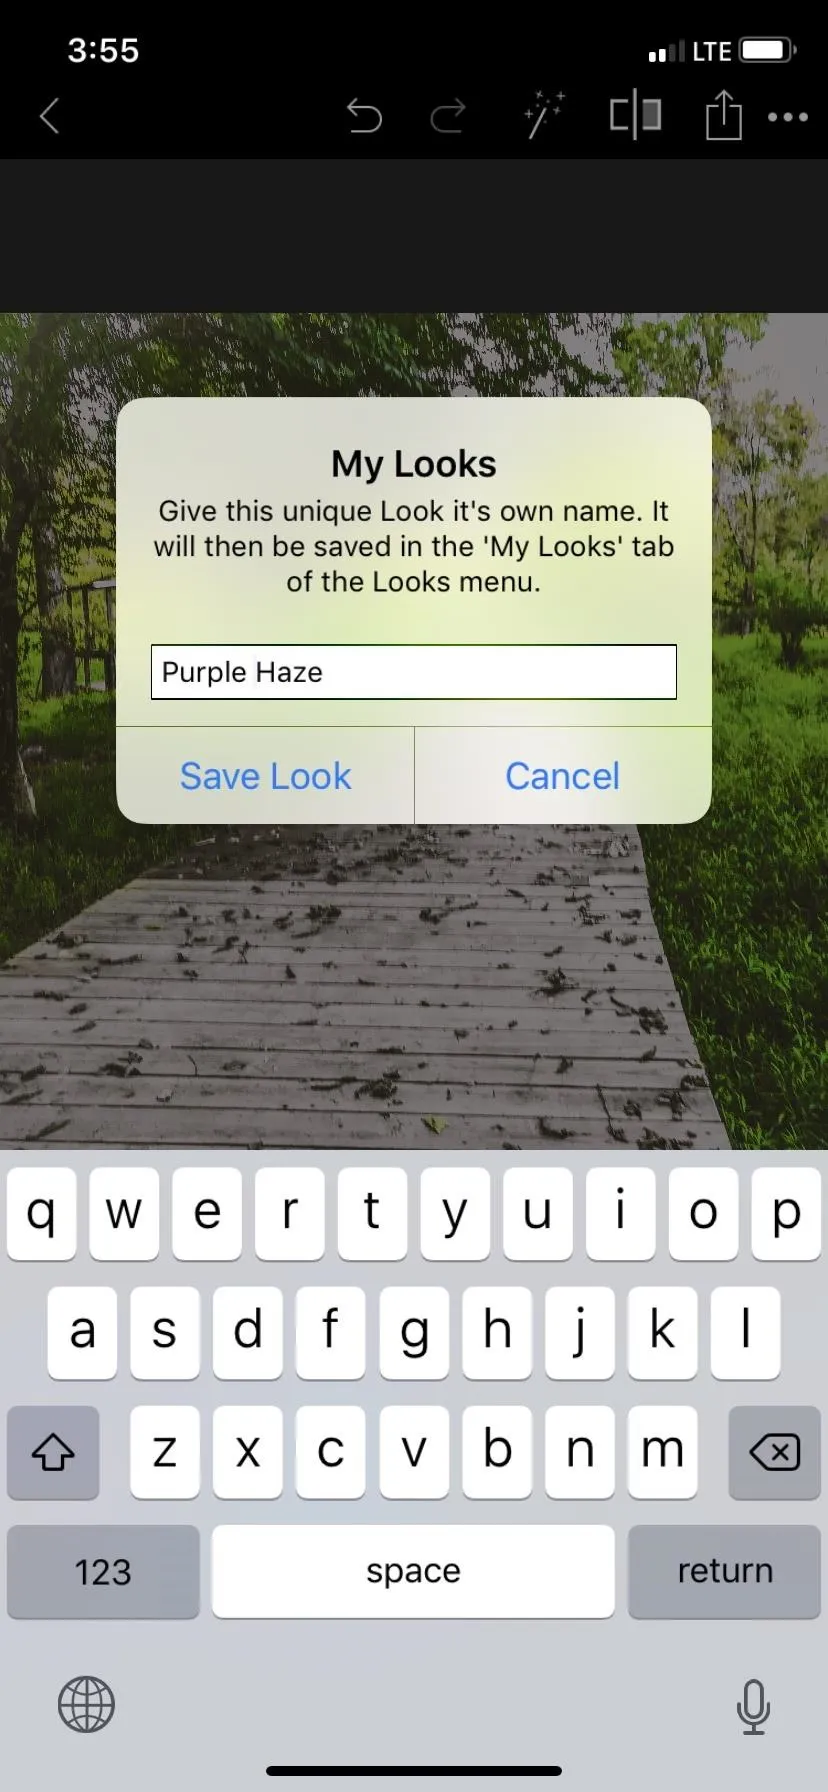
Your custom filter will now show up in the "My Looks" folder (Android will create one when you save your first custom filter), so you can choose your custom filters just like you can Adobe's pre-made ones. You can also us the slider to adjust the intensity of your custom filters as well.
Delete & Edit Custom Looks
If you need to delete a custom filter, all you need to do is long-press on the look you would like to delete, then tap "Yes." If you want to edit an already created filter in your "My Looks" category, the best way to go about it is to tap your filter, make your desired adjustments, save it as a new one, and delete the old one.
Once you're completely satisfied with the edits on your photo, you can save the image by tapping the "Save & Share" symbol in the top right (arrow inside a sheet on iOS; three interconnected dots on Android). From here, you can choose to save as a number of different types of files or upload directly to social media. You can even upload to several different types of social media at one time. (More info.)
- Follow Gadget Hacks on Pinterest, Reddit, Twitter, YouTube, and Flipboard
- Sign up for Gadget Hacks' daily newsletter or weekly Android and iOS updates
- Follow WonderHowTo on Facebook, Twitter, Pinterest, and Flipboard
Cover image, screenshots, and GIF by Courtney Raphael/Gadget Hacks


Comments
Be the first, drop a comment!