


Editing photos can be tedious, especially if you are using a similar theme for all of your photos. It takes time to select every tool, play with the bars, and find an adjustment that you're happy with. Luckily, there's a faster way. Adobe Lightroom for Android and iPhone allows you to save your favorite editing presets so you don't have to change every photo every time.
Presets are basically just Lightroom's version of filters. If you have even used any of Instagram's normal photo and video filters, of which there are over 40 now, that's exactly what presets are here. Influencers on Instagram even use Lightroom to make custom filters that they sell to other users, something you could even do once you get good at designing presets.
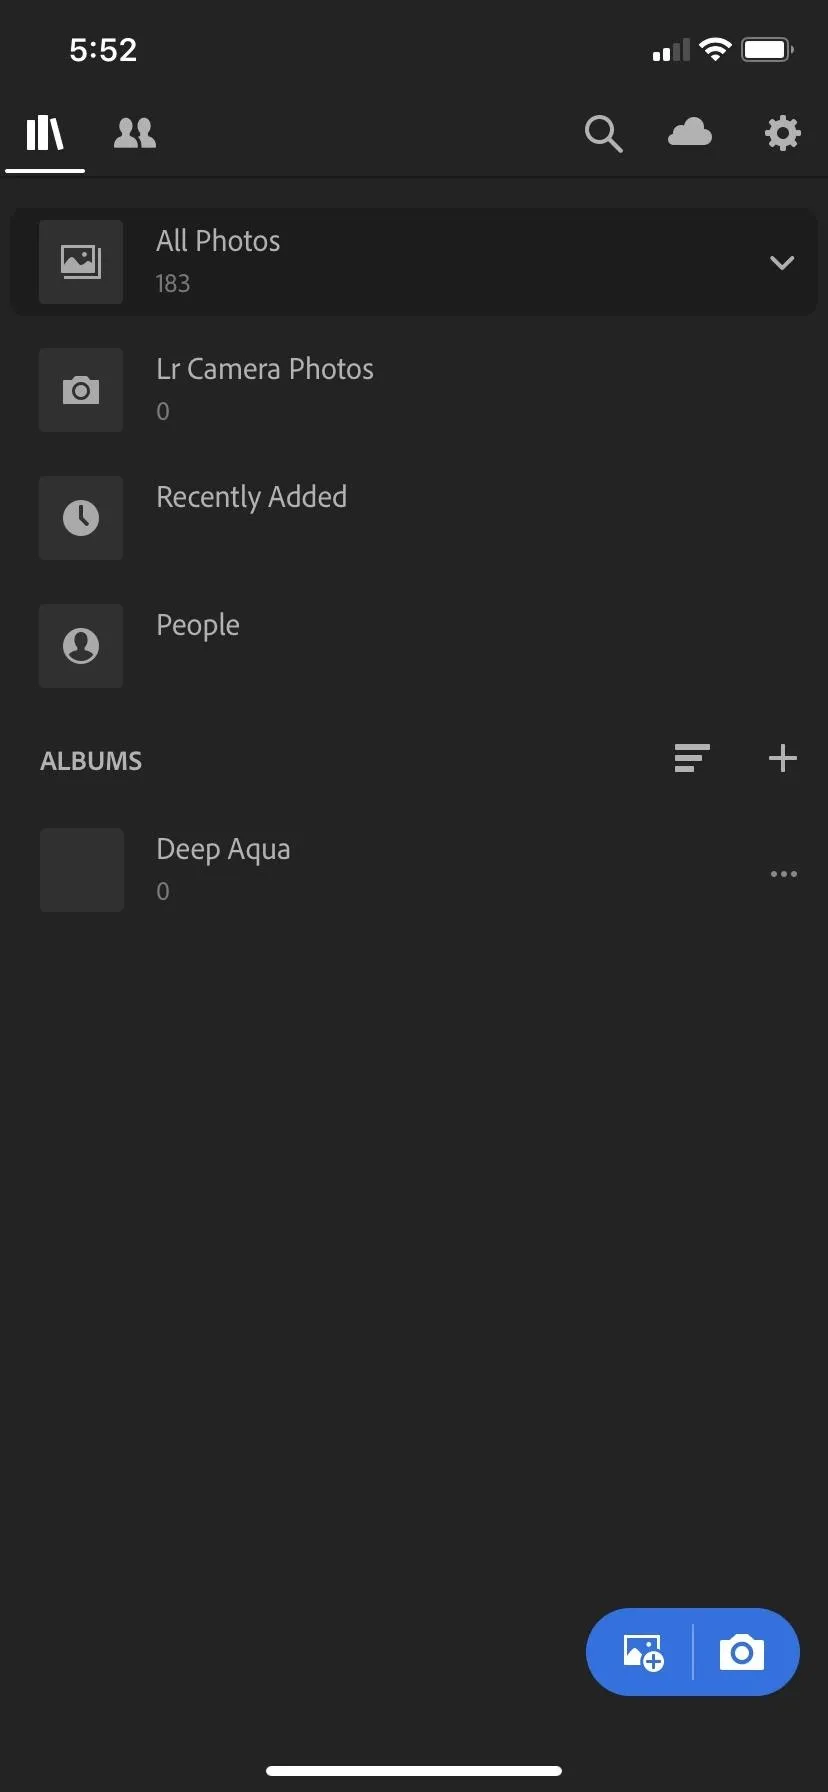
The mobile version of Adobe Lightroom CC can be installed from Google Play or the iOS App Store. It works with a free account so there is no need to pay or subscribe. However, if you do already subscribe to Adobe and have Lightroom in your package, then you can sync your presets and access them from both your phone and computer (this does not work with Lightroom classic, only Lightroom CC).
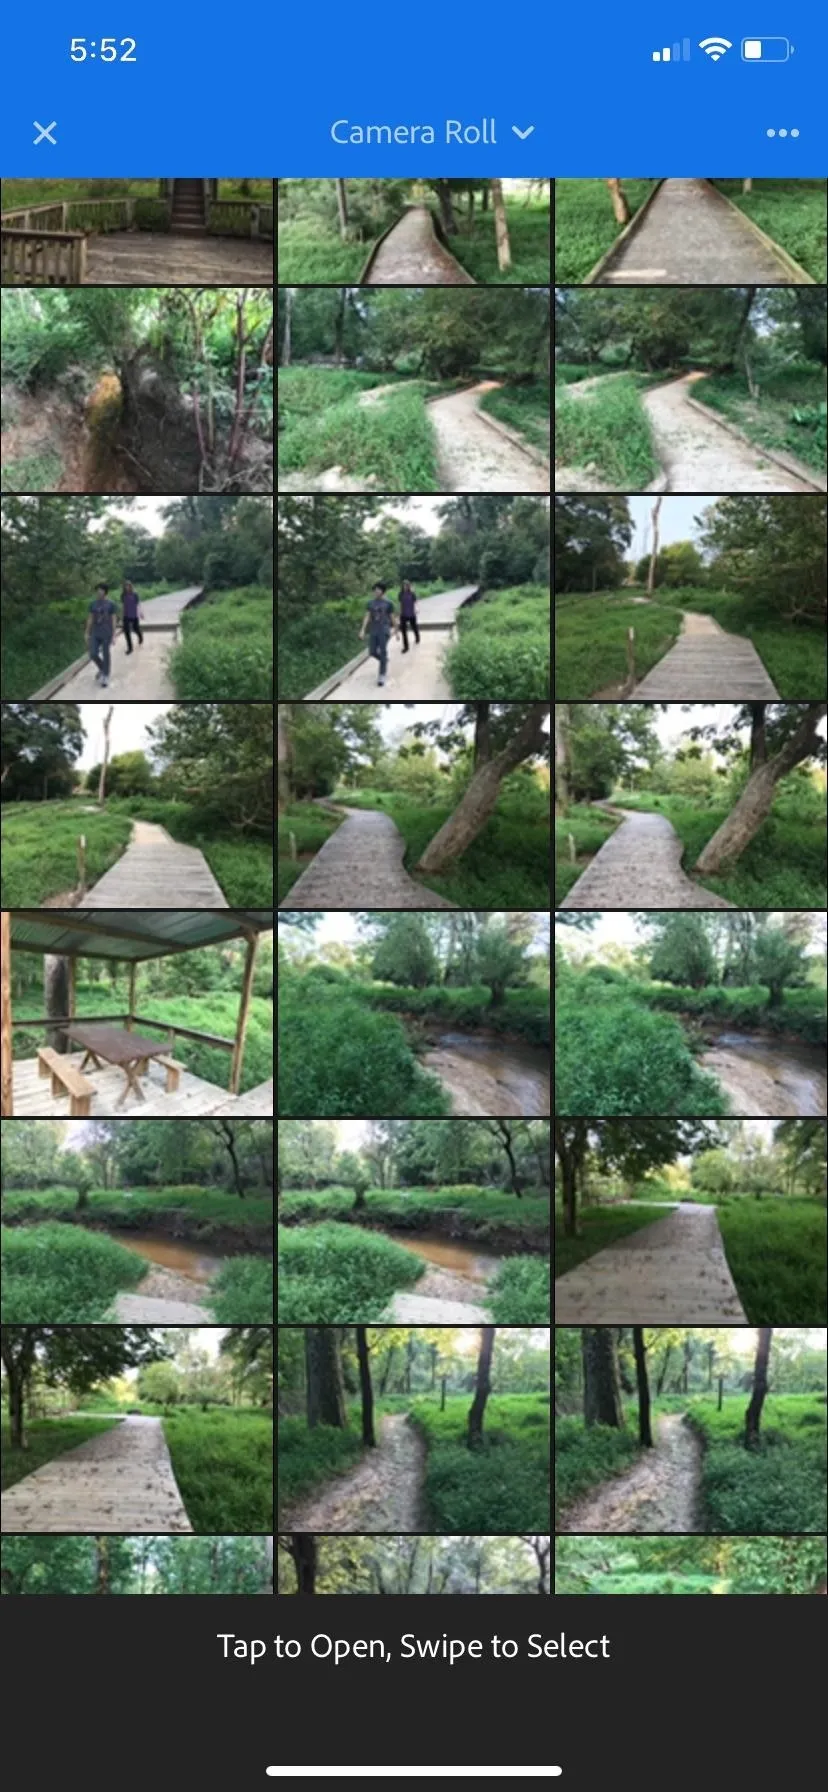
Select Your Photo in Lightroom
Upon opening Lightroom, you are faced with the photo selection screen. You can pick a photo from your device's stock photos app or take one. If you are already on the photo you want, even better. I recommend using a photo with neutral lighting in order to create a preset that works with the most photos.
A neutral photo should have two qualities, the first one being a good balance between the warm and cool tones, meaning the temperature of the photo does not skew too far in to blue or orange. The second is a good balance of highlights and shadows, meaning not too dark but also not too washed out.
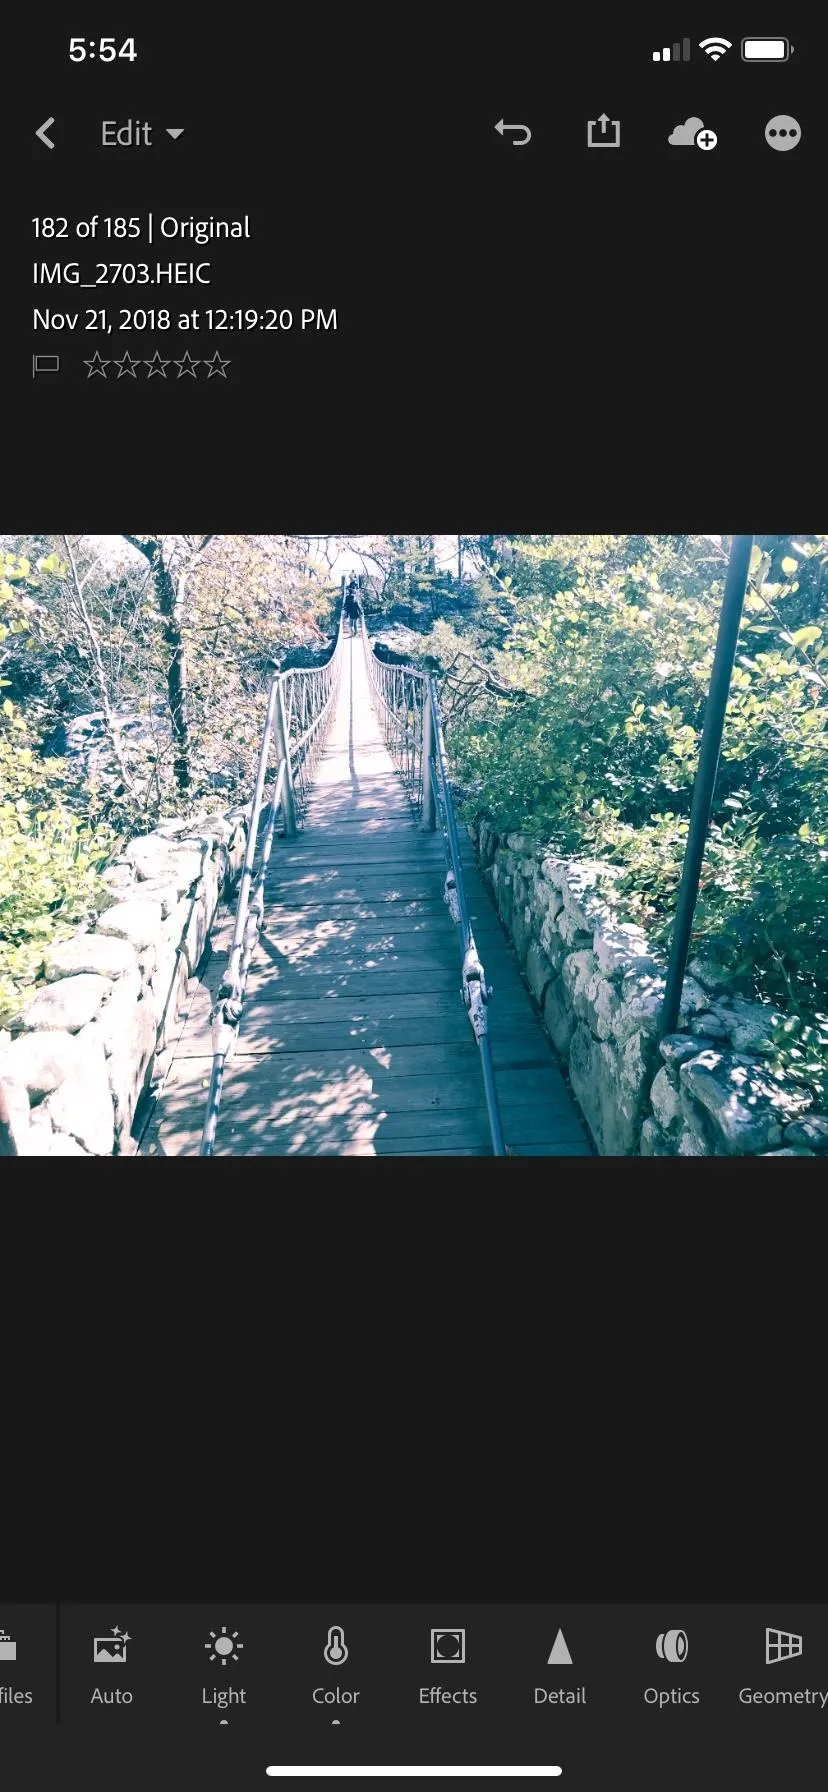
Make Your Desired Edits
With your photo chosen, input your favorite edits using the tools at the bottom of the screen. It doesn't have to be anything specific — there are tons of different settings you can choose from to create any effect you'd like. If you don't have anything specific in mind, you can always just play with some of the settings until you are left with something you like.
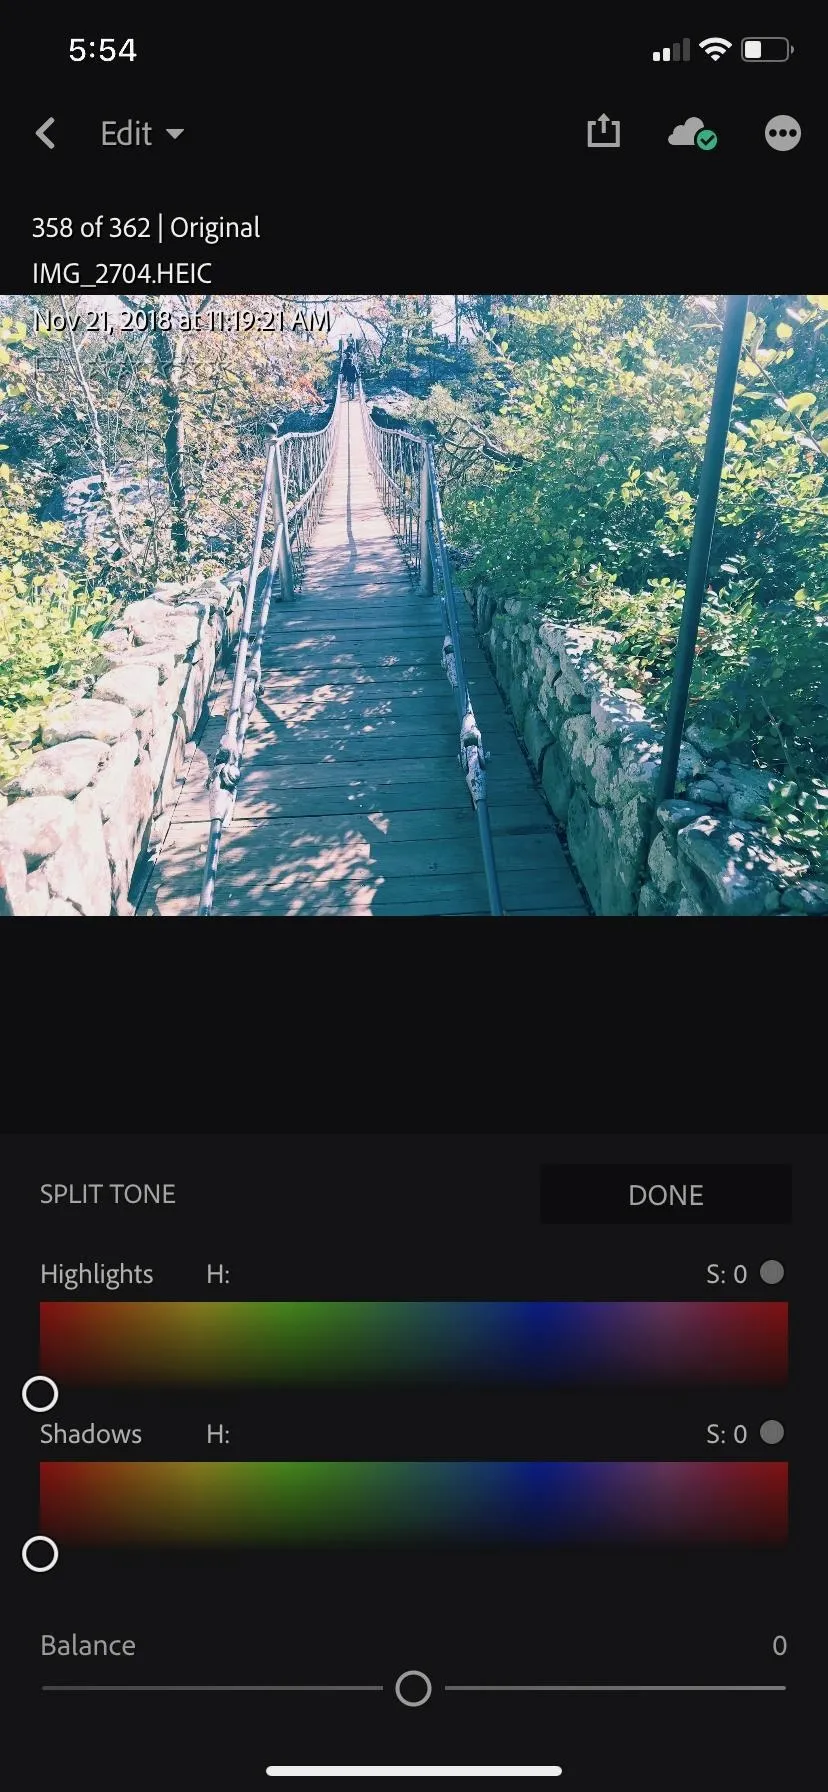
Every option in Lightroom is available to save in a preset except for the "Crop" and "Healing" features. So lighting, effects, details, geometry, color, and optics can all be included in your custom filters. However, be careful when using the "Distort" tool, since its use is very much dependent on where things are in the photo, something that is likely not to look good in the same place from picture to picture. Of course, you could use the "Distort" tool successfully in a preset for creating a fisheye effect.
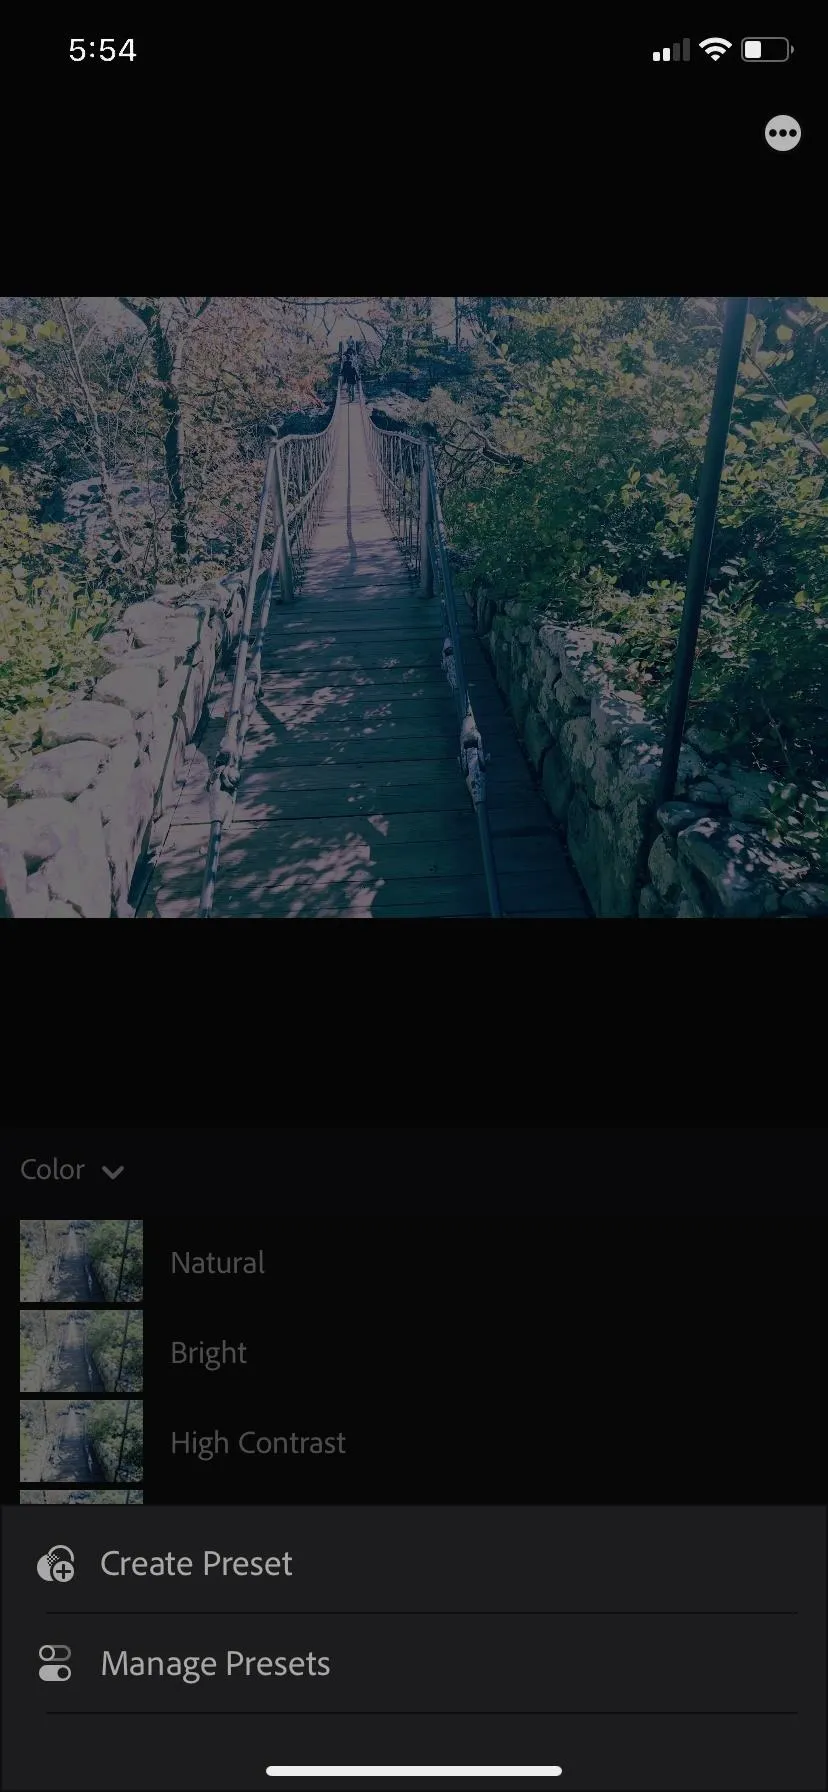
To give you a good starting point, if you're having a hard time designing your own filter, you have the option to begin from an existing preset. You can select the preset of your choice via the "Preset" tool in any of the its categories, then make further edits to your liking. This will not change the preset you chose.
Save Your Custom Preset Filter
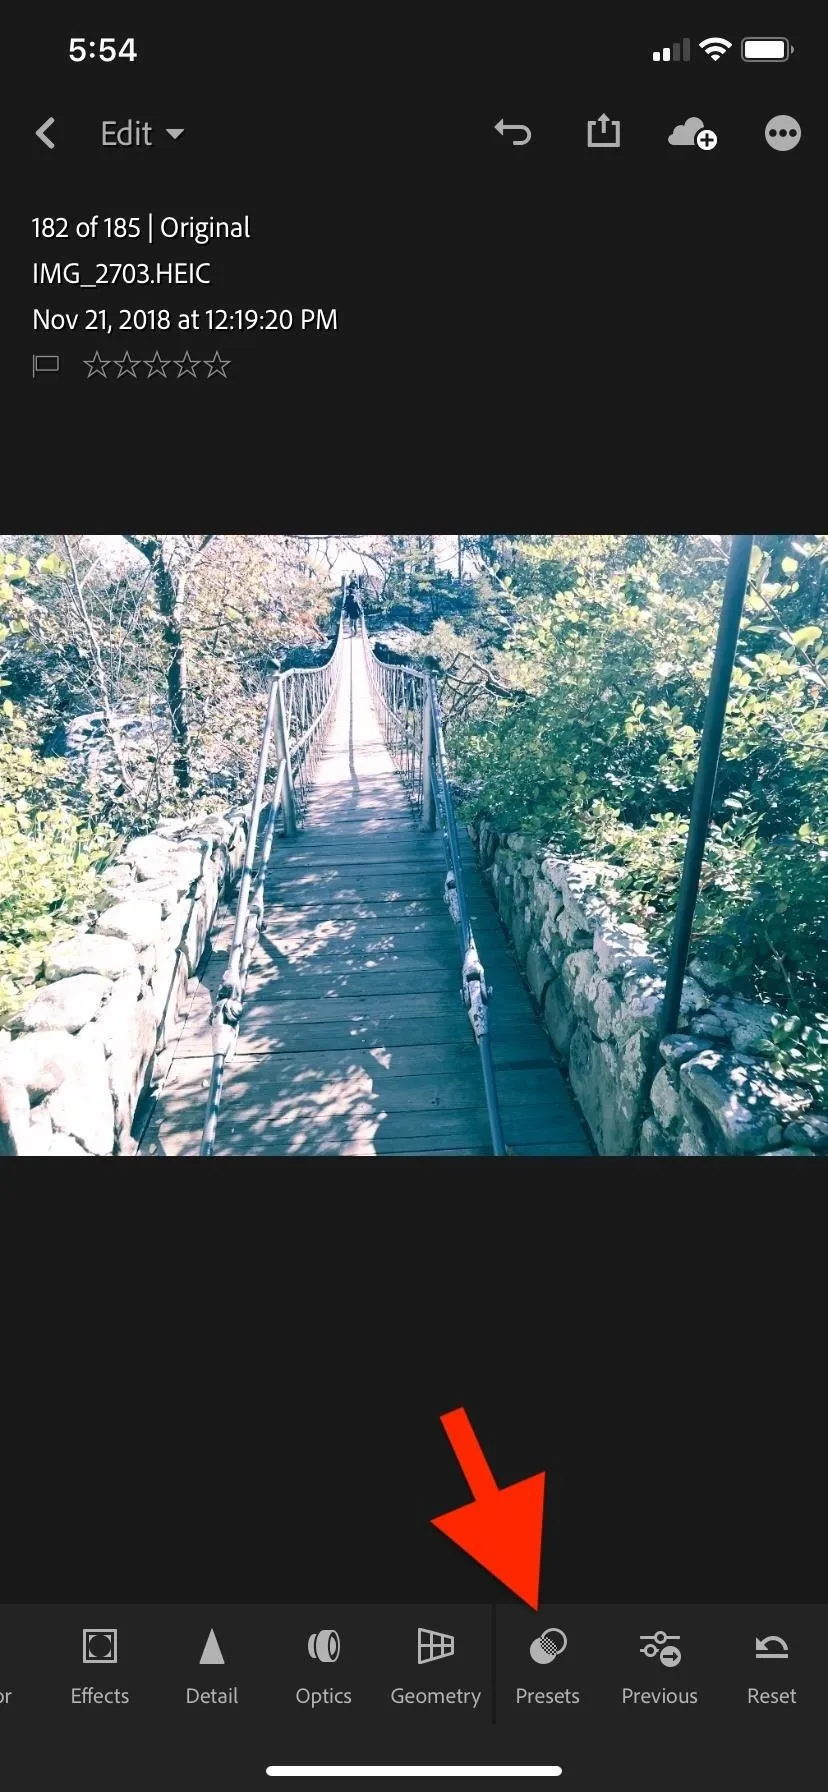
Once you've got the look you want for your photo, scroll over to the "Presets" tab in your toolbar and open it. It should be one of the last icons in your tool bar. If you started from a default preset, you shouldn't have any trouble finding it. Next, either tap the ellipsis (•••) in a circle icon in the top left (on iOS) or to the right of the category drop-down (on Android), then tap "Create Preset."
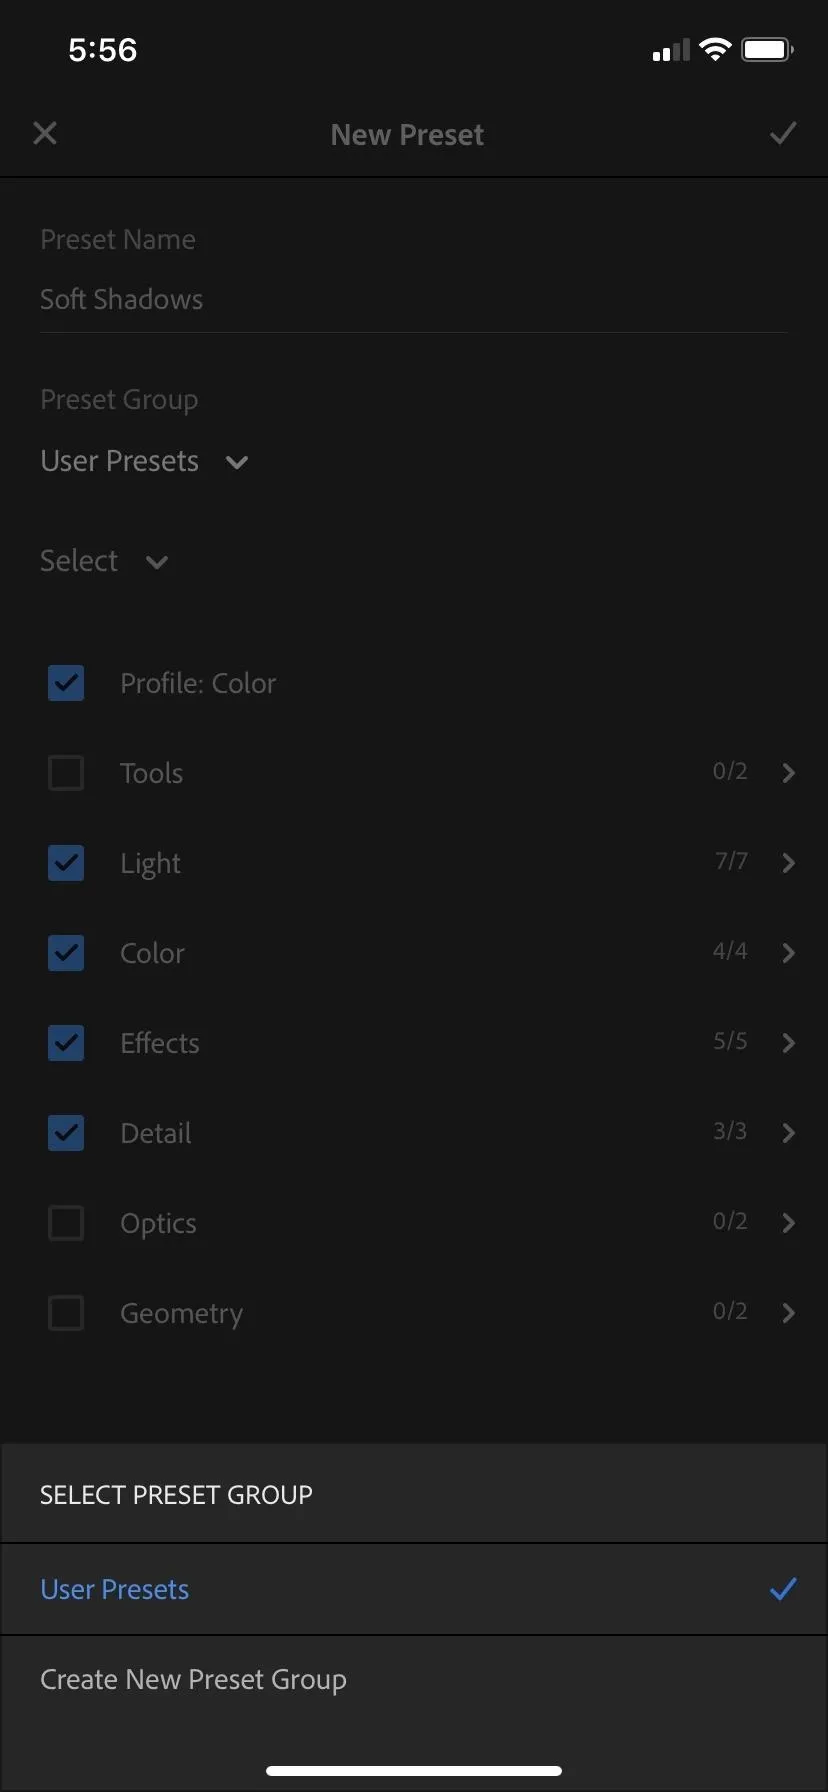
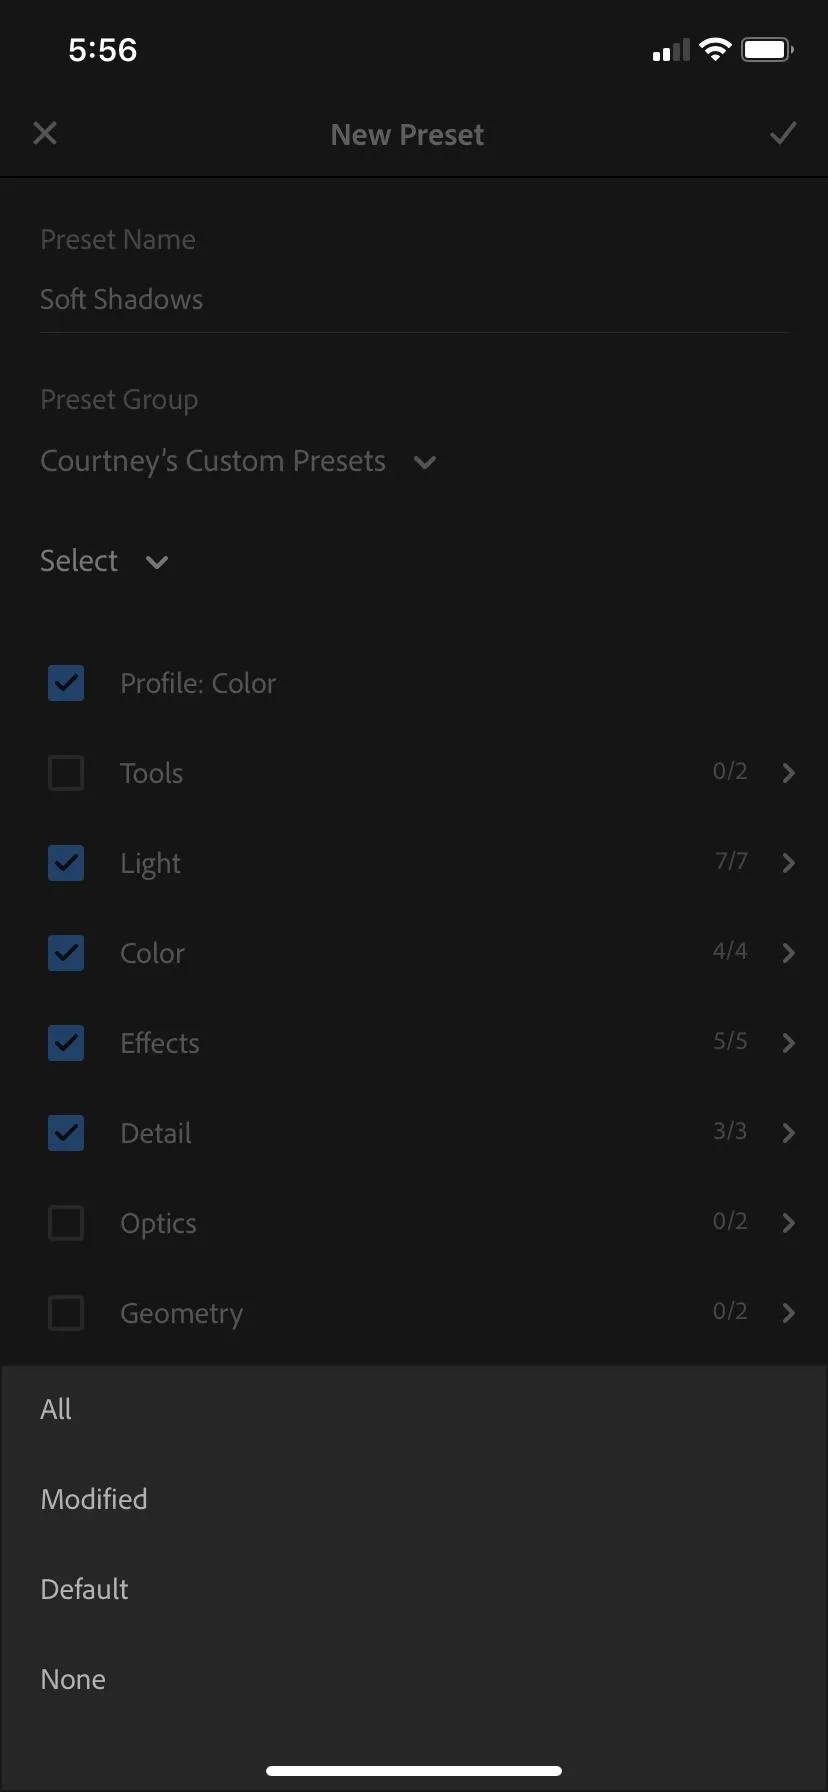
You will then see the New Preset screen pop up. First decide on a name for your preset and type it into the Preset Name field. Next, tap the drop-down menu under Preset Group, and select a group that you would like to add your preset to. By default, your preset will be set to add to "User Presets" but you will have the option to create a customized group if you desire, which would be good if you want to design different categories of filters.
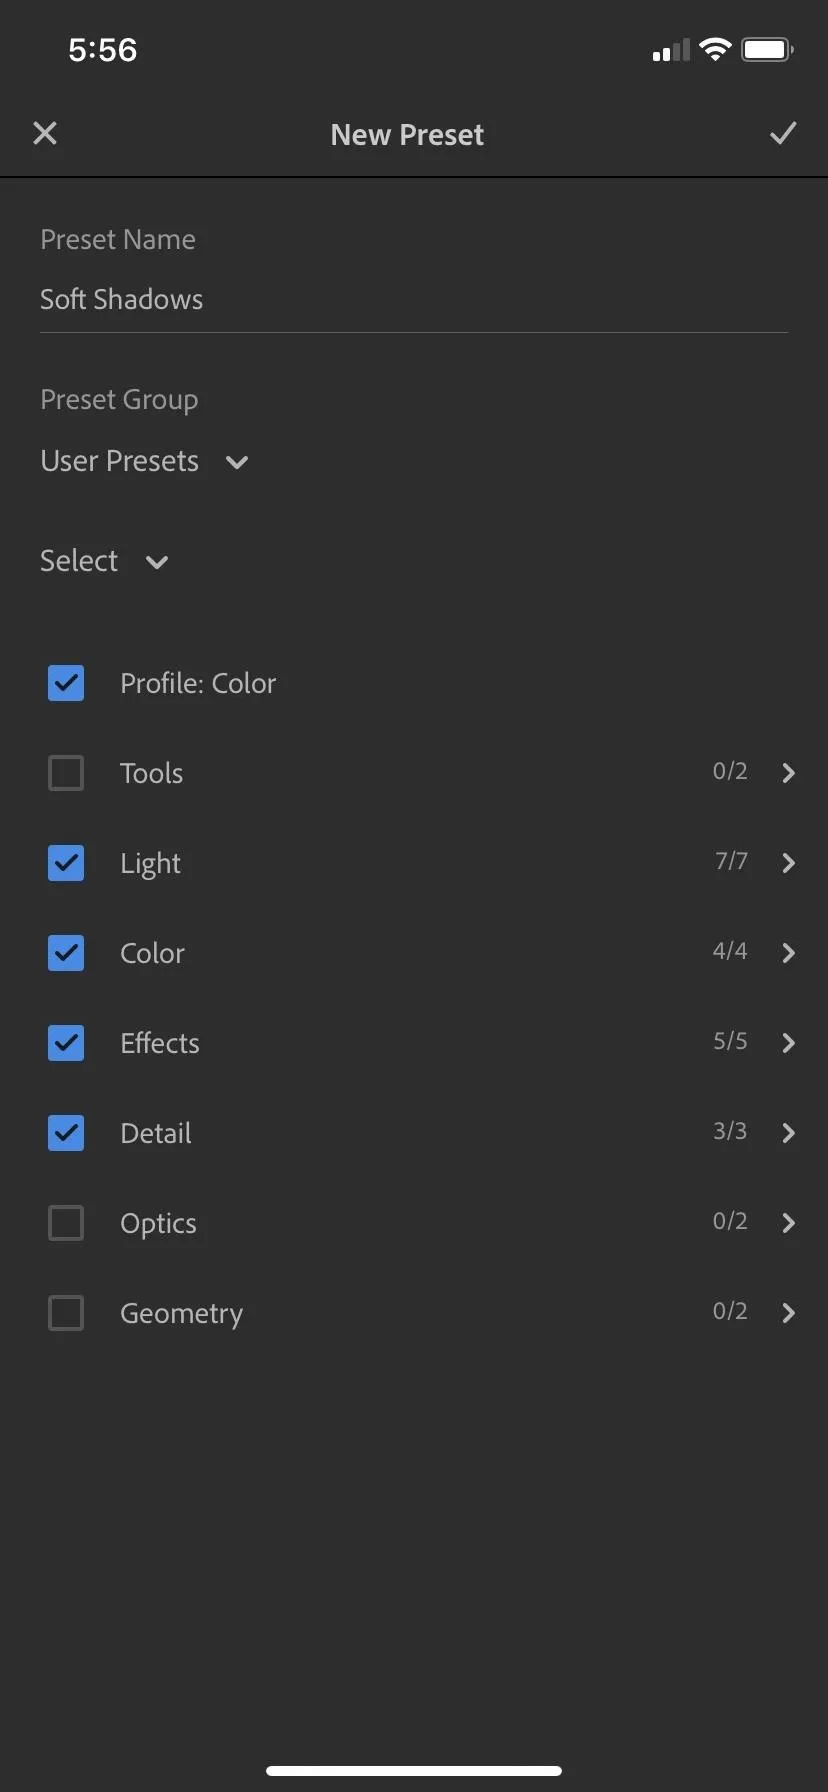
The next option can be a little complicated. Under the Select section, you will see a bunch of check boxes with arrows on the right that open more option with check boxes. This section decides what adjustment options are included in your preset. Explore these menus to see exactly what types of changes can be saved in a preset and choose what works best for you.
I simply recommend tapping on the "Select" drop-down menu and choosing "All" if you don't want to leave anything out. It is the easiest way to be sure everything you did while editing will be included in the preset. There are other options in this drop-down, as well:
- All: Every option will be checked, so every adjustment setting is included.
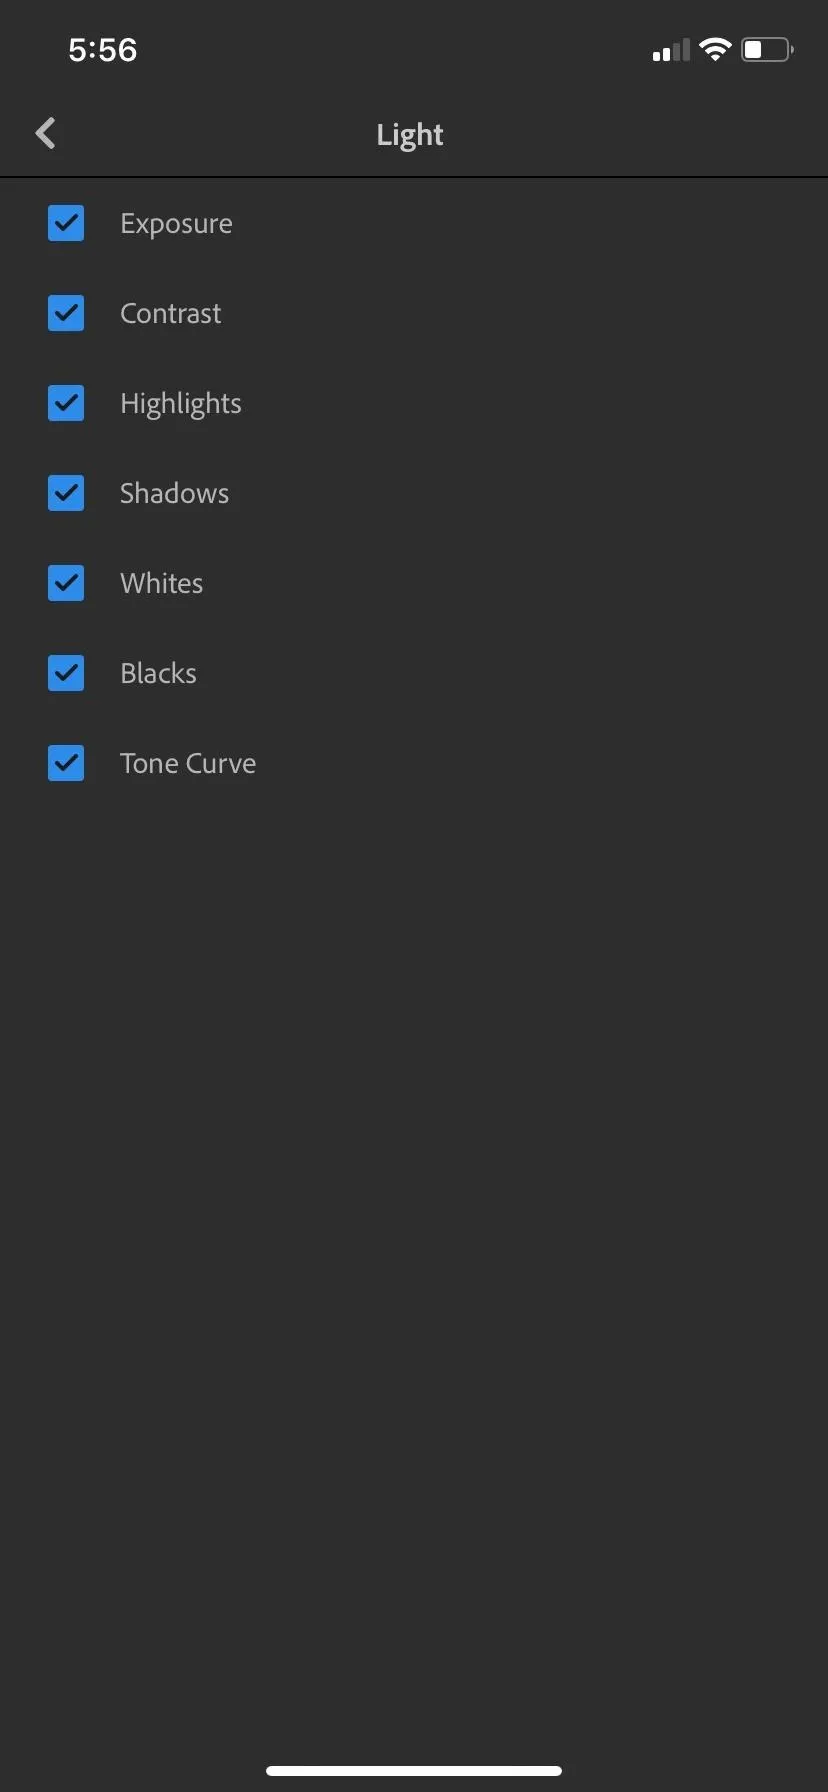
- Default: This will automatically check the Lightroom's recommended options, including everything contained in the "Profile: Color," "Light," "Color," "Effects," and" Detail" categories, as well as the "Remove Chromatic Aberration" setting under the "Optics" category.
- Modified: If you choose this, Lightroom will only add the settings you used while editing. It's a good option to make sure everything you tweaked is included and nothing more. If you started from a preset, the options in that preset will count as modified options and will be selected too.
- None: No boxes will be checked. This option is the most customizable, meaning you can then start from scratch and select only the adjustments you want to save and nothing more.
You can also uncheck boxes. For example, if you distorted your photo when you edited it but would not like to include it in your preset, you can uncheck the "Geometry" box and those edits will not be added to your preset.
When you finish, tap the check mark in the top right to save all of your settings.
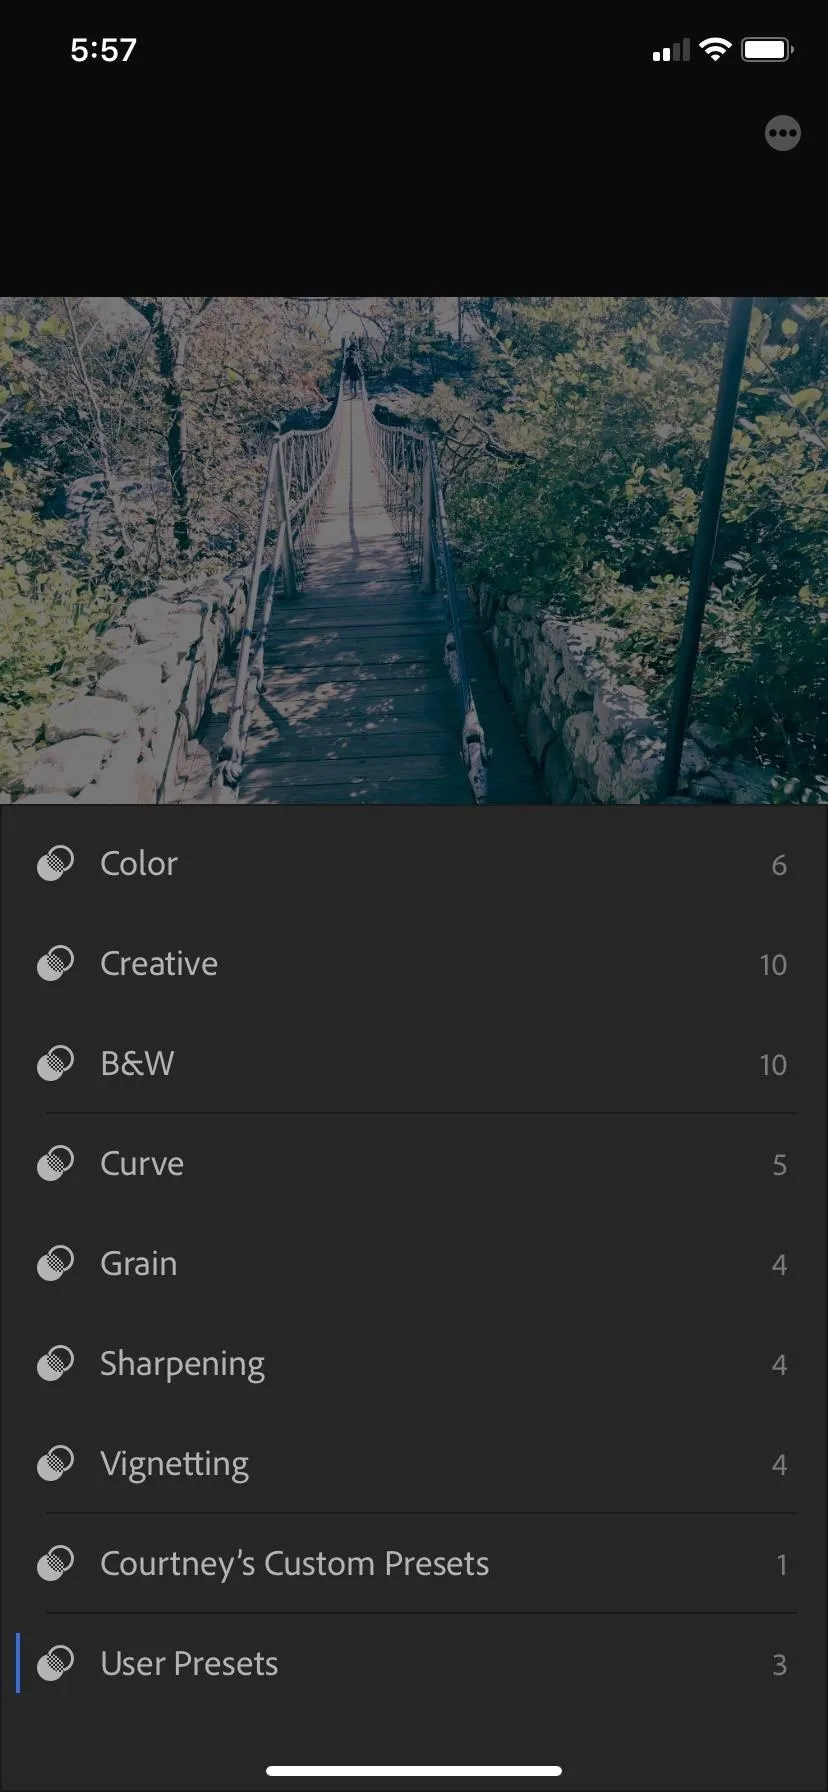
Use Your Saved Preset Filter
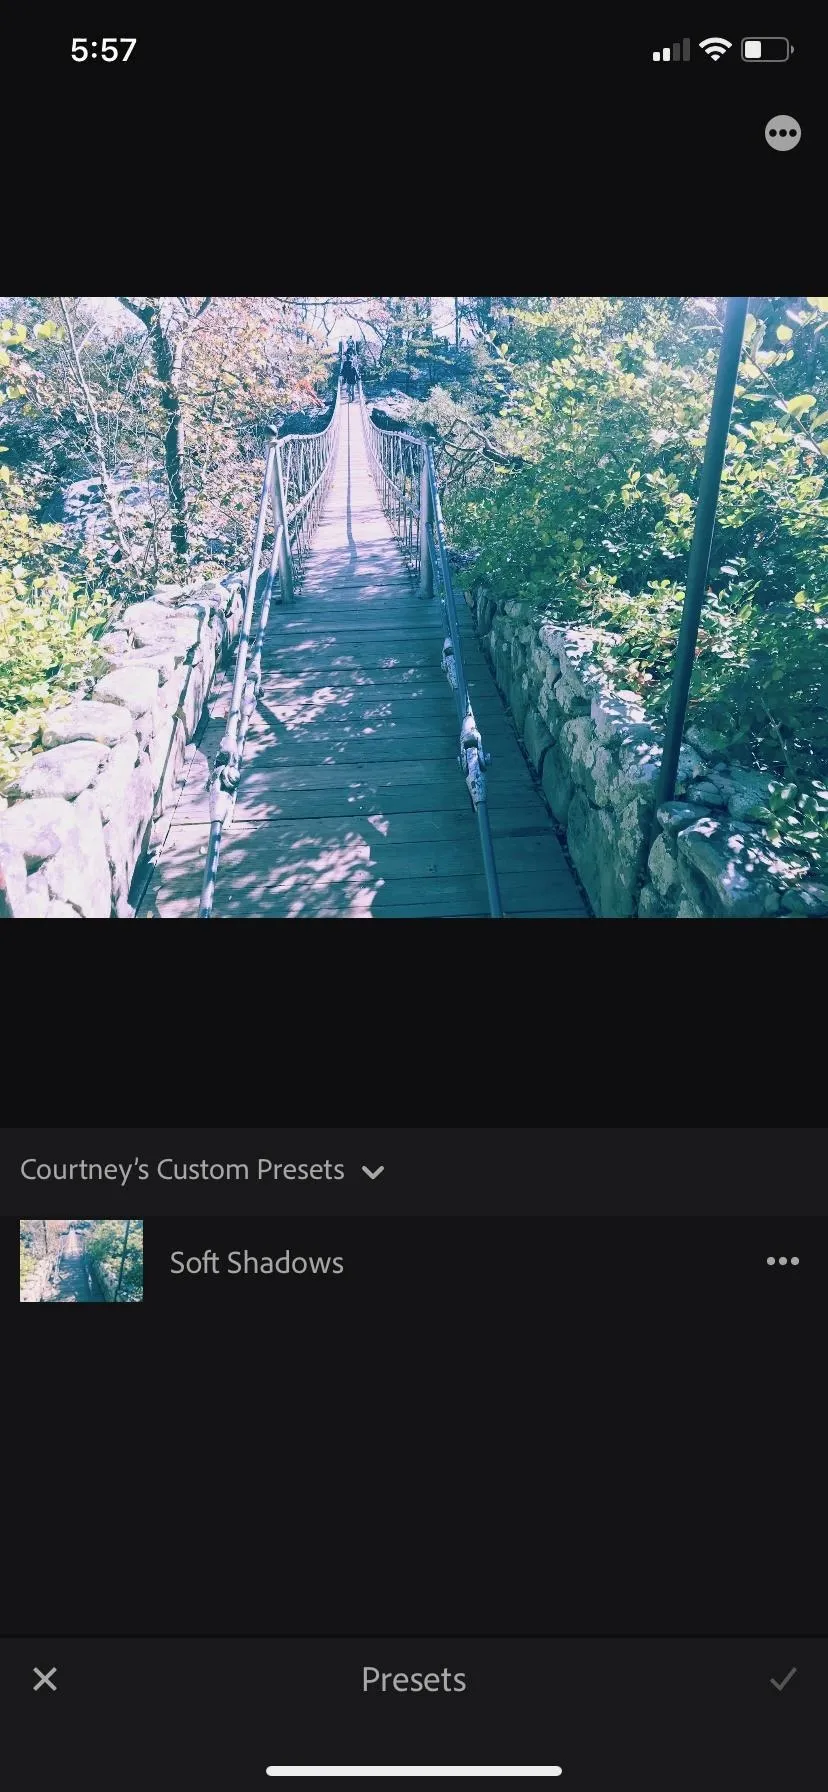
Now, when you're ready to use your new preset, simply swipe back over to the end of the toolbar and tap "Presets." Tap the drop-down option to view all the preset folders and select your custom preset folder (or "User Presets" if that is what you chose to use). If you frequently use a folder, Lightroom may remember your place so you may not need to select a folder.
Next, select your preset. All presets won't look the same on every photo, so you can still choose to make some minor adjustments to your photo after you've applied the preset. This will not mess up your custom settings.
Manage Your Preset Filters
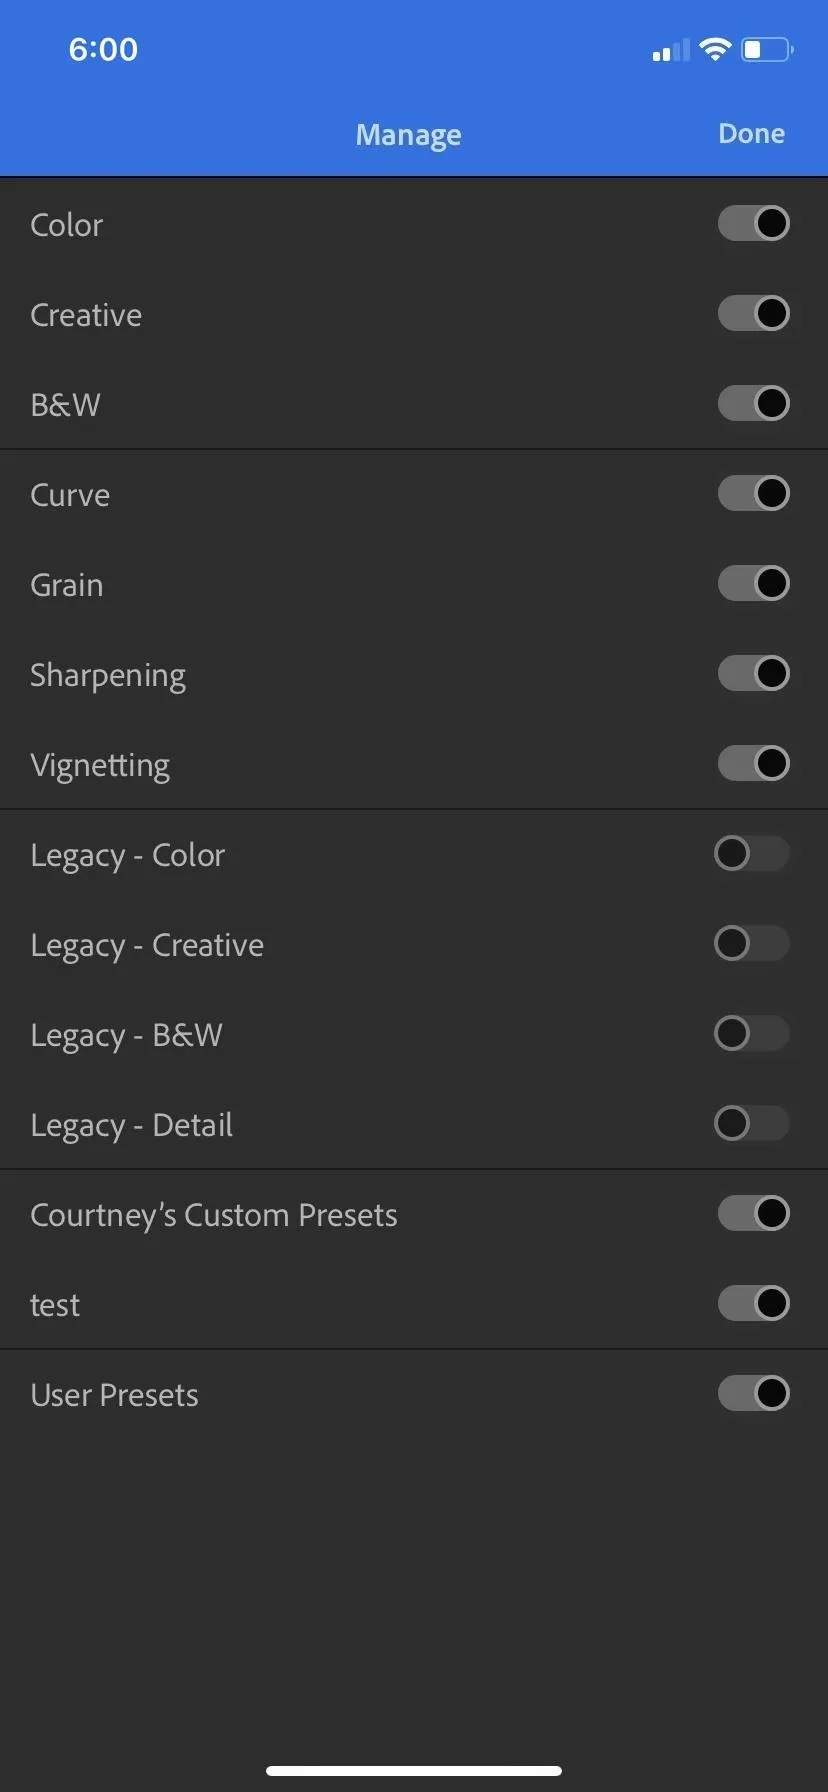
If you no longer like a group of presets, whether custom ones or the stock ones, you have the option to turn off the visibility of a group of presets. Either tap the ellipsis (•••) in a circle icon in the top left (on iOS) or to the right of the category drop-down (on Android), then choose "Manage Presets." From there, you can tap the switch to the right of each preset folder that you don't use or want to use anymore, then choose either "Done" (iOS) or the check mark (Android) to finish.
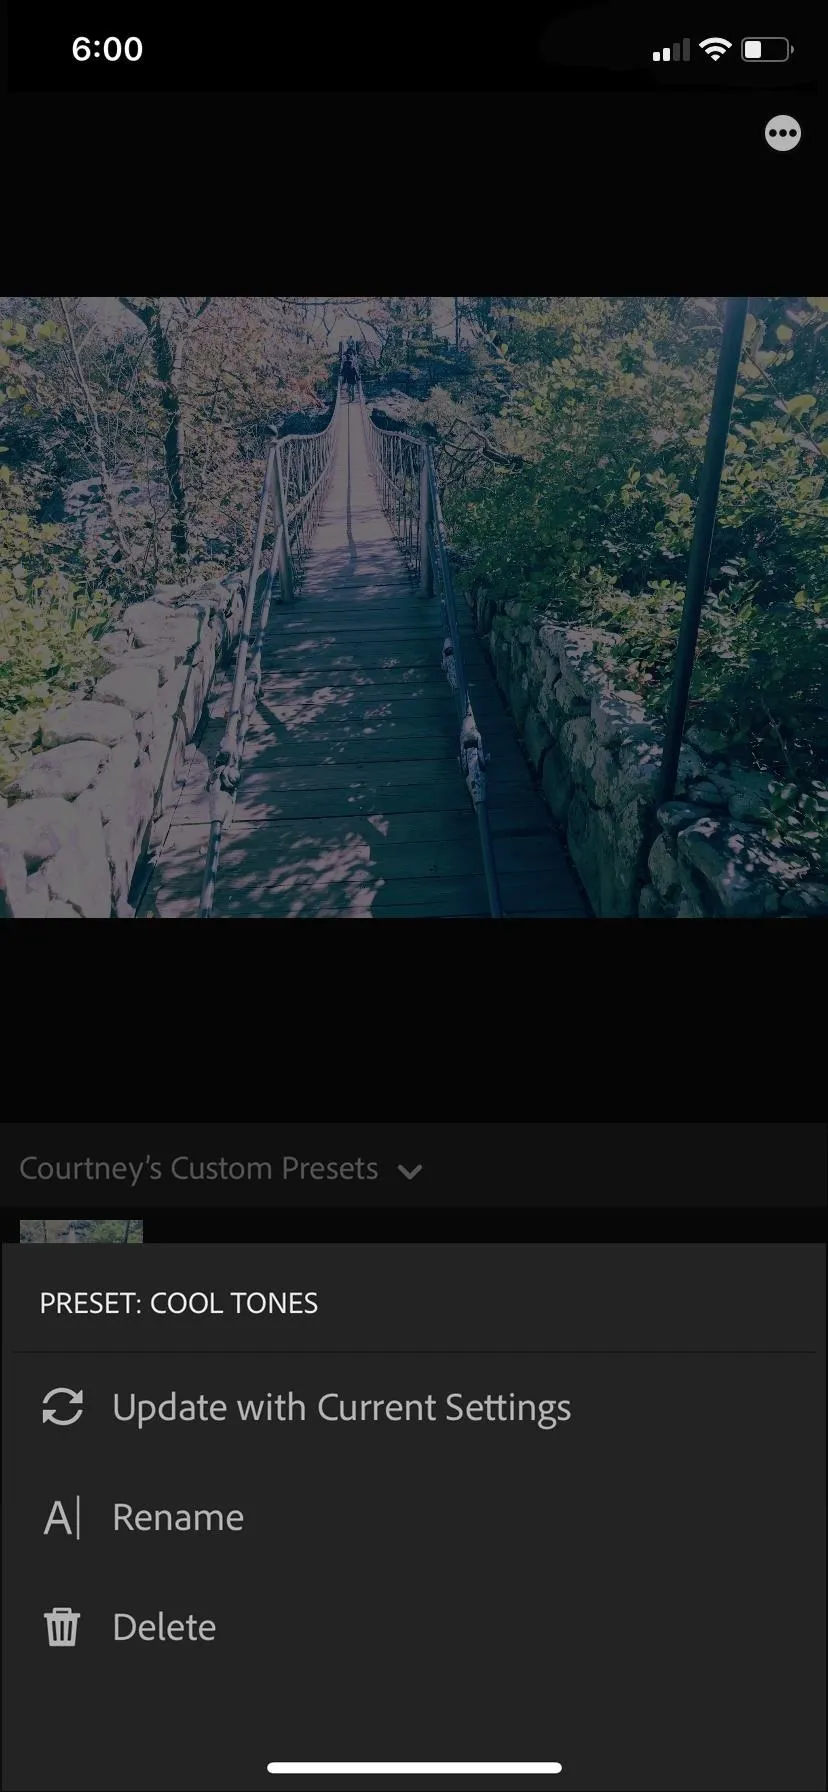
You can also update any custom preset that you have created. First, you would select the preset and apply it to your image, then make your desired adjustments. Also, you could just create completely new edits from scratch, and have those adjustments override everything in the preset you want to update. Next to the preset listed in your chosen folder, tap the ellipsis (•••) icon next to the preset, then choose either "Update" or "Update with Current Settings."
After selecting the ellipsis (•••) next to a preset, you can also choose to "Rename" it, select "Move To" to switch folders (Android only), or "Delete" it.
- Follow Gadget Hacks on Pinterest, Reddit, Twitter, YouTube, and Flipboard
- Sign up for Gadget Hacks' daily newsletter or weekly Android and iOS updates
- Follow WonderHowTo on Facebook, Twitter, Pinterest, and Flipboard
Cover image by Justin Meyers/Gadget Hacks; Screenshots by Courtney Raphael/Gadget Hacks


Comments
Be the first, drop a comment!