


One of the best features VSCO has to offer is its presets, also known as filters — they reduce the labor it takes to make your images look better by applying unique preset edits to each. Presets can make your photo look like it came from a professional studio or a black and white camera from the '70s. Sounds great, right? So, how do you get started?
Luckily, VSCO makes things simple when it comes to editing your pictures with presets. Even if you've never used a photo editor before, using presets in VSCO on either iPhone or Android is fast and fun, and you can even tweak each effect for perfect results. Check out our guide below to get started with VSCO presets.
Access the Presets
To begin, select the photo you'd like to edit from your Studio. Once selected, tap the Edit button at the bottom of the display (pointed out in the photo below).
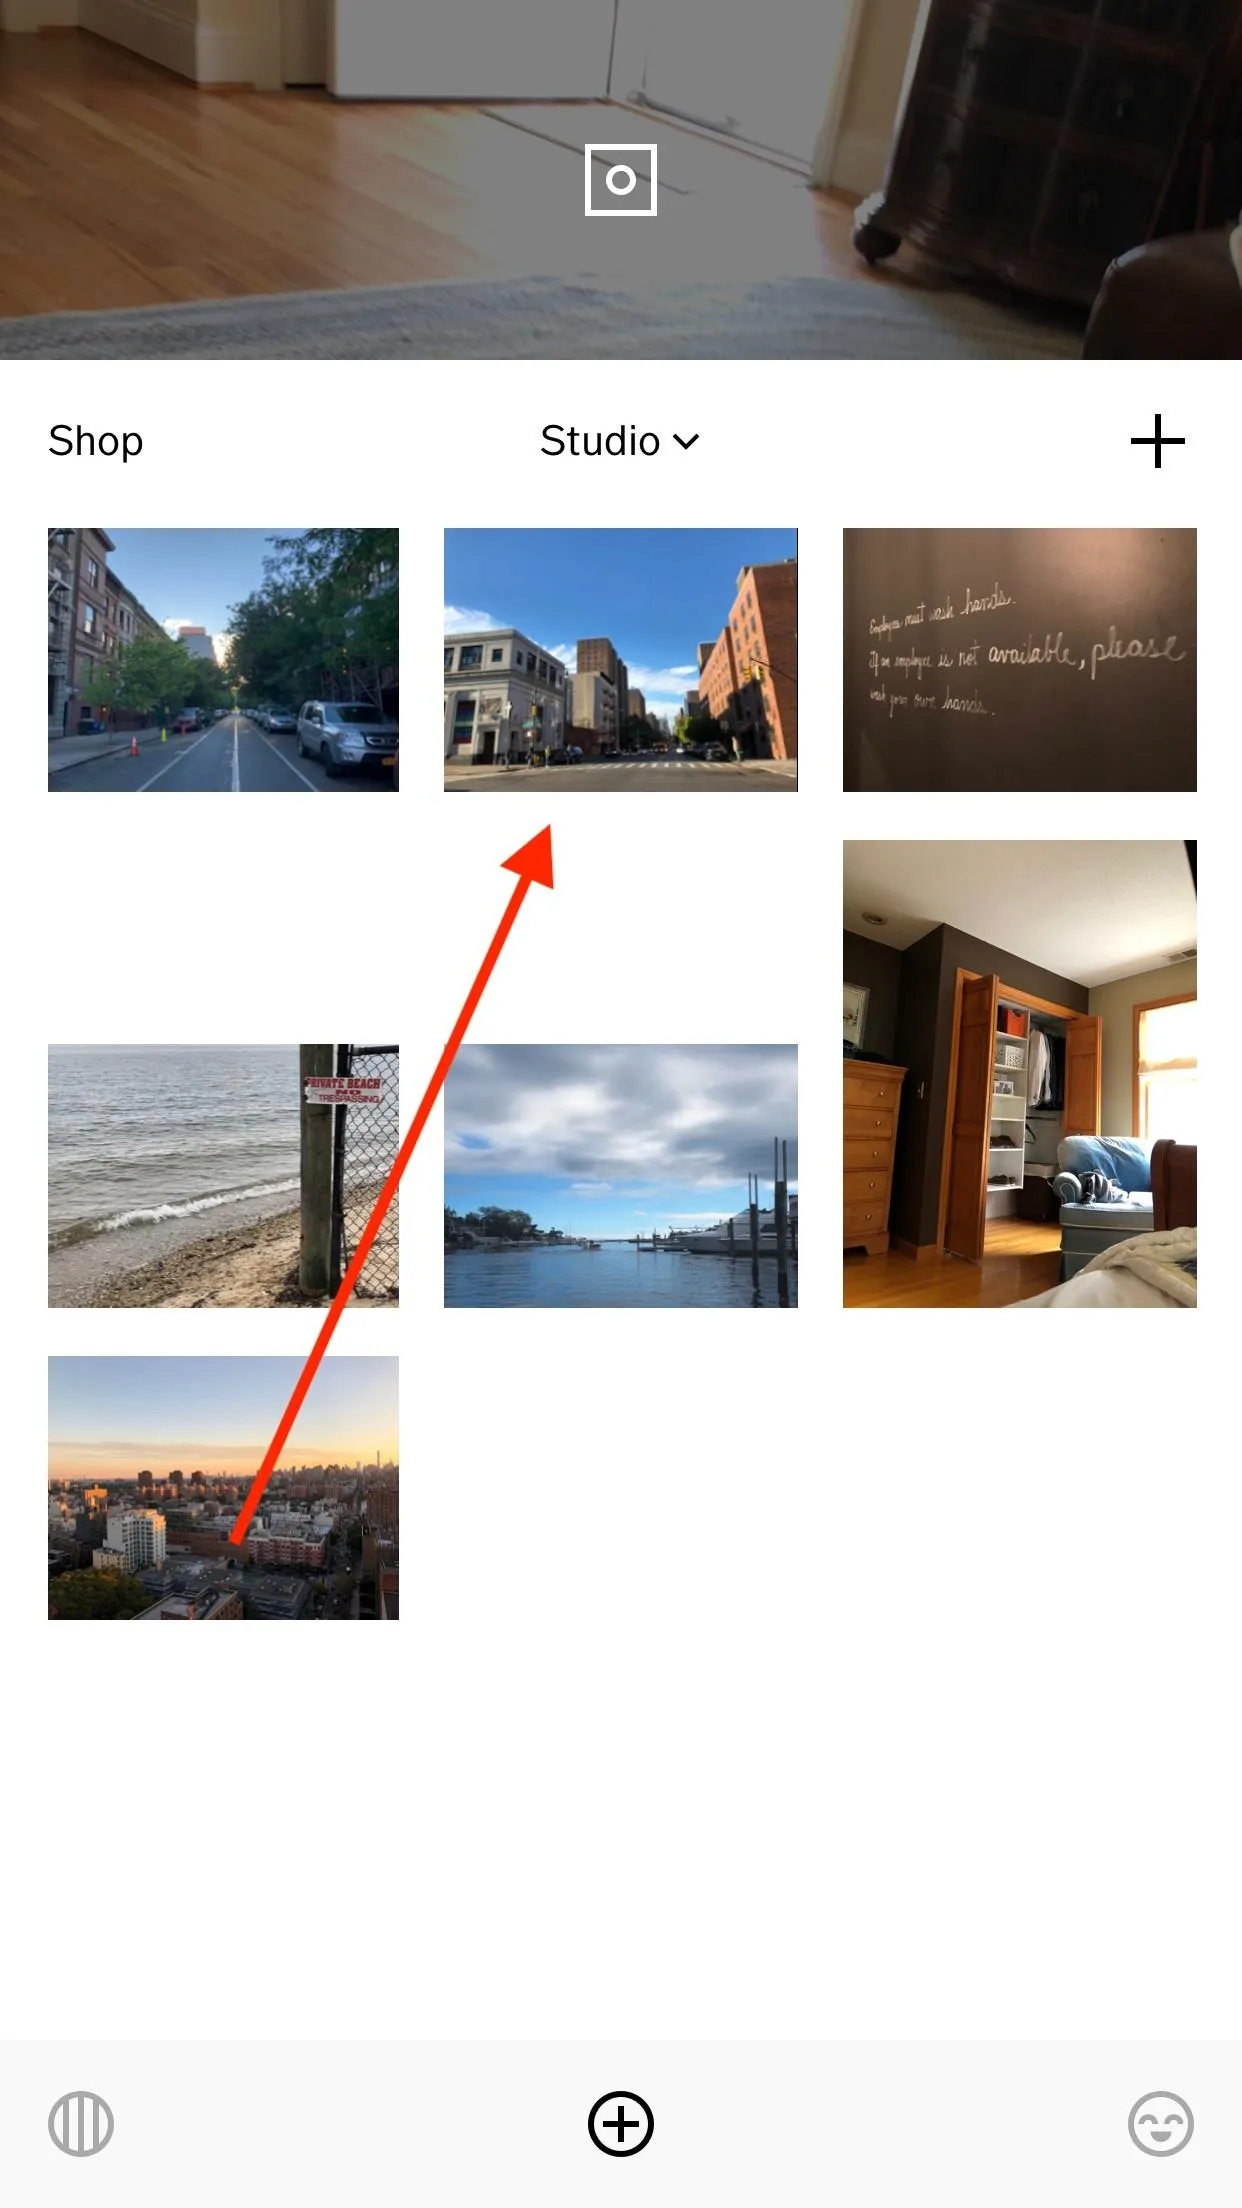
Select a photo (left), then hit the edit button (right).
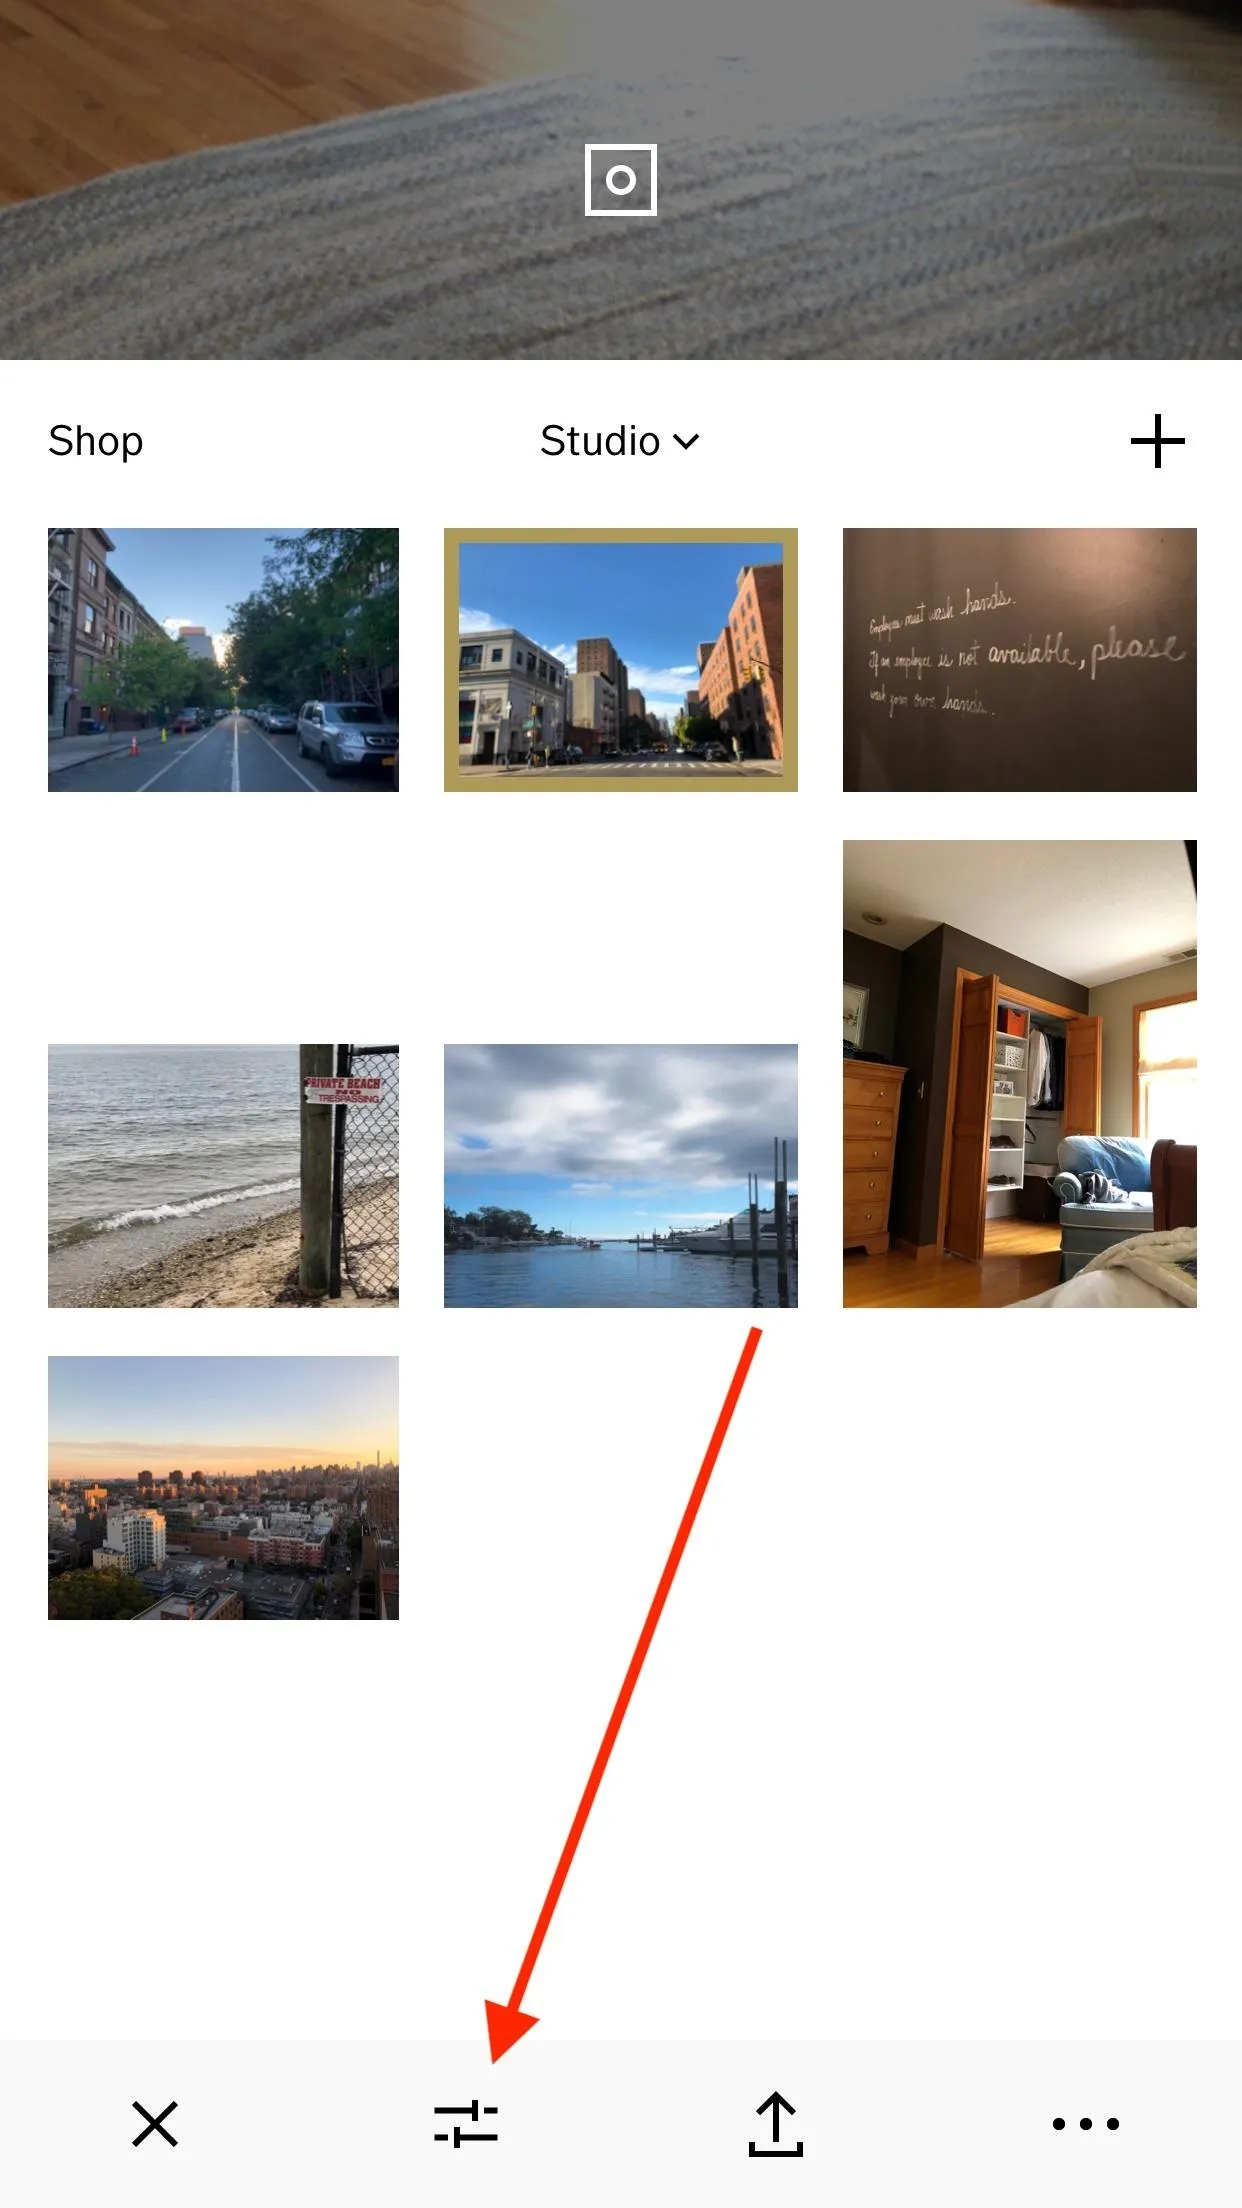
Select a photo (left), then hit the edit button (right).
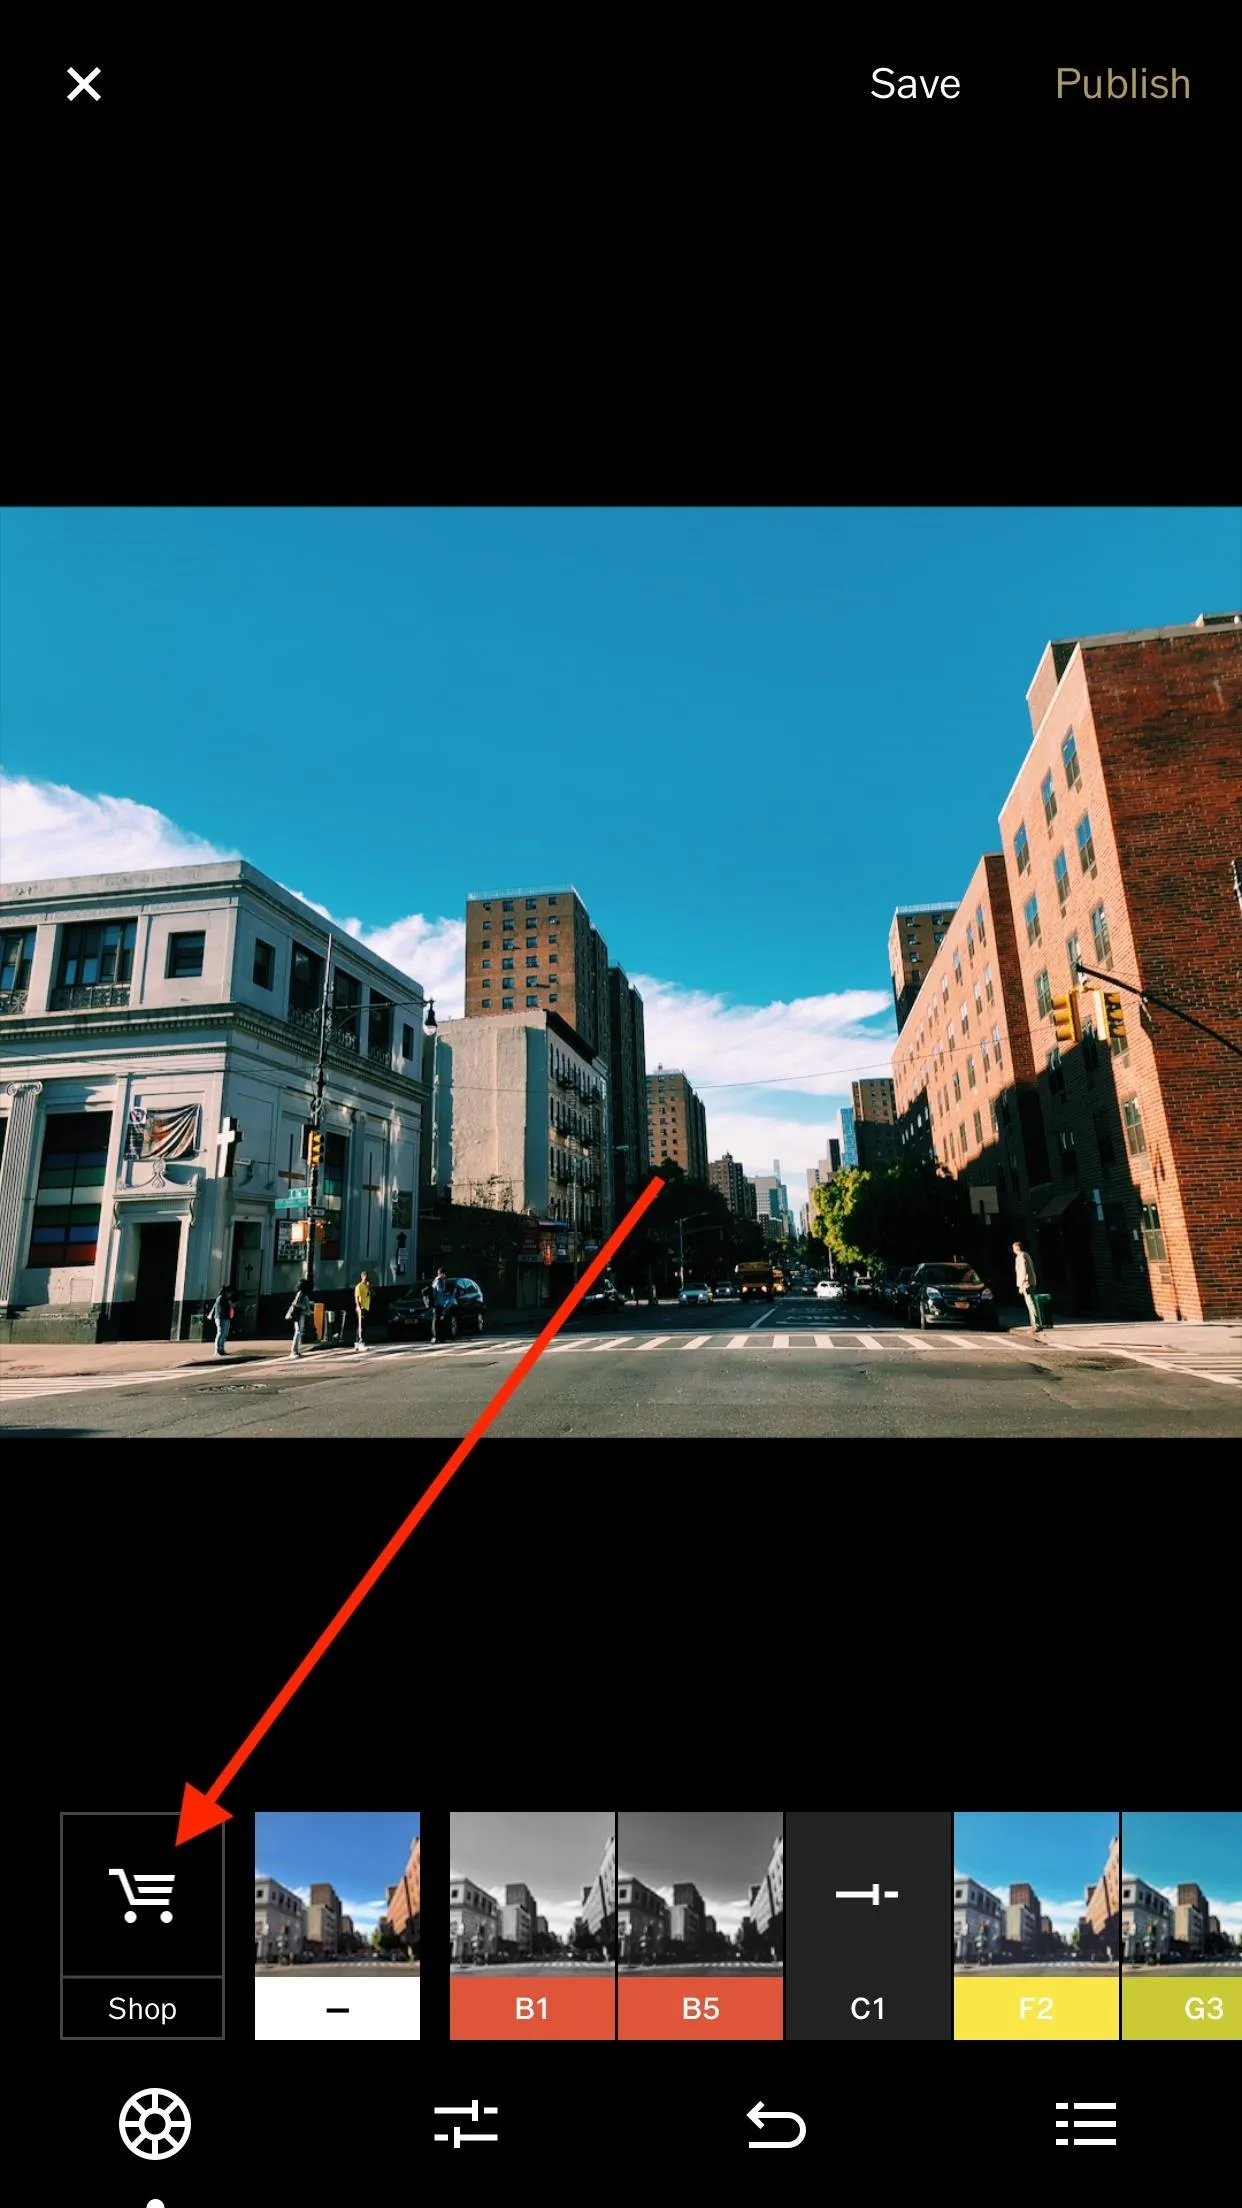
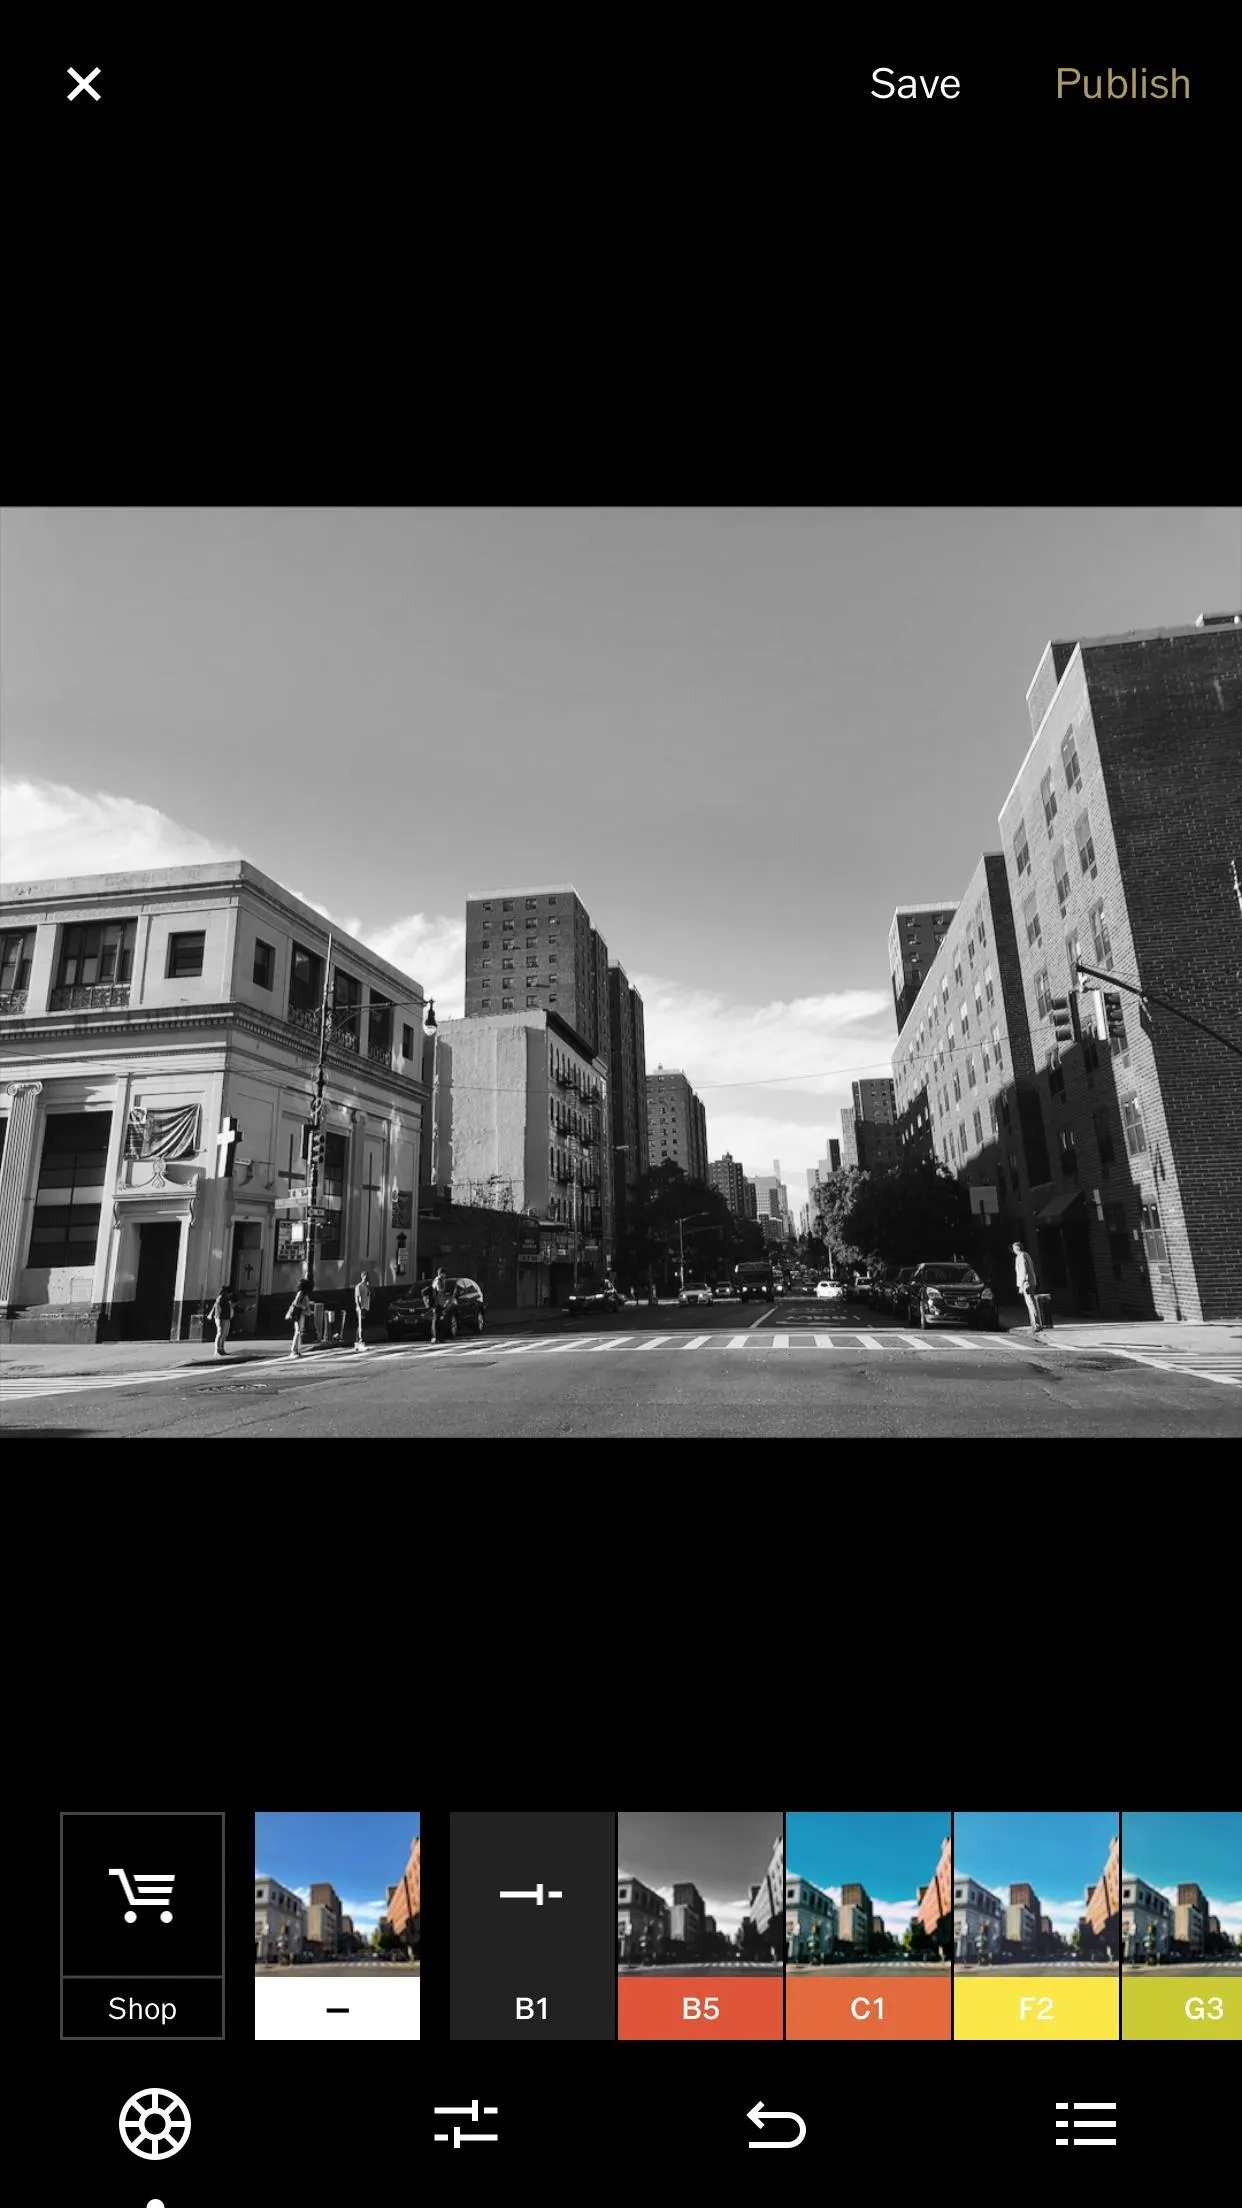
Doing this will take you directly to VSCO's presets. Each preset is adjusted based on color tint, saturation, brightness, contrast, and/or the amount of fade. While you can't change these properties in the preset individually, you can change the preset's intensity (see Step 4 below). You can also, of course, adjust the exposure, contrast, clarity, saturation, highlights, shadows, temperature, tint, grain, and fade, among other things, after applying the filter.
VSCO offers everyone 10 presets for free. If you're like me, free is usually the best option, and these 10 presets are more than enough to get you started. However, it is worth noting that these free presets come from sets you can buy in the VSCO Shop. That's why you may see presets labeled with what seems to be a random order (B1 and B5, rather than B1 and B2 — they're from different sets).
Get More Free Presets (Optional)
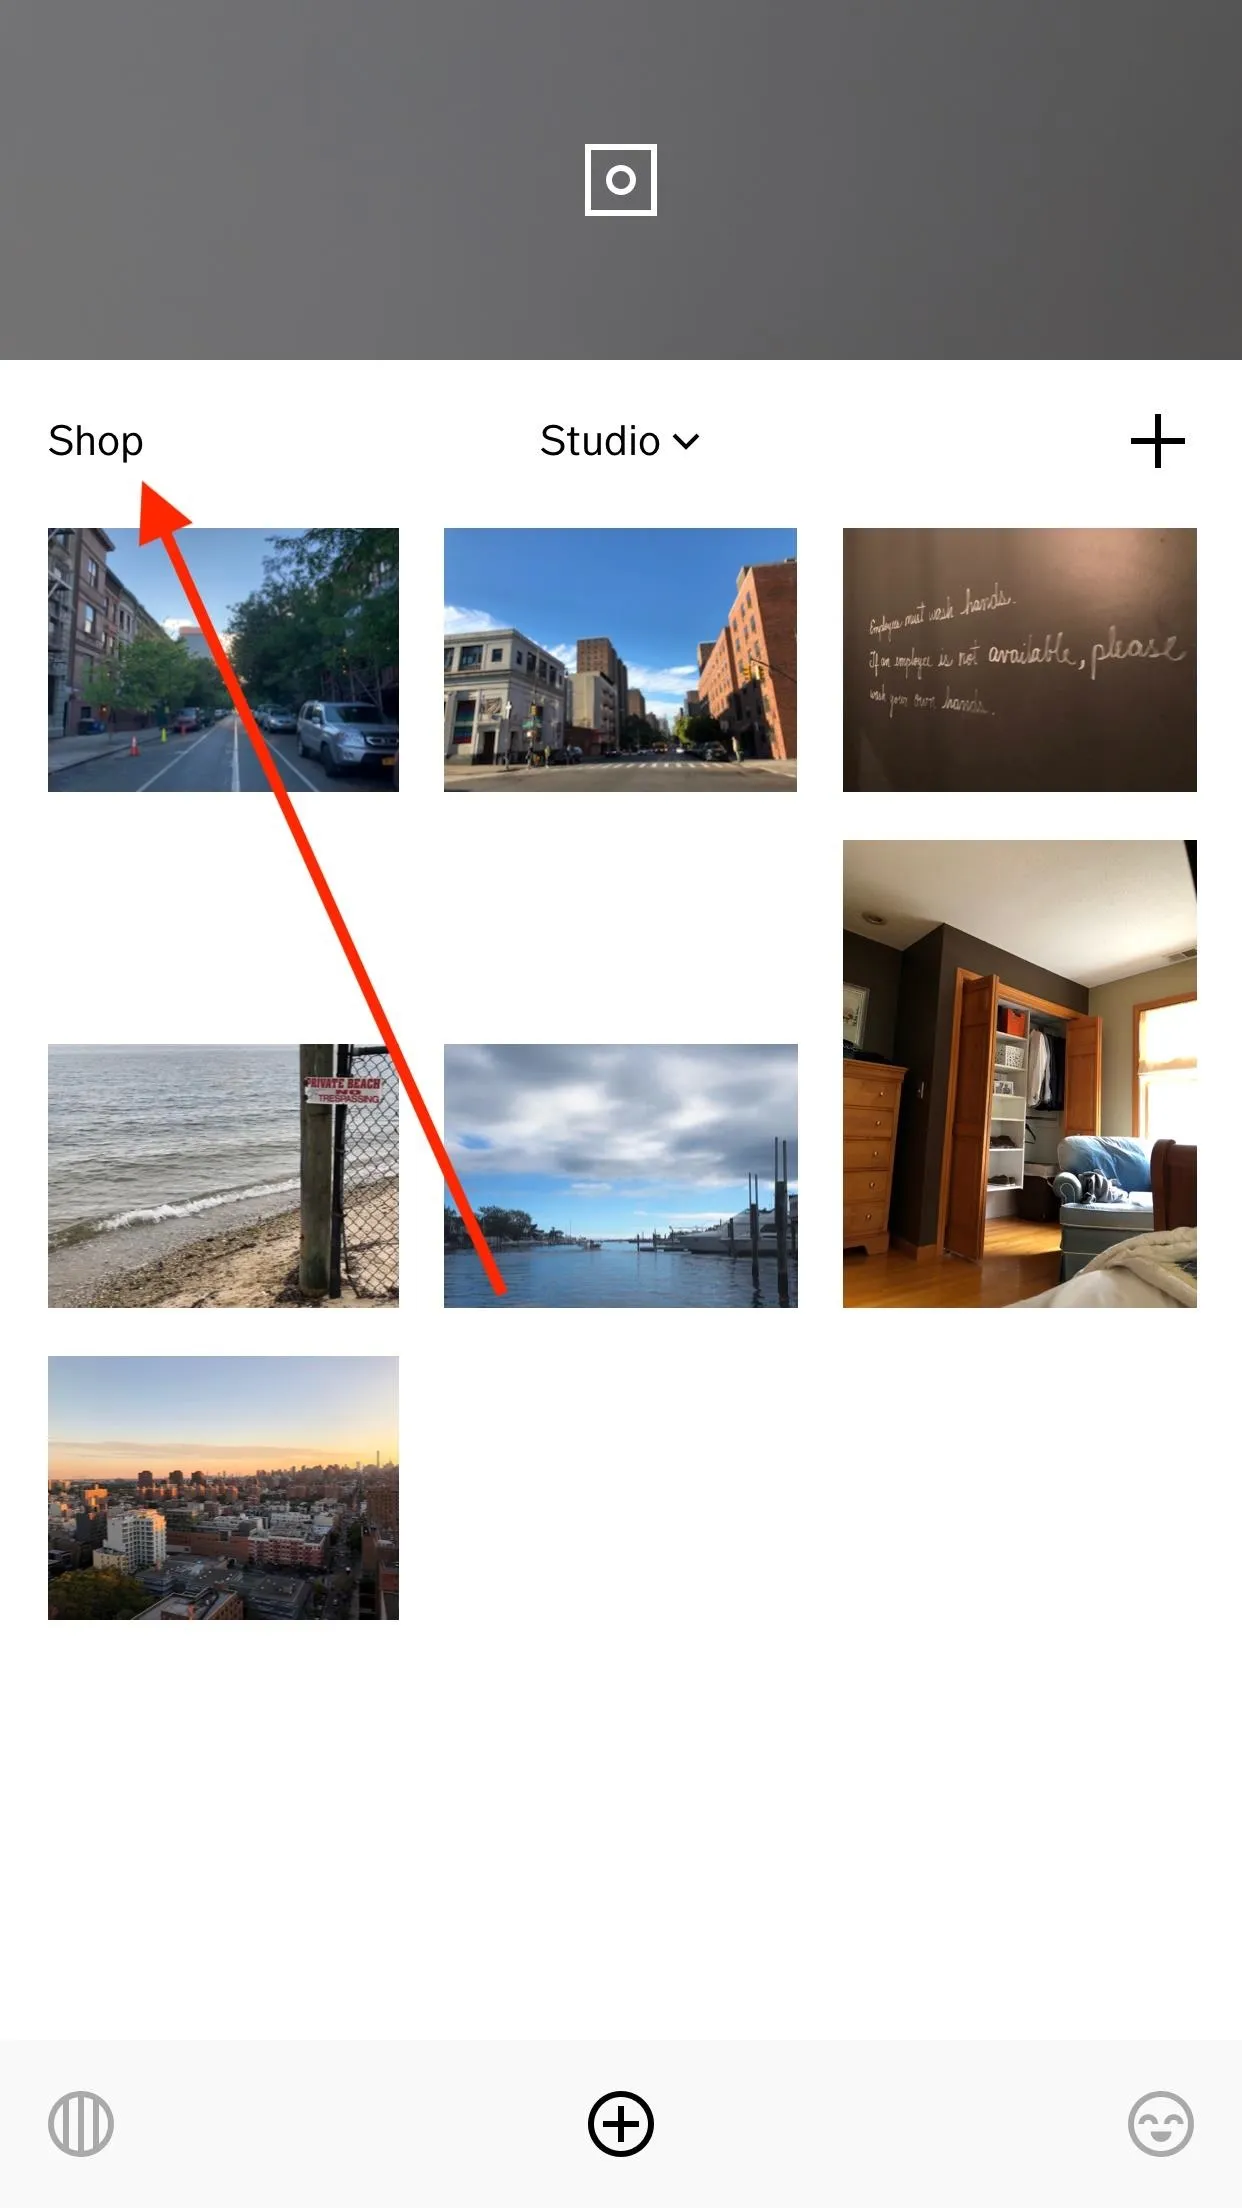
If you're not interested in purchasing presets, you may still find free ones offered in the in-app store. To check, tap "Shop" on the main page. Or, open a photo for editing, then tap the "Shop" button on the bottom left side of the display. Browse the store to look for free presets. You may find something you like. We'd recommend downloading all of the free ones since they may not be free for long.
Apply a Preset
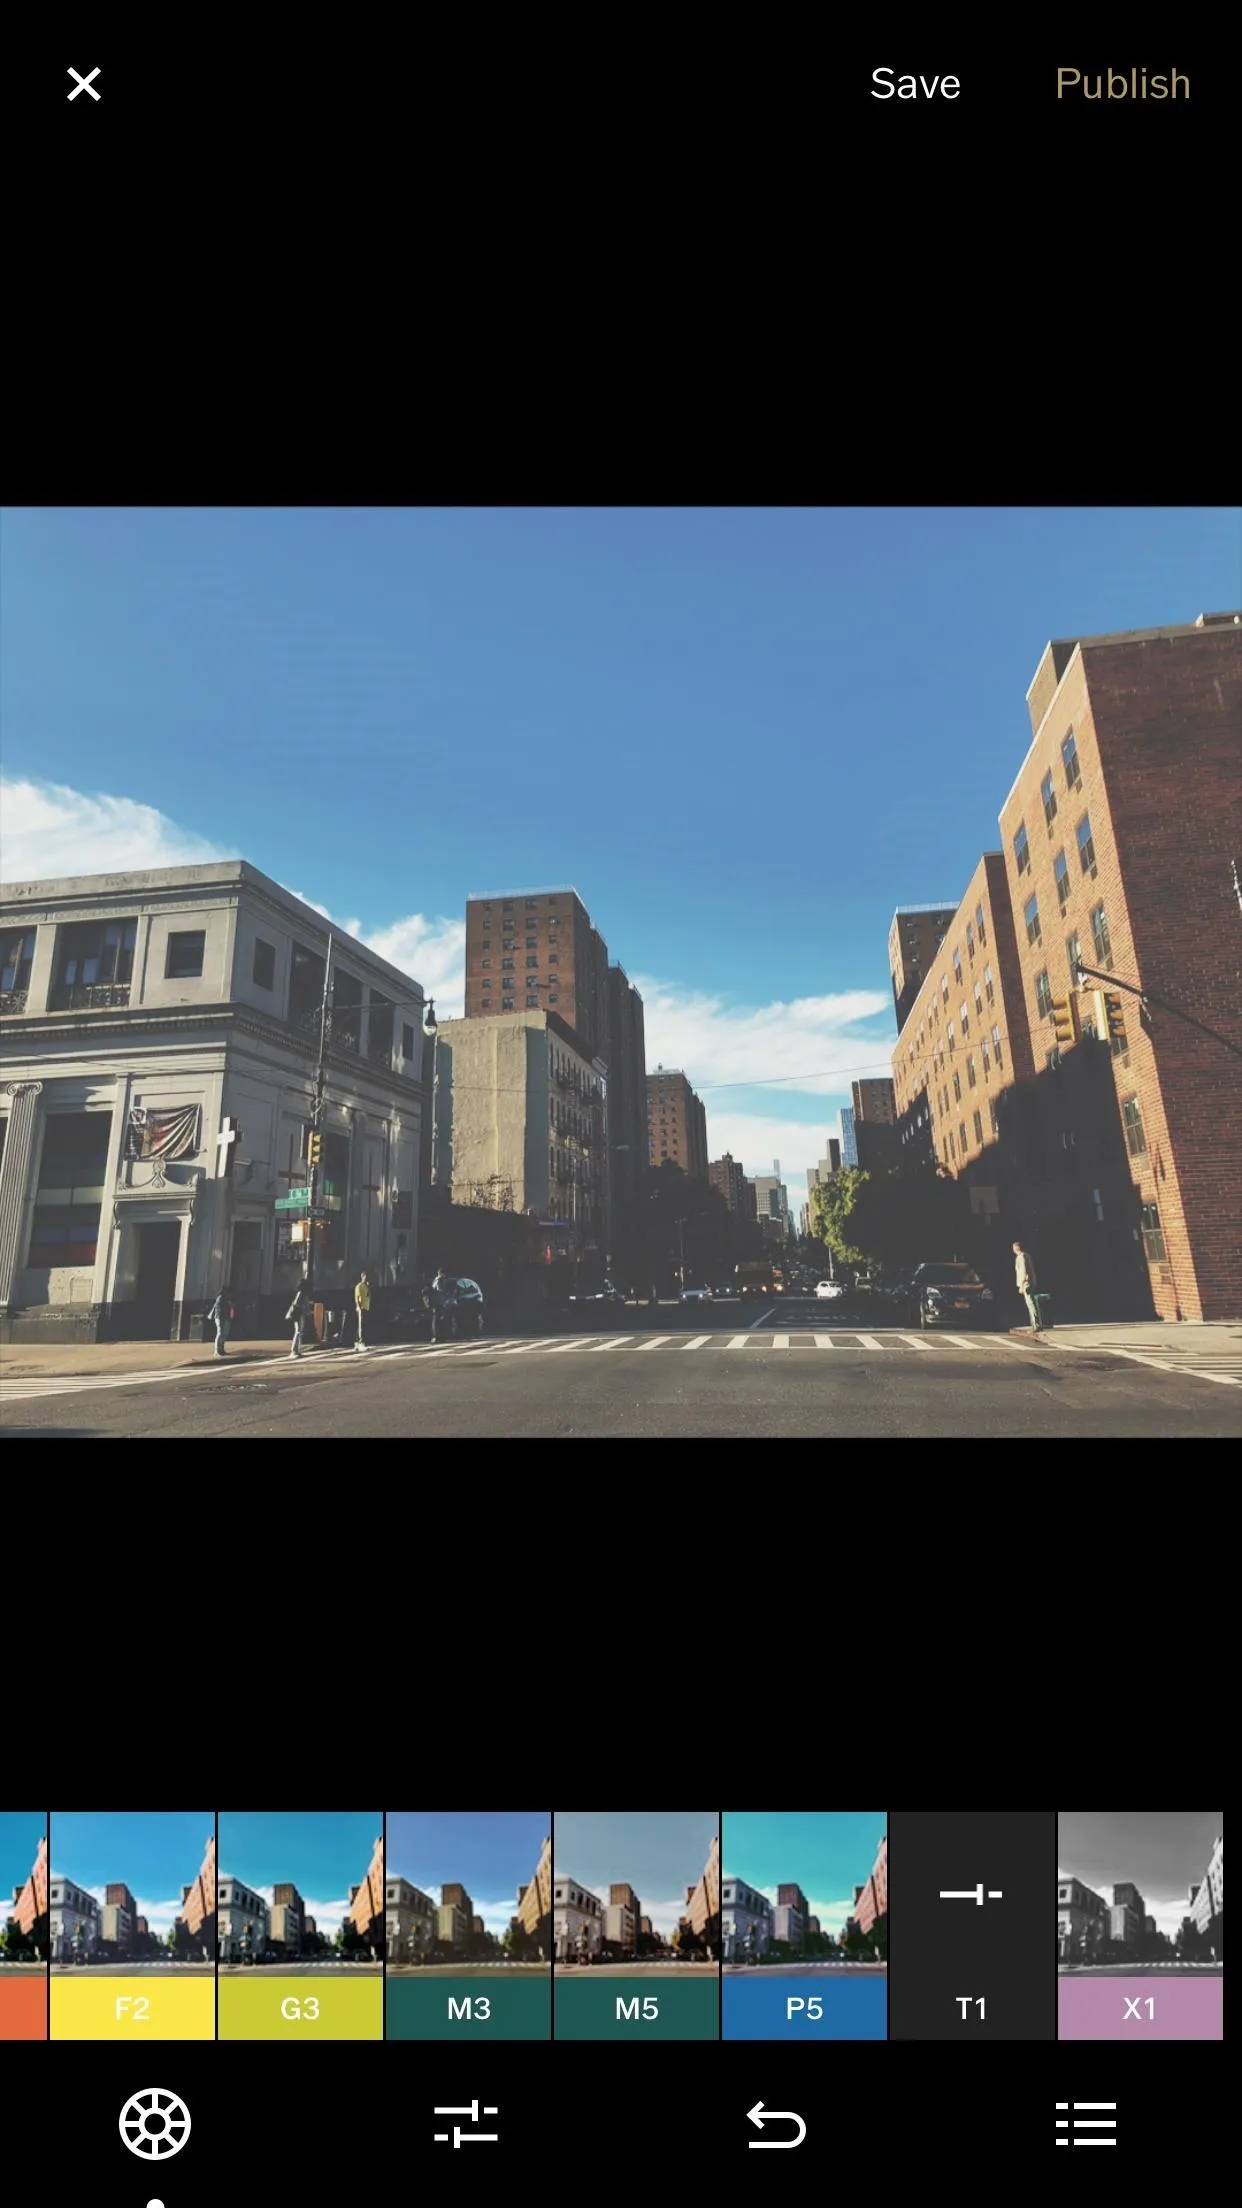
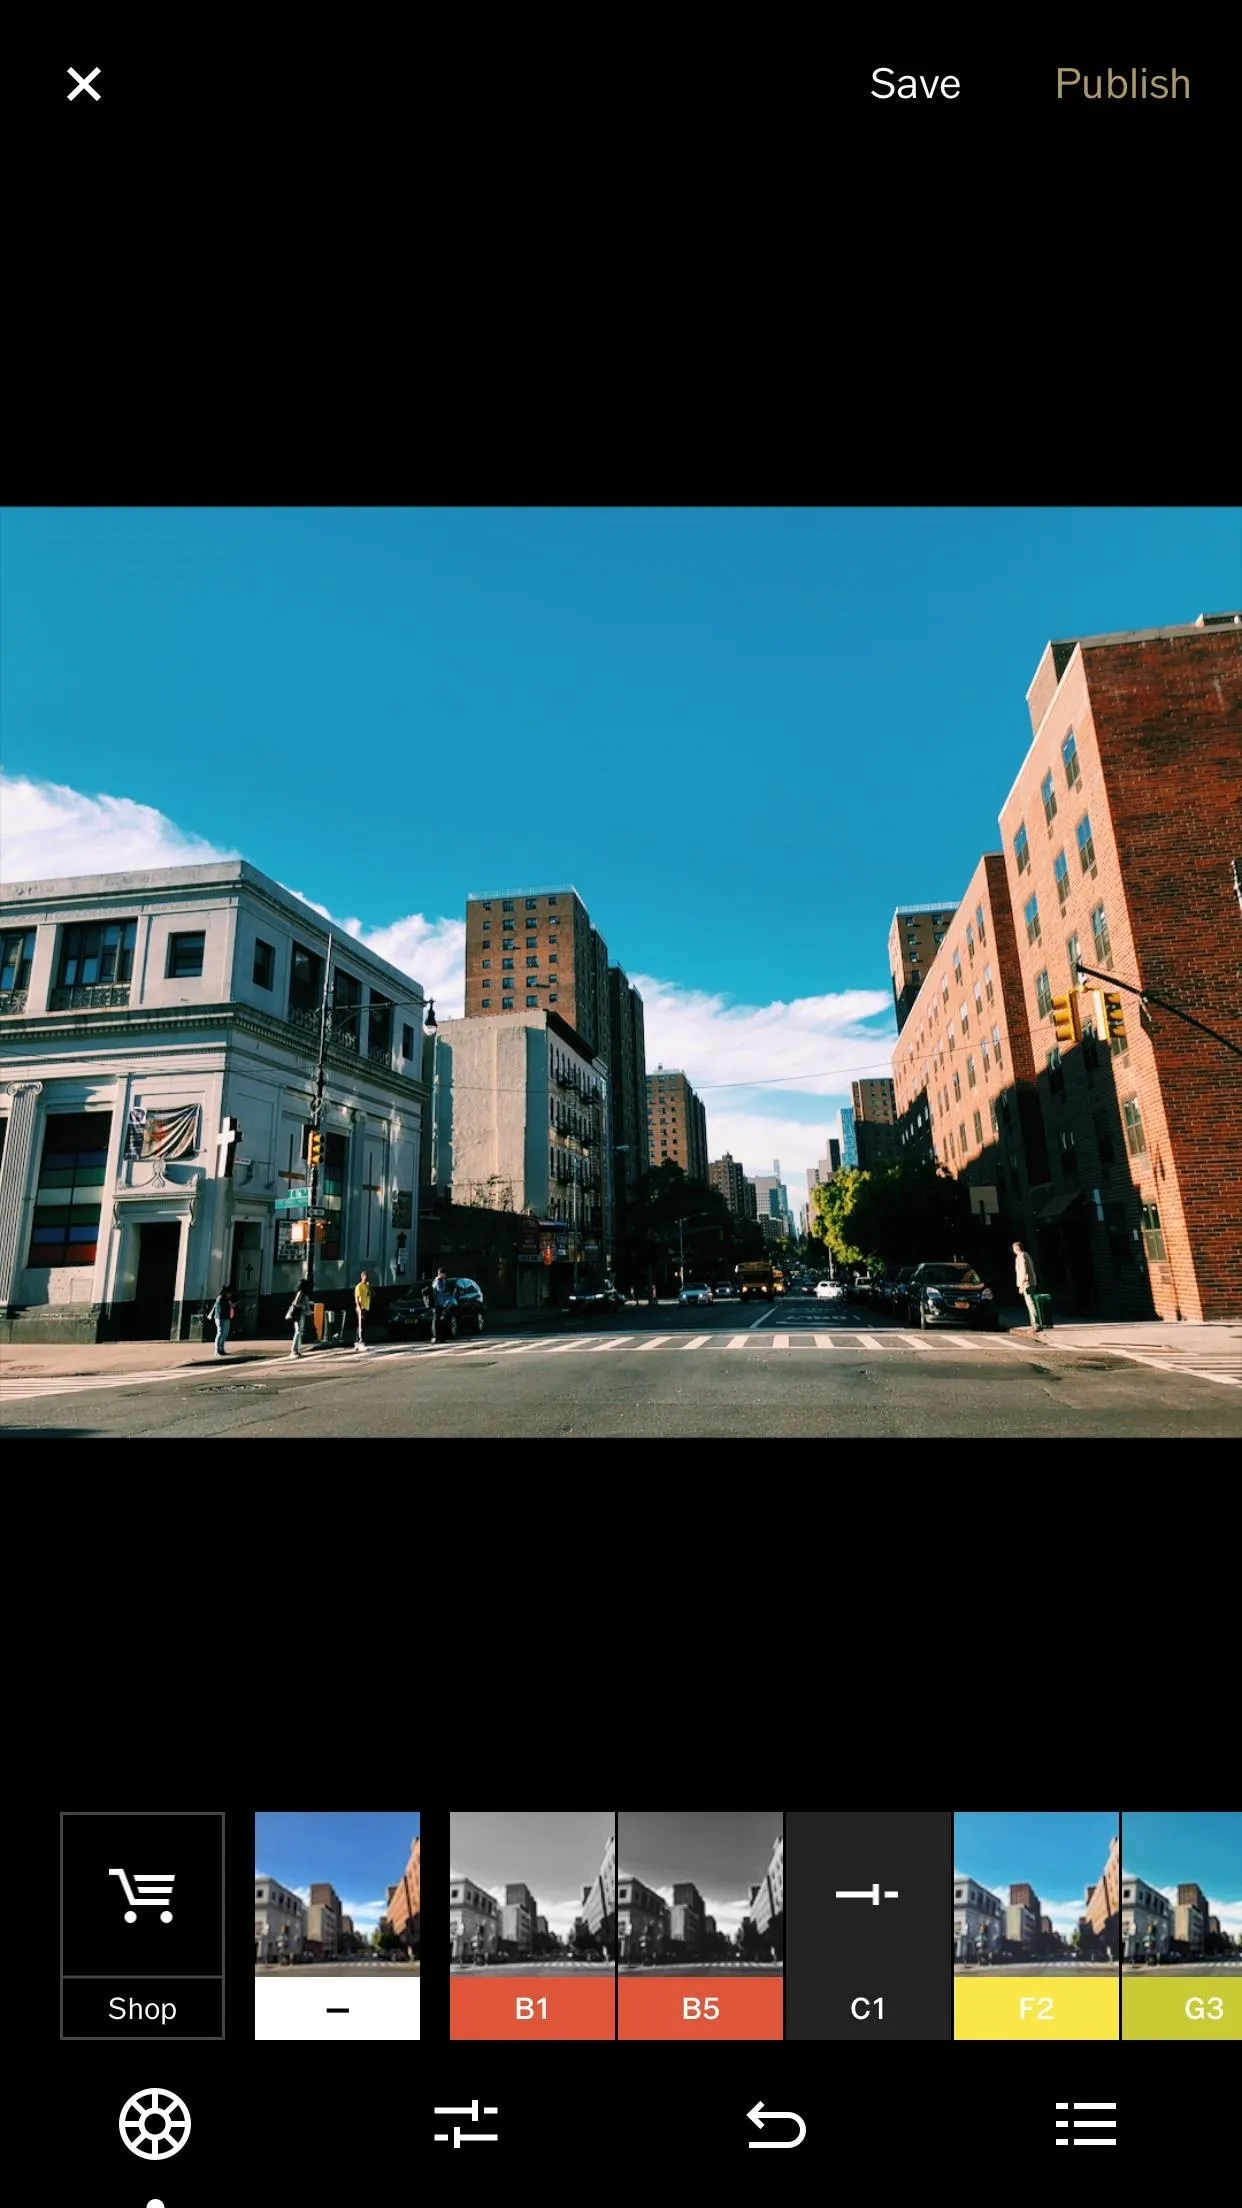
Some presets turn your photo black and white, while others work with your photo's colors to create a new look. You'll have to select each one to see which fits the image you have in mind. Some of the styles offered by the basic free ones include black and white, chromatic, mellow, portraits, moody, instant, and faded.
Fine-Tune the Preset
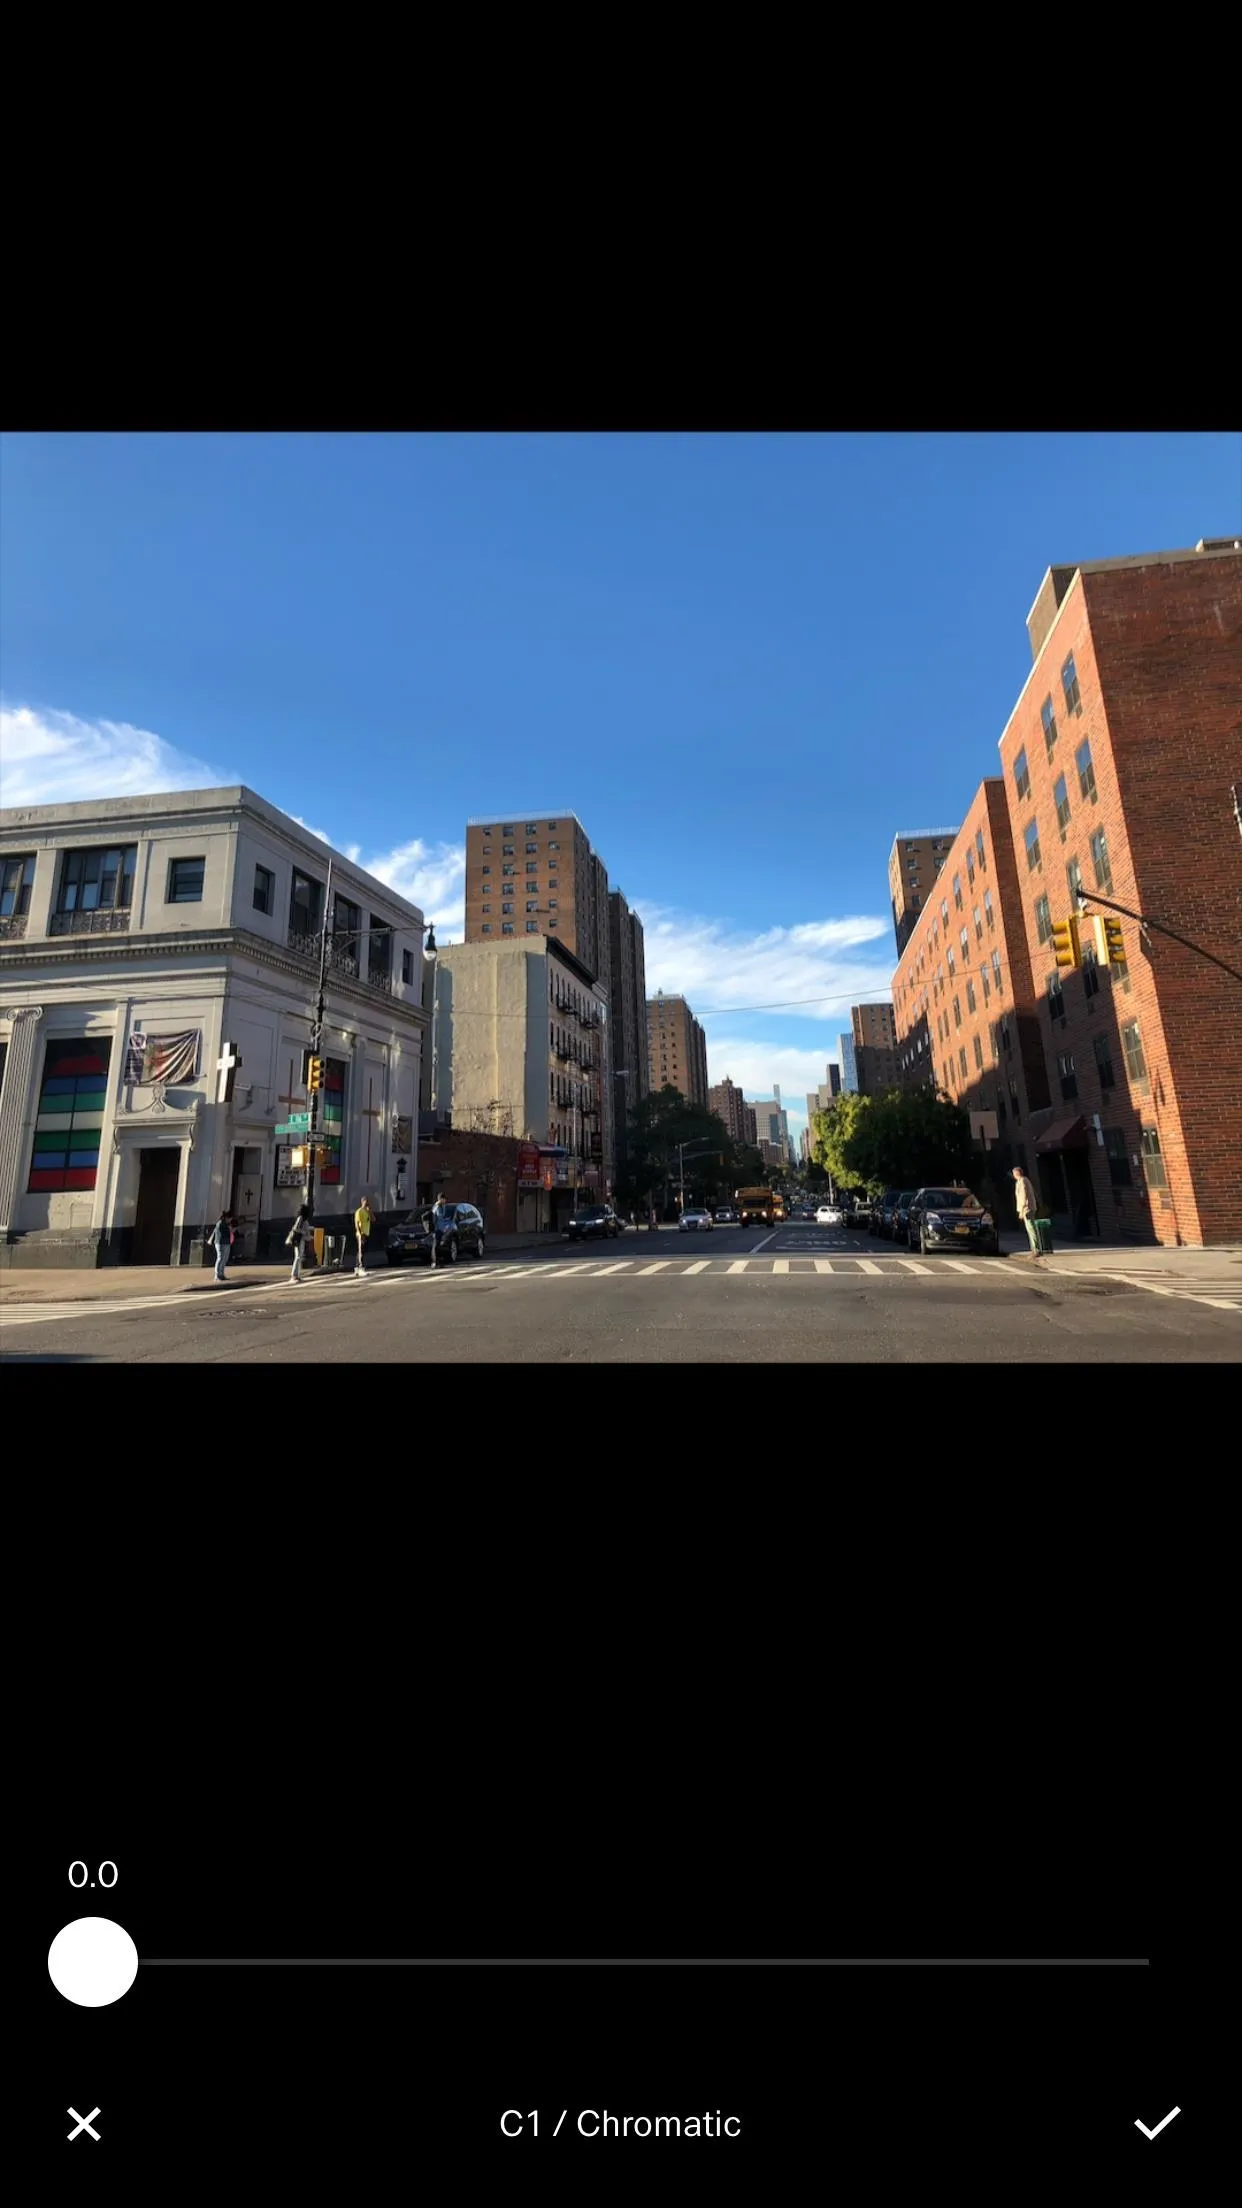
Now, you may find a preset that almost makes the cut, but something about it doesn't quite feel right. If this situation applies to you, you should know each preset comes with an intensity slider, which allows you to control how much of the preset's look is actually applied to your photo.
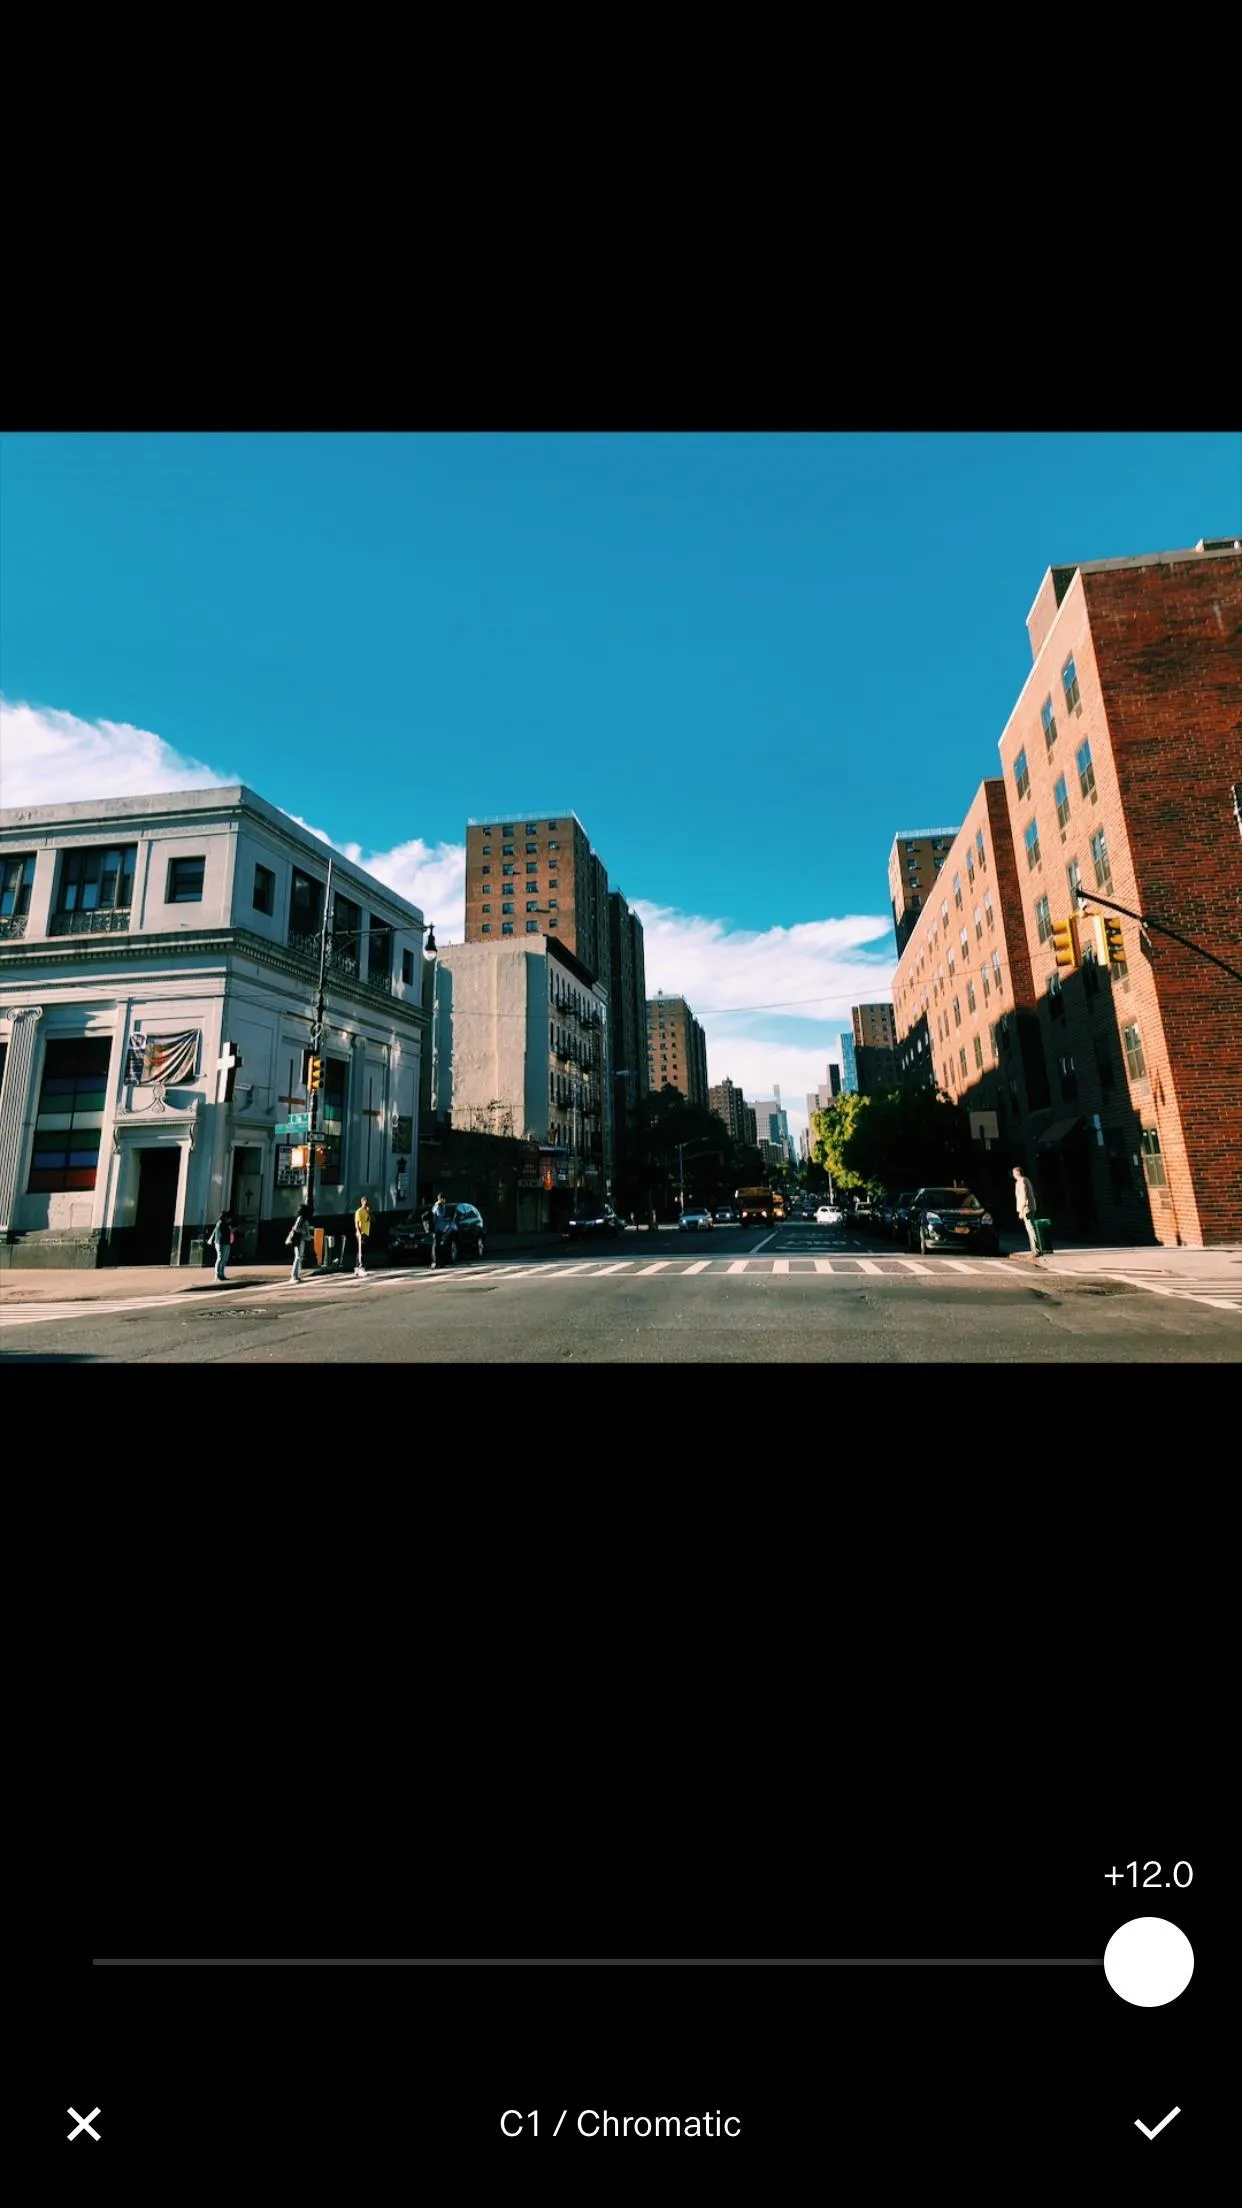
After choosing the preset you want, tap on the preset again to access the slider. You will see the slider pop up on the bottom of the screen. By default, each will be set to the far-right (+12), meaning the preset is applied in full. Experiment with the slider to see what works for you.
When you are finished, tap the checkmark to save your preset or the "X" to discard it. It's worth noting that you can't apply more than one preset at a time, though you can make manual edits to the picture as a whole using the edit button in the toolbar to access the toolkit.
Note: when using a black and white preset, bringing the slider to +0 will not bring your photo back to its original color. It will only take away any dynamic effects applied to the black and white preset. However, the black and white properties will remain.
Undo the Adjustments (If Necessary)
If you make an edit that doesn't work for you, you can easily undo it. The backward-arrow at the bottom of the screen will undo each edit individually, and you can go back all the way to the beginning of your edit session.
Now, things differ when you want to remove all edits and go back to the way your photo looked from the start. On Android, you have a "super-undo" button which does just that on the far right.
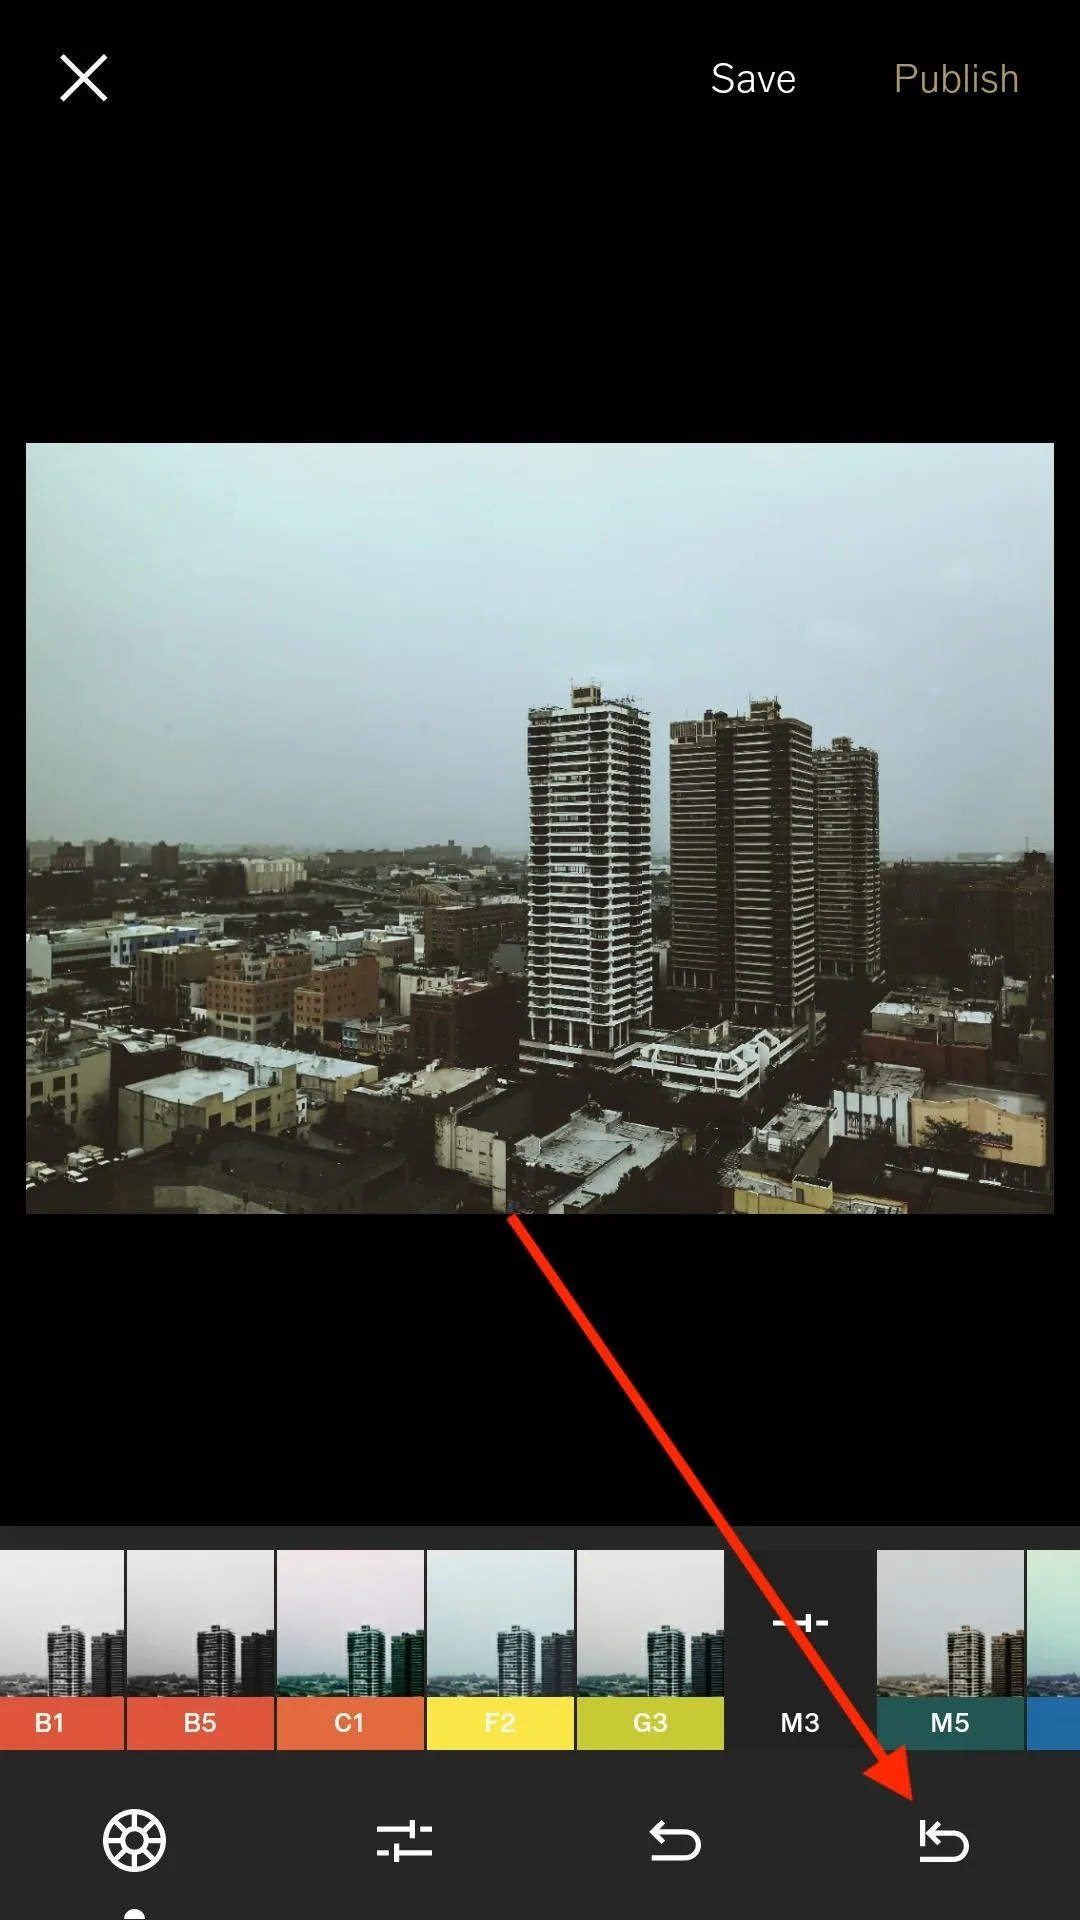
This is the super-undo button on Android (left) and after applied (right).
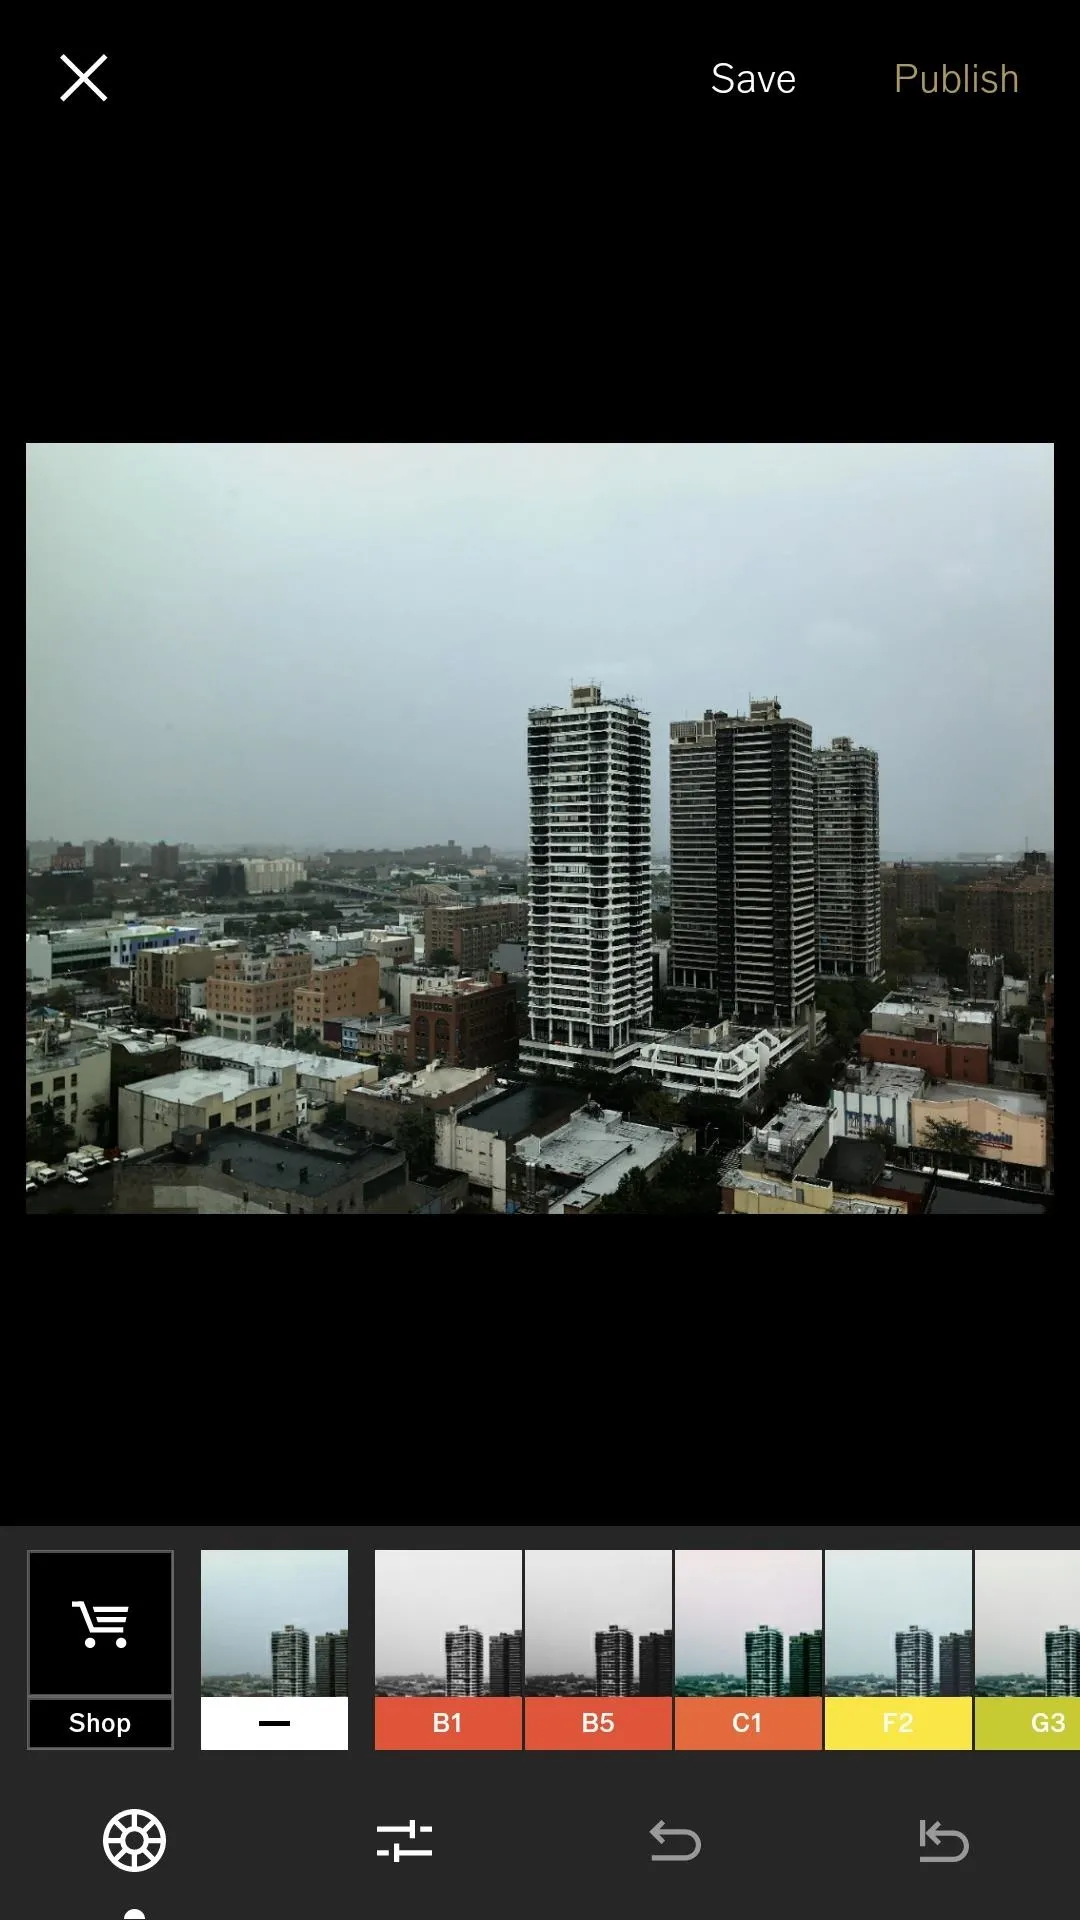
This is the super-undo button on Android (left) and after applied (right).
However, on iOS, that button is replaced with a list icon. Tap that, then tap "Clear all" to reset your picture back to its default look. From the menu, you can also swipe left on preset (or any other adjustment) to delete it individually (with the trash can icon) or make quick changes (with the tools icon).

The list option in iOS (left) lets you "Clear all" edits (middle) or swipe to make individual adjustments (right).

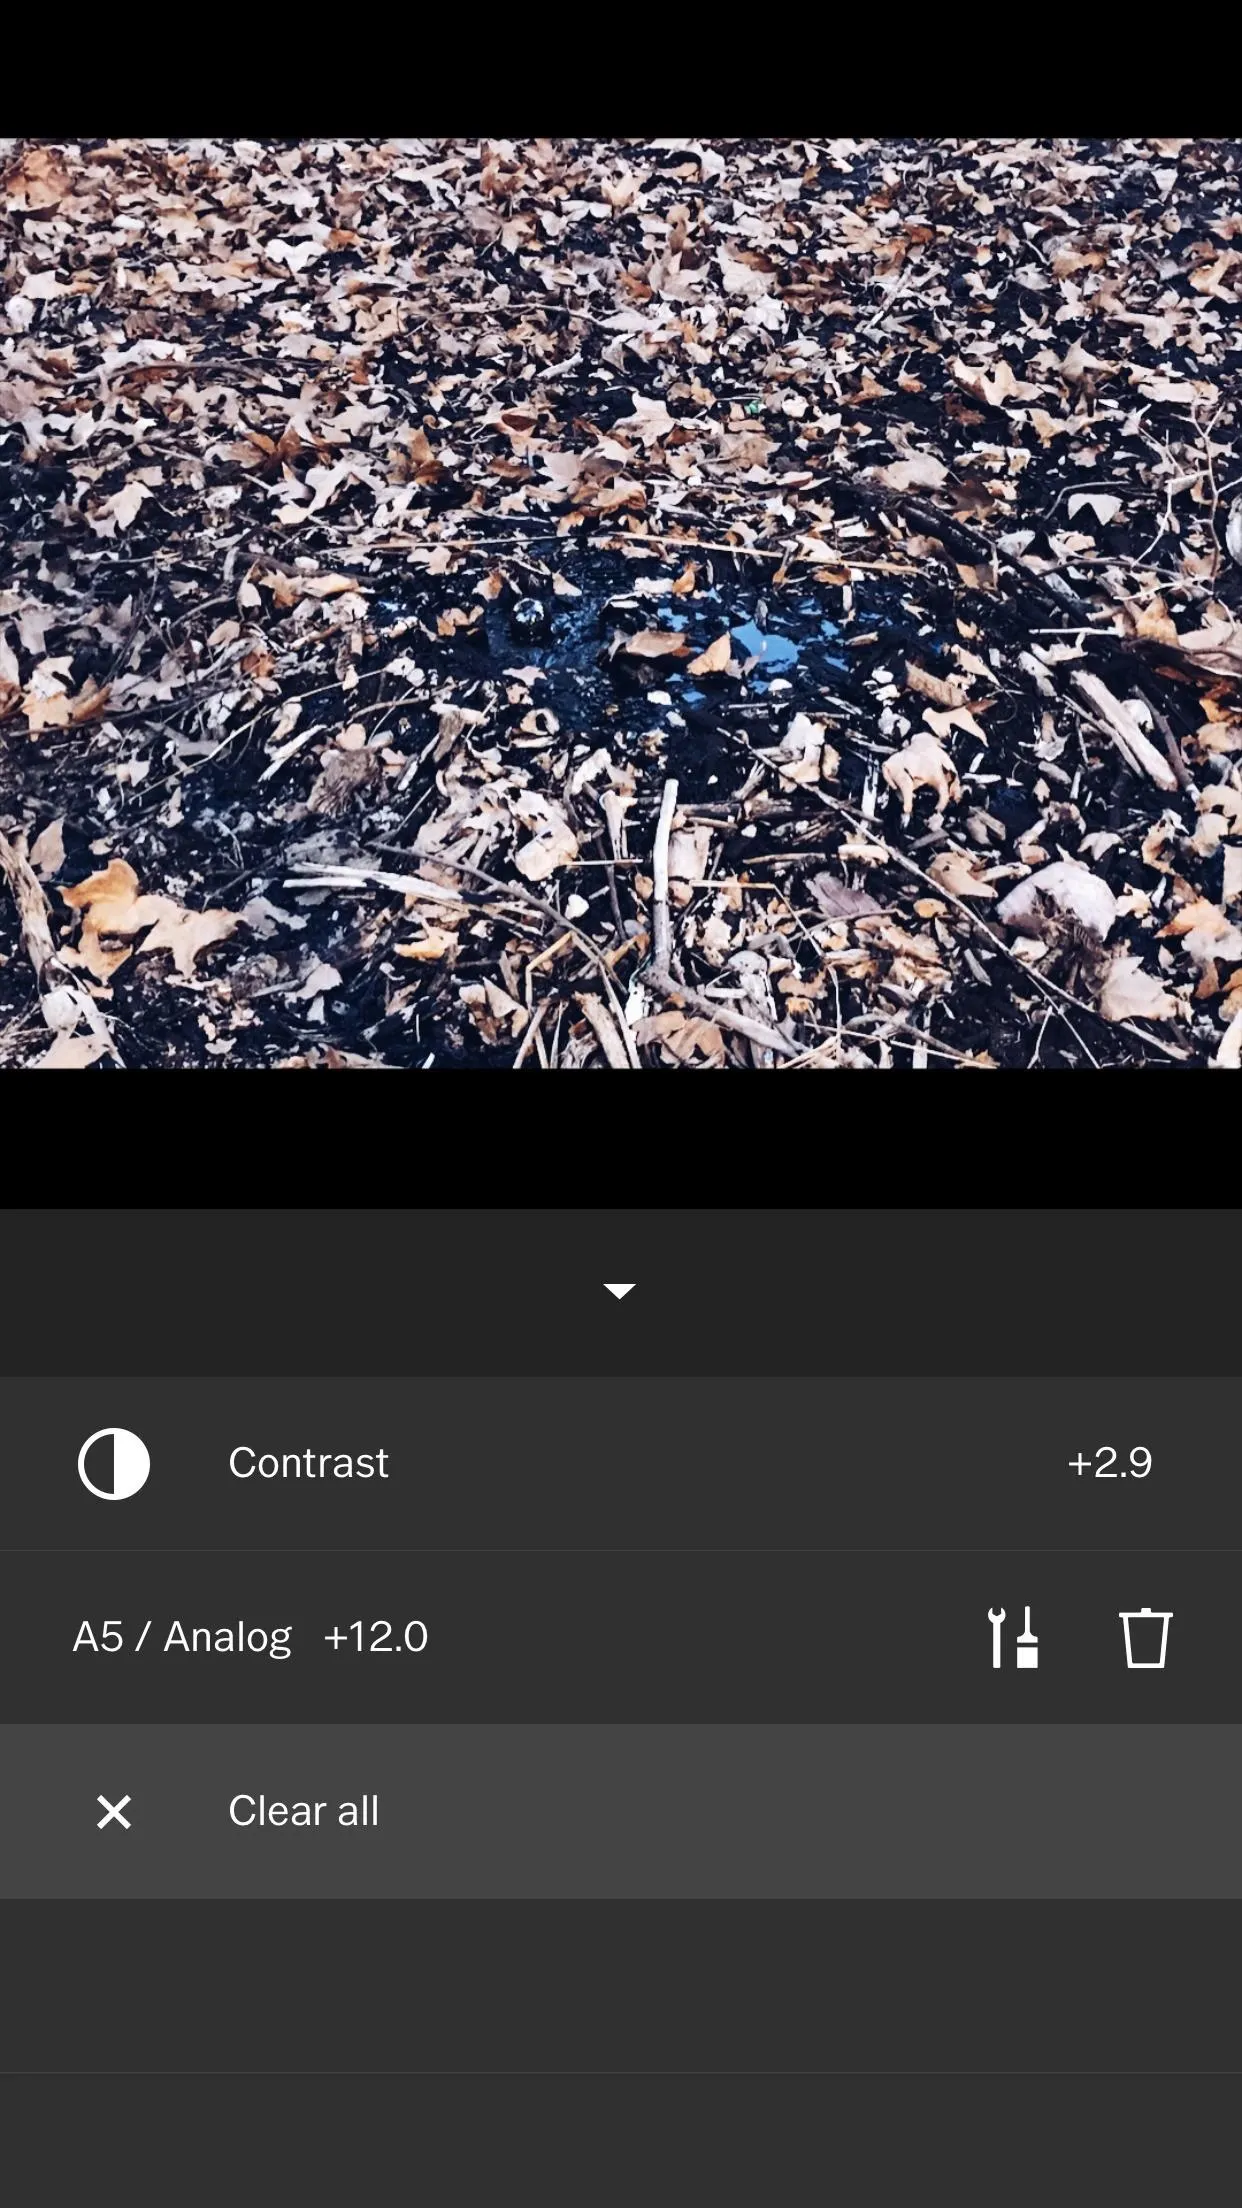
The list option in iOS (left) lets you "Clear all" edits (middle) or swipe to make individual adjustments (right).
Save Your Image
When you are finished getting your image ready with a preset and/or any additional manual edits, just hit "Save" up in the top right. You can also hit "Publish" if you're logged in and what to share it to your VSCO profile.
- Follow Gadget Hacks on Facebook, Twitter, Google+, YouTube, and Instagram
- Follow WonderHowTo on Facebook, Twitter, Pinterest, and Google+
Cover image and screenshots by Jake Peterson/Gadget Hacks


Comments
Be the first, drop a comment!