


It's difficult to find that perfect lighting when you're taking a photo. You won't always have studio lights — or at all — and you're not always out during golden hour. So how can you combat lighting issues without waiting around for a well-lit condition? Do it in post. Adobe's Photoshop Express makes it easy to fix and even customize the lighting in your photos using the right adjustments.
There are typically two main types of problems regarding the lighting in a photo; either the image is too bright or too dark. However, another common problem is temperature, the overall color of the picture. Using just a few PS Express functions on Android and iOS, you can combat all of these problems and achieve neutrally toned photos even if your lighting was less than perfect when you took them.
Adjust the Exposure
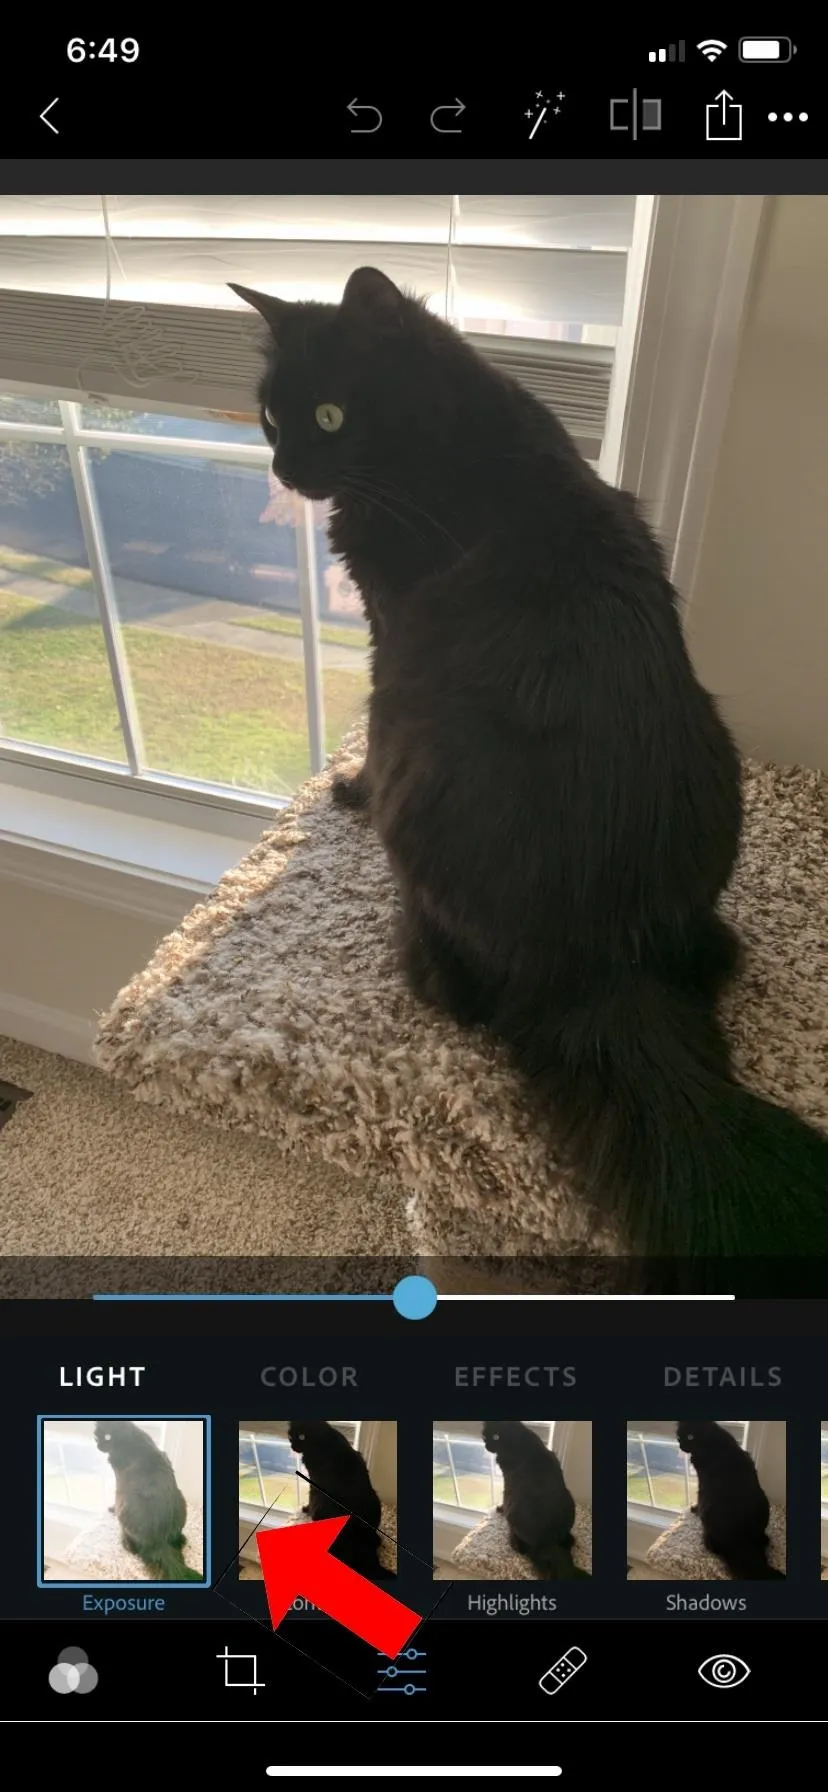
With the PS Express app open on your iPhone or Android phone, select the photo you would like to edit. Then, when trying to fix the overall lighting, the first place you should visit is the "Exposure" tool. You can find it in the adjustments menu (the tab icon with the sliders).
In photography, exposure refers to how much light is allowed into your lens when capturing your photo. In Photoshop Express, exposure controls will determine the brightness of the image overall.
Adjust the slider left or right. If your photo is too dark, you will need to turn up the exposure (go to the right). If it's too light, you will need to turn it down (to the left). A helpful tip when dealing with exposure is to make sure that you're never adjusting it so far in any direction that the whites or blacks in your image lose their detail. This is what we call "washed out."
Adjust the Contrast
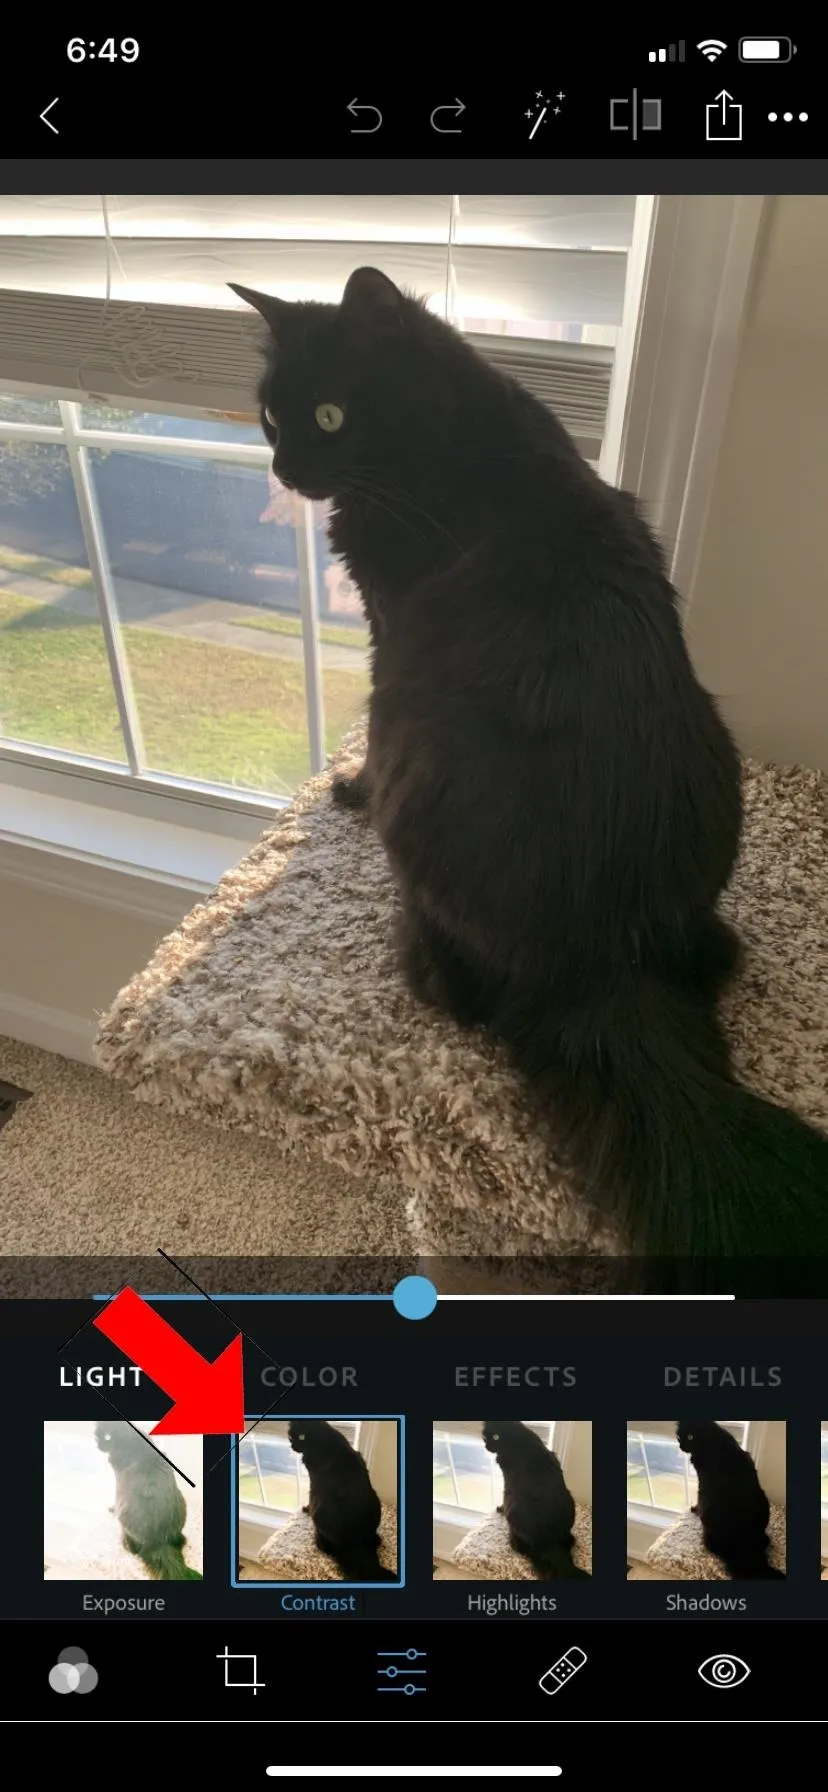
Contrast refers to the difference between the lights and darks of an image. Adjusting the contrast will not adjust brightness but the distance between light and dark. If you turn down the contrast, your image will begin to look more vintage. If you turn up the contrast, you will end up with an image that has strong colors and an iridescent feel.
In the adjustments menu, tap the "Contrast" control and adjust its slider. A helpful tip when dealing with contrast is if your image is "washed out," turning down (to the left) the contrast can help bring back some of the detail that was lost. Another reason to turn down contrast would be to create a vintage-looking image.
Turning up the contrast (to the right) will bring out more brightness in the colors of your image and could help better distinguish between areas of light and dark. Adjust this slider specific your image and to your taste.
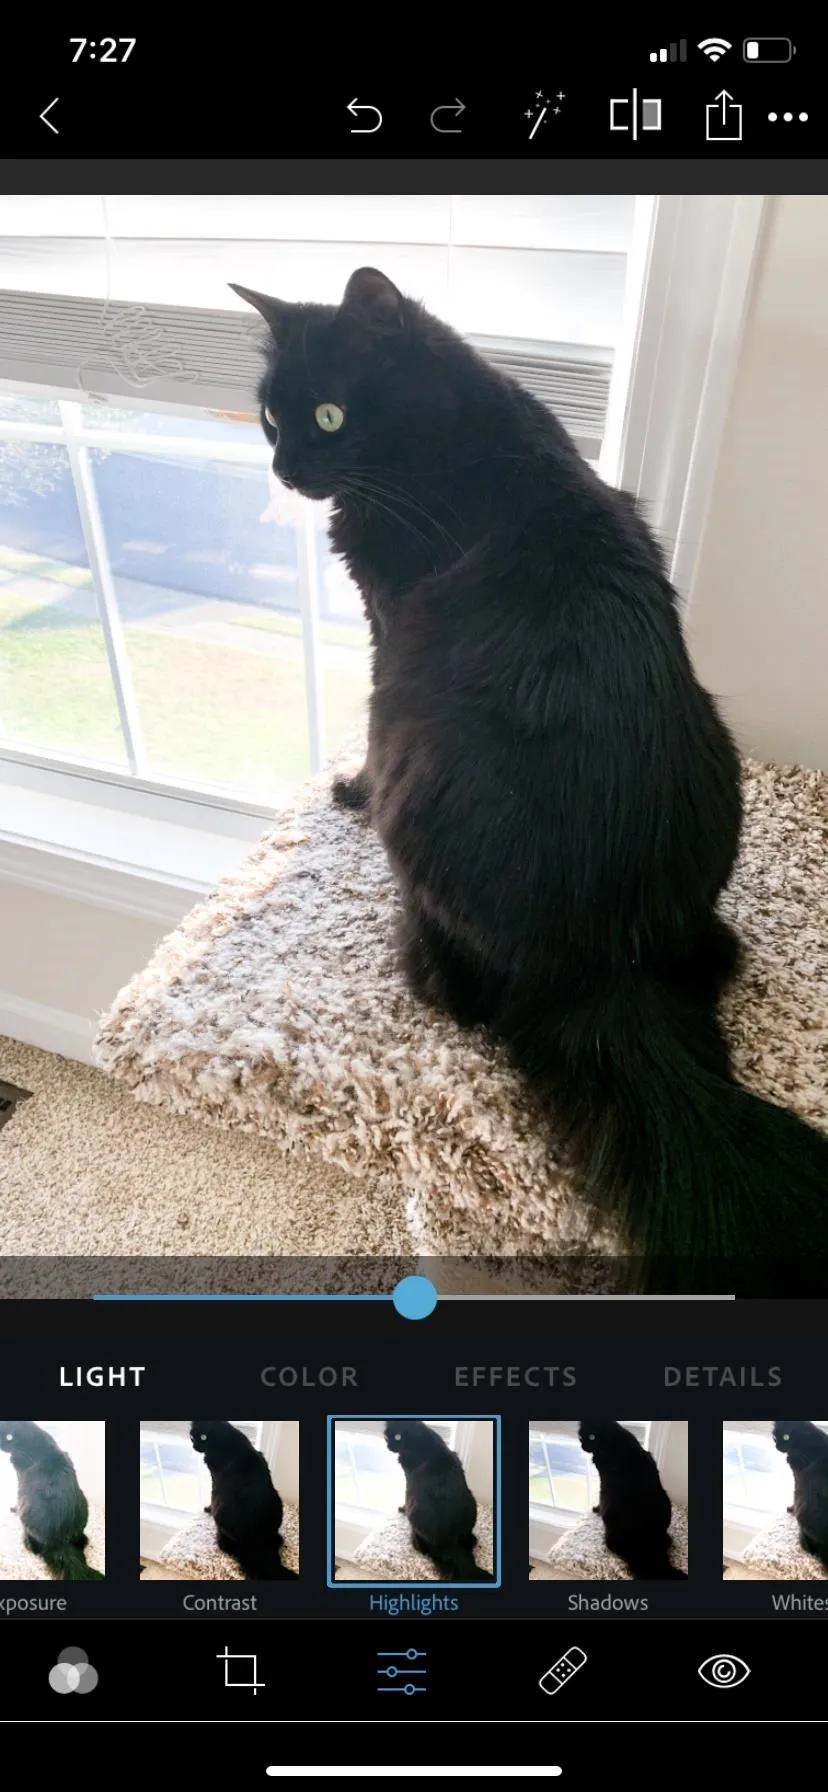
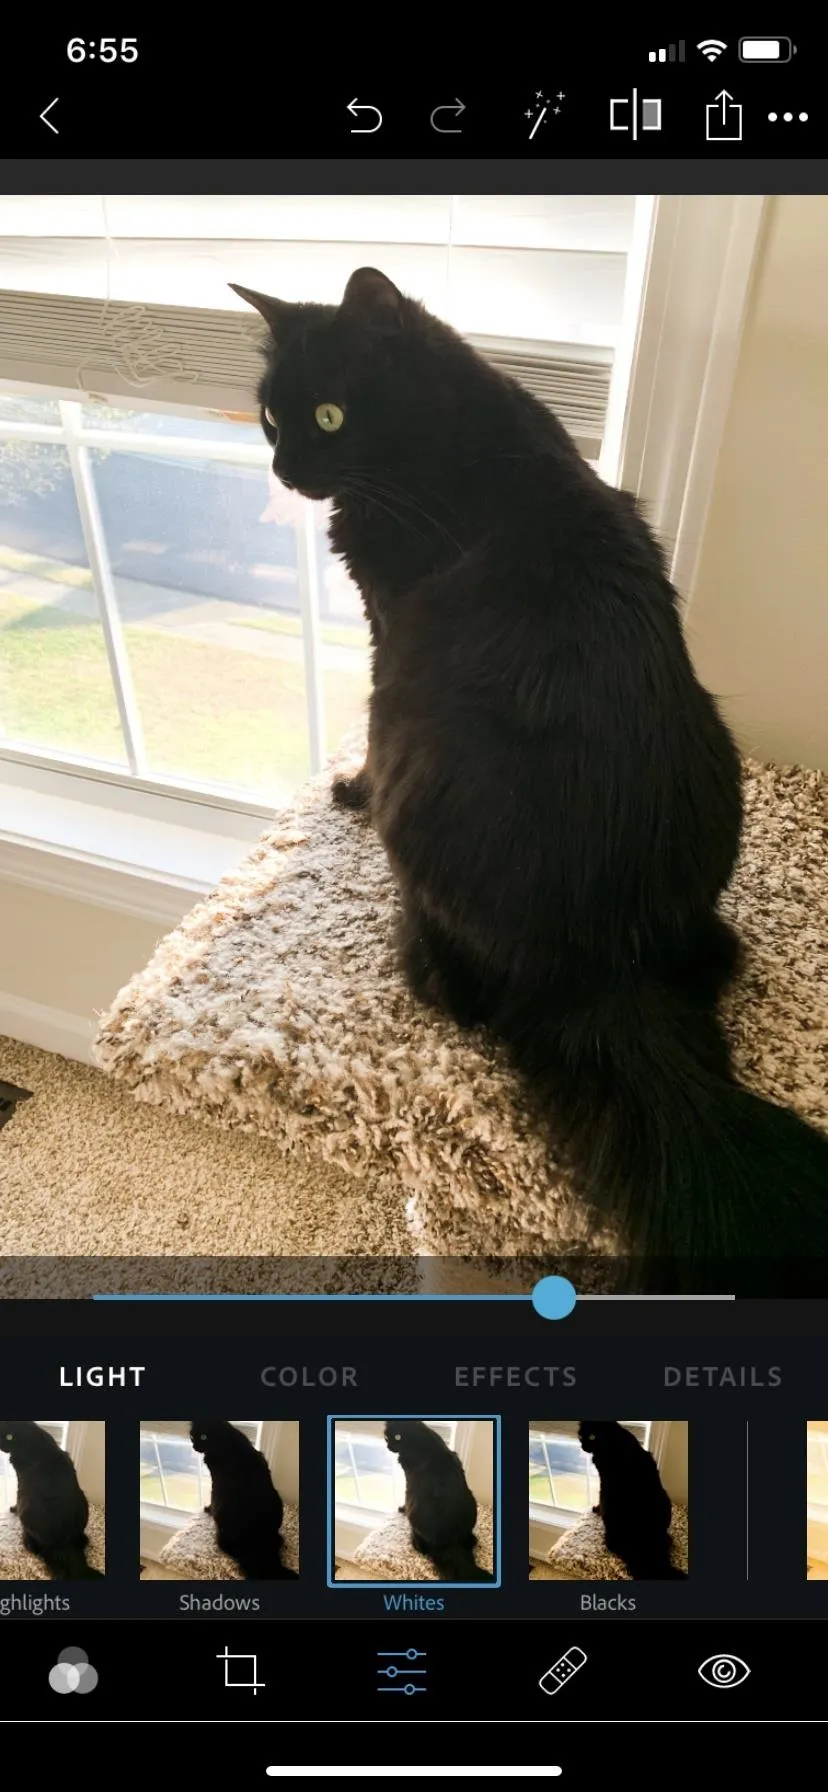
Adjust the Highlights & Whites
Next, we have the "Highlights" tool, which adjusts only the brightest parts of the image. The "Whites" tool does the same thing but it has a wider tonal range than that of "Highlights." These two work hand-in-hand when fixing the lights in an image, so that's why they're combined into one step here.
If the brights in your image seem too light or too dark, play around with both "Highlights" and "Whites" until your image's brights become more balanced. Be careful not to wash the image out.
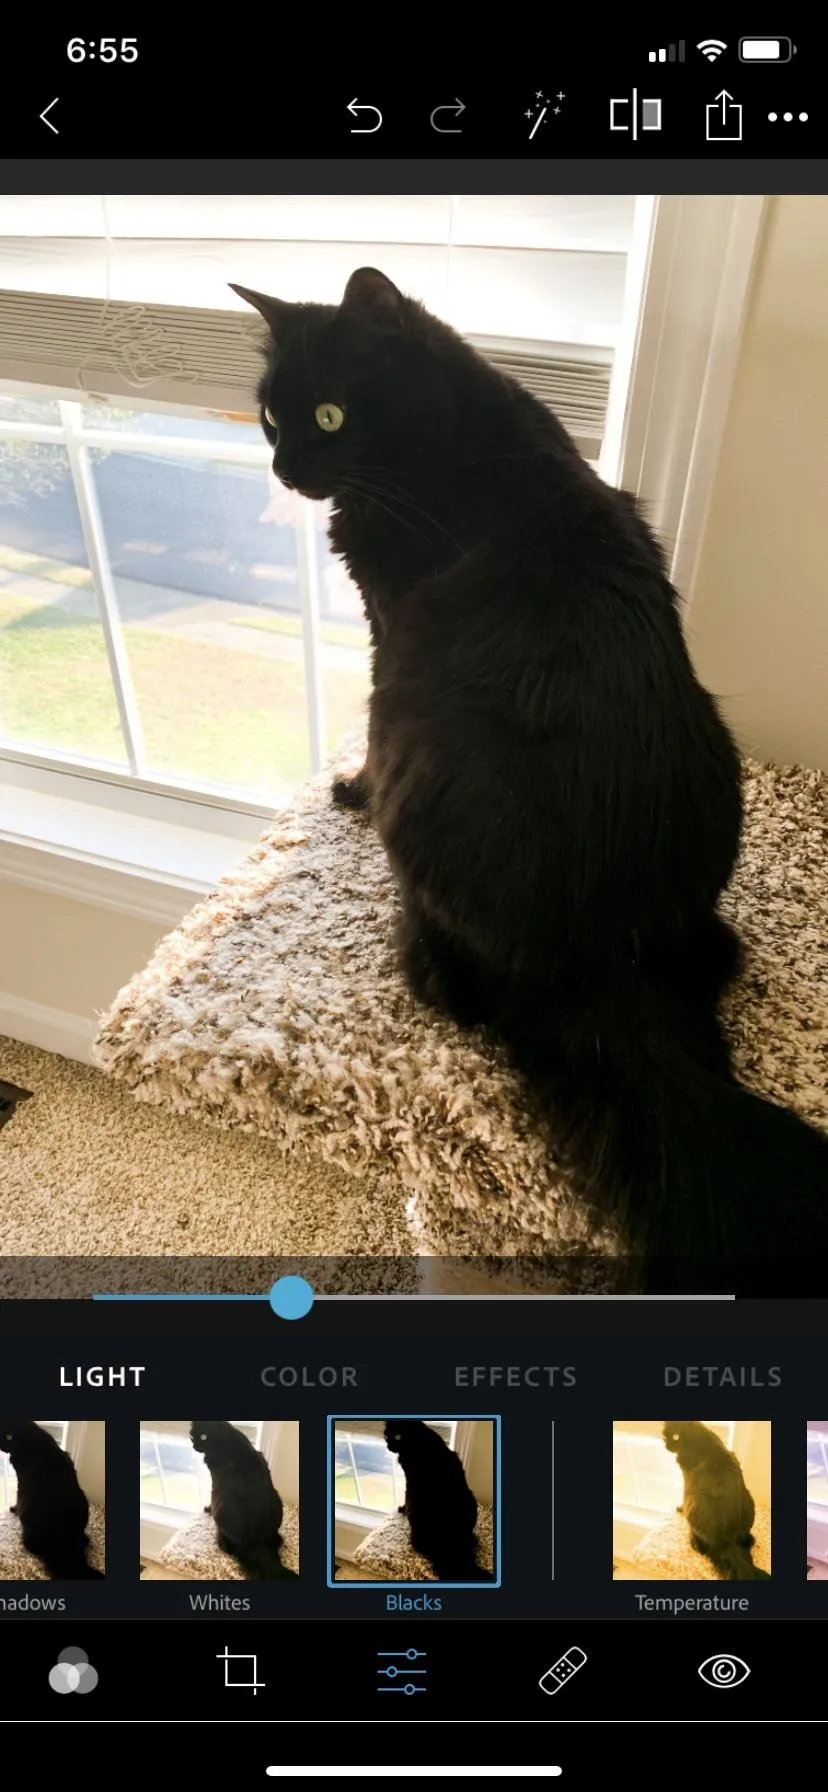
Adjust the Shadows & Blacks
Just like with the previous combo of options, the "Shadows" and "Blacks" tools work hand-in-hand to fix the lighting on the opposite end of the spectrum. "Shadows" adjusts only the darkest parts of the image. "Blacks" does the same thing but it has a wider tonal range than that of "Shadows."
Play around with both of these sliders to find the right balance of darks for your pic.

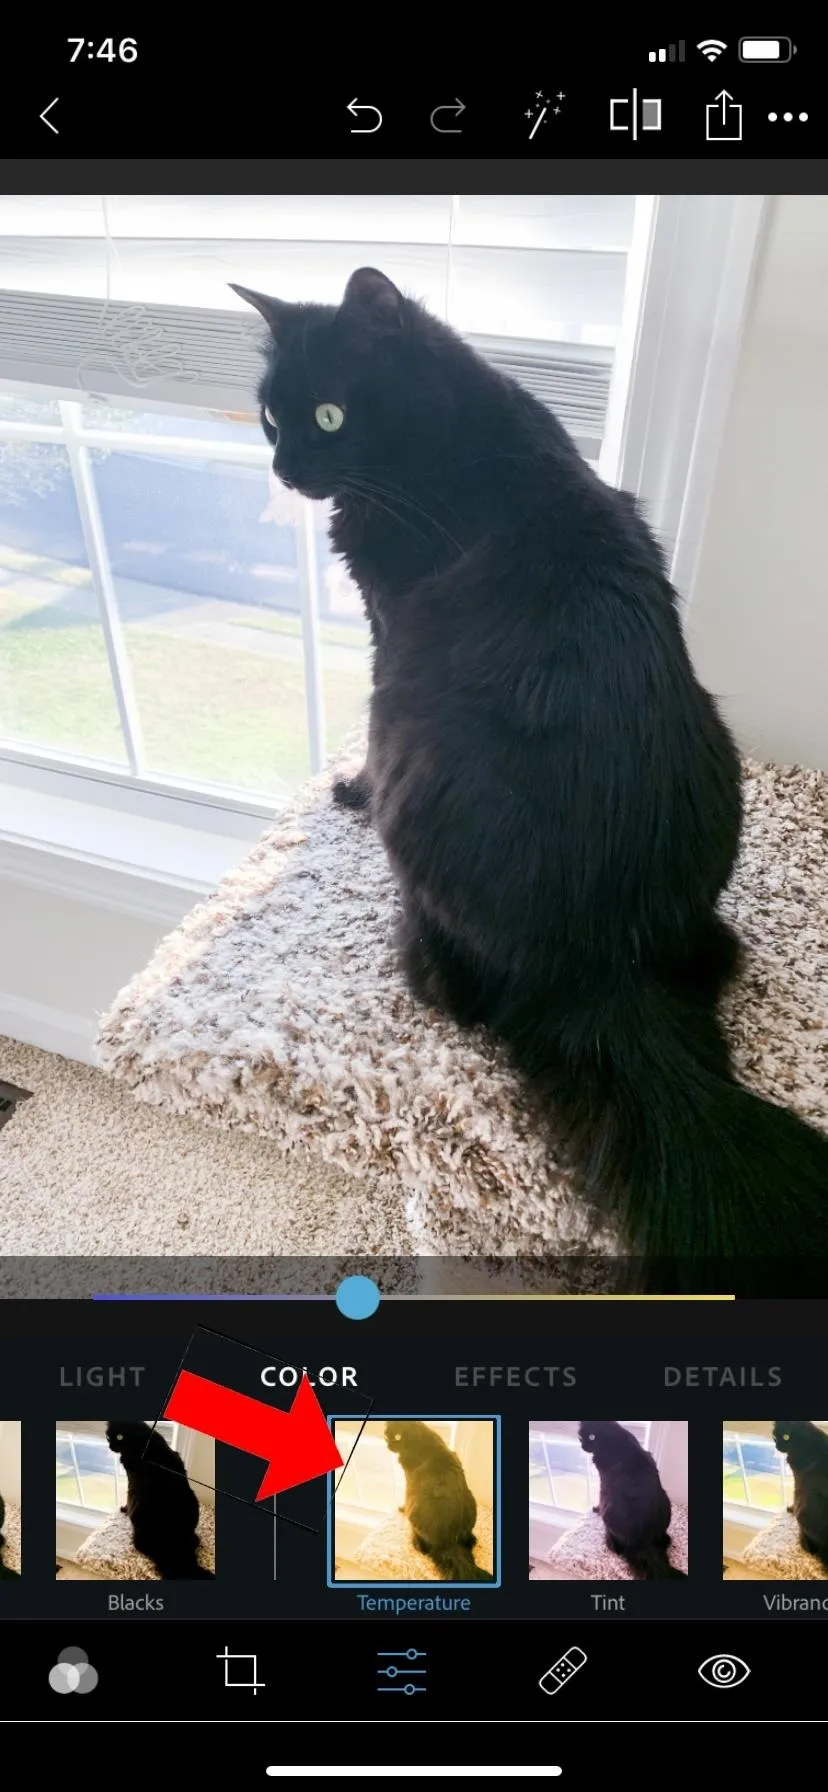
Adjust the Temperature
Another reason that a photo's lighting can look off is color temperature. Typically, if you take a photo under dim lighting, the temperature will shift to warm. On the flip side of the coin, under fluorescent lights, a photo can look too cool.
Select the "Temperature" control and adjust your bar accordingly. To fix a photo that is too warm, slide the temperature bar towards the cool (blue) direction (to the left). If your photo is too cool, slide the bar into the warm (yellow) direction (to the right).
Use Filters to Do All the Work
Another way to fix the lighting in an image, especially if you have a specific type of lighting in mind, is to use filters, which Adobe calls "Looks" in Photoshop Express. Filters, however, are not always a quick fix.
If you want to use a filter, you may need to make a few adjustments first in order to get the correct effect from the look. Scroll over to the "Looks" tab (the interconnected circles) at the bottom of the screen. For lighting effects, you'll only want to use the filters in the "White Balance" category, but you can learn about all the filters on Photoshop Express in my previous guide.
After working your magi to fix lighting problems, don't forget to save your photo after you finish and share it if that's what you want to do.
- Follow Gadget Hacks on Pinterest, Reddit, Twitter, YouTube, and Flipboard
- Sign up for Gadget Hacks' daily newsletter or weekly Android and iOS updates
- Follow WonderHowTo on Facebook, Twitter, Pinterest, and Flipboard
Cover photo, screenshots, and GIFs by Courtney Raphael/Gadget Hacks


Comments
Be the first, drop a comment!