

Adobe is best known for its photo and video editing software, but they also have a number of lesser-known apps that you may be interested in. Adobe Fill & Sign, available on iPhone and Android, is the best way to electronically fill out important documents on your smartphone with a third-party app.
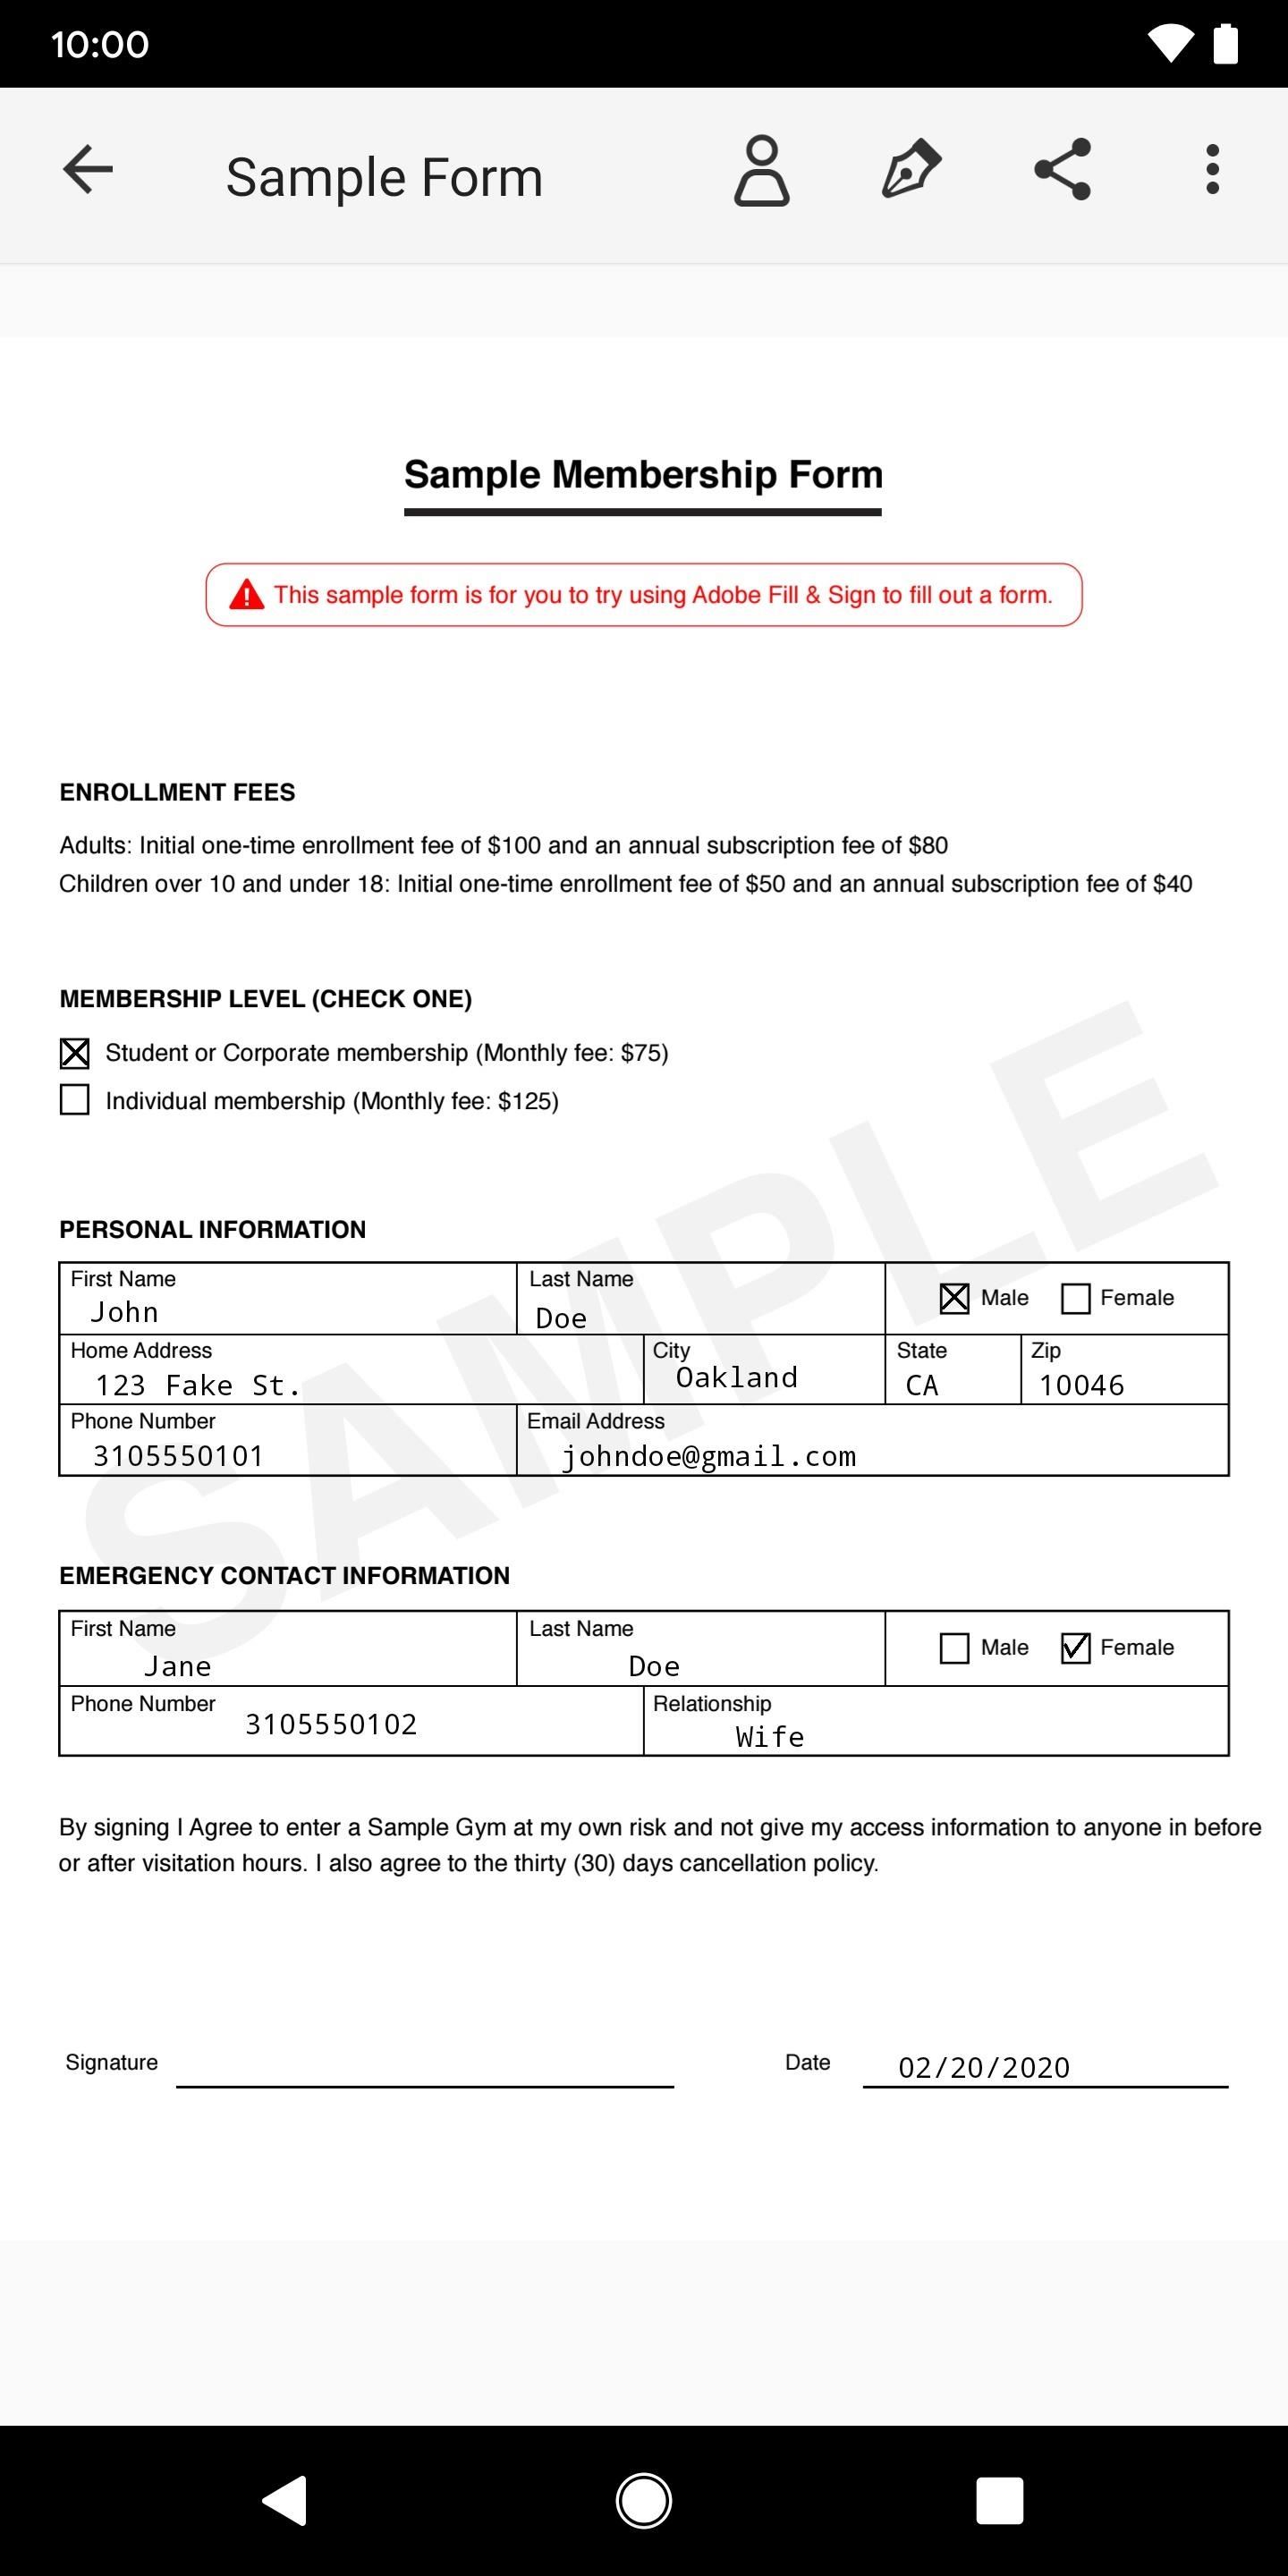
Using Adobe Fill & Sign, you can quickly fill out almost any online form. All you have to do is import a document into the app — or if it's not online, you can take a photo of it and convert it into a PDF. Then you can tap to enter text in boxes or checkmarks in forms, use your finger to draw your signature or initials, then save the form to your phone or send it out immediately via email or text.
Step 1: Select Form
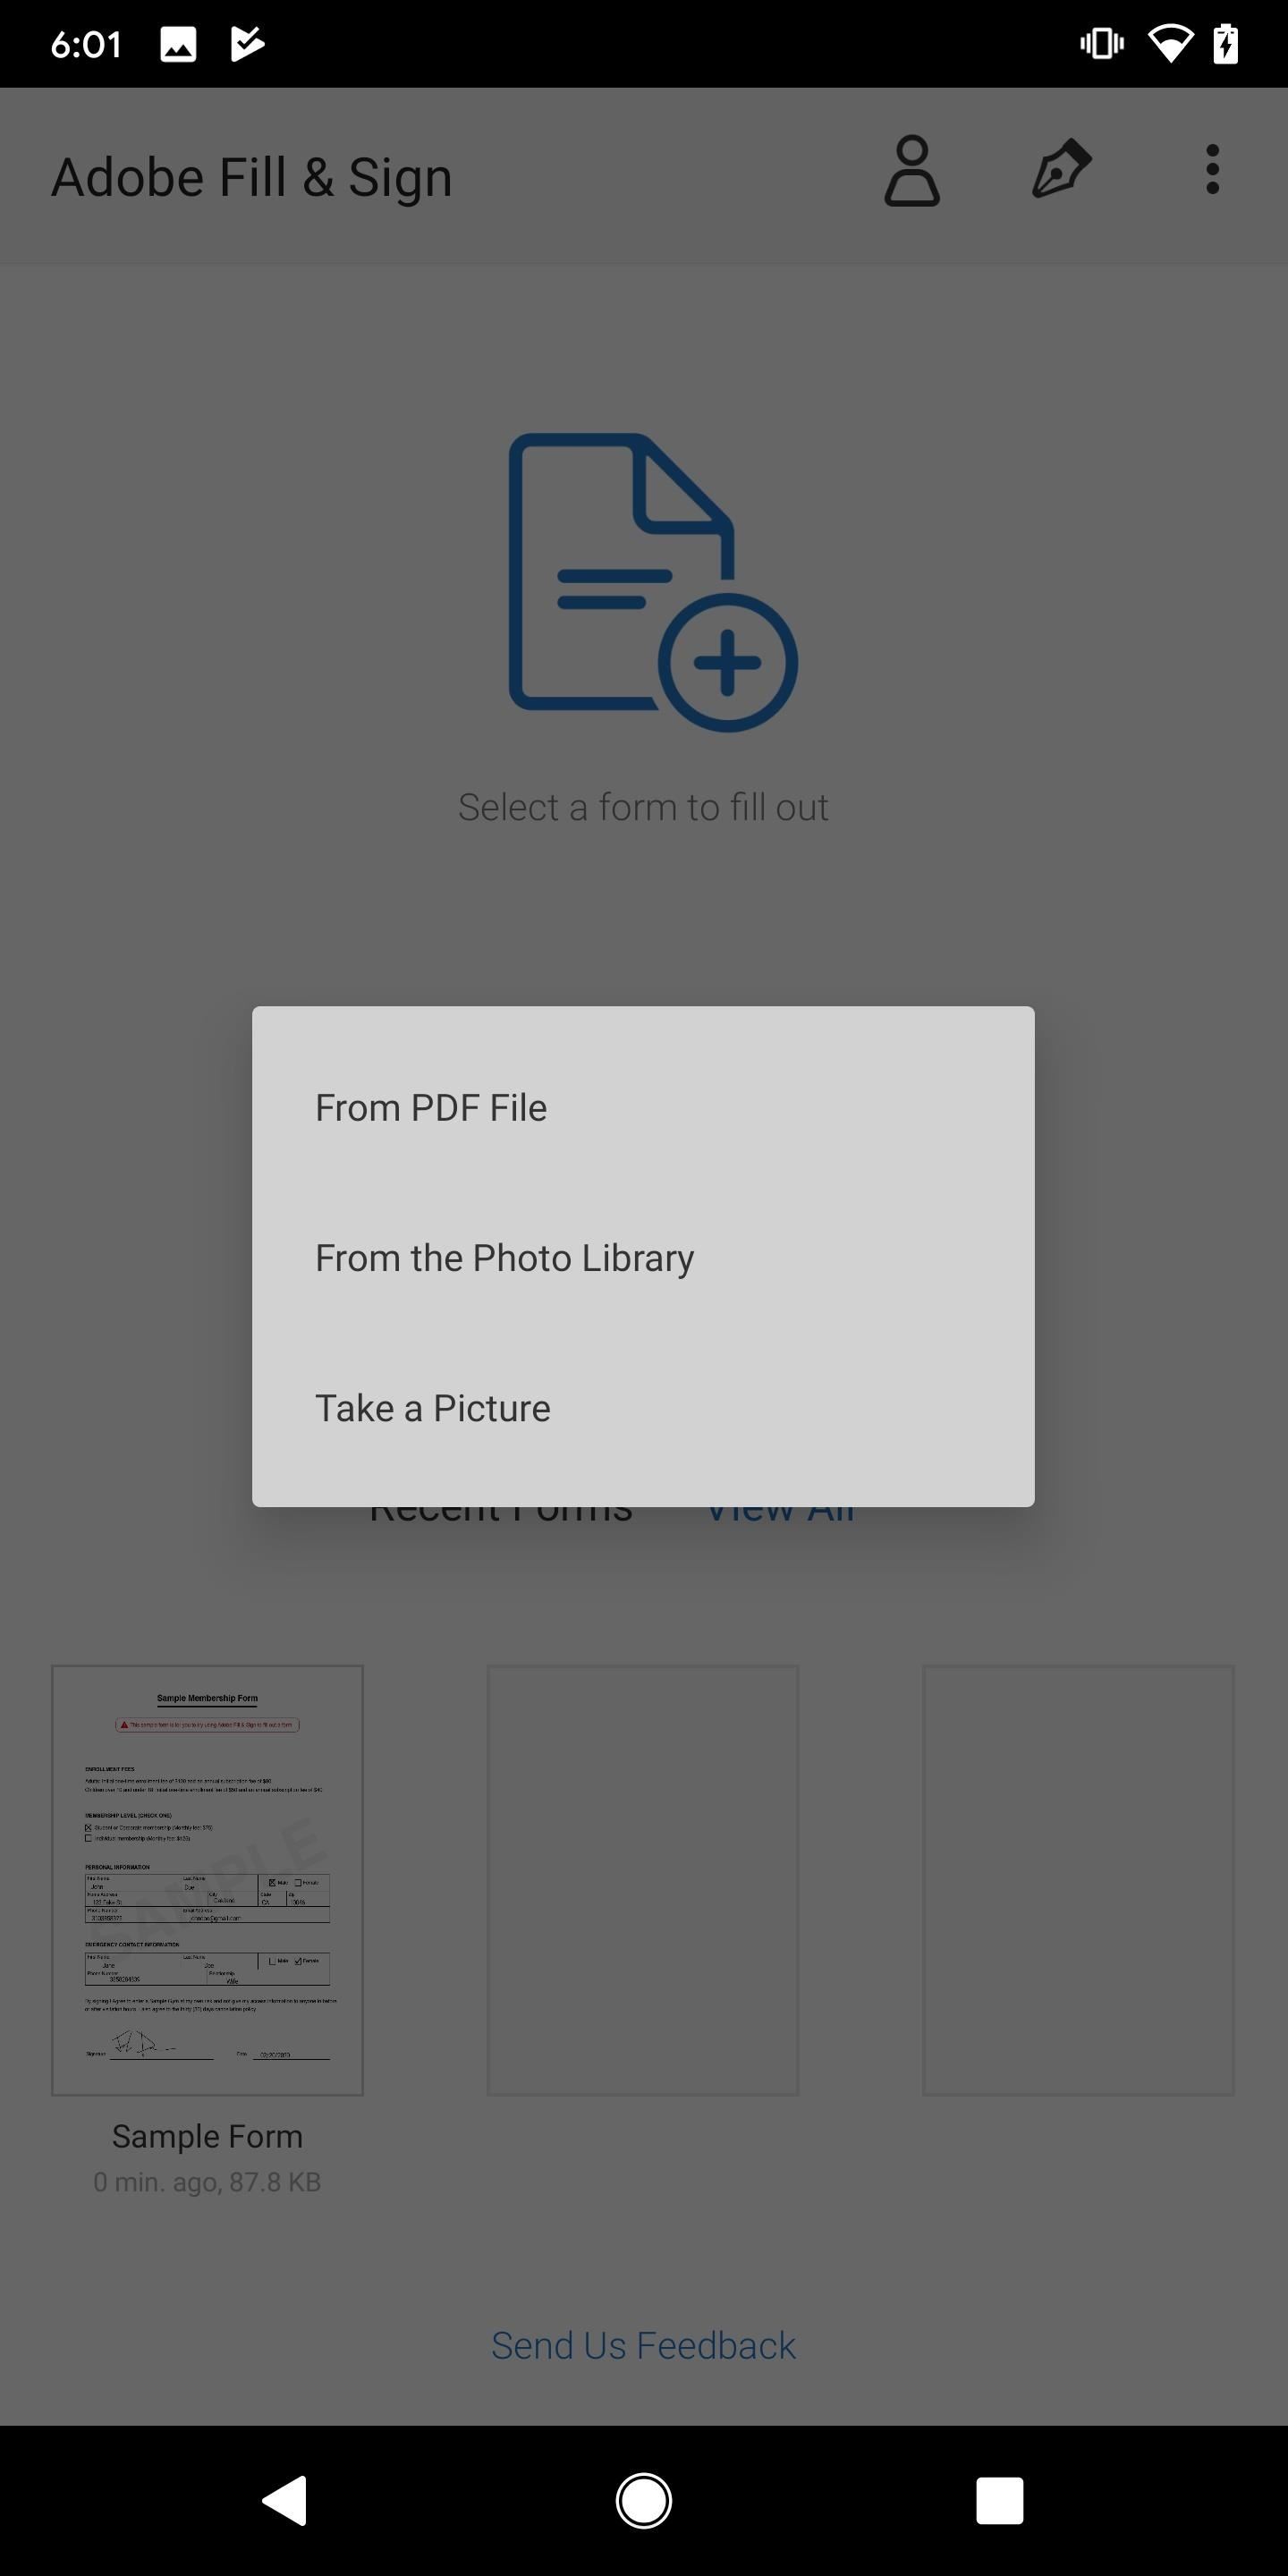
Open Adobe Fill & Sign and tap on the form with a plus sign icon in the middle of the screen to choose a form to fill out. Depending on which operating system you have, you can choose from the following methods to import a form:
- Android: (1) PDF File, (2) Photo Library, and (3) Take a Picture
- iOS: (1) File Browser, (2) Web URL, (3) Web Search, (4) Camera Roll, (5) Take a Picture, and (6) Email Attachment
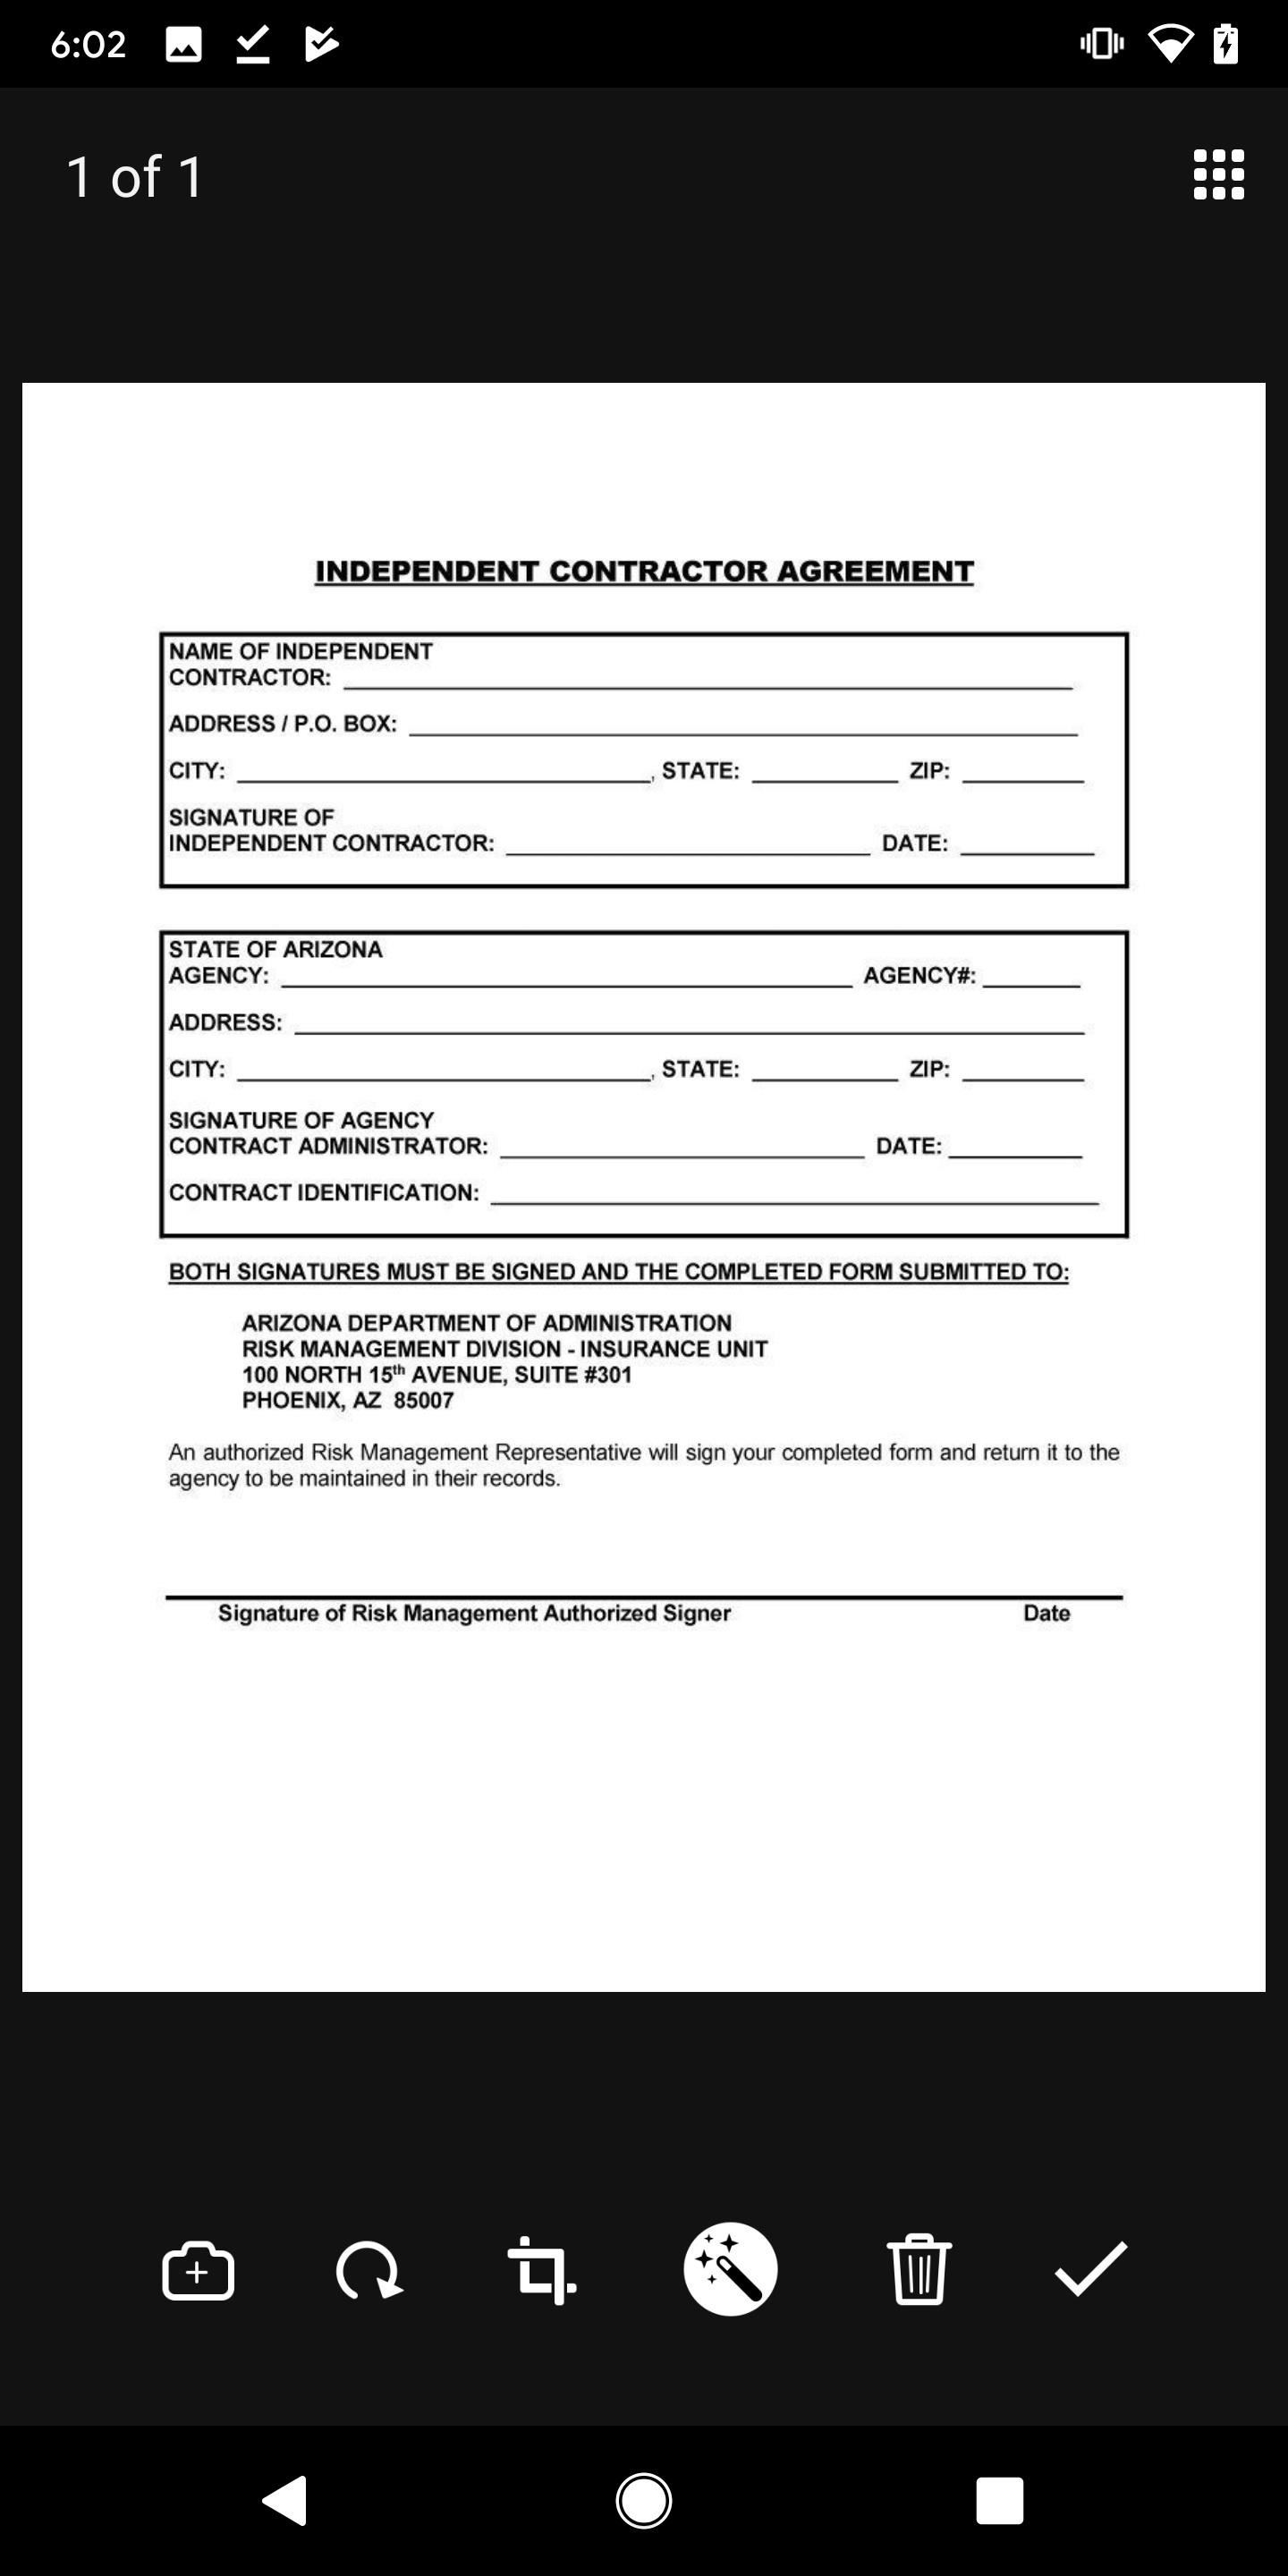
Once you select your document, you can do several things to it before you fill it out and sign it, such as rotate the document, reorder the pages, delete pages, crop the document, and make it clearer. When you're finished, you can move on to filling it out.
Step 2: Fill Out Form
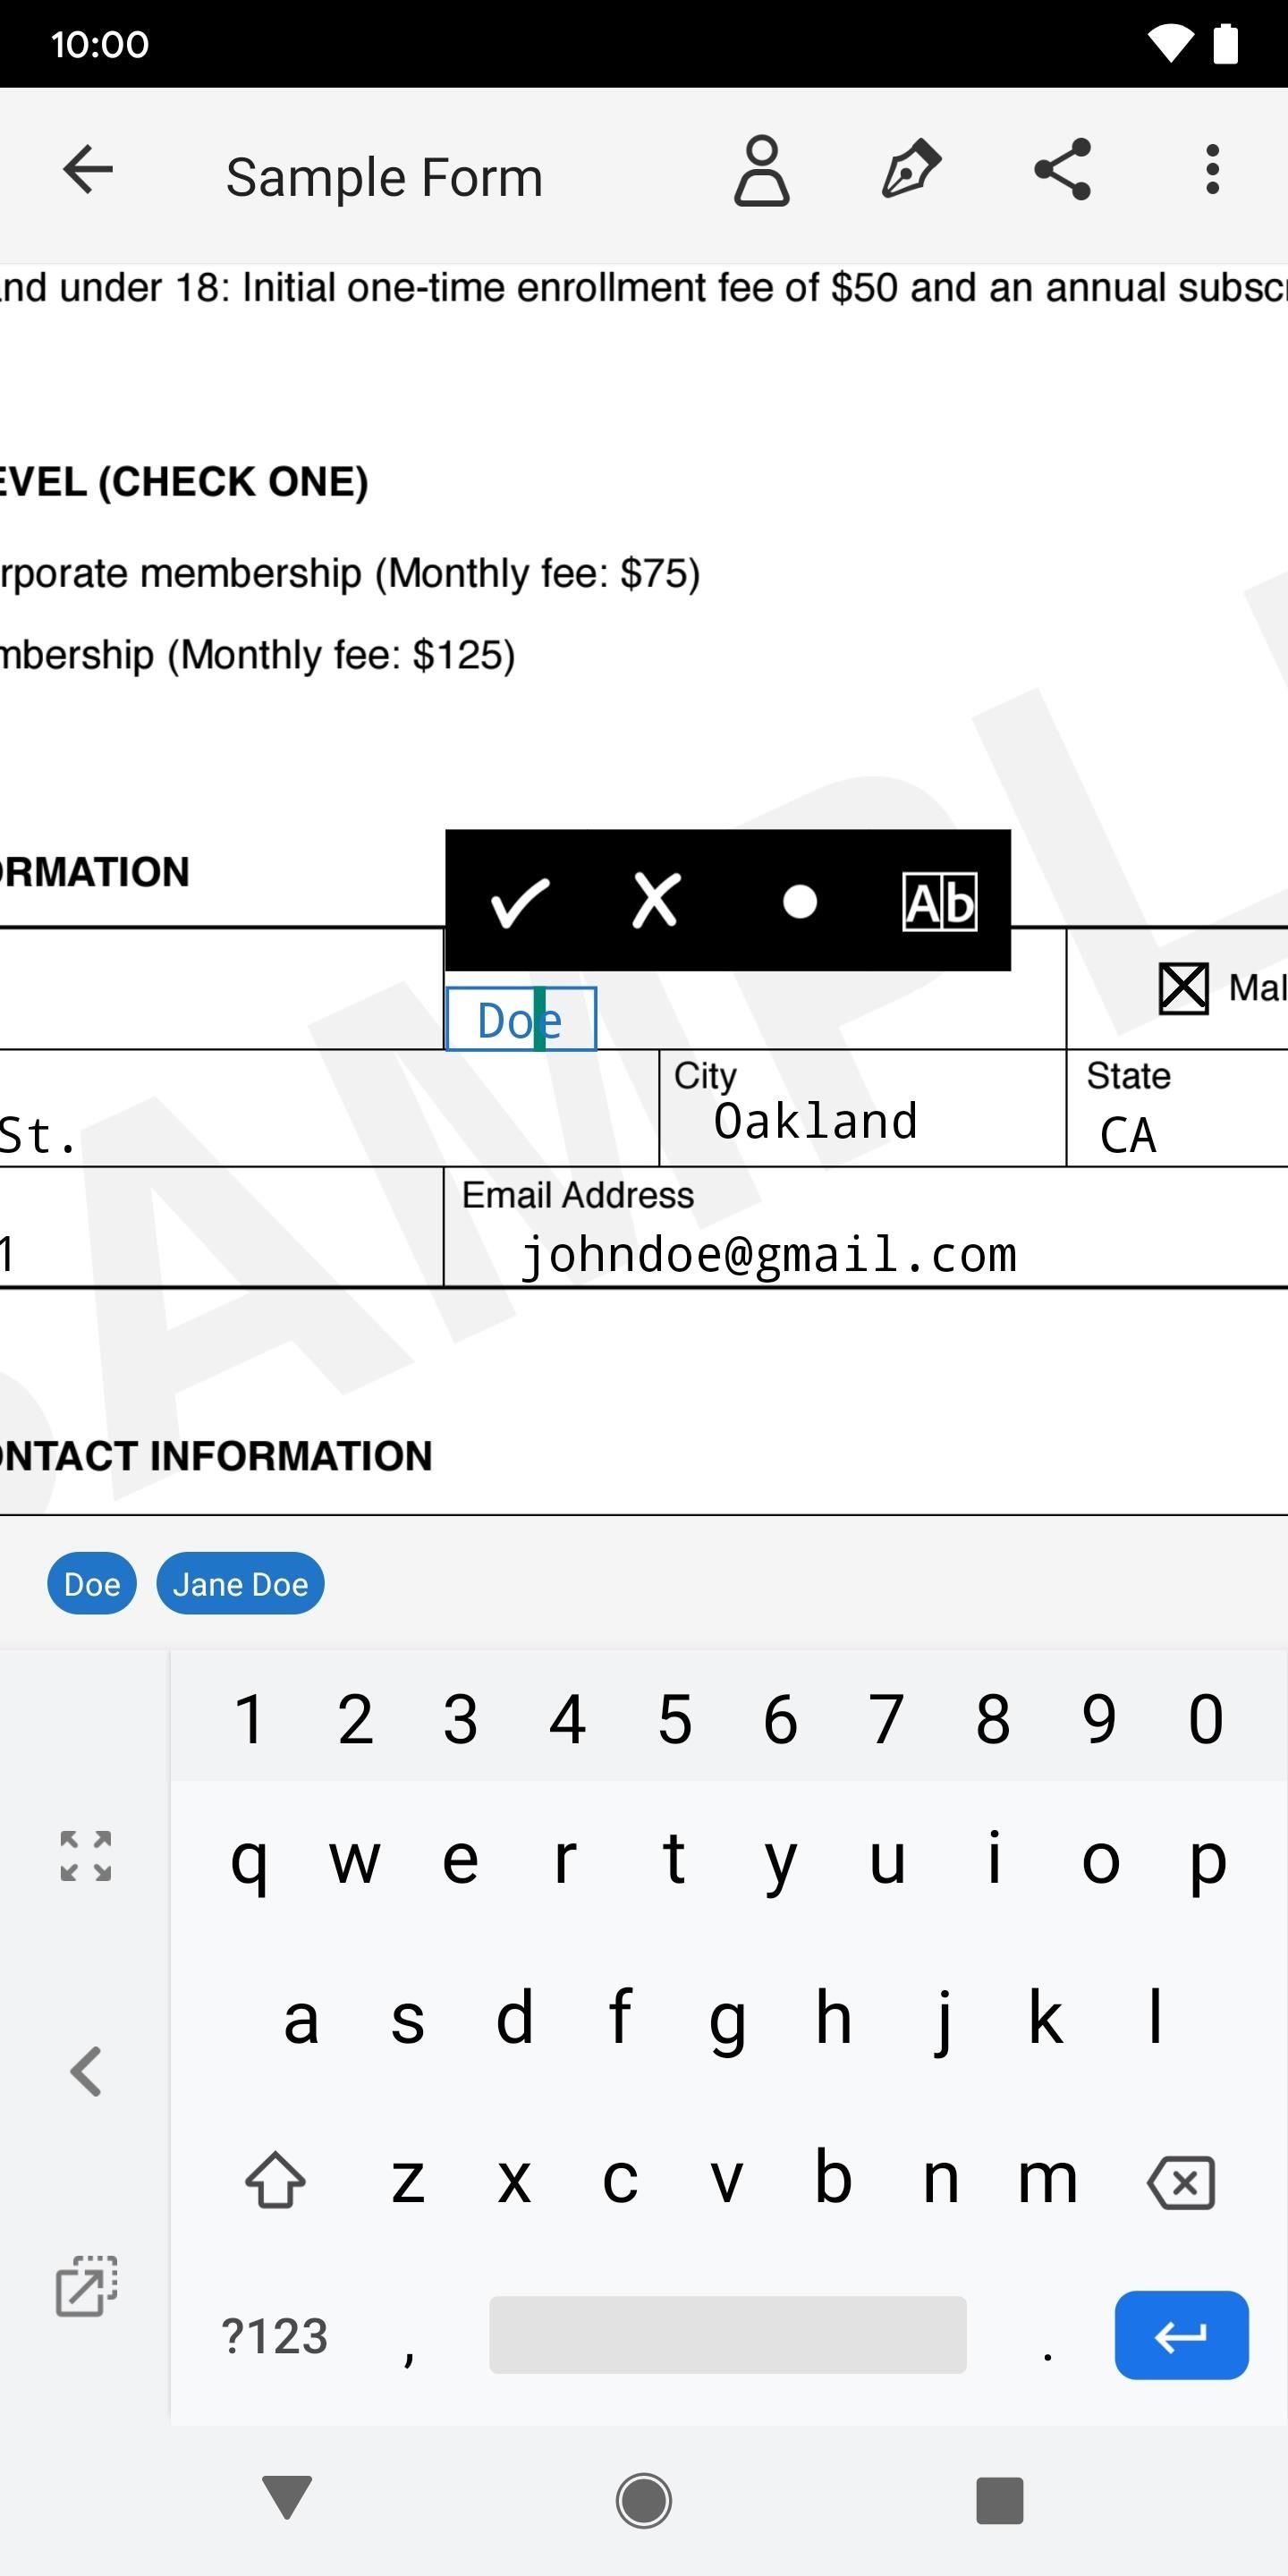
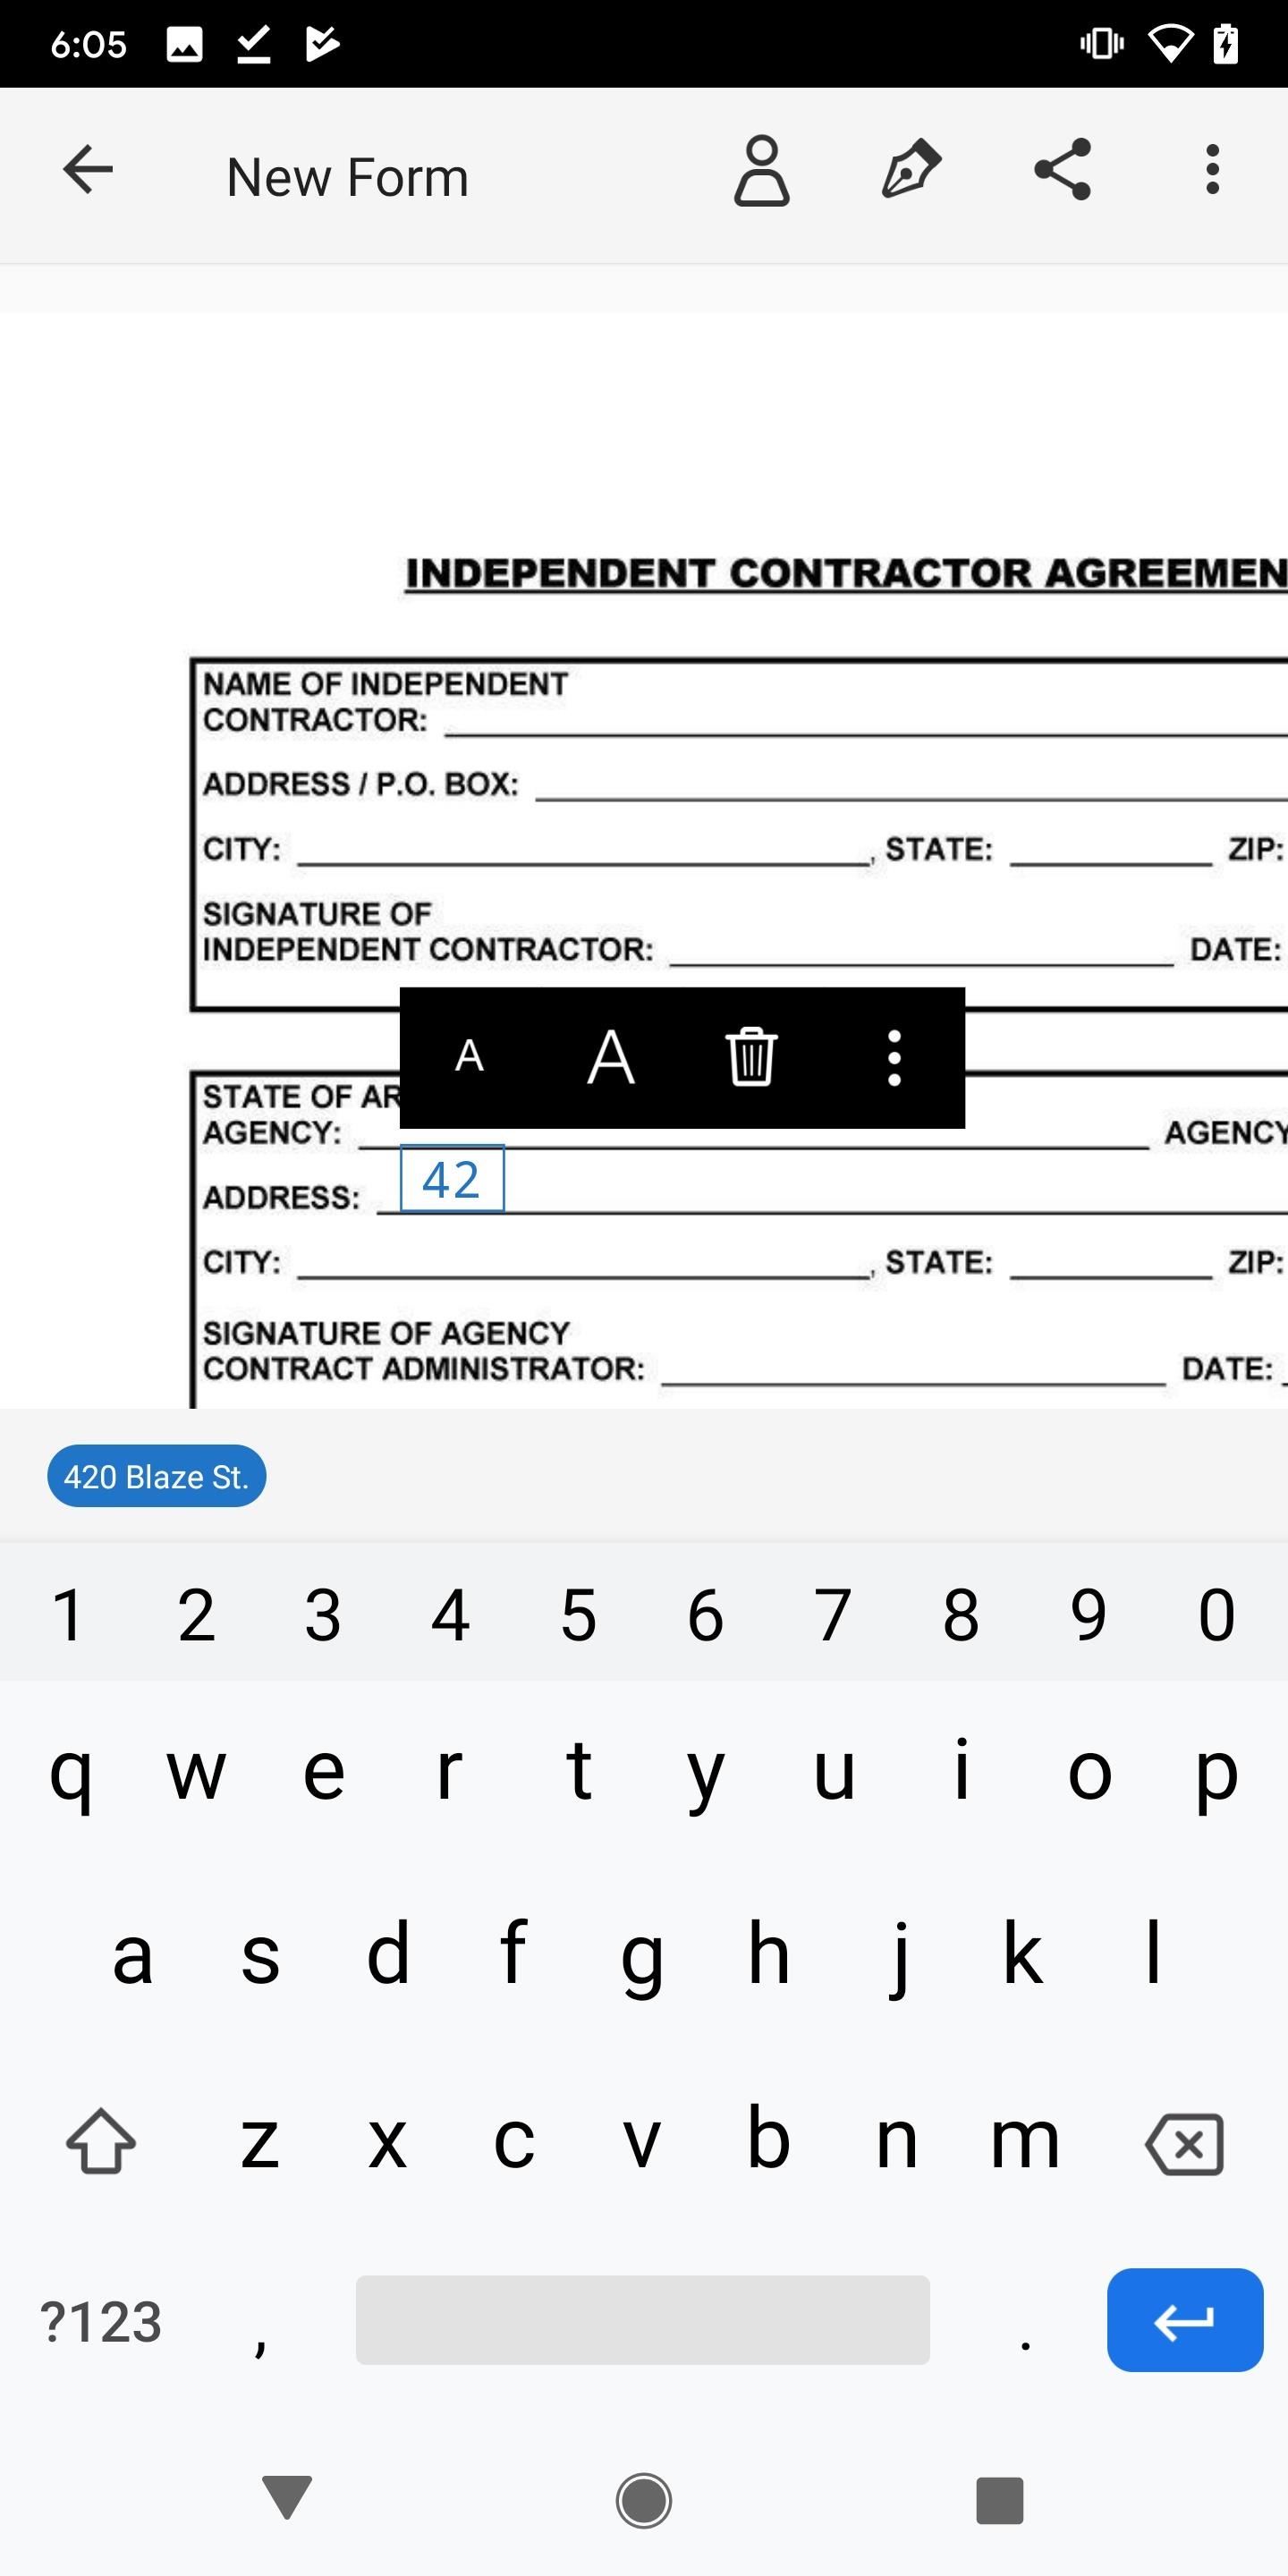
To fill out the form, simply tap anywhere to add text. A black popup will appear, which you can use to increase or decrease text size, delete a text box, and add a check mark or an X, and include a field that separates characters by boxes.
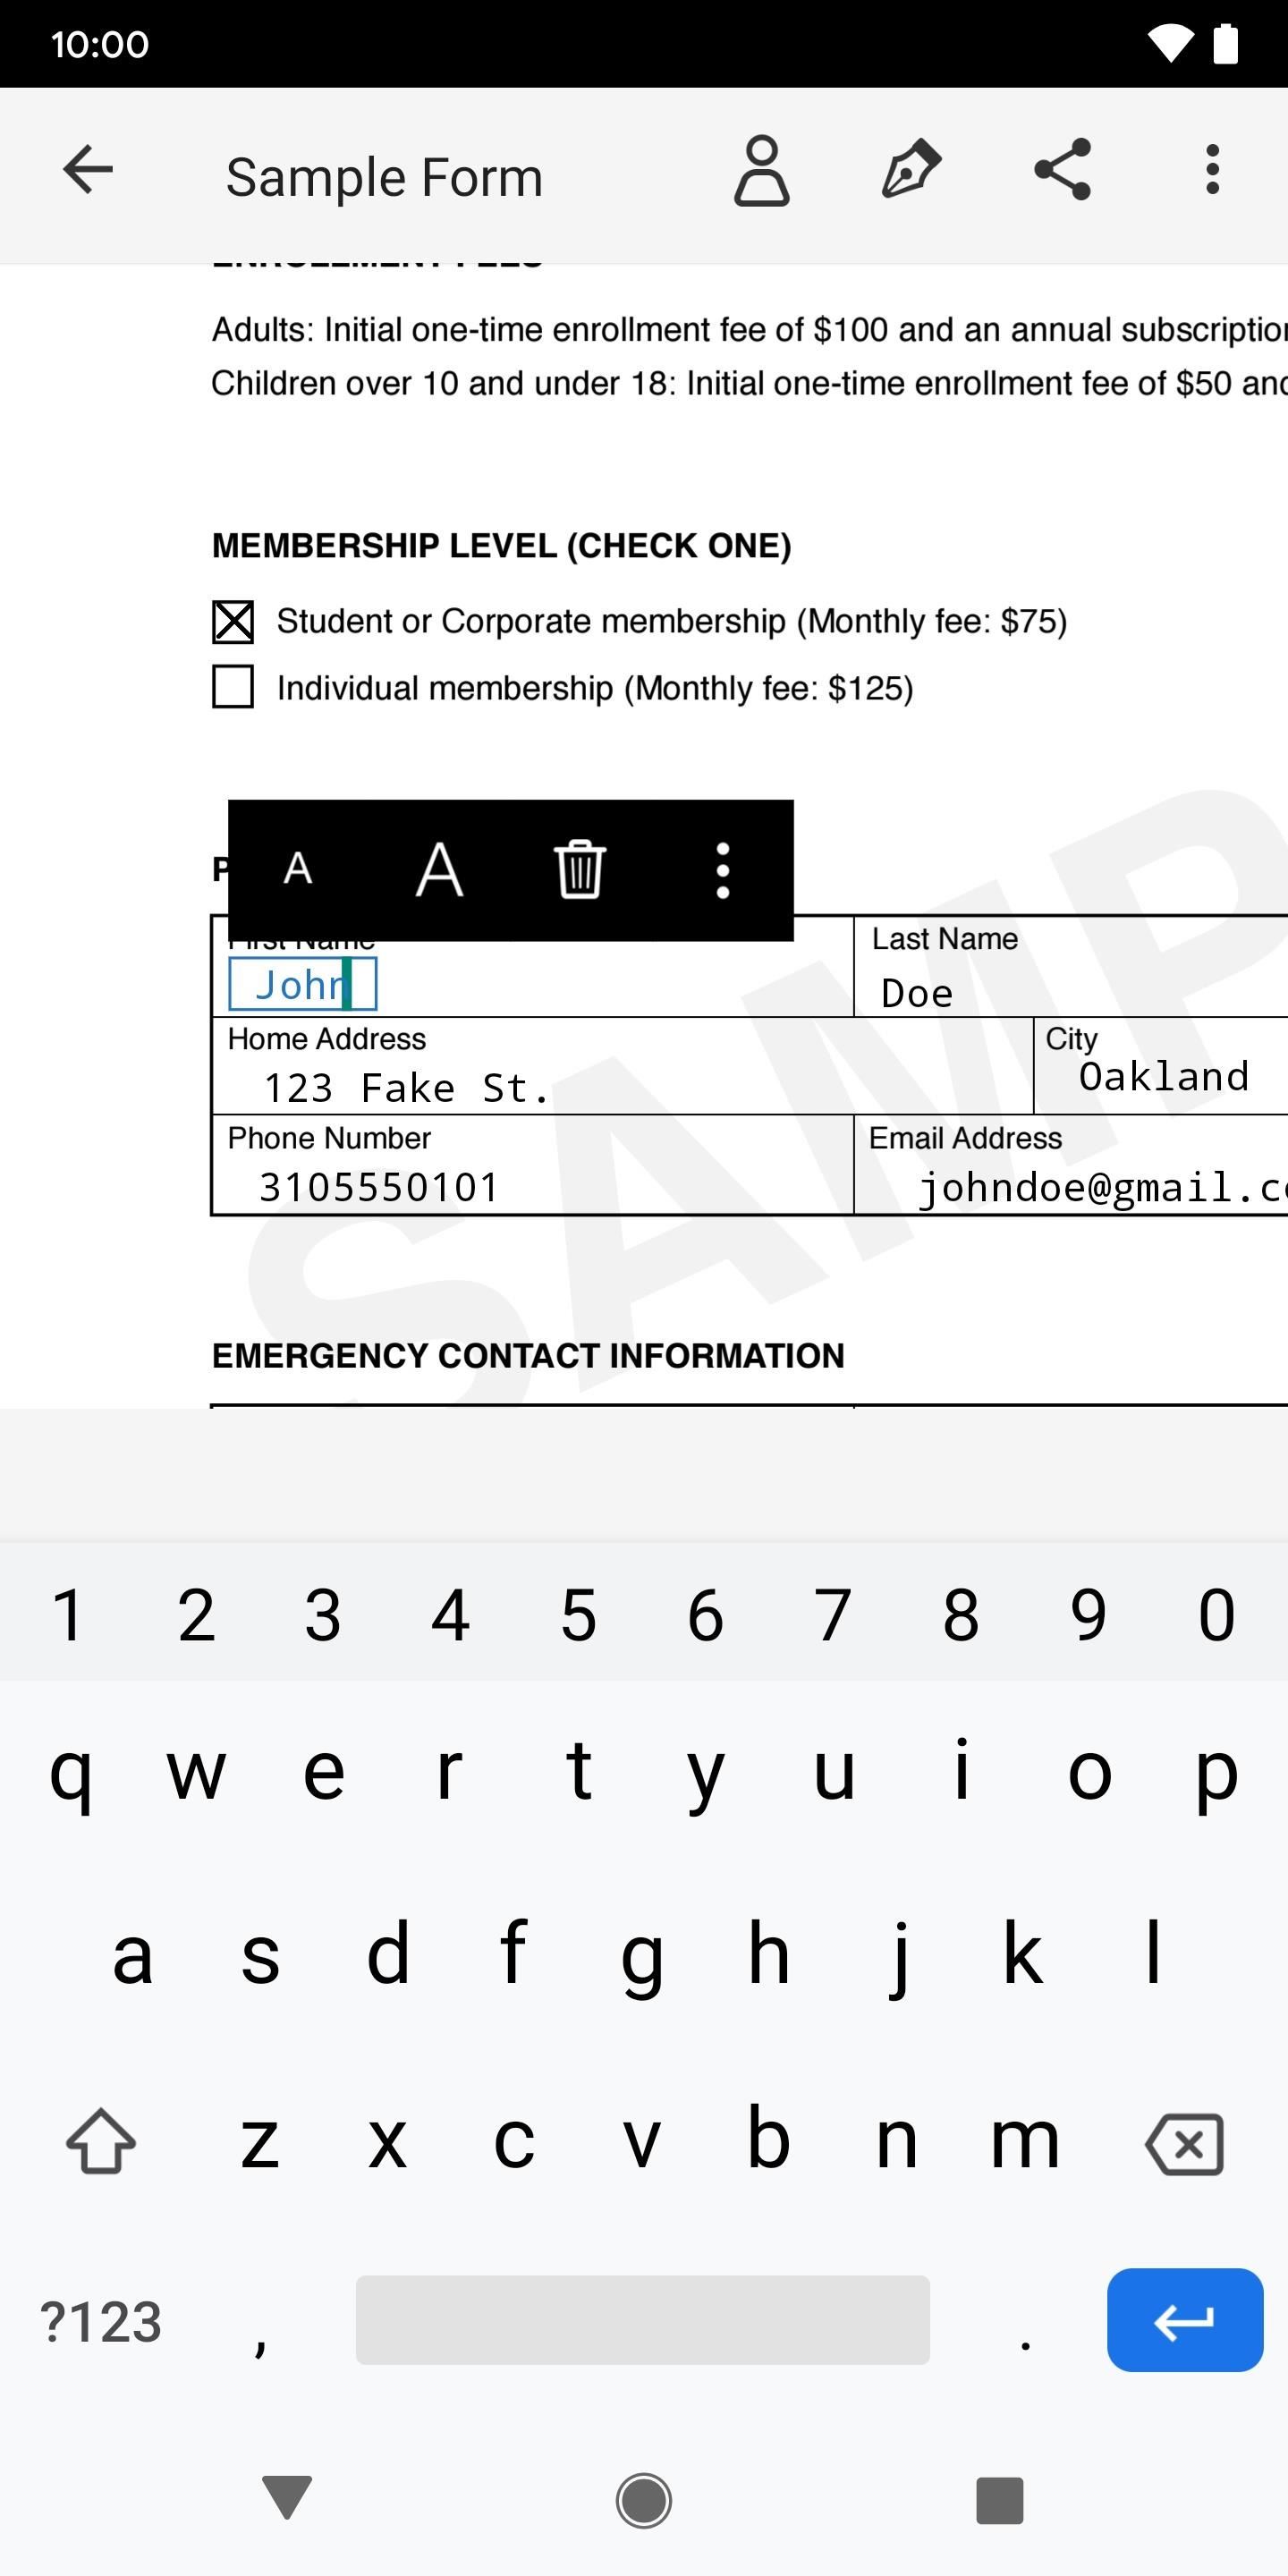
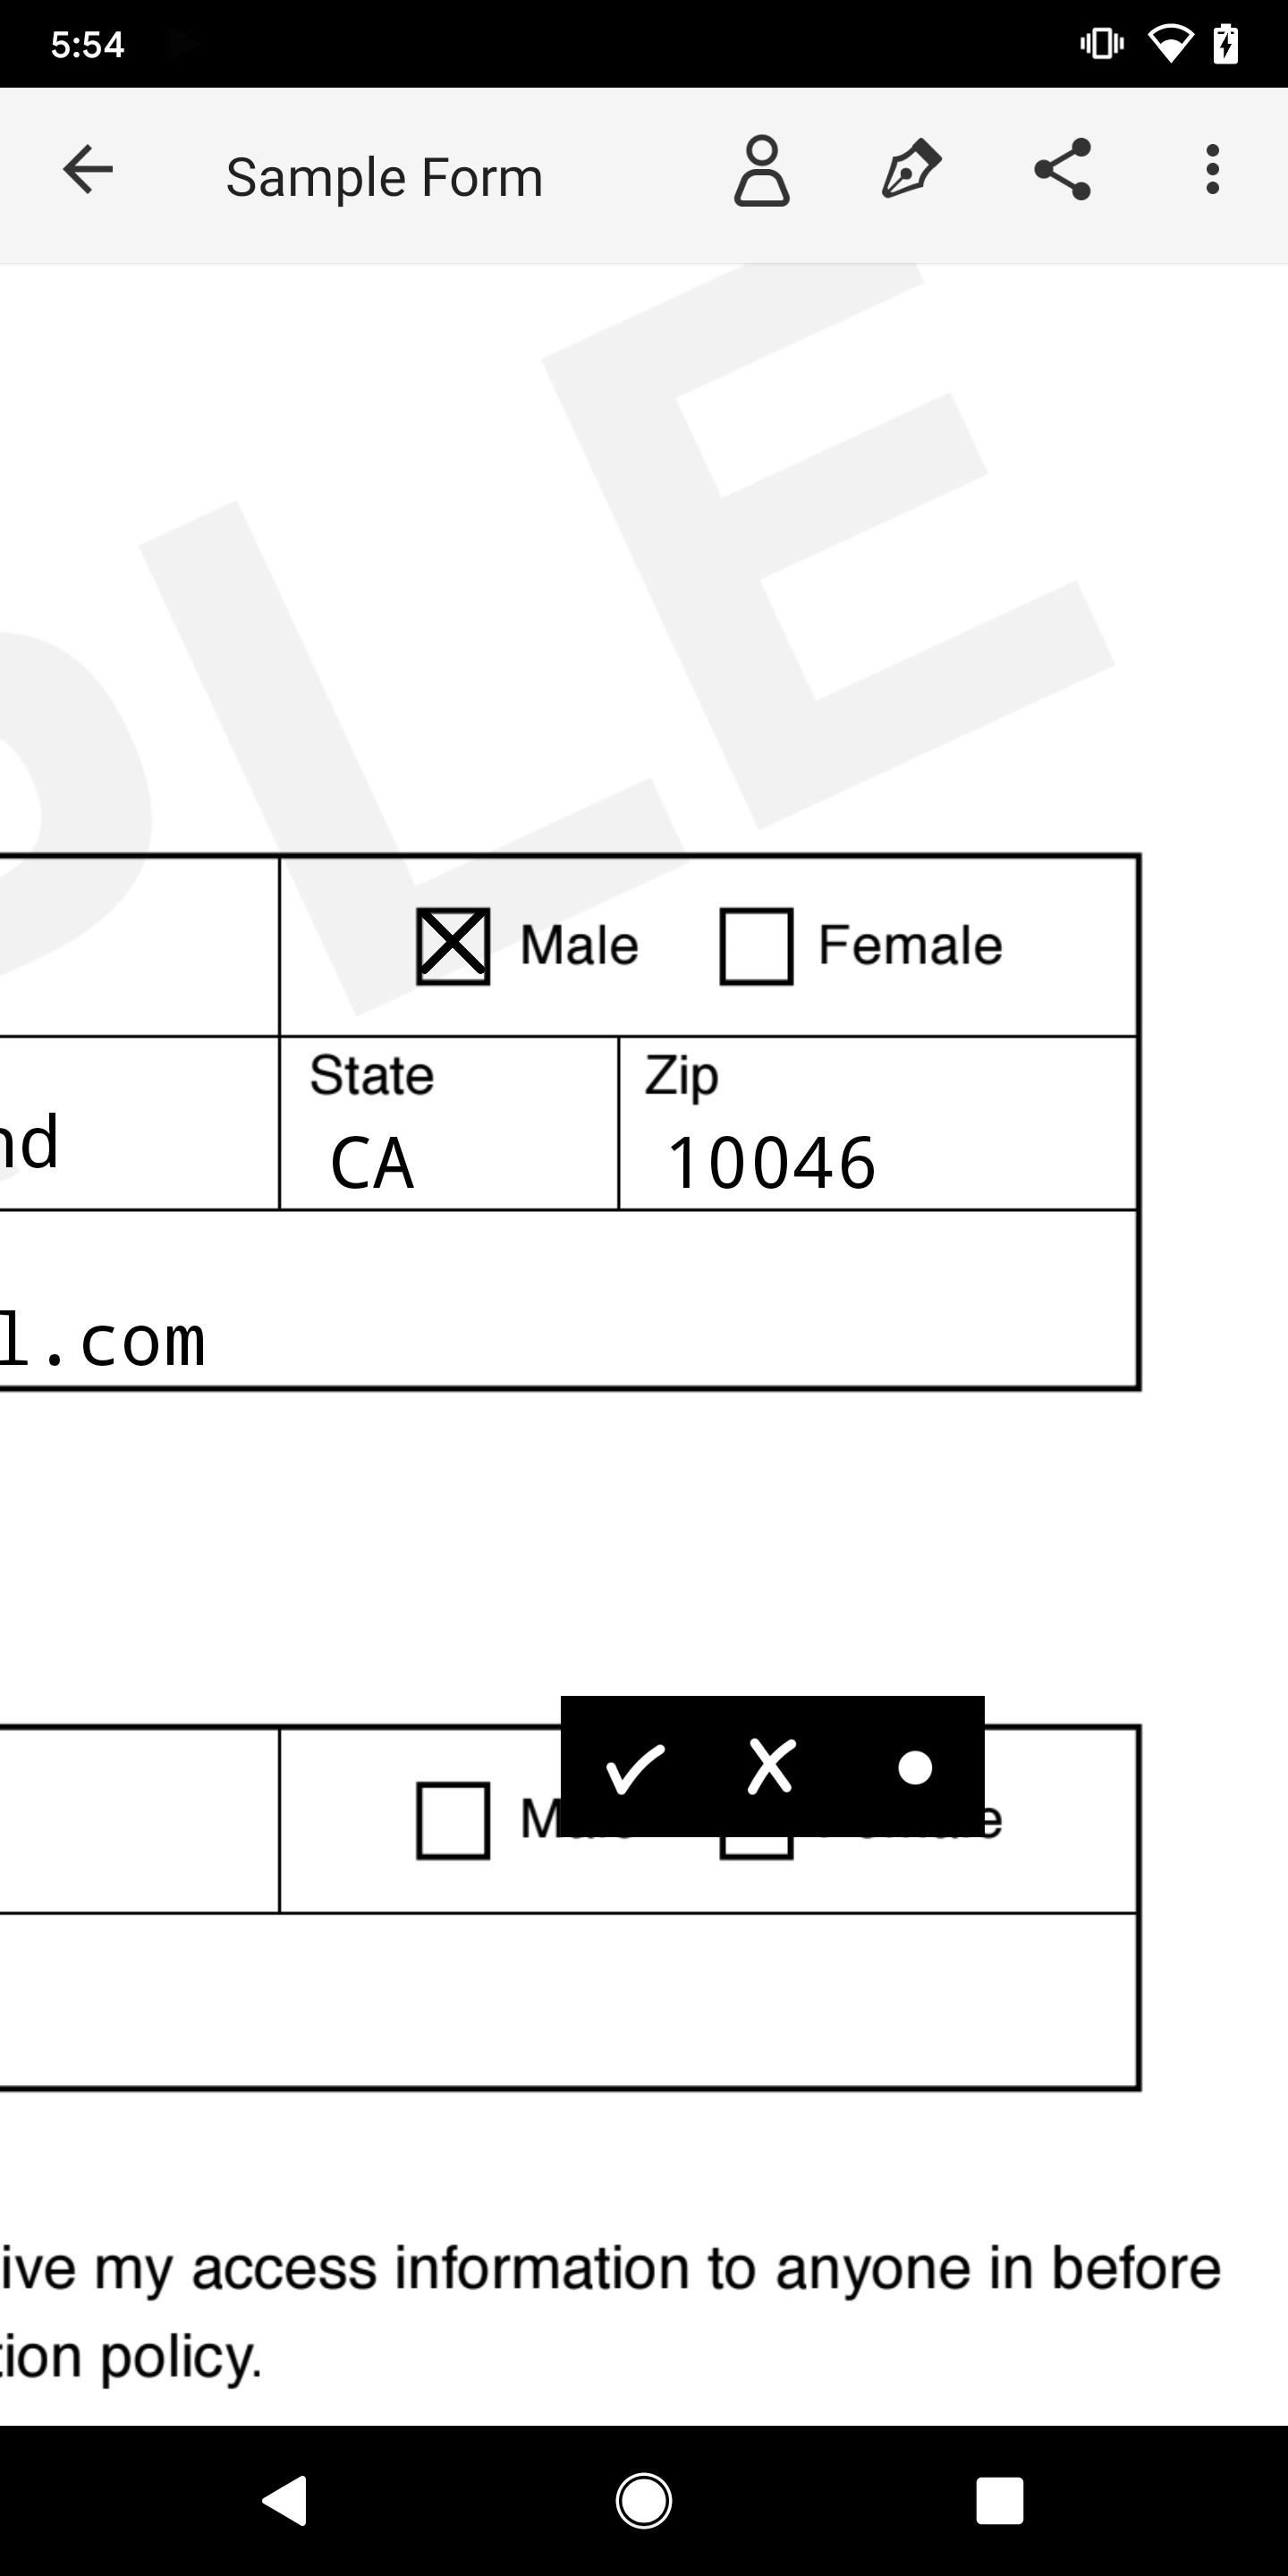
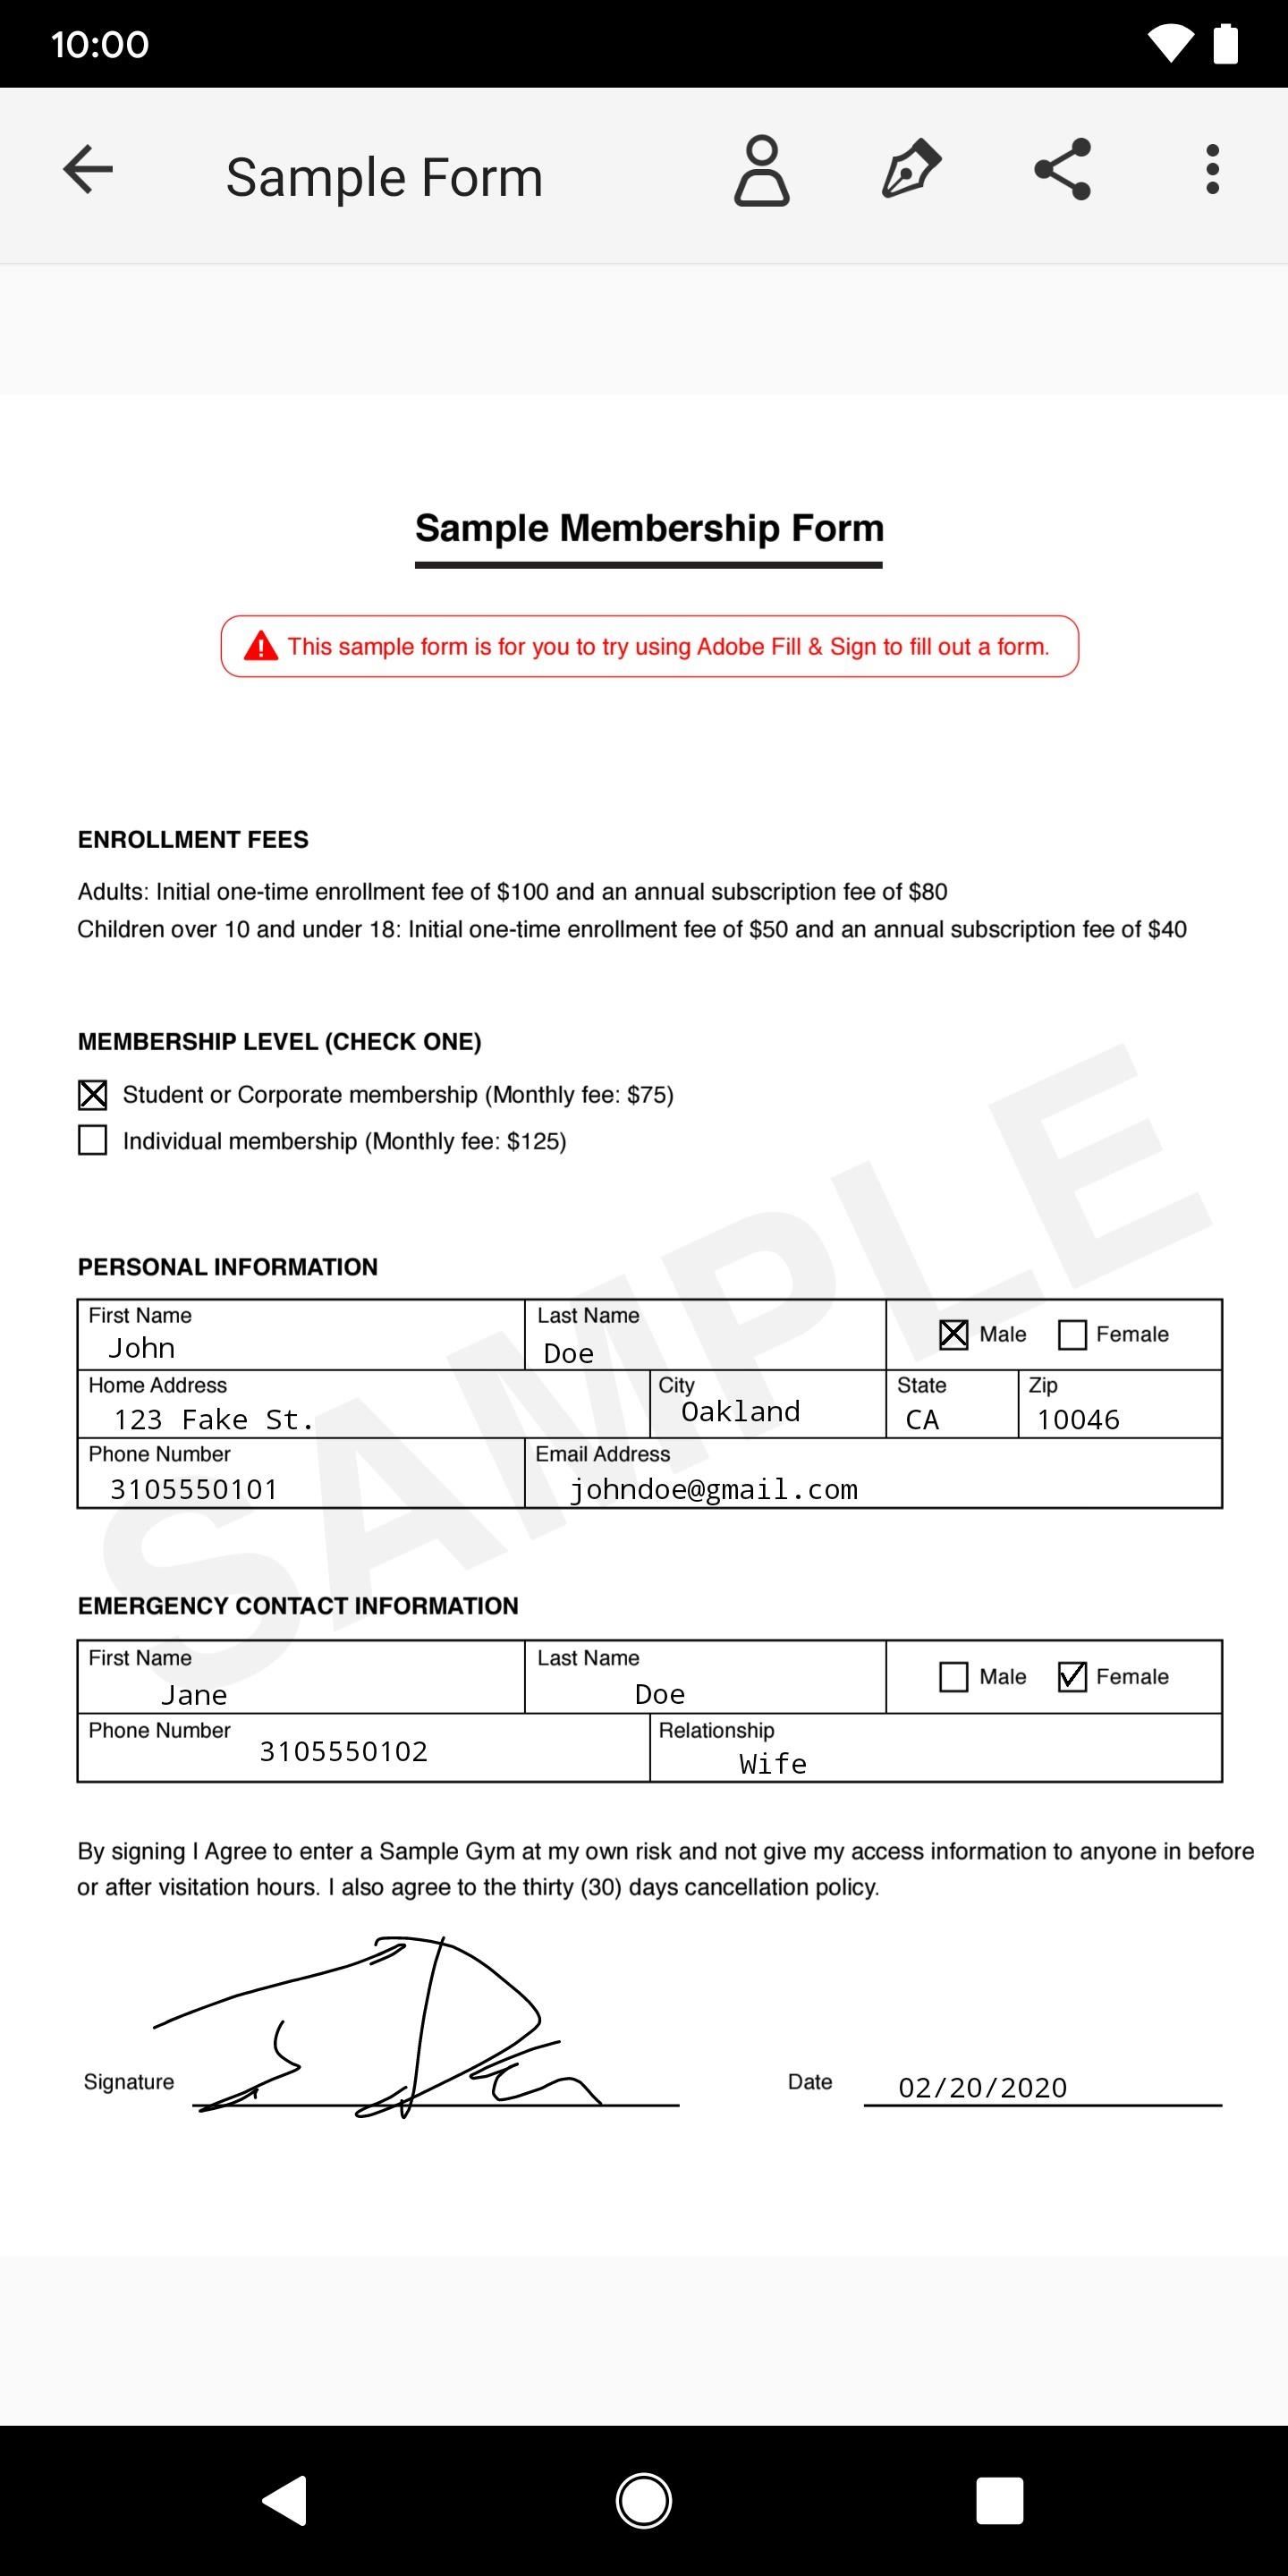
Do this for the entire form to enter in phone numbers, addresses, emails, and other important information. If a text box is askew, you can long press it and move it around so that it fits better into the form. If you need to check a box, simply tap on it to put an X inside, or hold down on the box to choose either a checkmark or a dot.
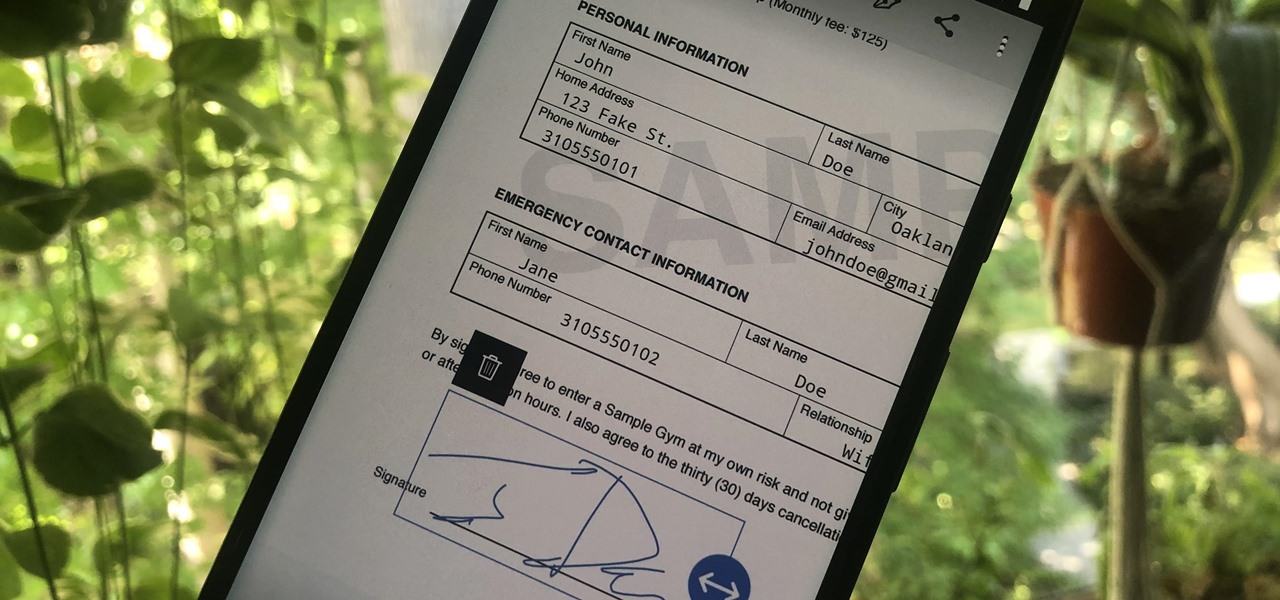
Step 3: Enter Signature
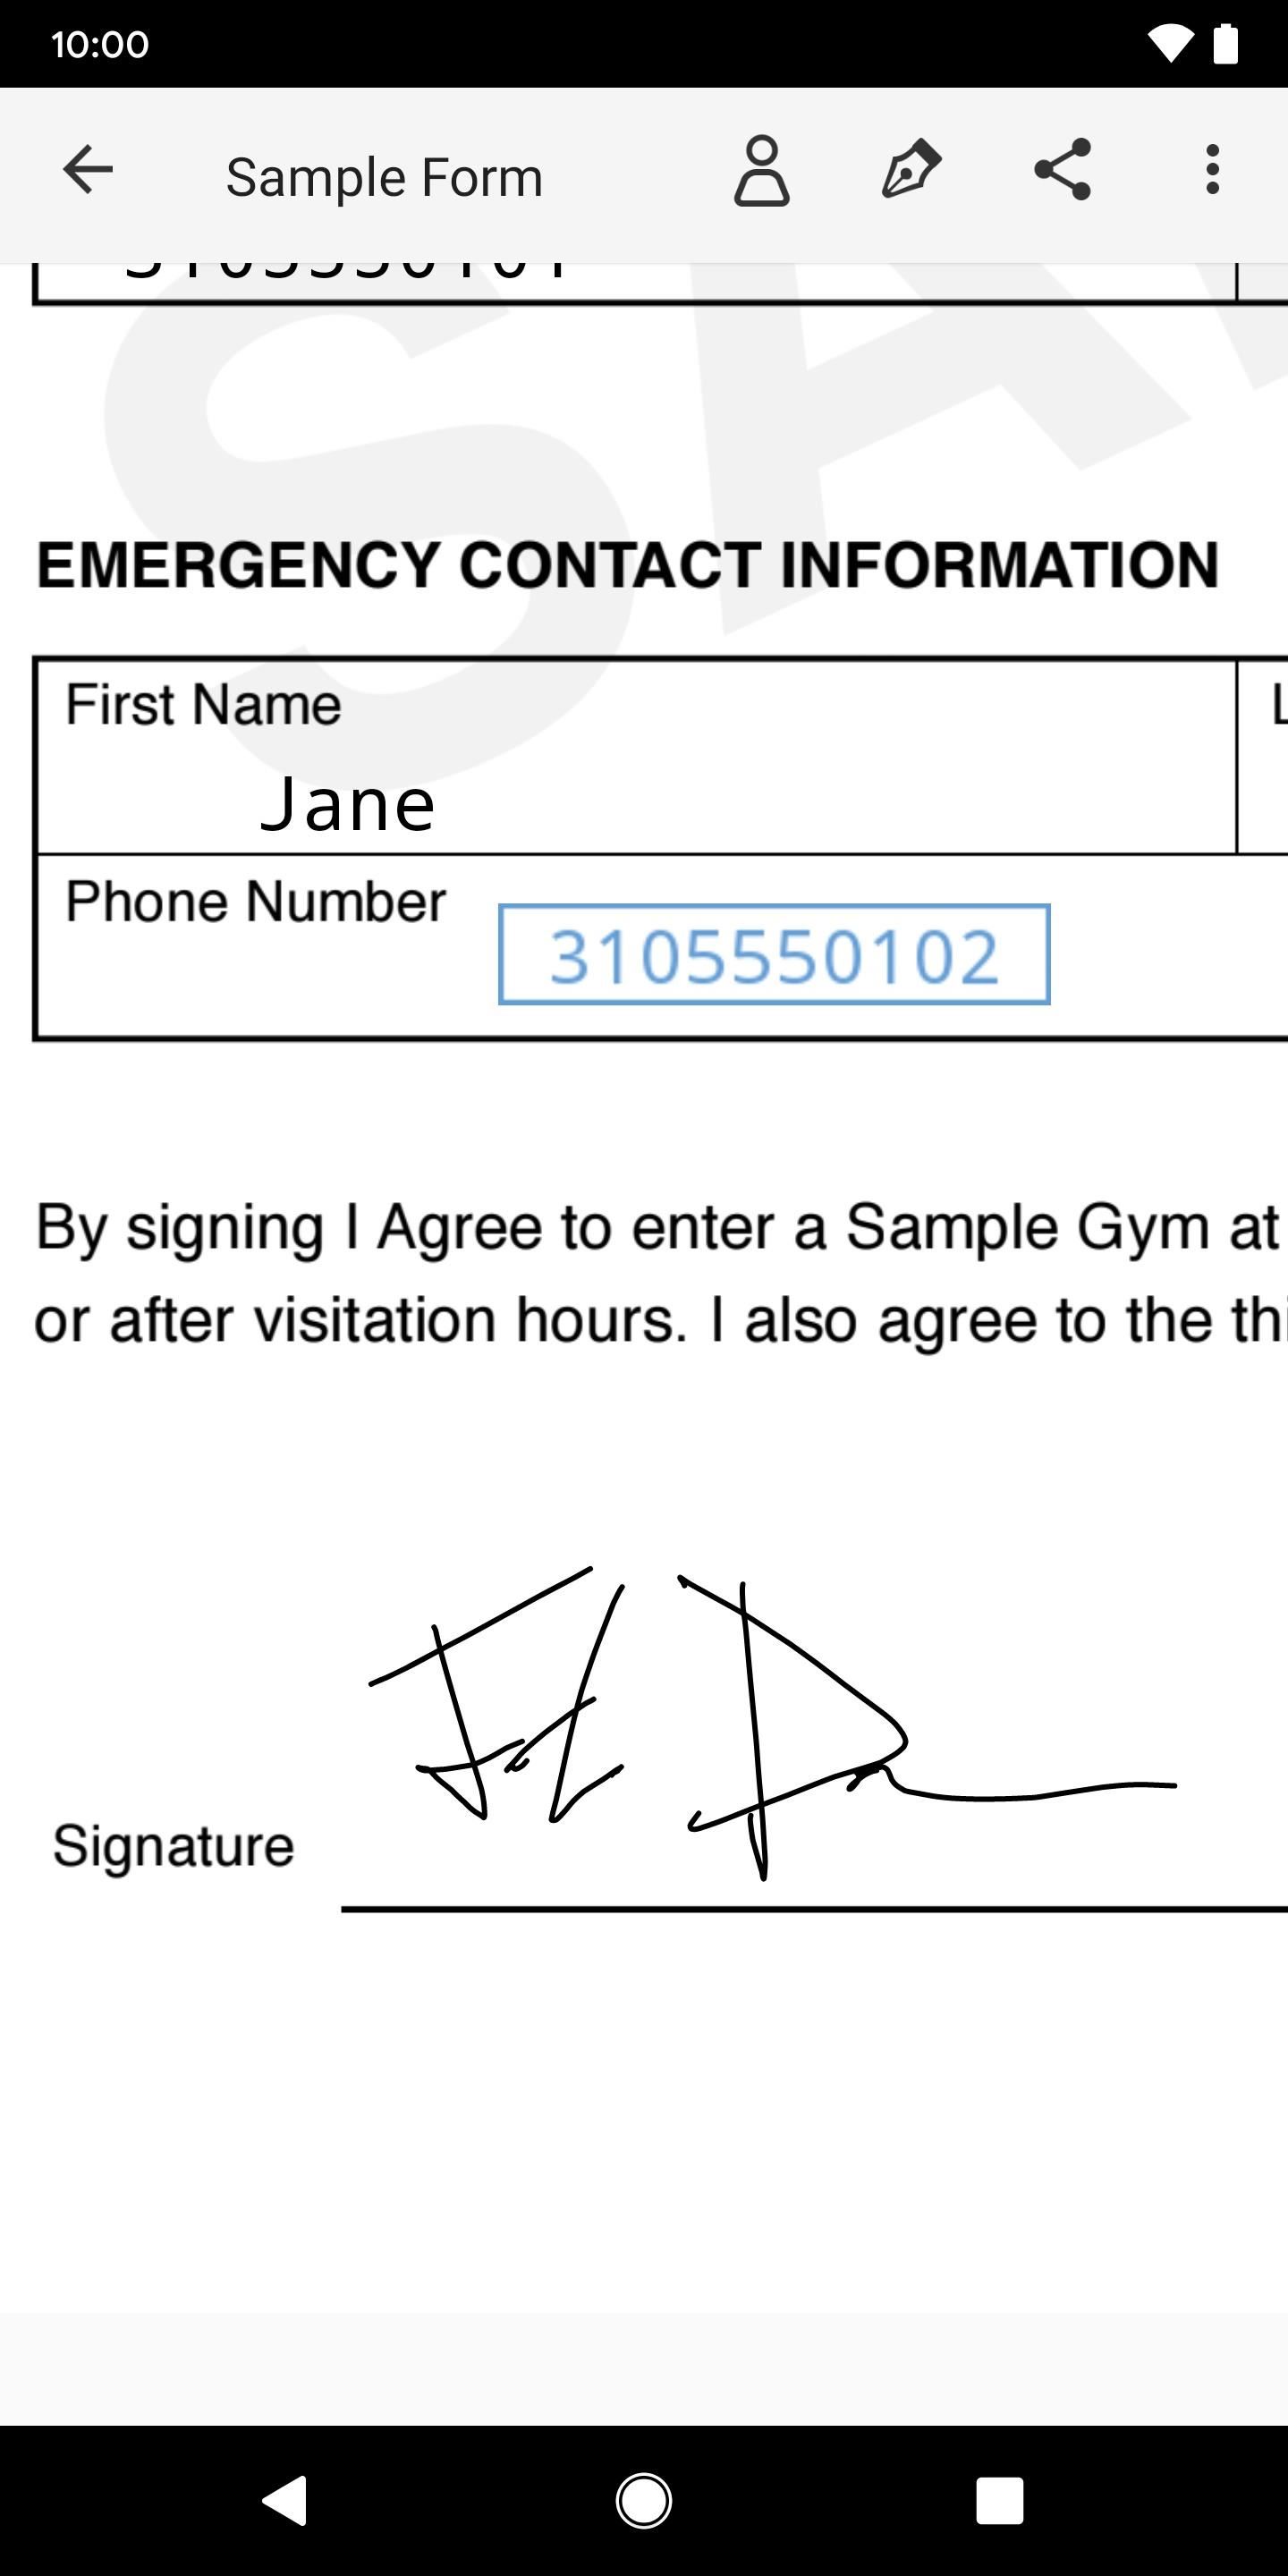
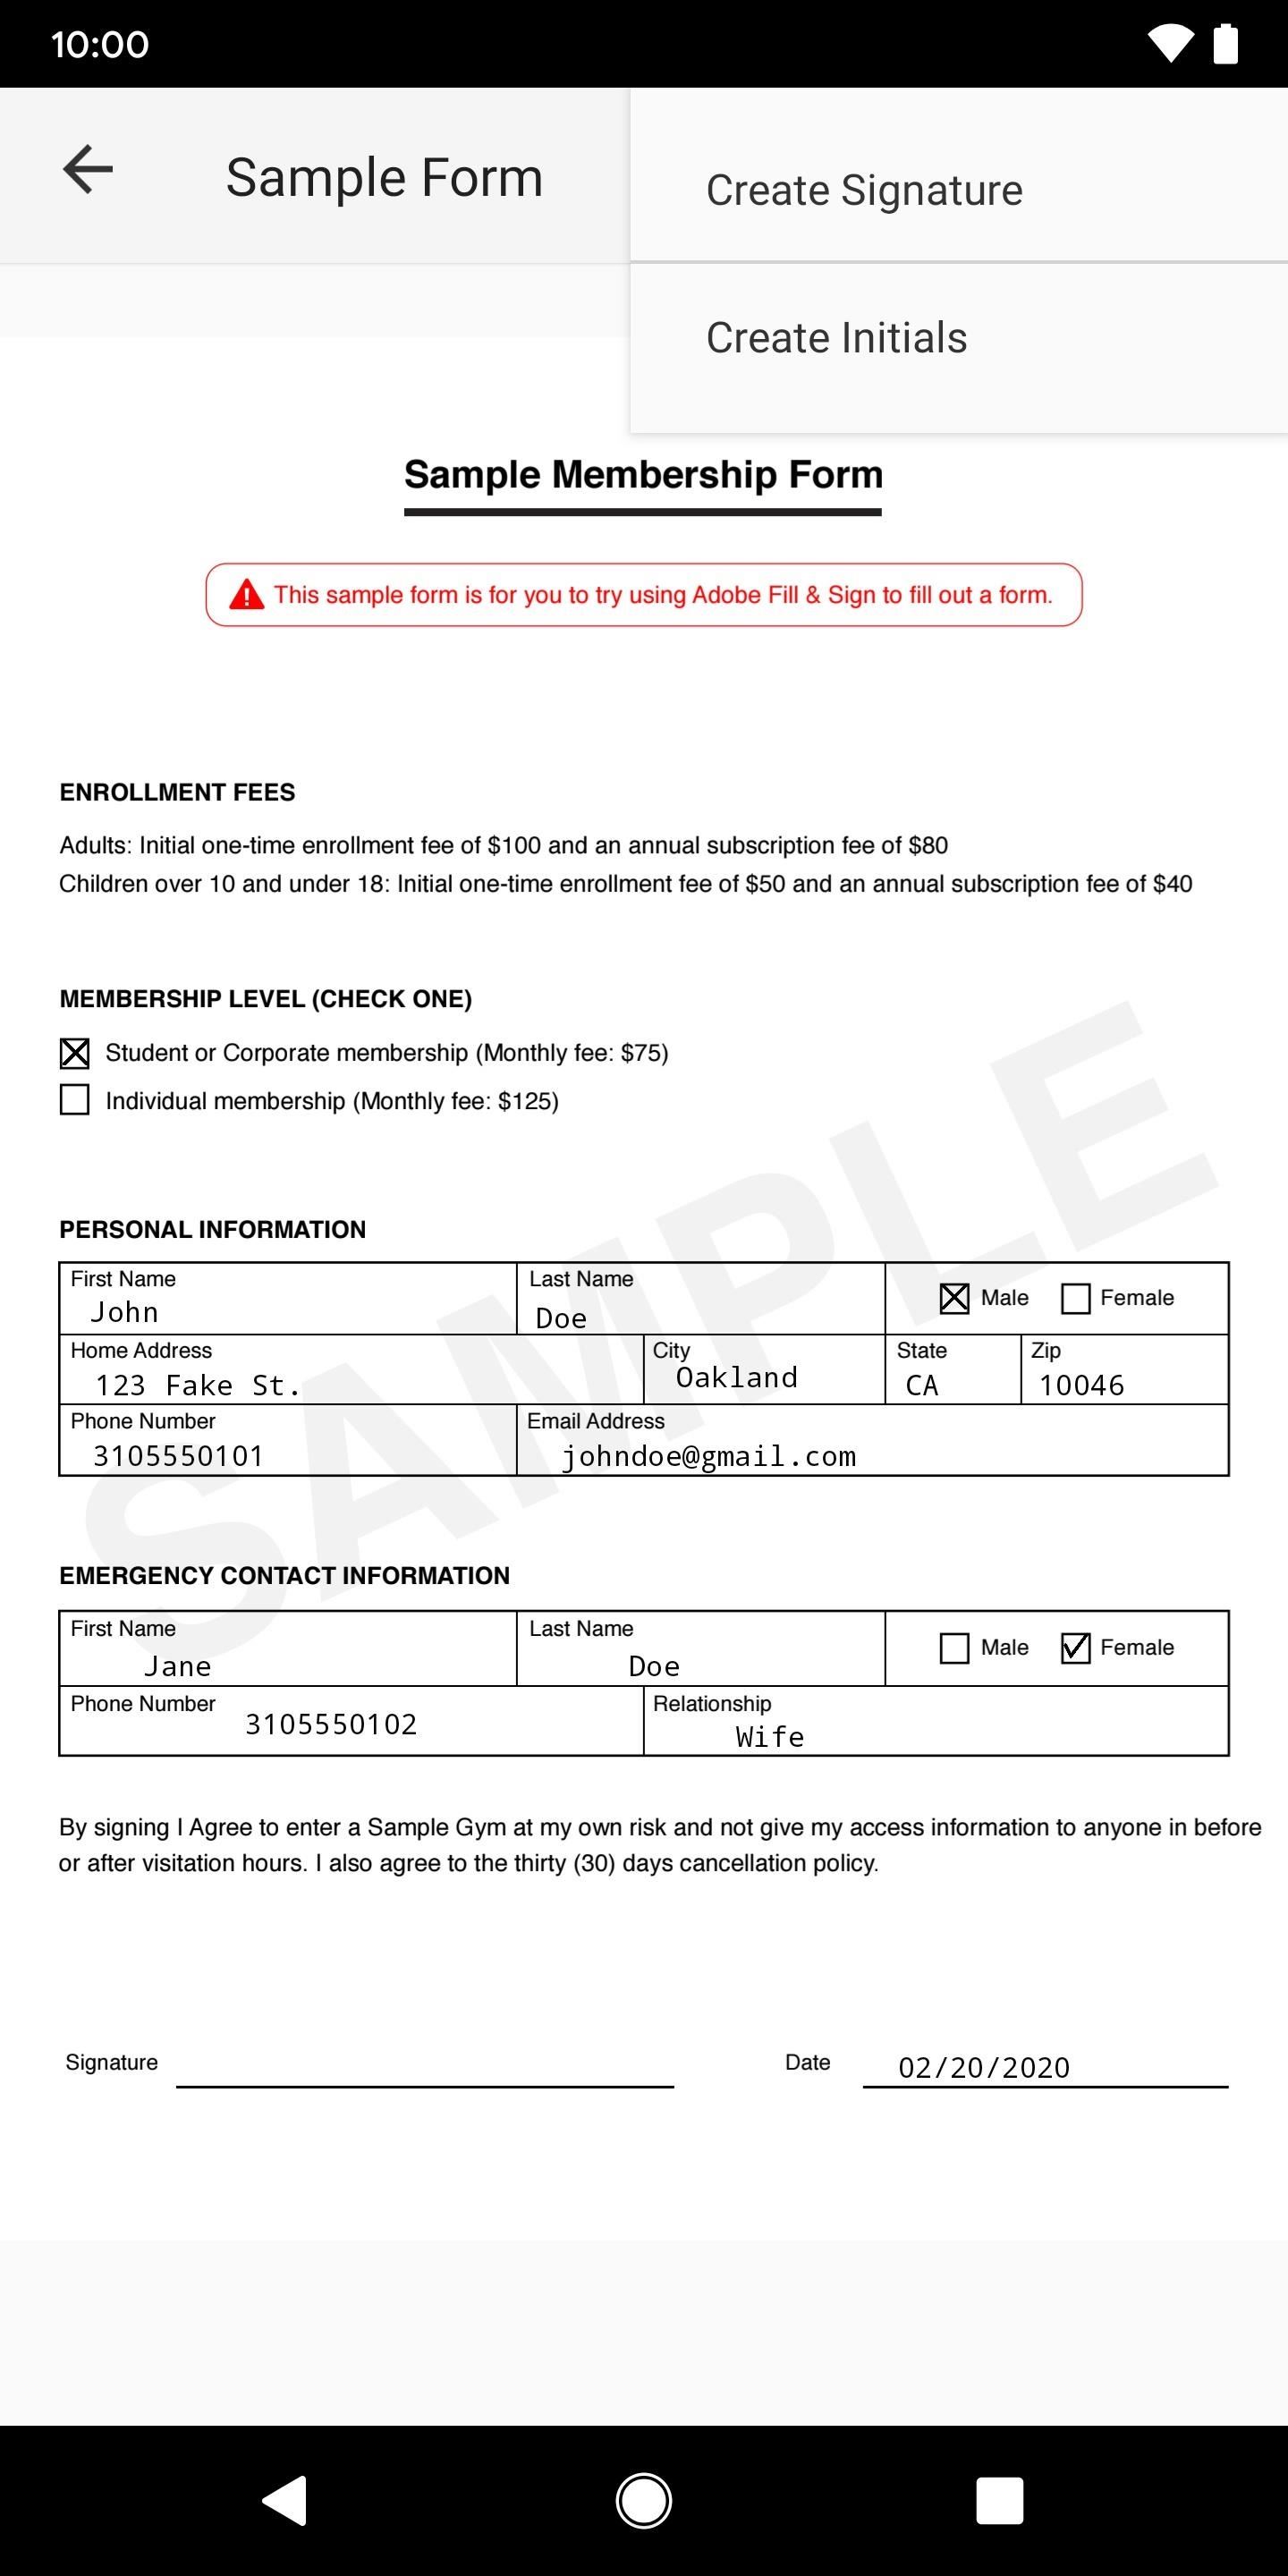
The last thing you'll need to do, if the form warrants it, is to sign it. To enter your signature, tap on the signature (pen) icon in the top-right. If it's your first time using the signature feature, you'll be asked to create a signature. You can also create initials in this same menu.
The screen will rotate and you can use your finger or stylus to draw your signature. Hit "Done" when you're finished.

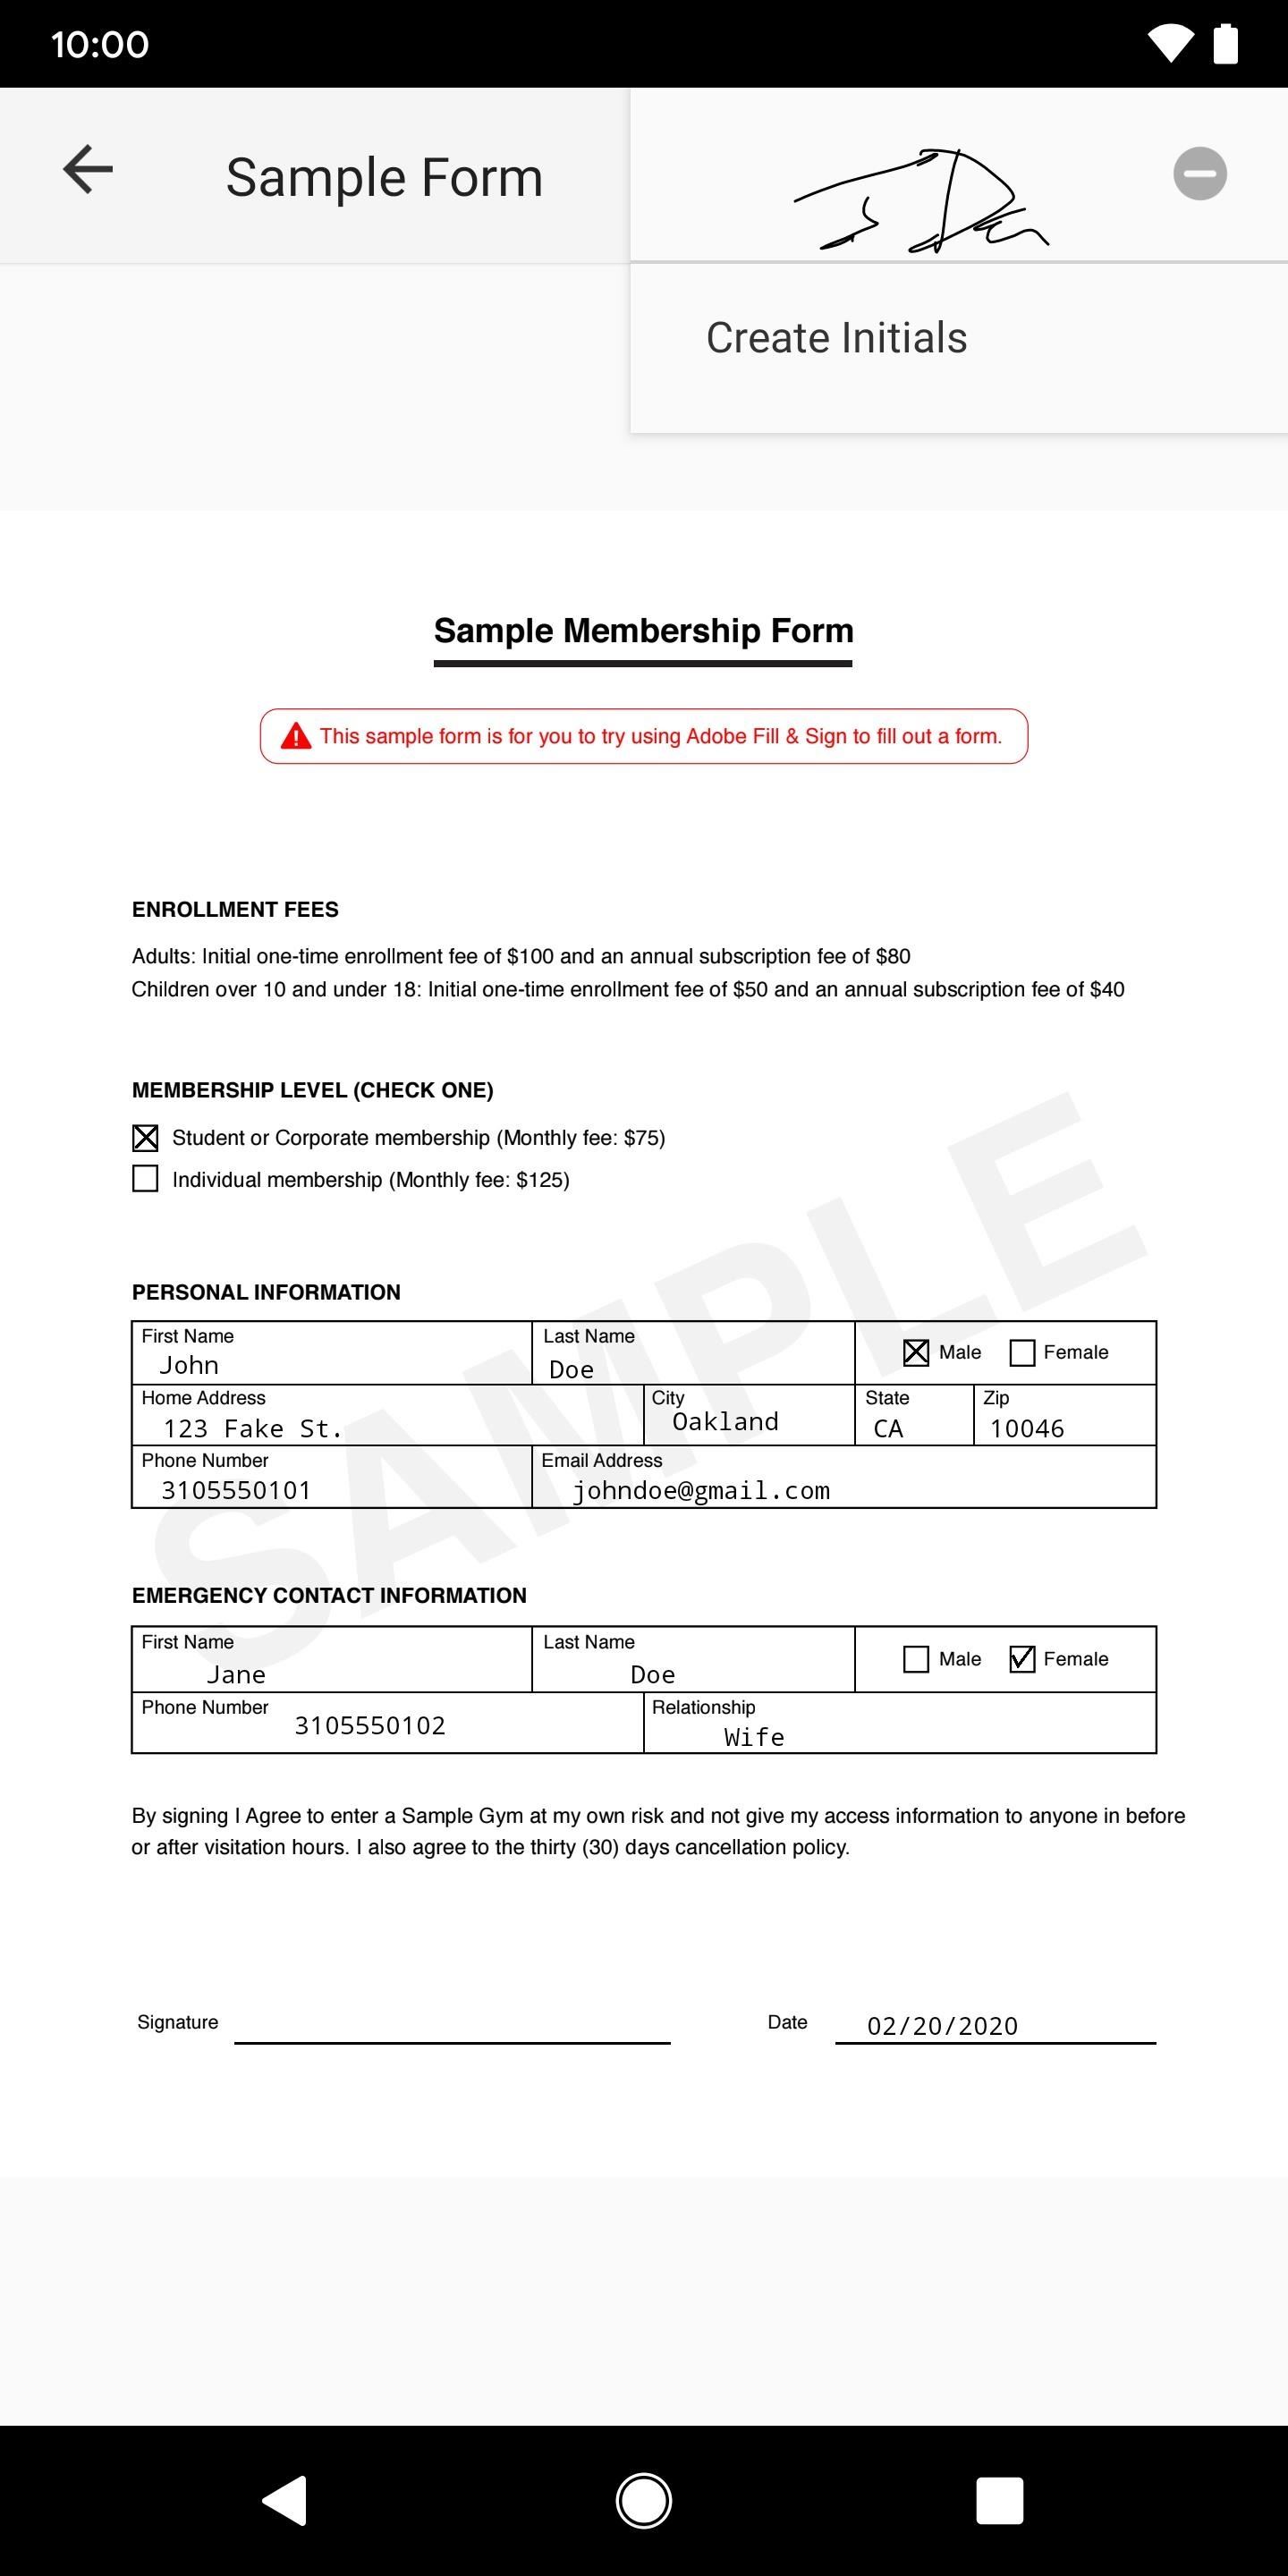
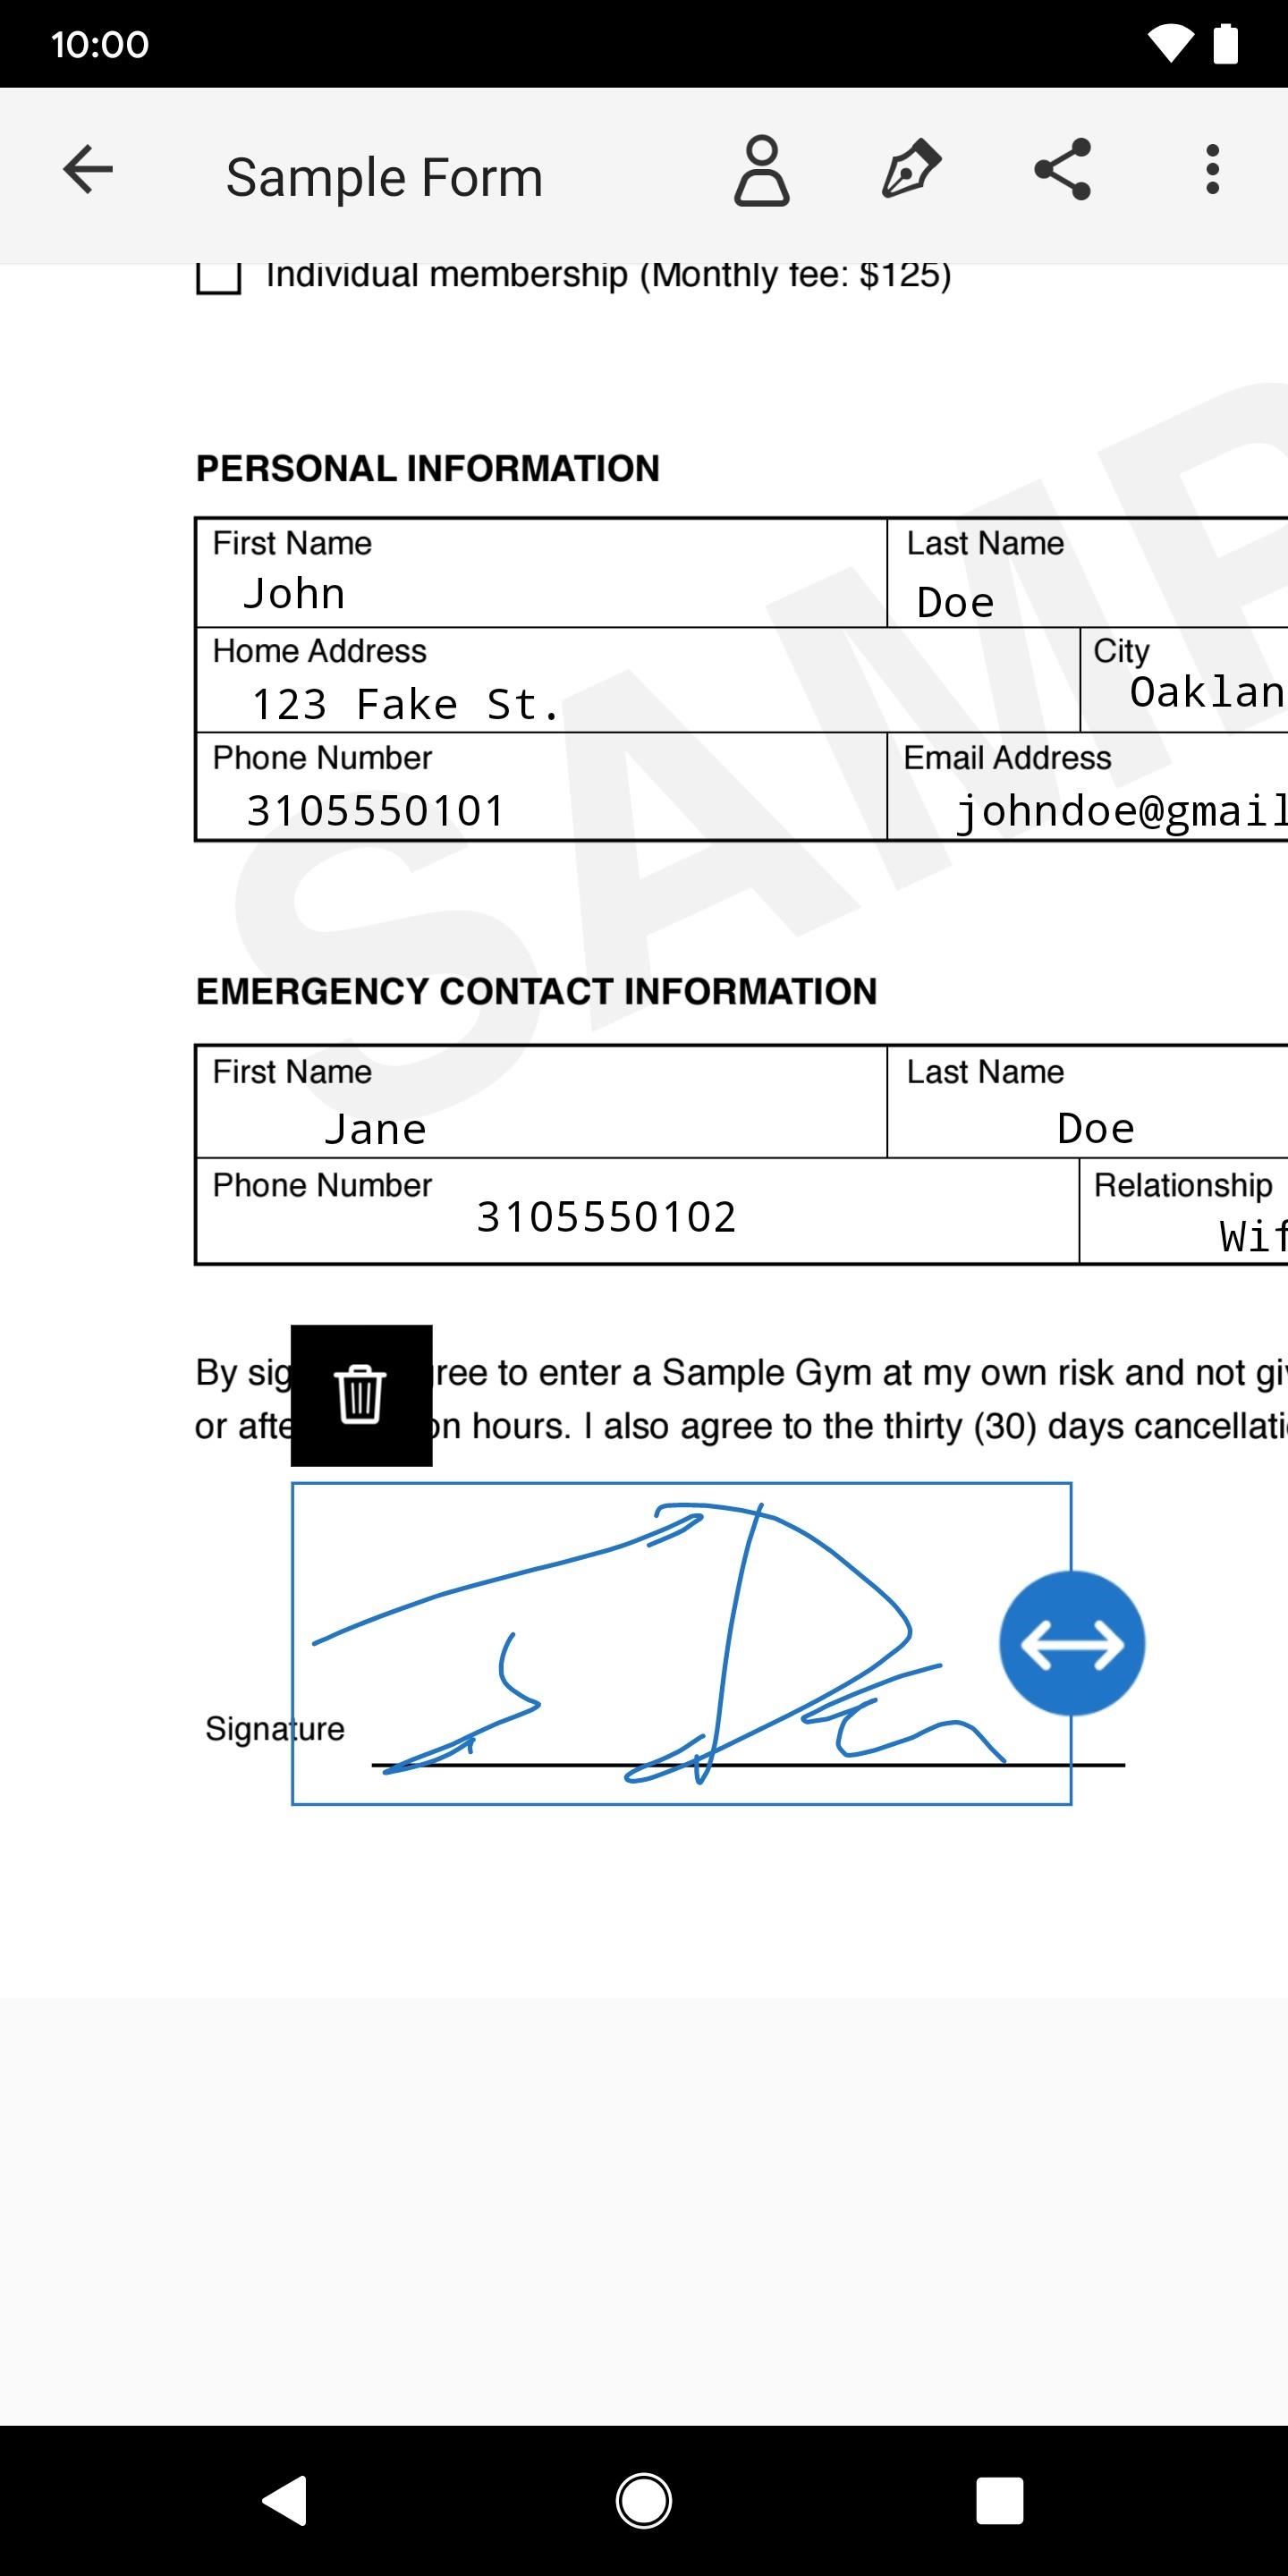
Now, when you press on the signature icon, you can choose your signature from the menu that appears. You can resize it by pressing on the arrow icon next to the signature and moving it left or right. You can also press down on the blue box and move your finger to place the signature where you want.
Step 4: Create Profile (Optional)
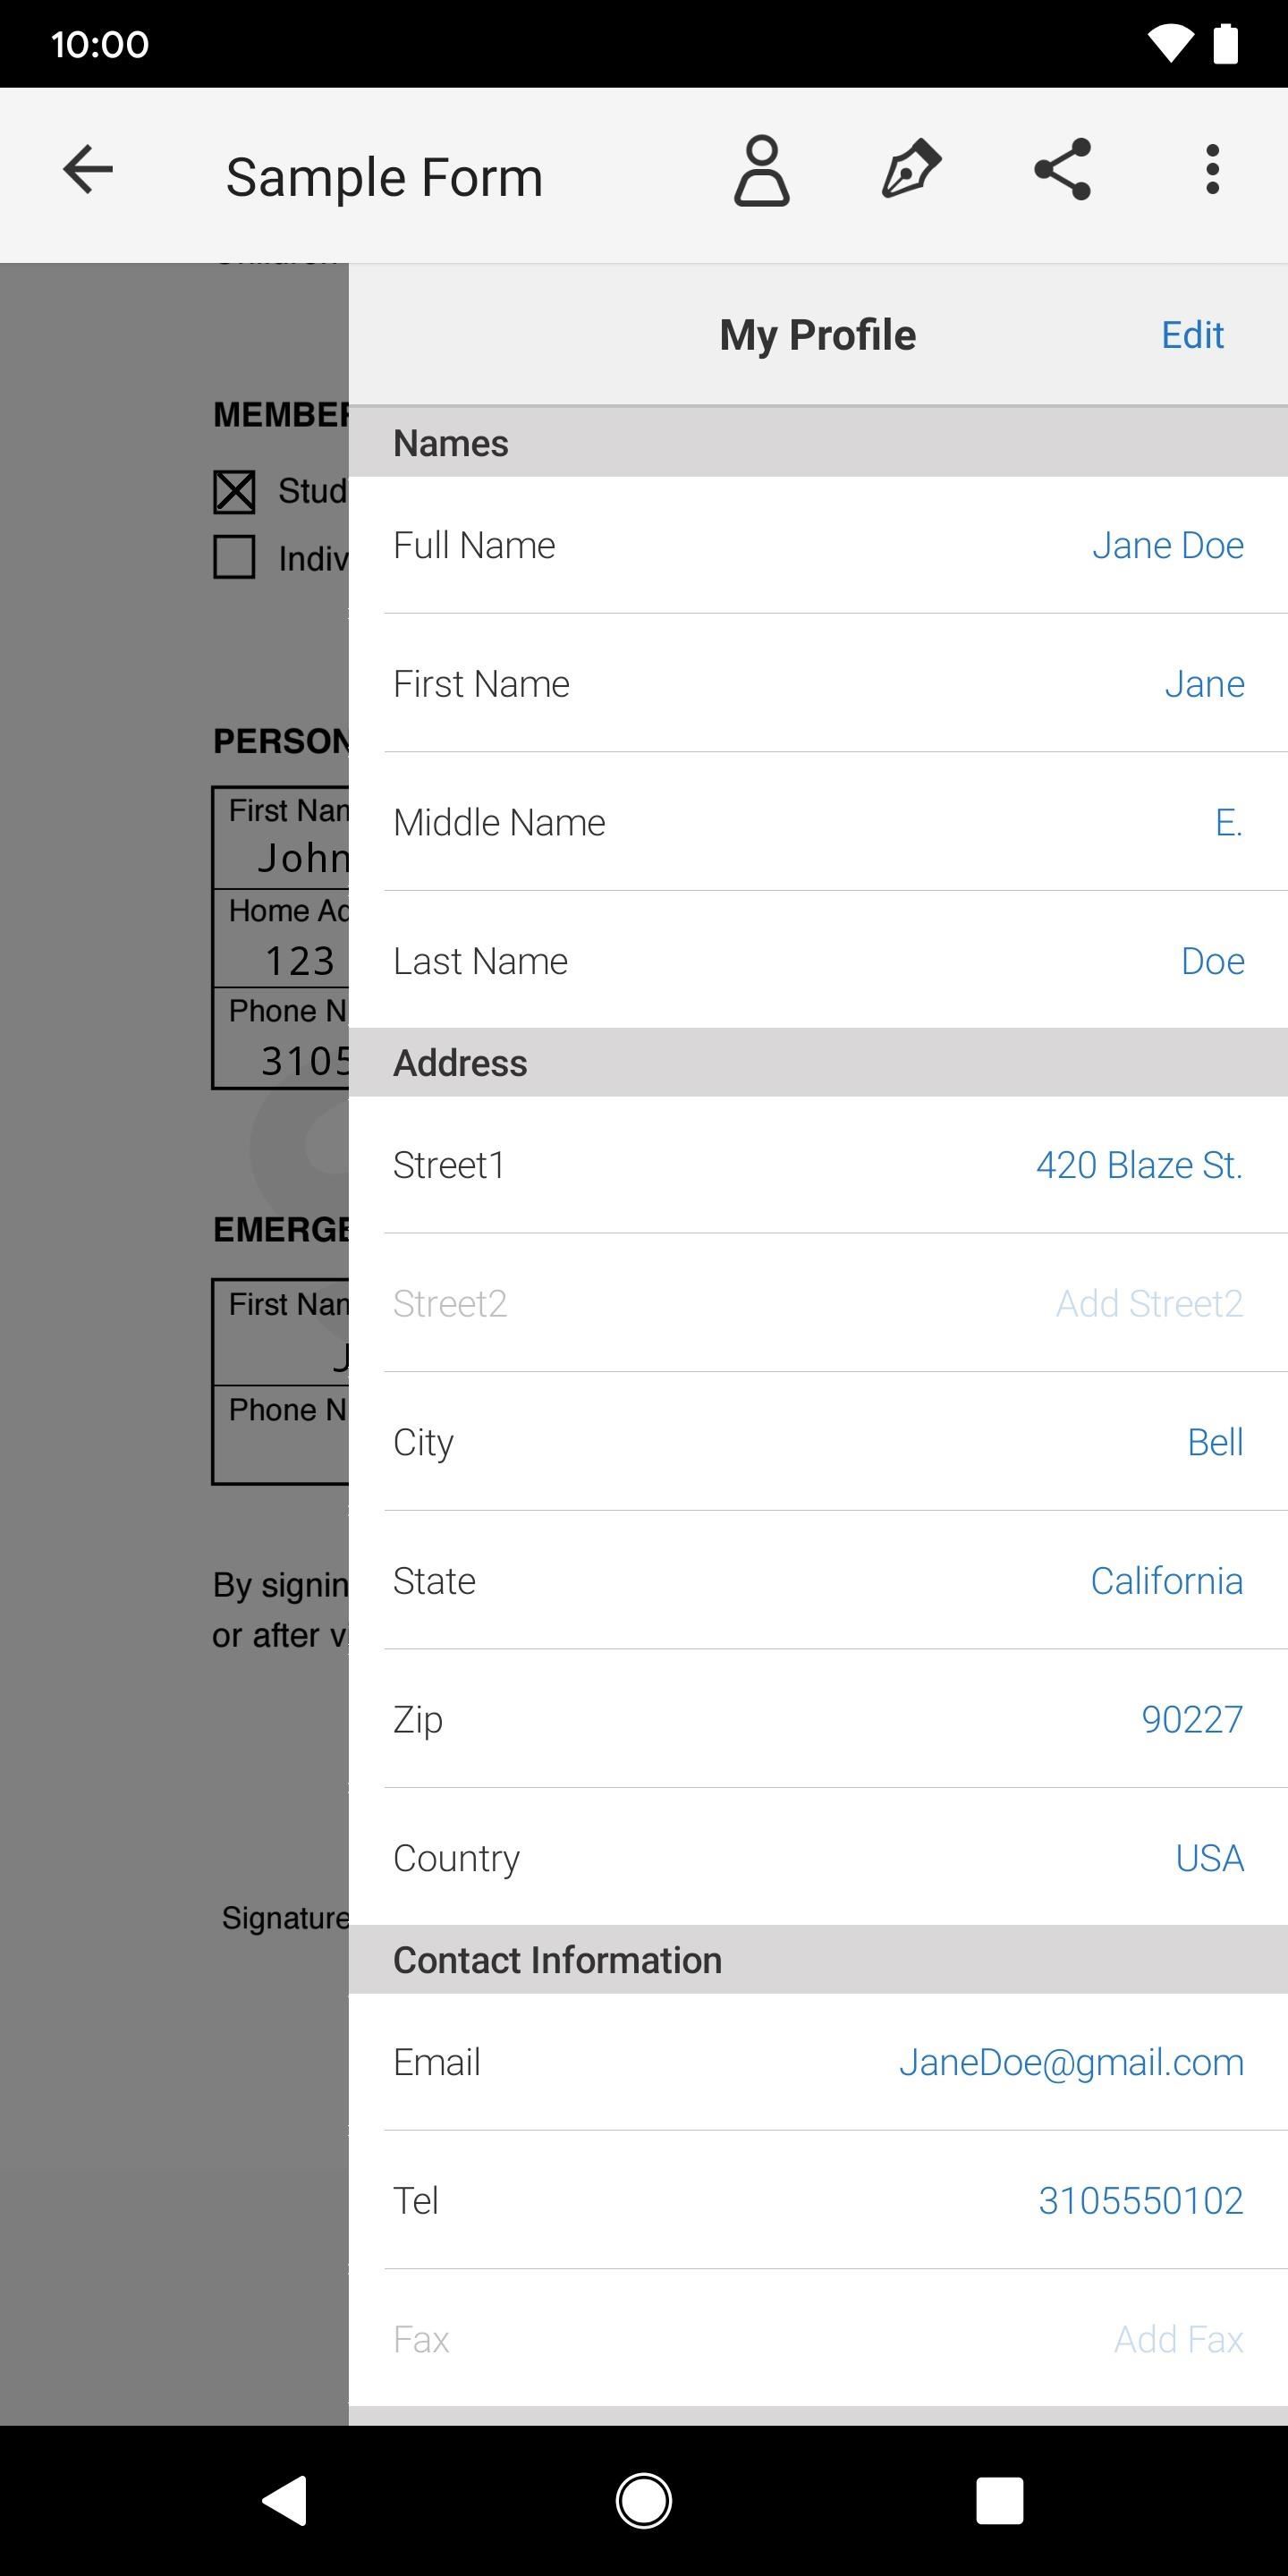
If you plan on filling out more forms using Adobe Fill & Sign, you should create a profile. To do this, tap on the profile icon at the top and enter your information, such as full name, address, phone number, email, and more. Now, anytime you enter the first few letters or numbers of your saved information, it will appear as an option for you to select above your keyboard. Tap on it to enter it quickly.
Step 5: Save or Share Form
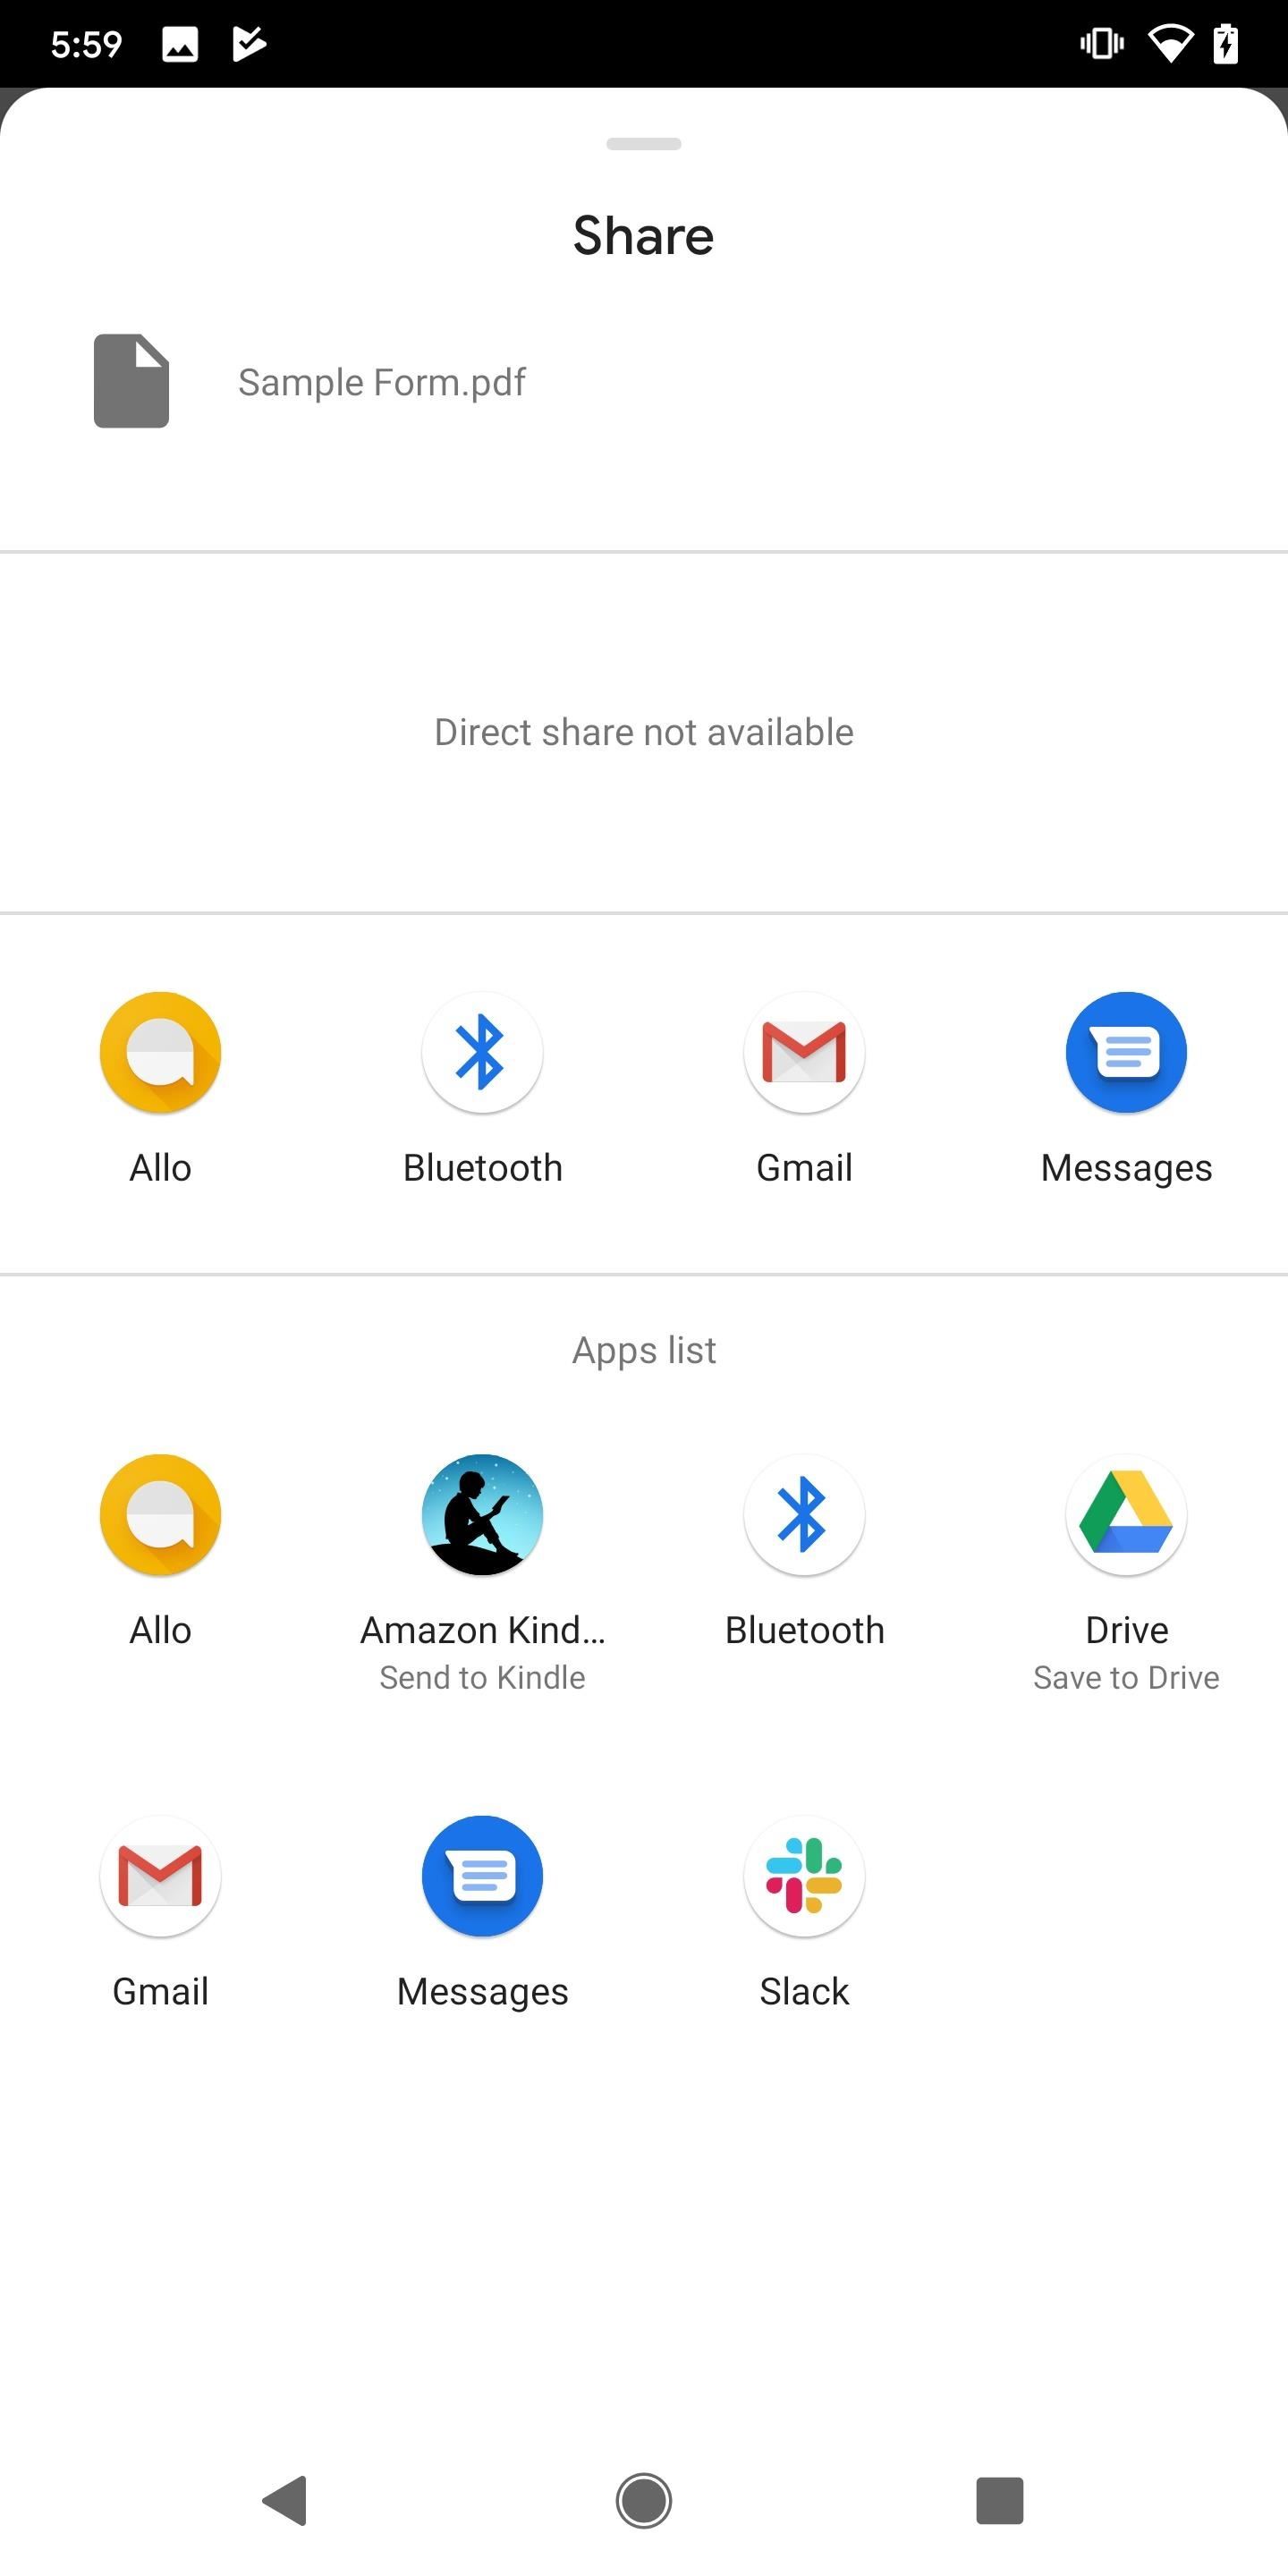
When you're finished filling it out and adding your signature, you can save and share your form. Tap on the share button, which will save the form to your device, as well as bring up options for you to share it with. You can share it via Bluetooth, AirDrop, email, text message, and other native and third-party apps.
This article was produced during Gadget Hacks' special coverage on using your smartphone to boost productivity. Check out the whole Productivity series.
Just updated your iPhone? You'll find new emoji, enhanced security, podcast transcripts, Apple Cash virtual numbers, and other useful features. There are even new additions hidden within Safari. Find out what's new and changed on your iPhone with the iOS 17.4 update.


Be the First to Comment
Share Your Thoughts