


Since starting as a simple messenger with self-destructing pictures, Snapchat has grown into a full-fledged social media platform. As features were added, new permissions were requested, and we're all probably guilty of just tapping "OK" to try out the latest and greatest. But at some point, it's a good idea to review your settings to see what personal data you're putting out there for all to see.
Settings like Ghost Mode can protect your privacy by preventing people from viewing your location, while other options like Snapchat's ad tracking preferences and anti-spam measures help give you peace of mind. I'll delve into each of the most pressing privacy-related settings in the Snapchat app for Android and iPhone below, so if you're concerned about security, we've got you covered.
#1: Ghost Mode
A great way to stay private is to enable Ghost Mode. This setting is enabled by default, but if you've experimented with the Snap Map, it gets toggled off automatically, so it's worth double-checking. Once enabled, nobody, not even your friends, will know your exact location. Check out the following guide to see how it works:
#2: 2-Factor Authentication
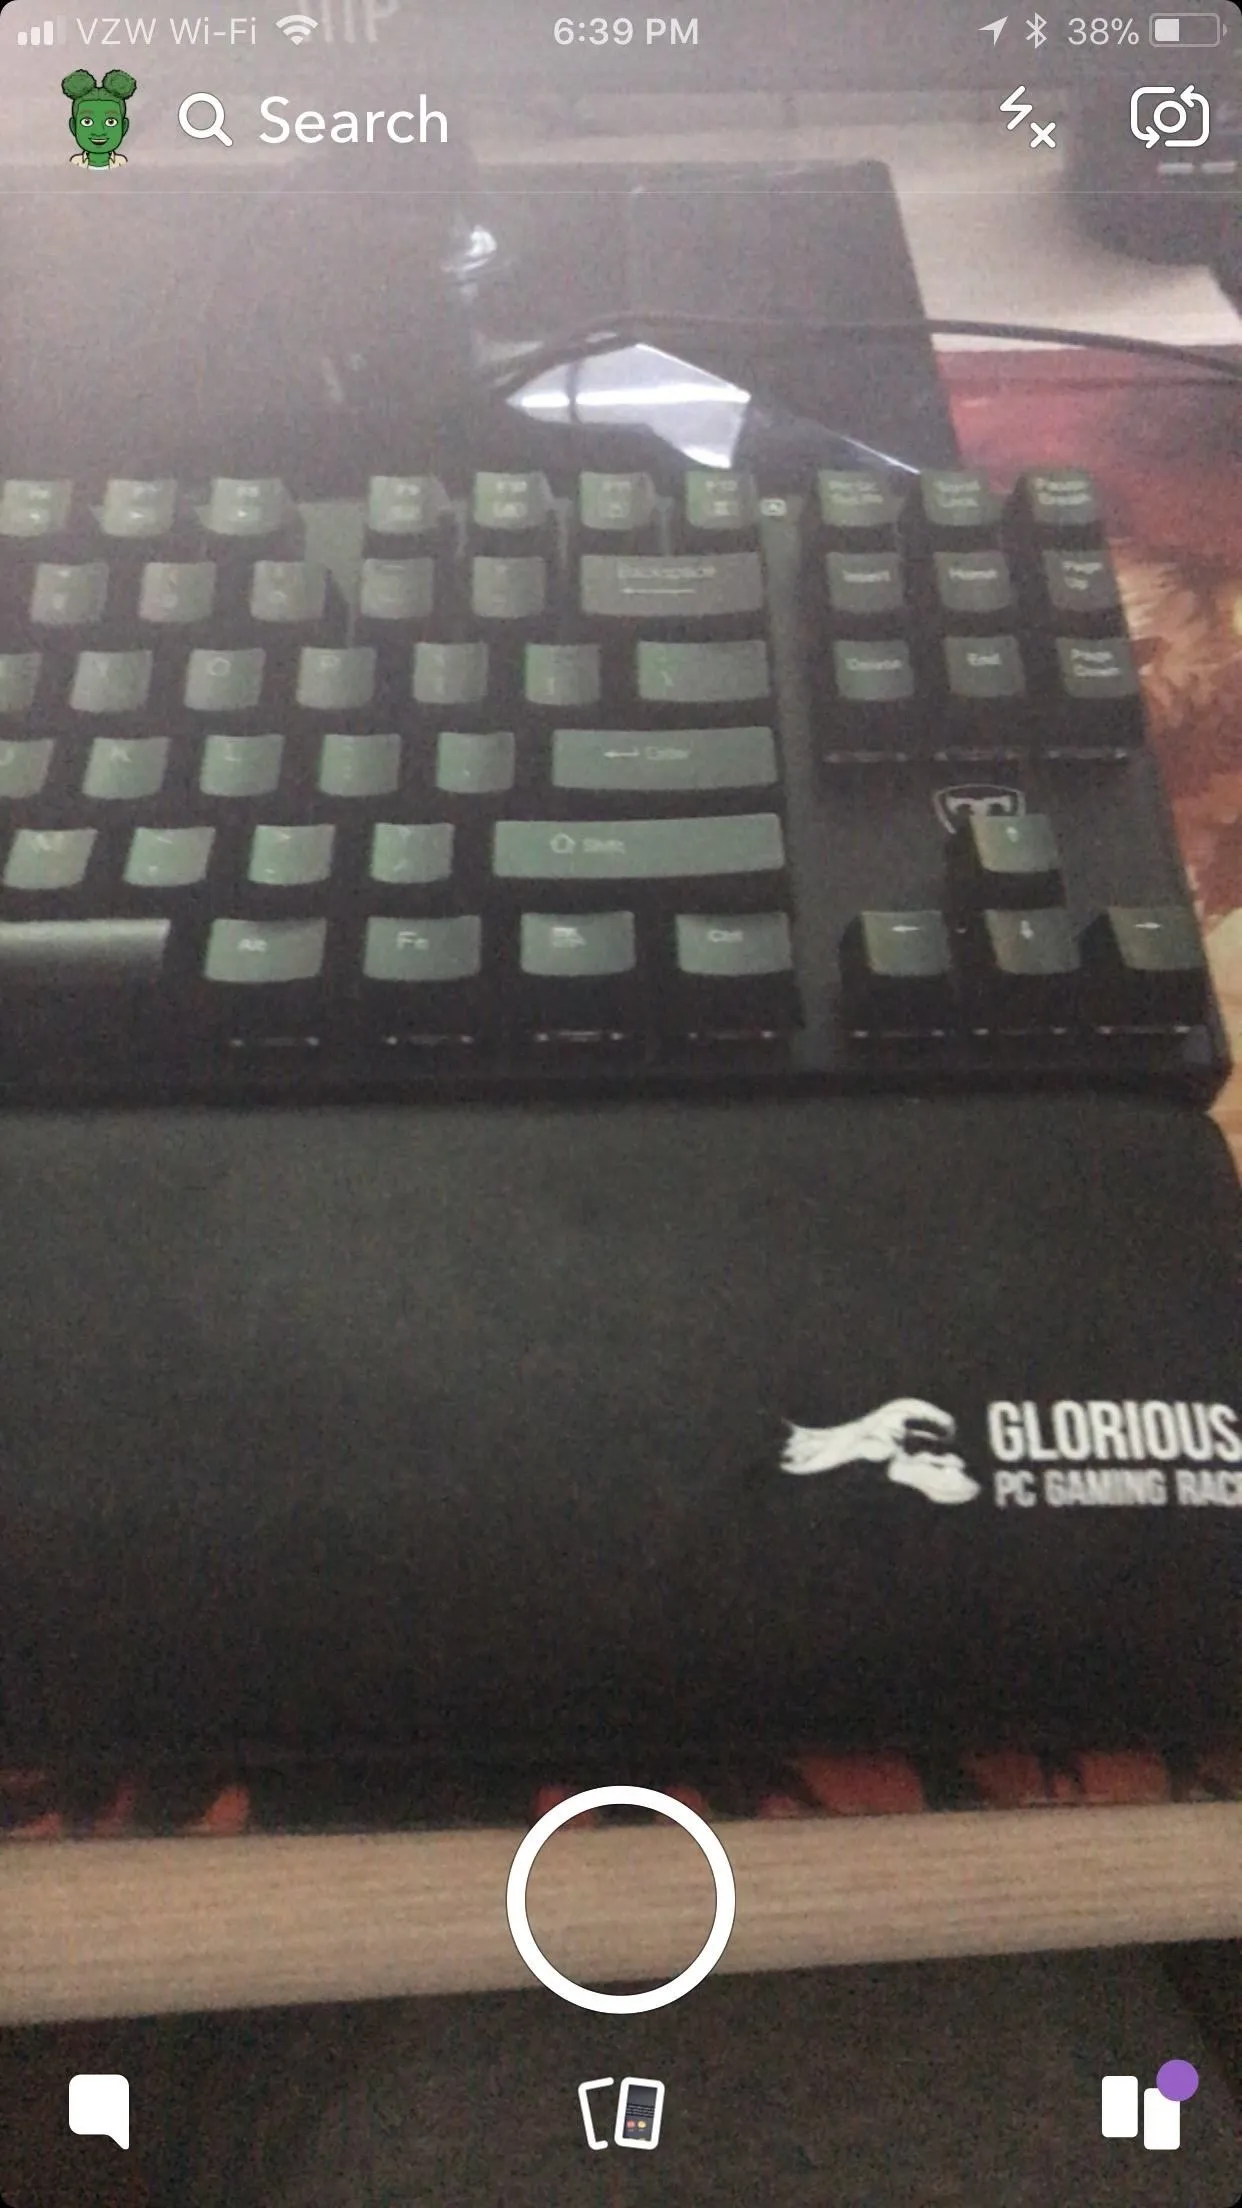
Enabling two-factor authentication (2FA) is the best step you can take to secure your account, because the only way to log into Snapchat will be to enter both your password and a special code that gets texted to your phone number. You have a couple different ways of enabling it. First, tap your Bitmoji in the top-left corner, then tap the gear in the top-right corner to access your settings.
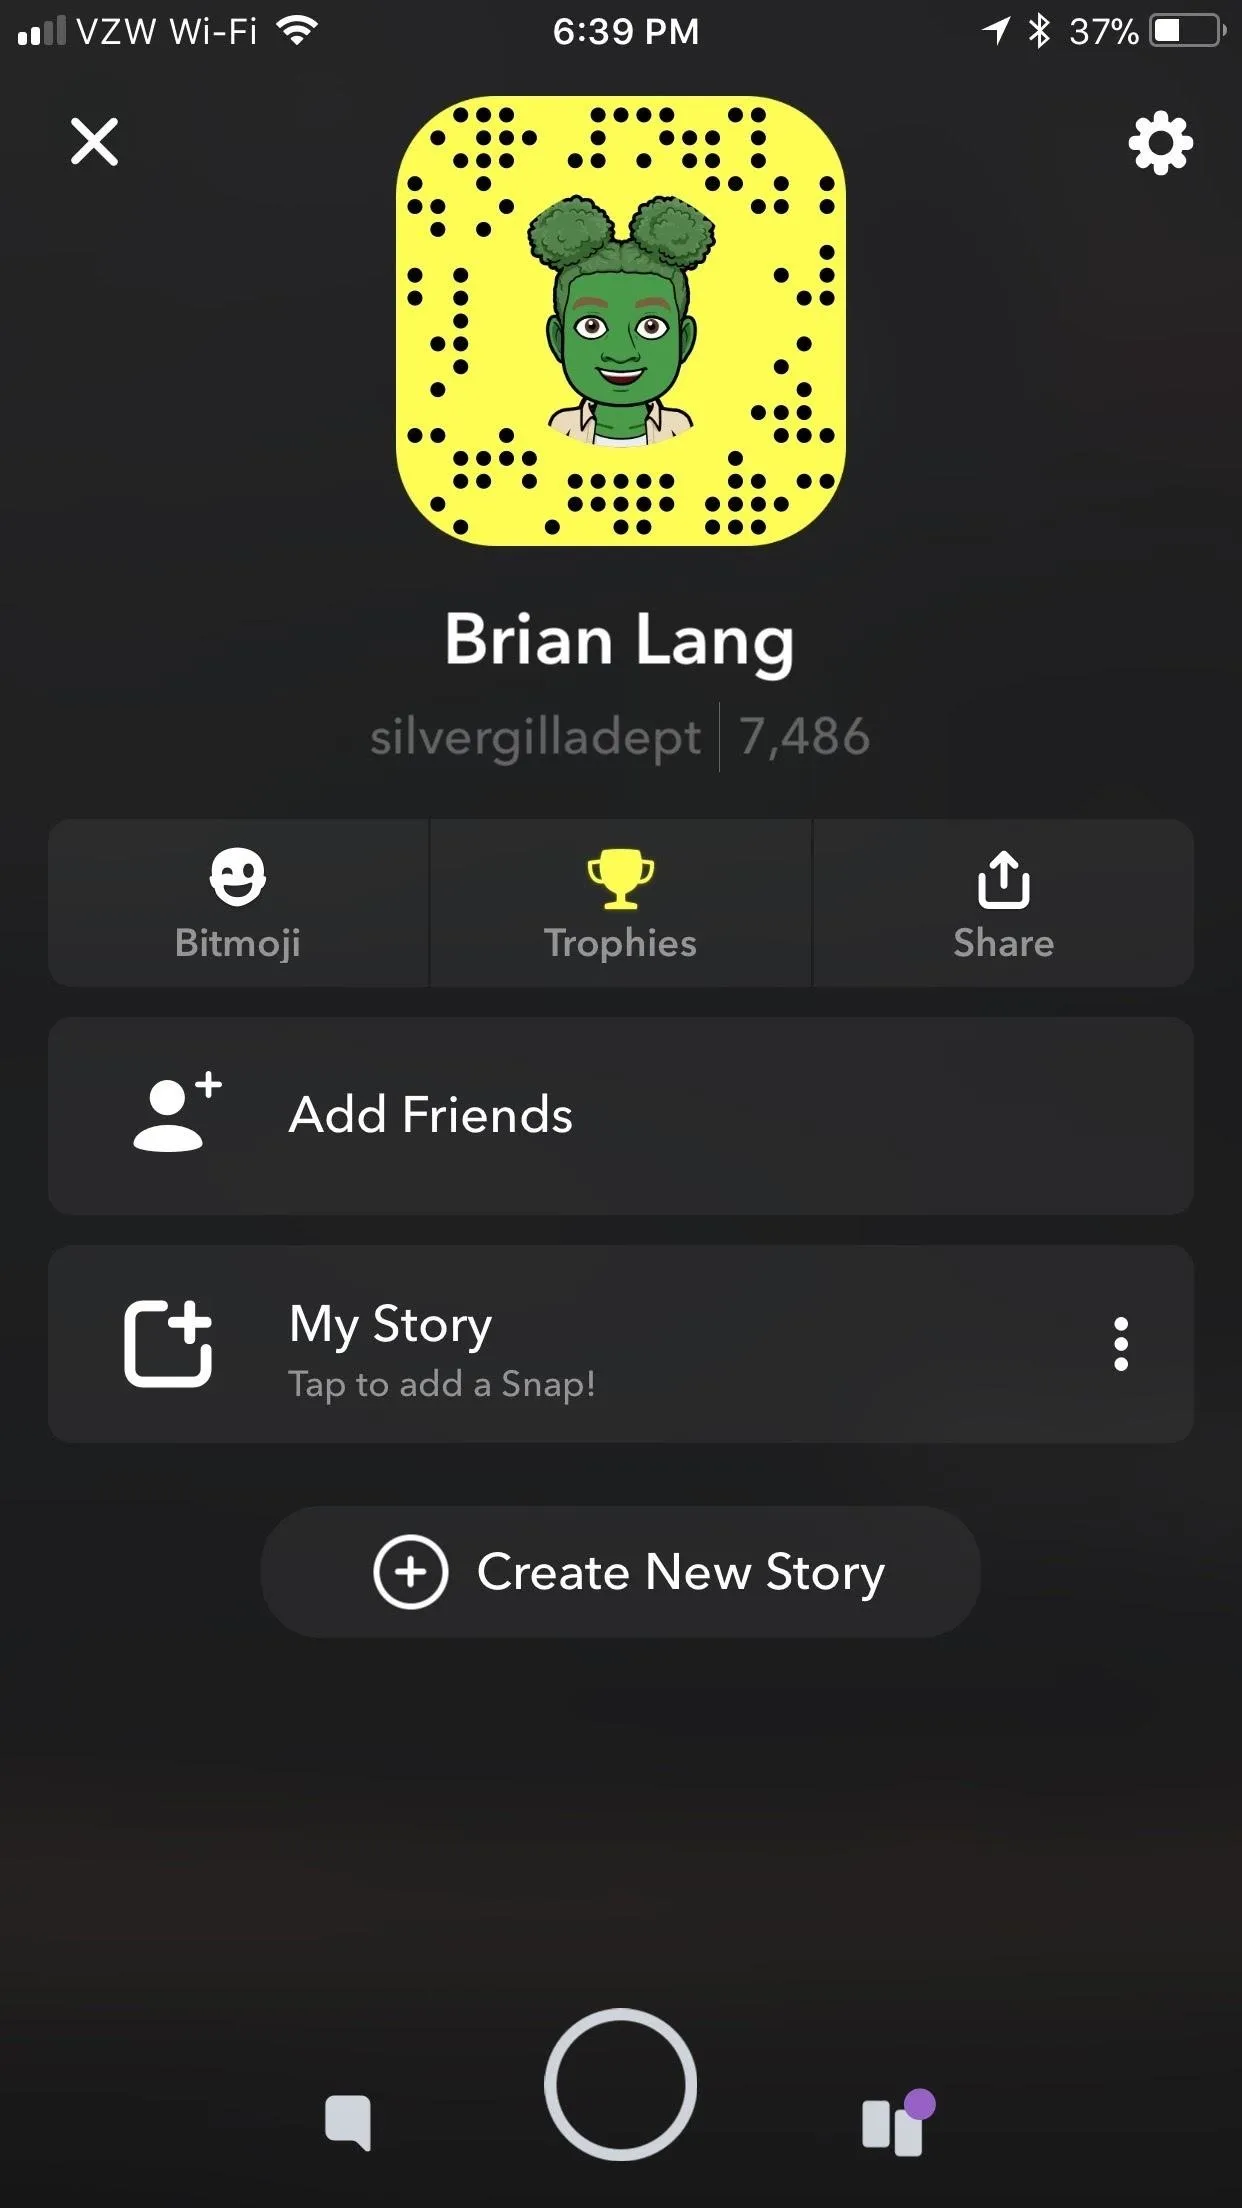
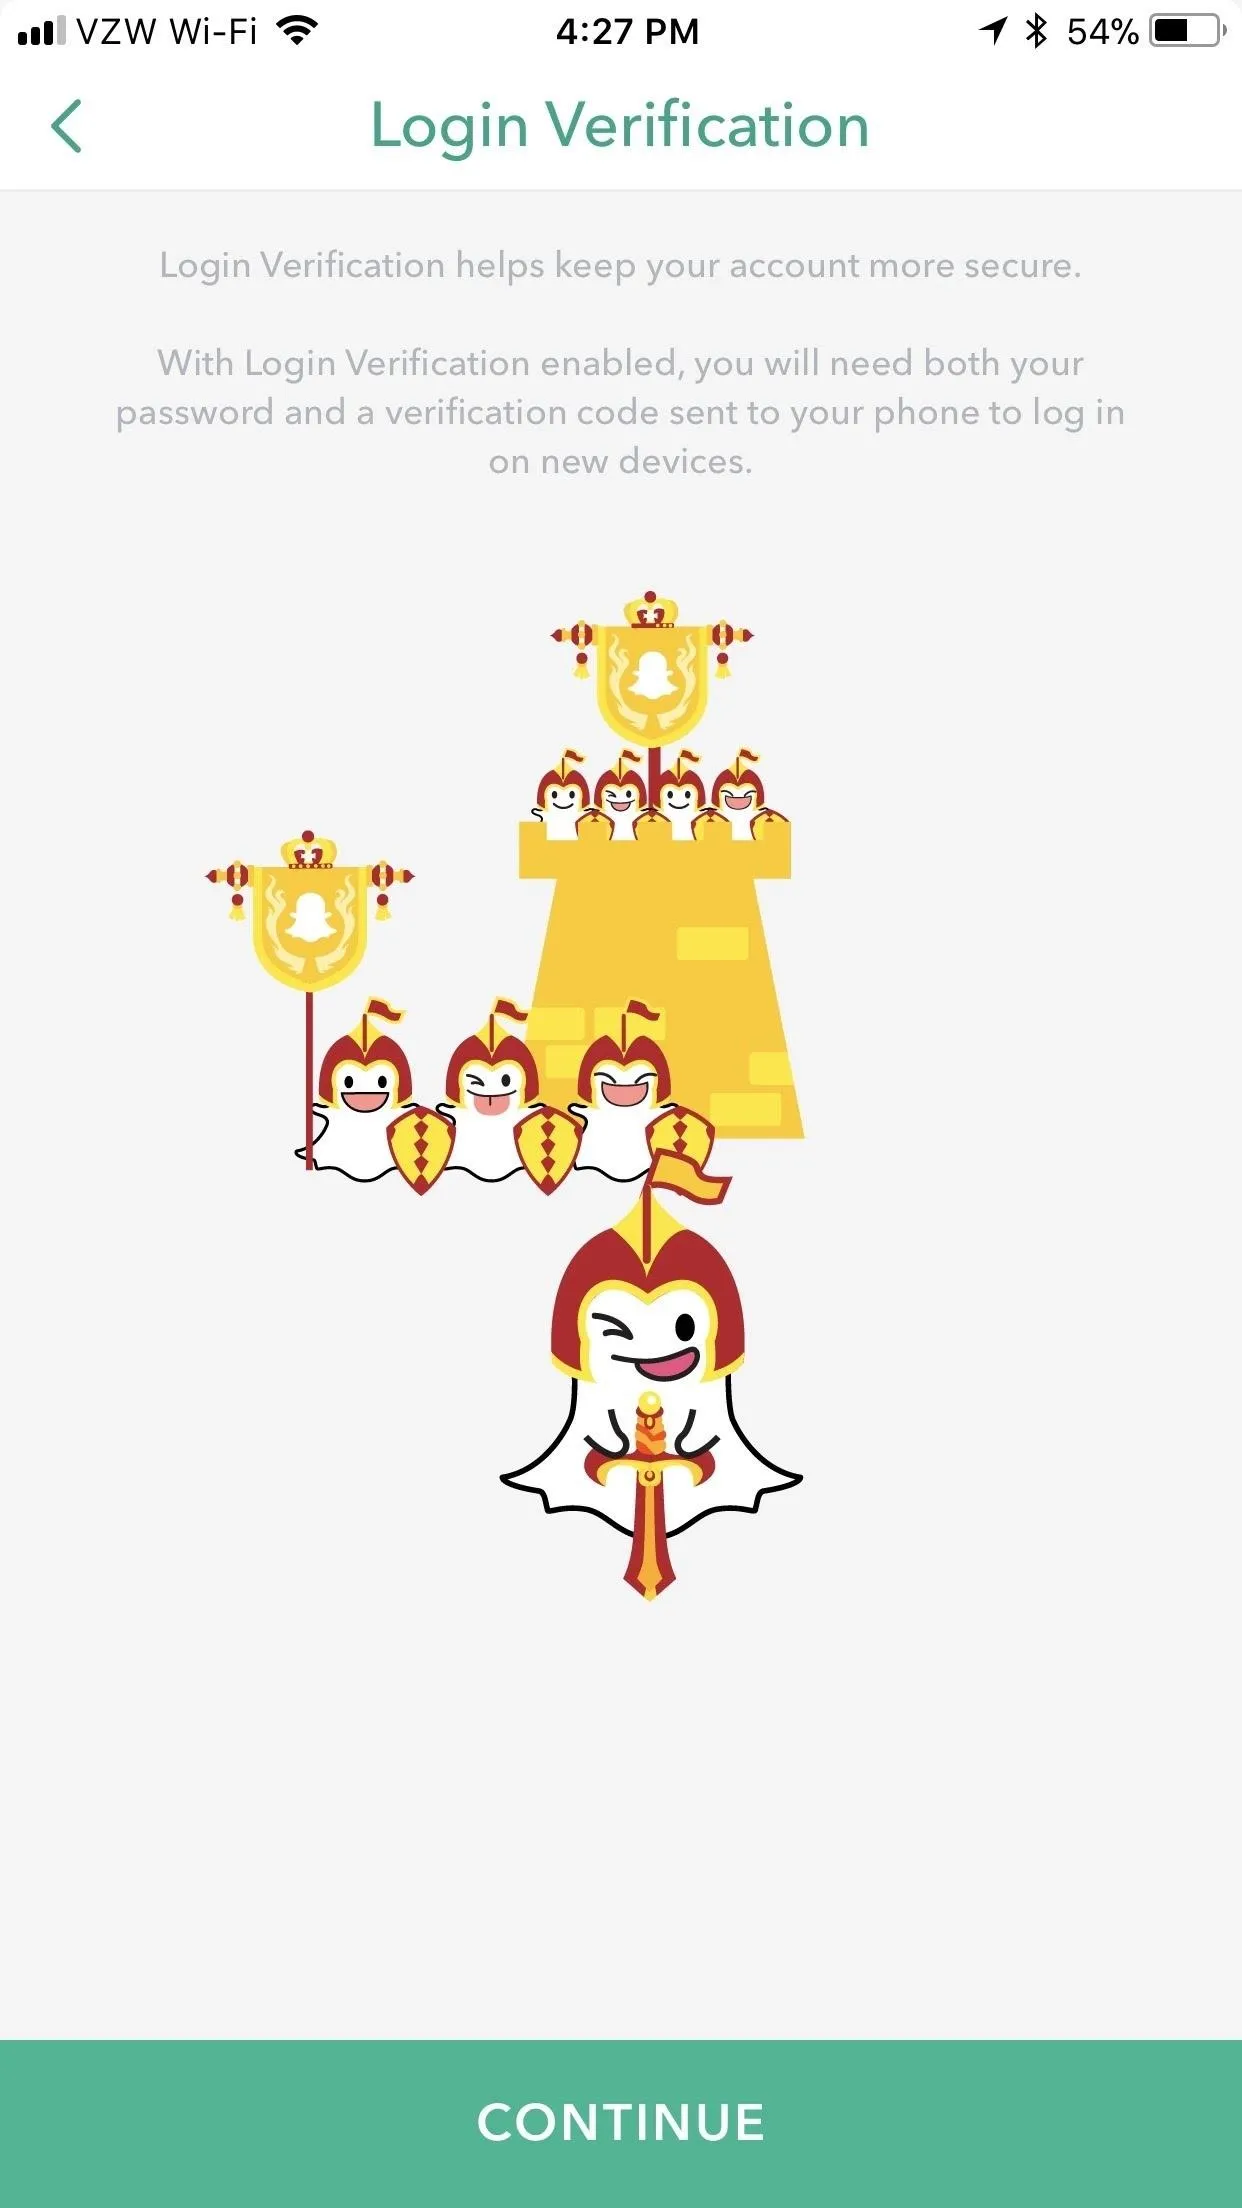
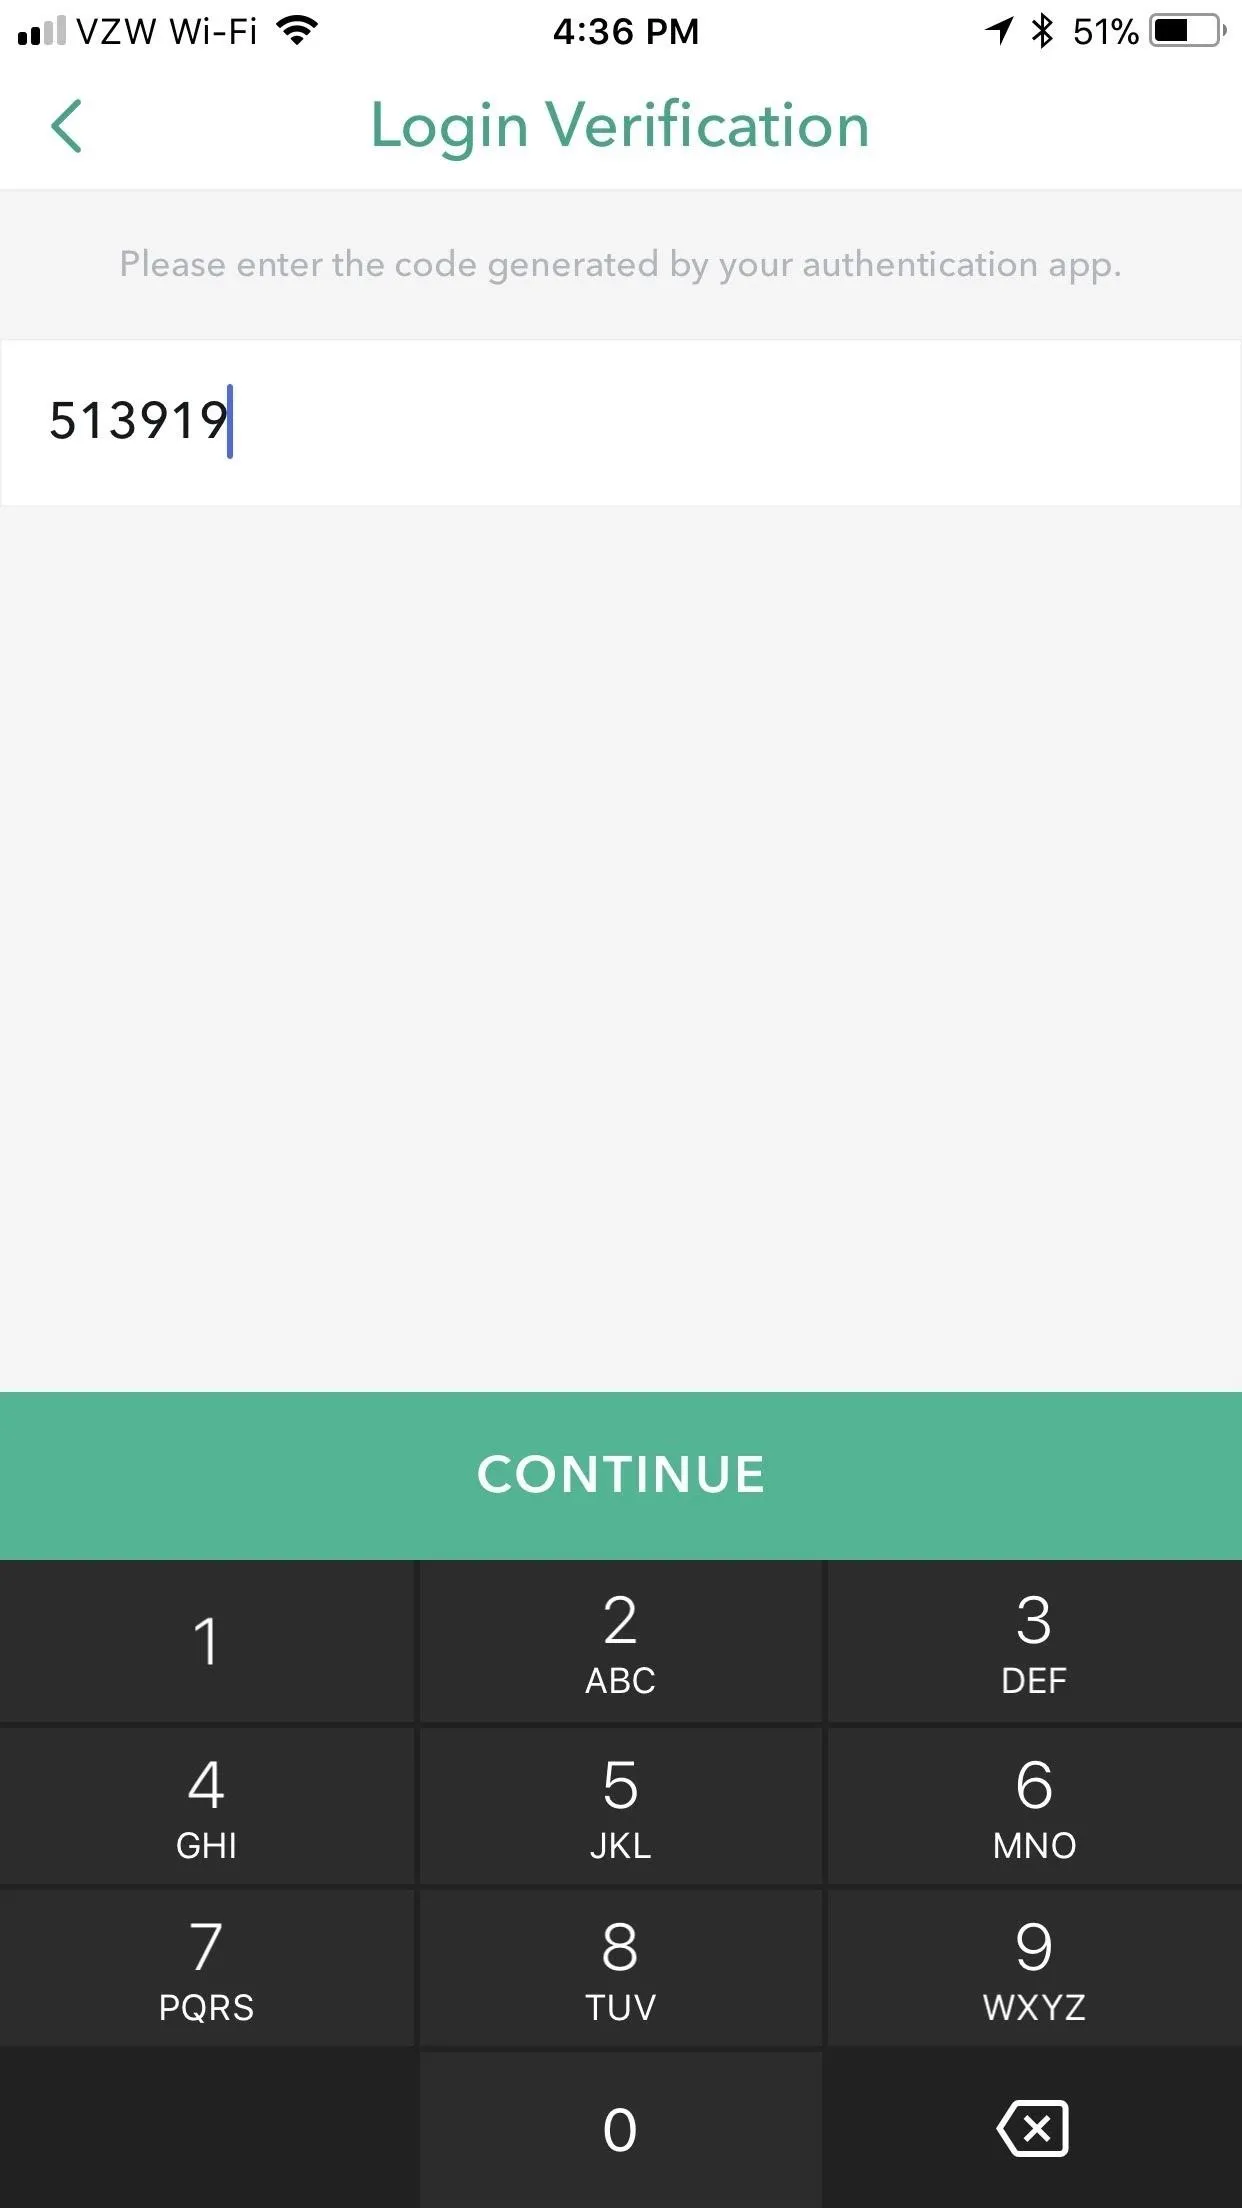
Next, tap "Login Verification" (that's what Snapchat calls 2FA). You can enable two factor authentication one of two ways: Through SMS or through a third-party authentication app.
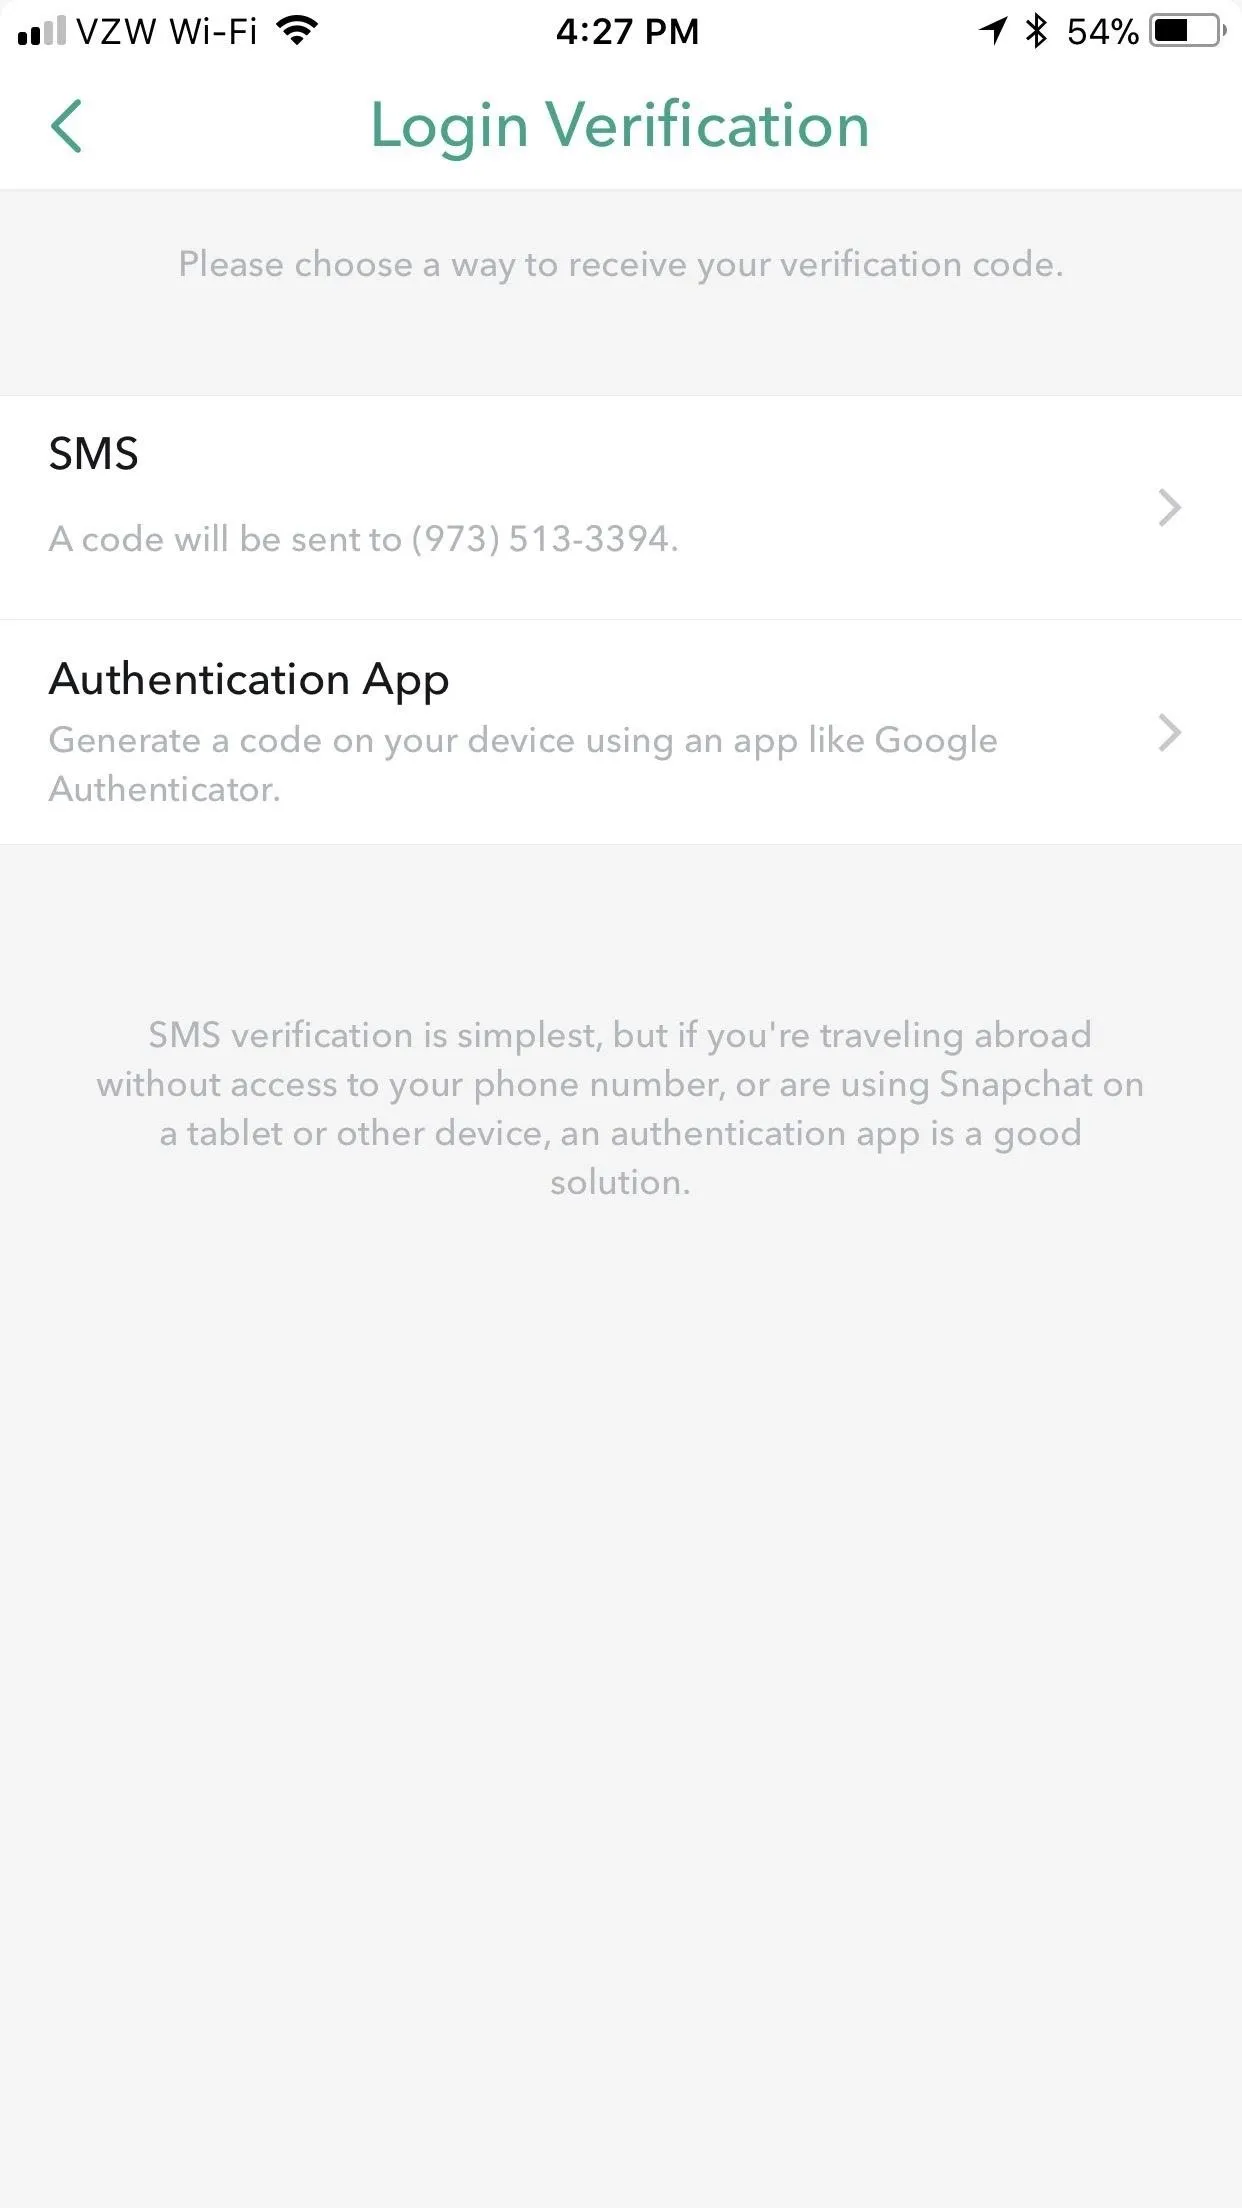
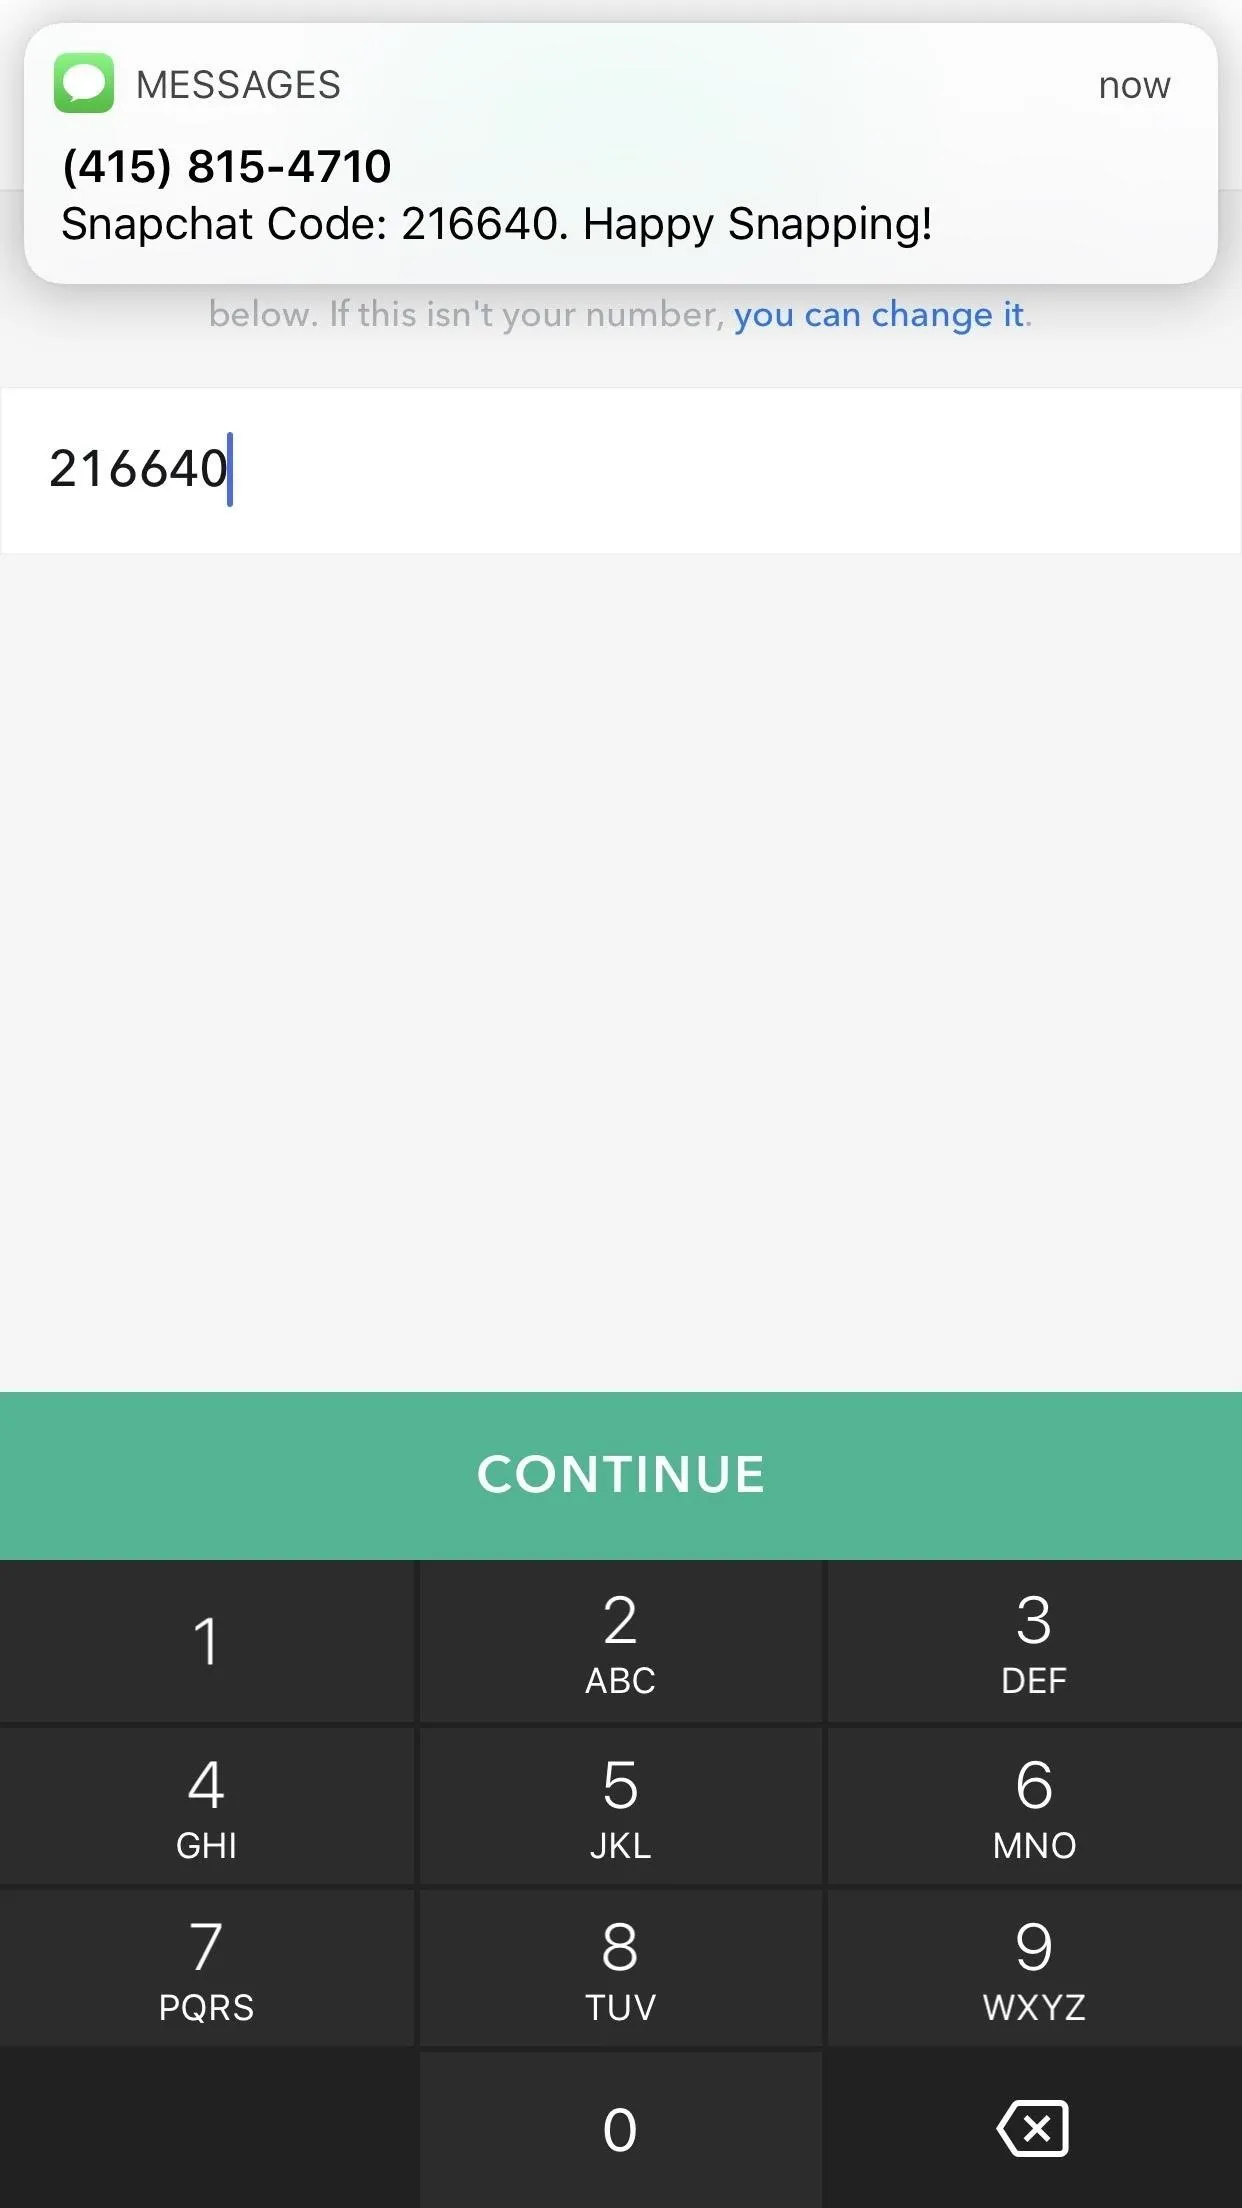
Enabling Login Verification through SMS is really easy. Tap "SMS" on the Login Verification screen and you'll be sent a verification code via text message every time you log in.

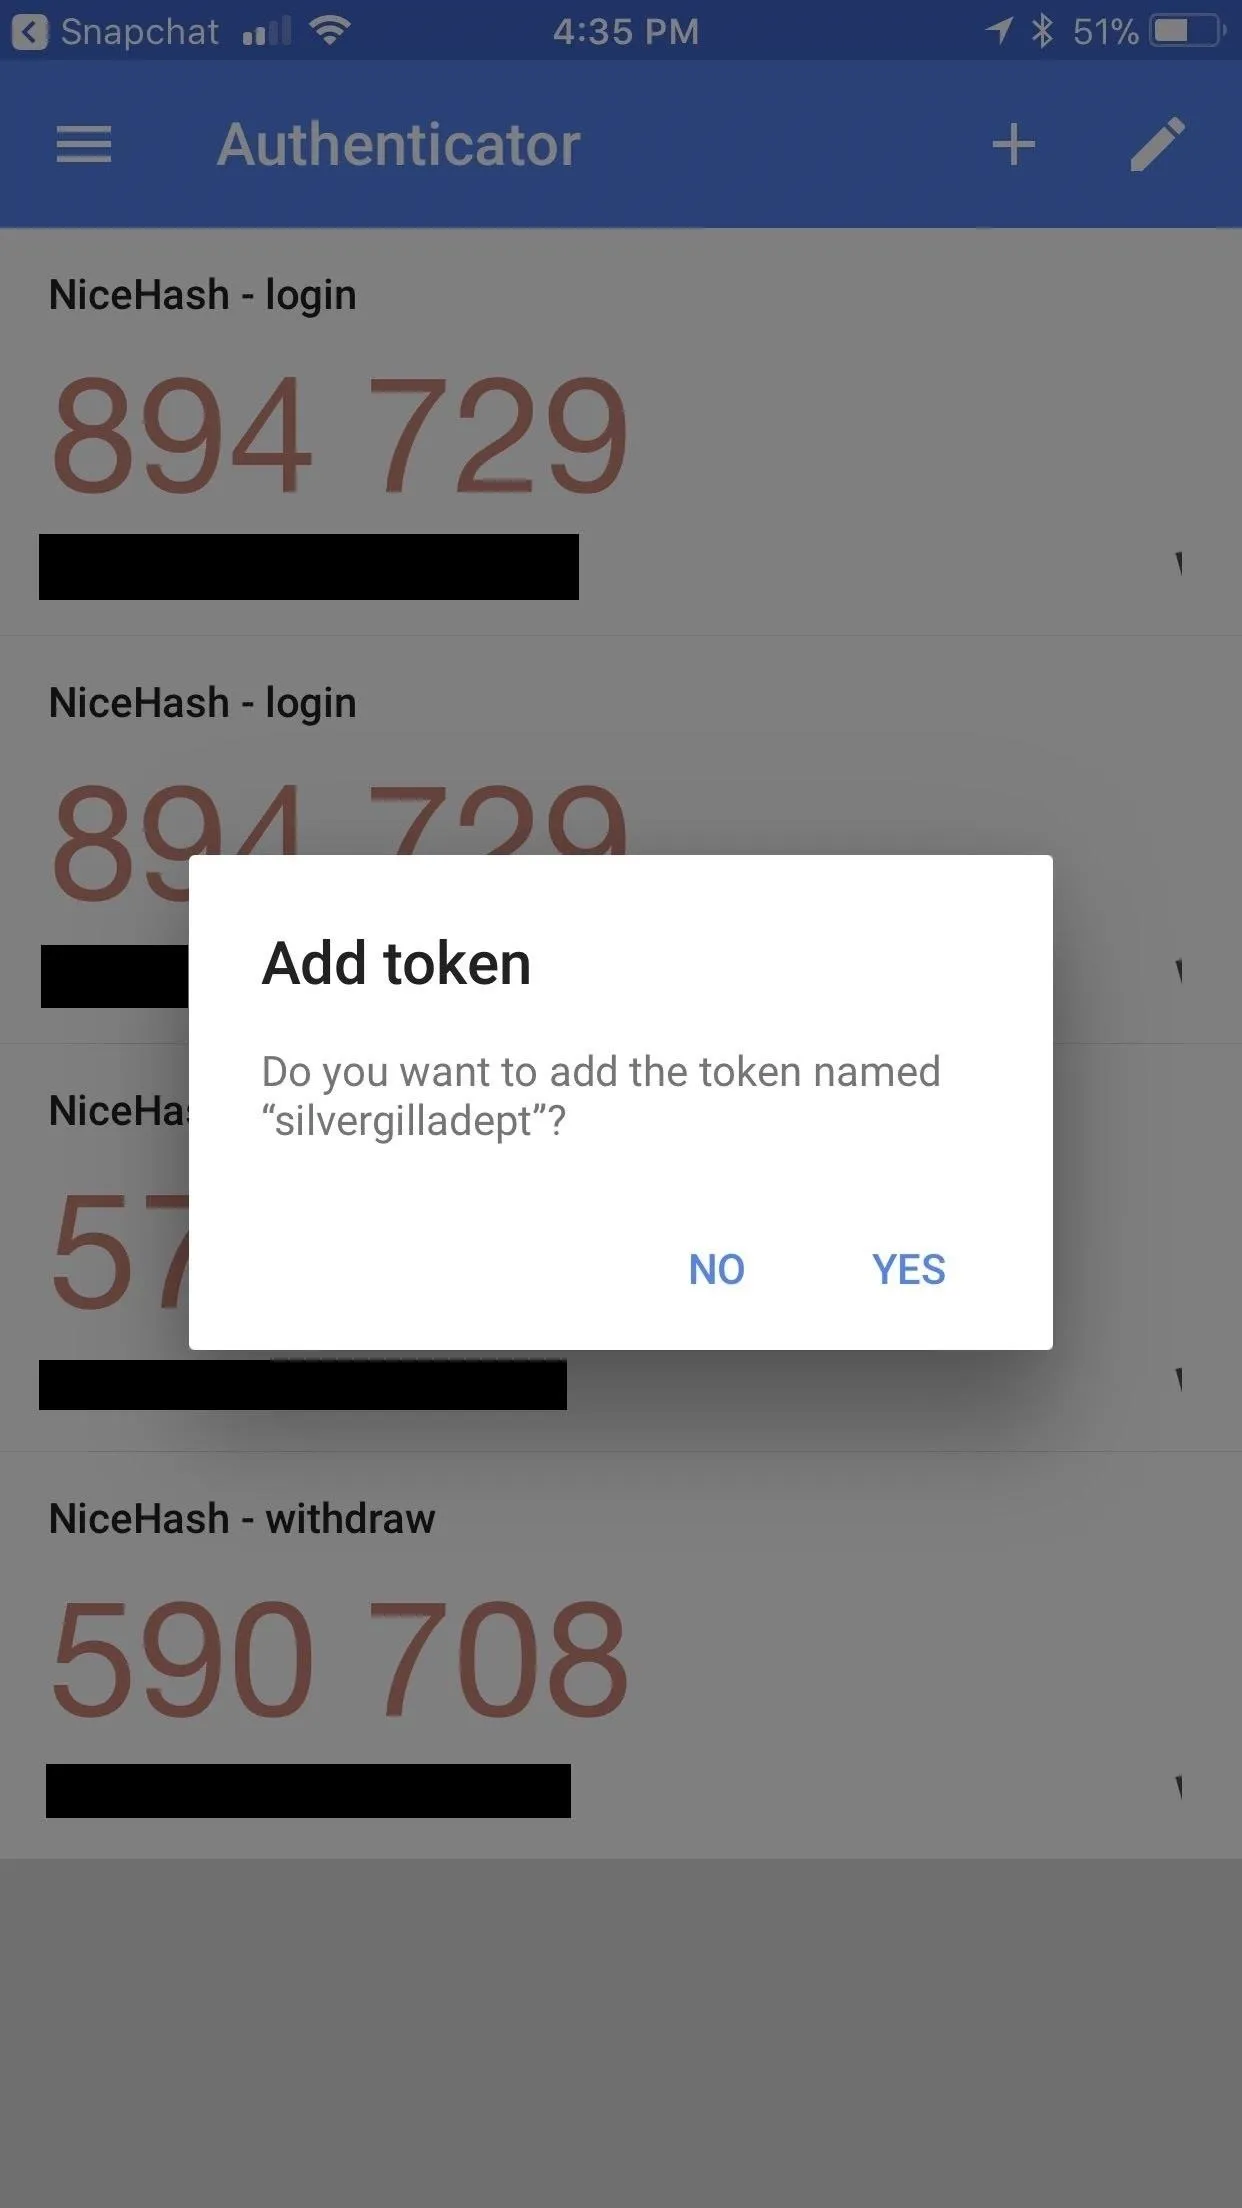
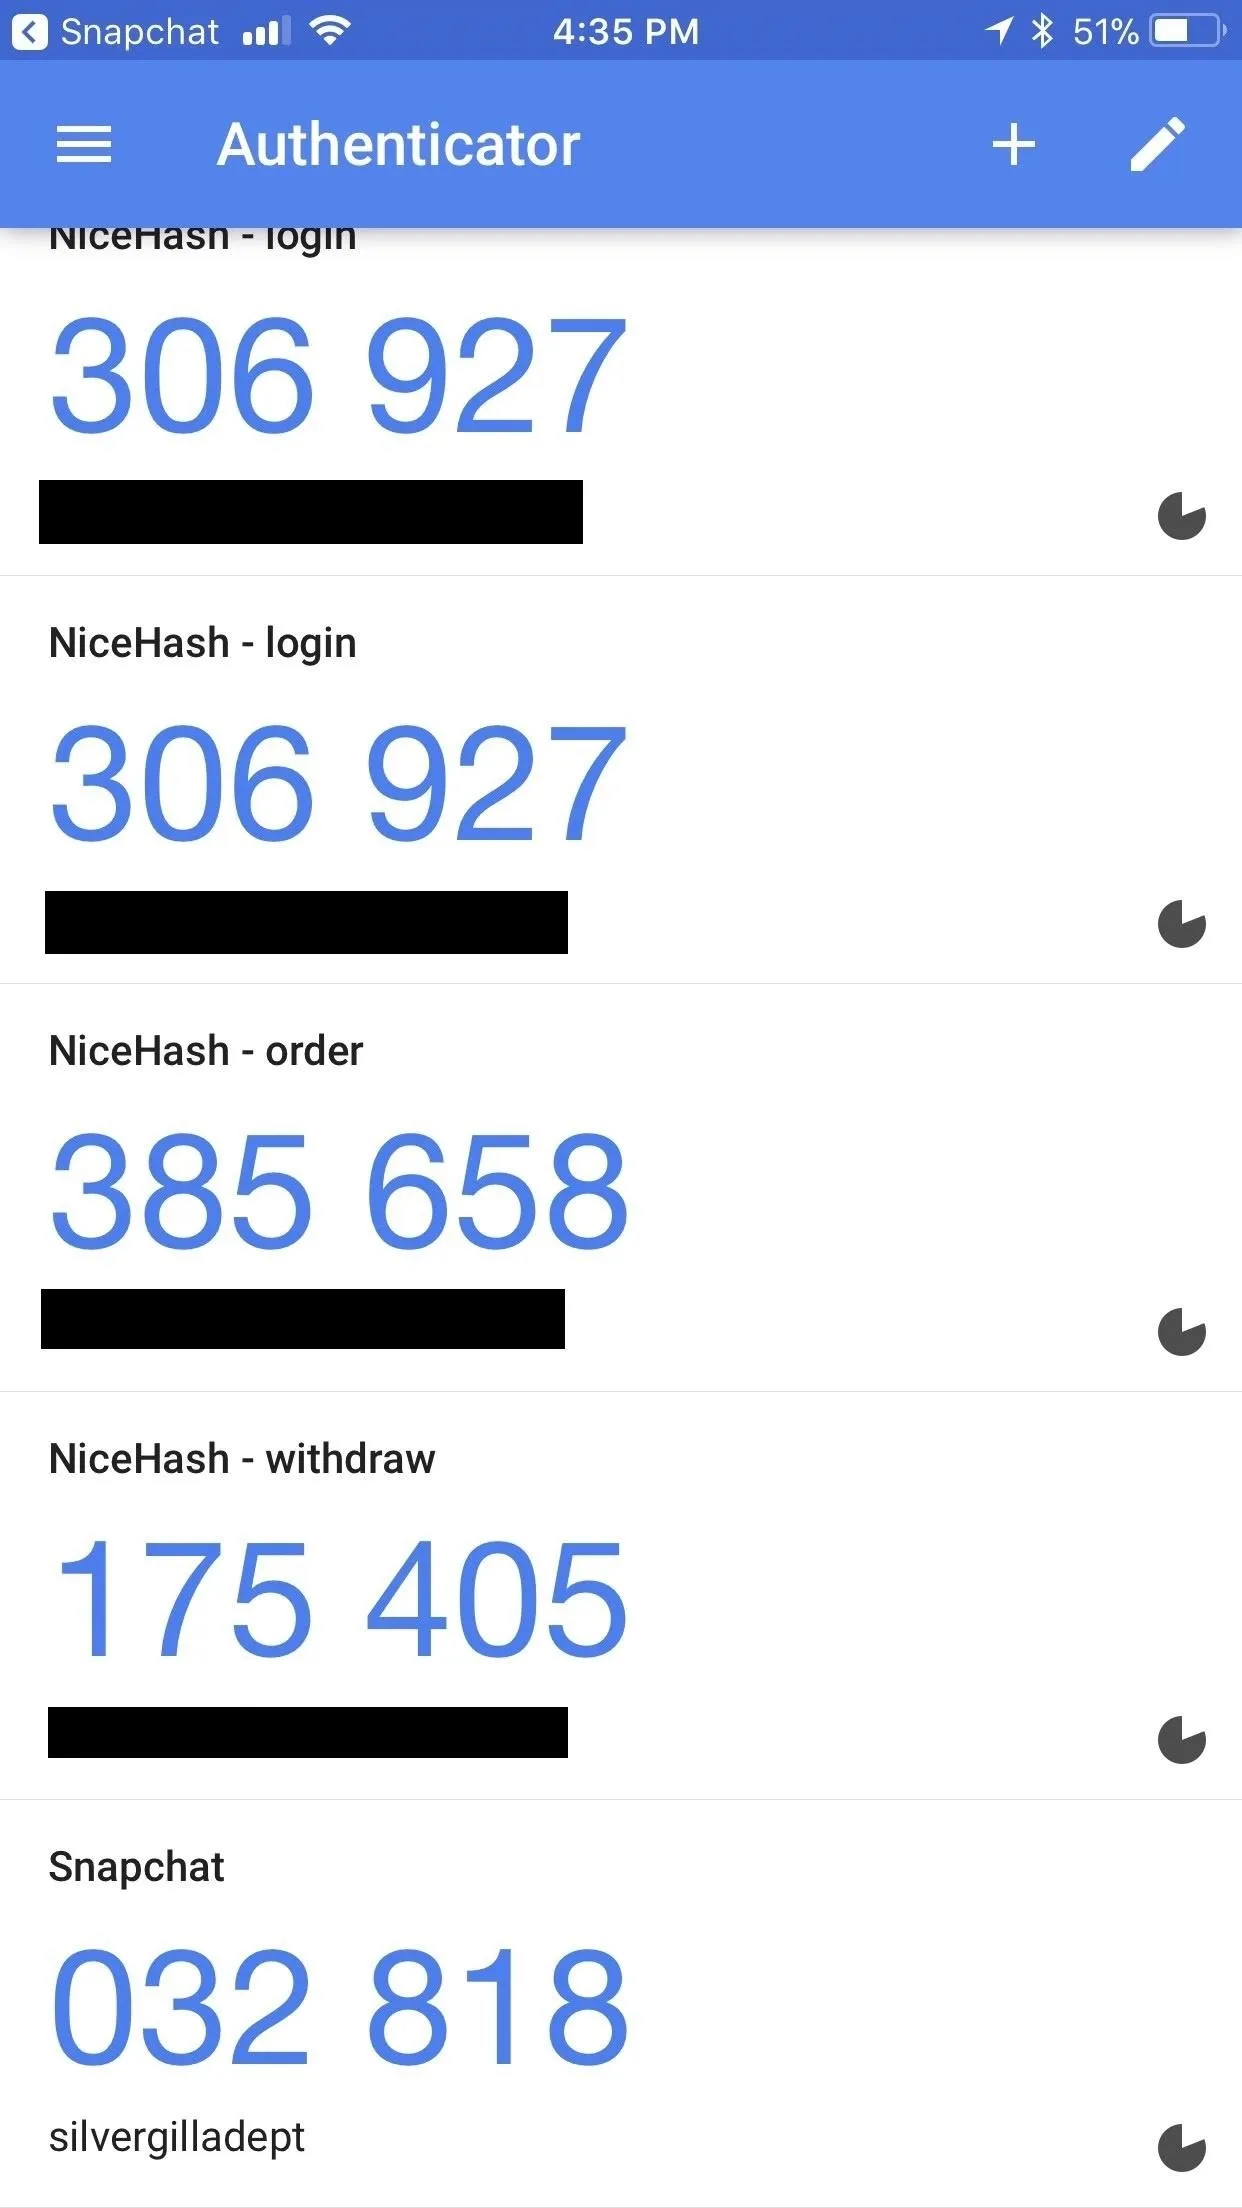
If you want to use a third-party authenticator app, we recommend installing Google Authenticator (Android or iOS). After installing the app, go back to Snapchat and navigate back to the Login Verification screen. From there, tap "Authentication App," then "Set Up Manually," and Snapchat will find Google Authenticator after a quick scan. From there, open the Google Authenticator app and you'll be asked to "Add the token" for your Snapchat user name. Tap "Yes," then go back to Snapchat and enter the code and tap "Continue" to log in.ue."
#3: Who Can Contact You
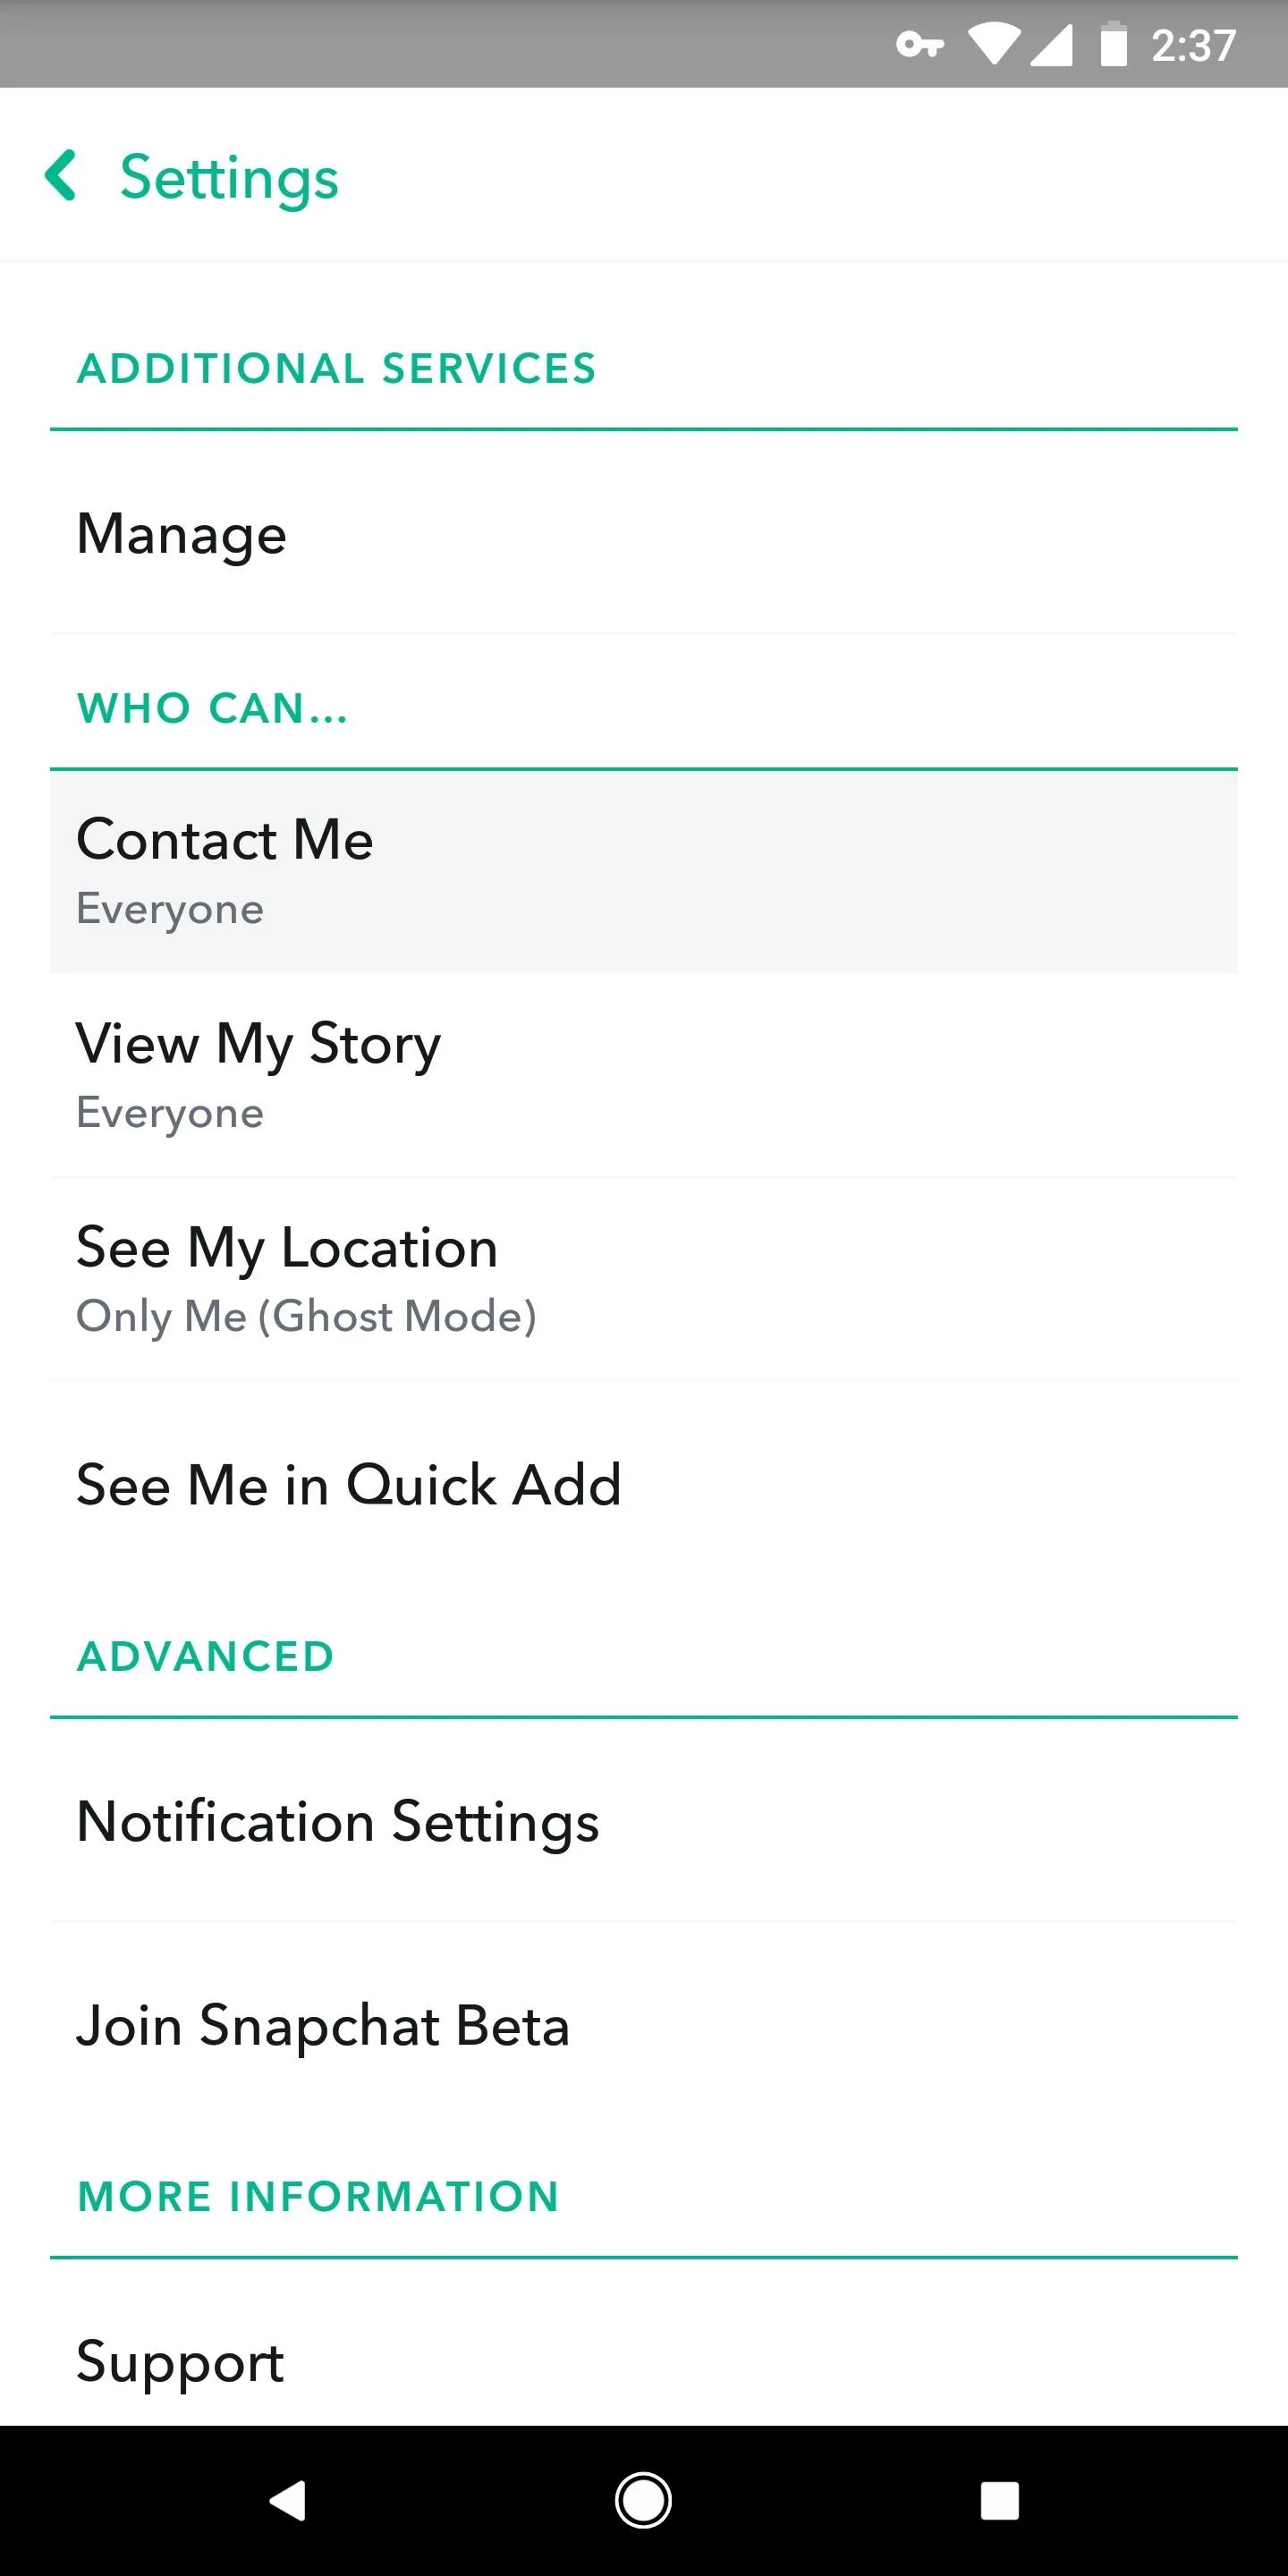
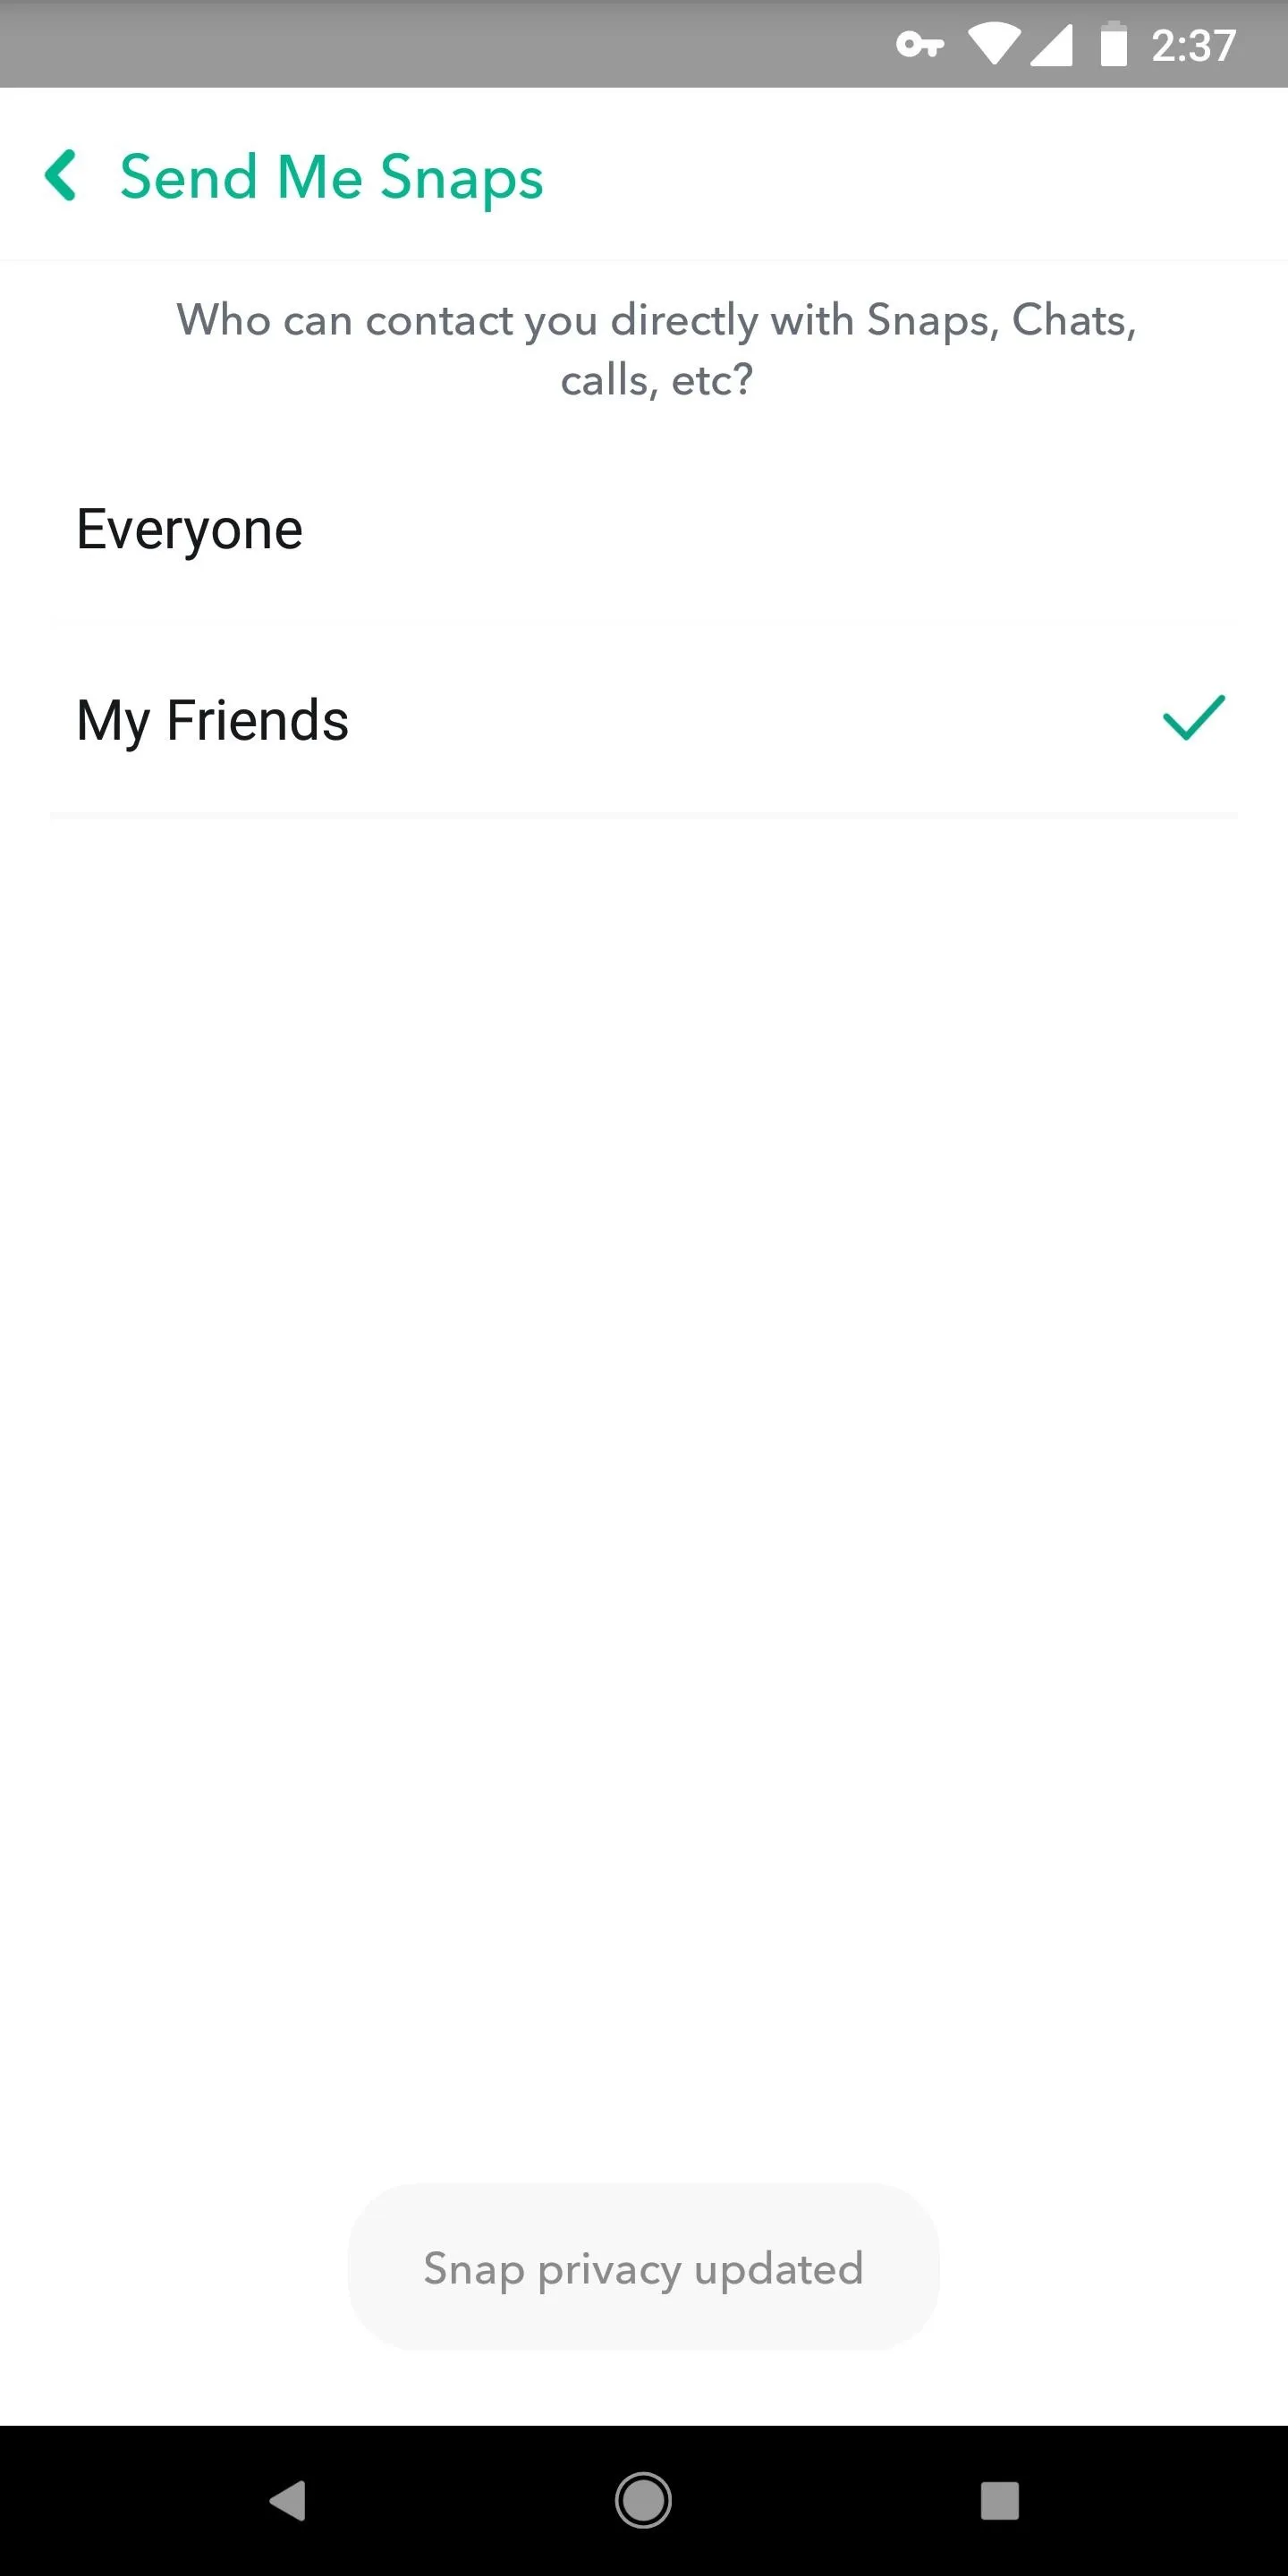
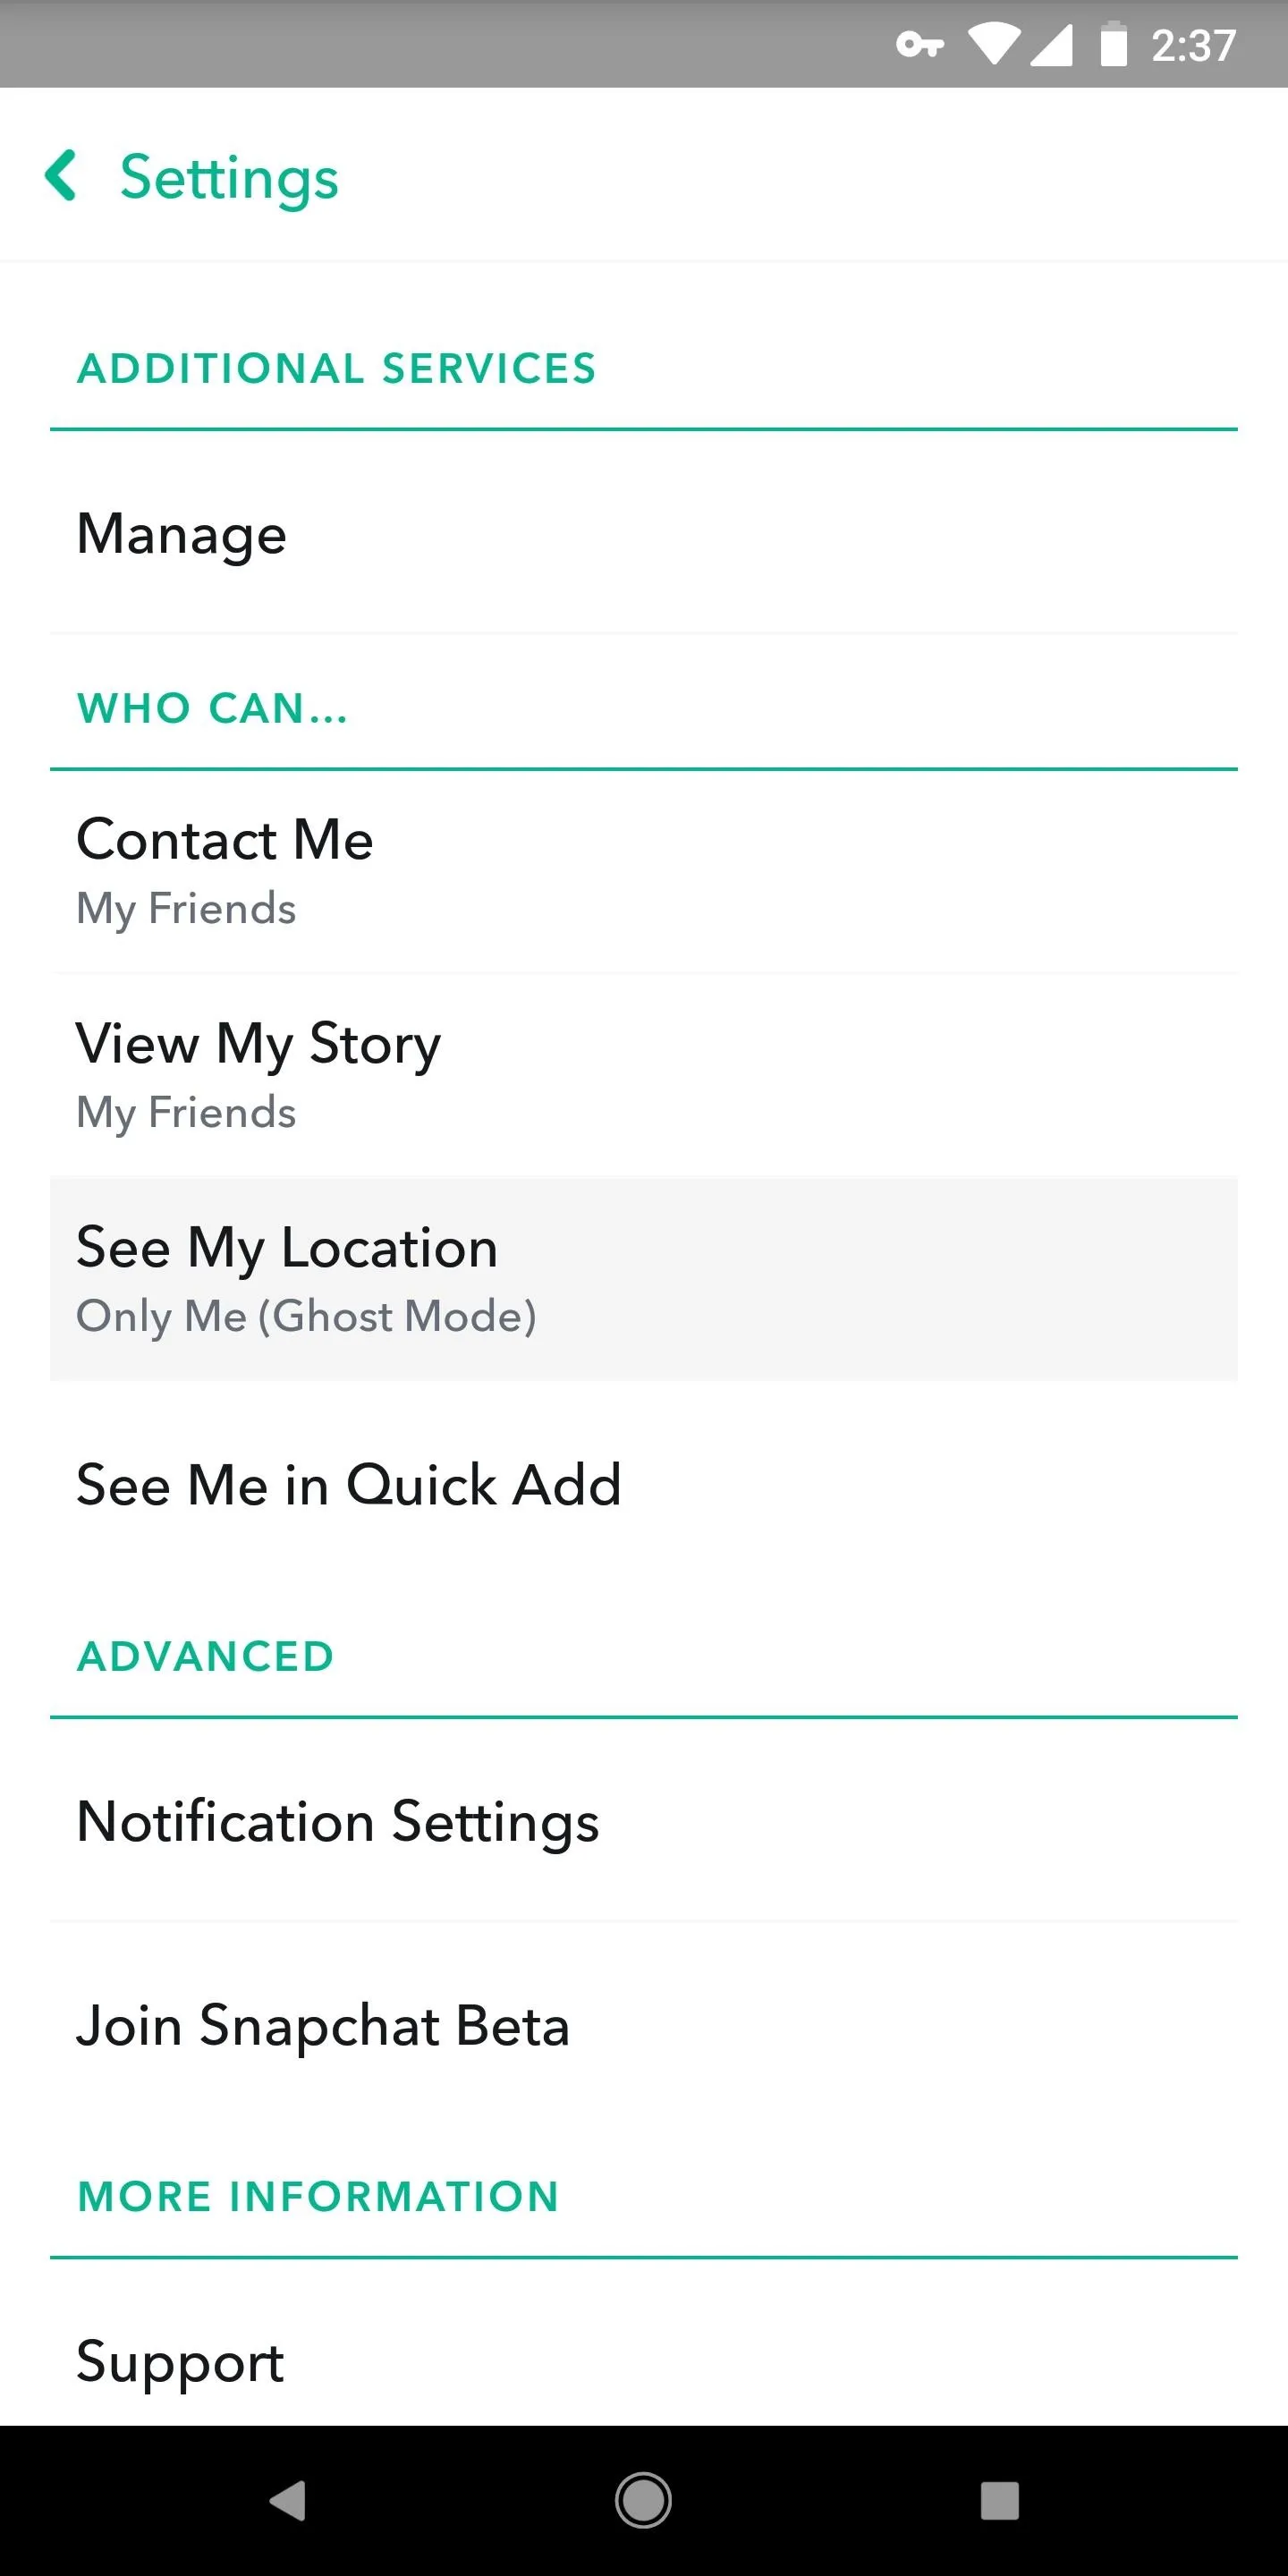
Inside the app's settings (tap your avatar from the main screen, then hit the gear icon), scroll until you find the Who Can... sub-header. Tap "Contact Me," and make sure it's set to "My Friends." This way, random people can't reach out to you if they find your username.
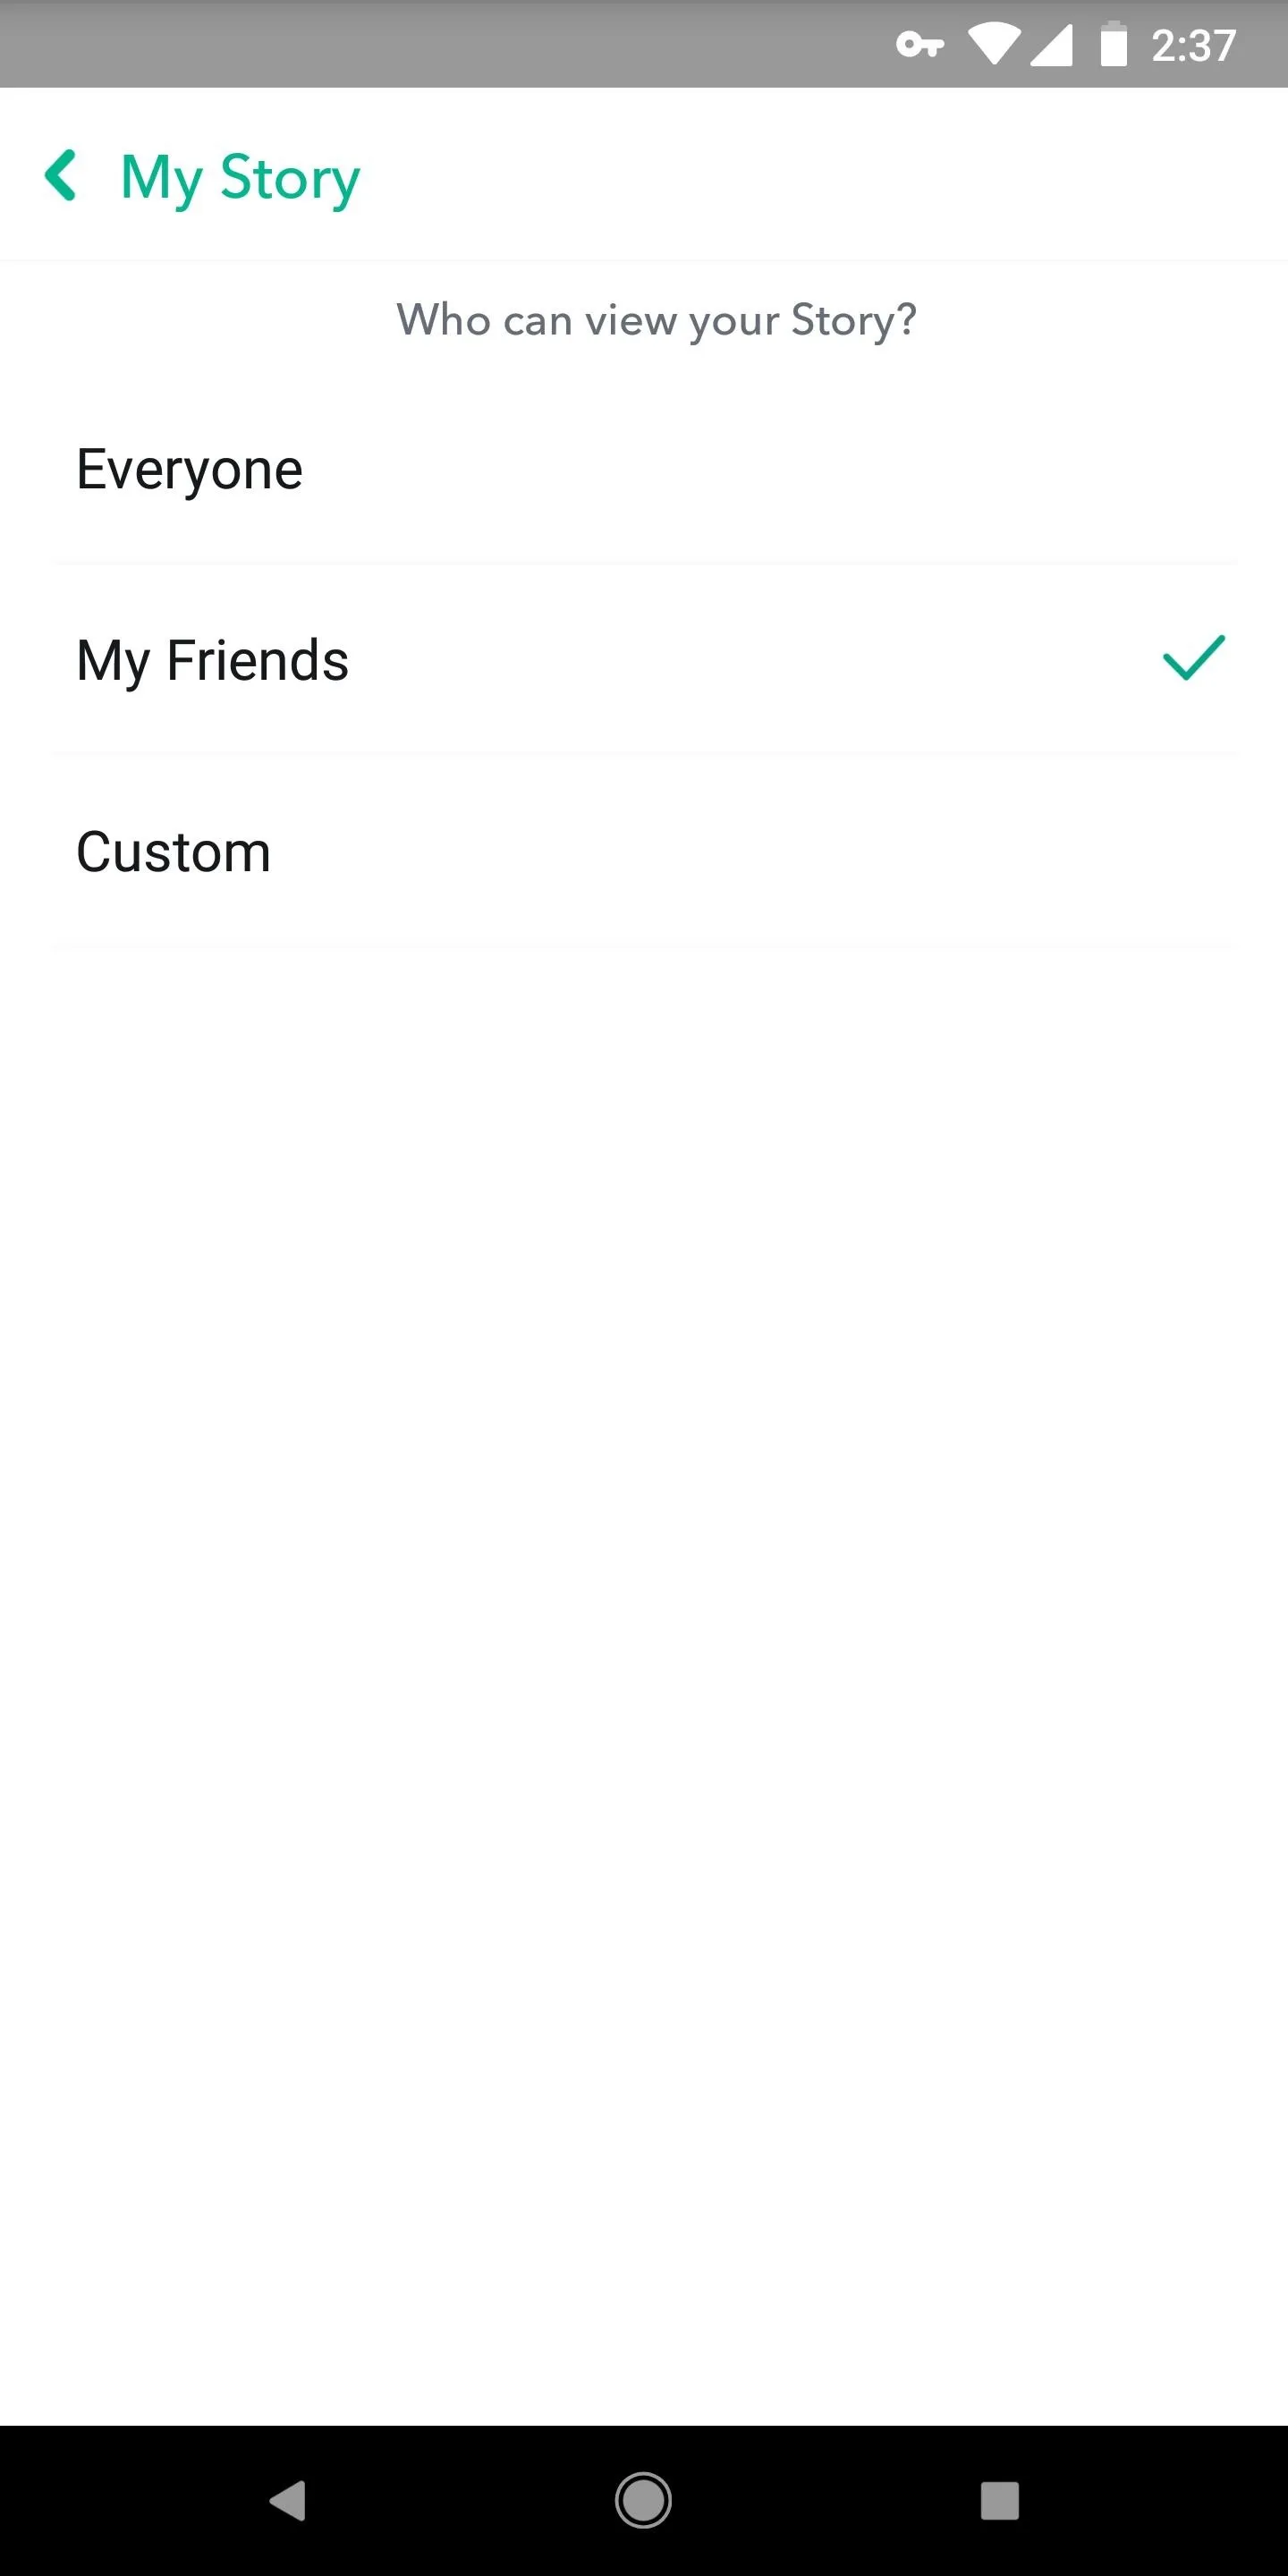
#4: Who Can View Your Story
Similar to who can contact you, it's better if only your friends can view your story. Go back to the Who Can... subheader from #3 and tap "View My Story." Make sure "My Friends" is selected. Alternatively, you can use the "Custom" option, but this is only helpful for blocking specific users, so the "My Friends" option offers better privacy.

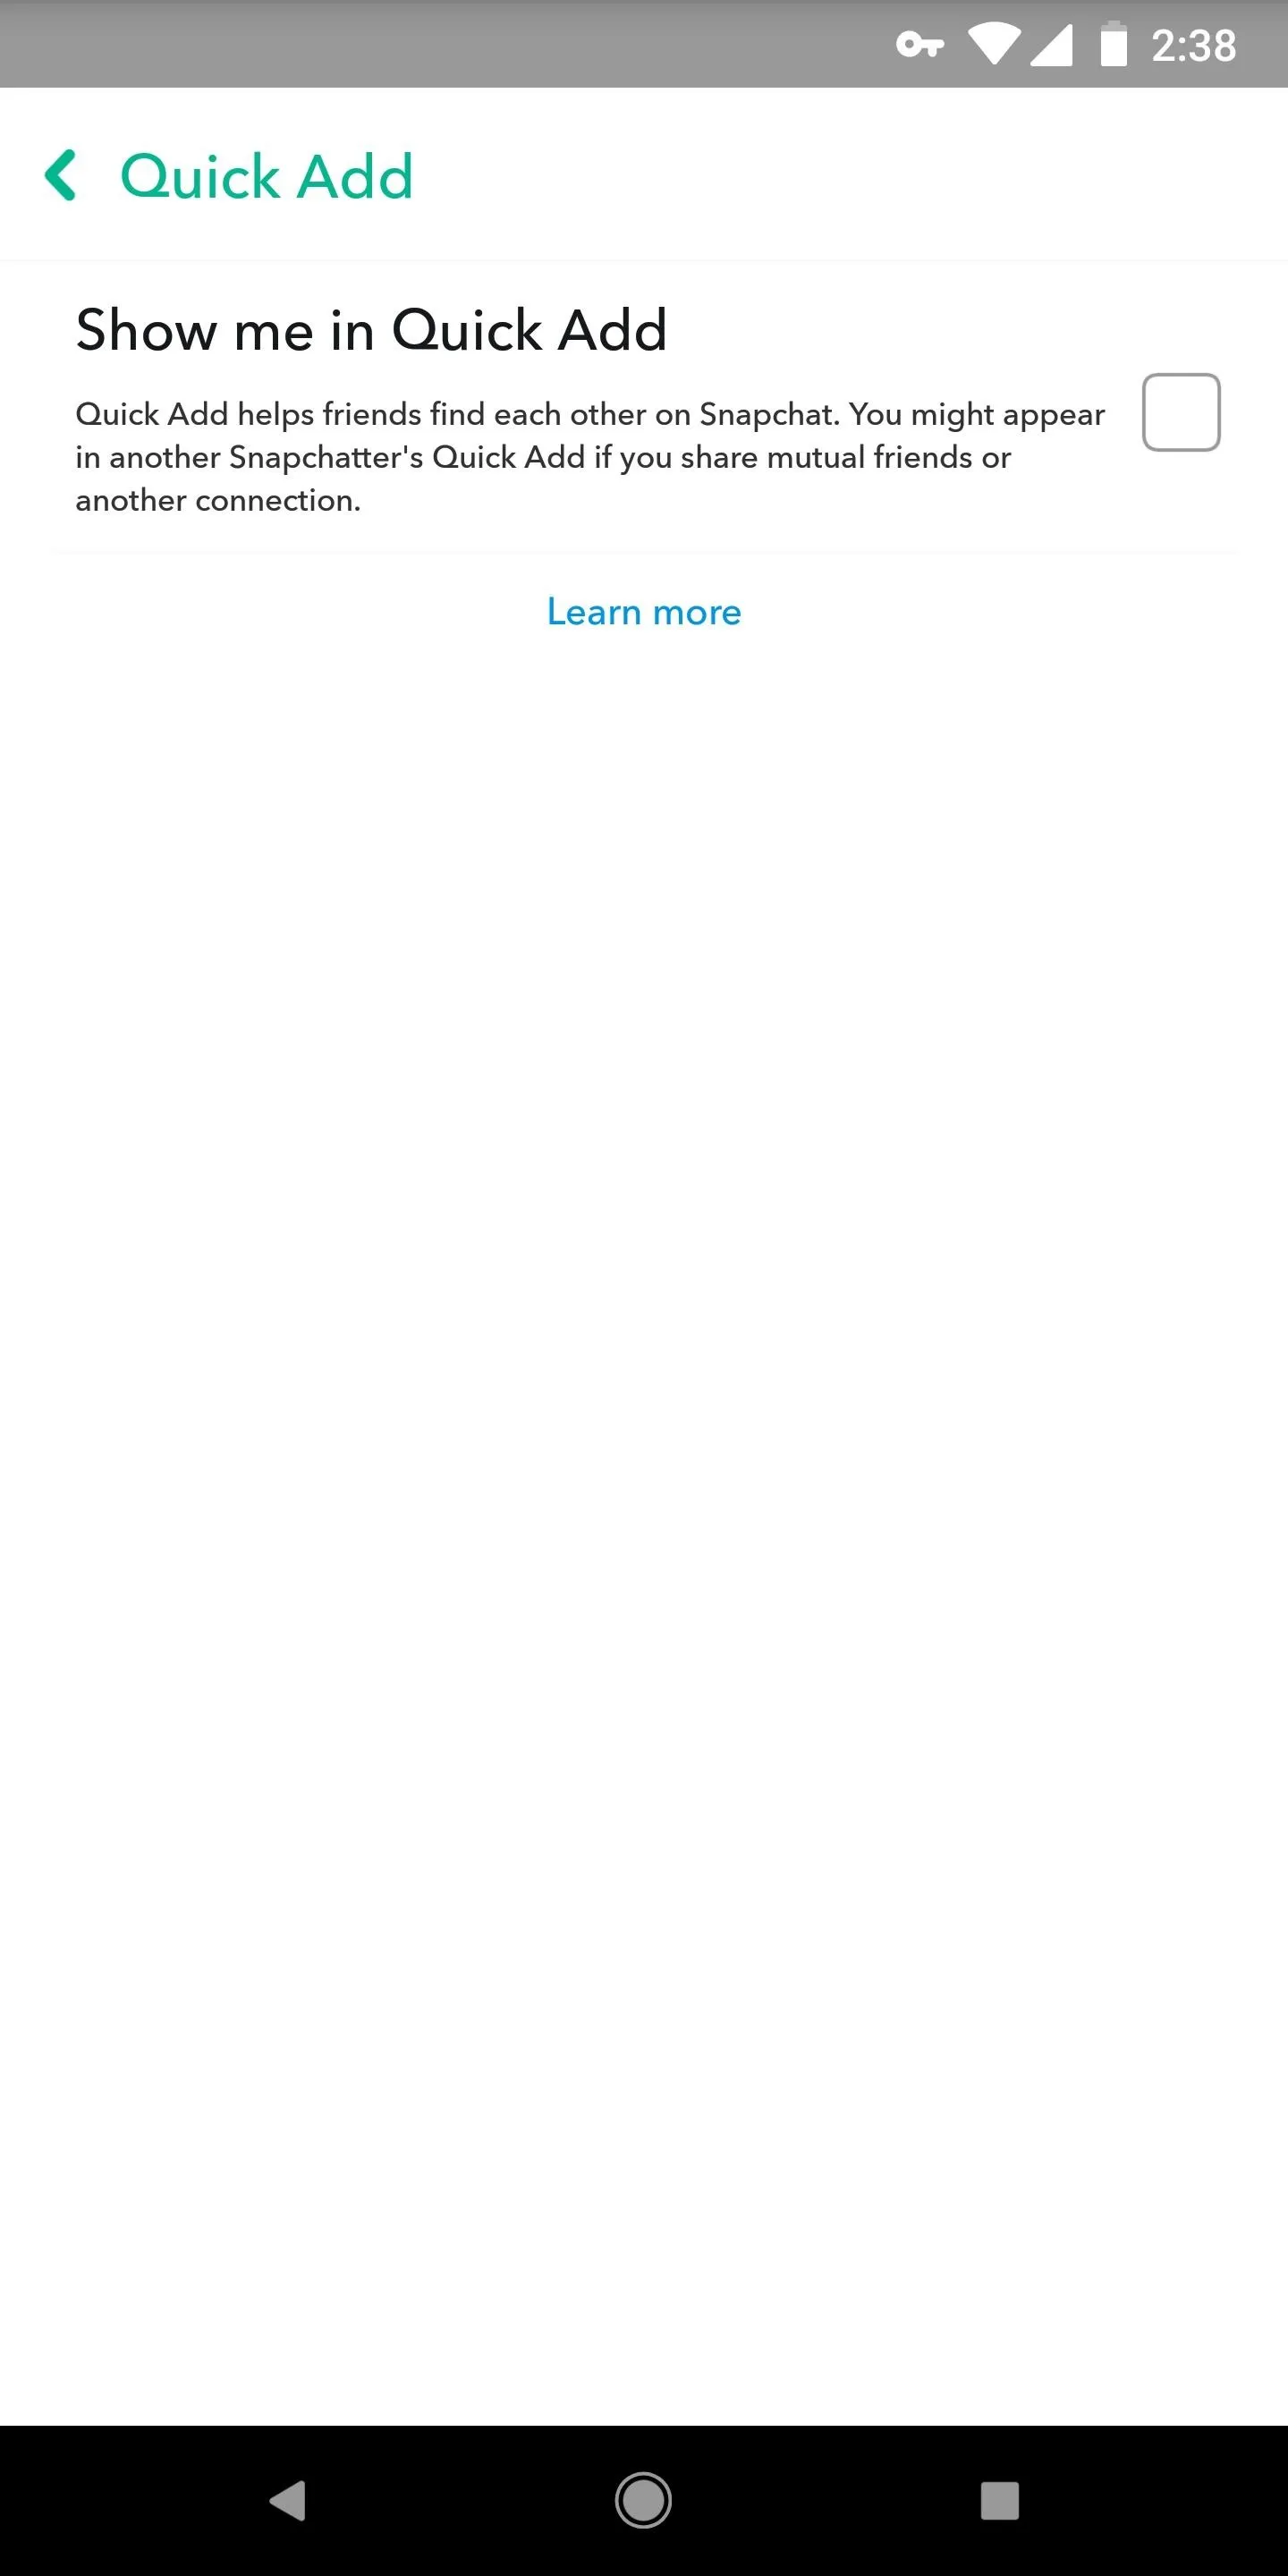
#5: Who Can Add You
Perhaps most importantly, you'll want to make sure random people can't just add you. Back under the Who can... header, tap "See Me in Quick Add." Make sure it's unchecked so that people who you don't add can't add you back. People will still be able to add you if you give them your Snapcode or username.
#6: Ad Tracking
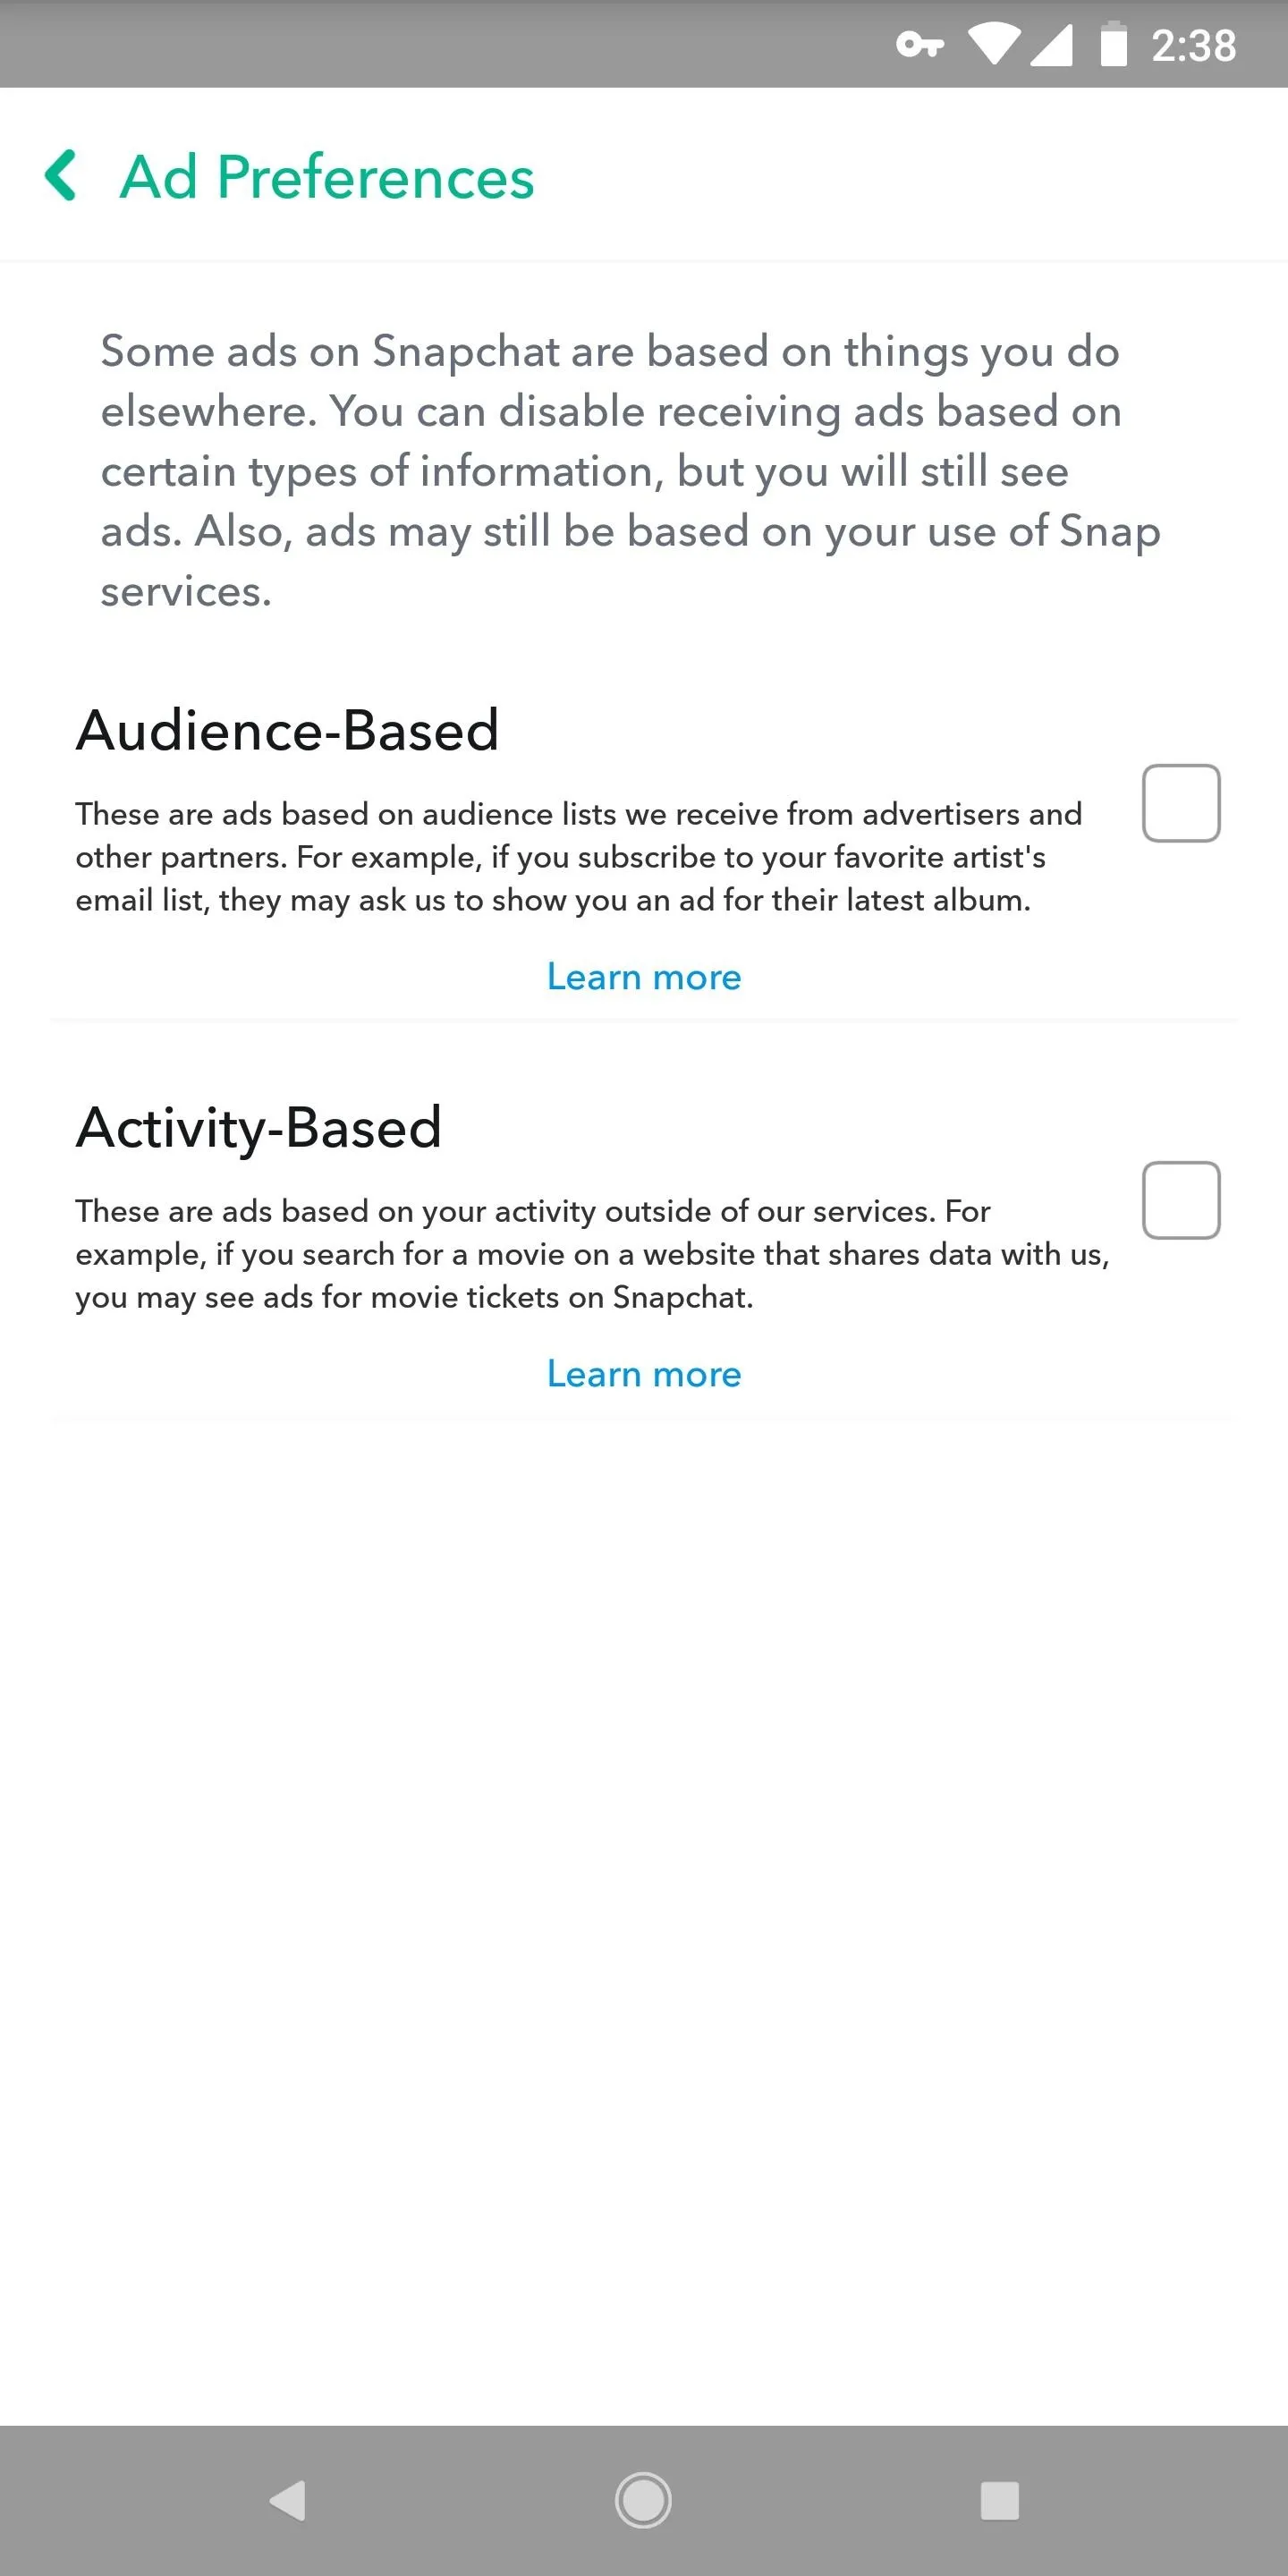
By default, Snapchat serves up ads based on cookies and other browsing data that are gathered while you're using the web. If a website has ad-tracking cookies and it's partnered with Snapchat, you'll get targeted Snapchat ads based on your activity in said website.
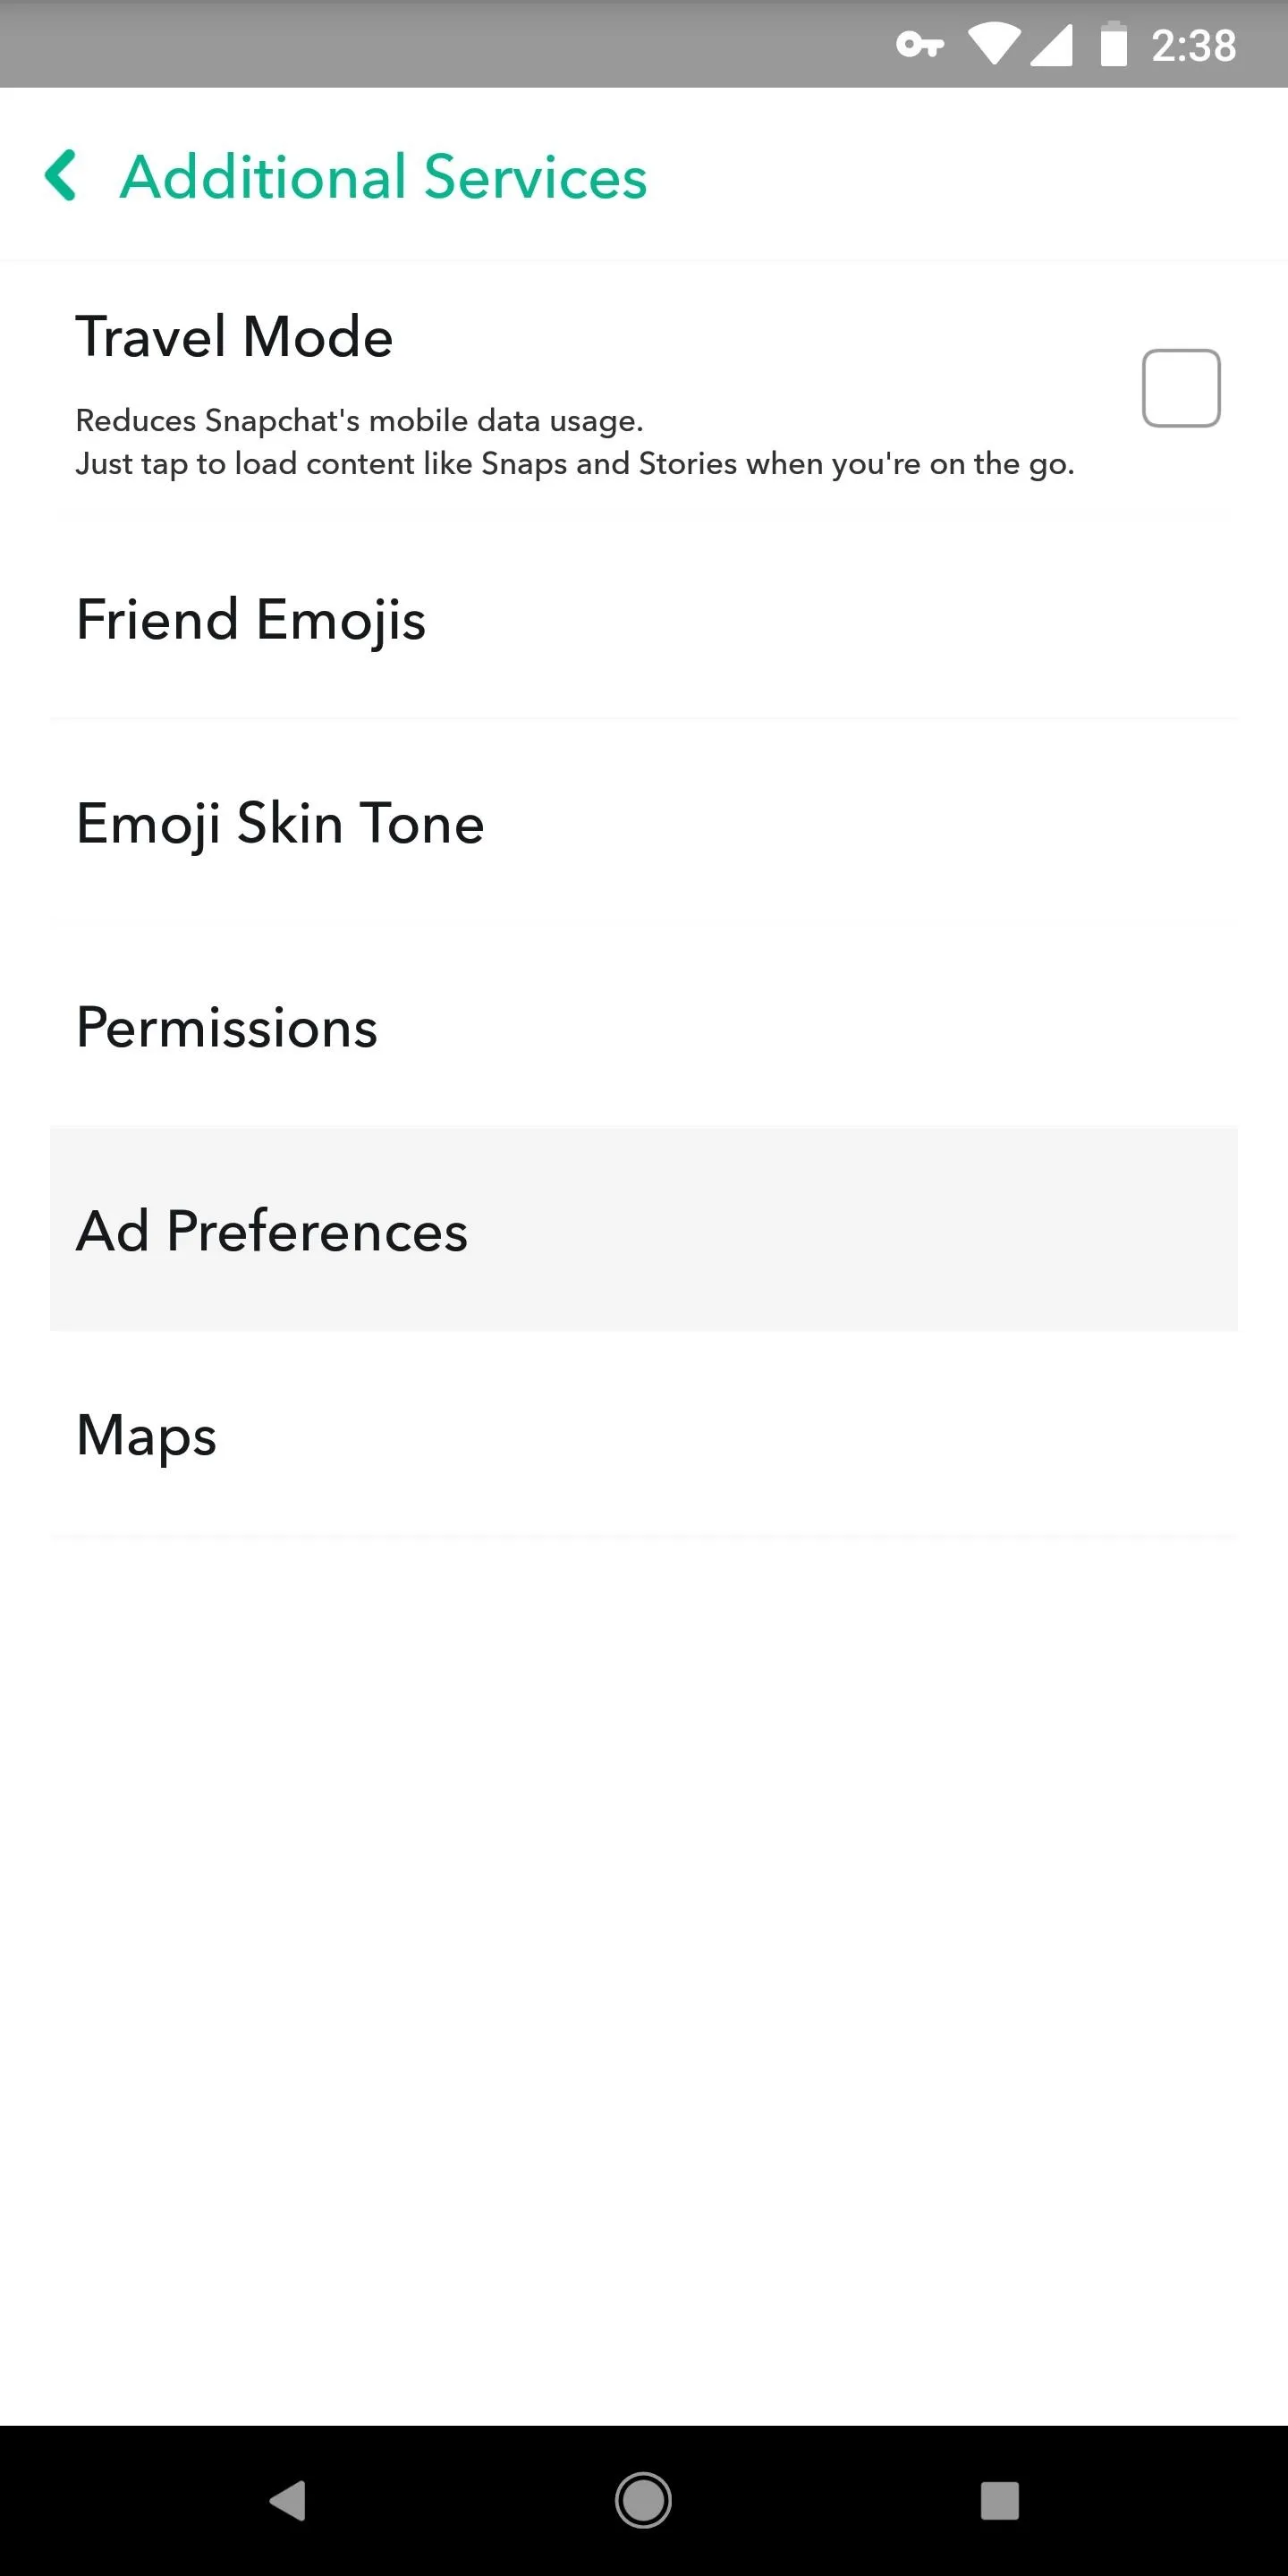
That's common practice in this day and age, but you don't have to participate in this data mining. To opt out of these personalized ads, head to the settings menu in Snapchat (tap your avatar, then the gear icon) and select "Additional Services." From there, tap "Manage" and hit "Ad Preferences," then un-check both options. Note that by changing this setting, you'll still see ads — they just won't be using cross-platform trackers to target you with specific products.
- Follow Gadget Hacks on Facebook, Twitter, YouTube, and Flipboard
- Follow WonderHowTo on Facebook, Twitter, Pinterest, and Flipboard
Cover image and screenshots by Brian Lang/Gadget Hacks


Comments
Be the first, drop a comment!