


There's more to recording calls than just protecting yourself against liability or an angry ex — oftentimes, this feature is the perfect tool to save momentous calls like breaking news of your recent engagement to loved ones. And with the prevalence of video calls, you can even capture memorable video chats such as your mom's first glimpse of your newborn on your mobile, courtesy of Skype.
Skype allows recording of both video and audio calls on an iPhone or Android device, so you can record important meetings and other important events to save for later viewing. The feature is incredibly intuitive to access and use, and it works exactly the same way for both major platforms. Best of all, the service informs all parties of the status, in addition to receiving the recording on their end.
For security and privacy purposes, Skype only keeps any recordings made for 30 days, after which they get permanently erased. Despite this, however, Skype gives you added options to save or share your recordings for safekeeping, which is also easy to do as you'll see below. However, there is no setting to disable this feature, so you're always at risk of being recorded by others.
Disclaimer
Federal law permits recording telephone calls and in-person conversations with the consent of at least one of the parties (e.g., you), but your state may have a different consent law. California, for example, has a two-party consent law, which means you have to obtain permission from the other person(s) before you can initiate recording. Know your state laws before attempting to record a conversation.
Start & Stop Recording
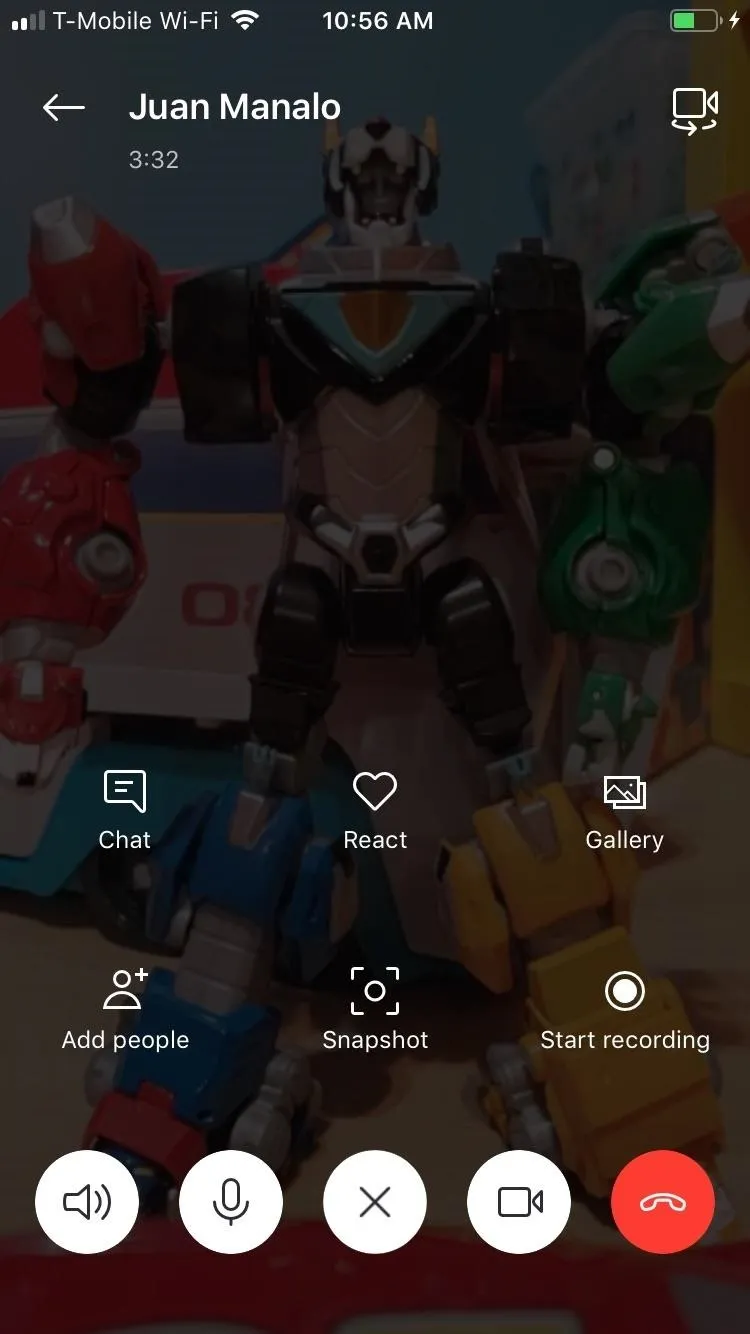
Recording either your video or audio calls on Skype couldn't be any easier; Simply initiate a call by tapping on the camera or phone icon within your contact's information page, depending on the type of call, to get started. Once the call has been initiated, tap on the "+" button to reveal more options. From there, hit "Start recording" on the lower right of the menu to start recording.

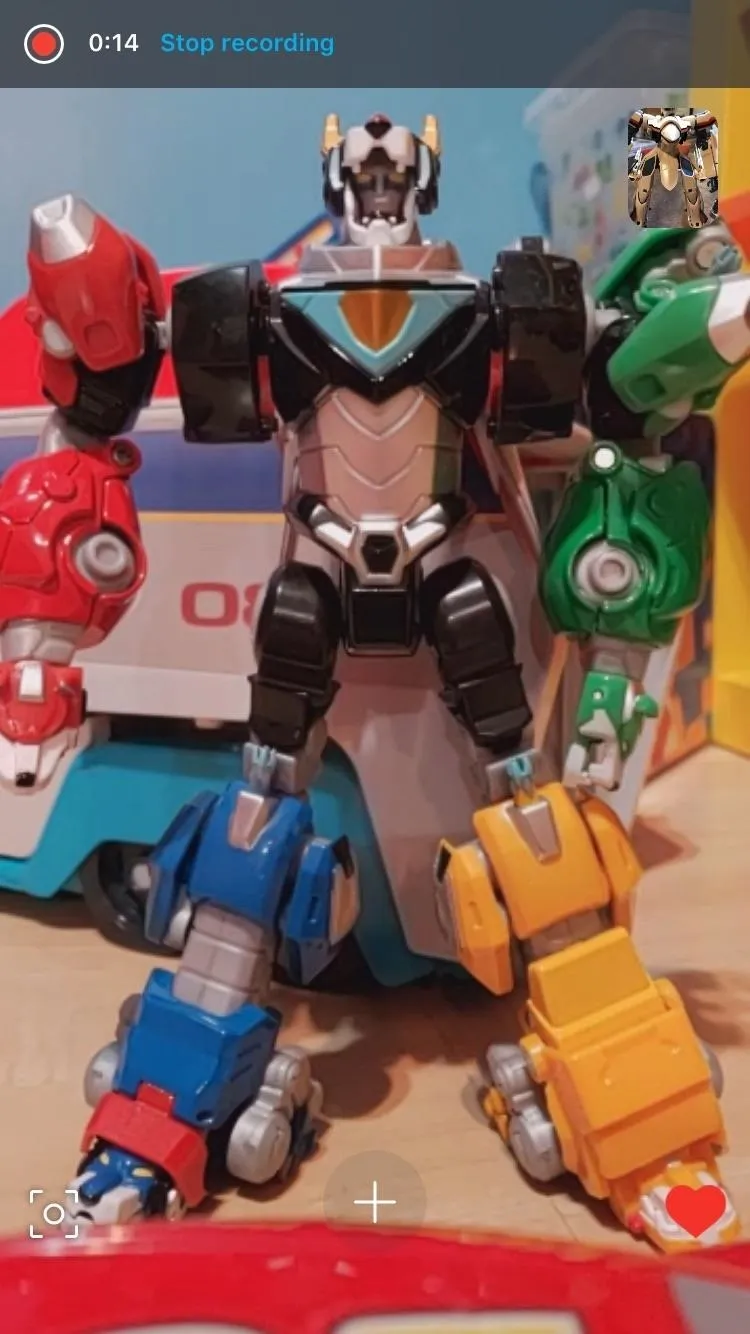
Once recording has kicked in, the person on the other end will have a small banner appear along the top of the screen to inform him or her that recording is now in progress for your video or audio call. To stop recording, either tap on "Stop recording" along the top of your screen or end the call.

All recordings are saved on Skype's servers in the cloud, so there's no need to worry about storage space or clutter on your device.
Access Your Recordings
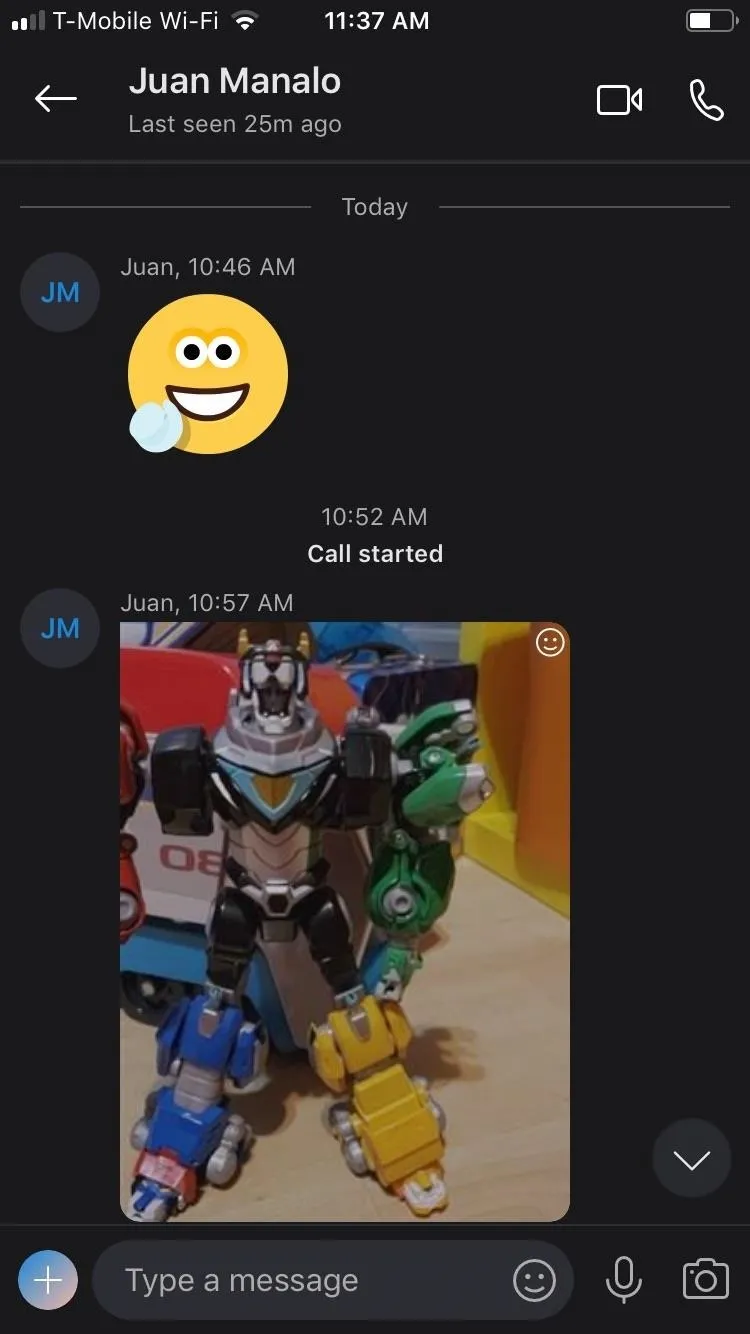
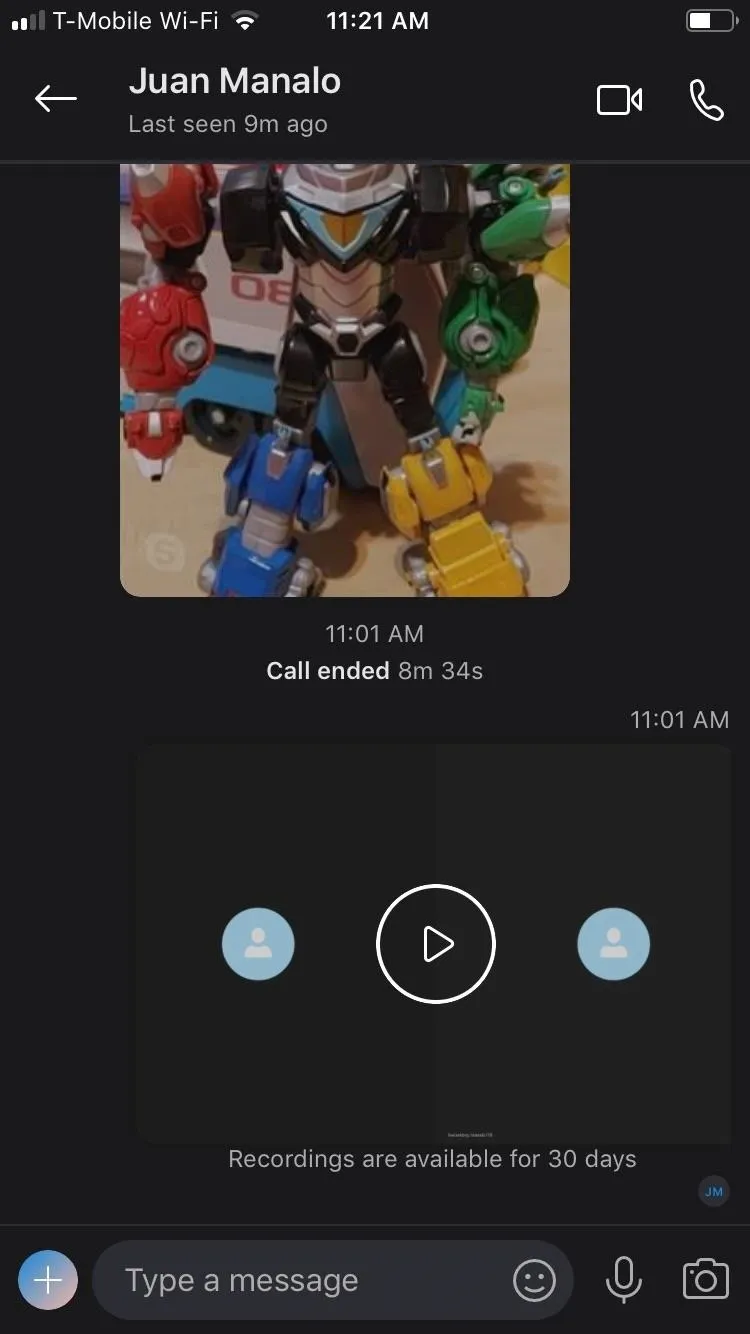
Once your video or audio call is done, tap on the recent recording found within your contact's conversation page and hit the play icon to replay the audio or video recording. Your contact will also have a copy of the recording, and as mentioned before, both you and your contact will have 30 days to save and share the recording.

Save, Share & Remove Recordings
To save the video or audio file, tap on the share icon on the lower left corner of the audio or video playback page, then tap on "Save." This will automatically save the file into your phone's default gallery app. Additionally, you can tap-and-hold on the video from the main chat screen and tap "Save" instead of opening the video up first.
To share a Skype recording to or via another app, open the video and tap the share icon in the bottom left, then tap "Share." This will allow you to send the files using your favorite messaging, email, or social media app. Additionally, you can tap-and-hold on the video from the main chat screen and tap "Forward" to send to another Skype user.
The file itself will be an MP4, in most cases, though depending on how you share it, it could be a MOV file too if you're sharing to somebody via an iMessage. Even if you're recording only audio, the file will still be a video file.
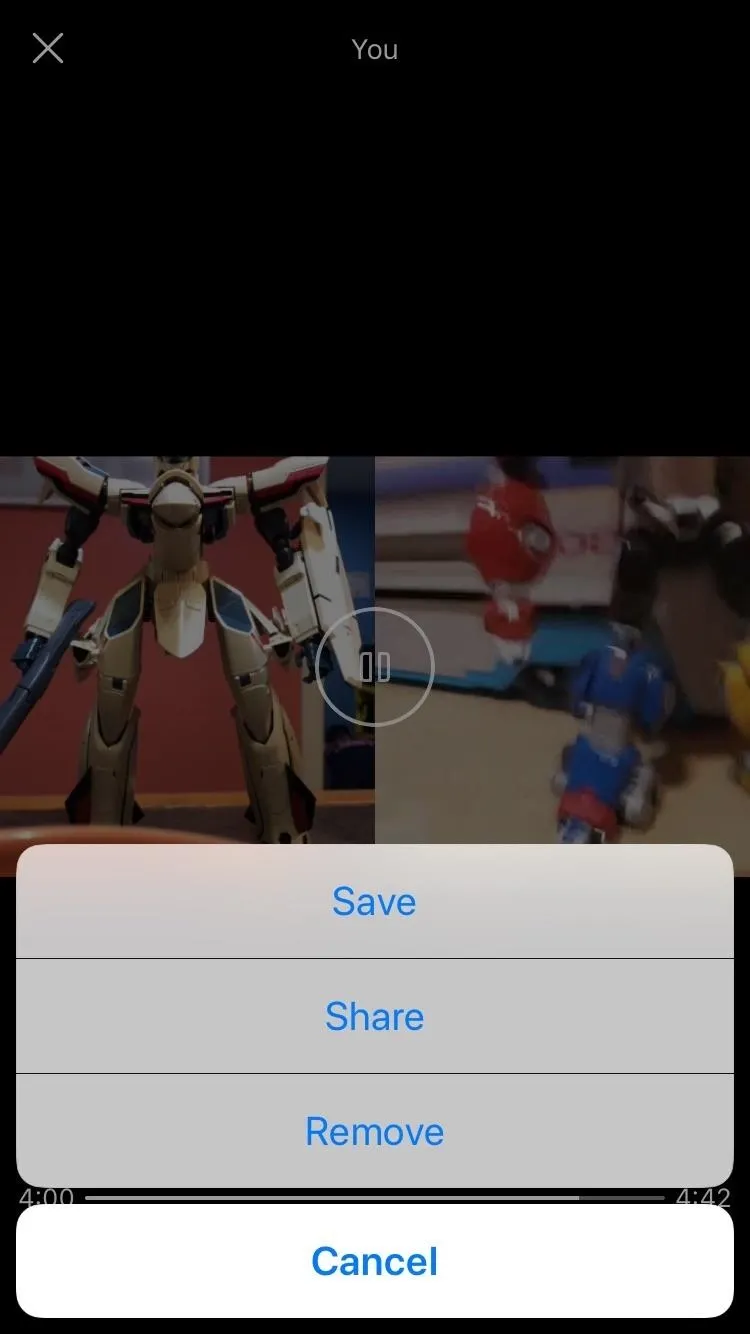
The recorder can "Remove" the video (left) but the person recorded cannot (left).
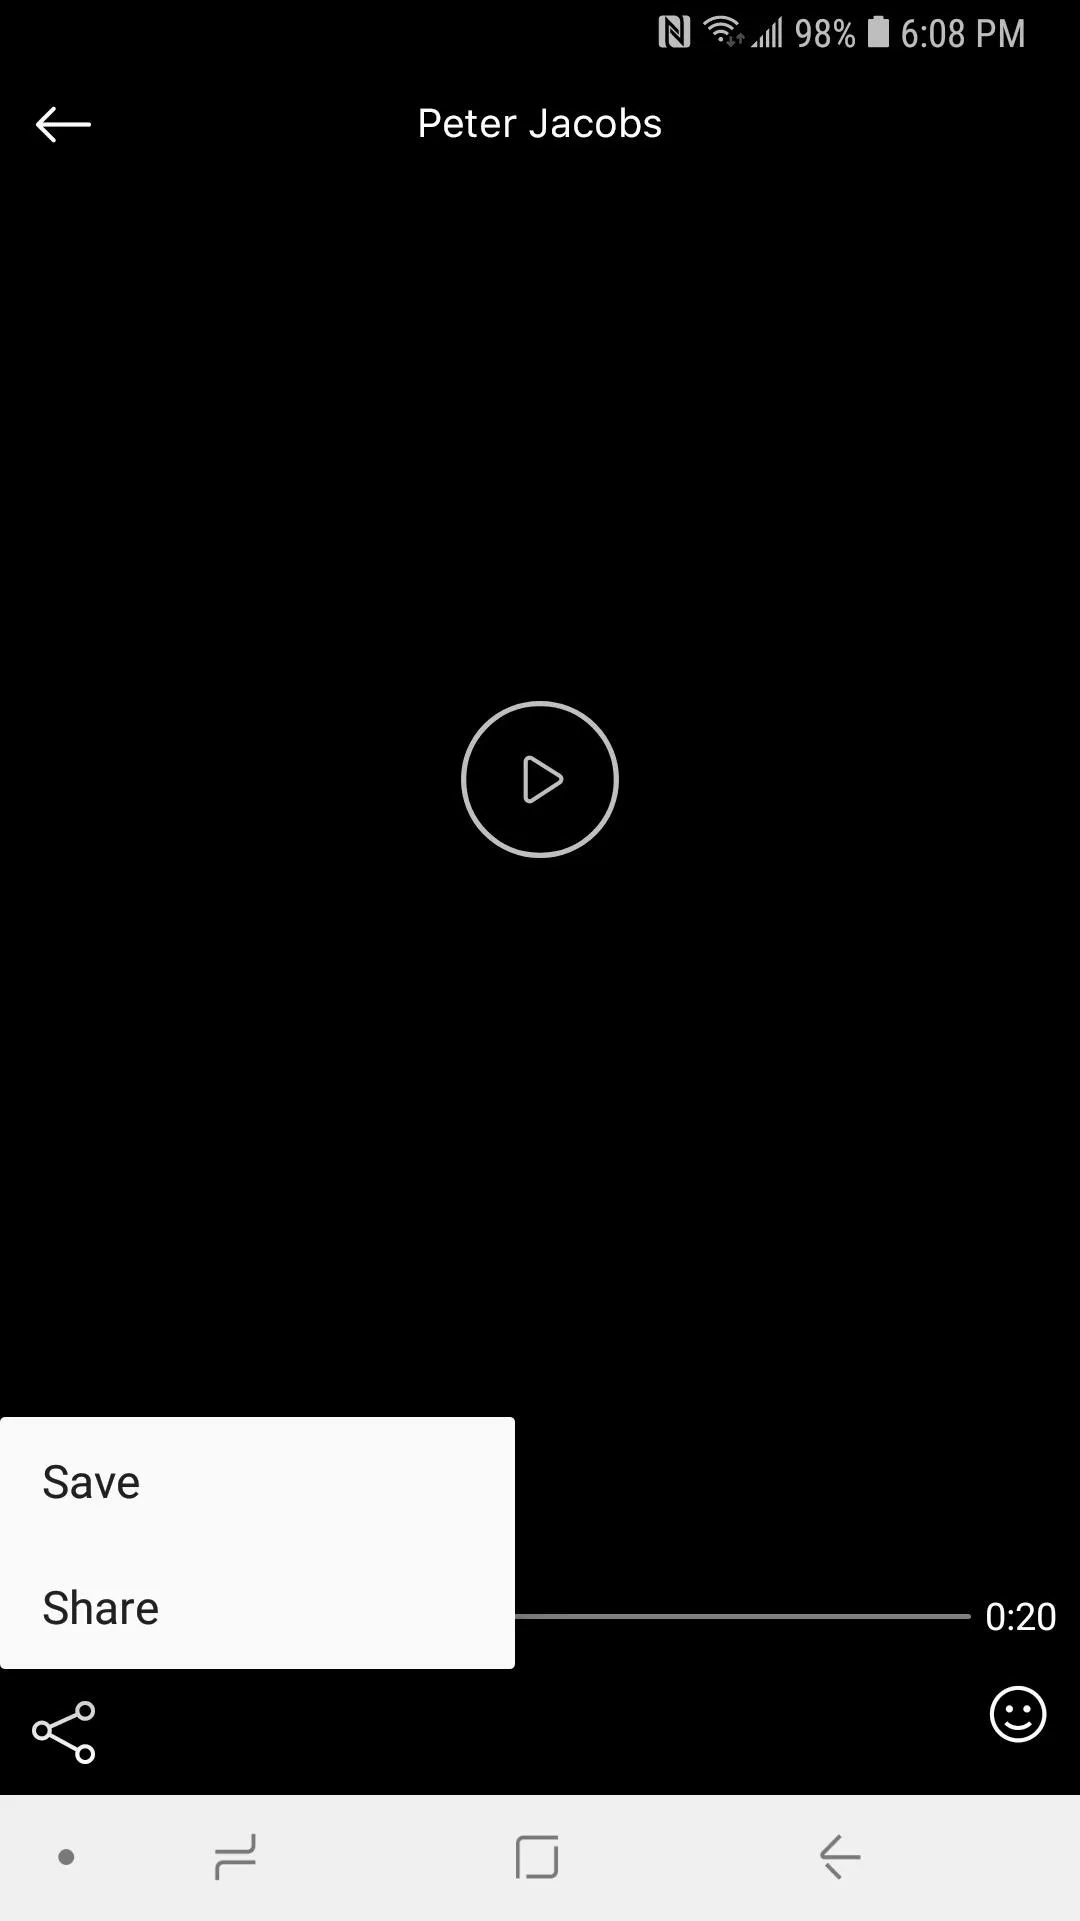
The recorder can "Remove" the video (left) but the person recorded cannot (left).
As of right now, only the person who took the recording of the audio or video call can remove it from the chat history. To do so, just hit the share icon again and tap "Remove." The person being recorded will not see the "Remove" option if they try the same thing.
- Follow Gadget Hacks on Pinterest, Twitter, YouTube, and Flipboard
- Sign up for Gadget Hacks' daily newsletter or weekly Android and iOS updates
- Follow WonderHowTo on Facebook, Twitter, Pinterest, and Flipboard
Cover image and screenshots by Amboy Manalo/Gadget Hacks


Comments
Be the first, drop a comment!