When most people first become aware of Kodi (formerly known as XBMC), they hear about its ability to stream illegal content. But the real Kodi community knows that it's much more than just a haven for pirated material — it's an all-in-one media player that addresses the majority of home theater needs, particularly for those that decided to cut the cord.
So if you want to stay completely above-board when it comes to streaming media, it's definitely possible. One example of this is live TV. By utilizing a legitimate add-on, Kodi provides access to live US television for those on the mainland and those abroad.
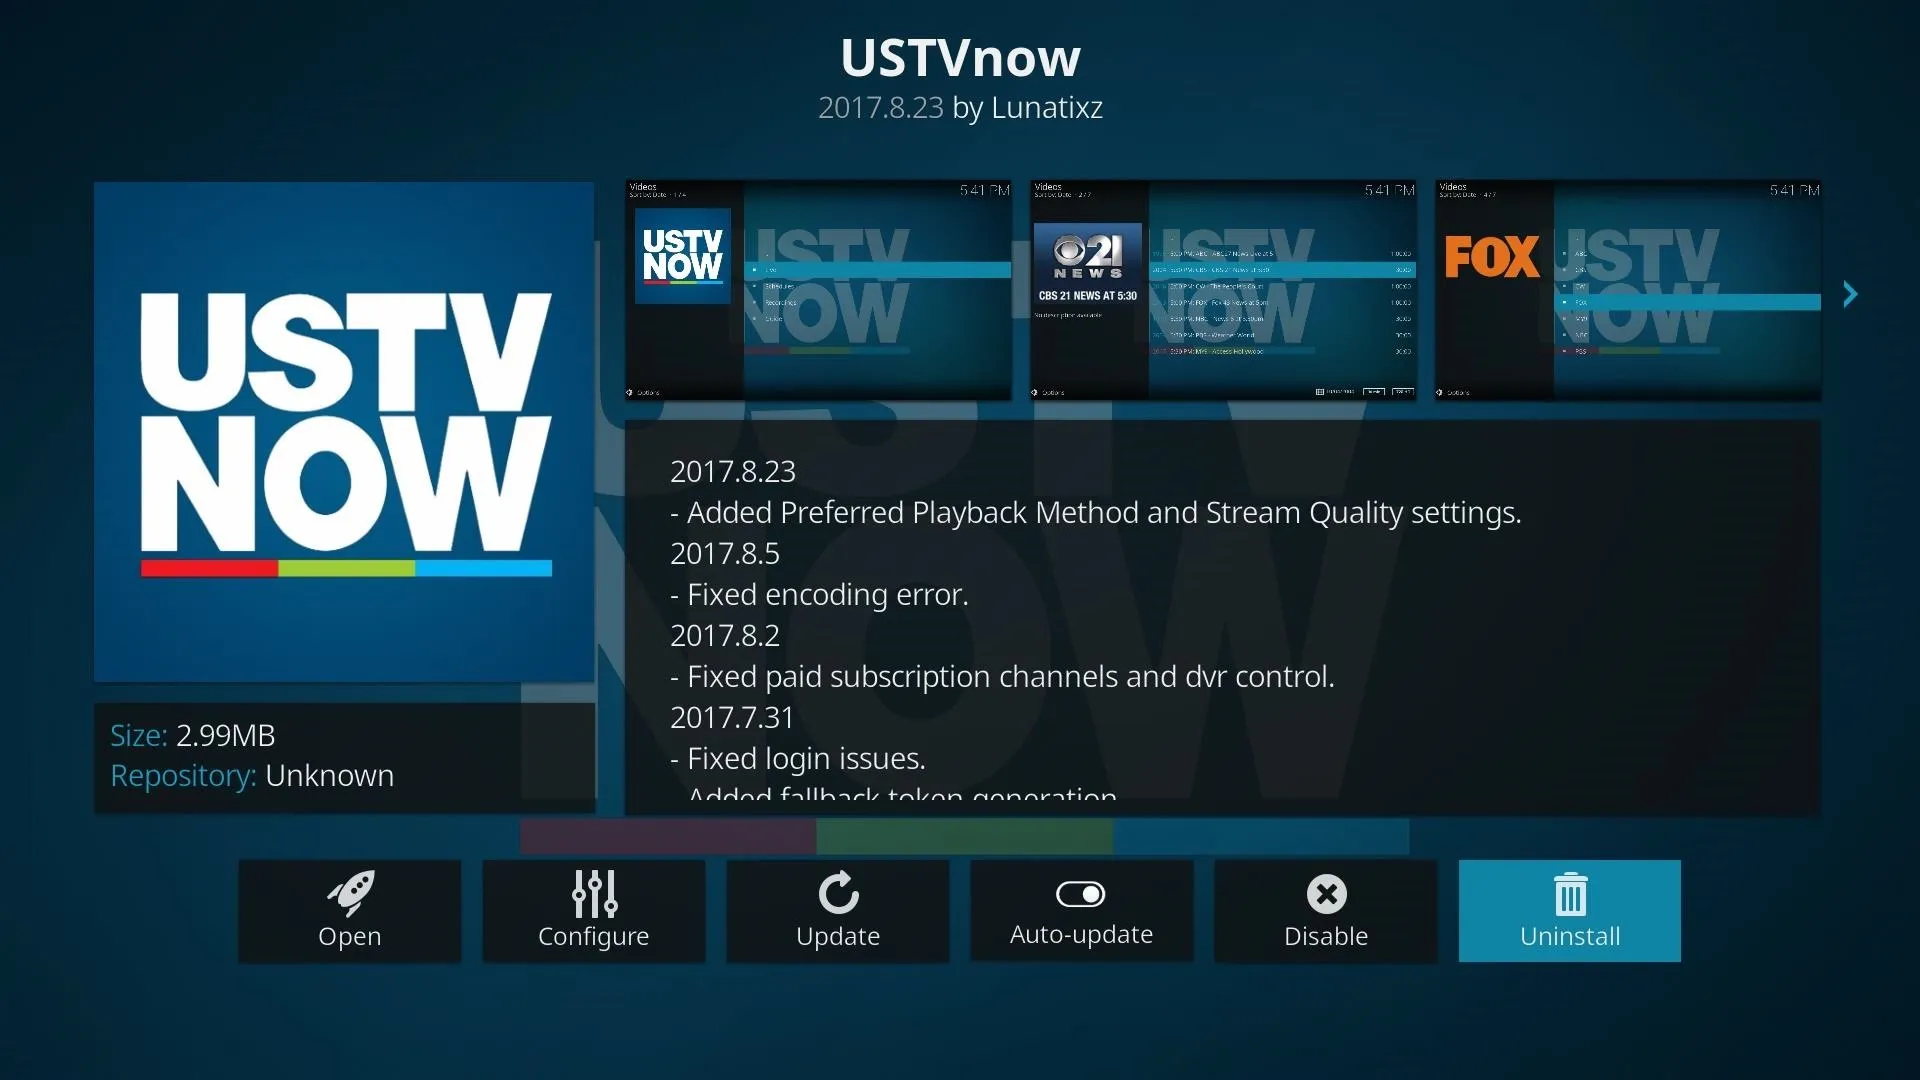
Install USTVNow
First, open either Kodi for Android or Kodi for iPhone and navigate to the Add-ons menu. From there, press the icon that's shaped like an open box in the upper-left corner of the screen.
Next, choose the "Install from repository" option and scroll down until you see "Video add-ons." An extensive list will display on your screen, so scroll down until you find "USTVnow." Tap on USTVnow and press the "Install" button. Kodi will display a popup in the upper-right corner when the add-on has successfully installed.
Create a USTVnow Account
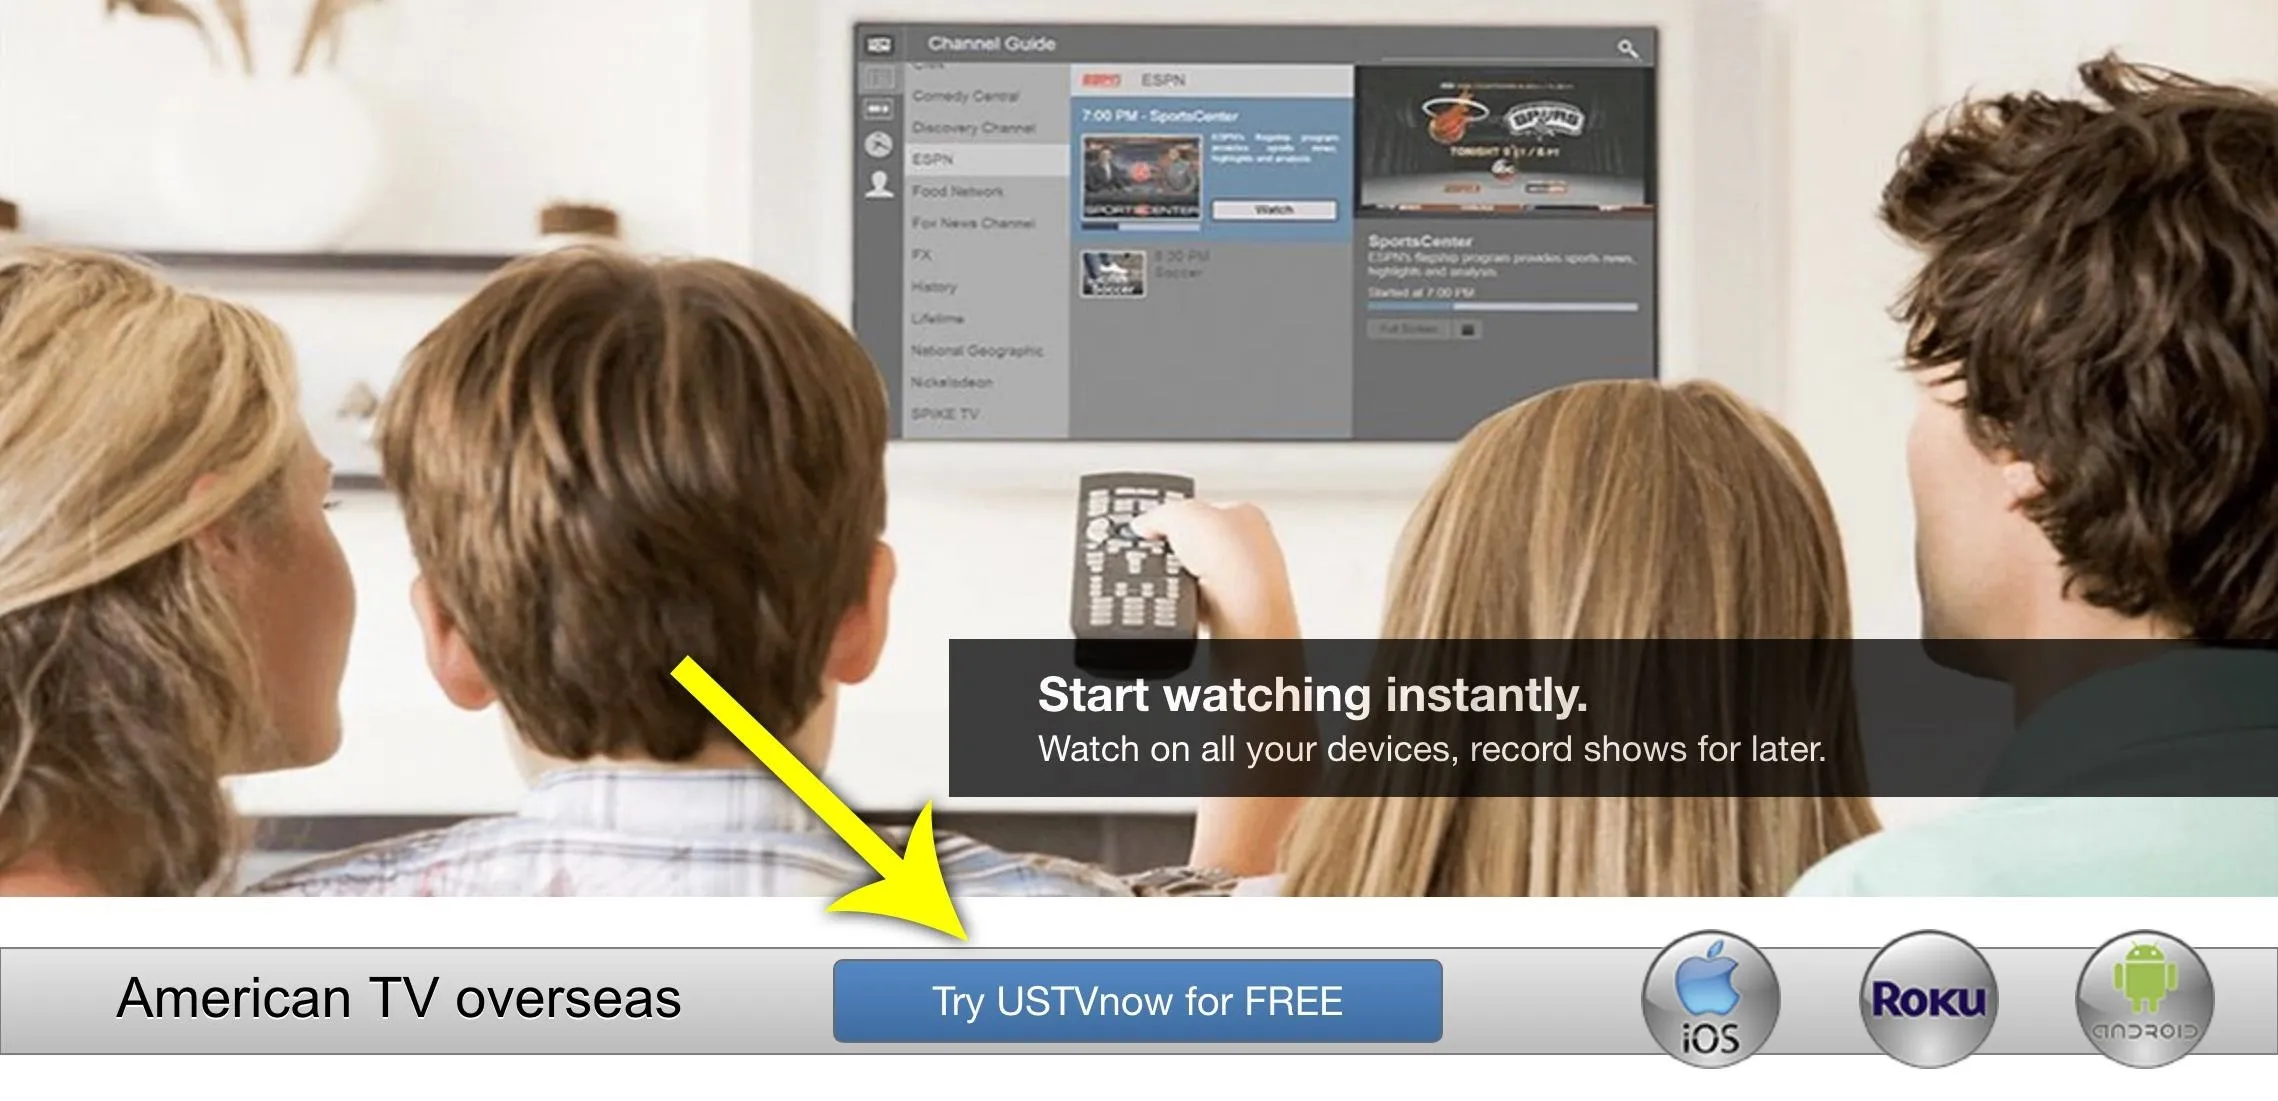
Once you've installed the add-on, open up your favorite browser and navigate to the USTVNow website. From there, select "Try USTVnow for Free," then follow the prompts to create a free account with USTVnow. Once you input your information, USTVnow will send you an e-mail to verify your account. Open this email and follow the provided link to complete the signup process.
Sign into USTVnow in Kodi
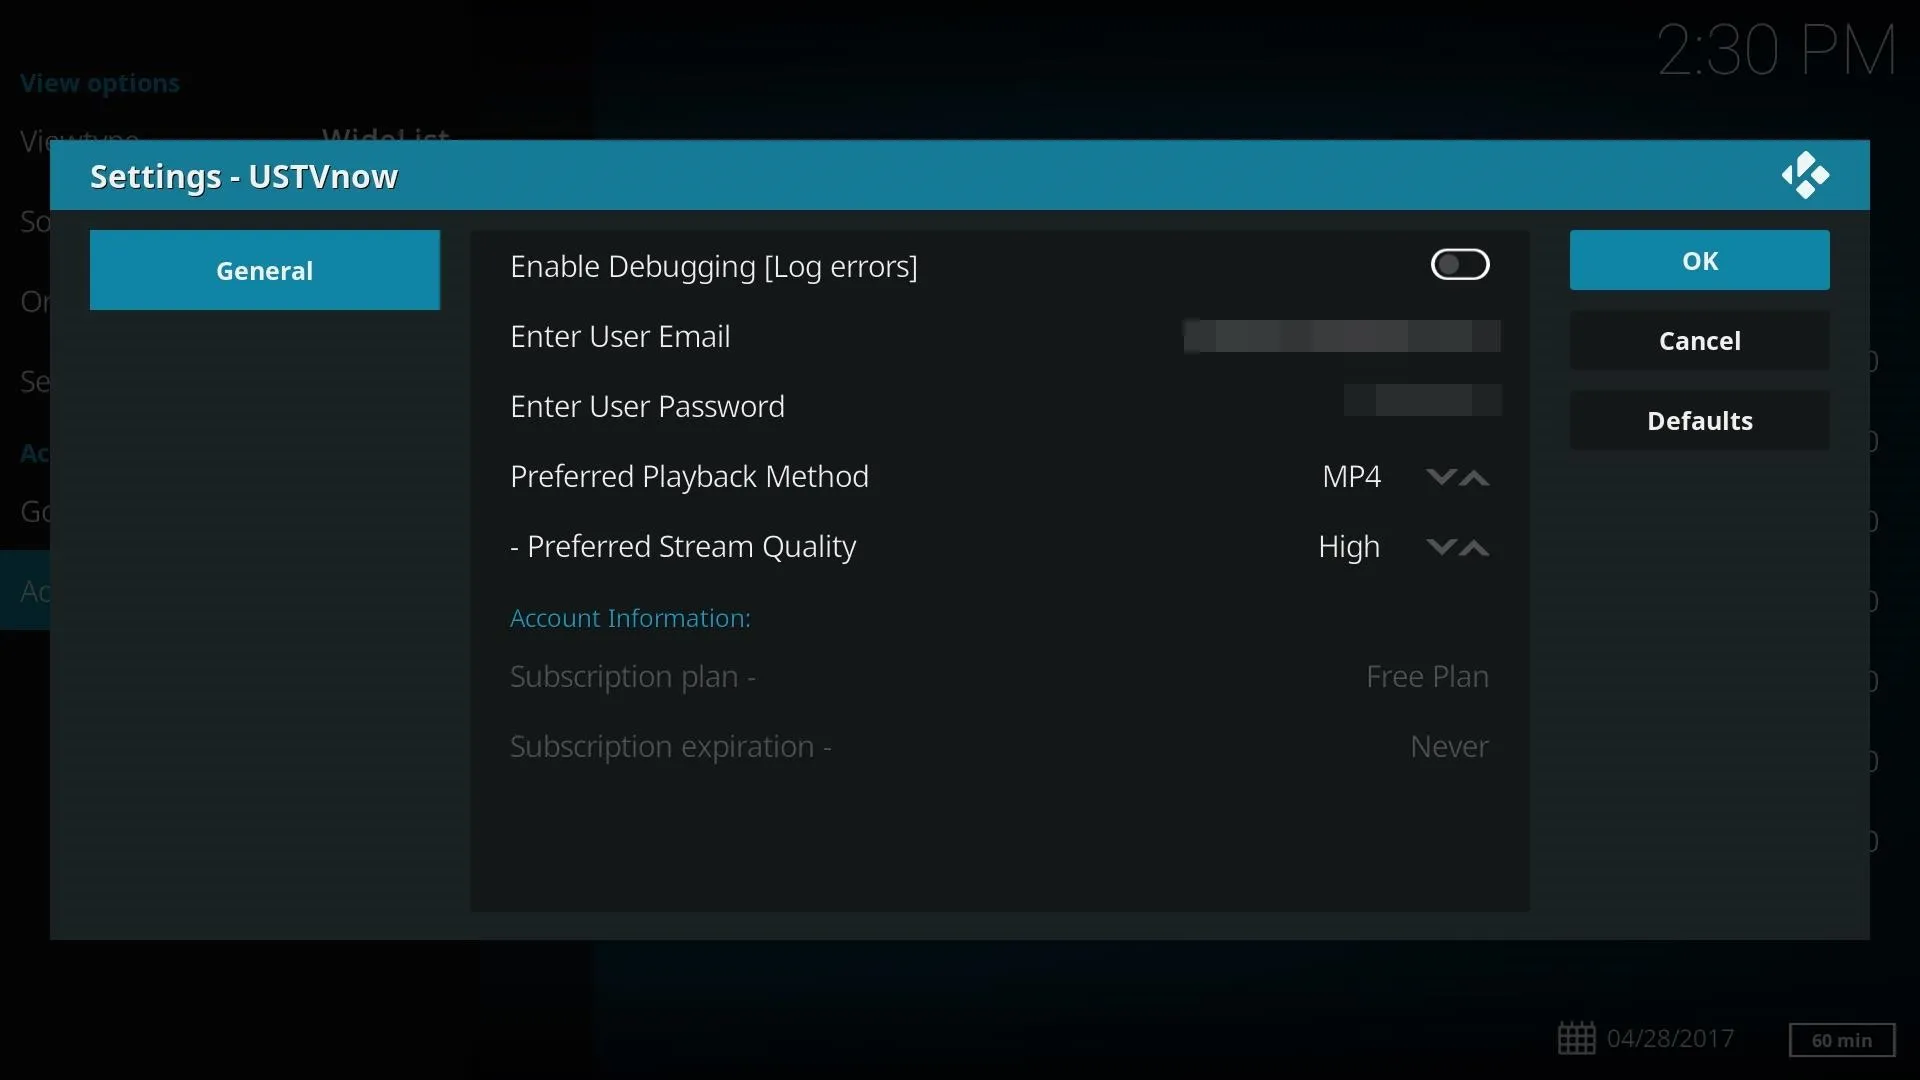
Next, return to Kodi and select the "Configure" button along the bottom row of the screen. If you don't see the same screen that you left when you switched to the browser, navigate to the Add-ons menu and select "My add-ons." Choose "Video add-ons," then select USTVnow. After selecting USTVnow, you will return to the previous screen — now you can select "Configure."
There are two input fields that you need to fill out. First, select "Enter User Email" and input the email associated with your USTVnow account. When finished, select "OK" then choose "Enter User Password" and input your password. Press "OK" once you are finished, then select "OK" again.
Watch Live Television
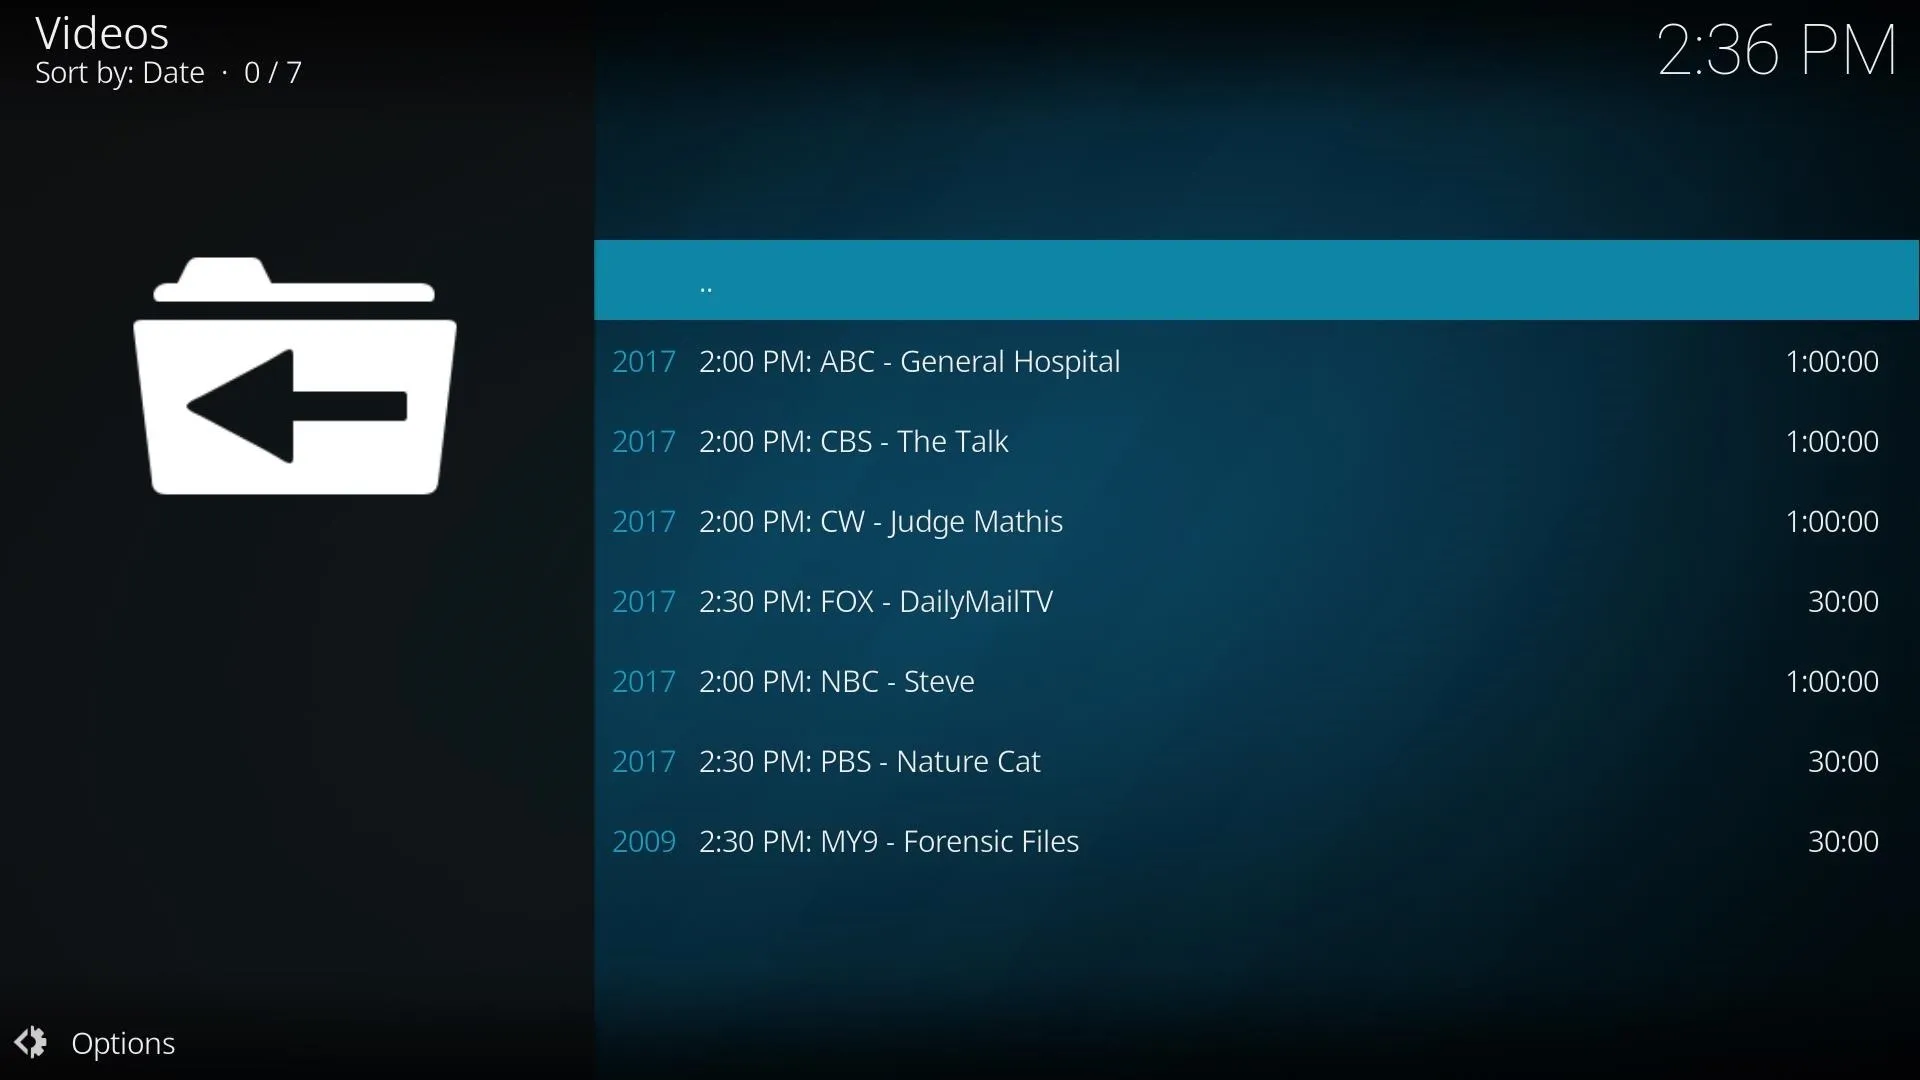
Now click on "Open," then "Live." Presented to you is a list of all the free channels available through USTVnow. Choose the channel you wish to watch, and Kodi will start streaming live television. Legally.
Upgrade Your Plan (Optional)
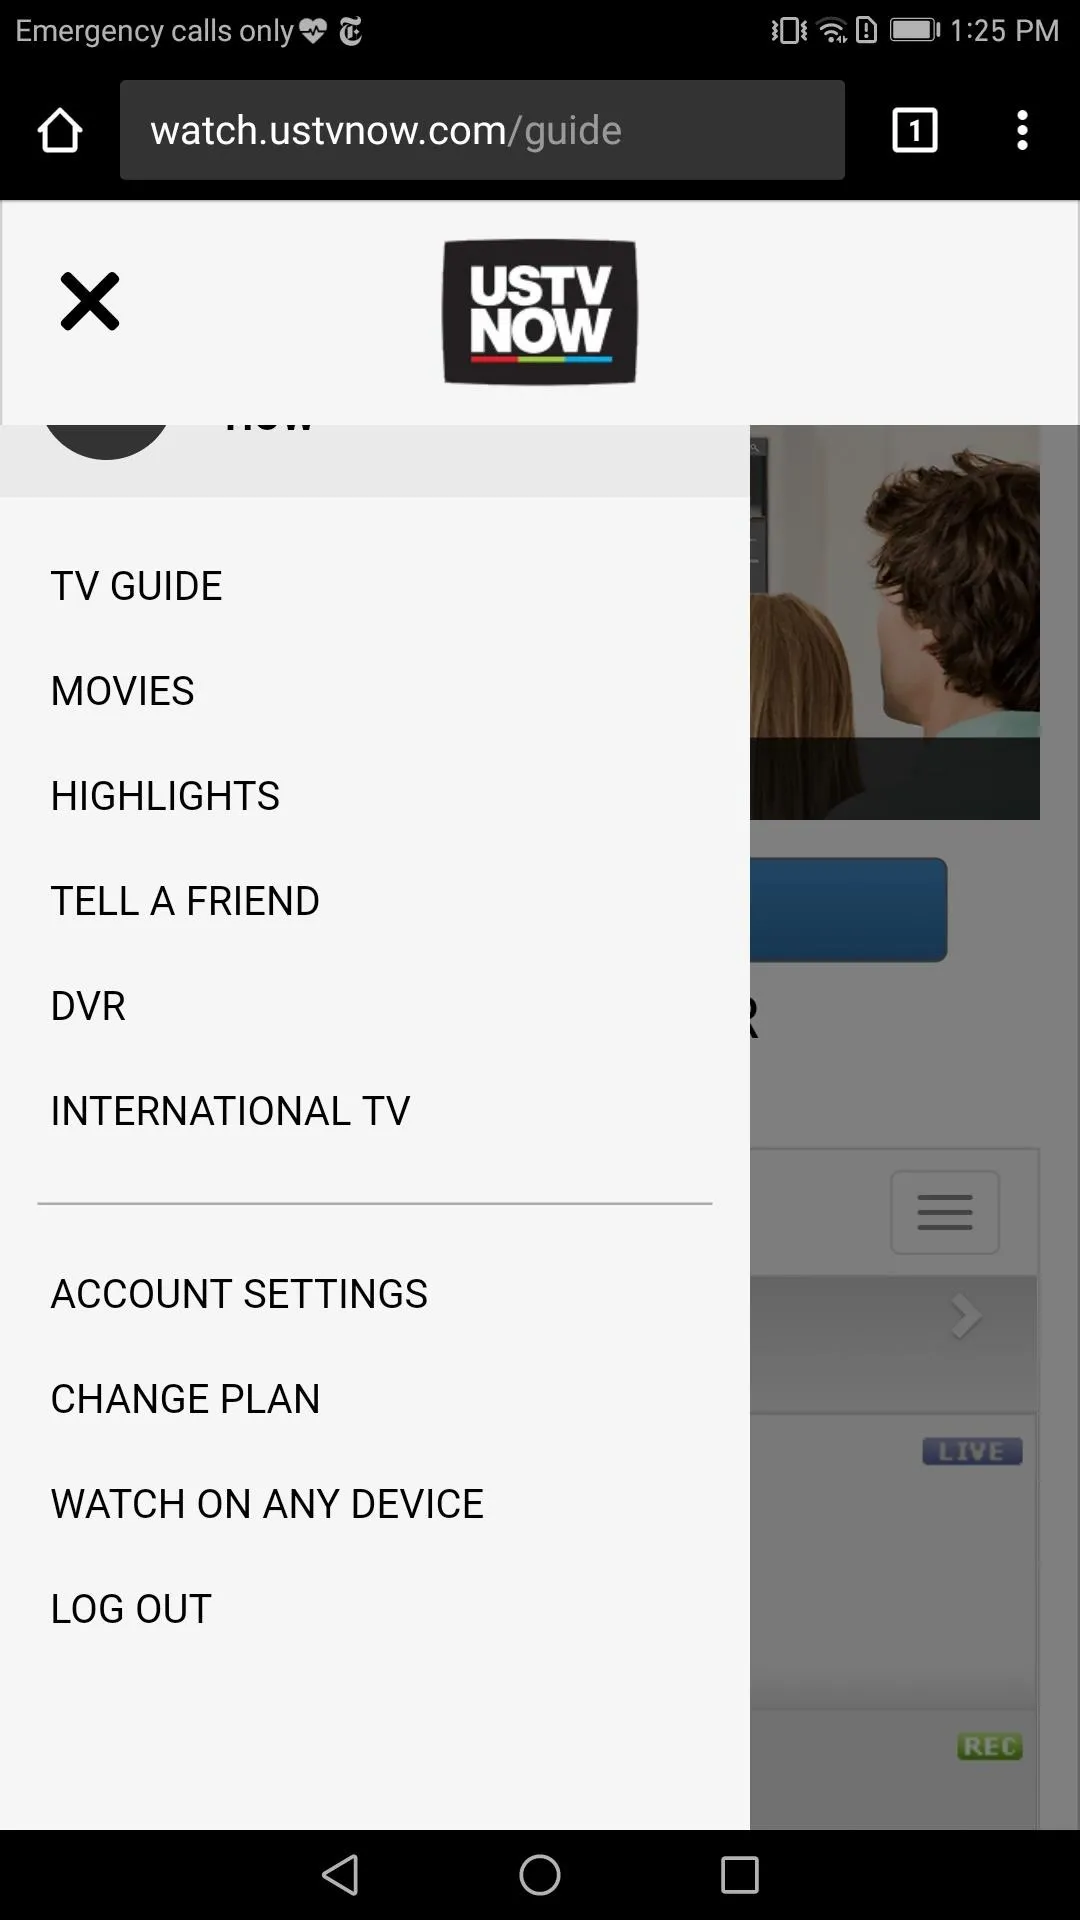
If you want, USTVnow does have more channels available besides the seven free channels. So if you'd like more channels, return to the USTVnow website in your browser, then log in and select the menu button. Within the main menu, click on "Change Plan."
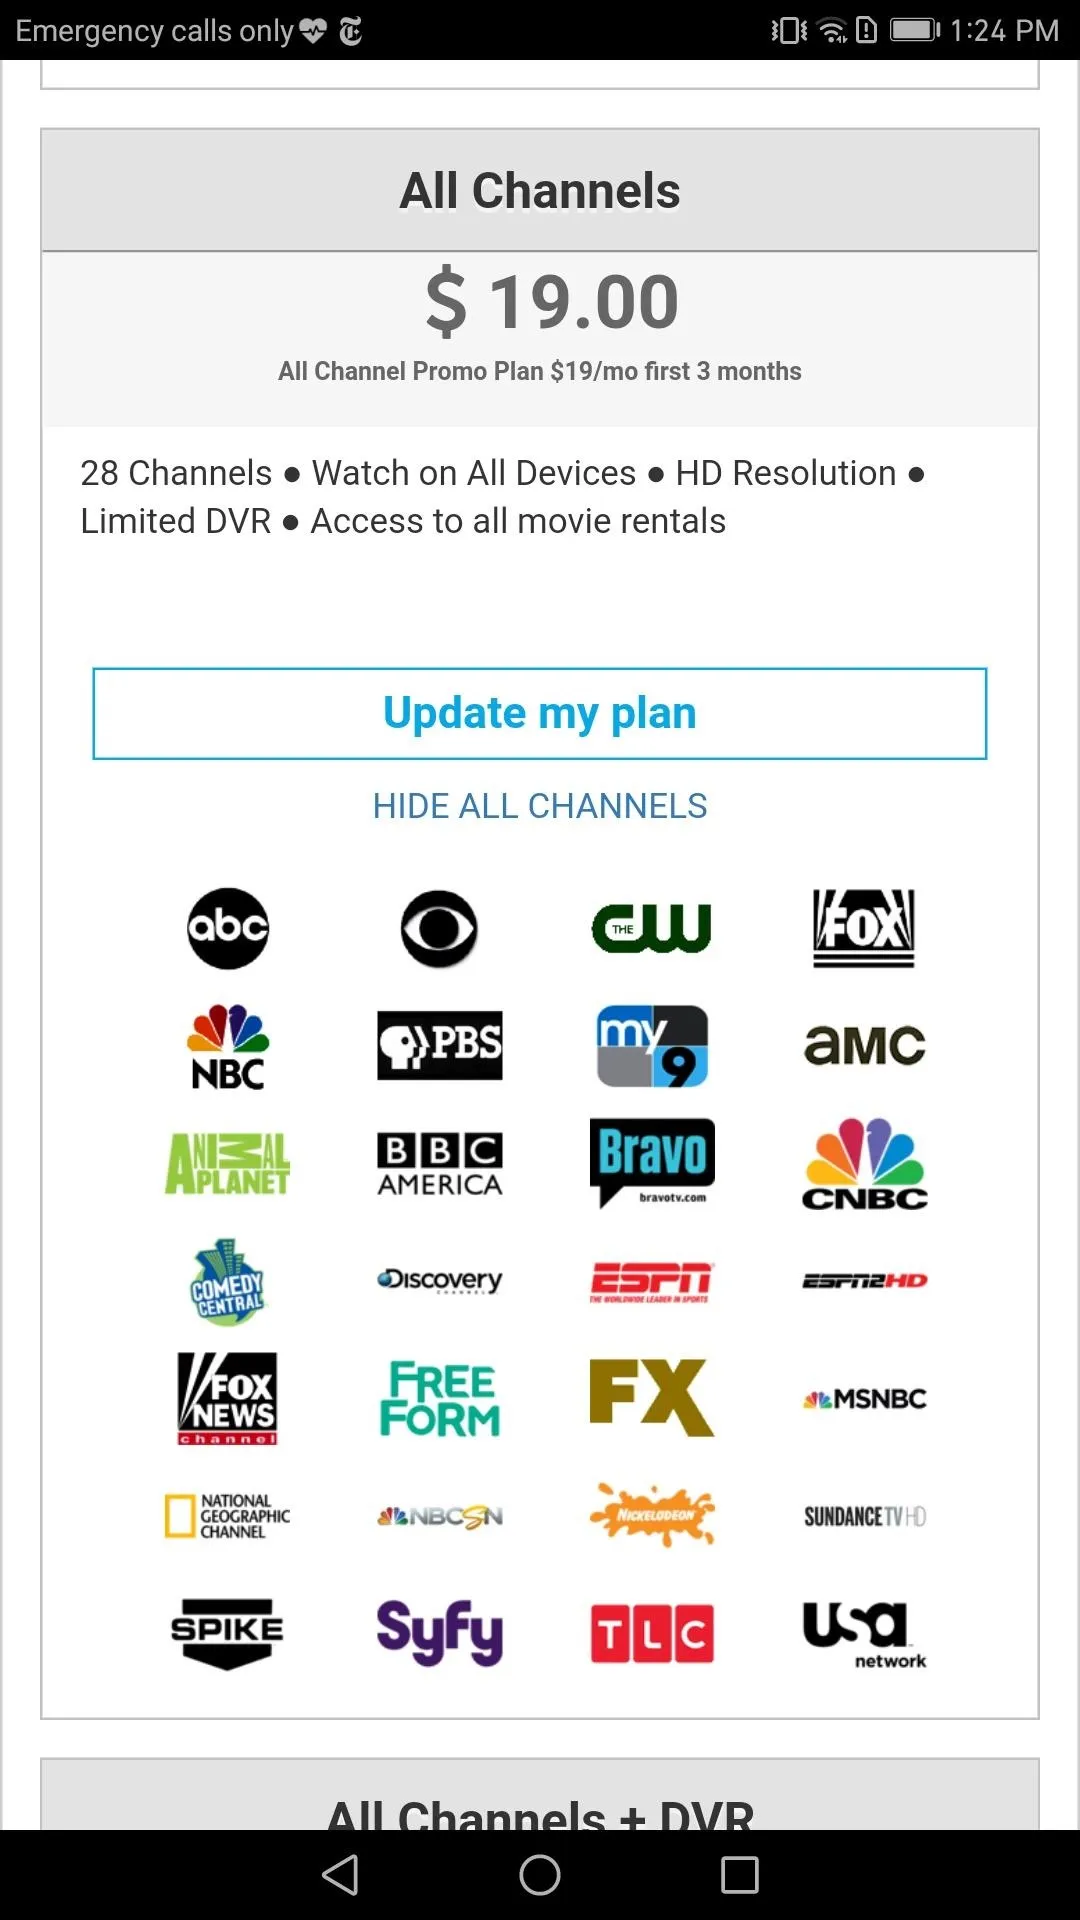
If you want as many channels as possible, you can upgrade your account to the "All Channels" plan, which will bring your number to 28 channels. There is also a DVR option for an additional $10 over the "All Channels" option. If you decide you want either plan, select "Update my plan," fill out the information, then return to Kodi, and the new channels will be available to you.


Kodi has a lot of potential. As a media player, it continues to gain new functionality with add-ons such as USTVnow. For cord-cutters, a simple $19.99 plan that gives you access to your favorite programs while using Kodi's intuitive interface is a pretty good deal. Are you using USTVnow for your live TV needs? Did you pay for the additional channels? Let us know in the comments below.
- Follow Gadget Hacks on Facebook, Twitter, Google+, YouTube, and Instagram
- Follow WonderHowTo on Facebook, Twitter, Pinterest, and Google+
Cover image and screenshots by Jon Knight/Gadget Hacks










Comments
Be the first, drop a comment!