


When you expect to take photos of landmarks, buildings, landscapes, and other outdoor scenery with clear blue skies in the background, you may end up with nothing but overcast weather, resulting in a completely different mood in your pictures. Instead of forgetting about all your images with dreary gray skies, try turning those grays to blues for happier, more shareable photos.
To brighten the skies in your pictures, we'll use the easy sky editing tools in the Google Photos app for Android and iOS. The sky filters are free if you have a Google Pixel smartphone, but you'll need a Google One subscription to unlock them on a different Android phone or iPhone. However, one sky-friendly editing option is free if your main goal is deep blue skies.
Select a Photo with a Sky
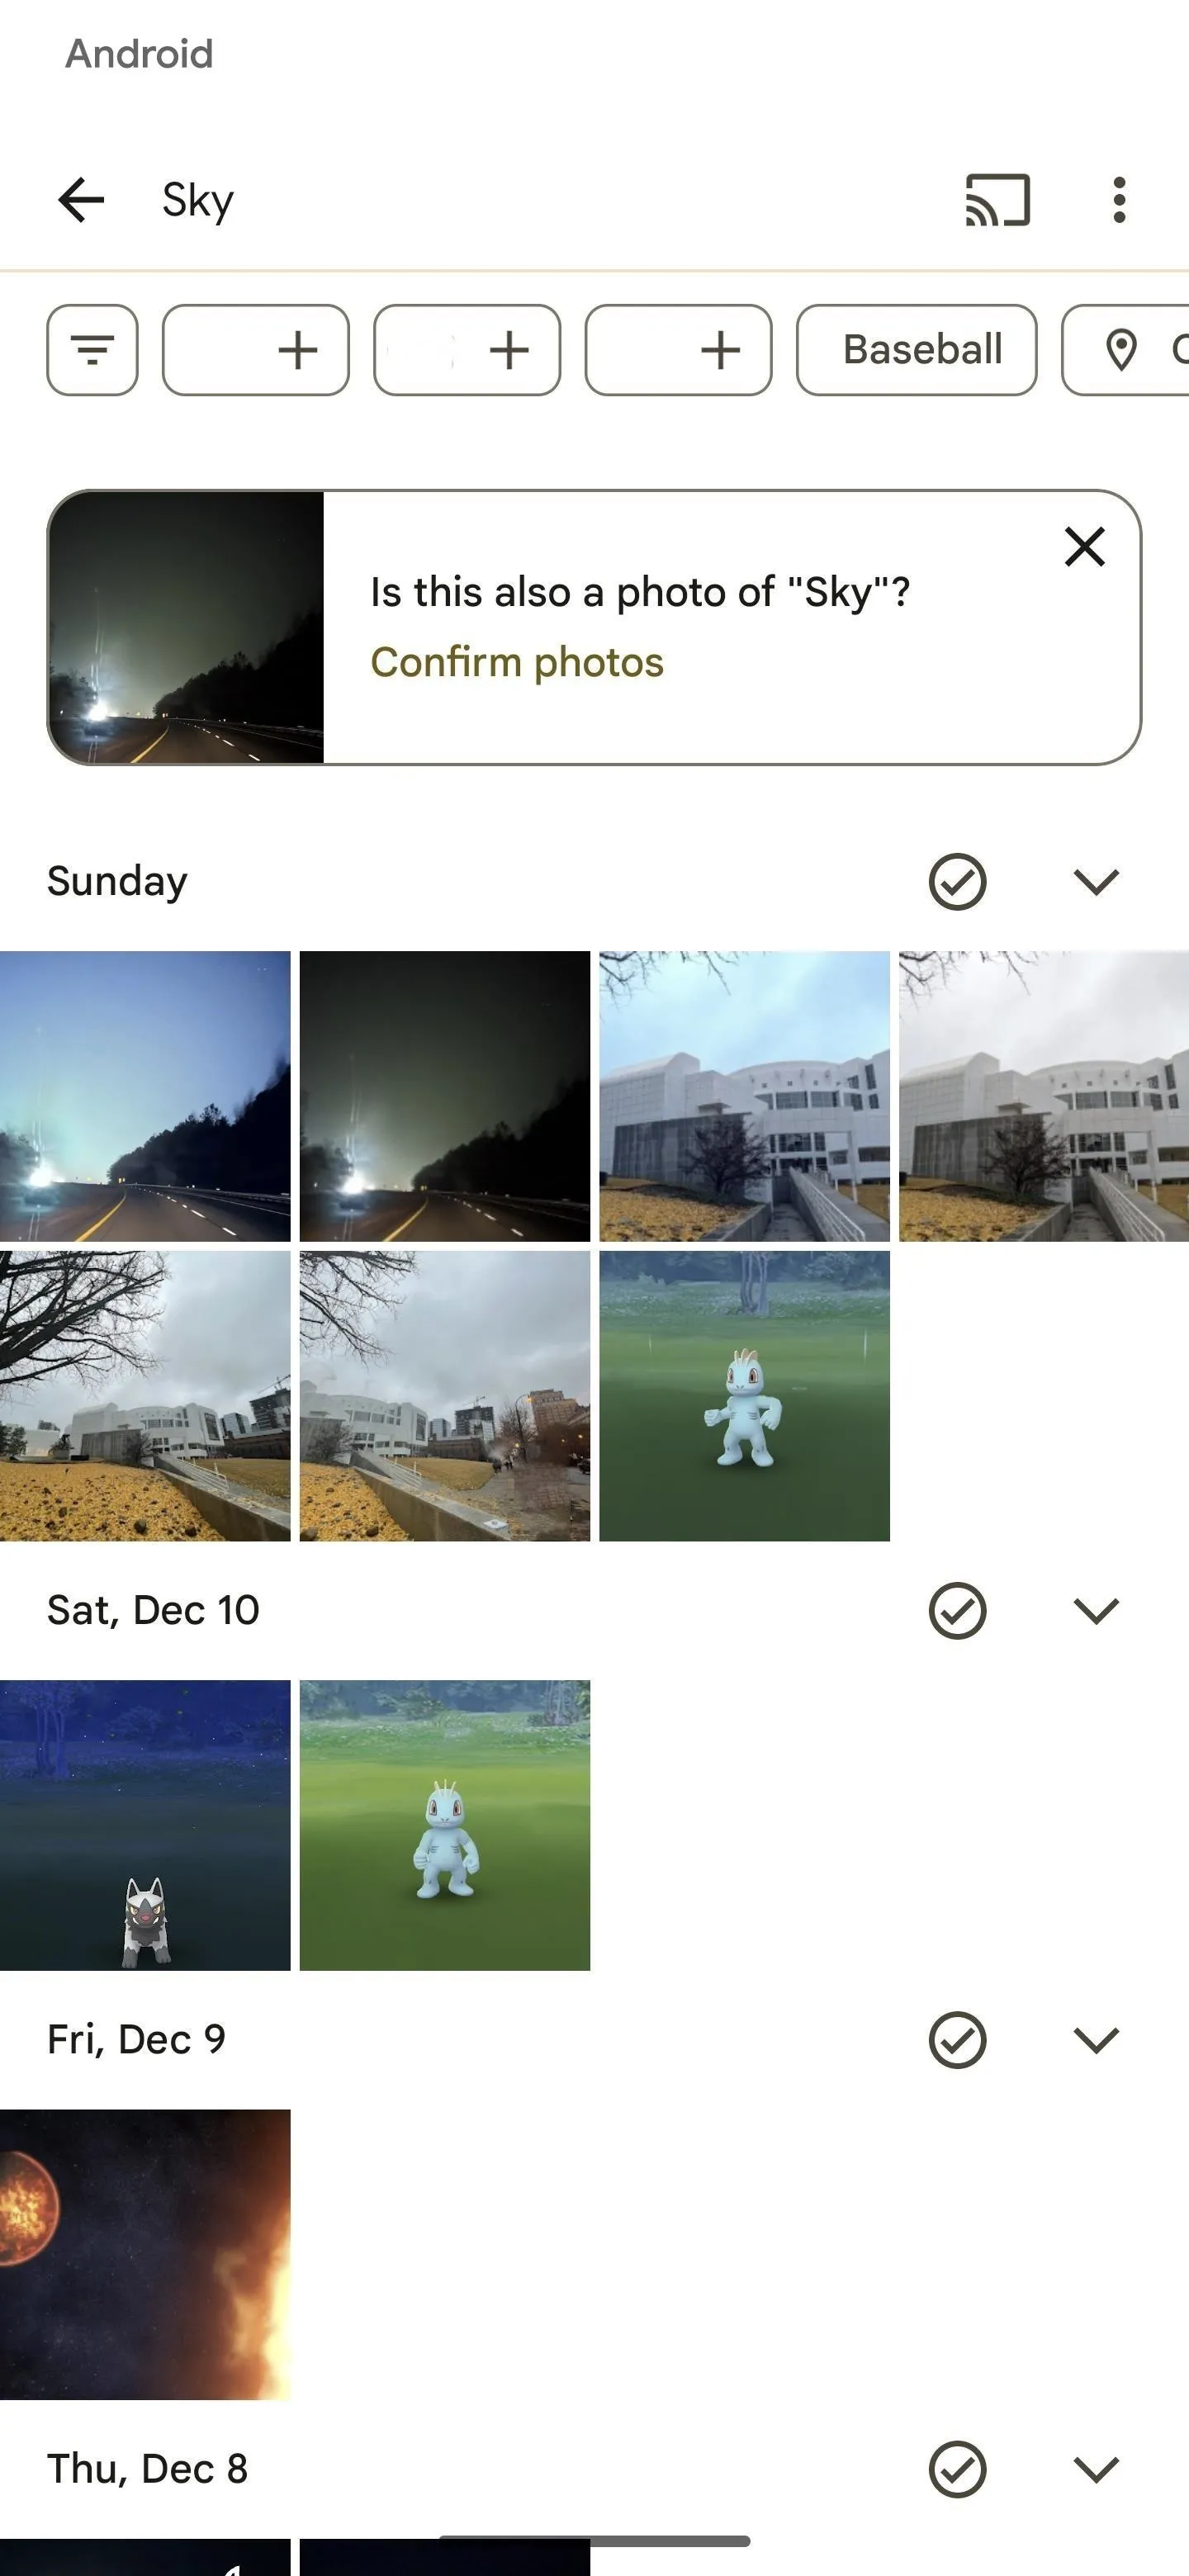
In Google Photos, find and open a photo with a visible sky in it. The sky can be day or night or even a realistic digital drawing. To help locate an image, you can perform a search for "sky" to find all the photos where Google Photos recognizes the sky.
Find the Sky Filters
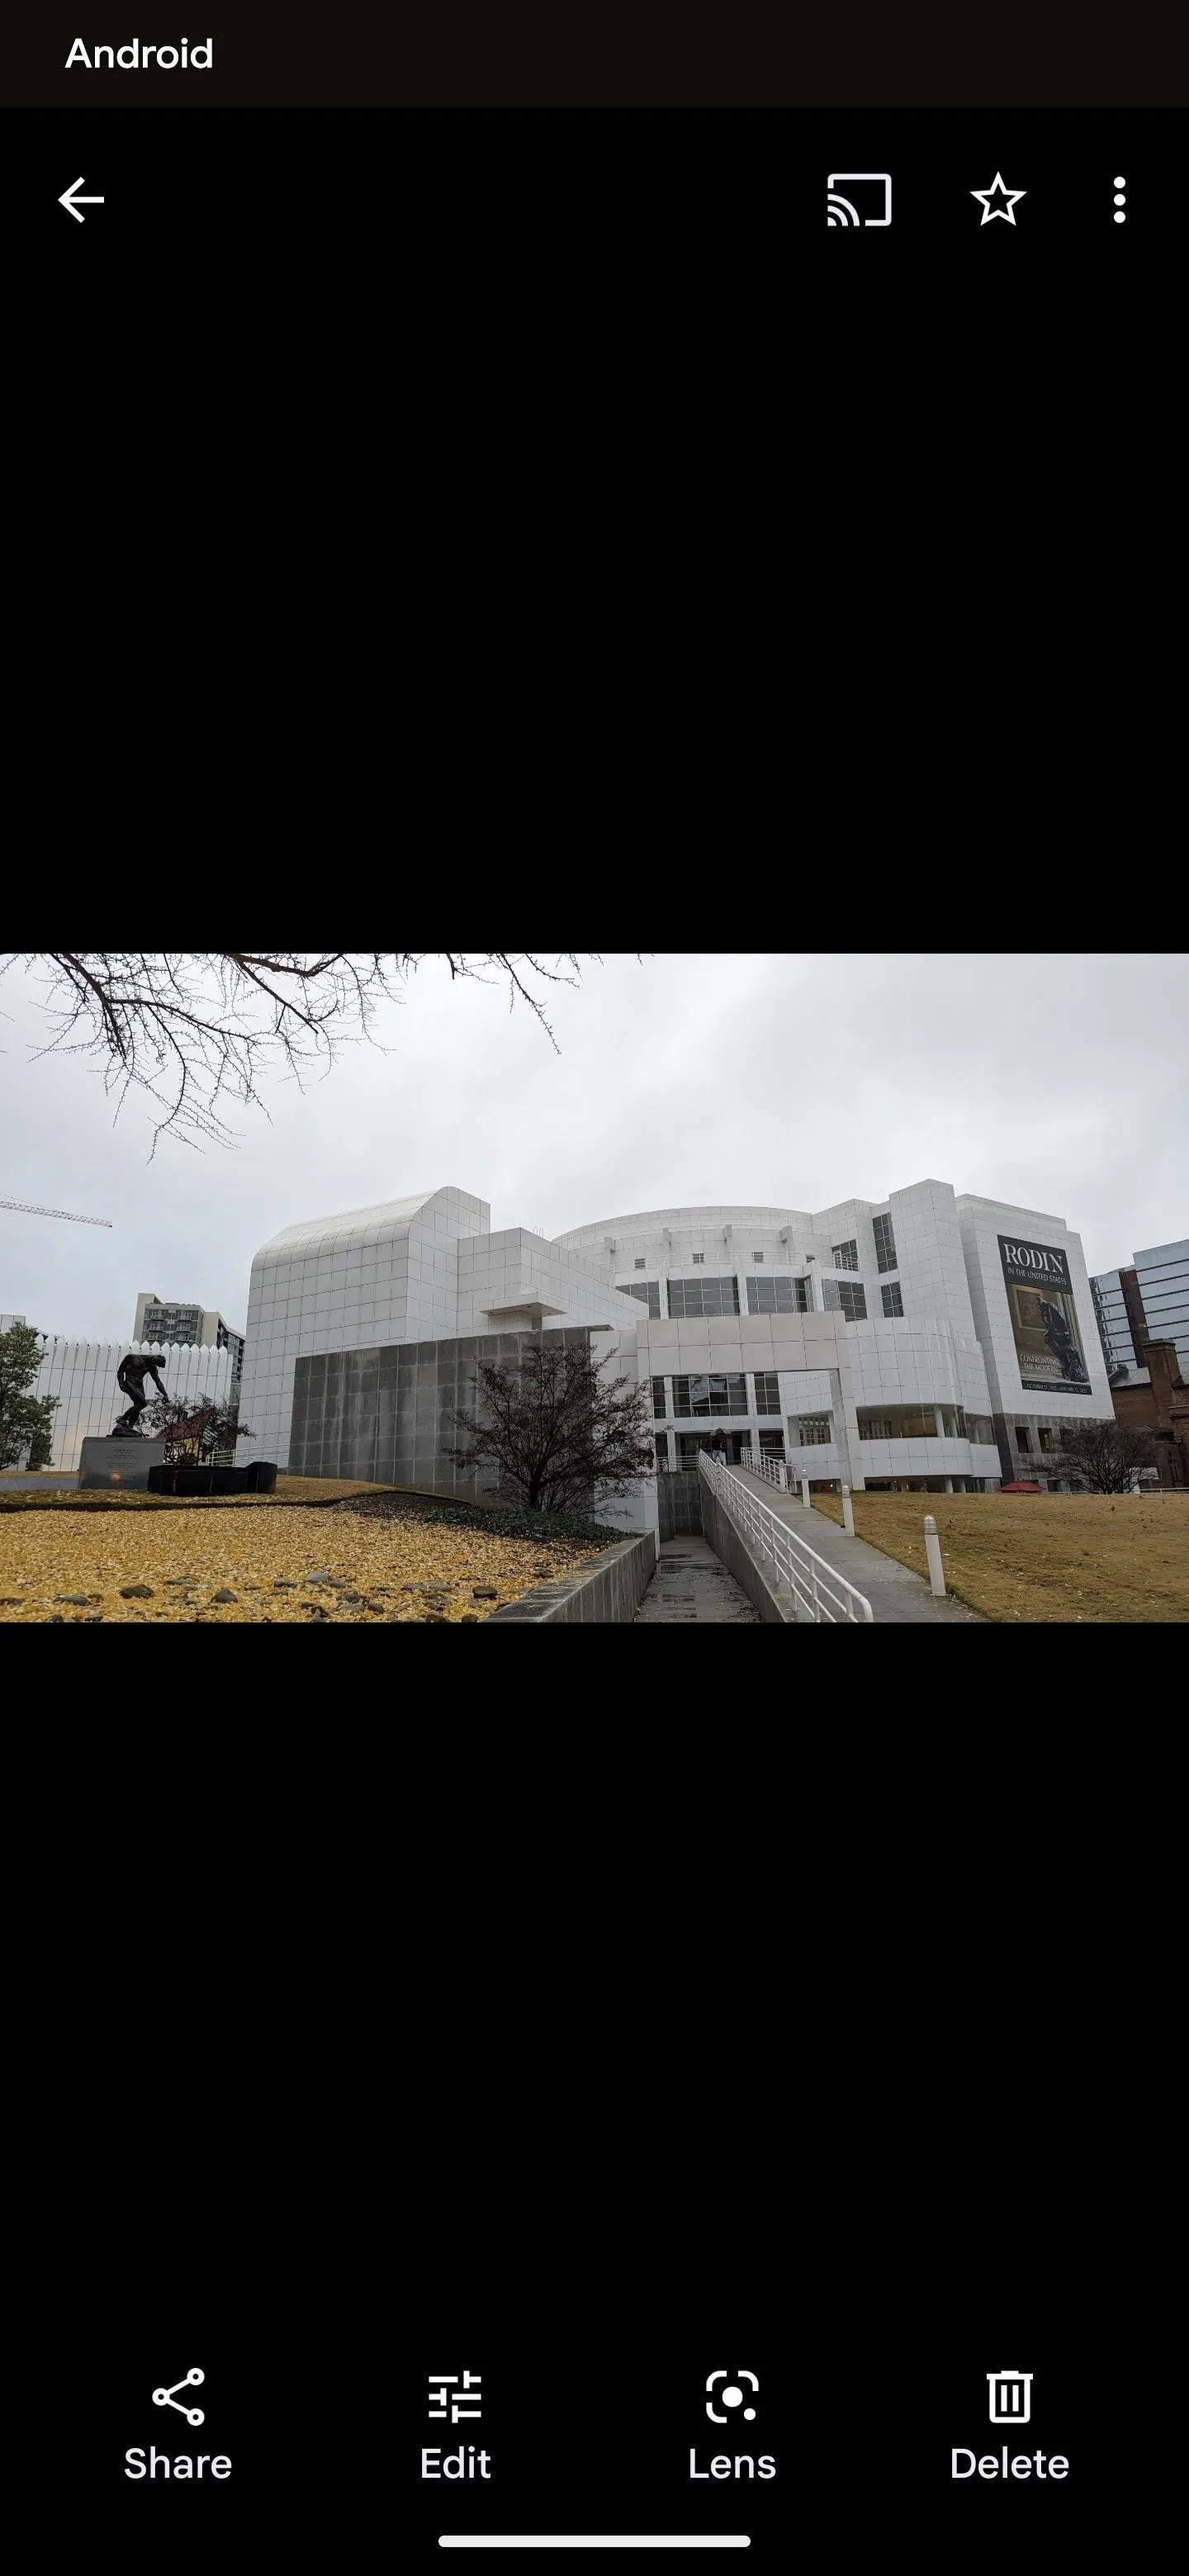
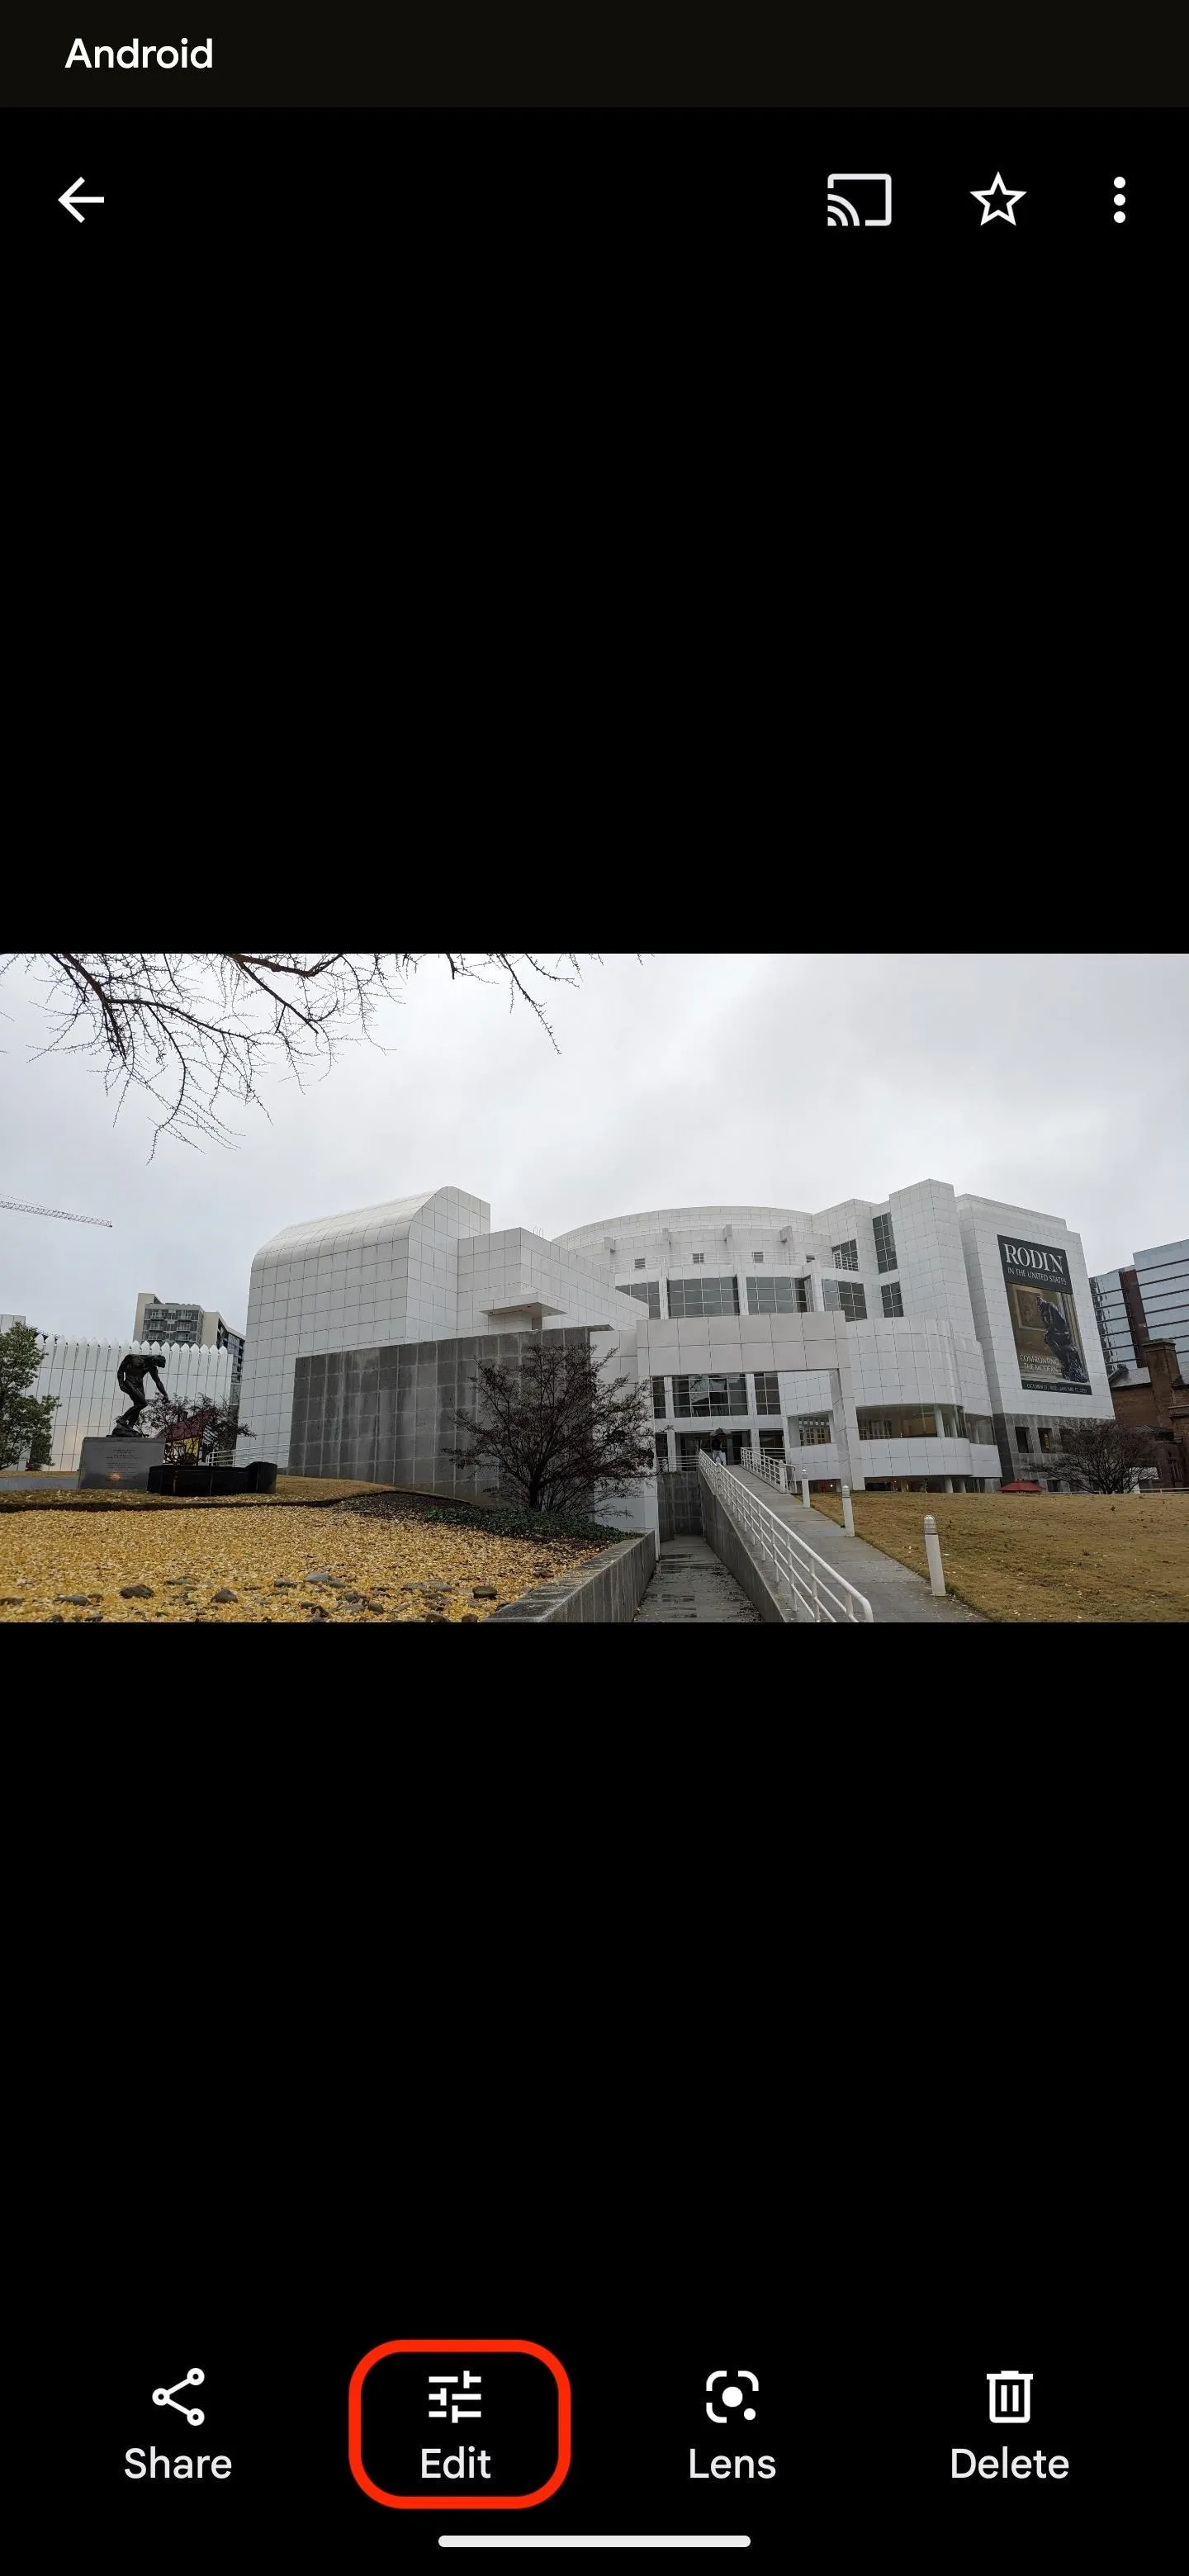
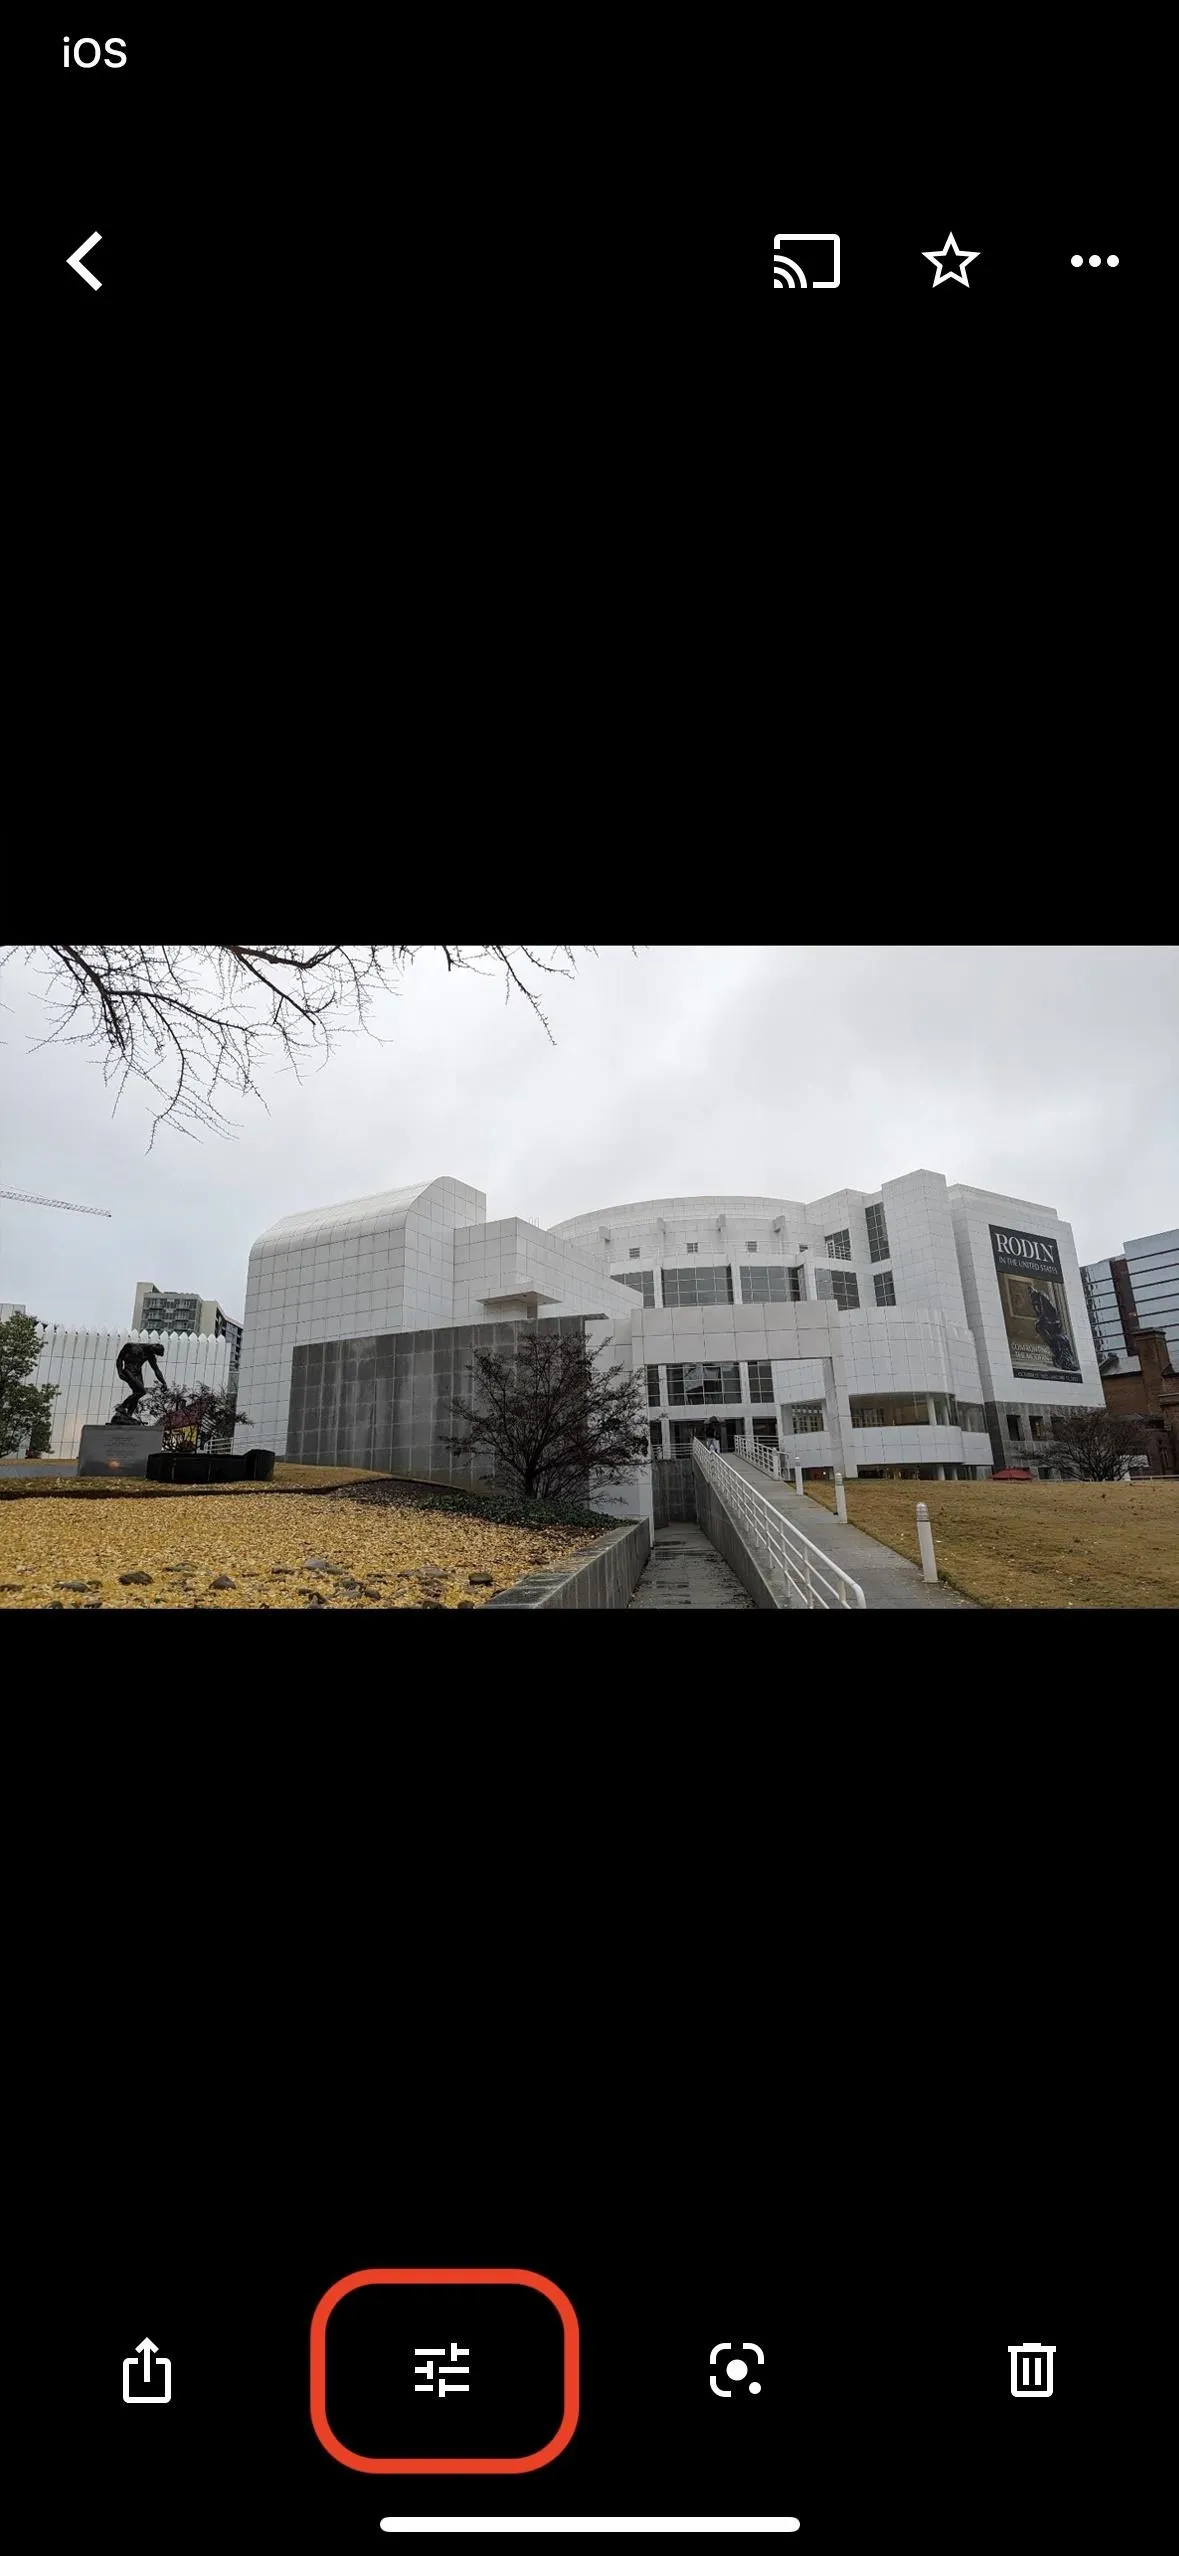
Tap the "Edit" button from the bottom toolbar to open the image editor. On Android, it says "Edit," but it's just the edit icon on iOS.
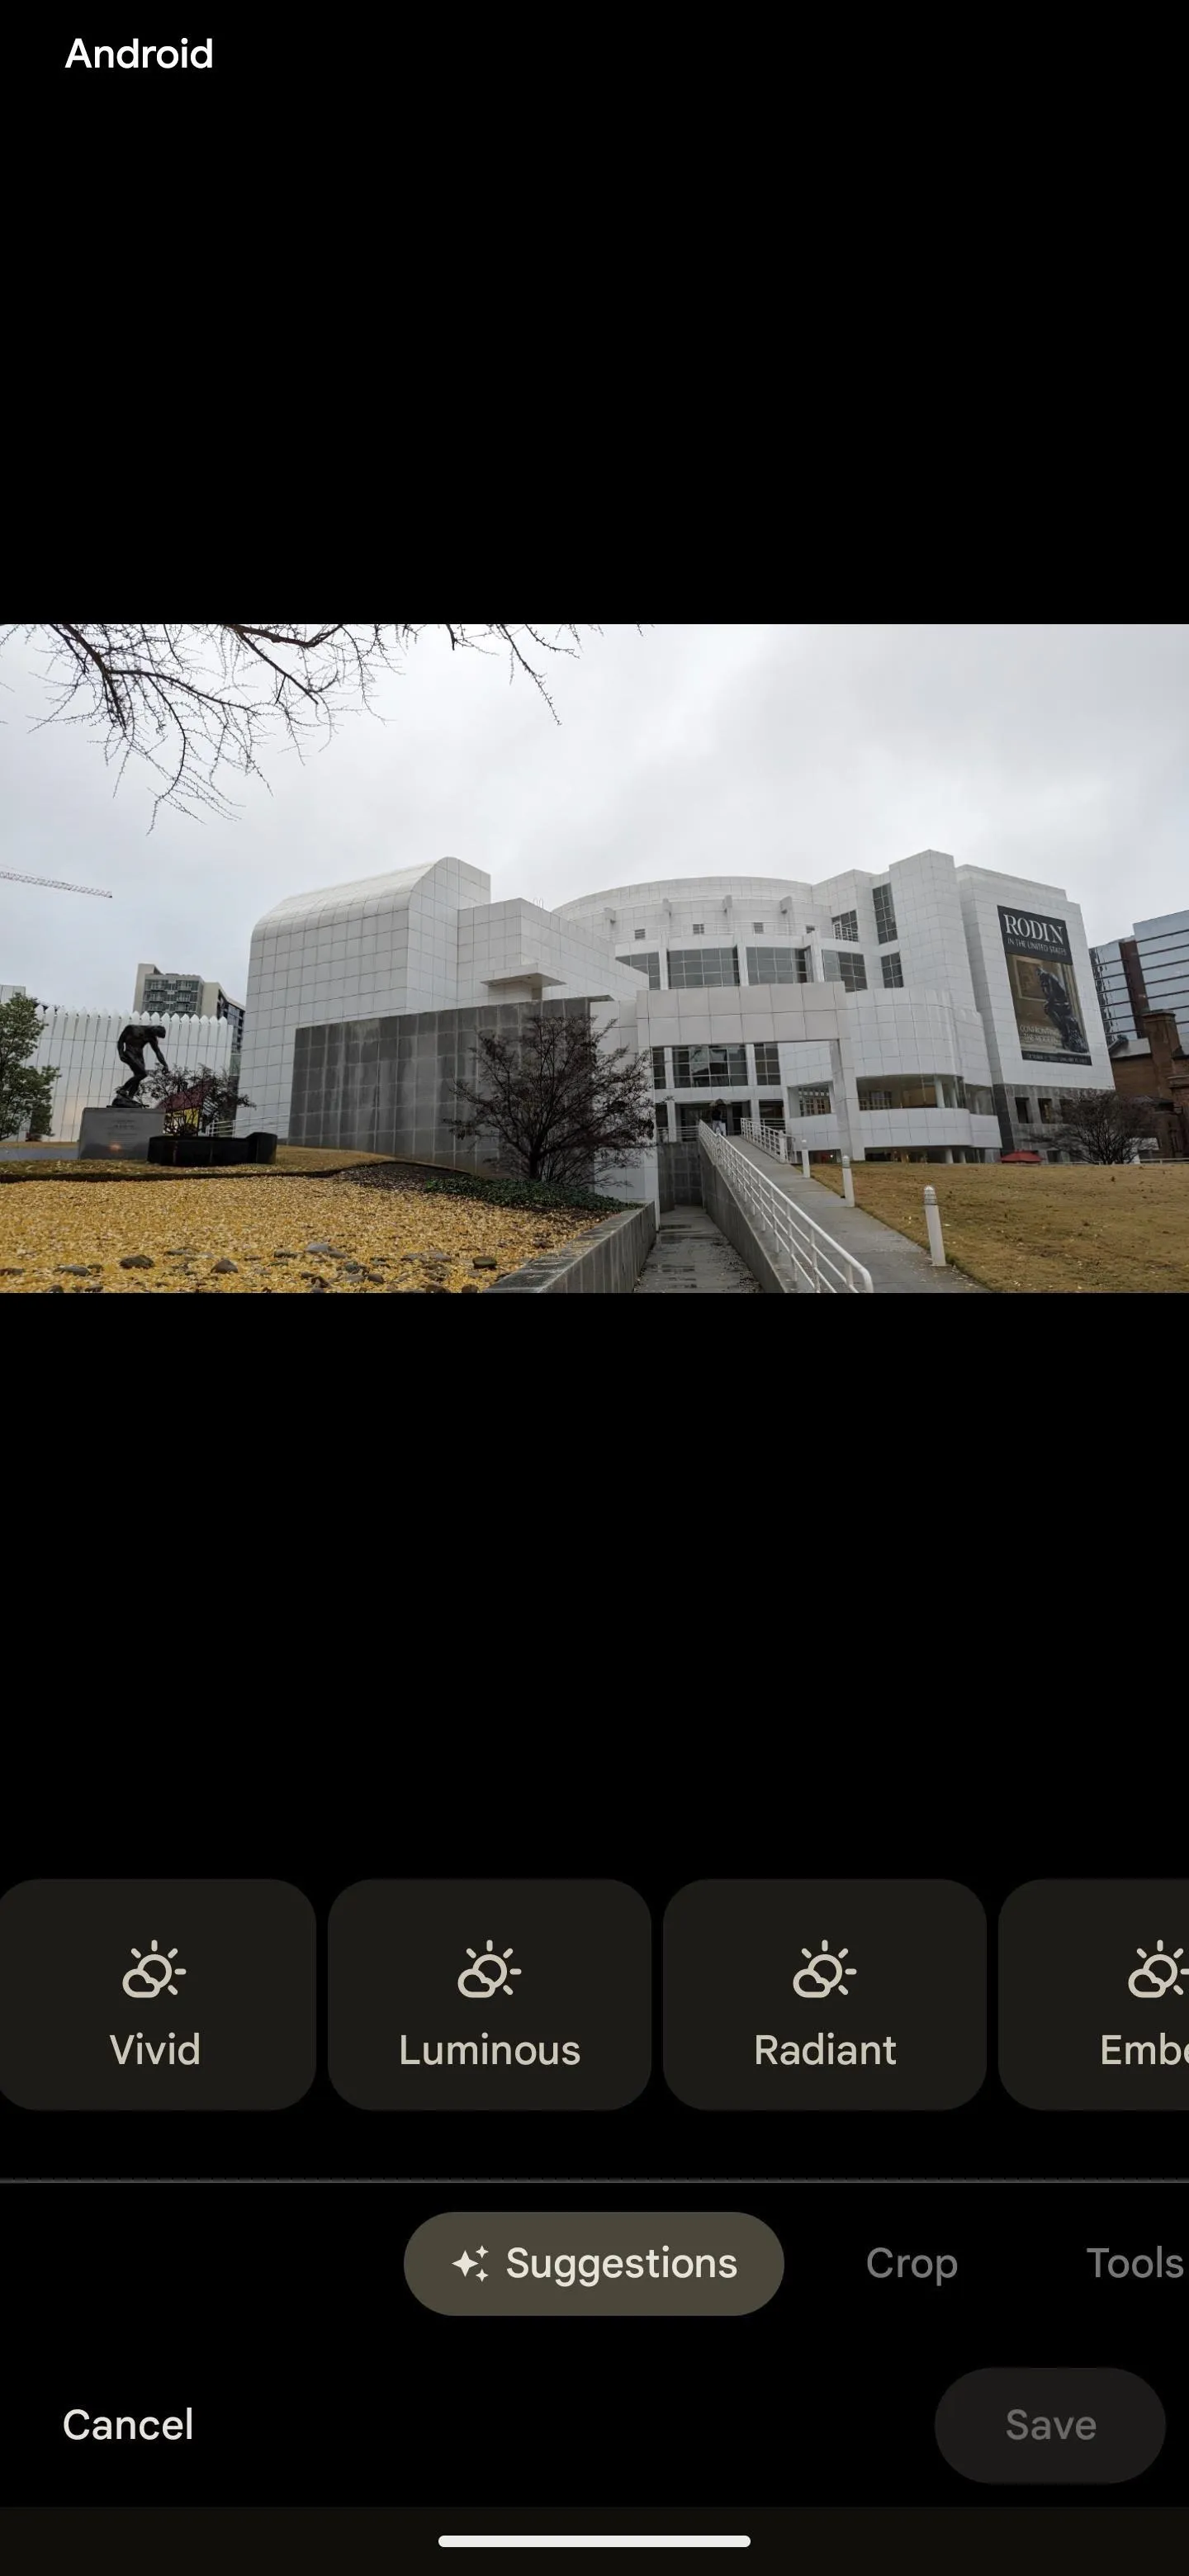
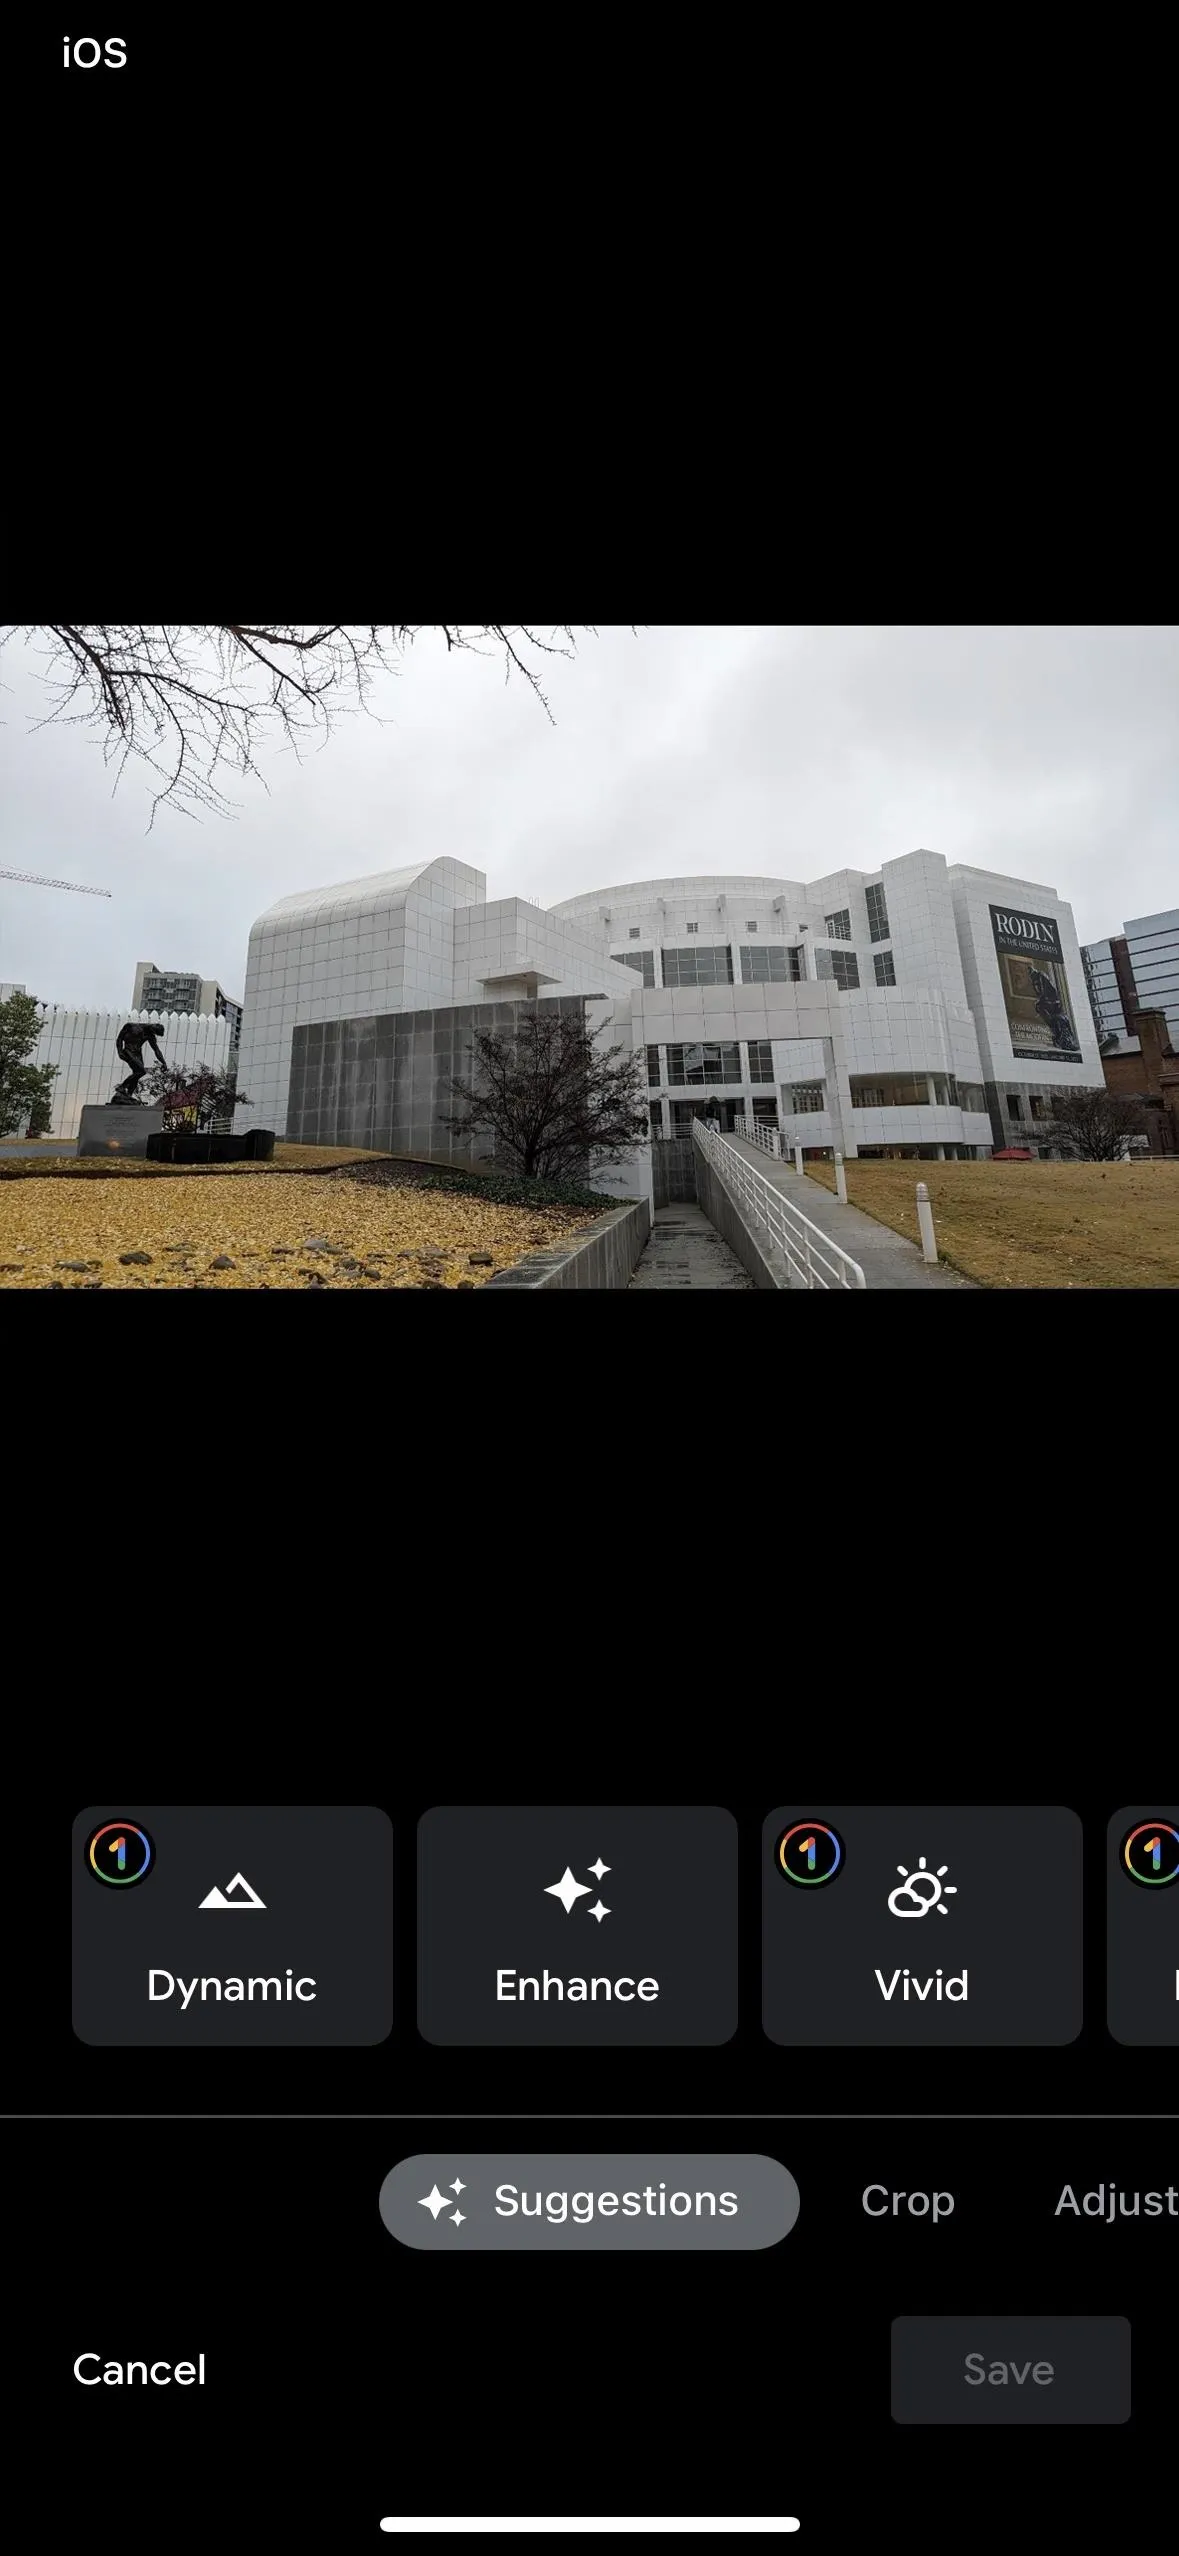
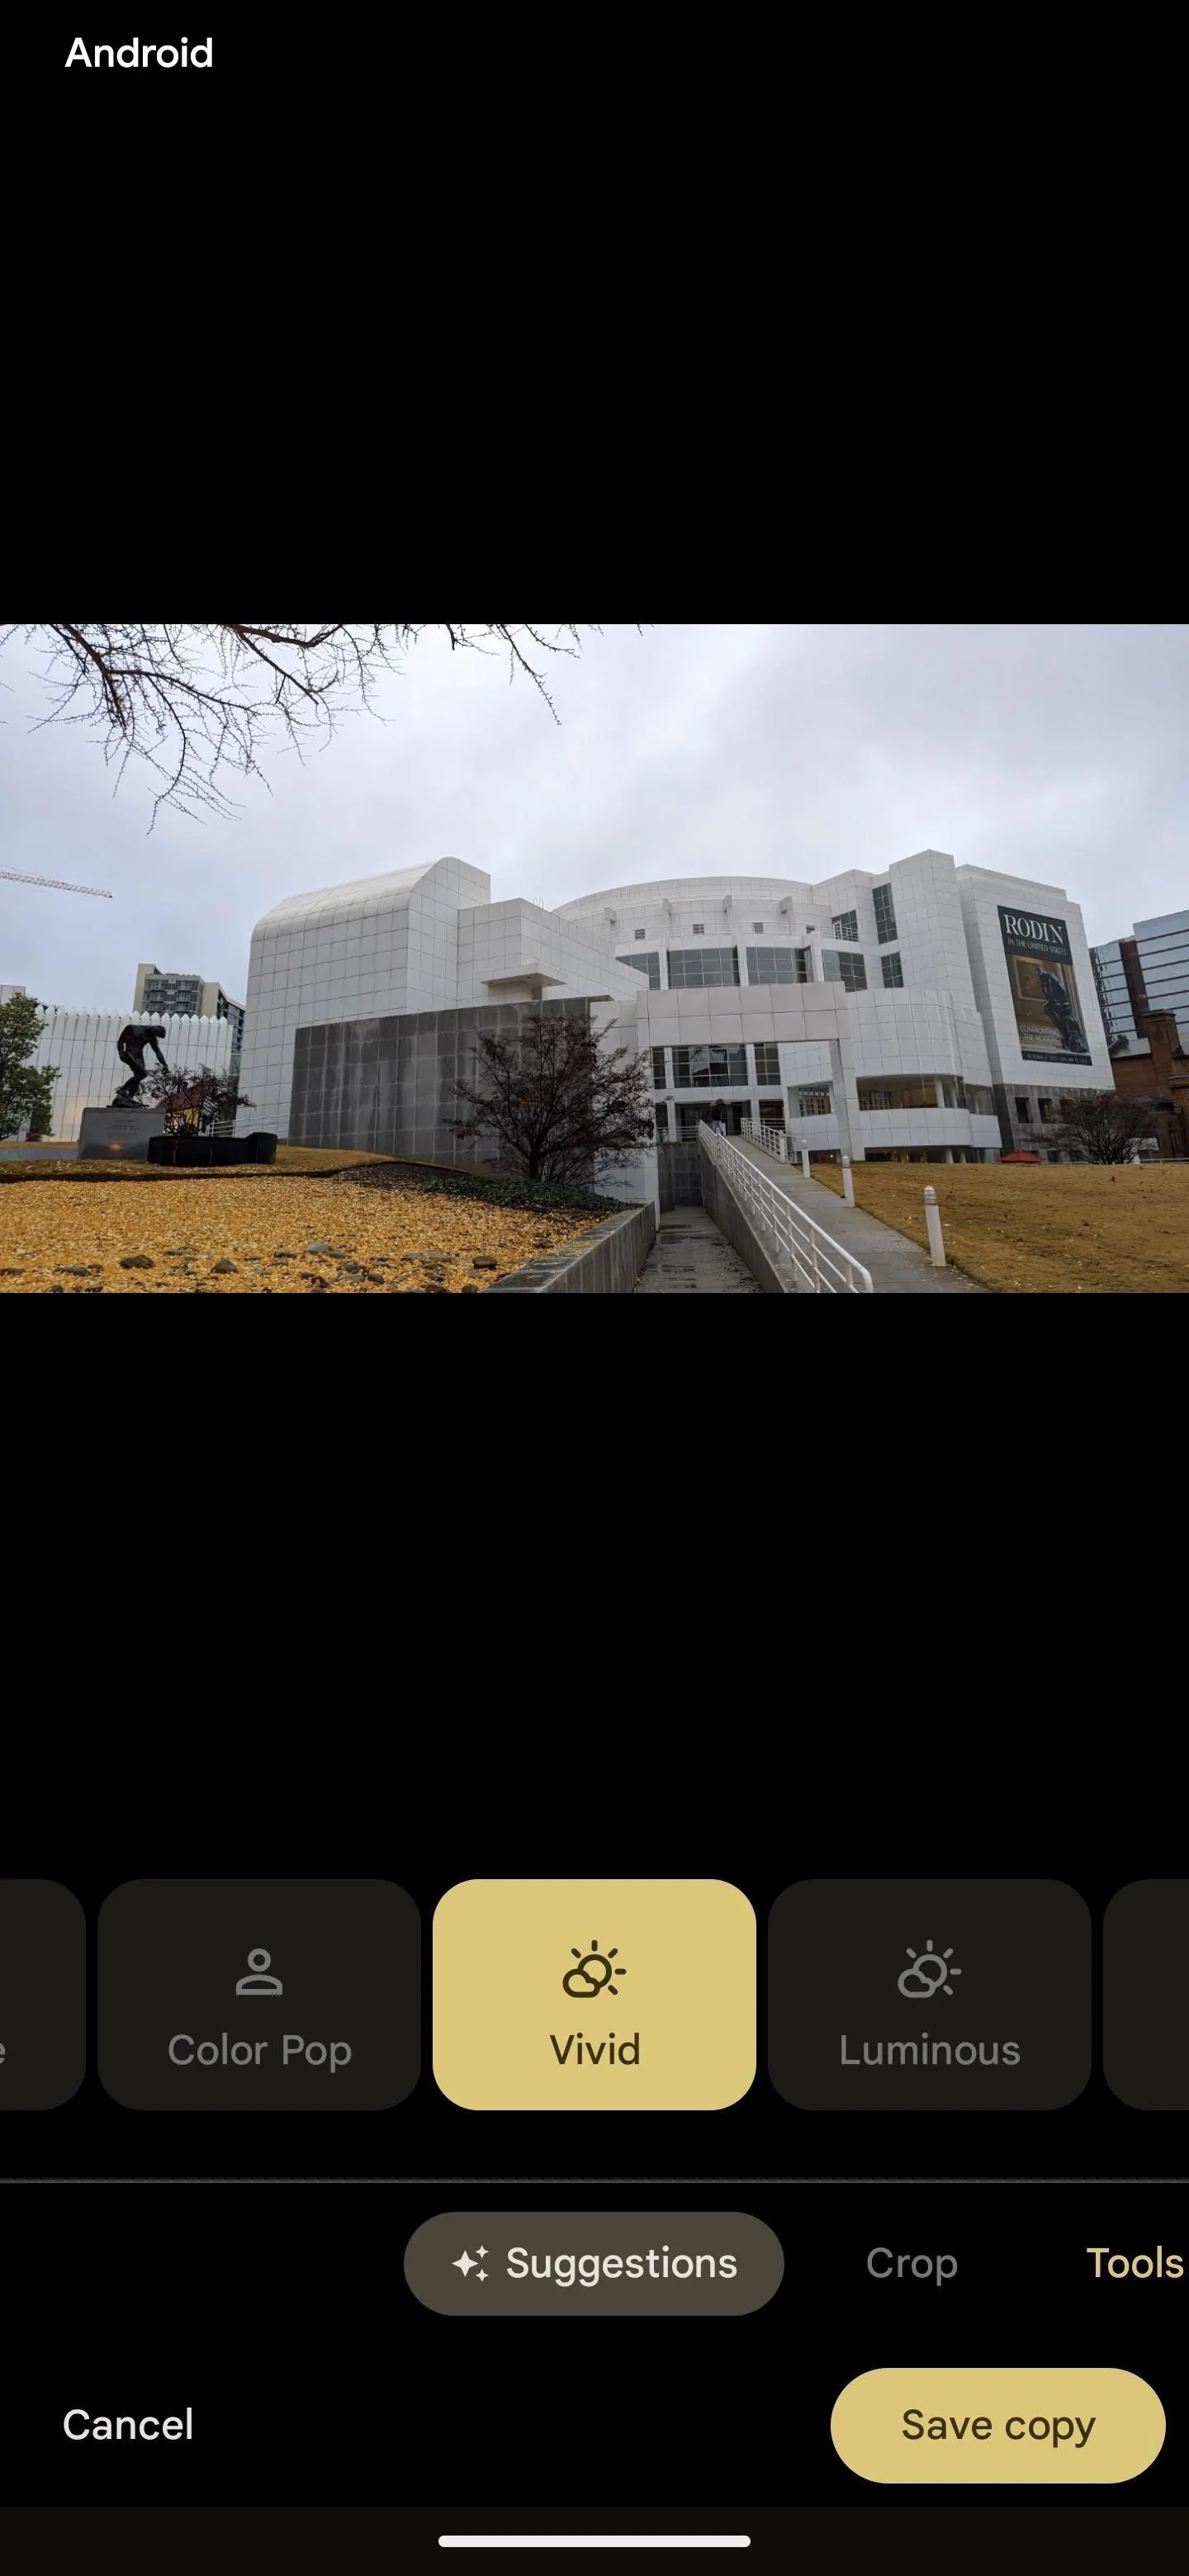
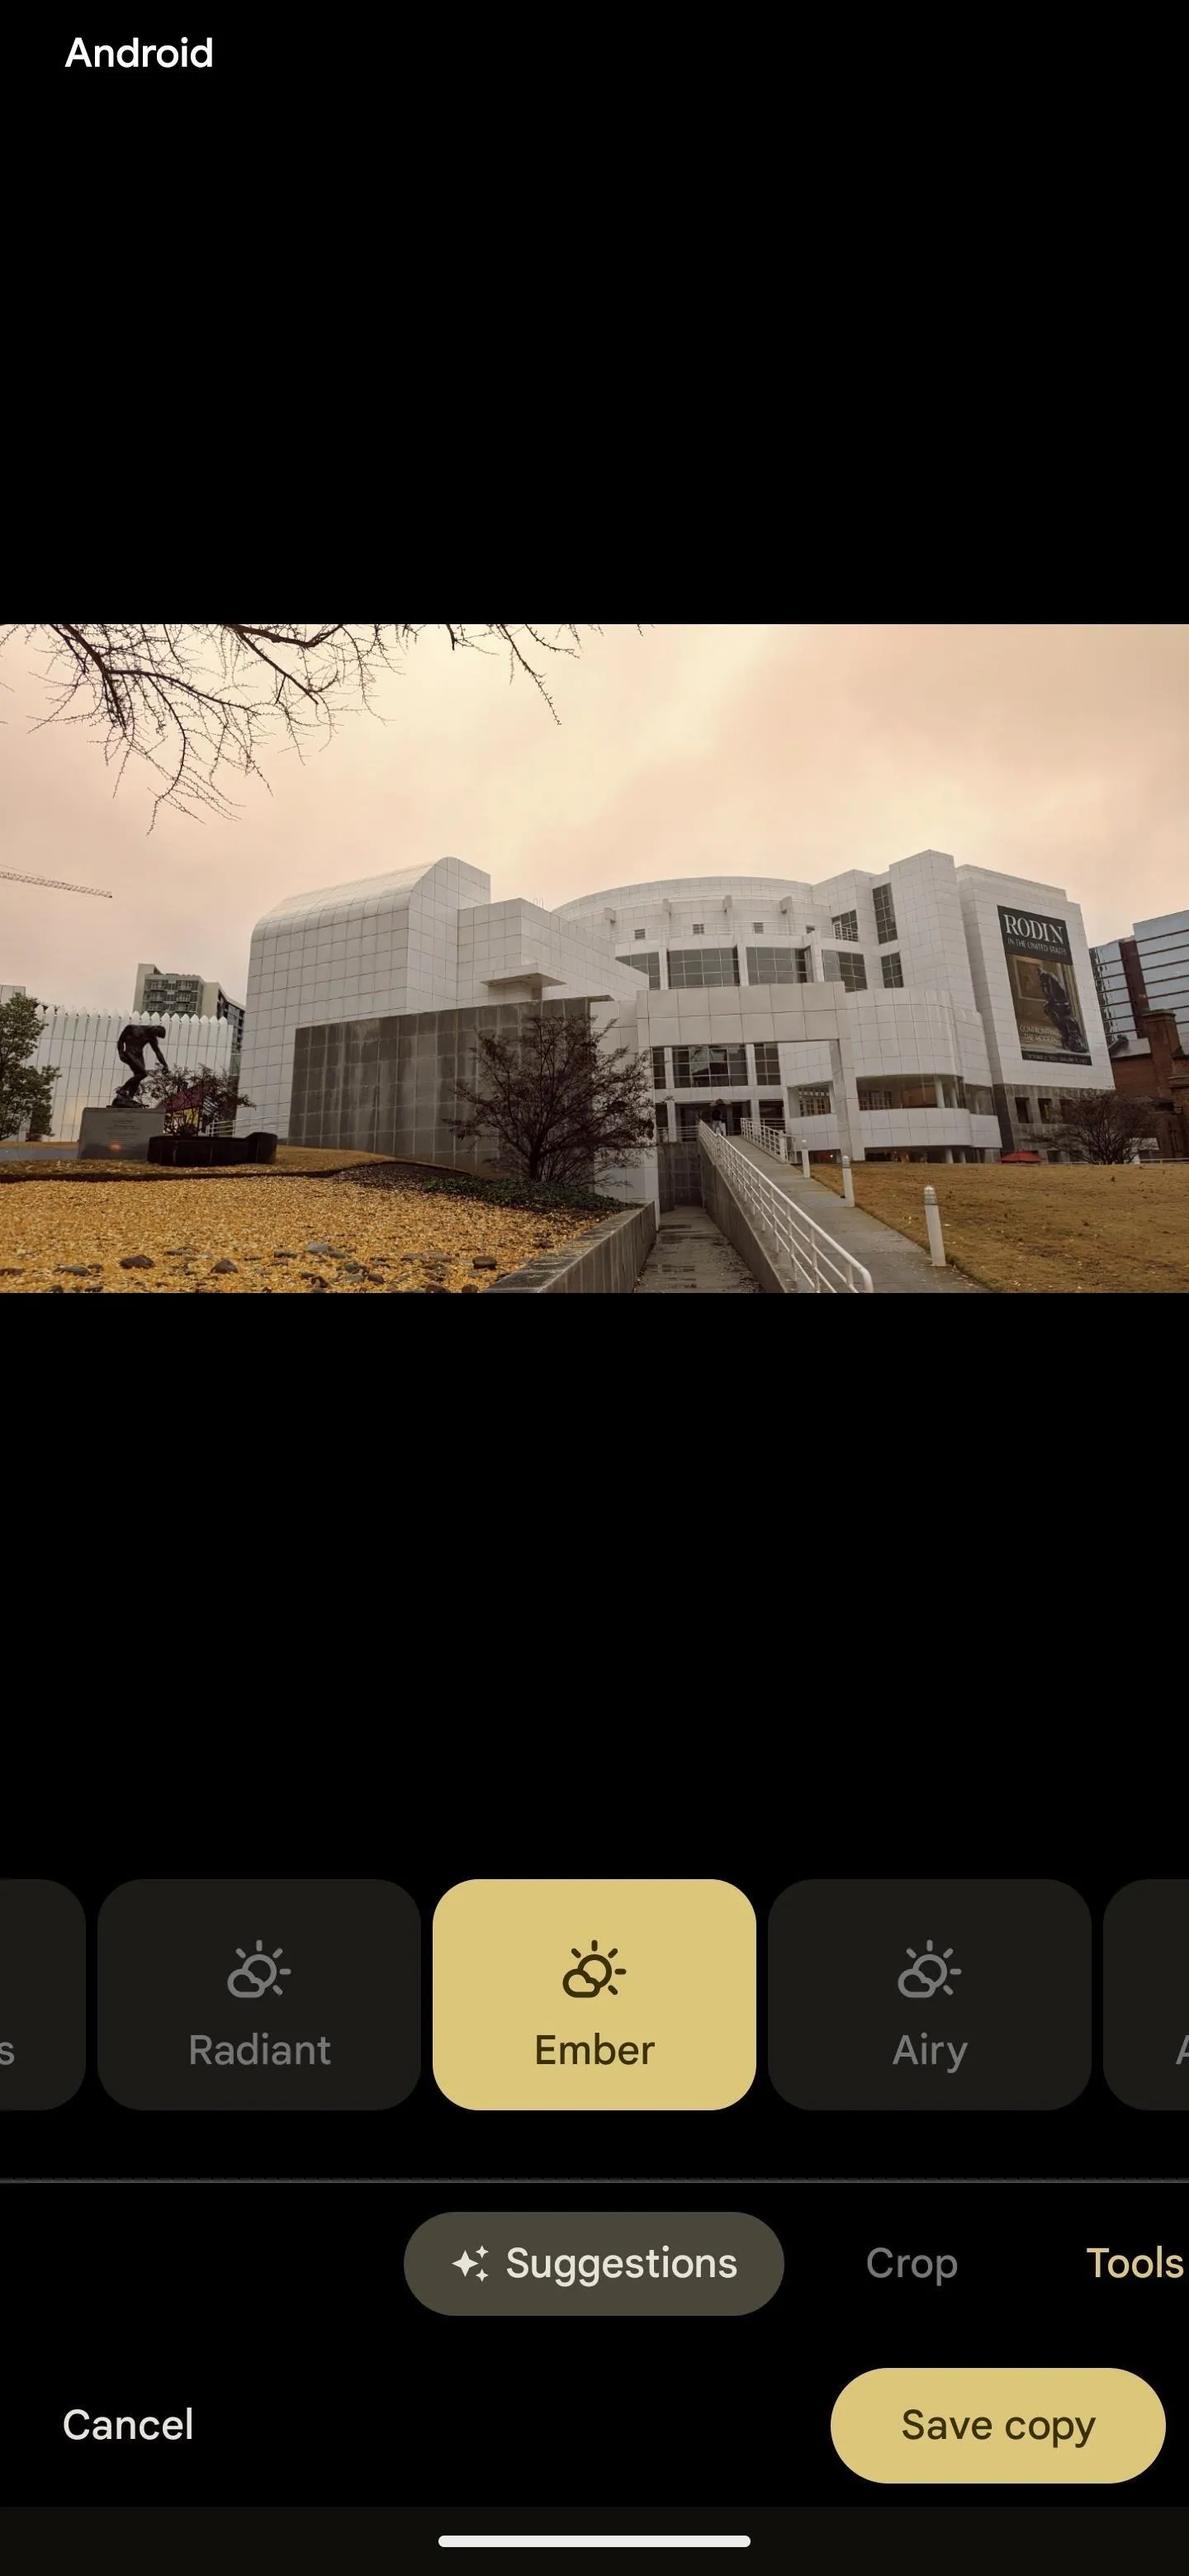
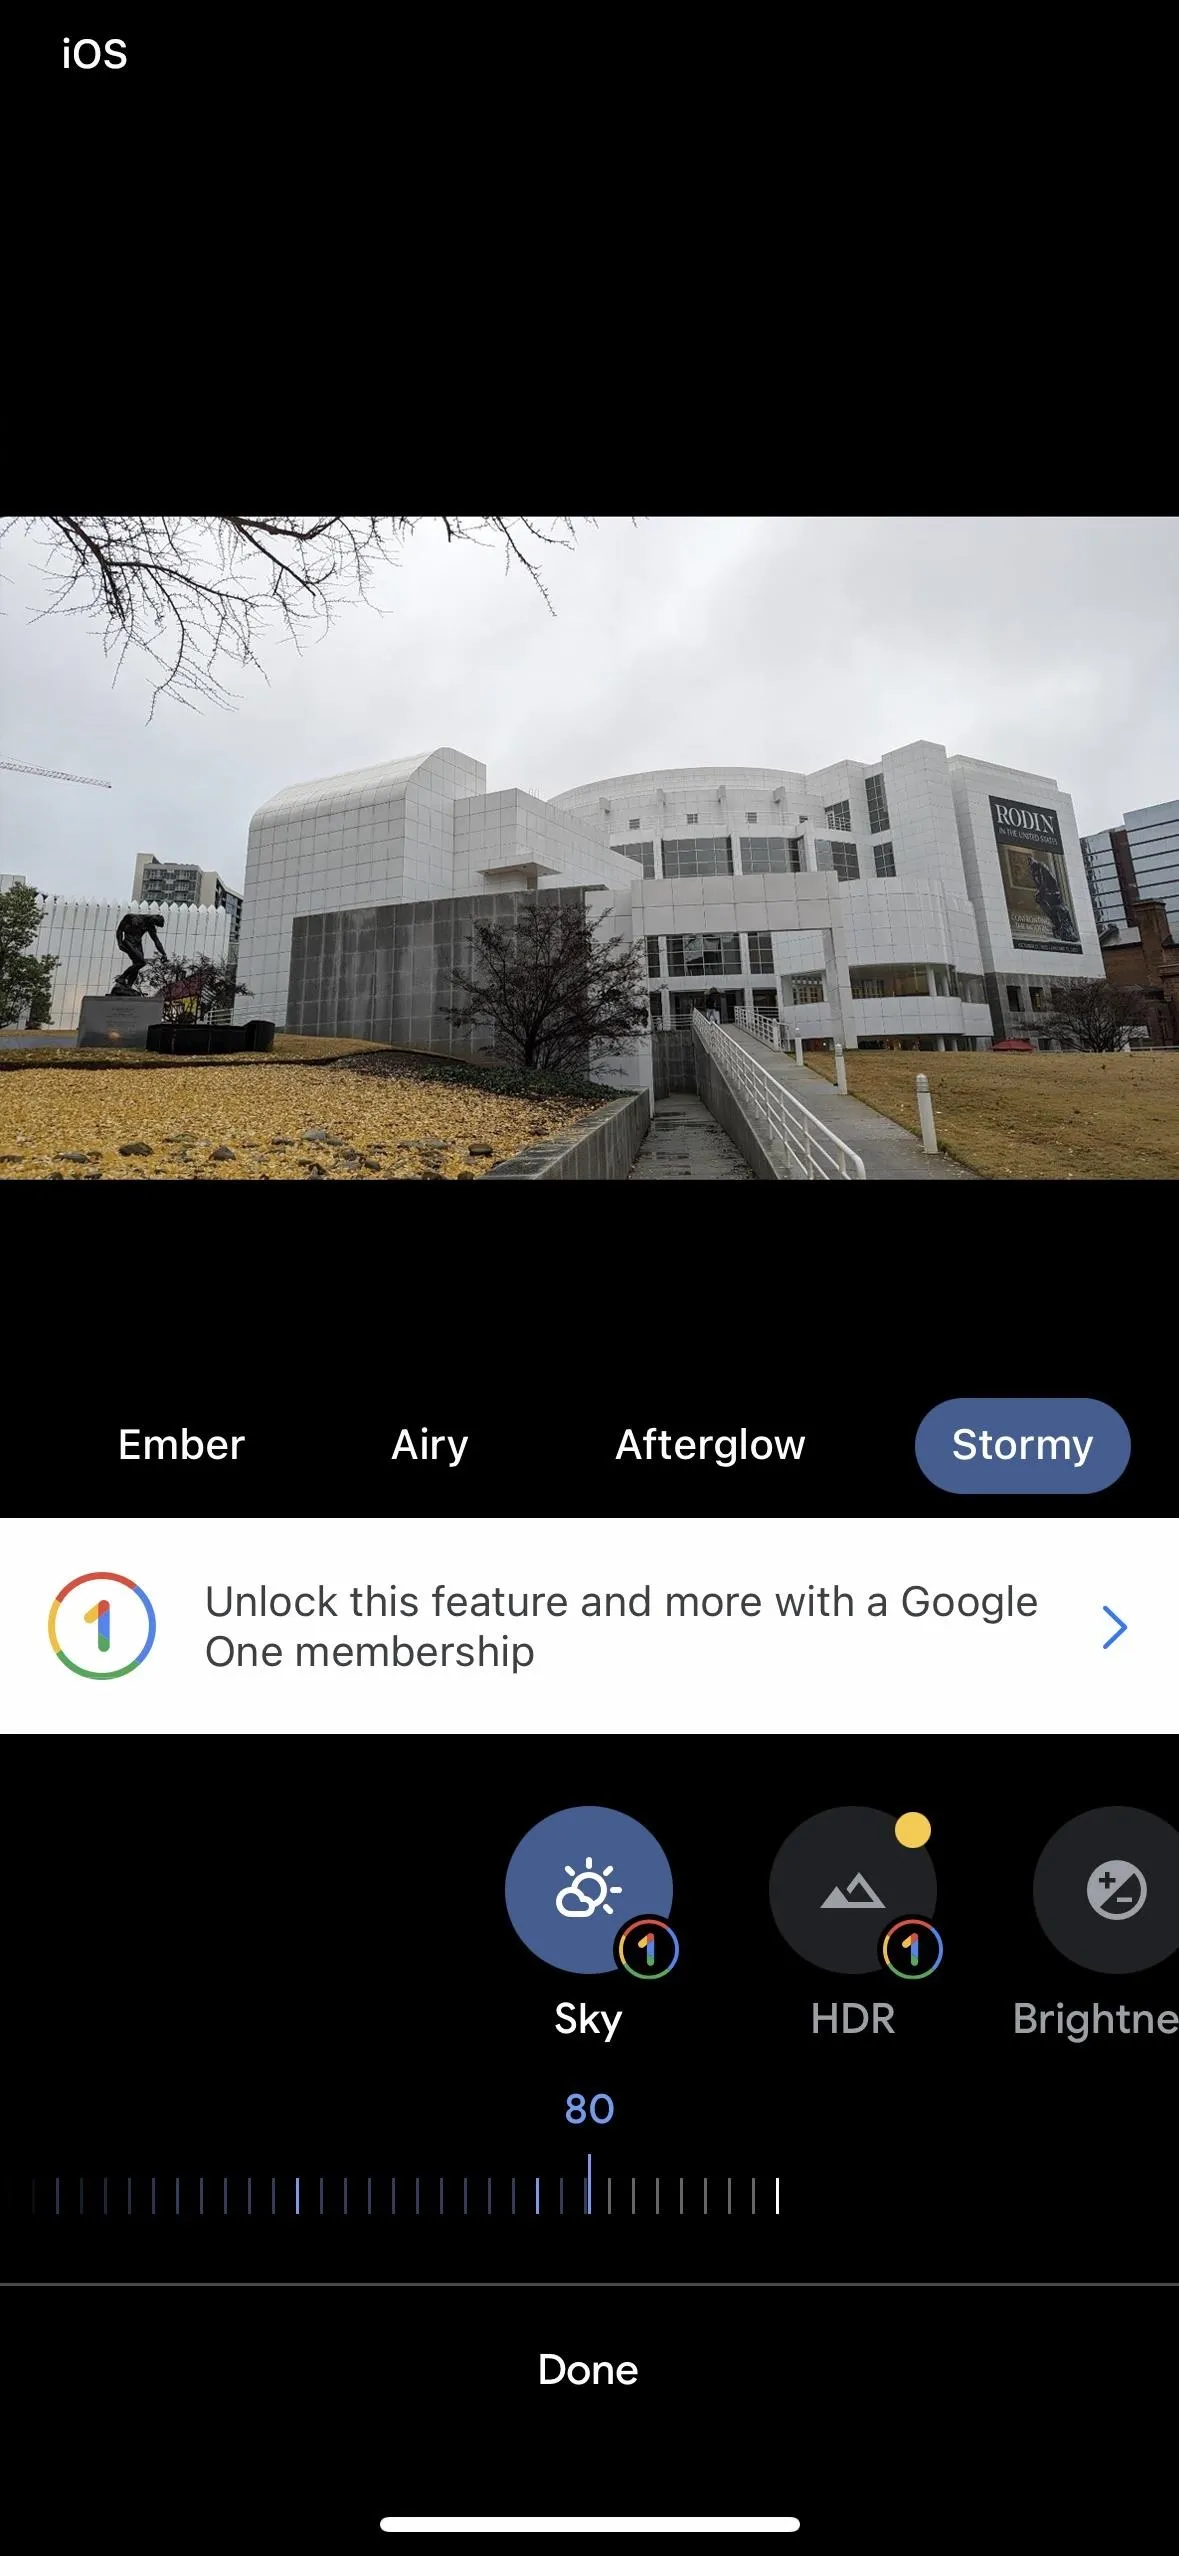
If Google Photos recognizes the appearance of a sky in your photo, it may include one-tap sky filters in the "Suggestions" category, though you may need to swipe through the suggestions to find them. Possible sky filters include Vivid, Luminous, Radiant, Ember, Airy, Afterglow, and Stormy.
As with collage styles, all available sky filters are available on Google Pixel models, but you'll need to subscribe to Google One to unlock them on other devices, including the iPhone; Memberships start at $1.99.
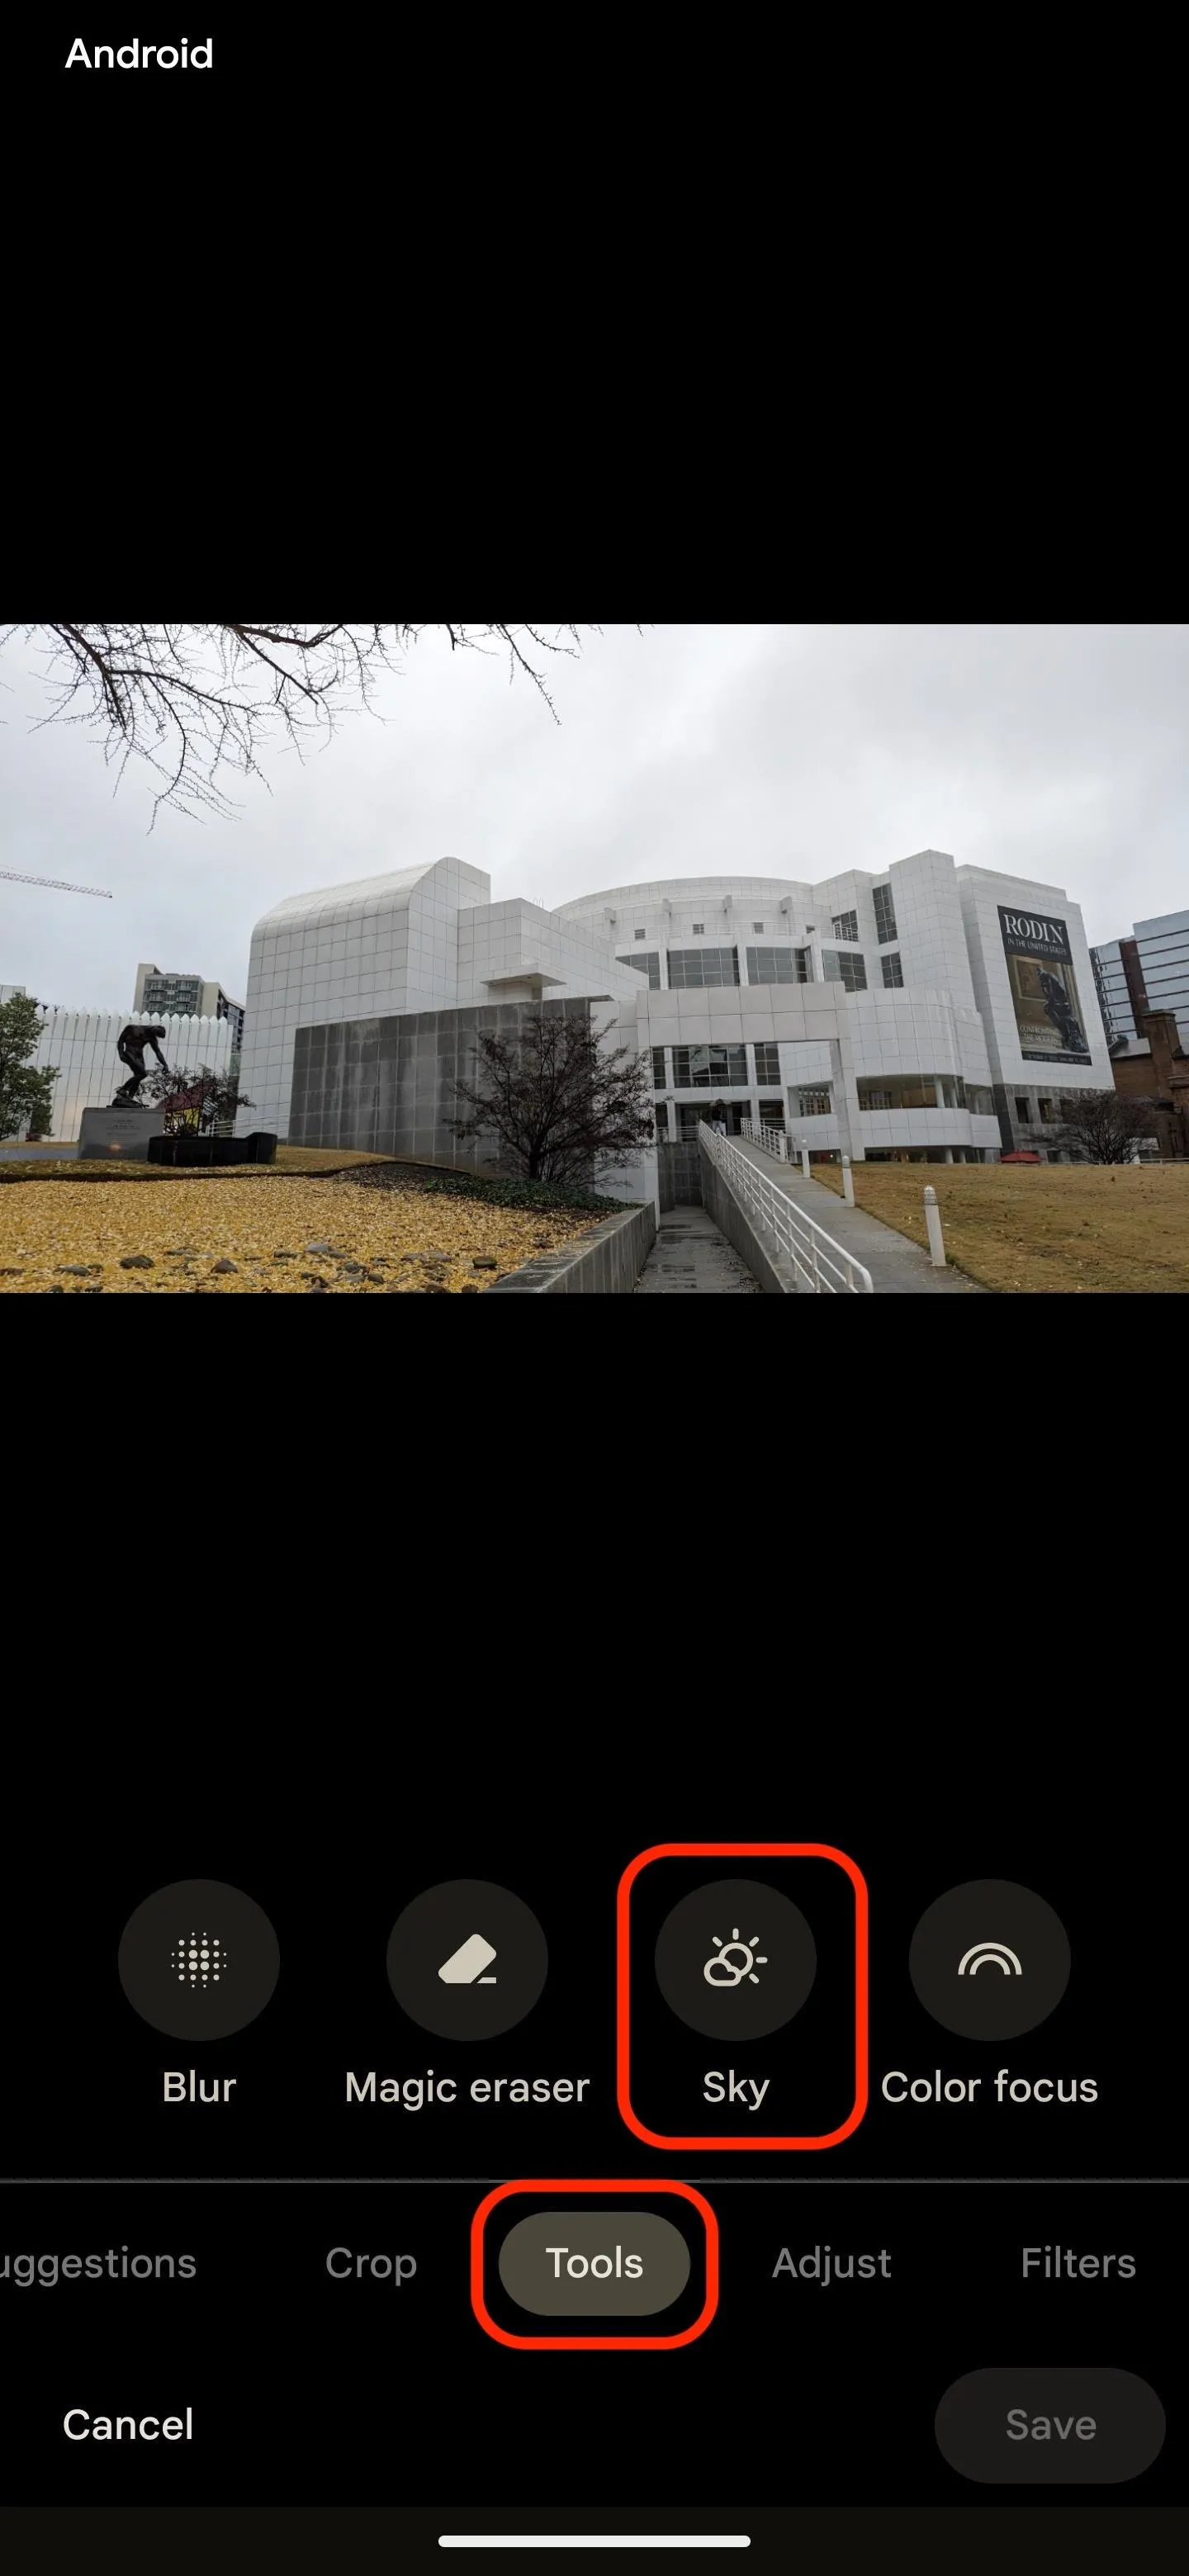
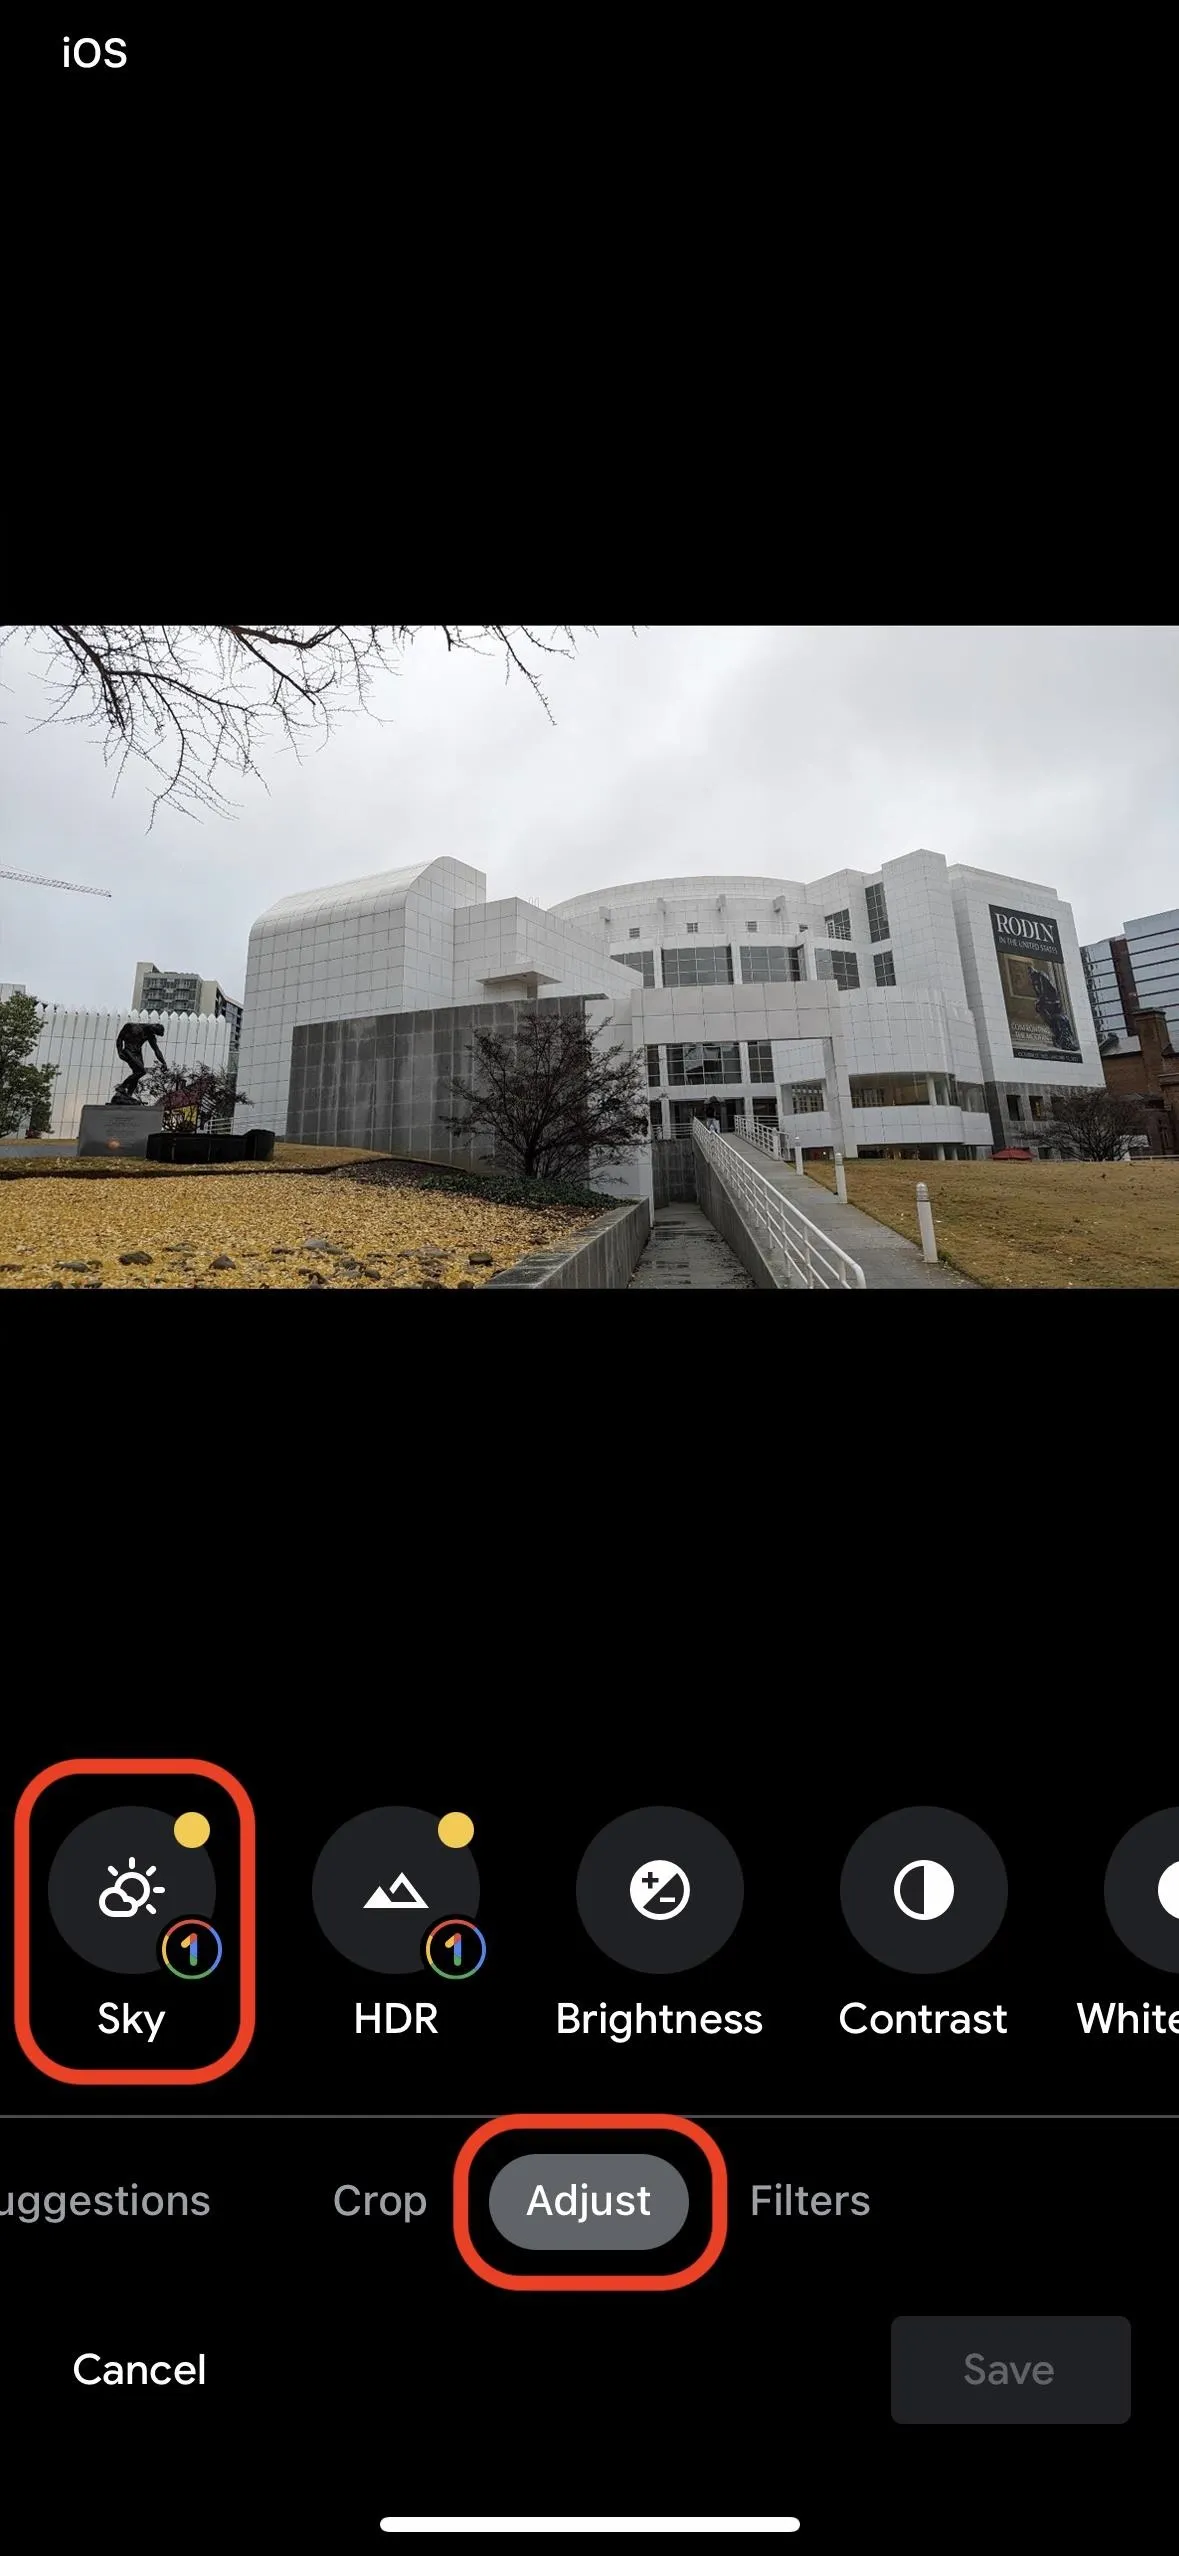
If you don't see any sky filters as suggestions, you can find the "Sky" button in the "Tools" category on Android or the "Adjust" category on iOS. Like with suggestions, the sky filters include Vivid, Luminous, Radiant, Ember, Airy, Afterglow, and Stormy. However, if Google Photos can't detect a sky in the image, sky suggestions and the "Sky" tool may not even appear.
Select and Adjust Sky Filters
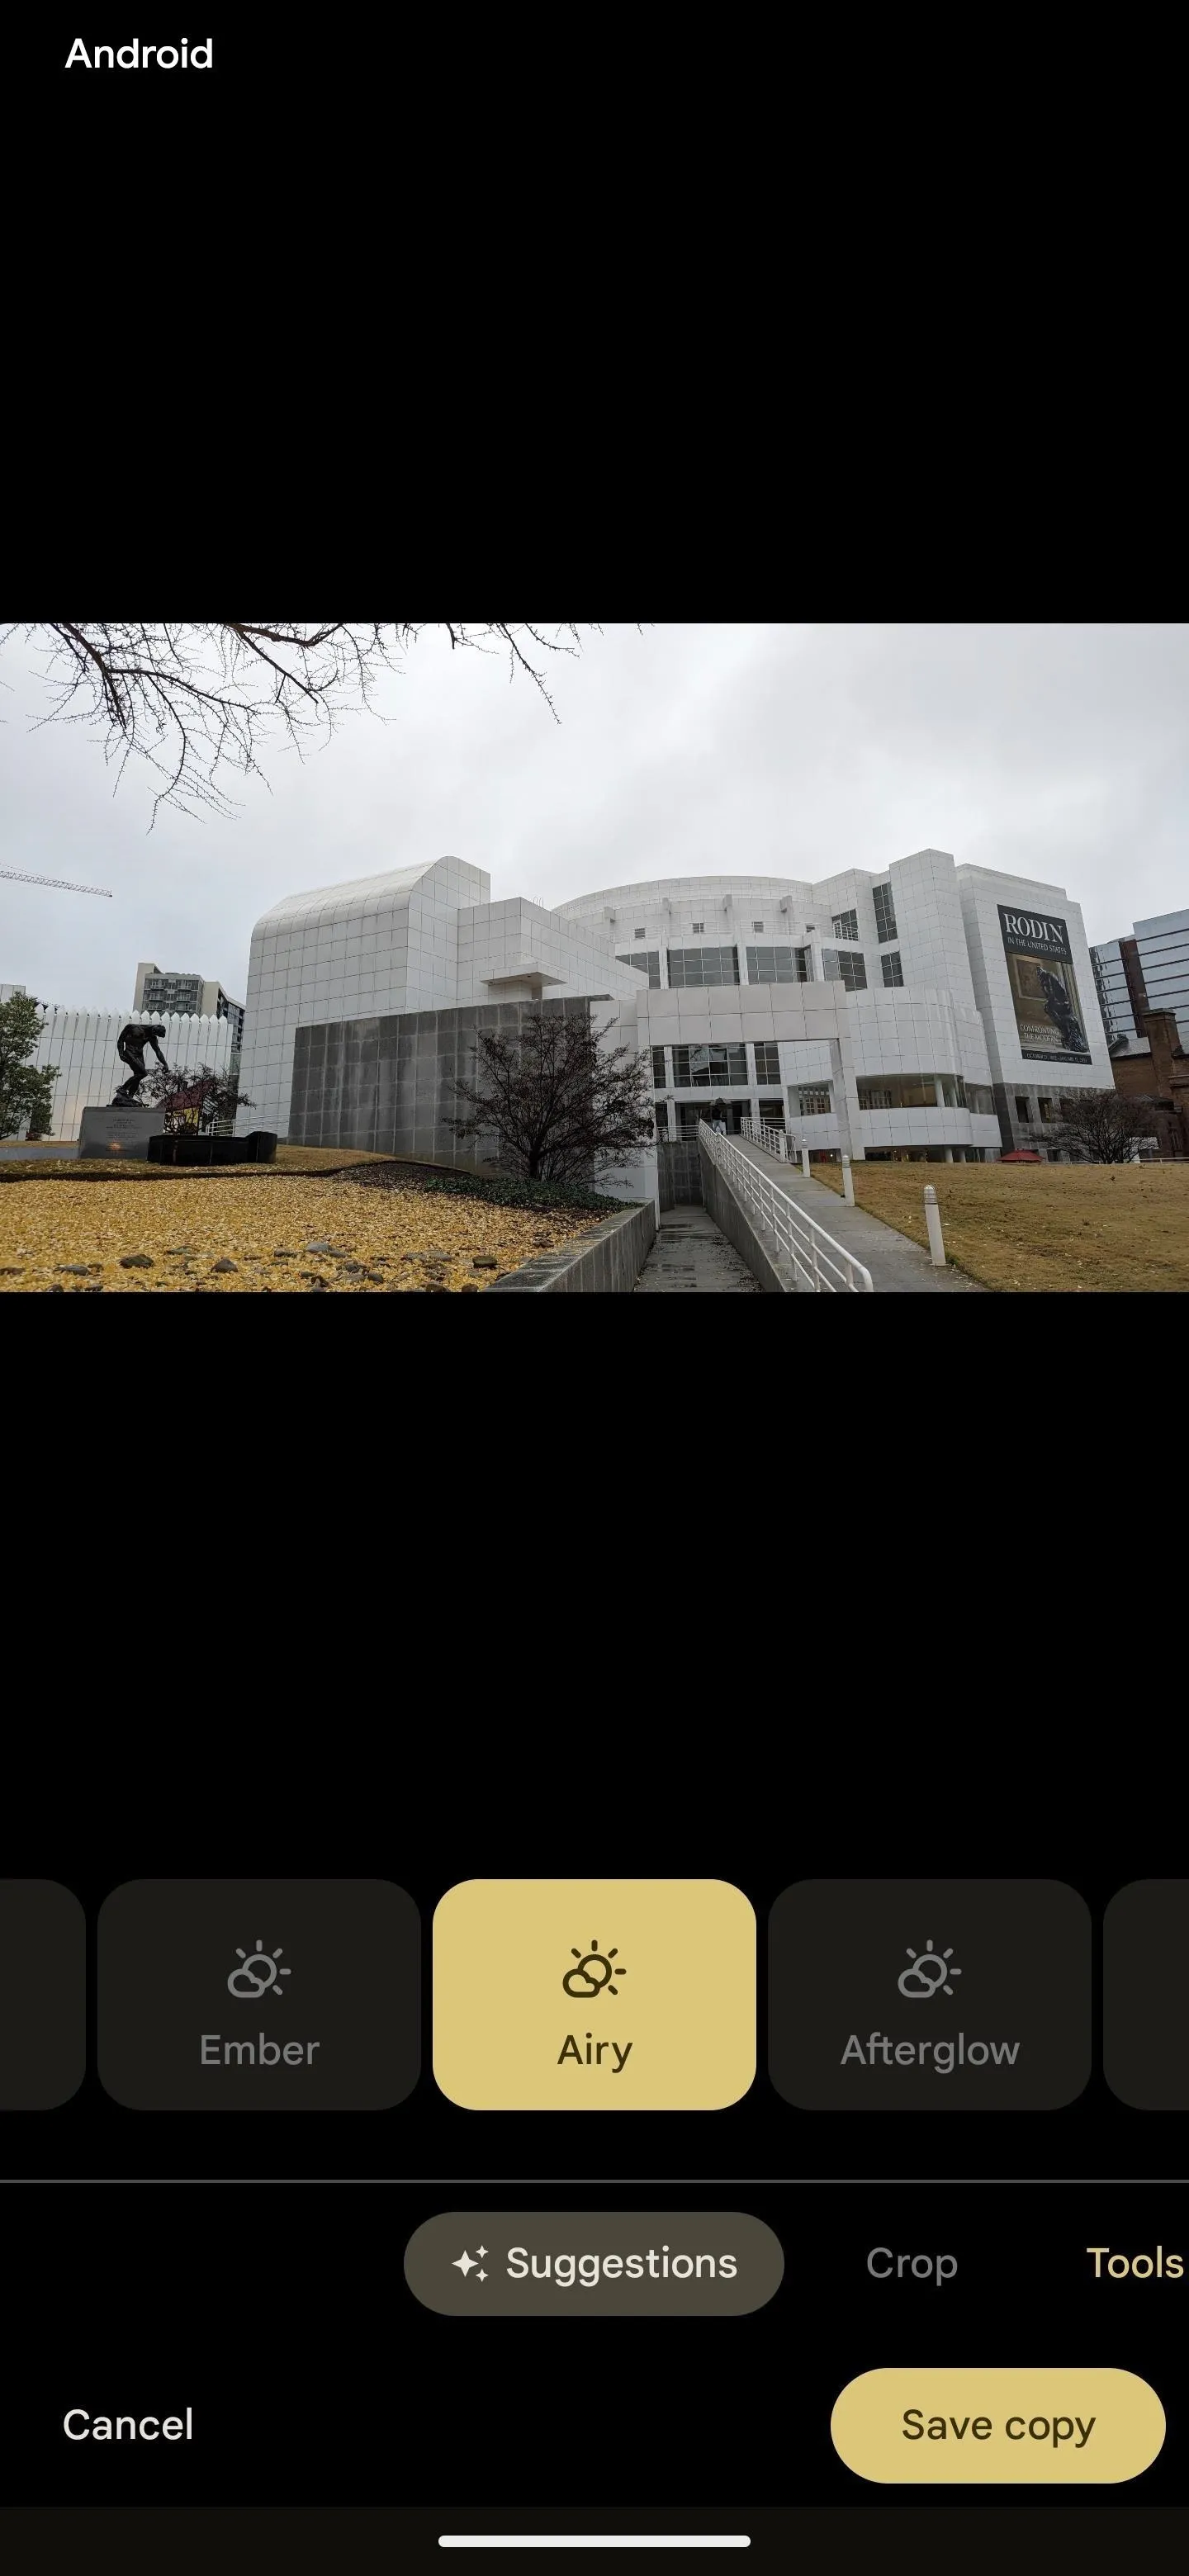
Tap through the suggested sky filters until you find the one that works best for your photo. While you may notice the most changes in the sky, filters will also affect the rest of the image. I think "Airy" provides the best sky adjustment for my example picture.
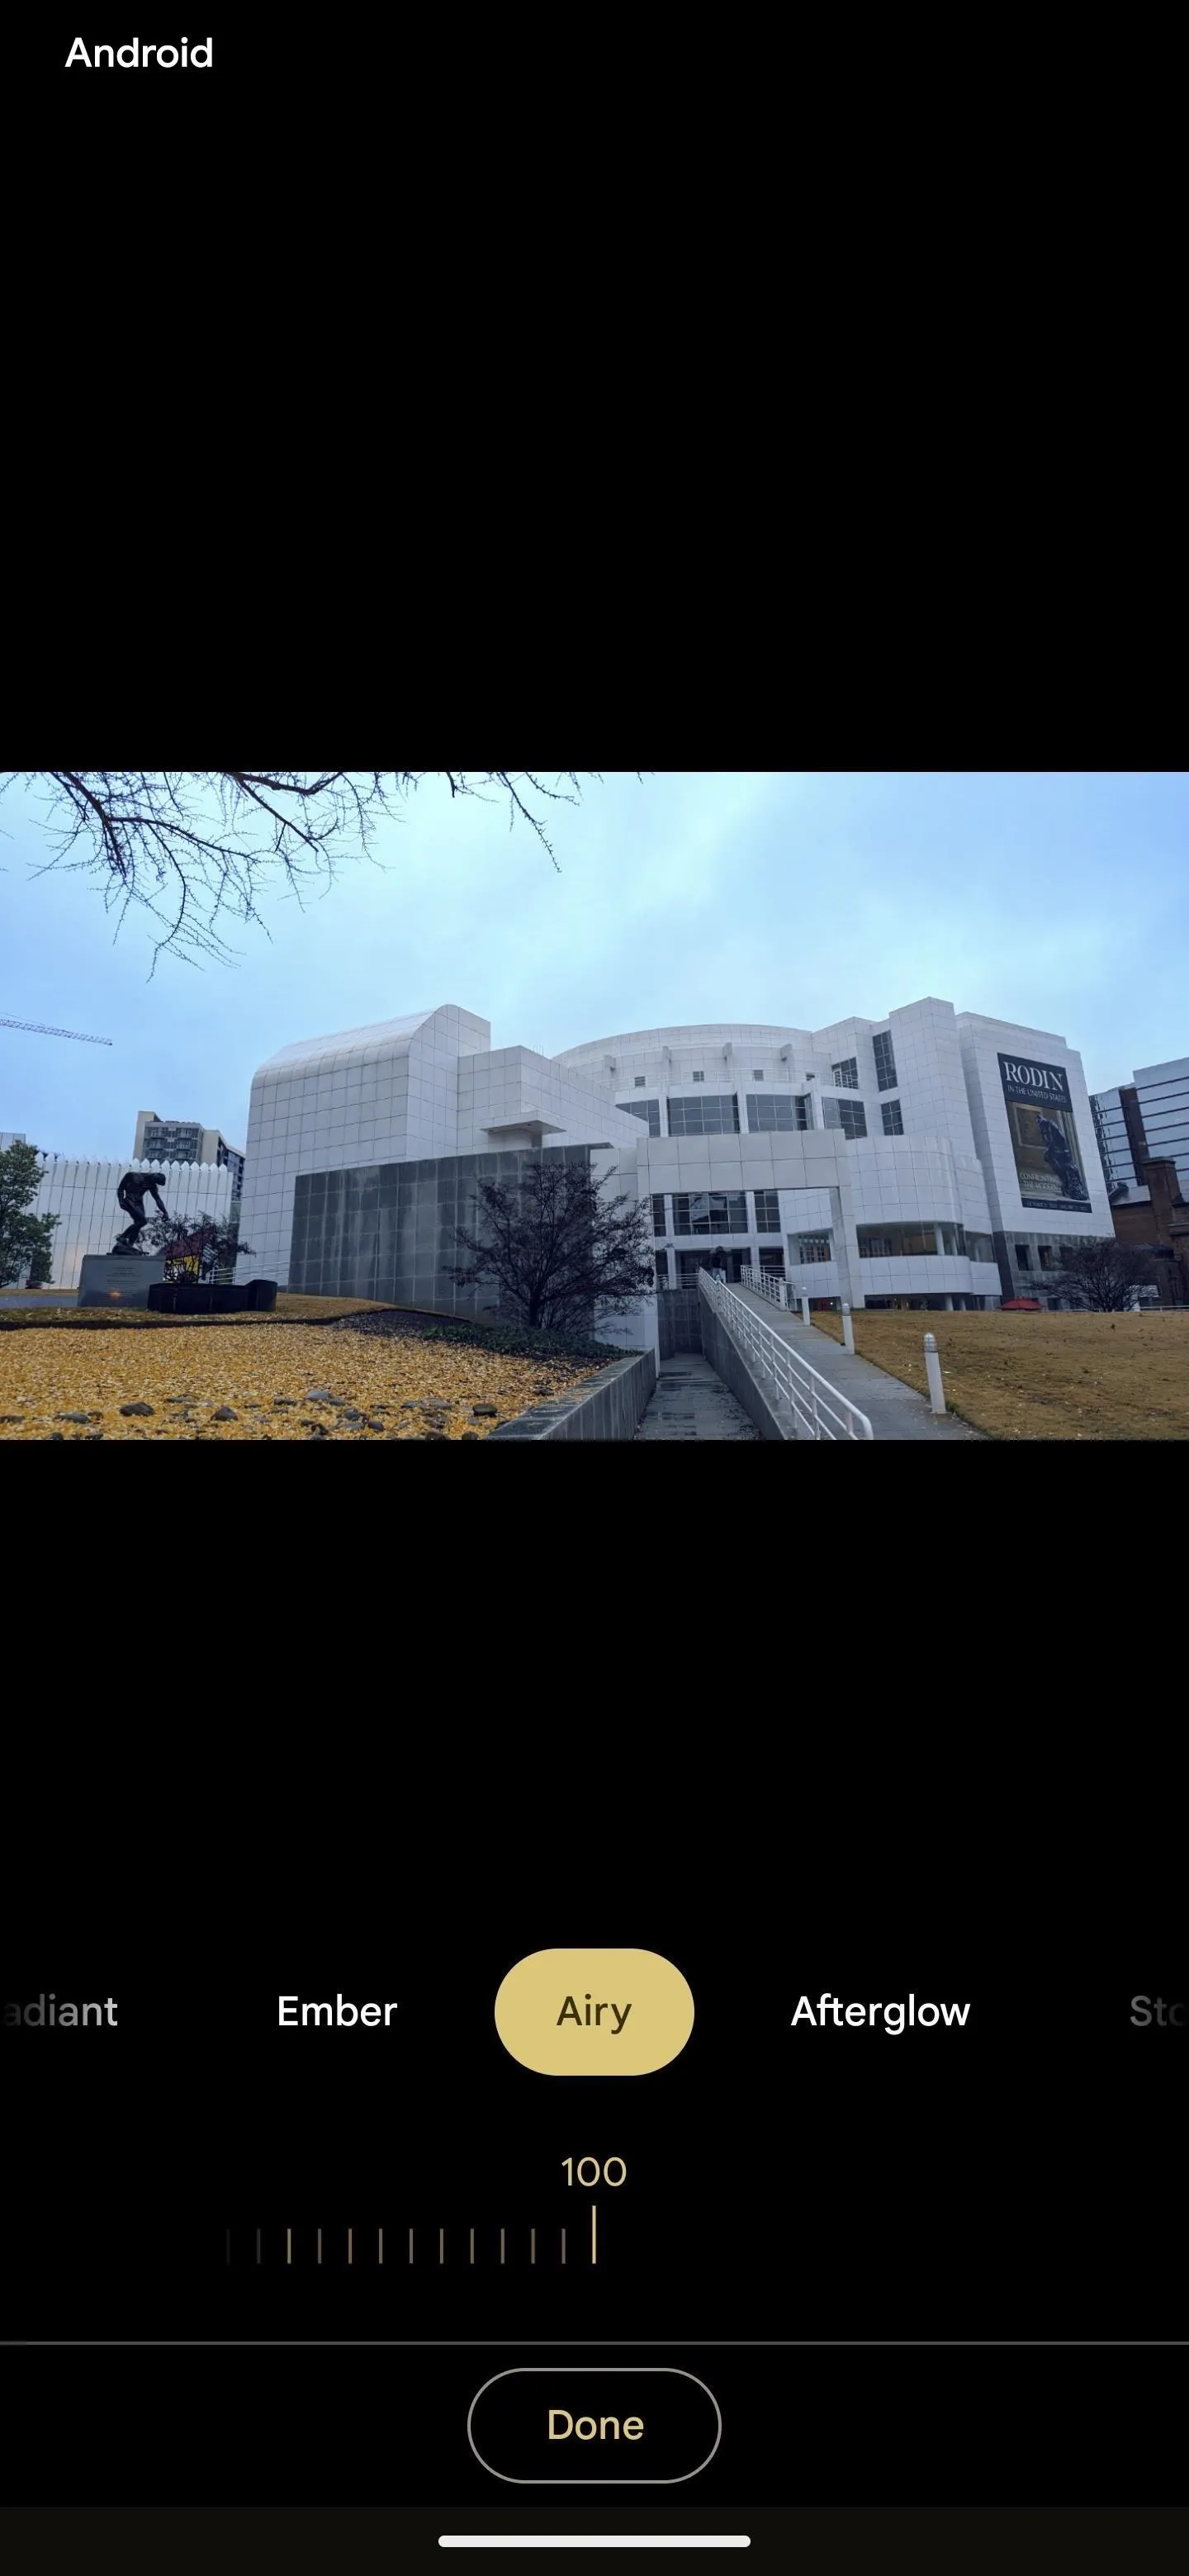
When editing your image with the "Sky" option in "Tools," you can further fine-tune the filter's intensity from zero to 100 using the slider. You'll need to tap "Done" to apply your adjustments and return to the editor.
Save Your Edited Image
Once finished, tap the "Save copy" button on Android to add a copy of the edited image to your photo library. On iOS, tap "Save," then select between "Save," which overwrites the current image and can be reversed, or "Save as copy," which adds a new file of the edited image.
Alternate Method: Use the Blue Tint Adjustment
If you don't have a Pixel smartphone or Google One subscription, it's still pretty easy to get deep blue skies in your photos. Going full blue isn't like any of the above sky filters, so think of it as an additional hidden sky filter.
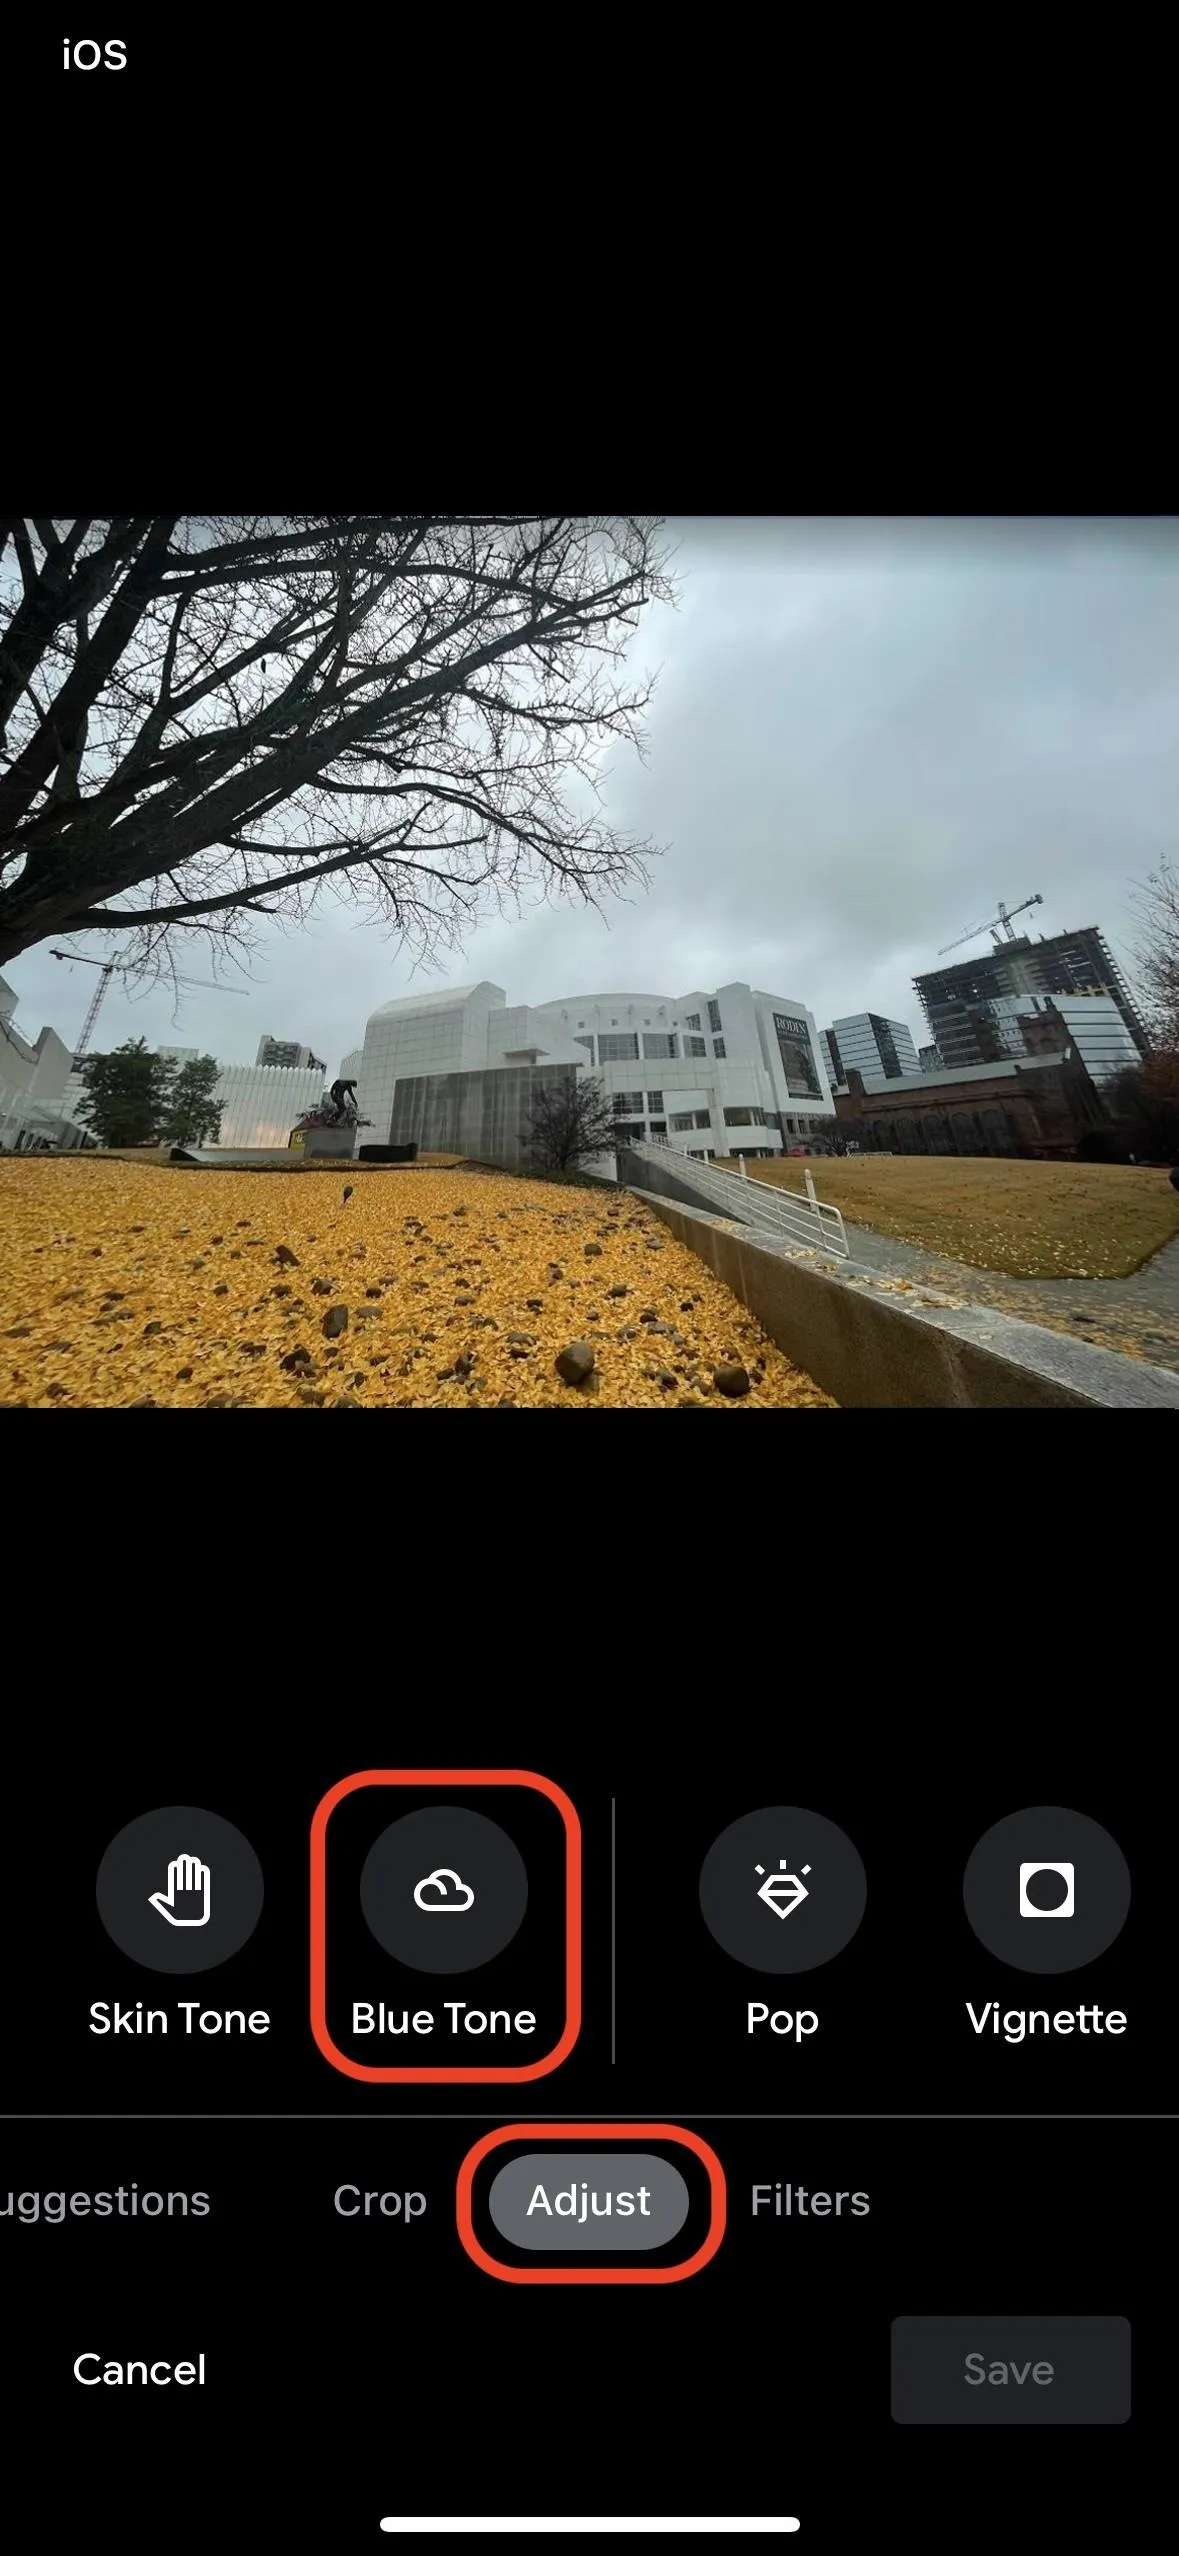
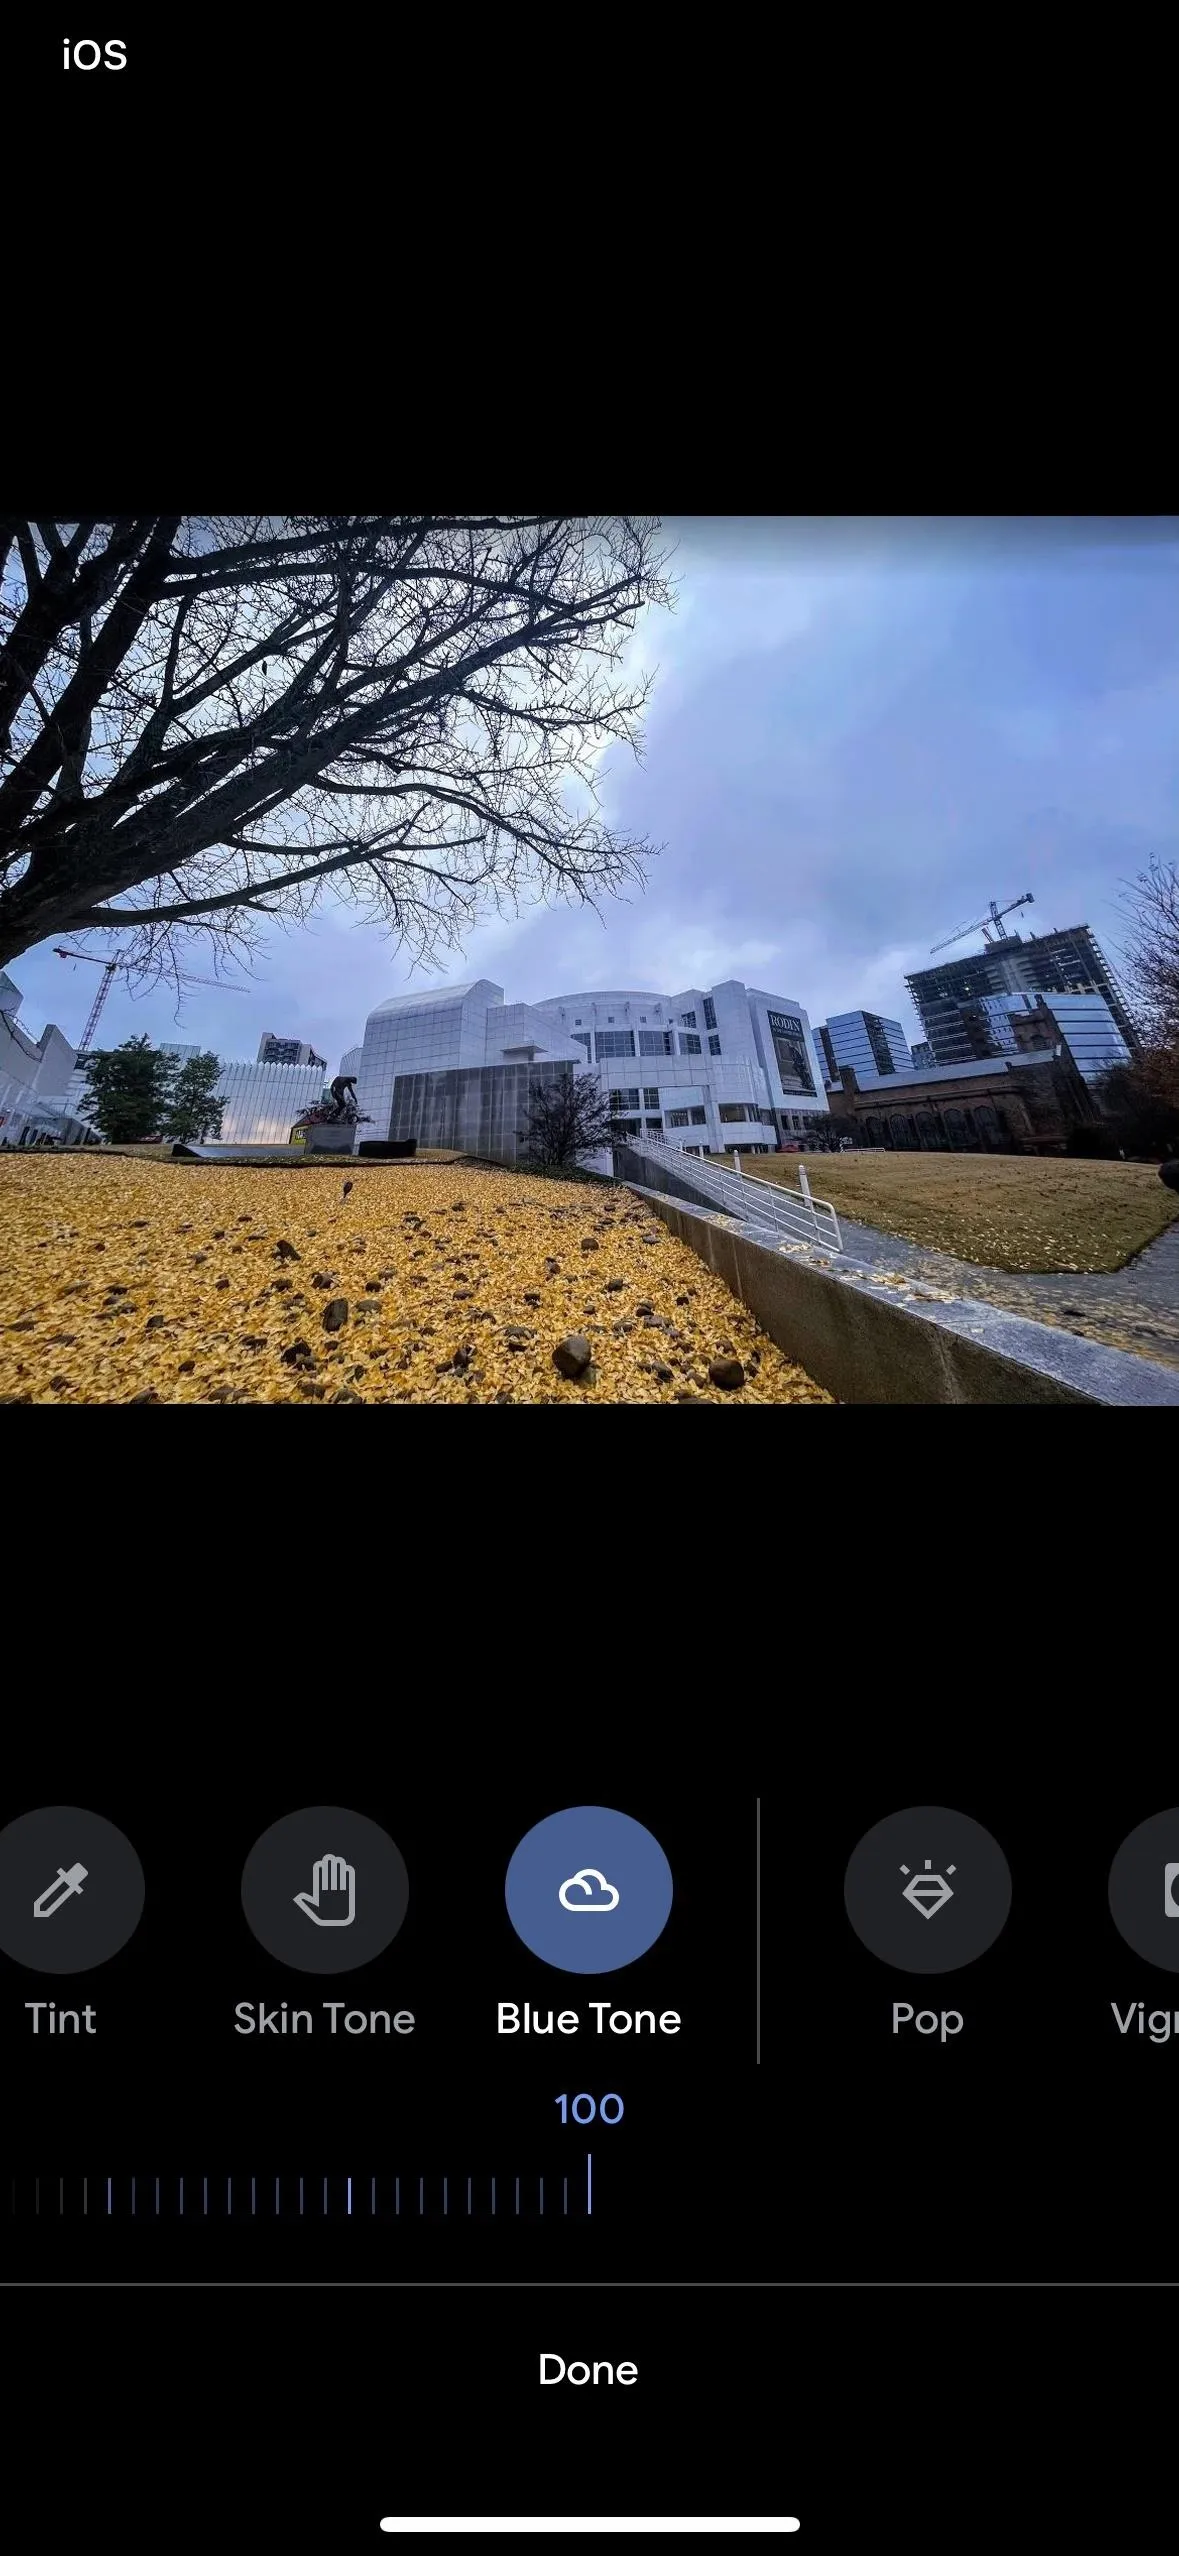
In the editor, visit the "Adjust" category, and then find and select "Blue tone." Using the slider, you can adjust the intensity of the effect from -100 to 100, with 100 being the deepest blue sky appearance. Hit "Done" when satisfied, and then save the image. Before saving, you can also play with other adjustments, such as Tint and Saturation, to get a different blue look.
While the premade sky filters aren't available when using the Google Photos web app for mobile or desktop browsers, you can get the deep blue sky look. Select the photo, hit the Edit icon, and then hit the Edit icon again from the open sidebar.
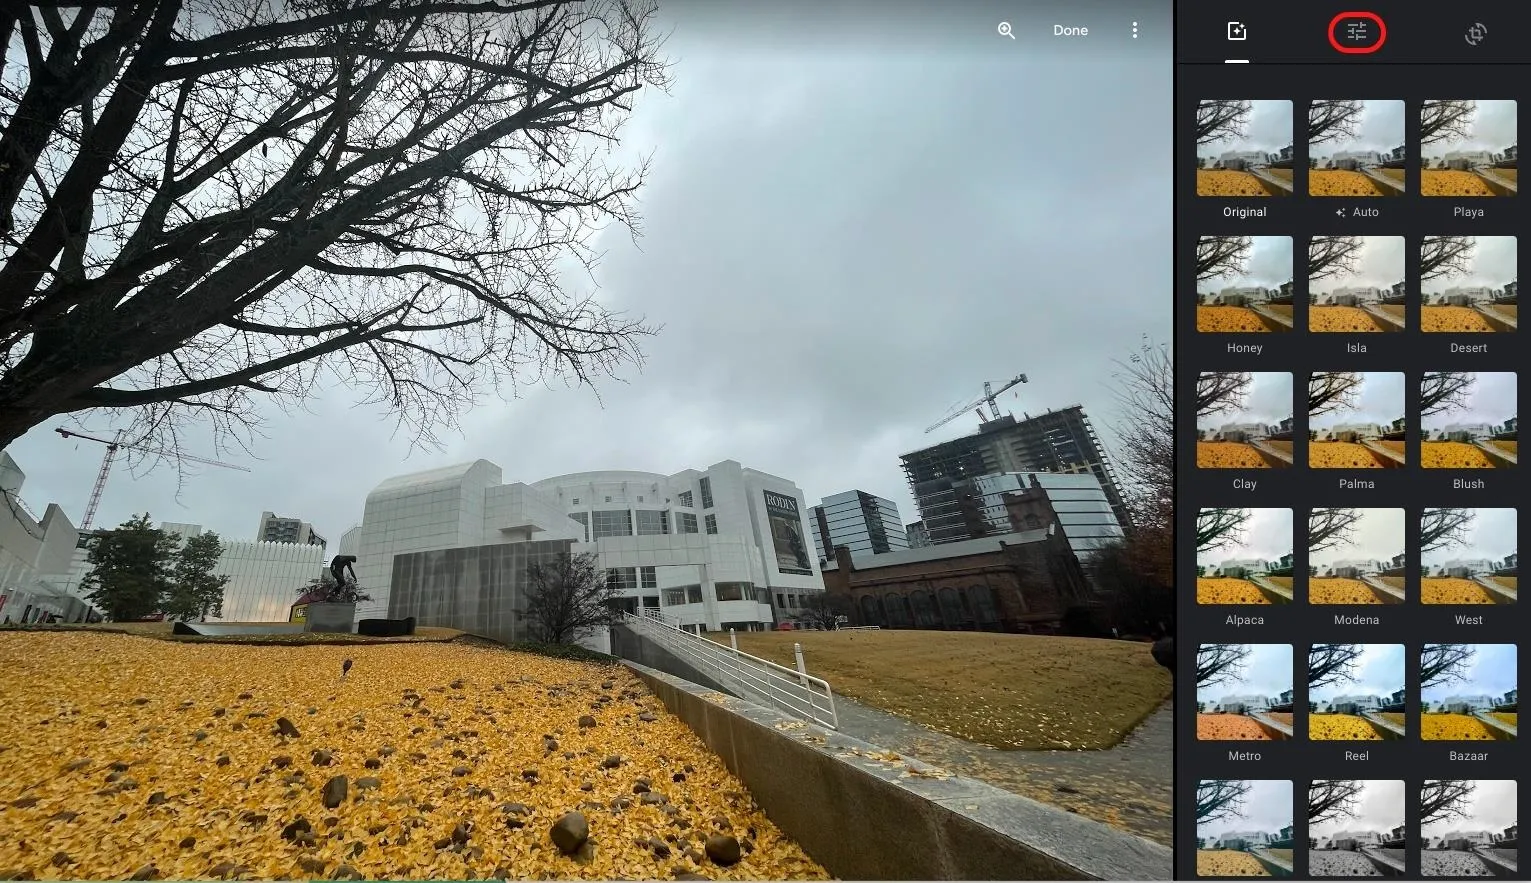
Expand the "Color" option, then adjust the "Deep blue" slider (which isn't called "Blue tint" as in the mobile app).

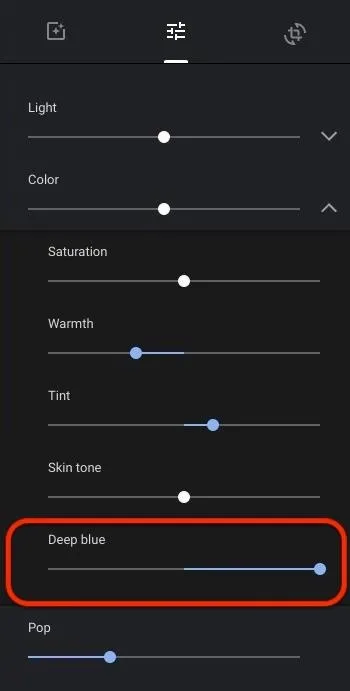
Once happy, select "Done" to save the edits over the original image; you can revert the changes later if needed.
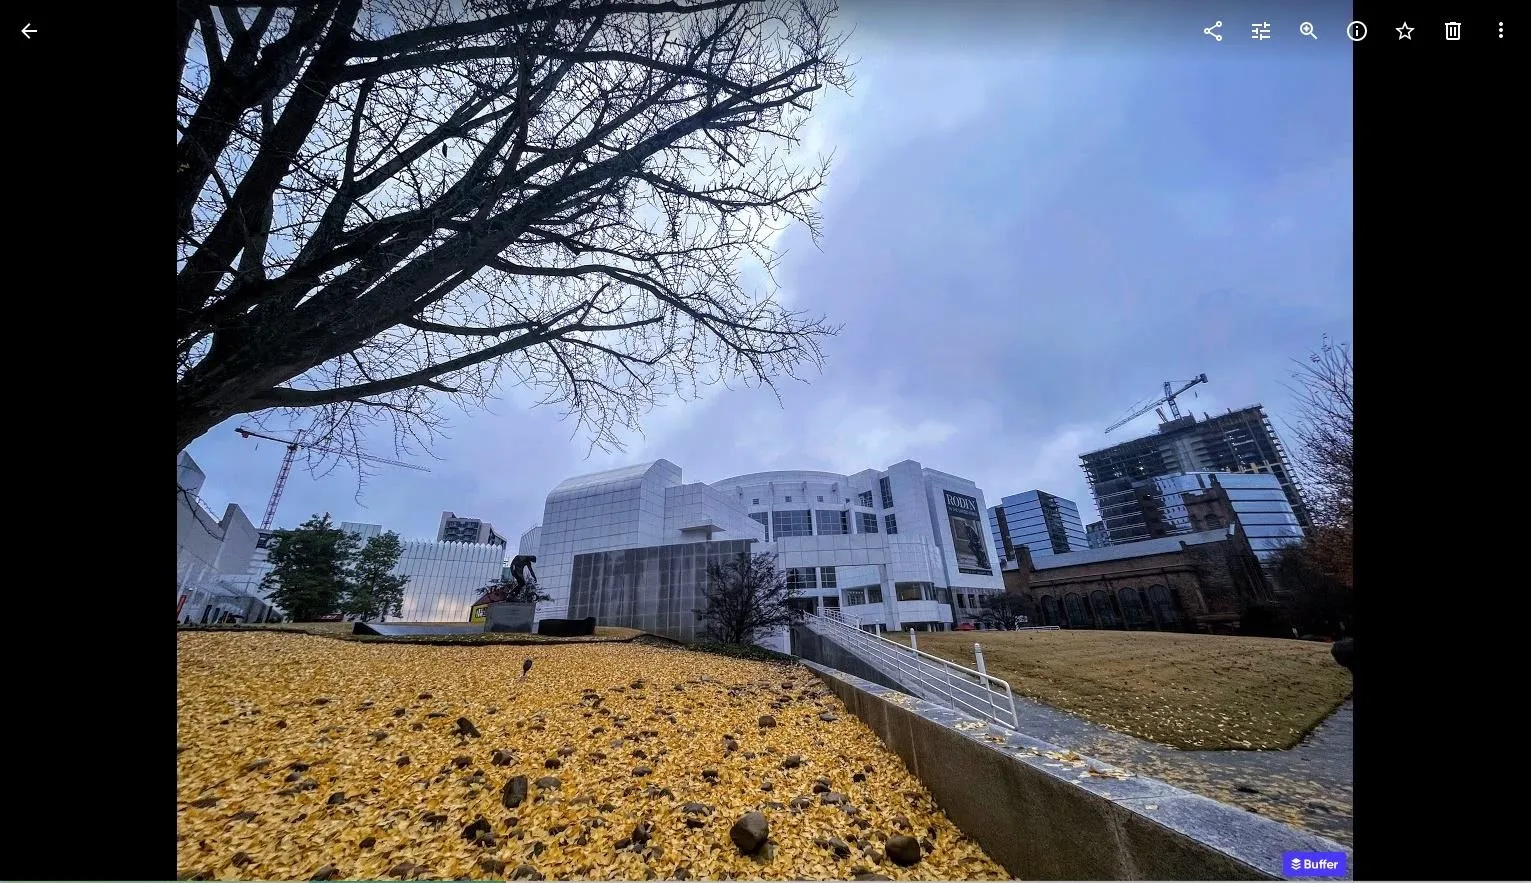
Cover image and screenshots by Tommy Palladino/Gadget Hacks


Comments
Be the first, drop a comment!