


Google Photos is not only an exceptional cross-platform app for photo storage but also a handy tool for generating and creating collages, movies, and animations from your photos and videos. When it comes to collages, you can now customize them and dress them up with vibrant templates.
The new custom collage styles first appeared in September 2022 and featured designs from artists like Shantell Martin and Lisa Congdon. An update on Dec. 1 added designs from more artists, such as DABSMYLA and Yao Cheng Design.
You can create collages from the Google Photos web app in any browser, but you're stuck with the grid style that Google automatically assigns. To customize the collage style, you'll need to use the mobile app instead. The mobile app also gives you more photos to choose from since it can use your device's local photo library and not just images uploaded to Google Photos.
If you already have the app installed, update it for the best experience.
Select Photos
To start a collage, you must select a group of photos first. From the Photos, Search, or Library tab, find and select all the images you want to include in your collage. You need at least two photos to start a collage but no more than six to use custom collage styles.
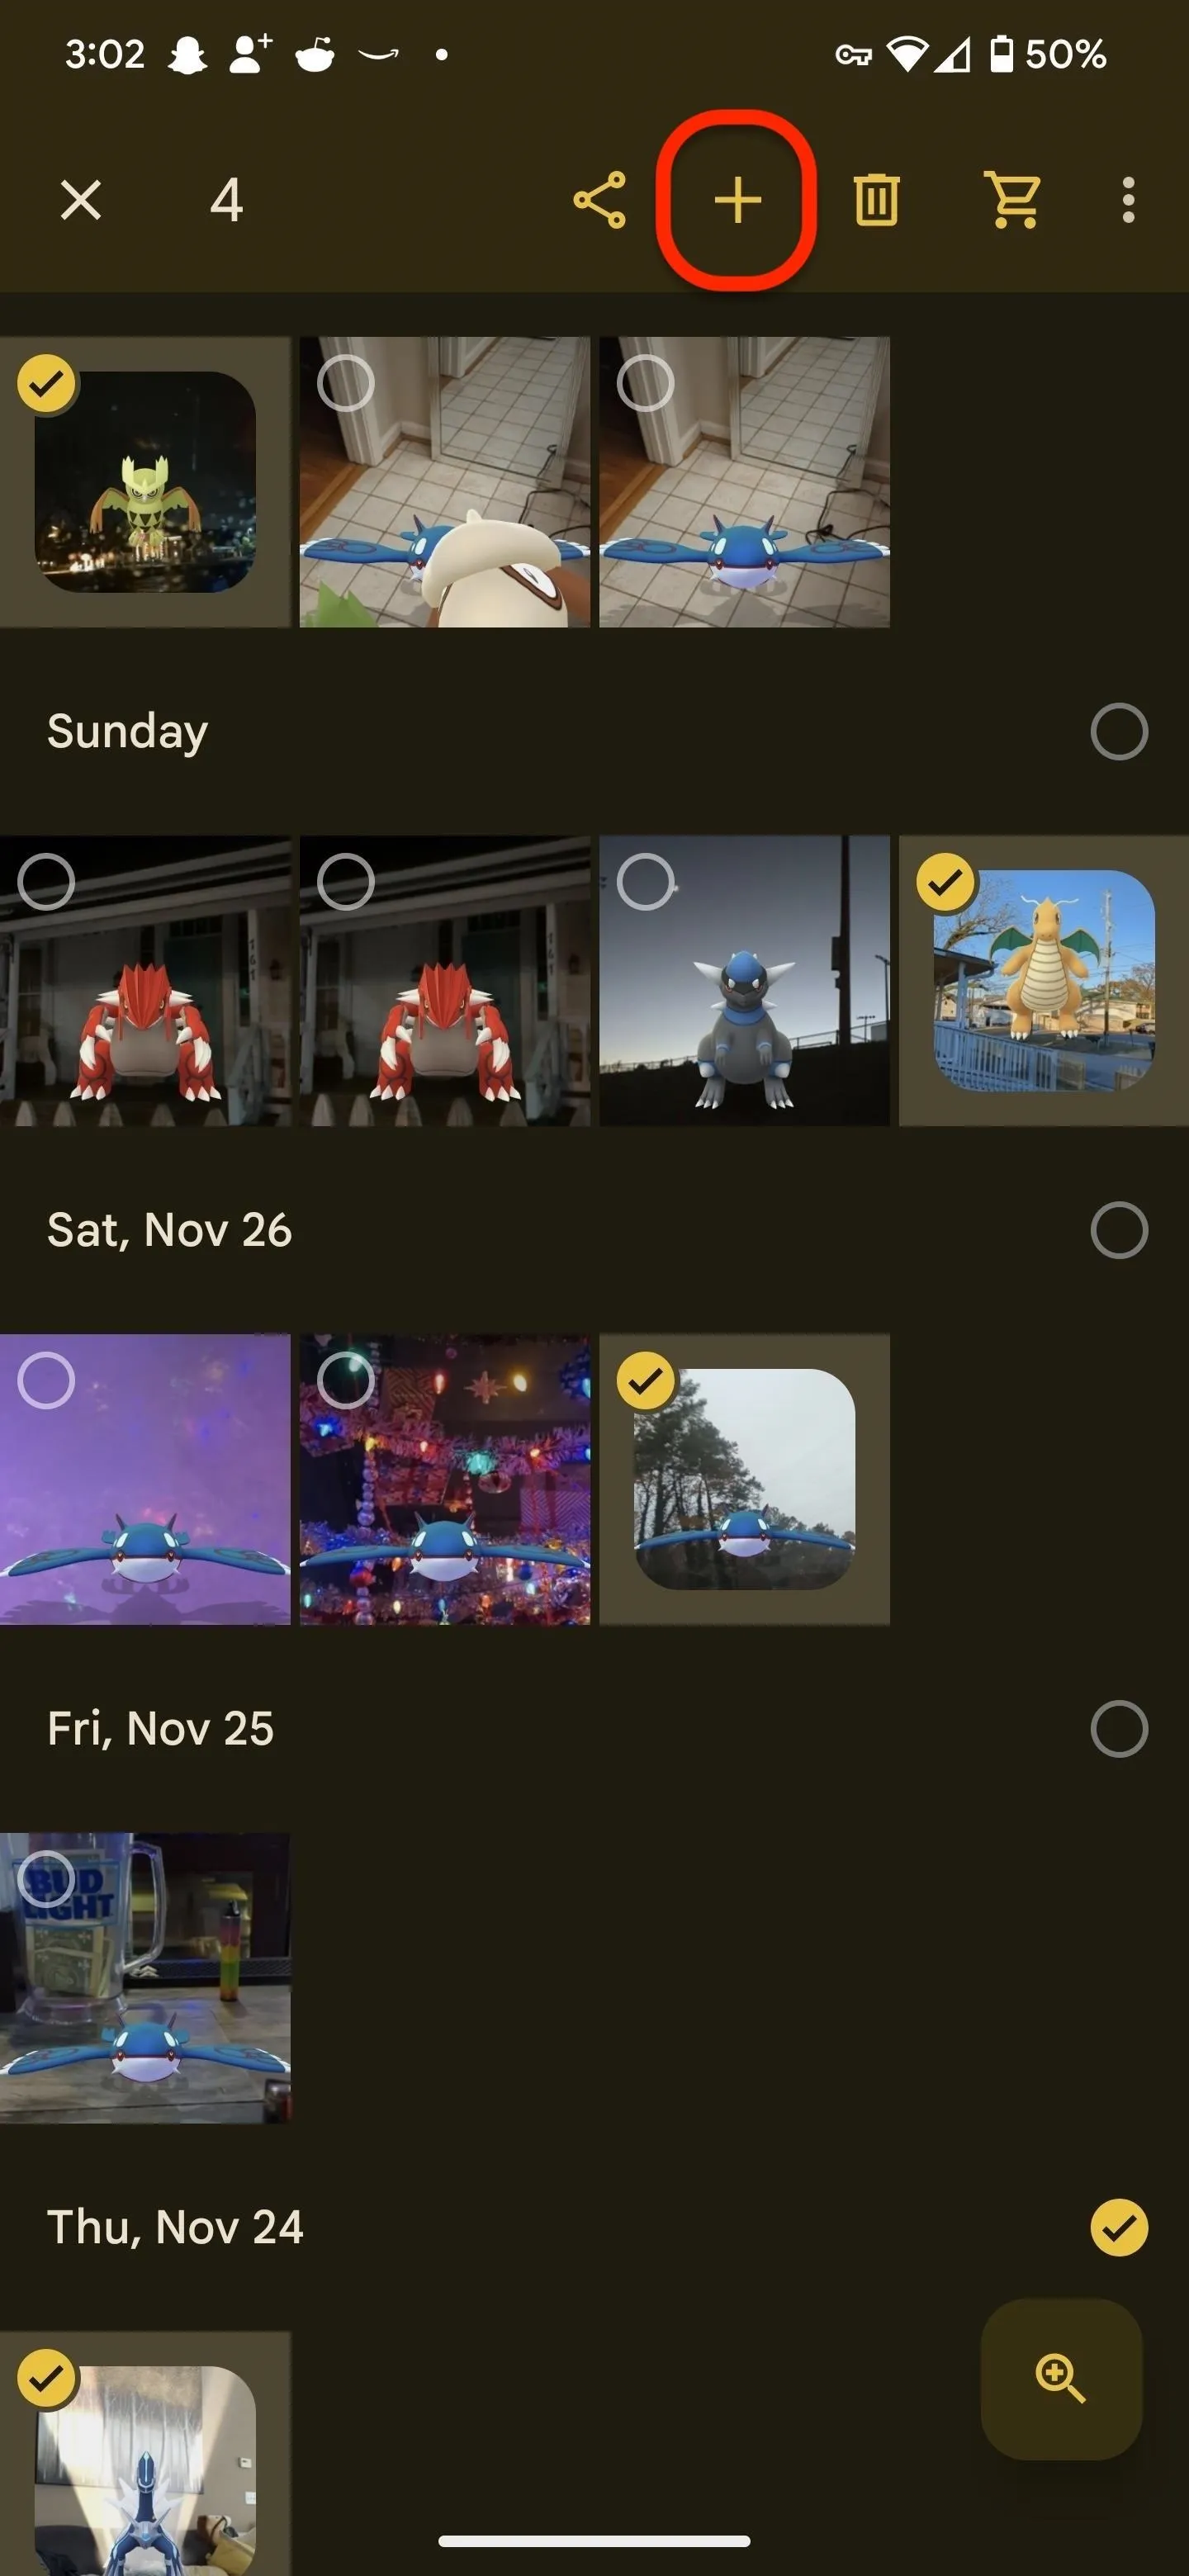
From the Photos tab, you can tap the check next to a date to select all content from that bucket. Then, you can tap photos in any period to add or remove them from your collage until you have no more than six. Alternatively, long-press an image to check it, then select the rest.
You can do the same on views sorted by date from the Search or Library tab. Additionally, you can tap the action overflow icon (the three dots) in the top right, then hit "Select" and start choosing content. You won't see the check next to a group of dates on album views since they aren't sorted in that way.
Add Them to a Collage Draft
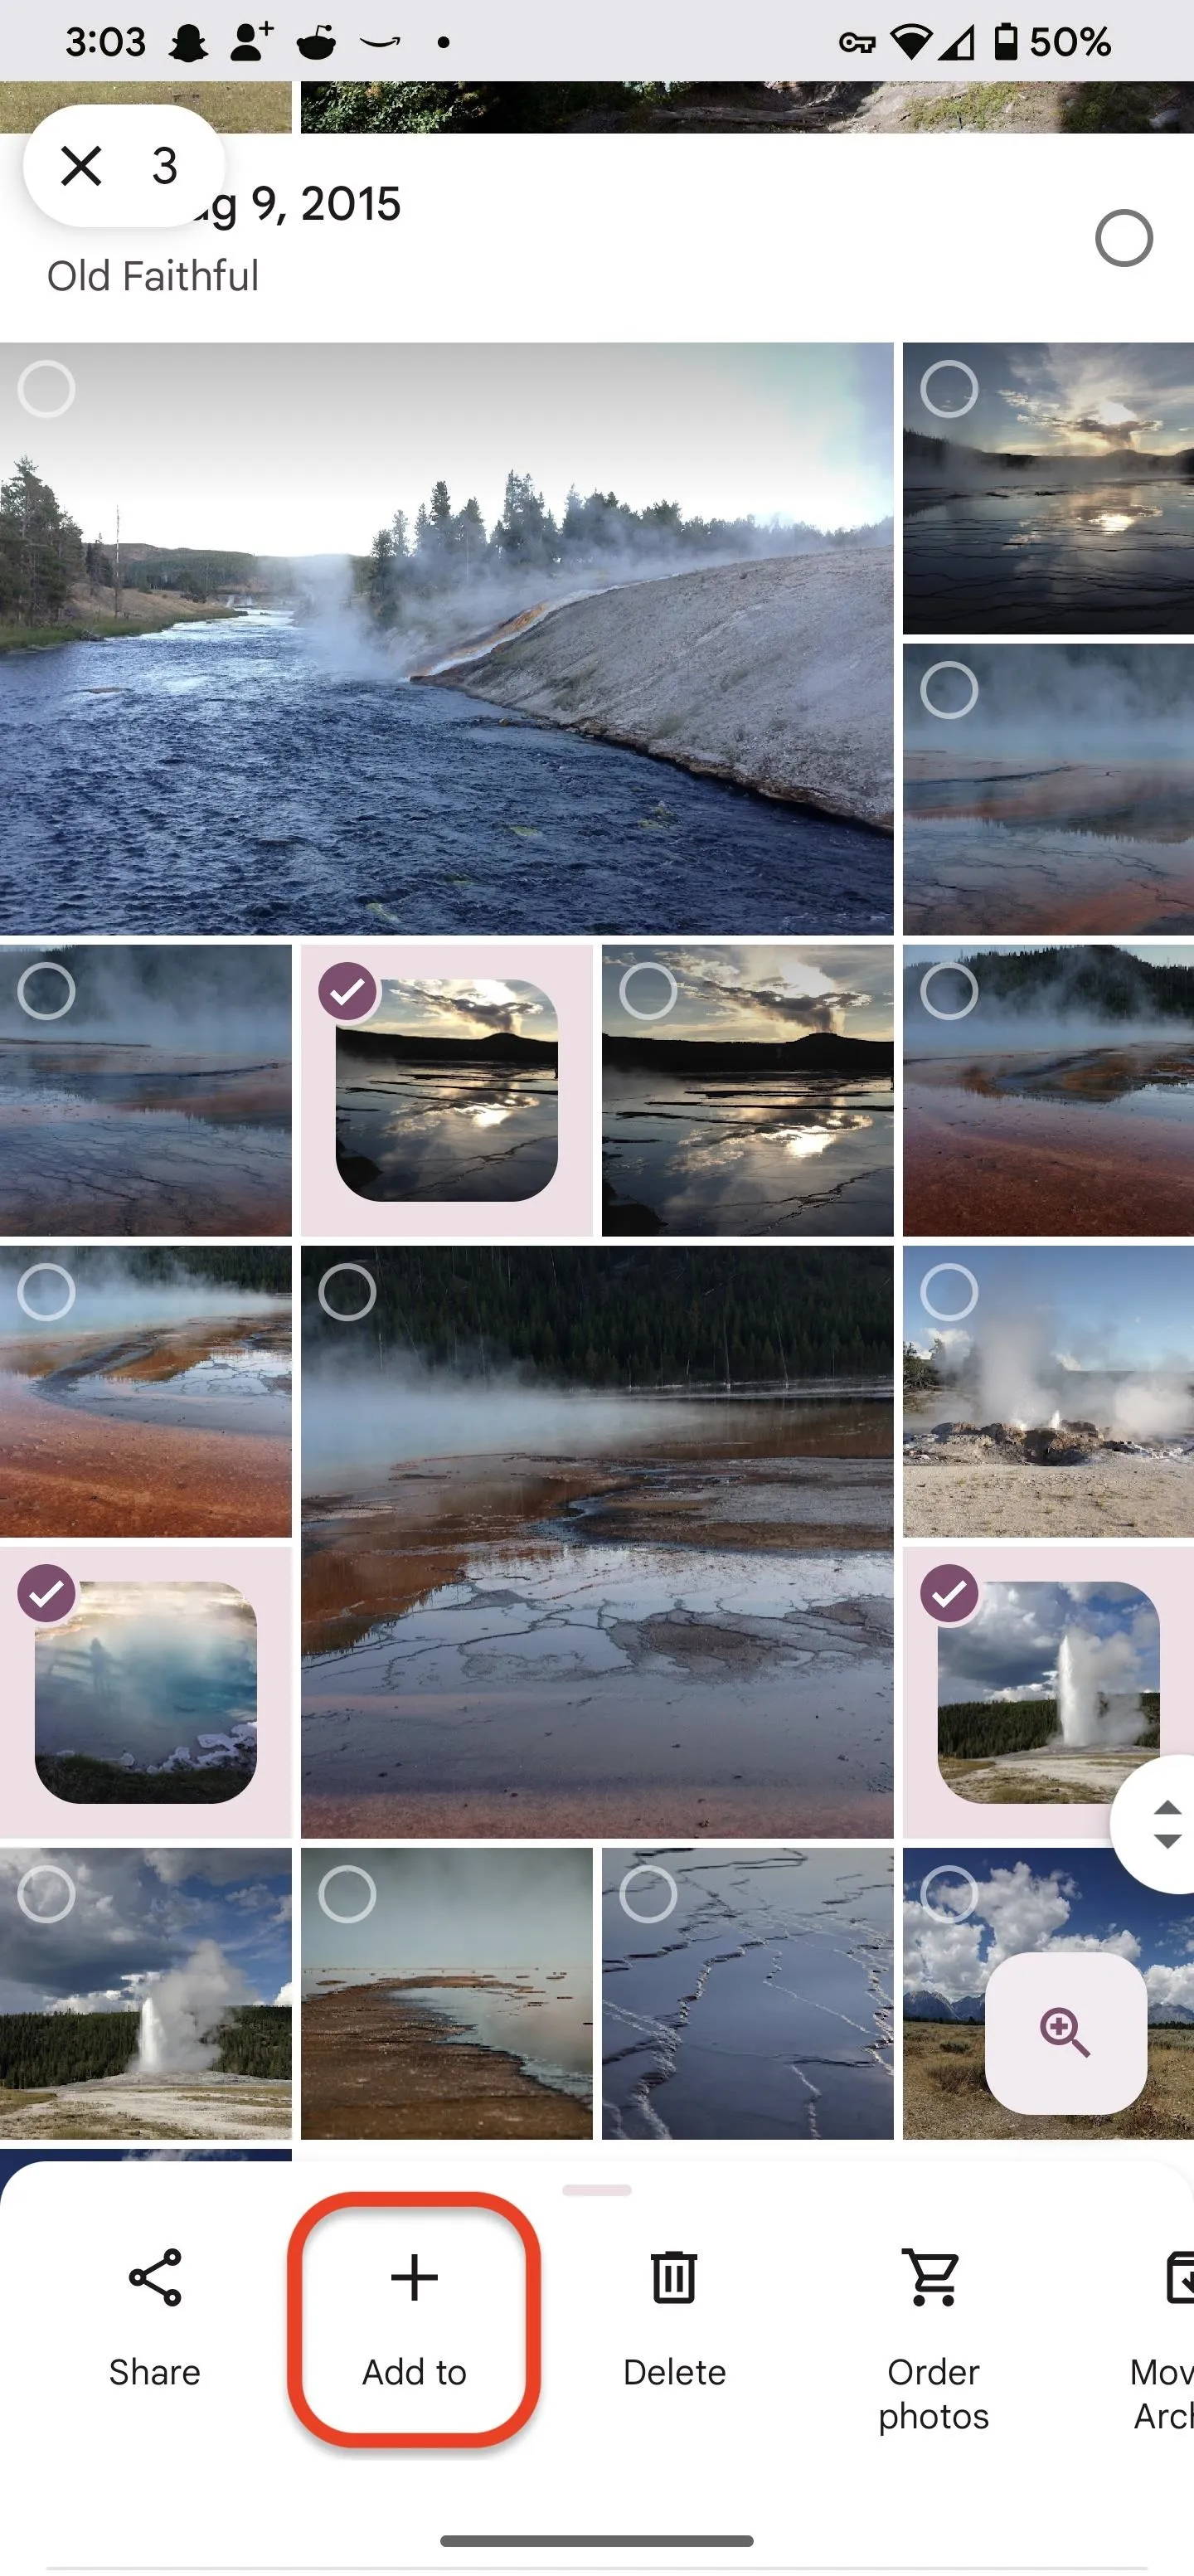
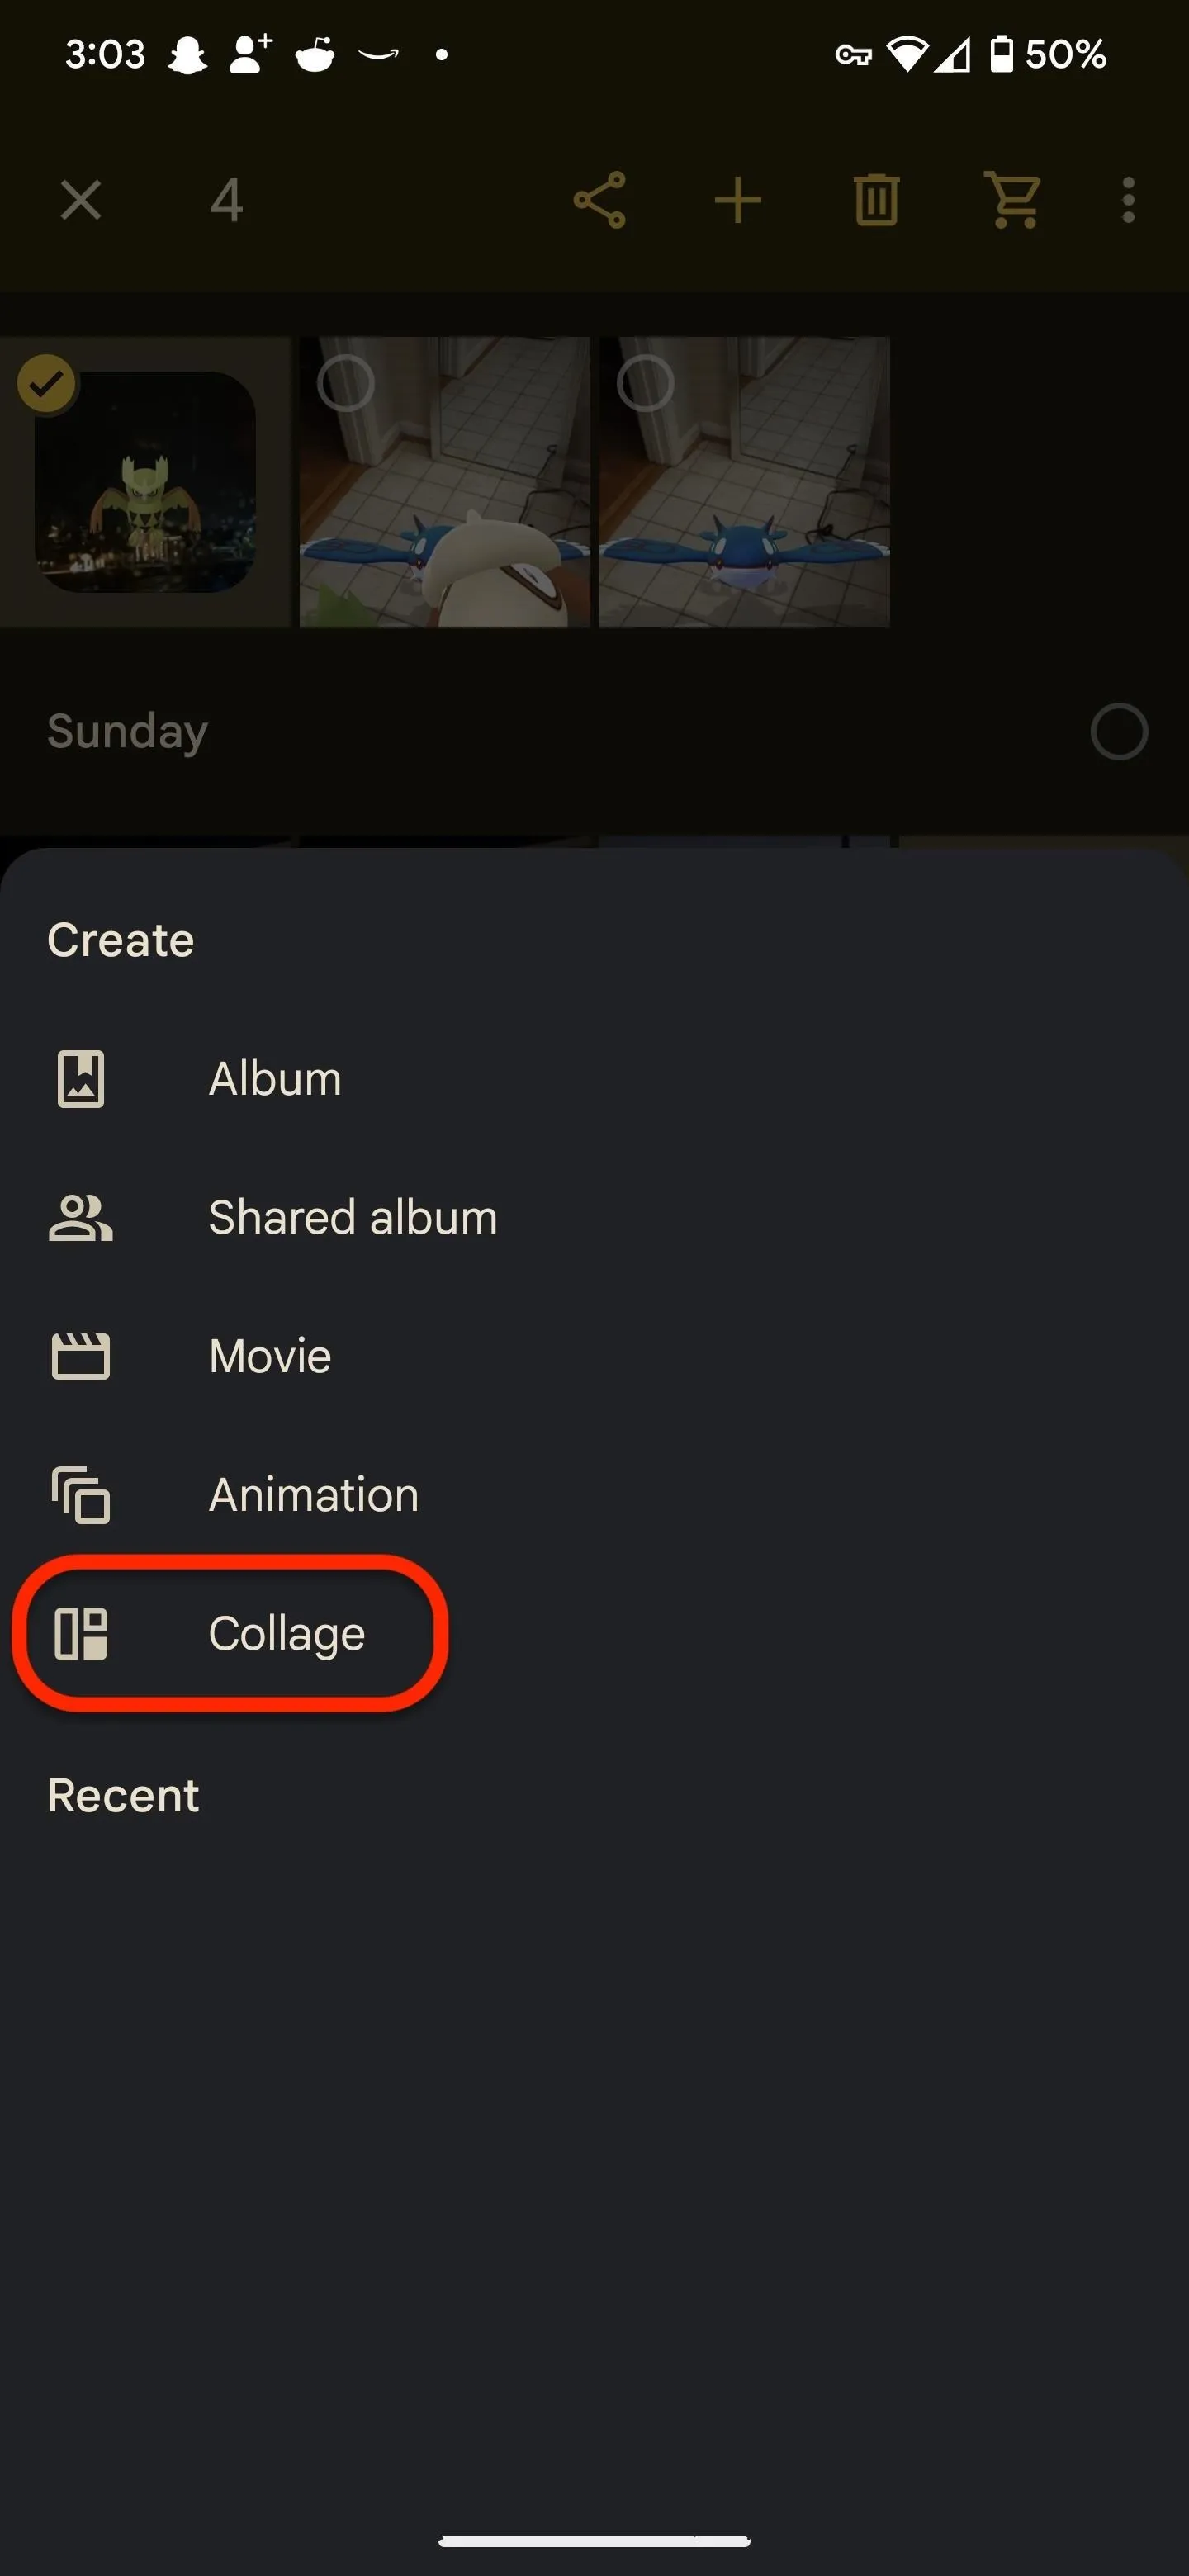
With two to six images selected, tap the "Add to" button, or the plus (+) button. From the Photos tab, you'll see "Add to" in the expandable toolbar at the bottom. From Search and Library, you'll see the plus in the top toolbar.
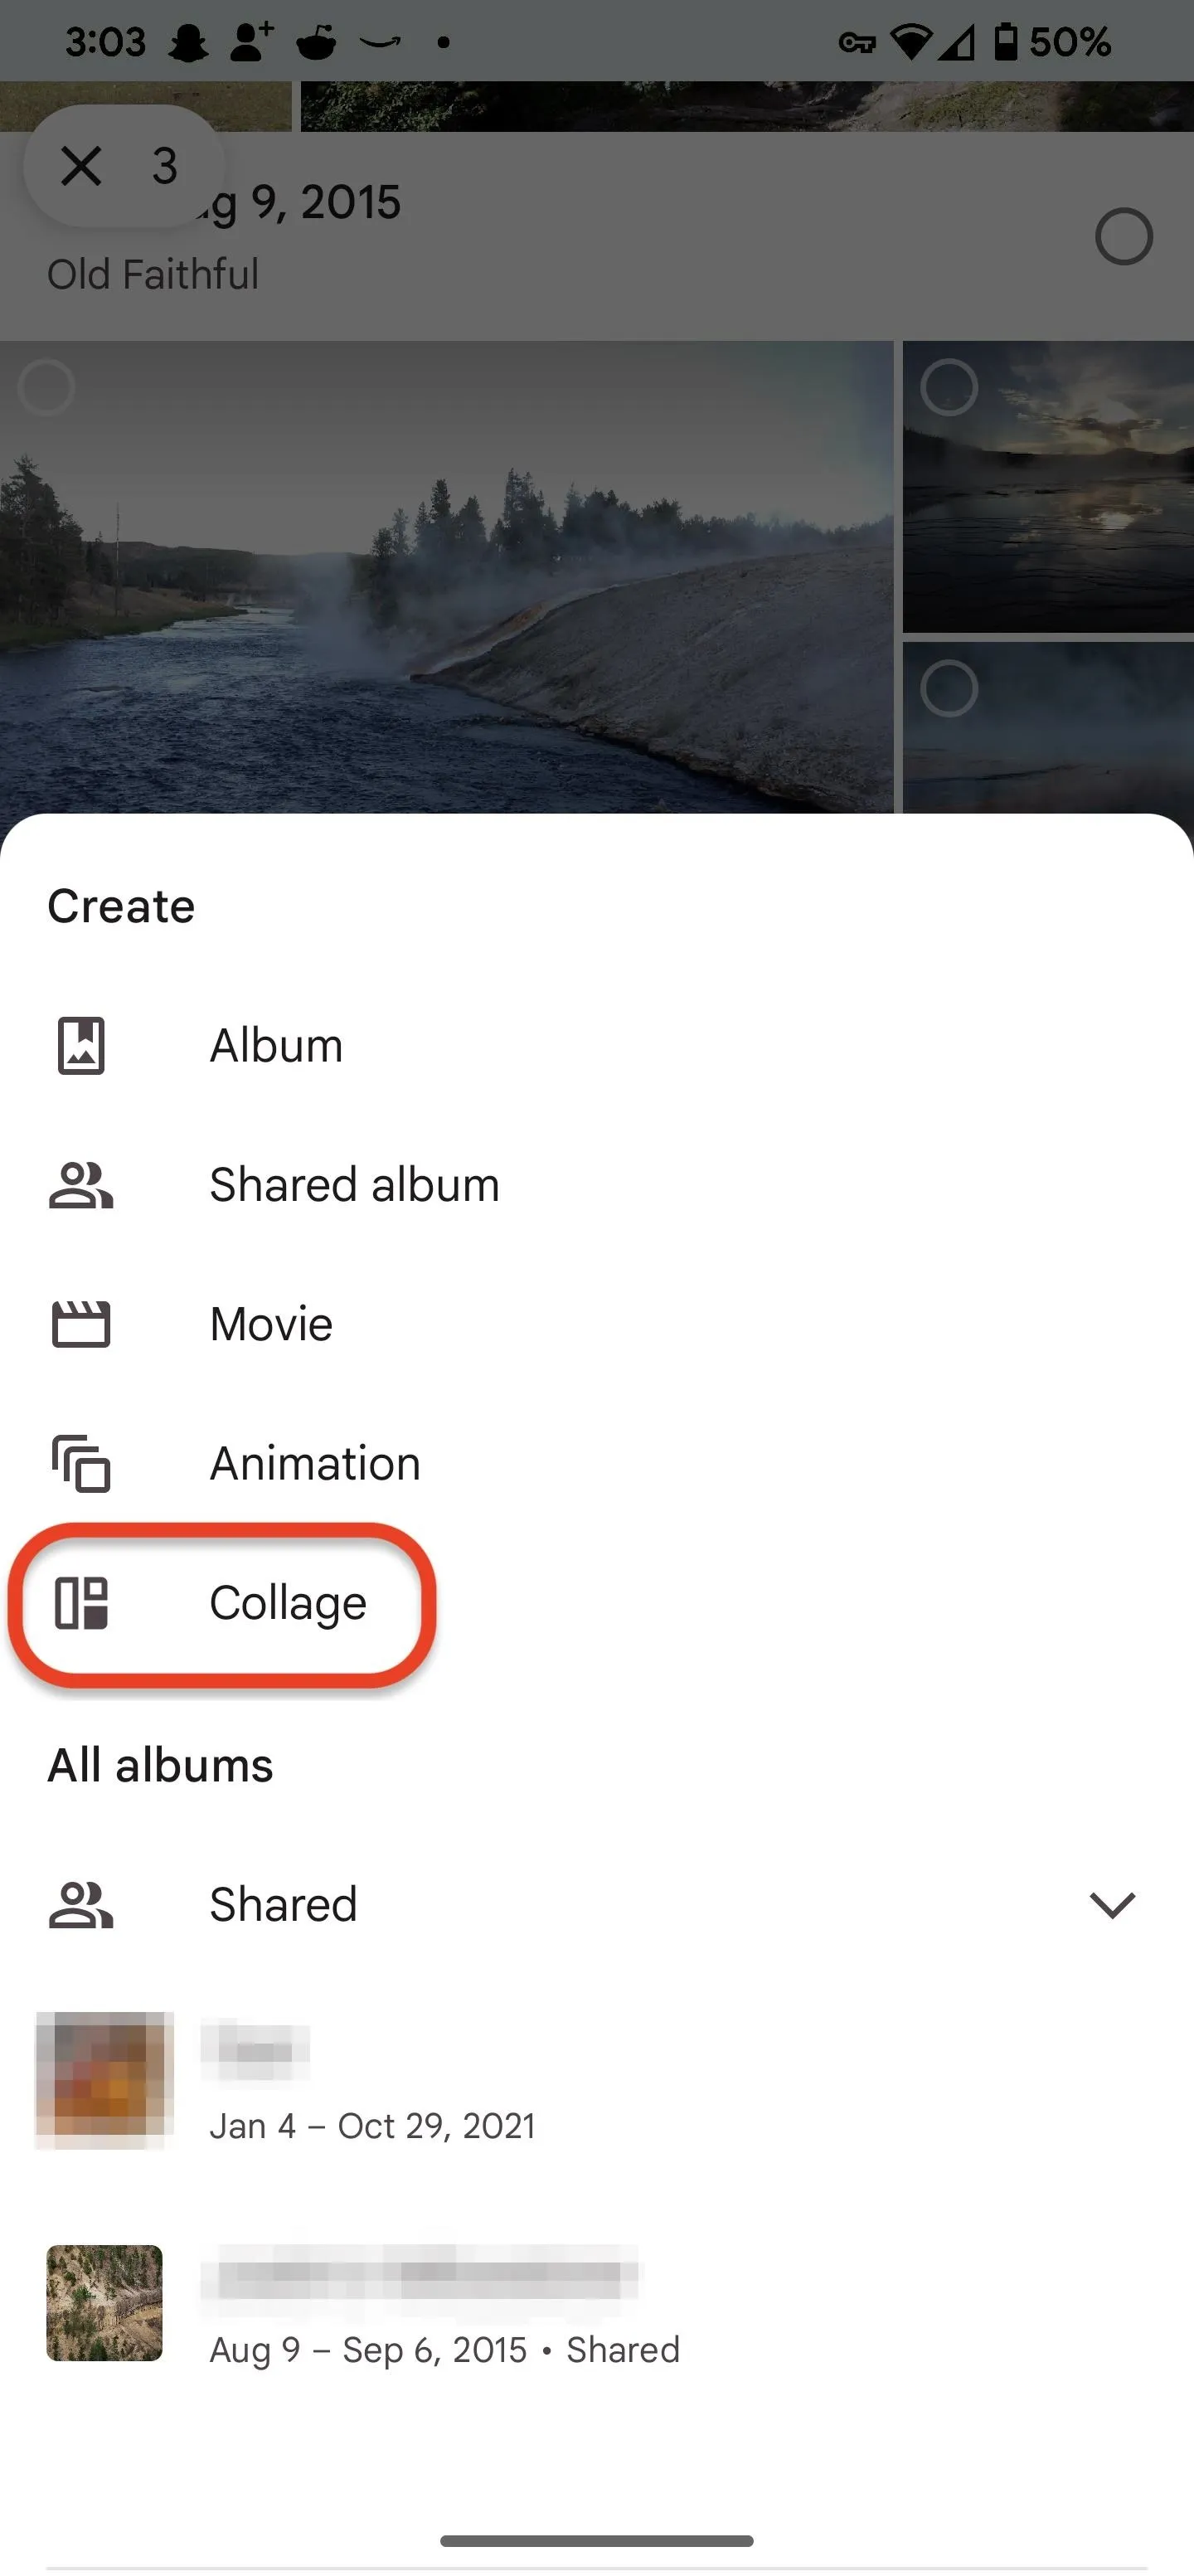
Then, choose "Collage" from the actions.
Customize Your Collage
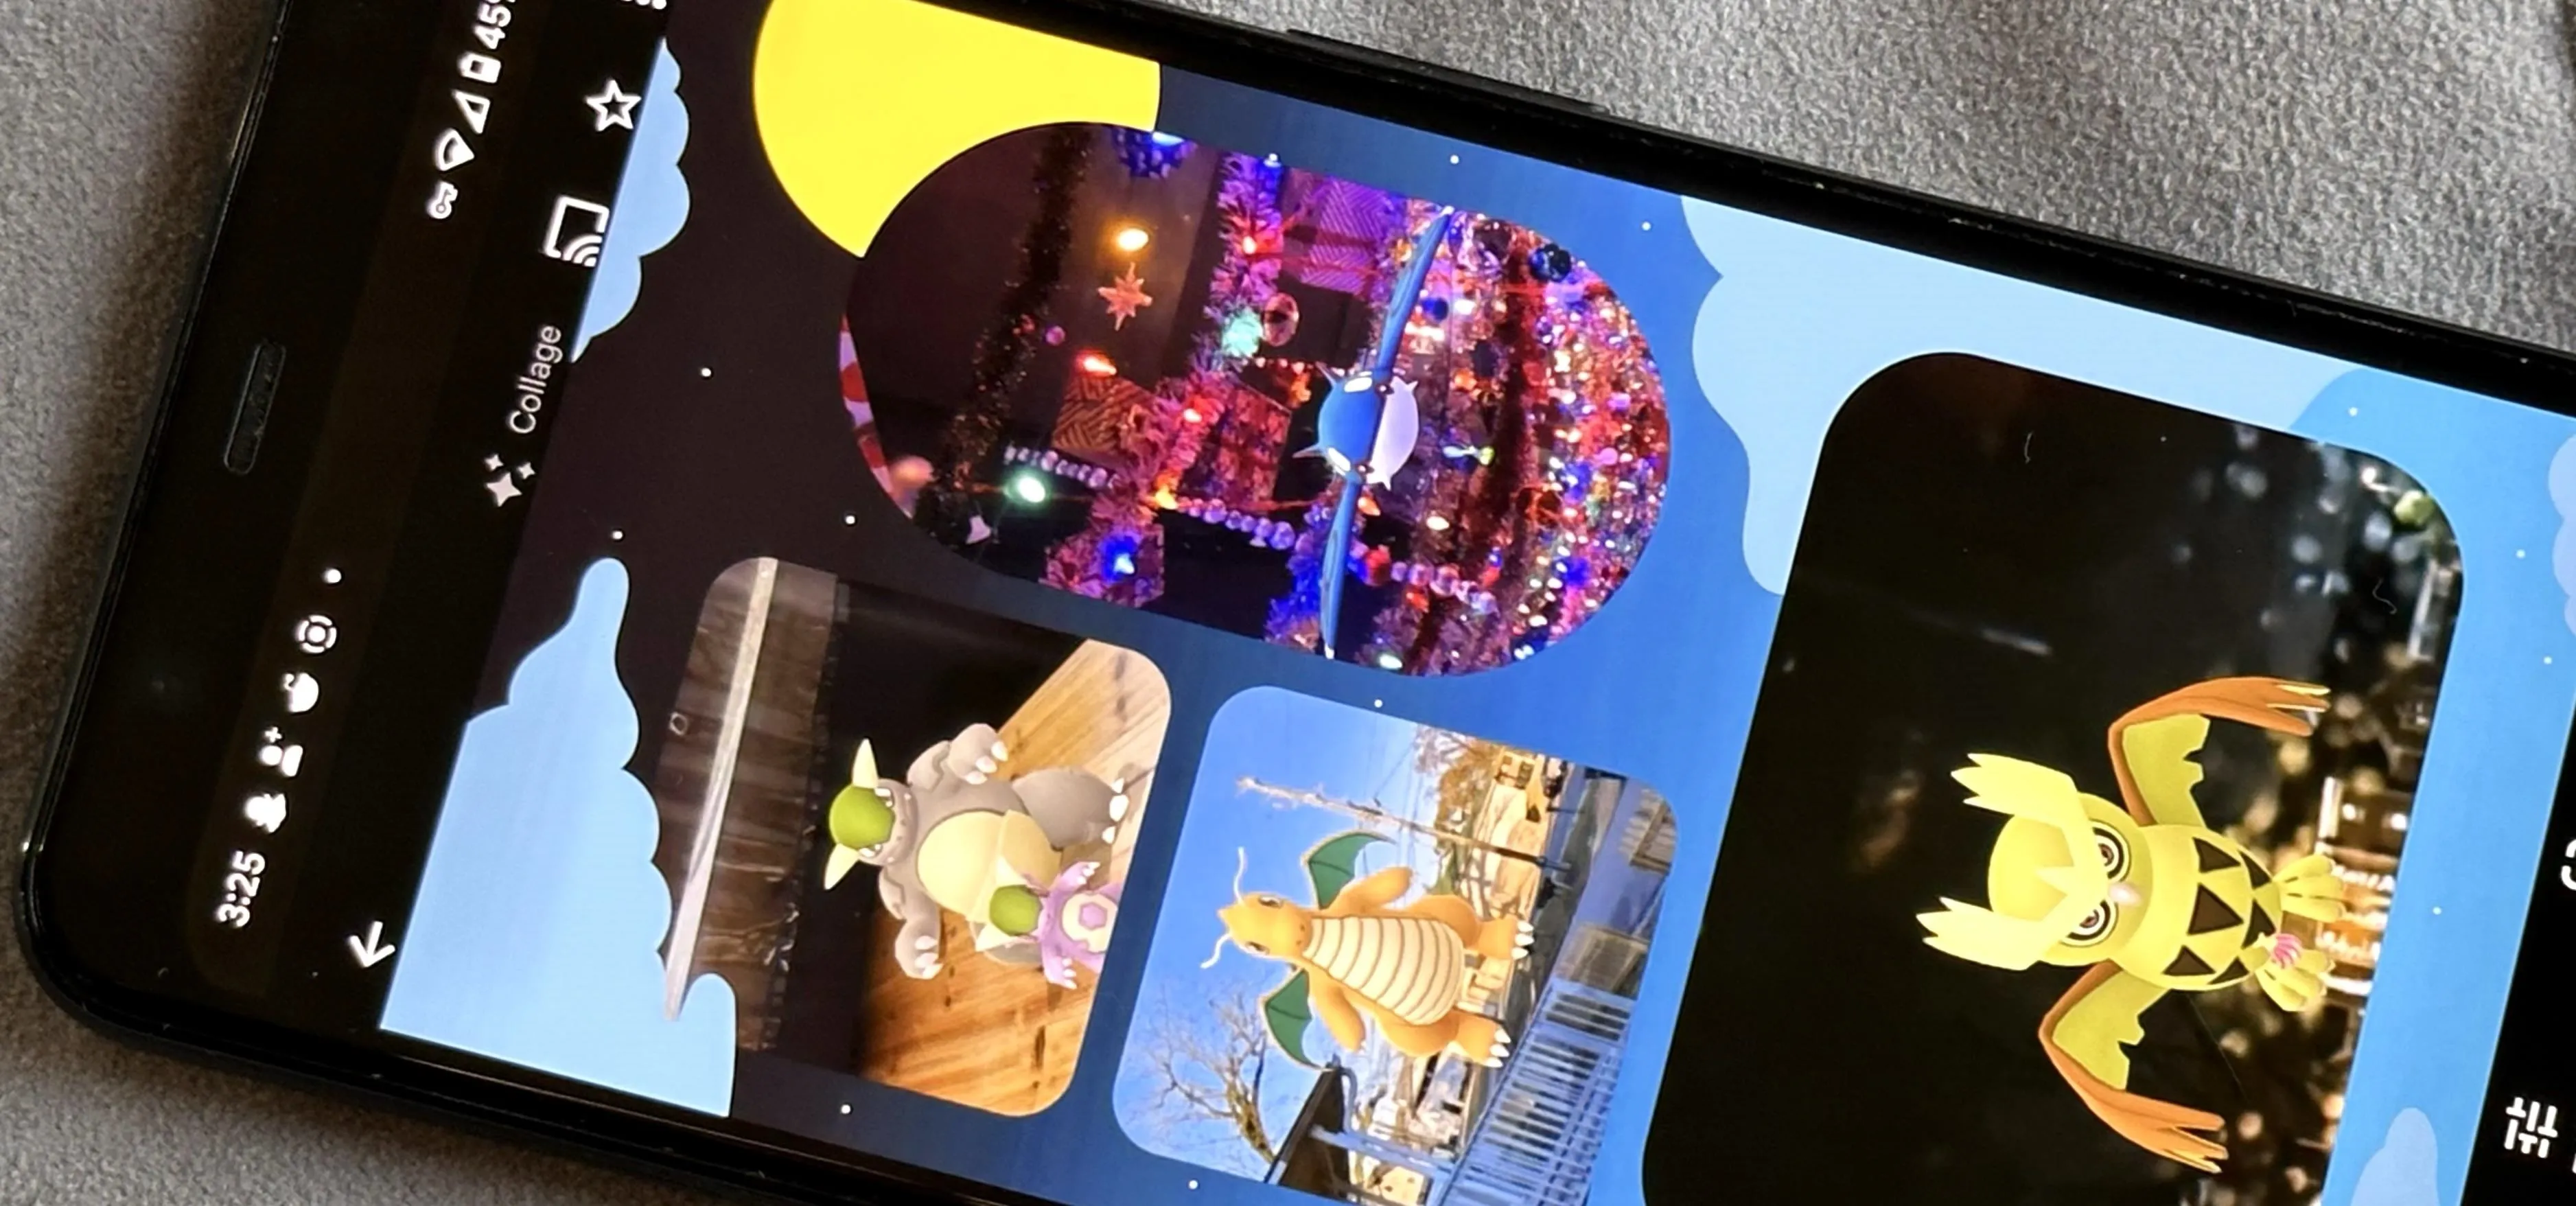
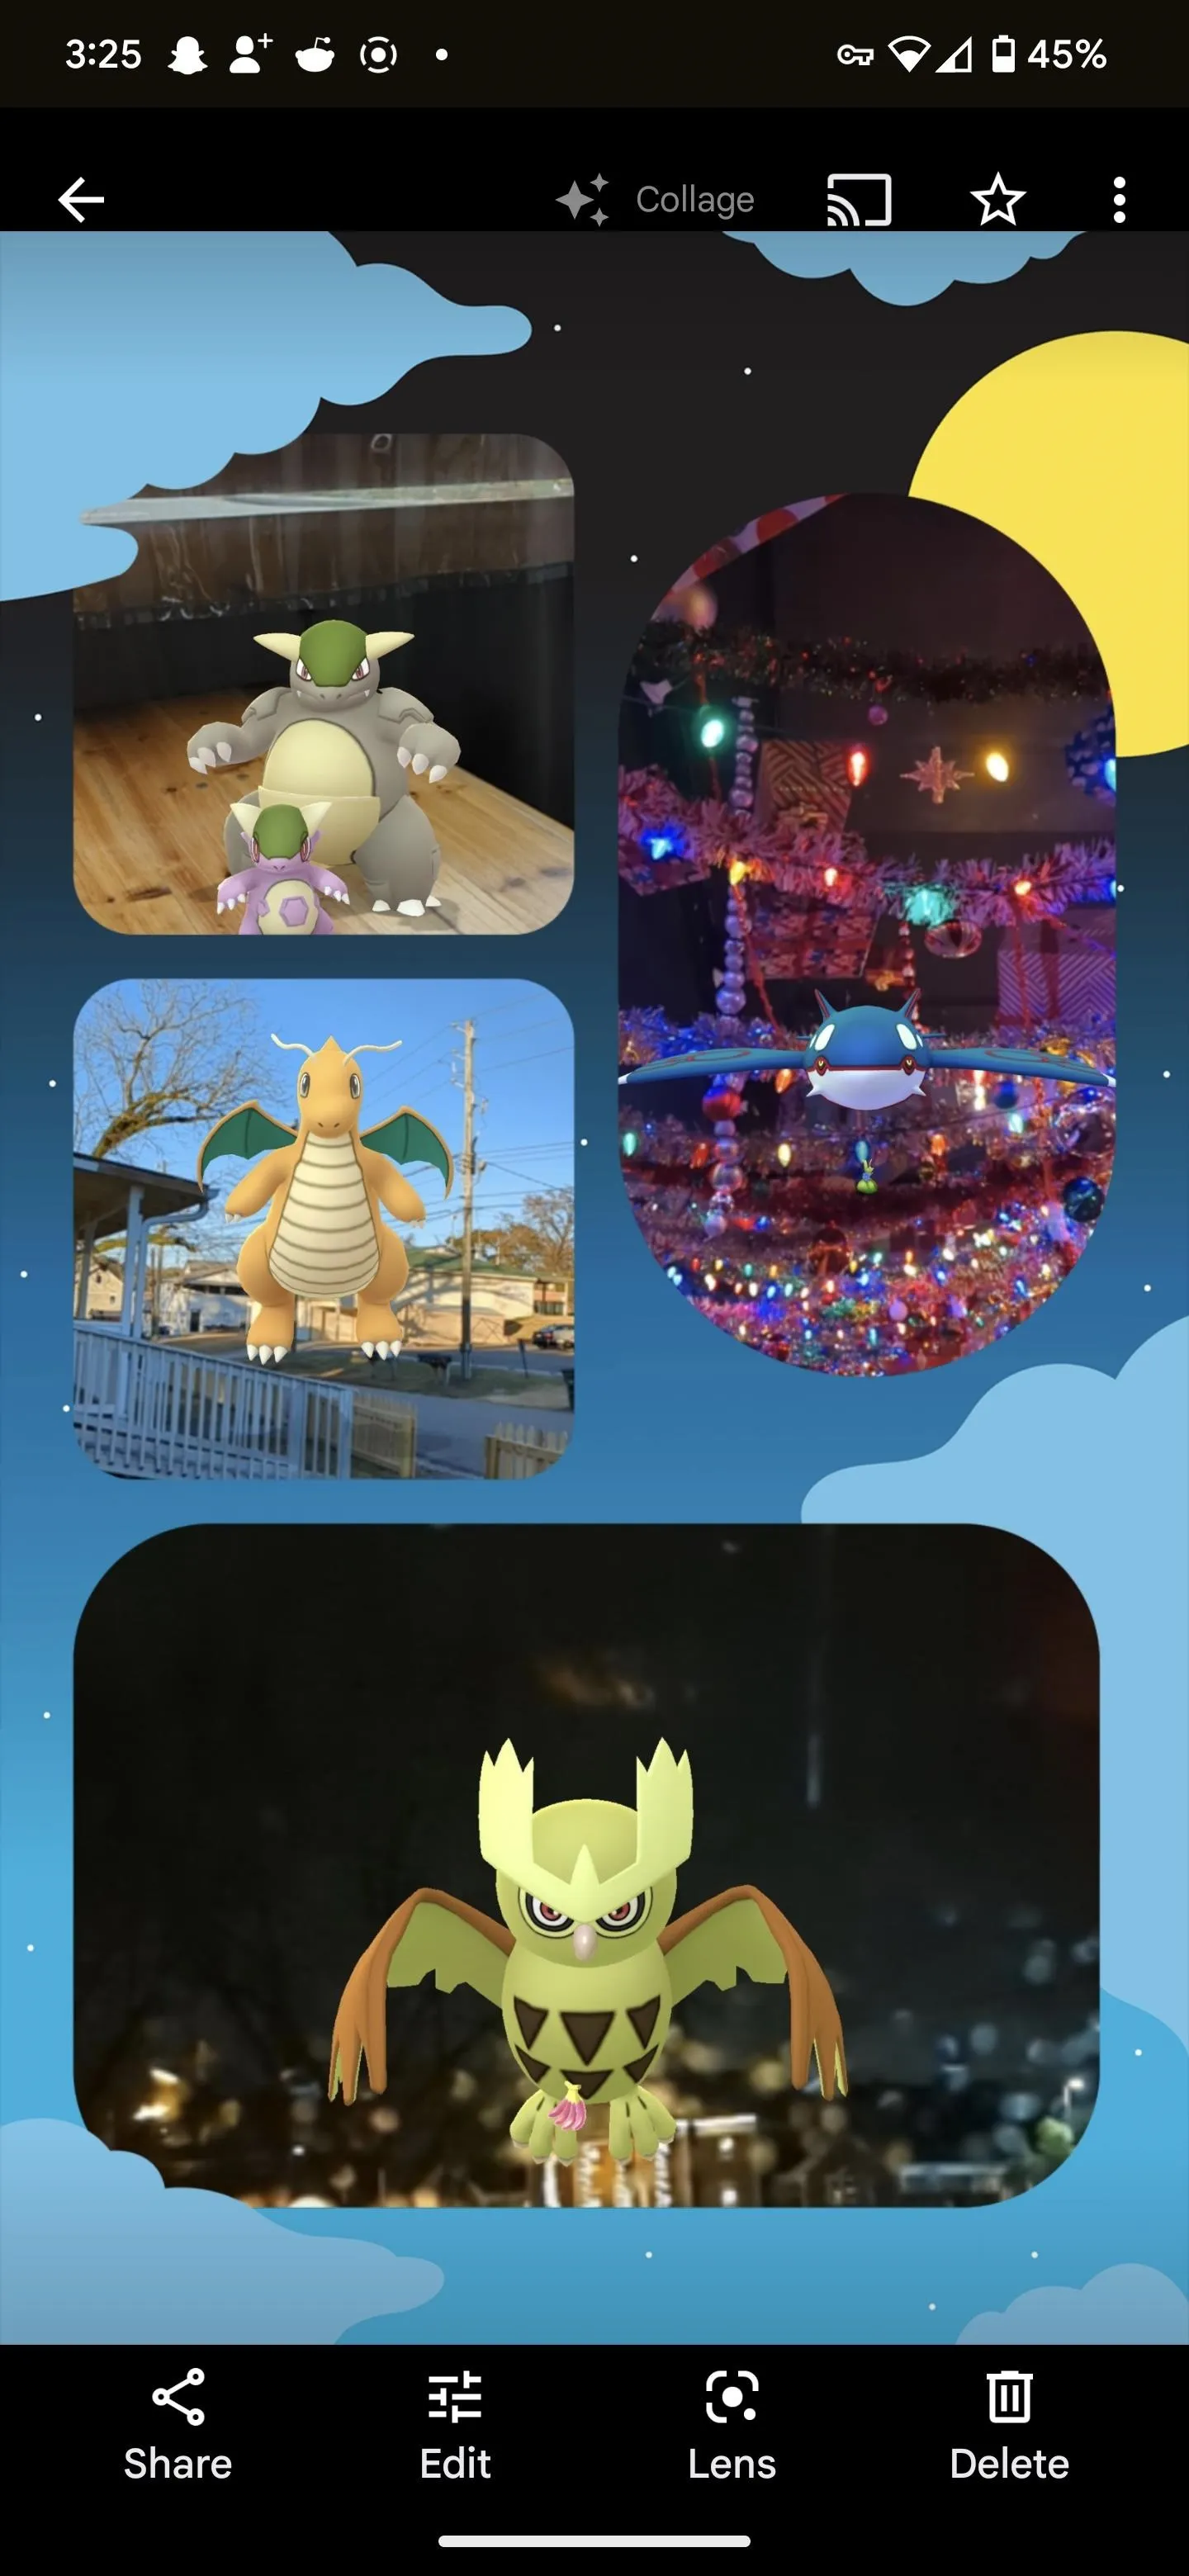
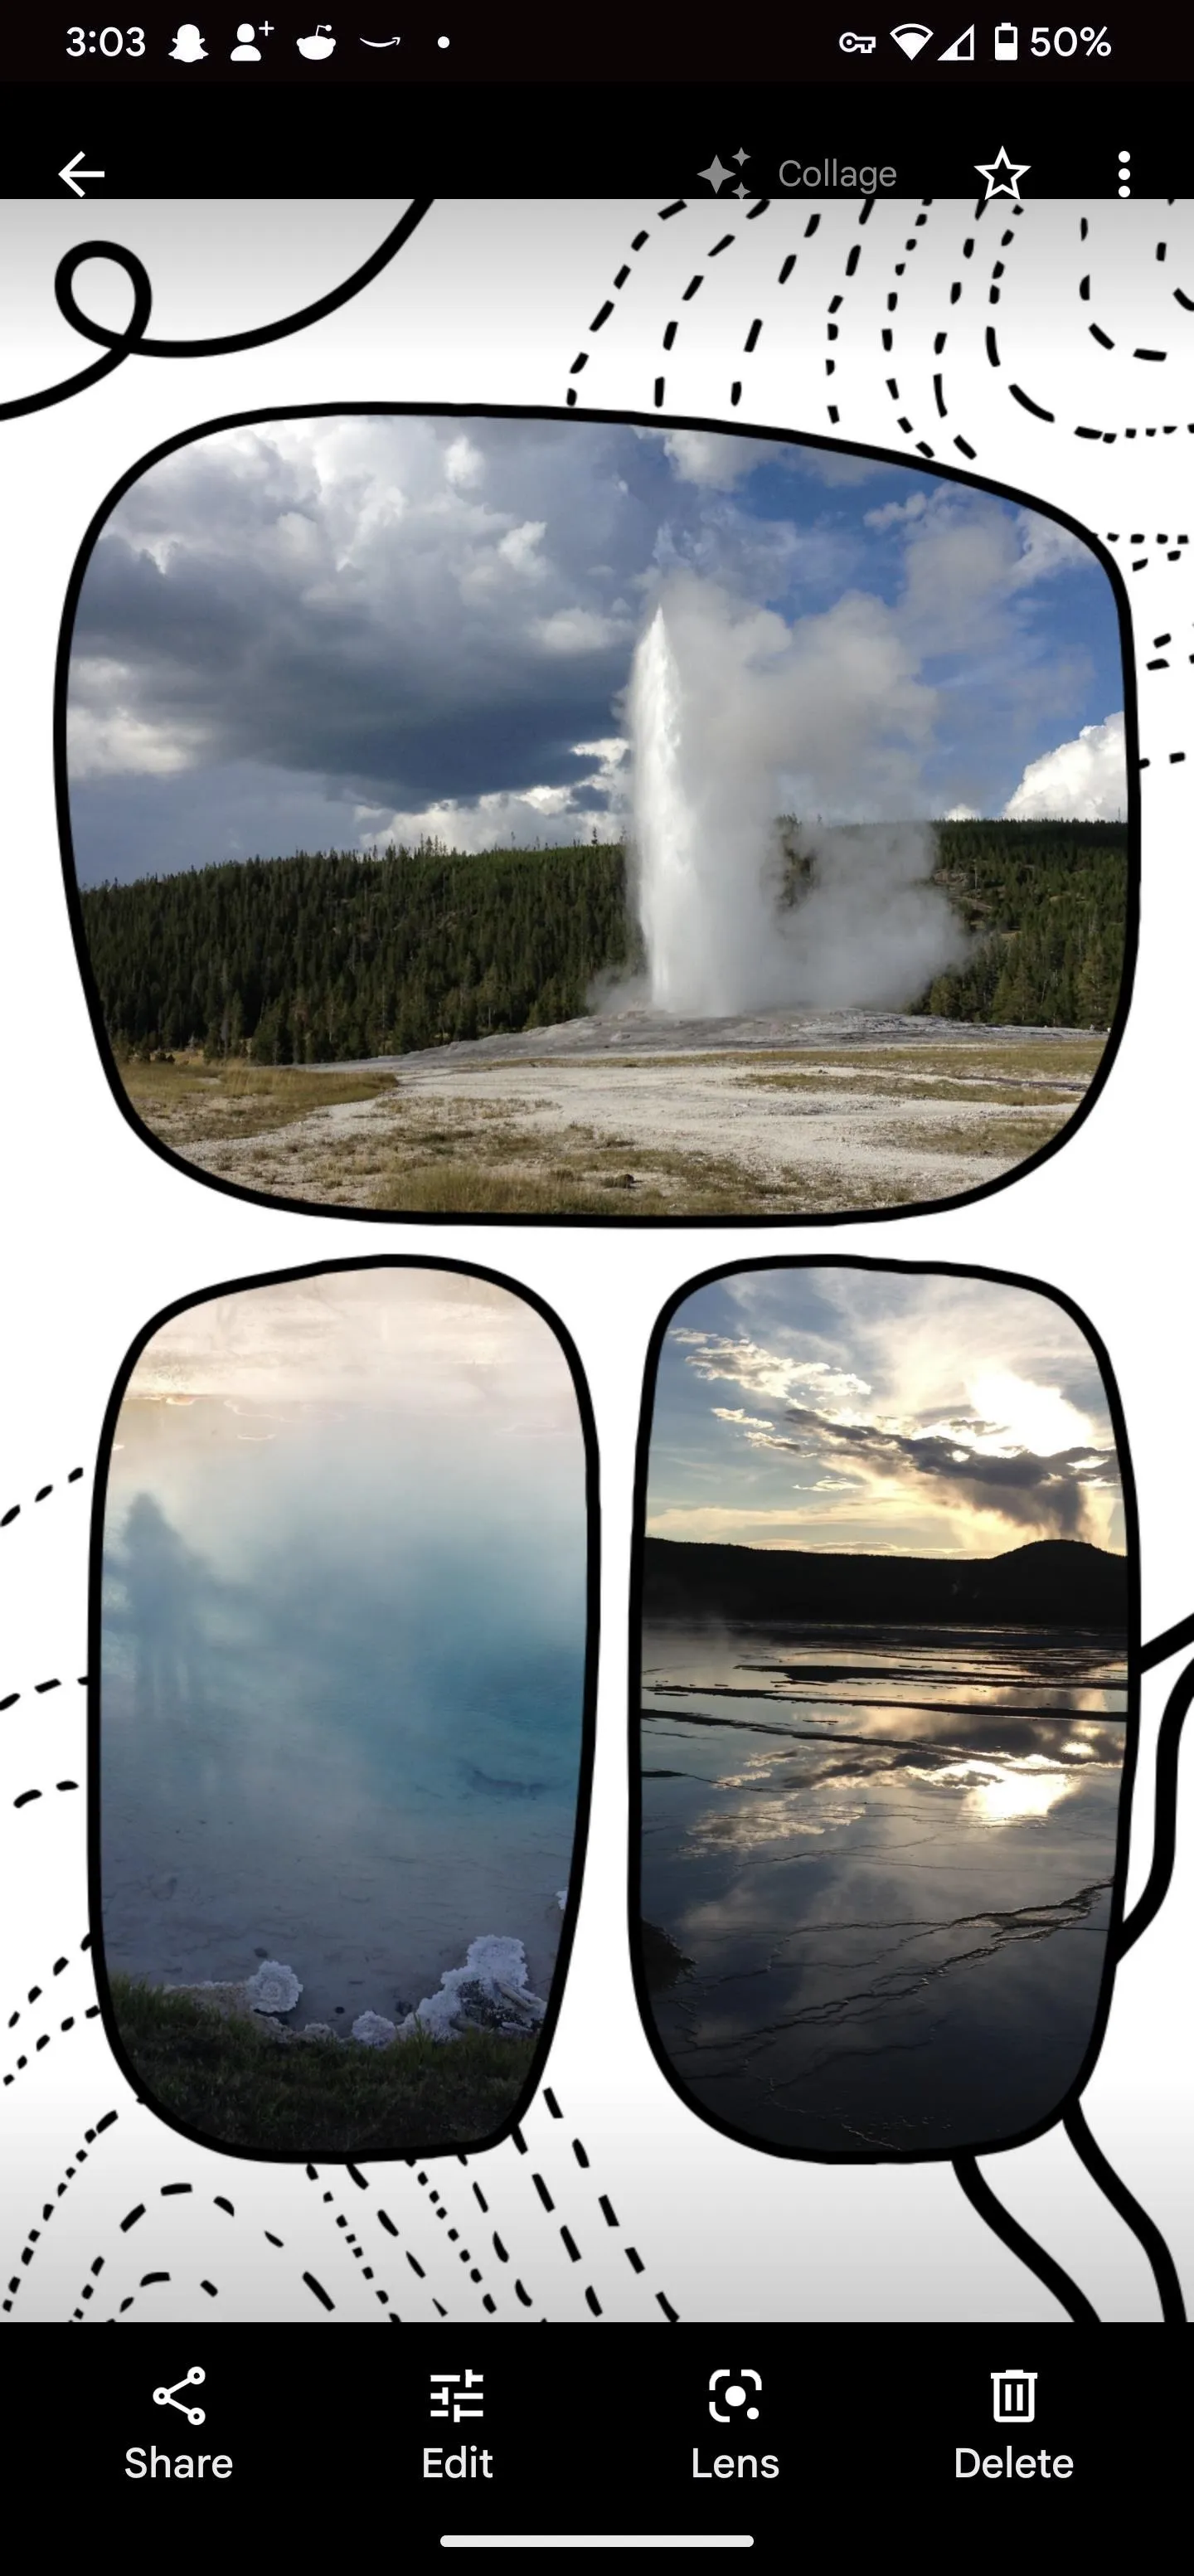
The app will load your chosen photos into a basic collage design. Below is a carousel of templates to choose from. Scroll until you find something you like. You'll see standard Google options, along with styles created by well-known artists.
If you're a Google One subscriber or Google Pixel user, there are no restrictions on choosing styles. Otherwise, you'll be locked out of more than 30 additional designs unless you pay for a Google One membership, starting at $1.99 per month.
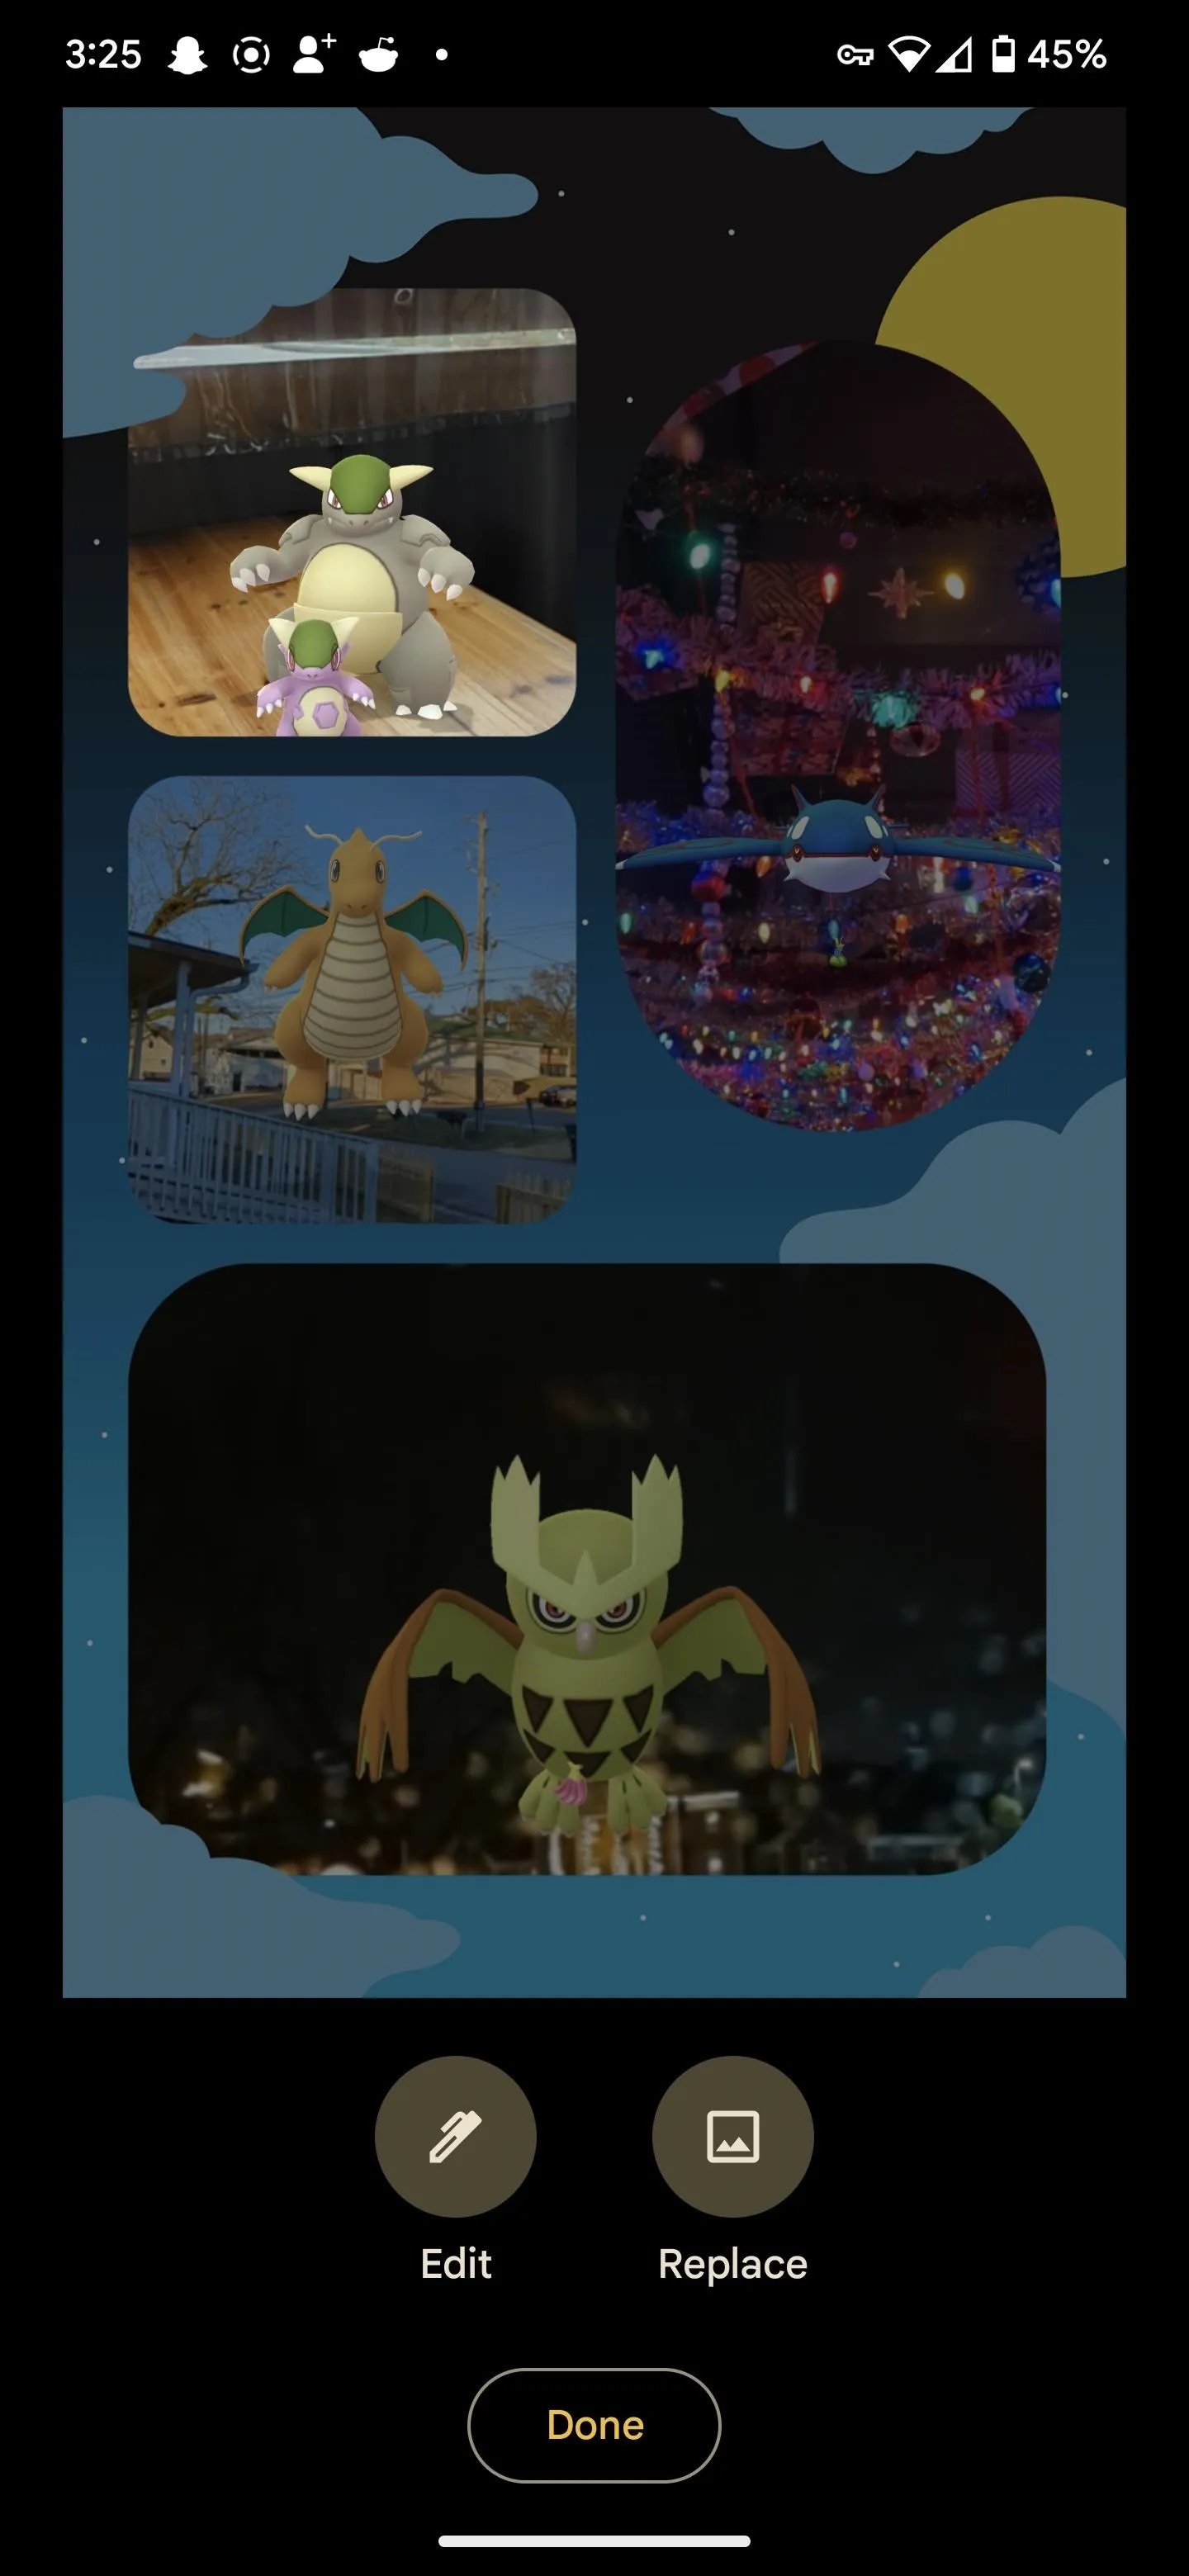
After you select a style, you can rearrange the images in the layout by dragging and dropping them into the place you want. You can also adjust the position within each frame by swiping the photo in any direction if there is room for it to move. Pinching to zoom and rotate also works.
If you're unhappy with your original selection, you can tap an image to edit or replace it. According to Google, "Google One members and Pixel users can also use additional editing features like Portrait Light or HDR within their collages."
Save and Share
Once you're done editing your collage, tap "Save" to add the collage to your library. You can then share it as you would any other photo.
Cover photo, screenshots, and GIFs by Tommy Palladino/Gadget Hacks


Comments
Be the first, drop a comment!