


Google Meet might not have virtual backgrounds like Zoom, but it hits all of the other basics, from hosting many multiples of video participants to sharing your screen, that you'd expect from a robust video conferencing platform.
However, one of those essential features, sharing attachments with your audience, is not as obvious. The reason why, ironically, lies in one of Meet's biggest strengths: its deep integration with other Google apps. But once you know how Google's services feed into each other, it's actually pretty easy to attach any file type to Meet.
Install Google Meet
If you're planning to join your video conference via desktop, all you need to do is navigate to the web app and log in with your Google credentials.
Technically, you can use Google Meet via mobile web browsers, but certain features, such as screen sharing, aren't supported. Long story short, install the app from your phone's respective app store.
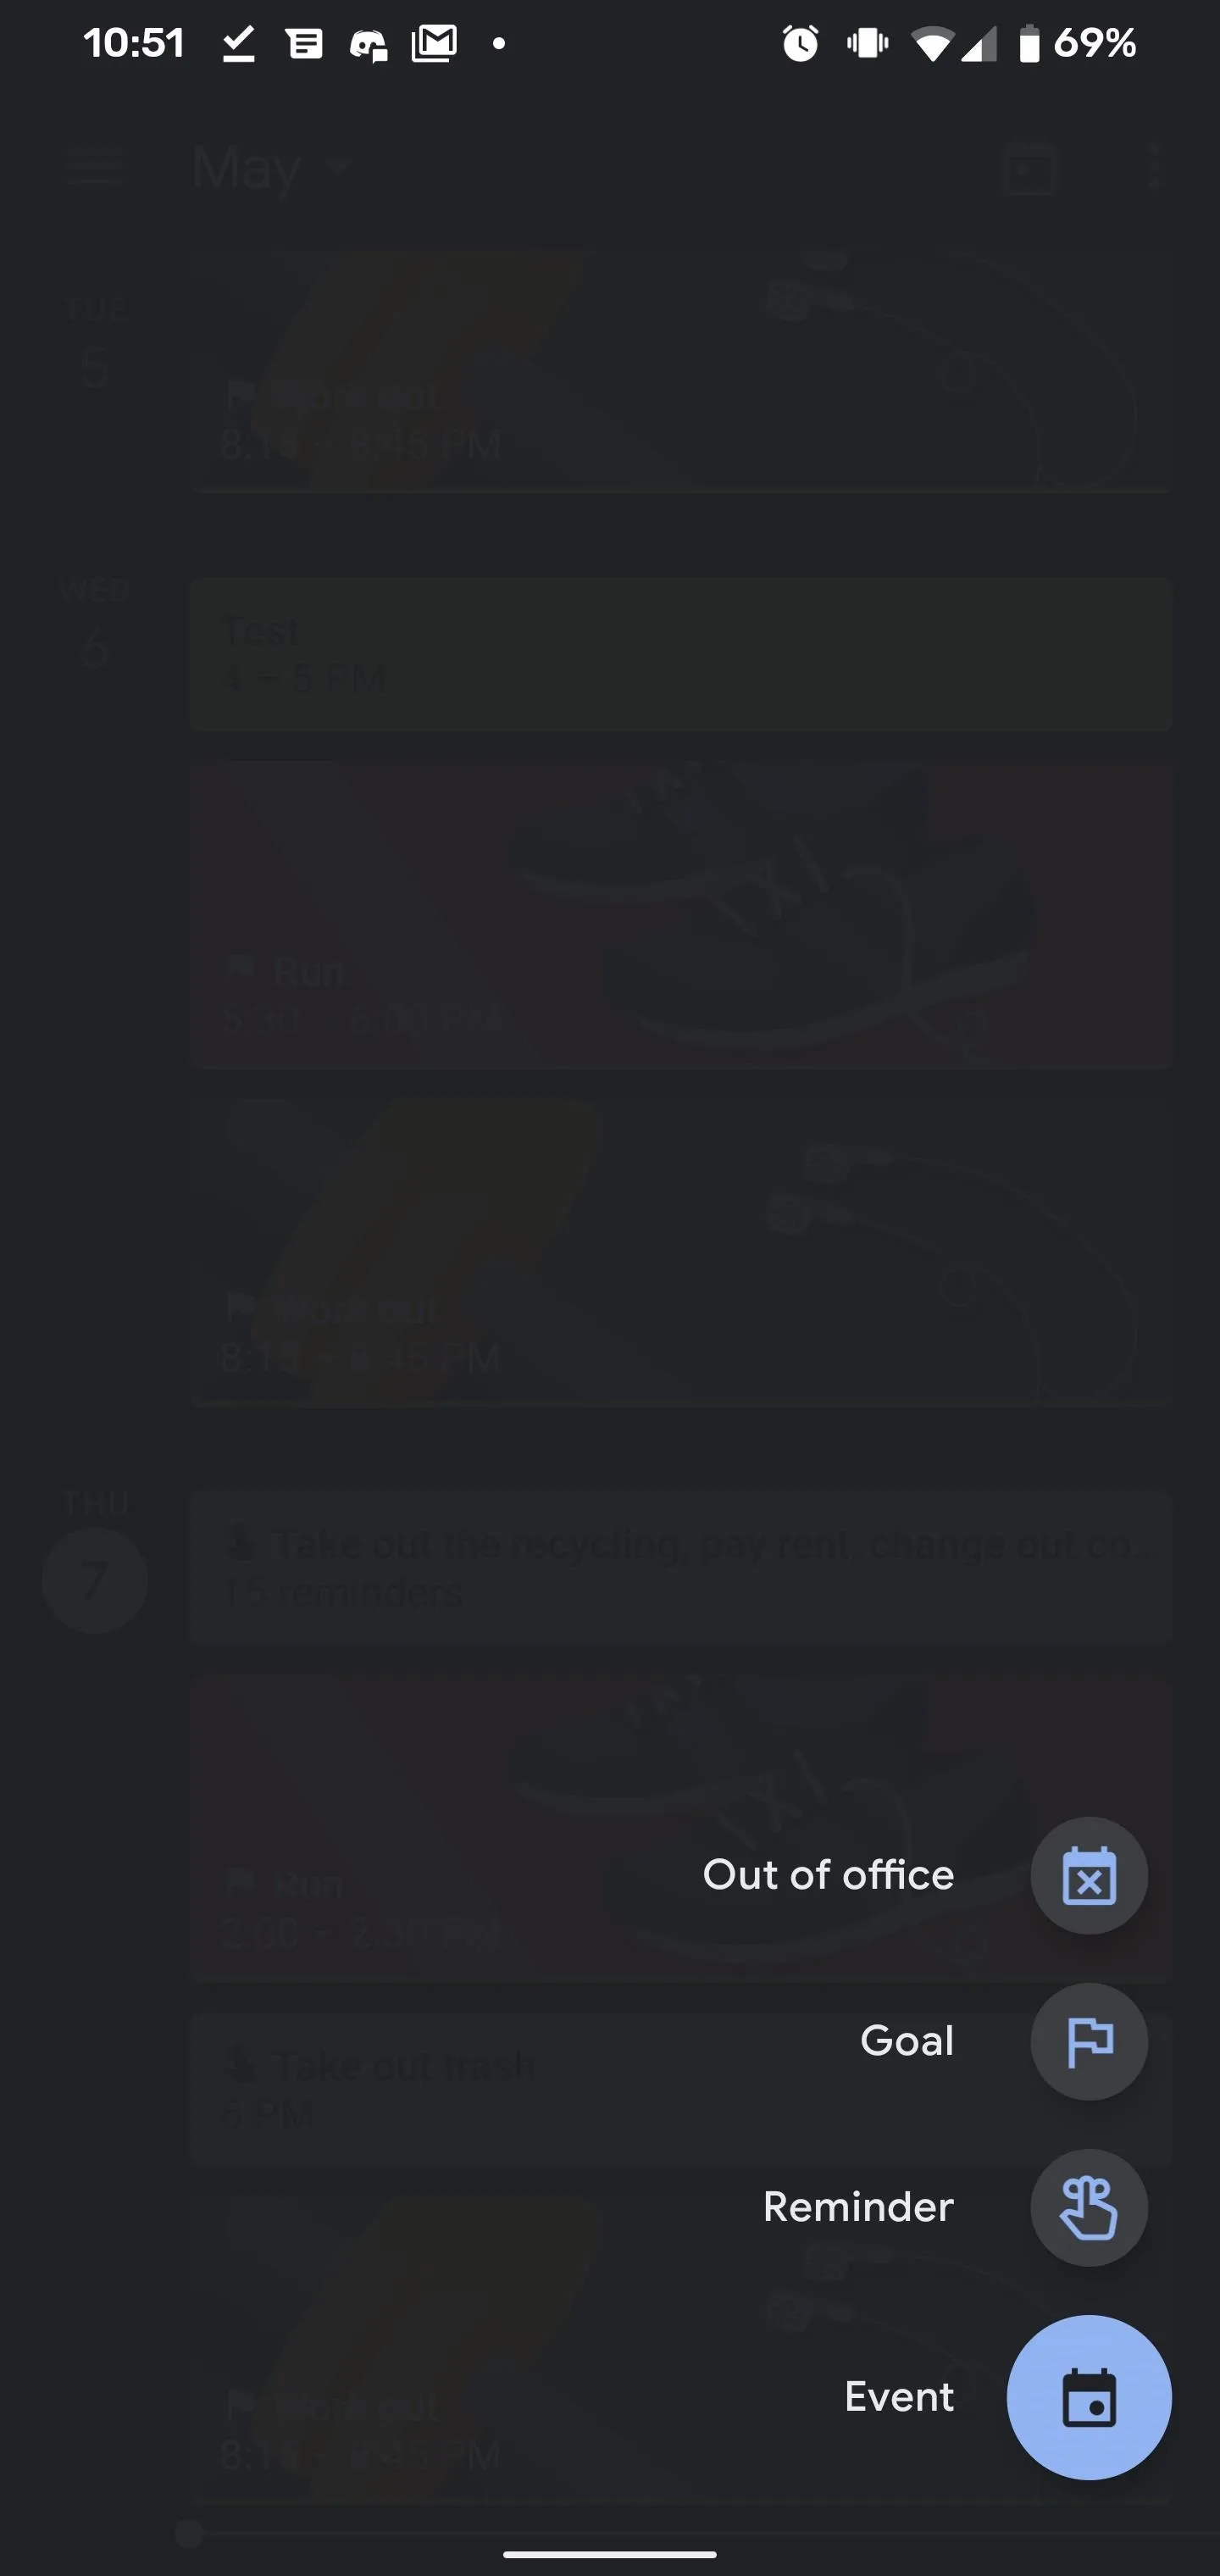
Schedule an Event in Google Calendar
Google Meet requires a Google account to participate. This same account gives you access to Google Calendar, which makes it easy to schedule a Google Meet video conference. So, install it if you haven't already.
When starting a new calendar event, scroll down to the Add Video Conferencing field. Tap it, and Google Calendar automatically generates a Google Meet link.
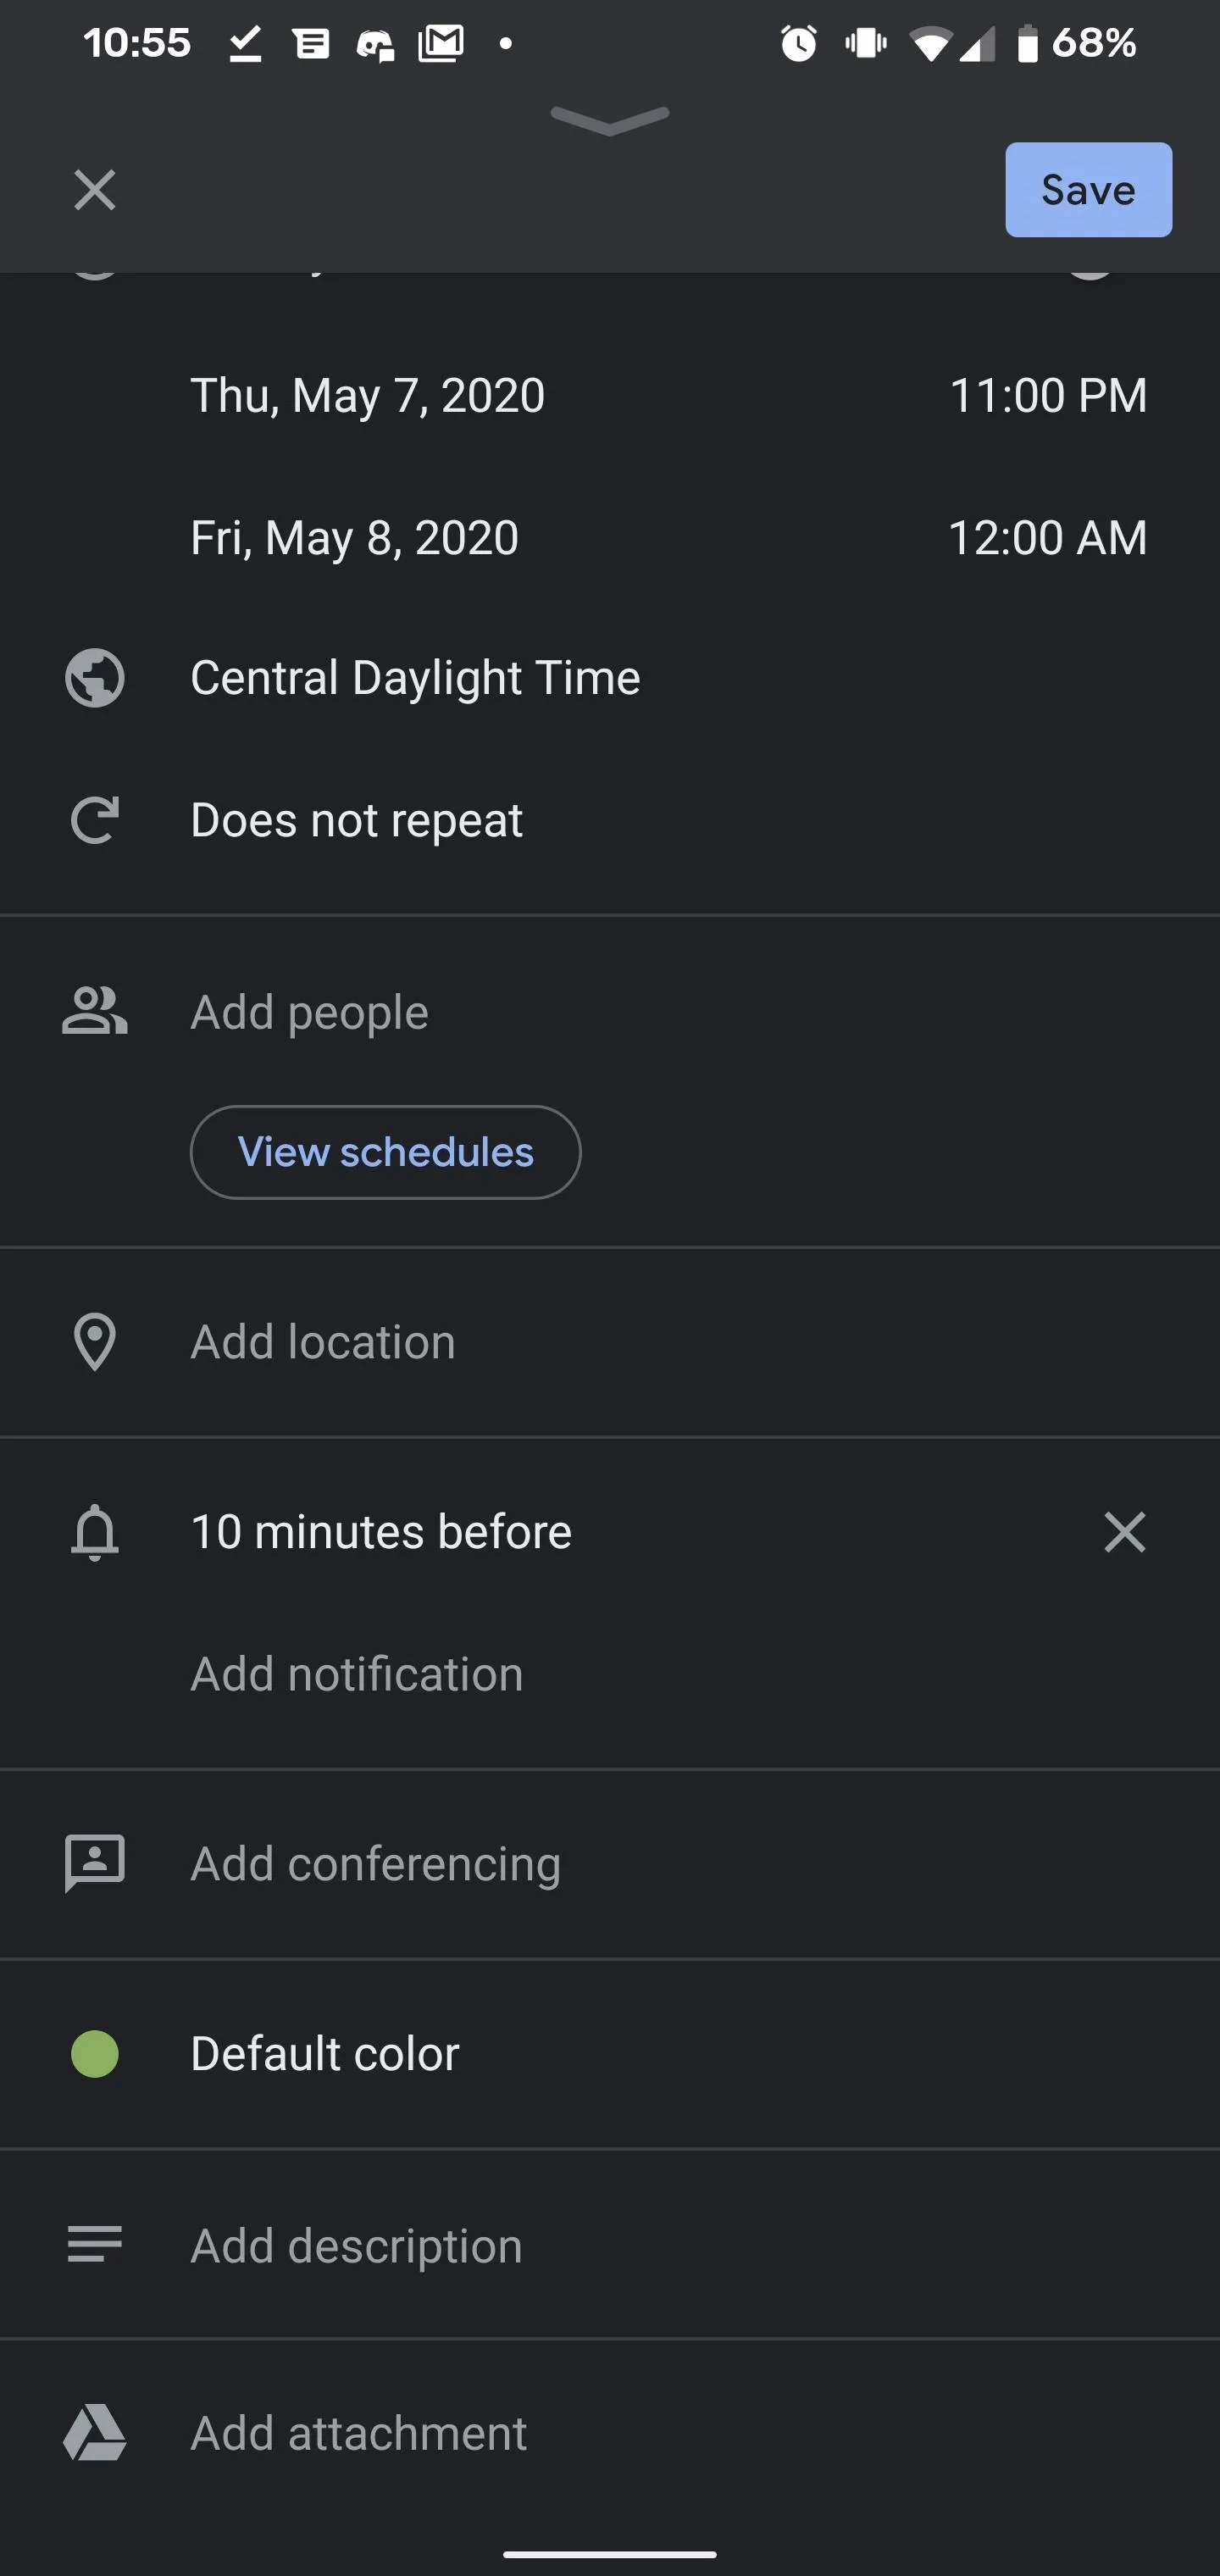
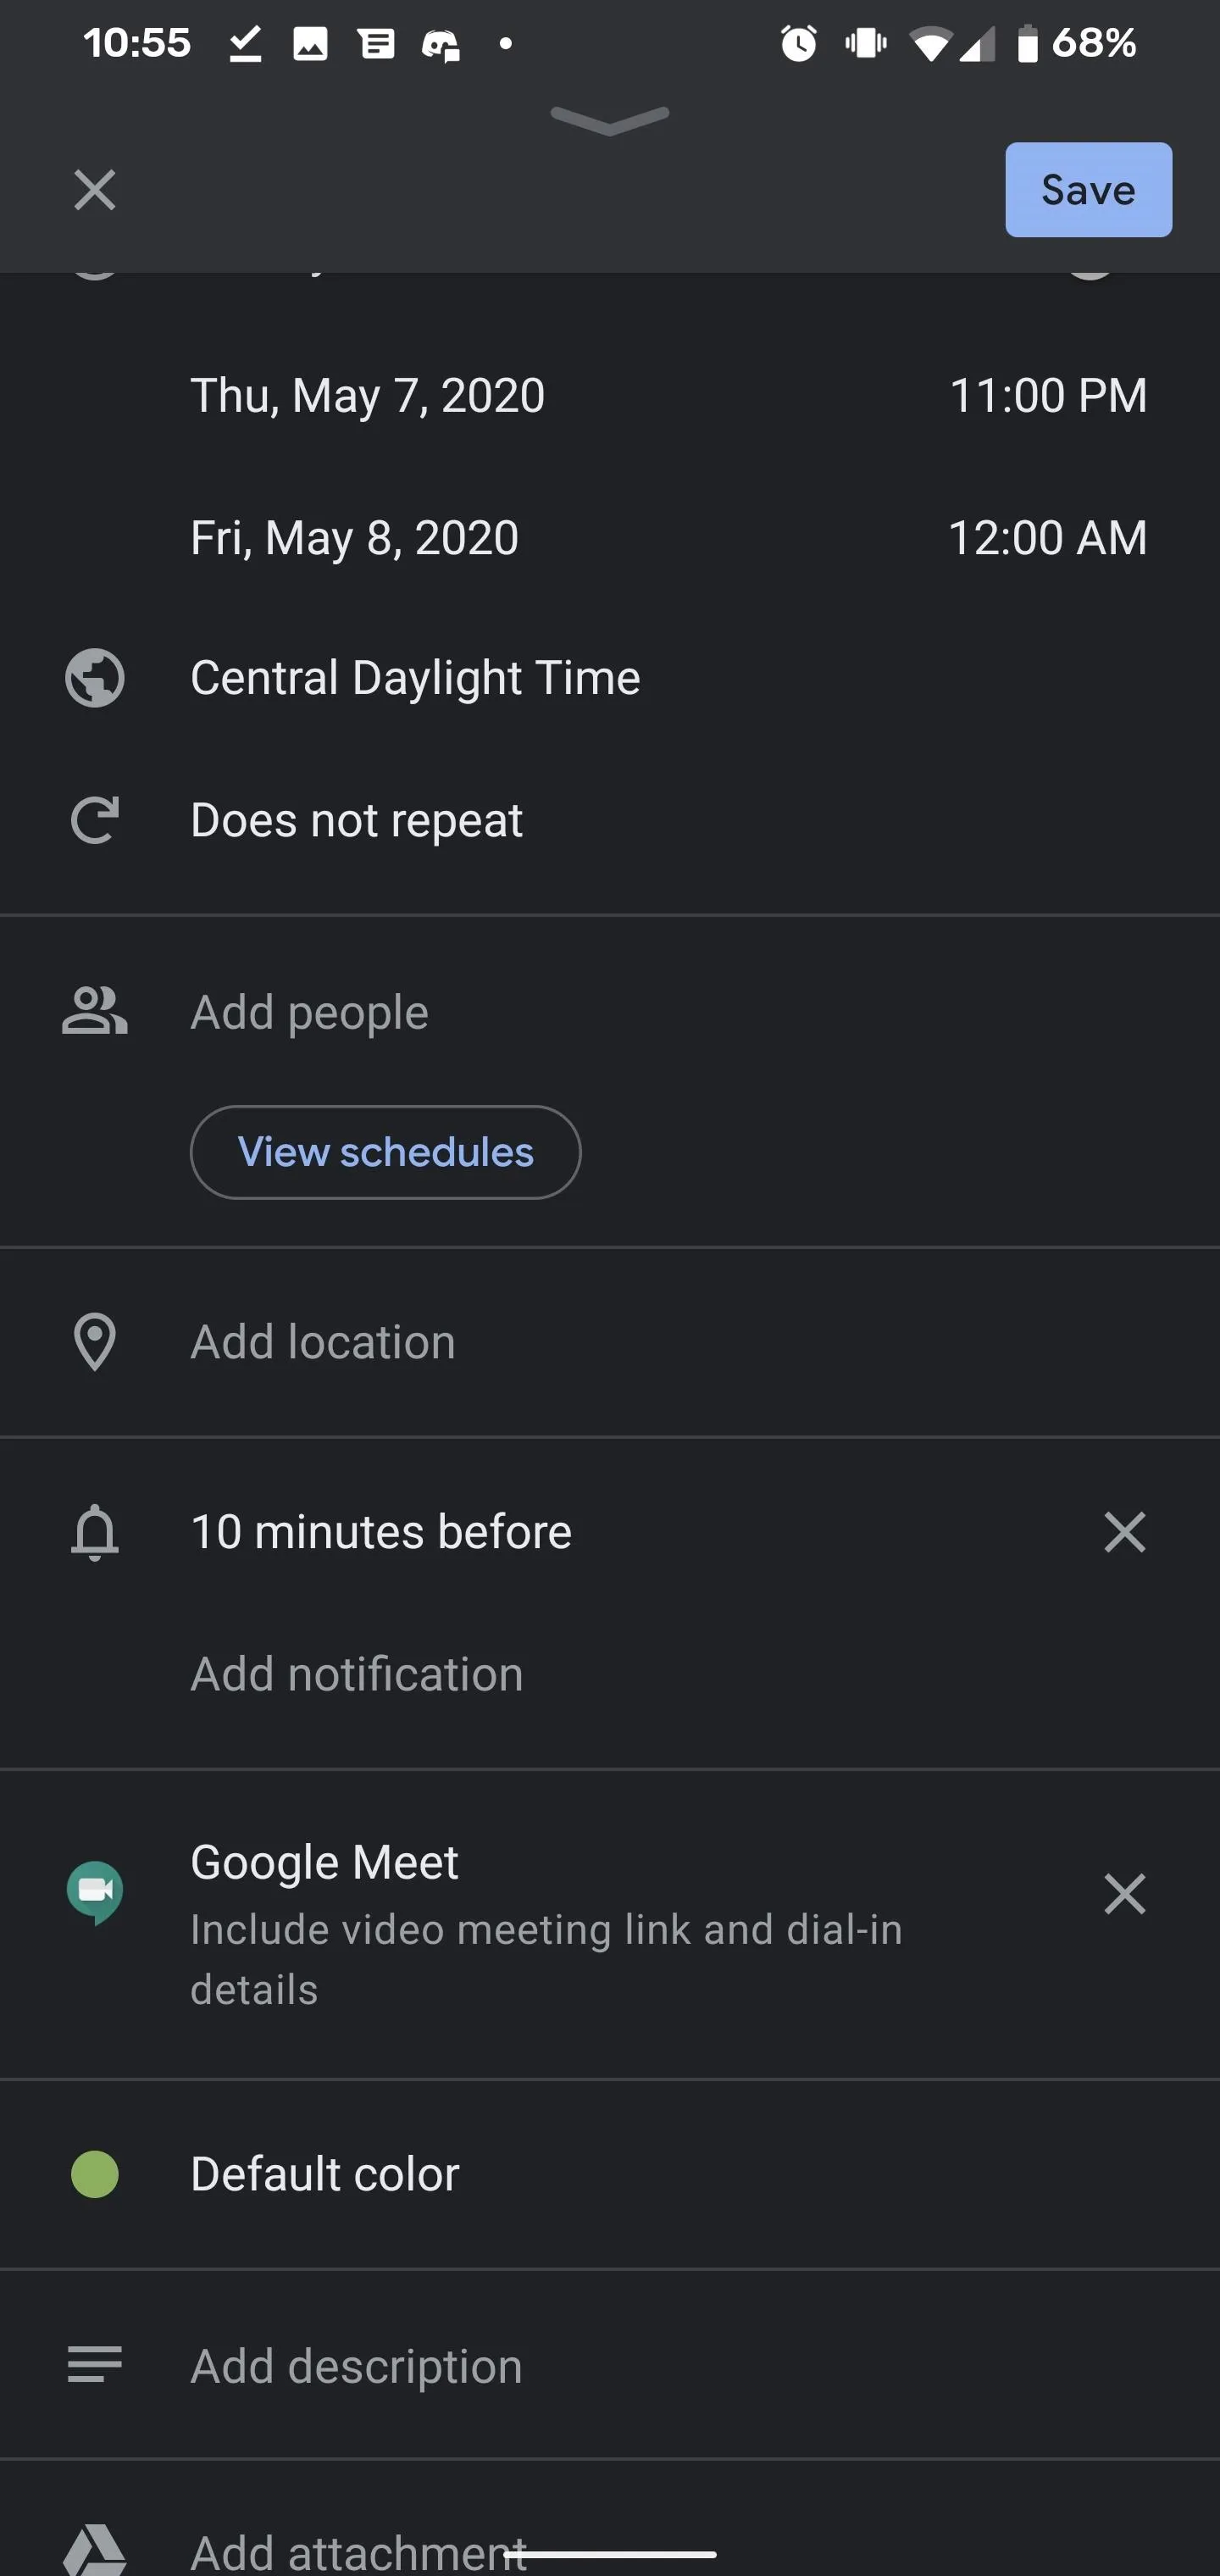
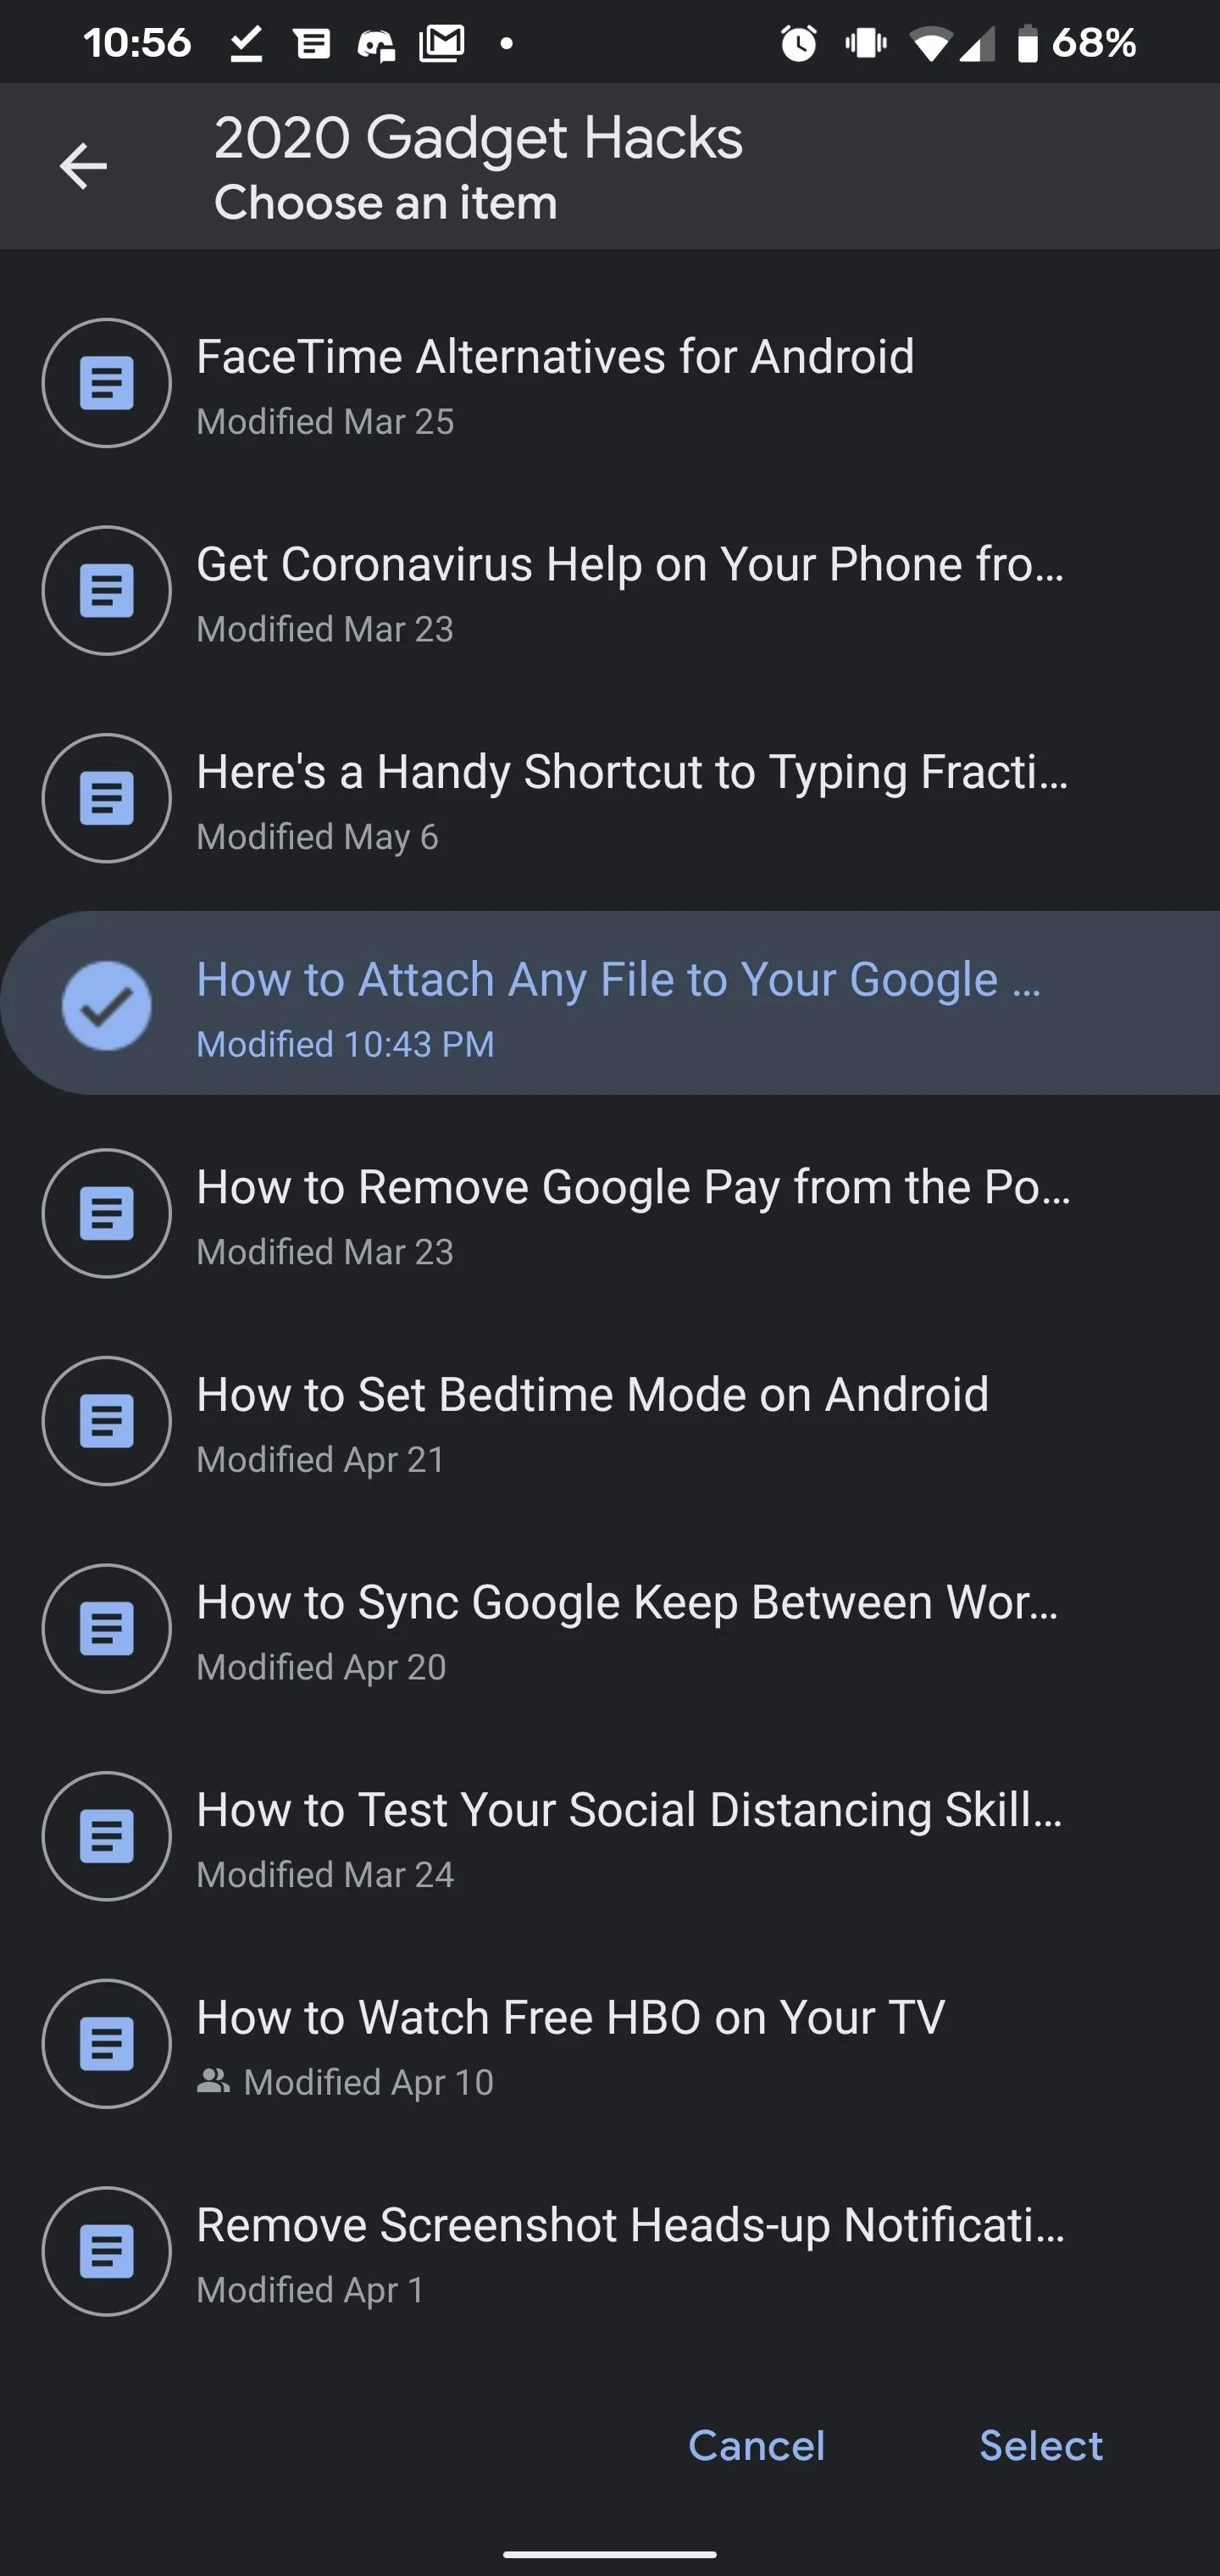
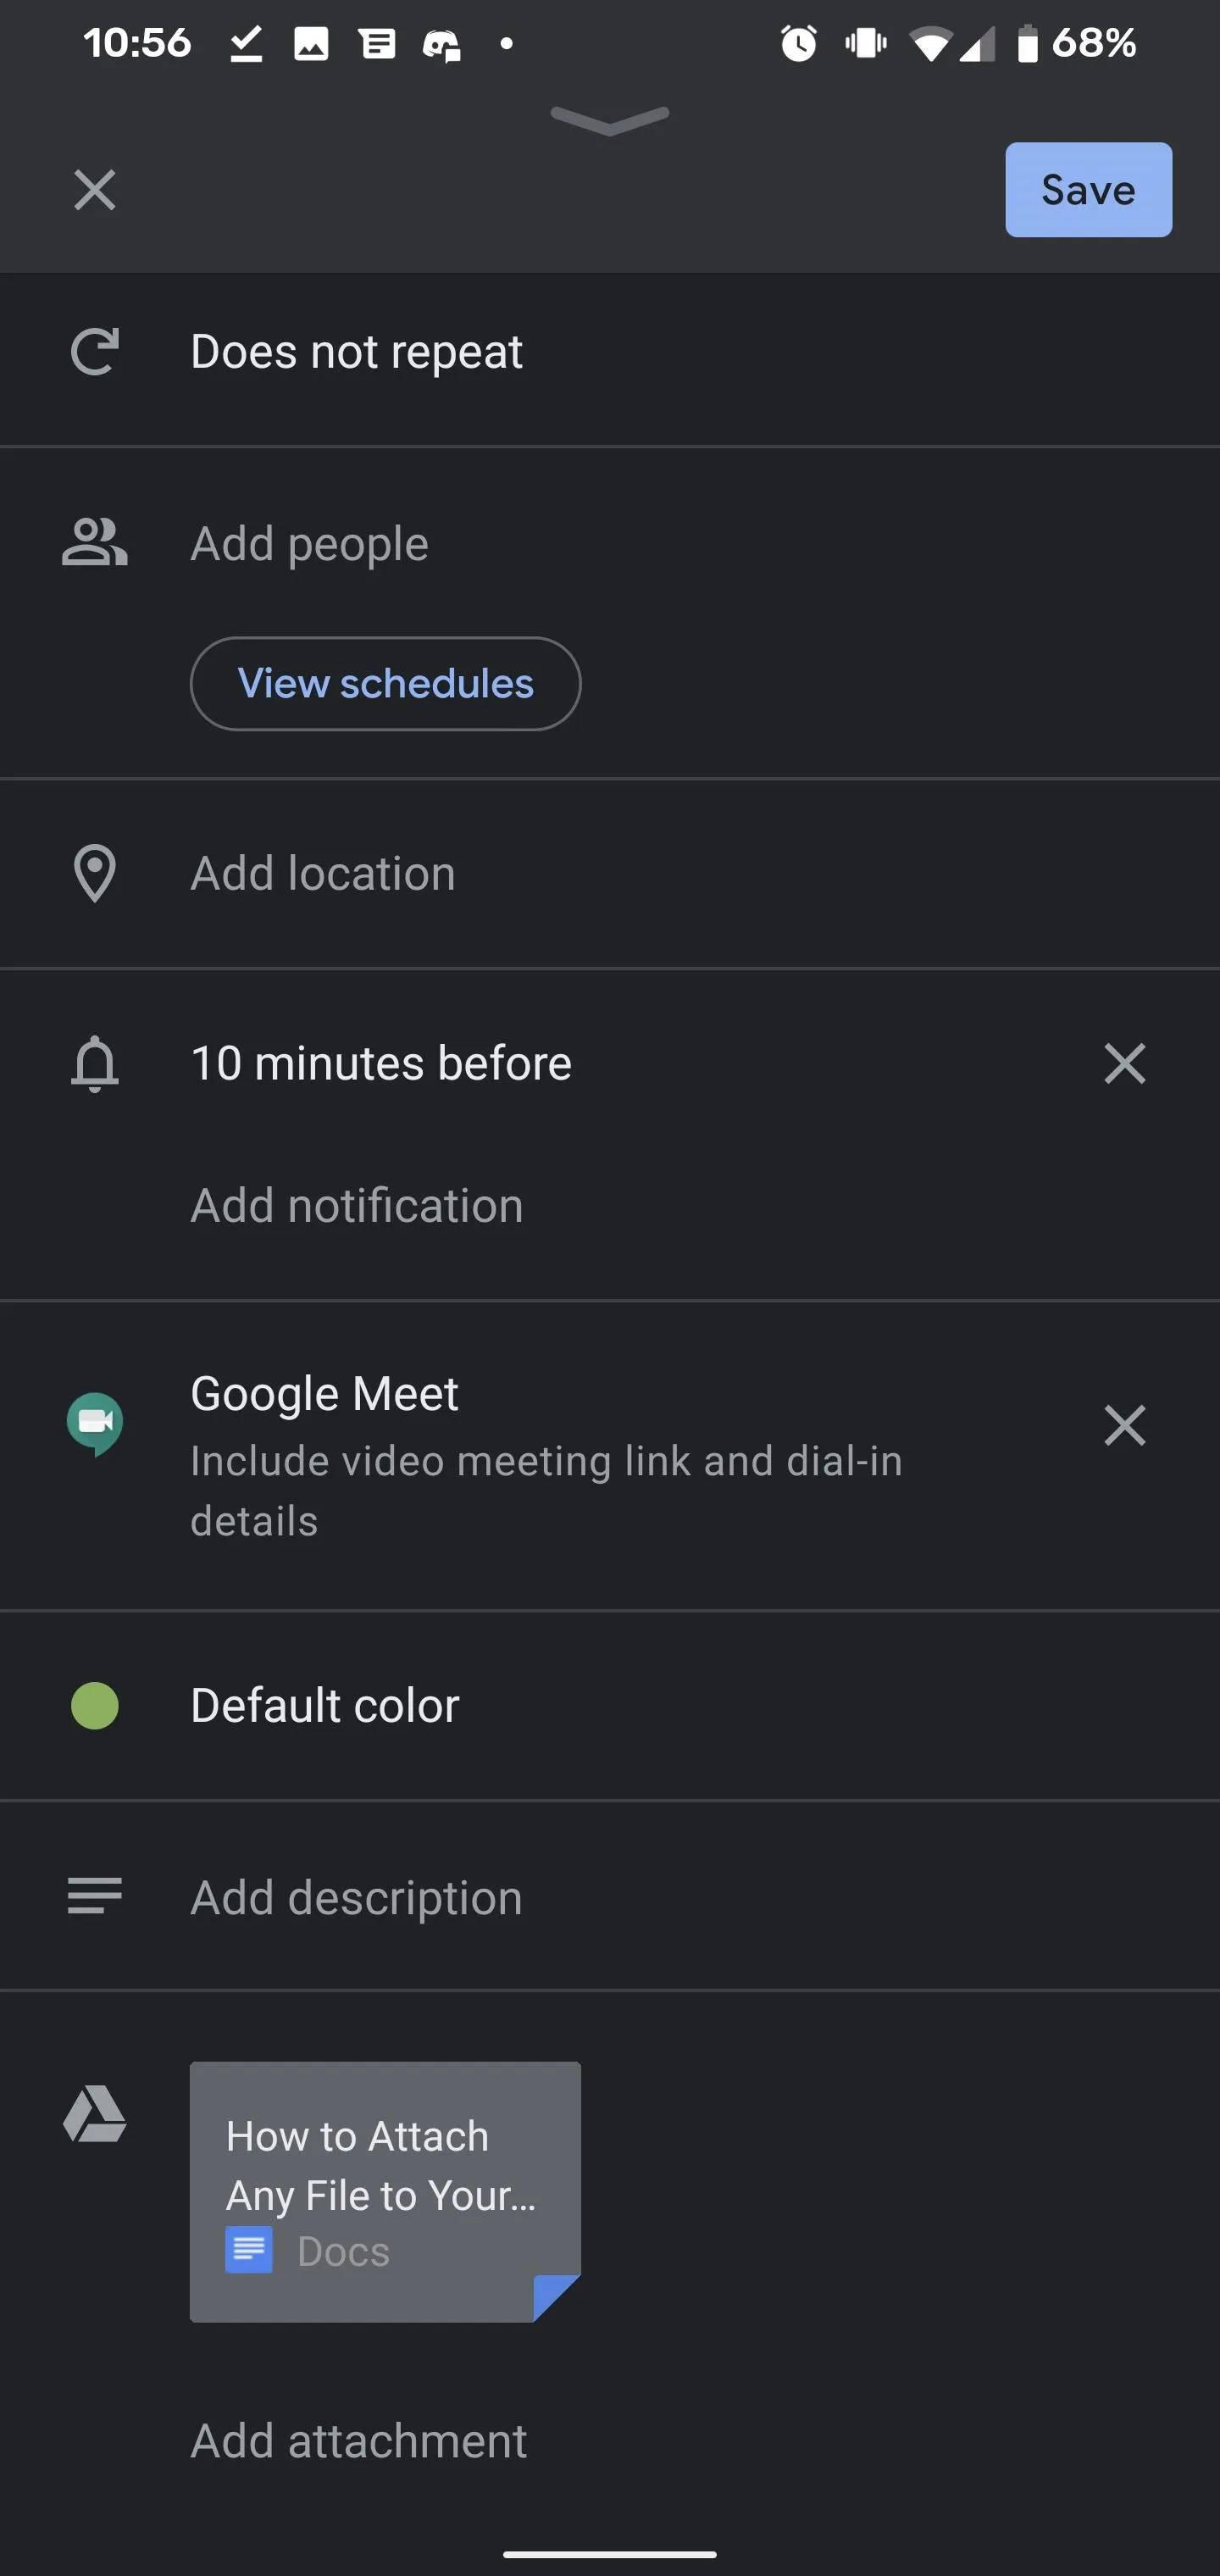
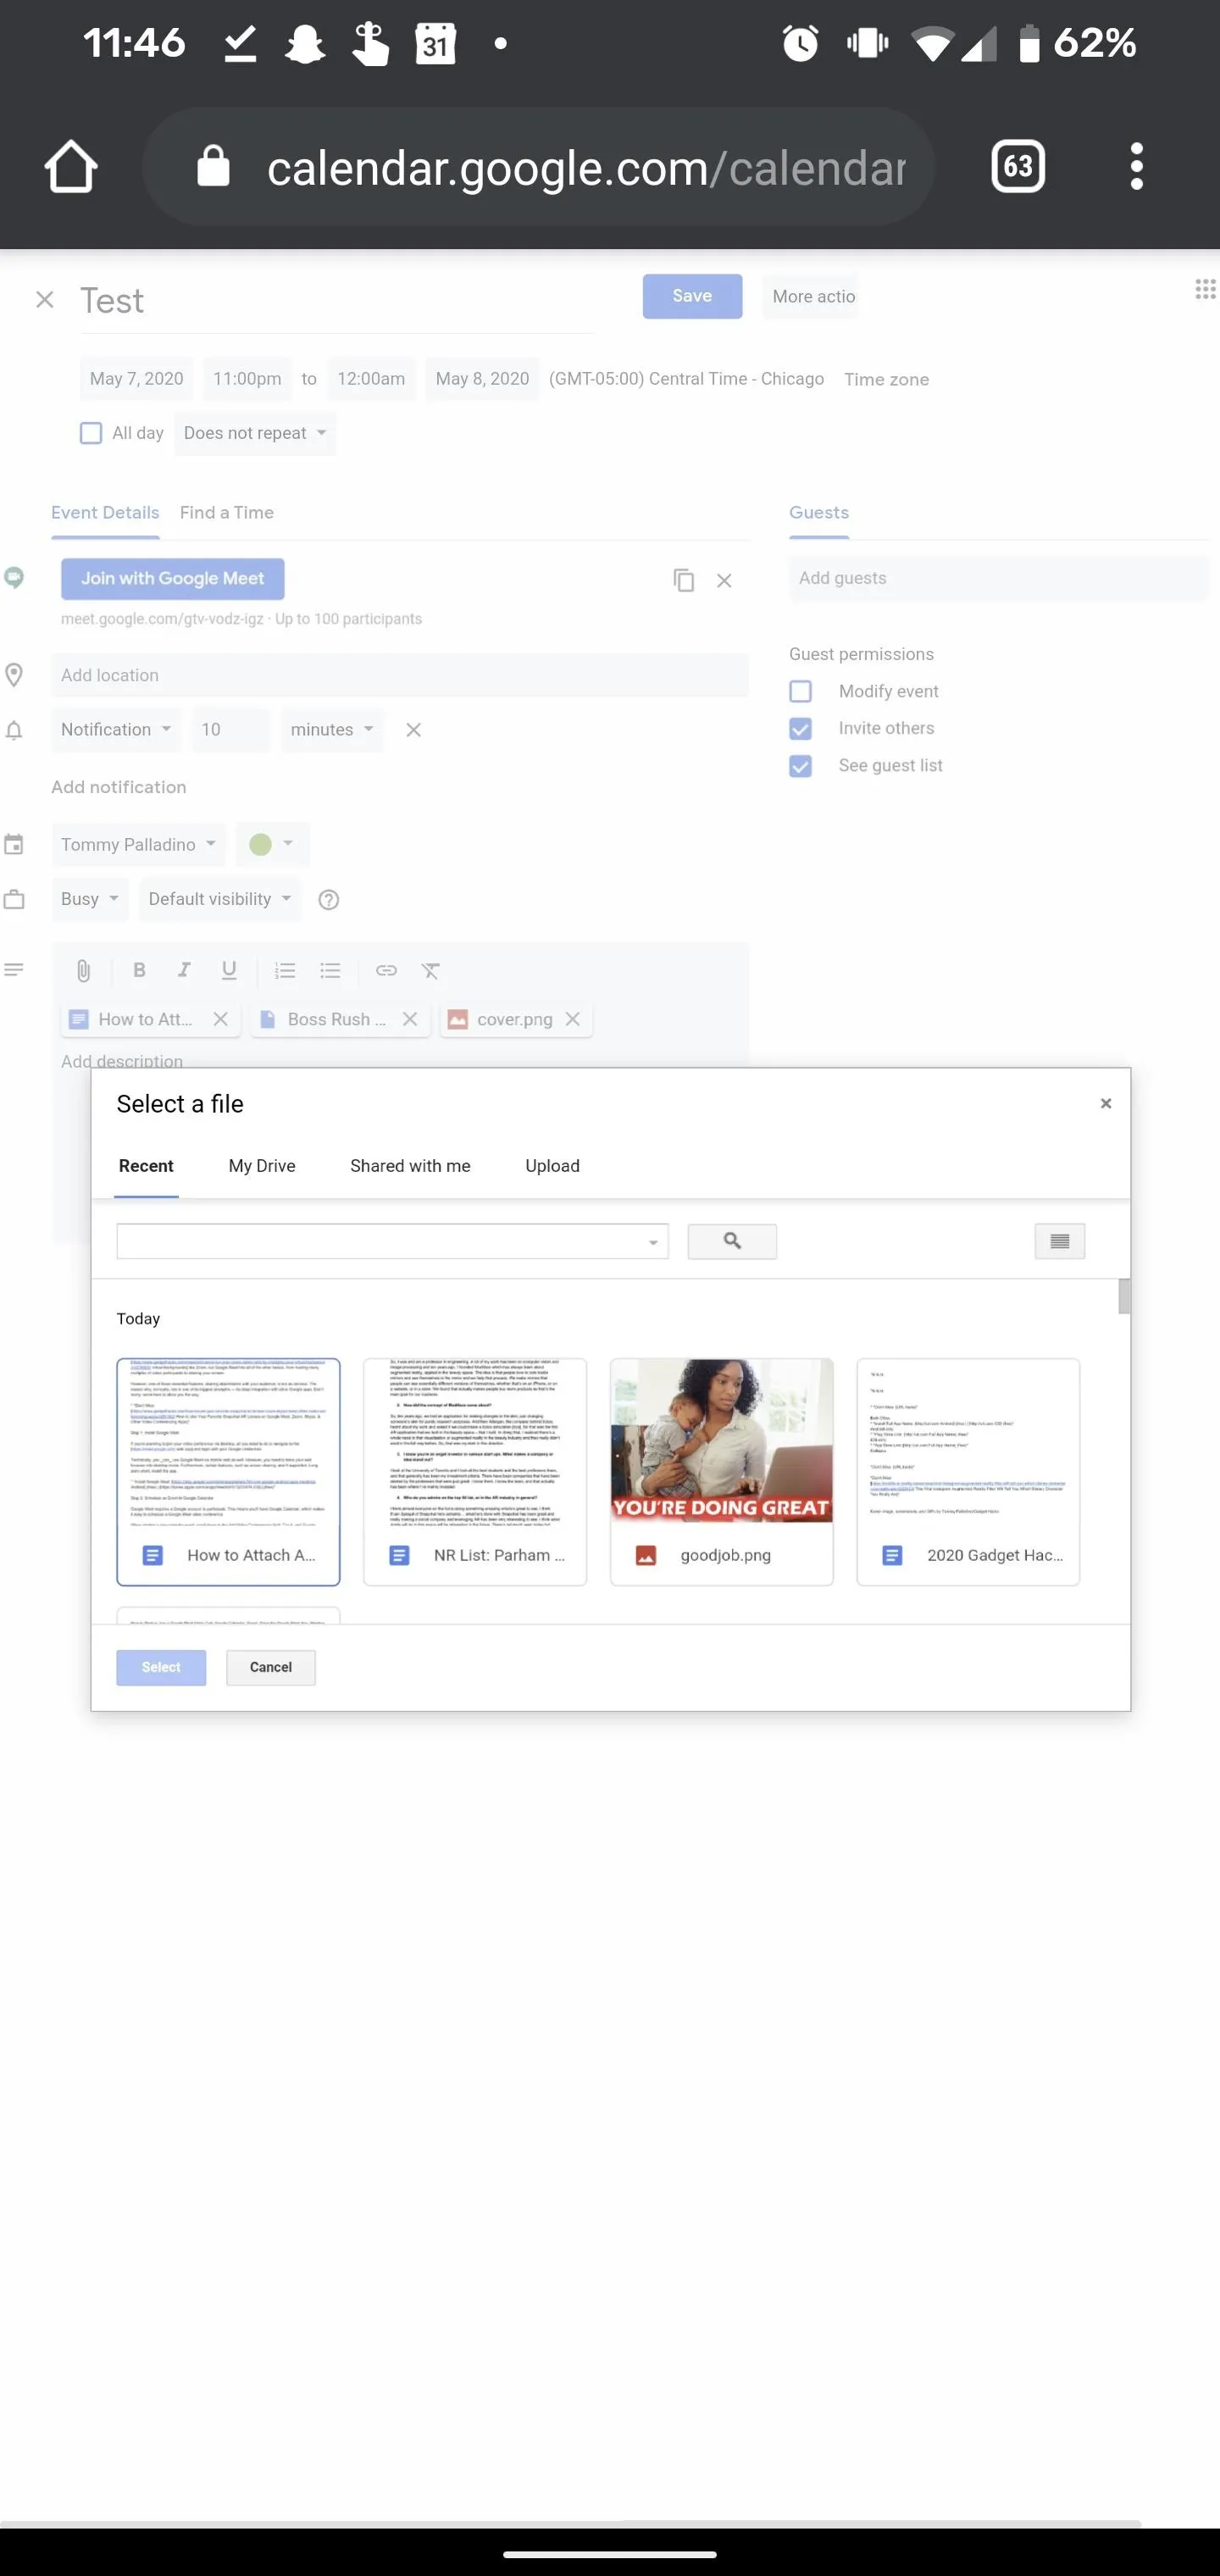
The last field is the Add Attachment field. In the mobile app, you'll be limited to files already stored in Google Drive. Browse to the file you want to attach, select it, and repeat if you need to add more.

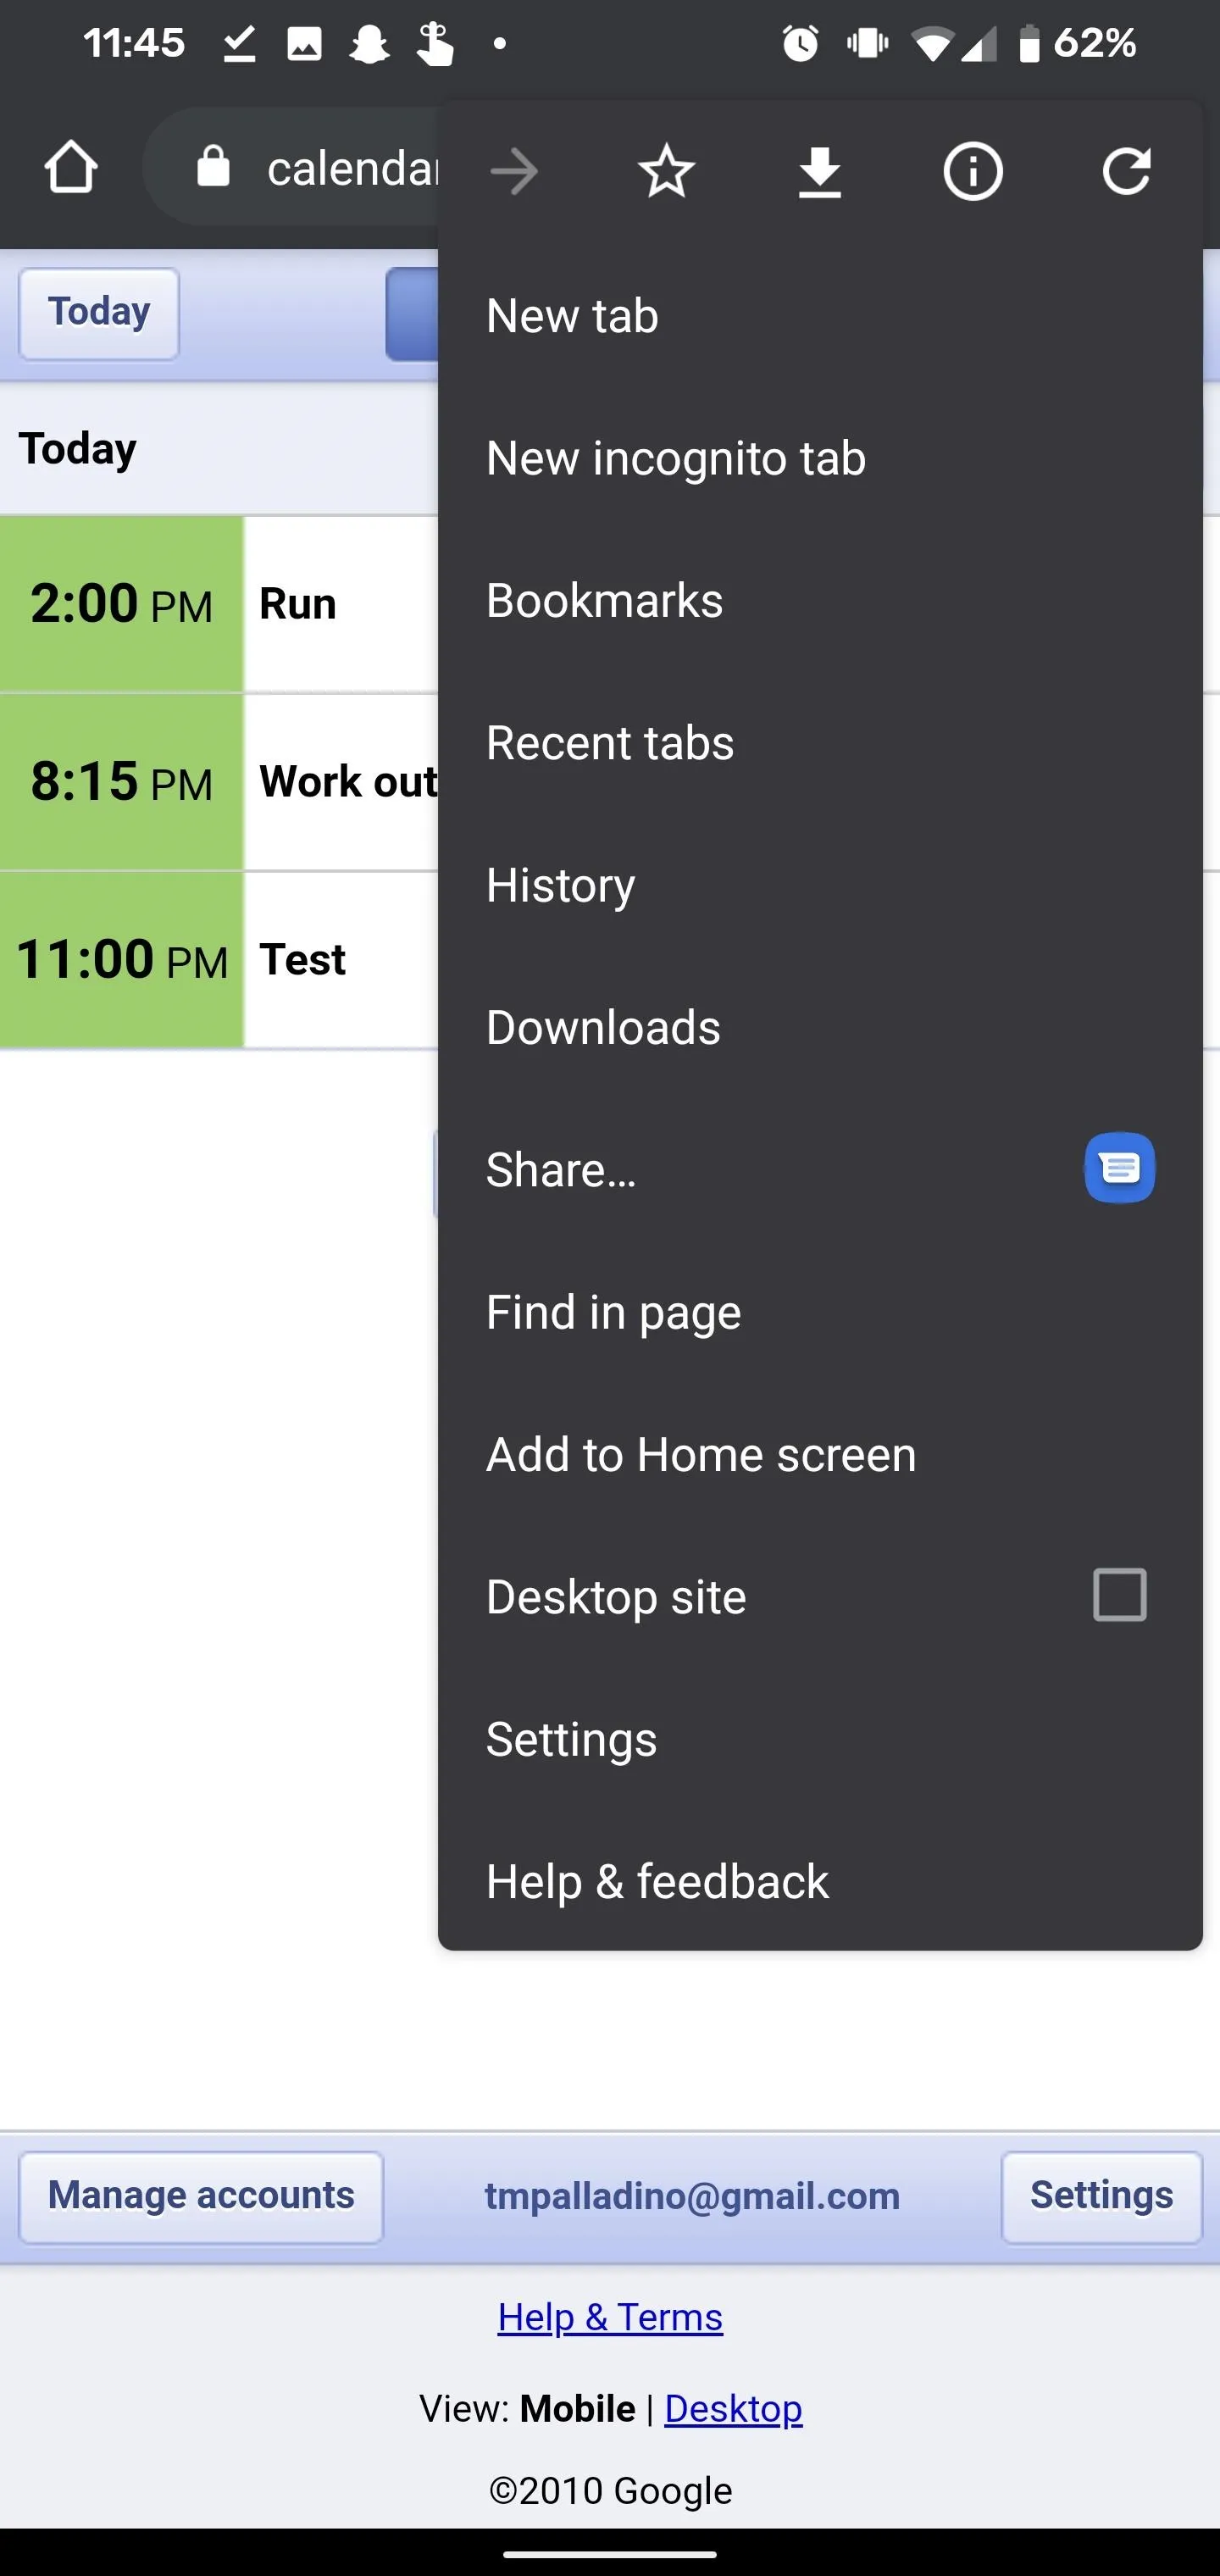
However, via Google Calendar on a desktop browser, you can upload files from your computer as well, which means in certain browsers, like Google Chrome, you can call up the desktop version and browse files on your device to upload to Drive. It's not elegant, but workarounds rarely are.
Access Attachment in Meet
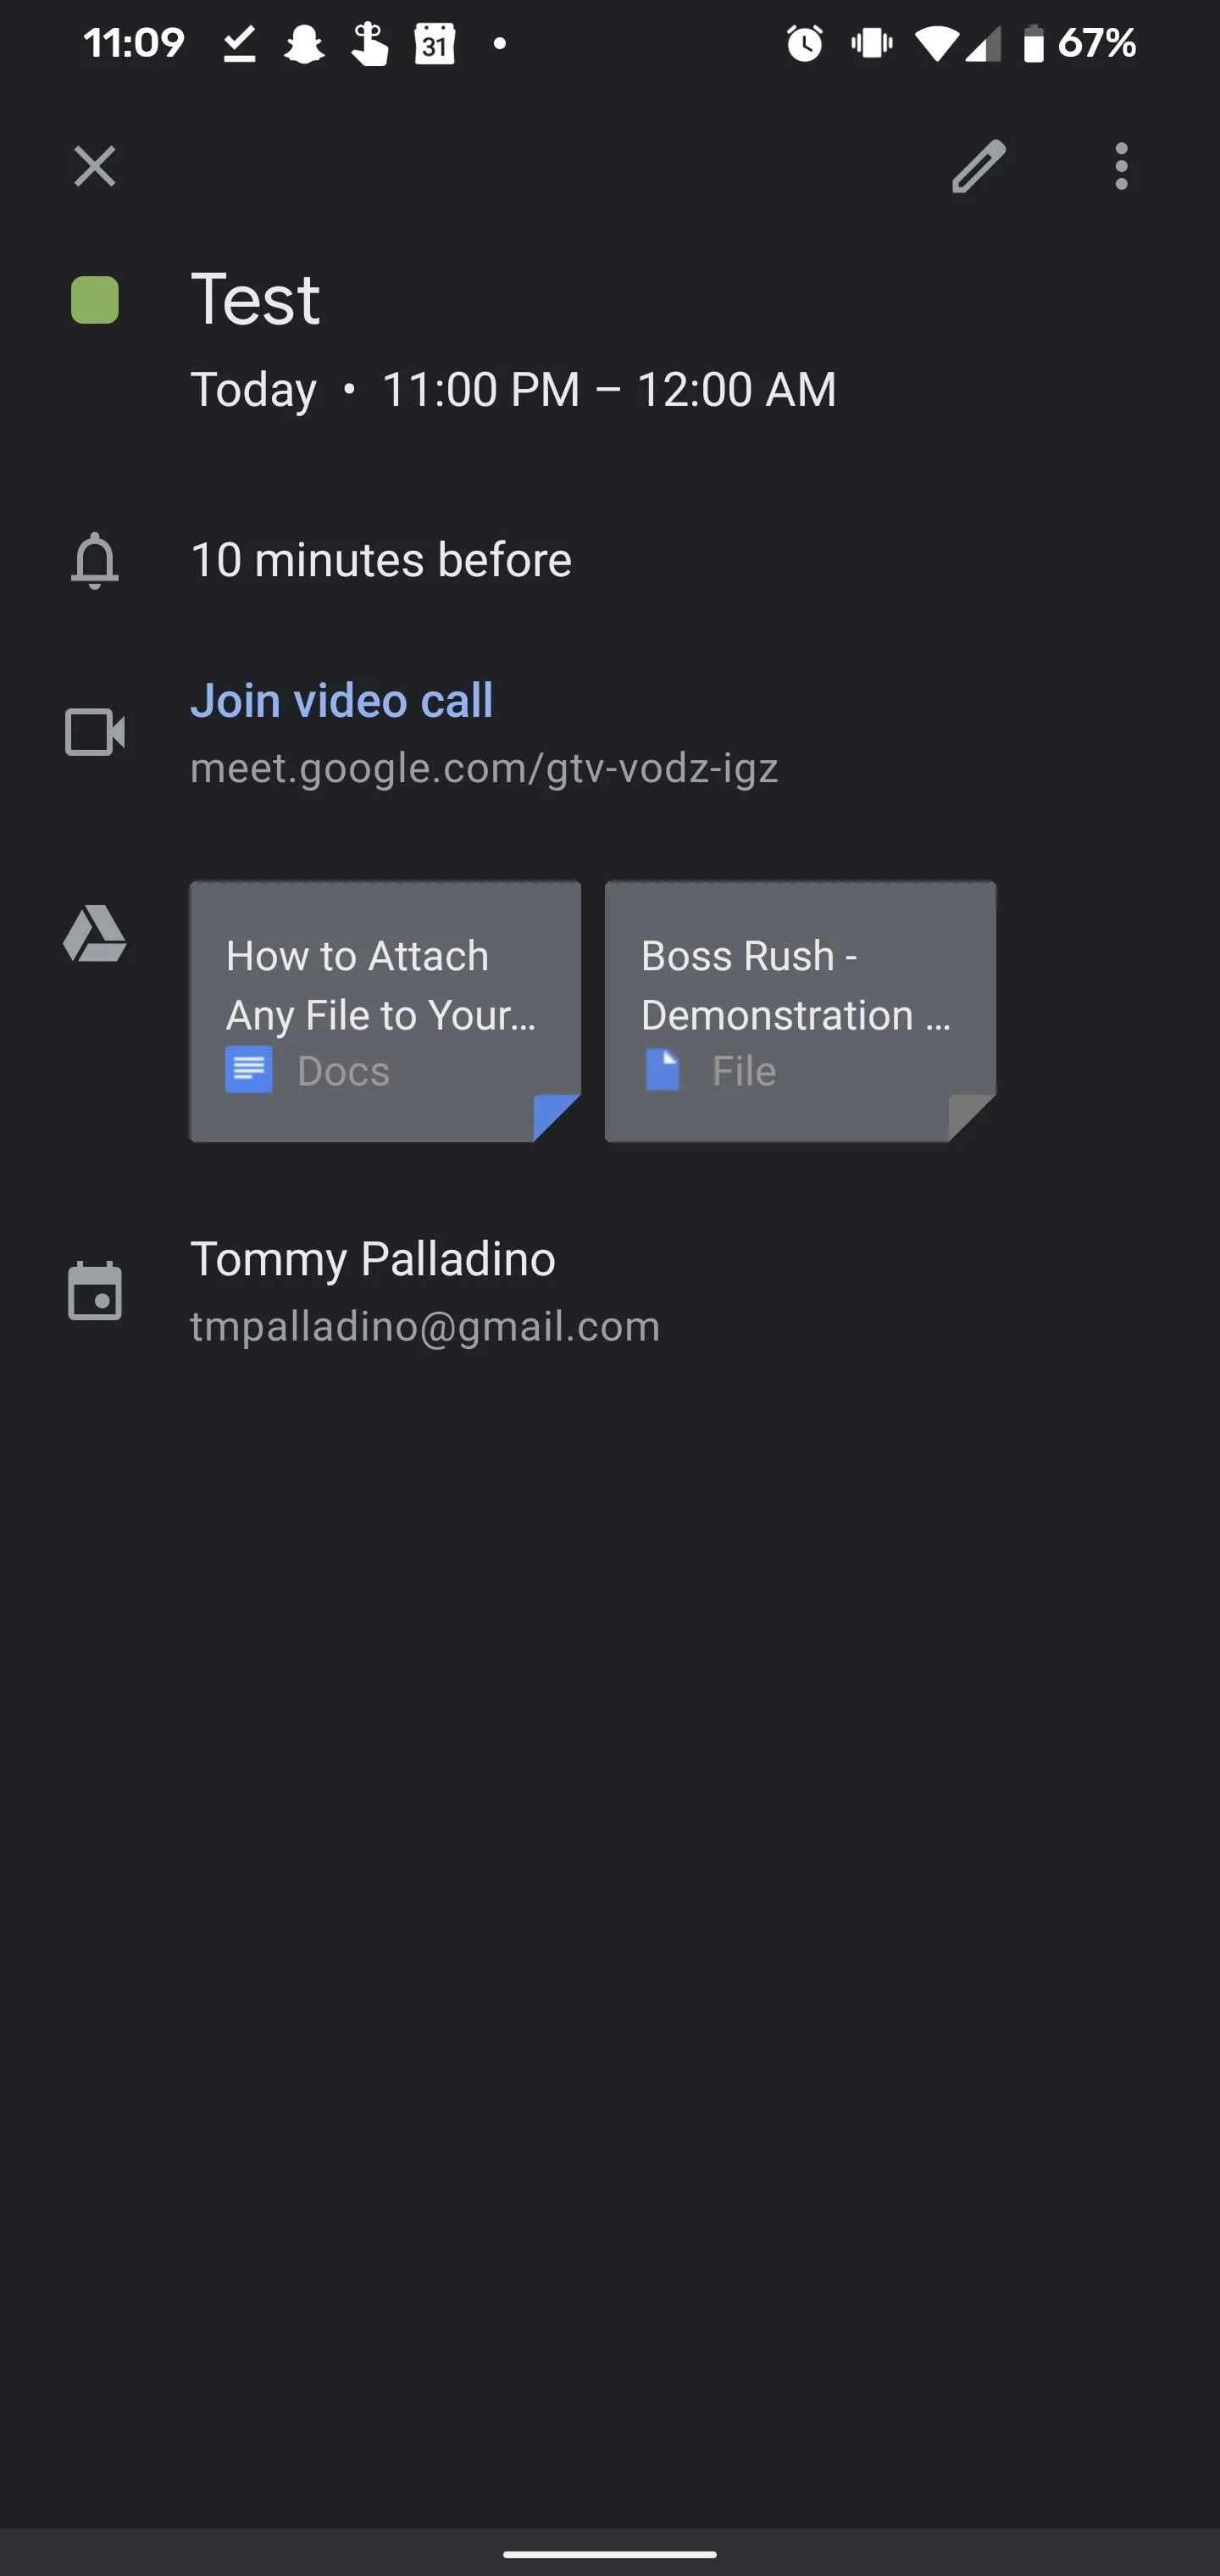
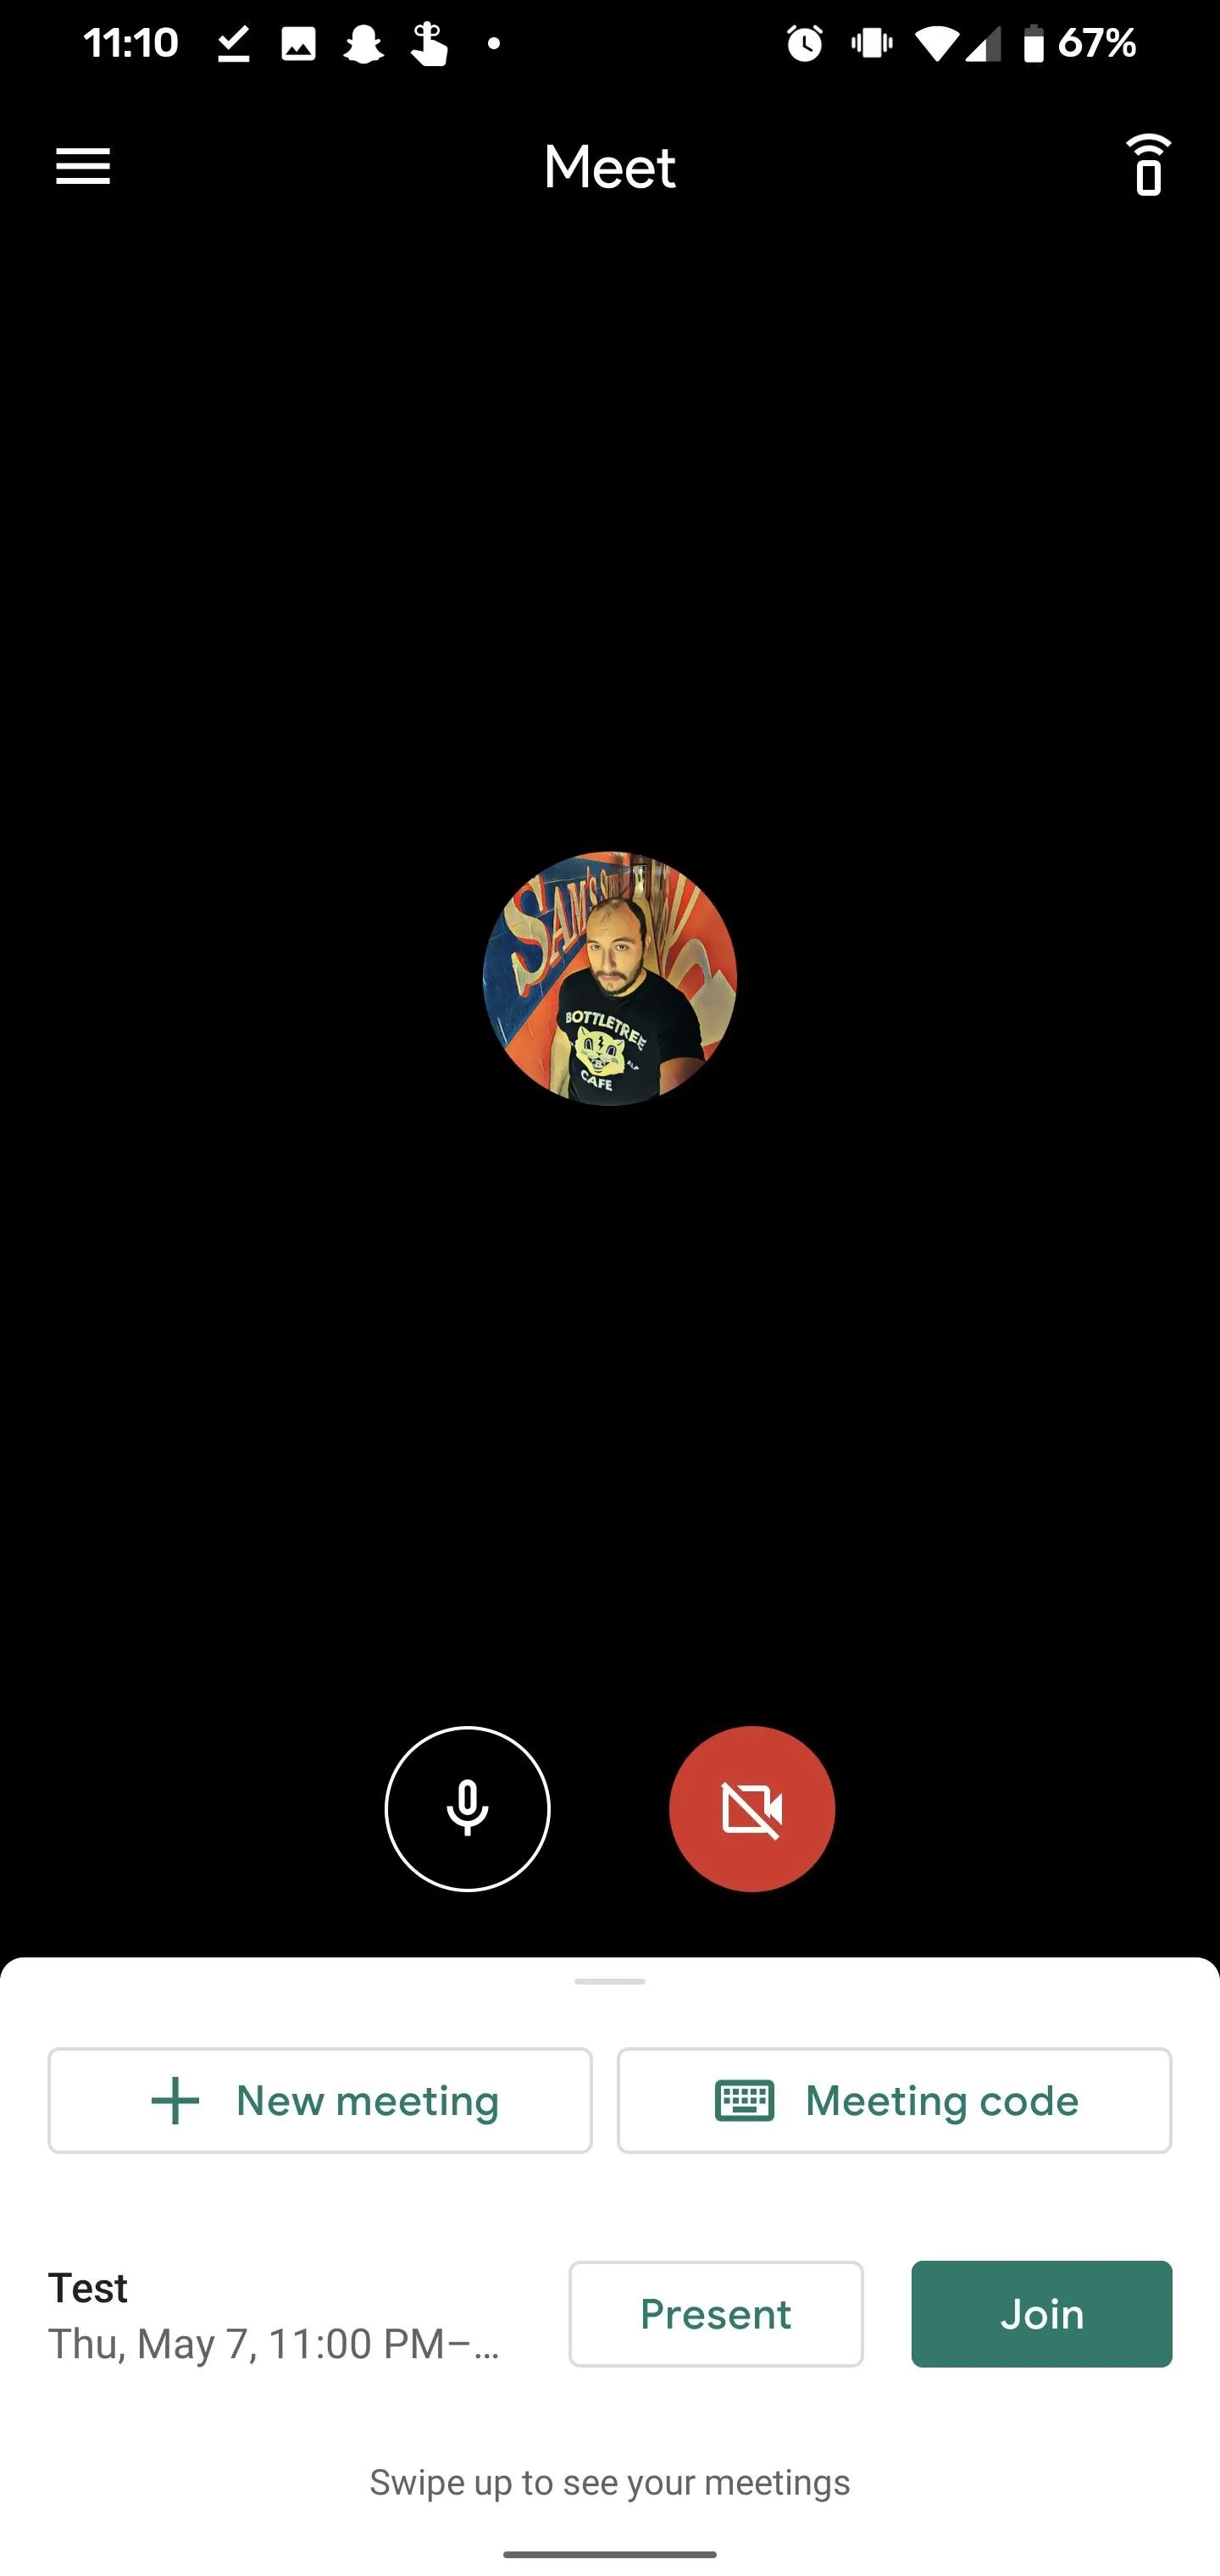
Once your meeting time arrives, join it by opening Meet, where you'll find your scheduled meeting queued up to join, or click the link in the Calendar event.
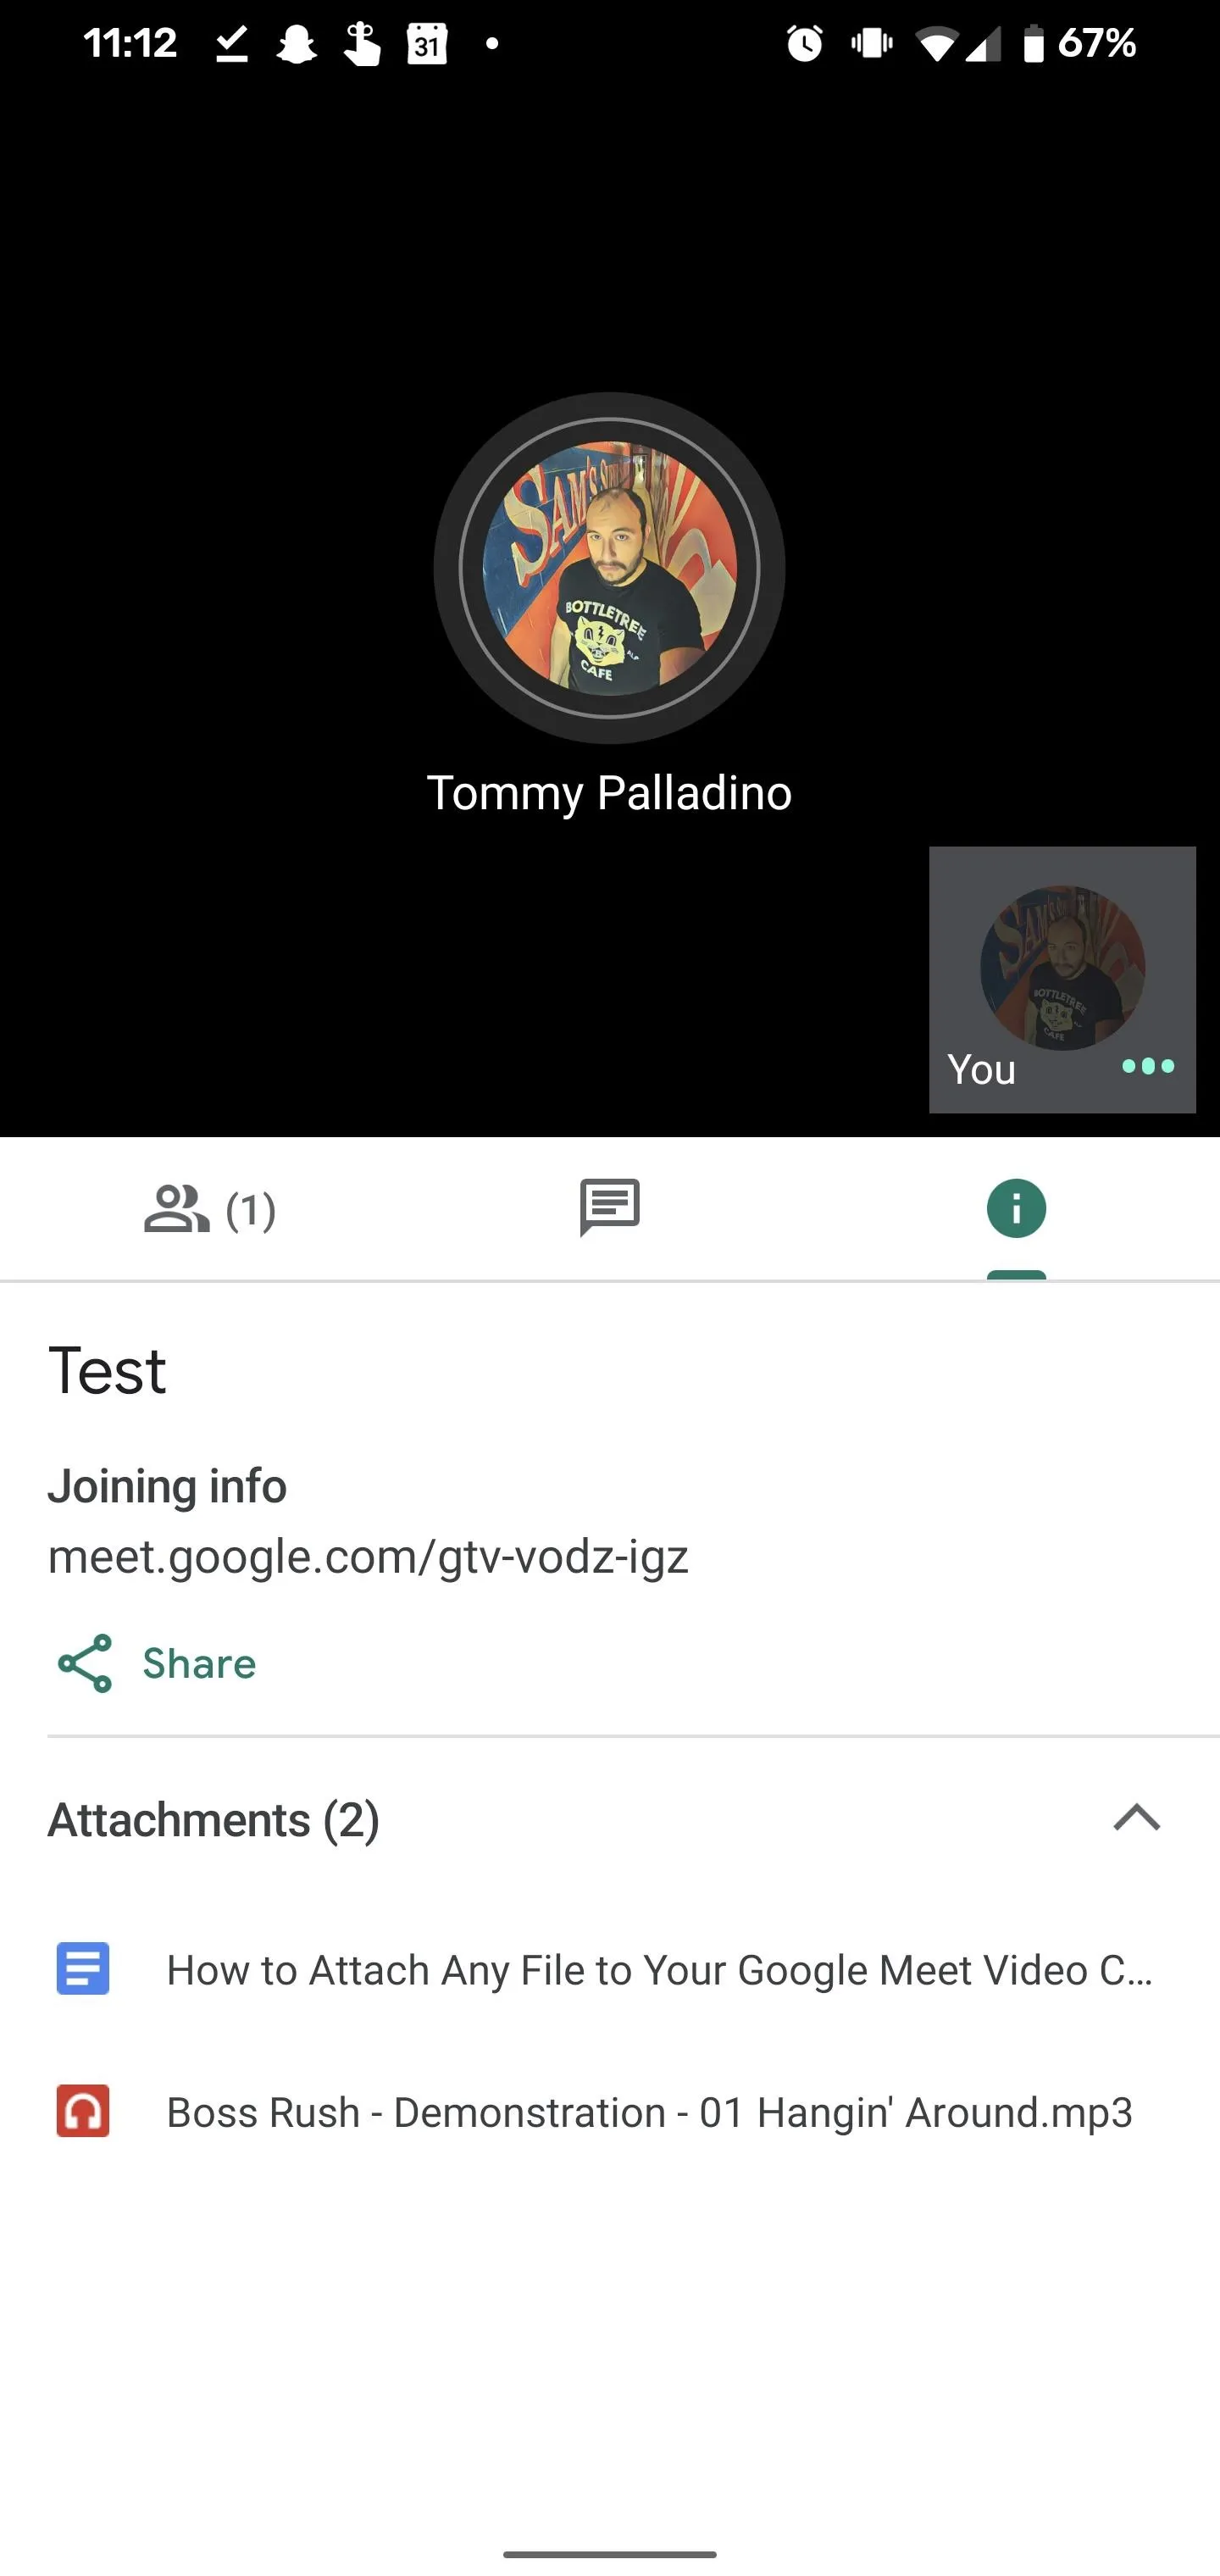
To access your attachments, tap the circled "i" icon to the right on the navigation bar. Here, you'll find an option to copy and share the meeting link along with the list of attachments you added in Step 2. Tap an attachment to open it in Drive.
If you've forgotten to add something before the meeting, you can go back to the Calendar event and edit it by tapping the pencil icon. Or, you can proceed to the next step.
Add Links in Chat (Optional)
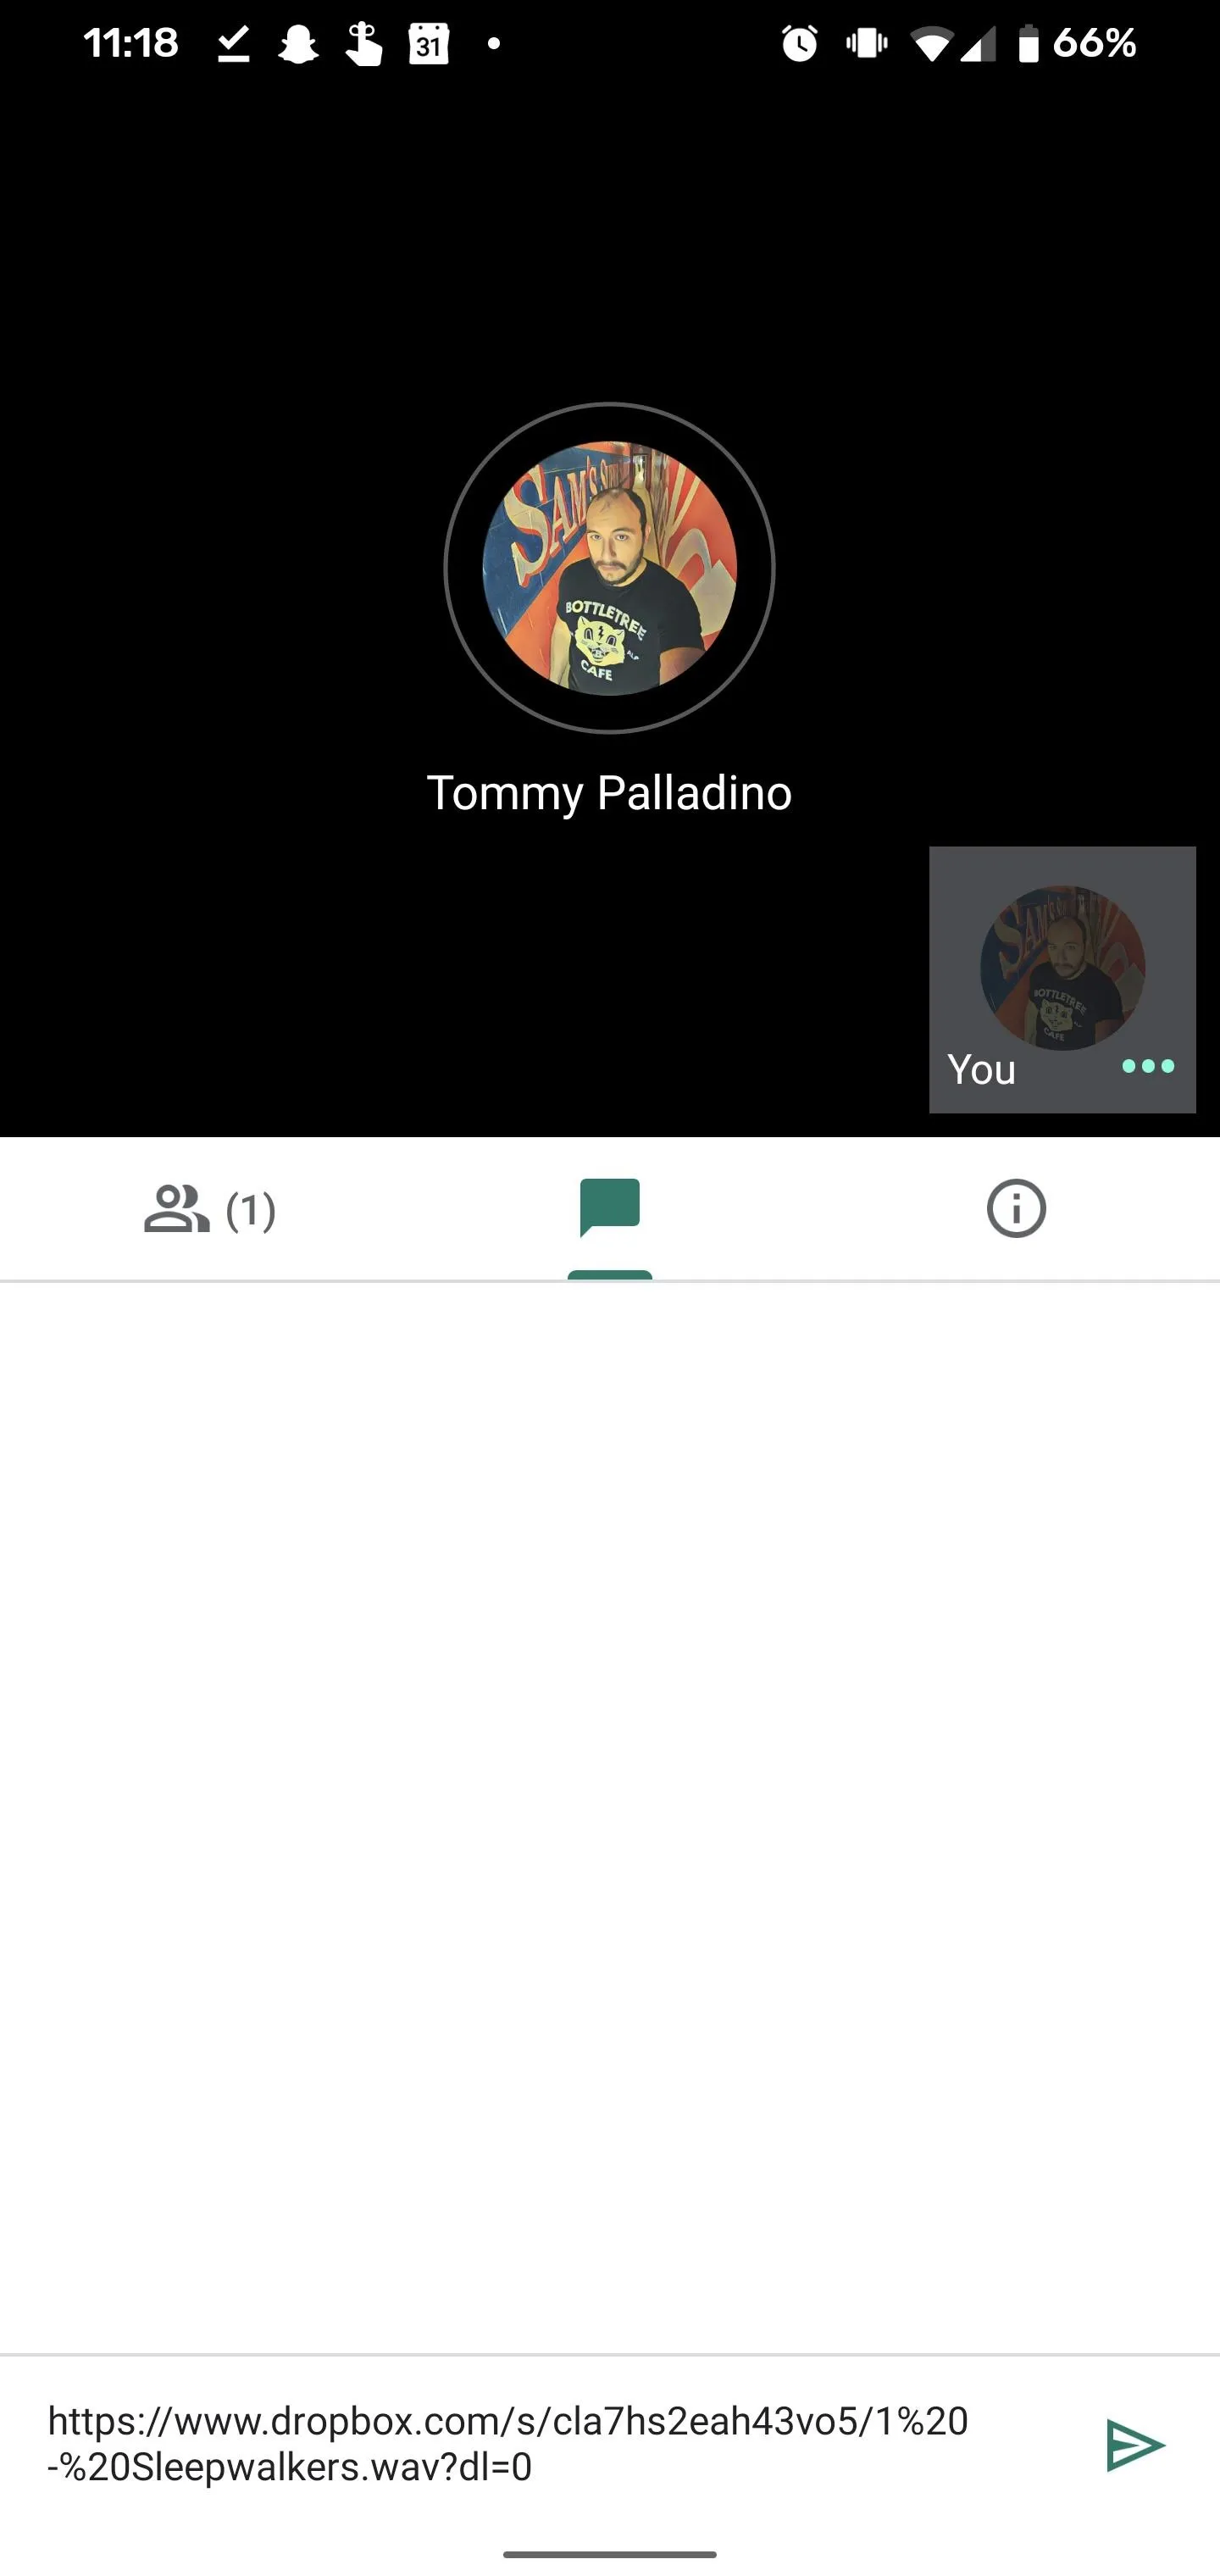
Instead of backtracking to Calendar to add an attachment during an in-progress meeting, you can use the native chat feature in Meet to share links to cloud-hosted files.
Tap the message icon in the middle of the navigation bar to access chat. Then copy a link to the file from any file-sharing service, paste it into the message field, and hit send. Chat will treat it as a hyperlink that participants can click.
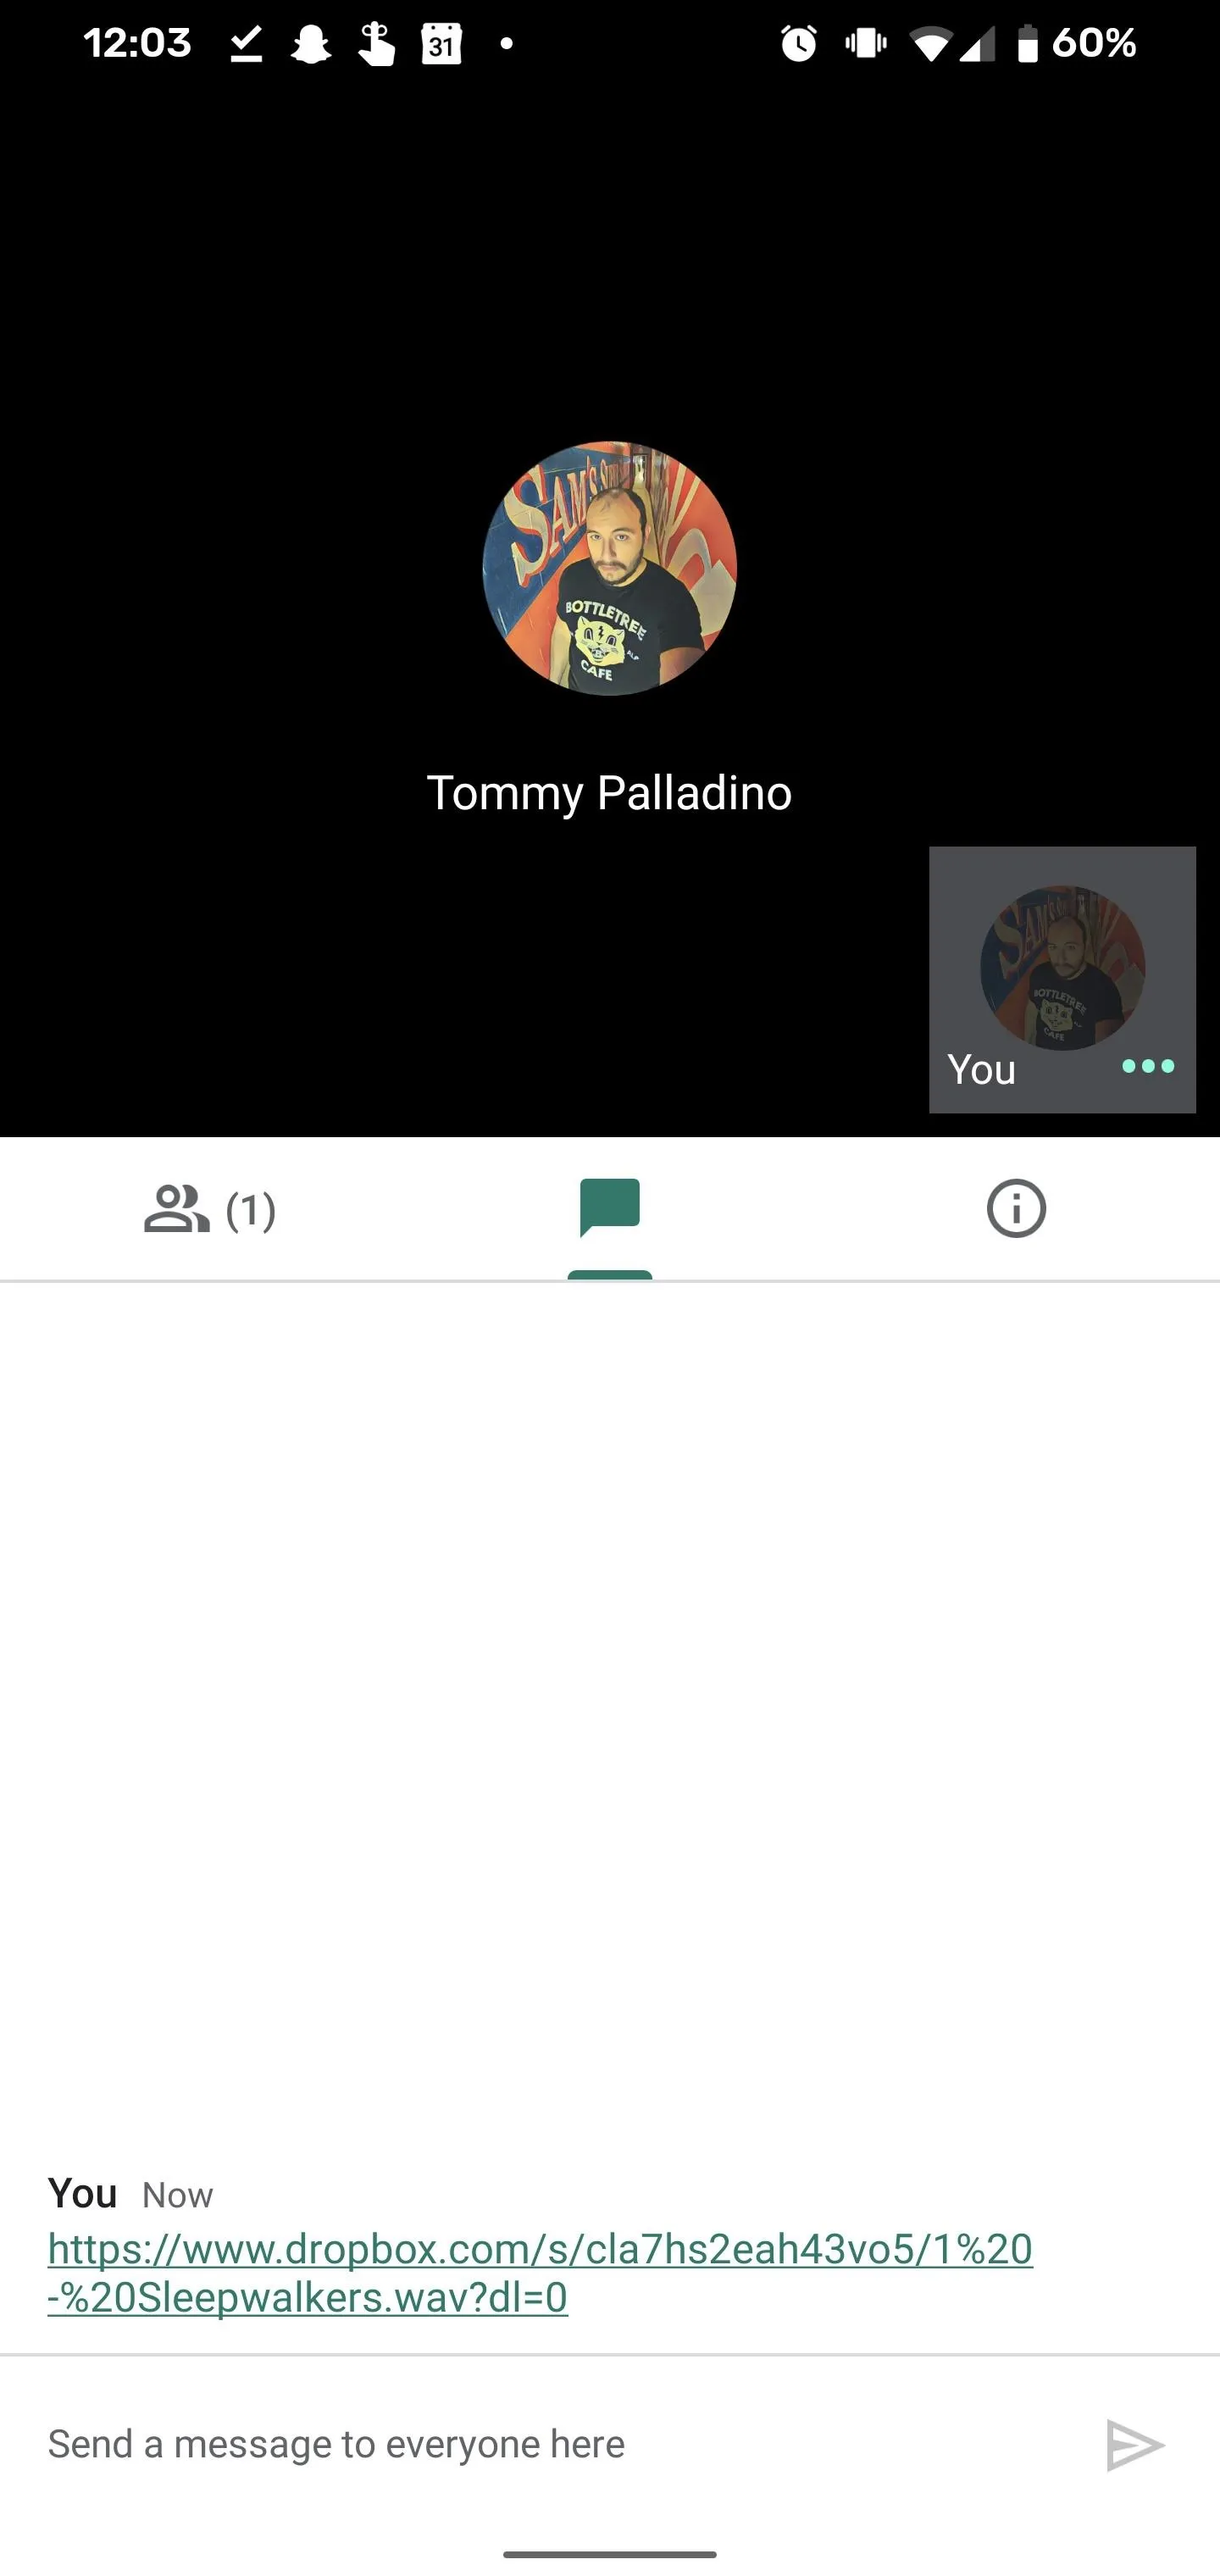
This step also serves as a workaround if you've started an impromptu meeting from the Meet home screen, which means you don't have an event in your Calendar to go back to.
So, Google's deep integration is a bit of a blessing and a curse when it comes to dealing with attachments in Meet. However, if Google is already a part of your workflow, its a seamless (but not very obvious) process.
Cover image and screenshots by Tommy Palladino/Gadget Hacks


Comments
Be the first, drop a comment!