


Filmic Pro has a superb suite of professional settings — bit rate, frame rate, and mic choice, to name a few — which can enable you to capture the best footage possible. But different shots require different setups, and it can be frustrating to change settings on the fly. Filmic Pro lets you skip that whole process by saving your favorite settings as presets for quick and easy access.
Custom presets are remarkably simple to create and equally simple to use. Filmic Pro lets you open presets either in-app or, if you use an iPhone, directly from the home screen. That means you'll be ready to shoot within seconds of each scene change, not minutes, with no risk of forgetting to enable or disable a specific setting.
However, not all settings can be saved in custom presets. We reached out to Filmic Pro for clarification, and you can see its response below. There may be more settings you can't keep, but for the most part, the majority of them can be a part of your custom presets.
In general, anything pertaining to resolution, frame rate, lens hardware, and a number of parameters in the 'Device' menu can be saved to presets. Exposure, White Balance, and Focus parameter values cannot be saved to custom presets that persist between app sessions.
1. Saving Presets
Saving presets in Filmic Pro requires one thing: that all of the settings you want are enabled or disabled first. That's because once you make the preset, all current compatible settings rope into that preset. Just double check that everything currently set is precisely the way you want it for your preset. You can't edit presets later, but you can delete and add new ones.
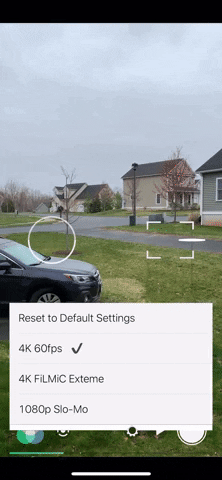
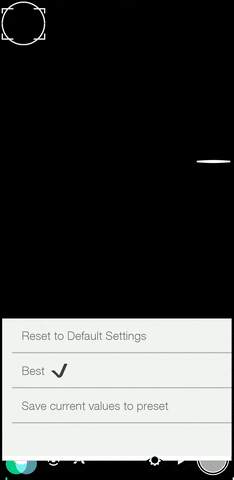
Once you're sure, tap the cog at the bottom, then select "Presets." Here, tap "Save Current Settings as Preset." Now, choose a name for your preset, something you'll be able to instantly identify it as, e.g., "4K 60fps" or "1080p Time-Lapse." When you've chosen a name, tap "Save." You'll then see your new preset in the list.
2. Accessing Saved Presets
There are two easy ways to access any of your presets. Firstly, you can access your presets from the same "Presets" menu we saw in section 1, via the cog icon. Tap the preset you'd like to load, then tap "Load" from the pop-up.
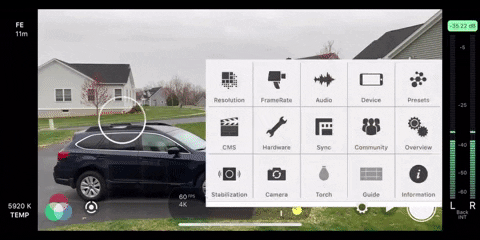
Secondly, on iOS devices with 3D Touch only, you can access your most recently used presets via quick actions on the app's home screen icon. Press deeply on the icon, and you'll find up to three of your presets here, in addition to the default Filmic Pro preset. Select the preset you'd like, and Filmic Pro will open with that preset's settings loaded.

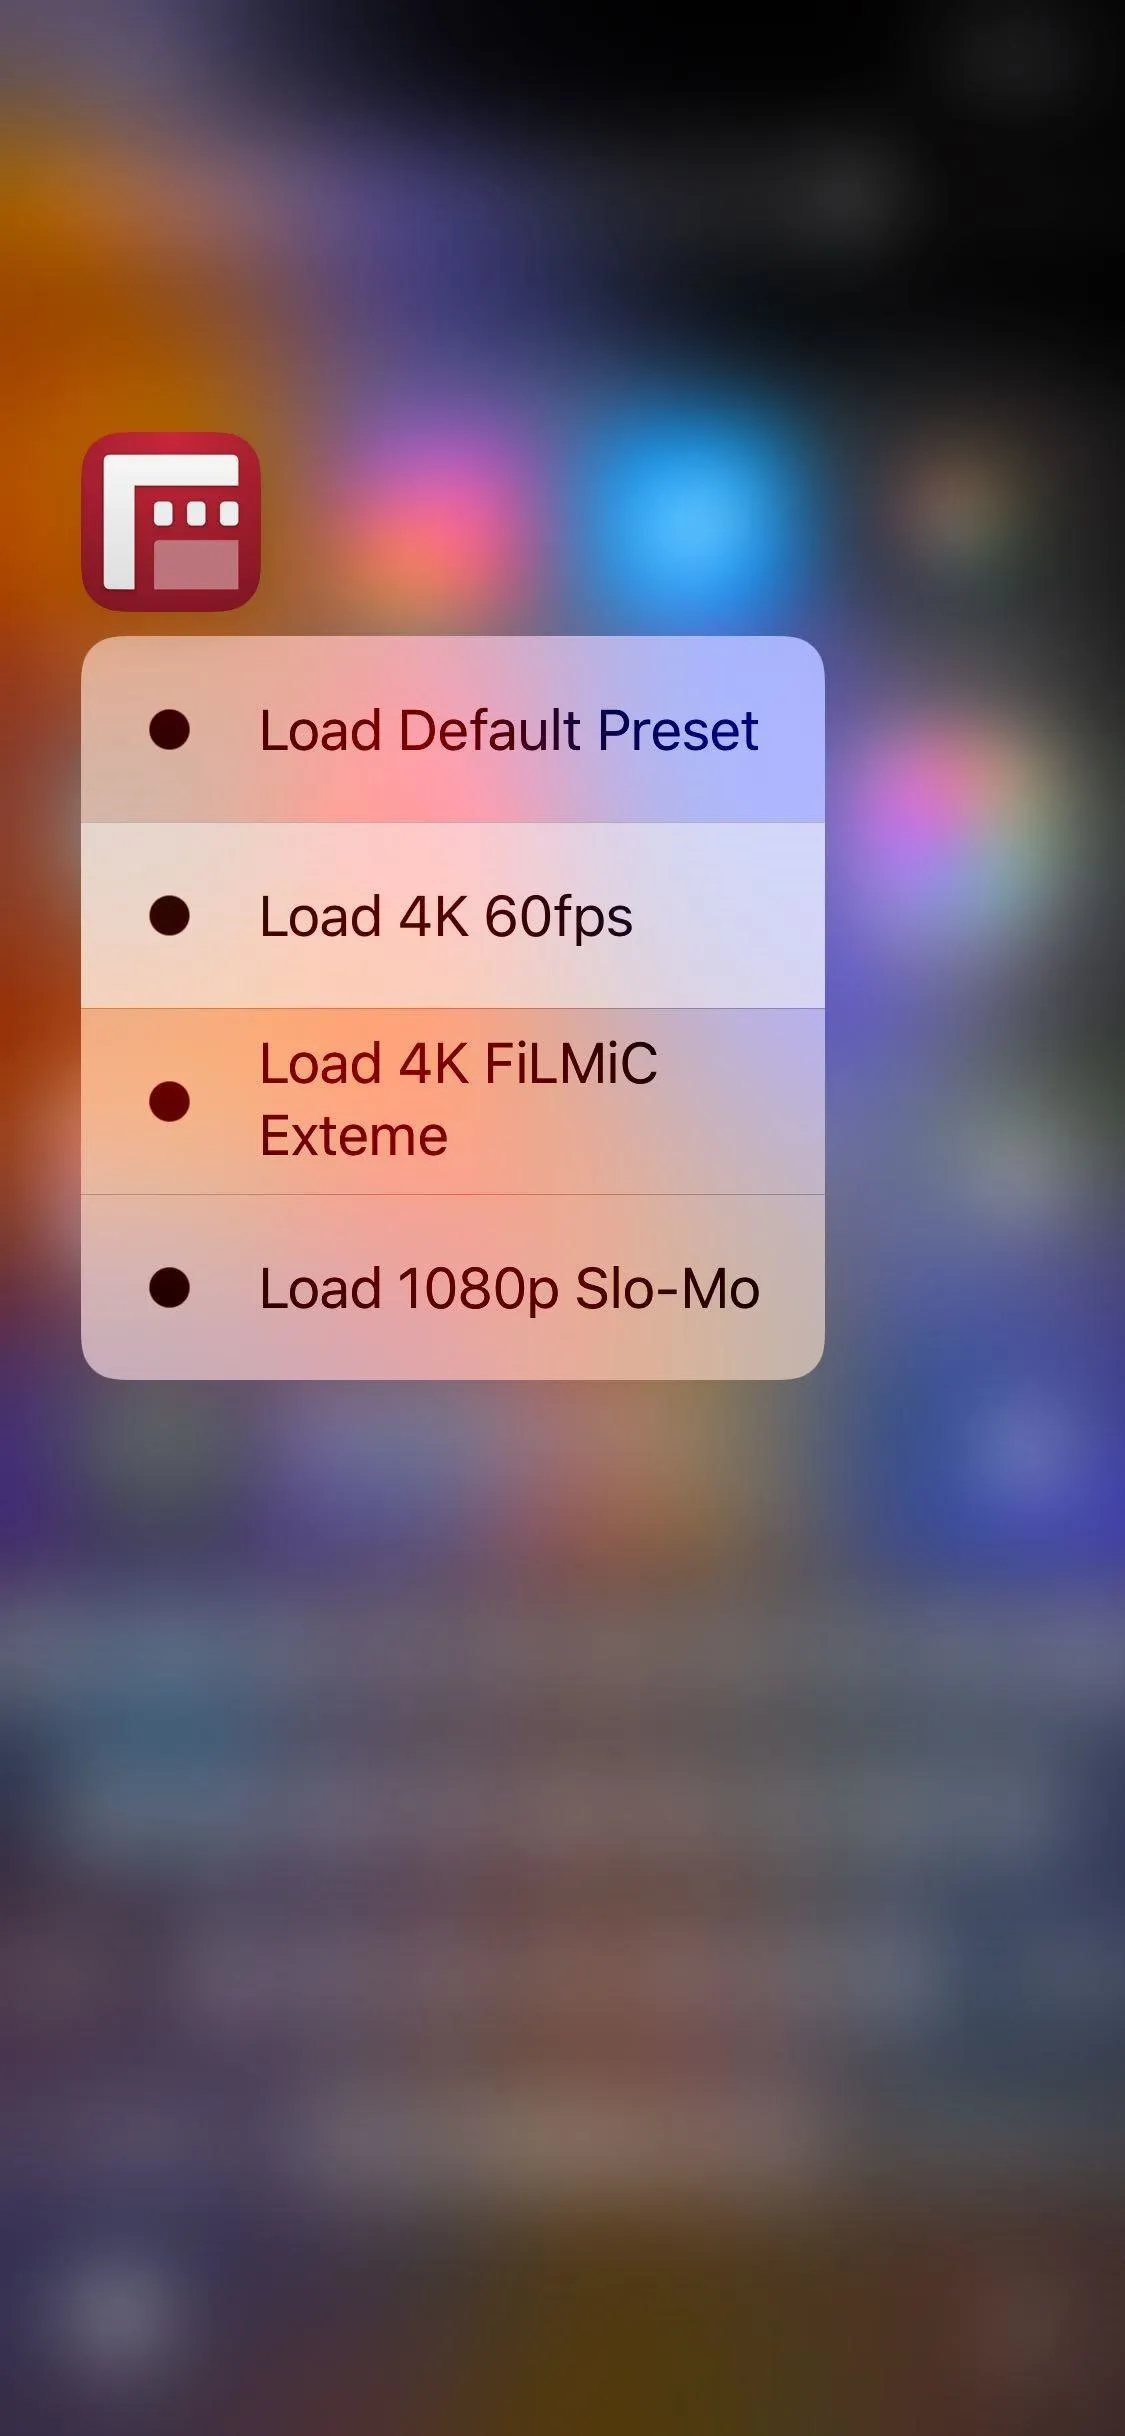
You'll know which preset is currently in effect because Filmic Pro denotes a check mark next to it via the "Presets" menu. If you see multiple check-marked presets, those presets happen to be duplicates.
3. Deleting or Renaming Presets
It's easy to rename and delete any preset you want at any time from the "Presets" menu. Unfortunately, renaming presets only works for iOS at this time.
Delete or Rename on iPhone
On an iPhone, to delete a preset, swipe left on it to reveal the "Delete" option. Tap that. Alternatively, if you swipe left too far and too fast, you will delete the preset right away. You will not be warned before deleting, so make sure you really want to delete the preset before you tap or swipe.
To rename a preset, swipe left (but not fast) on it to reveal the "Rename" option. Tap it, and Filmic Pro will launch the keyboard. Type your new name, then tap "Rename" to complete the process.
Delete or Rename on Android
On an Android phone, it works pretty much the same way as on iOS. To delete a preset, swipe left on it to reveal the "Delete" option. Tap that. You will need to tap "Delete" on the prompt to confirm, a nice failsafe in case you went too quickly and selected the wrong one.
To rename a preset, swipe left on it to reveal the "Rename" option. Tap it, and Filmic Pro will launch the keyboard. Type your new name, then tap "OK" to complete the process.

This article was produced during Gadget Hacks' special coverage on smartphone-based video creator tips for filming and editing. Check out the whole Videography series.
- Follow Gadget Hacks on Pinterest, Reddit, Twitter, YouTube, and Flipboard
- Sign up for Gadget Hacks' daily newsletter or weekly Android and iOS updates
- Follow WonderHowTo on Facebook, Twitter, Pinterest, and Flipboard
Cover image, screenshots, and GIFs by Jake Peterson/Gadget Hacks


Comments
Be the first, drop a comment!