


Getting files from an Android device to a Mac or iOS device is not always easy or convenient, and the same goes for transferring content from a Mac or iOS device to an Android device. But we're here to tell you there is a better way than using USB cables, email, and cloud storage, and it gives you the look and feel of AirDrop.
Google has a file transfer tool called Android File Transfer, but you need to connect to your computer with a USB cable, it doesn't always work great (or at all), and it leaves out iOS support. Then there's Apple's aforementioned AirDrop, but it only works on Apple products. Third-party services like HandShaker require that you install apps on all devices, and many do not support iOS either.
You could use cloud storage services like Dropbox since it's simple to add files to the cloud, which can be seen on all of your devices, and you can make shareable links. But that's entirely dependent on your internet connection, so if you're using throttled Wi-Fi or are in a dead cellular zone, you're going to have issues. And email, well, that's just entirely inconvenient, and there are file size limits.
So, where does that leave us? Snapdrop is a good alternative. Skip to Step 1 below to start using it right away, or read on to see how it works.
How Snapdrop Works
Snapdrop is a PWA (progressive web app) that uses web browsers and the current Wi-Fi network you're on to send data from one device to another. It first connects to a signaling server online via WebSocket using TLS so that the devices can exchange info about their media capabilities. Then, if it's determined that the two devices work together as needed, the data transfer is completed using WebRTC (Web Real-Time Communication) over DTLS, which sends the file from browser to browser.
The server is only used to establish that the two devices can work together, and it will not have any access to the actual files being transferred since that happens peer-to-peer from one device directly to the other using DTLS. And since it uses a TLS connection to the server over HTTPS (using WSS, or WebSocket Secure), the data is encrypted.
However, if it's determined that WebRTC won't work between the browsers on the devices, it will fall back to using WebSocket for the transfer. The WebSocket is just a proxy, so it won't store anything during transit or when it passes through the server, so you don't have to worry about your data falling into anyone else's hands. And as mentioned above, the data is encrypted, so the transfer happens securely.
Use a Supported Browser
Since Snapdrop uses WebRTC and WebSocket as a fallback, you will need to use a browser that supports either communication protocol. Currently, all browsers support the WebSocket protocol, but ones that support WebRTC include Google Chrome, Mozilla Firefox, Opera Mobile, and Apple Safari. It should also work with Chrome-based browsers such as Brave and Microsoft Edge.
On Android devices and Macs, use any of those browsers to open the website.
However, if you're going to transfer files to an iPhone, iPad, or iPod touch, you'll want to use Safari on iOS 13 or later. Apple blocks third-party iOS browsers from using WebRTC as a security precaution, so those browsers may using WebSocket instead of just fail to download anything. In the best-case scenario, you'll need to open the file in the browser first and then download it, which is less convenient and not entirely possible if not a file type you can actually do that with.
Open Snapdrop
Now, connect both your Android phone or tablet and macOS or iOS device to the same Wi-Fi network. They need to be on the same network to communicate locally with one another. Then, in a compatible web browser, visit the following link.
- https://snapdrop.net
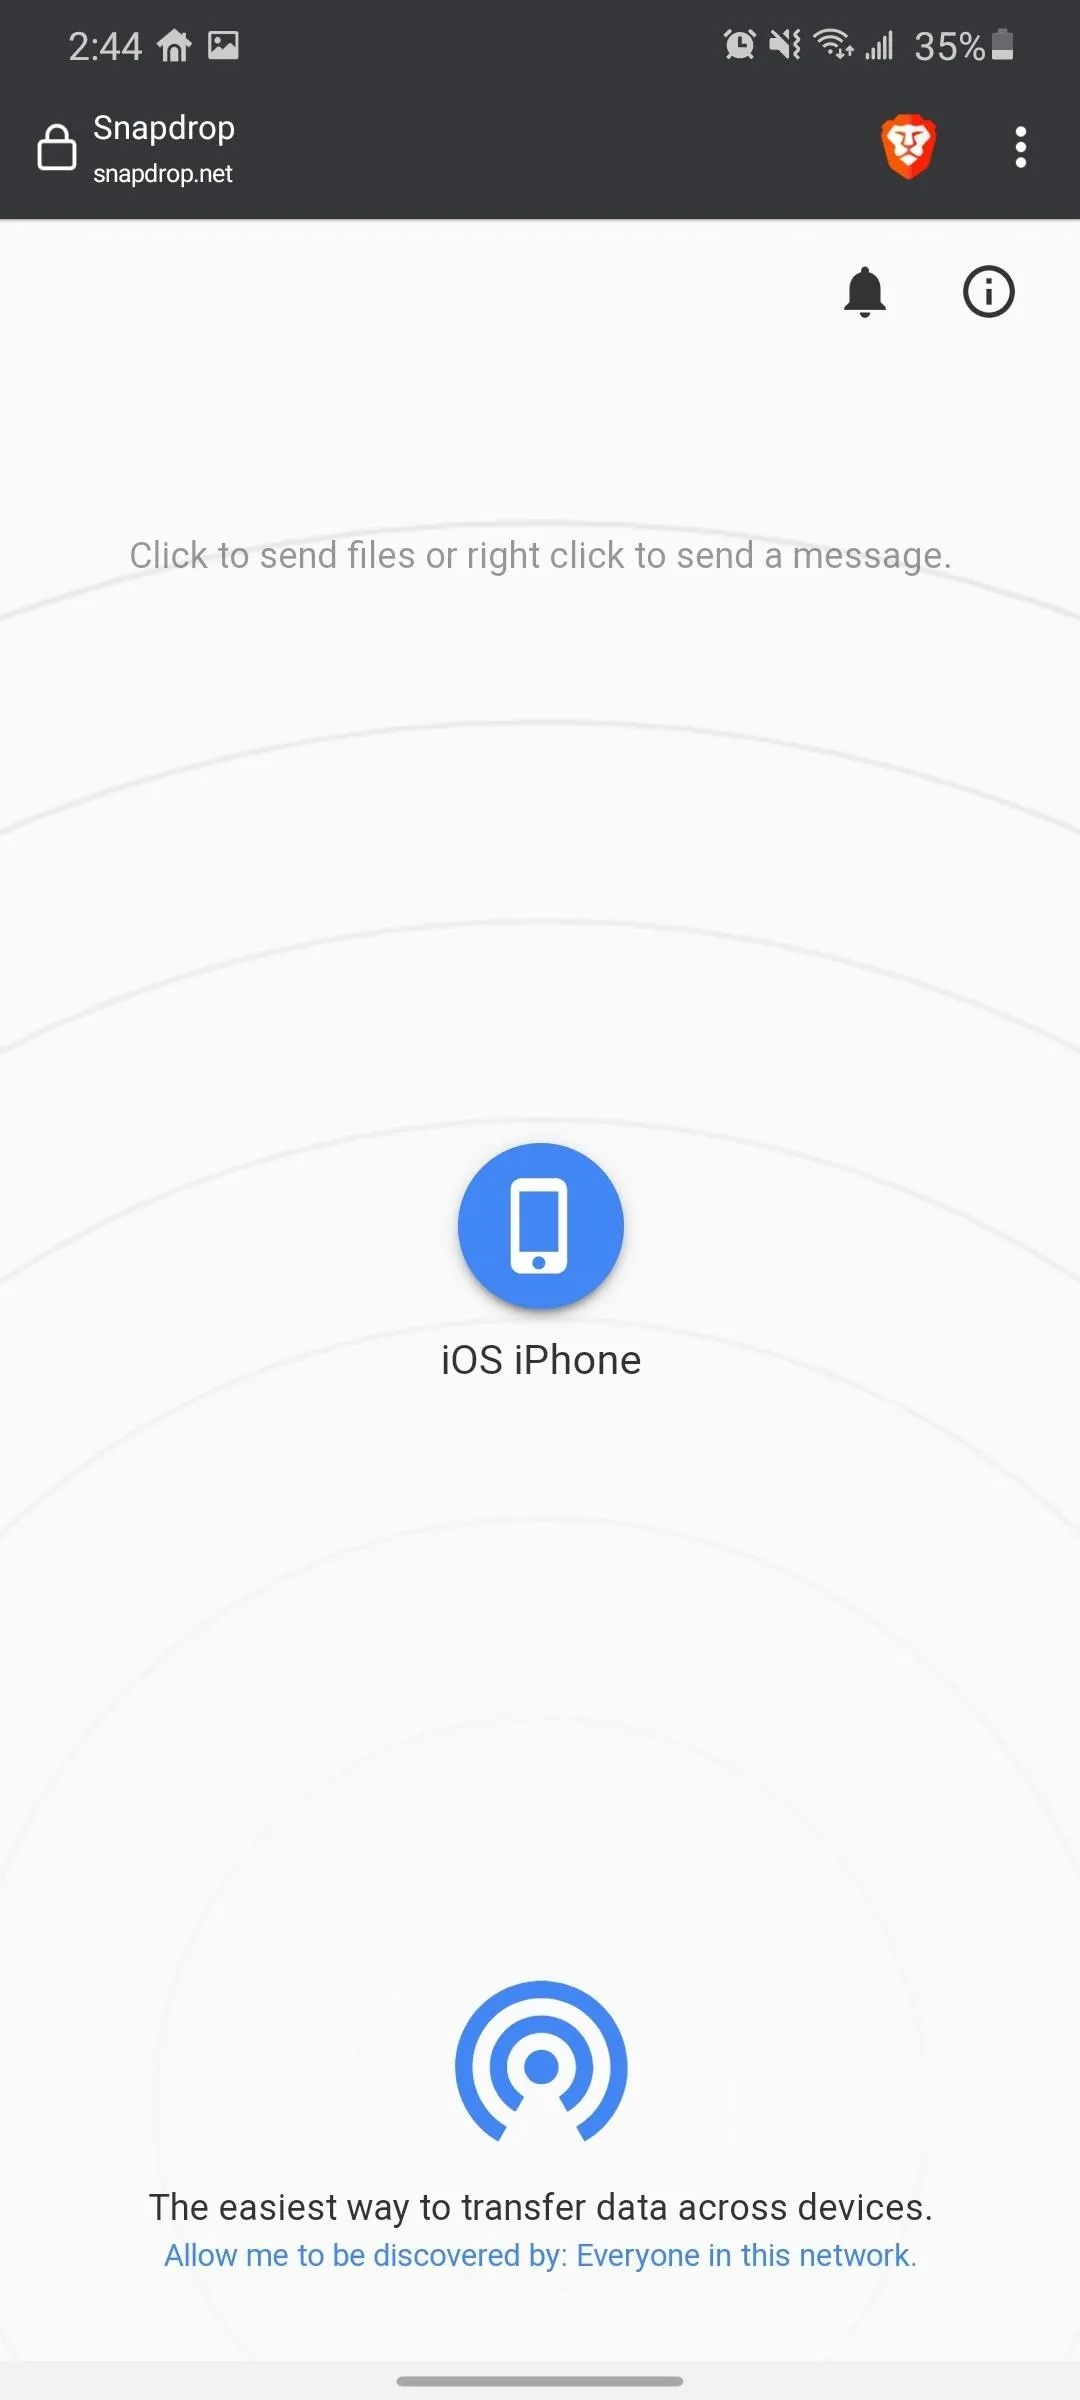
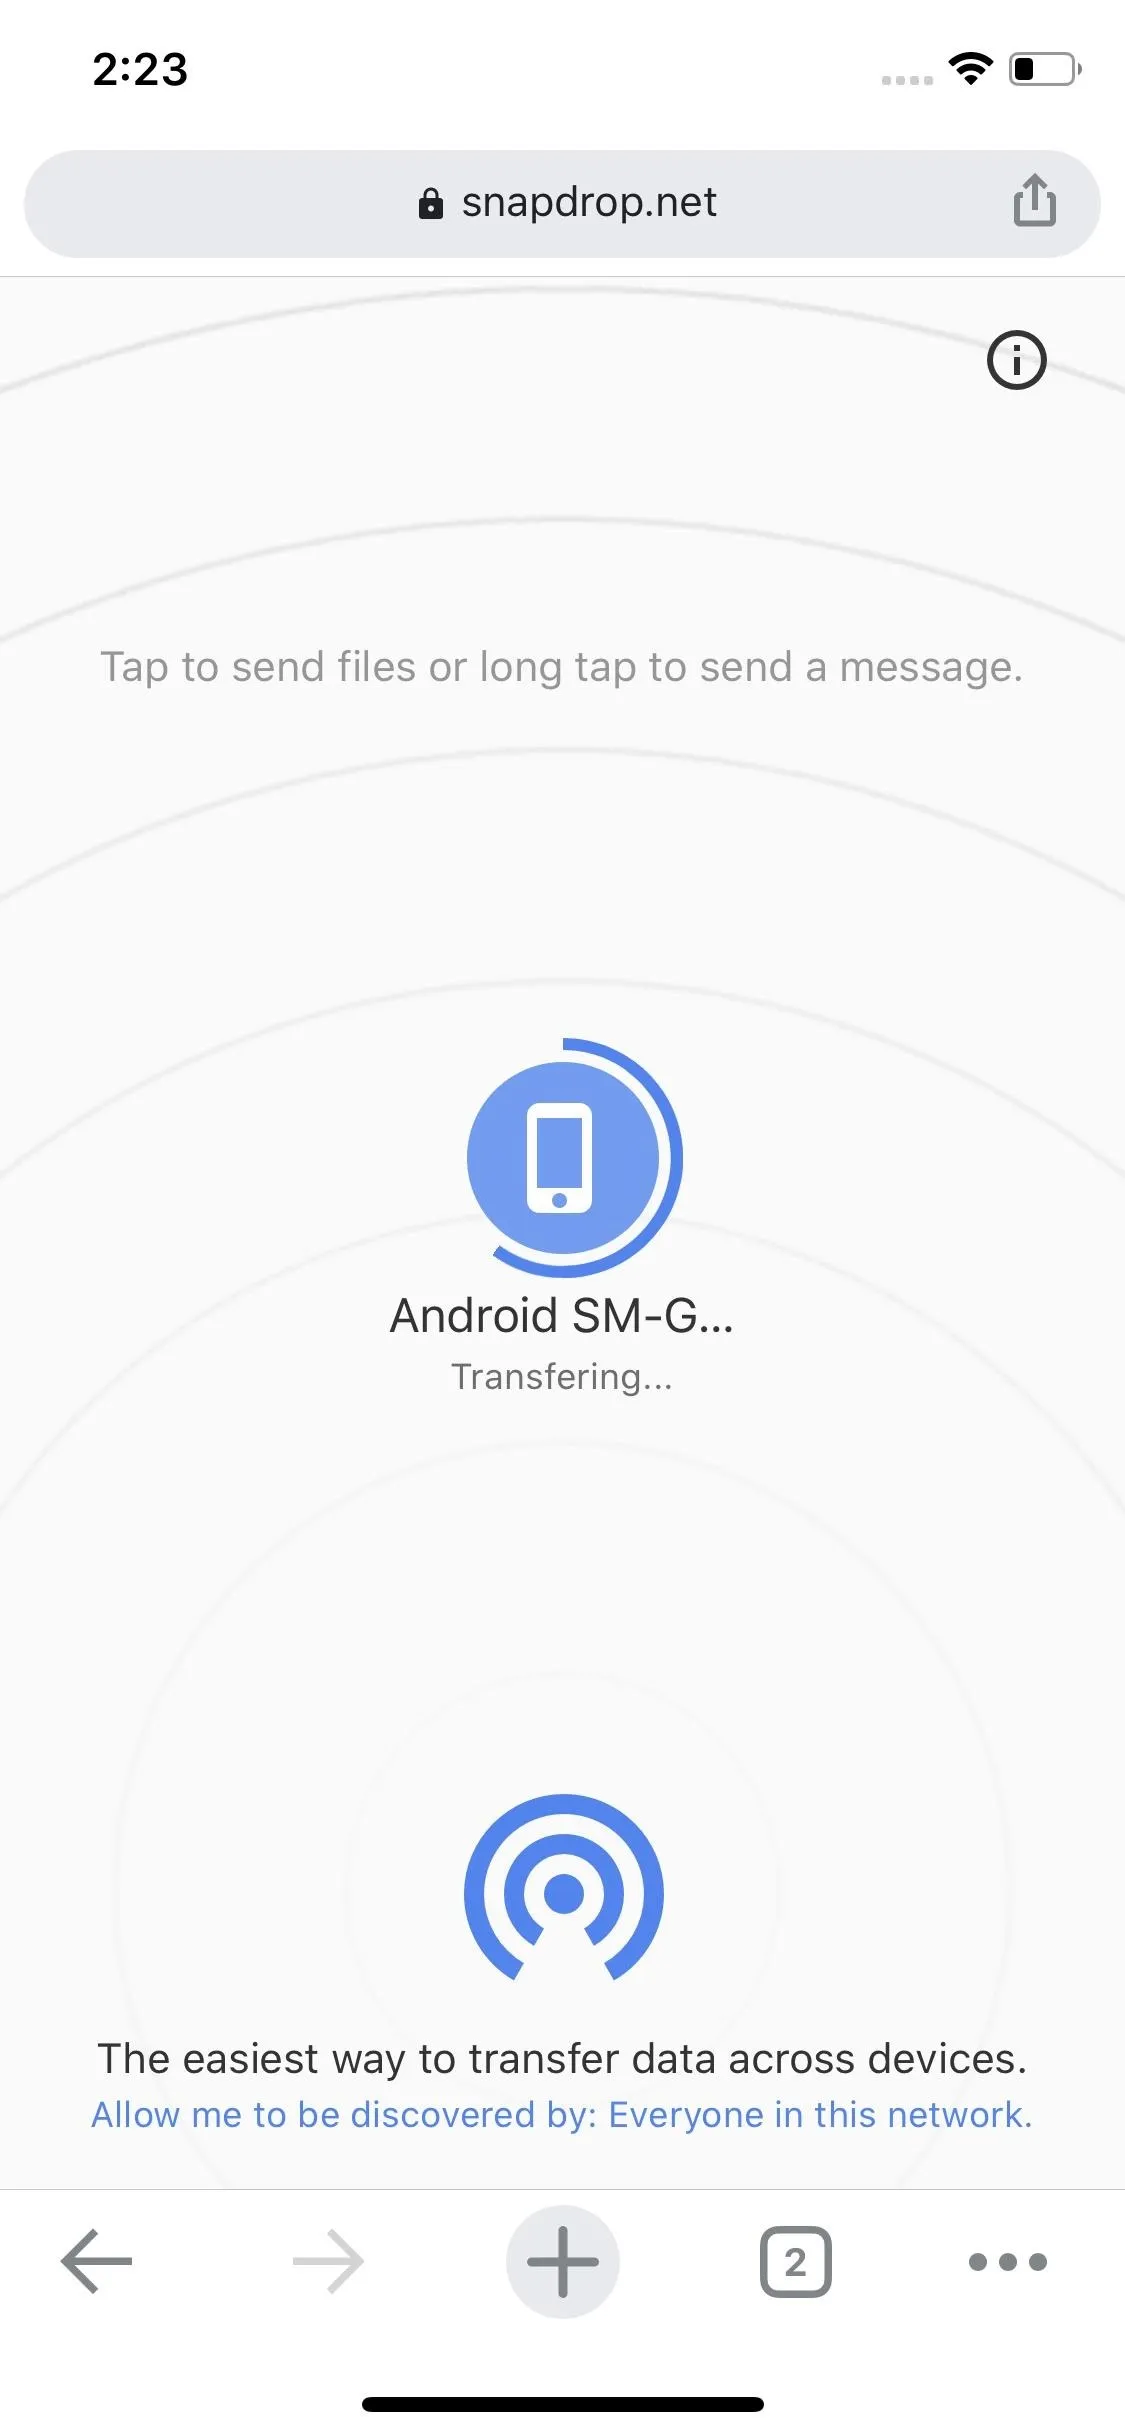
With the website open, you'll see a small radar image and a message that says, "Allow me to be discovered by: Everyone in this network." The symbol looks very much like AirDrop's icon, and the message also gives that illusion, though, unlike with AirDrop, you cannot change it from "everyone" to "contacts only" or "no one."
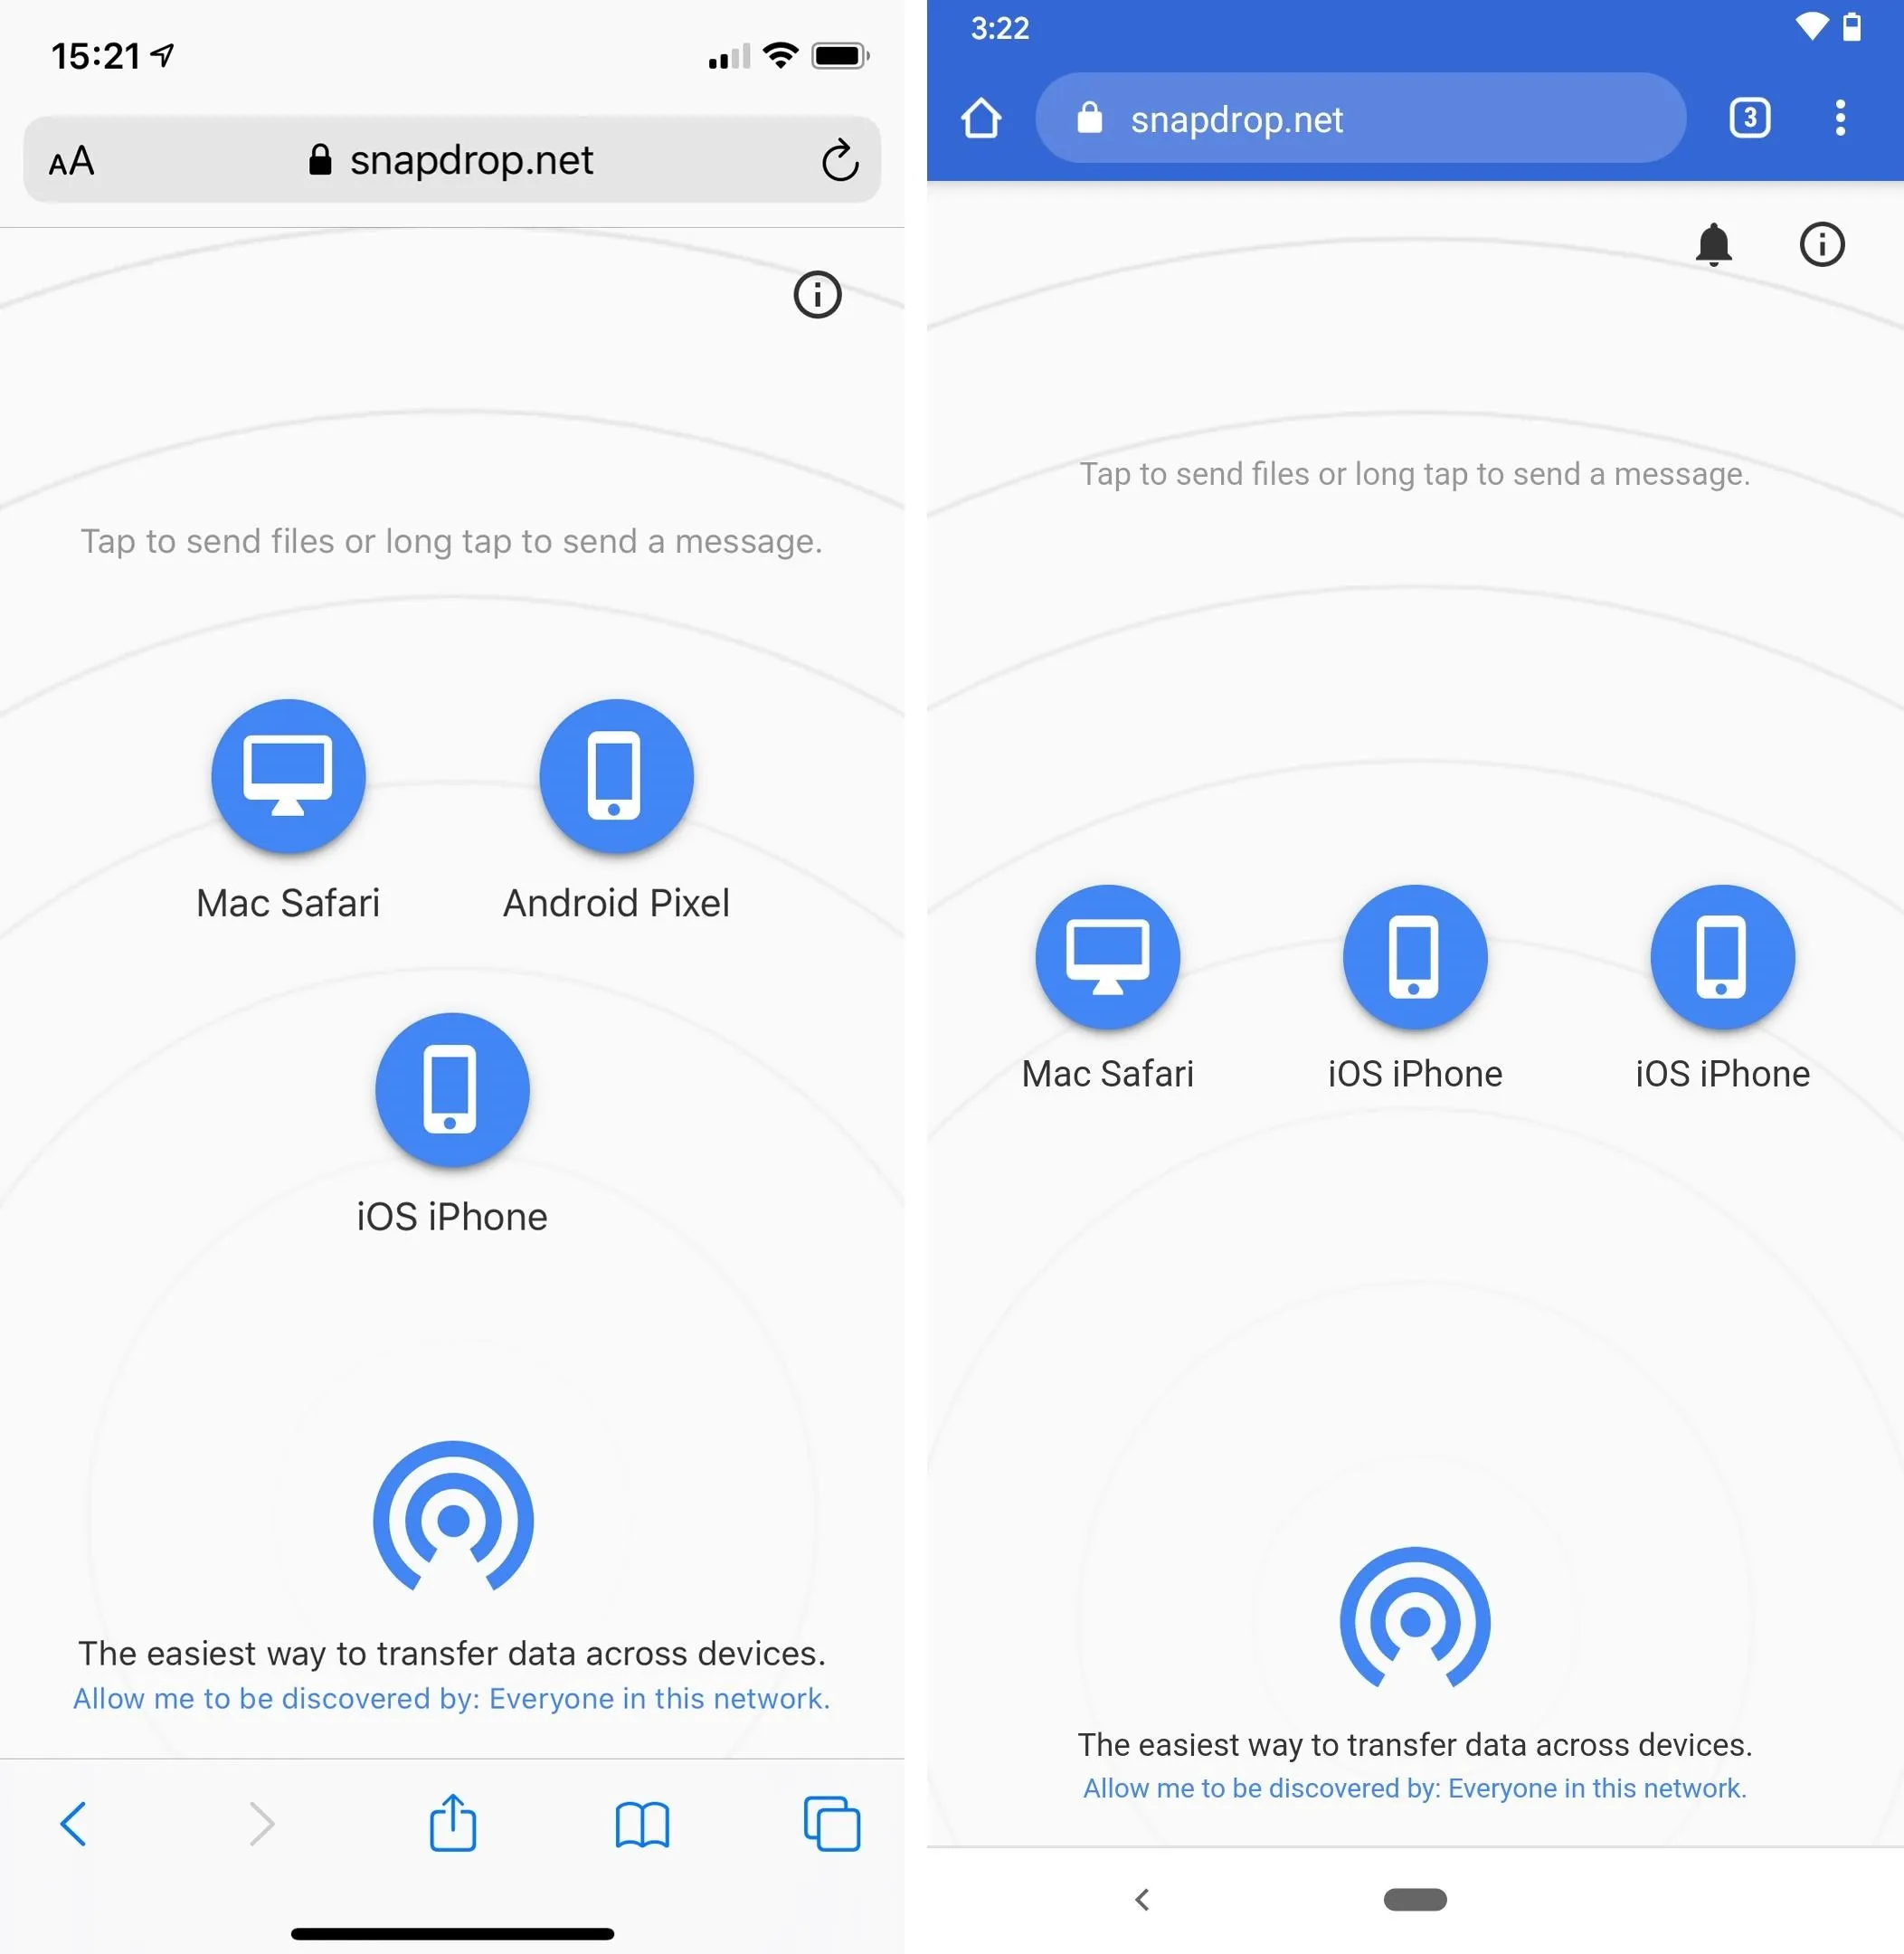
Your device is now discoverable to anyone on the network. Still, all file transfers require permission to download on the receiving end, so nobody can send you a payload or other infected file without you seeing it, at least.
Send a File
While it's all pretty much the same, selecting a file on your device to transfer to another device will look different from Android to iOS to macOS. However, all will work similarly in some regards, such as when you try sending multiple files at once. You can do so, but unlike with AirDrop, they will be transferred one at a time, with each file needing permission on the receiving end to download separately.
Also, you can only send files locally and online. There is no offline method nor a way to share files with individuals outside your network. And as far as security is concerned, we've already covered that above.
Send from Android to iOS or macOS
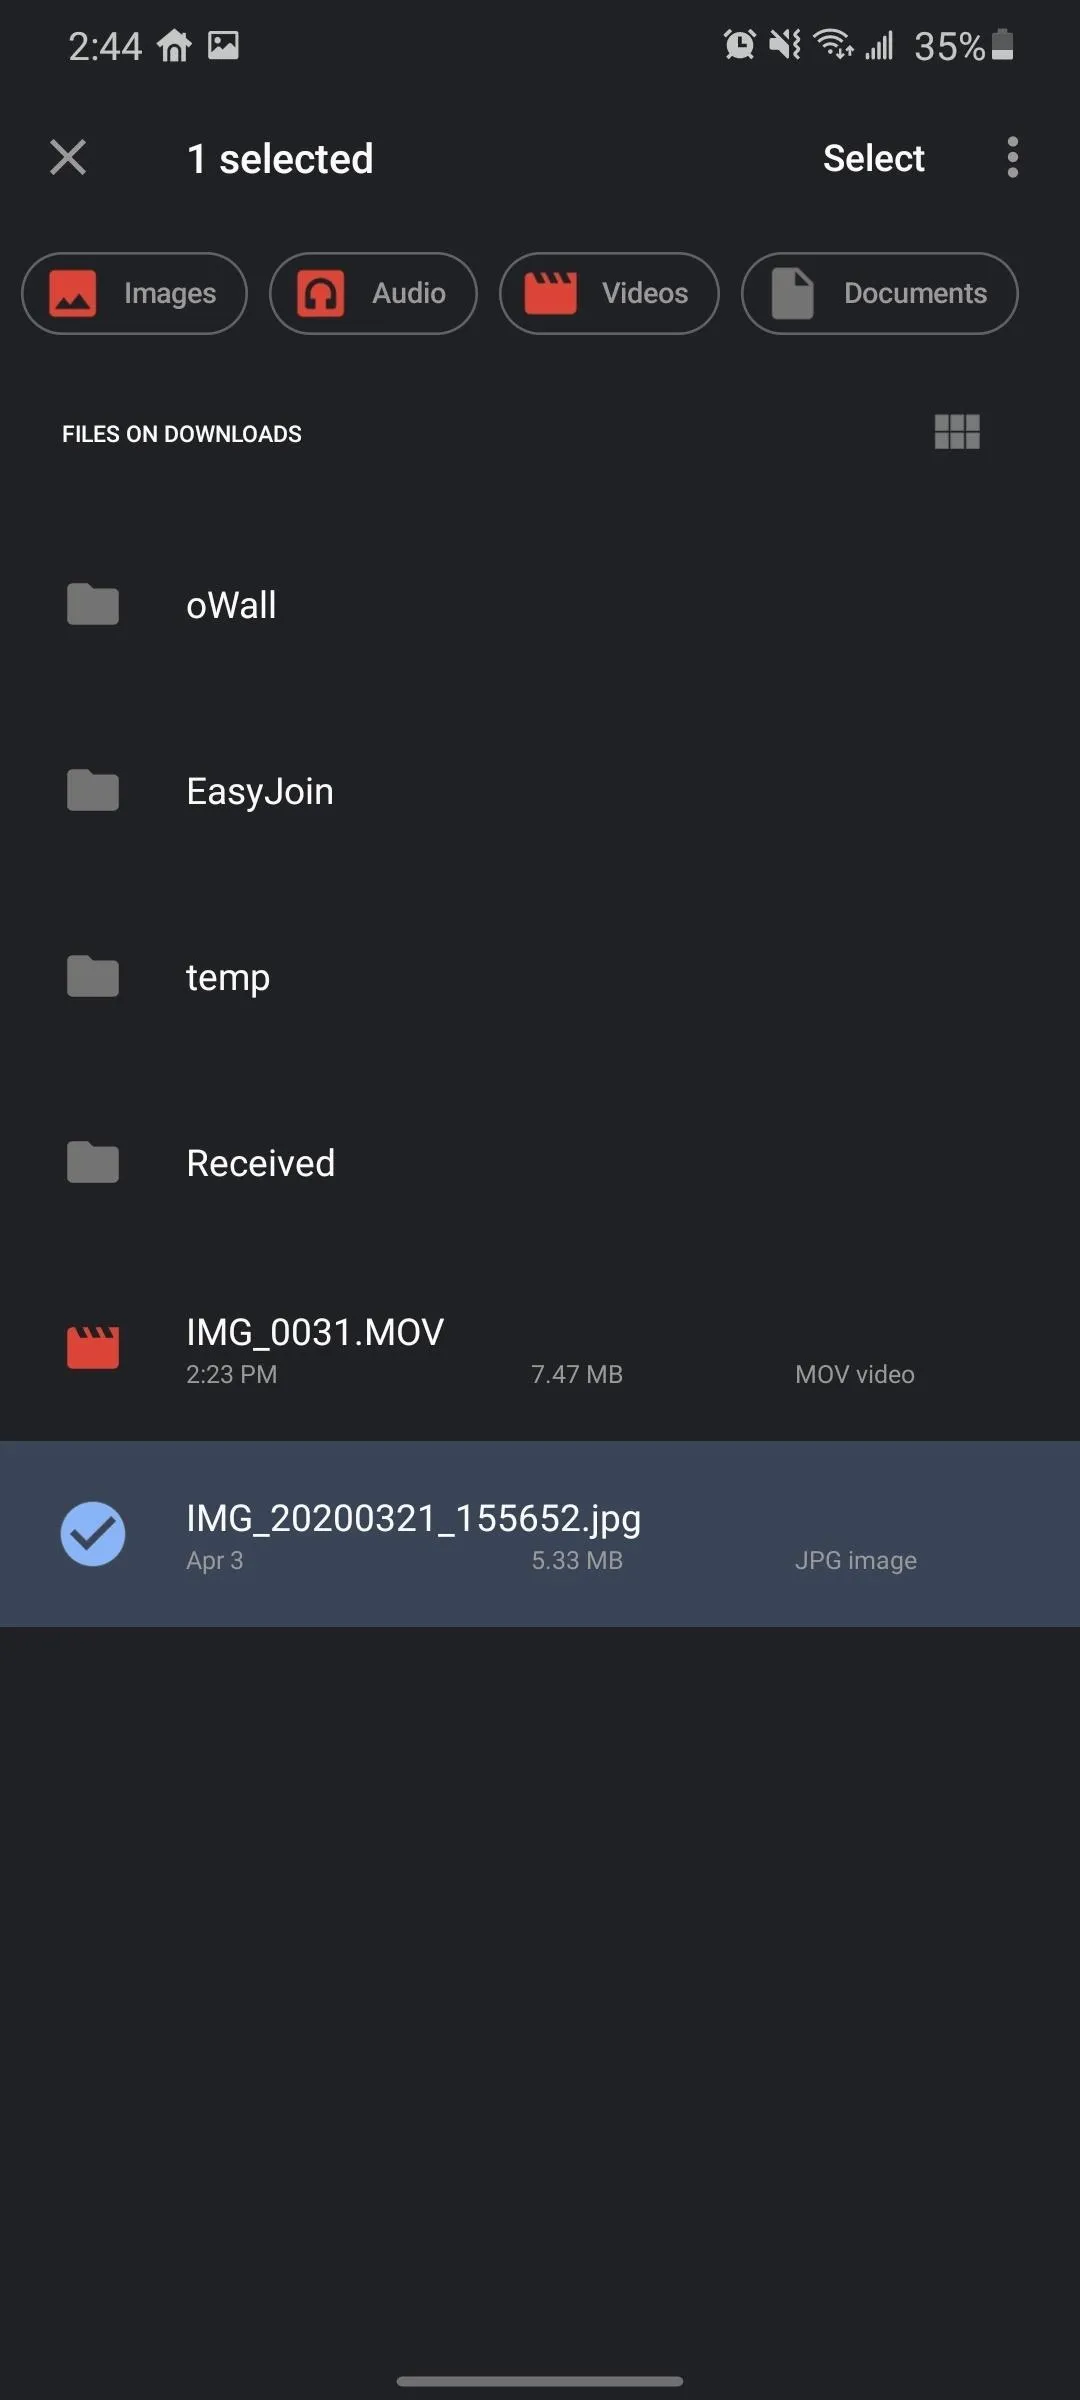
Select the device you wish to send a file to, then, in the options that appear, select "Files" to open the file browser. You could also choose "Camera" to take a photo right away or "Camera Video" to shoot a movie on the spot, but you'll need to give permission to use your camera or camera and microphone, respectively.
We're just using "Files" to transfer something we already have since that's safer. Look for and select any file you want to share — most file types are supported — and the transfer process will start.
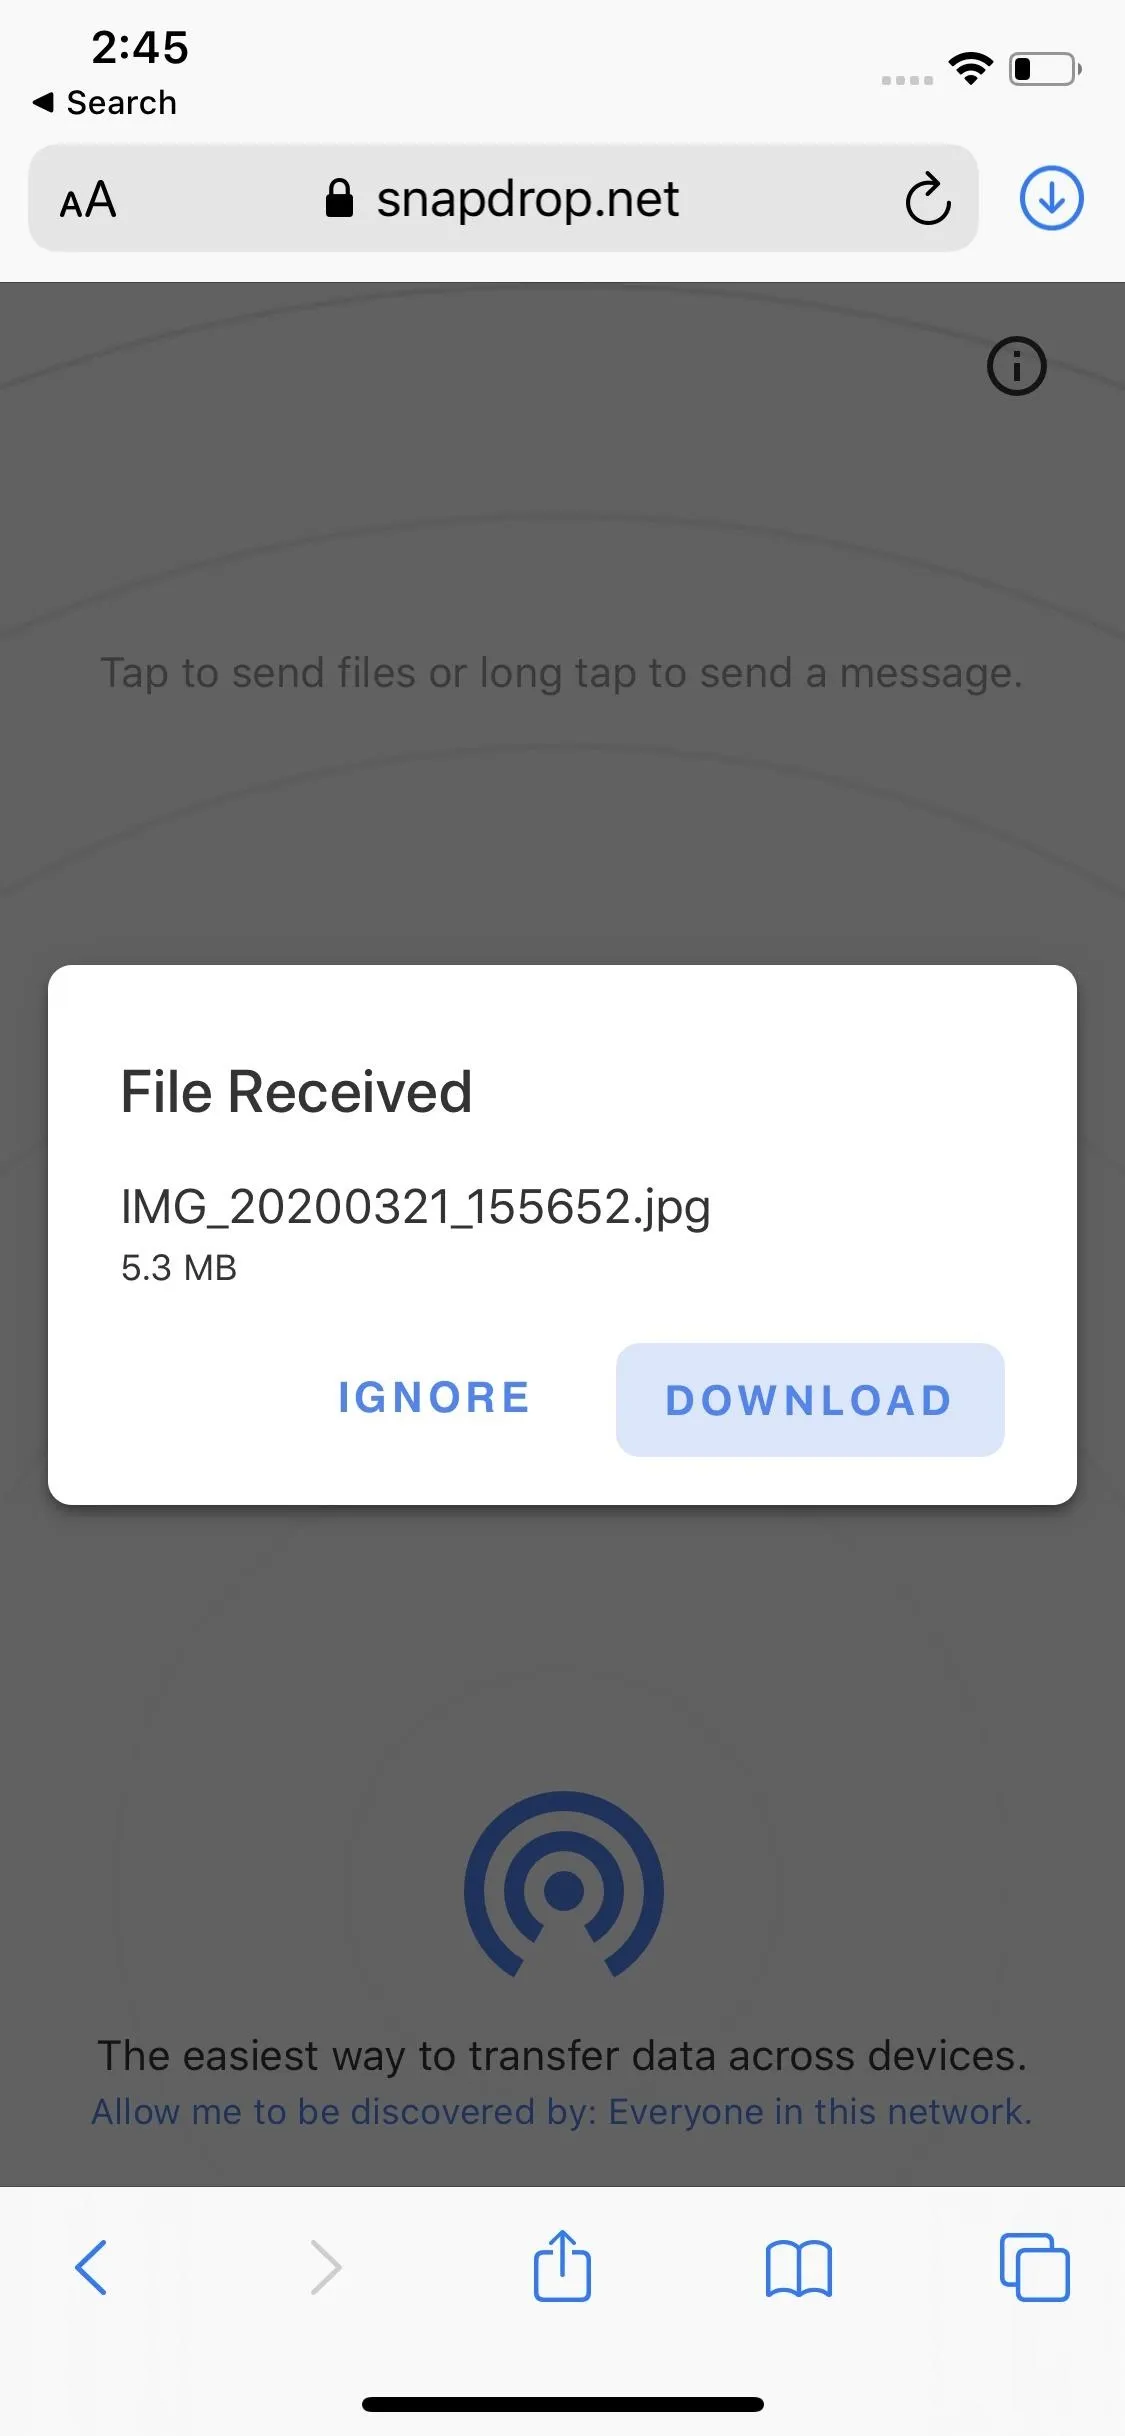
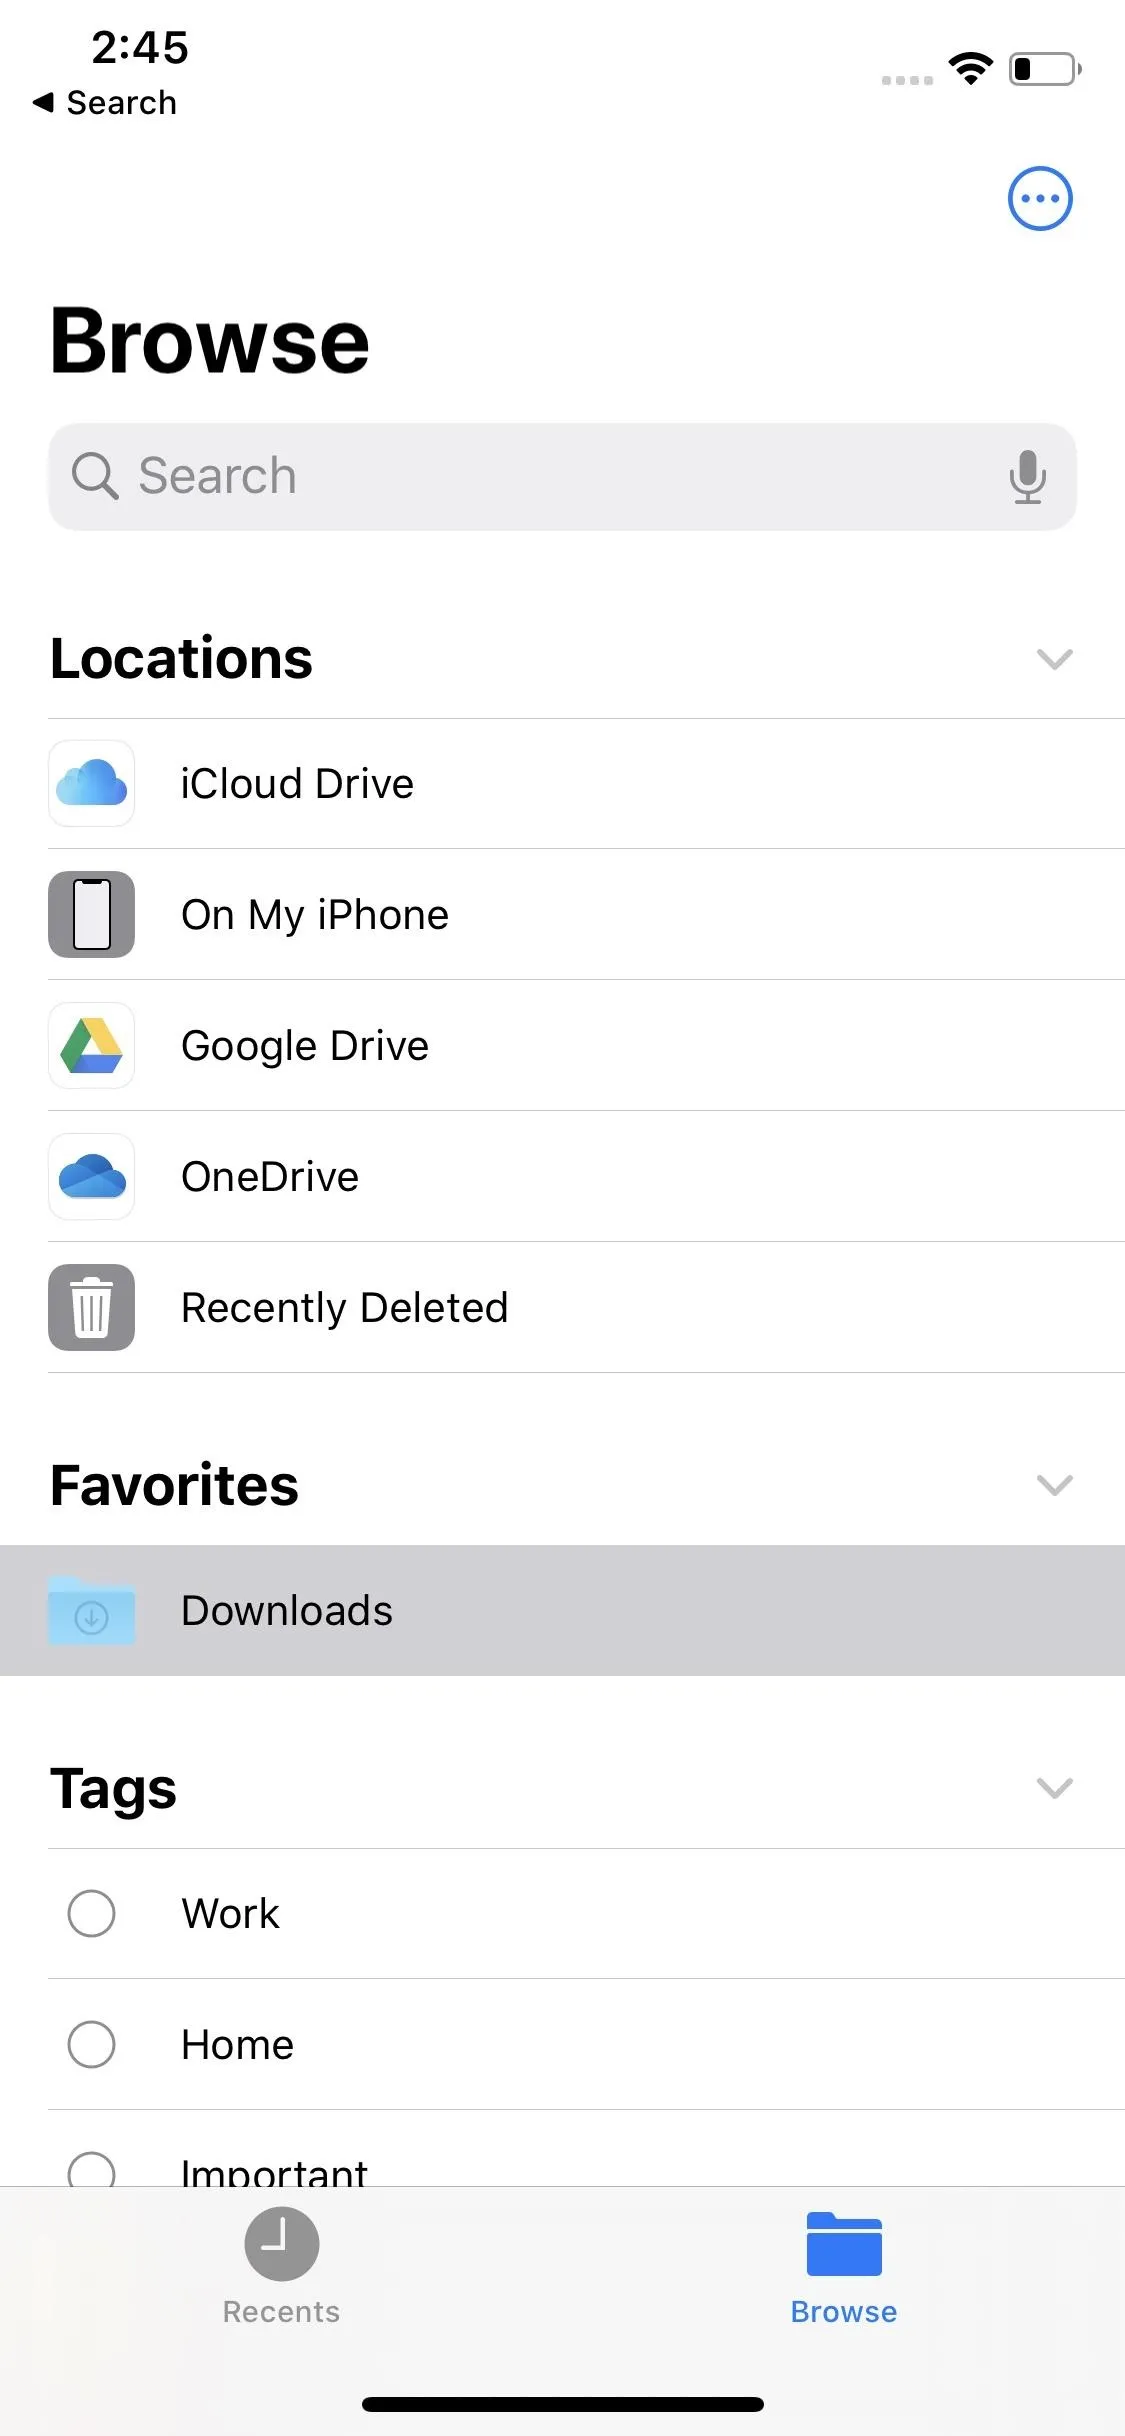
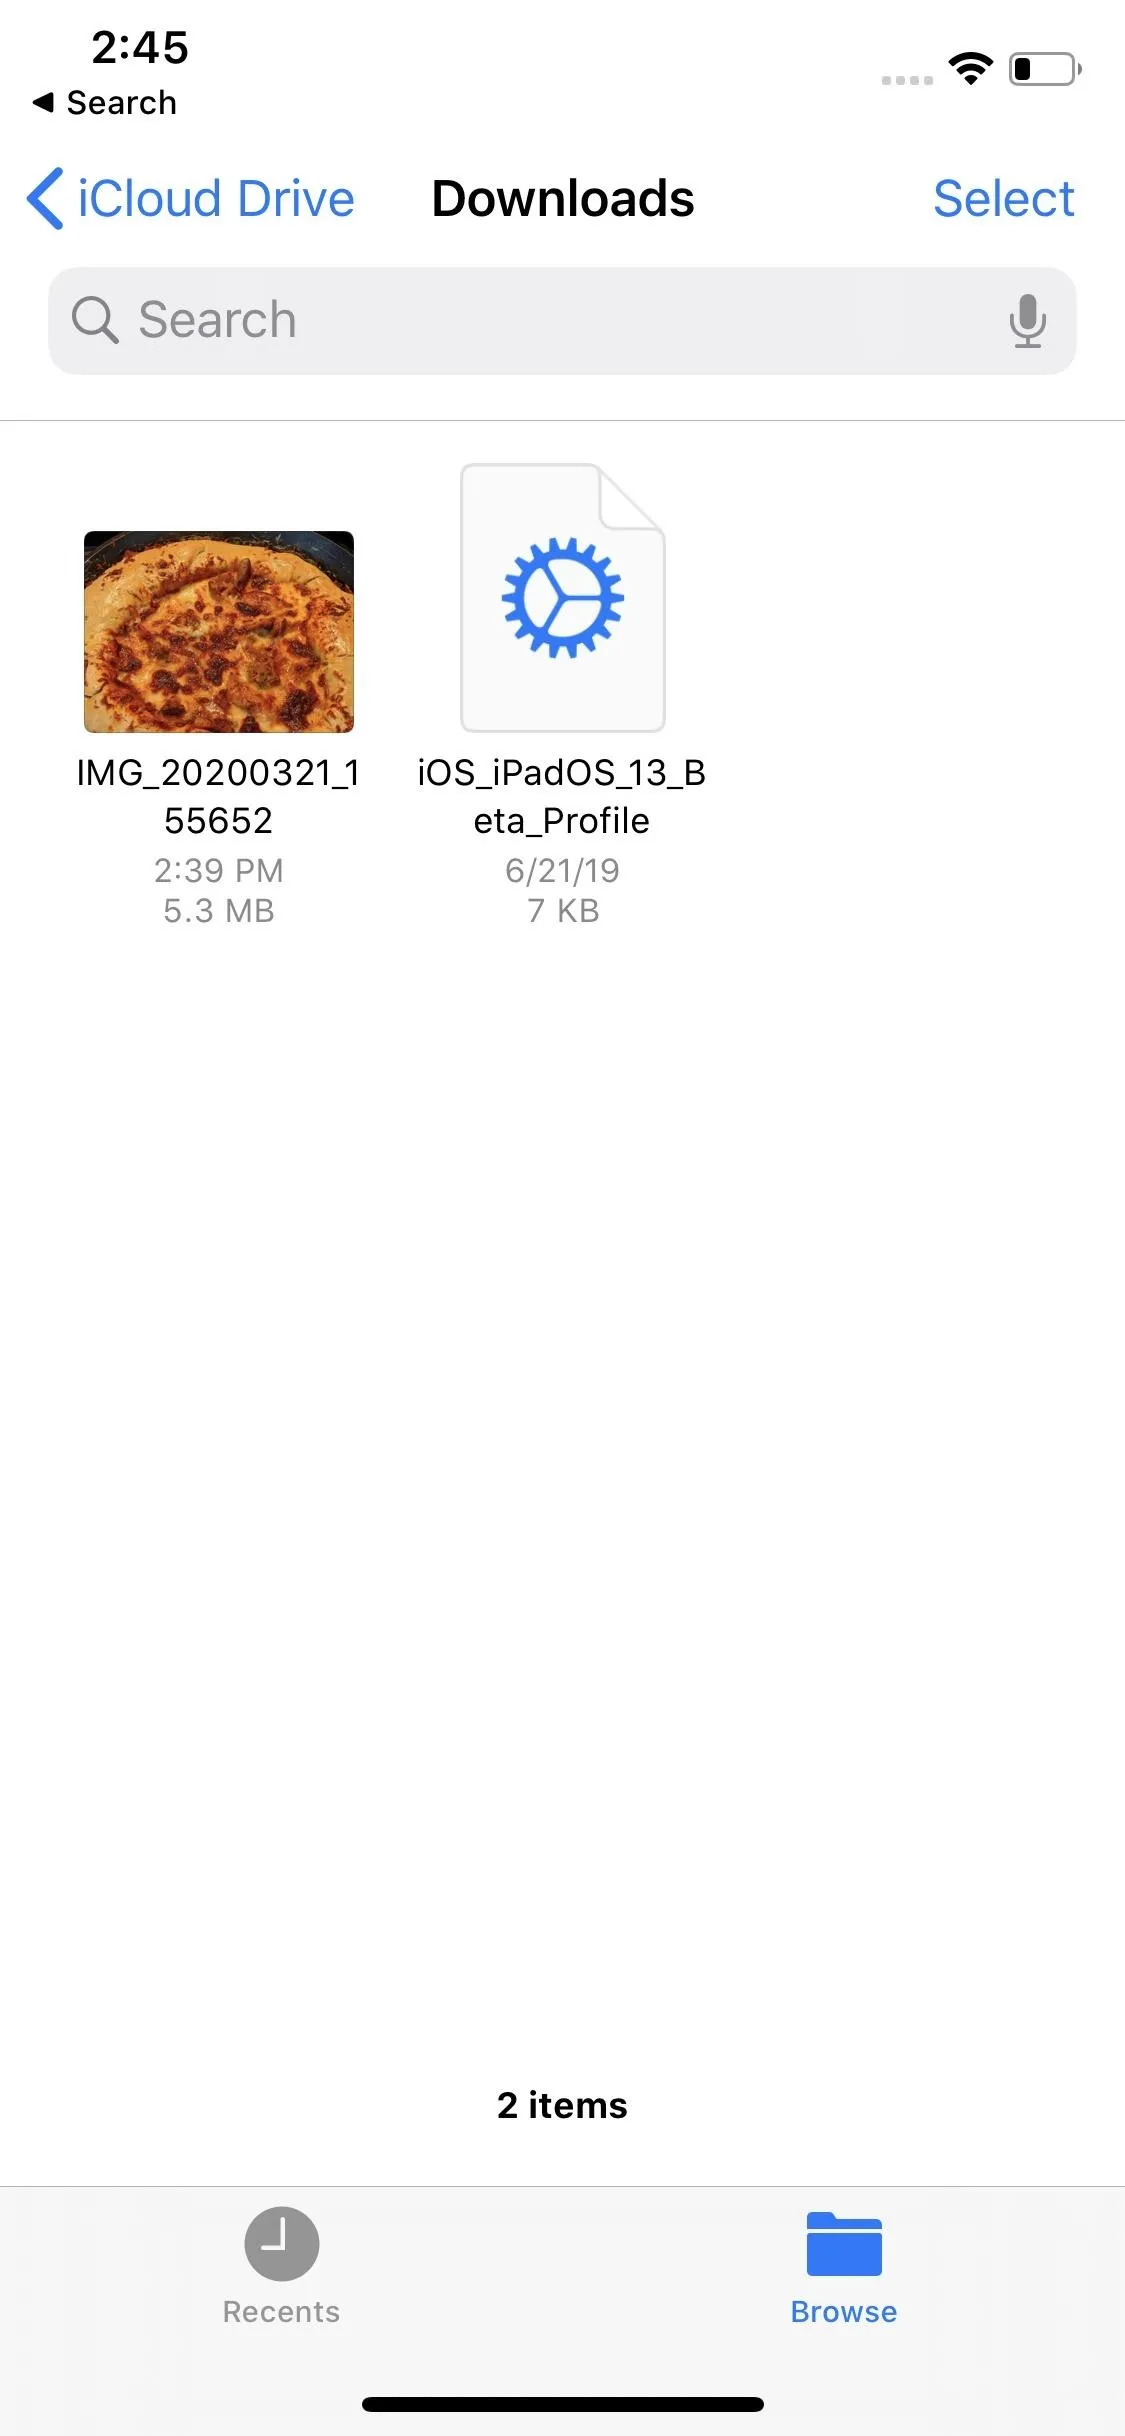
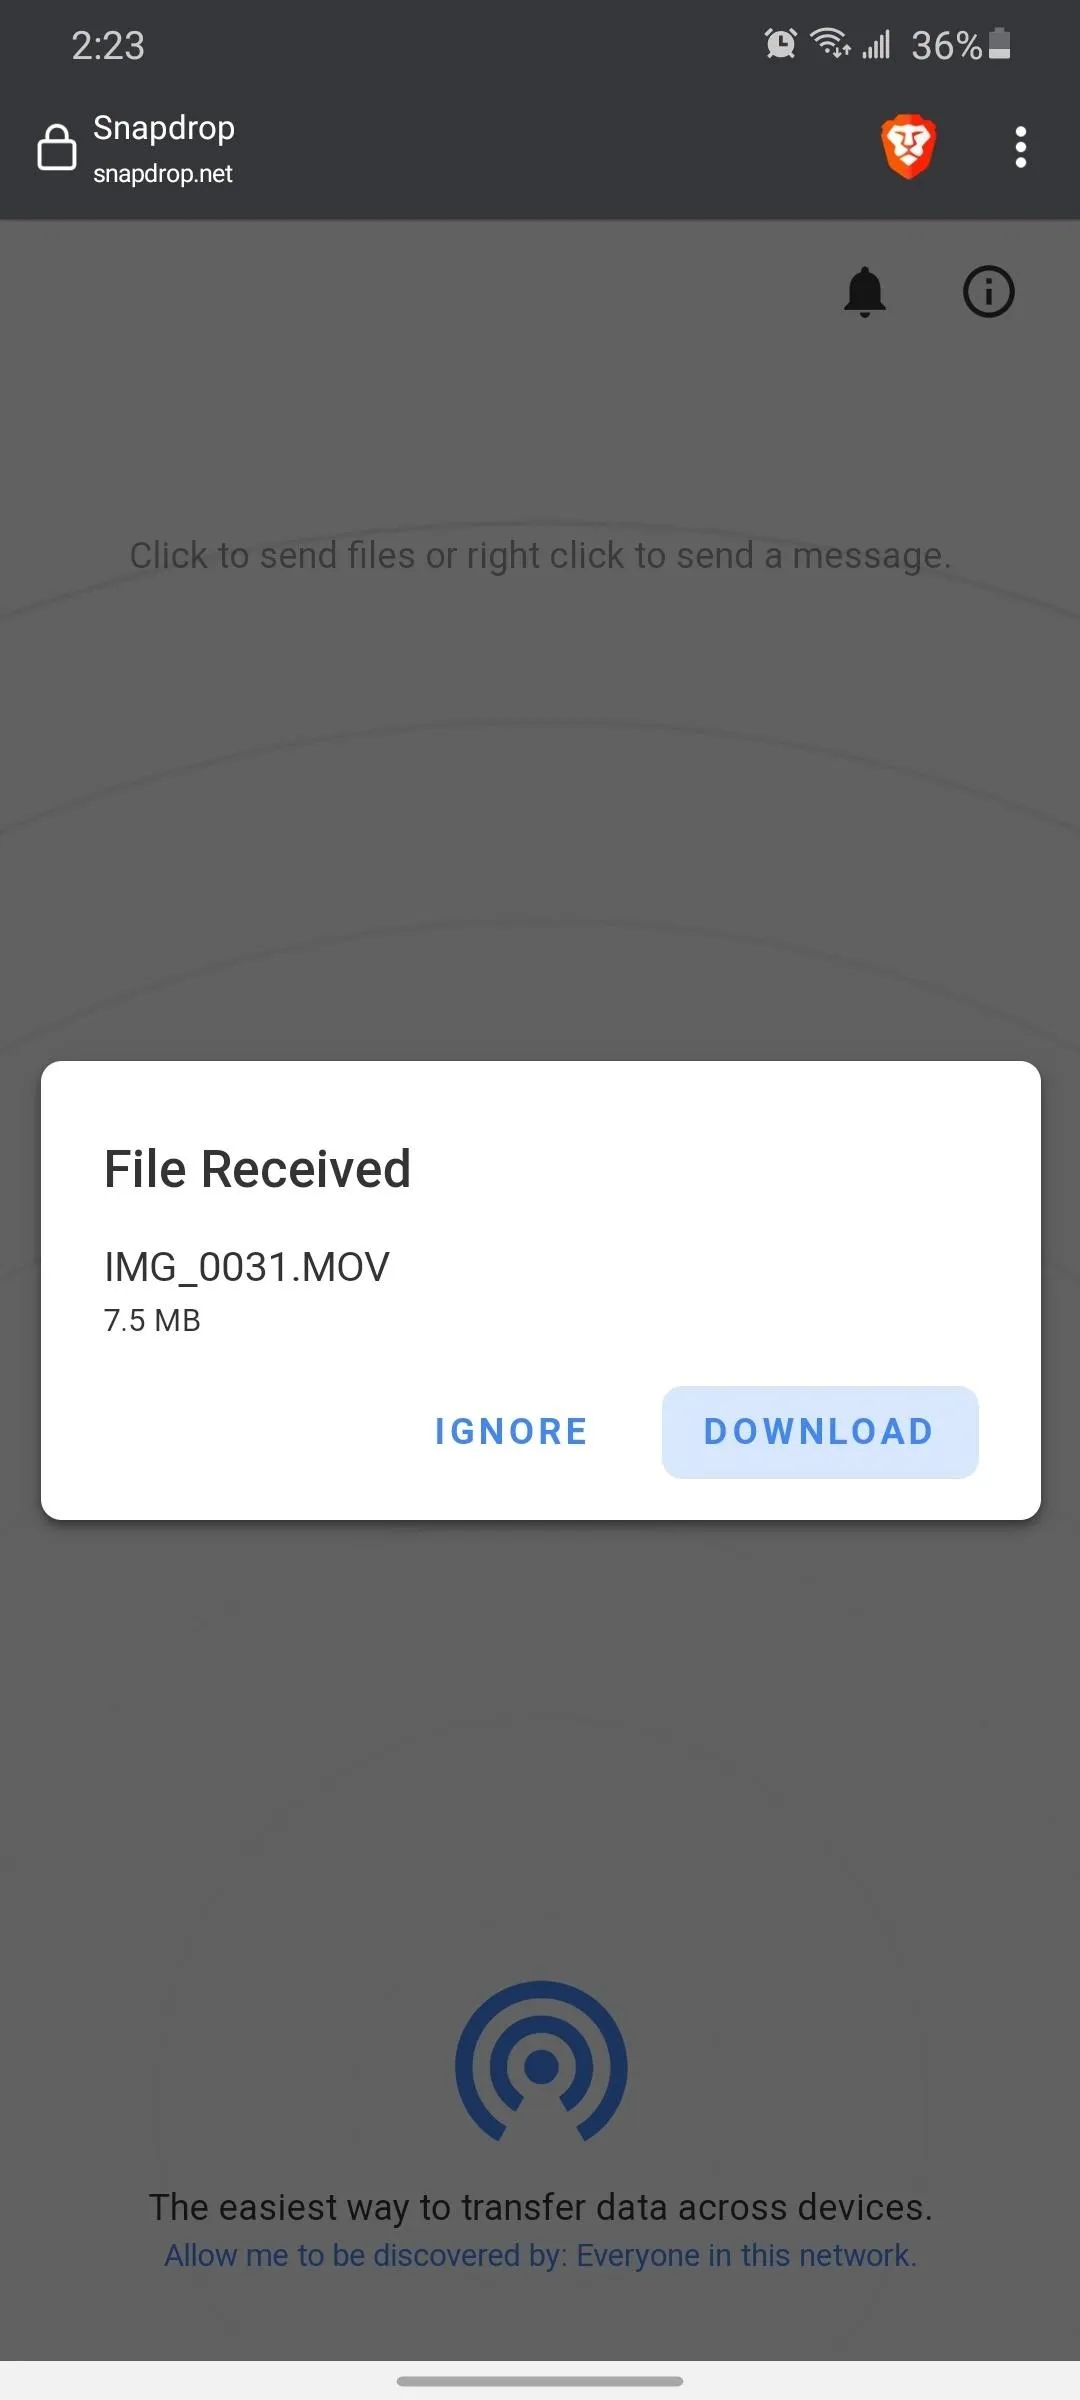
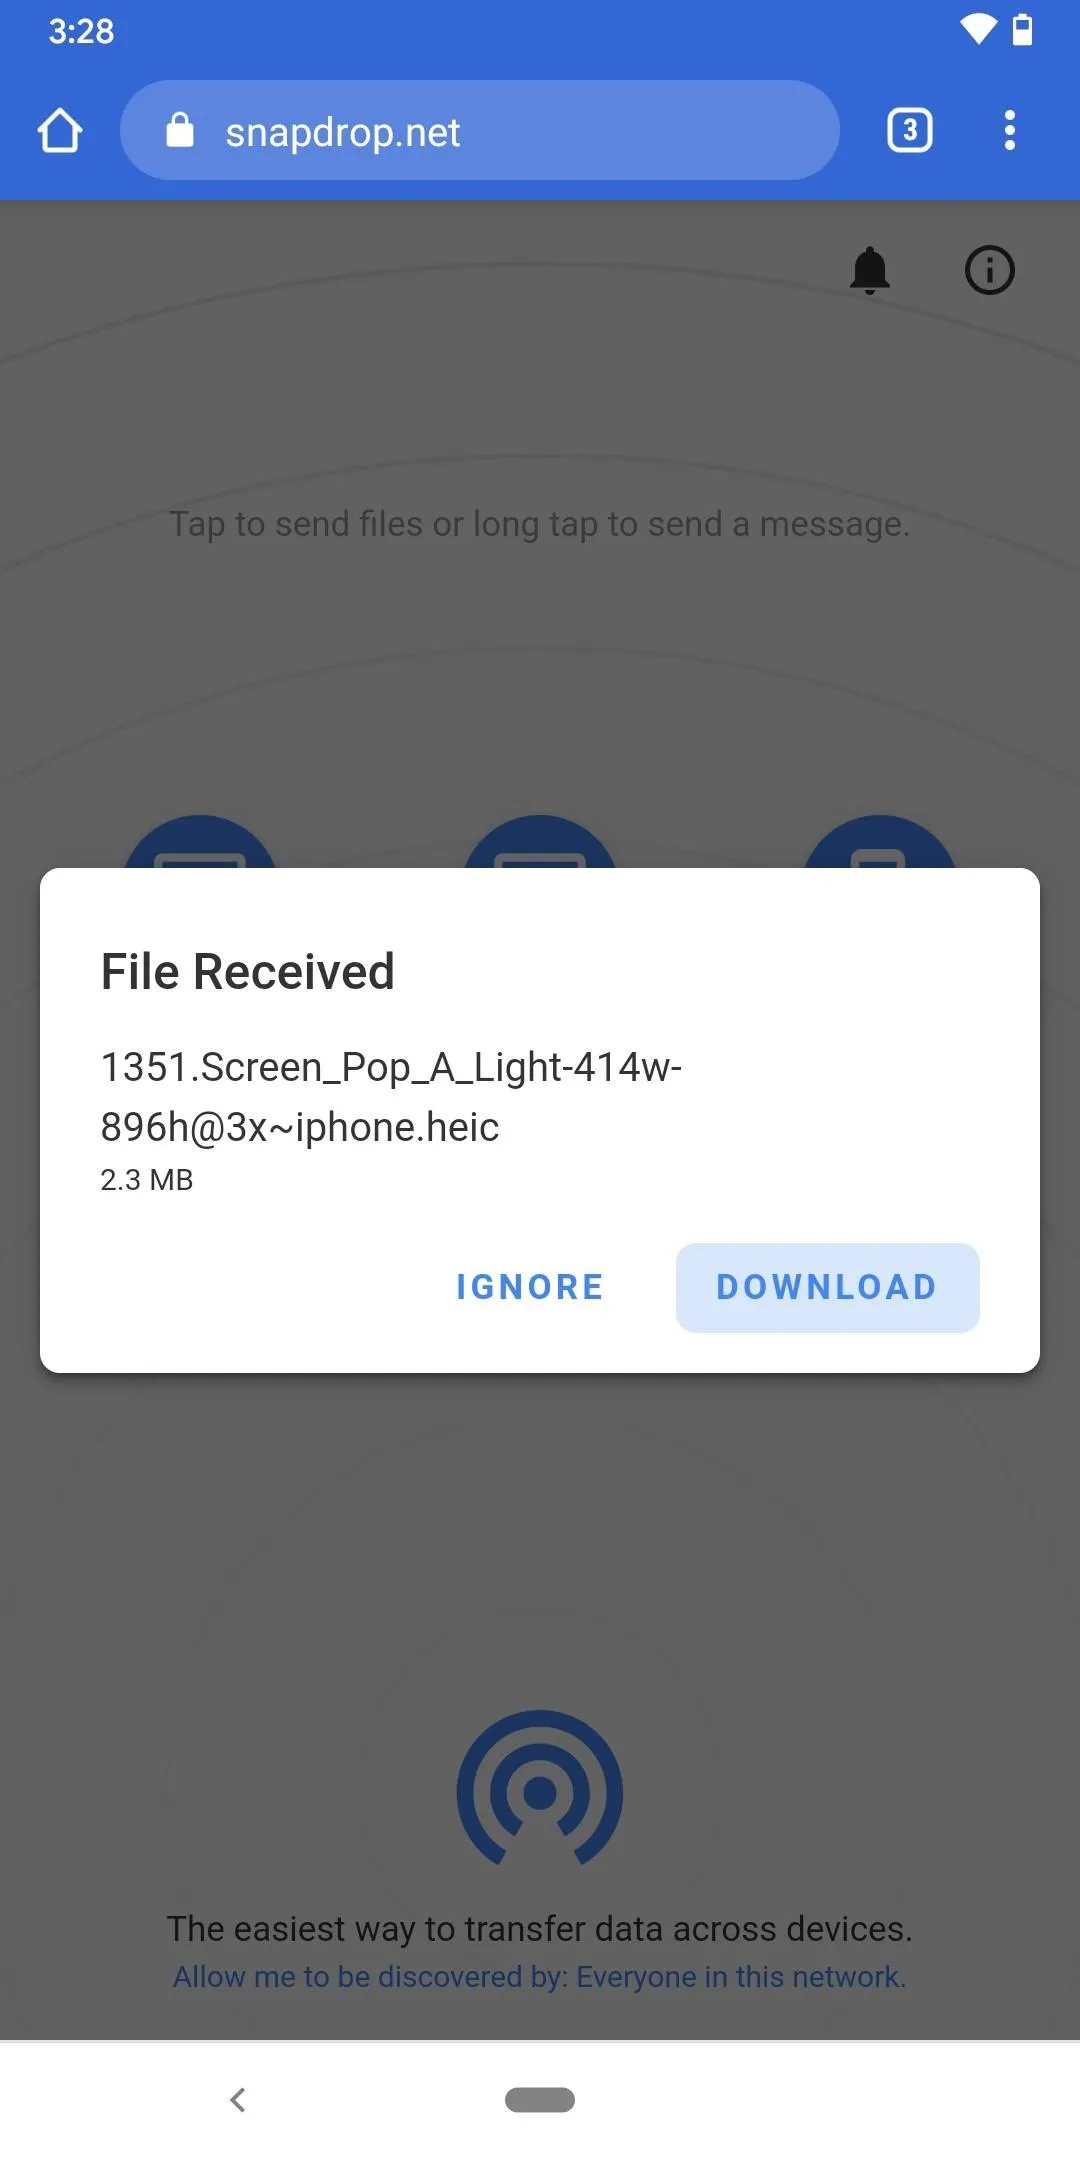
Once the transfer is complete, a pop up will appear on the receiving device, asking whether you want to download the file or ignore it. Choose "Download" to complete the process. For iPad, iPhone, or iPod touch users, you'll find the files in iCloud Drive's "Downloads" folder in the Files app unless you changed the default folder. On a Mac, the file can be found in your "Downloads" folder.
For good measure, here it is from Android to Mac:
Send from iOS to Android or macOS
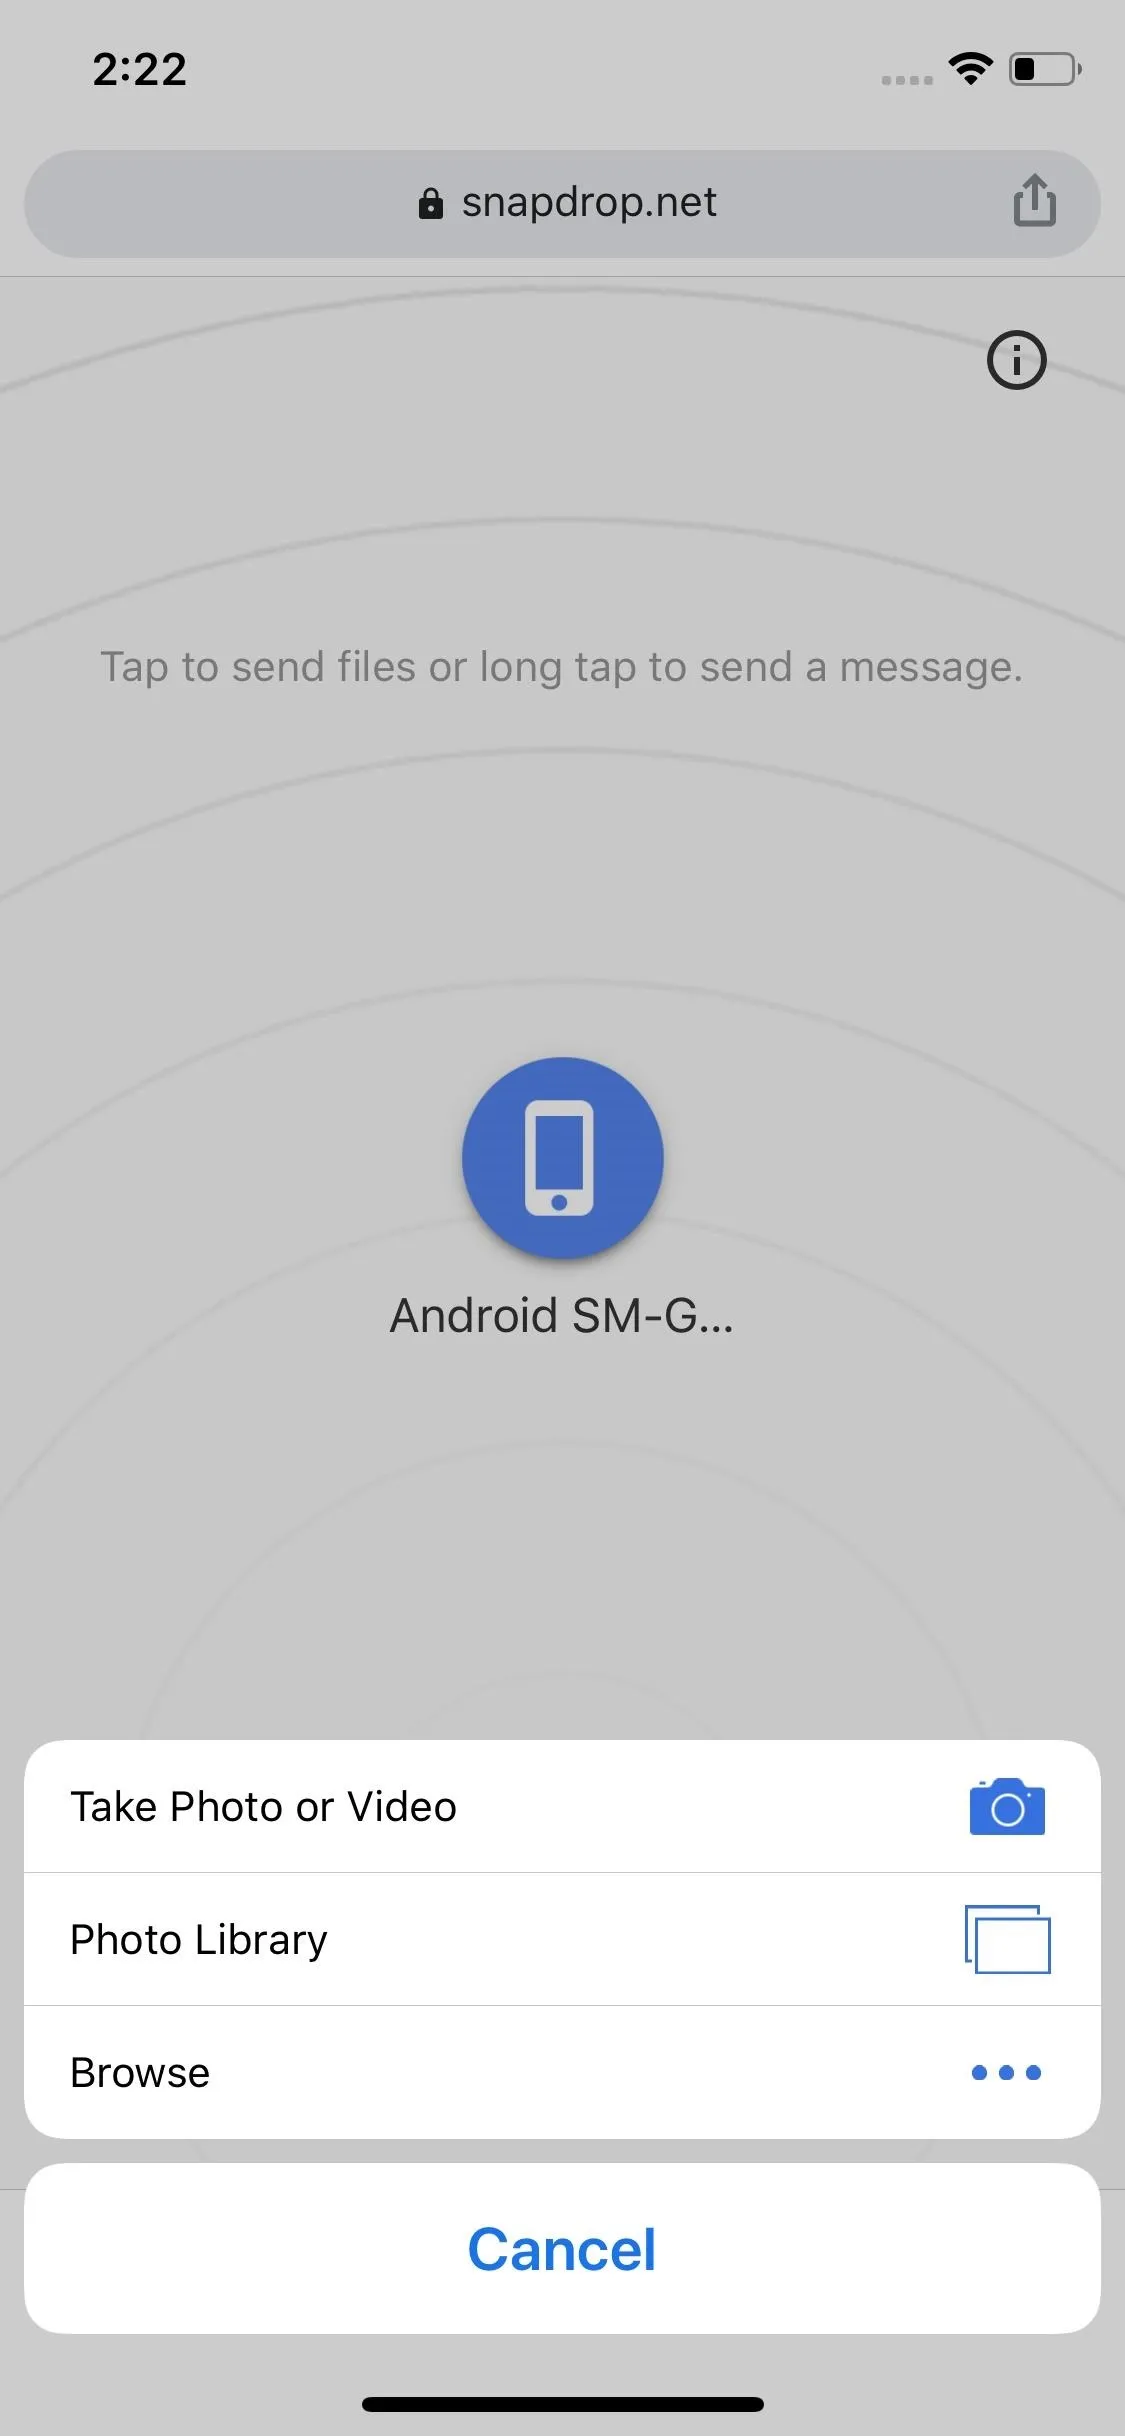
Select the Android device or Mac computer and choose either "Browse" or "Photo Library" in the action sheet. The former will open up the Files app viewer, while the latter will open up the Photos viewer for images and videos. You could also use "Take Photo or Video" to do so, but you'll need to give permissions to your camera or camera and microphone, respectively.
In our example, we're using "Browse" to transfer a file stored in iCloud. Look for and select any file you want to share — most file types are supported — and the transfer process will begin.
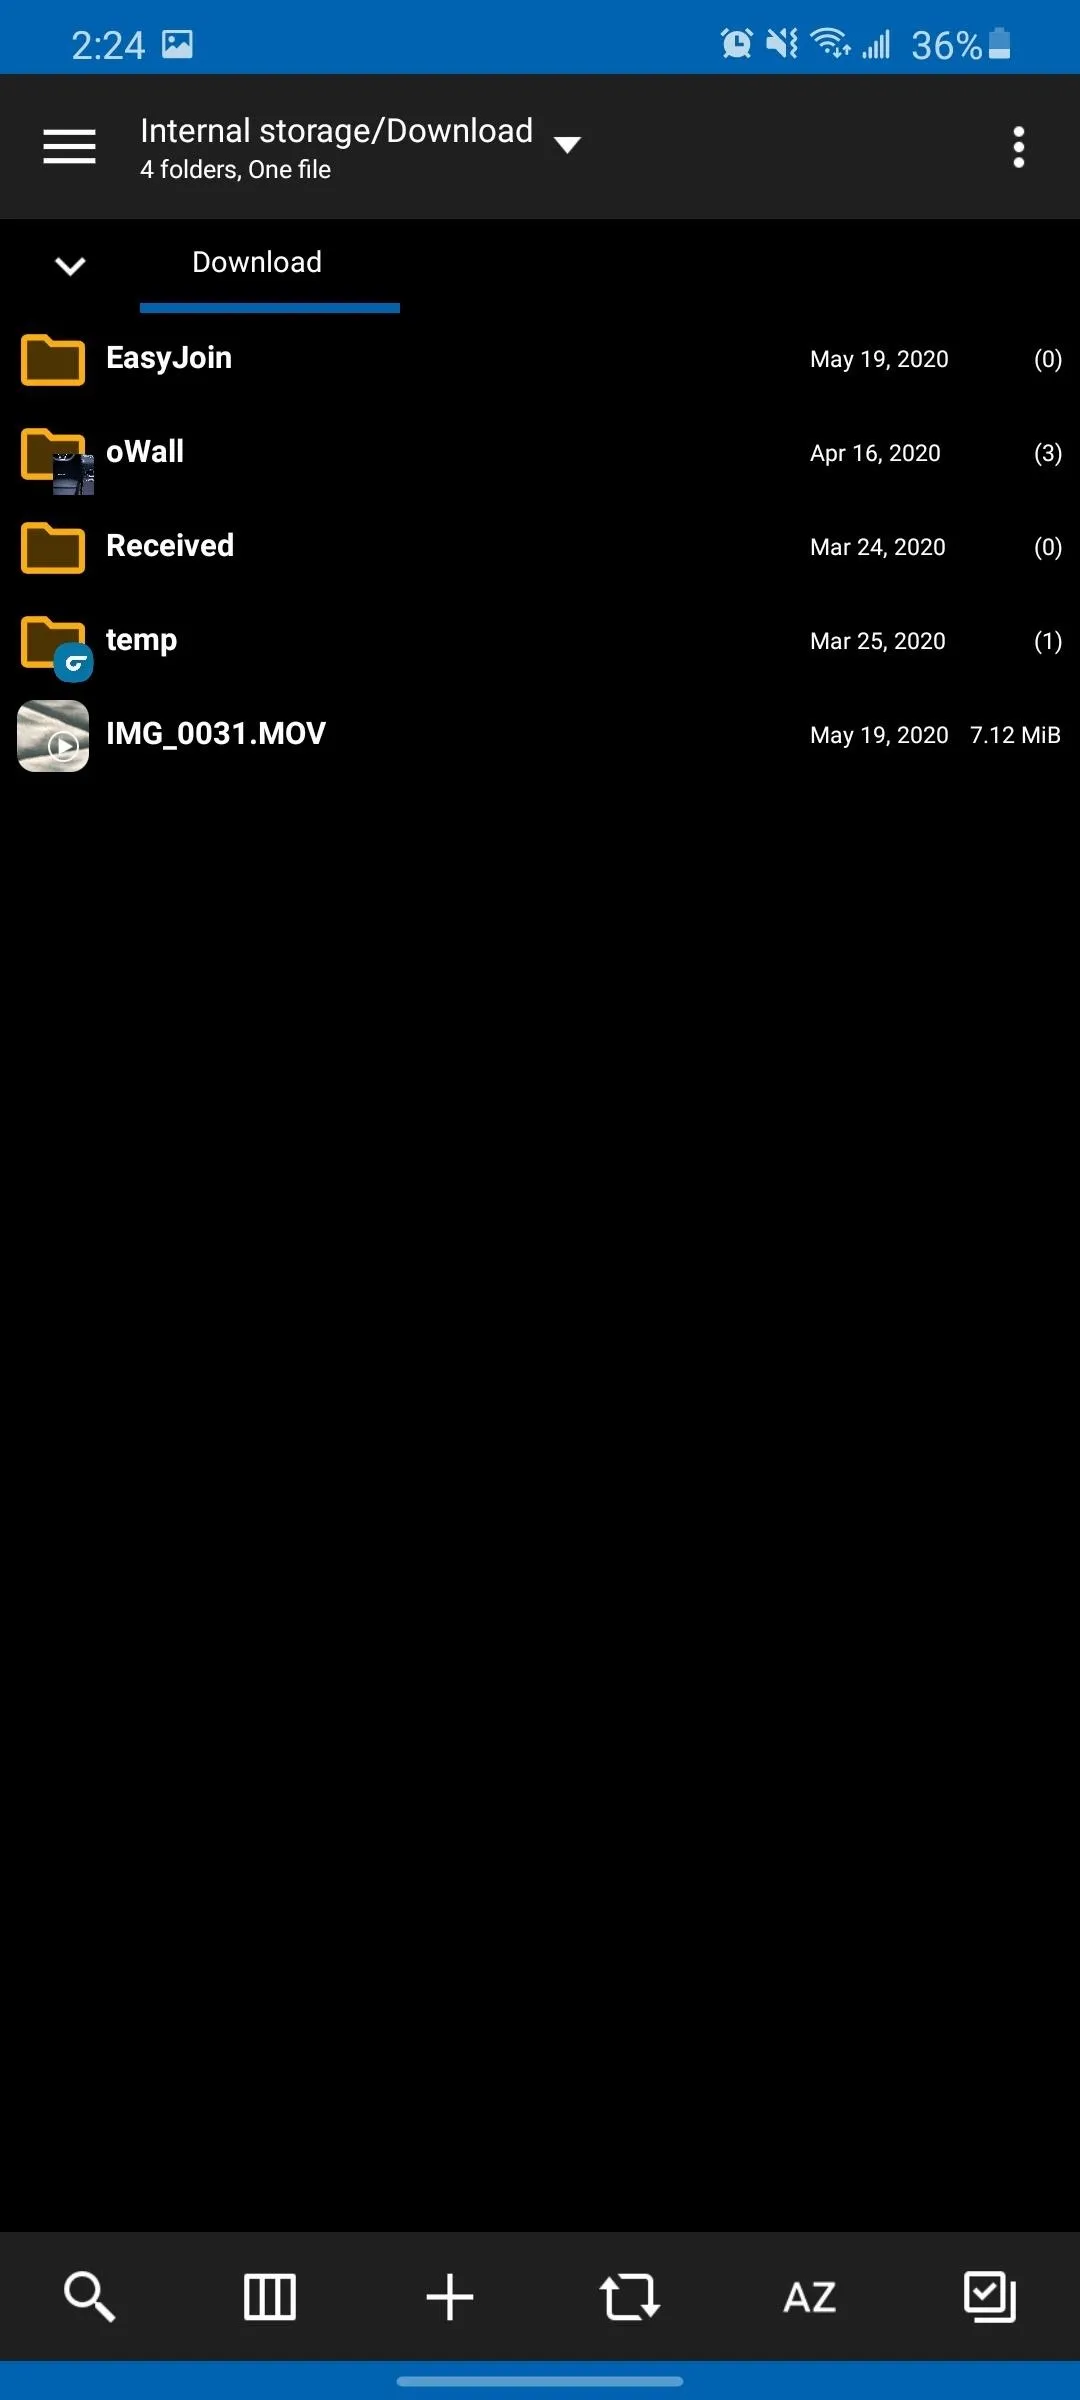
Once the transfer is complete, a pop-up will appear on the Android device or Mac computer asking to "Download" or "Ignore." Choose the former to save the file to the "Download" folder on Android or "Downloads" folder on macOS.
Send from macOS to Android or iOS
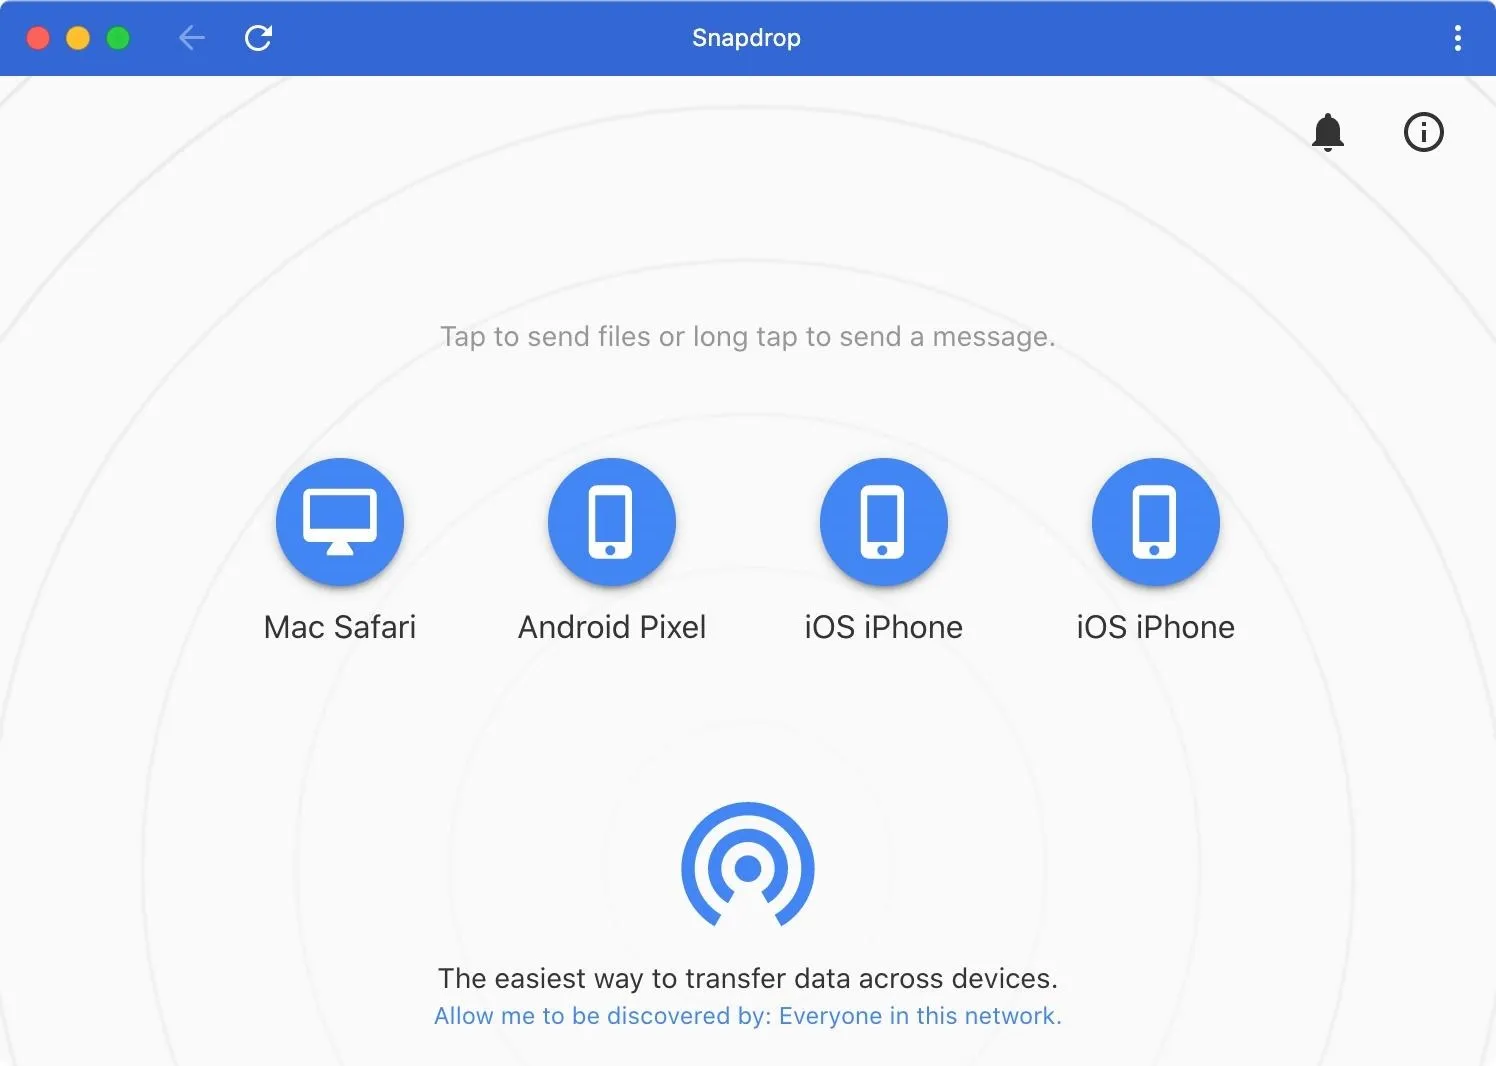
Select the Android or iOS device from the radar to open the Finder viewer. Find and choose the file you wish to send and either double-click it or select "Choose." The transfer process will begin immediately, with a pop-up appearing on the Android or iOS device once completed.

Select "Download" on the receiving end. If downloaded to an Android device, you'll find the file in the "Download" folder of the internal flash drive. For iPad, iPhone, or iPod touch users, you'll find the files in iCloud Drive's "Downloads" folder in the Files app unless you changed the default folder.

Add to Home Screen (Optional)
While Snapdrop isn't an app in the traditional sense, it is a PWA (progressive web app, a website that has access to the same tools as apps found in the Play Store and App Store, making them easy to use on mobile devices.
PWAs can also be added to your phone or tablet's home screen, as well as your computer's dock, so you'll always have a quick-access shortcut to transferring media and files.
Add to Android Home Screen
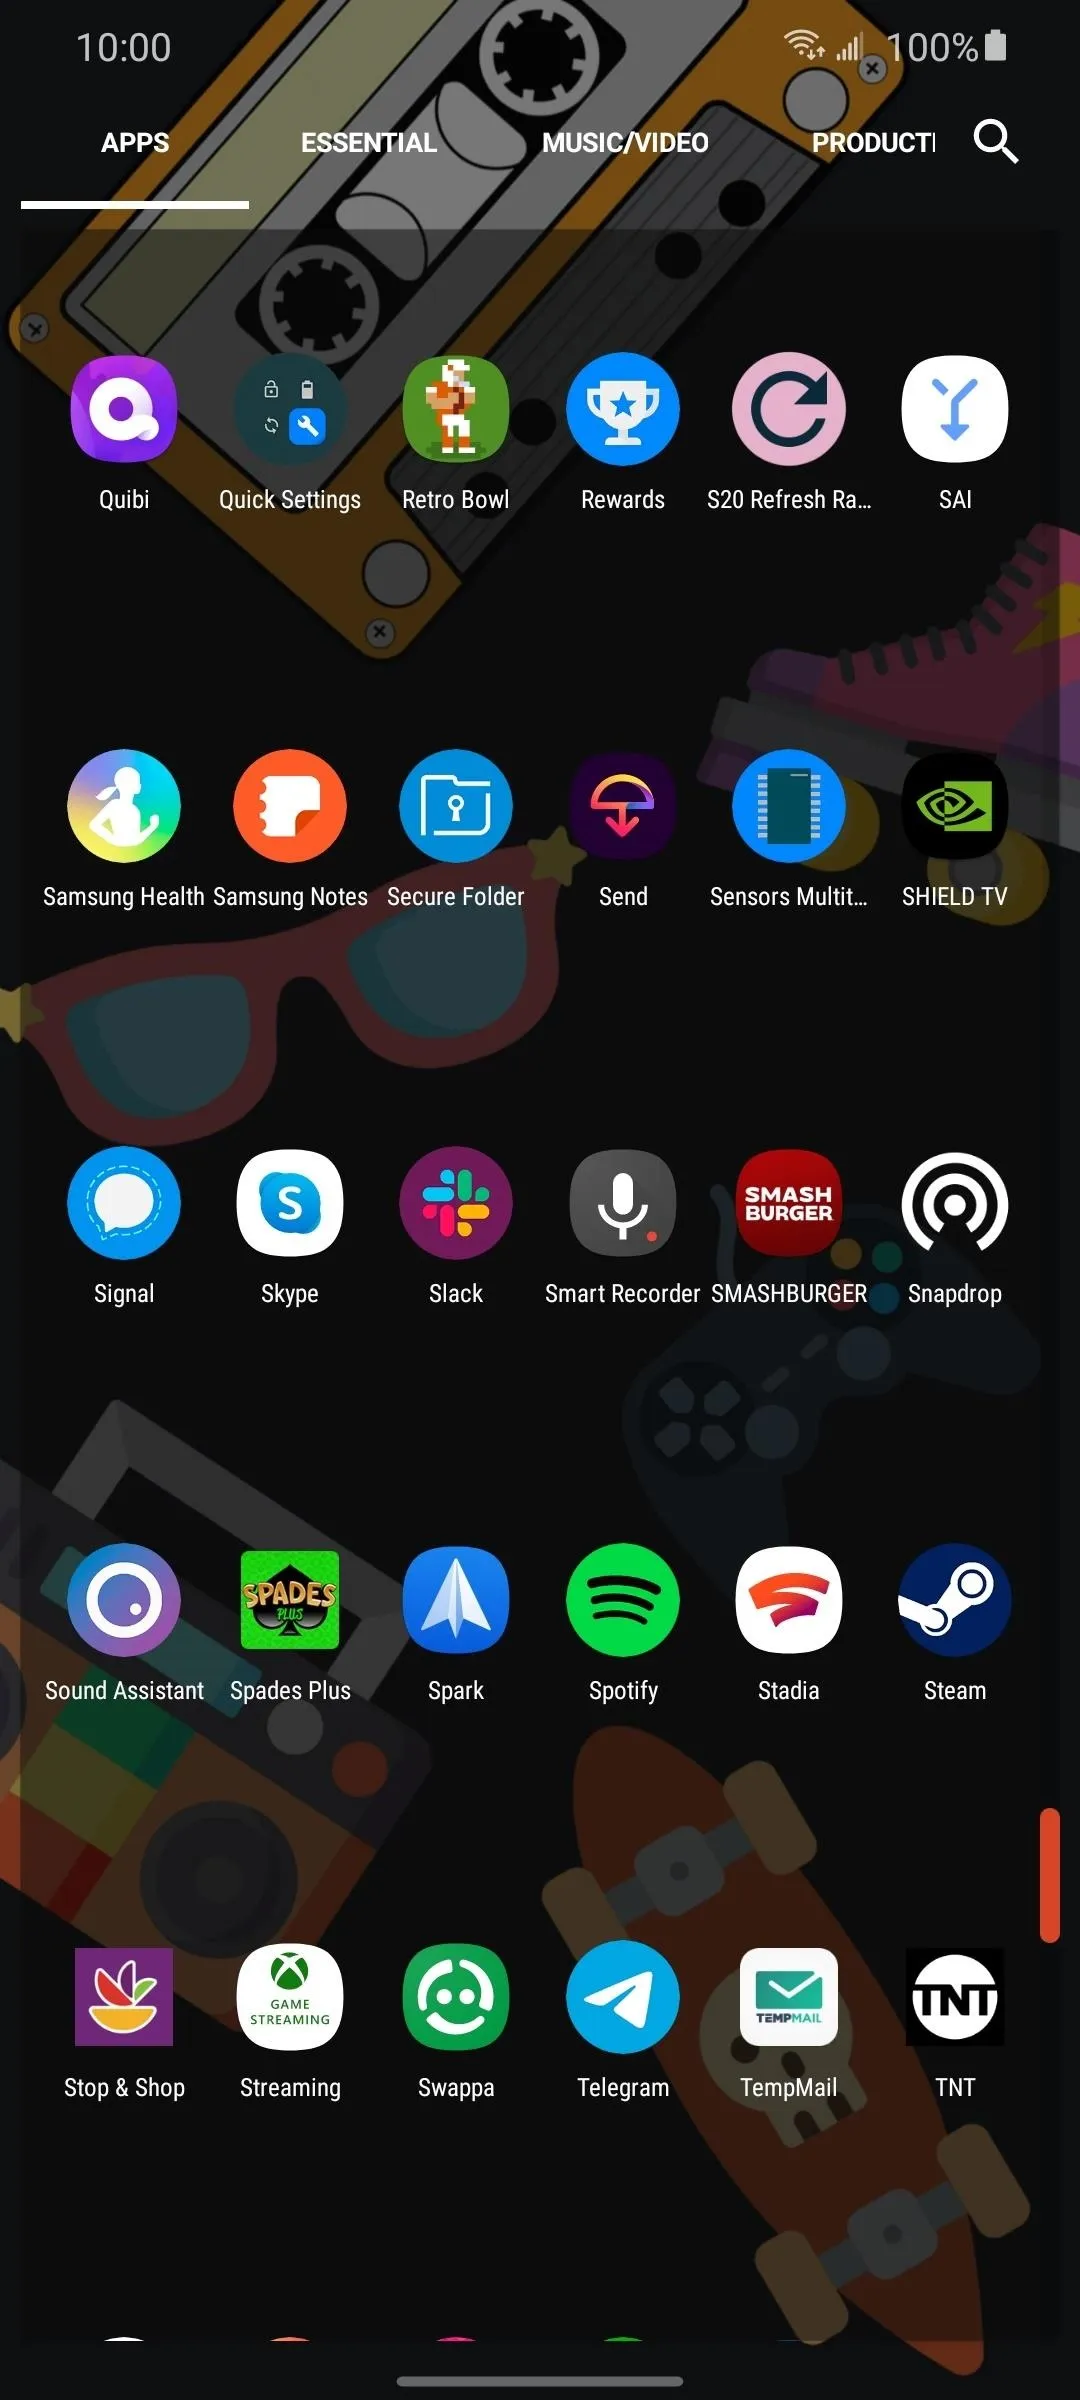
On Android, the process is pretty much the same no matter which of the supported browsers you use. With the Snapdrop website open, select the vertical ellipsis, choose "Add to Home Screen," then "Add."
Add to iOS Home Screen
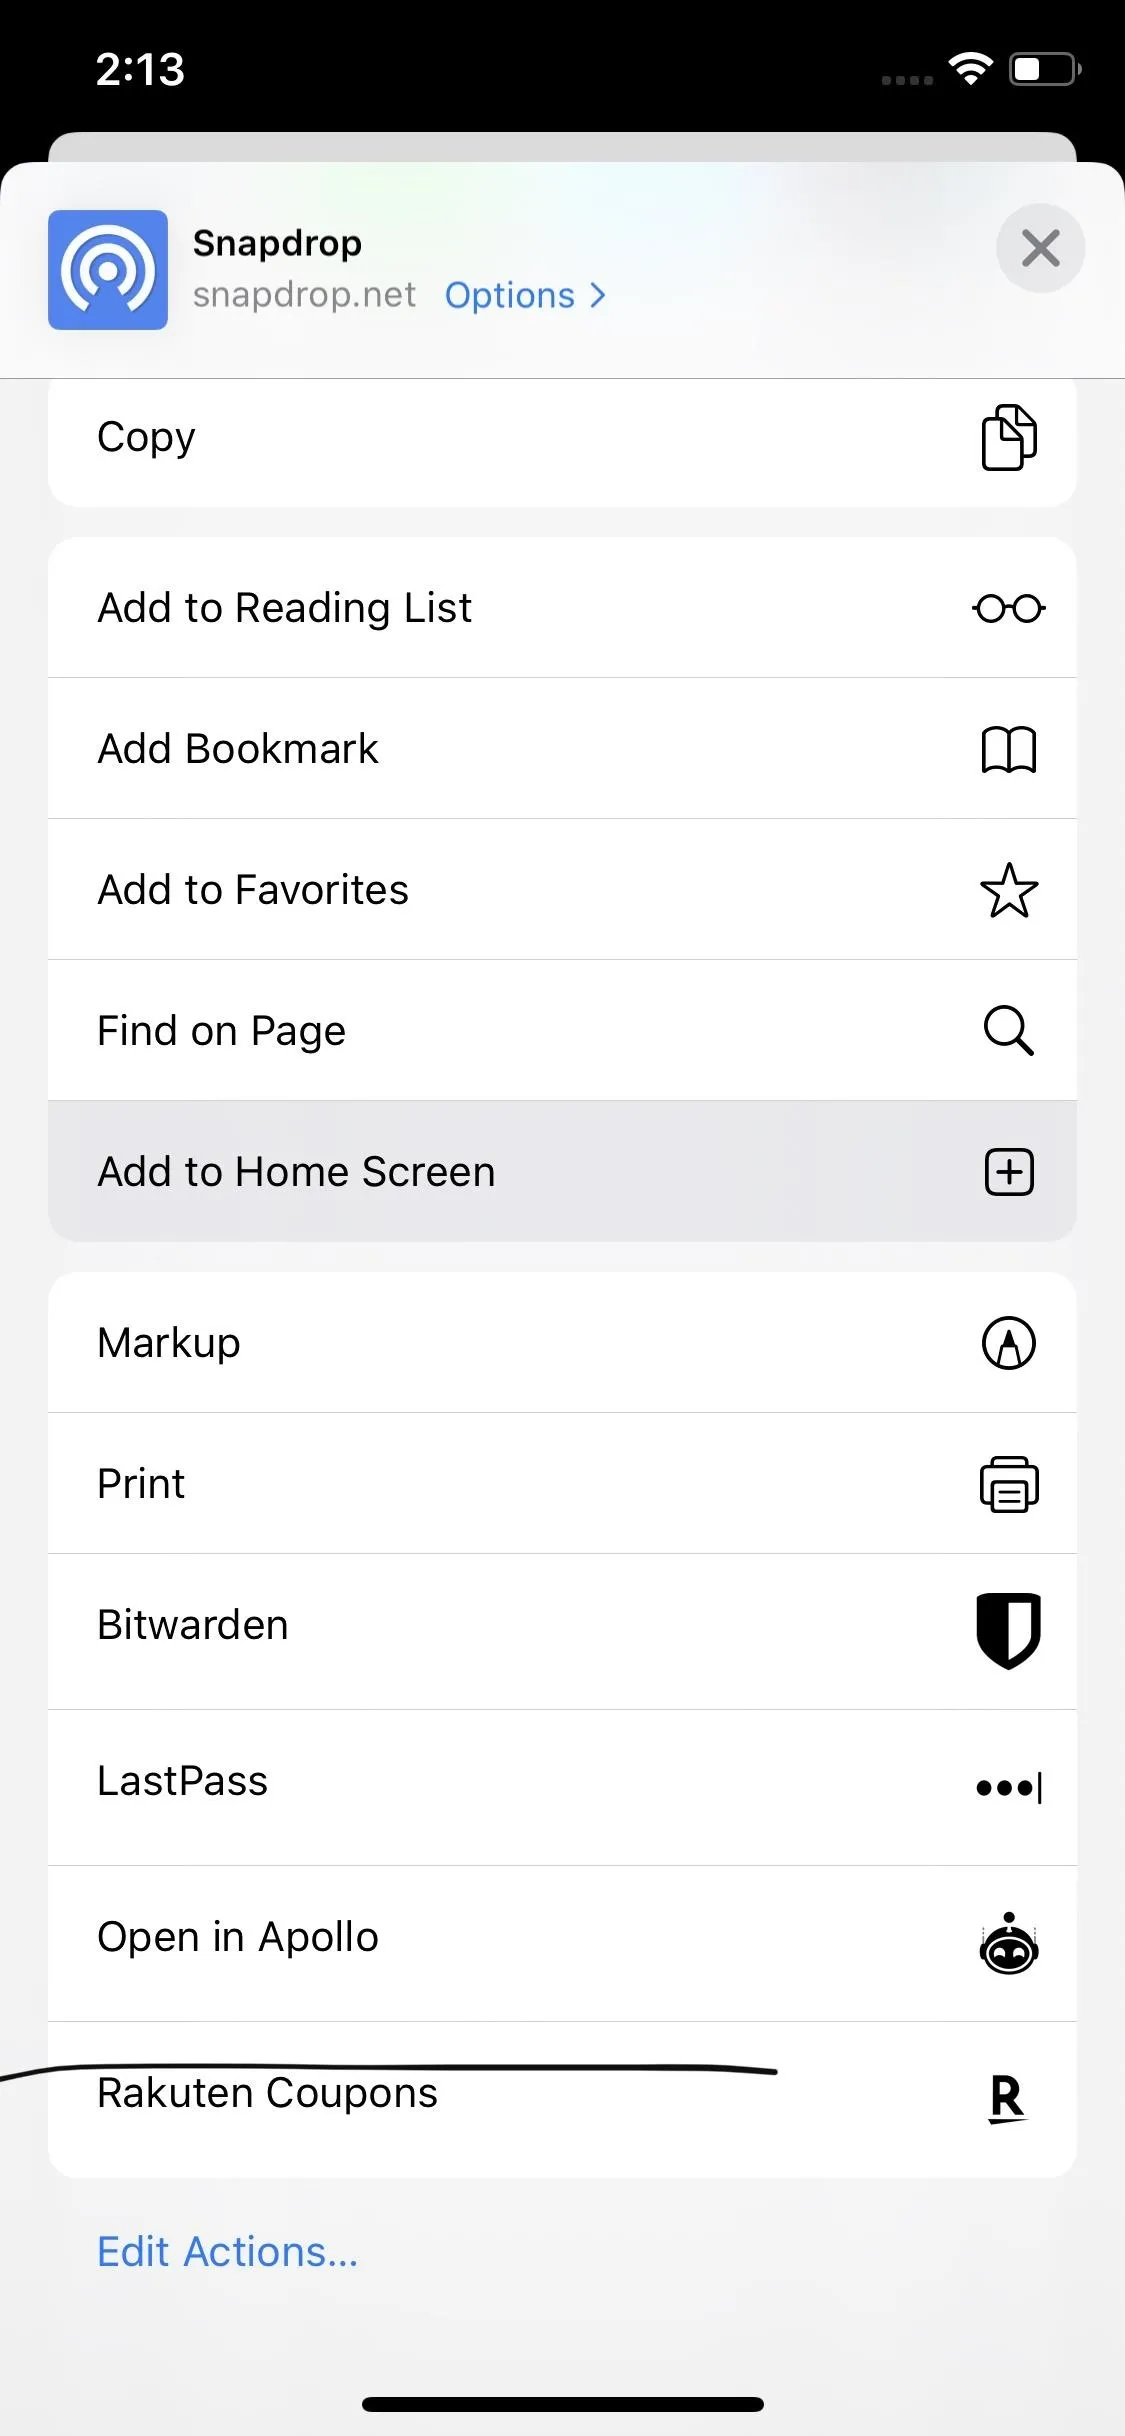
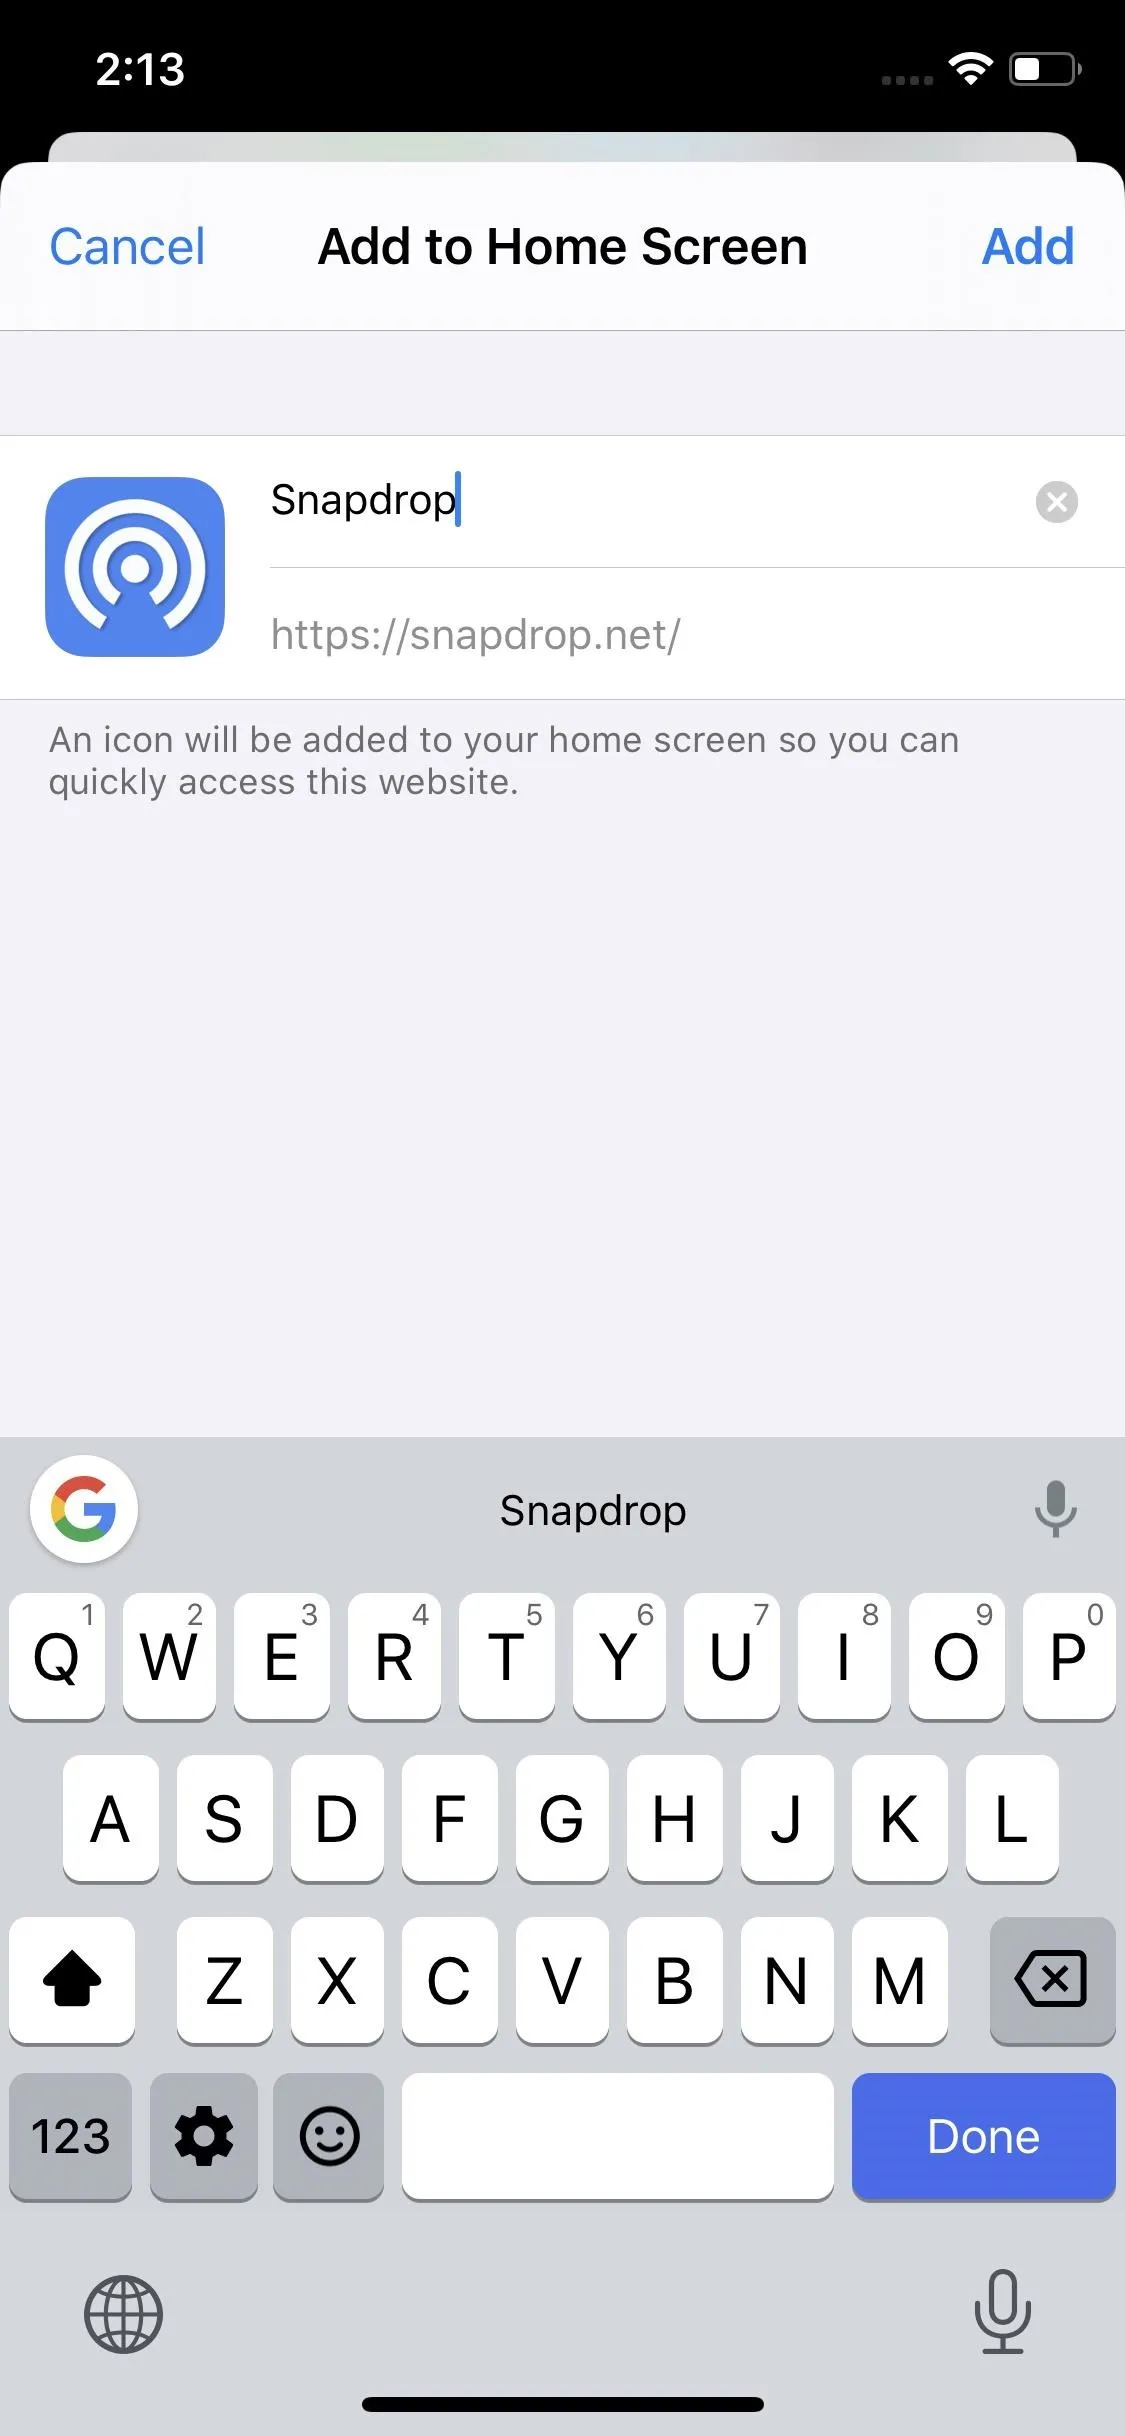
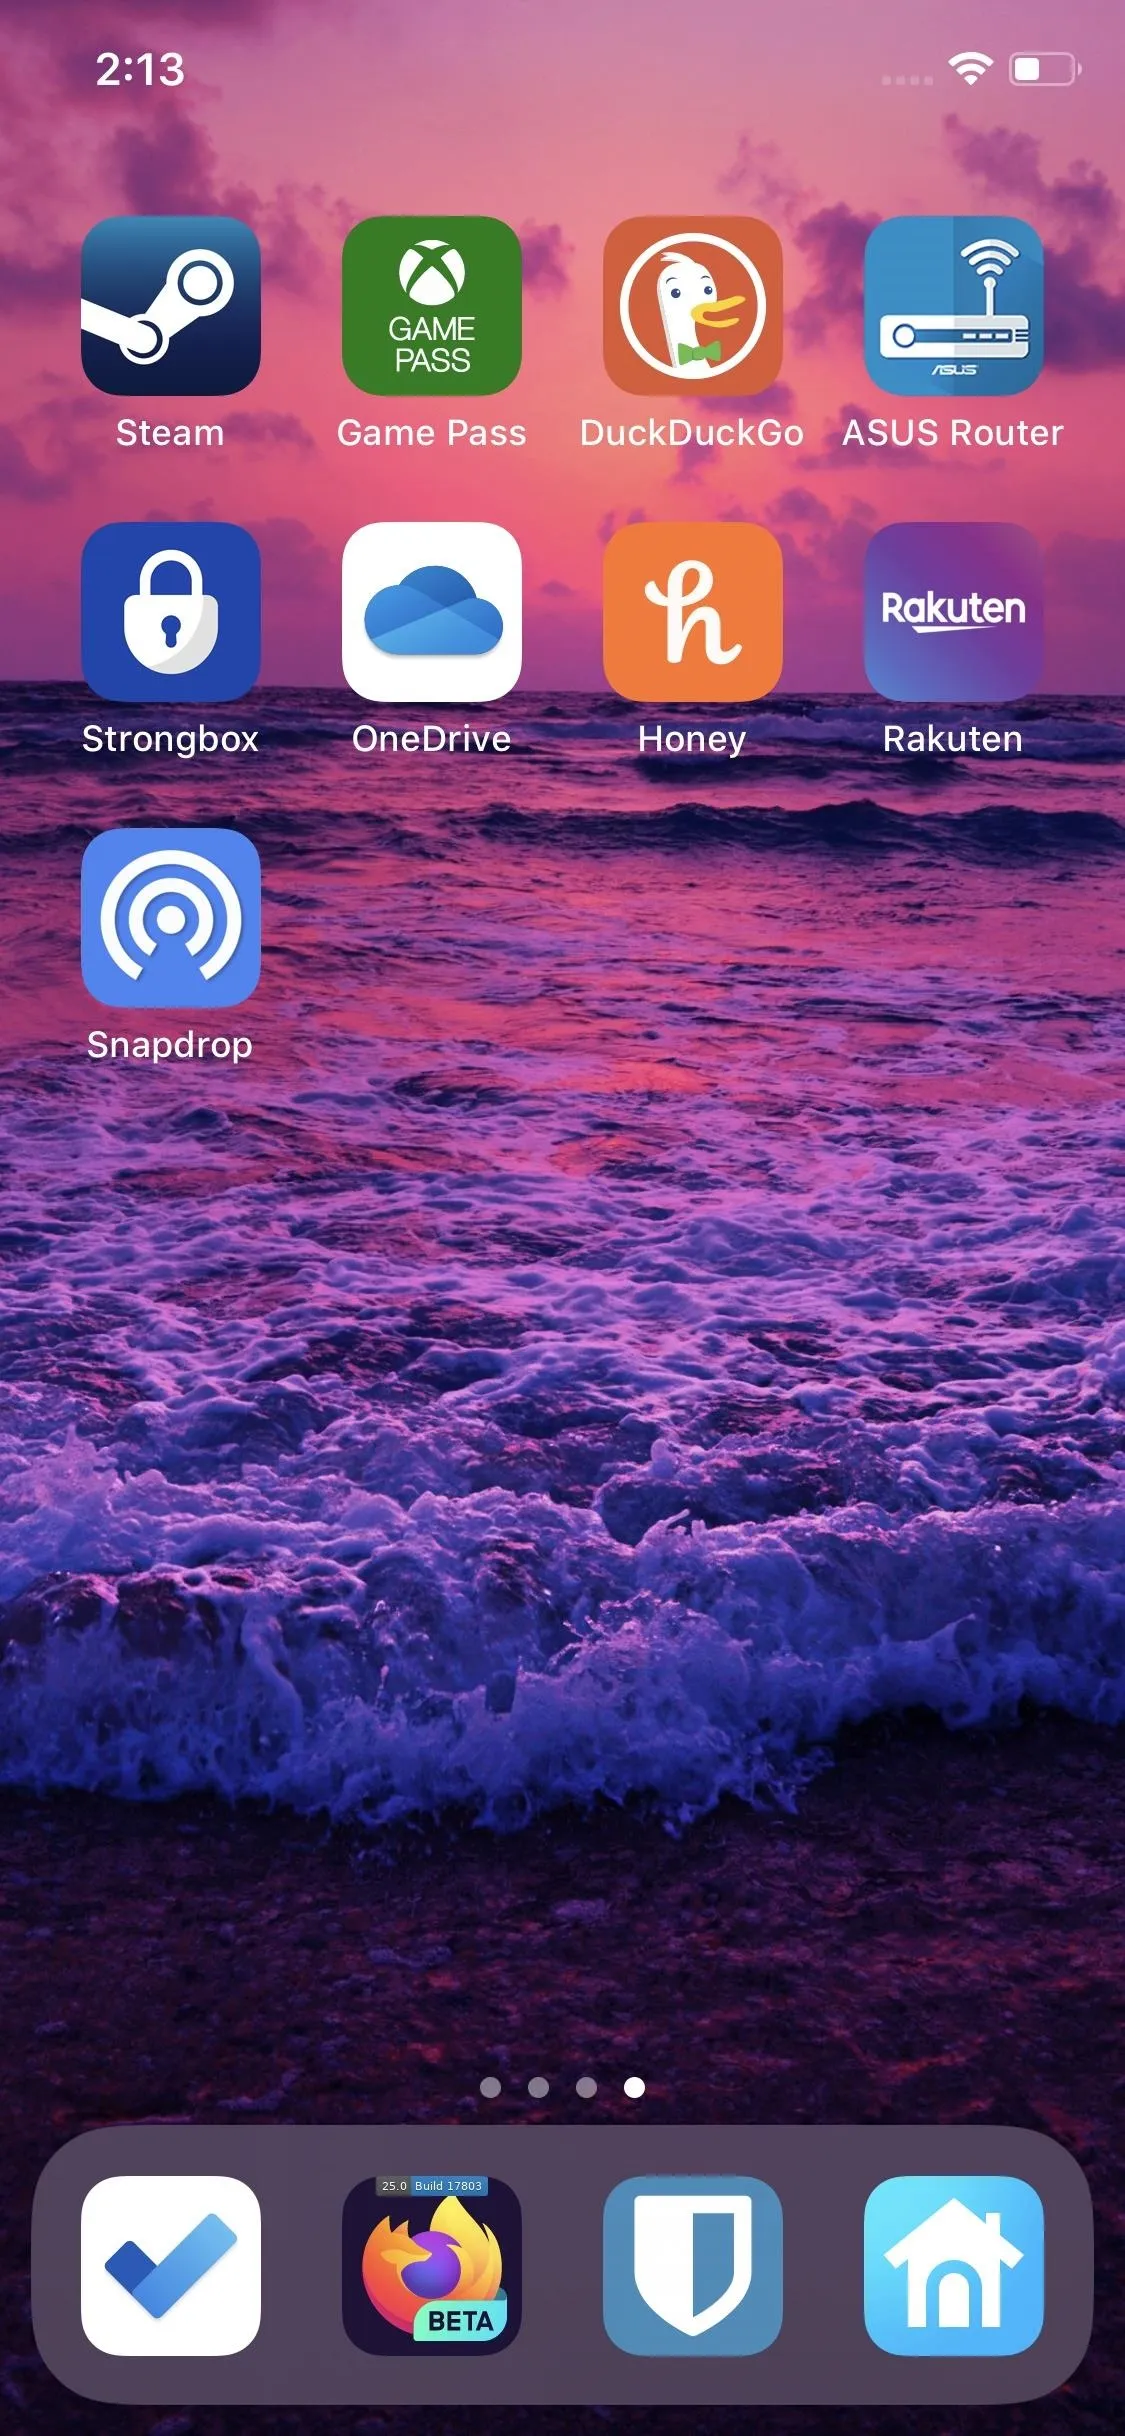
On an iPad, iPhone, or iPod touch, you'll need to use Safari to add the app to the home screen. With the Snapdrop website open, choose the share button, select "Add to Home Screen," then "Add."
Add to macOS Dock
For macOS, you will need to use Google Chrome as it's the only browser at this time that supports PWAs in desktop environments. You can add the shortcut in one of two ways. The first is to select the menu button (the vertical ellipsis) in the upper right, then choose "Install Snapdrop." Hit "Install" on the pop-up to finish up.
The other way is to select the small phone icon in the upper right of the website itself. This will bring the same pop-up where you need to click "Install."

Either way, an icon will be added to Chrome's app launcher. You can access your Chrome apps via the "Apps" link in the bookmarks bar or via chrome://apps, then click on "Snapdrop." You can also open it without Chrome opened first it in the following directory: Users –> [username] –> Applications –> Chrome Apps –> Snapdrop.
However, it's much easier just to add the app shortcut to your Mac's dock. With the Snapdrop app open, unhide the dock, then drag it from the end to a stationary position to the left. Then you can access it right from there whenever you need it.

Cover image, screenshots, and GIFs by Jon Knight/Gadget Hacks


Comments
Be the first, drop a comment!