Despite its fifth-place finish in our ranking of the best transcriber apps on iOS, Voicera is still worth highlighting due to numerous factors that set it apart from the crowd. Besides being completely free to use on both iPhone and Android, the app's AI-based transcription service performed extremely well in our testing.
Voicera scored an incredible average of 97% in conversion accuracy, and transcribed test recordings consisting of normal and heavy accents with minimal errors. This feat becomes even more impressive when you factor in its status as a totally free app. In fact, Voicera beat out three other apps — all paid services — with regards to overall accuracy. Here's some other tidbits regarding this nifty app.
True Cross-Platform Compatibility
One of Voicera's greatest strengths is its availability for both Android and iOS devices. The app also lets you use either Google, Office365, Slack, or Salesforce to sign into your account, which syncs all your recordings and transcriptions, along with calendar events to whatever account you've used to sign in.
Because of this, Voicera gives you access to your data across different platforms for even greater accessibility. If you wanted to access recordings and transcriptions done on your iPhone on your Android tablet, for instance, simply open Voicera on your tablet and retrieve it as you normally would — no extra work required.
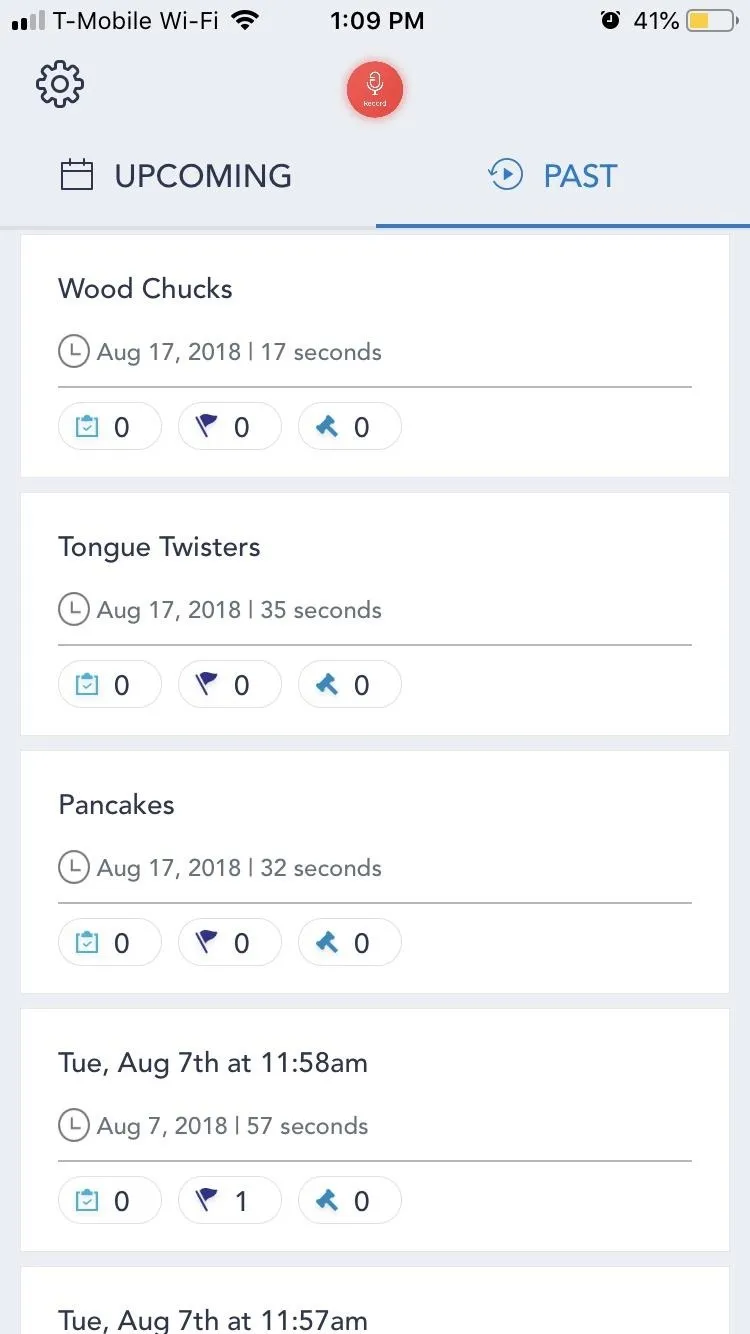
iOS
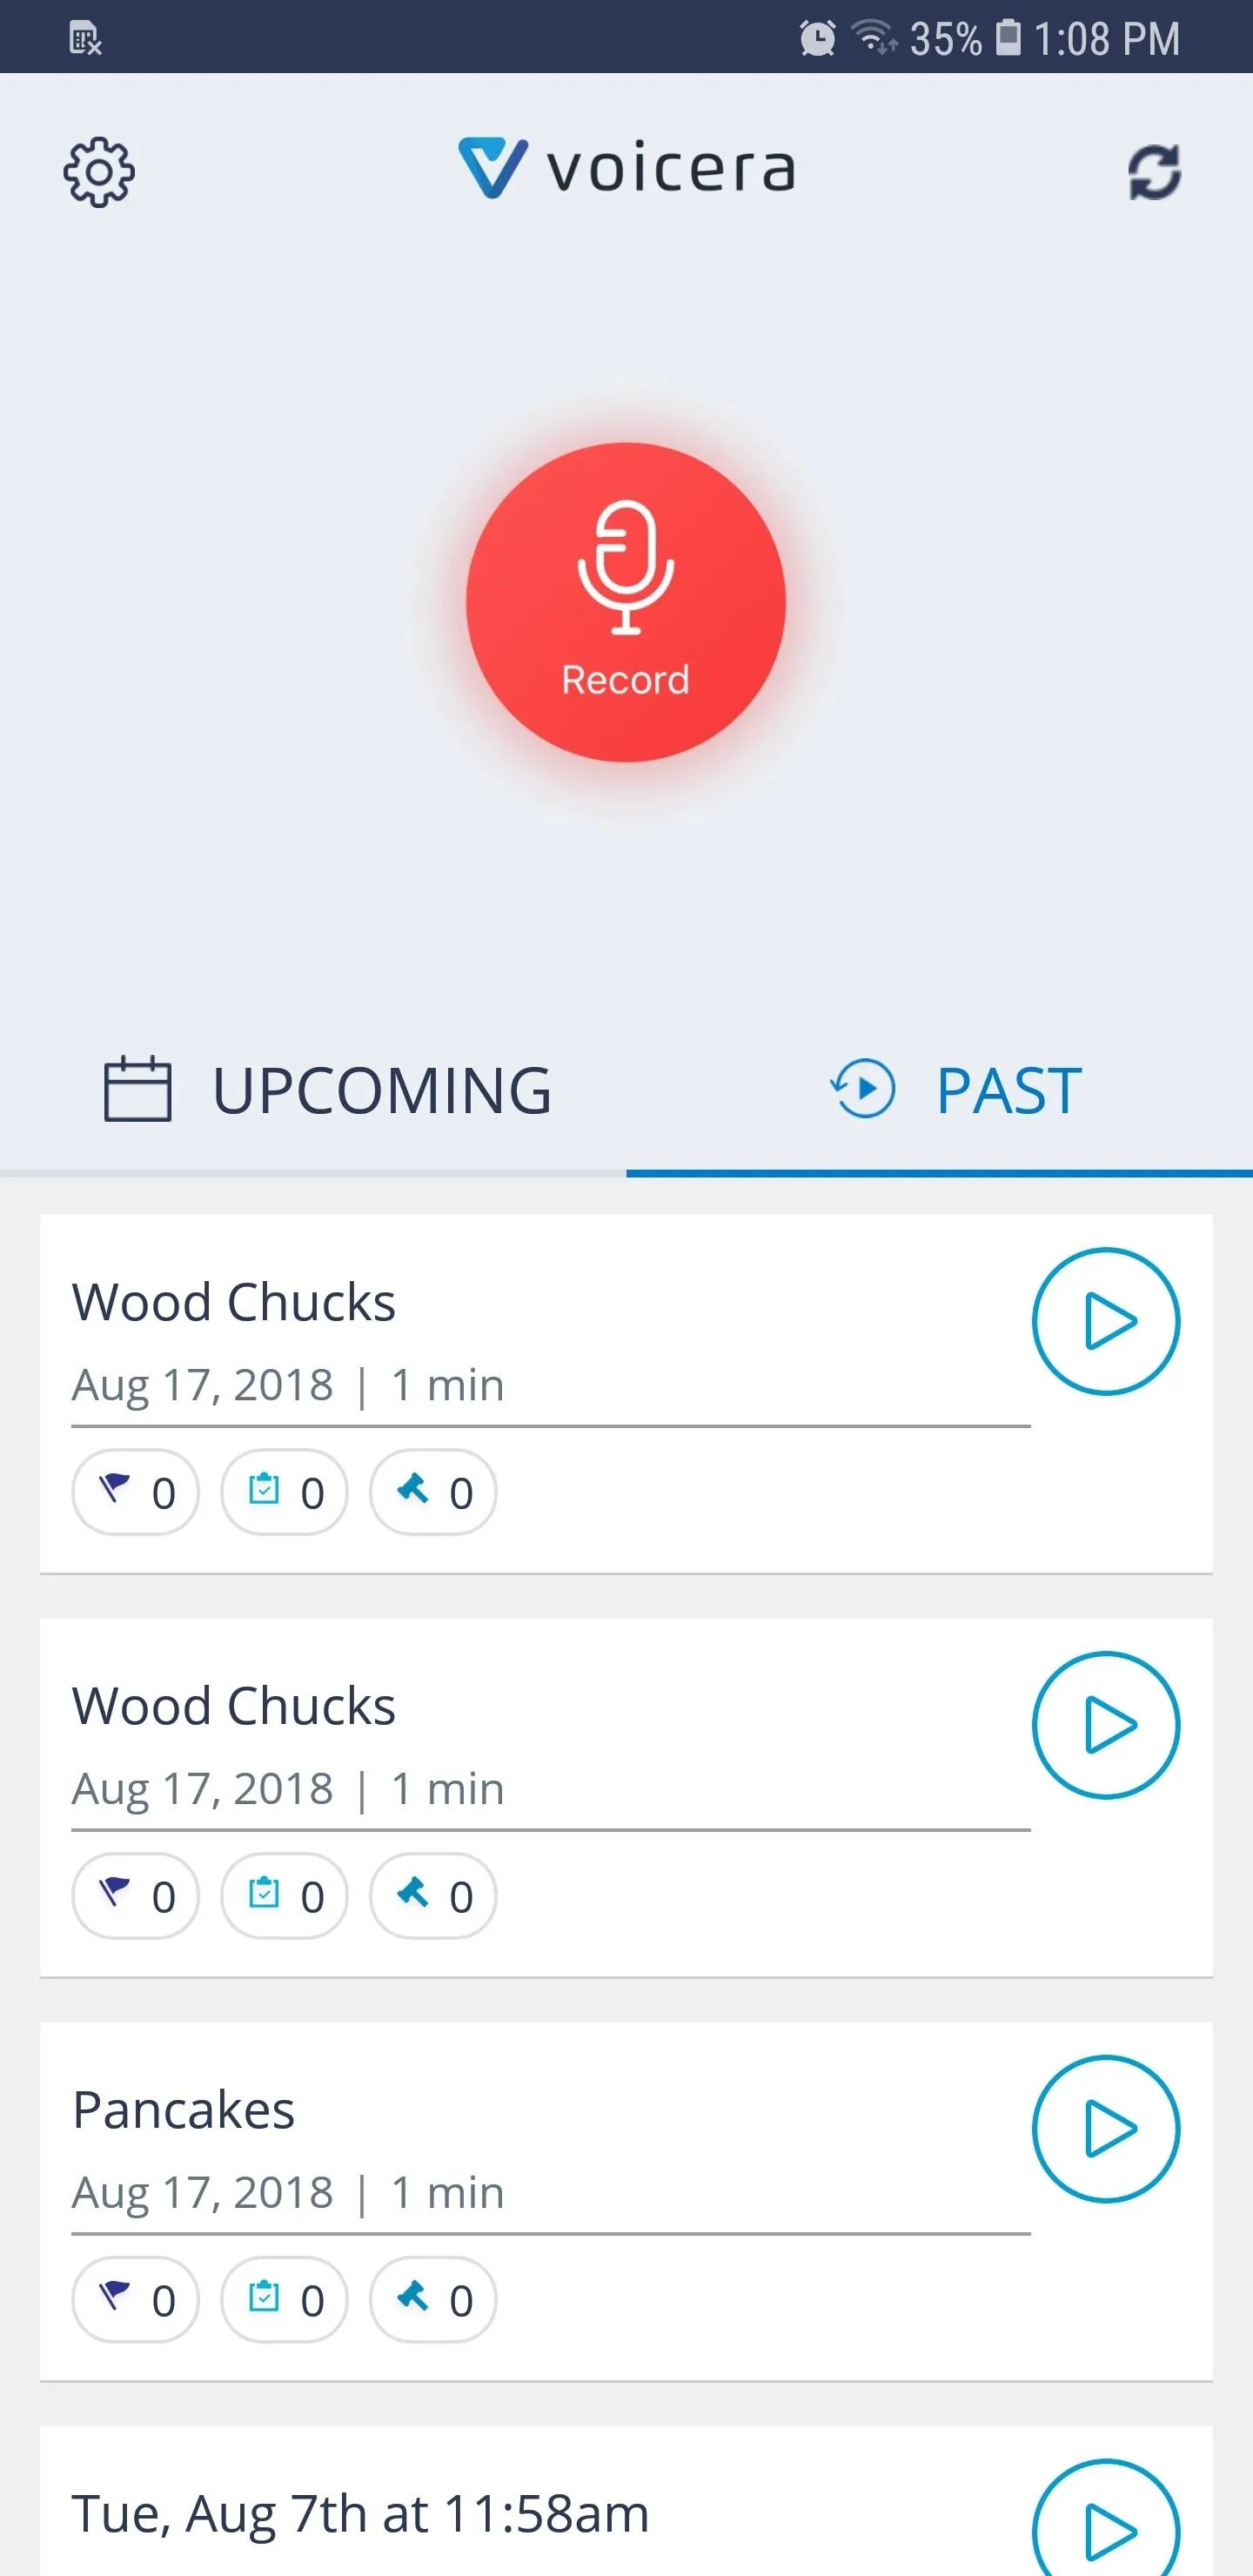
Android

iOS

Android
Record a Dictation
Recording lectures, meetings and conversations couldn't be any easier with Voicera — simply open the app and hit the red "Record" button on the center of the main page to get the ball rolling. Record your dictations from there, and tap on the stop button when you're done.
By default, the recording's title is set to the time and date, but you can change it by hitting "Add title." Select "Save" from the prompt that appears once you're satisfied, or hit "Discard" if you want to start over.
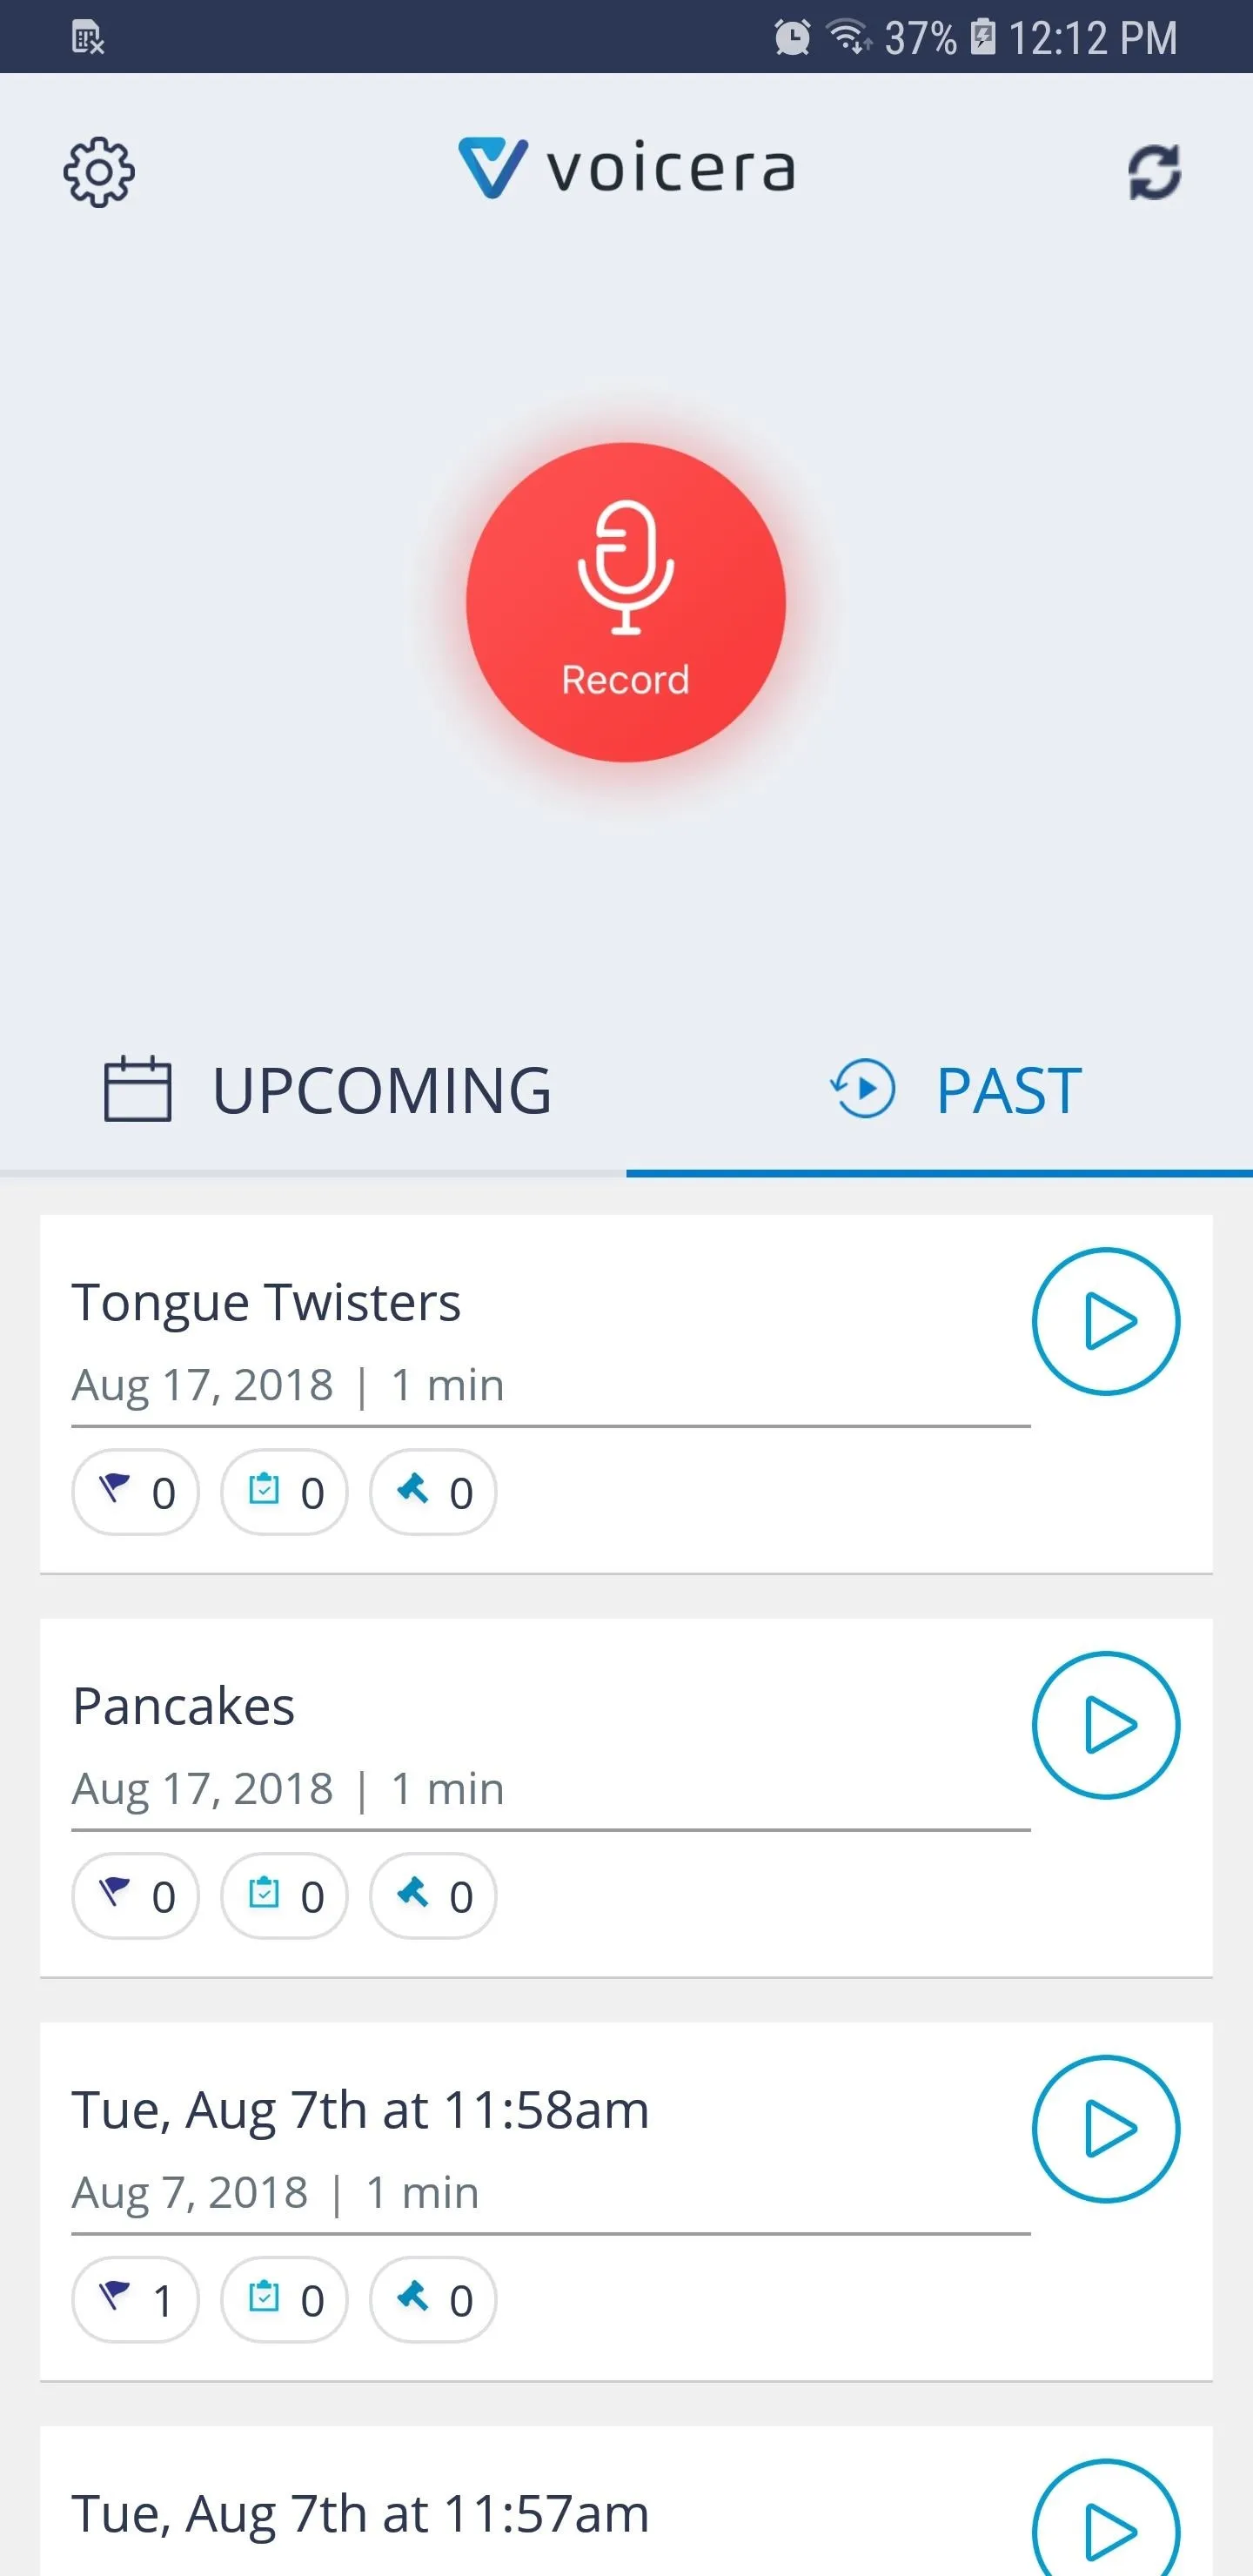
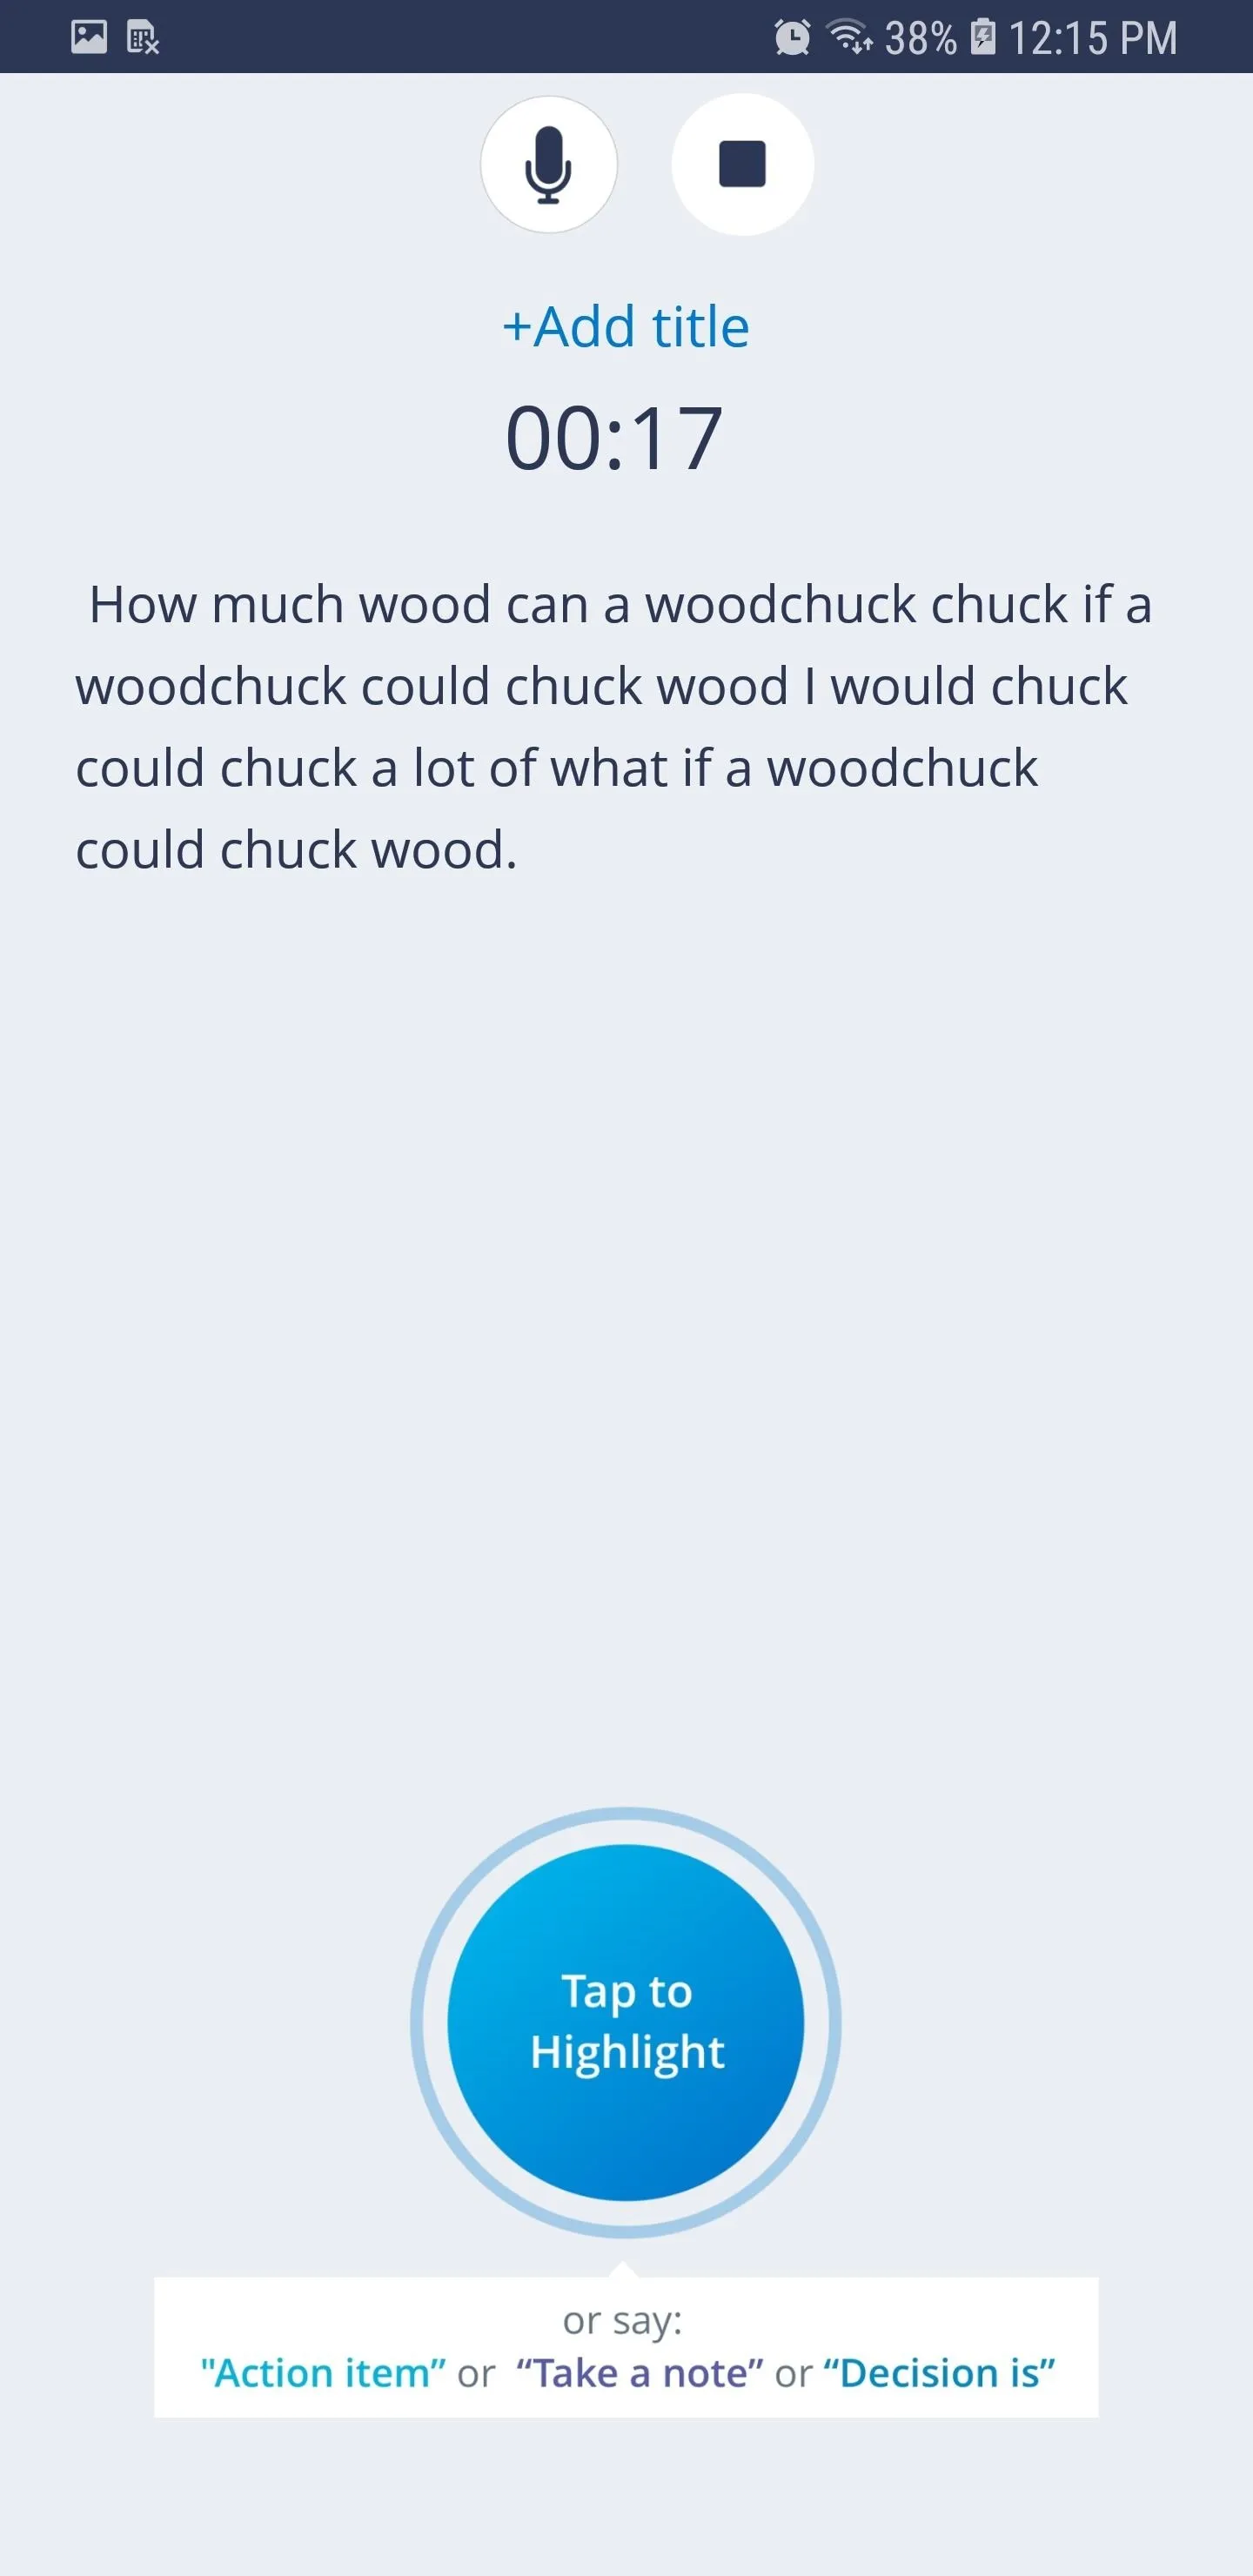
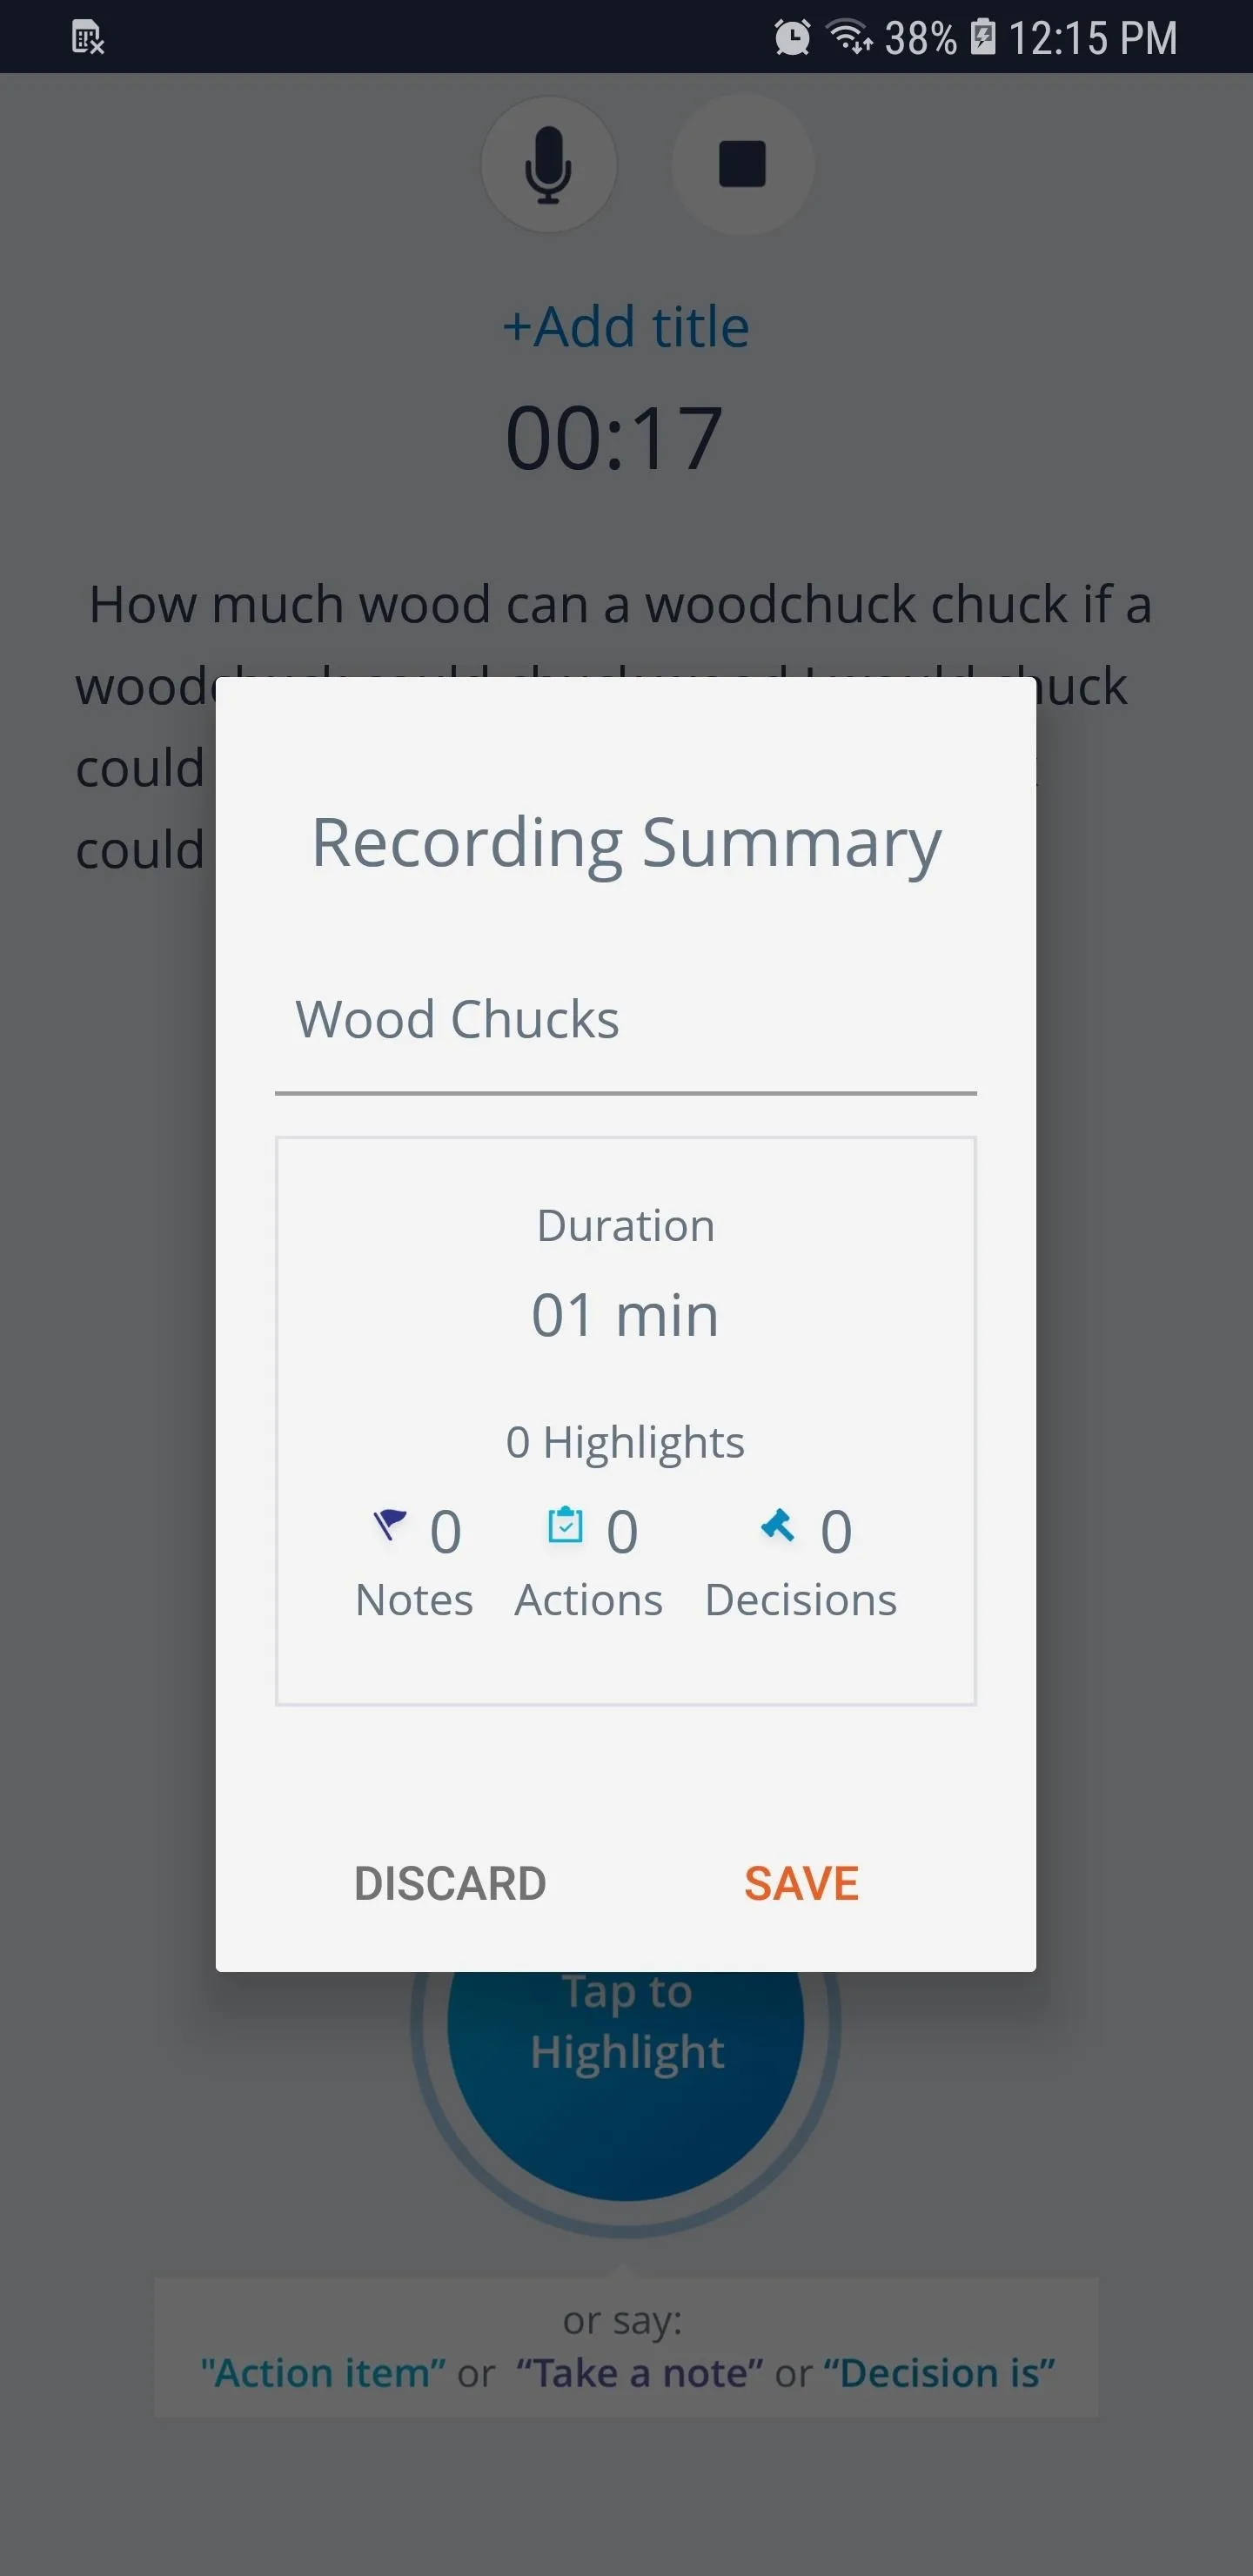


One of Voicera's primary weaknesses was its sole reliance on dictation alone, which limits your ability to transcribe other audio files such as Voice Memos that were recorded outside the app itself. Fortunately, there's a simple workaround to this. If you have an audio file that you'd like for Voicera to transcribe, you can play it on a separate device like a laptop, and have the app record it from there.
Transcribe Your Recording
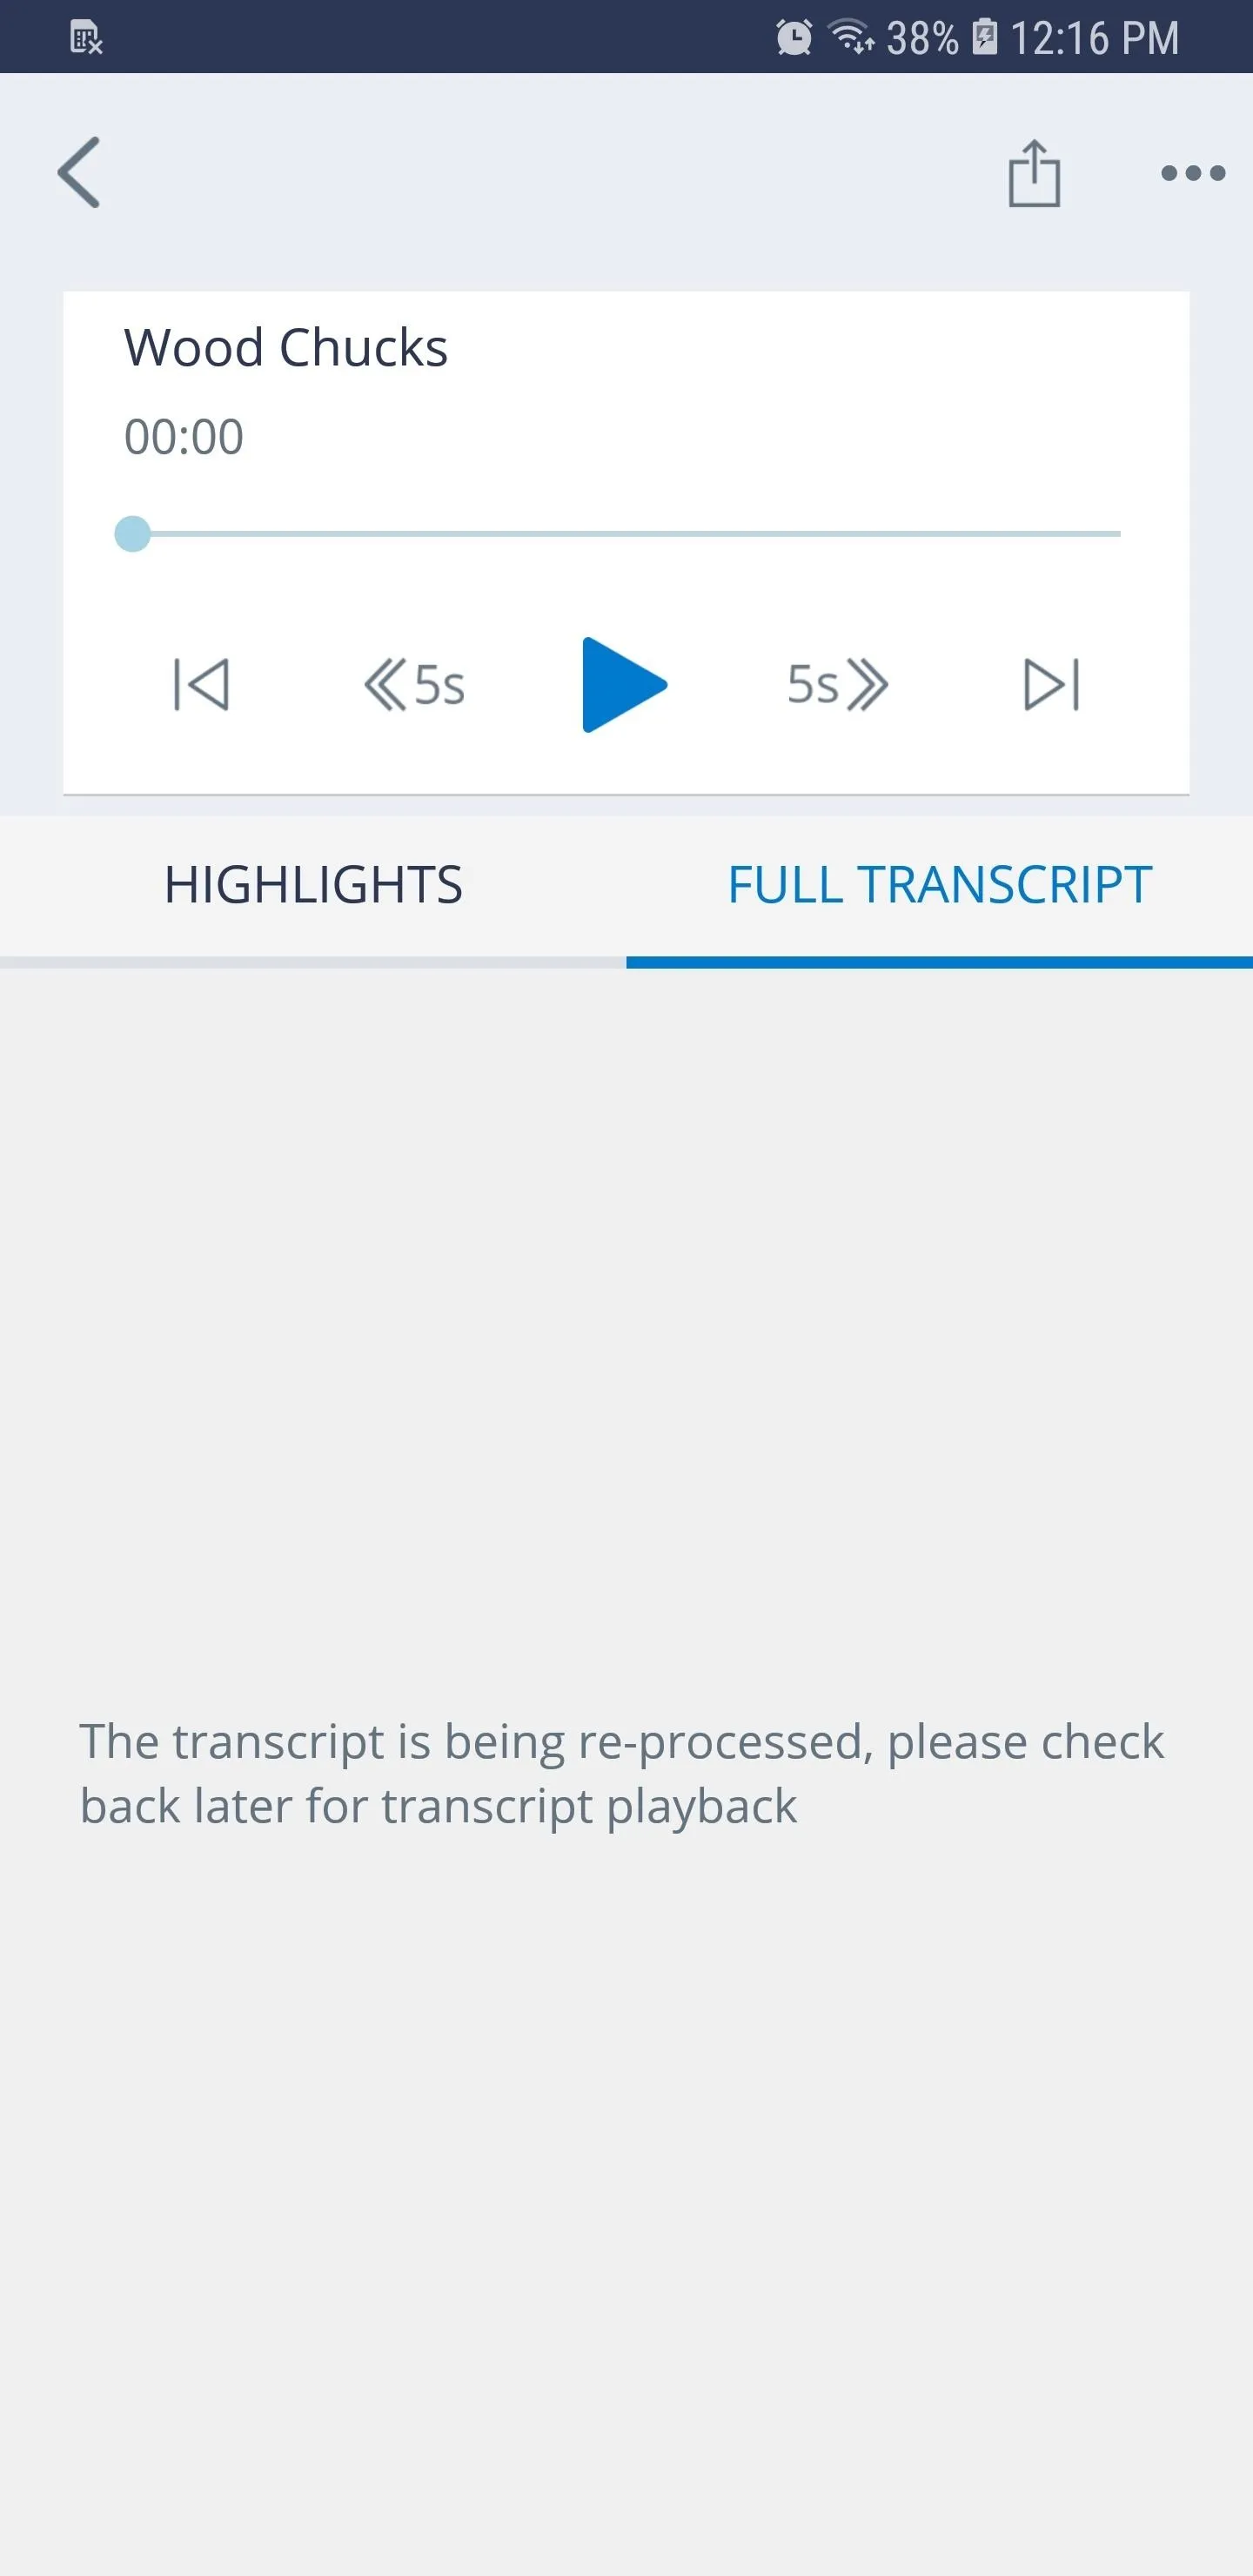
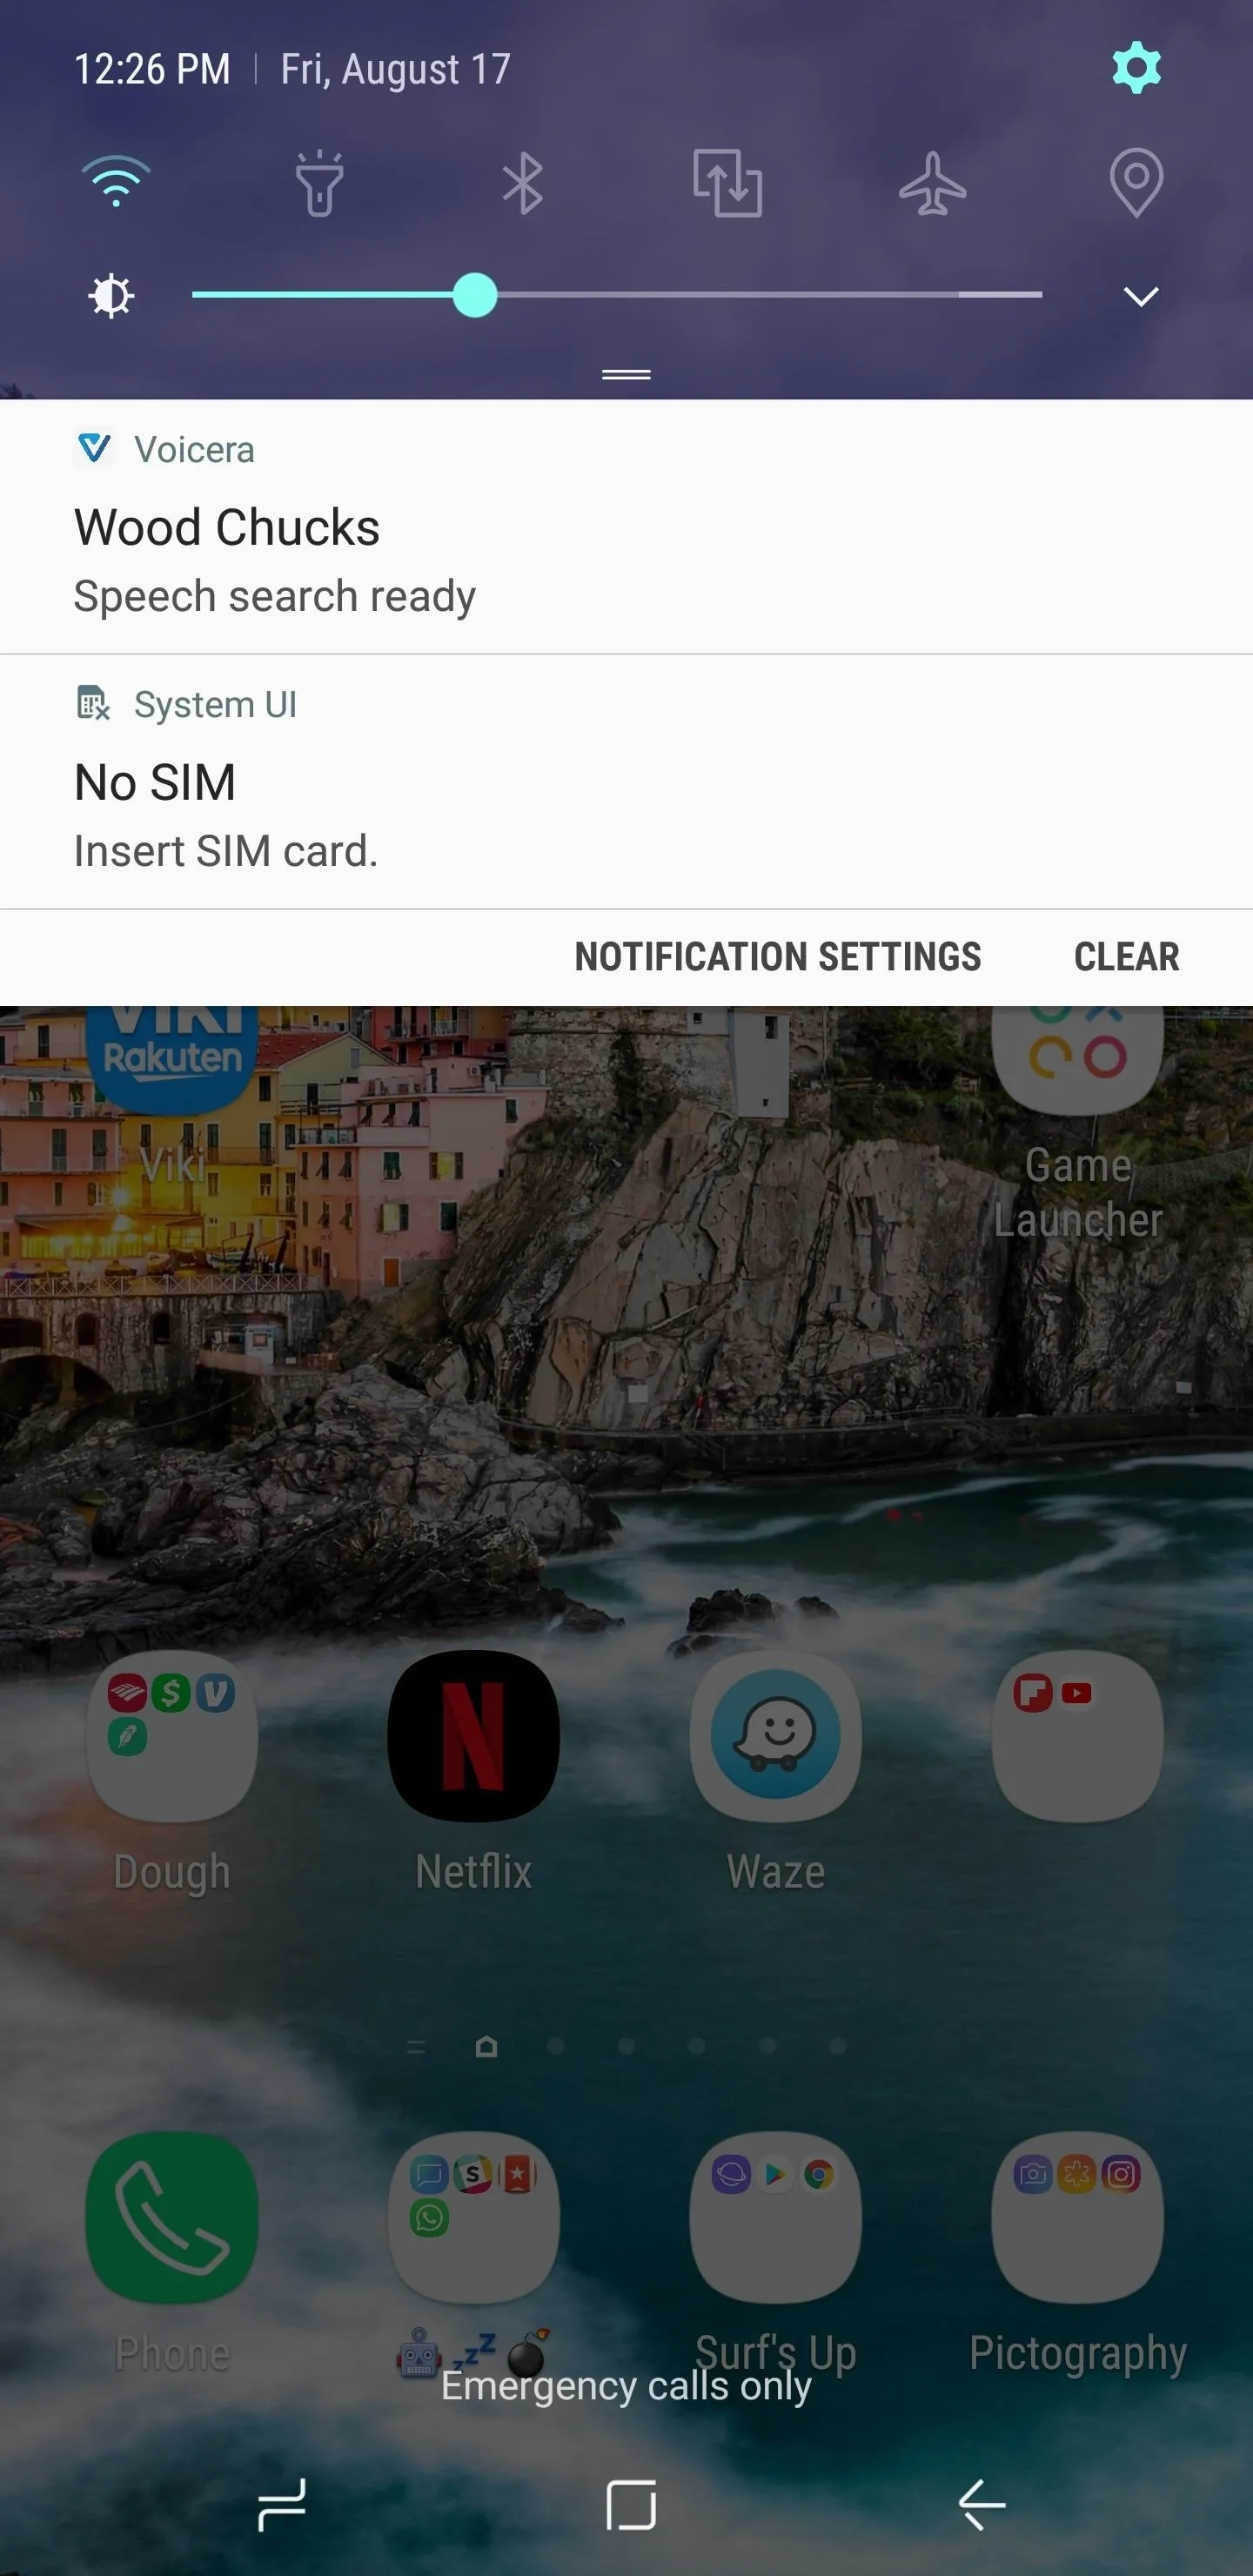
Speech-to-text conversions within Voicera aren't done in real-time, and it usually takes a few minutes to transcribe recordings. To do so, select a recording within the app's main page, then tap on the "Full Transcript" tab on the following page to get started. You're free to exit the app after doing so, as you'll be notified once your transcription has been completed.
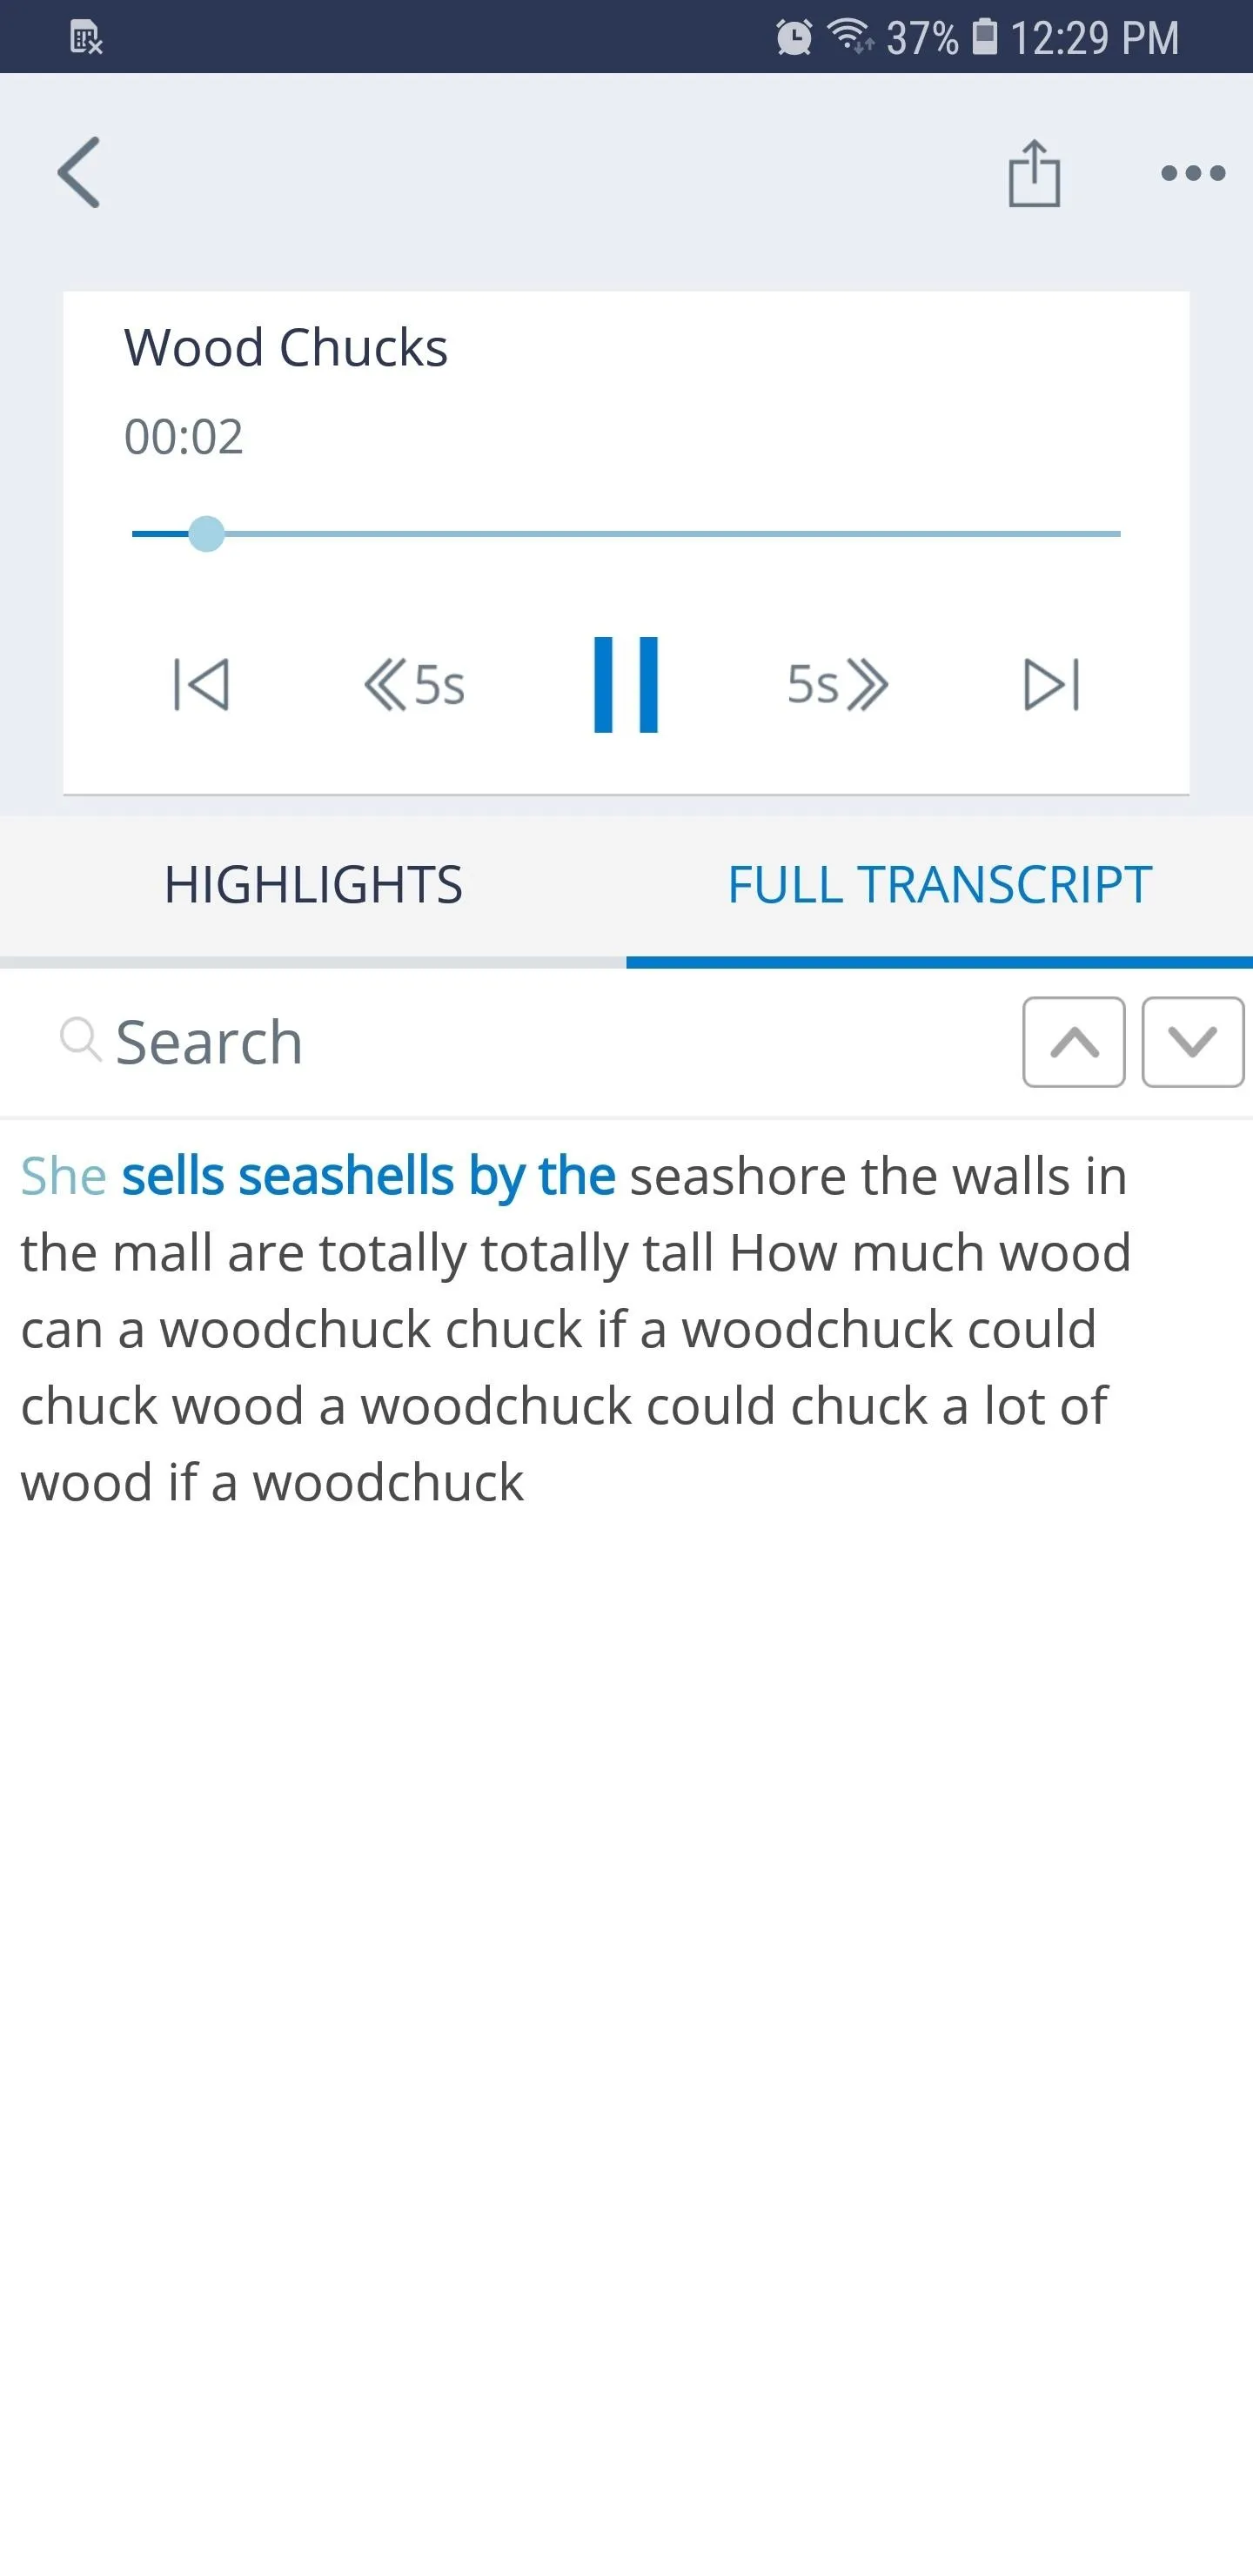
Once it's done, simply go back to the "Full Transcript" tab within the recording's page inside Voicera to view your newly minted transcript. You also have the option of playing the audio recording, which will highlight your transcript word-for-word to give you a chance to check for any errors.


All told, Voicera was the best free cross-platform transcription app we tested — but there were a handful of other apps that impressed us even more for various reasons. For instance, if you're looking for human-based transcription with 99% accuracy, you might want to check out one of the other apps in our full comparison below.
- Follow Gadget Hacks on Facebook, Twitter, YouTube, and Flipboard
- Follow WonderHowTo on Facebook, Twitter, Pinterest, and Flipboard
Cover image and screenshots by Amboy Manalo/Gadget Hacks




Comments
Be the first, drop a comment!