


Every single photo you take carries with it a considerable amount of seemingly "invisible" yet important information known as metadata. Although metadata is usually helpful to sort your photographs by location and date, that same information could potentially be used against you, especially if the pictures are taken during a precarious situation.
The protests that happened across the country over the killing of George Floyd by police officers have been fraught with pain and anger. Peaceful demonstrations in the streets turned violent as rioters and looters hijacked them, and smartphones were everywhere recording everything that went down.
Unfortunately, any photos that you take at a protest or march may contain EXIF data, which law enforcement officials could potentially use to track where and when the photo was taken. Posting an image from a protest online can not only possibly put you in the crosshairs of the police, regardless of your innocence, it can also put the people in your photos in danger as well.
While there are several ways to remove EXIF data, there's a tool that goes above and beyond the scrubbing of that metadata. Best of all, it works on any platform, so you can use it whether you have an Android phone or iPhone.
Created by developer Everest Pipkin, Image Scrubber anonymizes photographs taken at protests and rallies by removing all metadata from them. On top of that, it has quick editing tools to blur faces, addresses, distinguishable clothing, and other information in photographs that could help in identifying you, others, or locations. By taking precautions and preserving yours and everybody else's anonymity, you won't have to worry about what you post or share and where.
Load a Photo into Image Scrubber
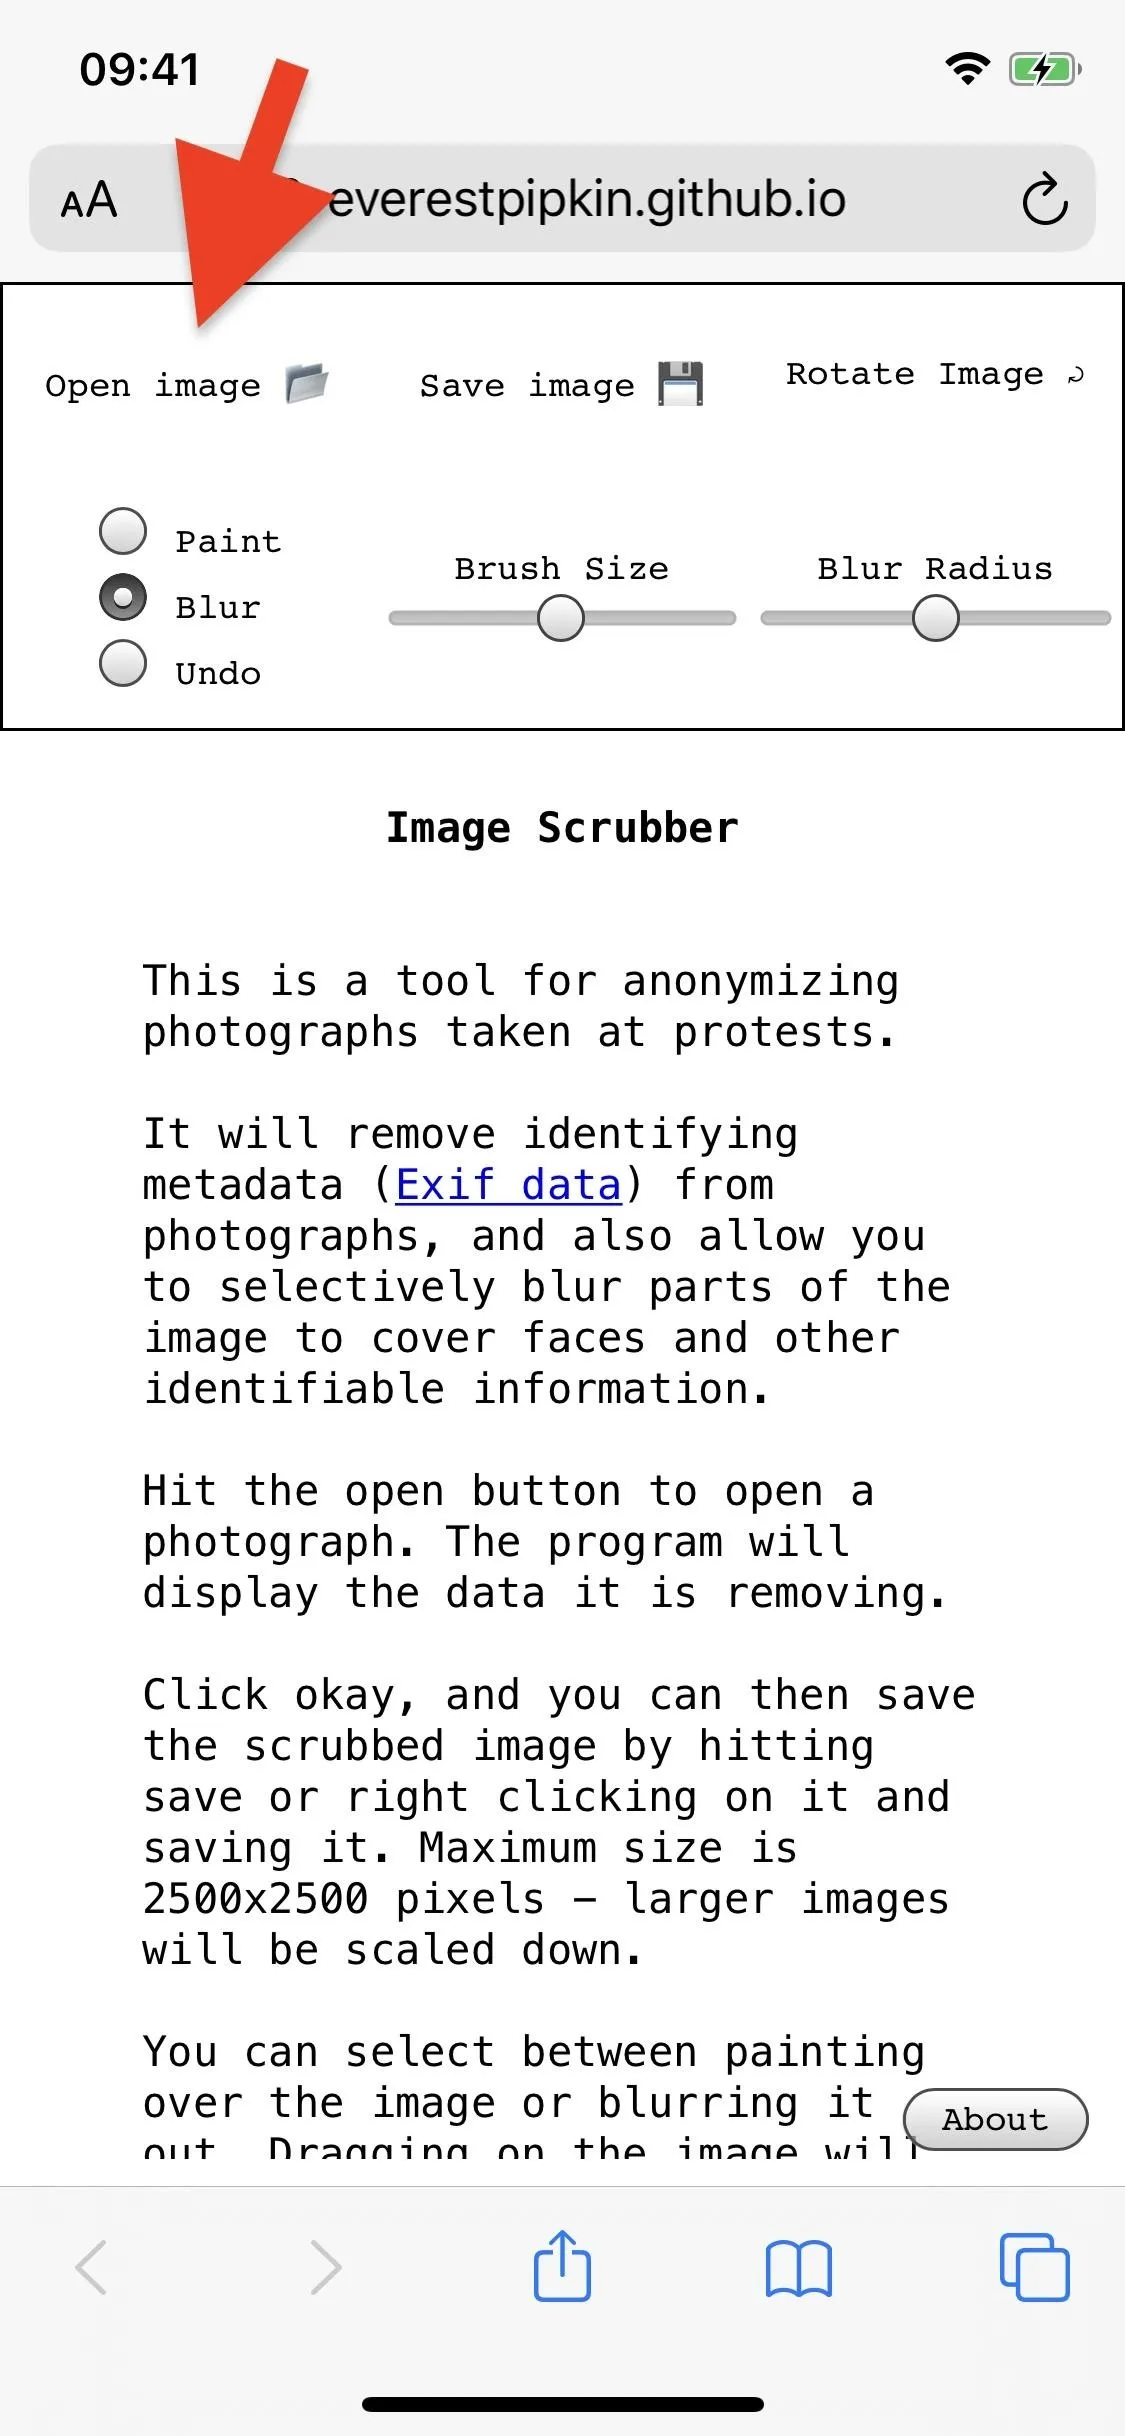
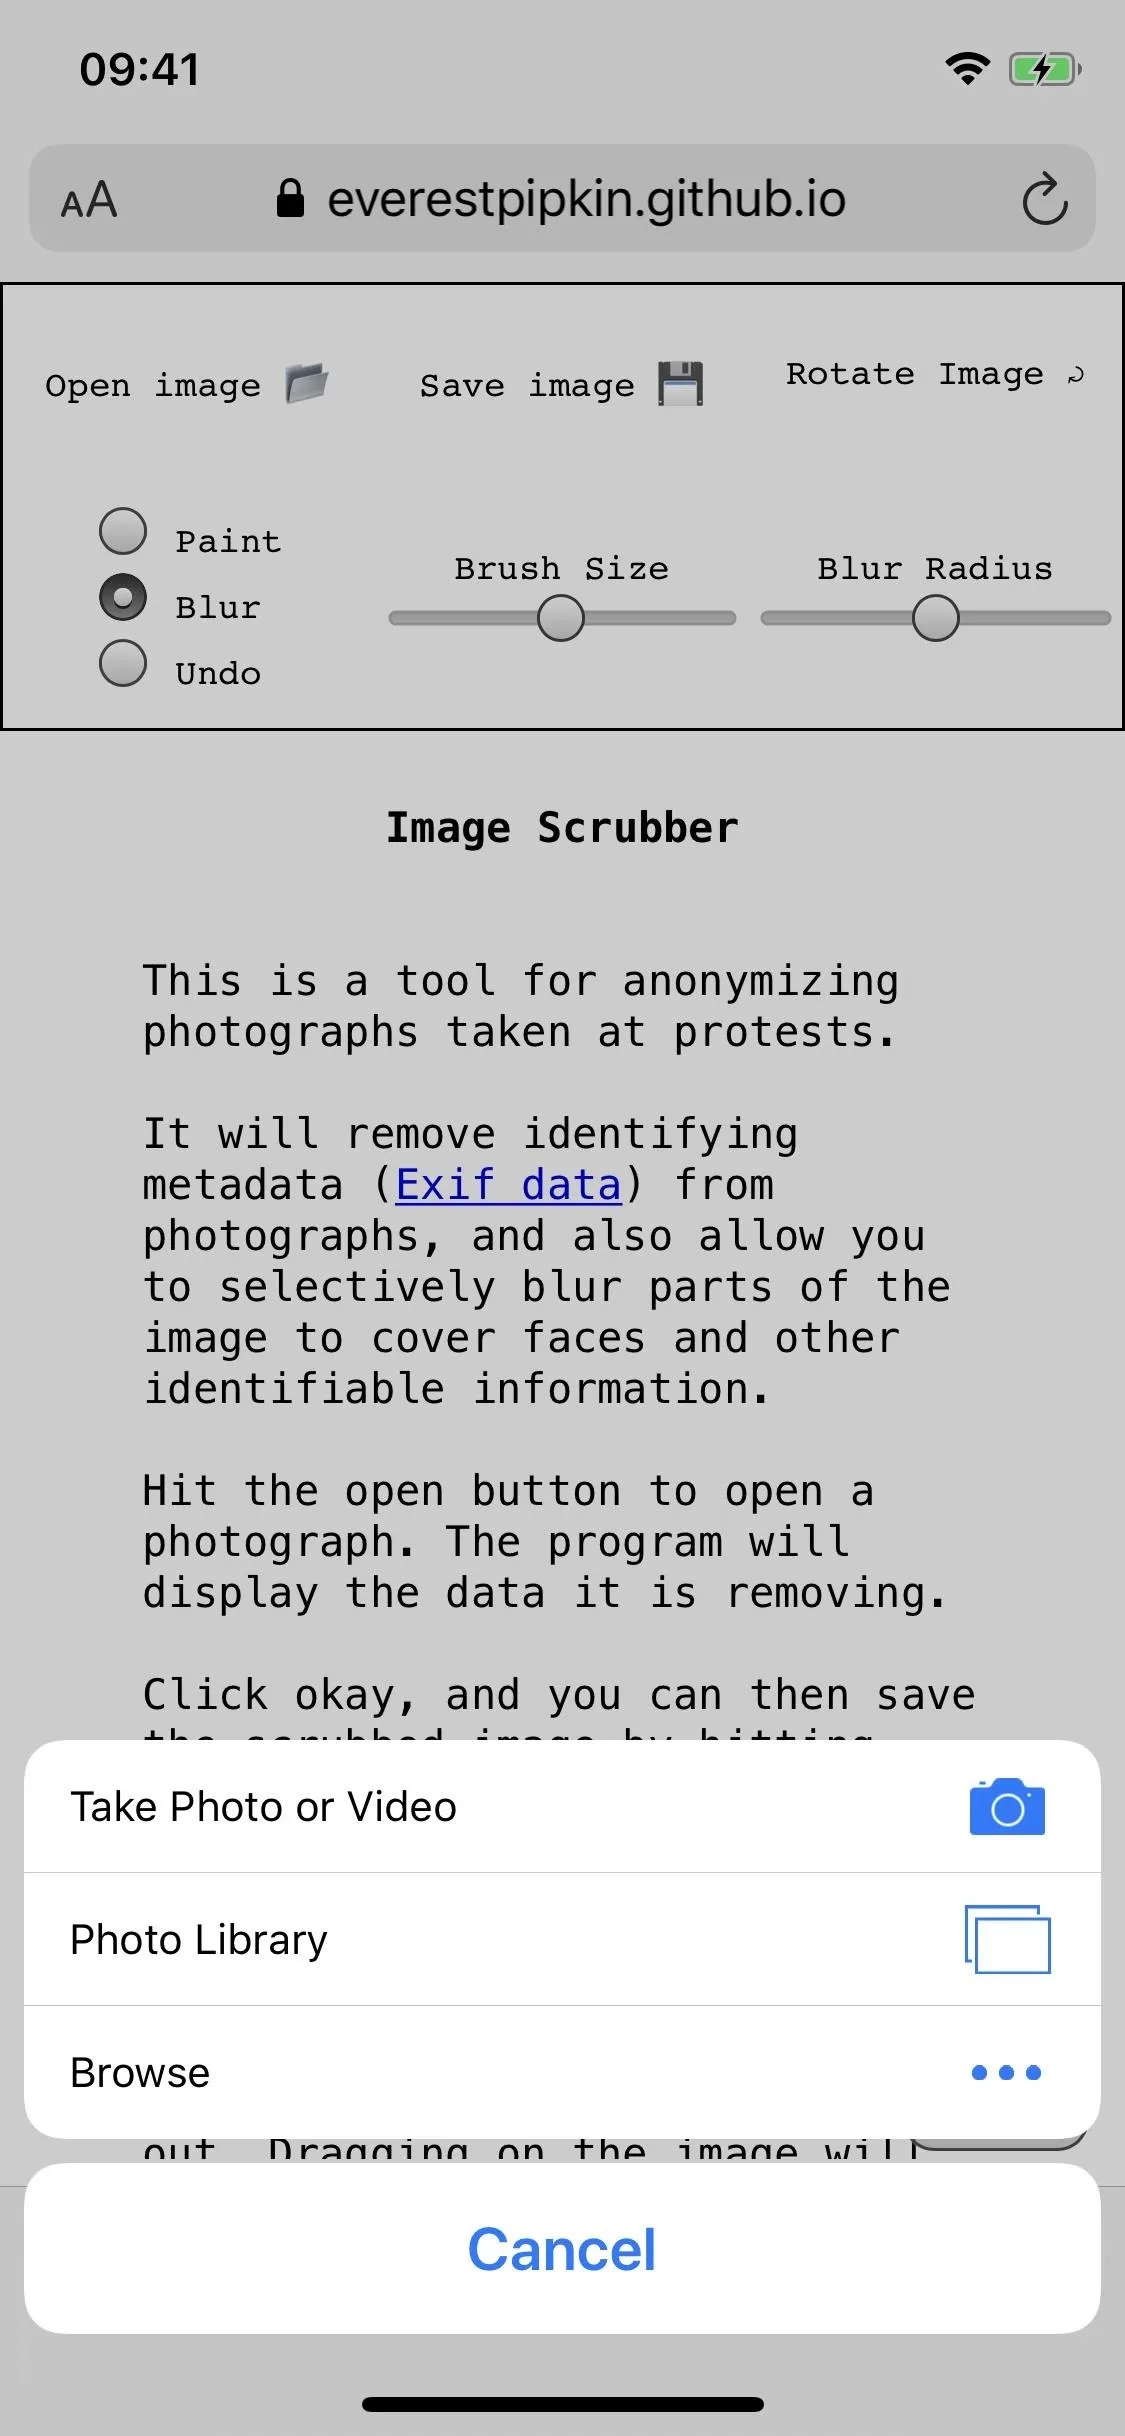
Anyone can access Image Scrubber, as it's currently only available via your web browser. Visit everestpipkin.github.io/image-scrubber in any mobile browser, tap on "Open image" in the top left, and choose how to import an image. You can take a photo right away or upload one from your stock gallery or files manager. Once you've found the image, tap on it to load it.
Note that you can select videos, not just pictures. But if you do choose a movie file, it will open a tool where you need to select the frame of the video that you want to be the compressed still image. However, we found that it doesn't work very well (or at all) on Android but works great on iOS.
Review & Delete Any EXIF Data
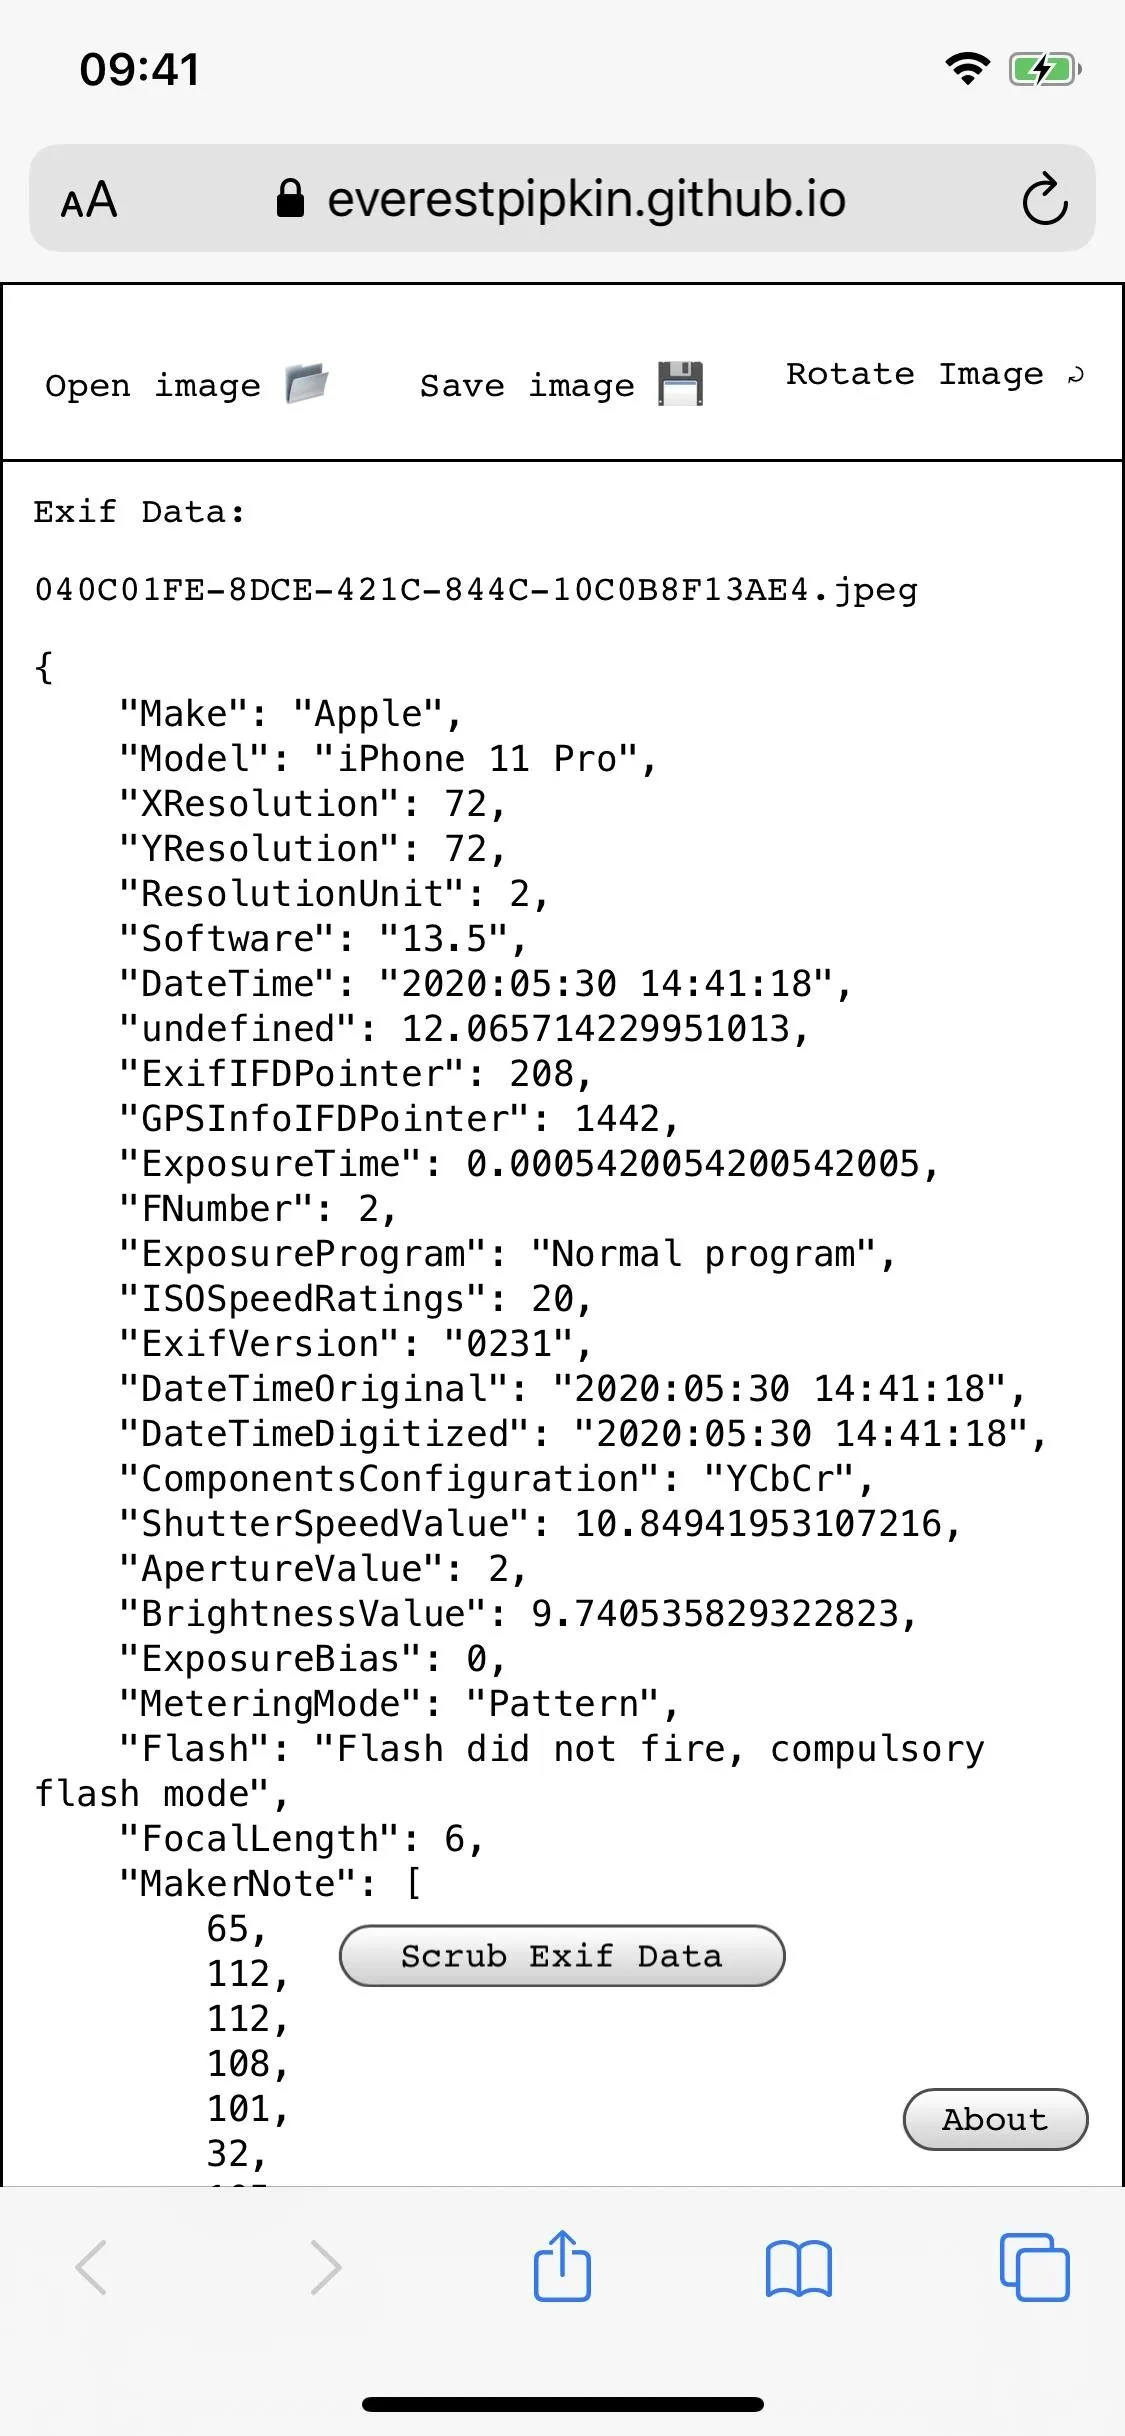
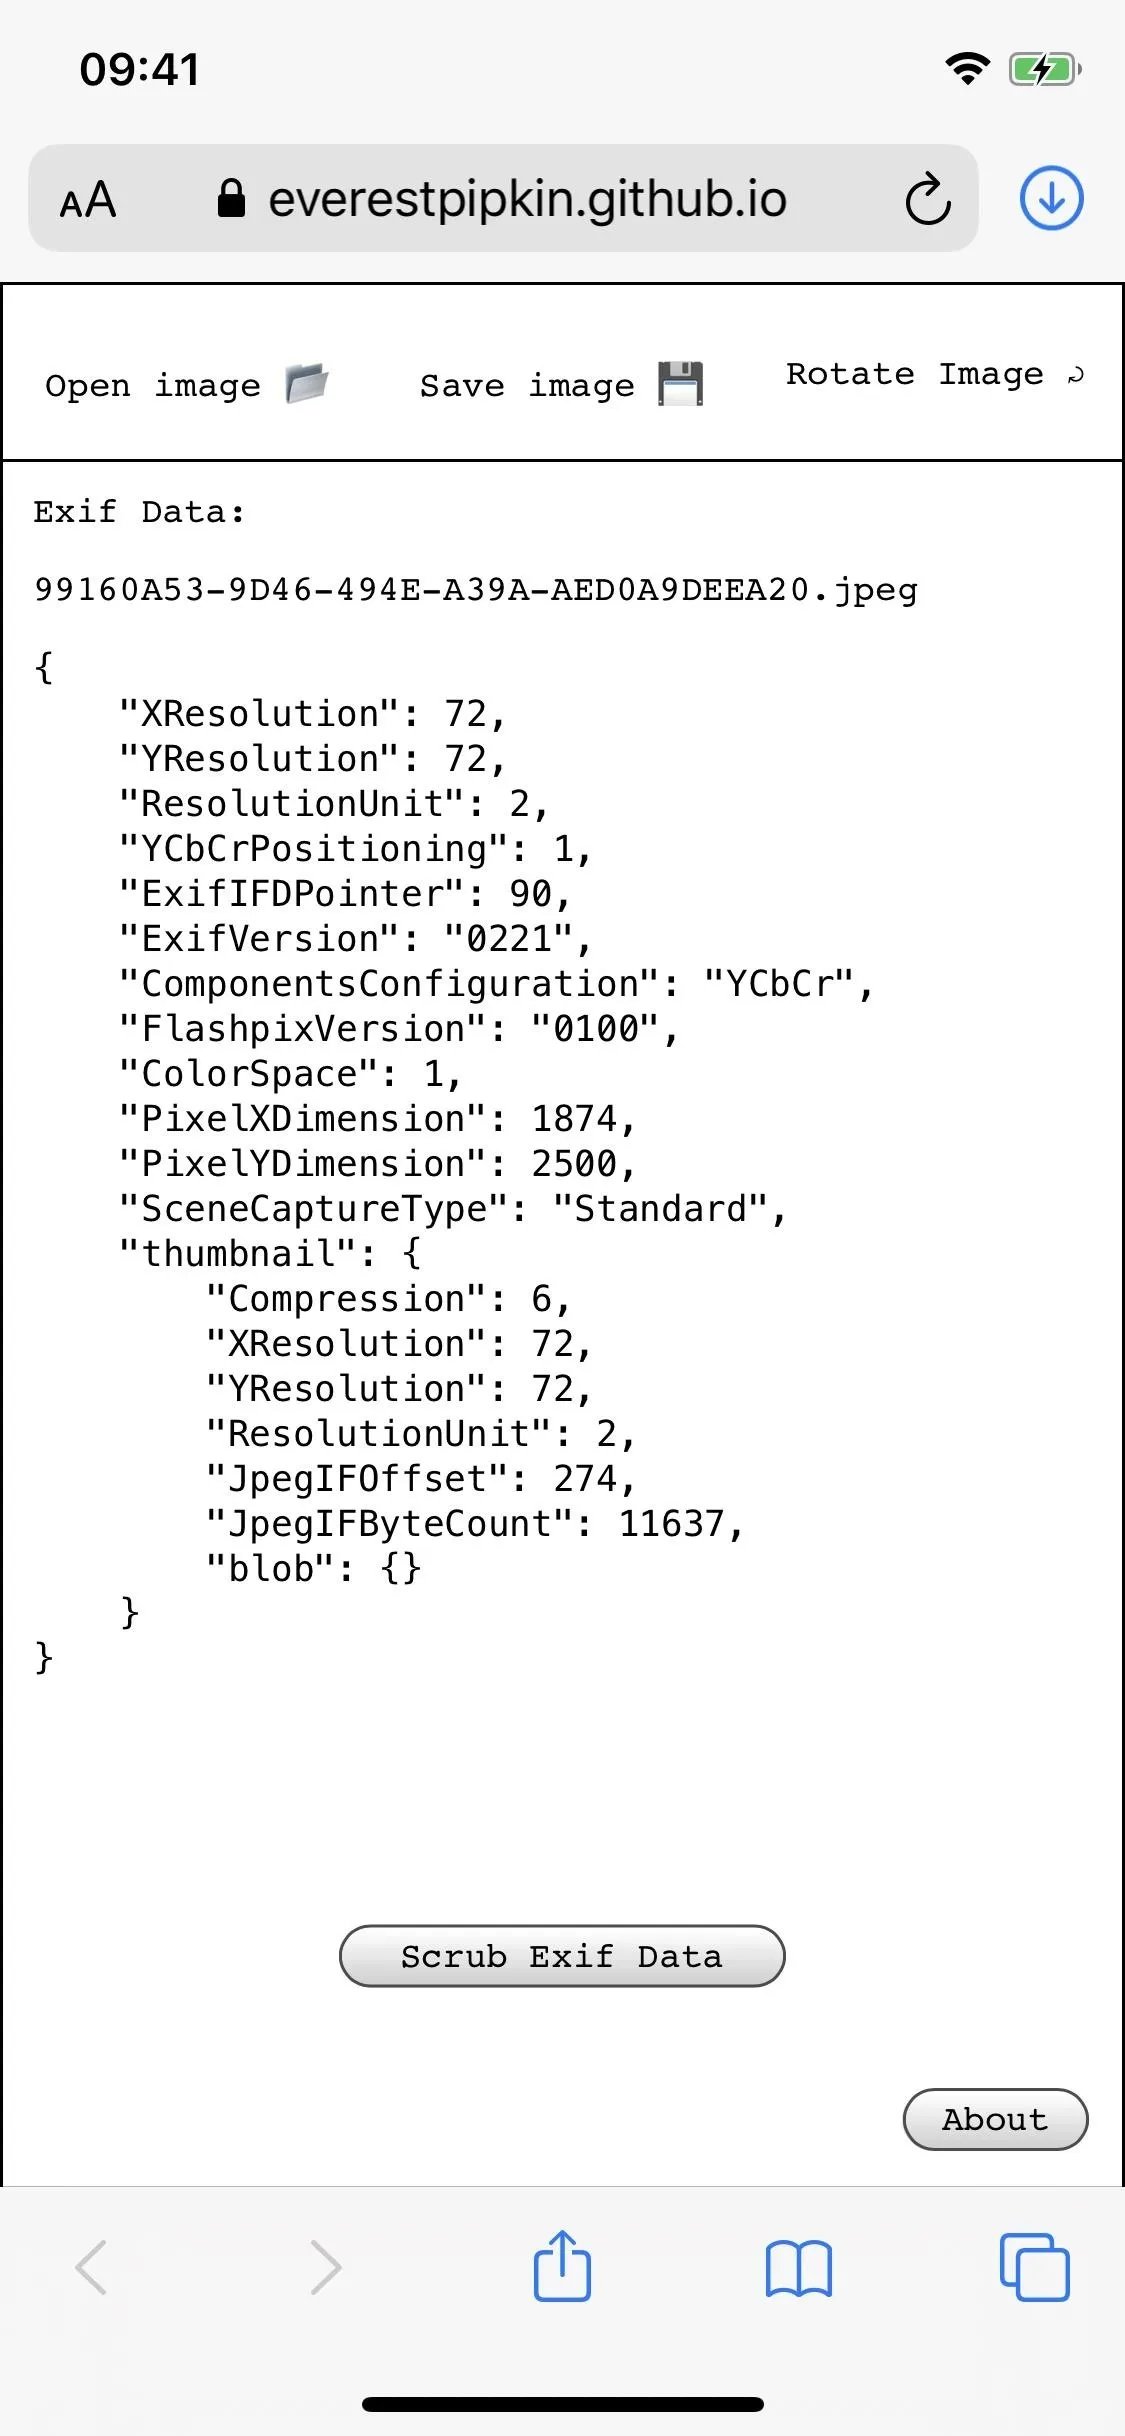
If there is no EXIF data stored in the image, it will say so, and you can continue to edit the image. When there is EXIF data, it will appear on the screen as a long thread of text. While you may not understand all of it, if you parse through it, you'll see information like your camera make and model, software version, the date captured, its geotagged location, and much more.
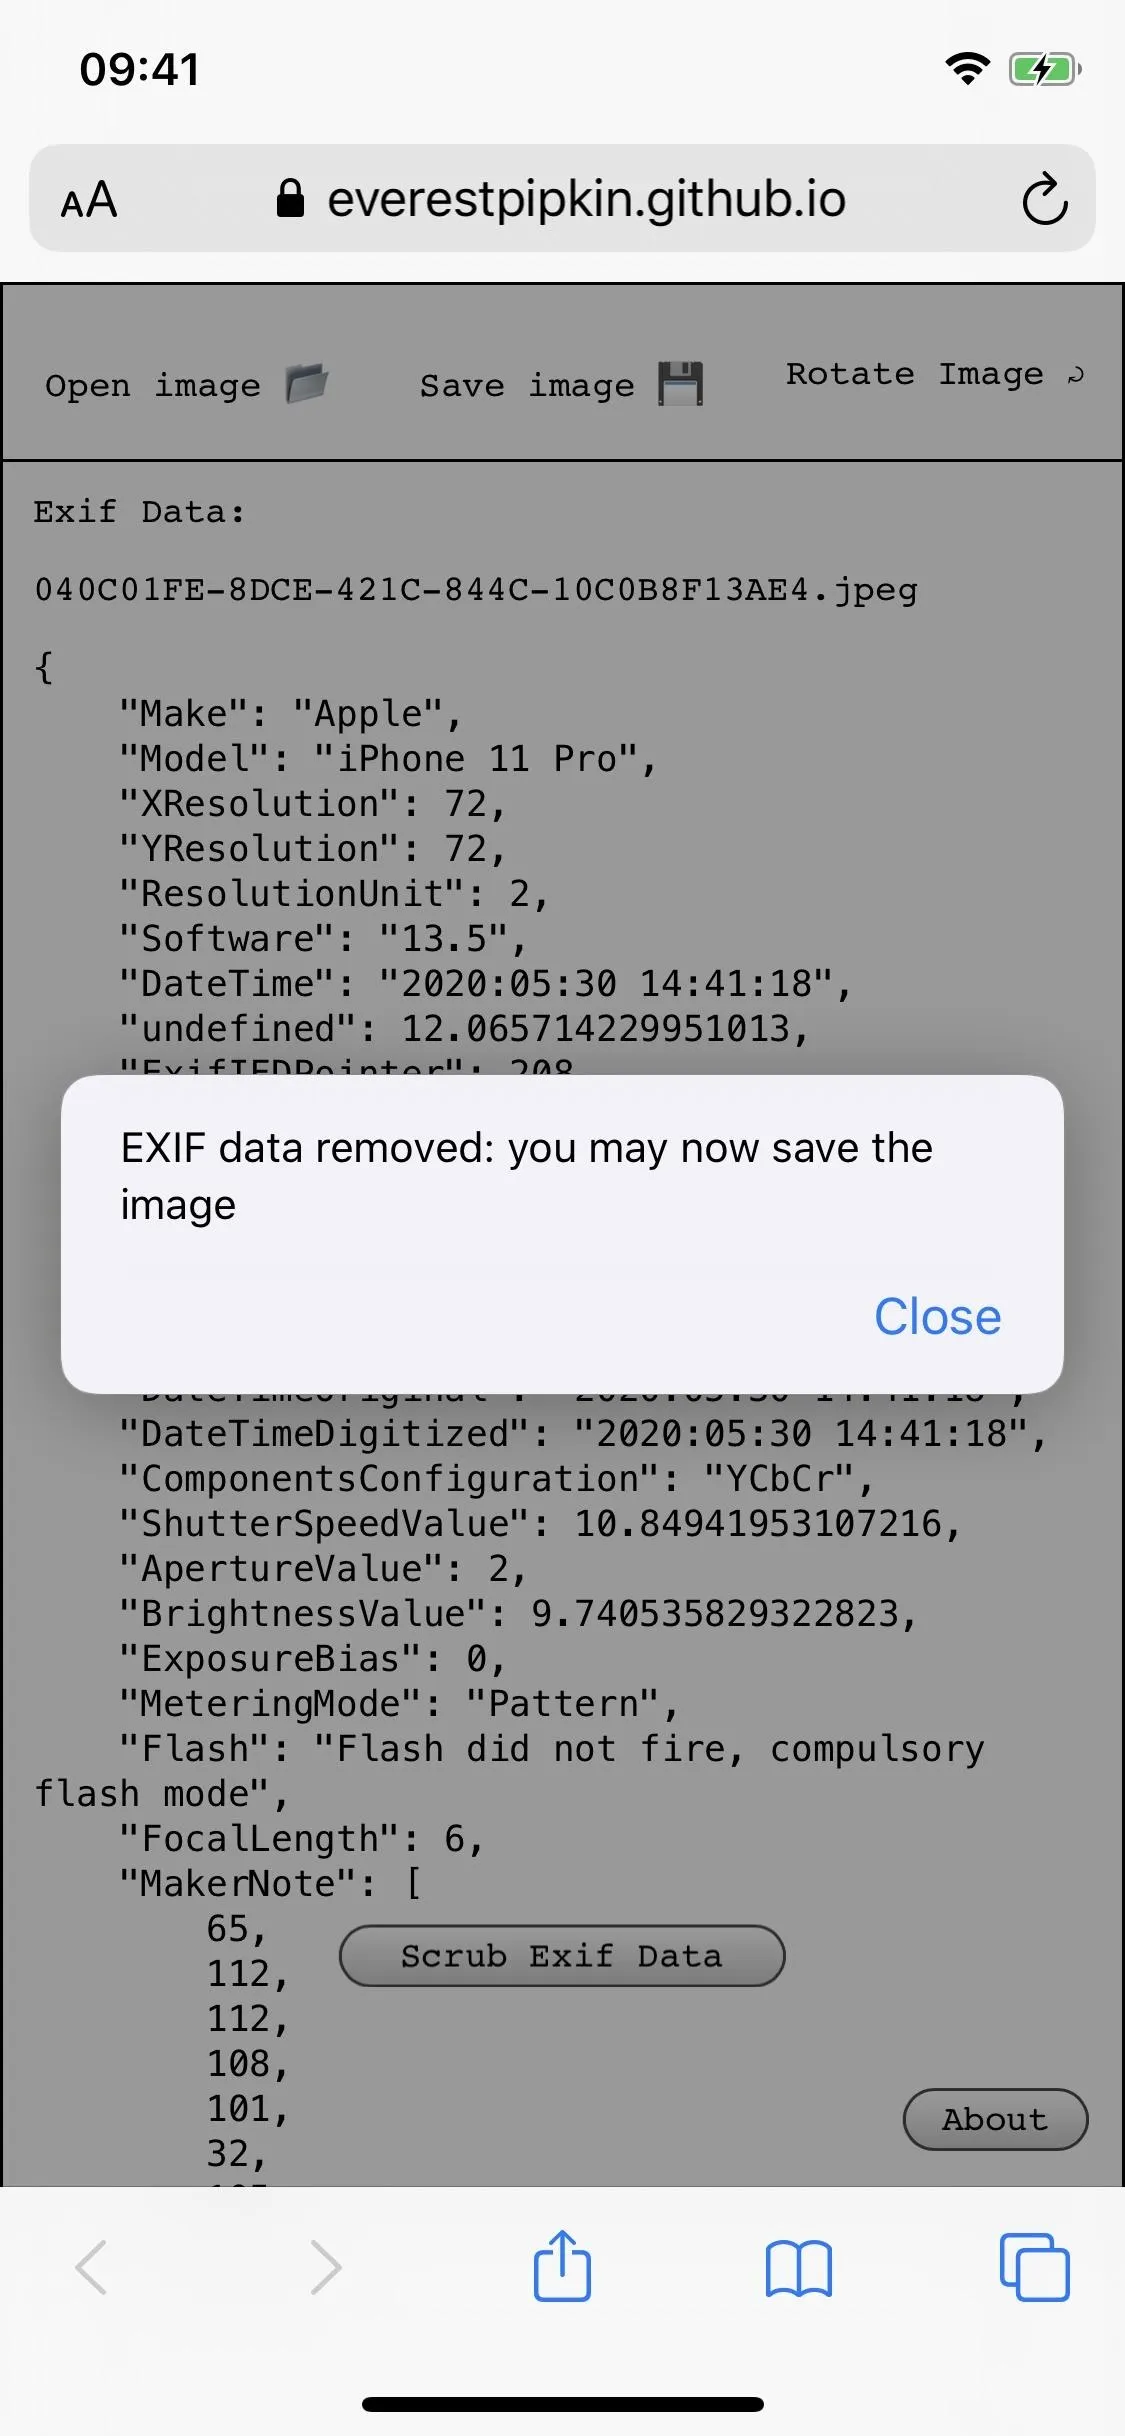
To permanently delete the EXIF data from the photo, tap on the "Scrub Exif Data" button at the bottom of the screen. A pop-up will appear confirming the deletion; tap on "Close" or "OK" to proceed.
Obfuscate Information in the Photo
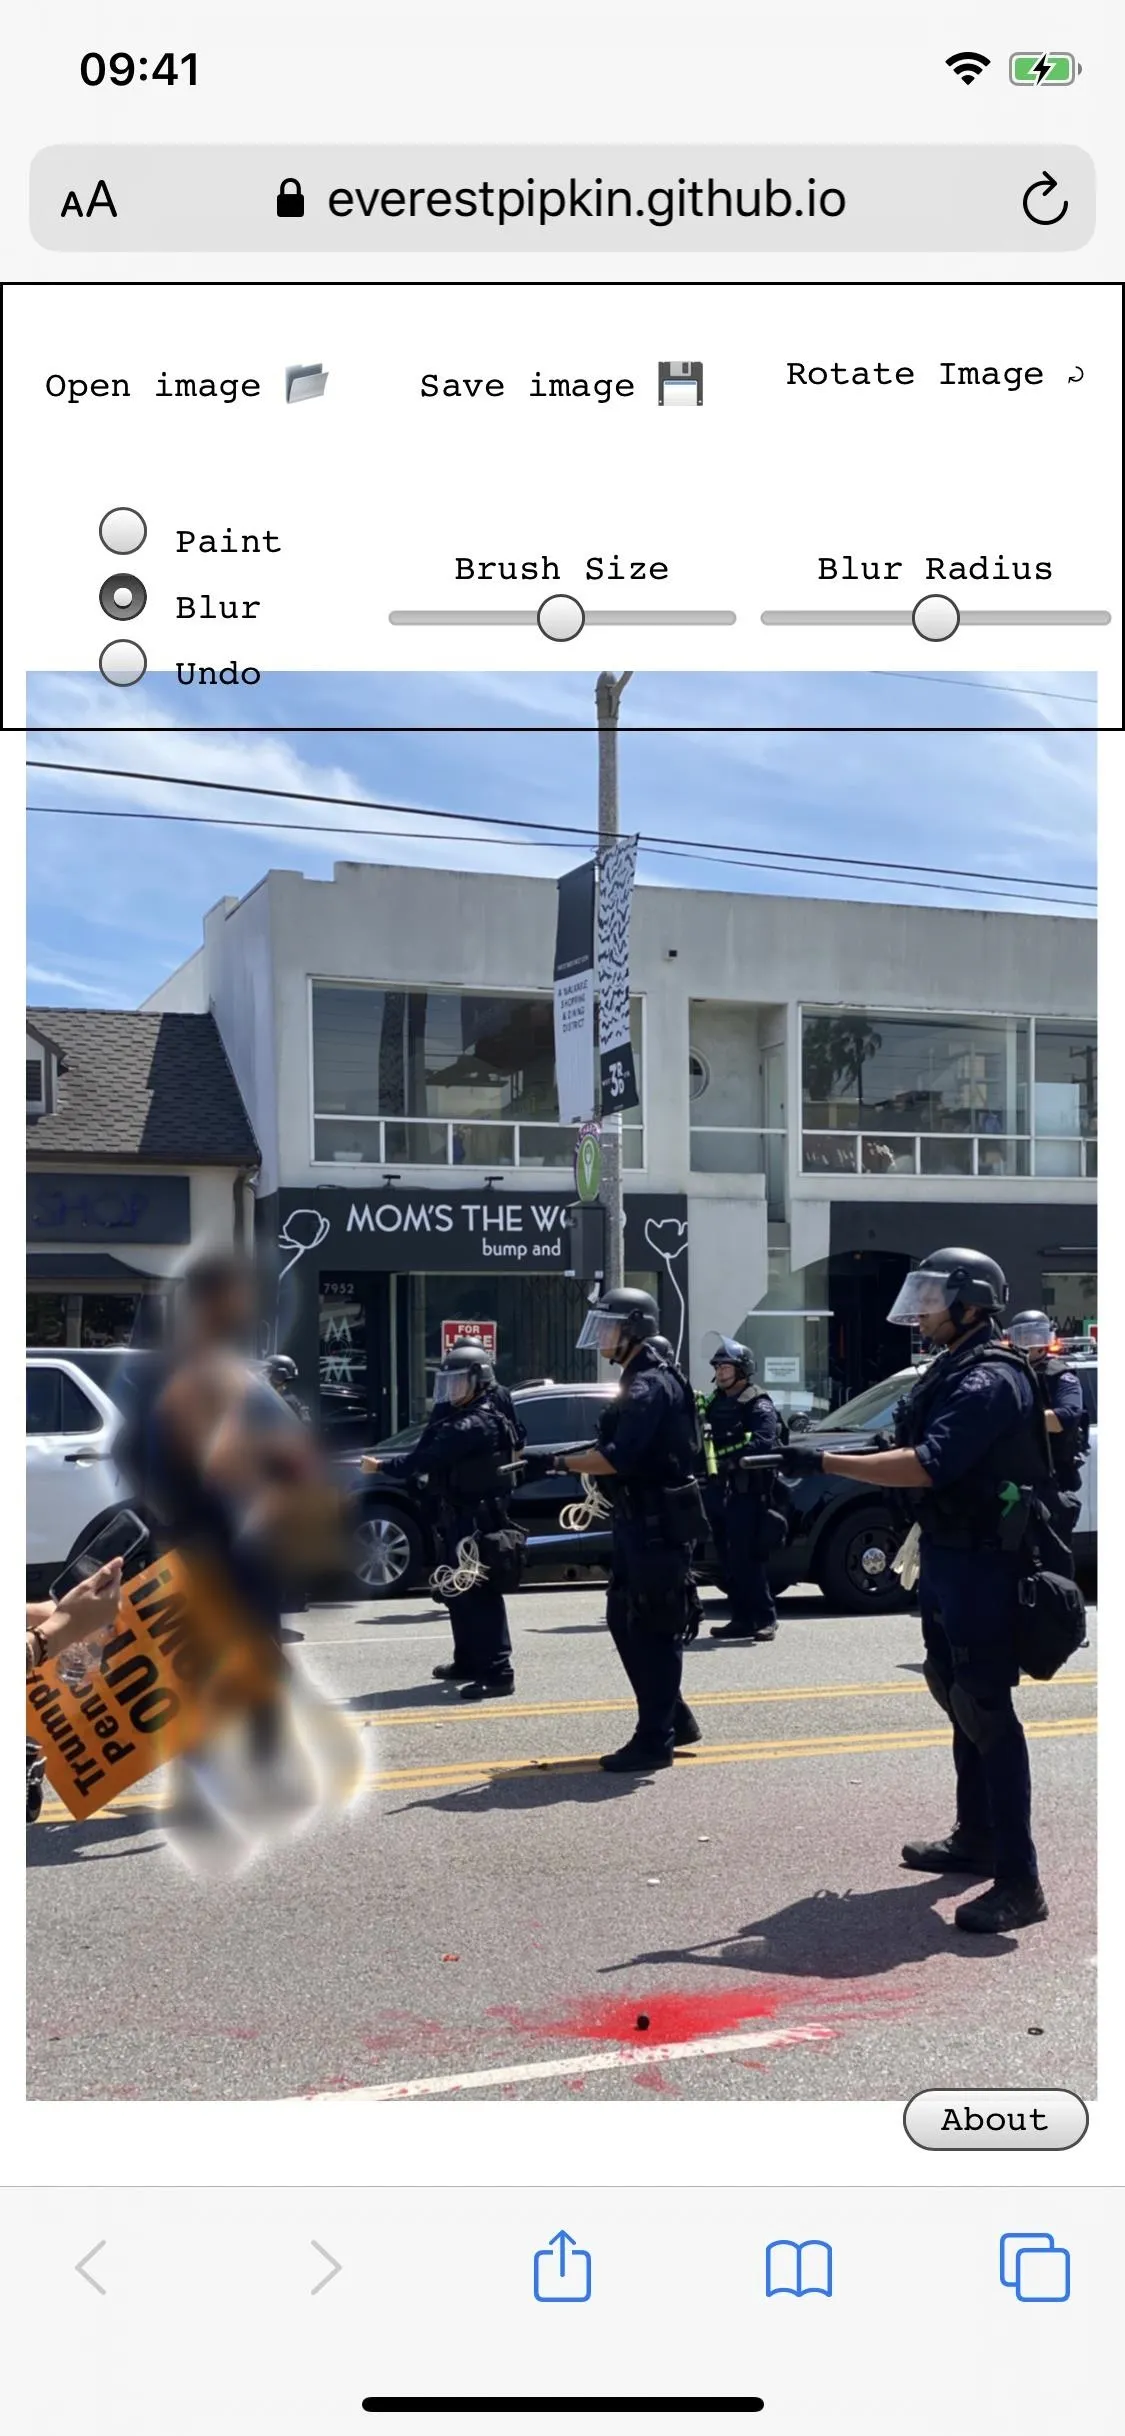
Now you can use the brush tool to blur faces and other objects in your photo. First, choose the type of brush you want from the three available options, which include "Paint" (black is the only color), "Blur" (its radius can be fine-tuned), and "Undo" (your eraser for the previous two options).
Black paint is pretty intuitive, so we'll quickly show the Blur tool in our example. Tap that, then touch and drag your finger on the area of the picture that needs to be obfuscated. Once you let go, the blur effect will appear, though, it may take a few seconds to process the image.
If the blur looks weird, you can adjust the "Blur Radius" to an intensity that looks better. It may take some trial and error here until you find the right radius, which you can then use on any following images. However, note that:
The blur function has built-in pixelization and noise and is fairly irreversible - but very sensitive information should be covered with the paint tool.

To remove any blur or black paint on the image, tap on "Undo" and draw over the edits with your finger to remove them. You also have the option to "Rotate Image" using the tool at the top of the screen, which rotates the image clockwise in 90-degree increments. Rotation is only beneficial if it uploads to the site incorrectly or if you took the photo in a different orientation than you thought.


Save Your Edited Image
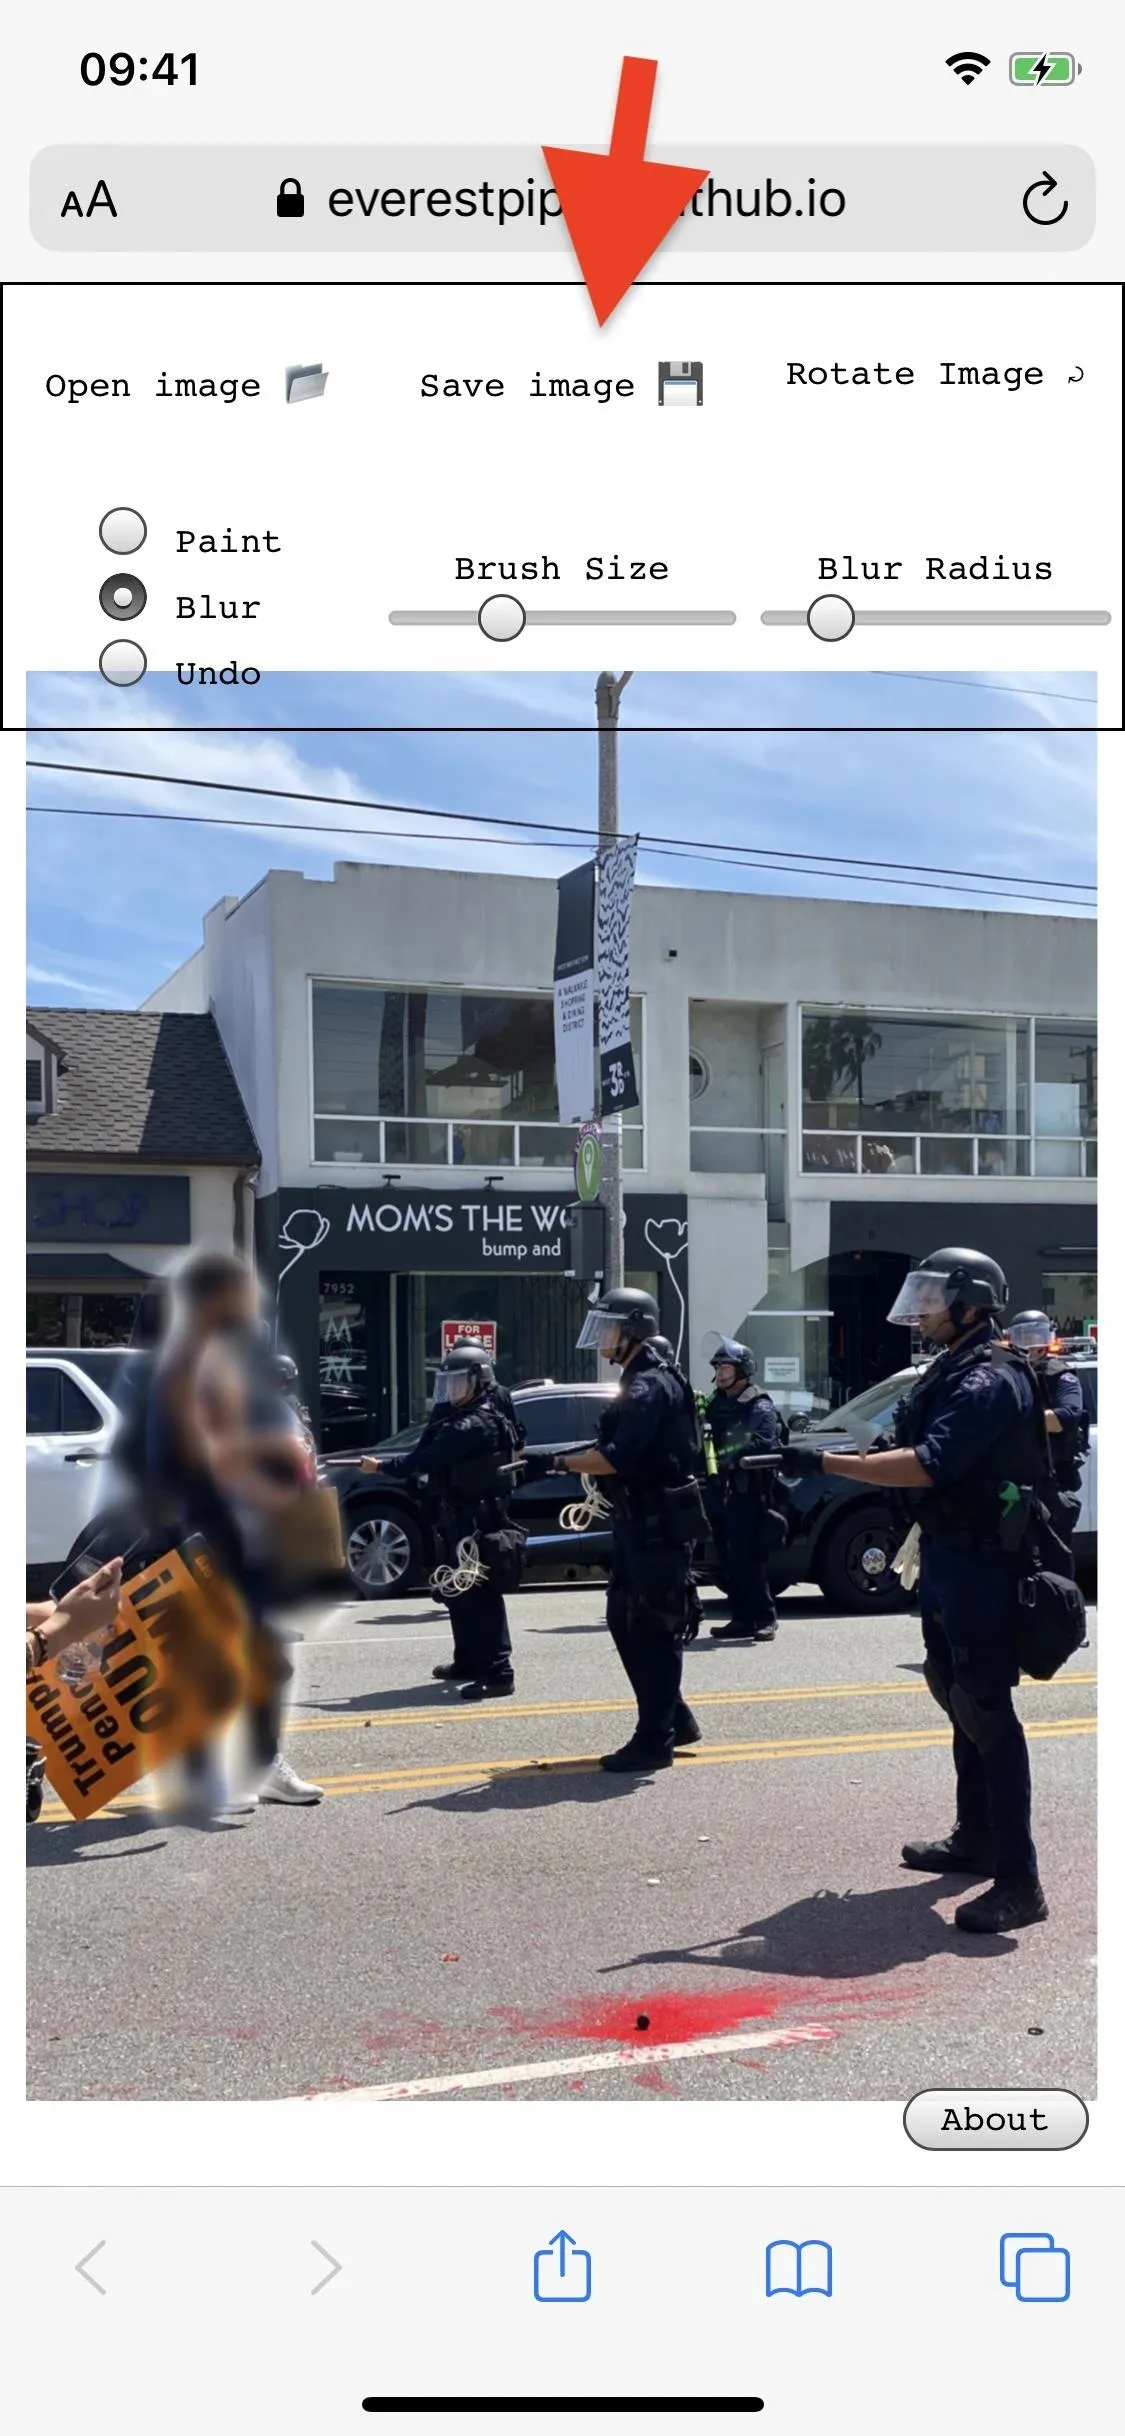
Once you're finished with blurs, black paint, and rotations, save the photo by tapping on "Save image" at the top. Now, depending on your device, what happens here will differ.
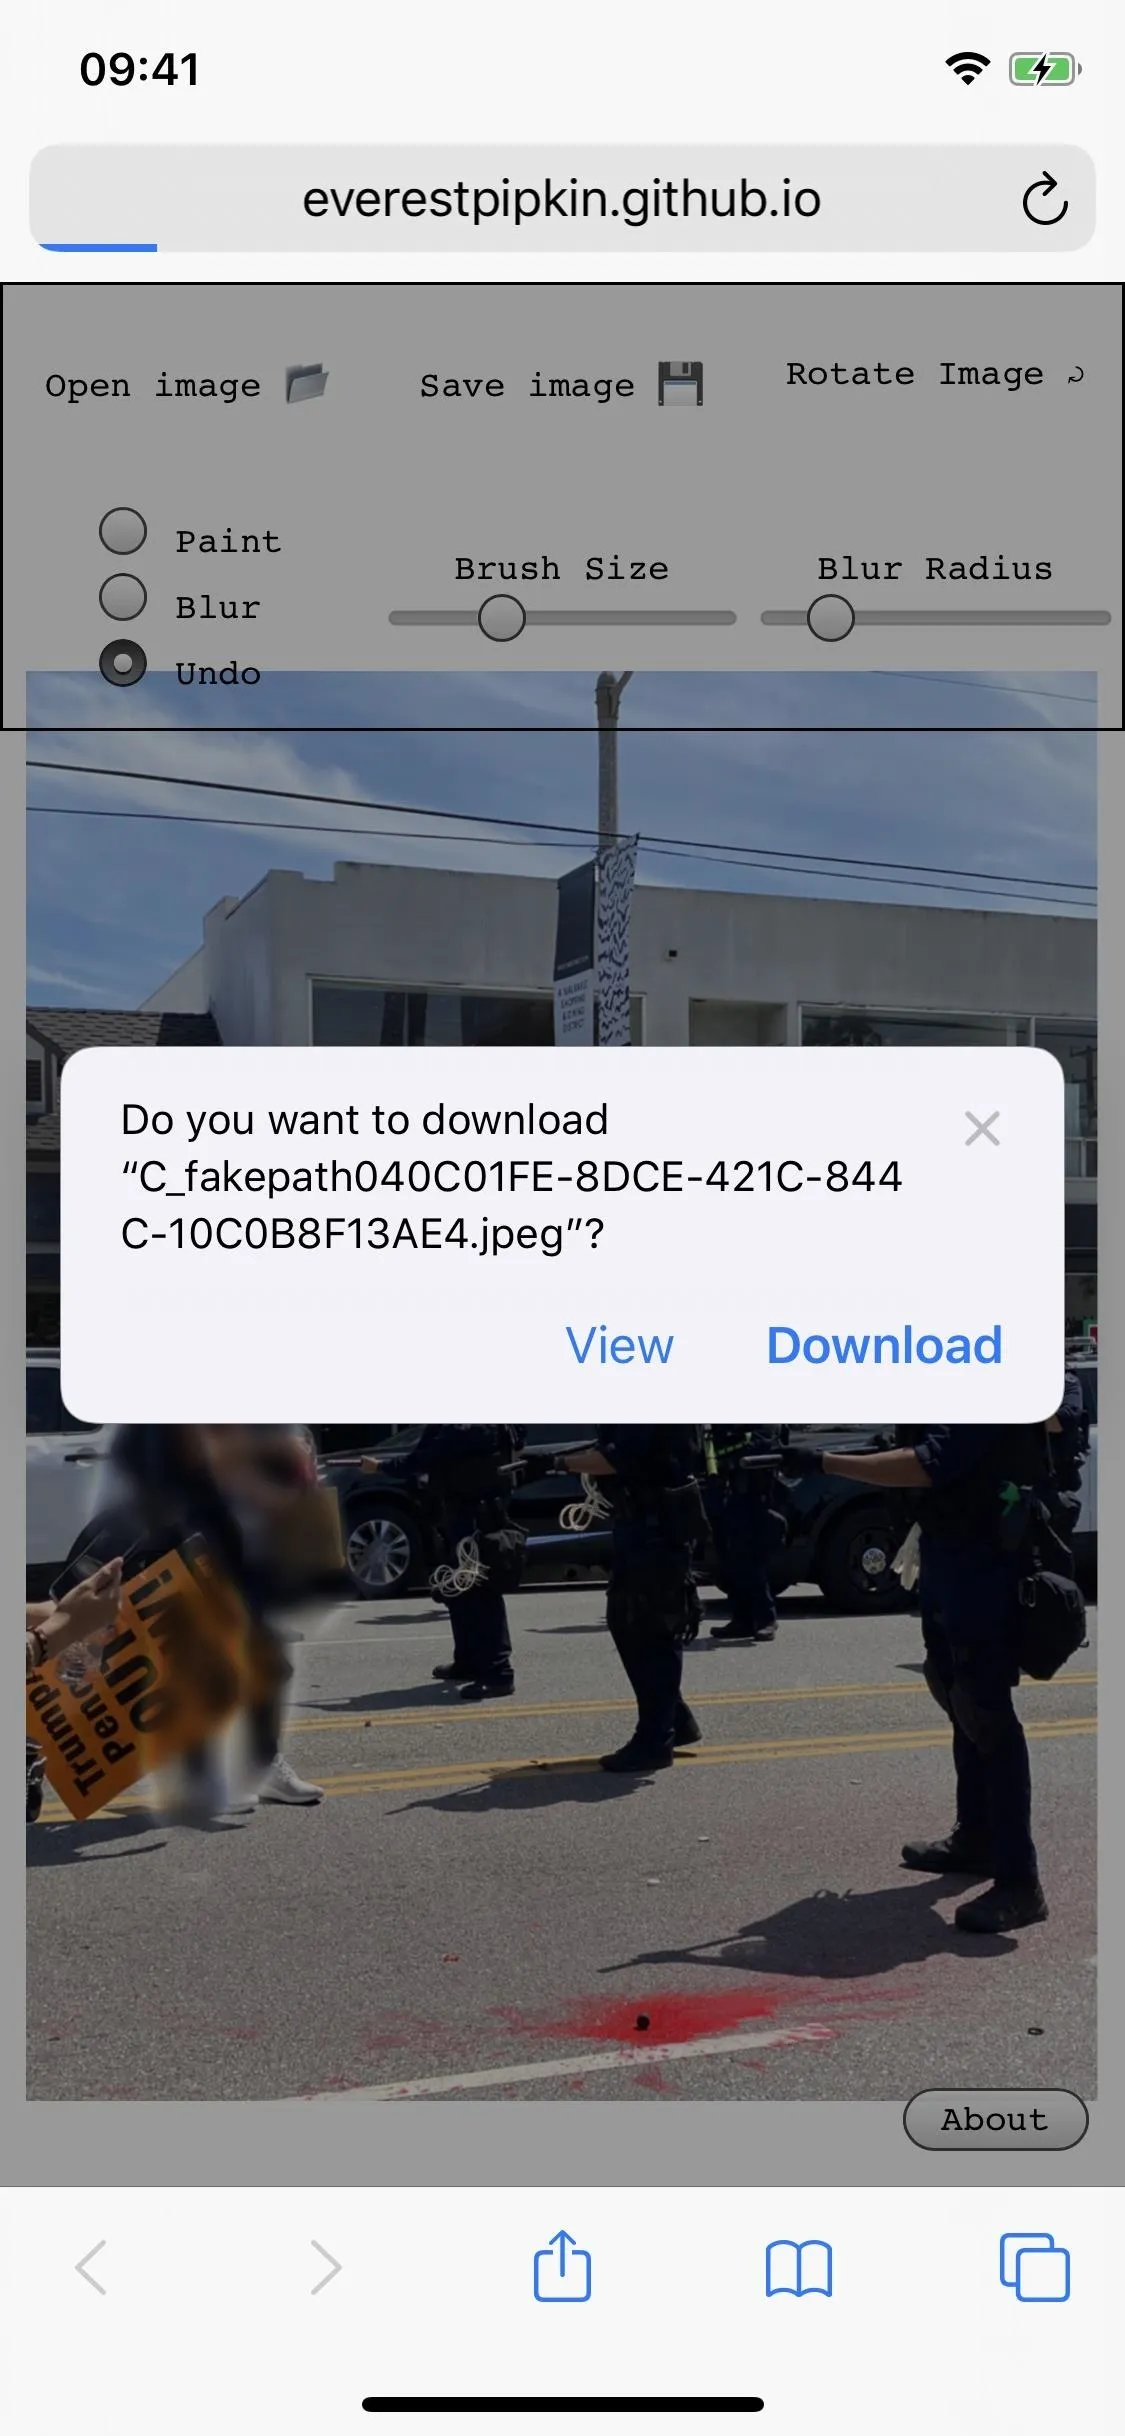
For example, if you're on an iPhone and using Safari, a pop-up will appear, asking if you want to view or download the image. Viewing it will open it up in the same tab, and from there, you can save it to your Photos app using the share sheet. Downloading it will put it into the default folder in Files that you have set.
On most Android devices, the image will just download right away after tapping "Save image," with a link to open it up after it's finished. The picture will be saved to your default folder for downloads.
Verify the Metadata Was Wiped (Optional)
Your photo is now obfuscated as needed and scrubbed of all its EXIF data. If you want to make sure your photo is clean, run it through Image Scrubber again. When it scans for metadata, it'll only show a bit of useless information that no one can really use to link to you directly.
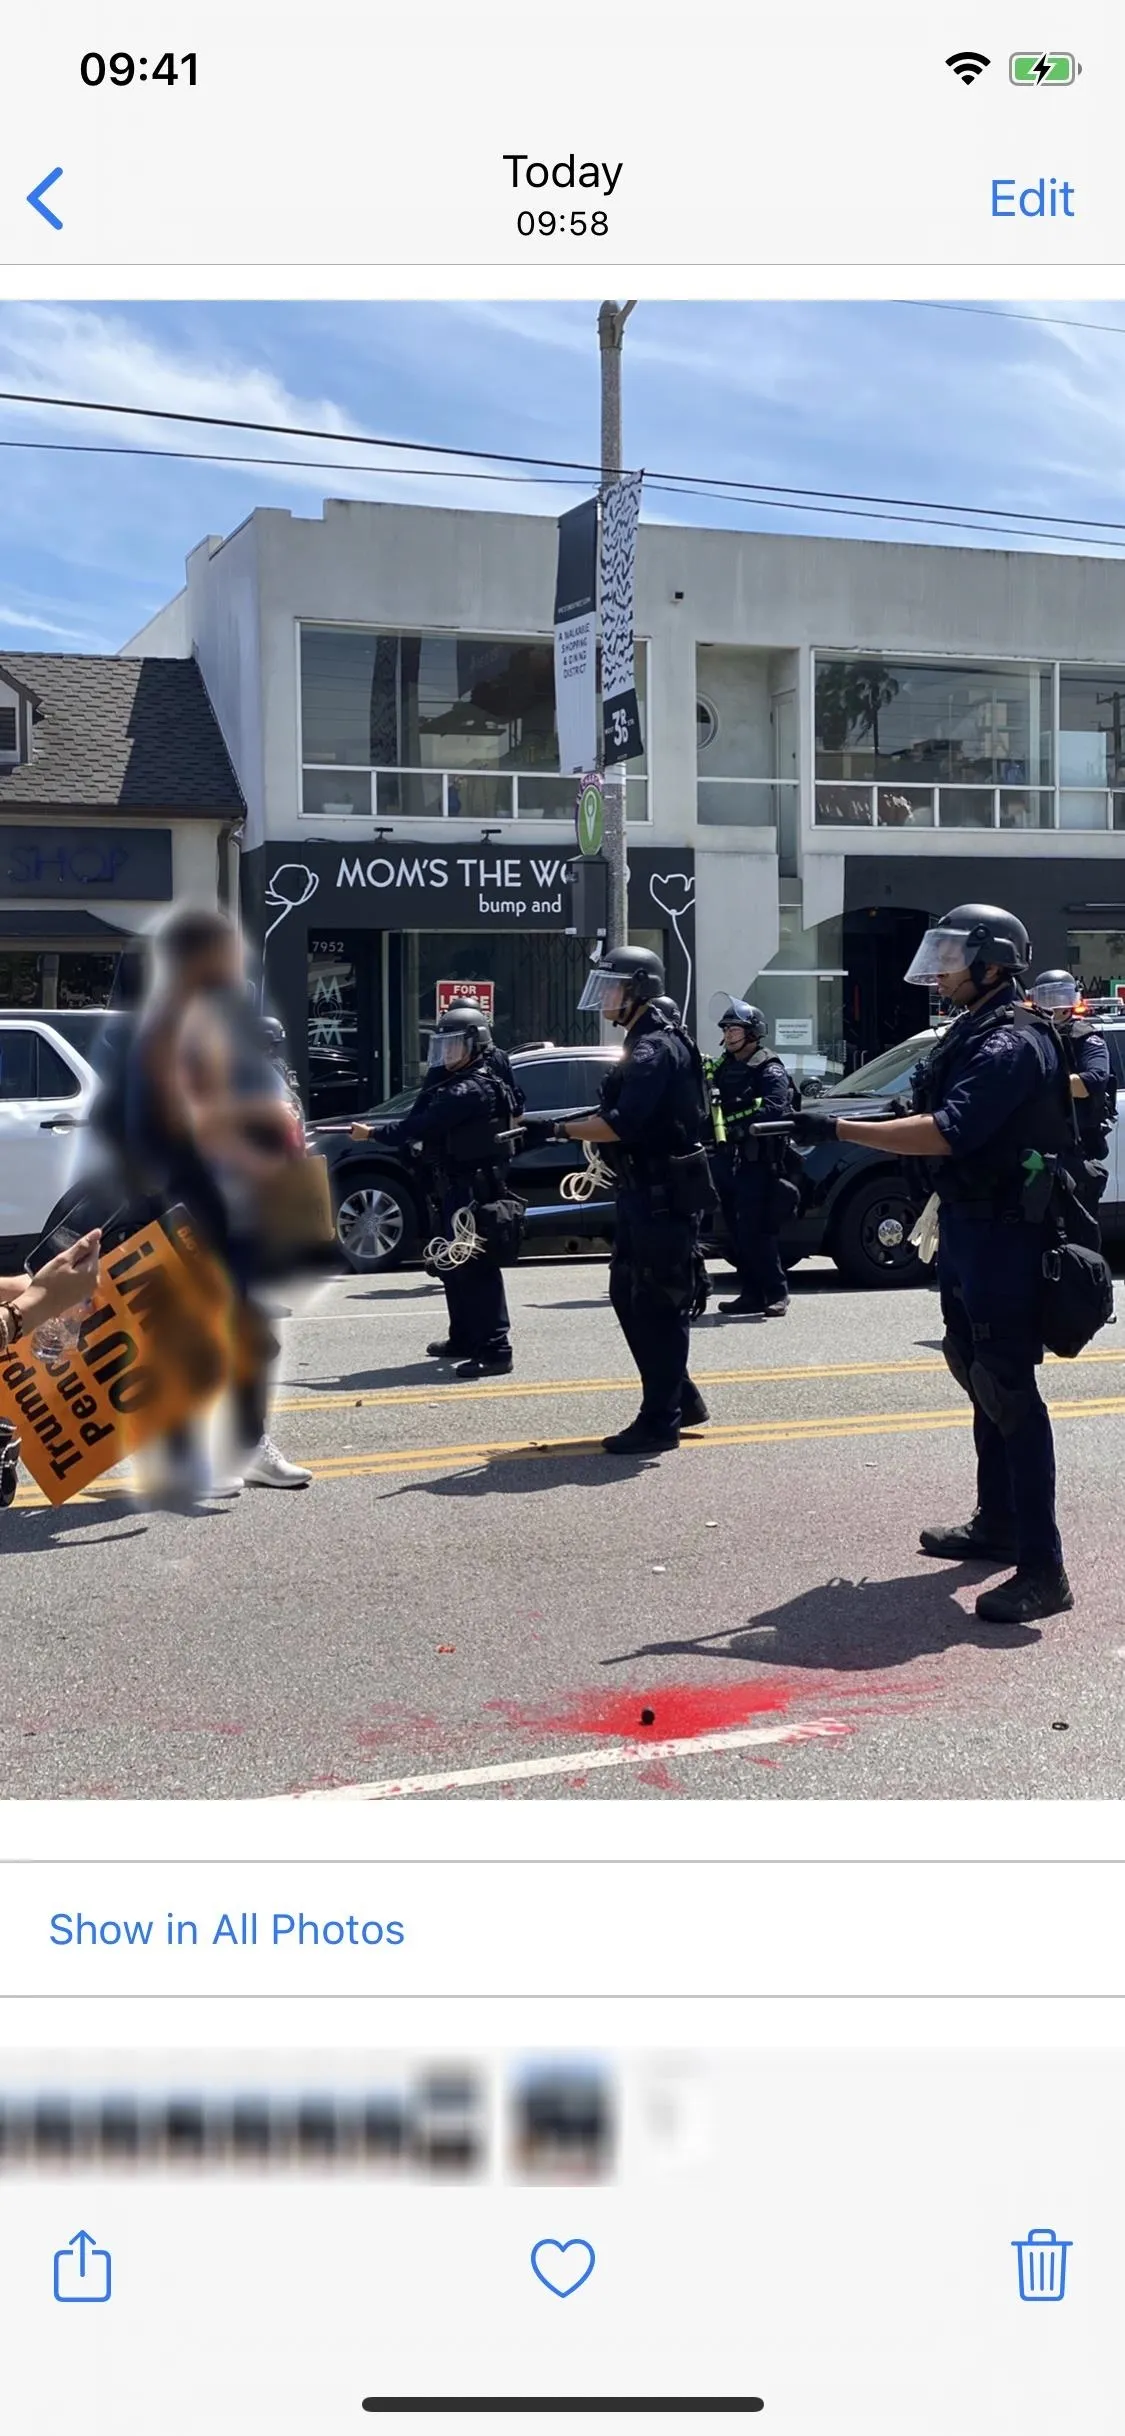
You can also try looking at the location via your smartphone's native photos app, which usually shows the coordinates. Below, you can see that the location is missing in the Photos app for iPhone (a map and address would usually show up right above "Show in All Photos").
Pipkin also mentions that Image Scrubber doesn't share your information anywhere. However, while your image is first uploaded to the web app with metadata intact, the image processing only occurs in the web browser on your device, so there is no need to worry. You can check out the source code, if you're so inclined, over at Pipkin's GitHub.
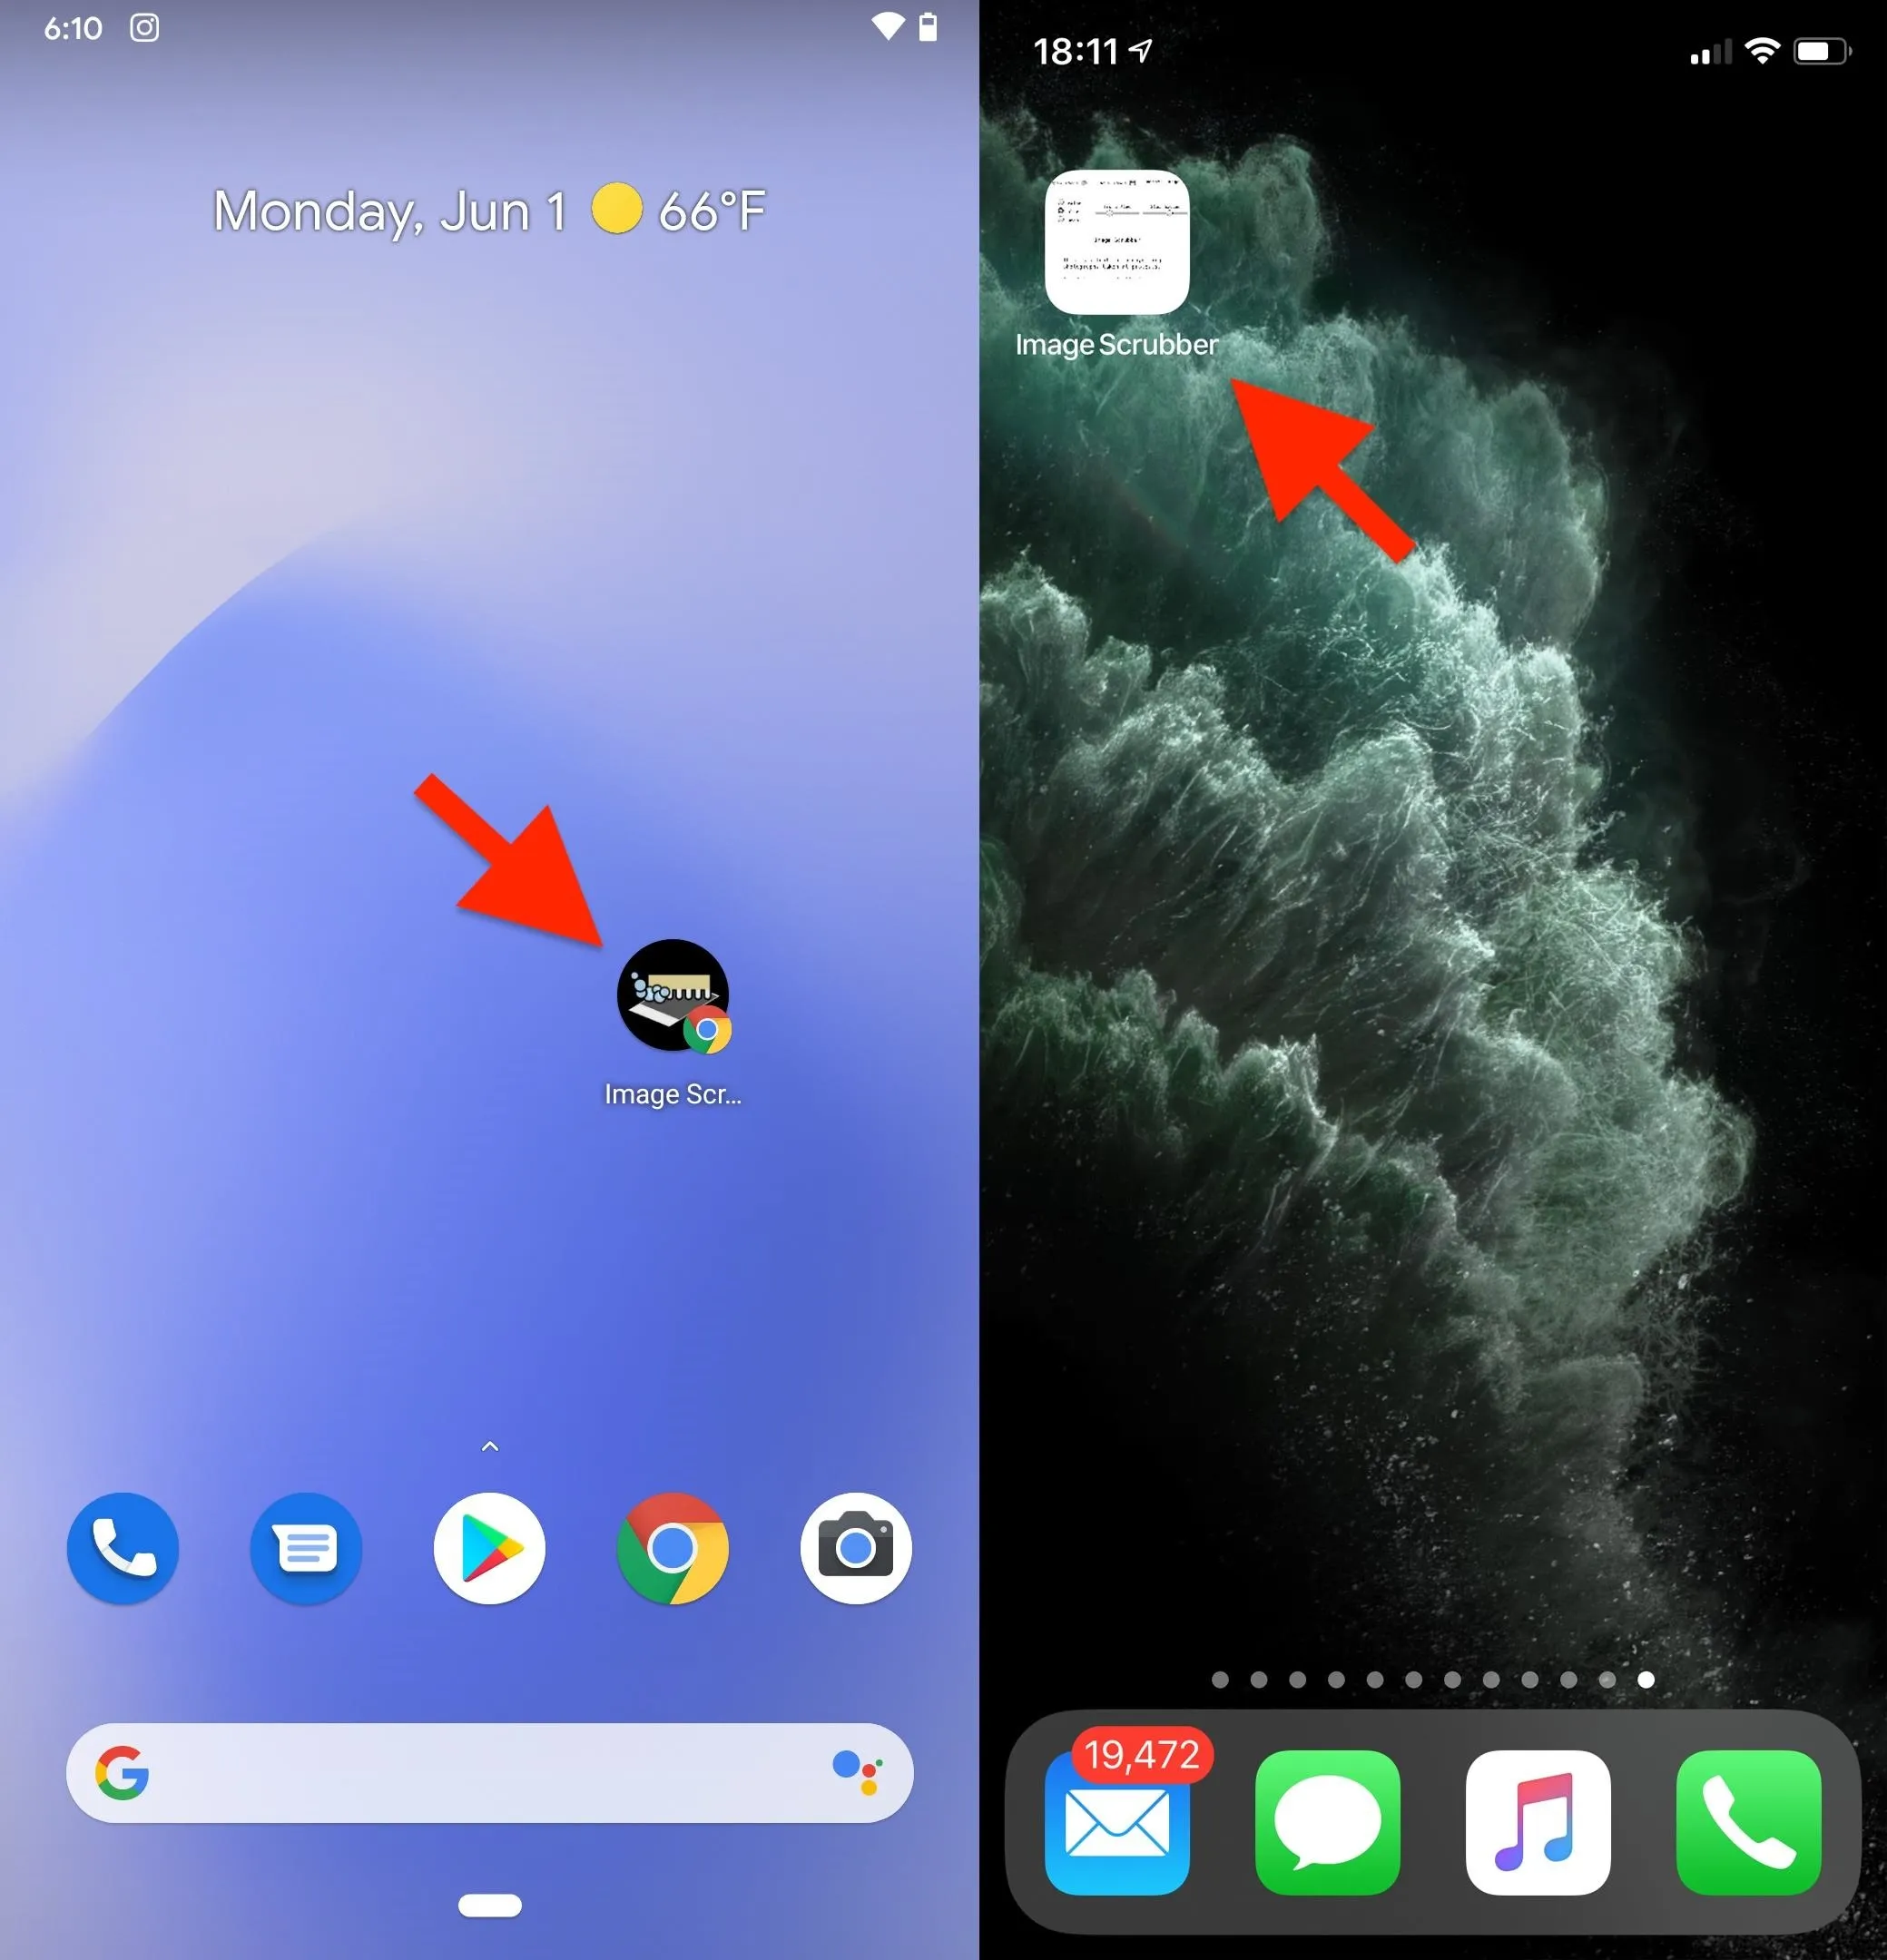
Add Image Scrubber to Your Home Screen (Optional)
If you plan to use the Image Scrubber tool a lot, a bookmark in your browser may not be enough. Instead, you can create a shortcut to it as an icon on your home screen. Every browser is different, but it's always reasonably straightforward.
If you need help with creating a home screen shortcut for Image Scrubber, check out our guides on doing so with Safari, Google Chrome, and Firefox. Other browsers will be similar. We found that the "app" icon looks better on Android than it does on iOS, but maybe one day that will change.
It's important to note that merely scrubbing the photo of its EXIF data and blurring faces can't fully protect you, and there are many other steps you should take towards staying safe. If you're posting these photos online, you should consider using an anonymous account, connecting to a VPN when posting, and disabling social media location sharing when posting from your home or workplace.
Cover photo and screenshots by Nelson Aguilar/Gadget Hacks


Comments
Be the first, drop a comment!