


With so much stimuli in today's world, it can be hard to keep track of all the places we've visited and the events we've attended. Thankfully, a great feature in Google Maps lets you view a detailed log of your phone's location history to help you remember where you were at almost any given point in time.
Checking your location history in Google Maps is simple, and it works pretty much the same way on Android phones and iPhone. As long as you've got the feature enabled, it works like a personal timeline that shows every place you've visited on a custom map that only you can see. So if you'd like to learn more about this feature and start reliving some great memories, keep reading to find out how.
Enable Location History
Before you can view your location history, you'll need to make sure the feature is enabled on your device. If it wasn't previously enabled, you won't have any location history data yet, but it will accumulate going forward.
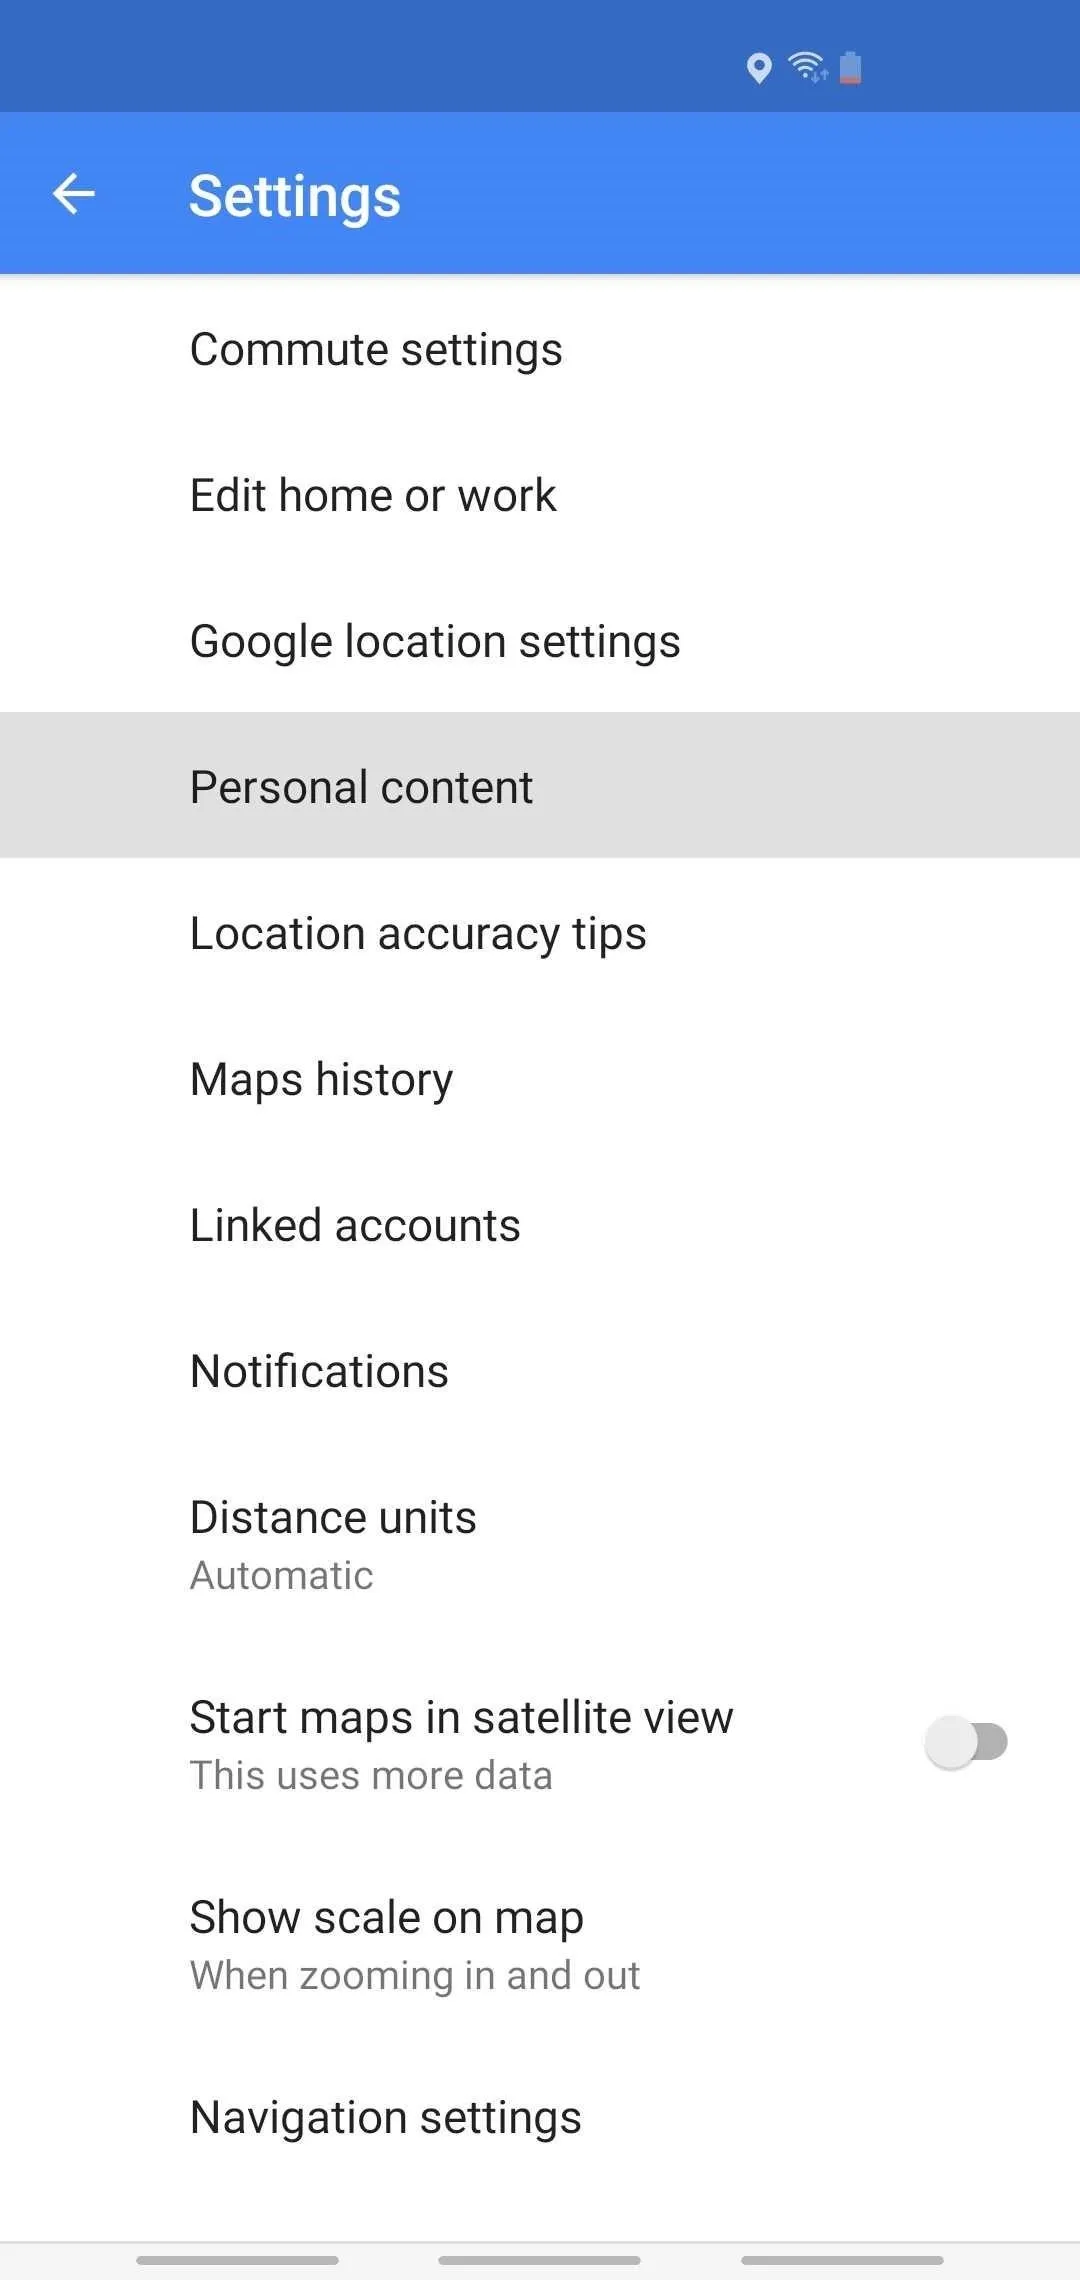
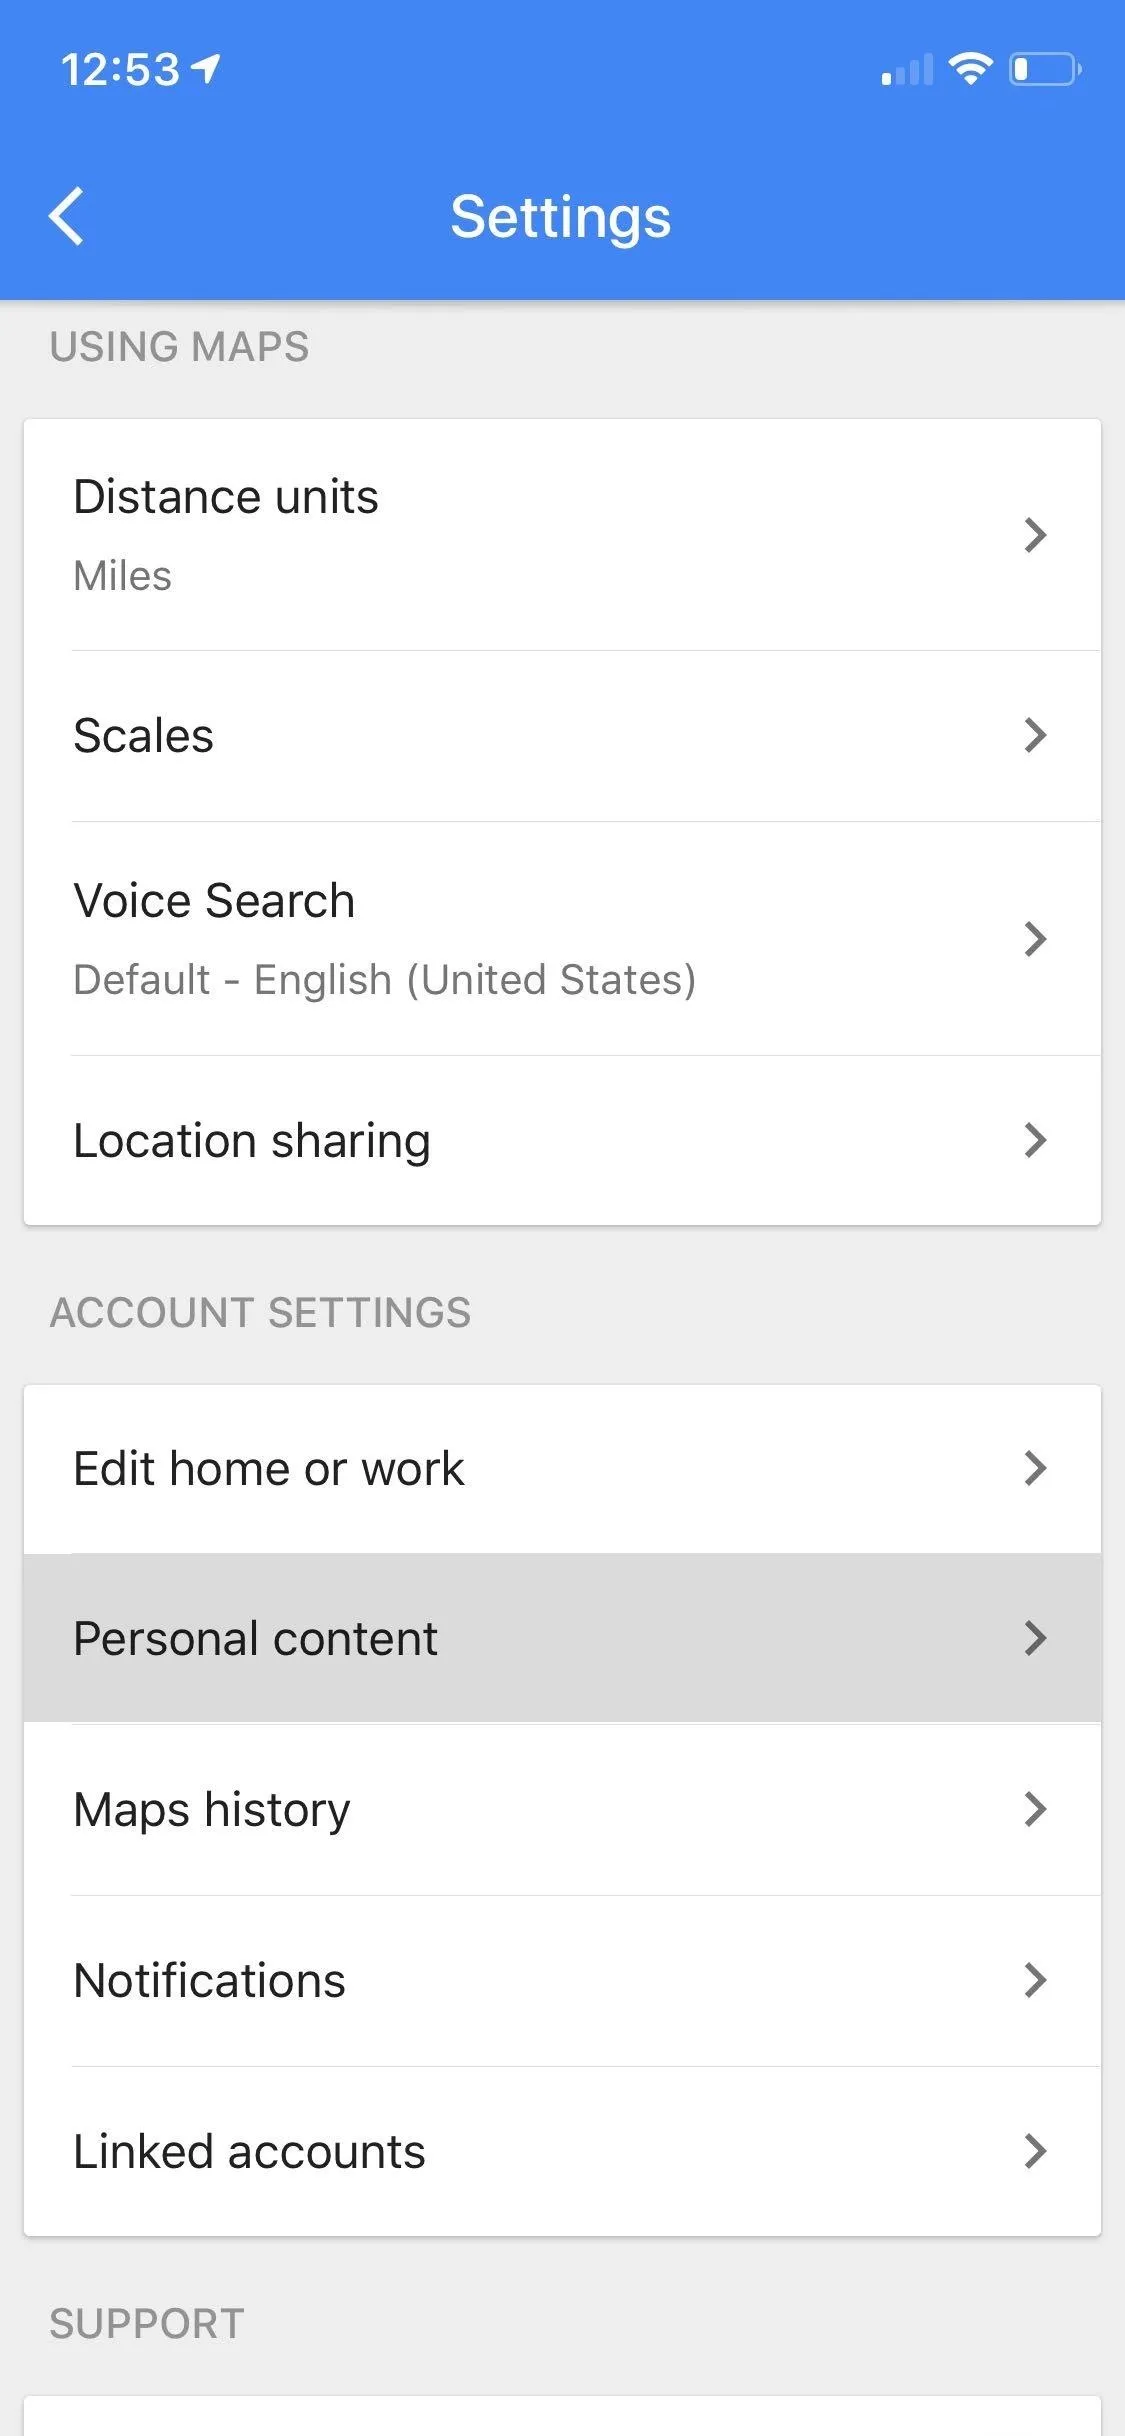
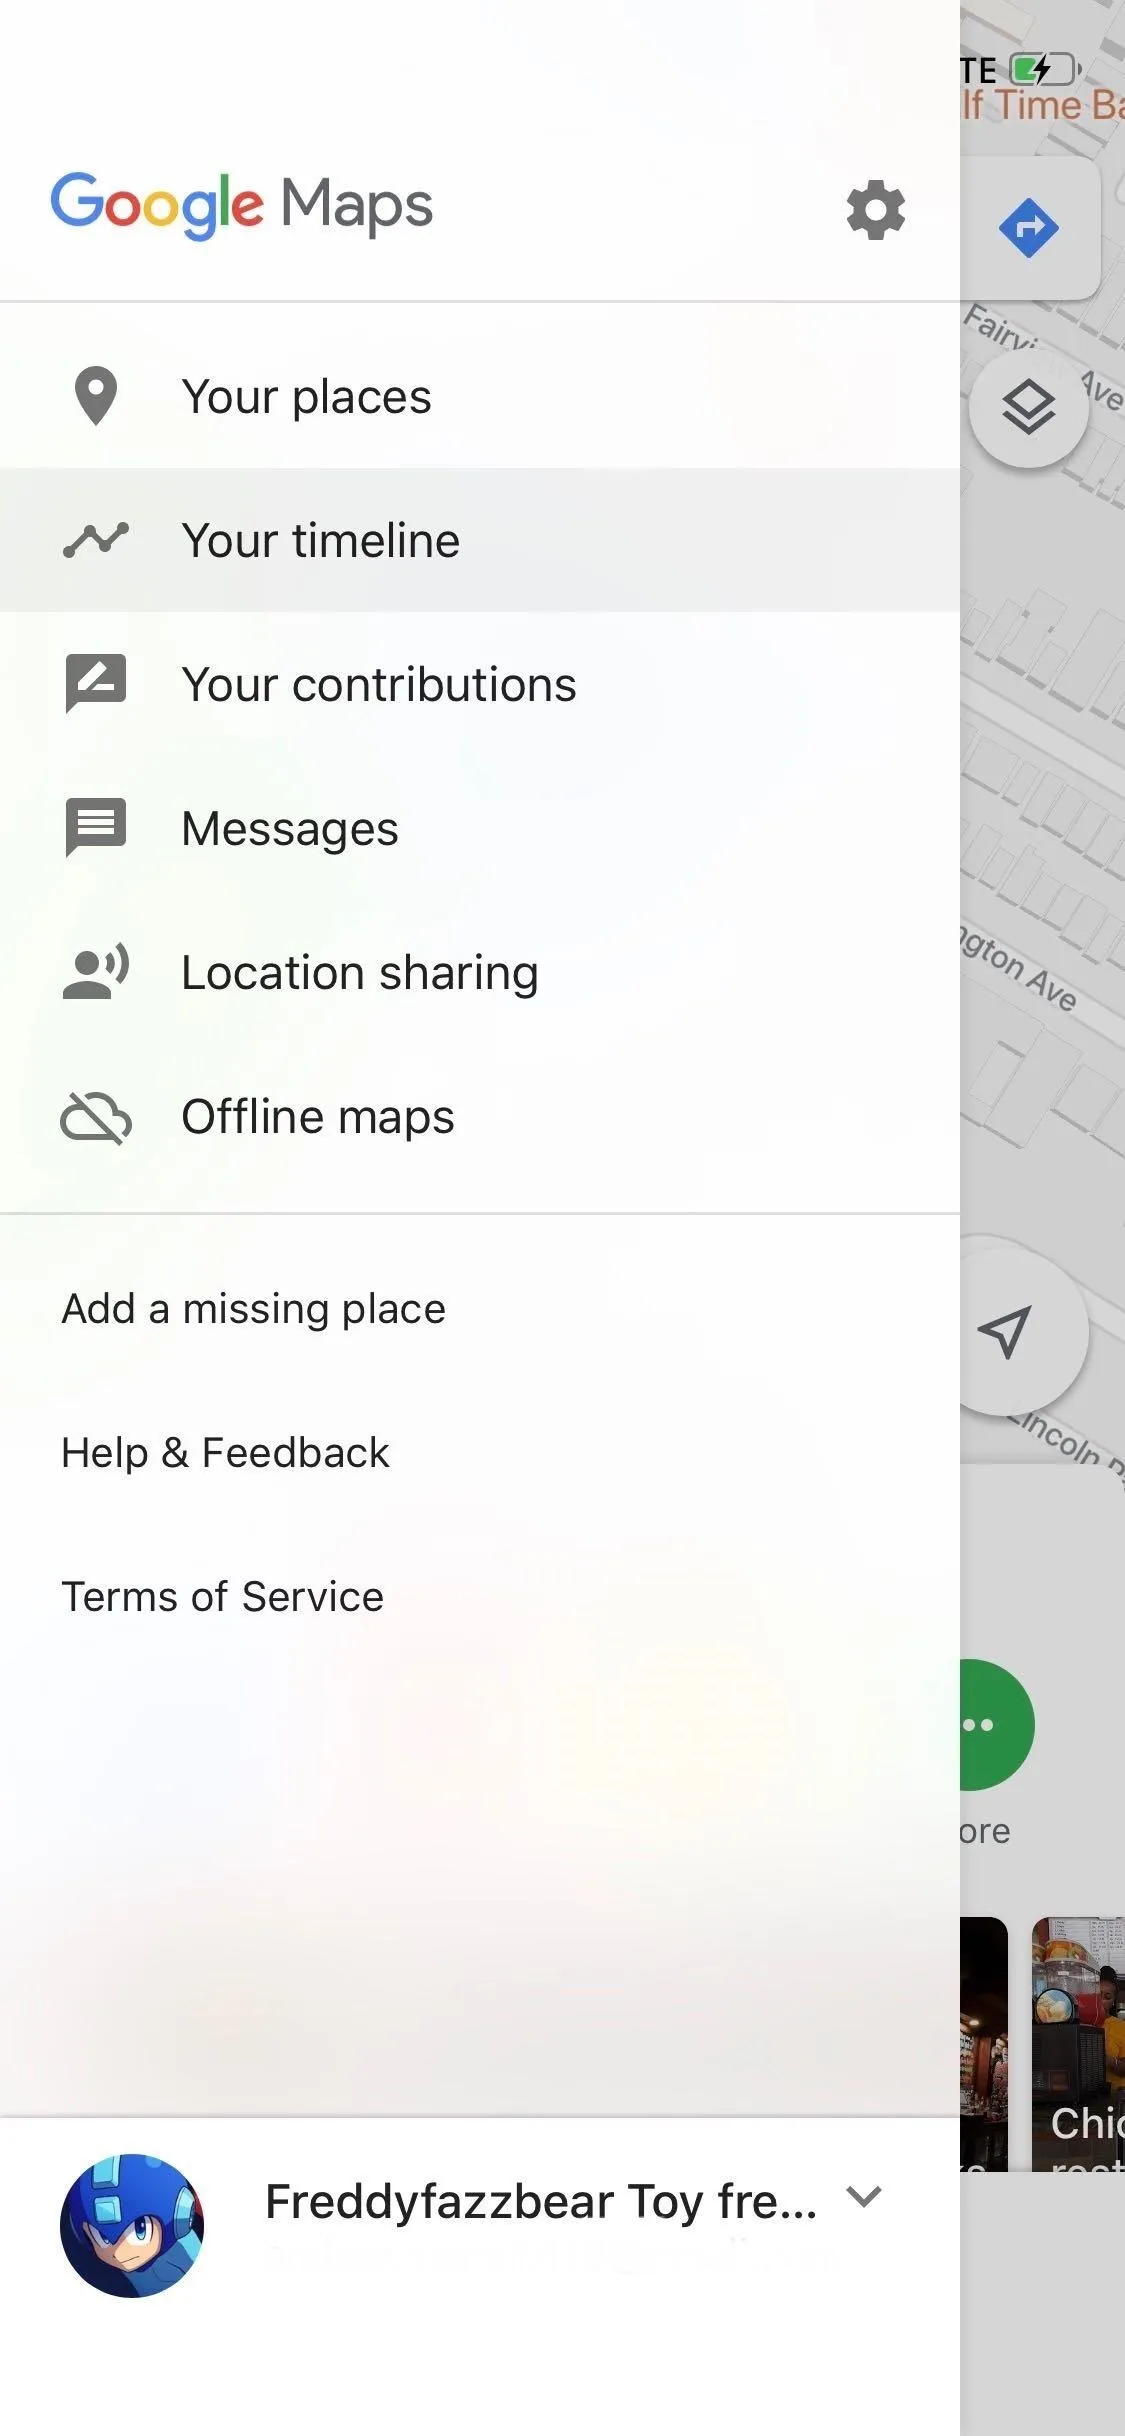
Open up Google Maps, and tap on the hamburger icon in the upper left to open the side menu, then either tap on "Settings" (Android) or the settings cog icon (iOS). From there, tap on "Personal content."
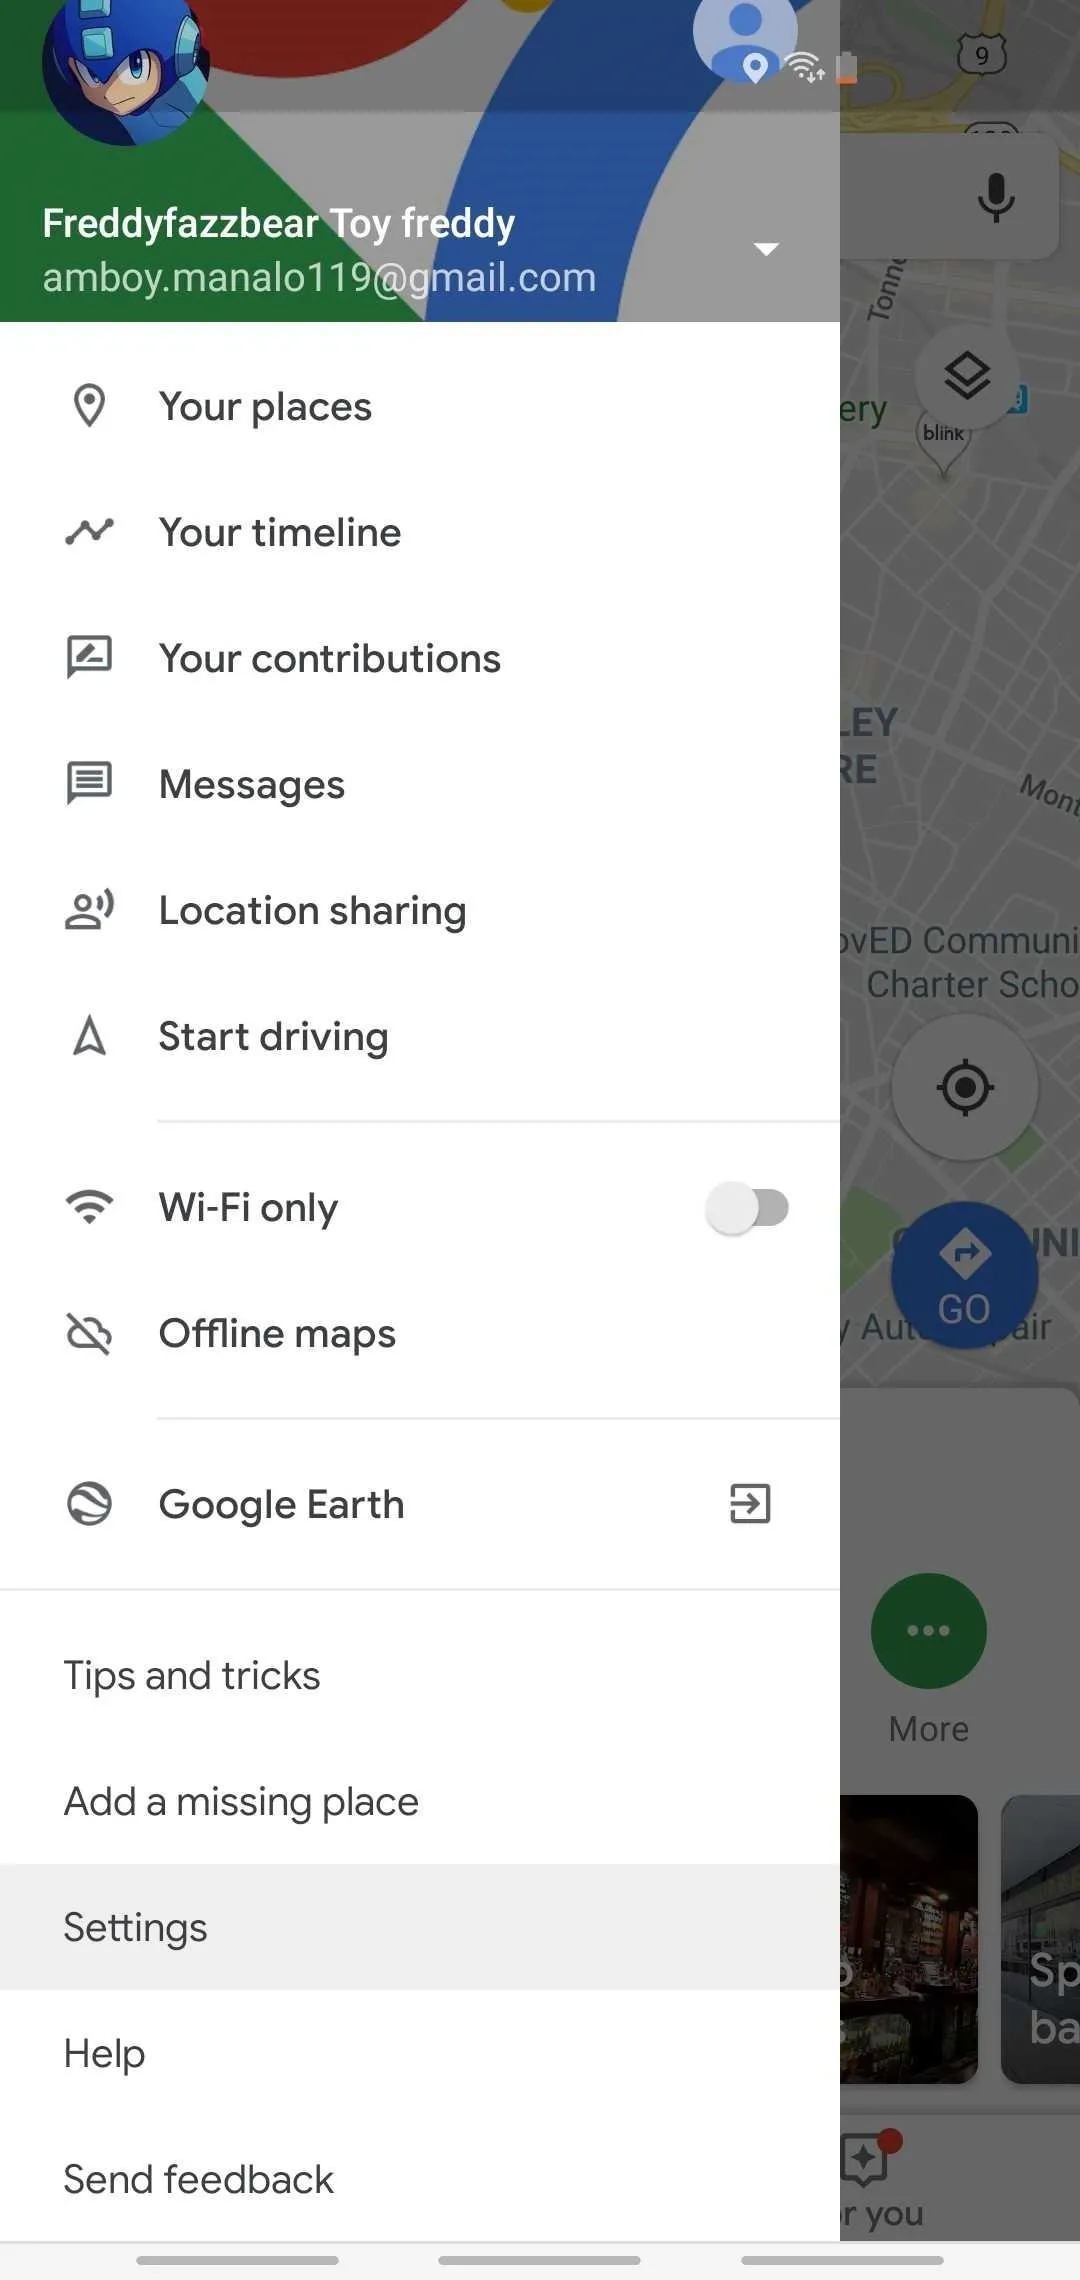
Accessing settings for Google Maps on Android (left) vs. iOS (right).
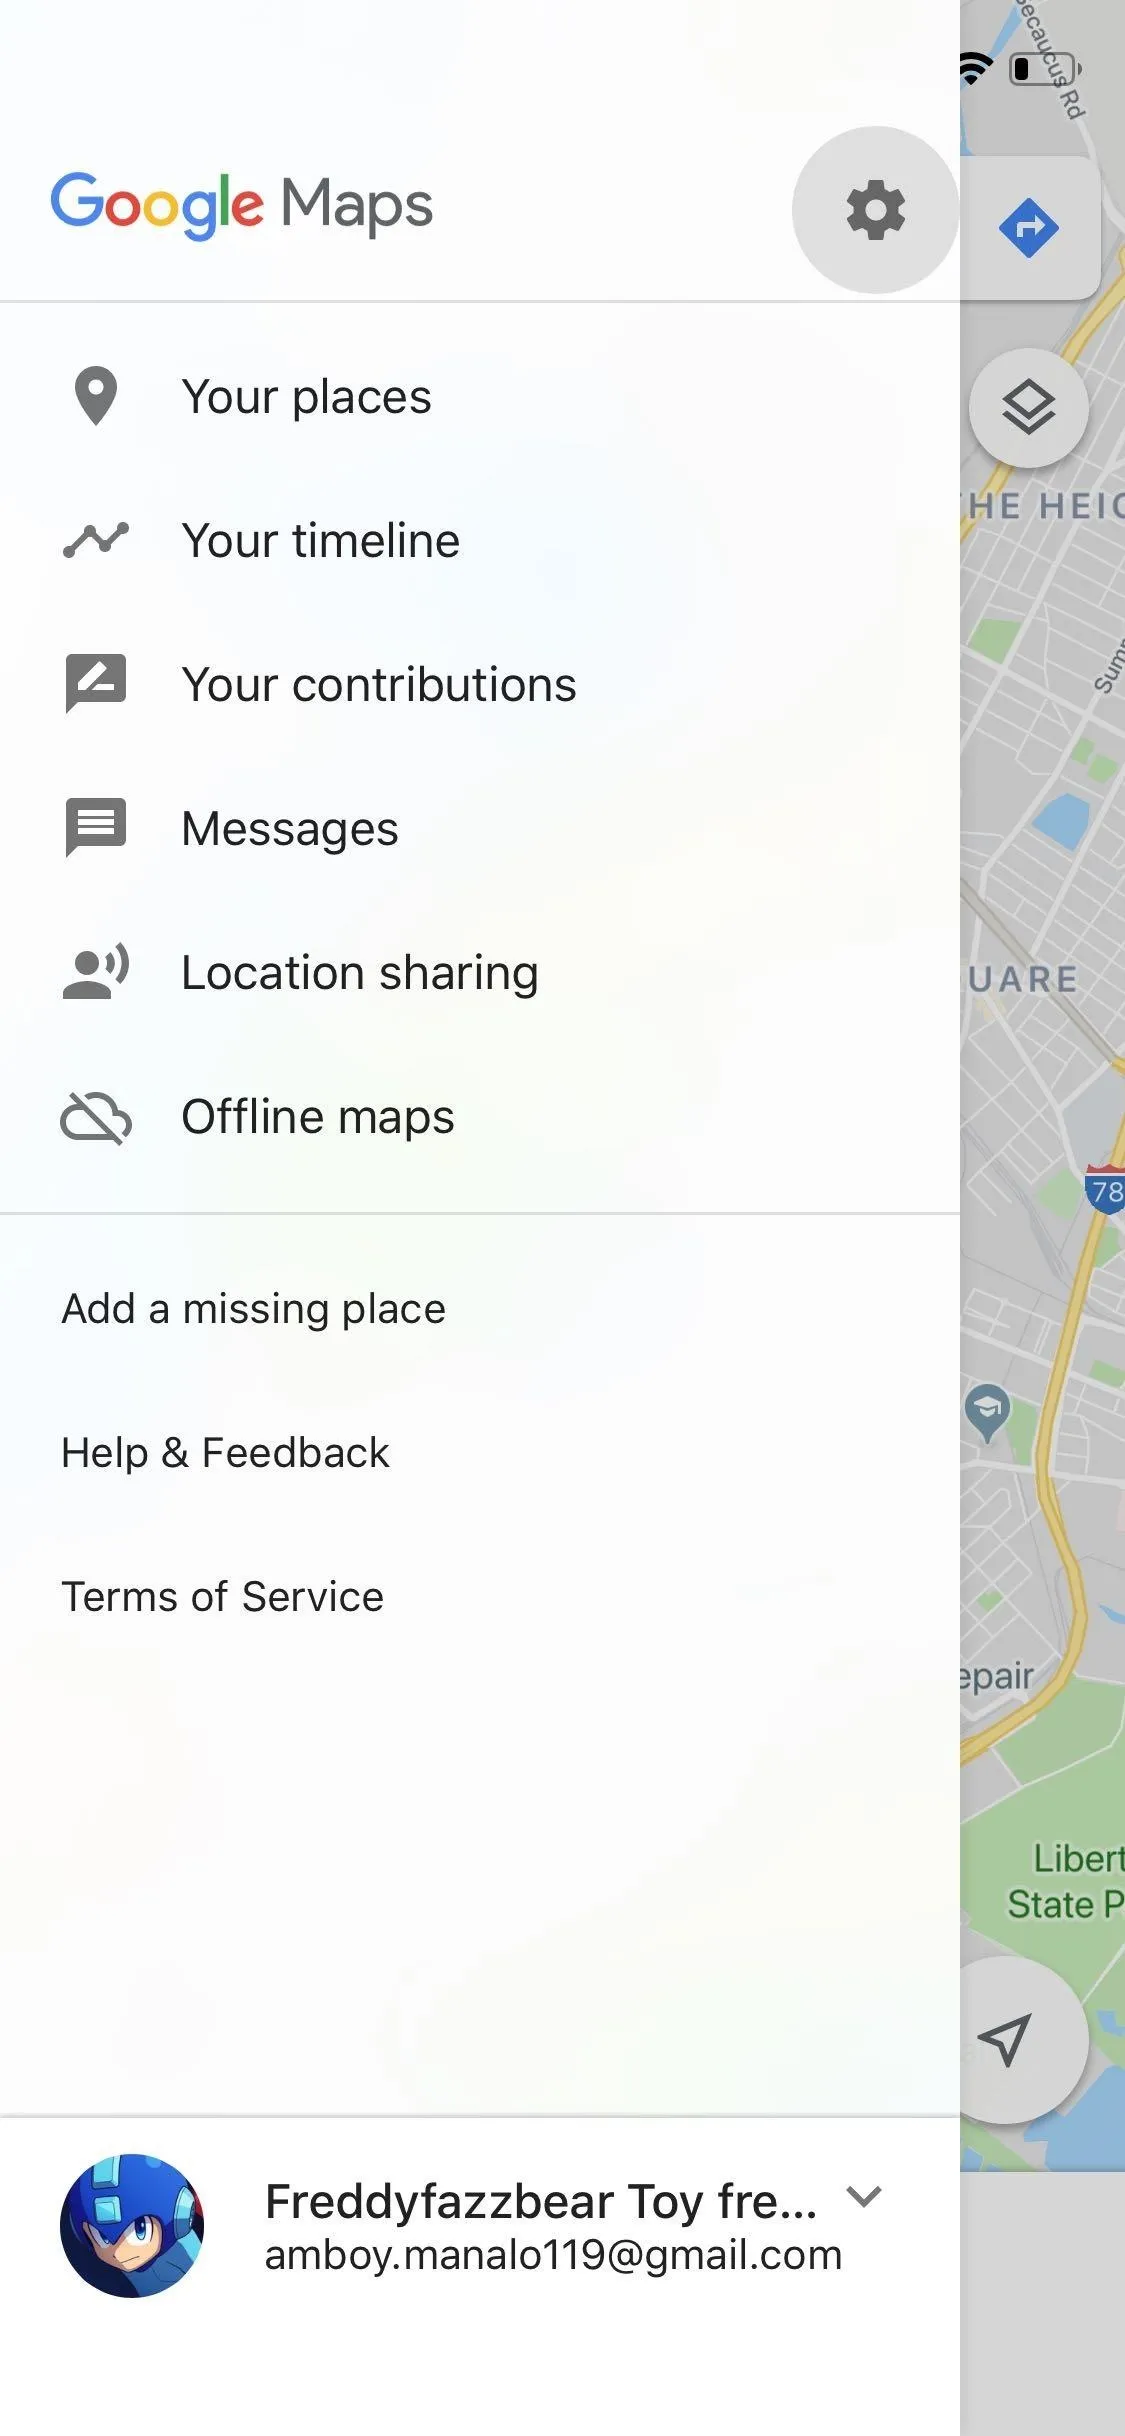
Accessing settings for Google Maps on Android (left) vs. iOS (right).
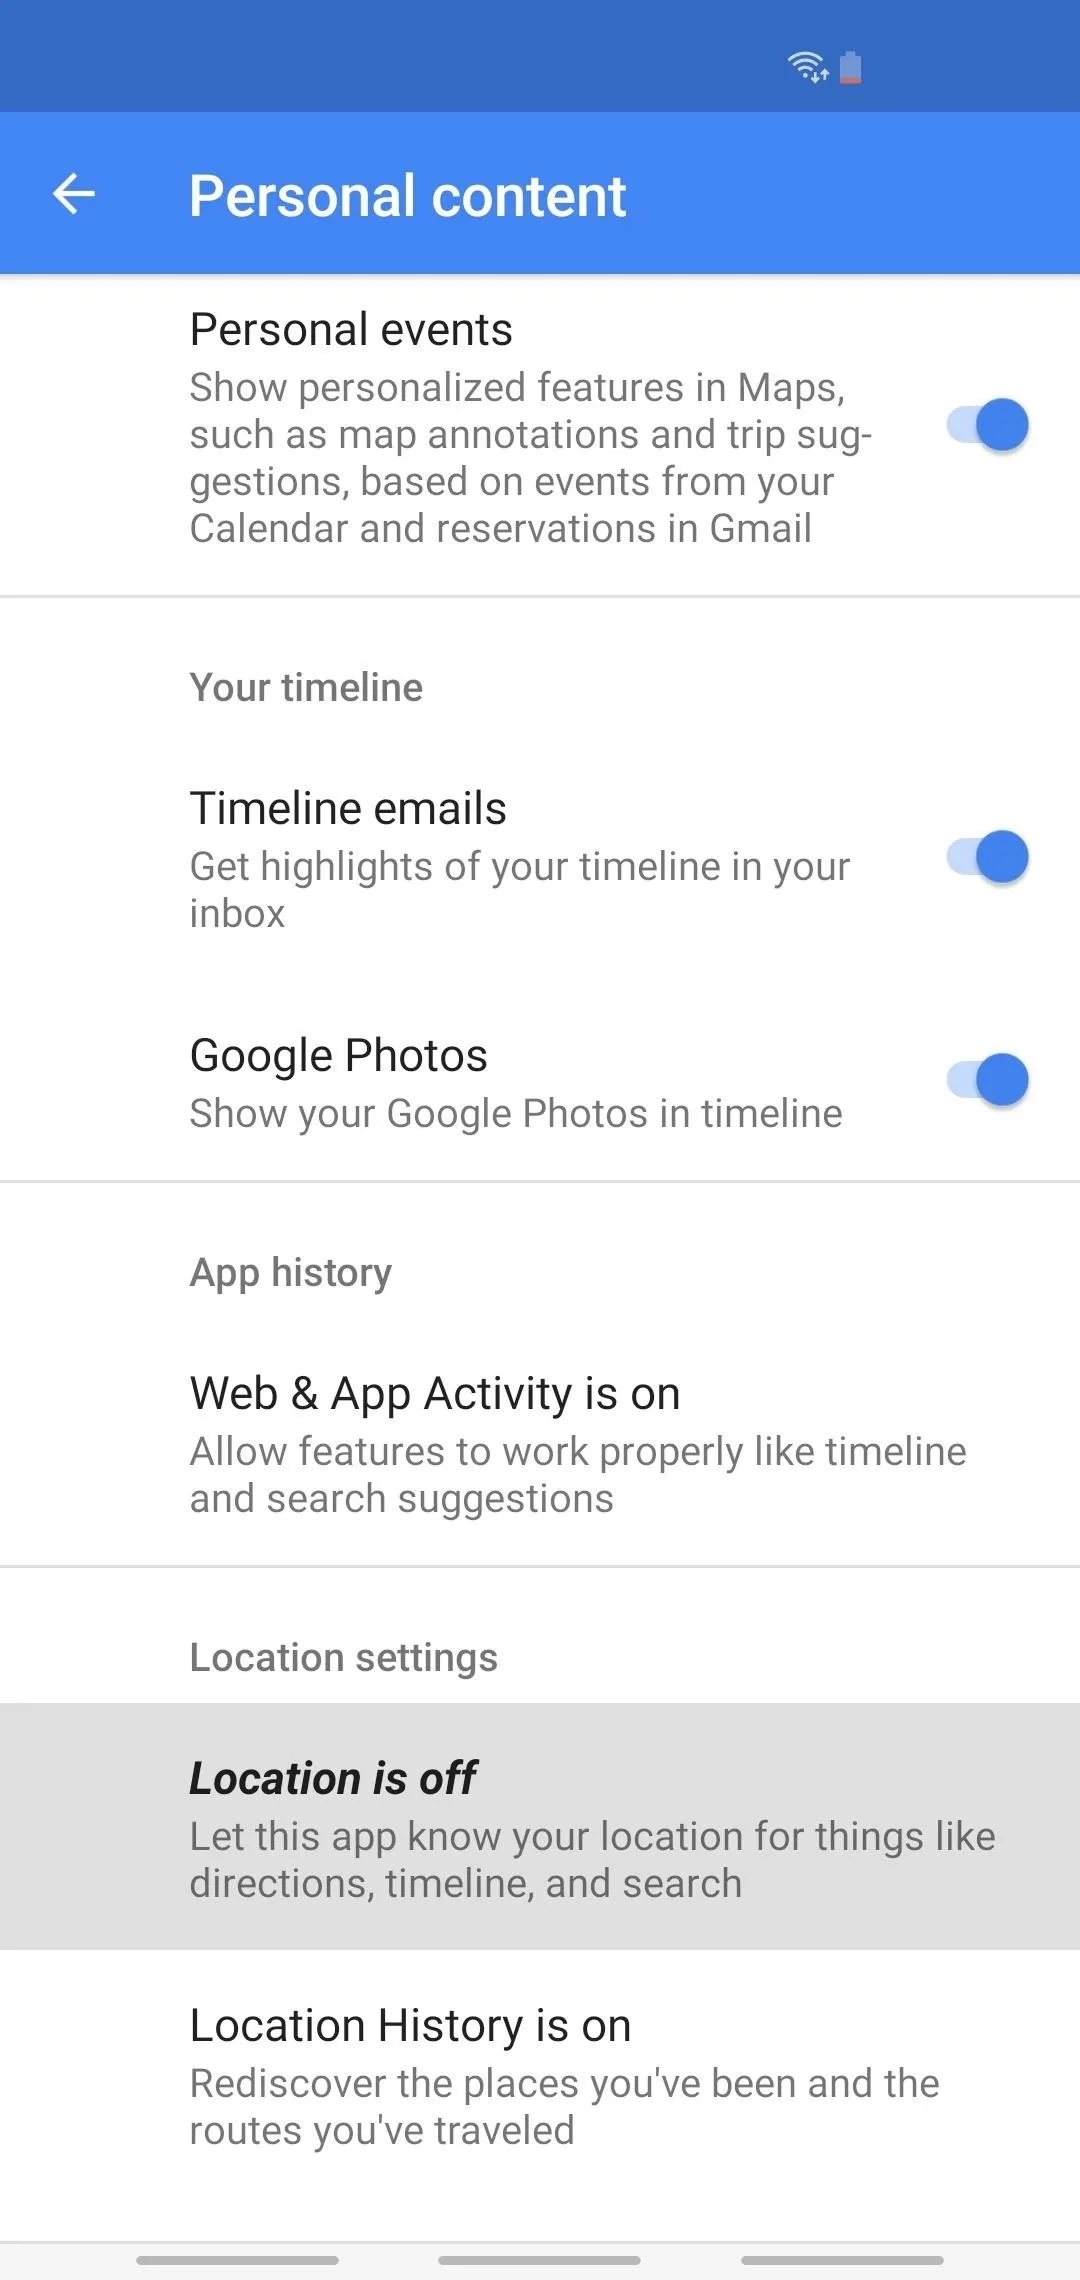
Next, scroll down, and if you see "Location History is off" listed, you don't have it enabled. If you do have it enabled, you'll see either "Location History settings" or "Location History is on." If it's off, tap on it, then toggle it on. With Android, you'll also have to confirm with "Turn On." This setting is applied to your whole account, so if you turn it off or on from one device it'll be turned off or on other devices.
On Android, also make sure the switch next to your current device is enabled under the "Devices on this account" drop-down menu from the Location History settings.
Turning on Location History on Android (left) vs. iOS (right).
Turning on Location History on Android (left) vs. iOS (right).
Enable Always-On Location Access
In addition to enabling the Location History feature for your device and account, Maps requires always-on location access for its Timeline feature to work properly.
On Android, from the "Personal content" settings, tap on either "Location is on" or "Location is off," then make sure "Use location" or "Location" is toggled on. Furthermore, if you're using Android 10, select "App permission" below, then make sure Google Maps is in the Allowed section. If not, find it, tap on it, then change it to "Allow all the time," and exit the settings.
Enabling location services for Maps on Android.
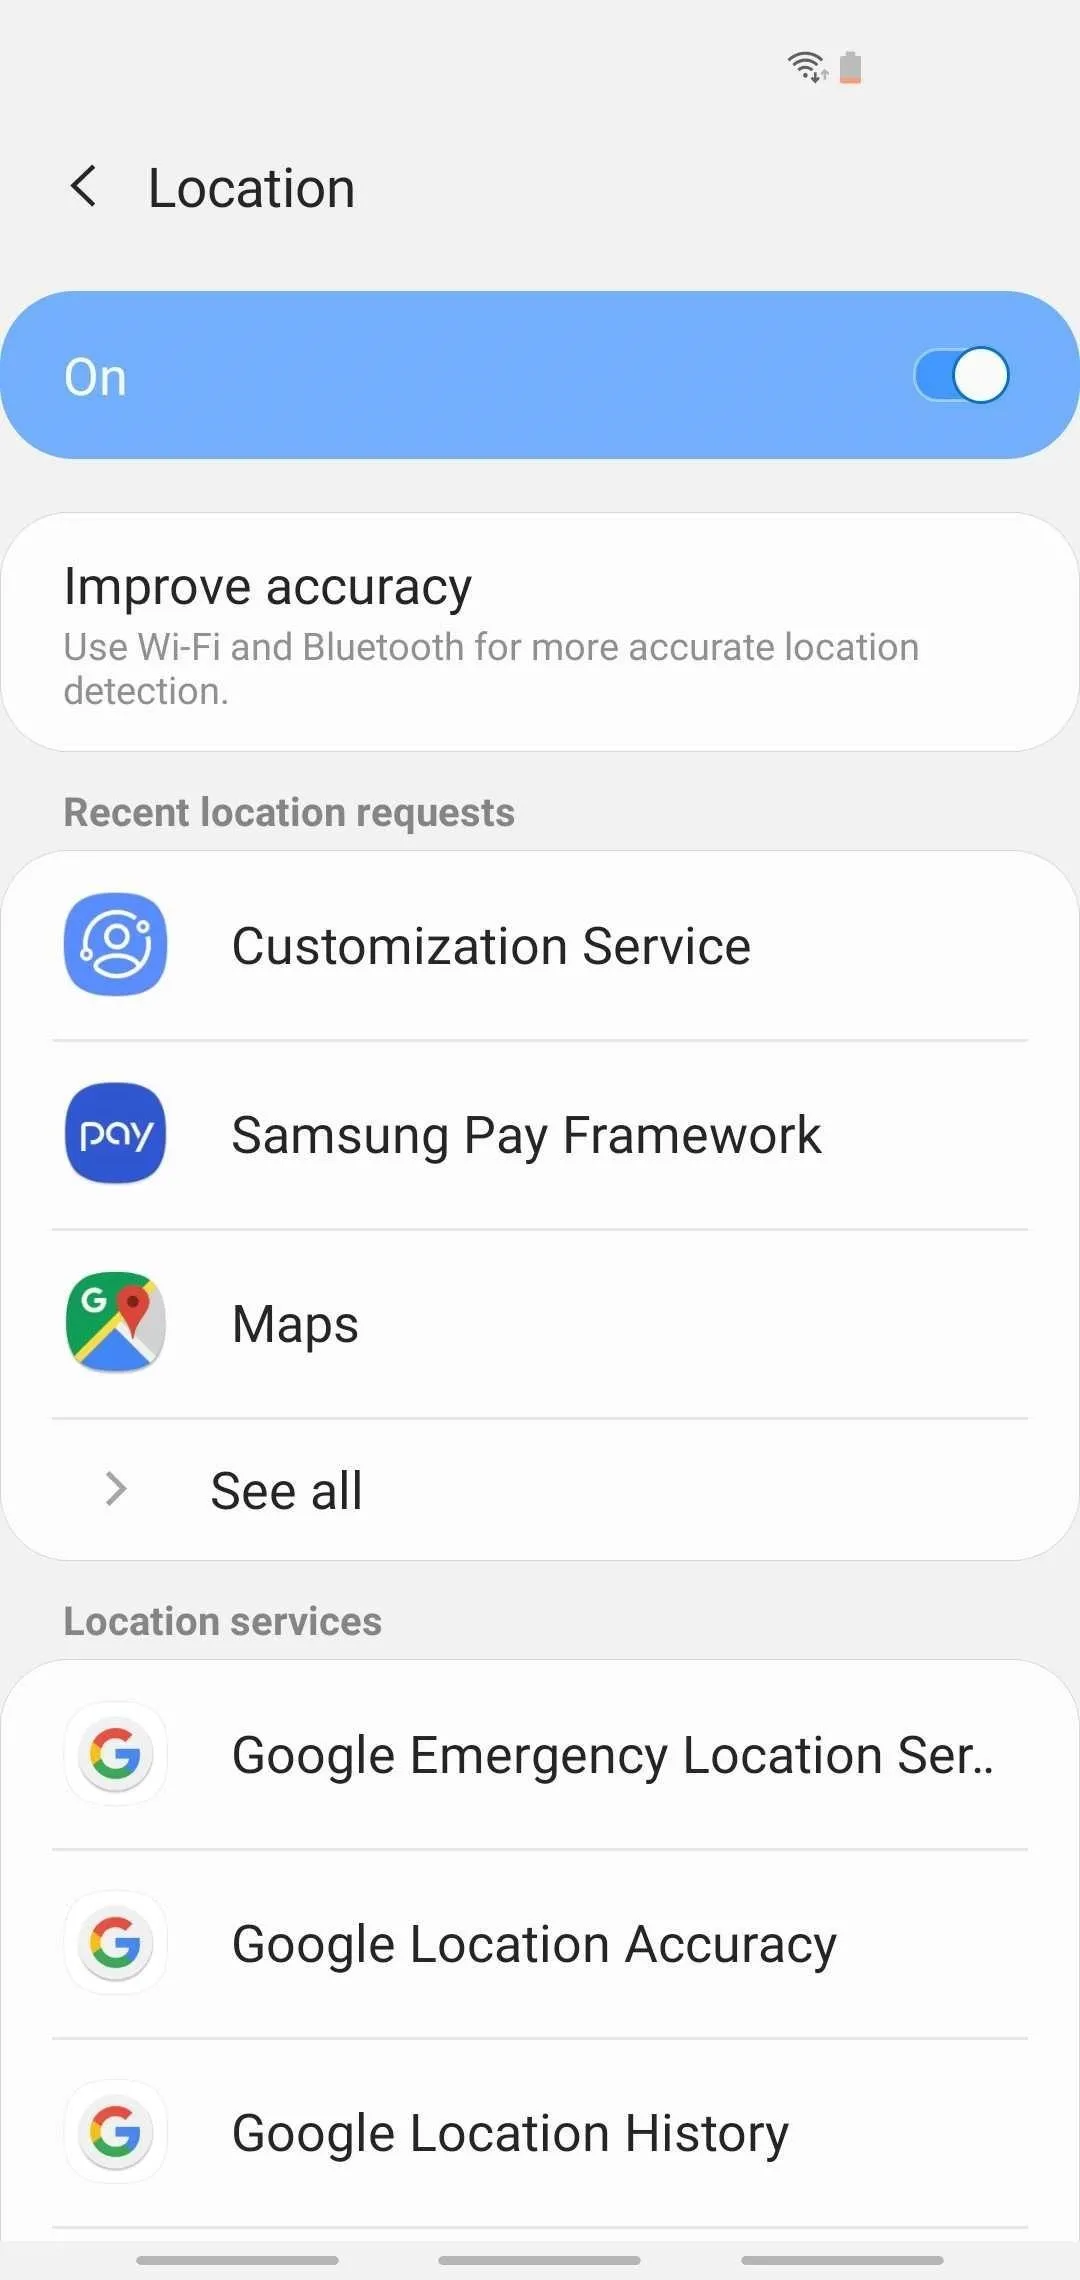
Enabling location services for Maps on Android.
On an iPhone, if the device is toggled on in the Location History settings from Step 1, you're good to go. If not, from the "Personal content" settings in Google Maps, tap on "Location Services is not set to always." That will jump you to the iOS settings for Google Maps. You can also get here by going to the Settings app and selecting "Google Maps." Next, tap on "Location," then make sure it's set to "Always."
Enabling location services for Maps on iOS.

Enabling location services for Maps on iOS.
Access Your Timeline
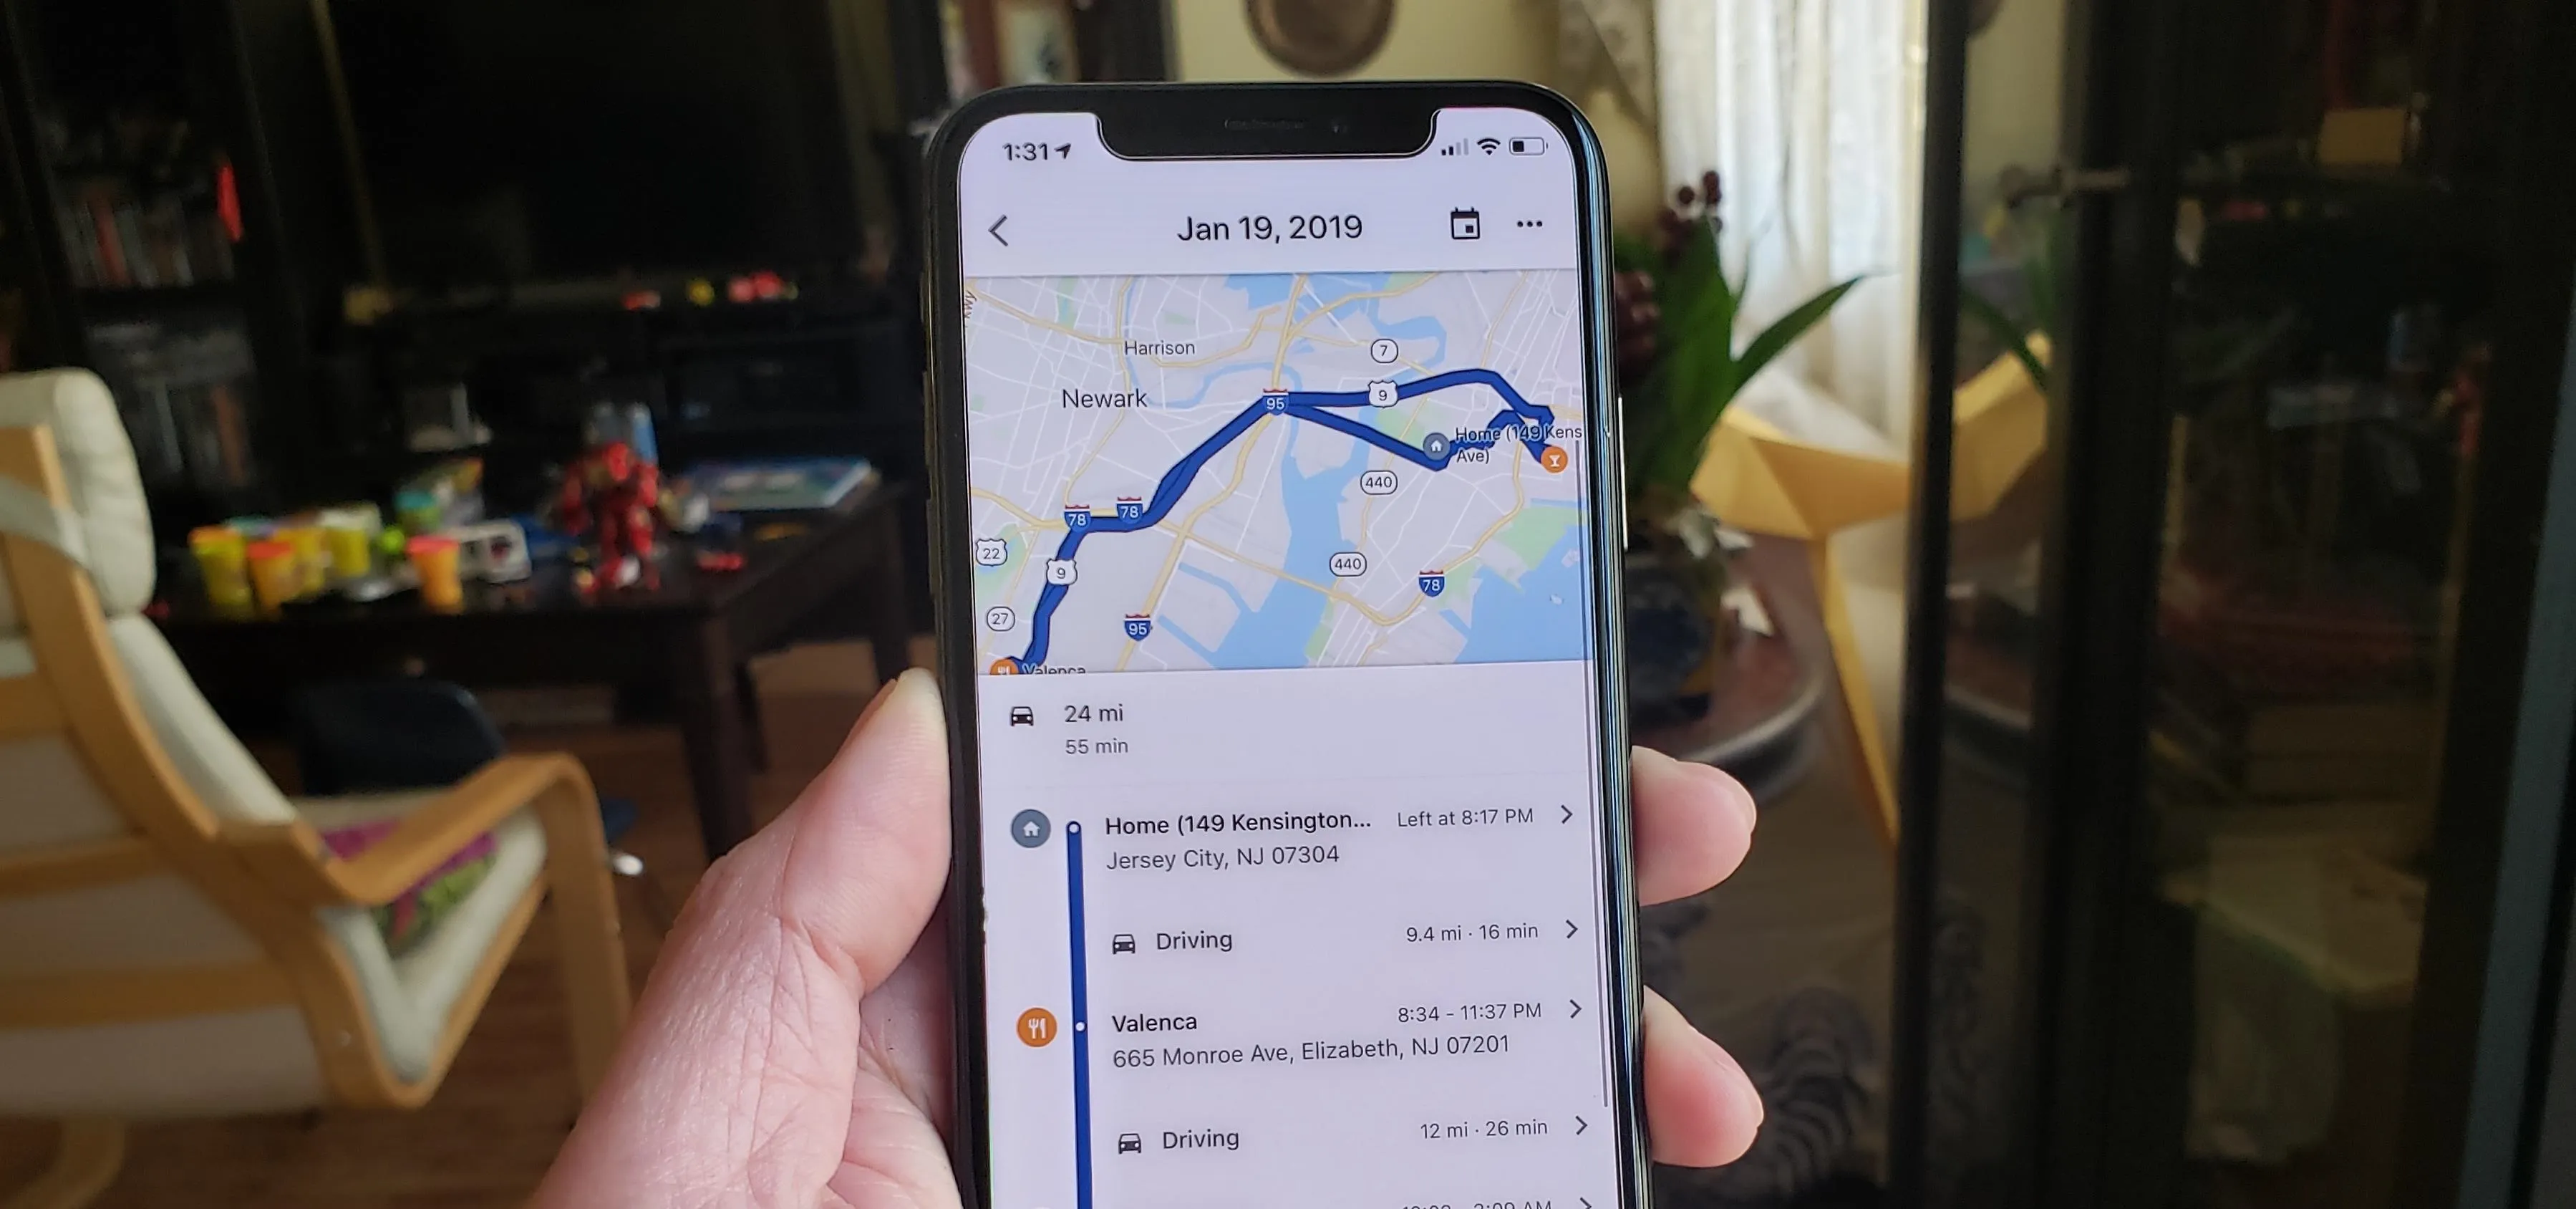
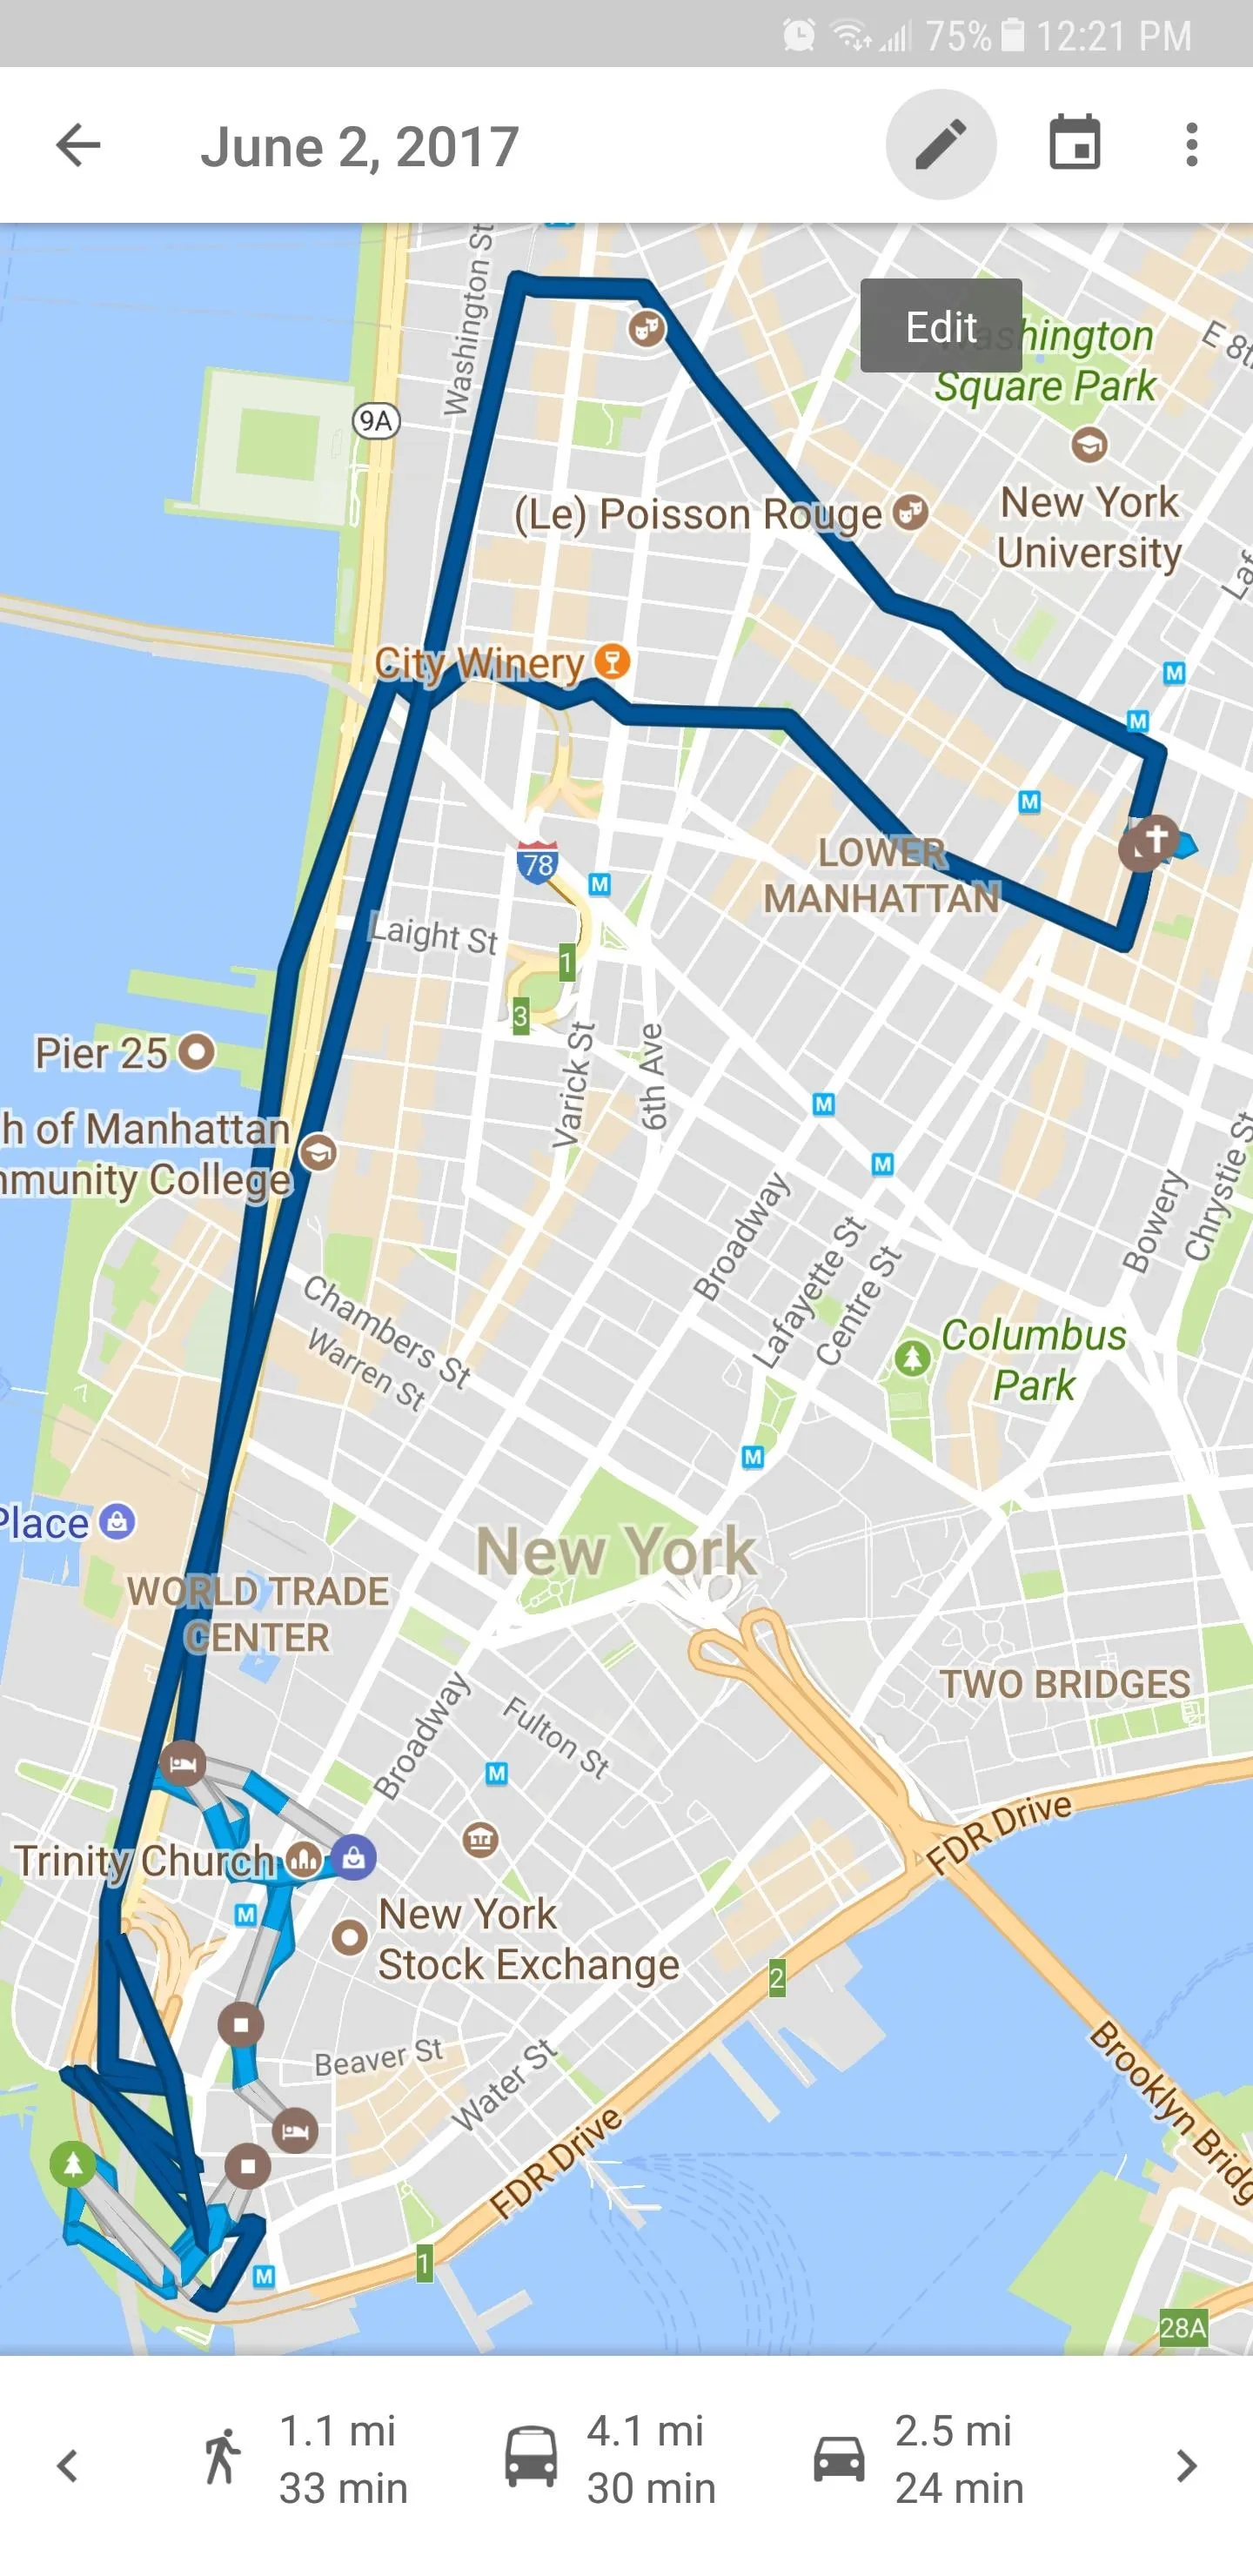
Now that you've made sure that the location history feature in Google Maps is fully enabled, open the app and tap on the hamburger icon in the upper left, then choose "Your timeline." From there, you'll be taken to your location history for the current day, though, you can instantly revisit previous days by swiping right on the information card on the lower half of the screen.
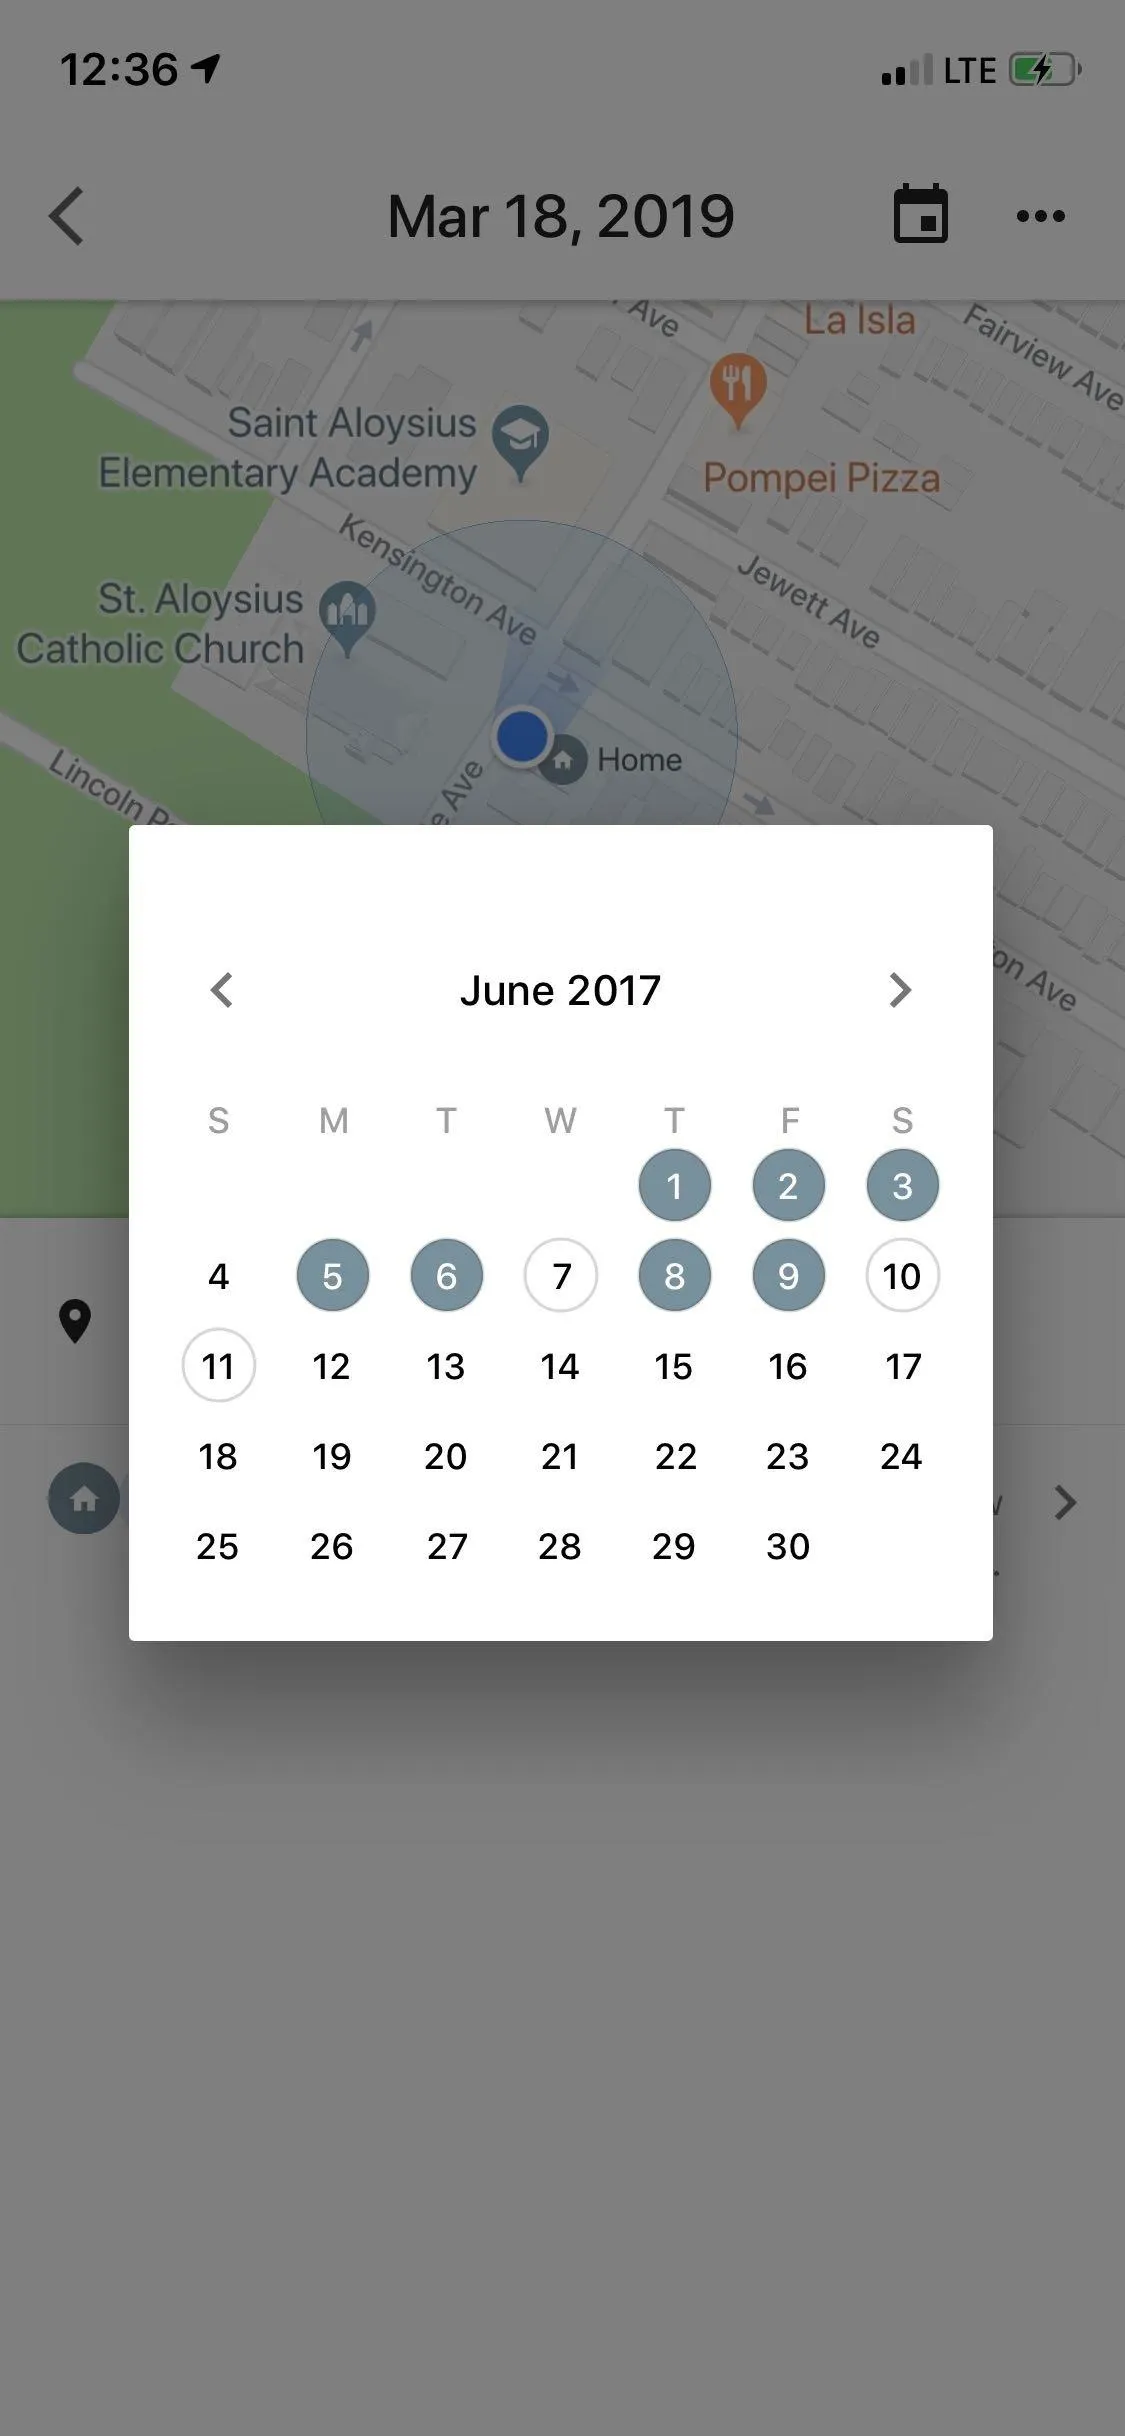
If you wish to go further back in time, tap on the calendar icon in the upper right to pull up the monthly view. You'll be greeted with the current month, peppered with gray and white dots that highlight the times when Google Maps documented your location history.
Days with only one location recorded are colored in gray, while days with more than one are shown in white. If there are no circles, there is no location history logged. If you want to view previous months, swipe right to go back in time.
Tapping on any of the highlighted dates will reveal a detailed overview of that day's adventures. You can either tap on a landmark or swipe up from the bottom of the screen to find out the specific time and length of stay, both of which will also bring up any pertinent photos you took while at that location.
Edit Your Location History
Sometimes, Google Maps doesn't get your location history exactly right. But if this happens, no worries — you can manually mark the right place in a few quick taps.
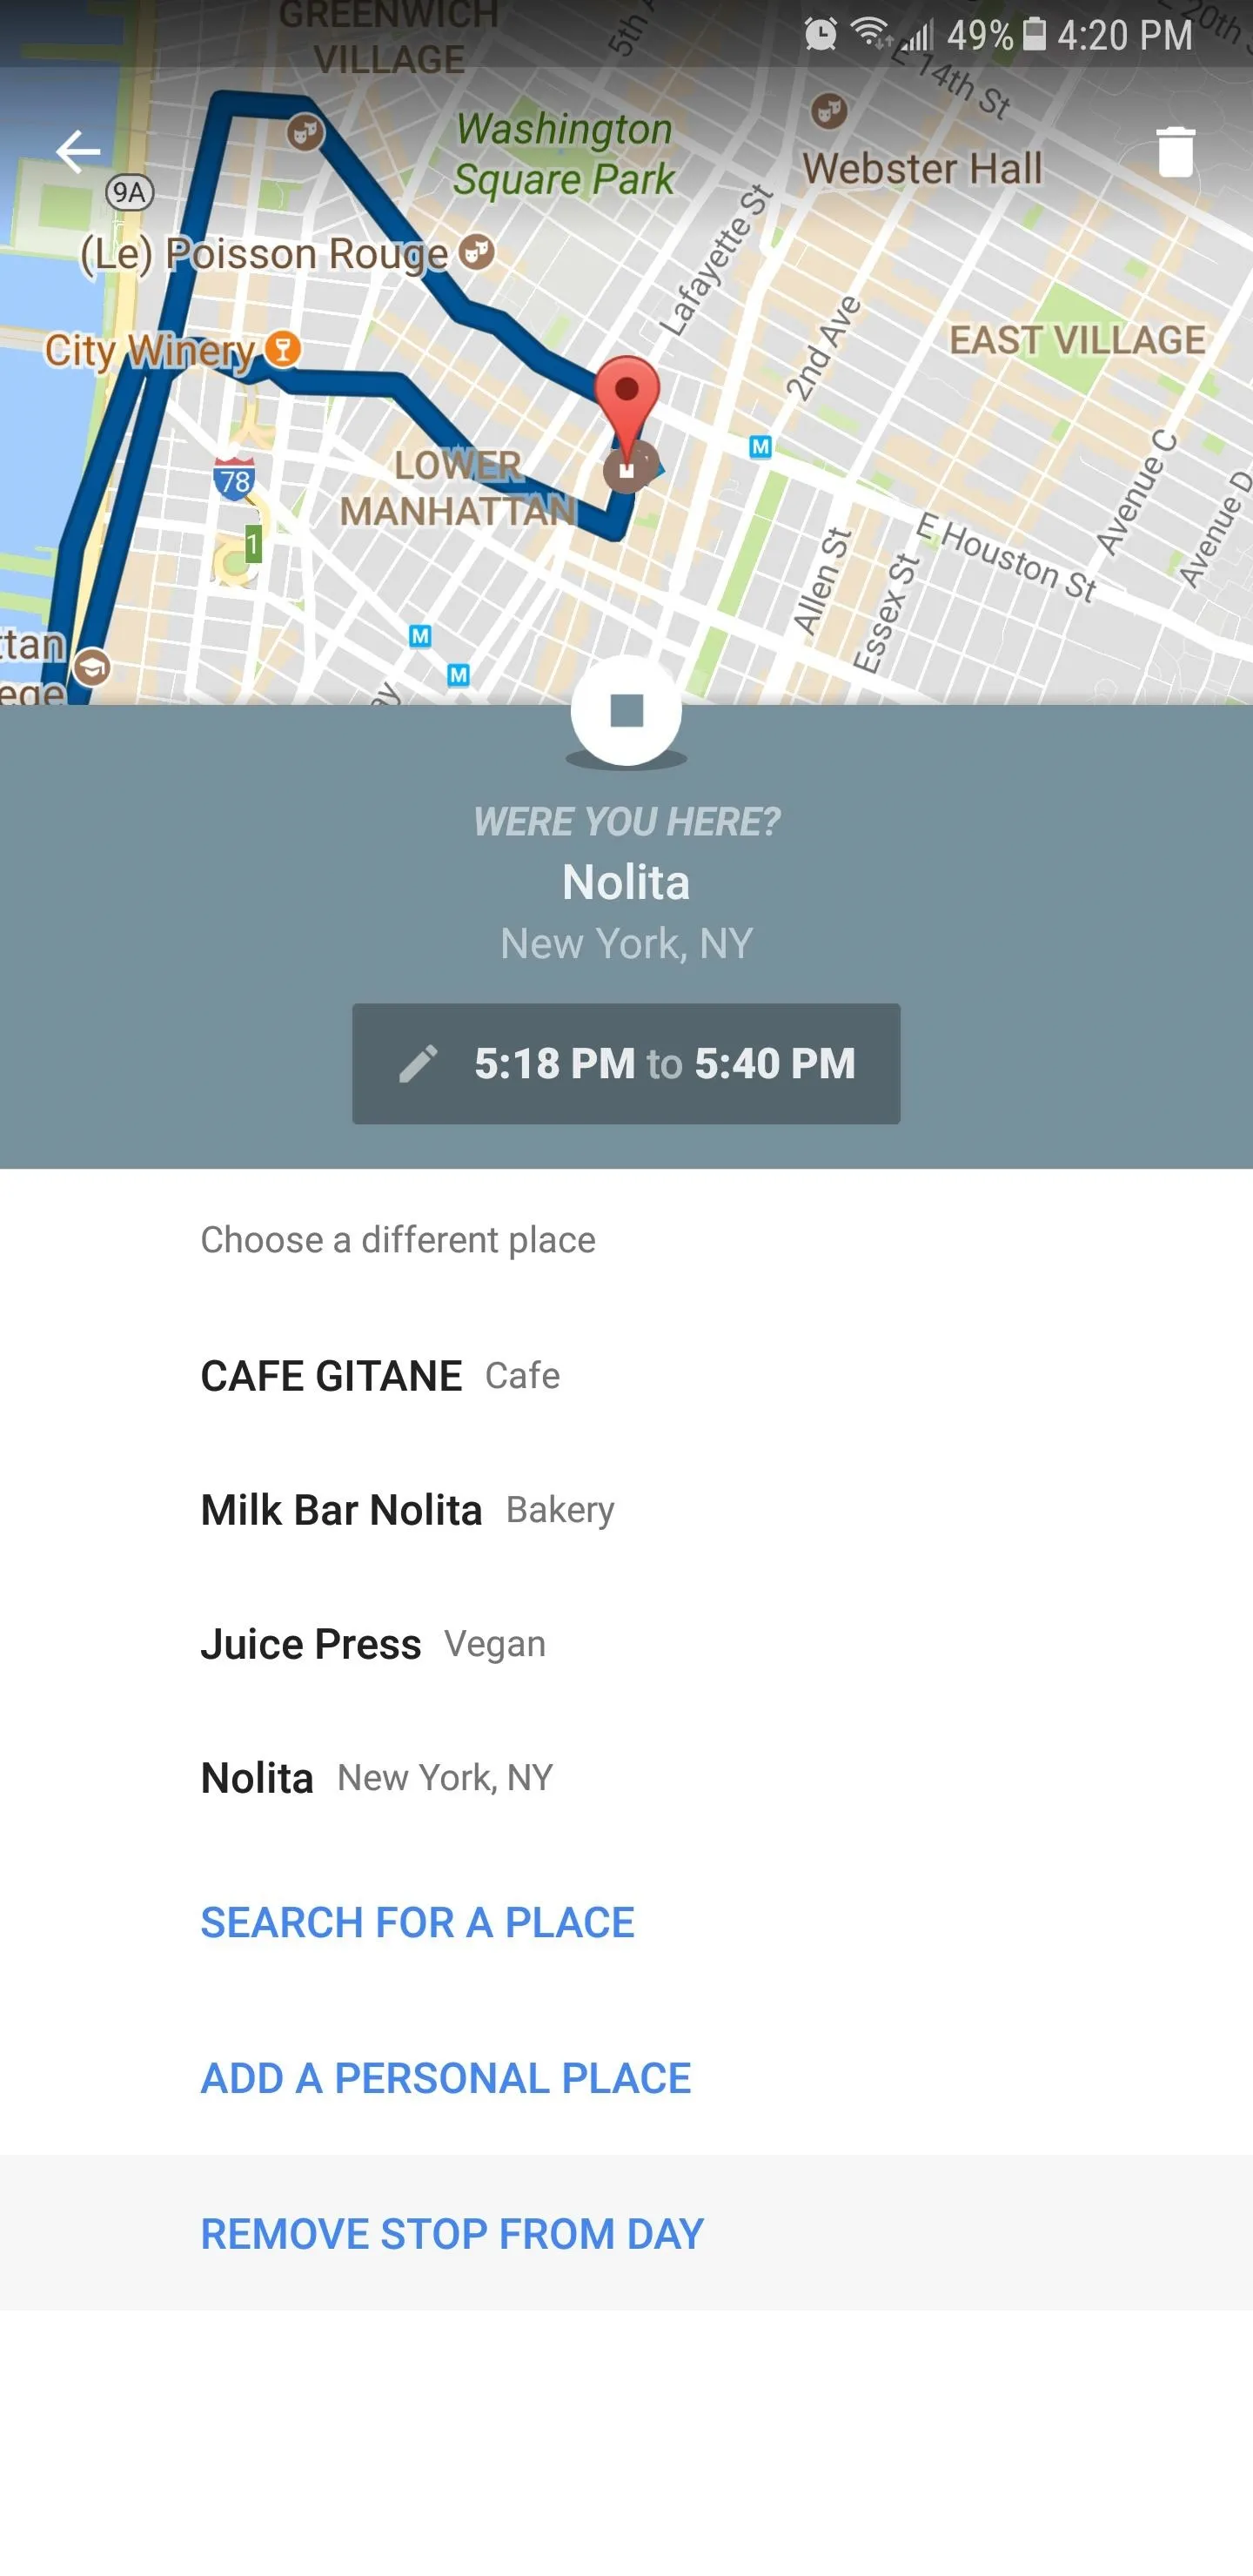
Swipe up from the info card at the bottom of the screen to reveal your location log, then tap on an incorrect location and select "Edit" or "Edit place." The app will now generate a list of nearby locations for you to choose from, so select the correct place once you find it to fix the error. You can also scroll to the bottom of the list to add your own. There is also an option from the list to search for a location.

For Android users, tapping on the pencil button right next to the calendar on the upper right lets you add a title and any pertinent notes to instantly remind you of any specific events related to that date. For iOS users, on the "Edit place" menu, there's an option to "Label place" if you want.

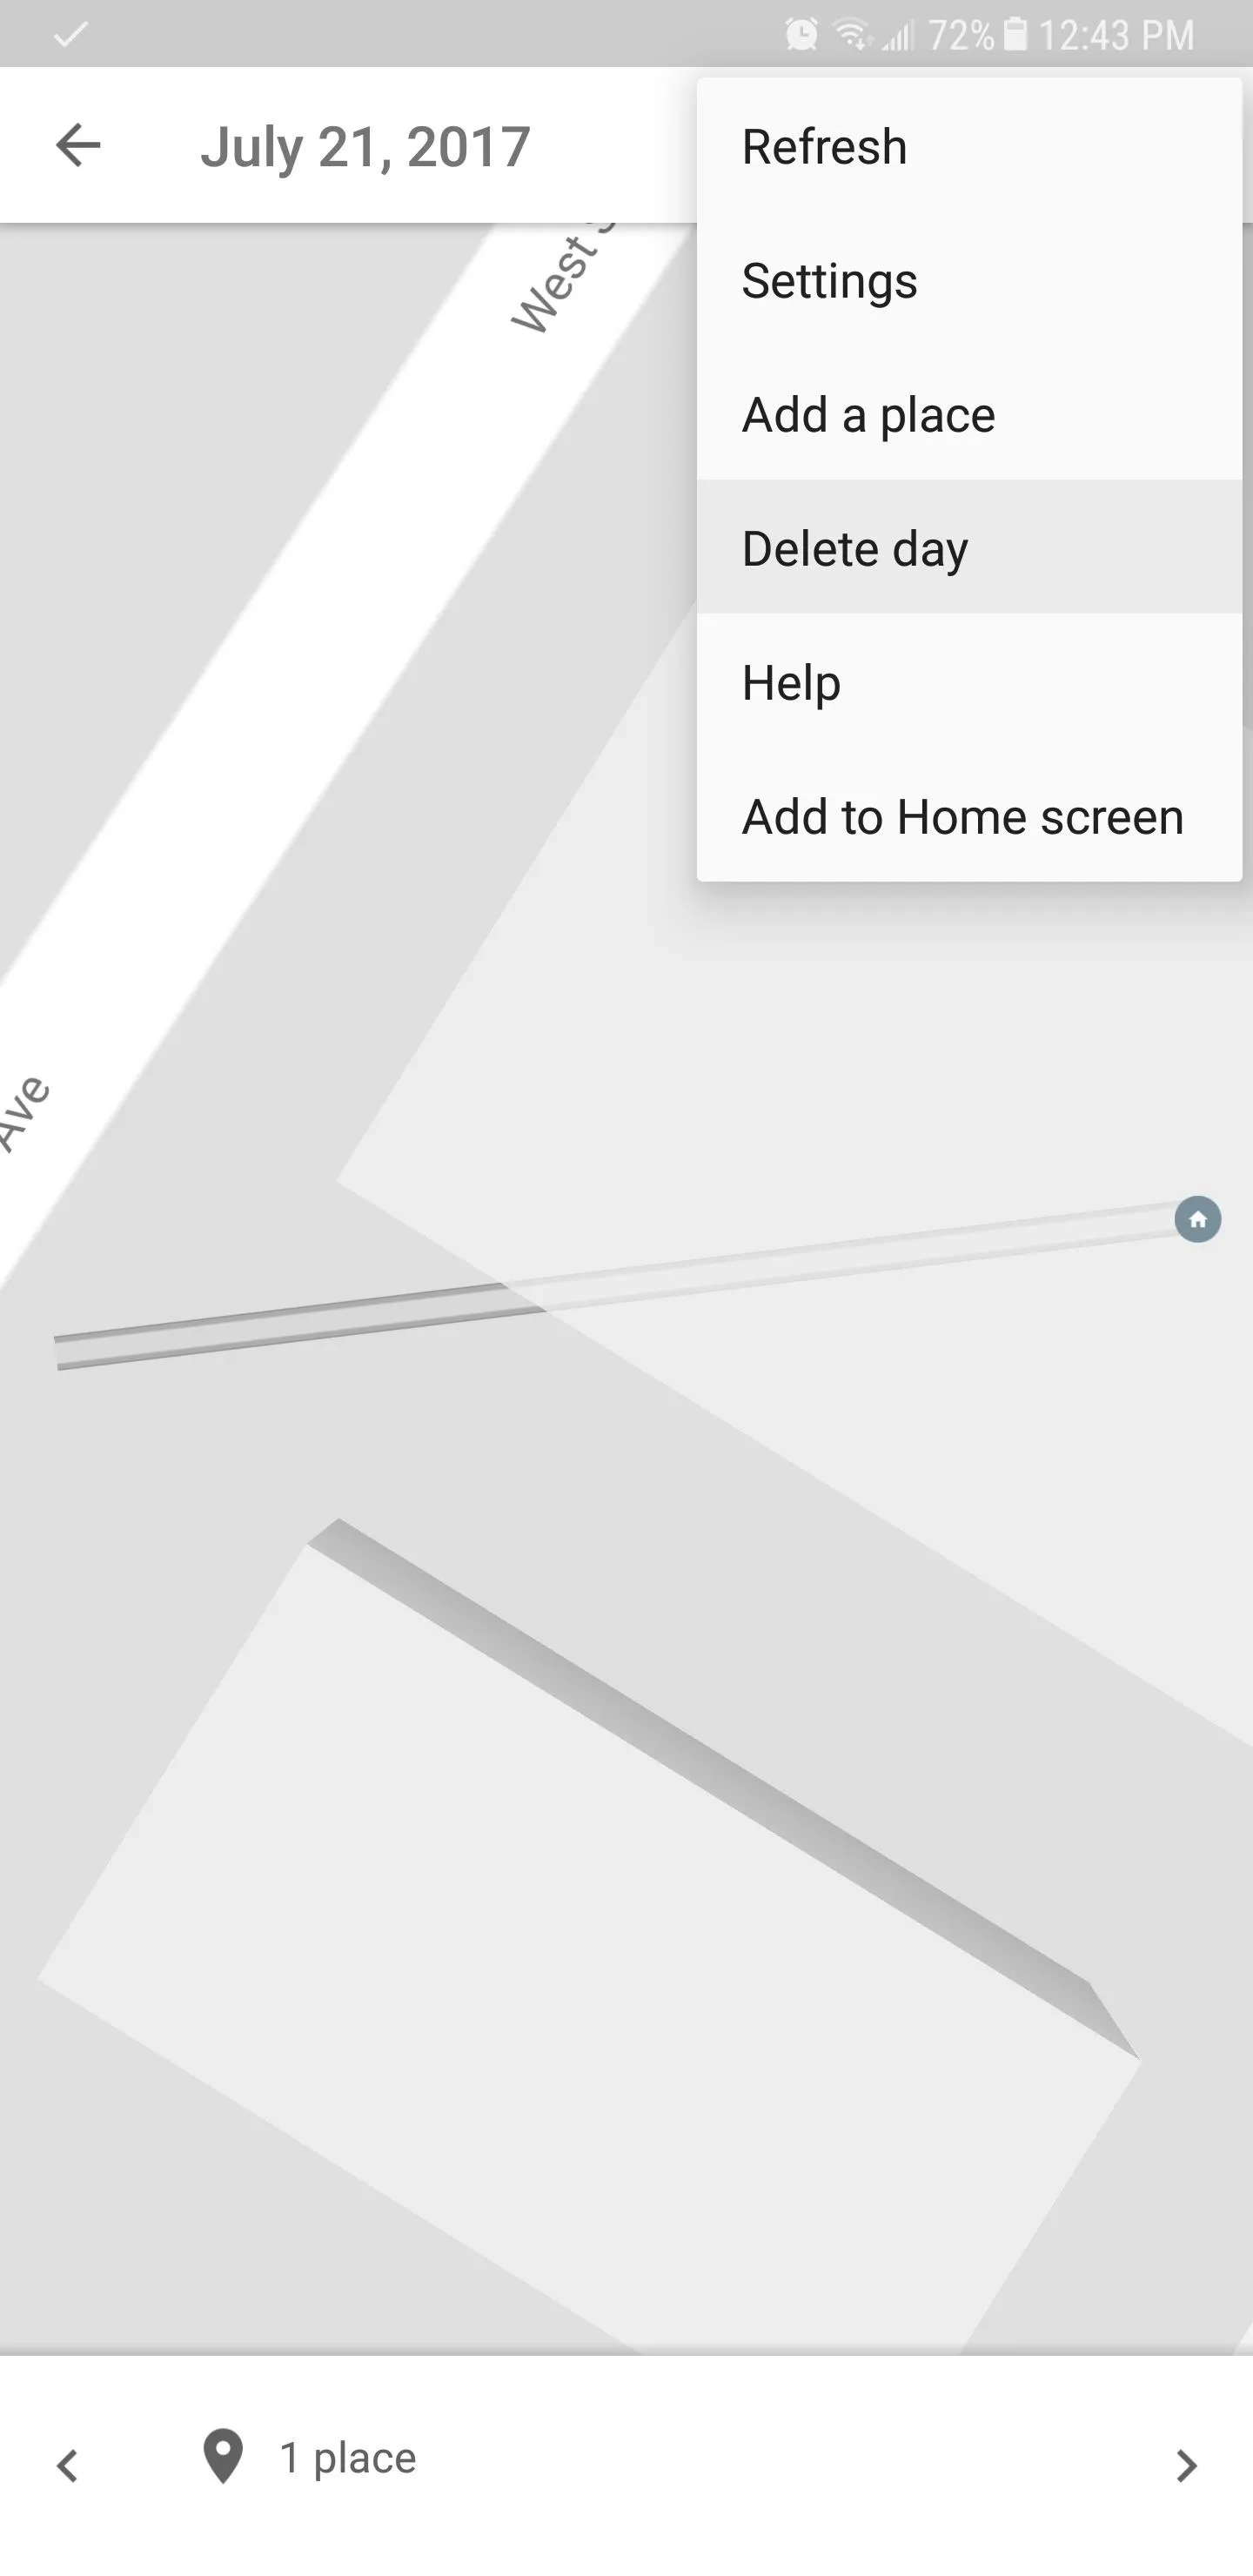
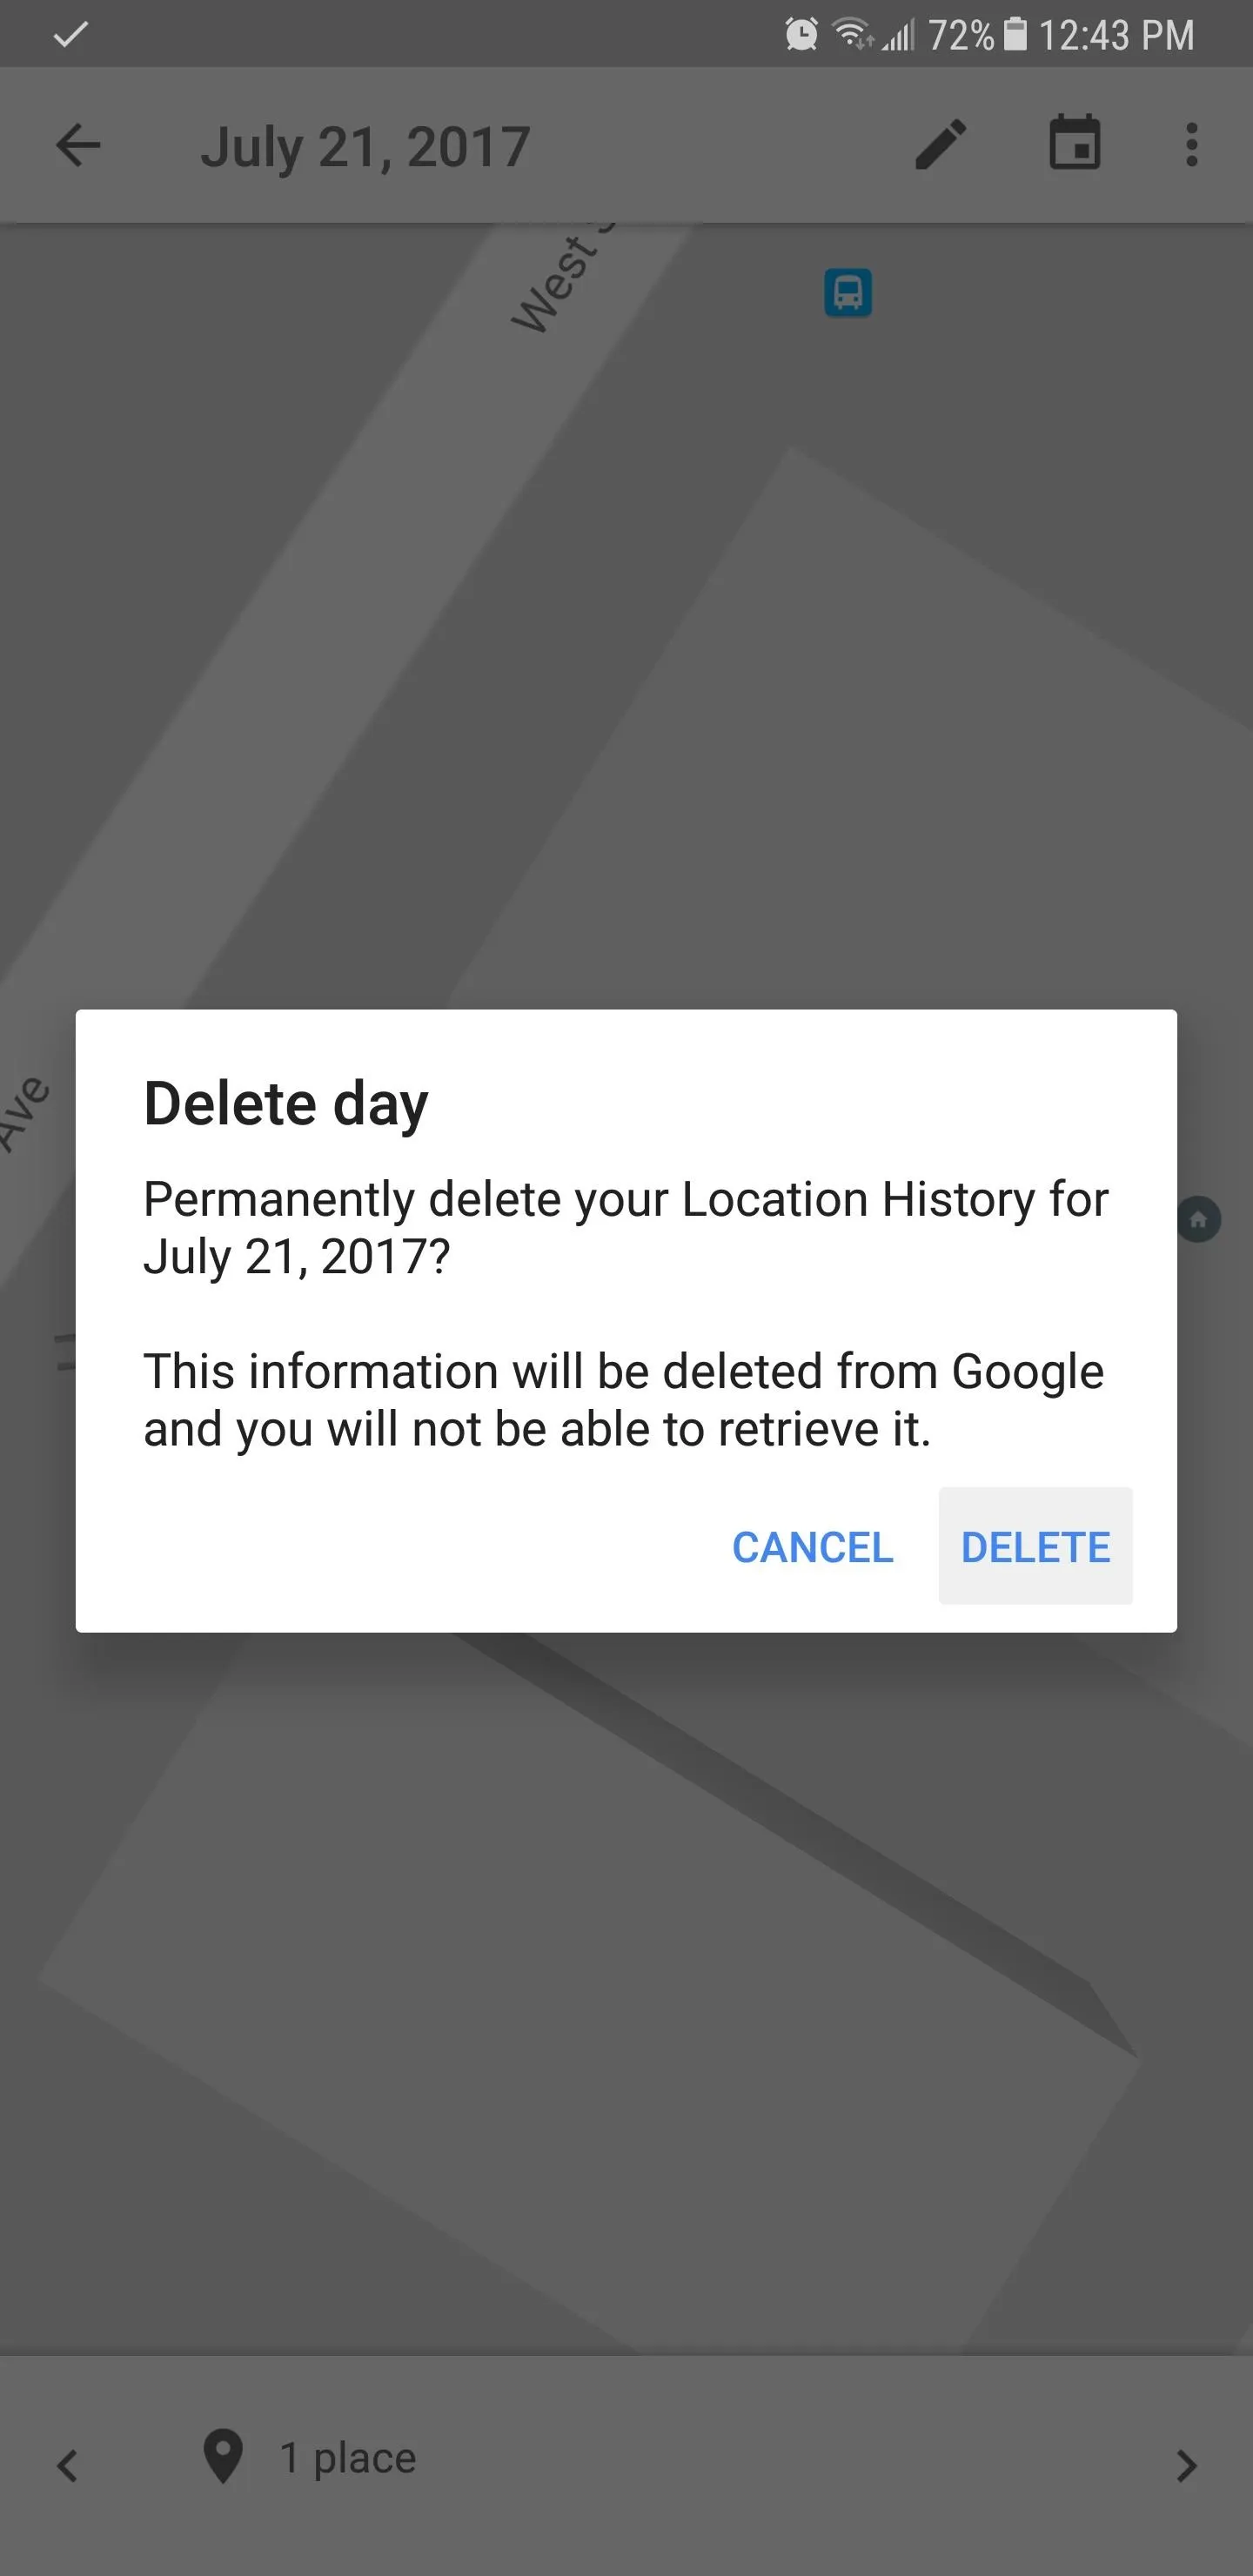
Delete Unwanted History
If you want to delete an uneventful location log you'd rather forget about, start by selecting a day from the calendar view in your Timeline. From there, tap on the three-dot menu button and select "Delete day" or "Delete the day" to get rid of the whole day. Use this with caution, though, as it cannot be undone.
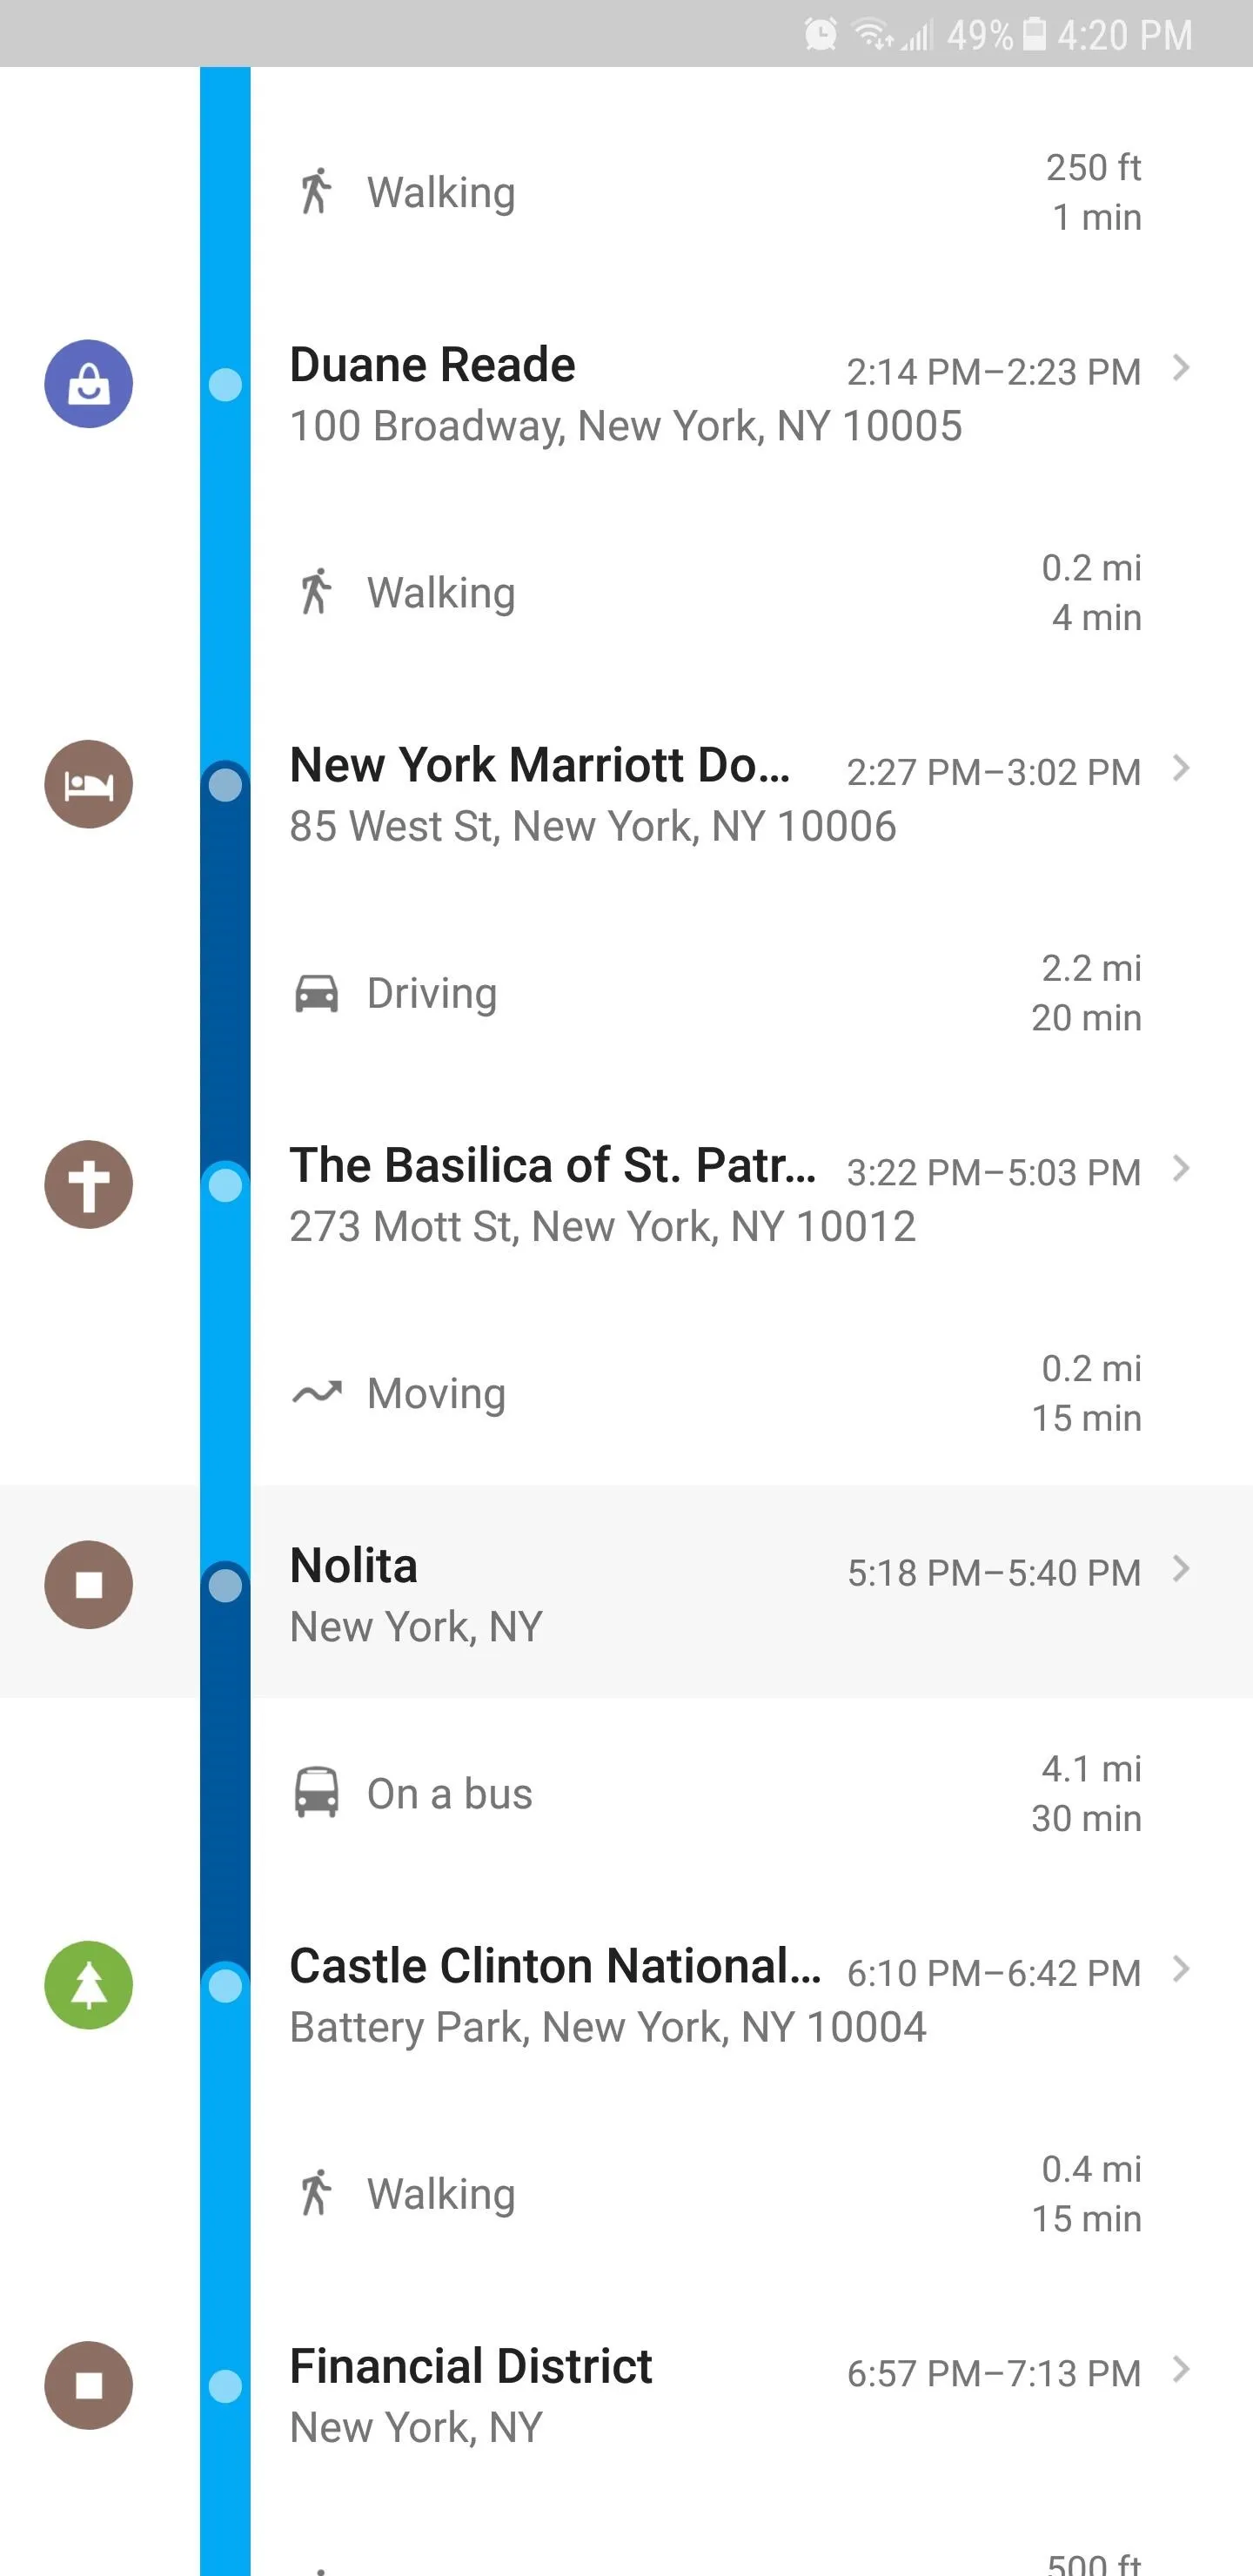
Alternatively, you can remove a specific location off your chosen timeline to get rid of unimportant pit stops, like that trip to the pharmacy you made.
To do so, swipe up from the bottom of the screen to reveal your timeline's written log, then tap the entry you wish to remove. When the location page opens, either hit the trash can icon in the top right that appears or tap "Edit," then select "Remove this stop from your day?" Finally, tap "Remove" on the confirmation prompt.

What are your thoughts on revisiting your location history with Google Maps? As always, feel free to share your opinions and any other tips or recommendations in the comment section down below.
This article was produced during Gadget Hacks' special coverage on traveling with your smartphone. Check out the whole Travel series.
- Follow Gadget Hacks on Pinterest, Reddit, Twitter, YouTube, and Flipboard
- Sign up for Gadget Hacks' daily newsletter or weekly Android and iOS updates
- Follow WonderHowTo on Facebook, Twitter, Pinterest, and Flipboard
Cover image, screenshots, and GIFs by Amboy Manalo/Gadget Hacks


Comments
Be the first, drop a comment!