In the era of smartphones and cloud-based computing, it almost seems irresponsible to keep a stash of paper documents. Not only is a physical paper printout environmentally impractical, it's also a lot harder to organize and keep track of than a digital file stored on a hard drive.
Several existing apps can help you turn your physical, real-world documents into easier-to-manage digital files. But tech giant Microsoft has just thrown its hat into this ring with a popular Windows Phone app that's now available for Android and iOS.
Install Office Lens
For iPhone users, installing Microsoft's new Office Lens app is as easy as searching the app on the iTunes App Store, hitting "Get," then "Install."

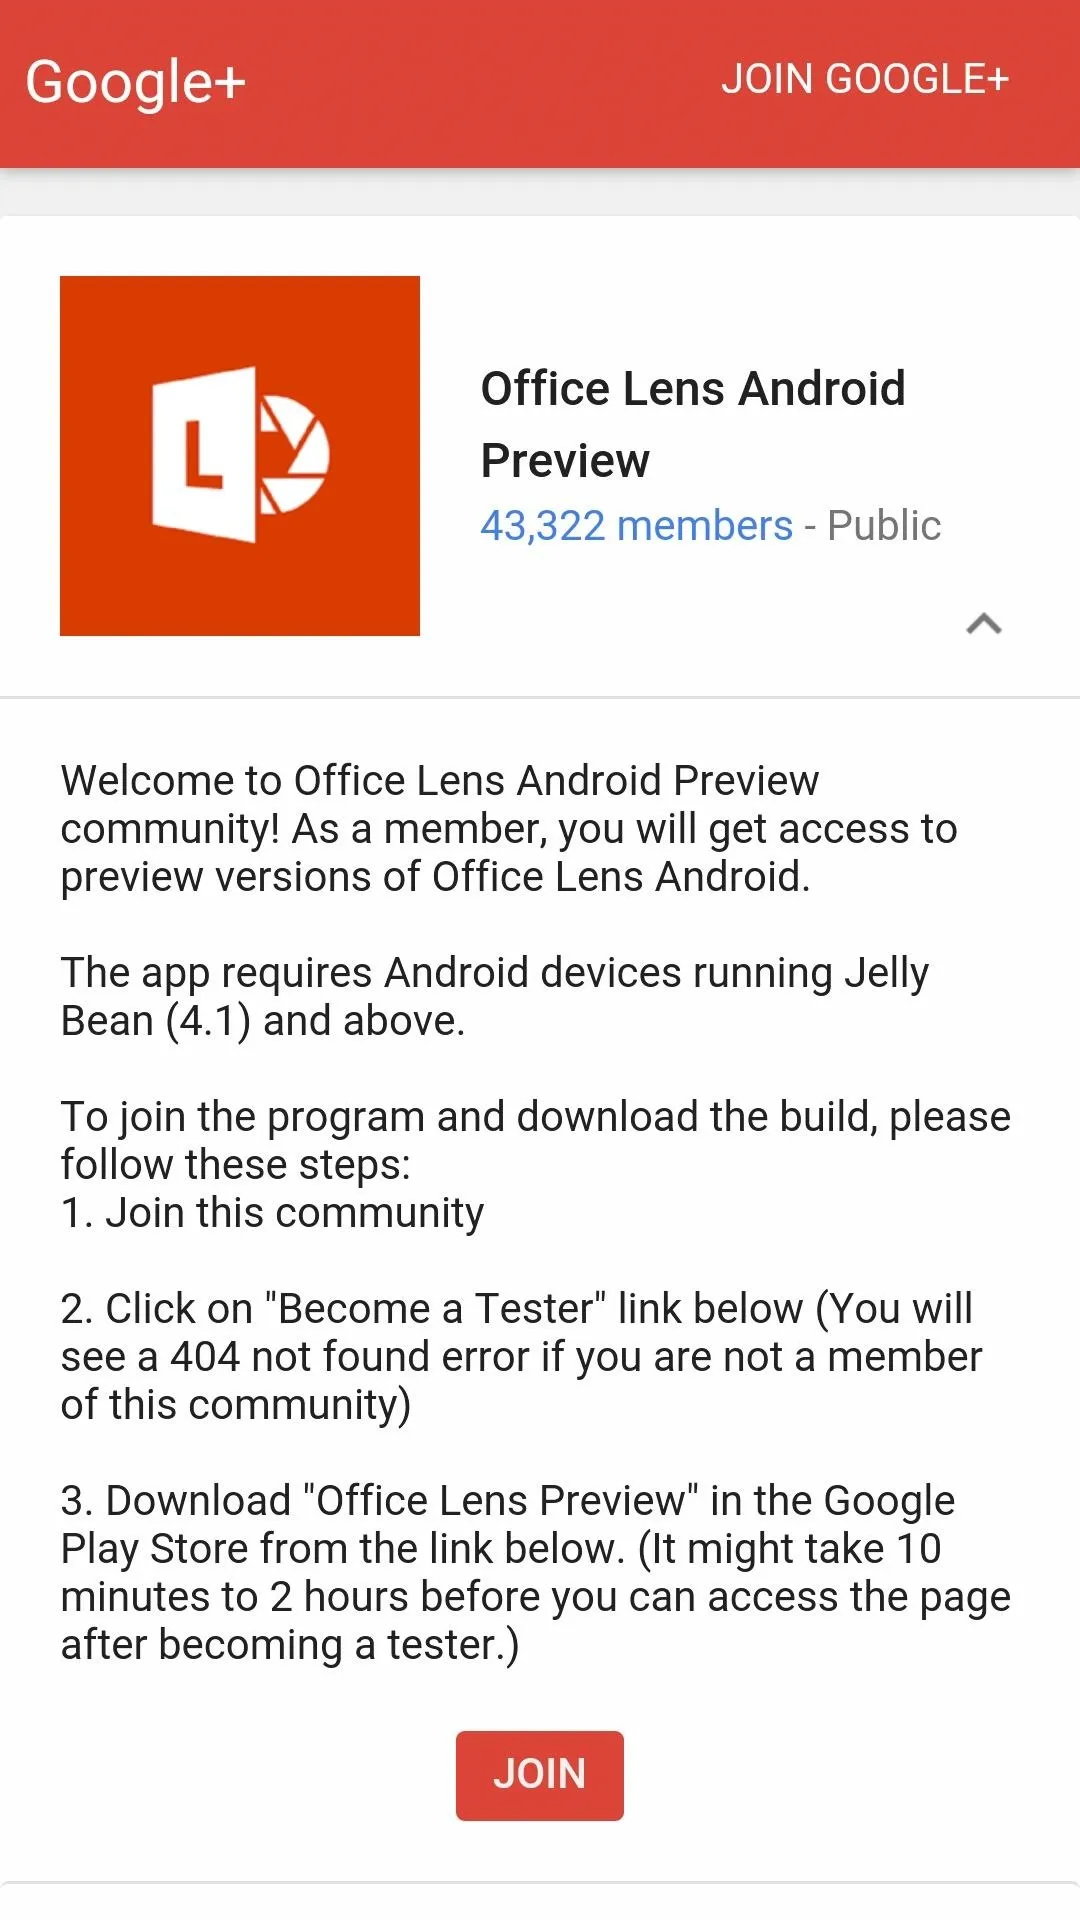
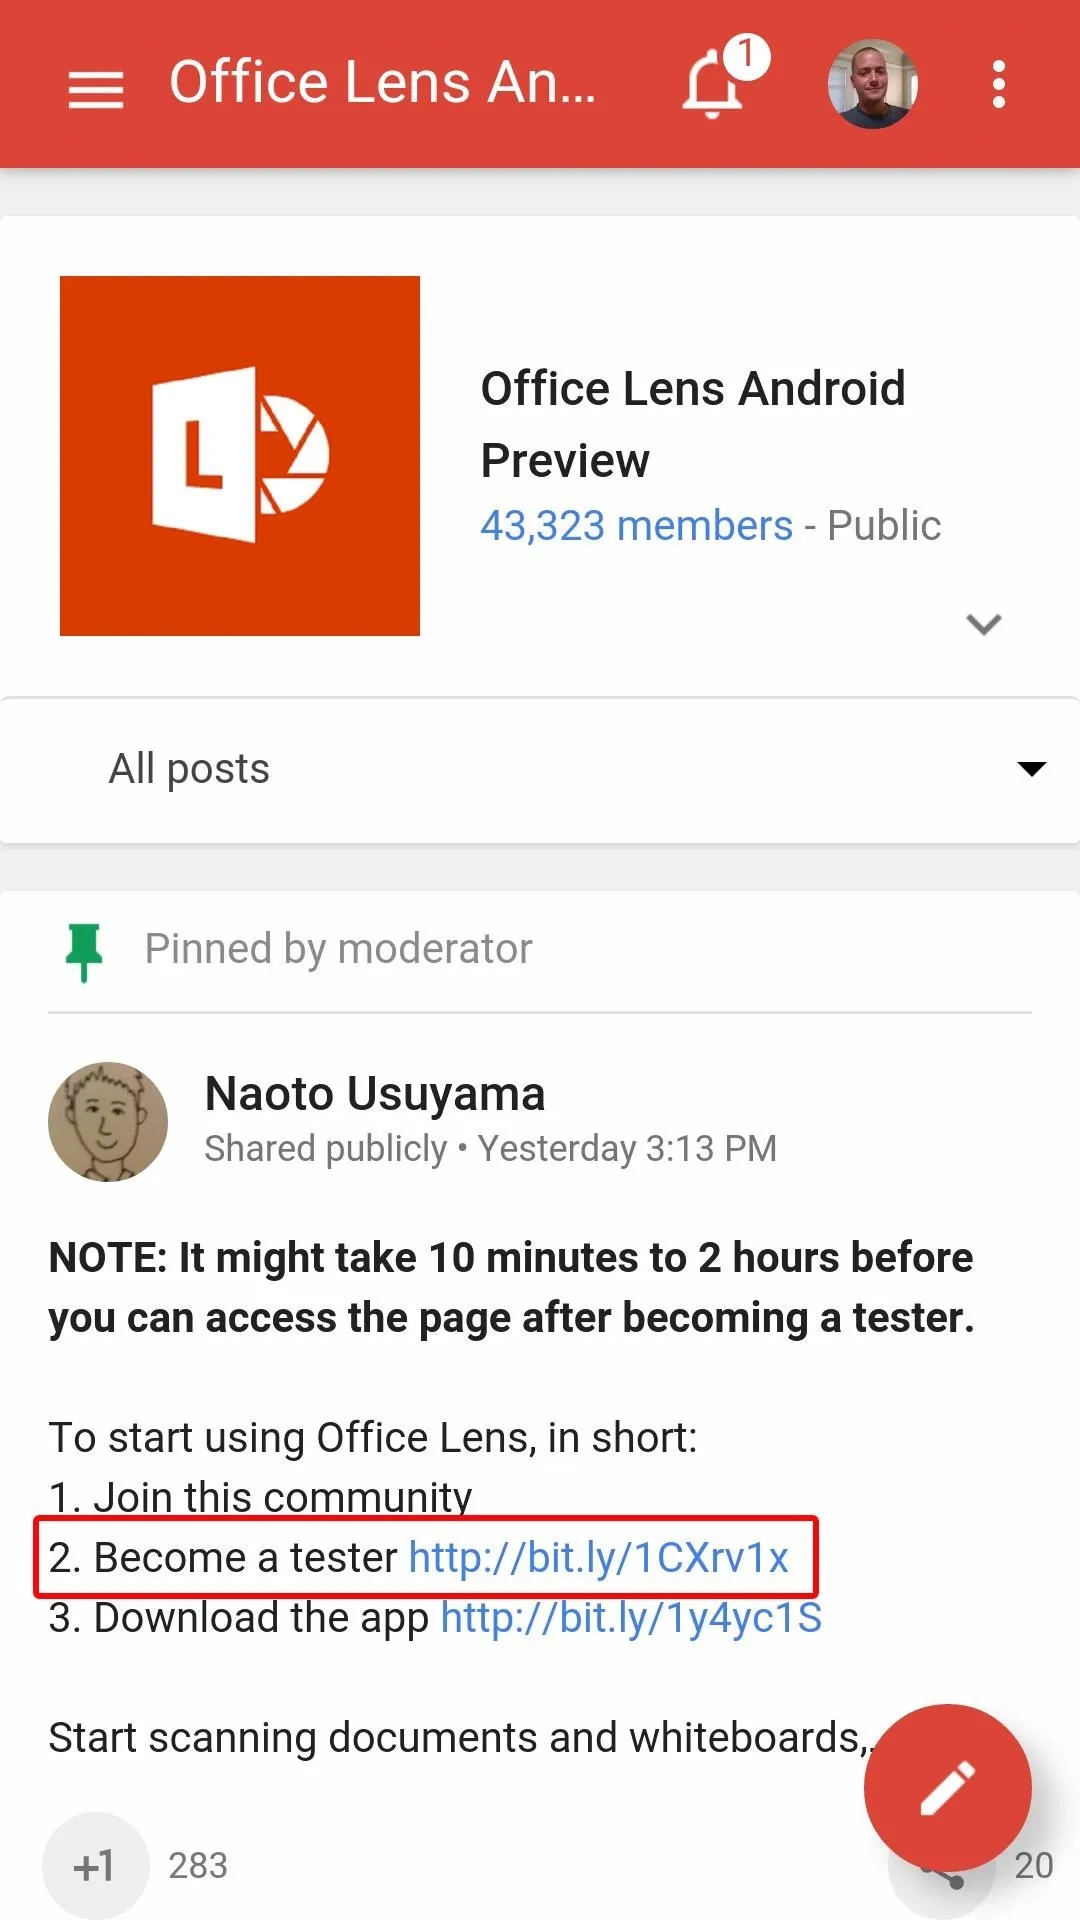
For Android users, the app is still in its testing phases, so you'll need to join the Office Lens beta program to install it. To begin, head to the official Google+ community at this link. From here, tap the "Join" button to begin. After that, tap the "Become a tester" link in the body of the first post on this community.


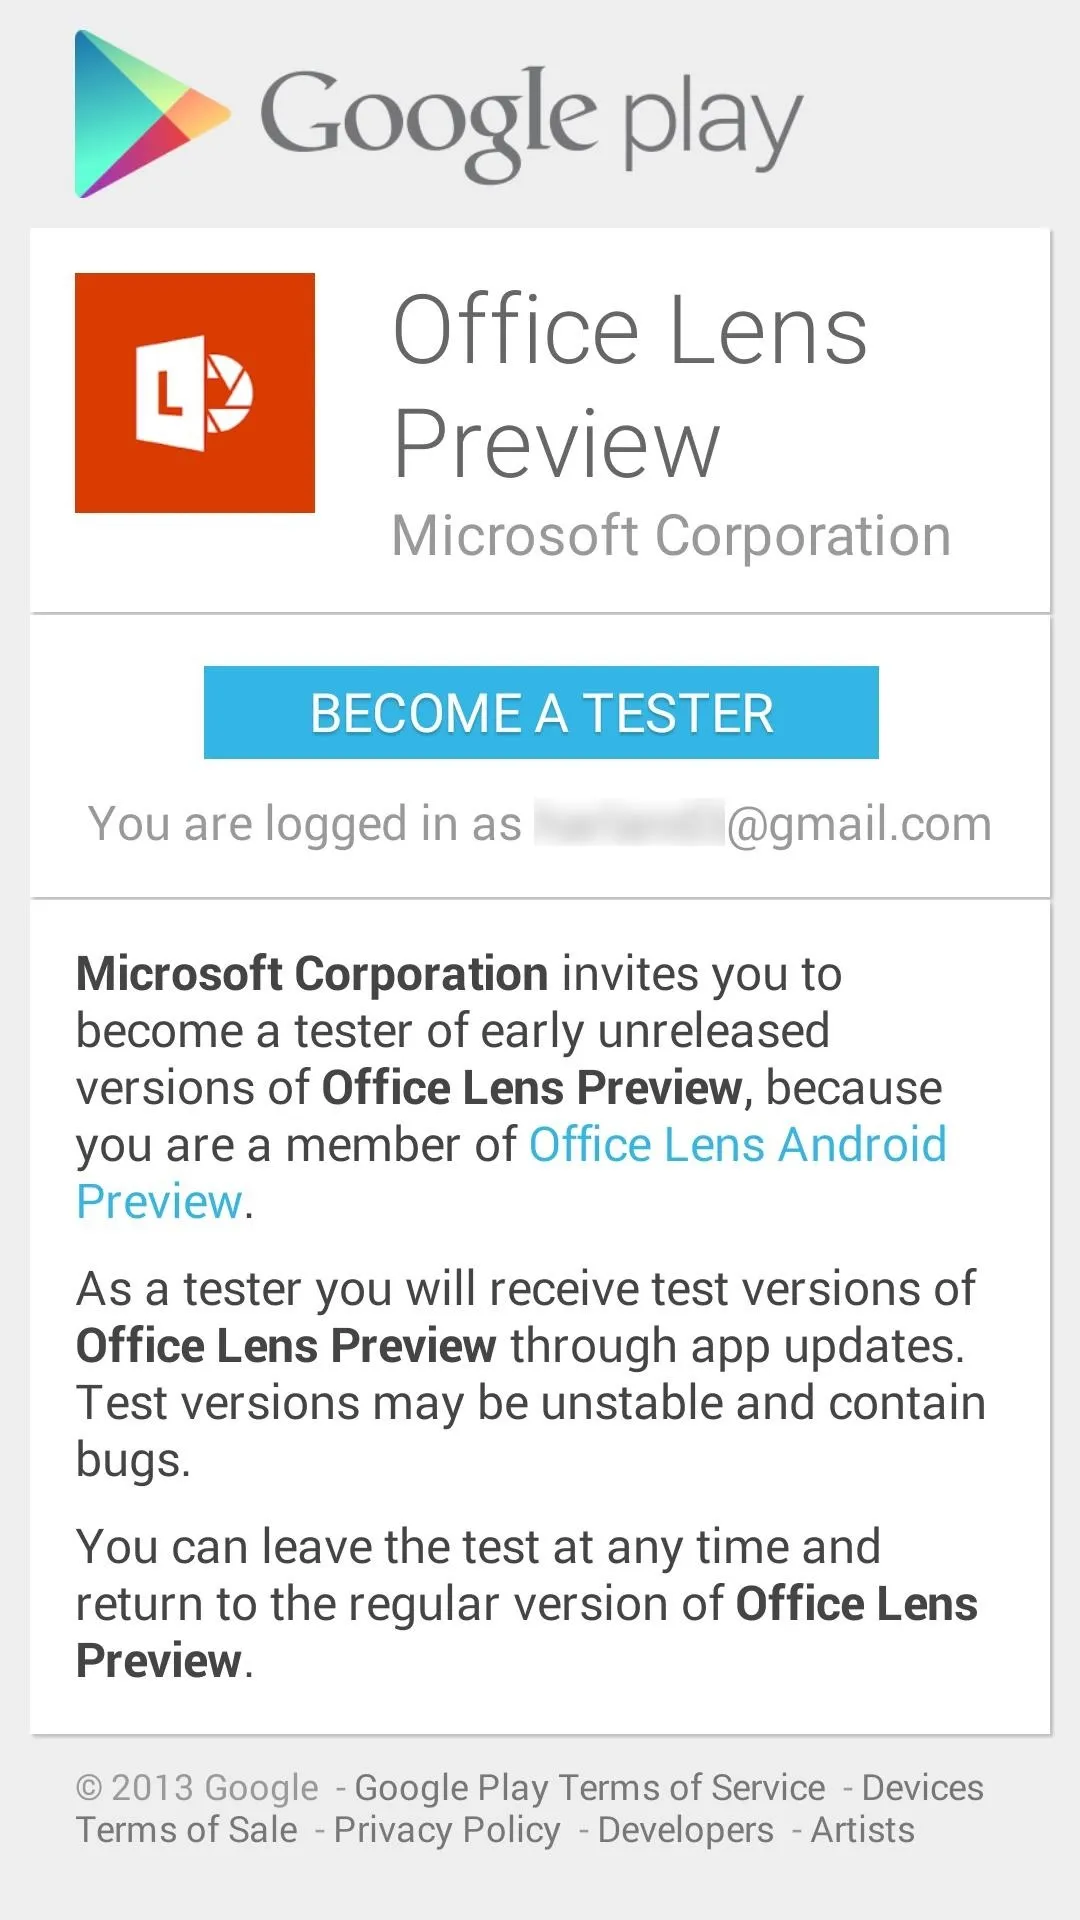
From here, tap the "Become a Tester" button on the following screen. At this point, you should see a message stating "You are now a tester." Underneath this message, tap the "download it from the Play Store" link to head to the Office Lens install page.
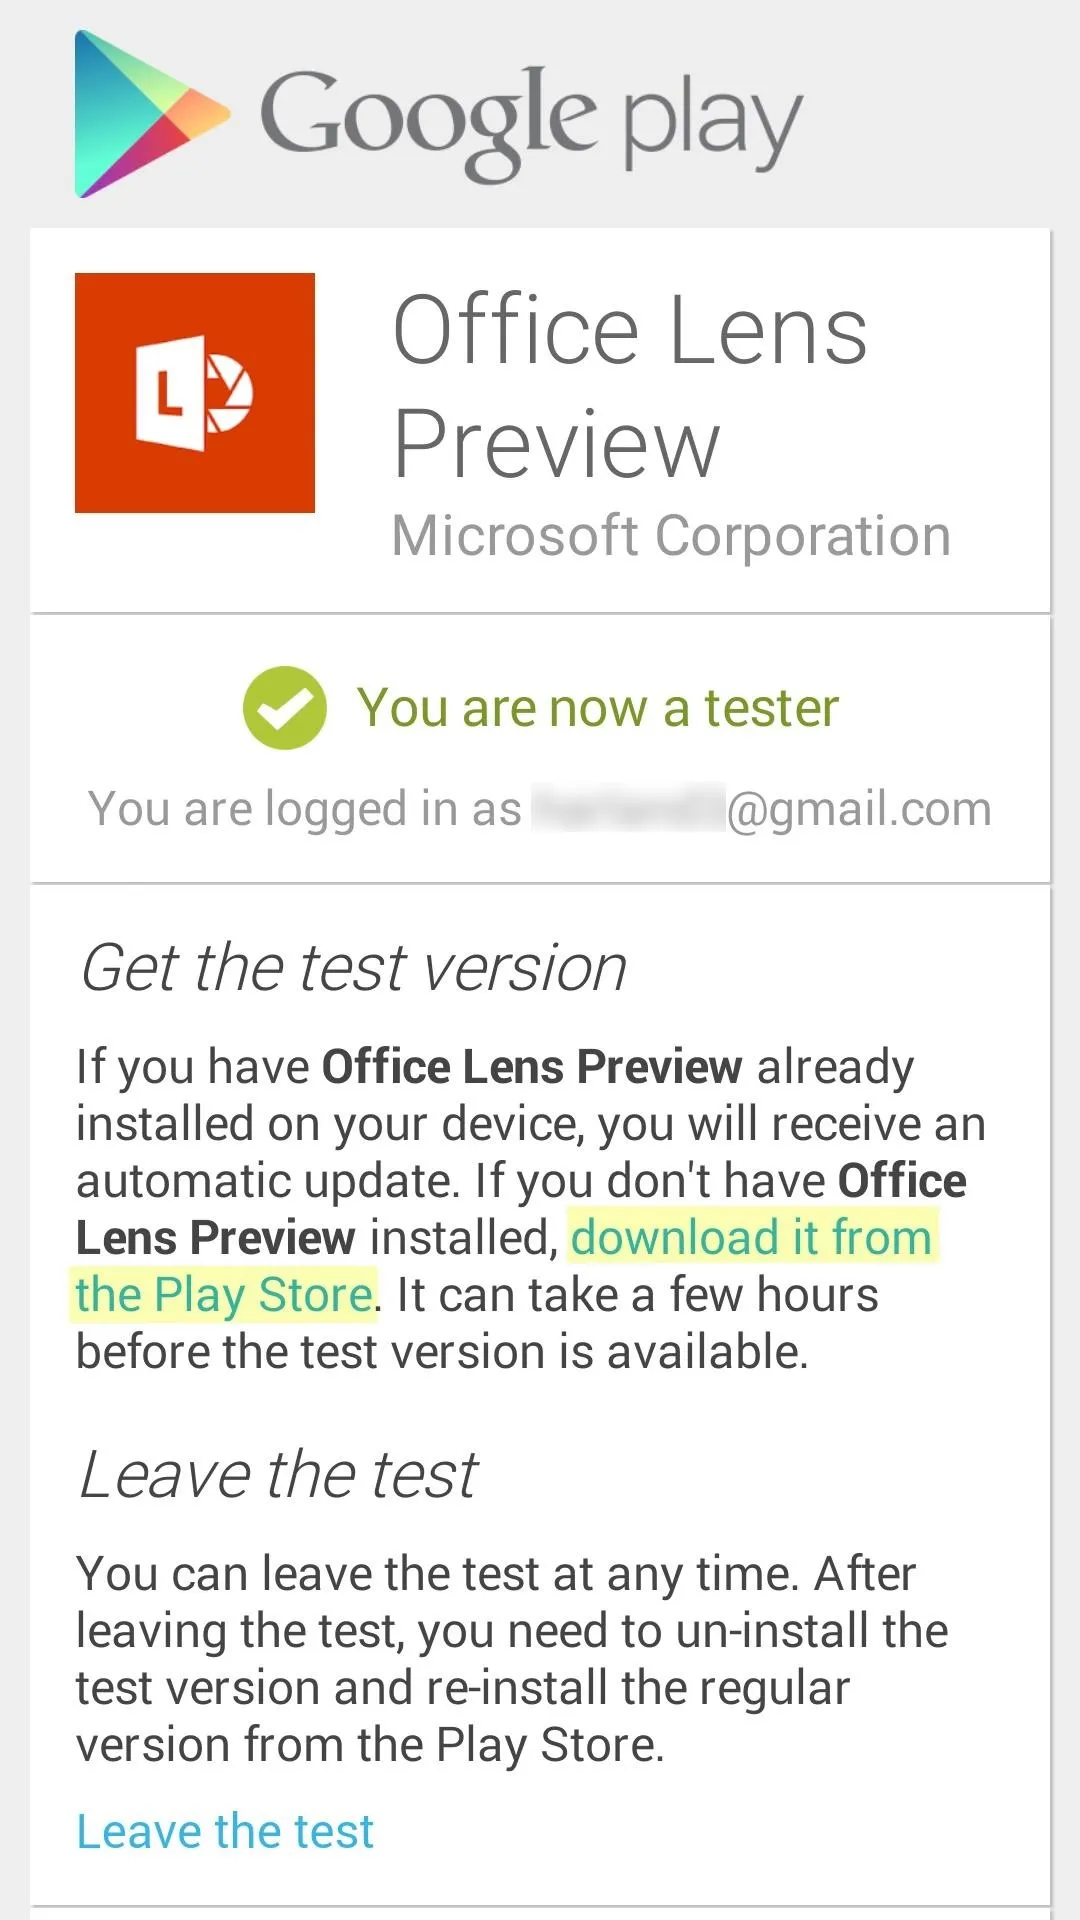


At this point, you can install the app like any other.
Scanning Documents
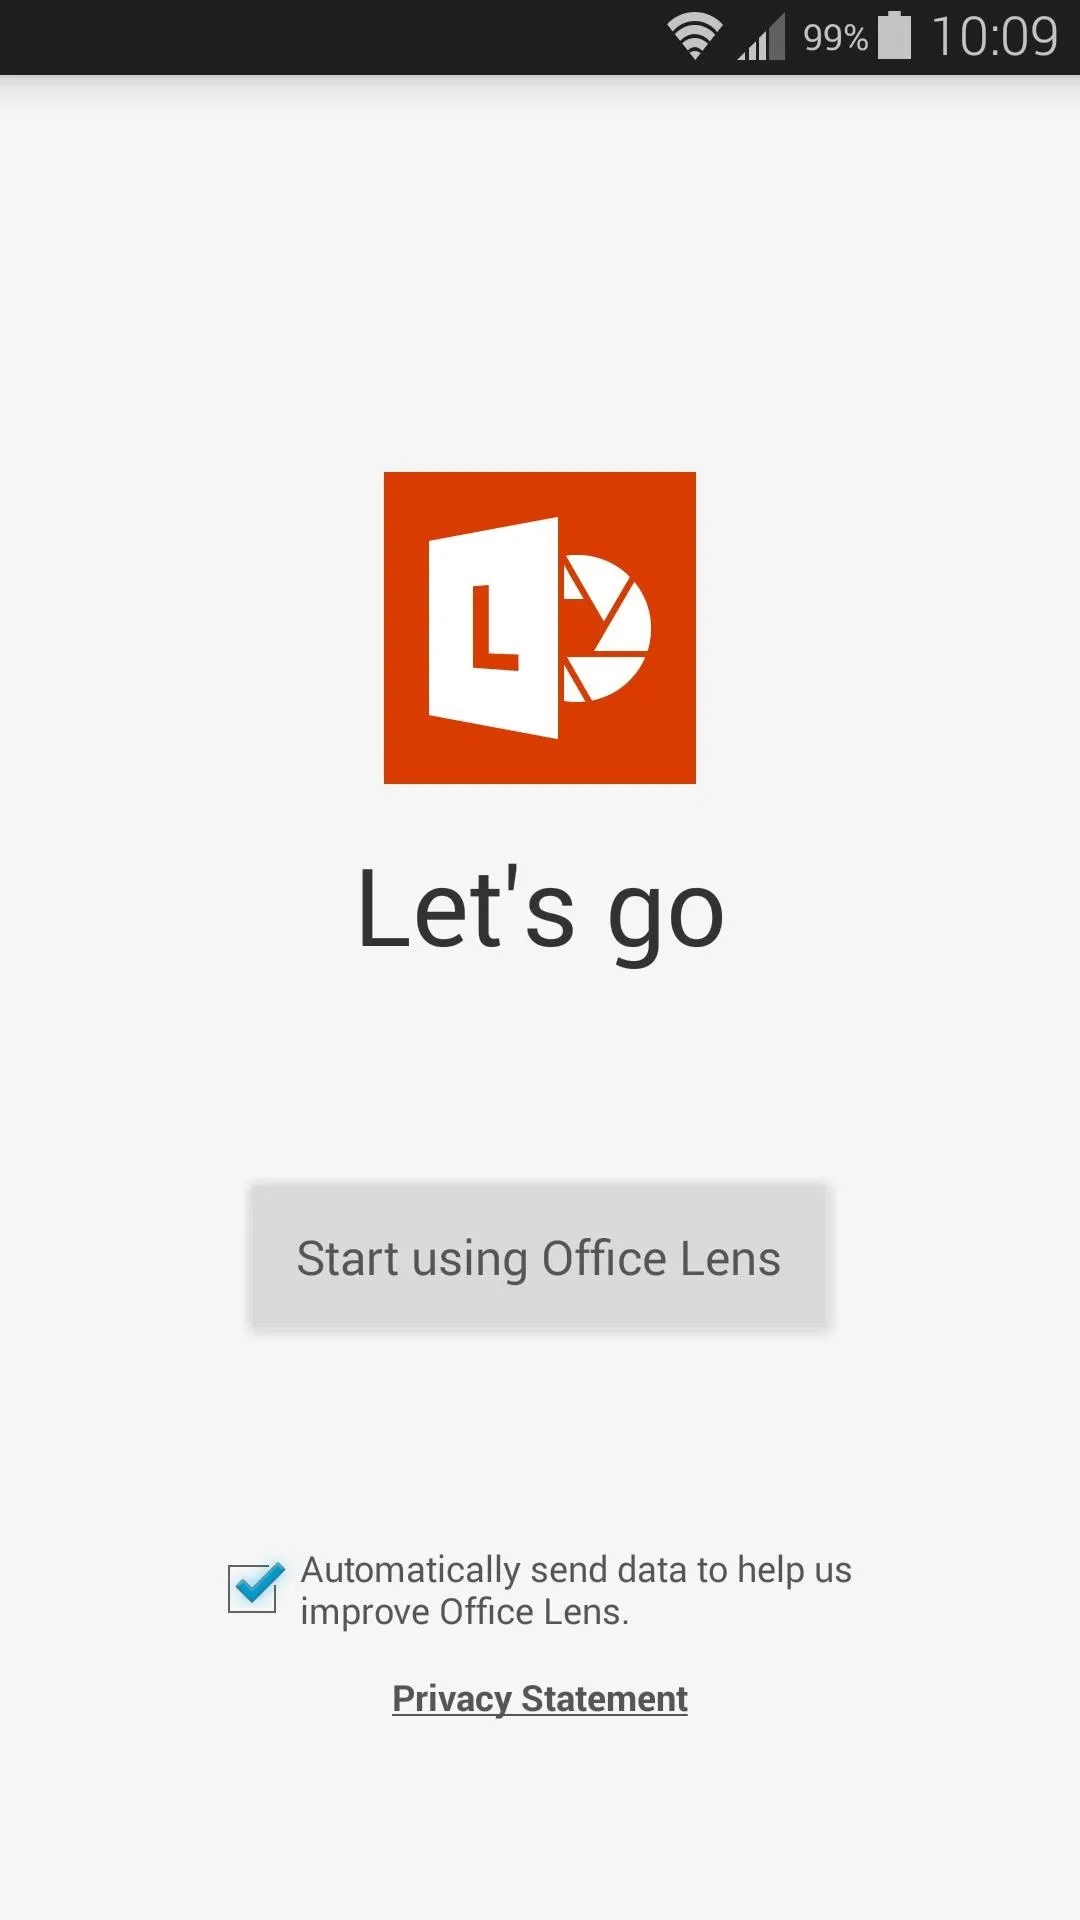
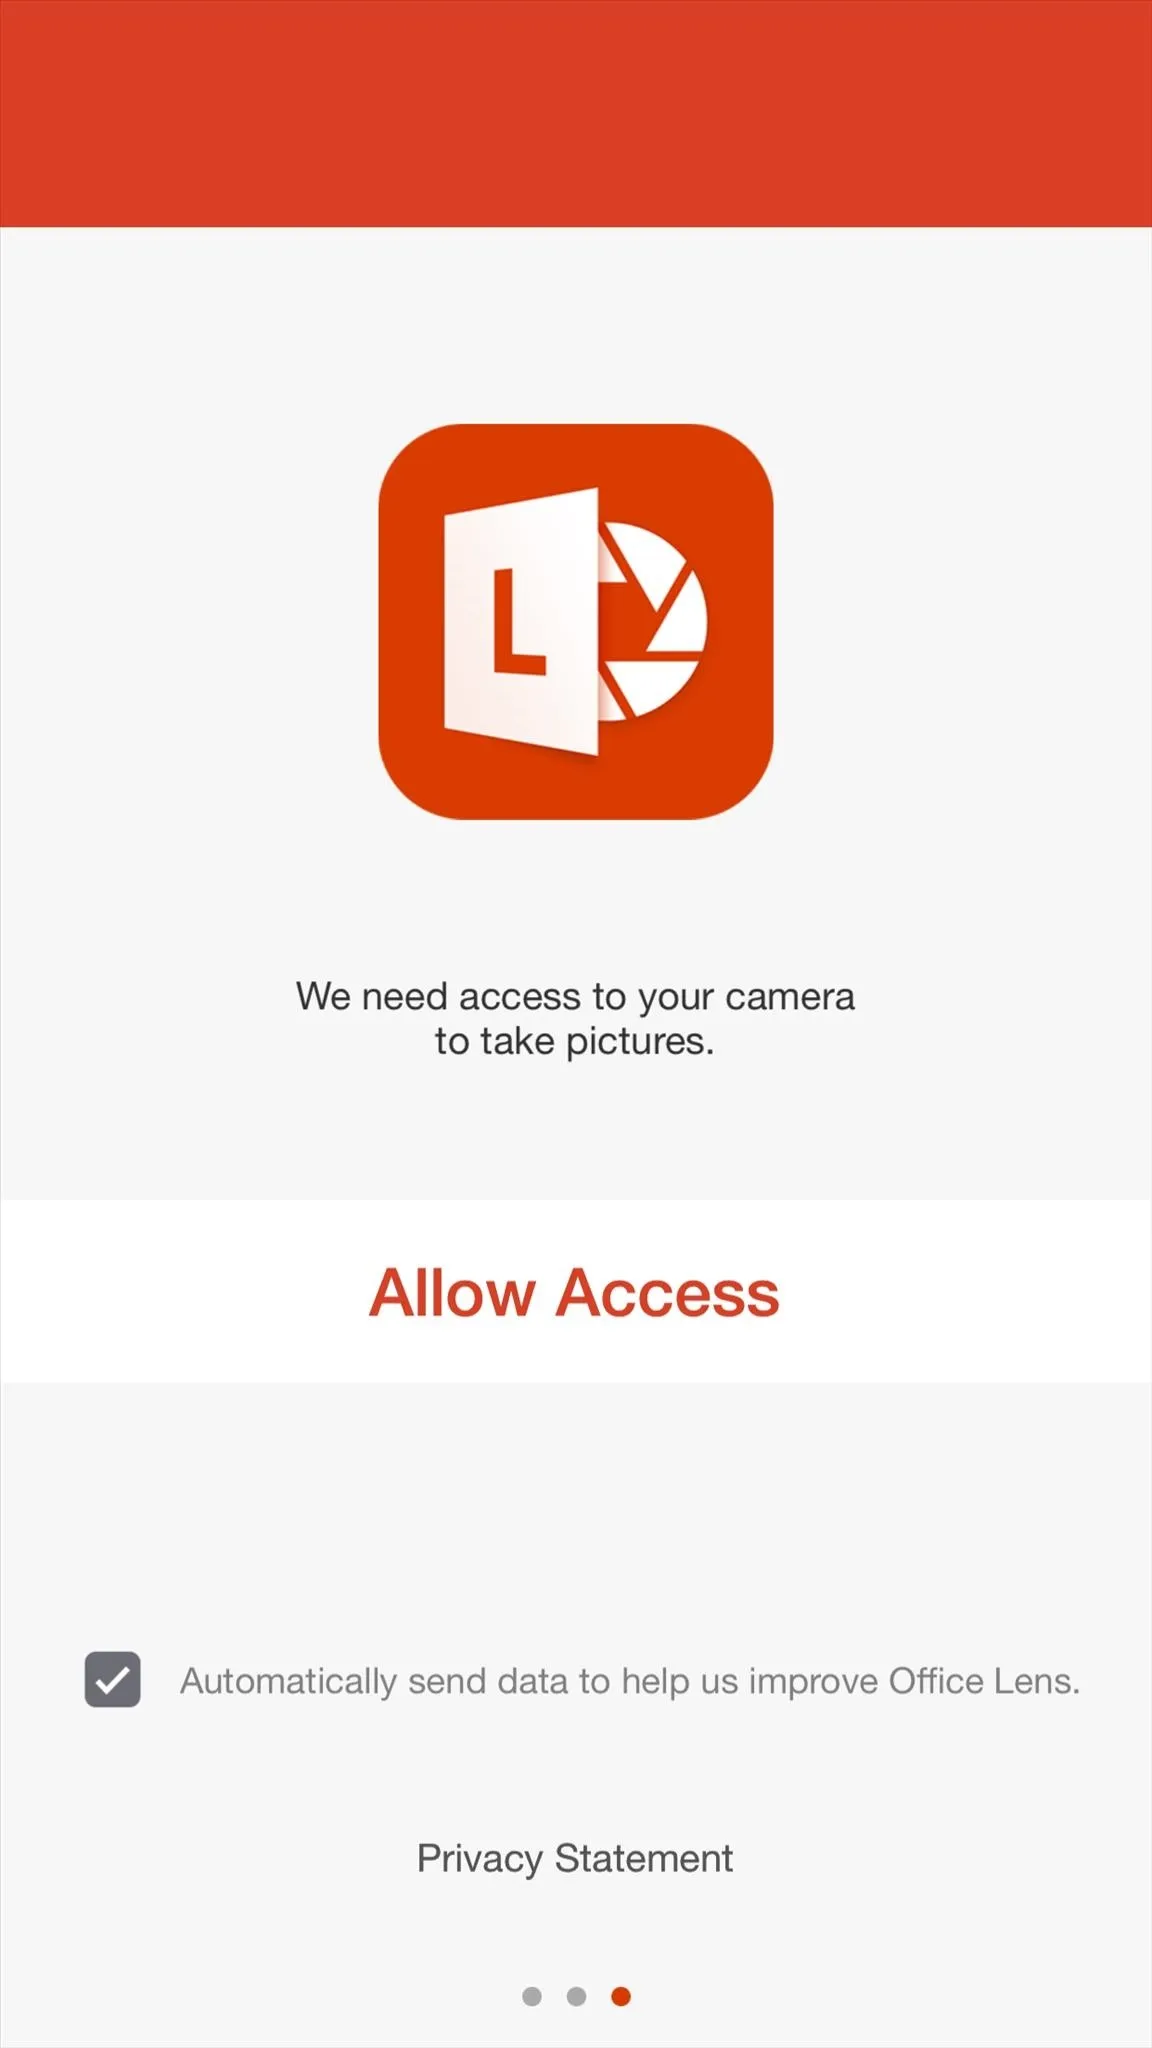
When you first launch Office Lens, you'll have to review and accept the app's license agreement. Tap "Agree" on this screen to do just that, then press "Start using Office Lens." On an iPhone, you just have to "Allow Access" to your camera and you're ready.
Android
iOS

Android

iOS
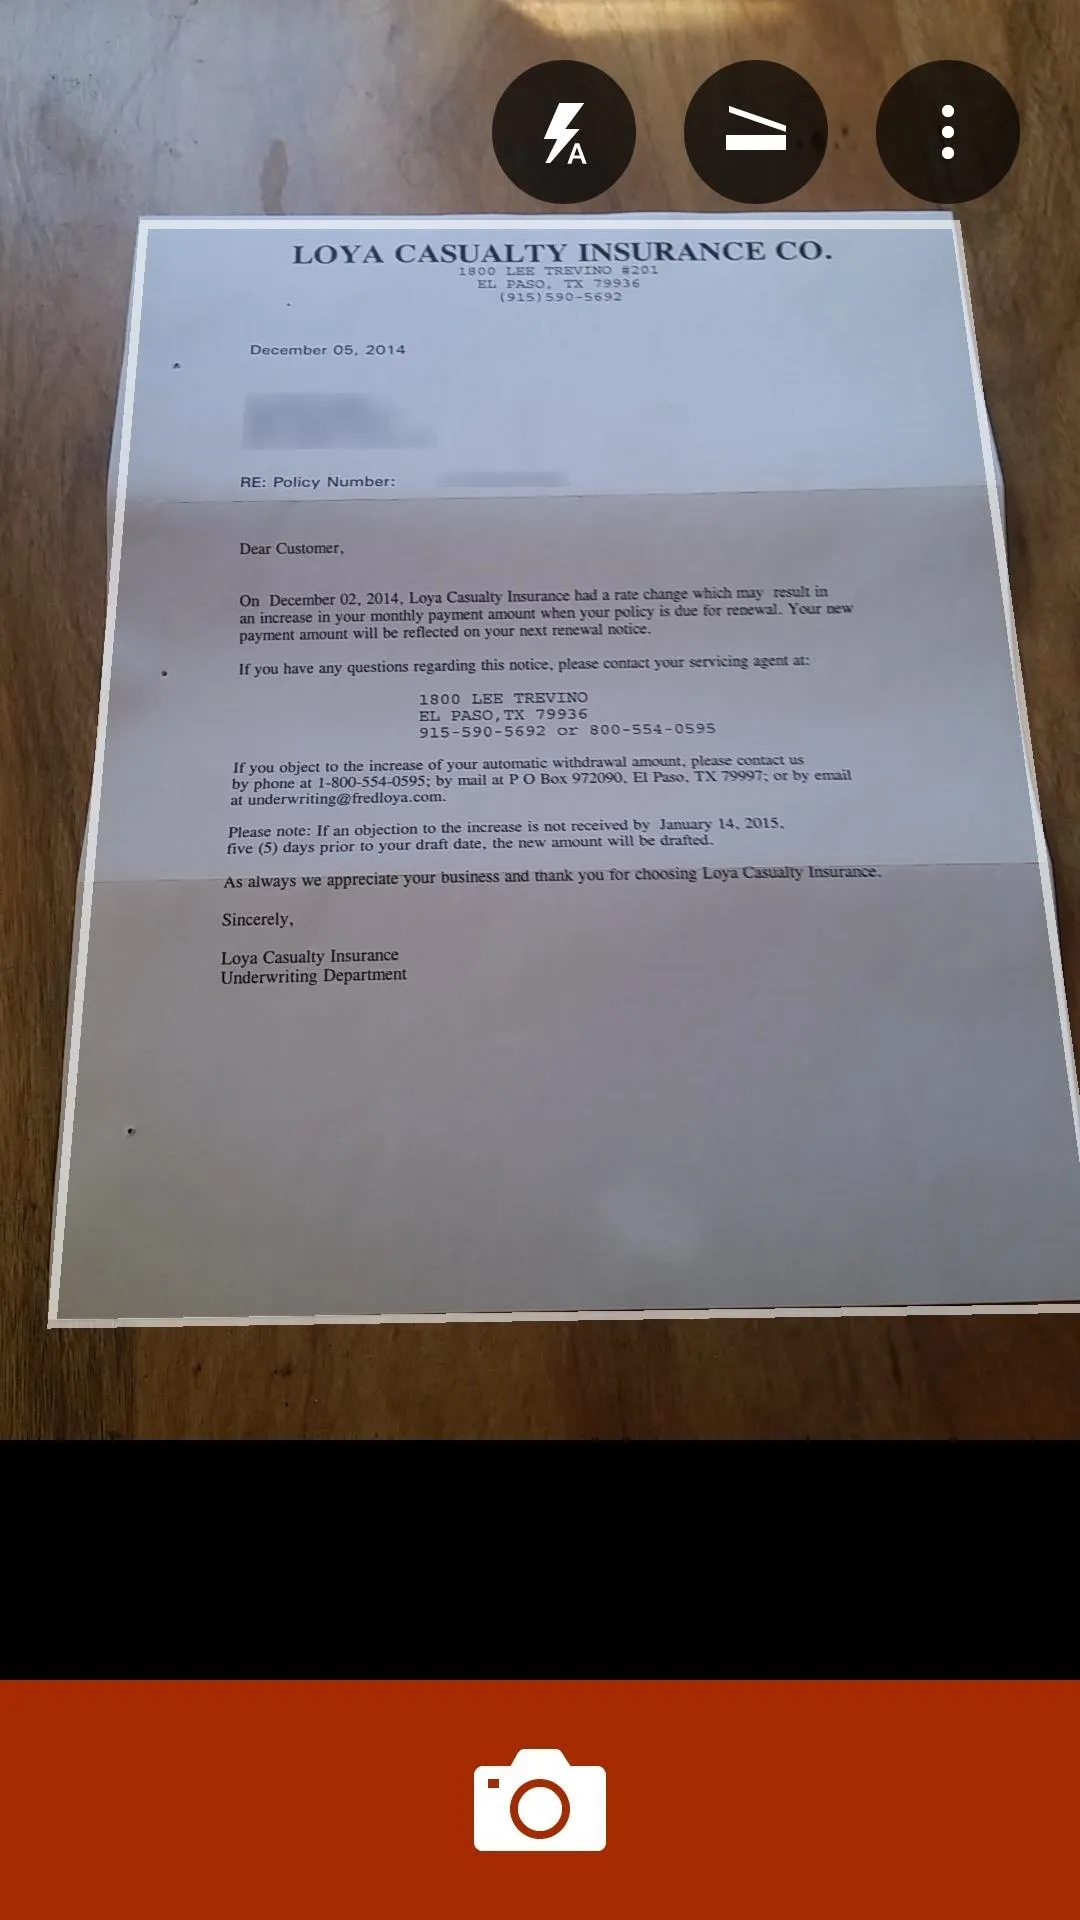
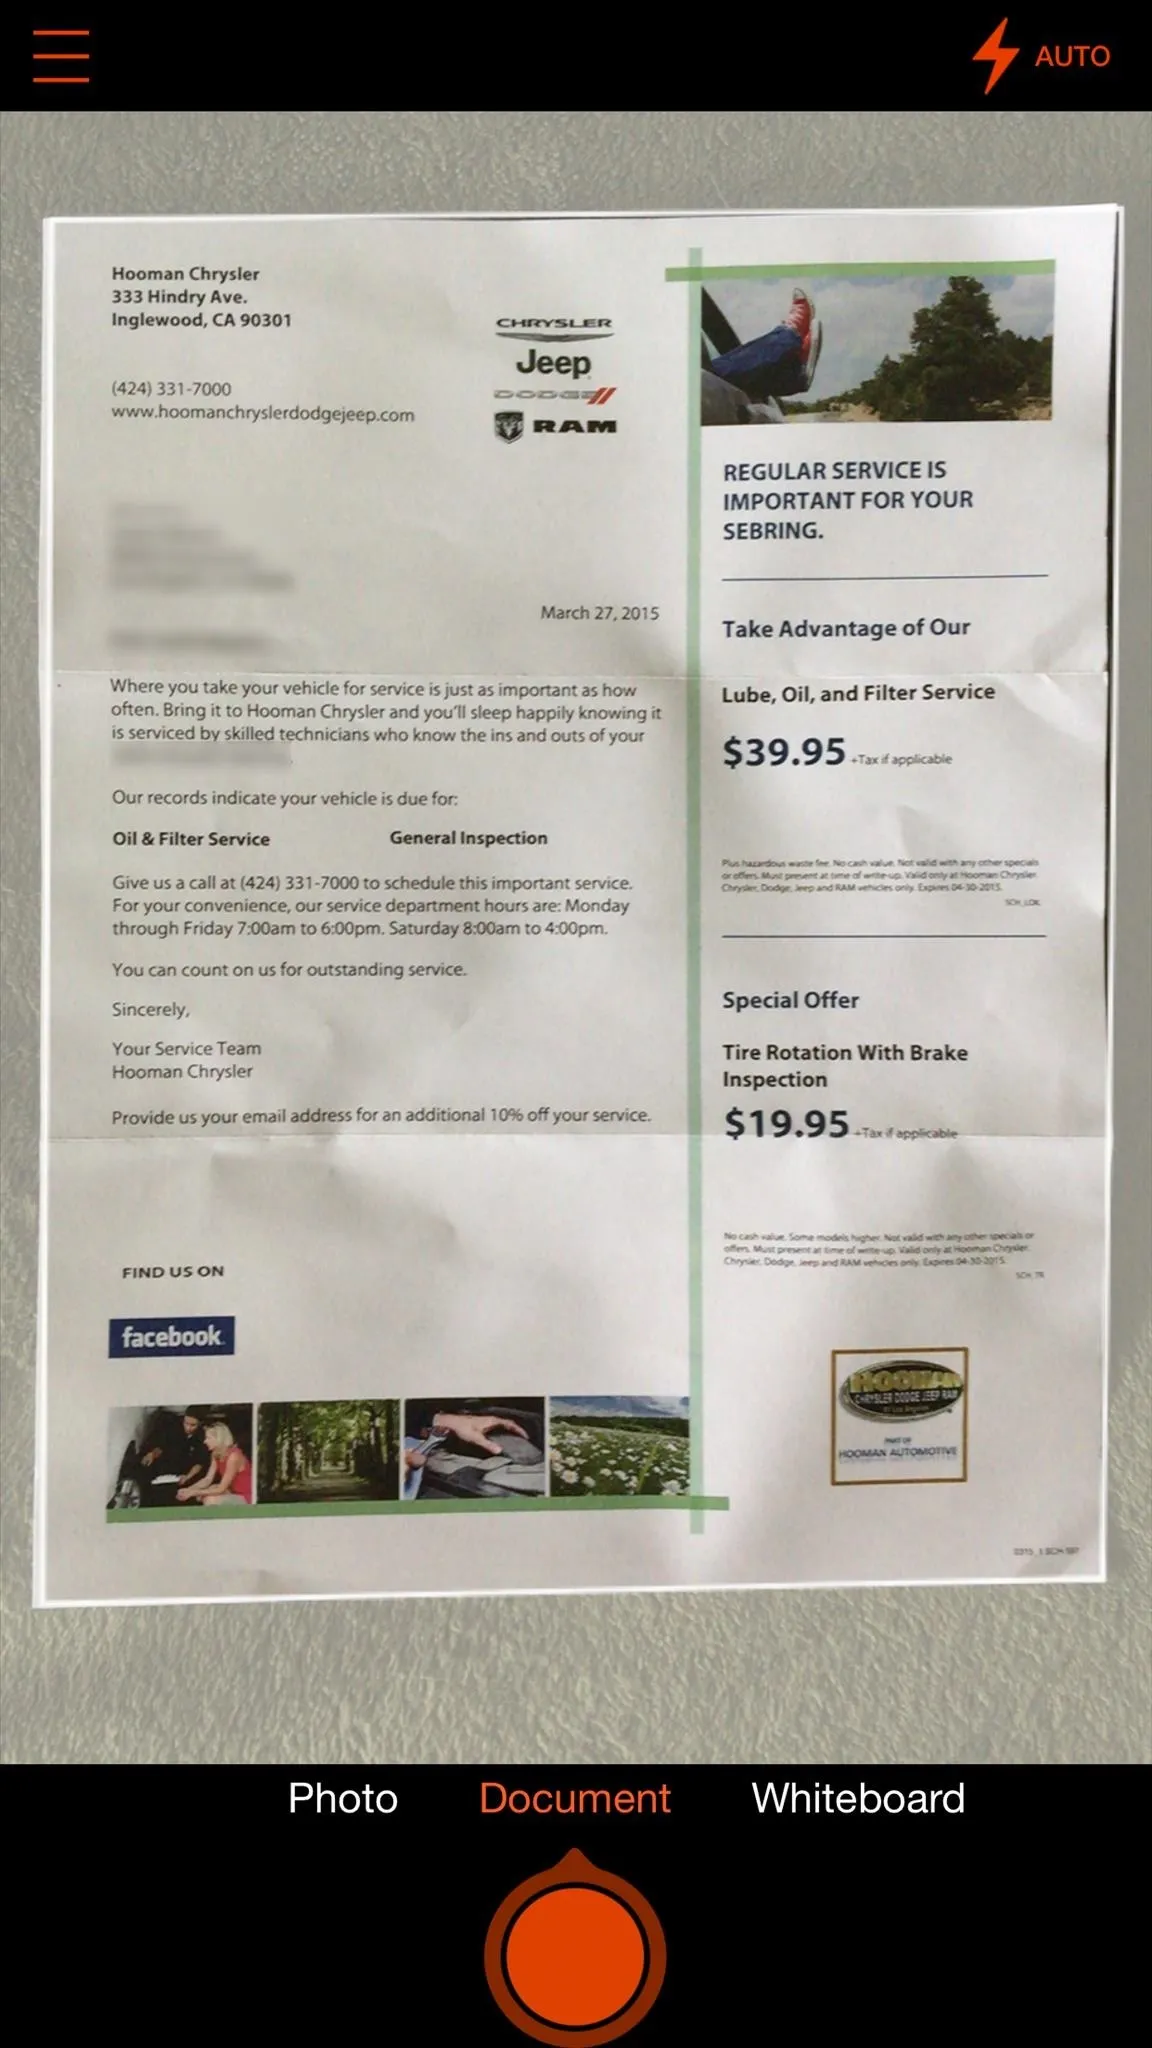
Scanning a document with Office Lens is incredibly easy—just line the piece of paper up with your camera's viewfinder. You don't even have to take a head-on shot, since Office Lens will automatically detect the document and adjust accordingly. When the document is in focus, simply tap the shutter button to capture it.
Android
iOS

Android

iOS
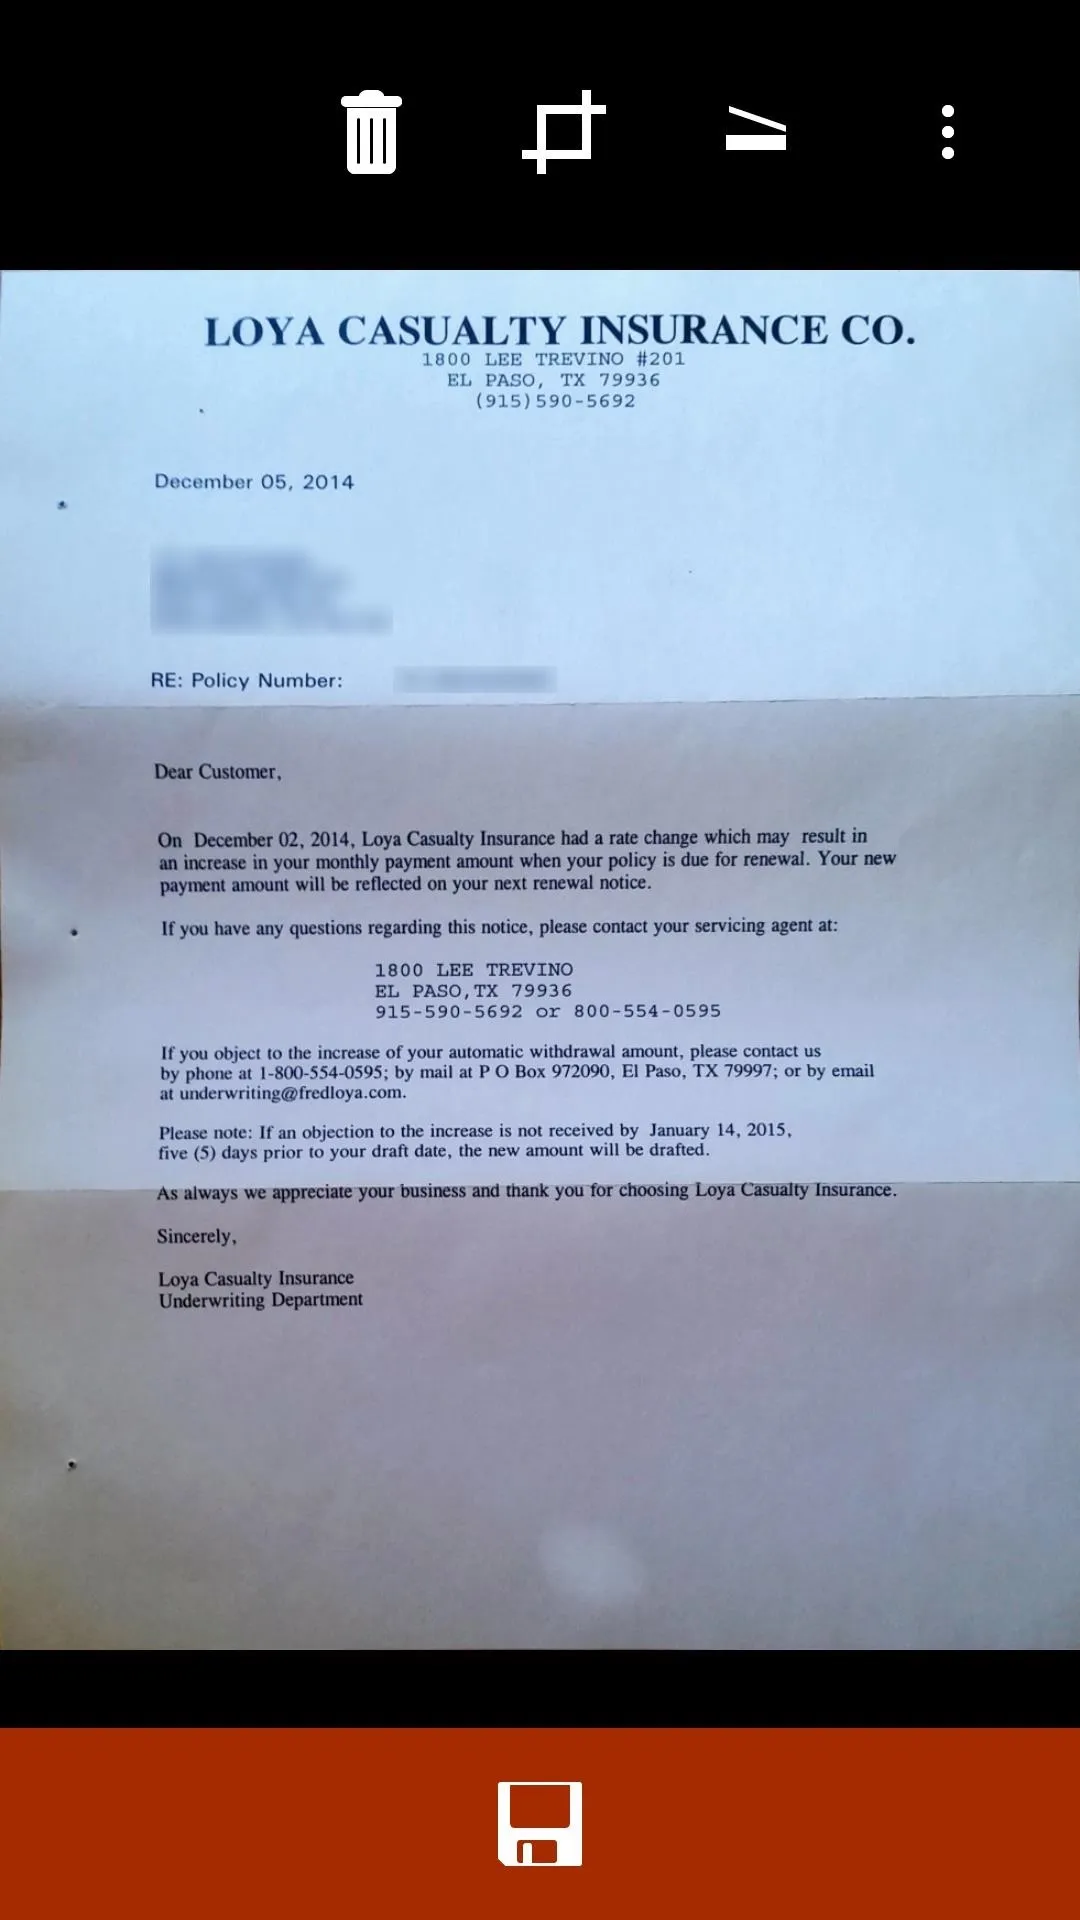
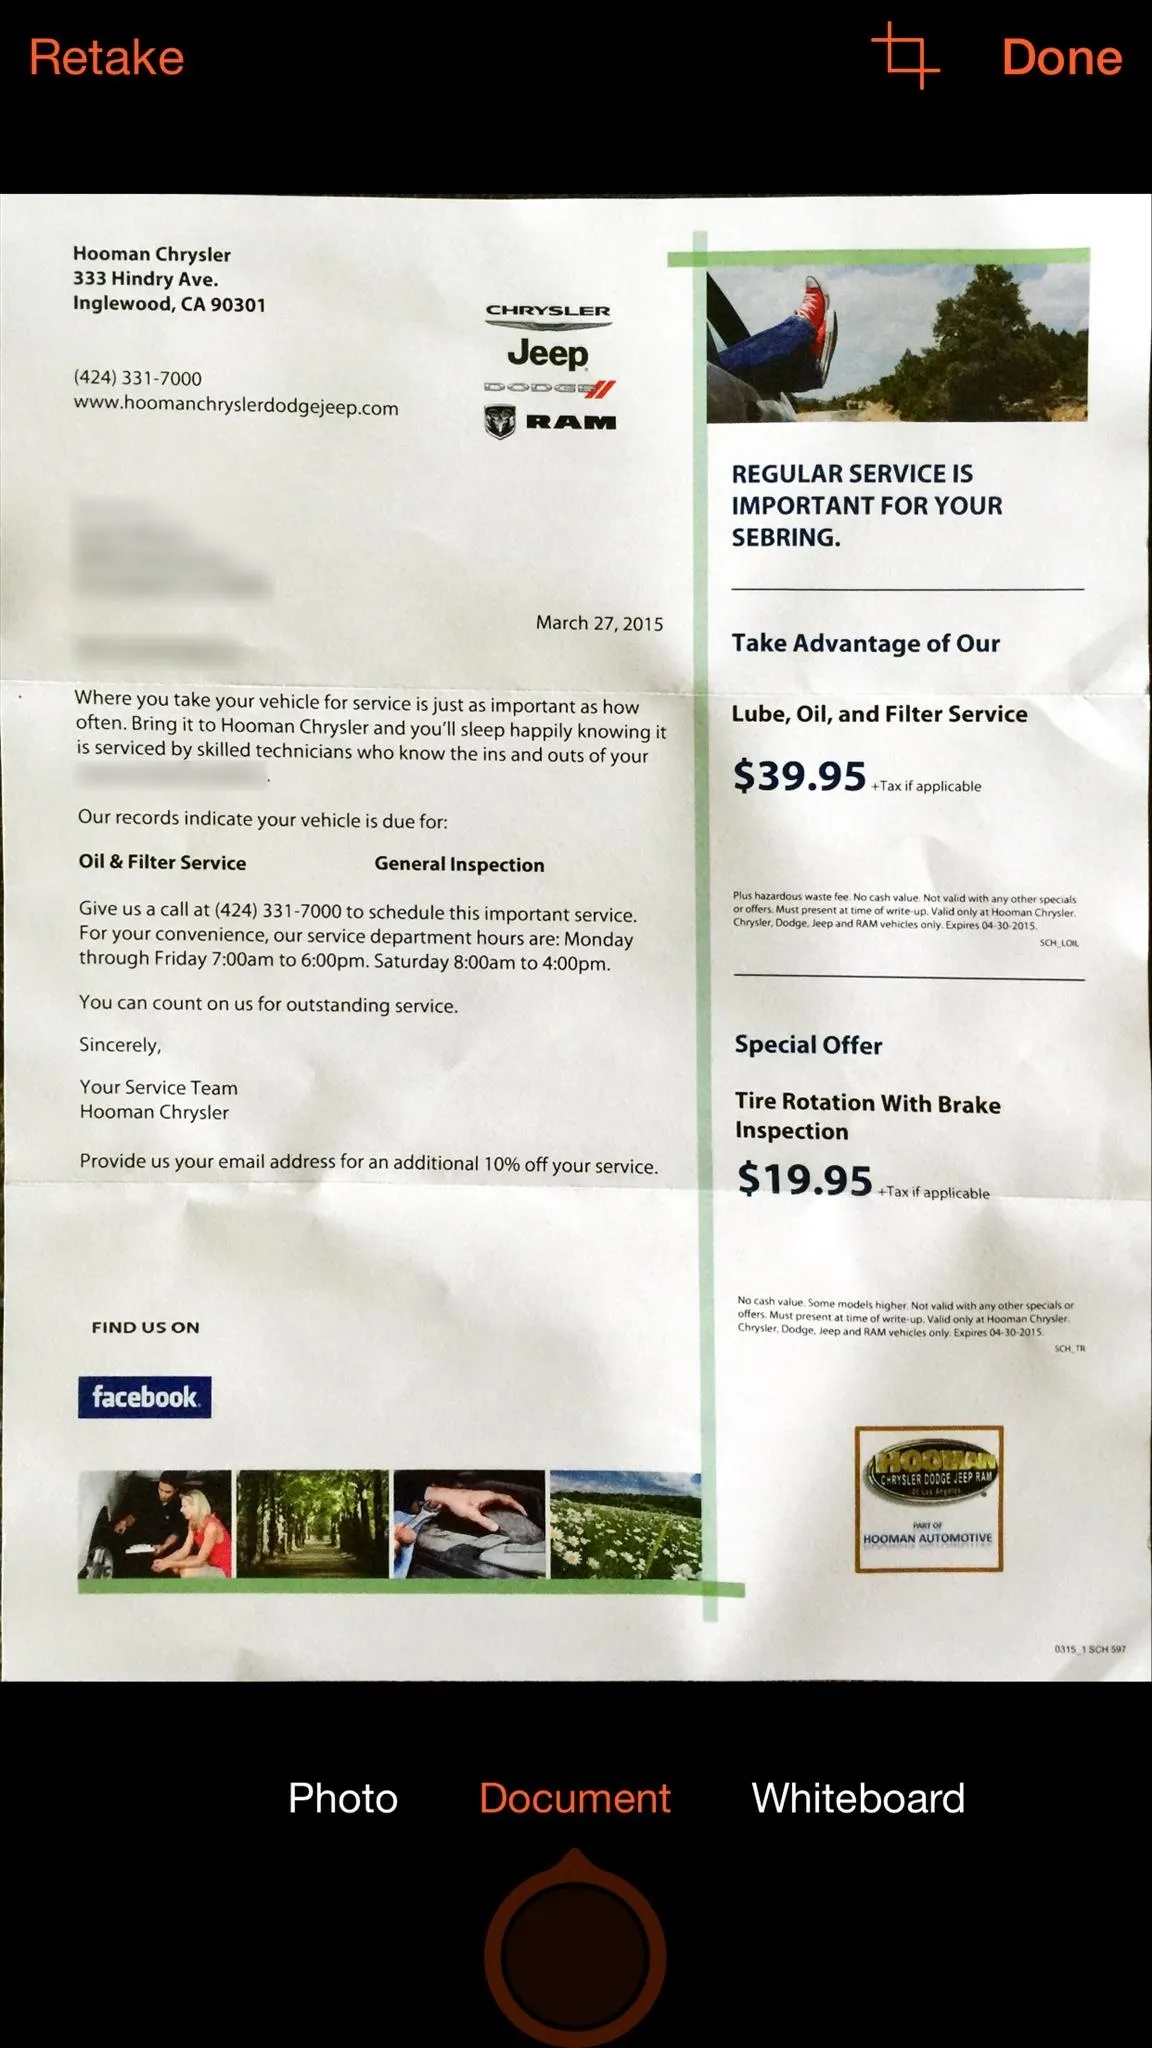
Next, you'll be given a chance to crop and adjust the scan, or choose between a photo, document, or whiteboard scan. When you're done here, tap the "save" icon at the bottom of the screen. On an iPhone, after you've adjusted the scan, hit "Done."
Android
iOS

Android

iOS
Note: if your scan is upside-down, you'll have to retake the photo, as there is no way to rotate the image in this menu.
Upload Your Document to the Cloud
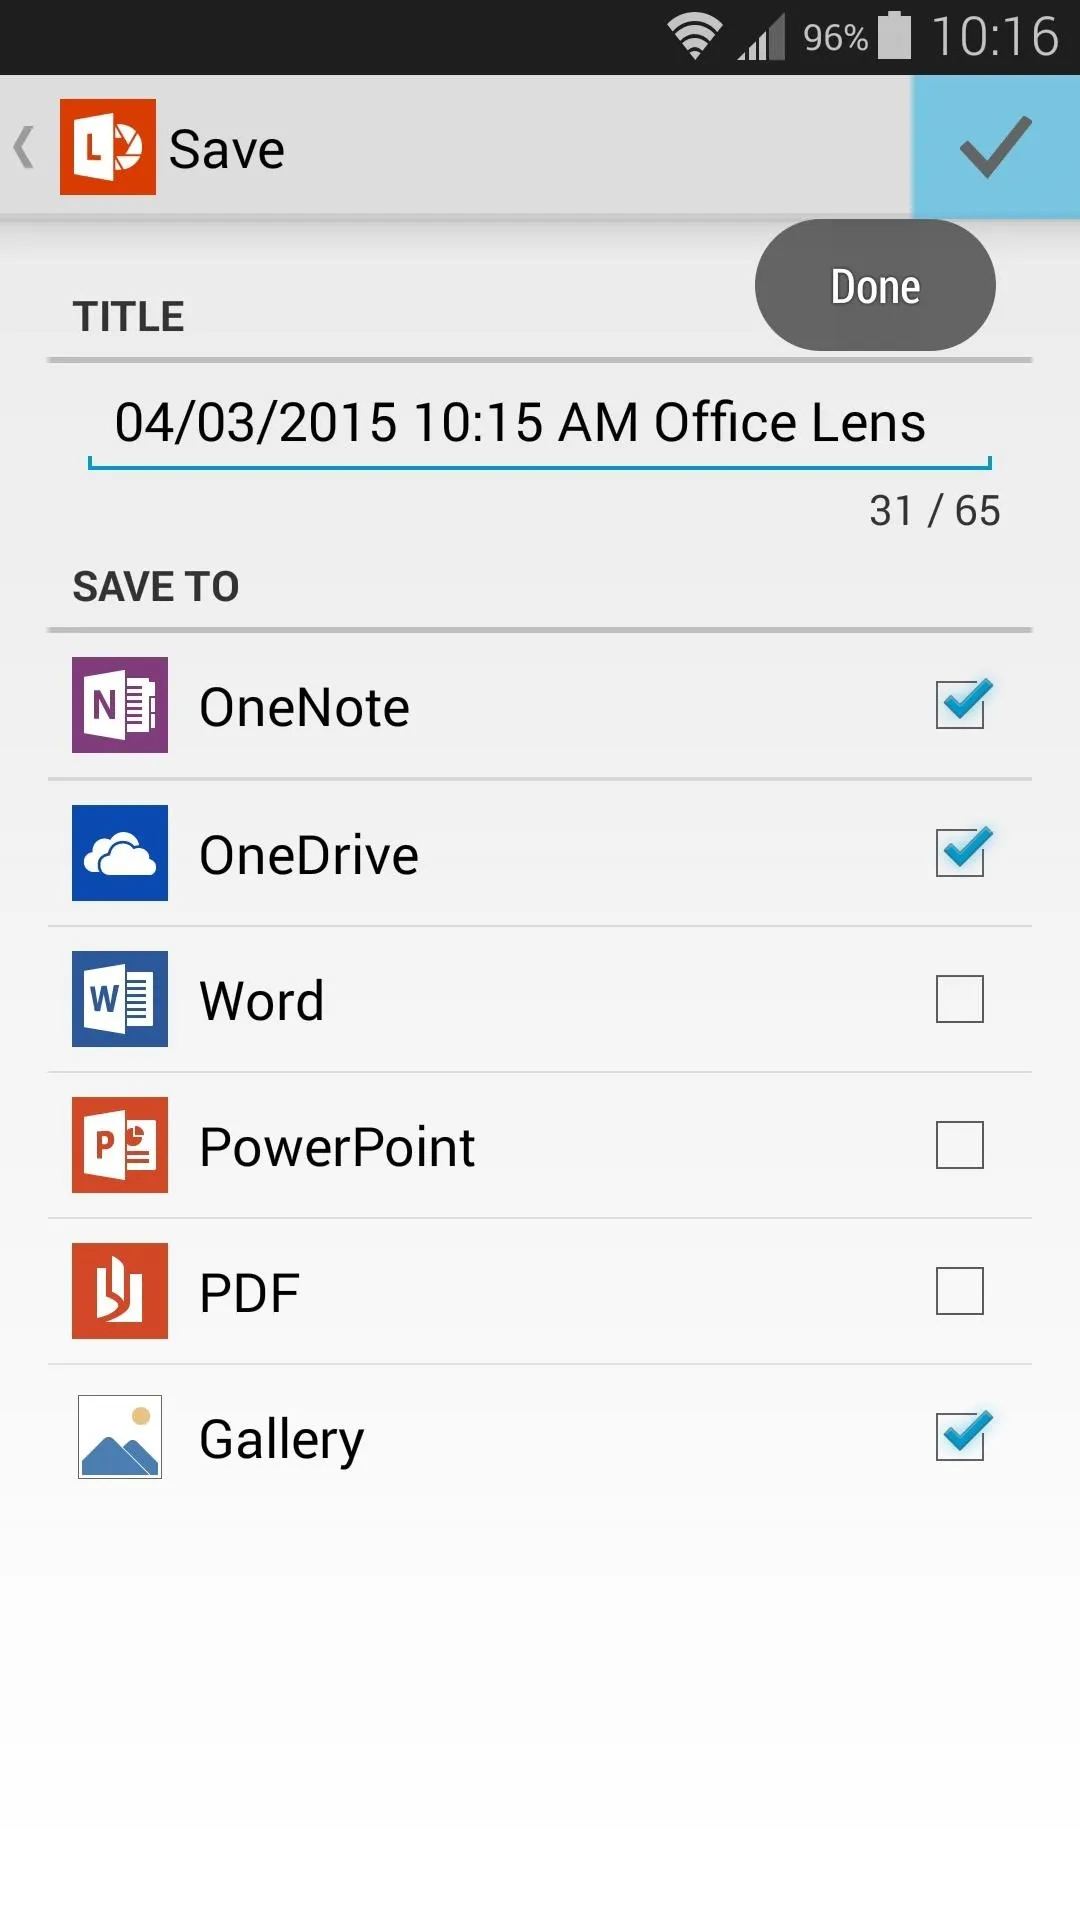
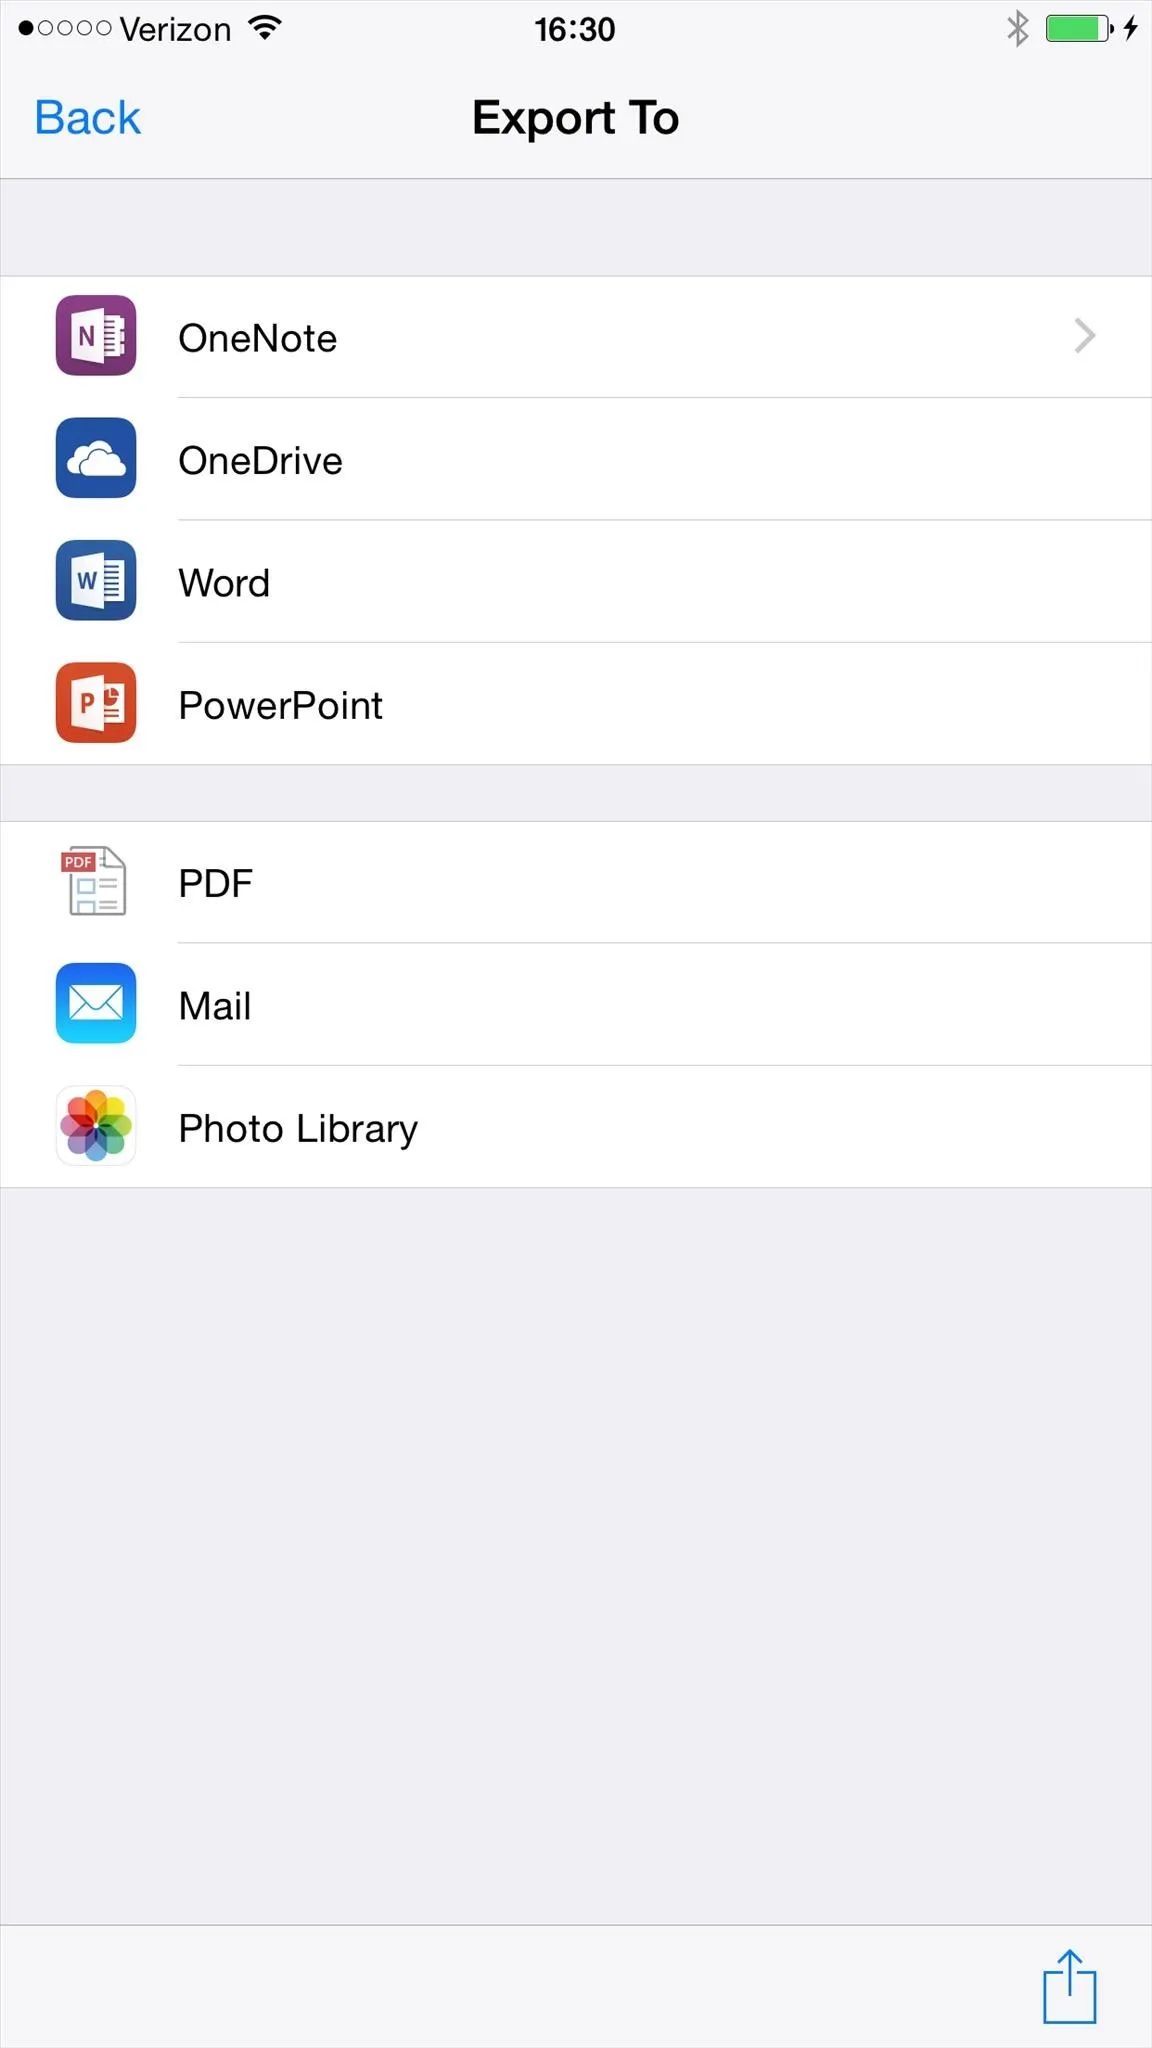
Immediately after saving the scan, you'll be asked which Microsoft service you'd like to send this file to. Options here include OneNote, OneDrive, Word, and PowerPoint. Each of these options has an associated cloud service, so choose as many as you'd like and tap the "check" icon at the top of the screen, then your document will be available on these services across all of your devices.
You could also choose to save it to your Gallery (or Photo Library on an iPhone). In addition to these options, the iPhone version also has a Mail option, and you can use the share icon to print it, message it, or share it to another app.
Android
iOS

Android

iOS
If you pick one of the Microsoft options and haven't done so already, you'll be asked to sign in with your Microsoft account credentials at this point. So take care of that, then your document will be automatically uploaded to your cloud services.
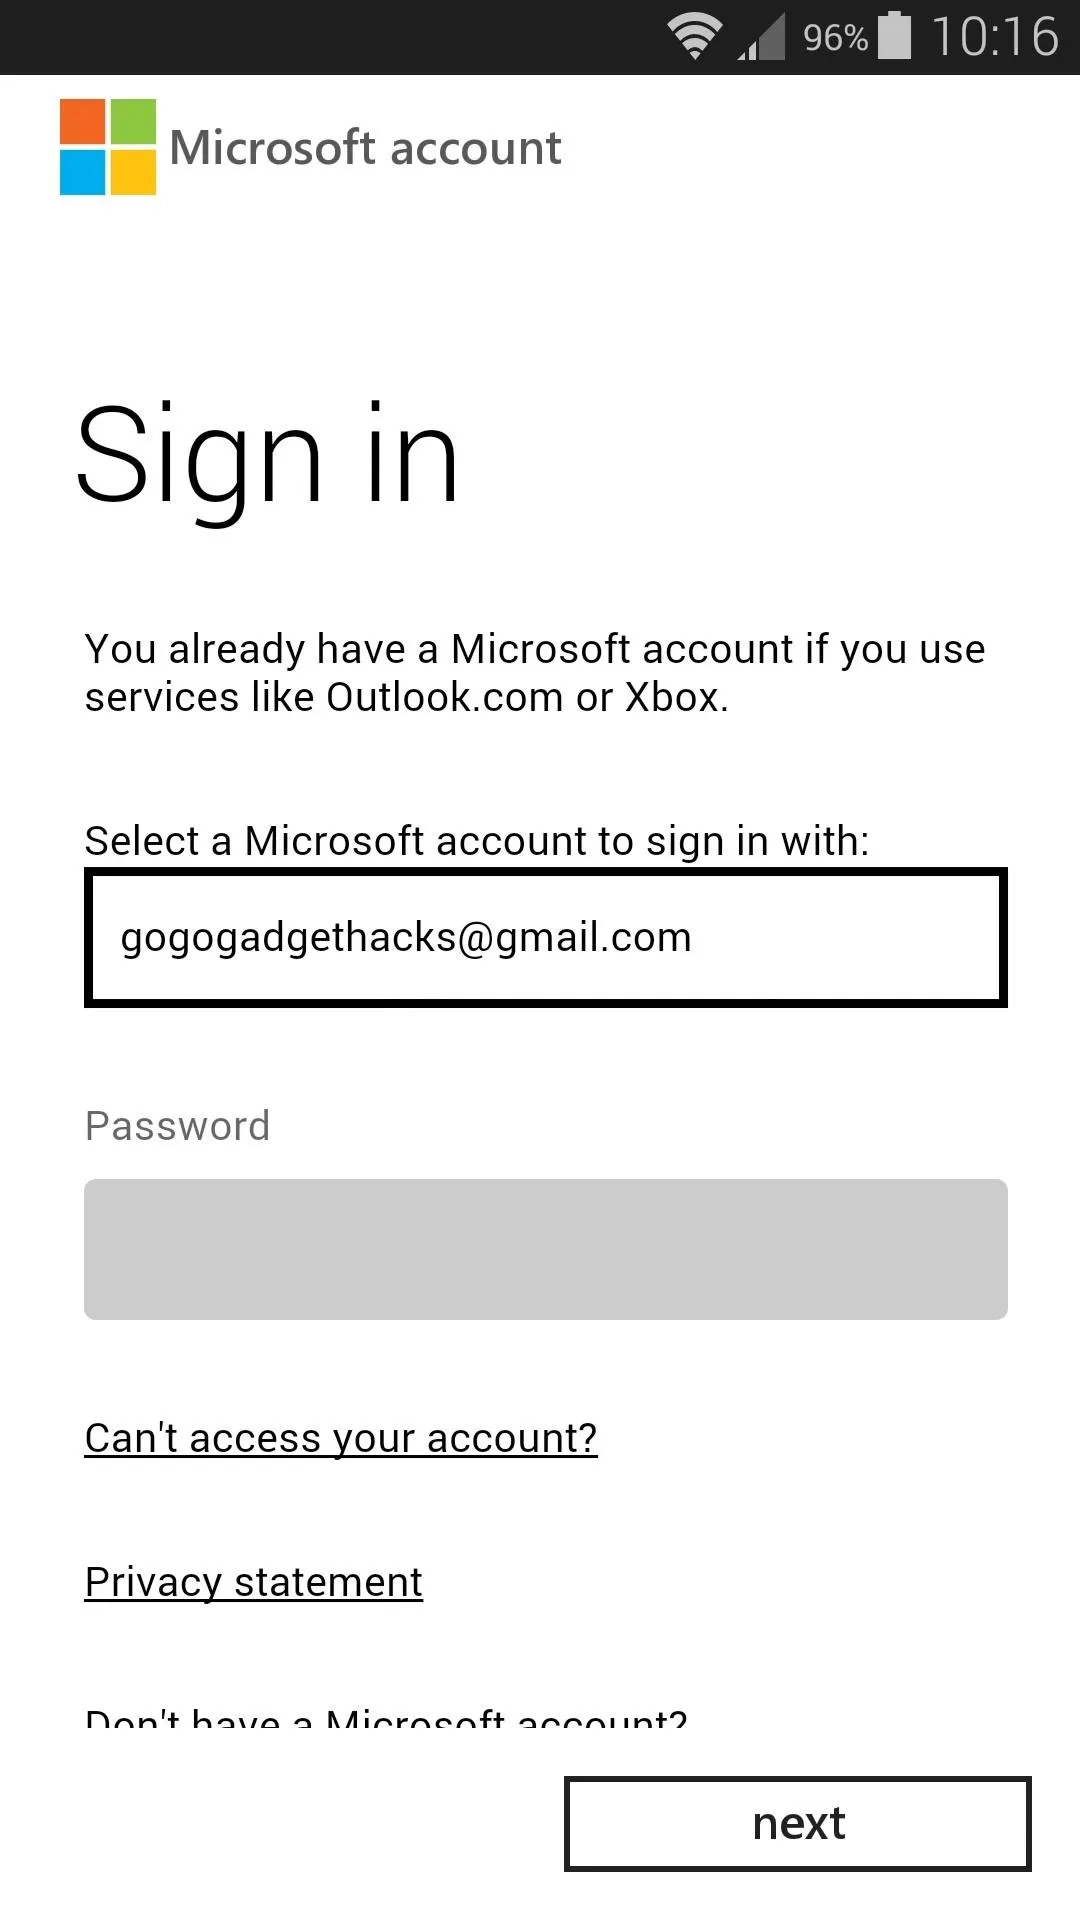
Android and iOS sign in screens are pretty much identical.
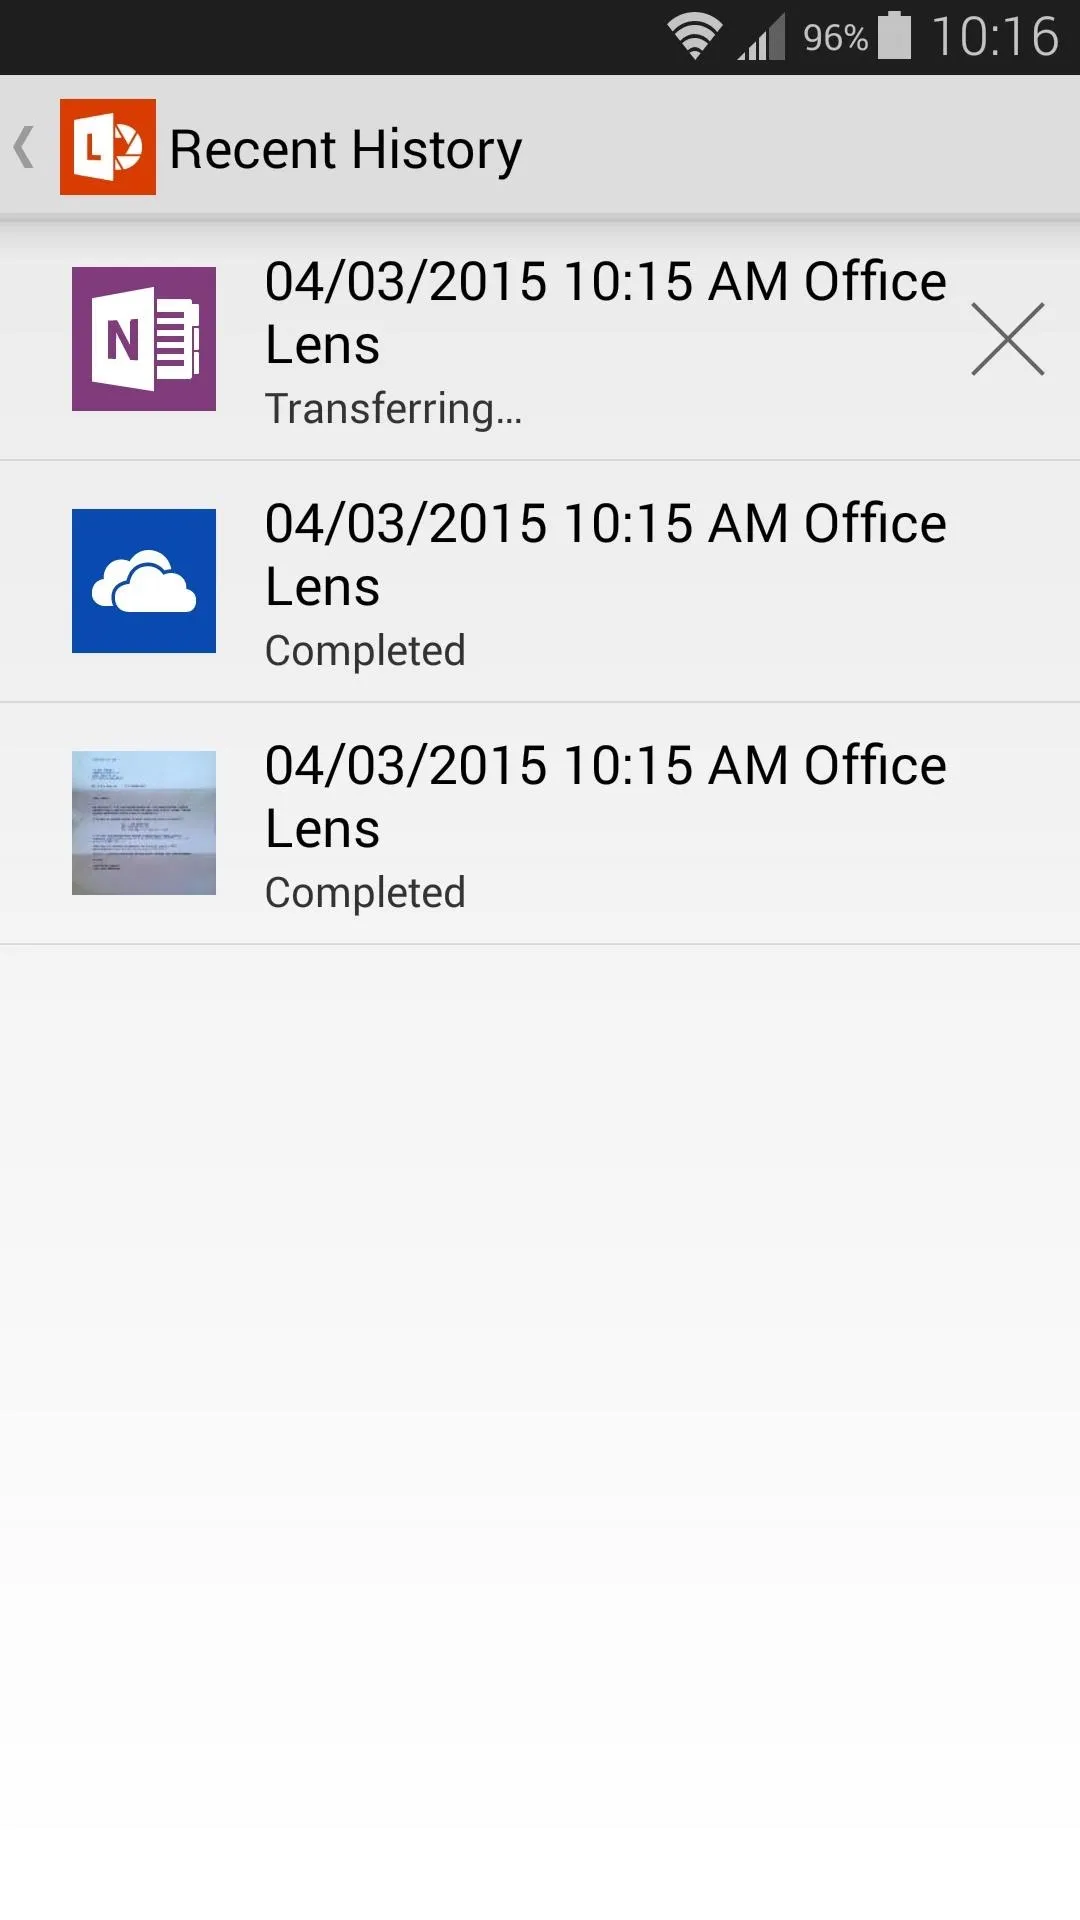
History on Android.

Android and iOS sign in screens are pretty much identical.

History on Android.
If you're not quite immersed in Microsoft's ecosystem, there are some good Office Lens alternatives that will work on Android and iOS alike. Google Drive scans documents and uploads them to the cloud just the same, and is available on iPhones and Android devices. Another great option is CamScanner, which includes a free 200 MB cloud storage account.
Let us know what you think of Office Lens or one of its alternatives in the comment section below, or drop us a line on Facebook, Google+, or Twitter.





Comments
Be the first, drop a comment!