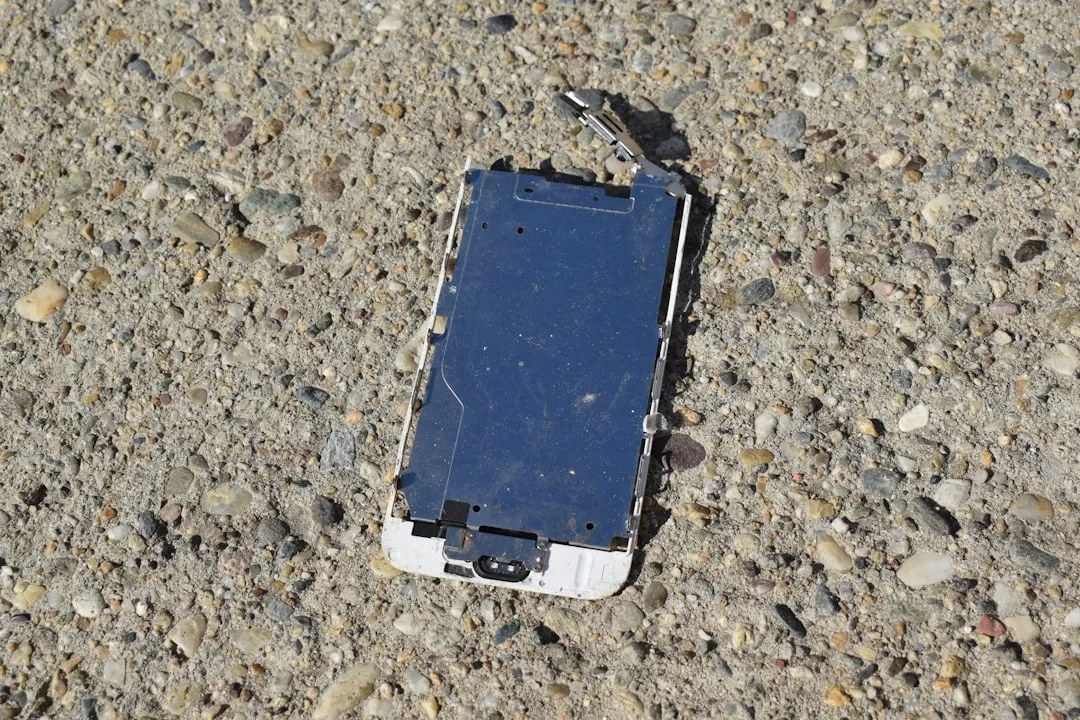
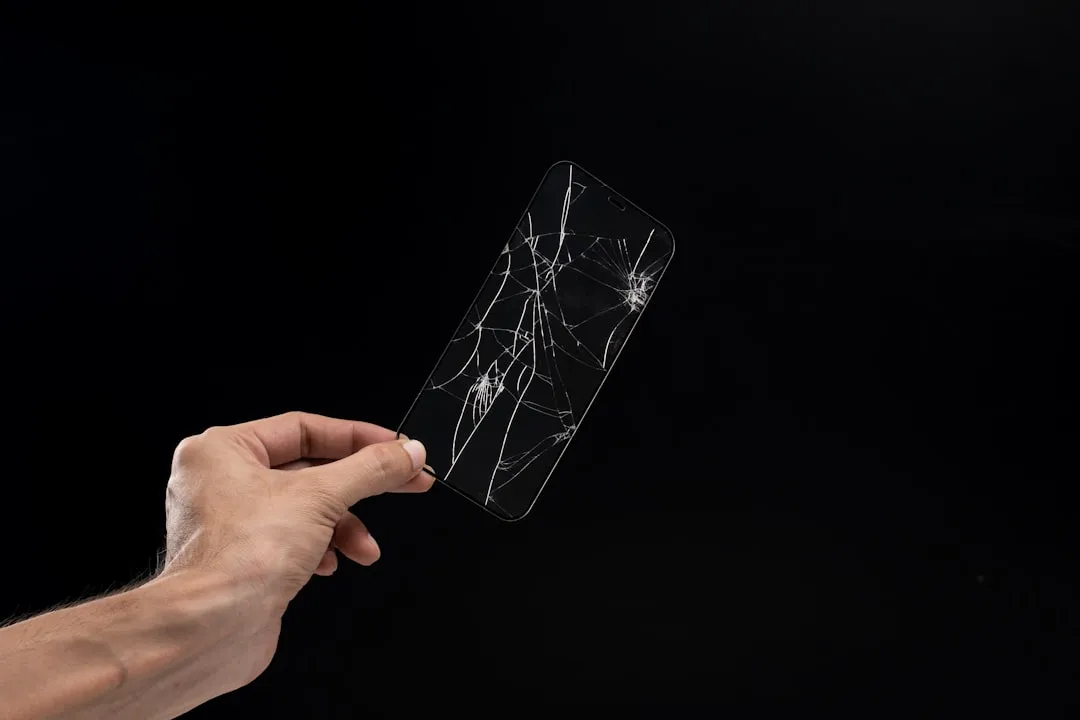
Some of the most popular cellular devices on the market today are the iPhone 4 and 4S models. Seeing as they are made of glass, it's not uncommon for the back panel to break.
Also, with the popularity being so high, you might just be looking for a way to set your device apart. If you have had the unfortunate luck of cracking your iPhone's rear glass panel, this could be your opportunity to kill two birds with one stone!
The photos in this guide were taken while I was switching out my OEM panel for a clear panel.
Supplies
- #00 Phillips or 5-point pentalobe screwdriver
- Replacement panel
Links to both of the parts and tools are available at the bottom of this article.
Before we begin...
Before opening your device, ensure that you are working on a static-free surface and that your device's power is off.
Warnings
- Open your device at your own risk.
- Failure to use the proper tool can result in permanent damage to your hardware.
- If your rear panel is broken or cracked, be careful while handling it.
Let's get started...
Determining screw type
With the design of the iPhone 4 and 4S having 2 glass panels and a stainless steel band, it may be a mystery how to get inside the device.
Looking at the dock connector at the bottom of the phone, you will see a screw on each side of the connection port. The iPhone 4/4S shipped with 2 different screw types: #00 Phillips or a 5-point pentalobe. These screw heads are very small; identify them carefully. In the photo below, the 5-point pentalobe is on the top and the #00 Phillips on the bottom.

Once the screw type has been determined, obtain a proper driver and get ready for the next step.
Warning
- Failure to properly identify the screw type can result in permanent damage to the screws.
Remove the screws
With your correct driver in hand, remove the screw on either side of the dock connector.

Tips
- Take note of how tight the screws are when you remove them. Remember this for when you replace them later on. Over-tightening can damage your device.
- The screws are very small. After removal place them in a bottle cap or shallow dish to keep track of them.
Slide the panel upward
With screws removed, hold your device with both hands placing your thumbs near the edges of the rear panel just below the Apple logo.

With only slight pressure, push the rear panel toward the top of the device. It should move about 1/8" (3mm).

Remove panel
Gently grab the newly exposed top portion of the rear panel and carefully remove from the device.

Replace with new panel
Now grab your replacement panel and simply follow the steps in reverse. Be mindful not to over-tighten the screws!
Congratulations!
You have just completed a very simple repair on you iPhone. Enjoy your replacement, whether it be a repair, replacement, or both.
Here is how mine turned out:

Links
Here are two great places for both replacement parts and tools:


Comments
Be the first, drop a comment!