


Instagram wants to bridge the gap between advertising and shopping for a more central buying experience. The app has long been a platform for advertisements, with both companies and creators using it as an outlet to link to products, so it's only natural for Instagram to allow users to buy content featured in posts without ever leaving the app.
Instagram introduced the feature on March 19, 2019, showing off how simple it can be to purchase a product you like in a post. When it works, it meets that promise. However, many stores still aren't participating, and many that do won't let you purchase items with Checkout (more on that below).
- Don't Miss: How to Add a Link to Your Instagram Story
Find a Post with Products
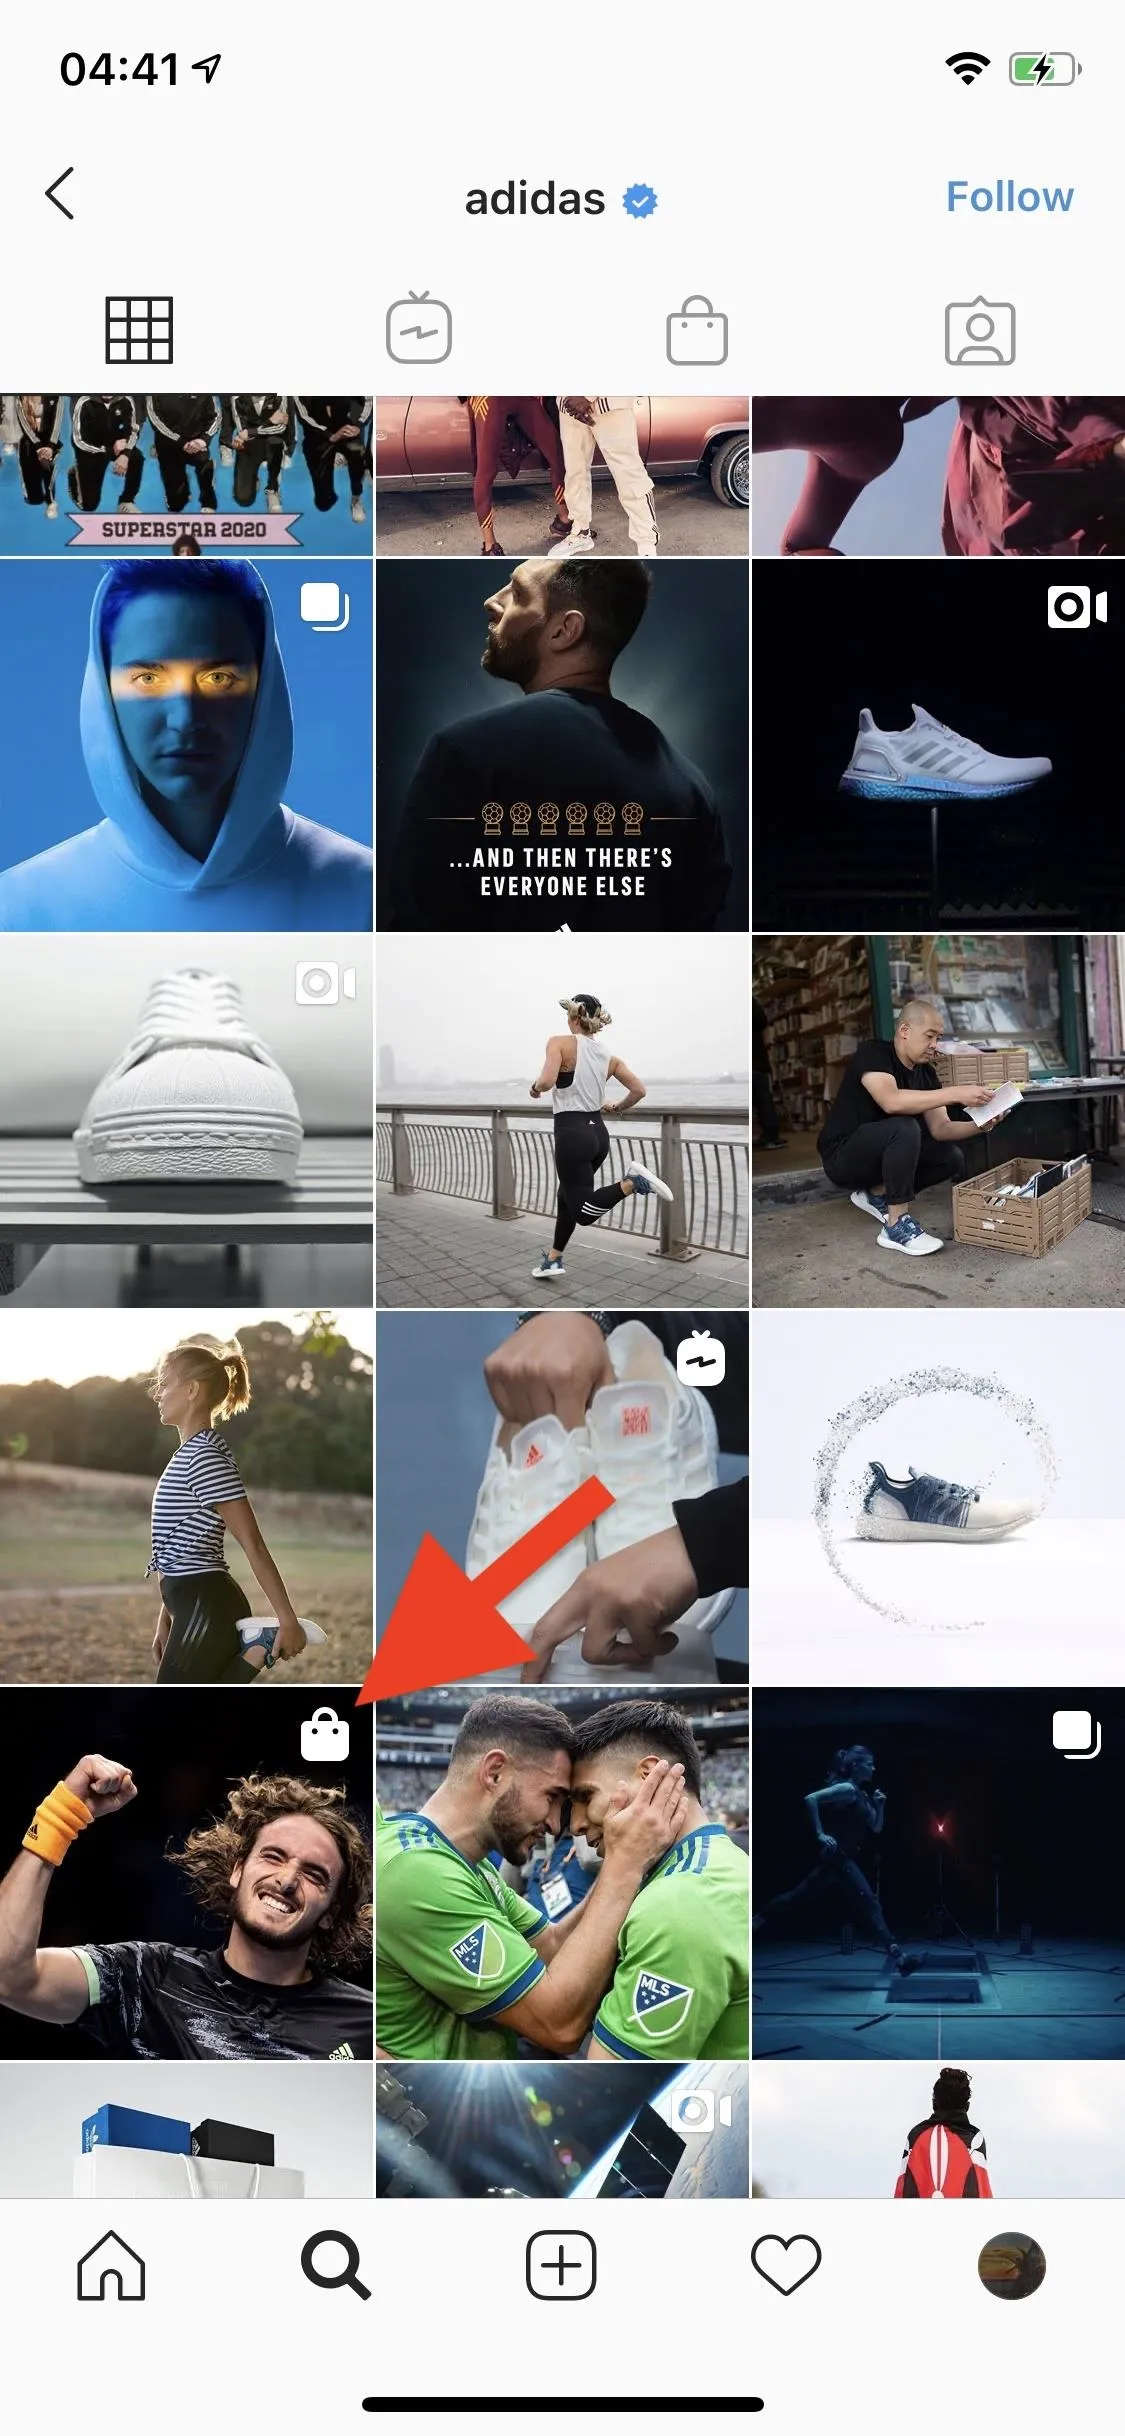
To start, locate posts that have a small shopping bag icon in the top right of its thumbnail. Only images will have it, whereas videos will always show the video icon there instead. The shopping bag icon is also found in the bottom left of an image or video in the post itself. The shopping bag icon indicates there are product links in the post. However, that doesn't mean there is an option to check out on Instagram right away.
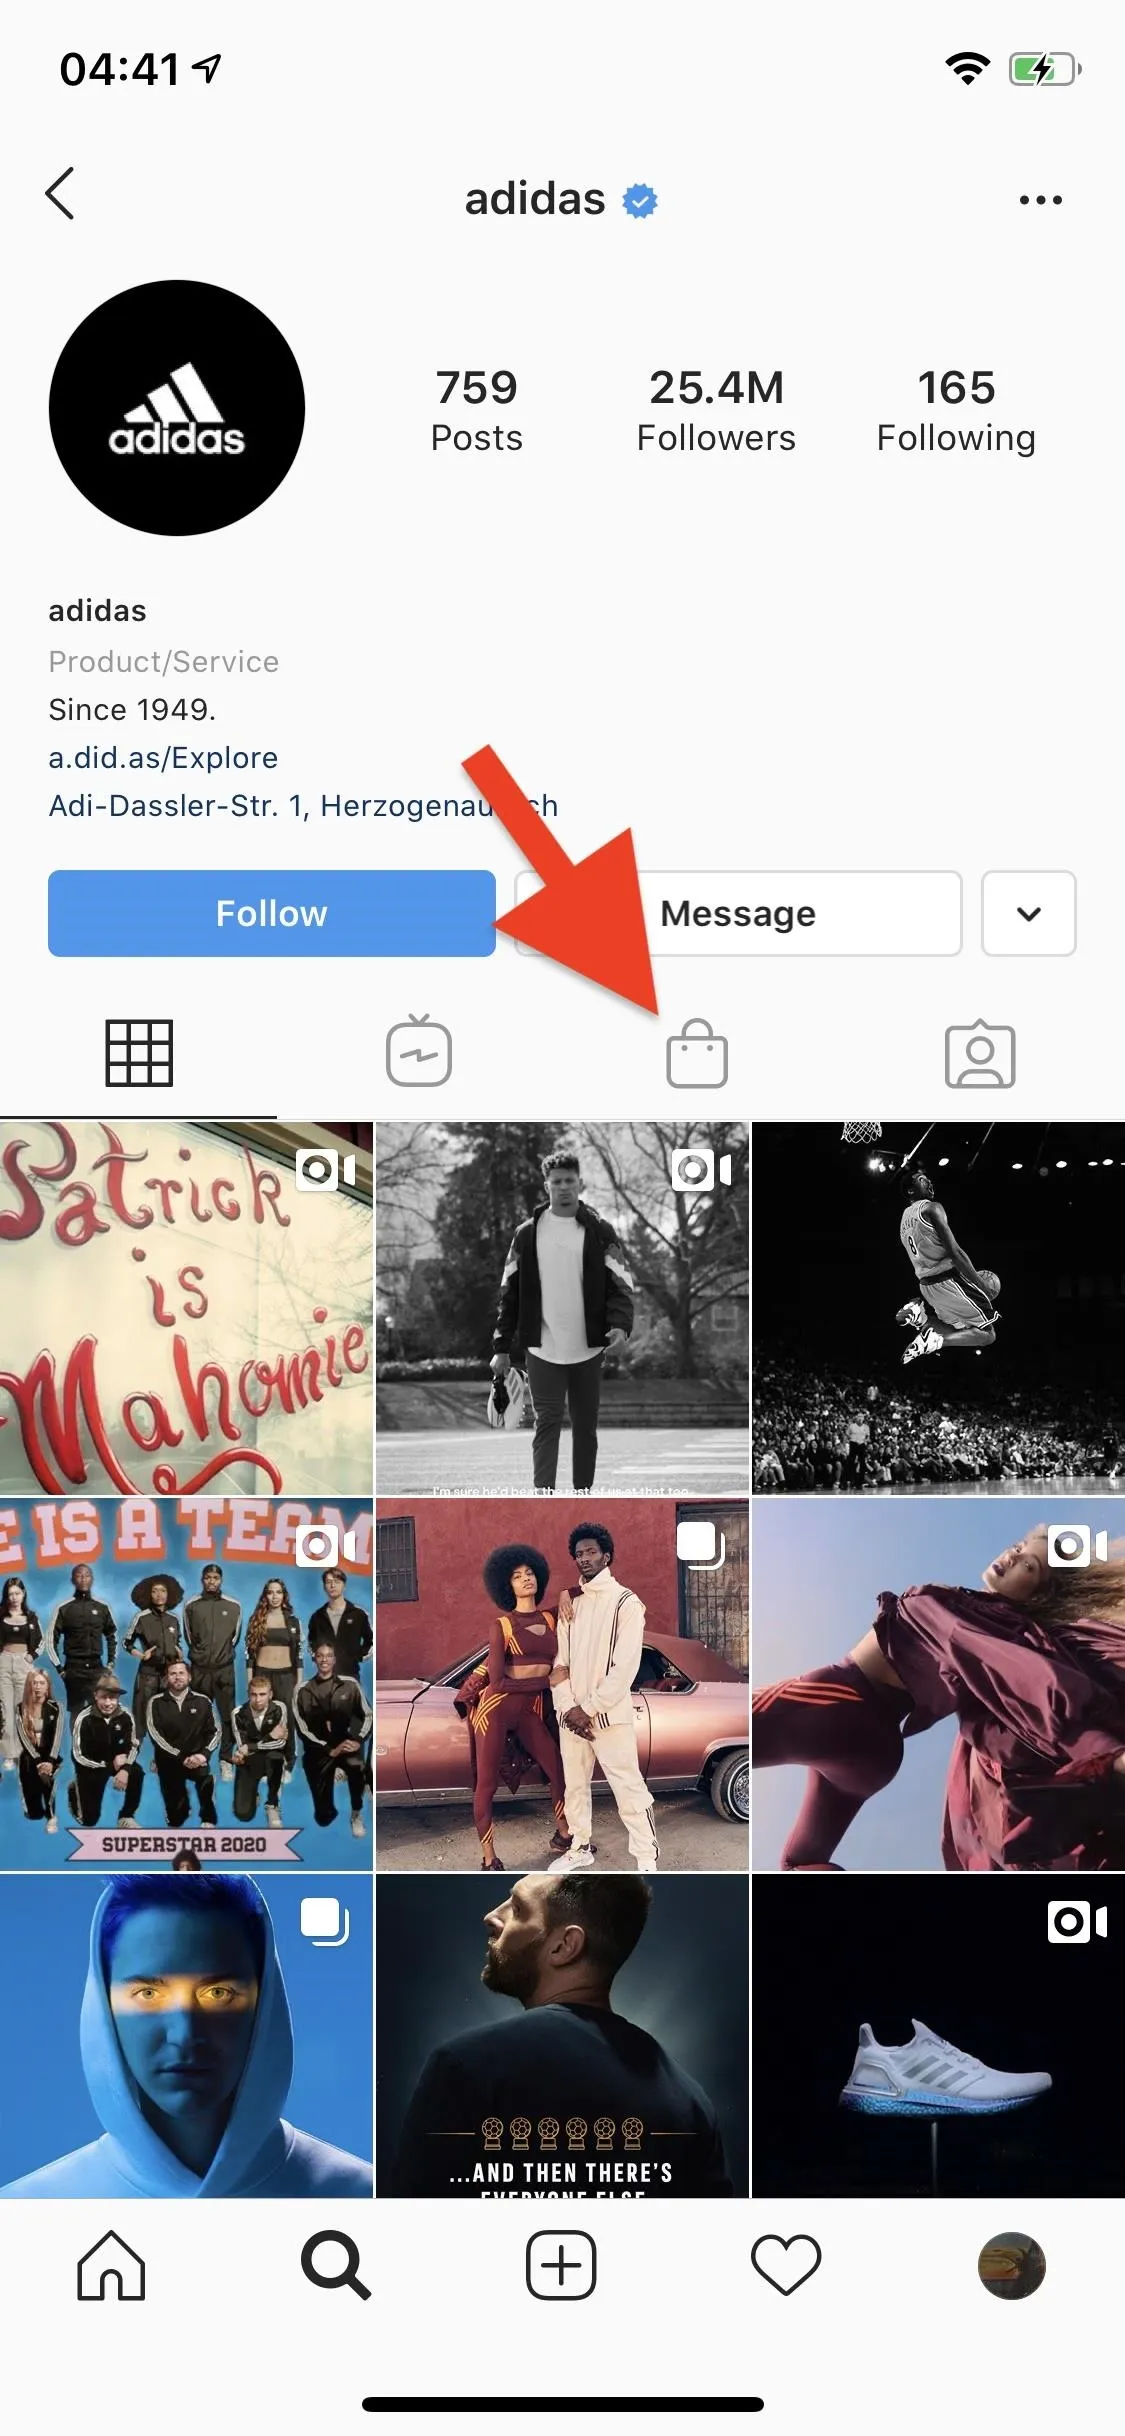
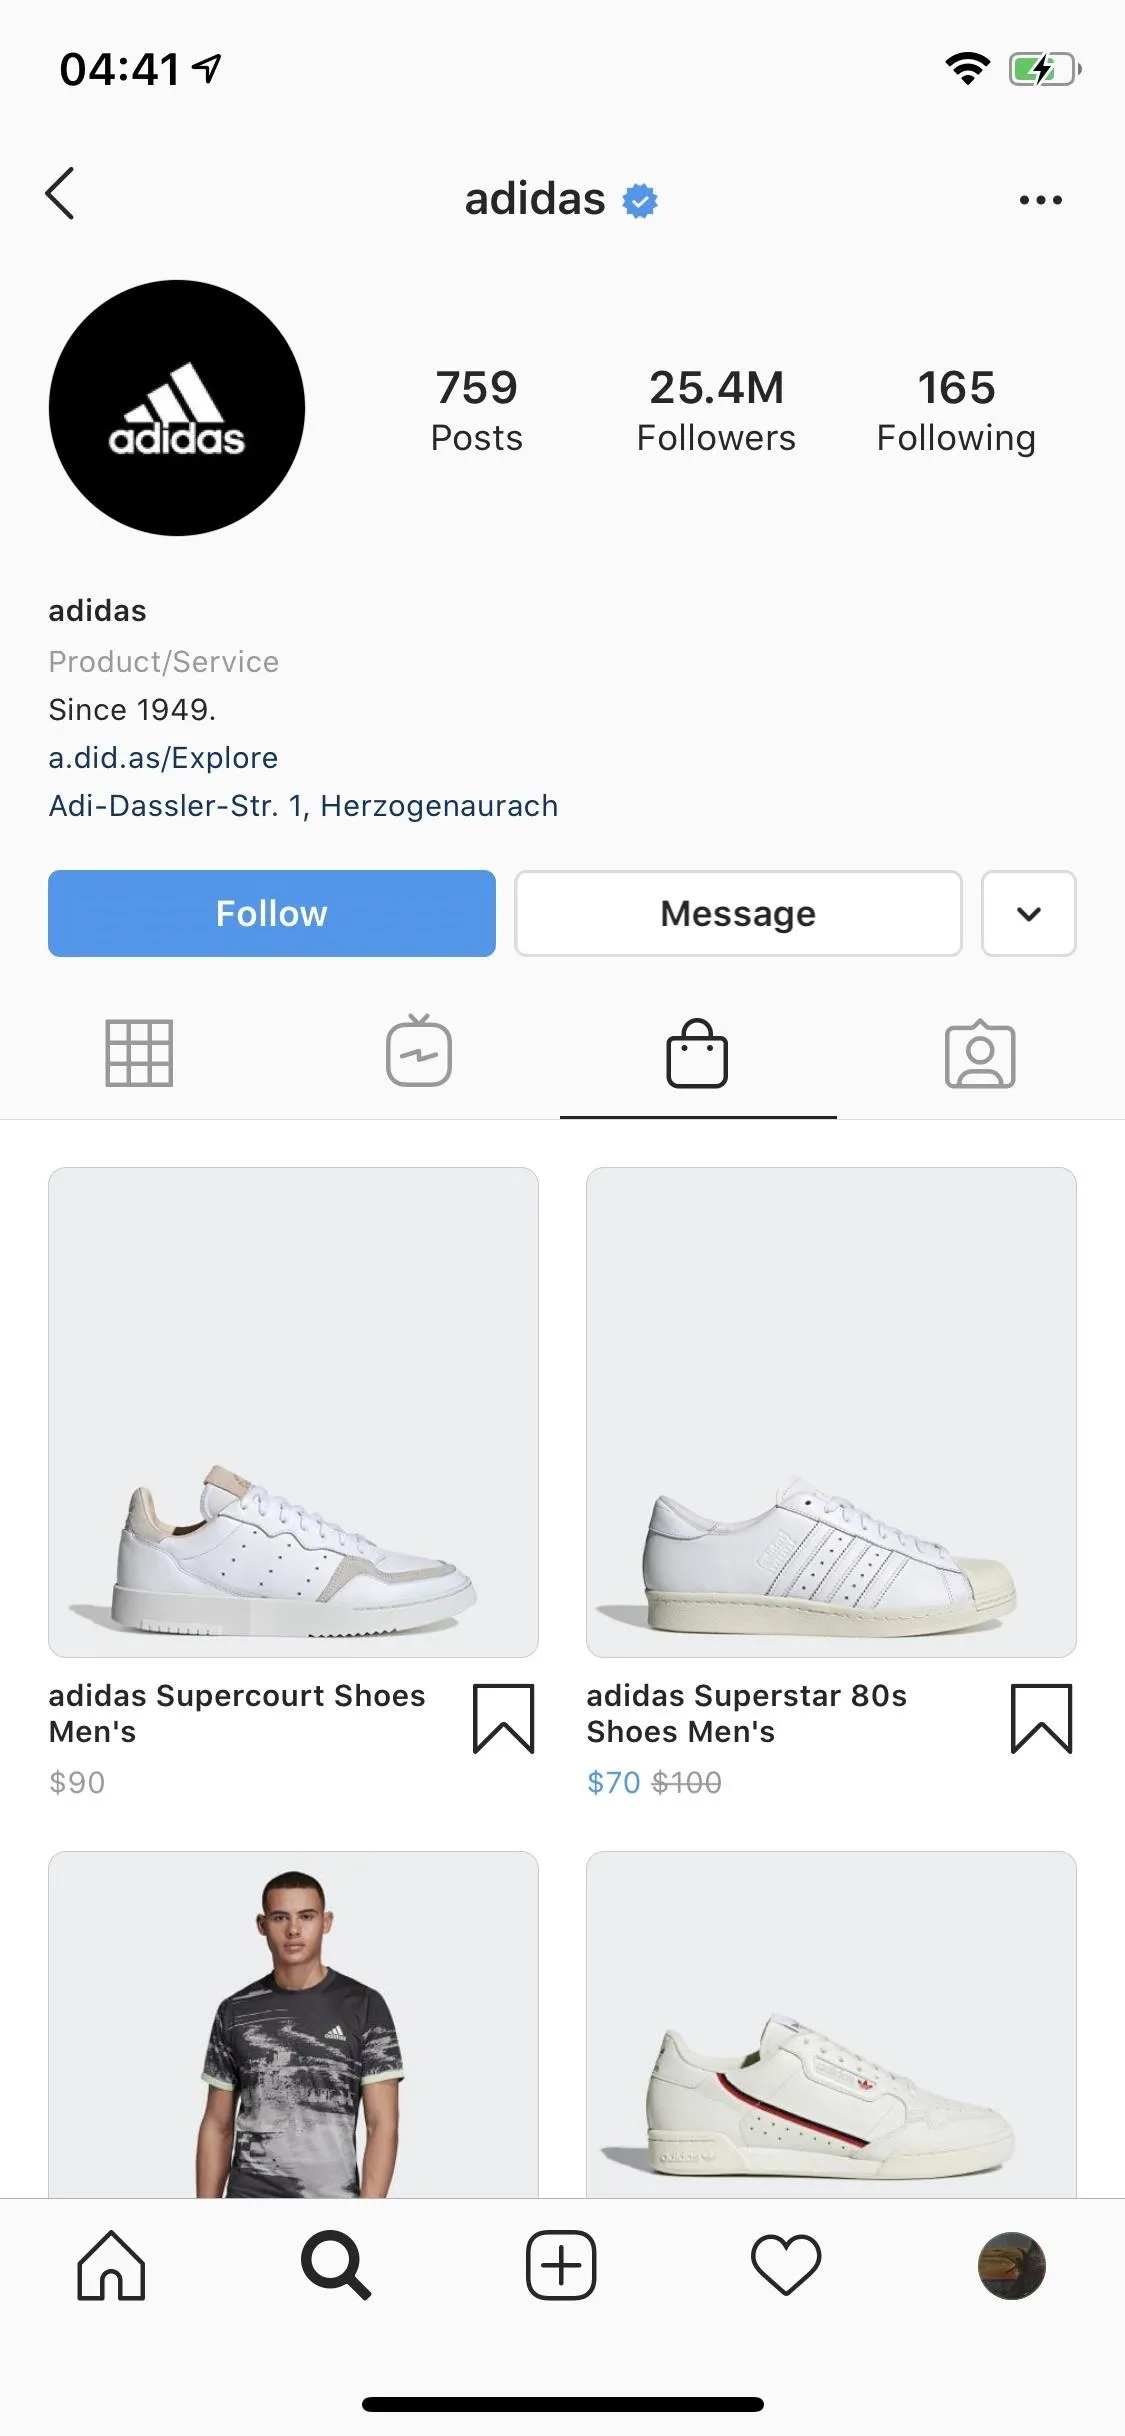
You'll also see the icon appear on the account's Instagram profile if they have items to sell in their store. If you tap it, you'll see all the products the user tagged in posts. Again, there are no guarantees that you can buy products using Checkout via Instagram, but it's a convenient way to find products fast.
Here's Instagram's list of currently eligible companies and brands. Unfortunately, it hasn't been updated since Checkout's launch in March 2019, but it's a good start:
Adidas @adidaswomen & @adidasoriginals
Anastasia Beverly Hills @anastasiabeverlyhills
Balmain @balmain
Burberry @burberry
ColourPop @colourpopcosmetics
Dior @dior
H&M @hm
Huda Beauty @hudabeautyshop
KKW @kkwbeauty
Kylie Cosmetics @kyliecosmetics
MAC Cosmetics @maccosmetics
Michael Kors @michaelkors
NARS @narsissist
Nike @niketraining & @nikewomen
NYX Cosmetics @nyxcosmetics
Oscar de la Renta @oscardelarenta
Ouai Hair @theouai
Outdoor Voices @outdoorvoices
Prada @prada
Revolve @revolve
Uniqlo @uniqlo
Warby Parker @warbyparker
Zara @zara
View All Products in the Post
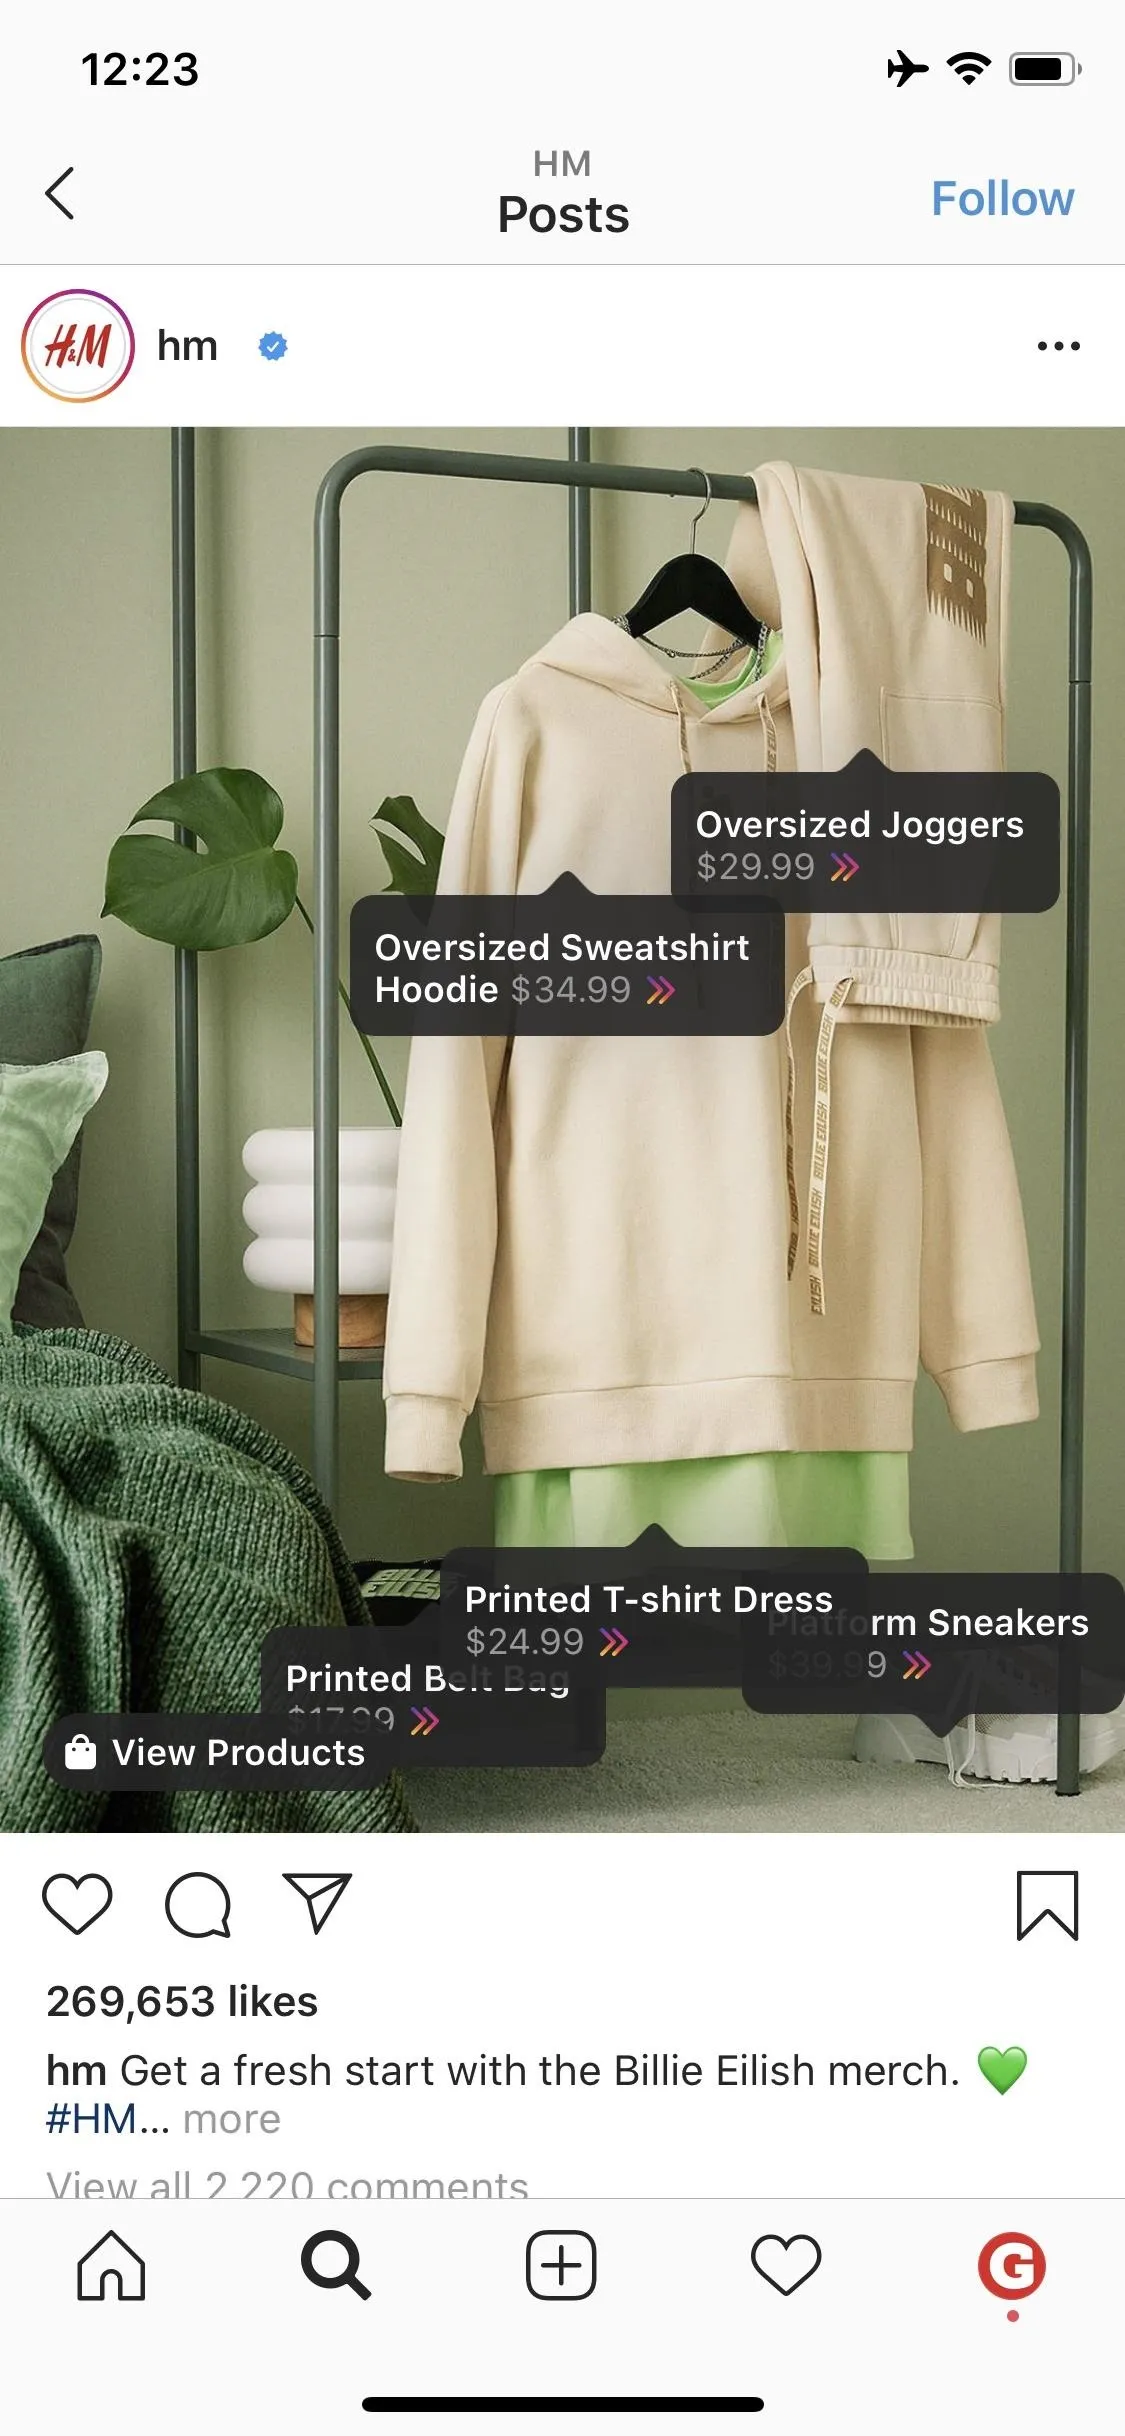
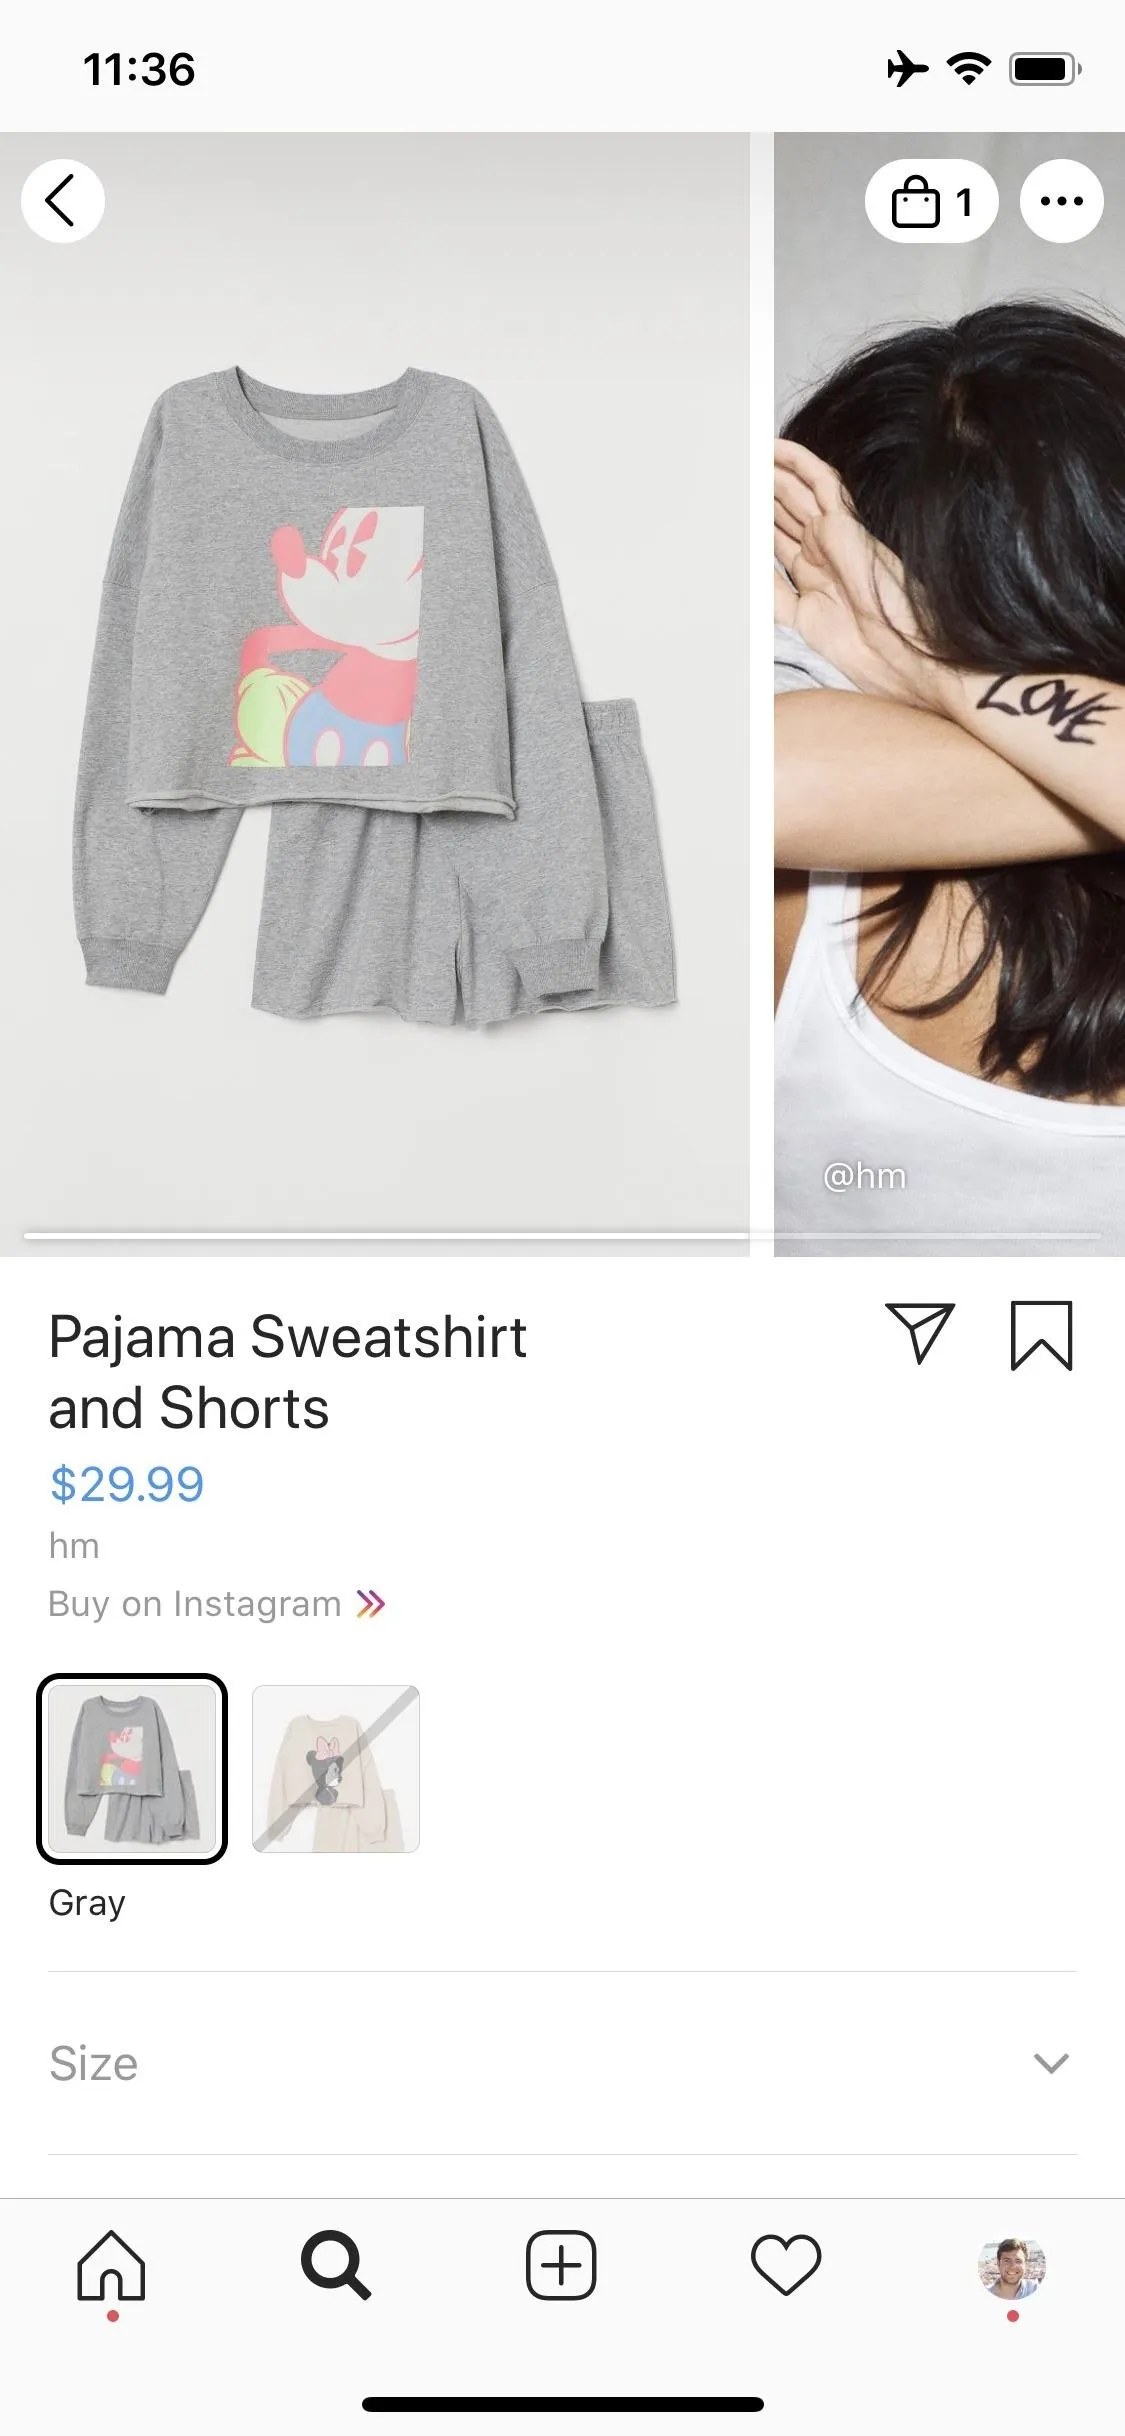
On the creator's profile page, in the store tab, tap on any product to view more information about it. From within an image post that has the shopping bag icon in the lower left, tap anywhere on the image to bring up bubbles highlighting the one or more products tagged in the picture, complete with price tags.
If the item is compatible with Checkout, you'll see Instagram's signature double arrow appear next to the price. If you don't see that, it means you'll need to buy the item on the manufacturer's website.
Checkout with Instagram arrows (left) vs. arrows for buying on websites (right).
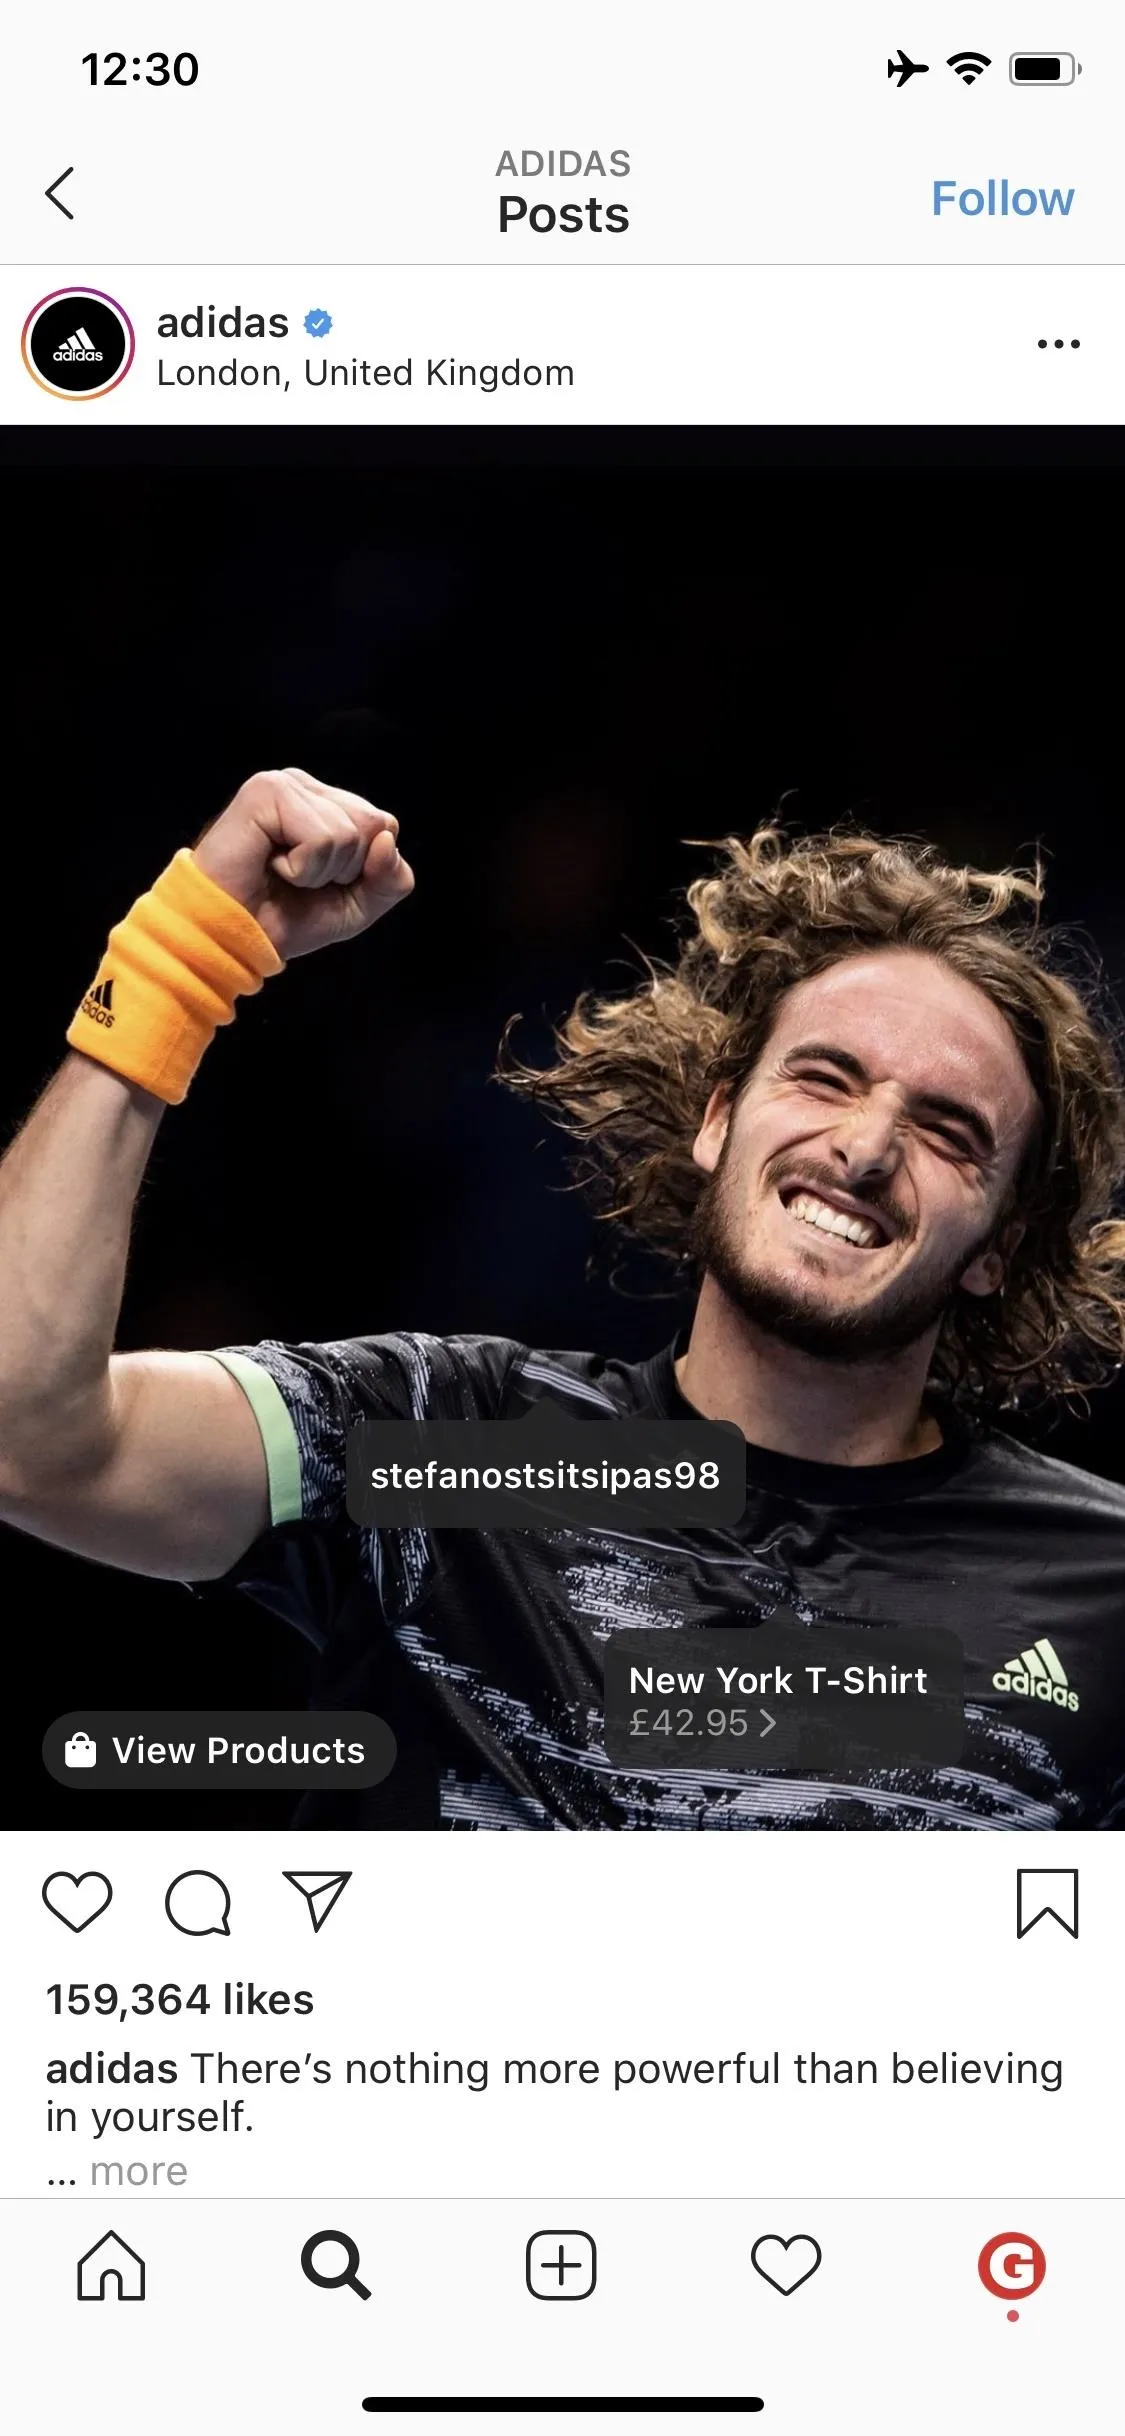
Checkout with Instagram arrows (left) vs. arrows for buying on websites (right).
For video posts, tapping anywhere on the video will mute and unmute the audio. So you'll want to touch the shopping bag icon or "View Products" next to it, the latter of which appears only for a brief moment. You can also do so in photo posts too in place of the above method.
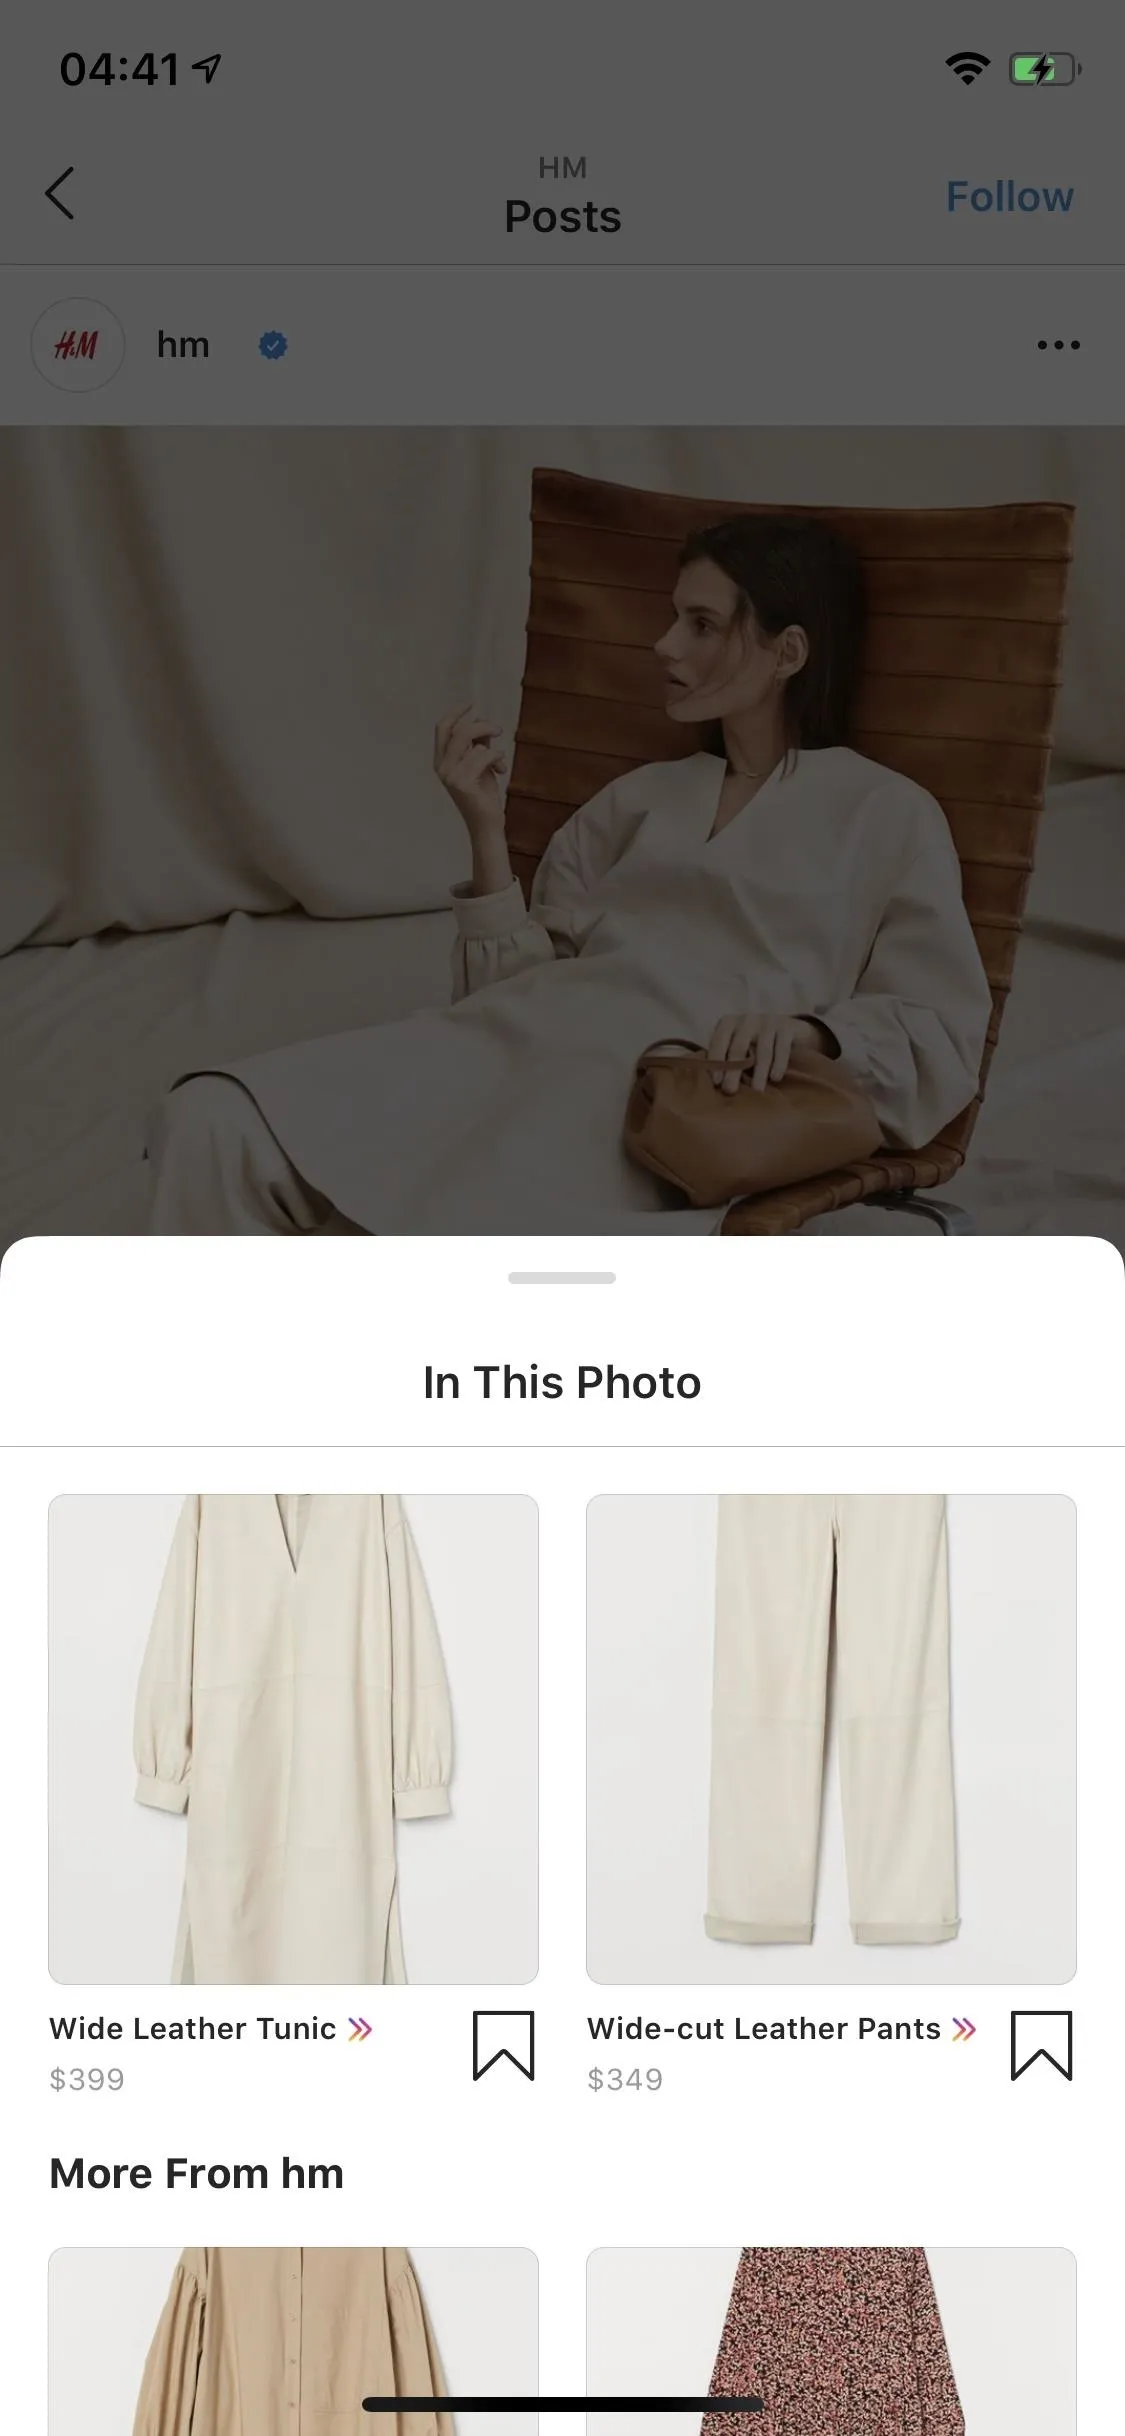
In the sheet, you'll see all of the products with prices. And again, if you see the Instagram-colors double arrow appear next to a price tag, it works with Checkout. If not, the product is available for purchase on the business's website.
Bookmark Products for Later (Optional)
From either the bubble tags on the image post or from the products list in the sheet for photos and videos, tap a product to view its in-app product page. You can tap the bookmark icon next to the product name in the details page or on the In This Photo or In This Video sheet.

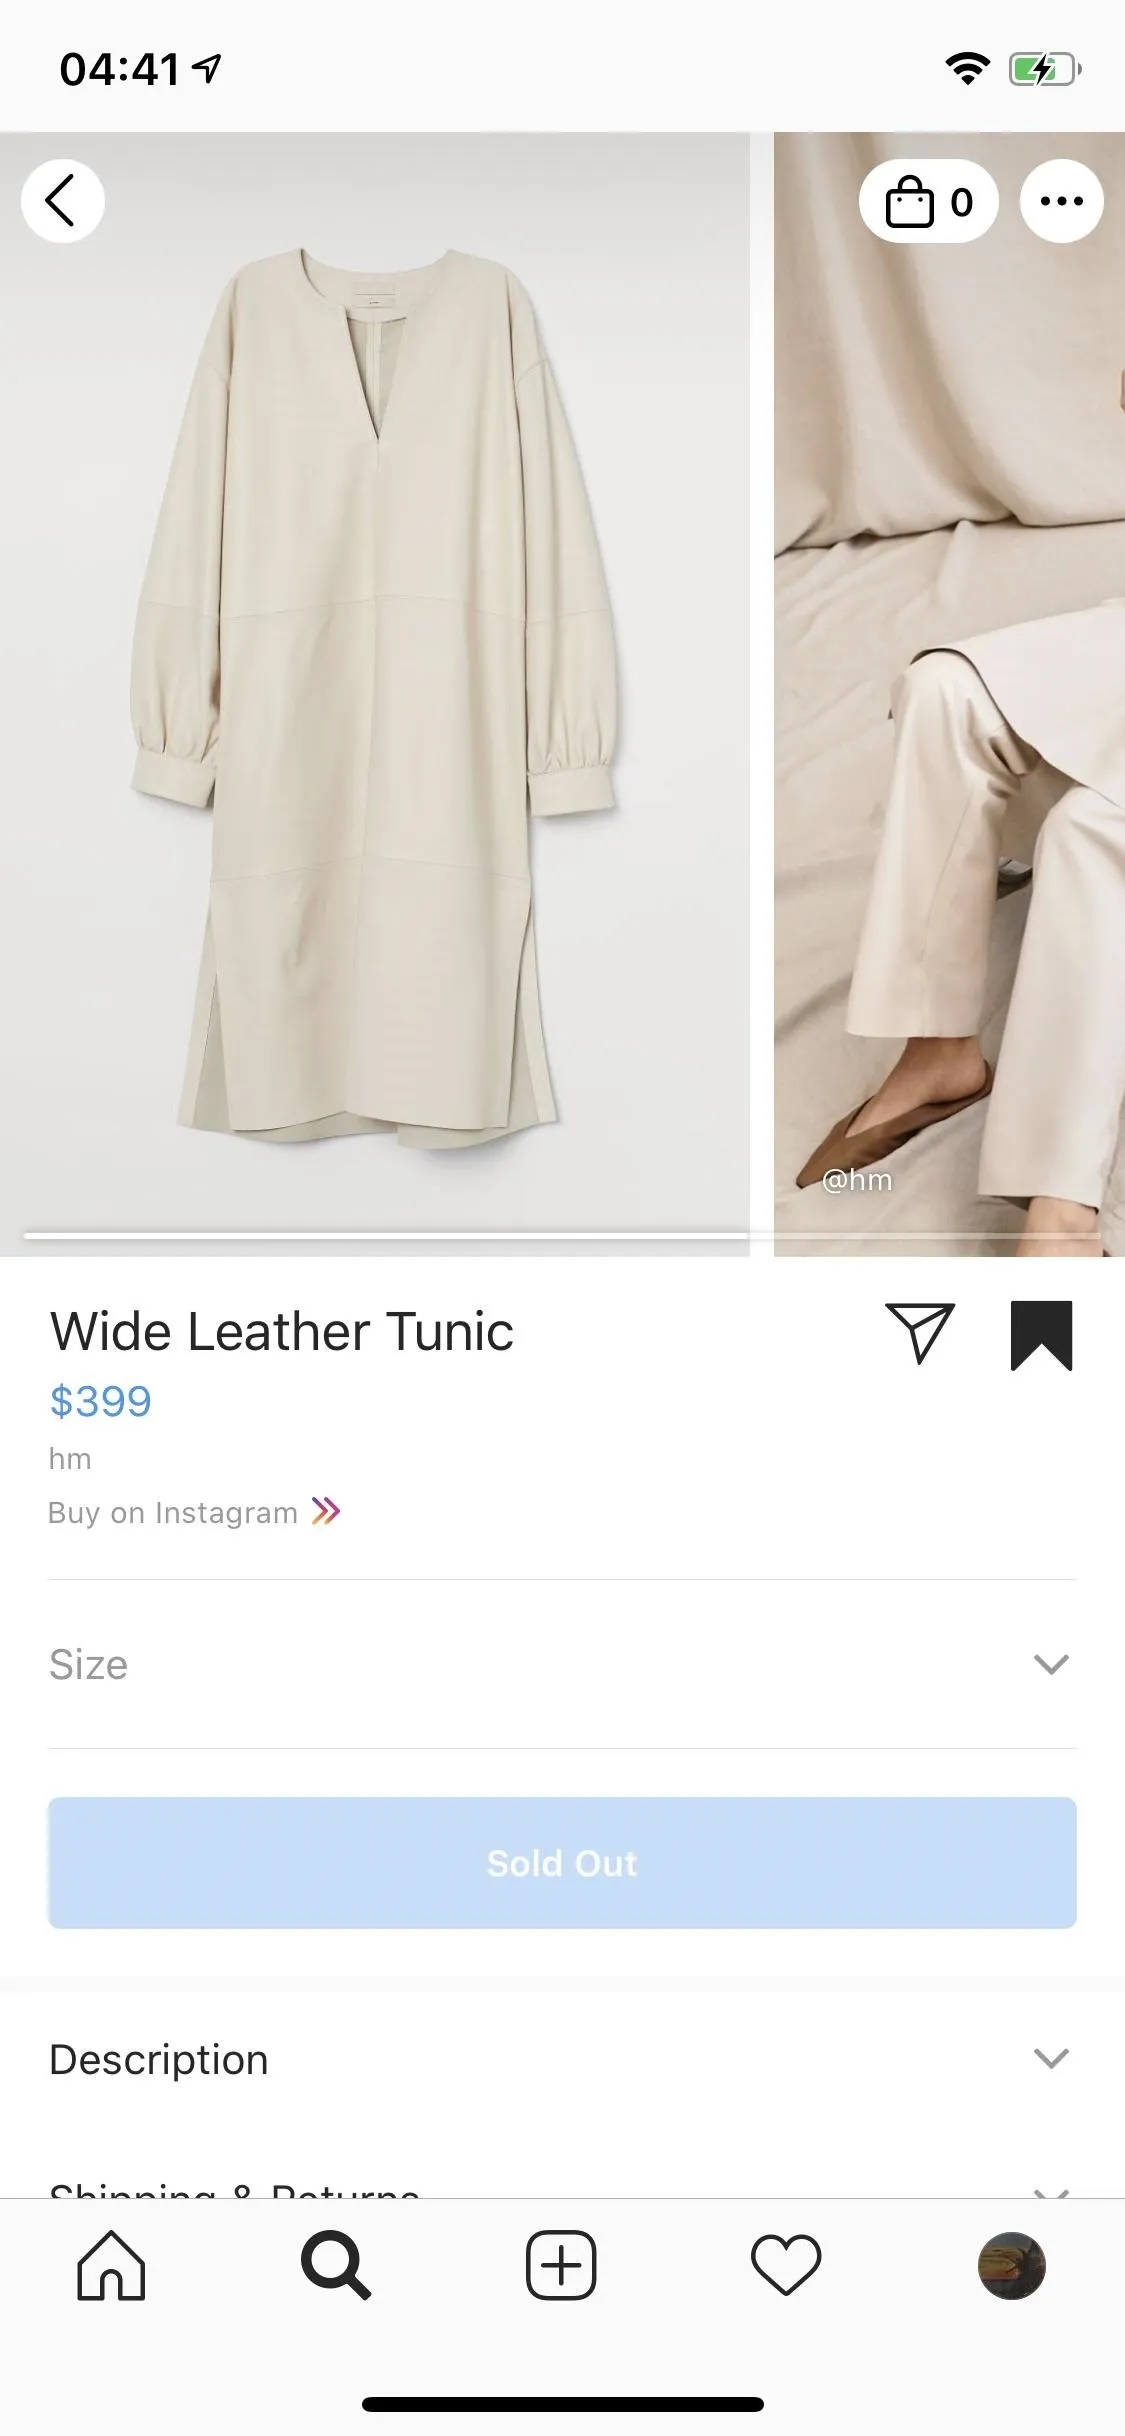
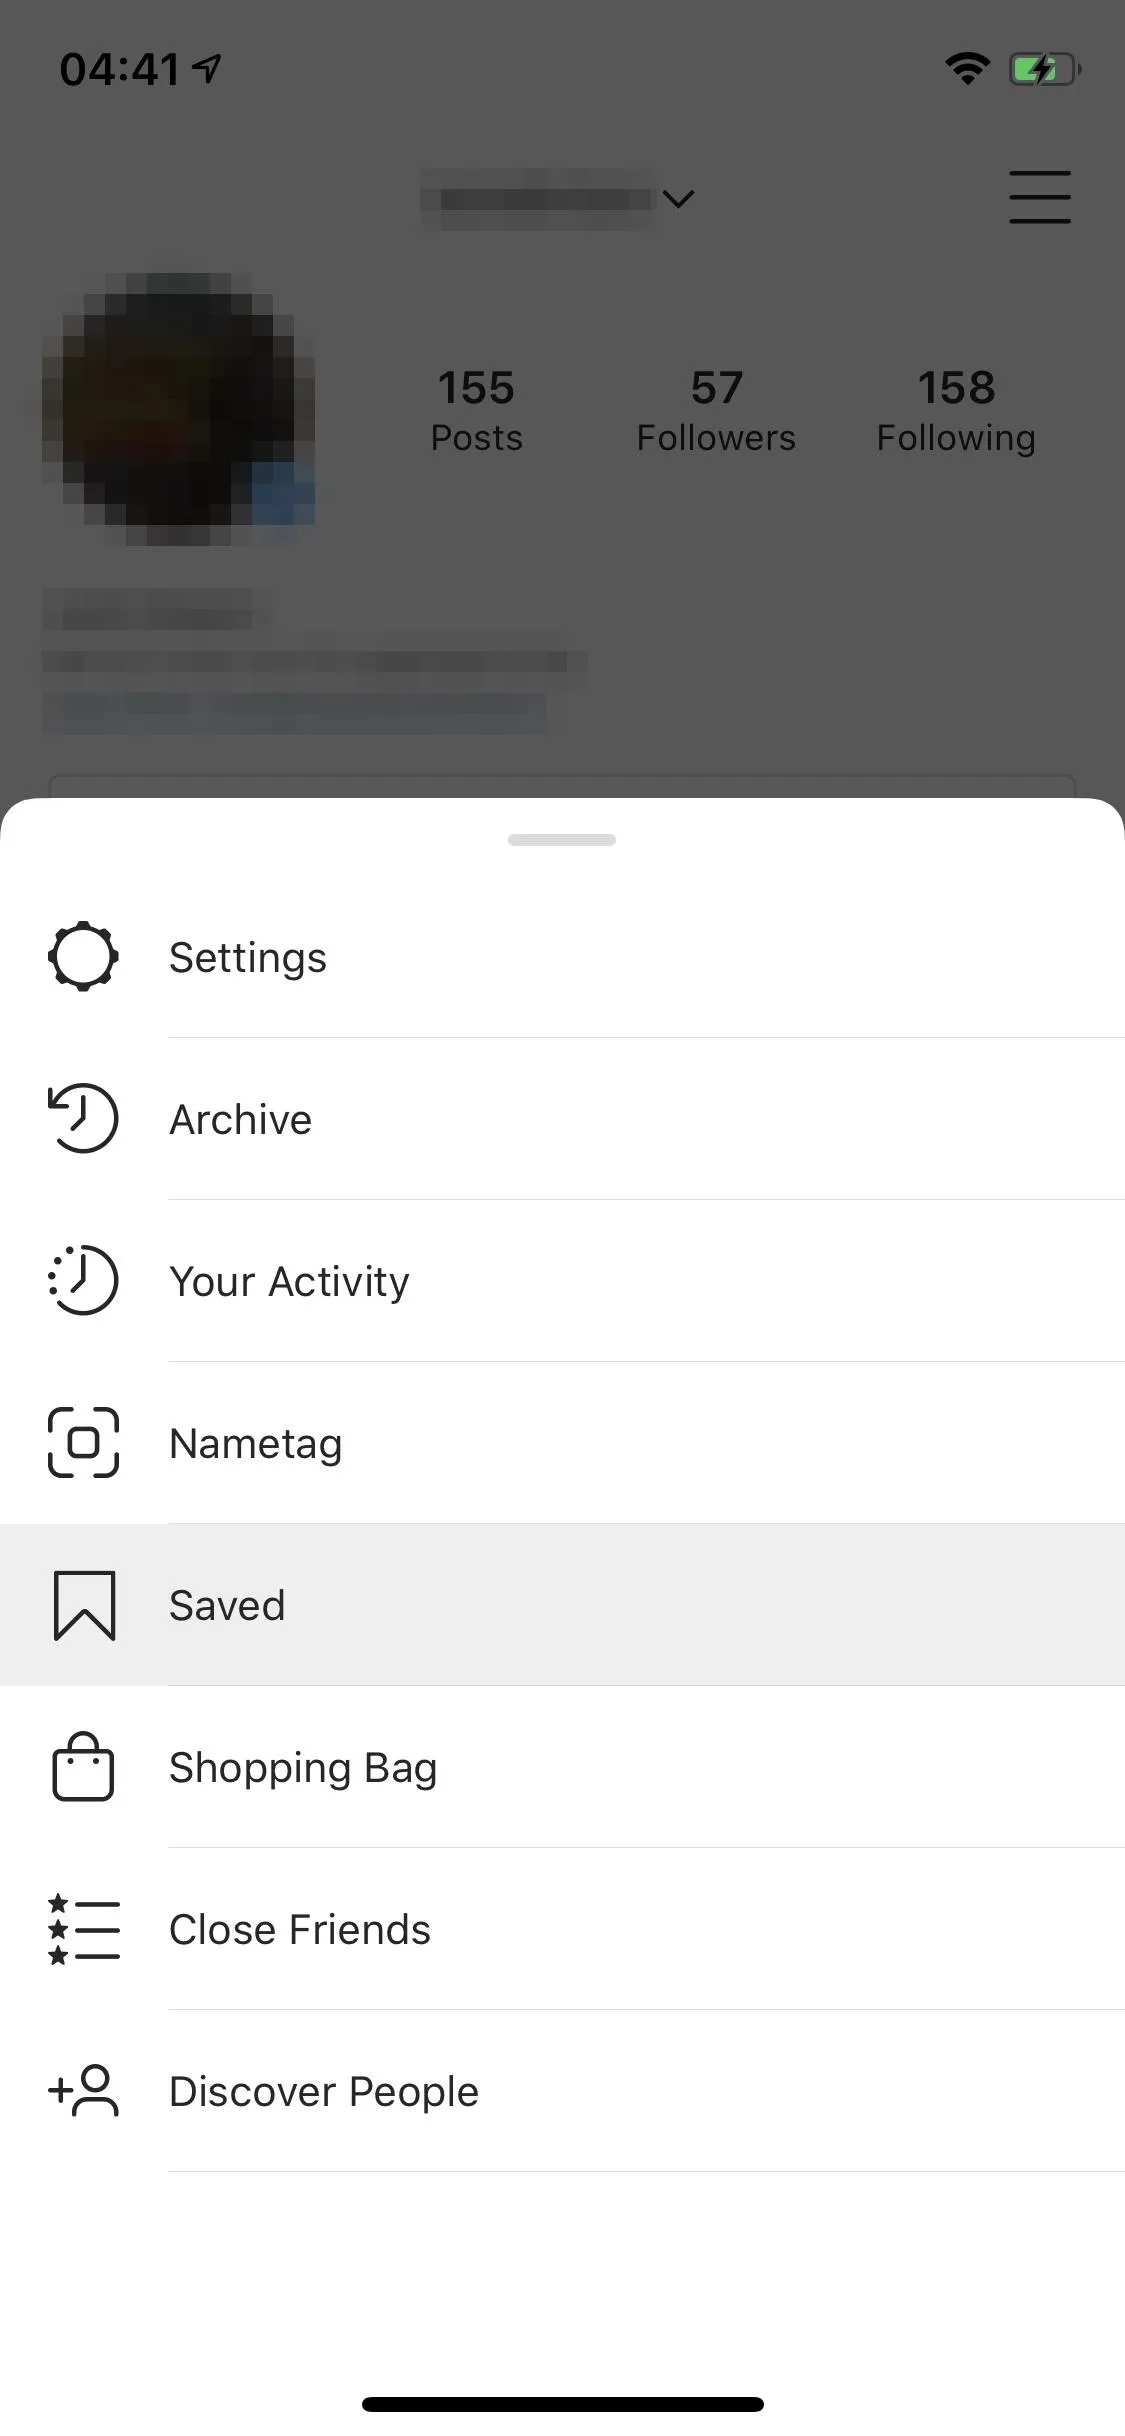
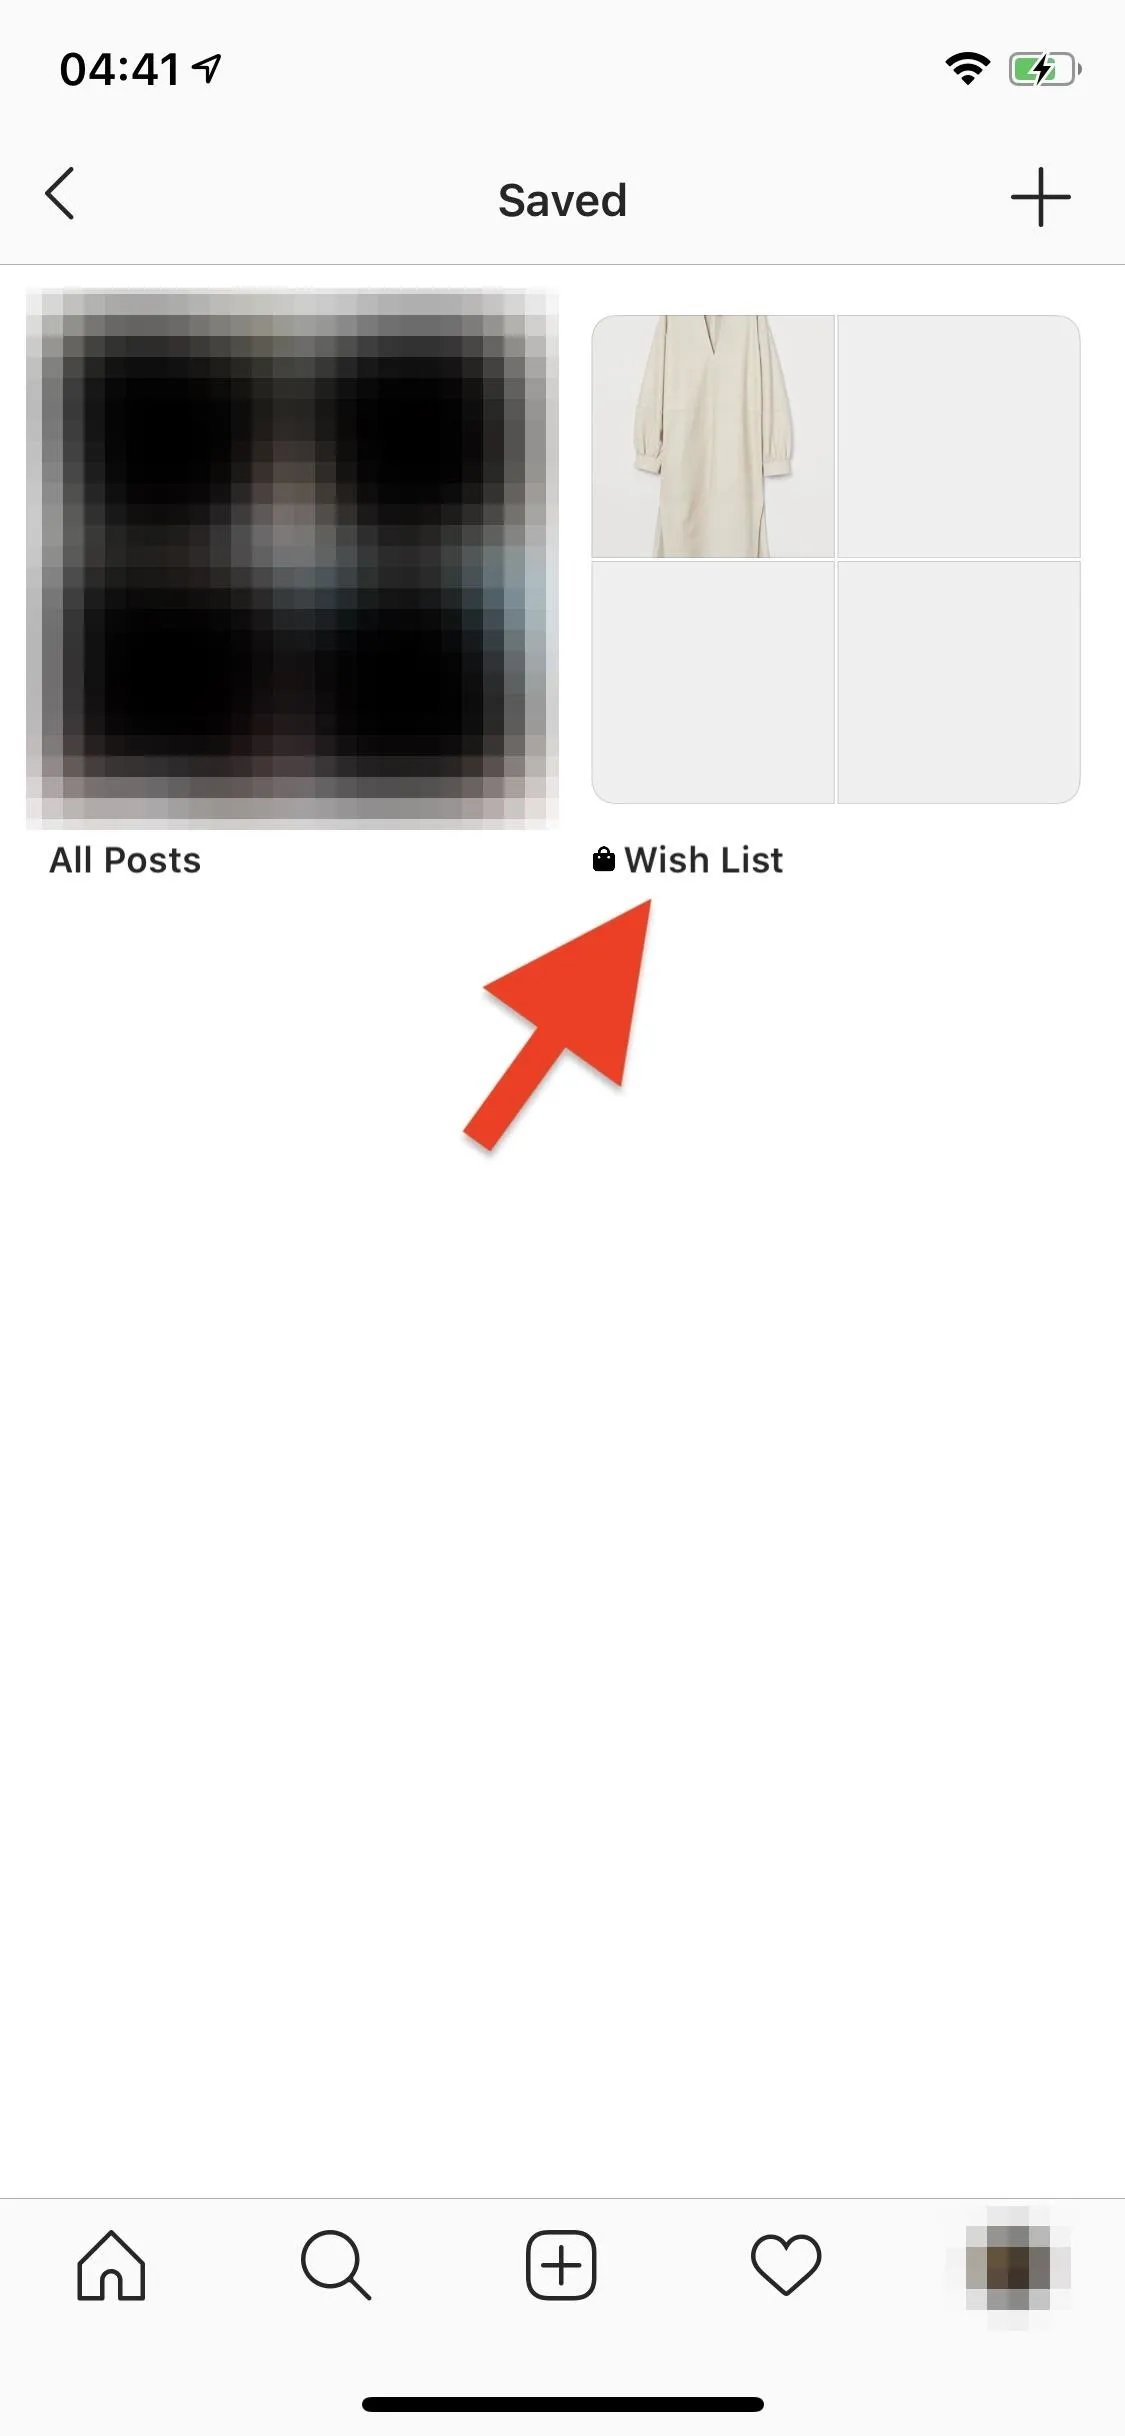
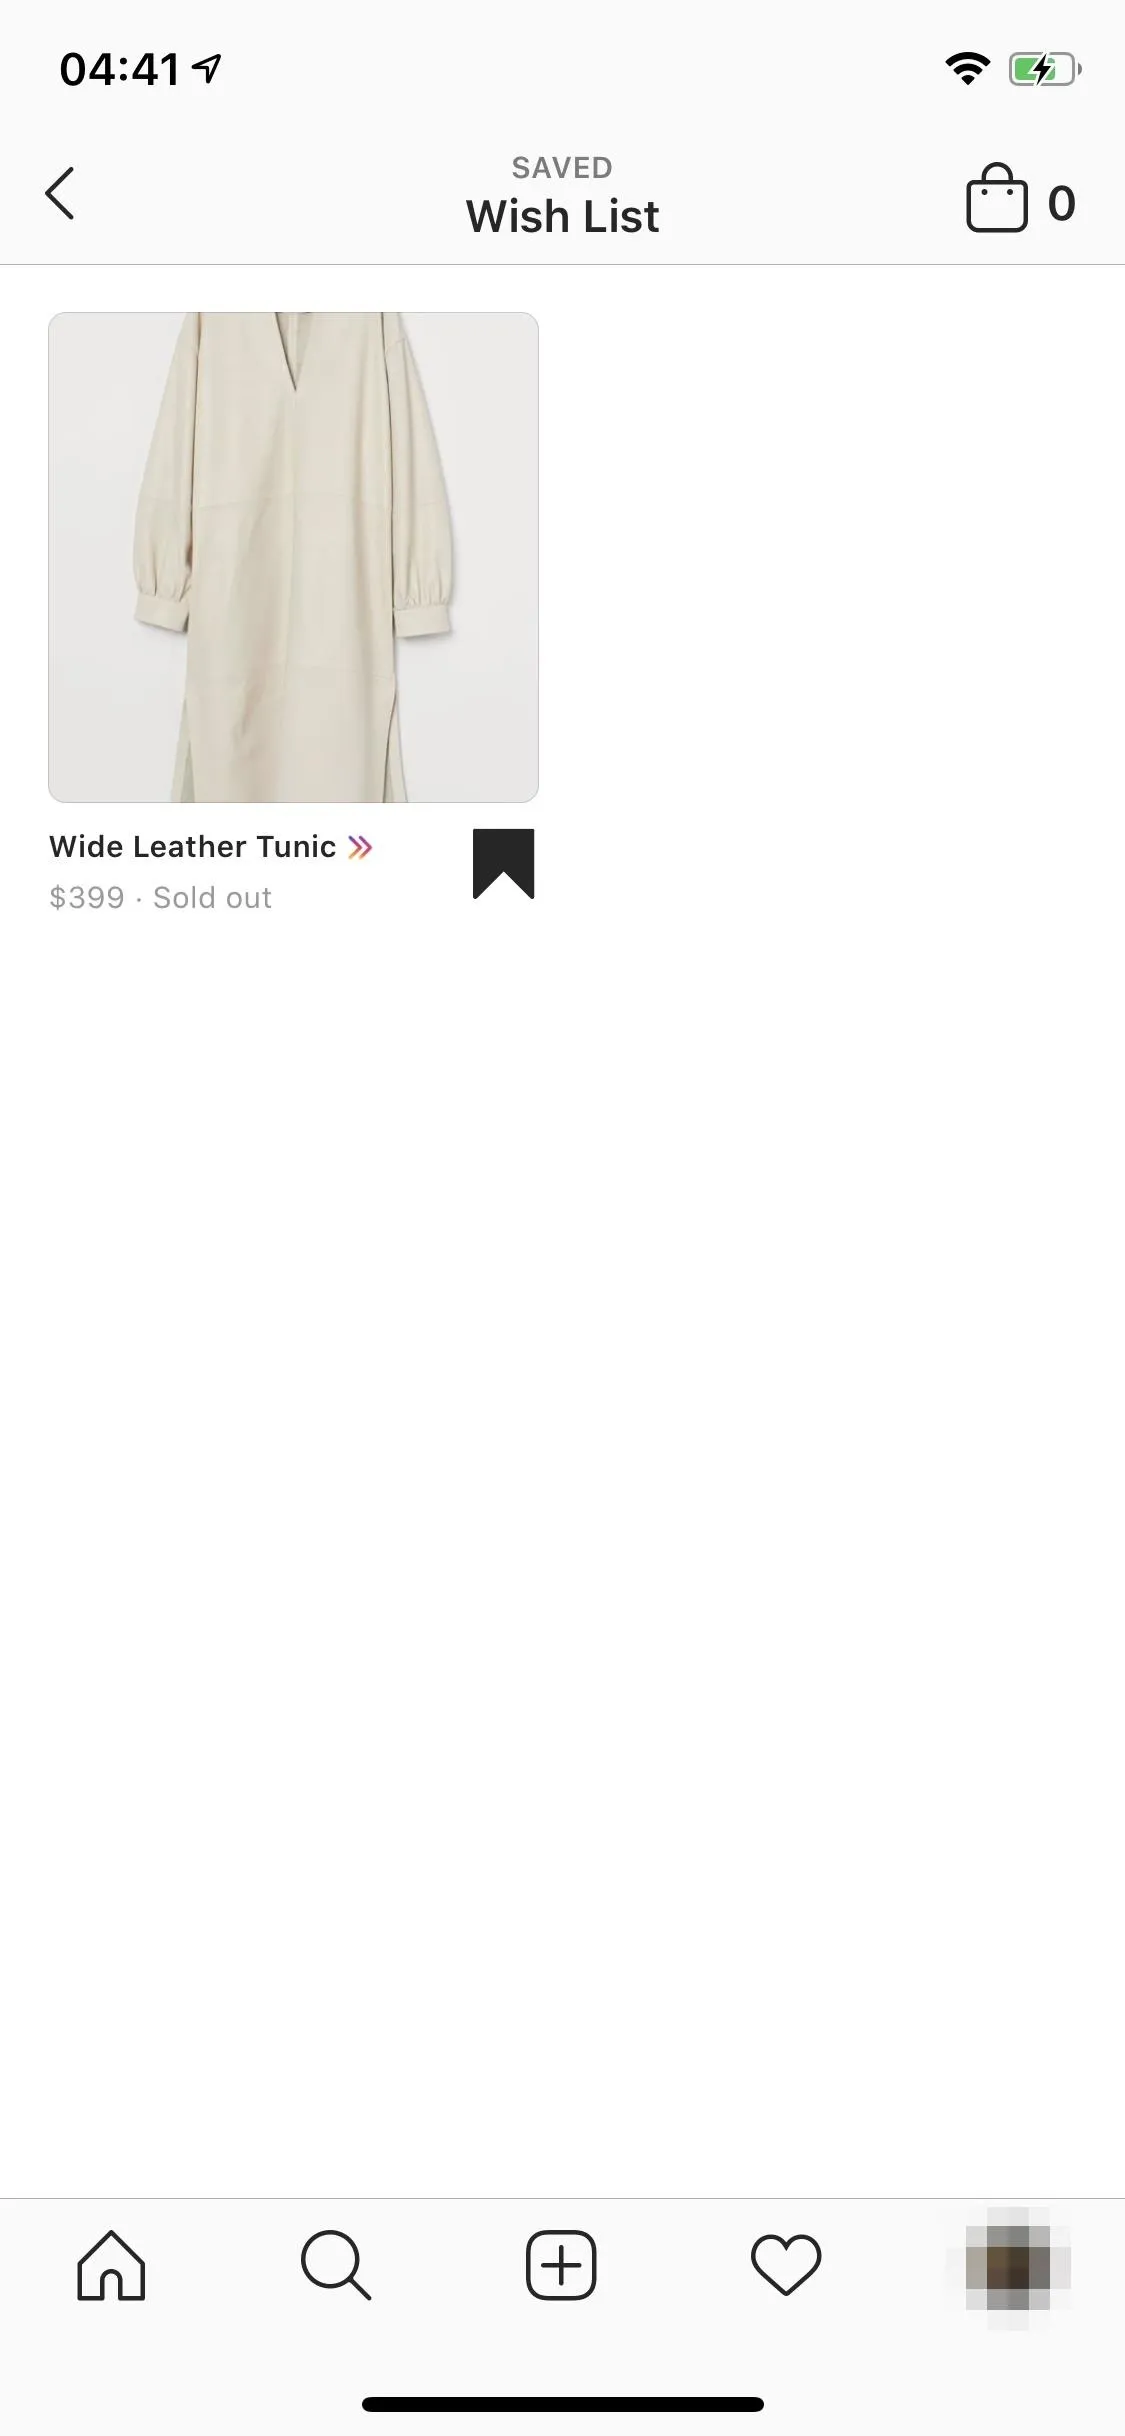
Doing so adds the item for later to your wish list, and you can tap "View" on the pop-up to open your list. To view everything saved for later, you can also tap the hamburger icon in the top right of your profile page, then "Saved" from the menu. Next, tap the "Wish List" album to view your saved products.
Customize Products You Want to Buy
In a product's details page, if you see a "View on Website" button, you have to buy it from an in-app browser or open it in your full web browser. We suggest using a full browser as it's too easy to close the in-app browser accidentally.
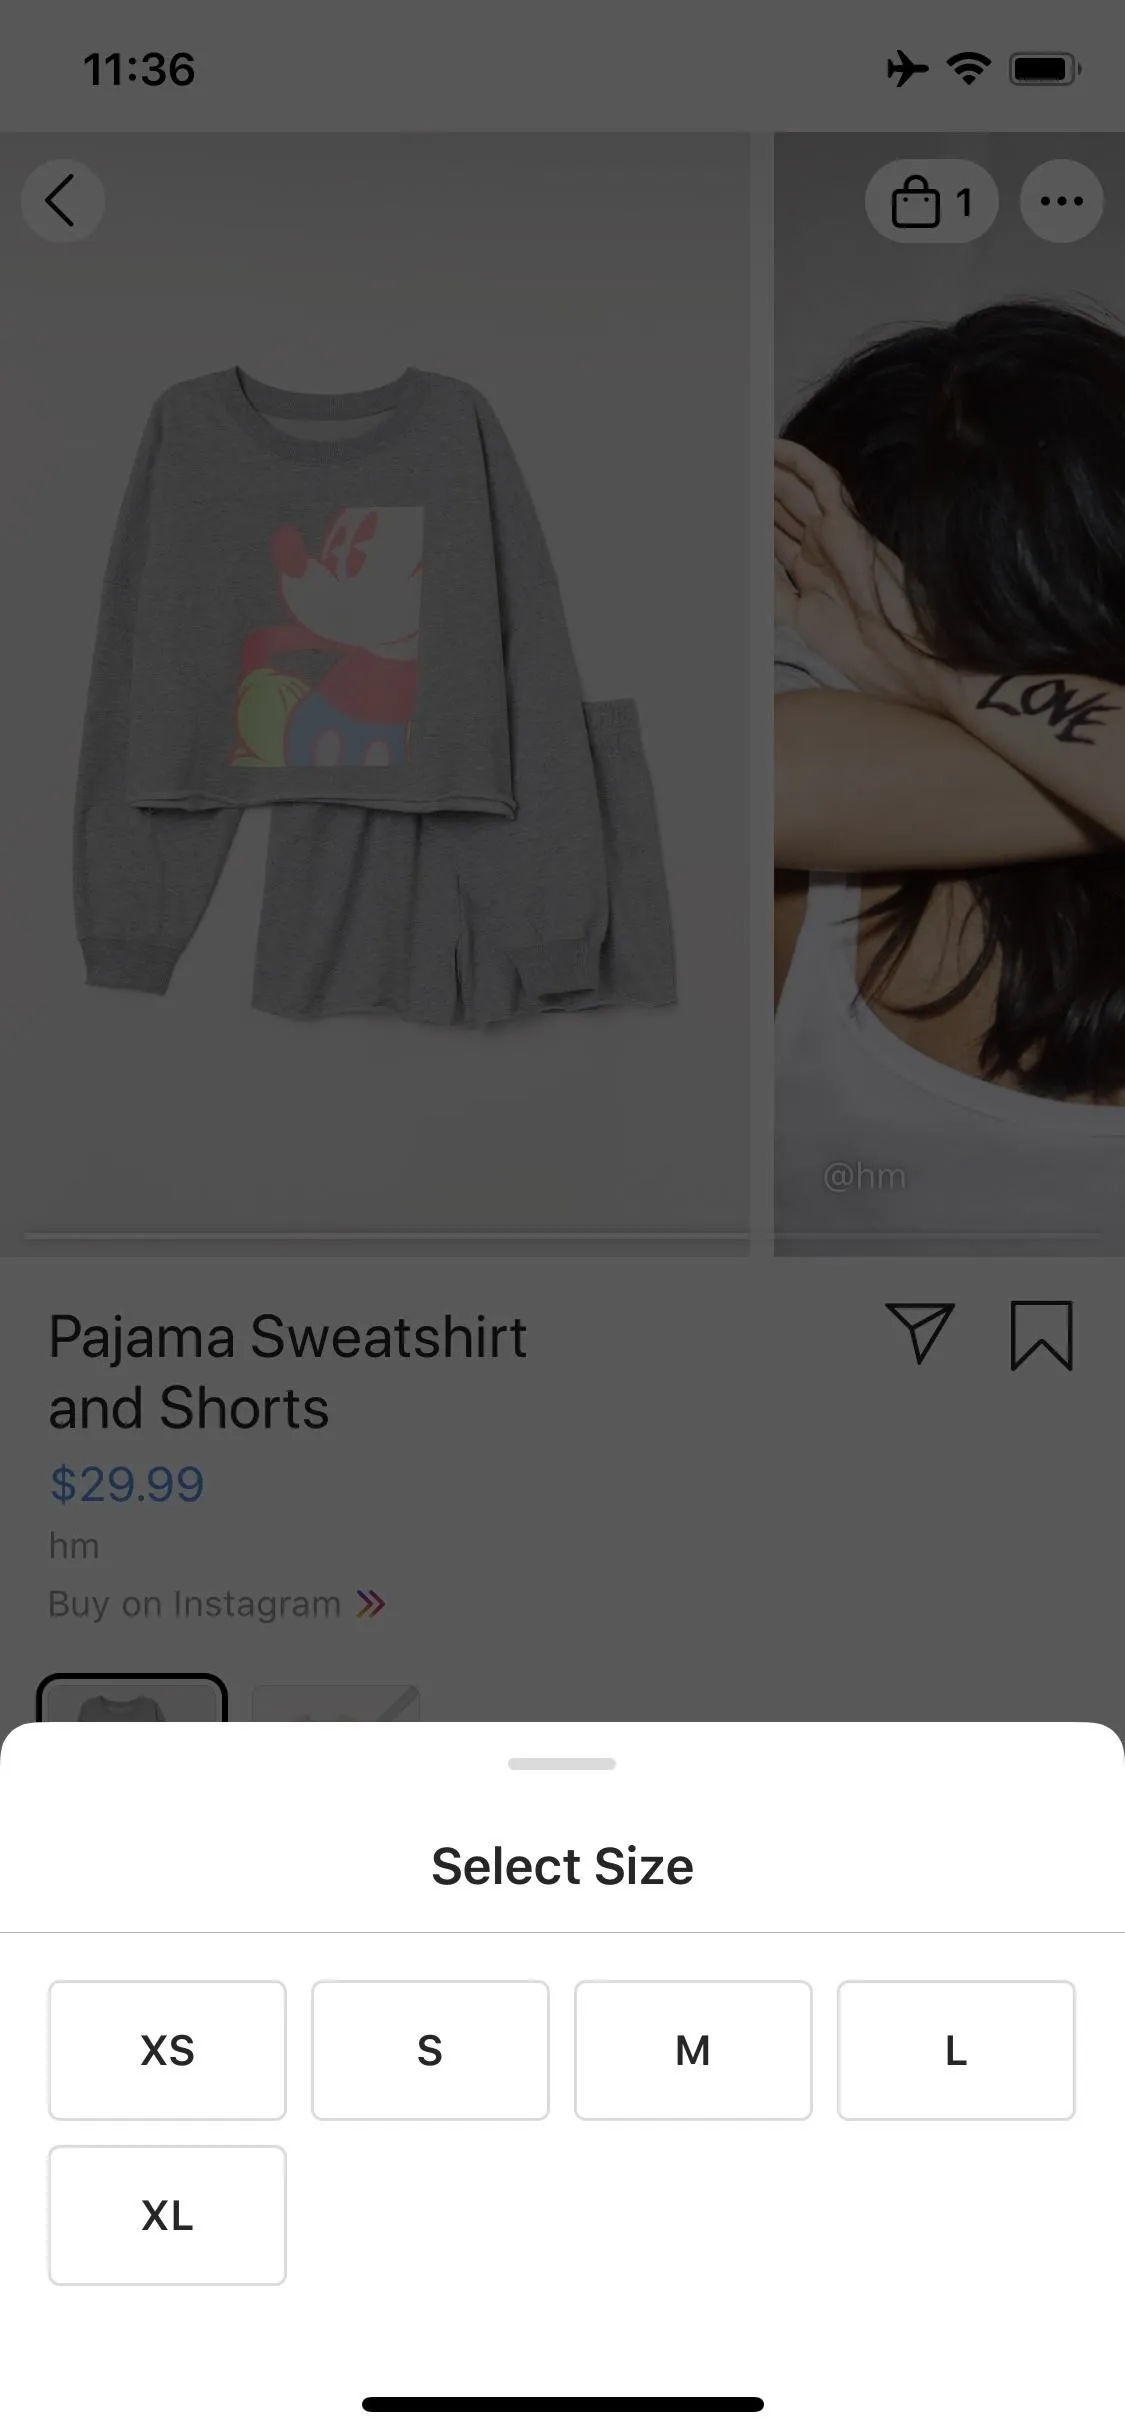
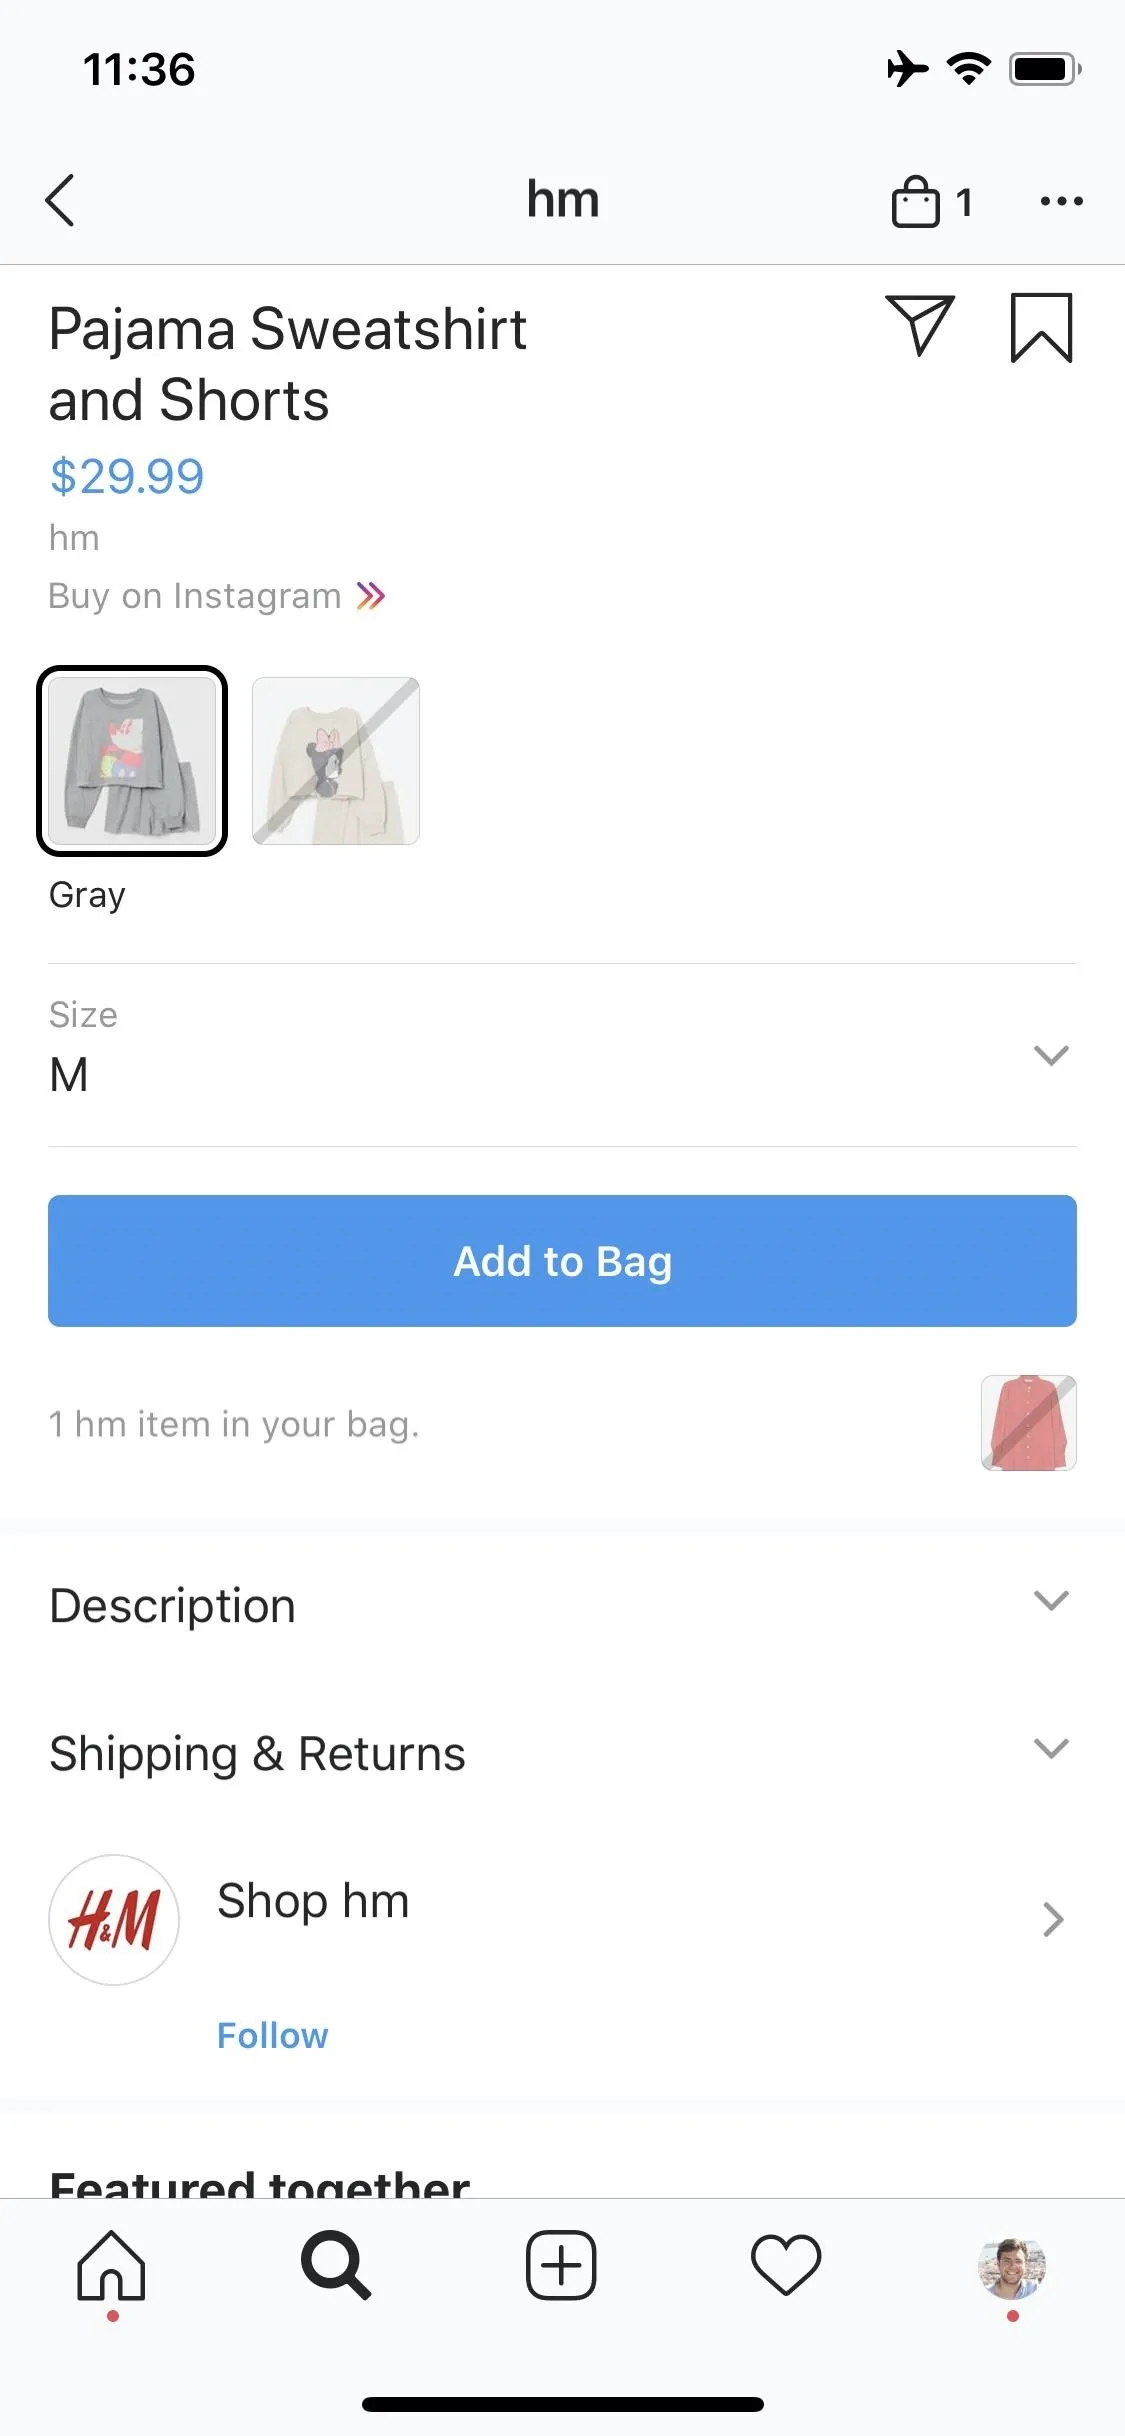
If you see an "Add to Bag" button instead, then you're good to go. You'll then be able to choose from various options like sizing and color, if available, depending on the product. To adjust an attribute, tap the option (for example, tap on "Color"), then select your desired choice. Then, when ready, tap "Add to Bag" to do just that.

Again, if you only see "View on Website," the Checkout feature is not available yet for that product, but you can still purchase the item via the in-app browser or a full browser (which isn't as easy).
View Your Shopping Bag
After you tap "Add to Bag" for the Checkout-compatible item, you'll be taken to said bag. You don't need to check out yet, but if you want to, tap "Proceed to Checkout." To keep shopping, hit back, search for more products, and add them to your bag. When you can't find anything else you want, you can begin checking out by tapping the hamburger icon on your profile page, followed by "Shopping Bag."

Make Your Purchase
If this purchase is your first using the feature, Instagram will ask for your name, email, billing information, and shipping address. Just follow the steps and enter the information required. Once you do, tap "Next" on each page.

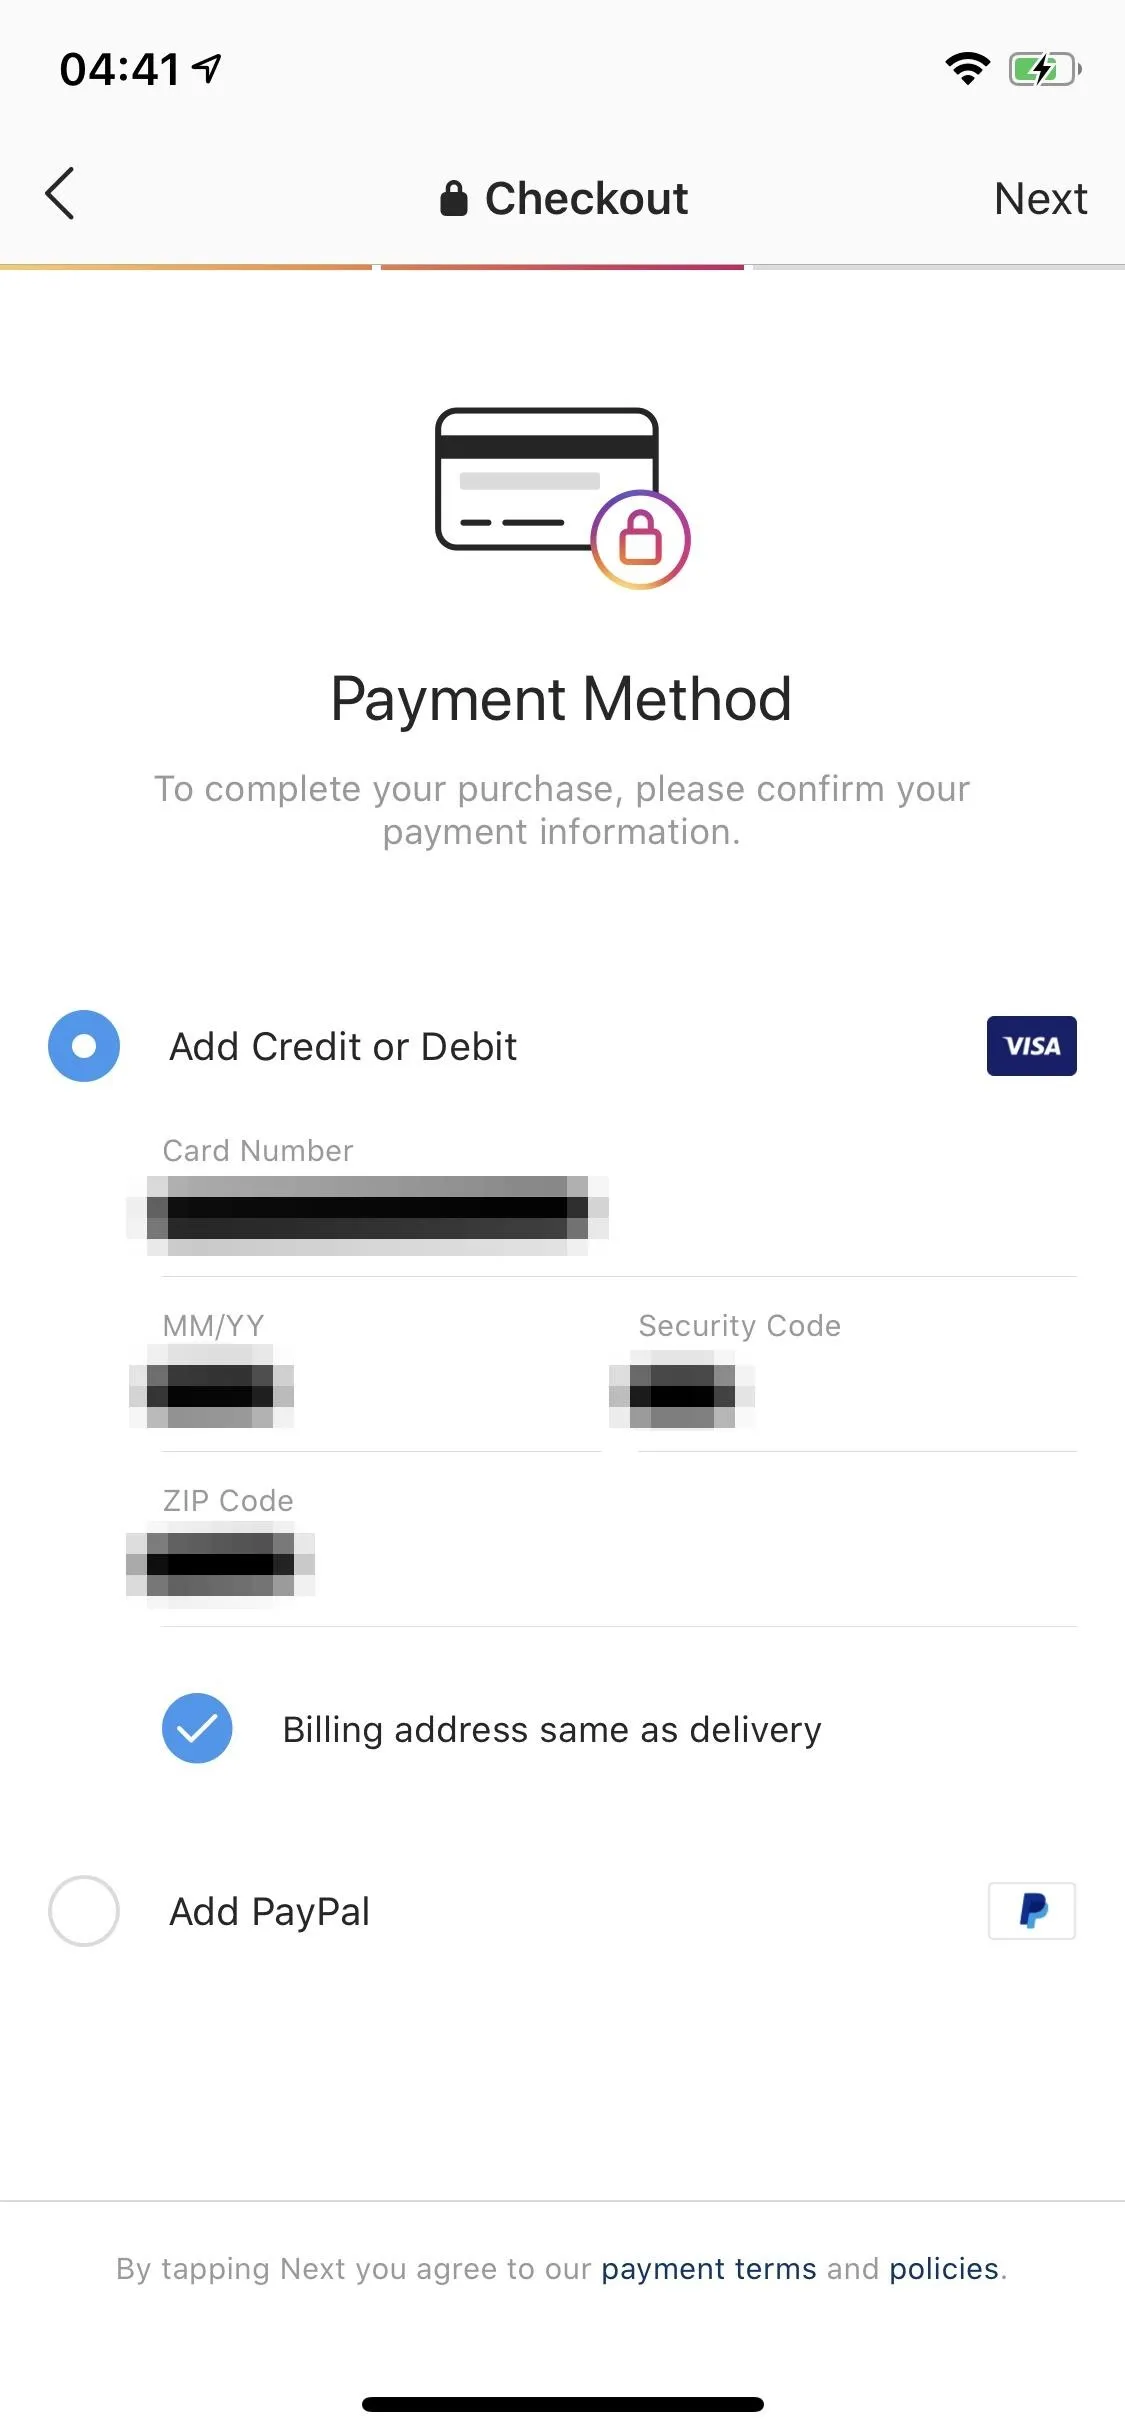
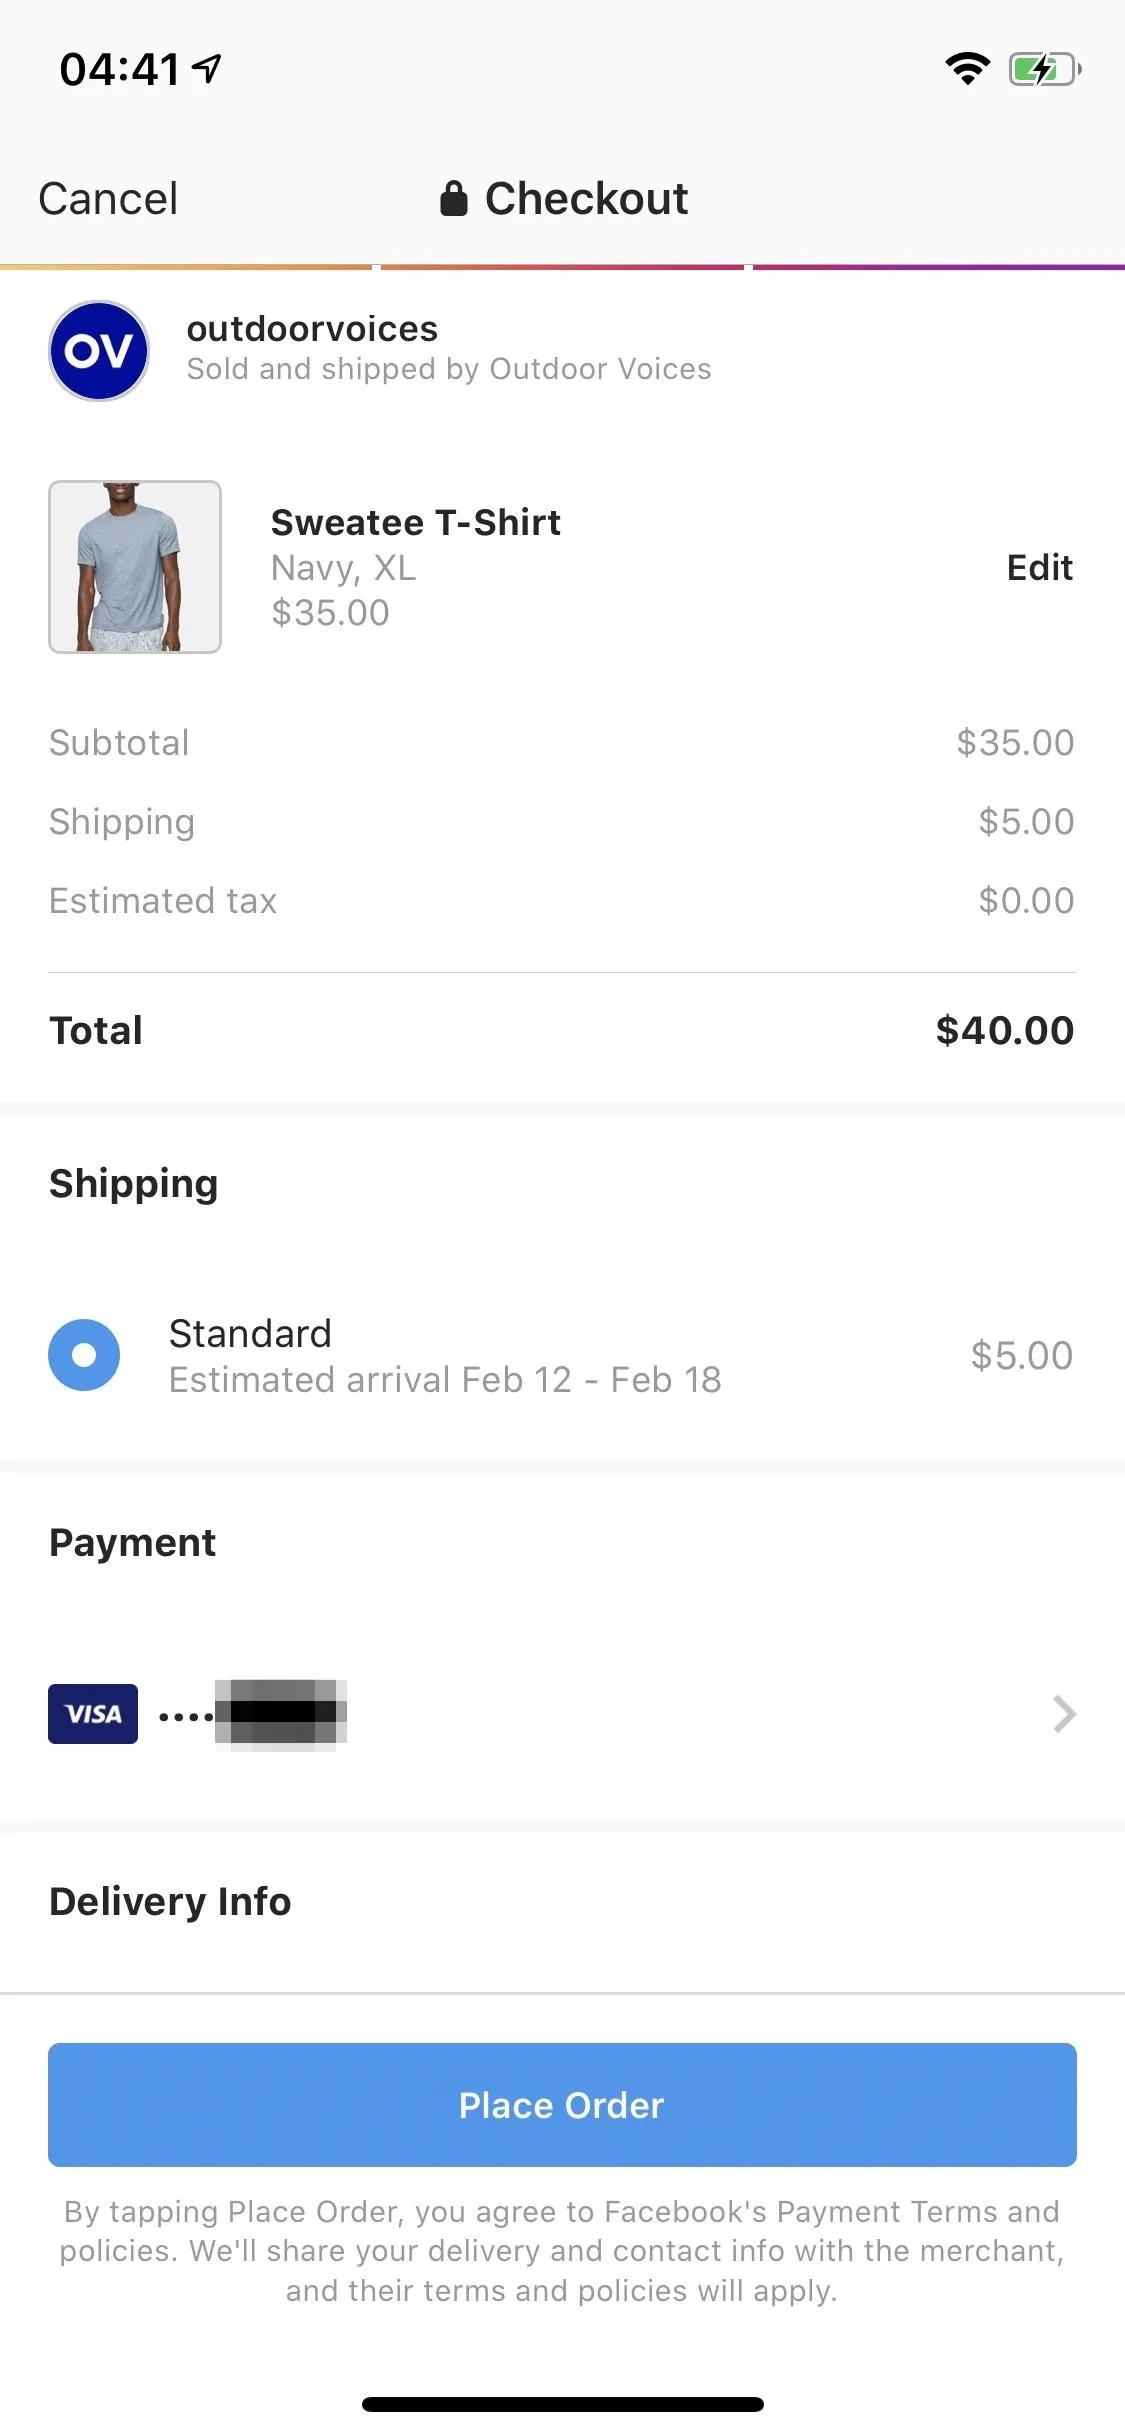
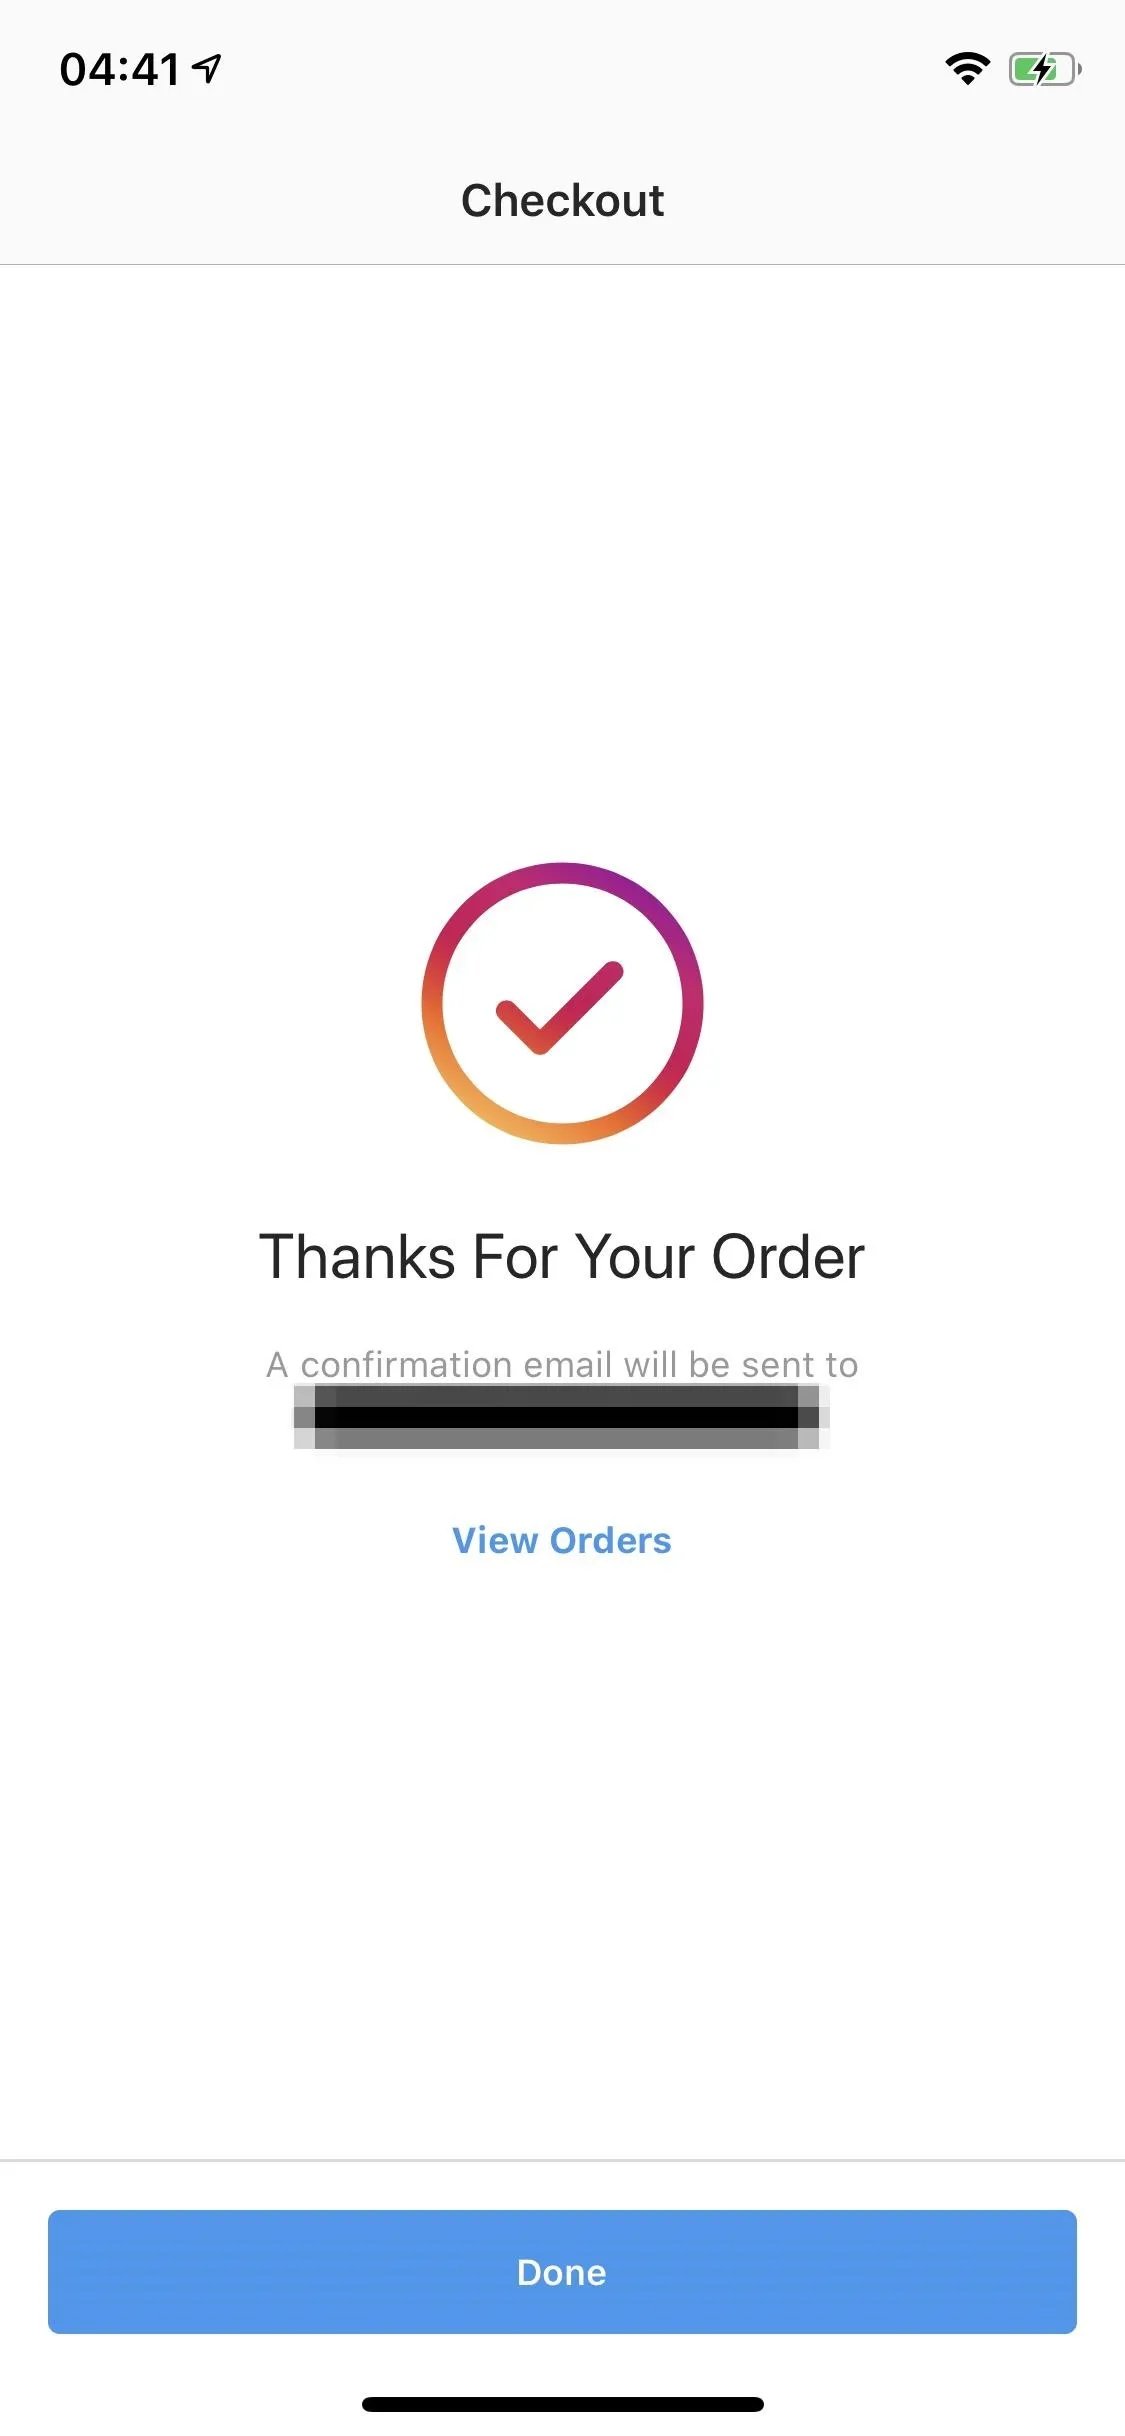
Once you add all the required info, tap "Place Order," and the product is as good as yours. Instagram will save all of your information for future purchases, so the next time you tap "Process to Checkout," you can then immediately tap "Place Order" on the following page.
Instagram will send you notifications once the order has shipped, and once it has delivered, so make sure to enable notifications for the app on your iPhone or Android device.
Review, Cancel, or Return Orders (Optional)
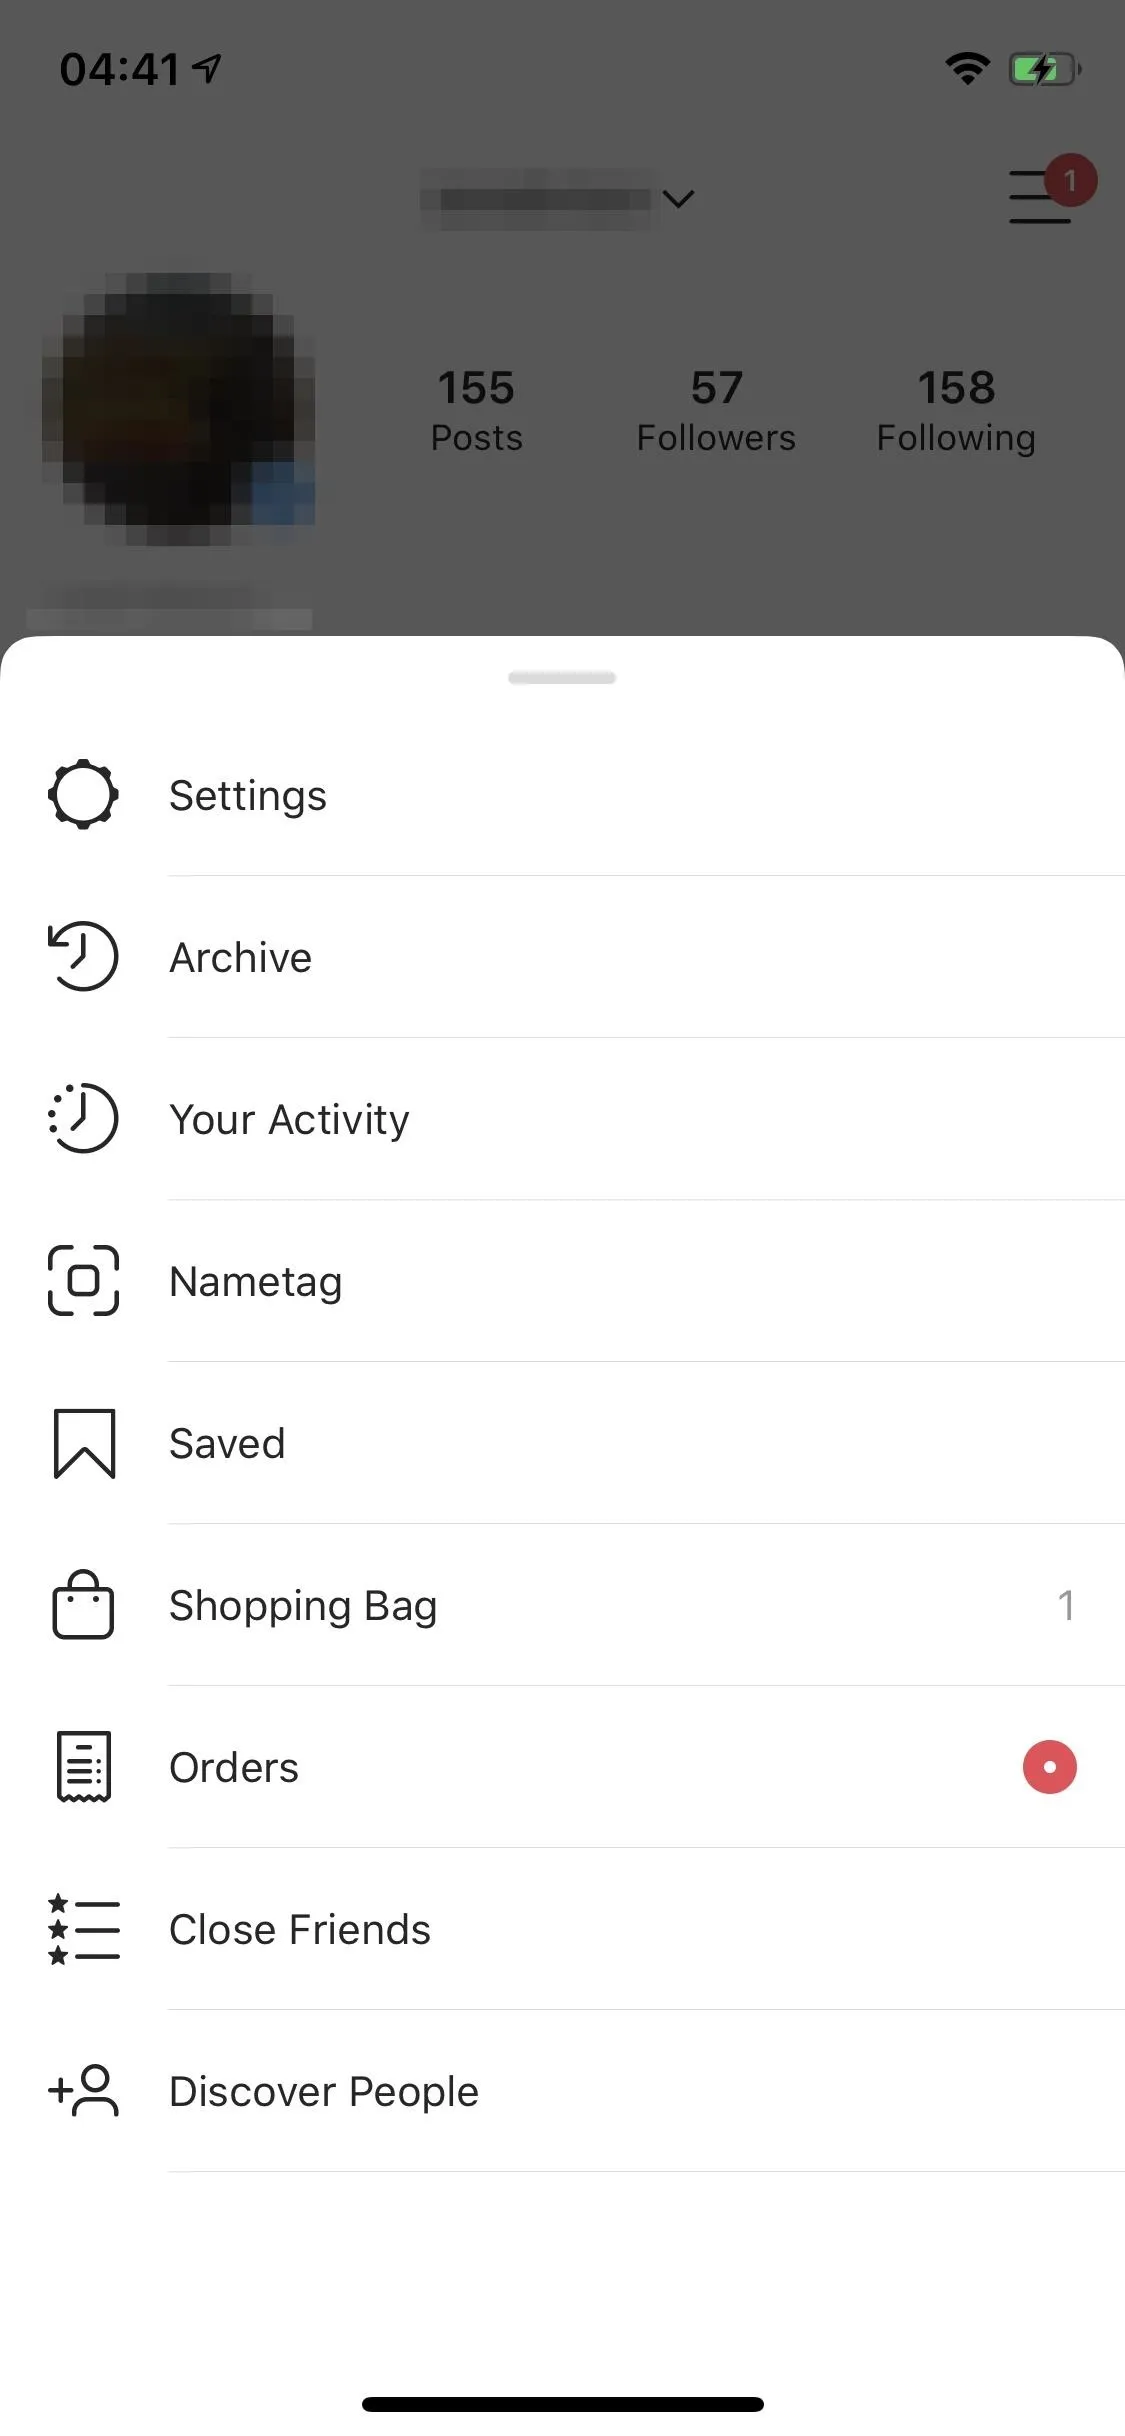
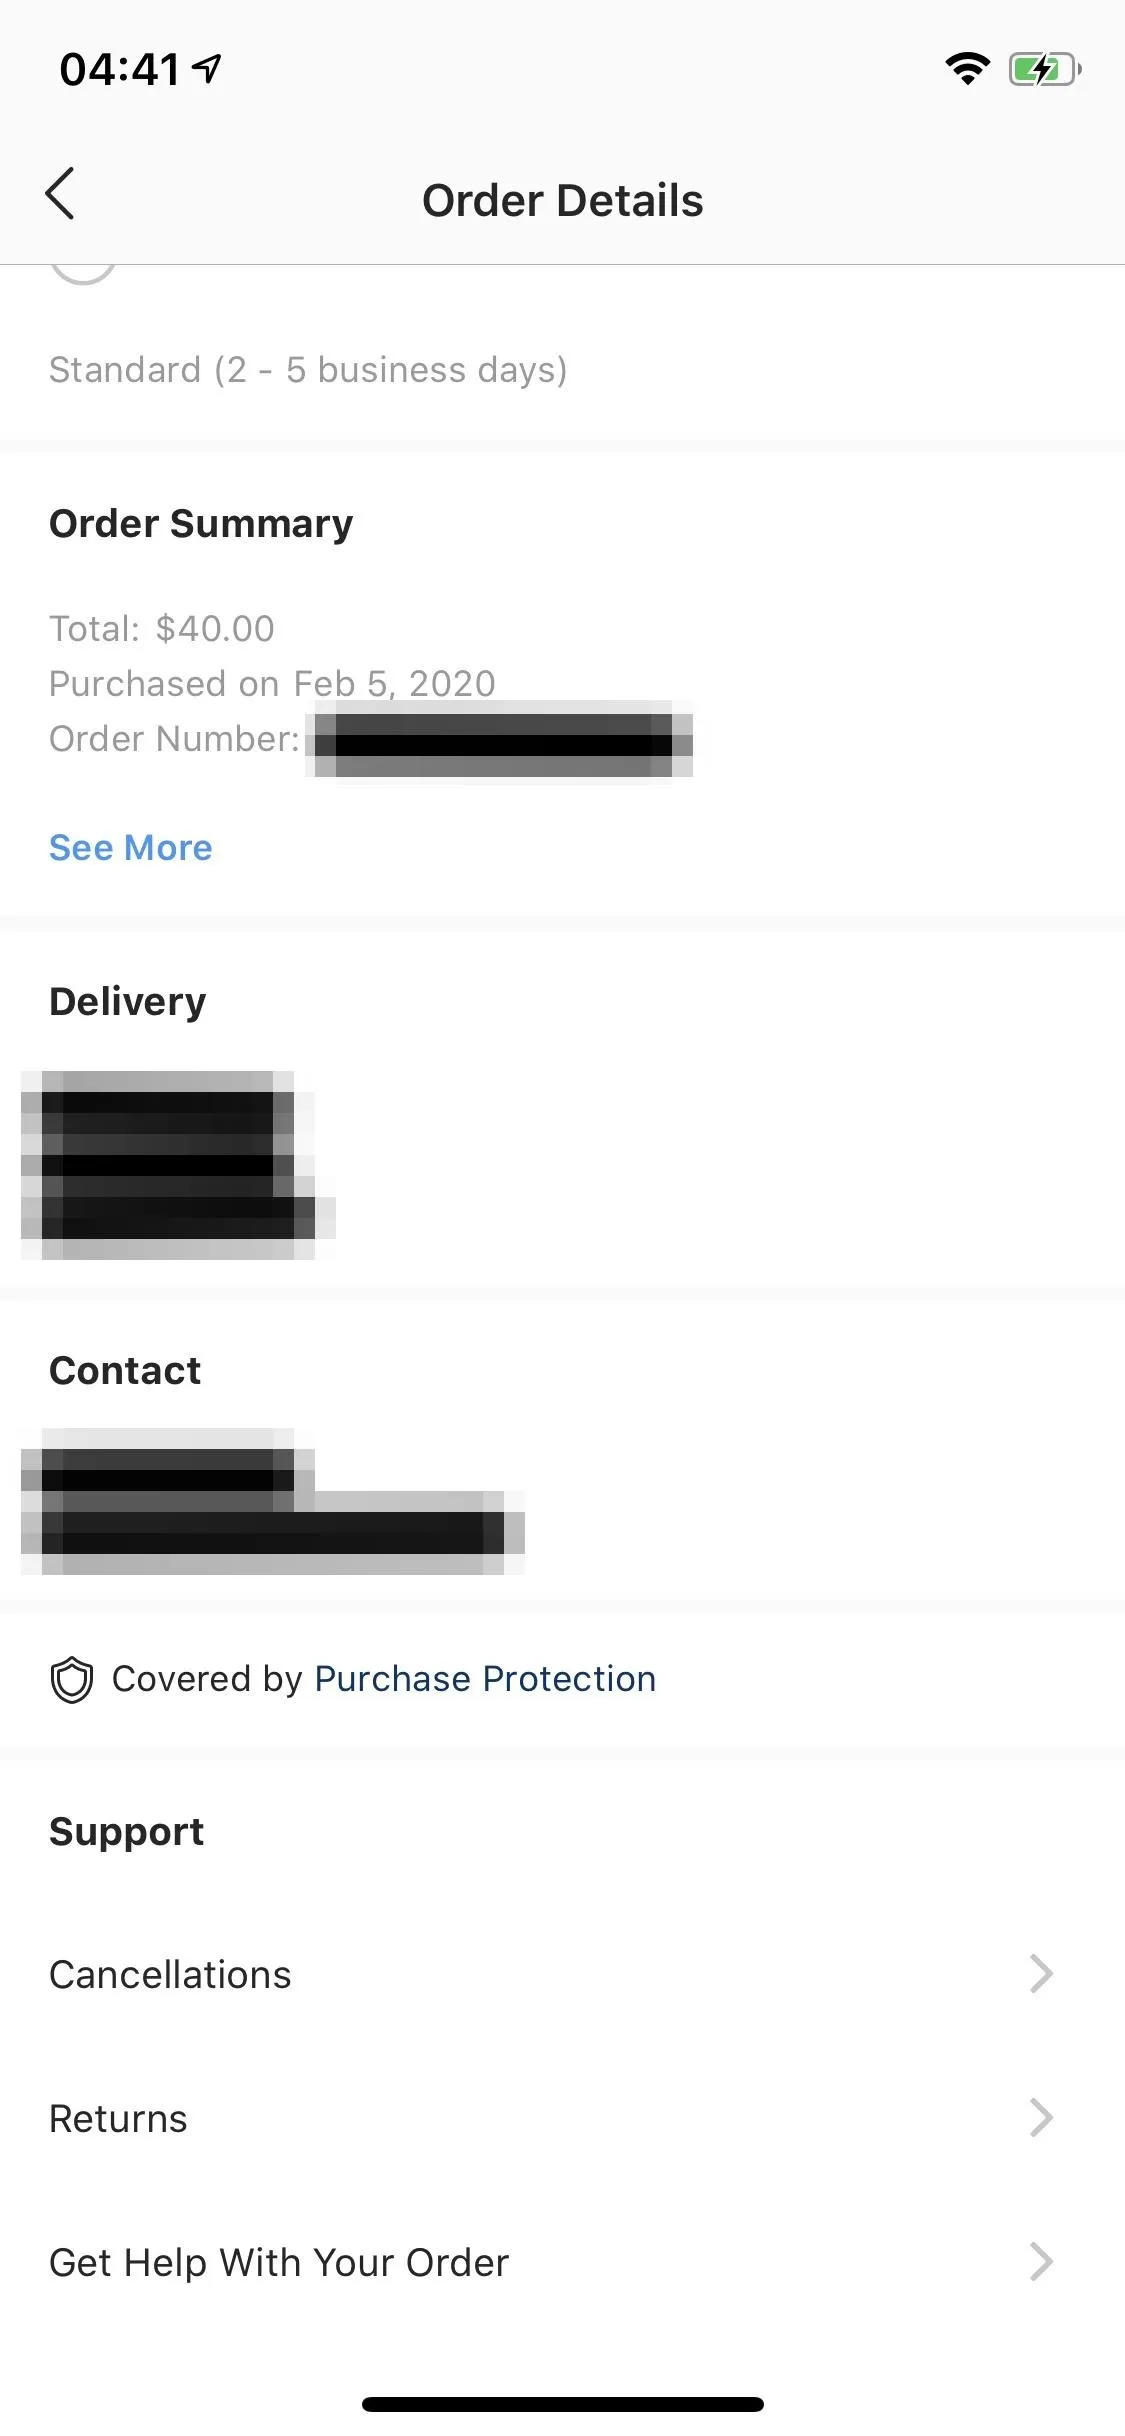
Once you make a purchase, you can view it and any other orders by tapping "View Orders" on the Checkout screen. You can also find your orders from the hamburger icon on your profile; tap "Orders" to see them all.
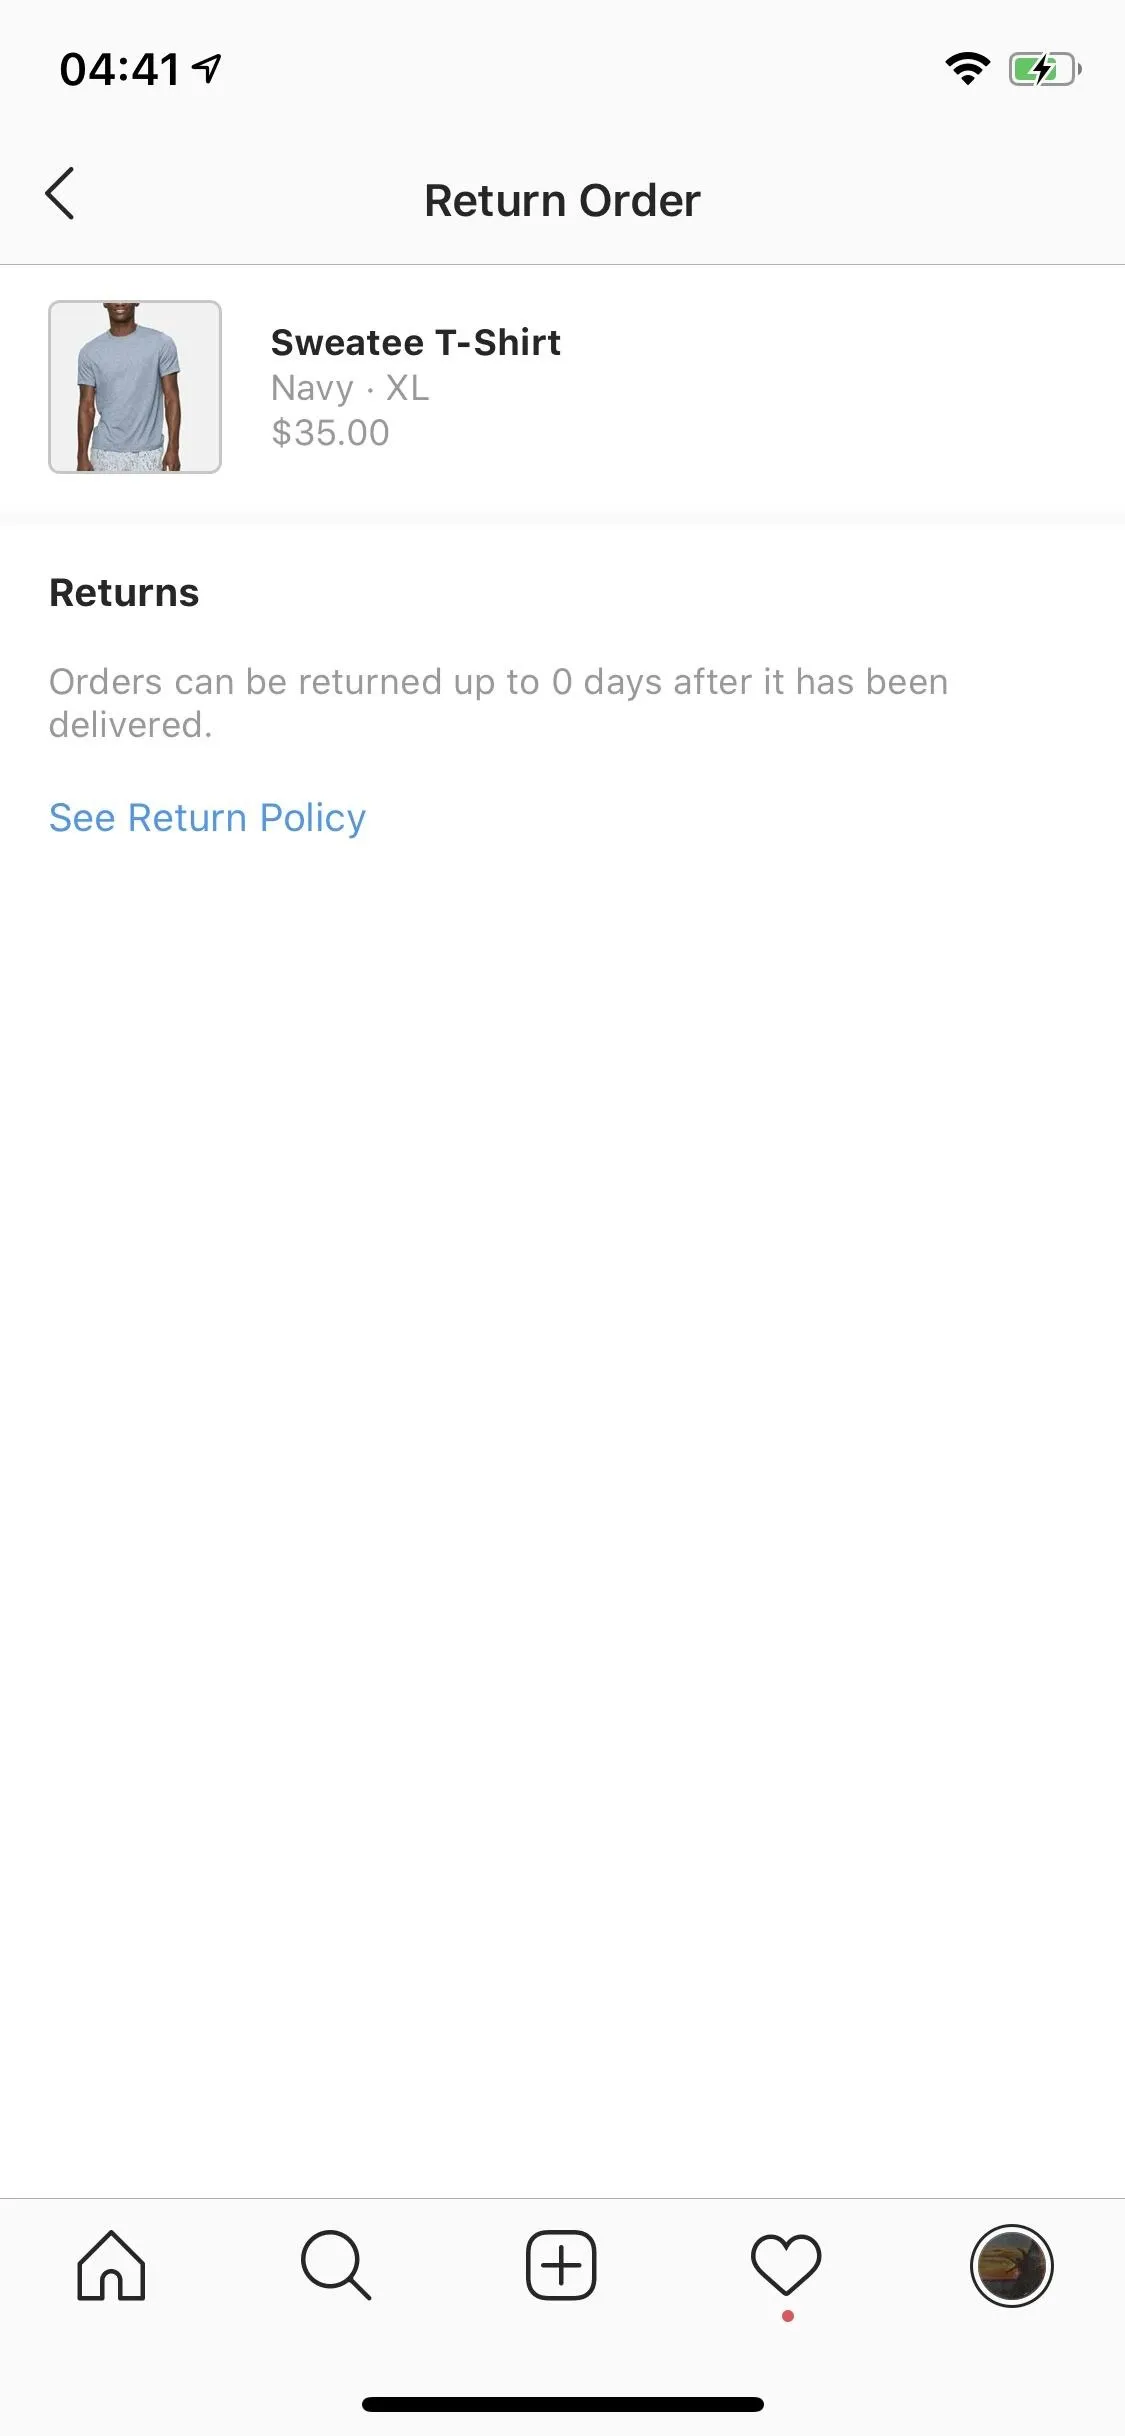
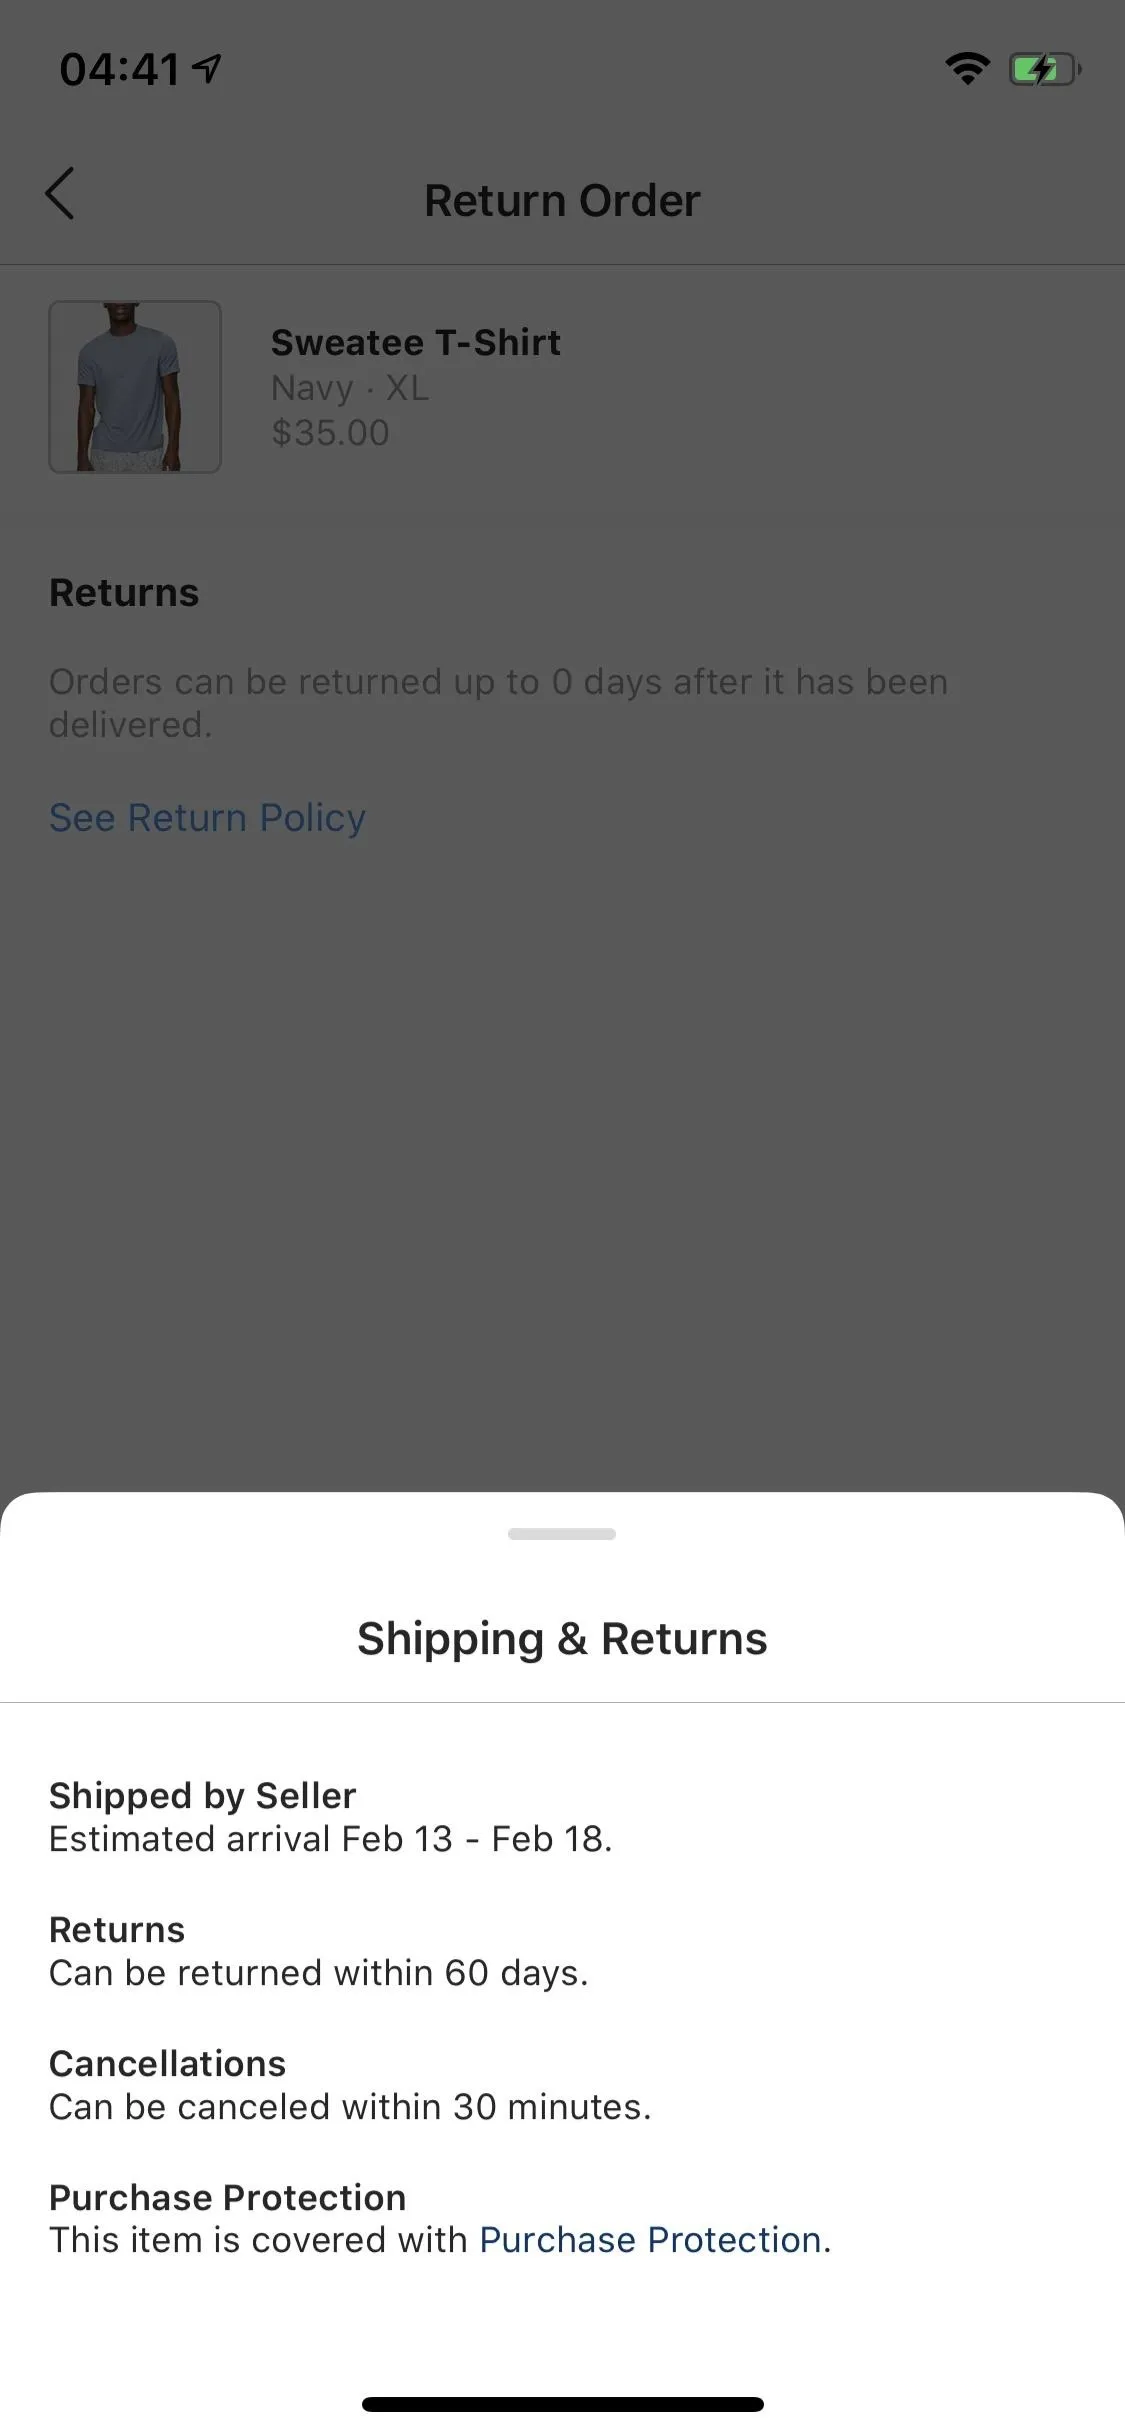
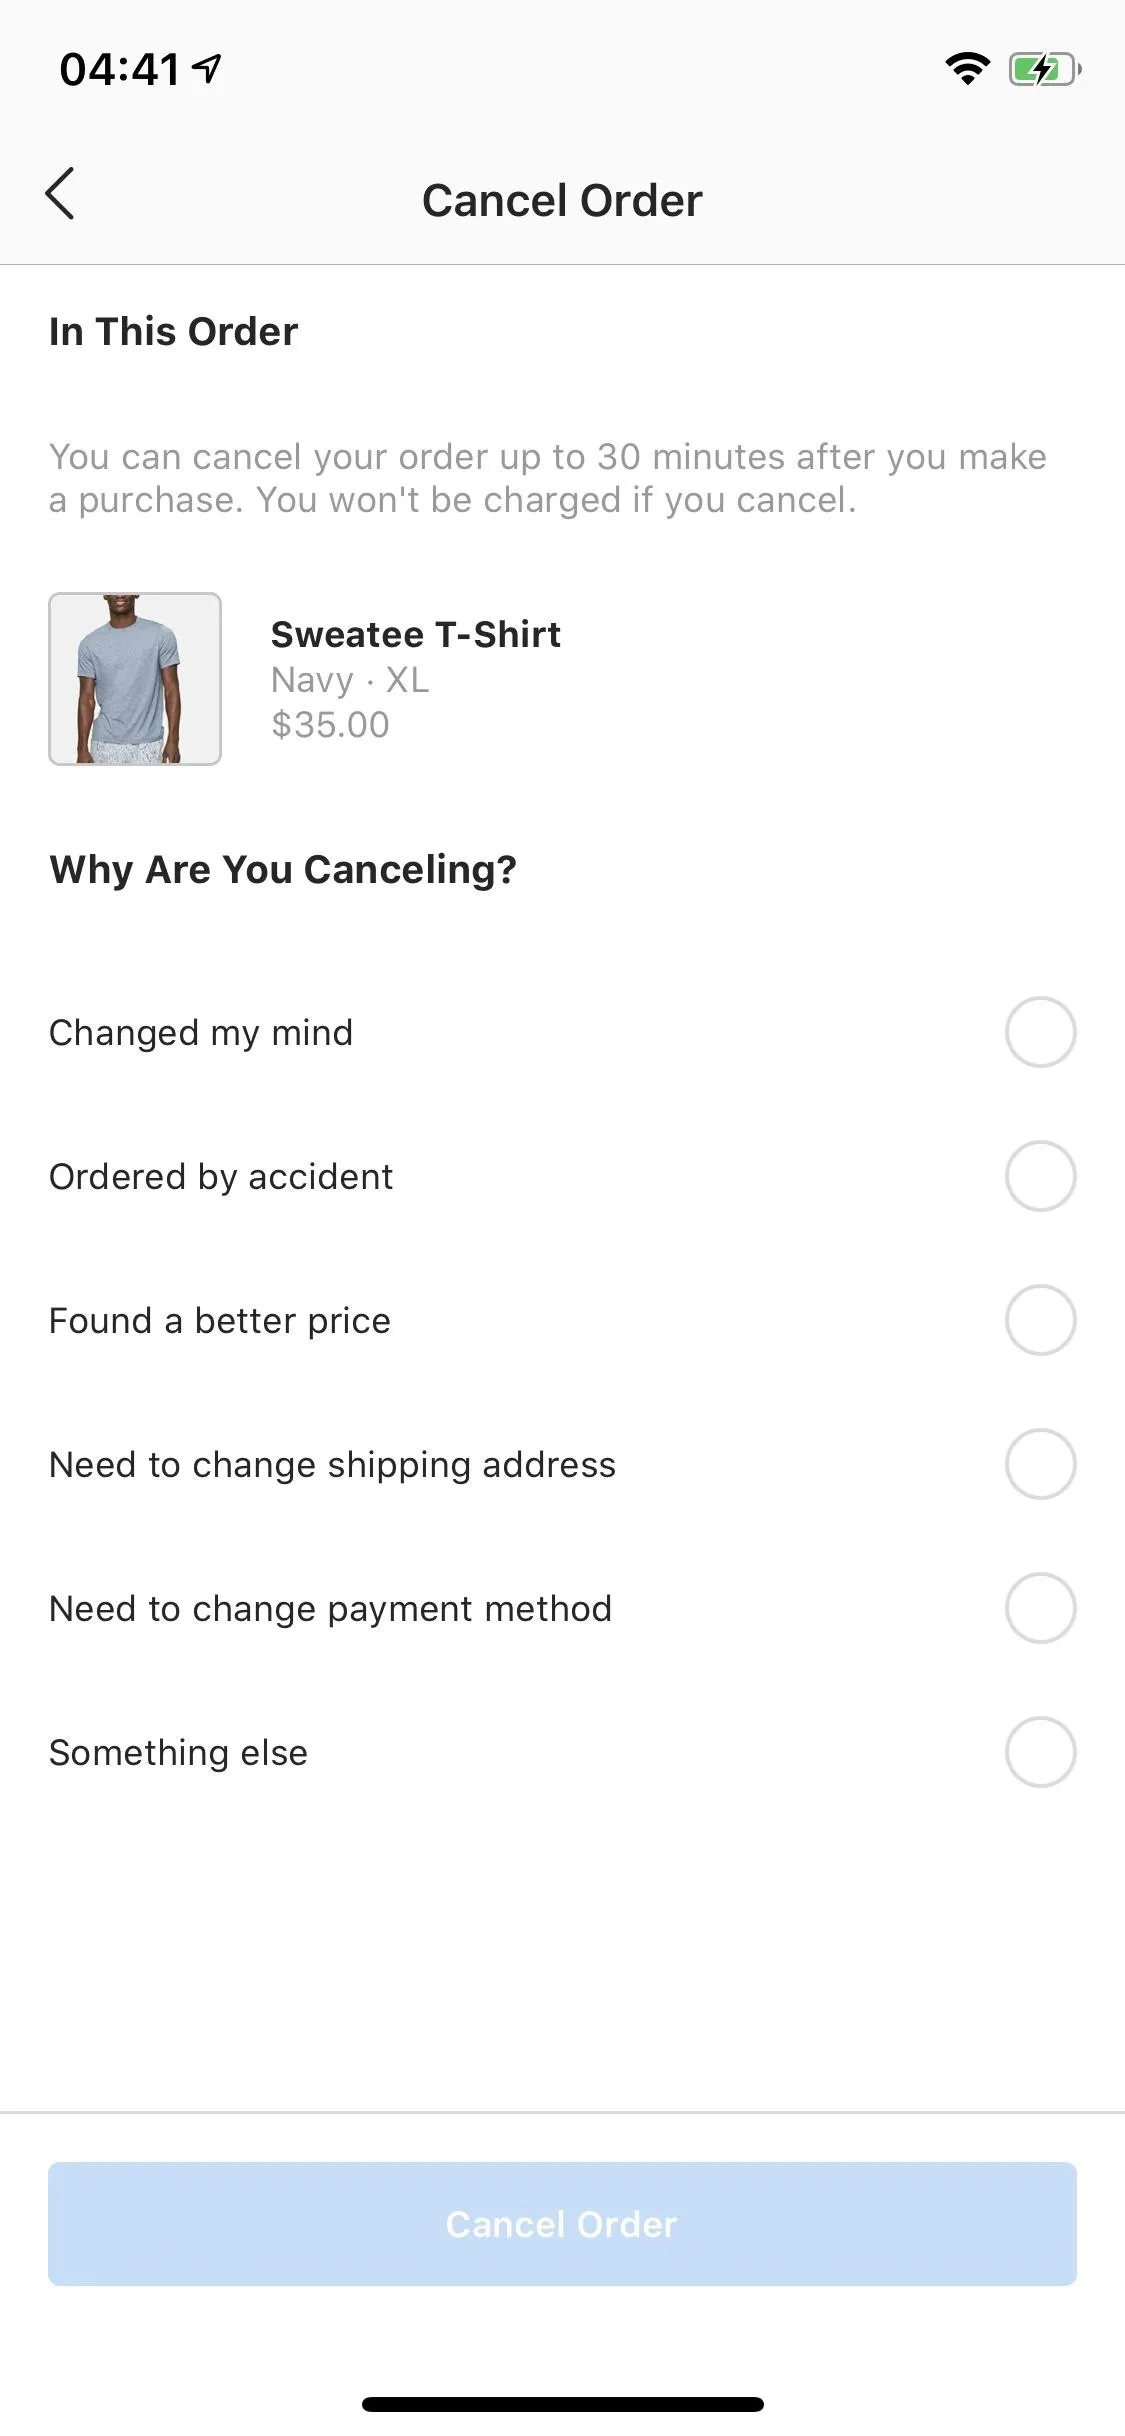
Choose the order in question, and you can view its status on its Details page. You can also tap "Cancellations" to cancel the purchase, which you have 30 minutes to do so after buying. After you've received the item, you can also tap "Returns" to start a return, if necessary, and the return policies differ per store.
Remove Your Payment & Shipping Info (Optional)
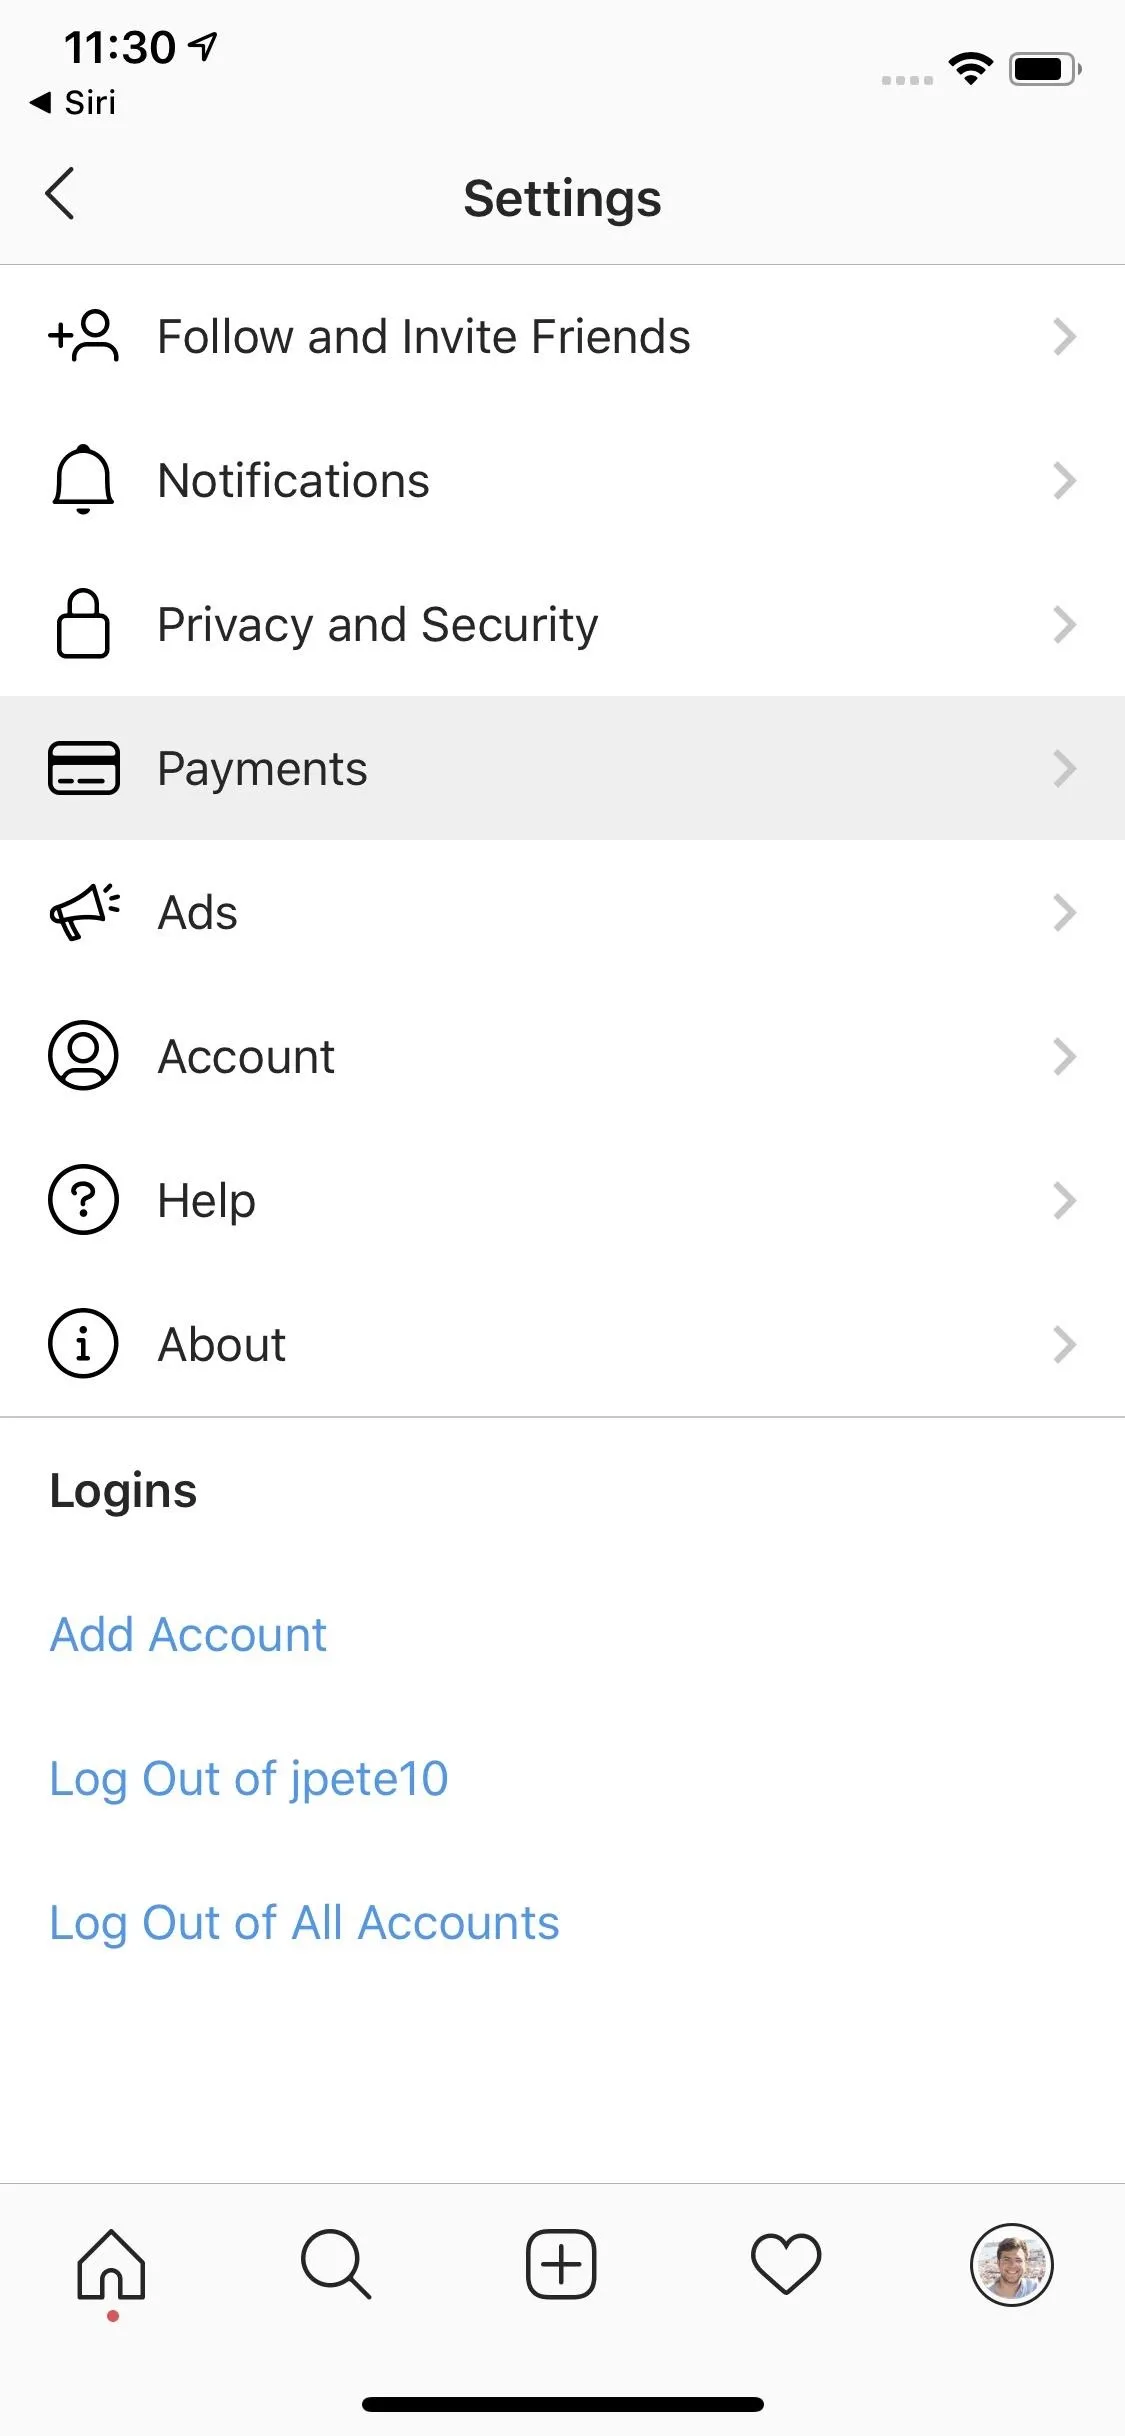
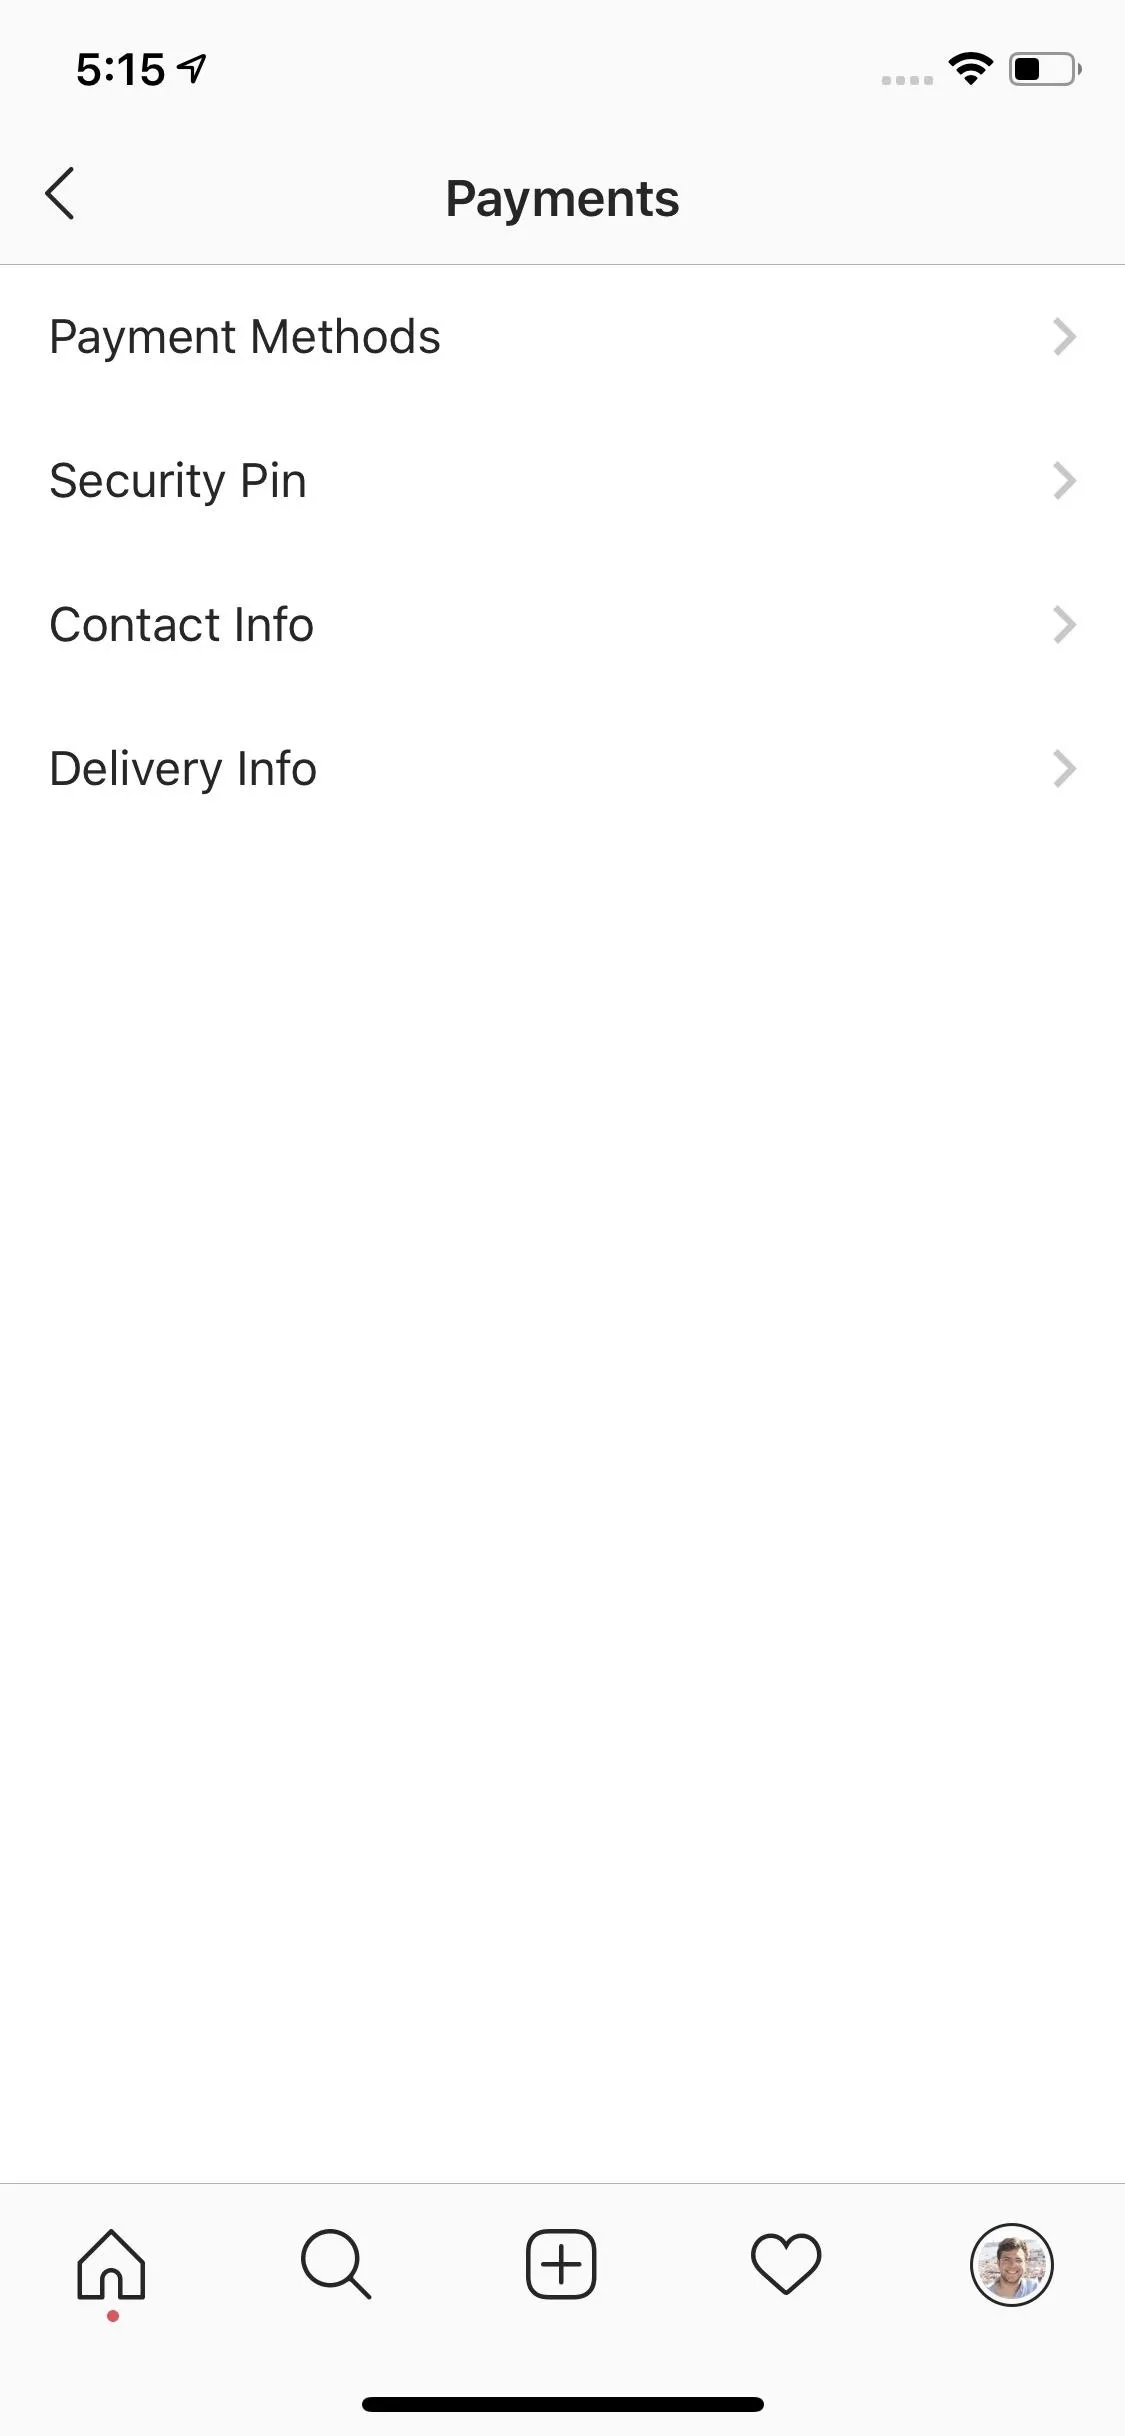
If you decide you don't want your newly entered information attached to your Instagram account, you can remove it at any time. Tap your profile icon in the bottom right, then tap the hamburger menu icon in the top right. Tap "Settings" then "Payments," and you'll find all of the information you entered above under " Payment Methods," "Contact Info," and "Delivery Info."
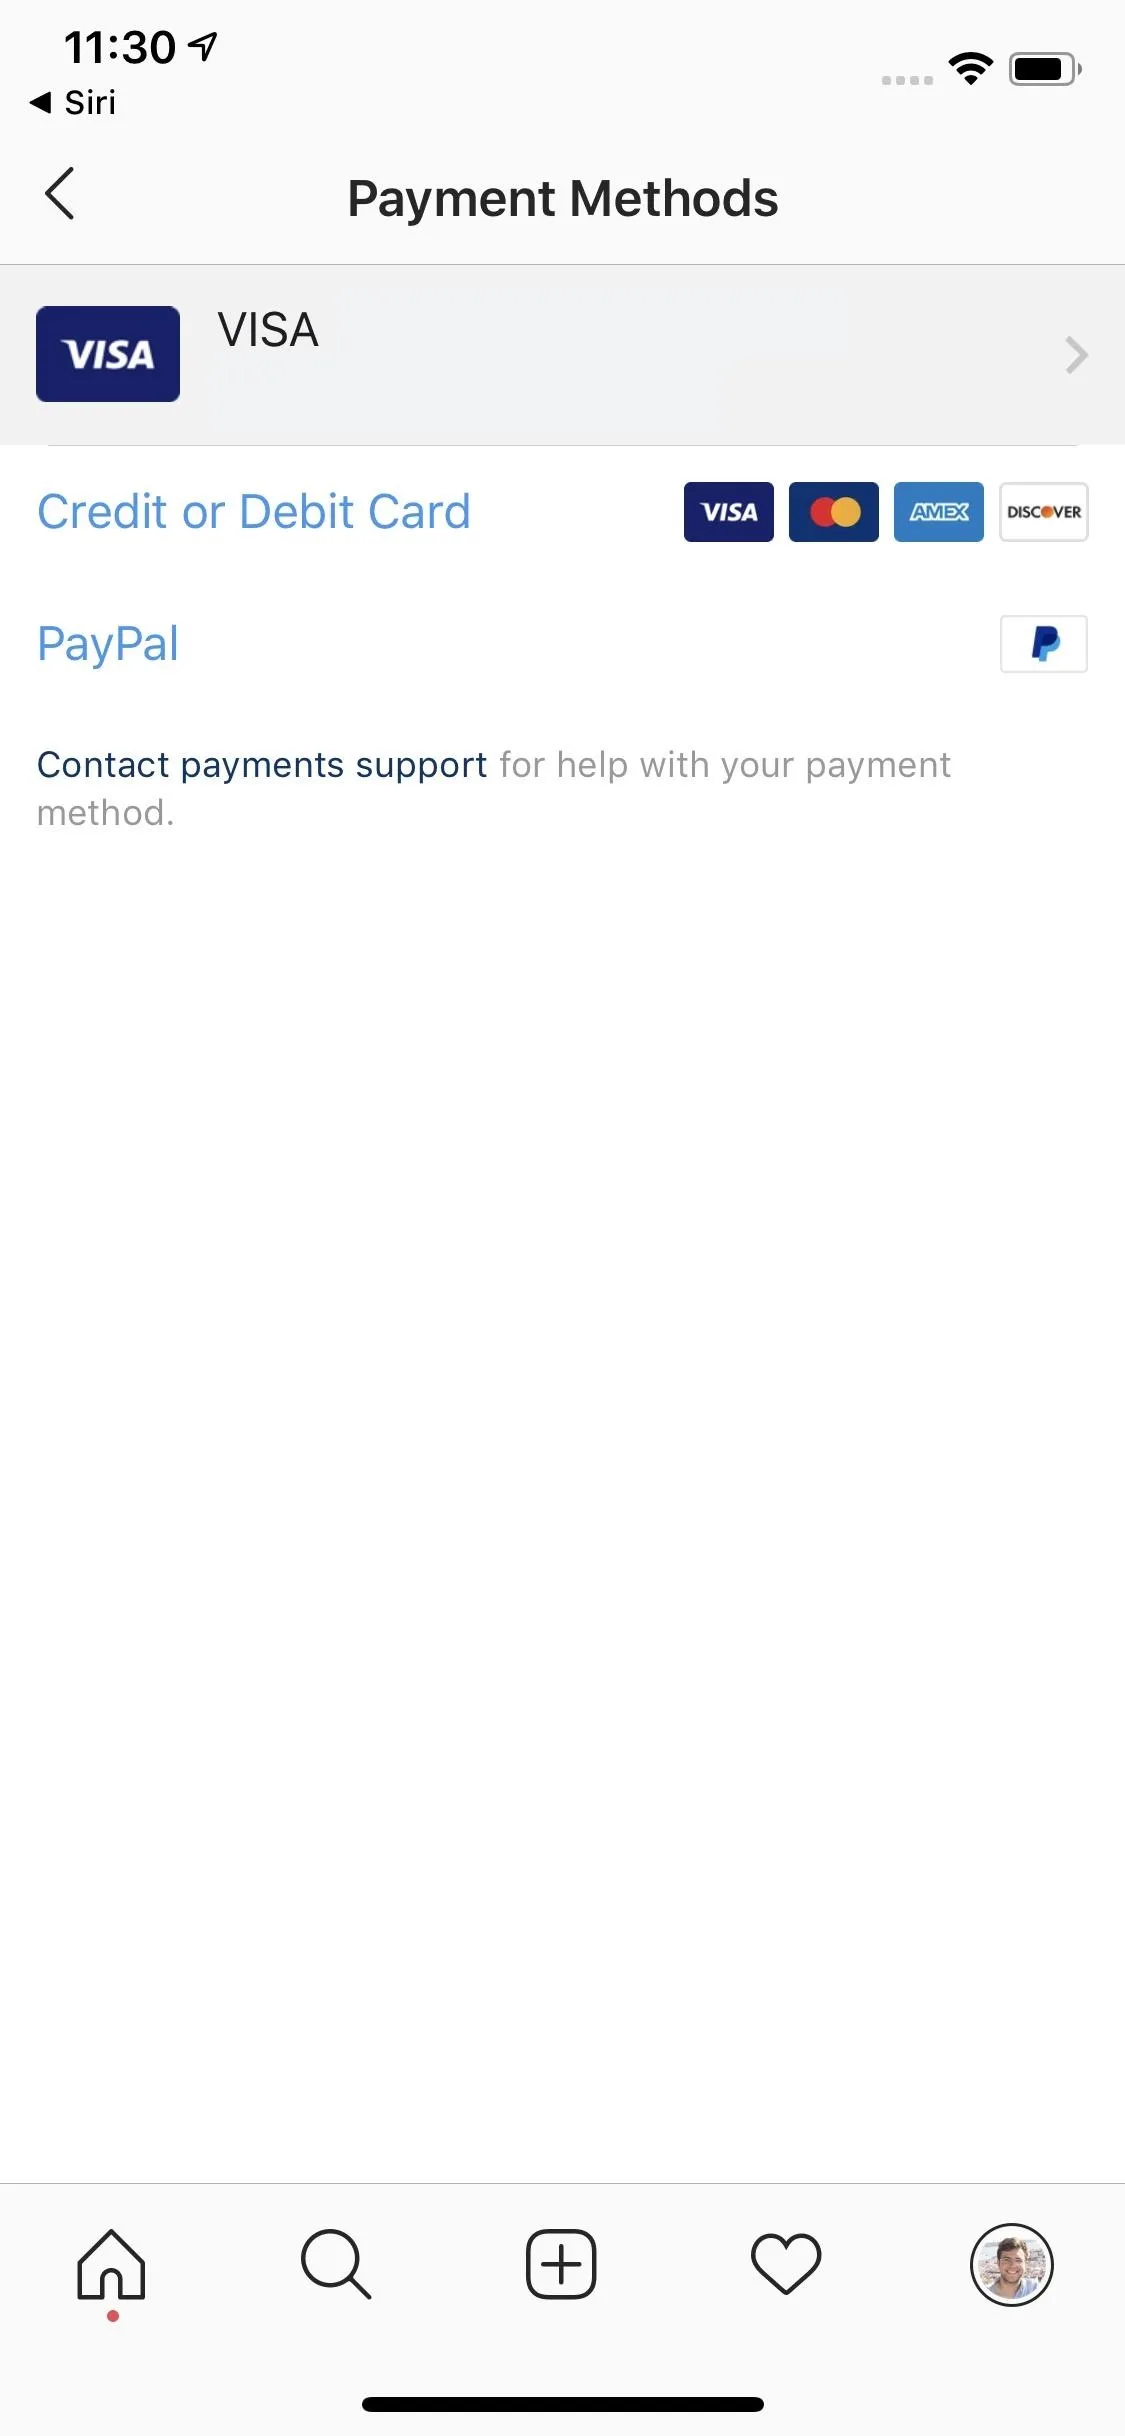
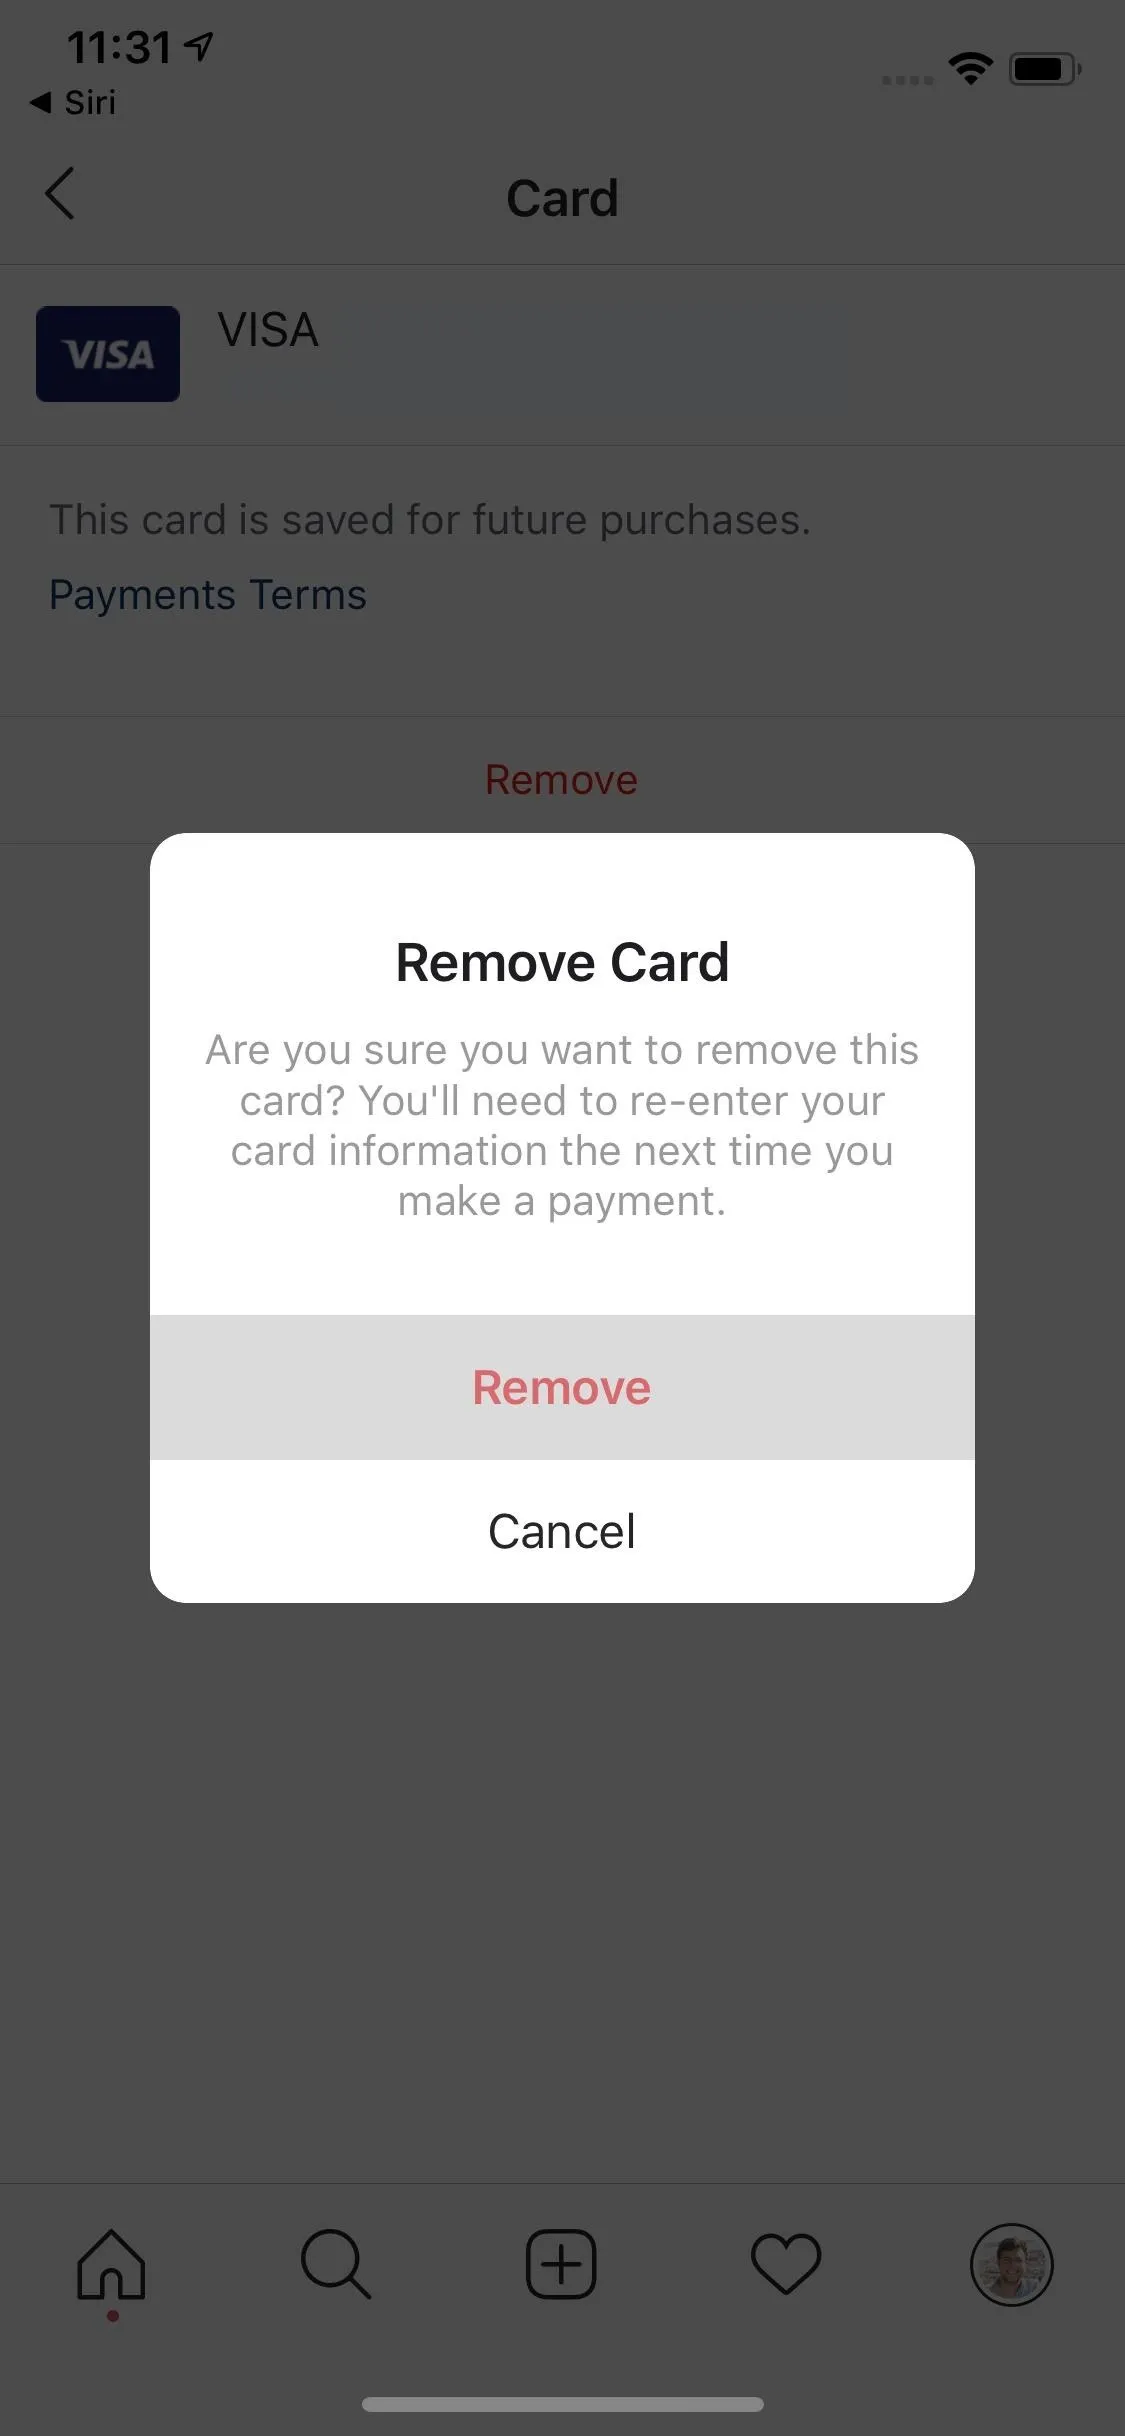
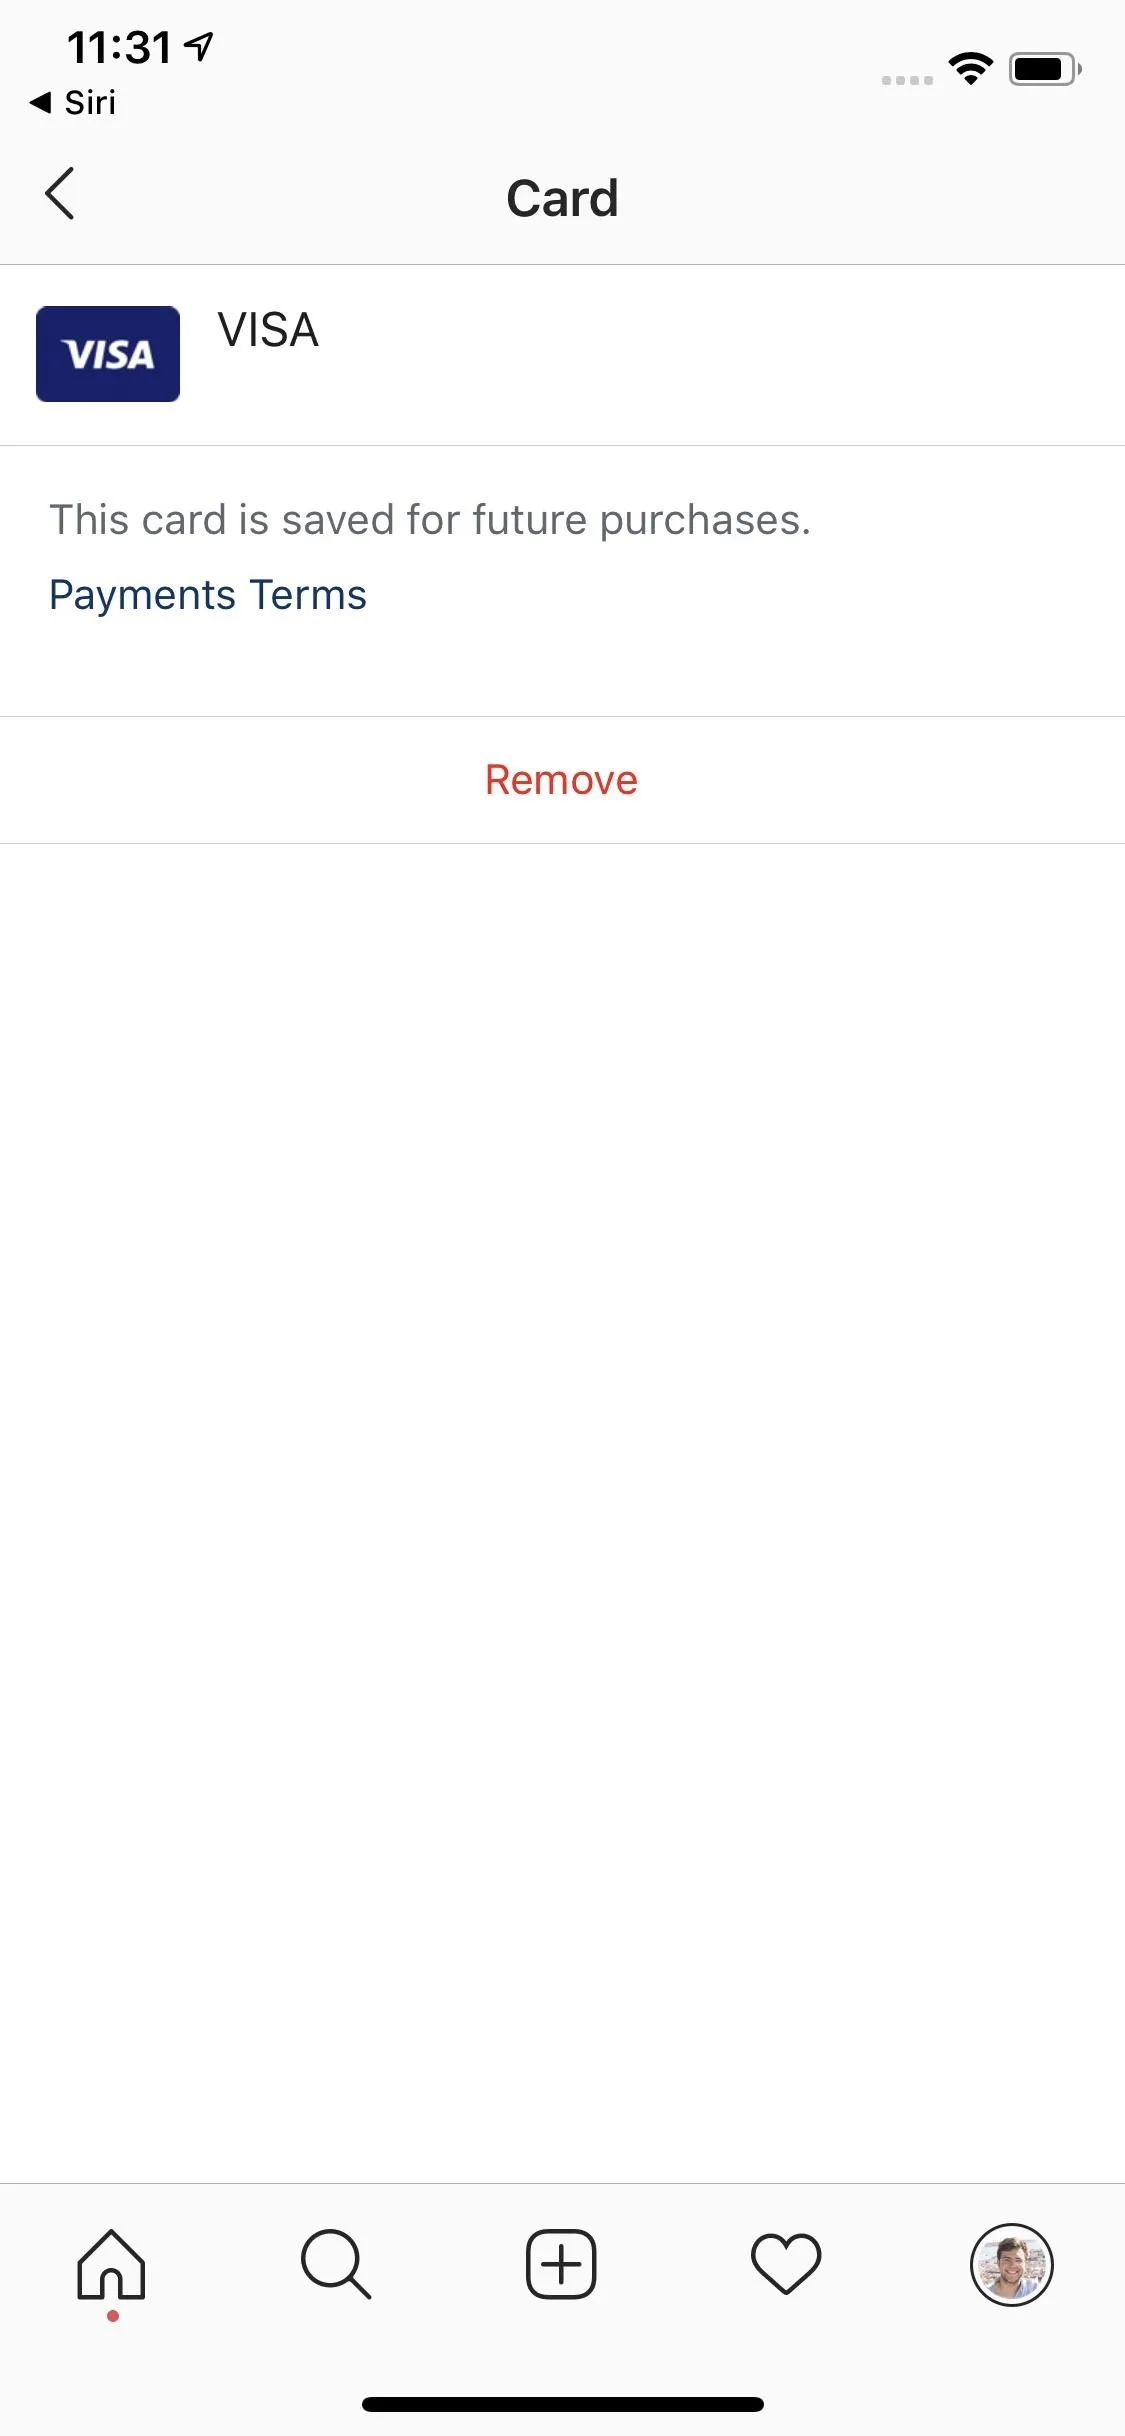
While the information is separated into different pages, deleting each is precisely the same. Take "Payment Methods," for example. Tap the payment you want to delete. Then, on the following page, tap "Remove." Finally, tap "Remove" once more, and your payment details will be wiped from your account.
This article was produced during Gadget Hacks' special coverage on becoming a social media expert on your phone. Check out the whole Social Media series.
Cover image, screenshots, and GIFs by Jake Peterson/Gadget Hacks


Comments
Be the first, drop a comment!