Two-factor authentication (also known as 2FA) adds a necessary additional layer of security to your username and password in many important apps. On Instagram, 2FA requires you to confirm it's you attempting to log in, with a special code sent to you via text message. Enter the code and you're in ... but what happens when you need to log in and don't have access to your phone?
Although Instagram recently announced support for third-party authentication apps like Google Authenticator and Authy, which can be used for 2-step verification in place of a phone number, it still requires your smartphone or tablet, which is an issue if your device is stolen or lost. Fortunately, there is a simple way to log back in to your account with 2FA thanks to the use of Instagram's recovery codes — a nifty feature that doesn't require your device.
Enable 2-Factor Authentication
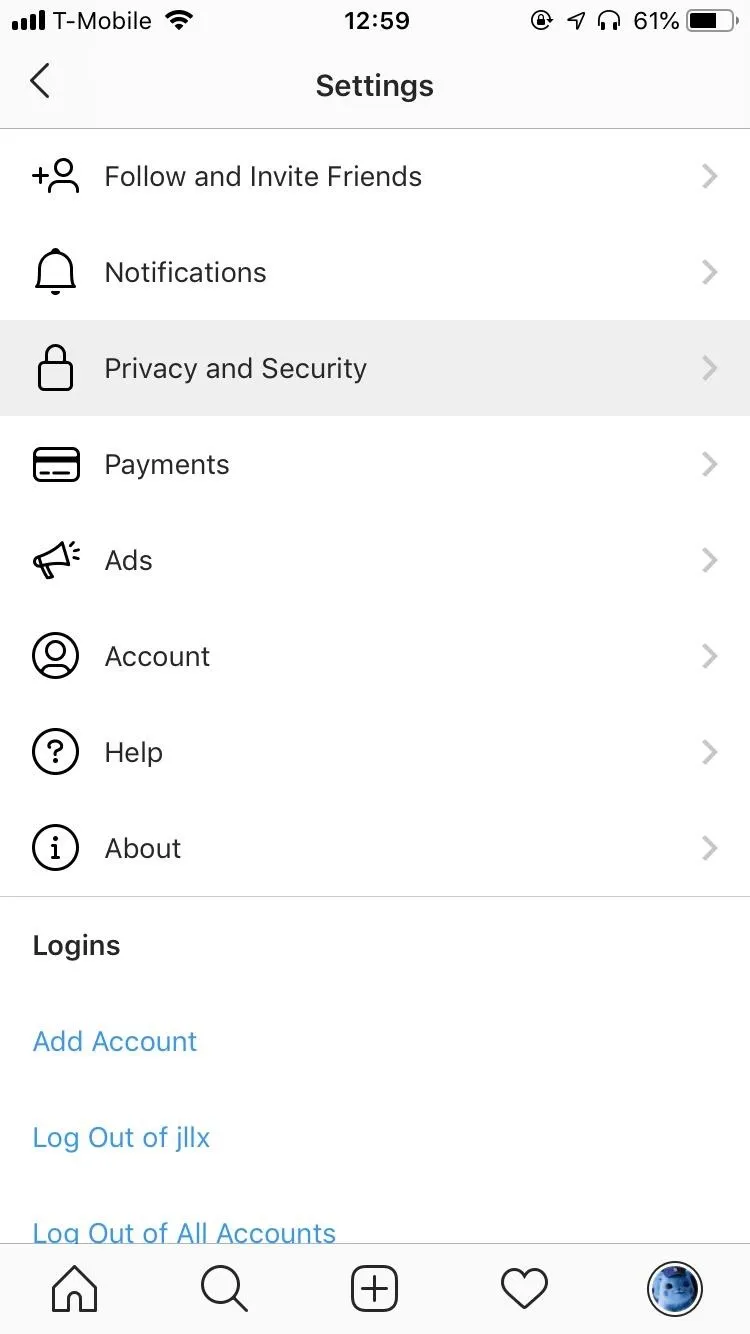
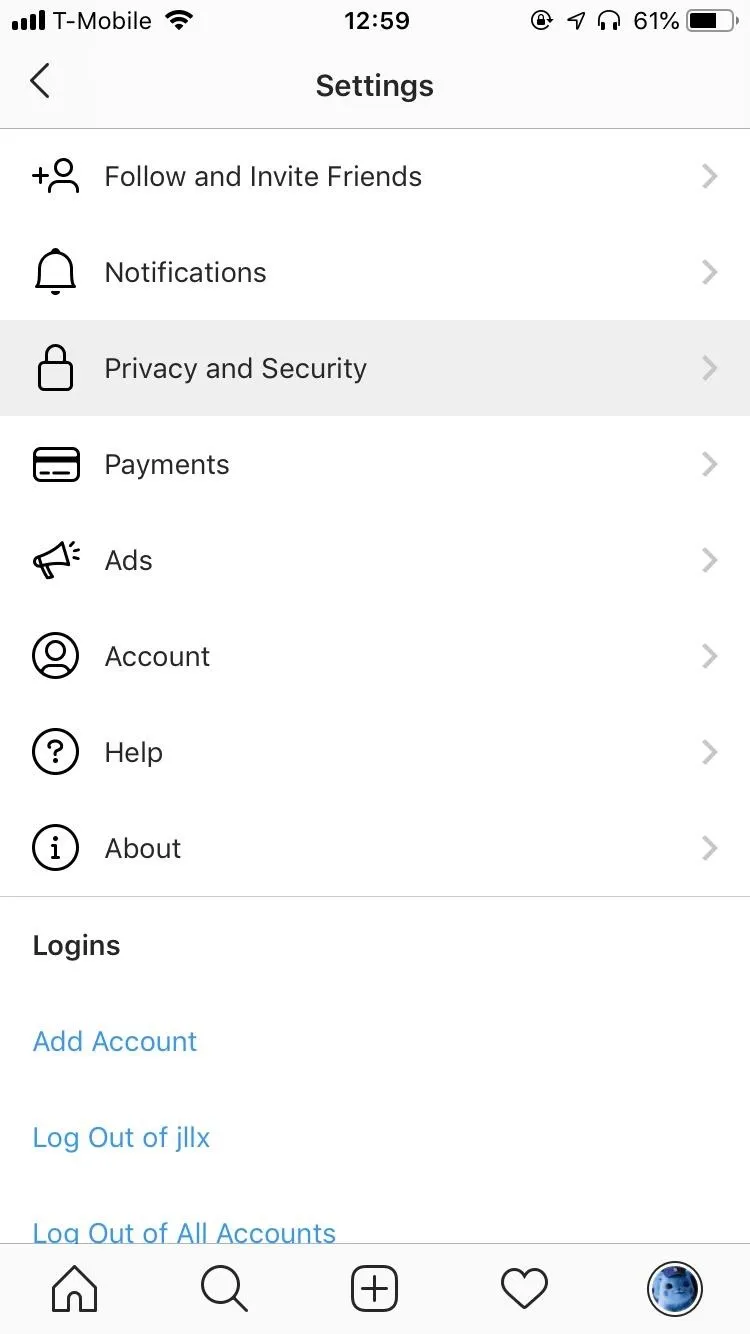
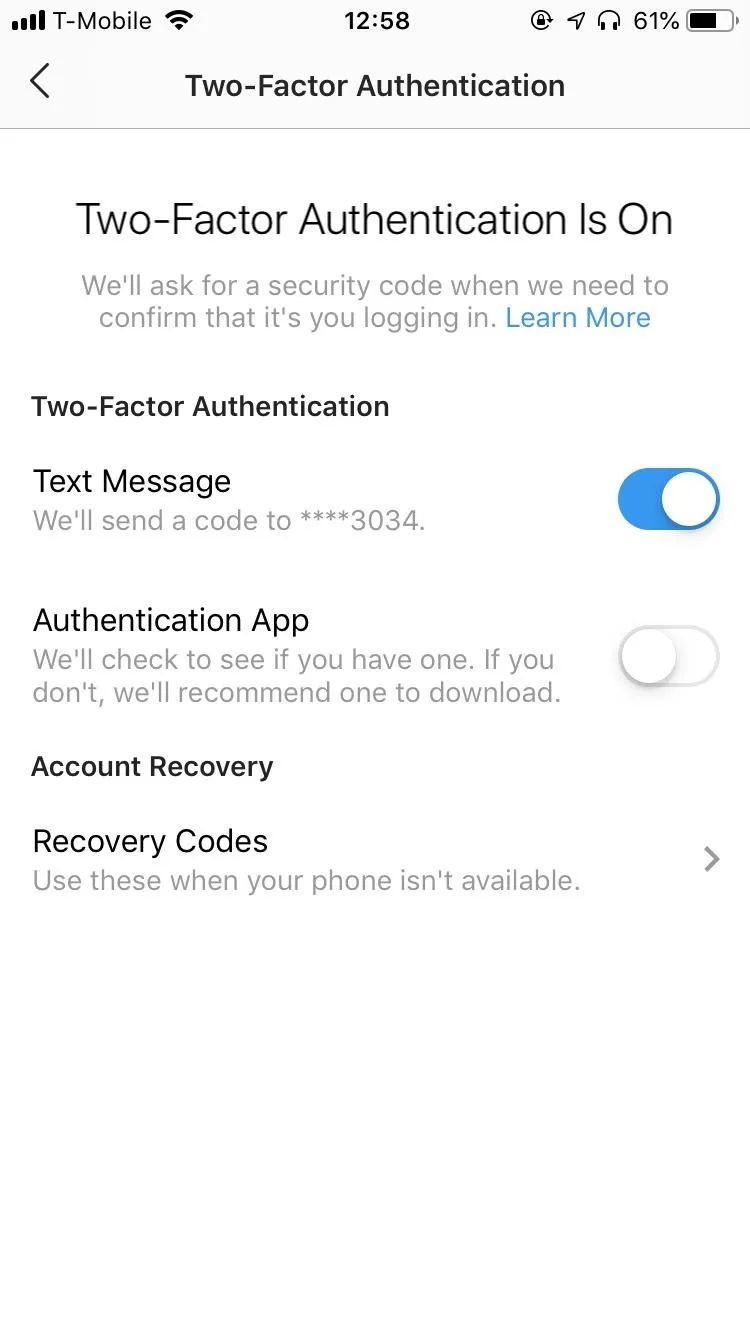
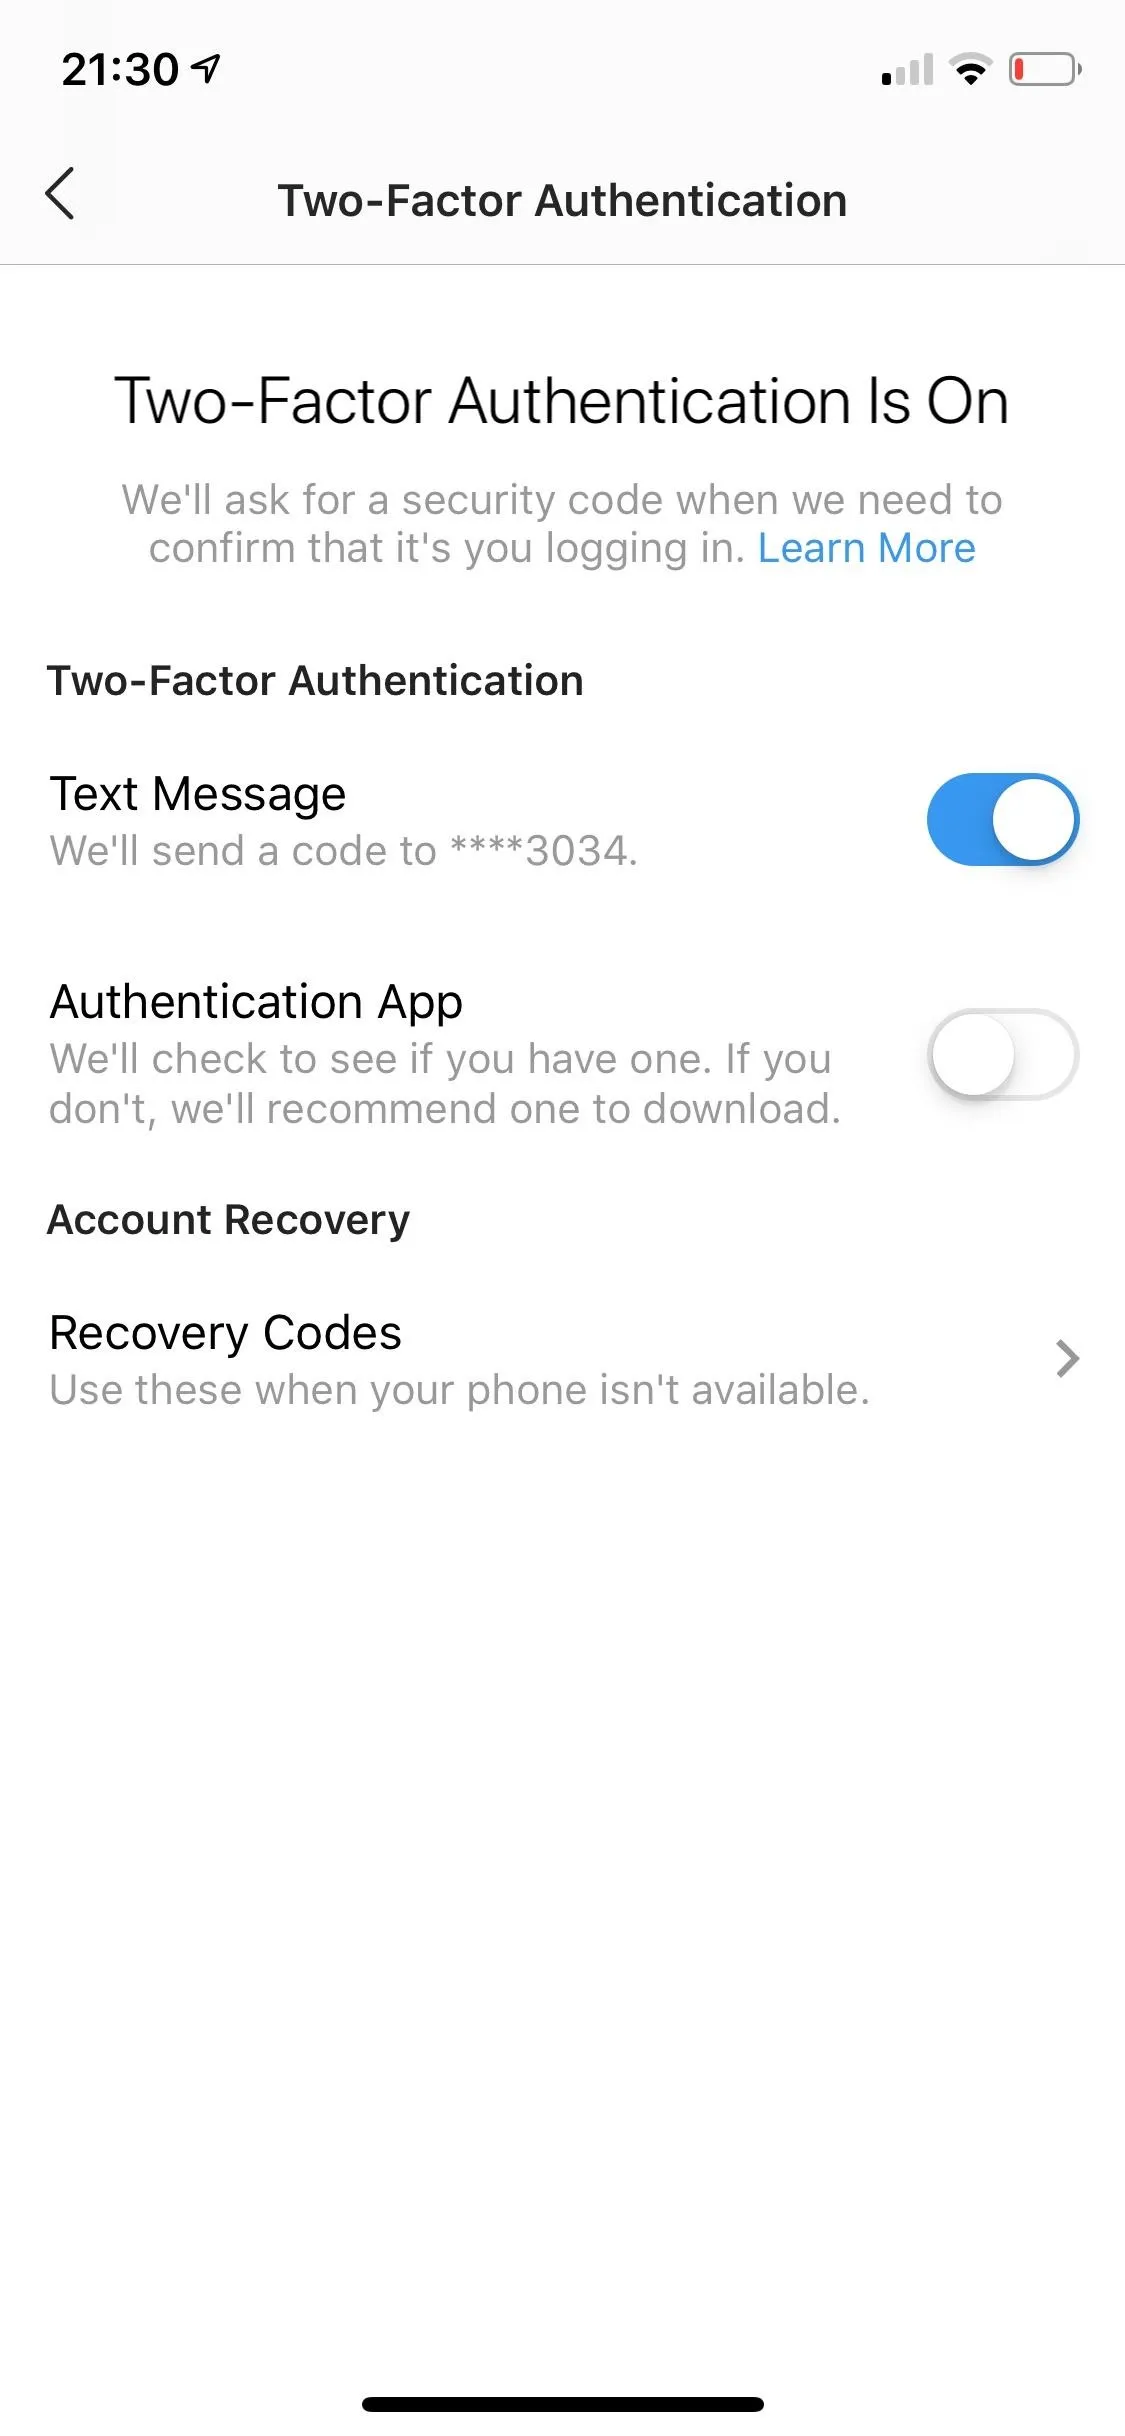
If you already have 2-factor authentication enabled on Instagram, skip to Step 2. If you don't, you must turn it on to be able to use the recovery codes. To do this, open Instagram, tap on your profile picture at the bottom-right, then on the three-dash menu at the top right, and finally on "Settings." Go into "Privacy and Security," scroll down, and tap on "Two-Factor Authentication." Toggle it on to enable it.


Access Your Instagram Recovery Codes
To access your recovery codes, open Instagram, tap on your profile picture at the bottom right, hit the three-dash menu at the top right, and go into "Settings". Go to "Privacy and Security" and tap on "Two-Factor Authentication." Tap on "Recovery Codes" and you'll see a list of five different numbers, each eight digits long.
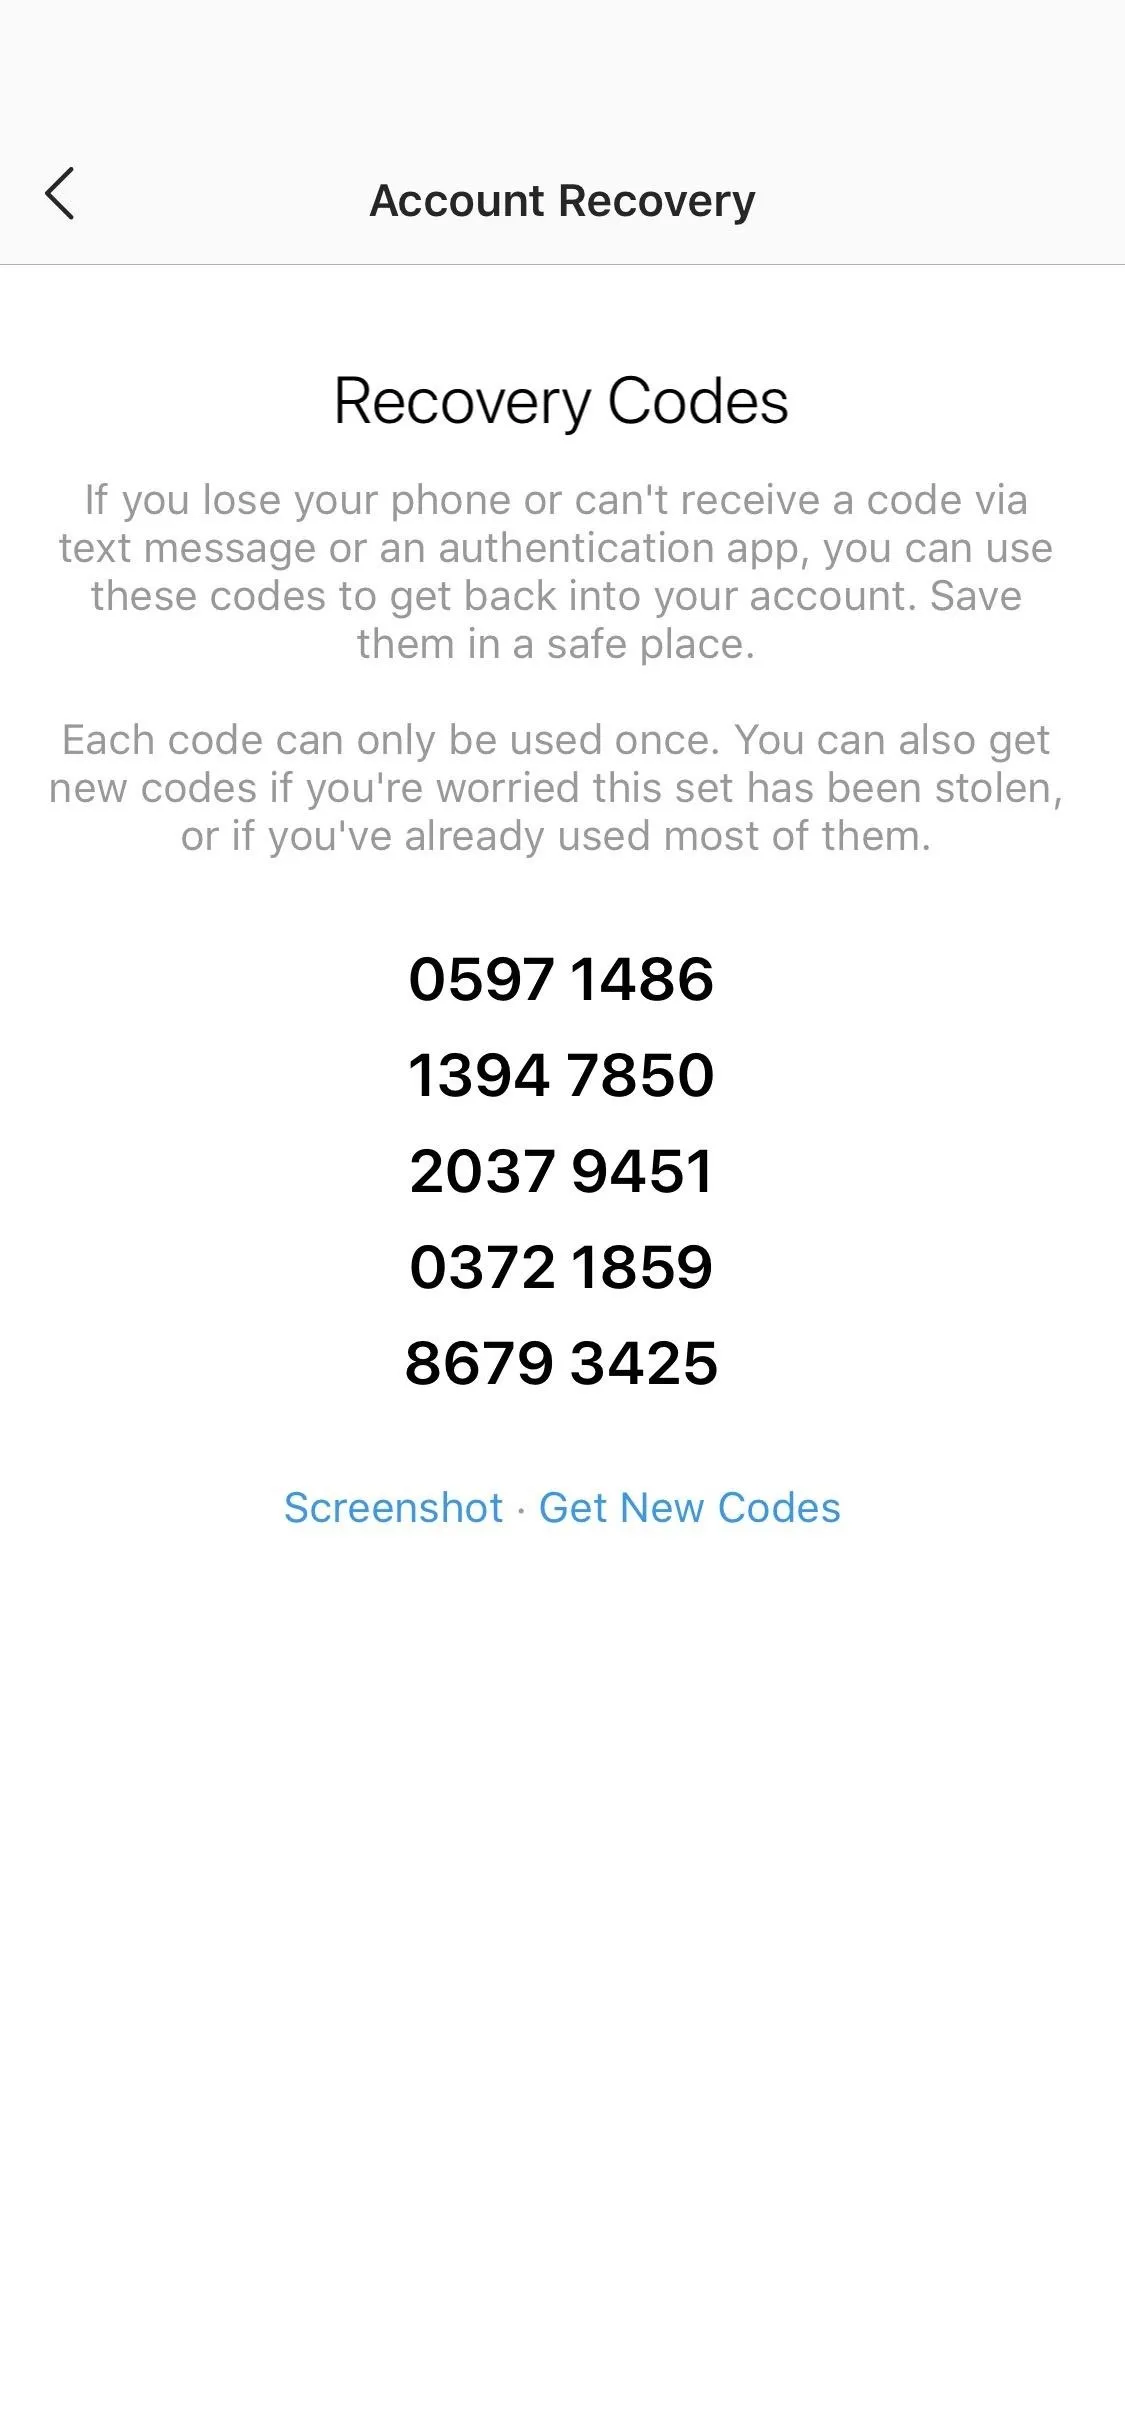


Underneath the codes, you have the option to screenshot your codes, as well as get new codes. If you decide to screenshot your codes, one of the best ways to keep track of them is to email the screenshot to yourself and add a few keywords into the email (e.g., Instagram, recovery codes) so you can easily find it later on. You can also upload the screenshot to your iCloud or Google Photos, although it might be hard to find if you have thousands of photos.
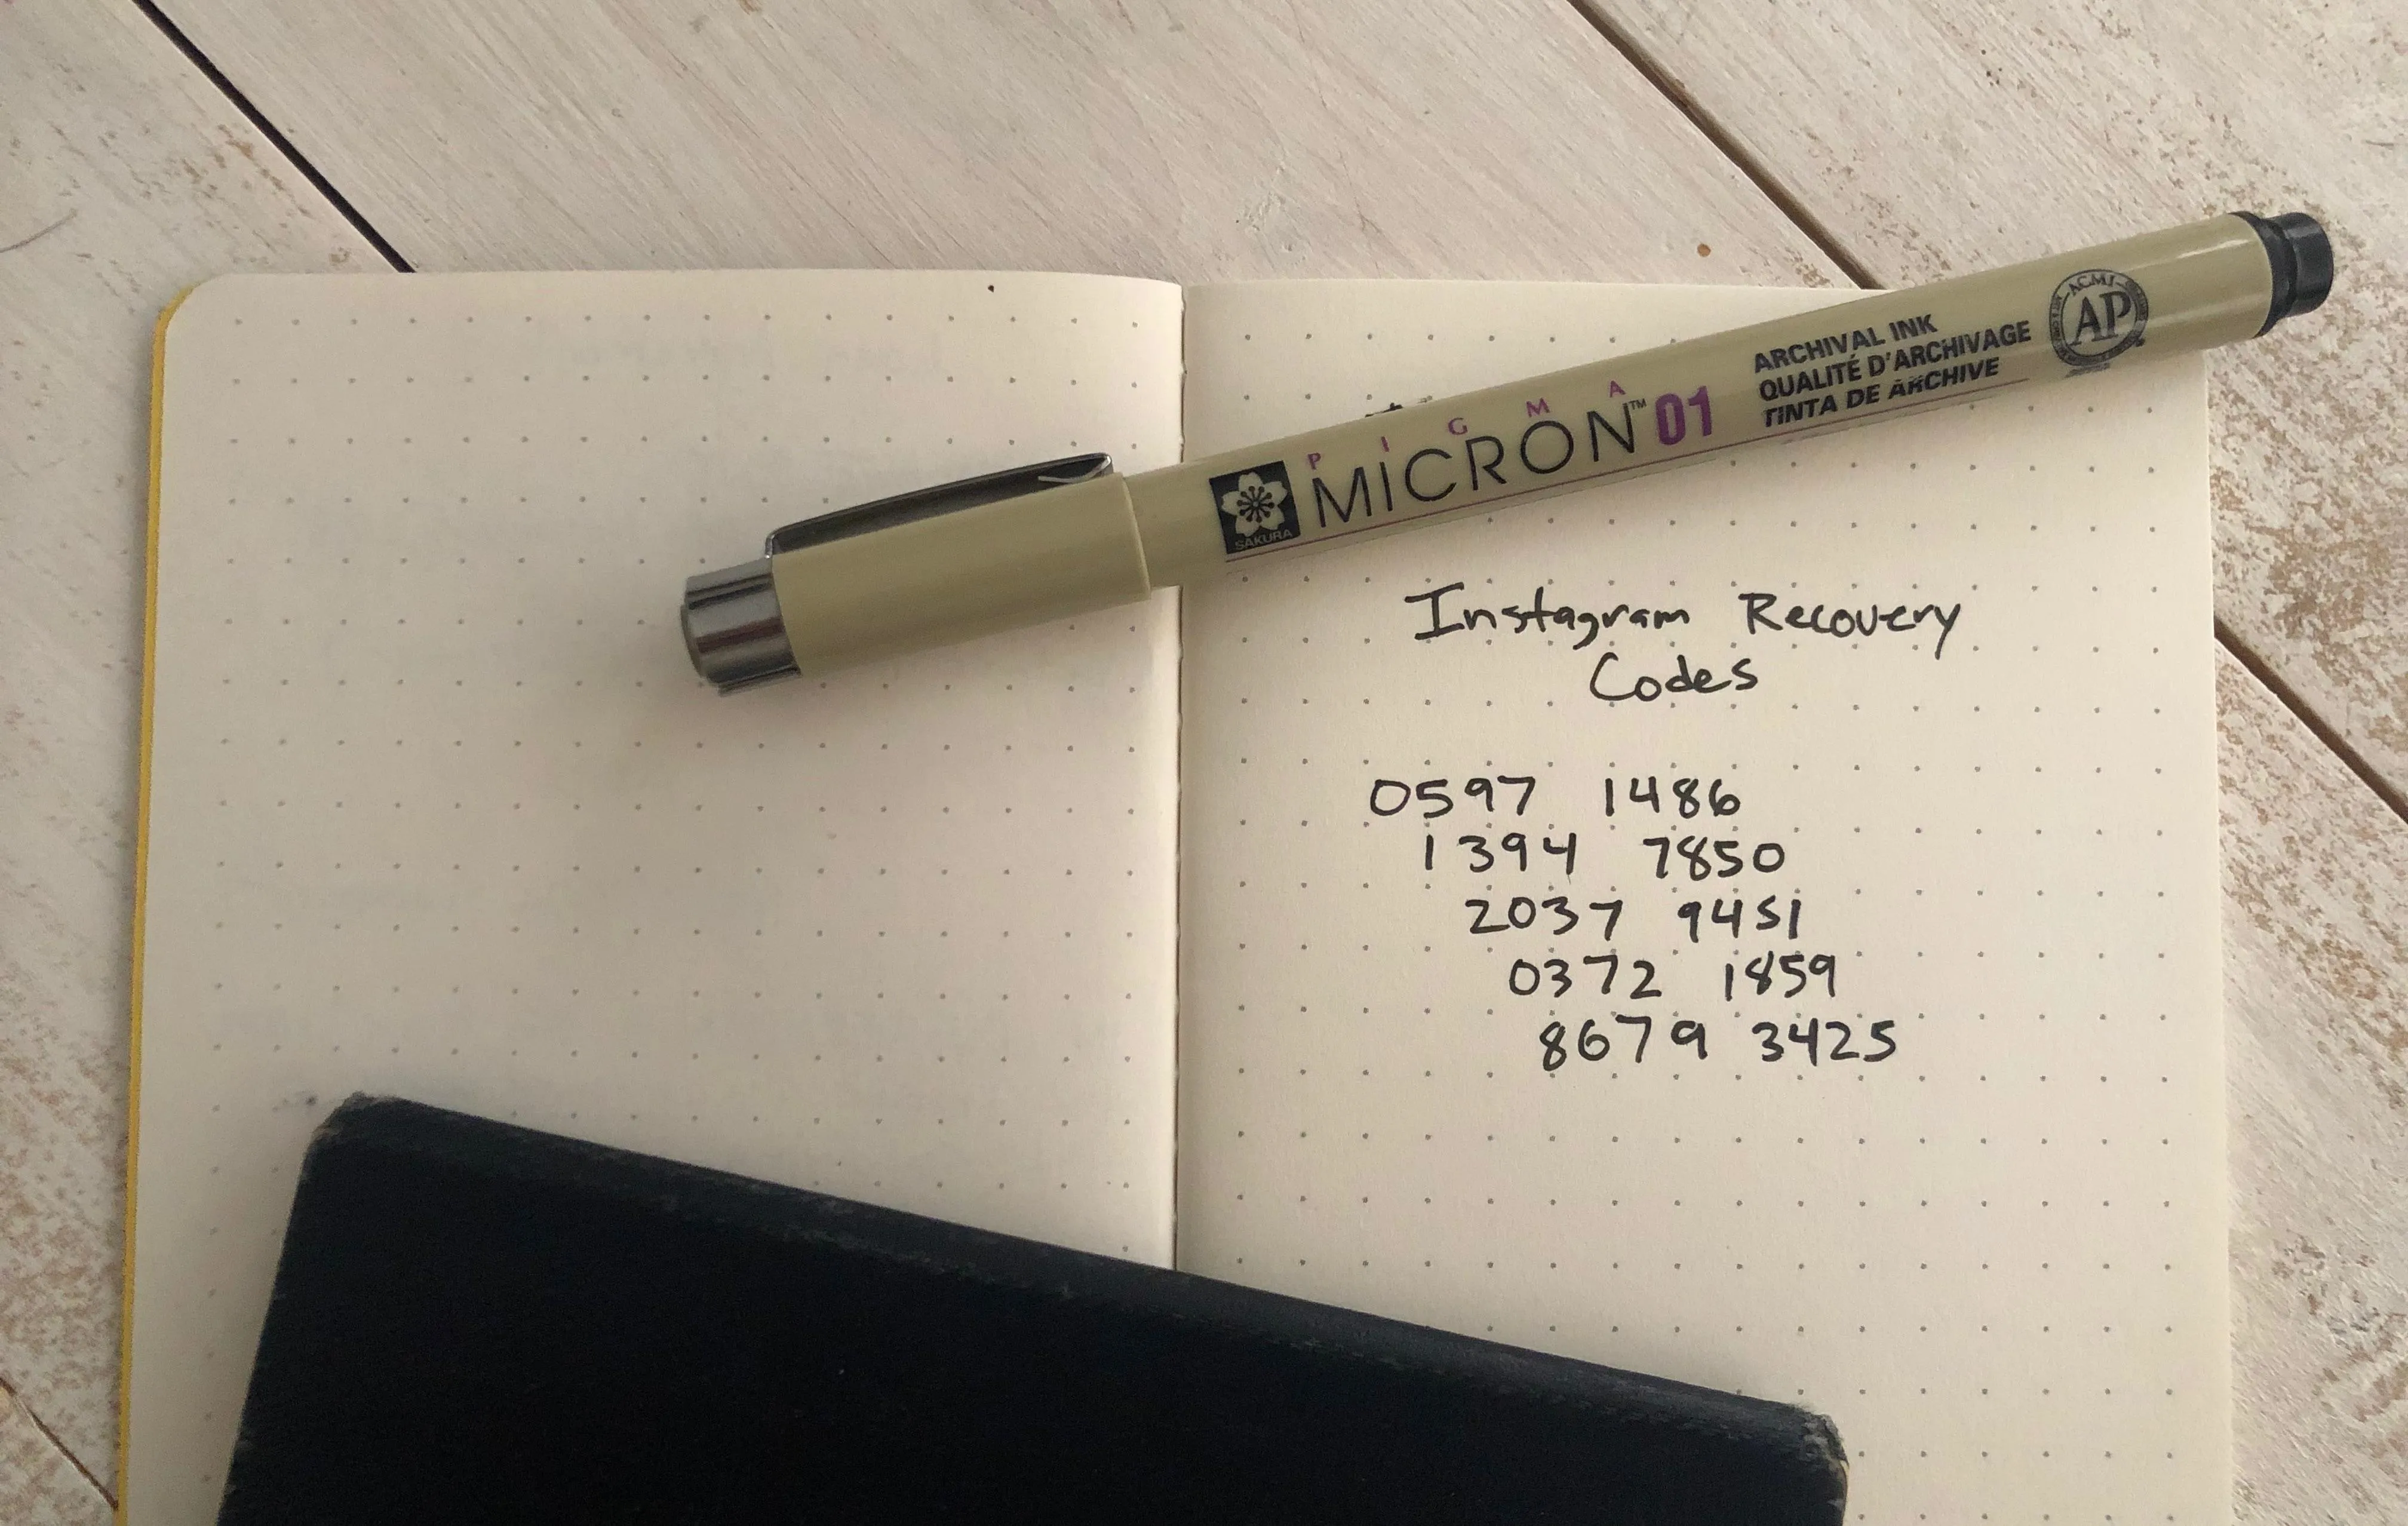
Aside from screenshots, you can also copy the codes into a password manager:Lastpass, which has top-notch security, is one of you best options if you don't currently use a password manager. You can also write the codes down. However, if you write the codes down somewhere, keep them safe. If someone steals your recovery codes, it makes it easier for them to log in to your account. If someone does manage to access your recovery codes, use "Get New Codes" to cancel your old recovery codes and get a new set.
Use Your Recovery Codes to Log In
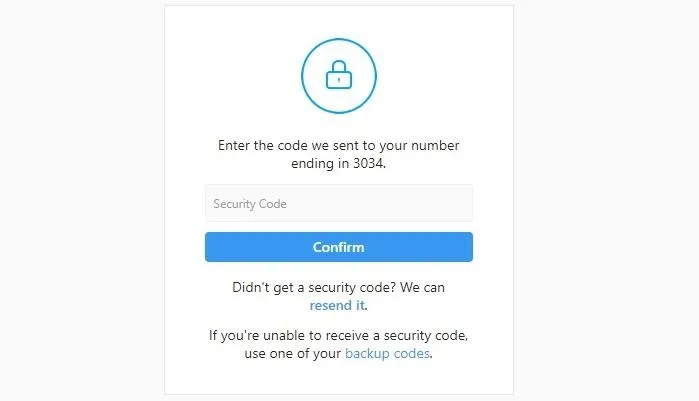
With your recovery codes, you can log in to your Instagram on another device, including your computer, without needing the text message code sent to your phone. Simply log in to Instagram like normal and enter any one of the 8-digit recovery codes (without spaces) when prompted.
It's important to note that each code can only be used once. If you emailed the screenshot with the recovery codes to yourself, good way to keep track of which code you've used is to reply a number to your email, in correspondence to the list. For example, if you use your first recovery code on the list, reply "1" to your email so you know that the first one has been used. Once you use up all your codes, get a new set.
Although writing down recovery codes to access your Instagram may seem a bit overboard, it is absolutely not, especially when hackers can steal your phone number, tie it to a new SIM card, and potentially access your accounts that use two-factor authentication. Better to be safe than sorry.
- Follow Gadget Hacks on Pinterest, Reddit, Twitter, YouTube, and Flipboard
- Sign up for Gadget Hacks' daily newsletter or weekly Android and iOS updates
- Follow WonderHowTo on Facebook, Twitter, Pinterest, and Flipboard
Cover image, screenshots, and photos by Nelson Aguilar/Gadget Hacks






Comments
Be the first, drop a comment!