


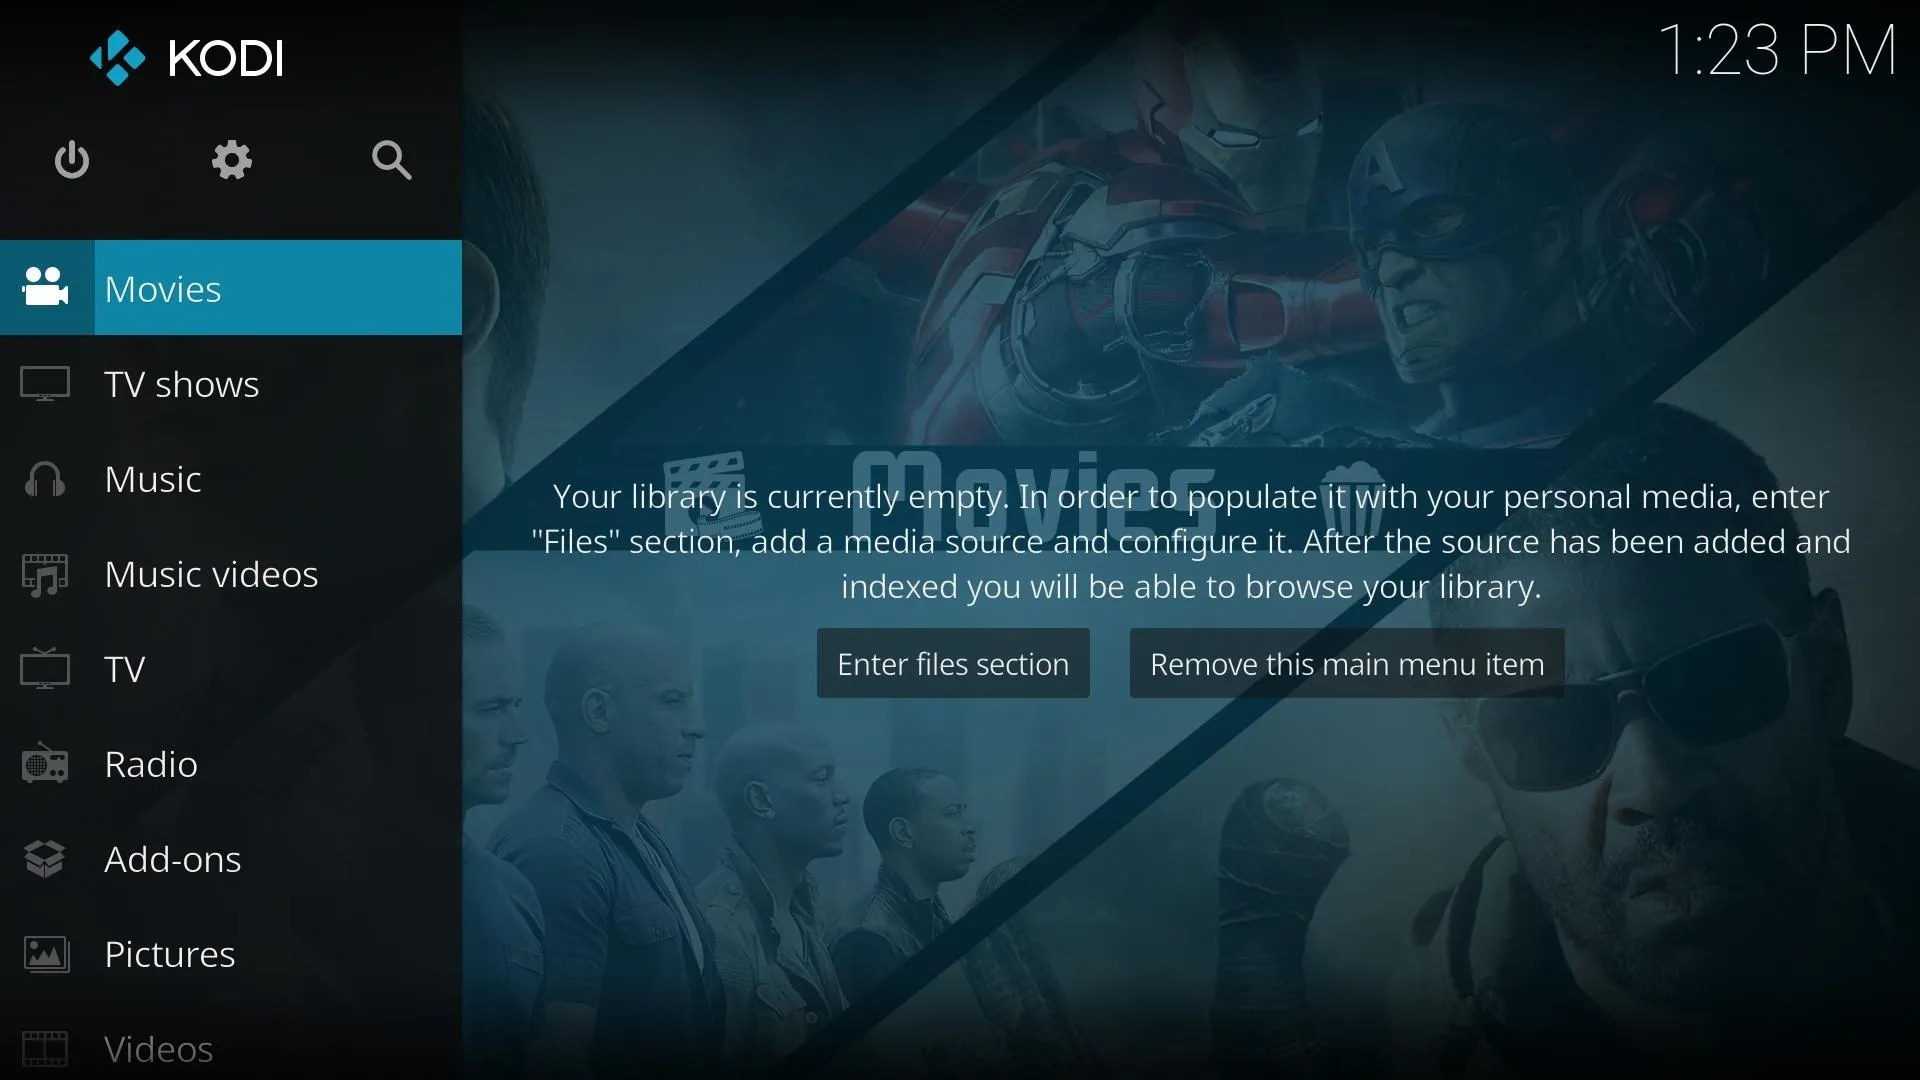
The default look for Kodi is a menu that shows all of the possible media playback options available to the media player. From movies to radio, Kodi's main menu has an option to meet your needs. But everyone's needs are different, and sometimes we don't want all of these options.
Because of Kodi's versatility, it can be tailored to suit your individual needs. If you just want to use it to stream movies, Kodi lets you do that. Or if you're only interested in TV shows, you can remove the other menu items to put focus on what you actually care about. The best way to do this is by customizing the main menu.
Disable Unwanted Menu Items
First, open either Kodi for Android or Kodi for iPhone. If you don't want the app to show certain menu options, start by tapping the gear icon in the upper-left corner. Once the Settings menu is displayed, tap on "Skin settings." A list showing all main menu options will come up. Scroll through the options and disable whichever options you don't need.
Change the Background Pattern
Next, we'll take things a step further and customize the whole look of the main menu. From the Skin settings menu again, select "Artwork" in the side navigation menu. This offers several options for the background which will display throughout Kodi. By pressing "Choose background pattern," Kodi will show various background patterns that you can enable.
Below this option are three choices of background packs based on the image displayed. You have the option of either a "skin fanart," "weather fanart," or "genre fanart." When you choose one of these, you'll see a pop-up menu asking you to download an add-on. Press "Yes" to install it, which will return you to the previous menu.
From there, select your preferred "fanart" option again, then tap "Get more" to be presented with a list of icon packs and background packs to alter the look of Kodi. Choose the one you would like to use, then tap the "Install" button in the lower-right corner of the screen.
Please note that some background packs require the use of a particular skin. To learn how to switch skins in Kodi, just head to this link.
Change Overall Colors
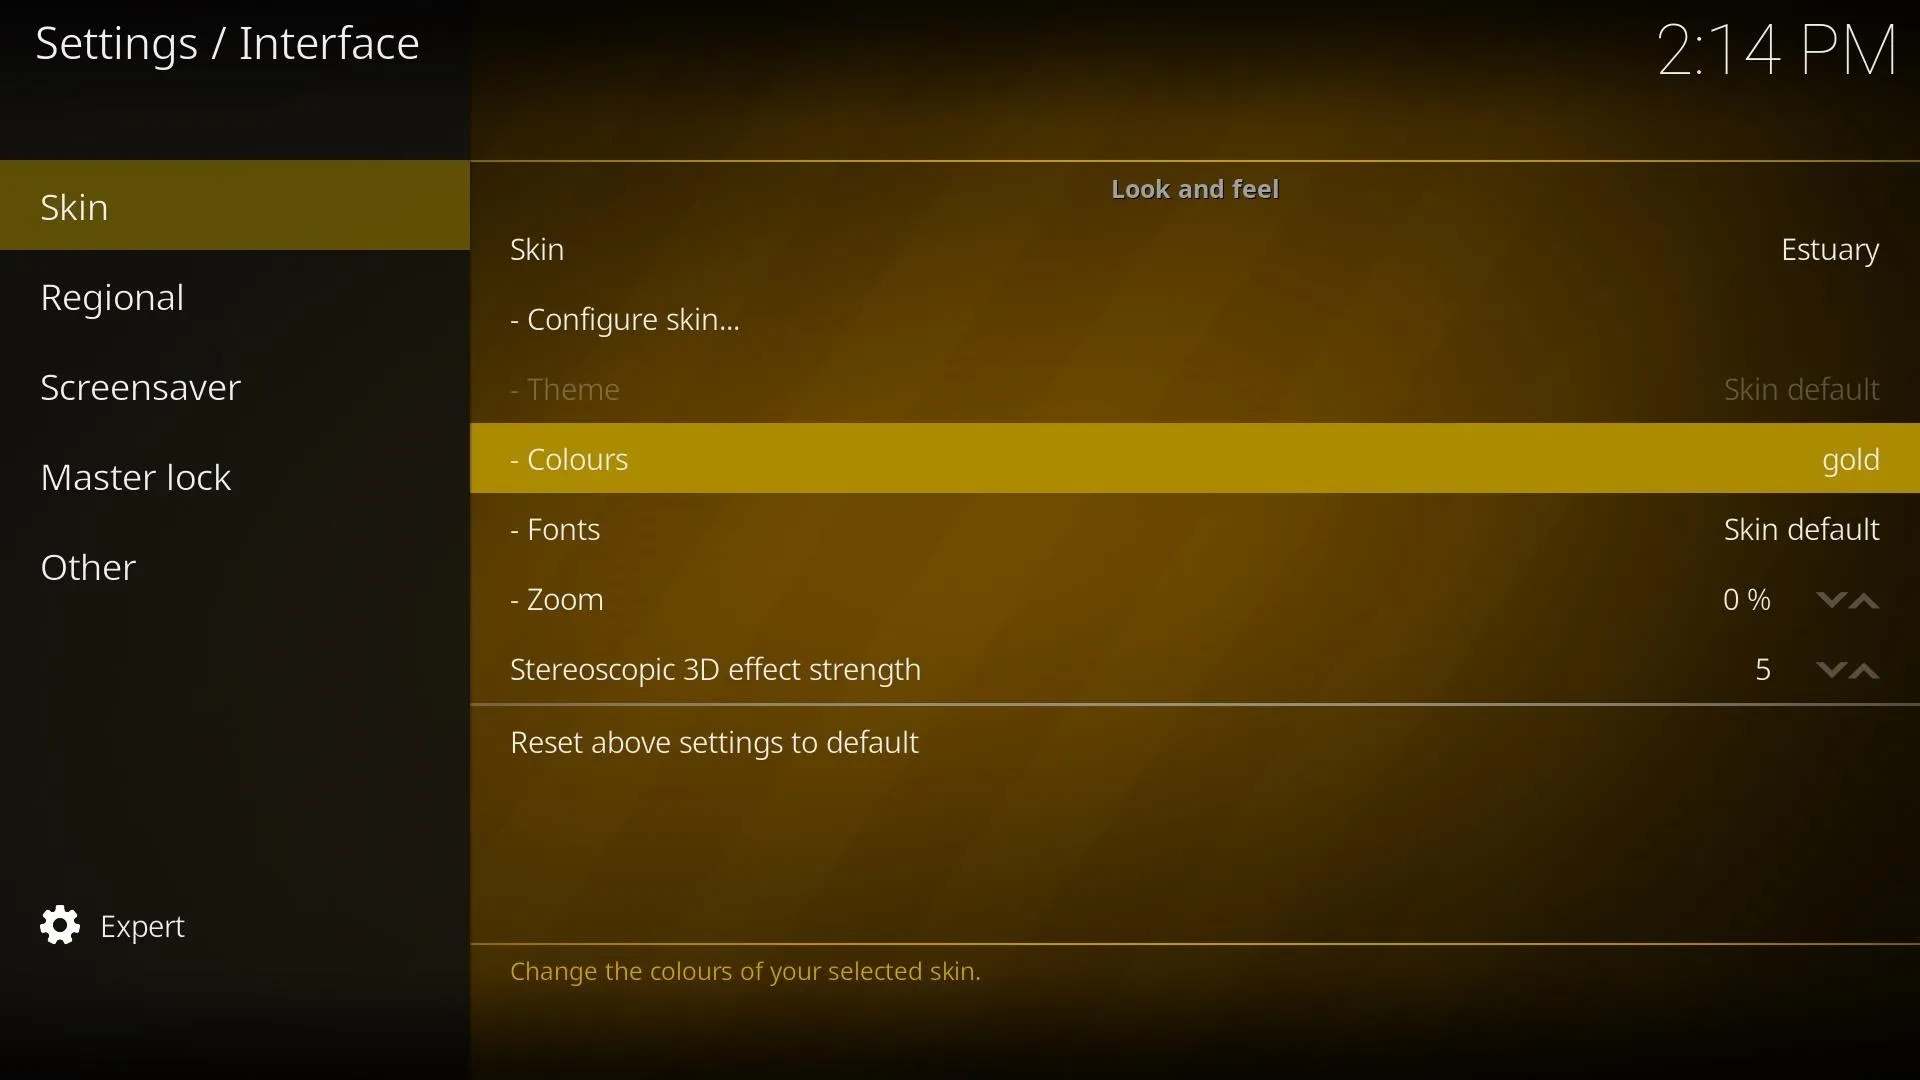
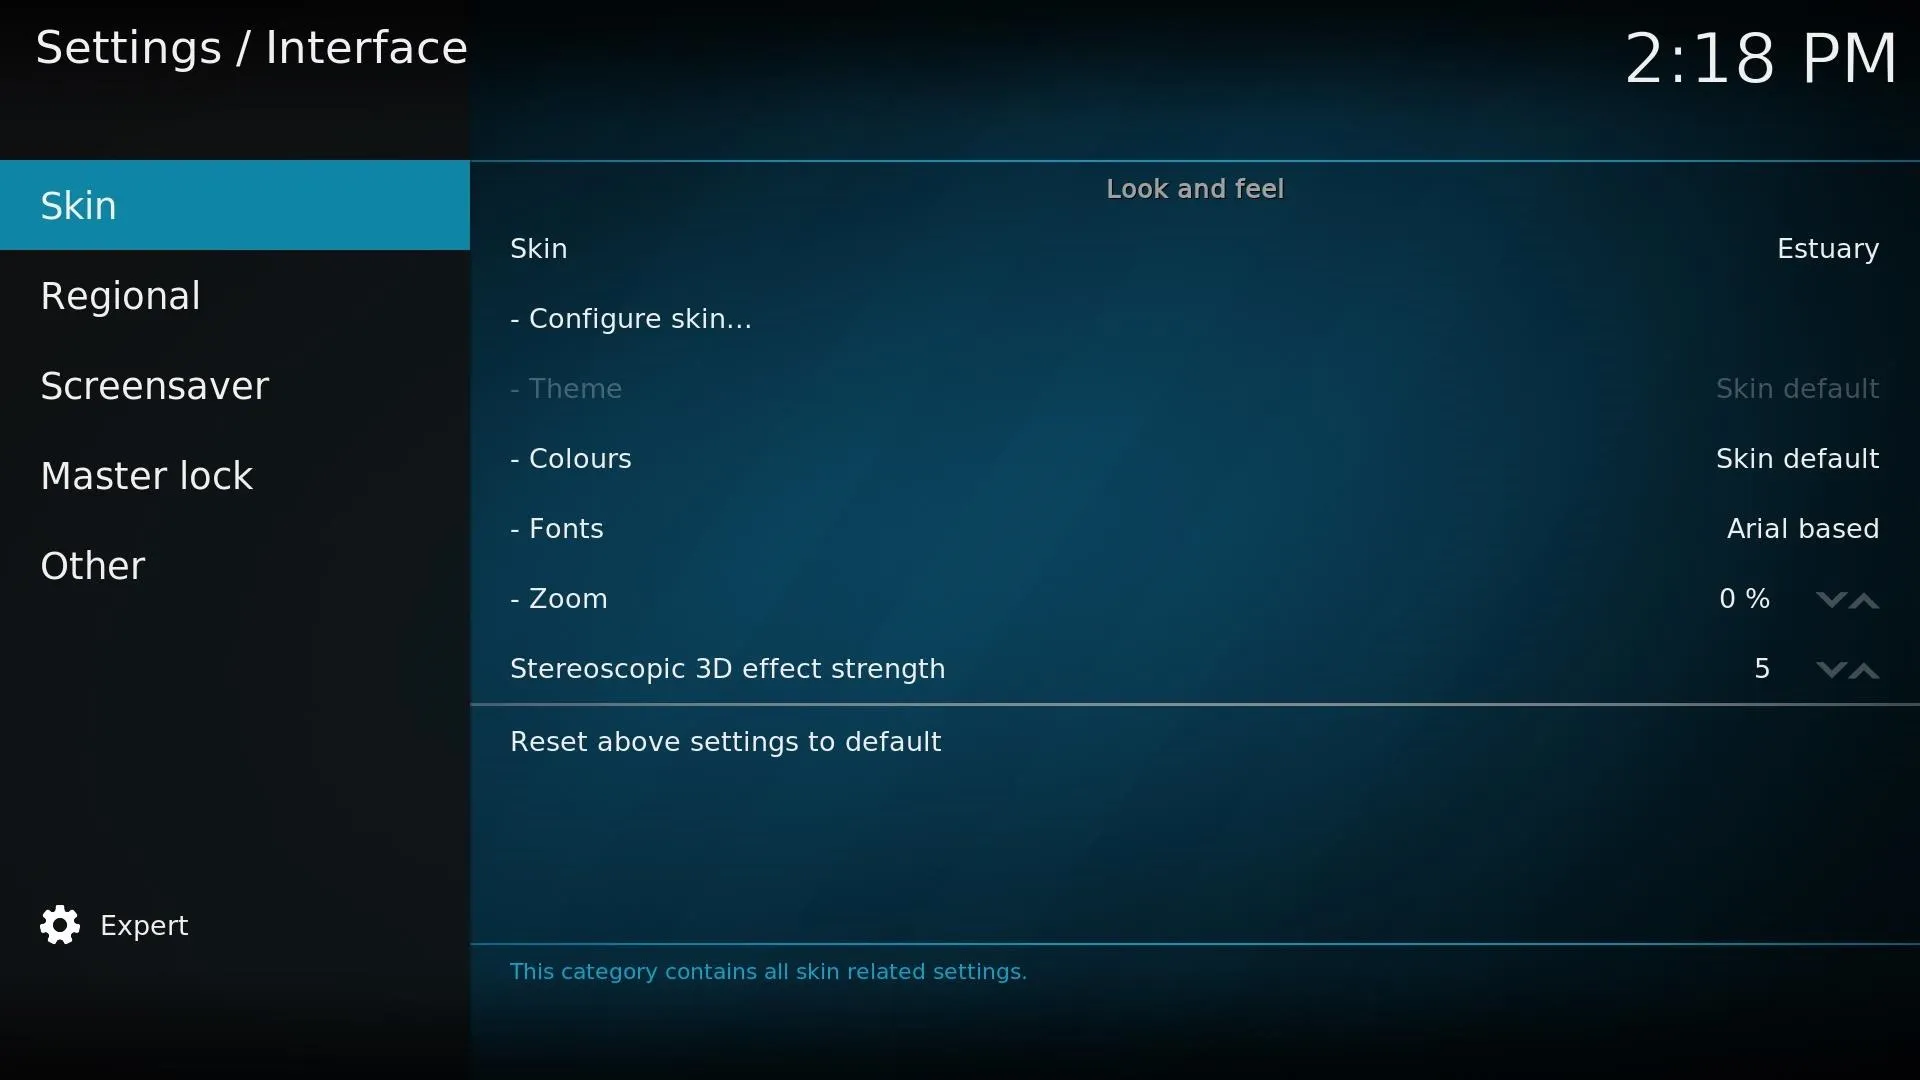
If you're not a fan of Kodi's default blue hue, return to the main Settings menu as depicted in Step 1, then select "Interface settings." Next, select "Skin" from the left menu, then you'll see an option labeled "Colours," which is set to "Skin default." Tap on this option to bring up a menu with a list of all colors available to you. From there, pick the color you wish you use and you will be returned to the Interface settings menu with the new color applied.
Change Fonts
Finally, you can change the font used in Kodi's main menus if you'd like. Underneath "Colours" in the Interface settings menu we covered in Step 3, you'll find an option called "Fonts," which is set to "Skin default." Press on "Fonts" to change the font of all text in Kodi to "Arial based," which has a slightly less techy look.
With these small changes, you can change the overall look of your Kodi layout. When you combine these modifications with all of the different skins available in Kodi, you can create a unique look for your setup. While you're here, share your Kodi layout with us in the comments below.
- Follow Gadget Hacks on Facebook, Twitter, Google+, YouTube, and Instagram
- Follow WonderHowTo on Facebook, Twitter, Pinterest, and Google+
Cover image and screenshots by Jon Knight/Gadget Hacks


Comments
Be the first, drop a comment!