


Google Photos is one of the best photo management services out there. It allows you to back up an unlimited amount of high-quality images without ever paying a dime, the photos and videos sync flawlessly across all of your devices, and its neural network-powered visual search feature seems like something that was pulled directly out of a Sci-Fi movie.
Even with all of these things working for it, the most interesting feature Google Photos has to offer might just be its "Assistant," which allows you to easily create pro-style home movies, animated GIFs, and collages right from your phone or tablet. But as with everything Google does, it's not a feature that has been advertised very well, so I'll show you how to use it below.
Before You Begin
It goes without saying that you'll need to have the Google Photos app installed on your smartphone to take advantage of any features we'll be covering below. If you don't already have the app, start by grabbing the iOS or Android version:
- Install Google Photos for iPhone & iPad from the iOS App Store
- Install Google Photos for Android from the Play Store
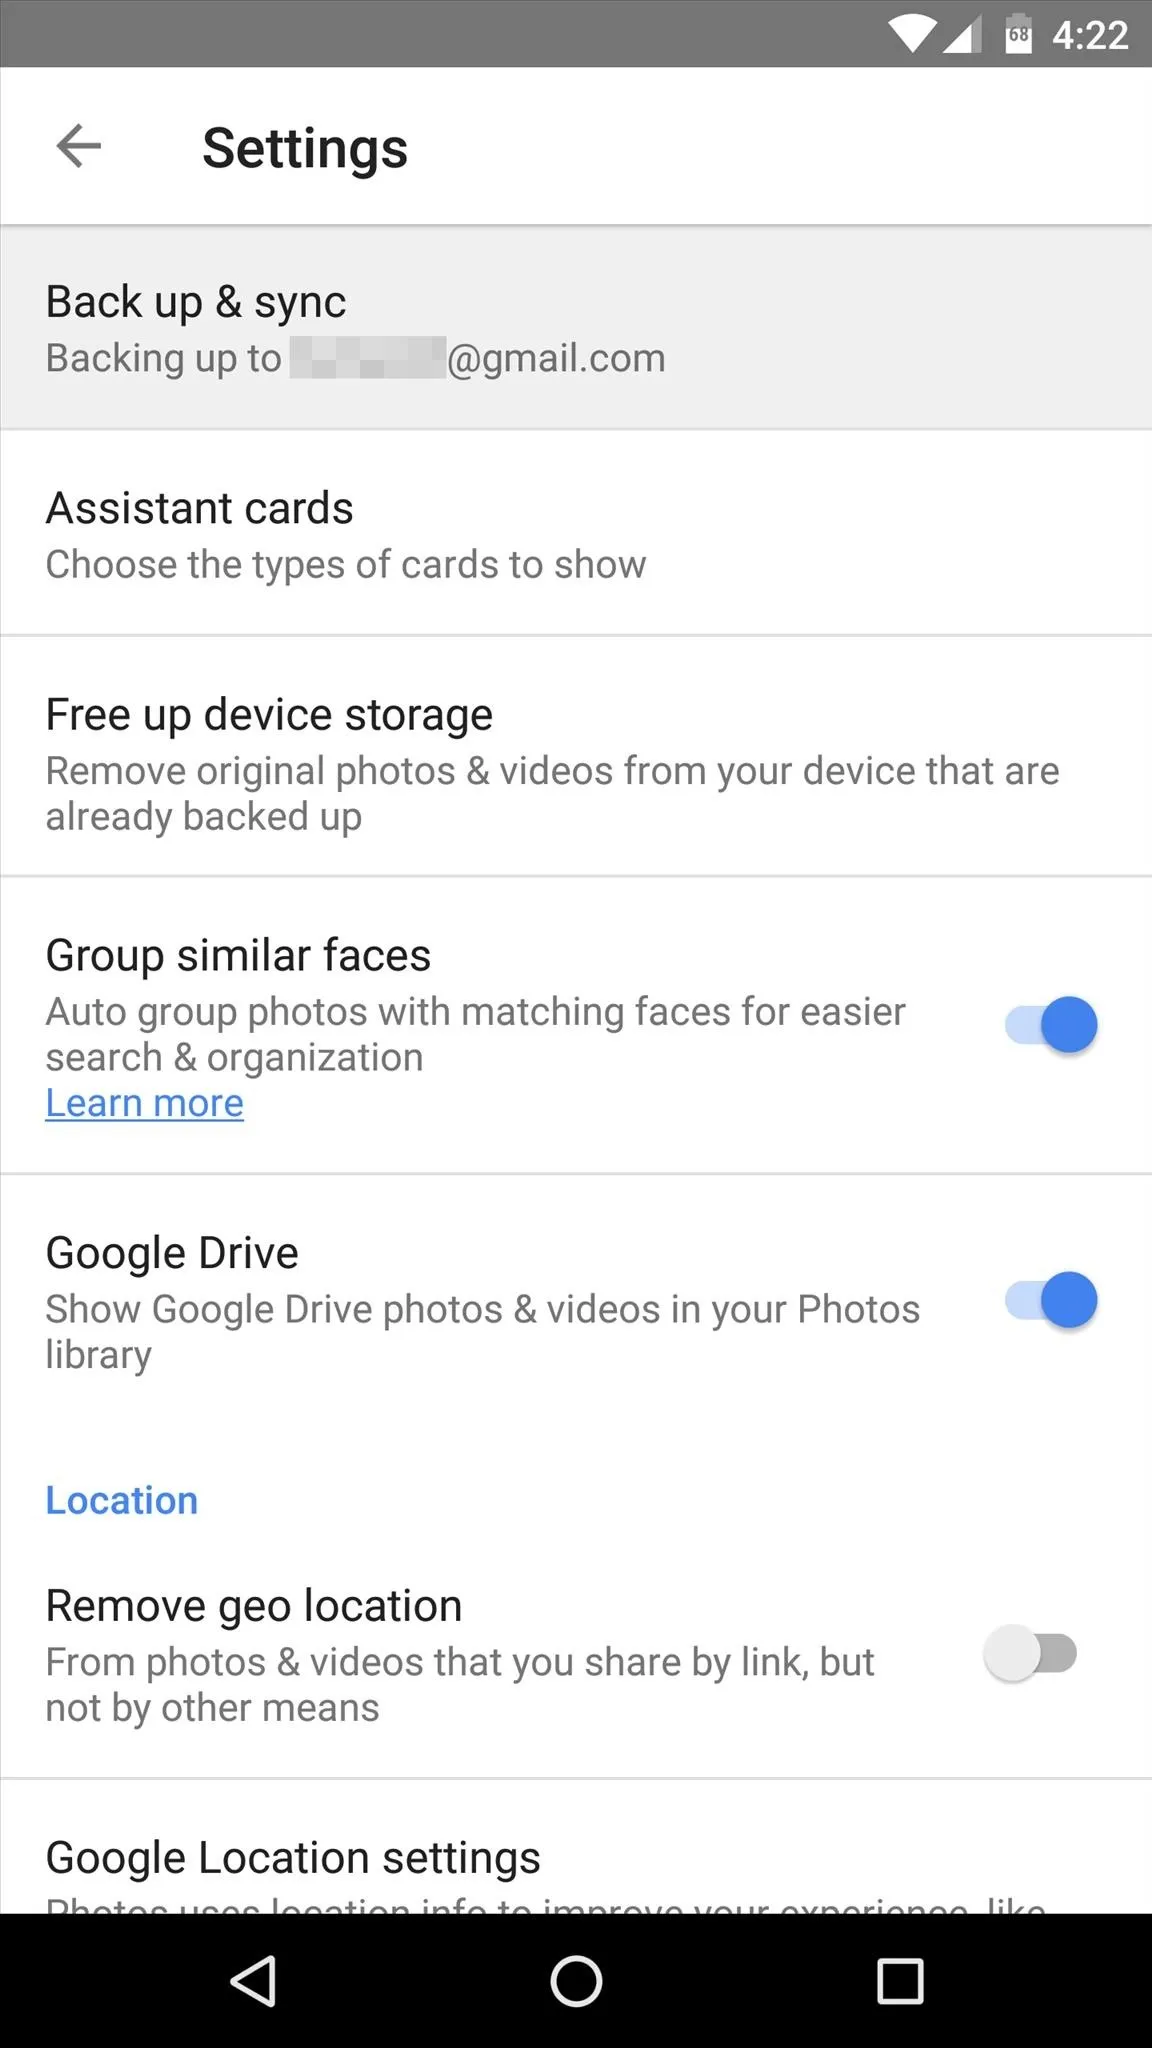
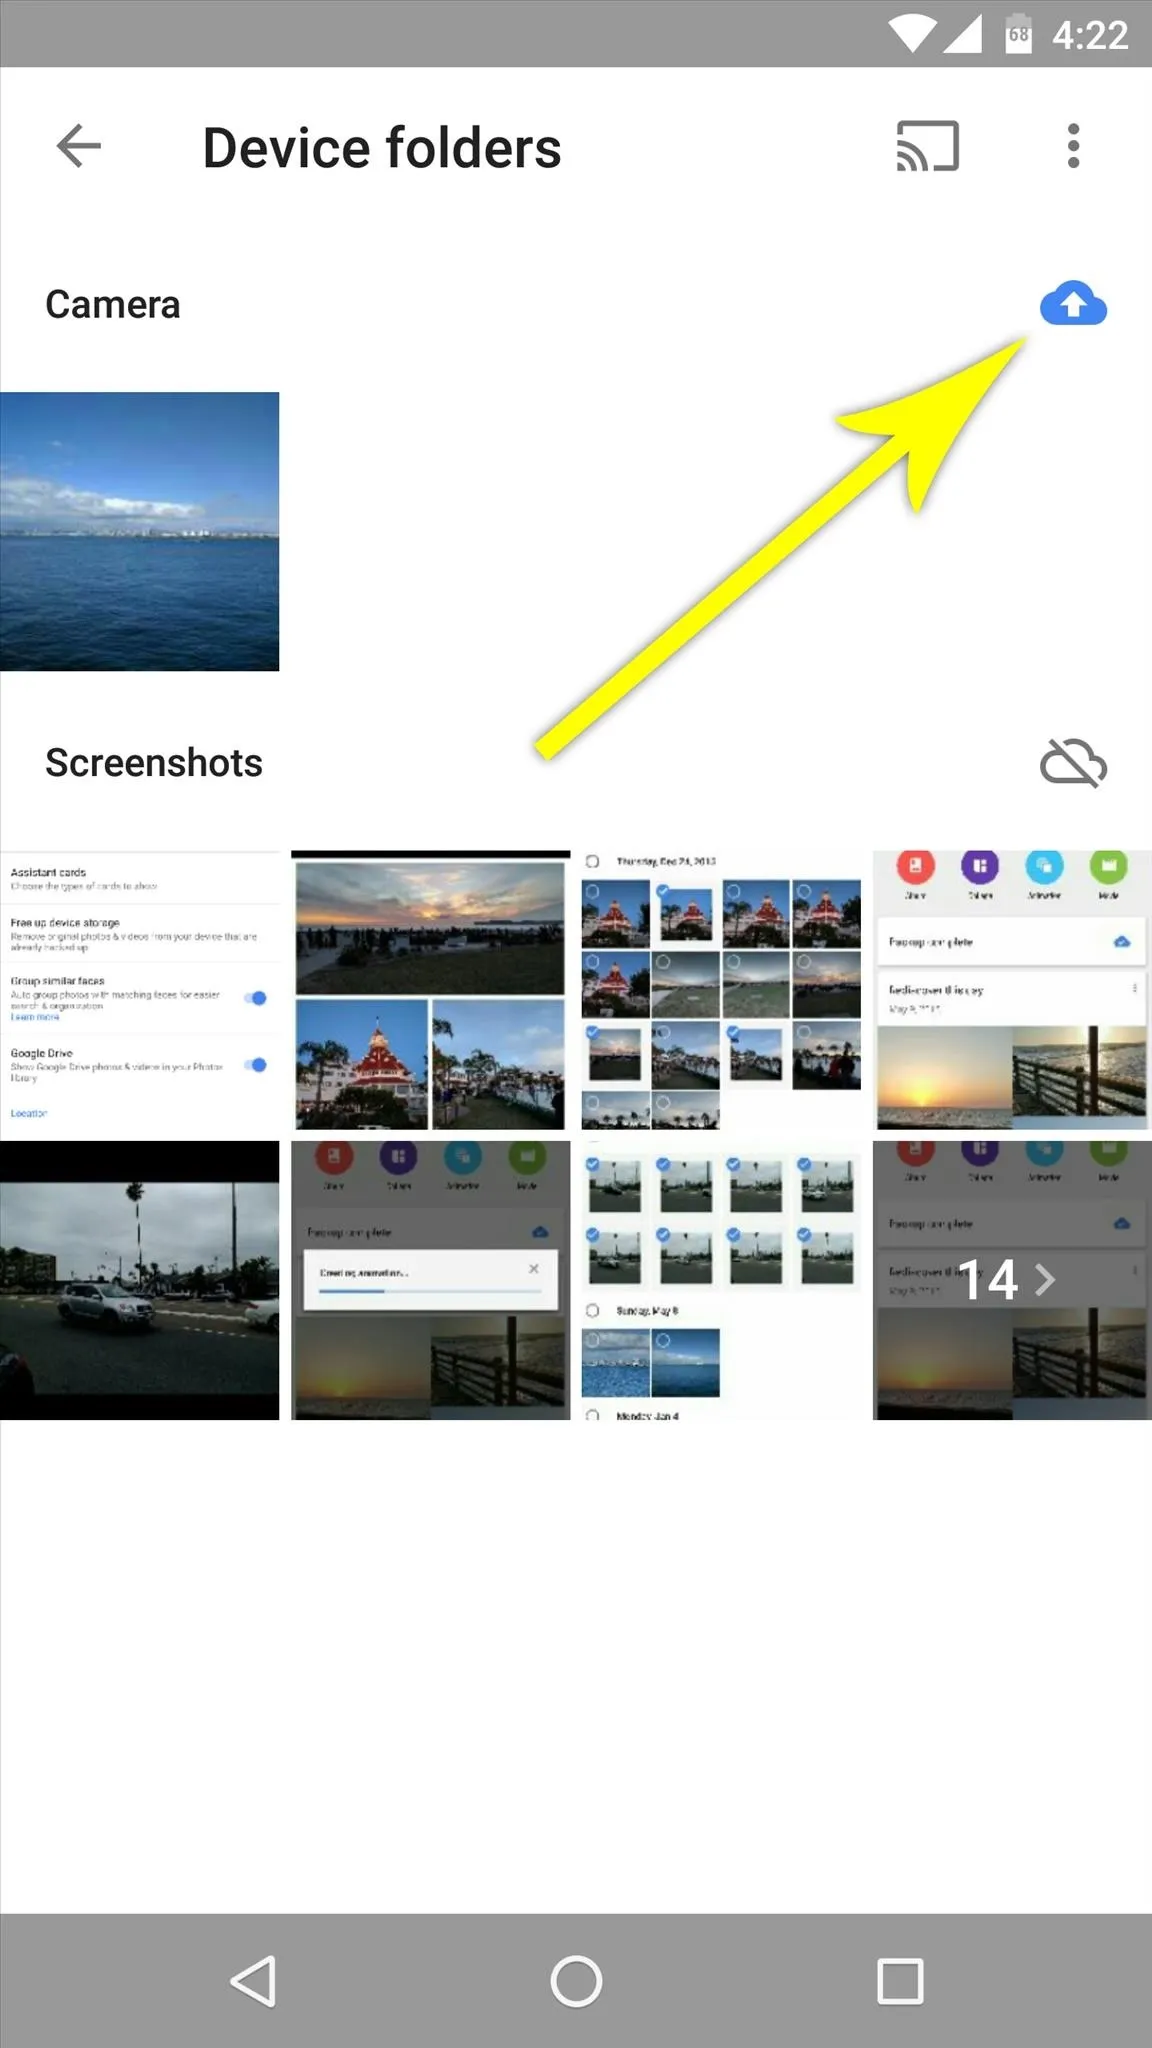
Aside from that, the utilities we'll be using all require that your photos or videos be backed up to Google's servers already before you begin. So make sure the "Back up & sync" option is enabled in the app's settings menu, and see to it that the folder where your images and videos are stored is being synced by verifying that there's a blue cloud icon next to it in the "Device folders" section of the app.
Creating Pro-Quality Home Movies
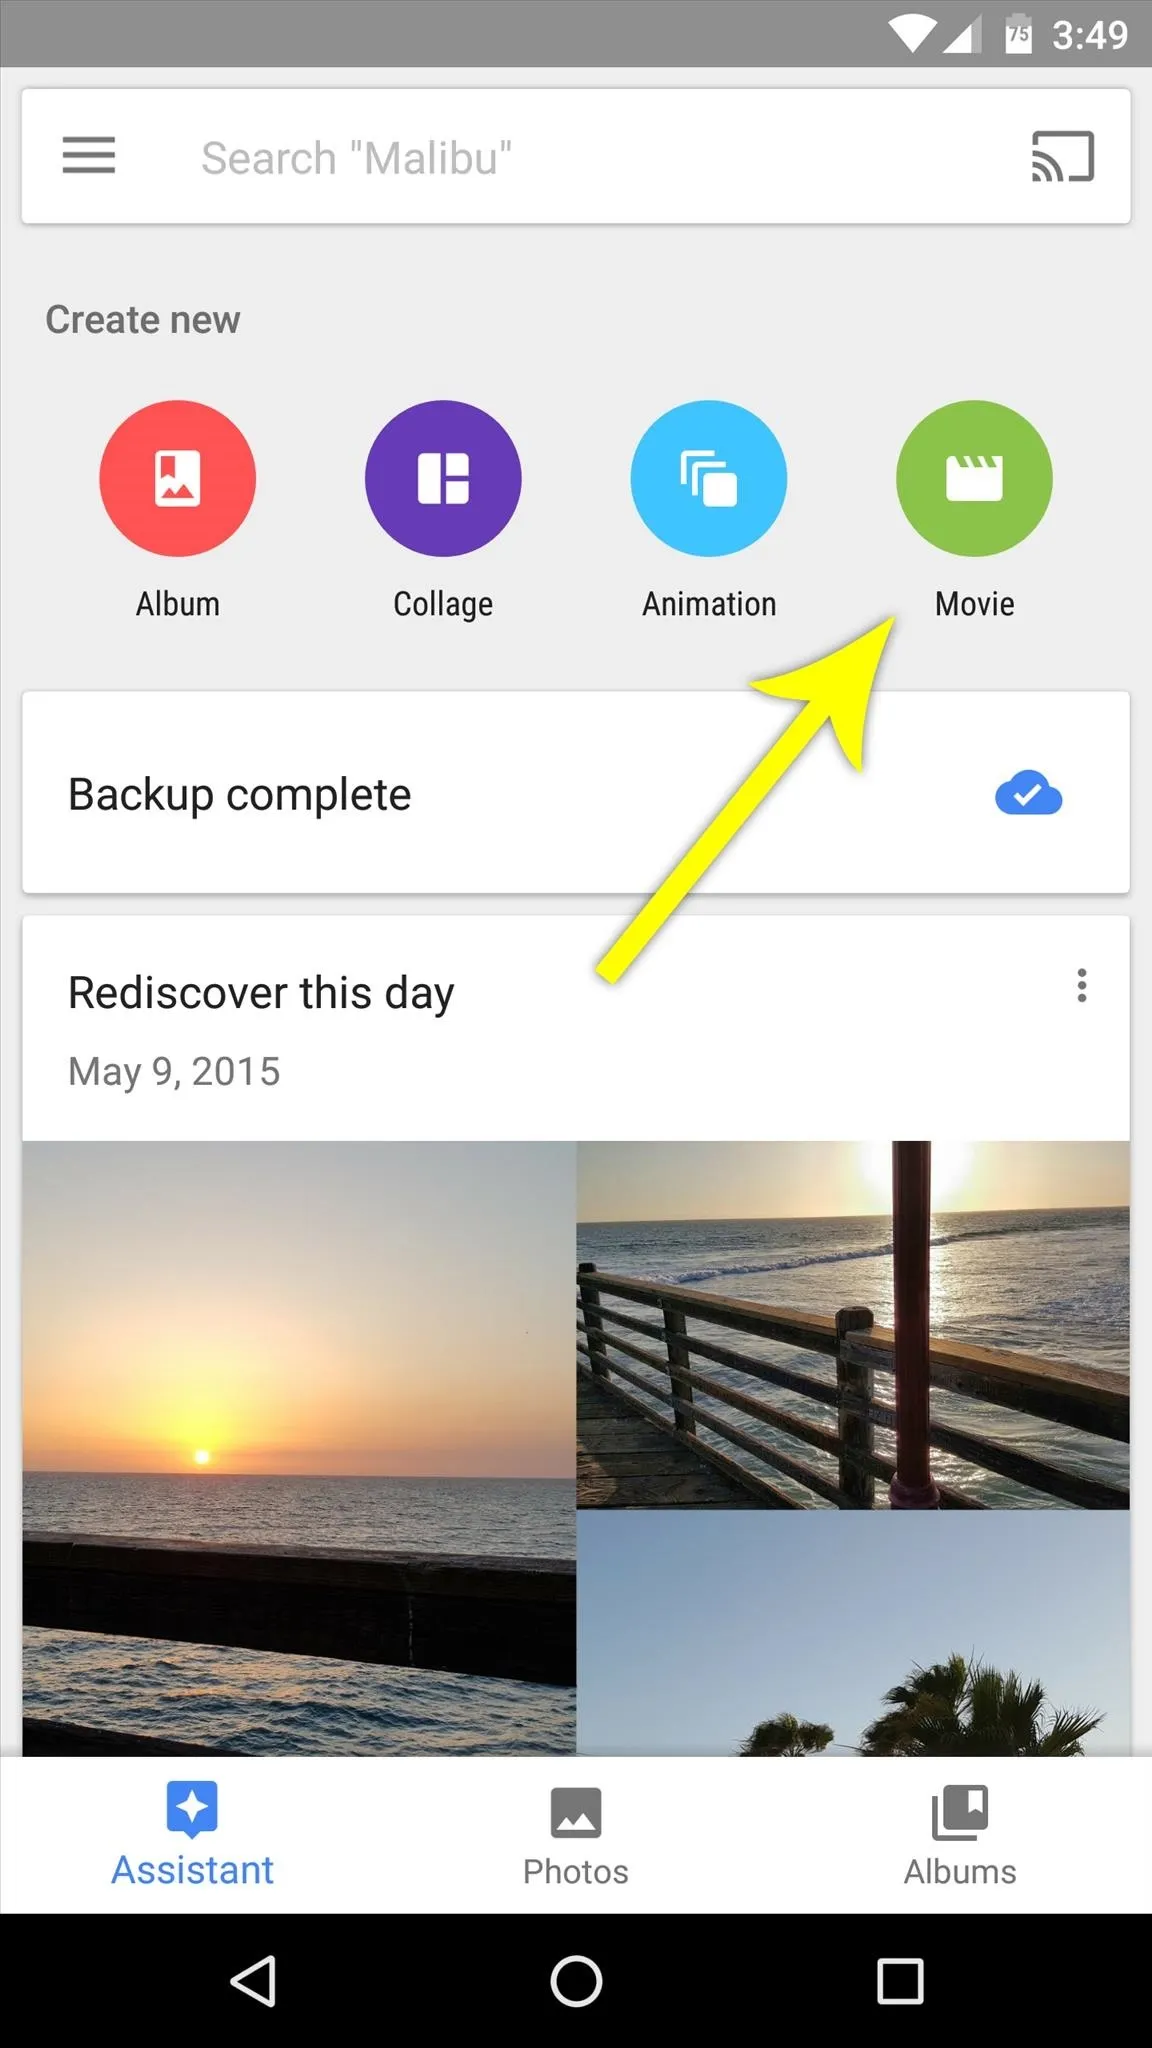
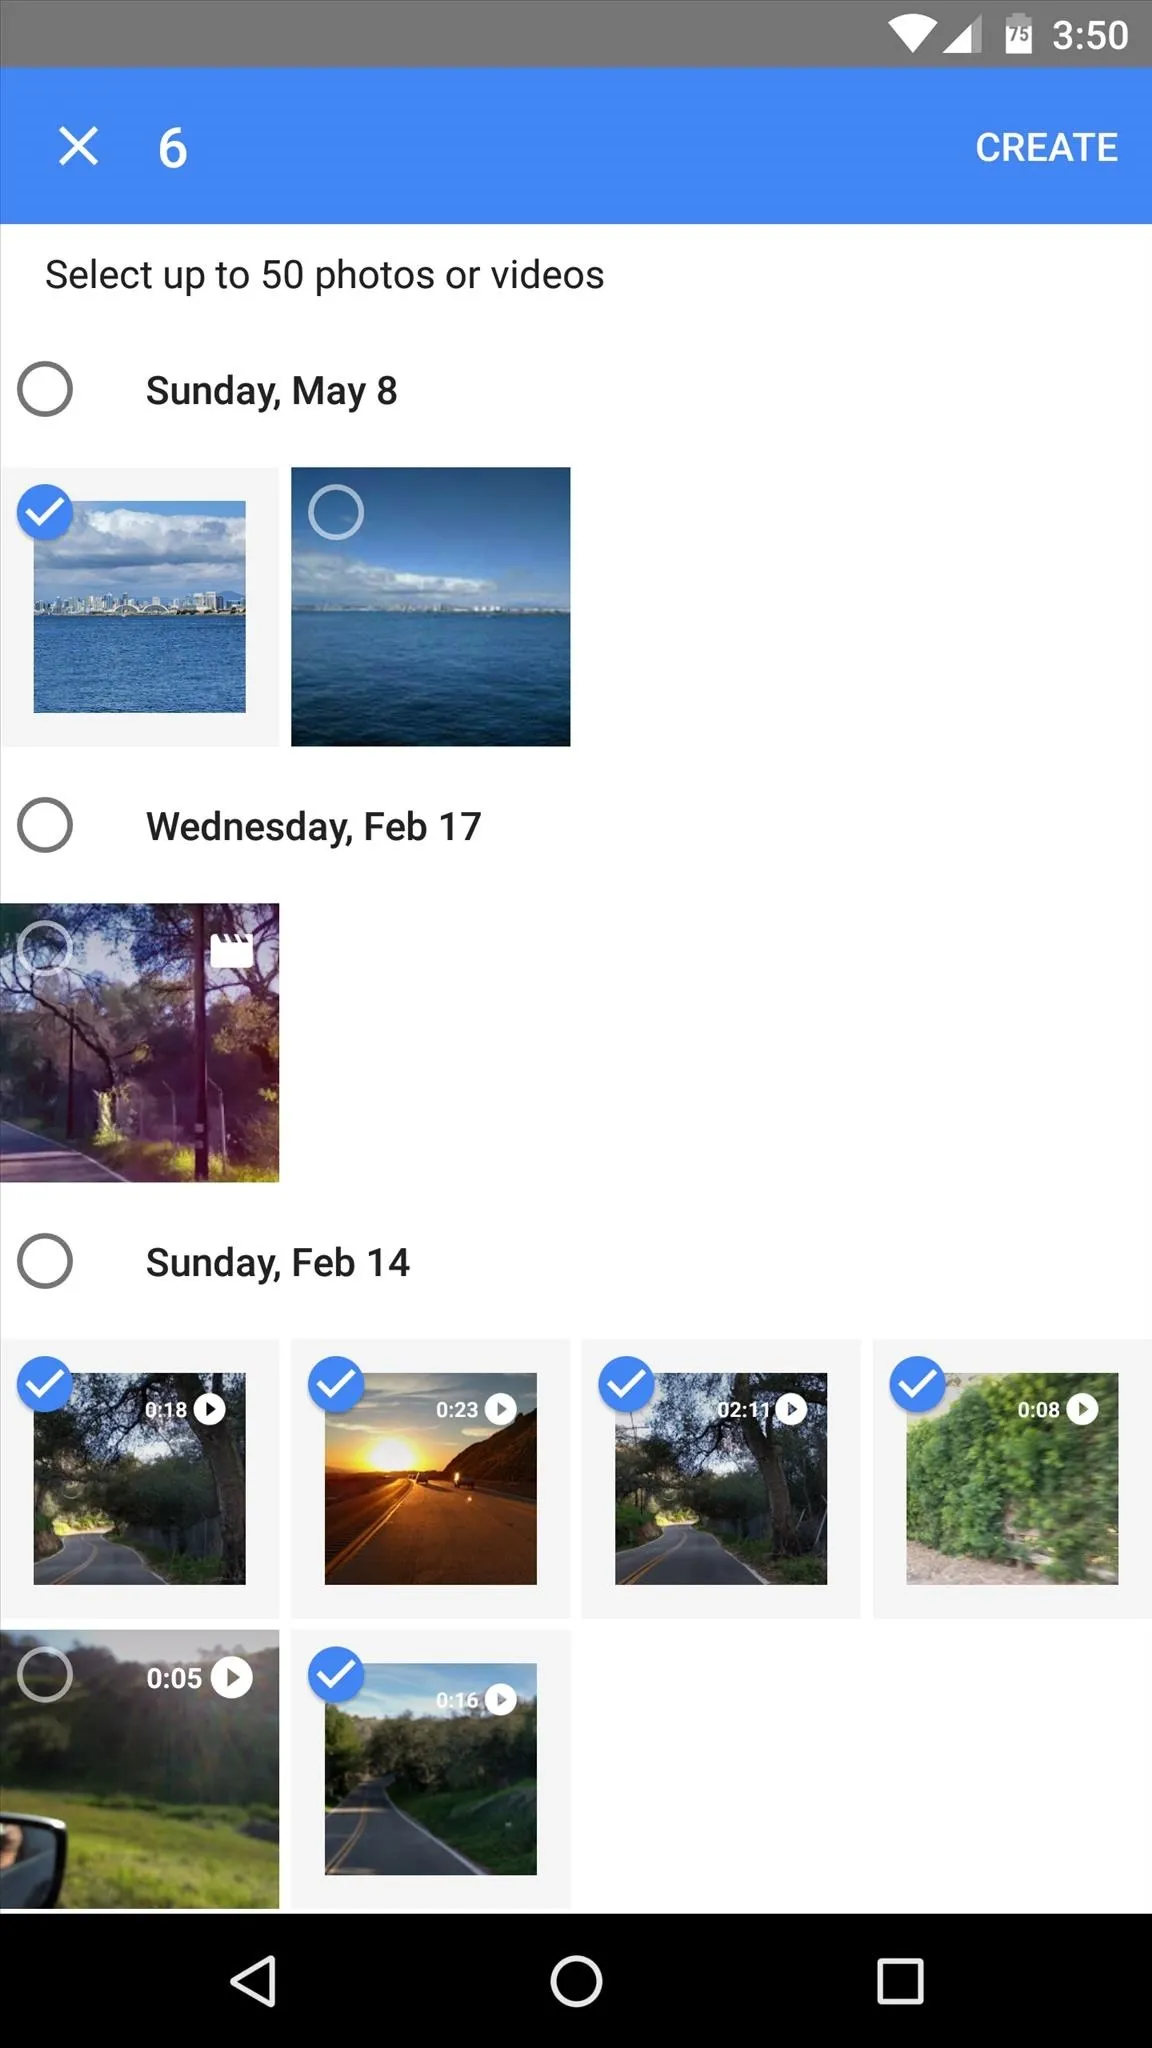
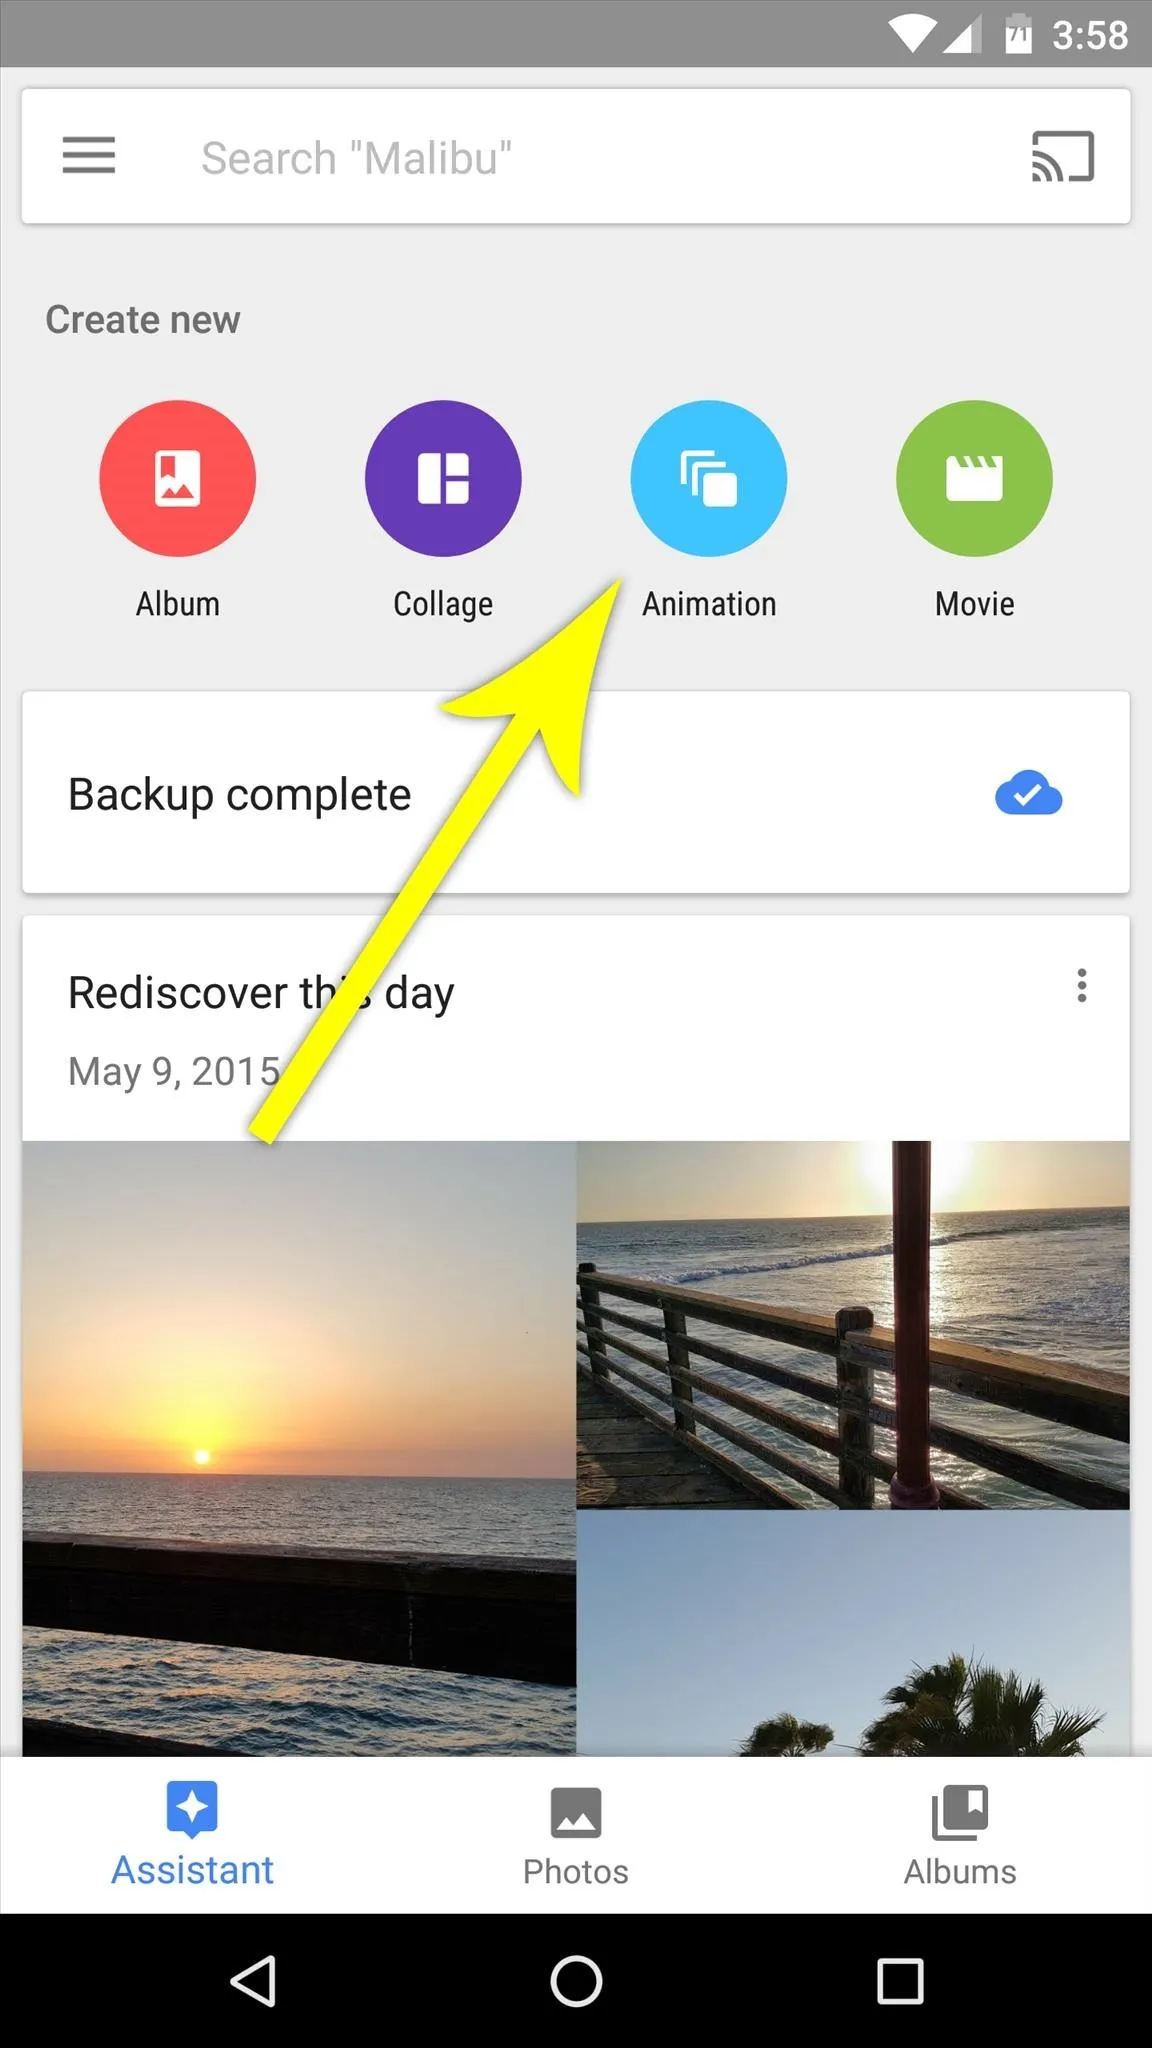
If you'd like to create your own pro-quality home movies, start by heading to the "Assistant" tab at the bottom of Google Photos' main menu. From here, select the "Movie" option at the top of the screen.
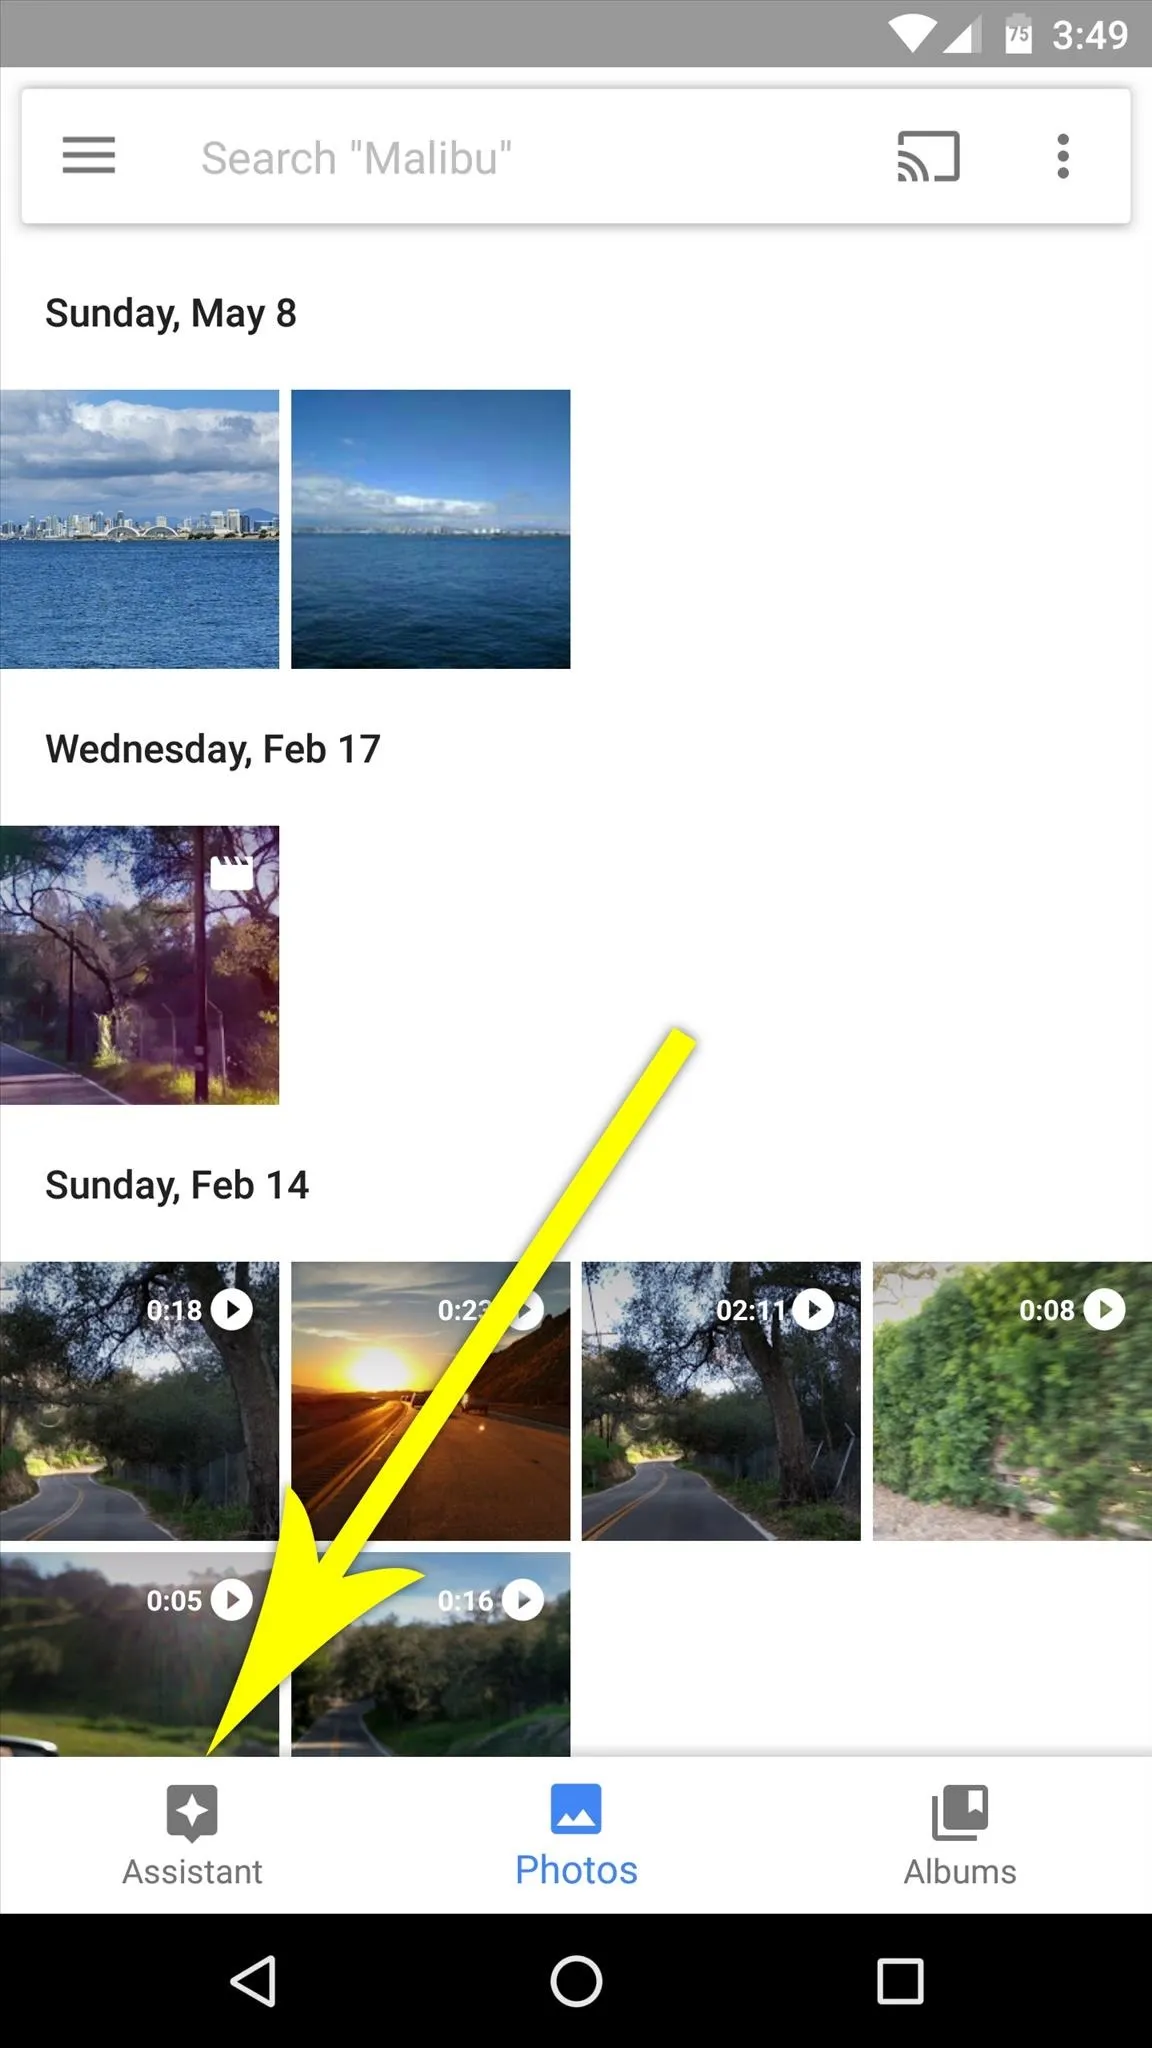
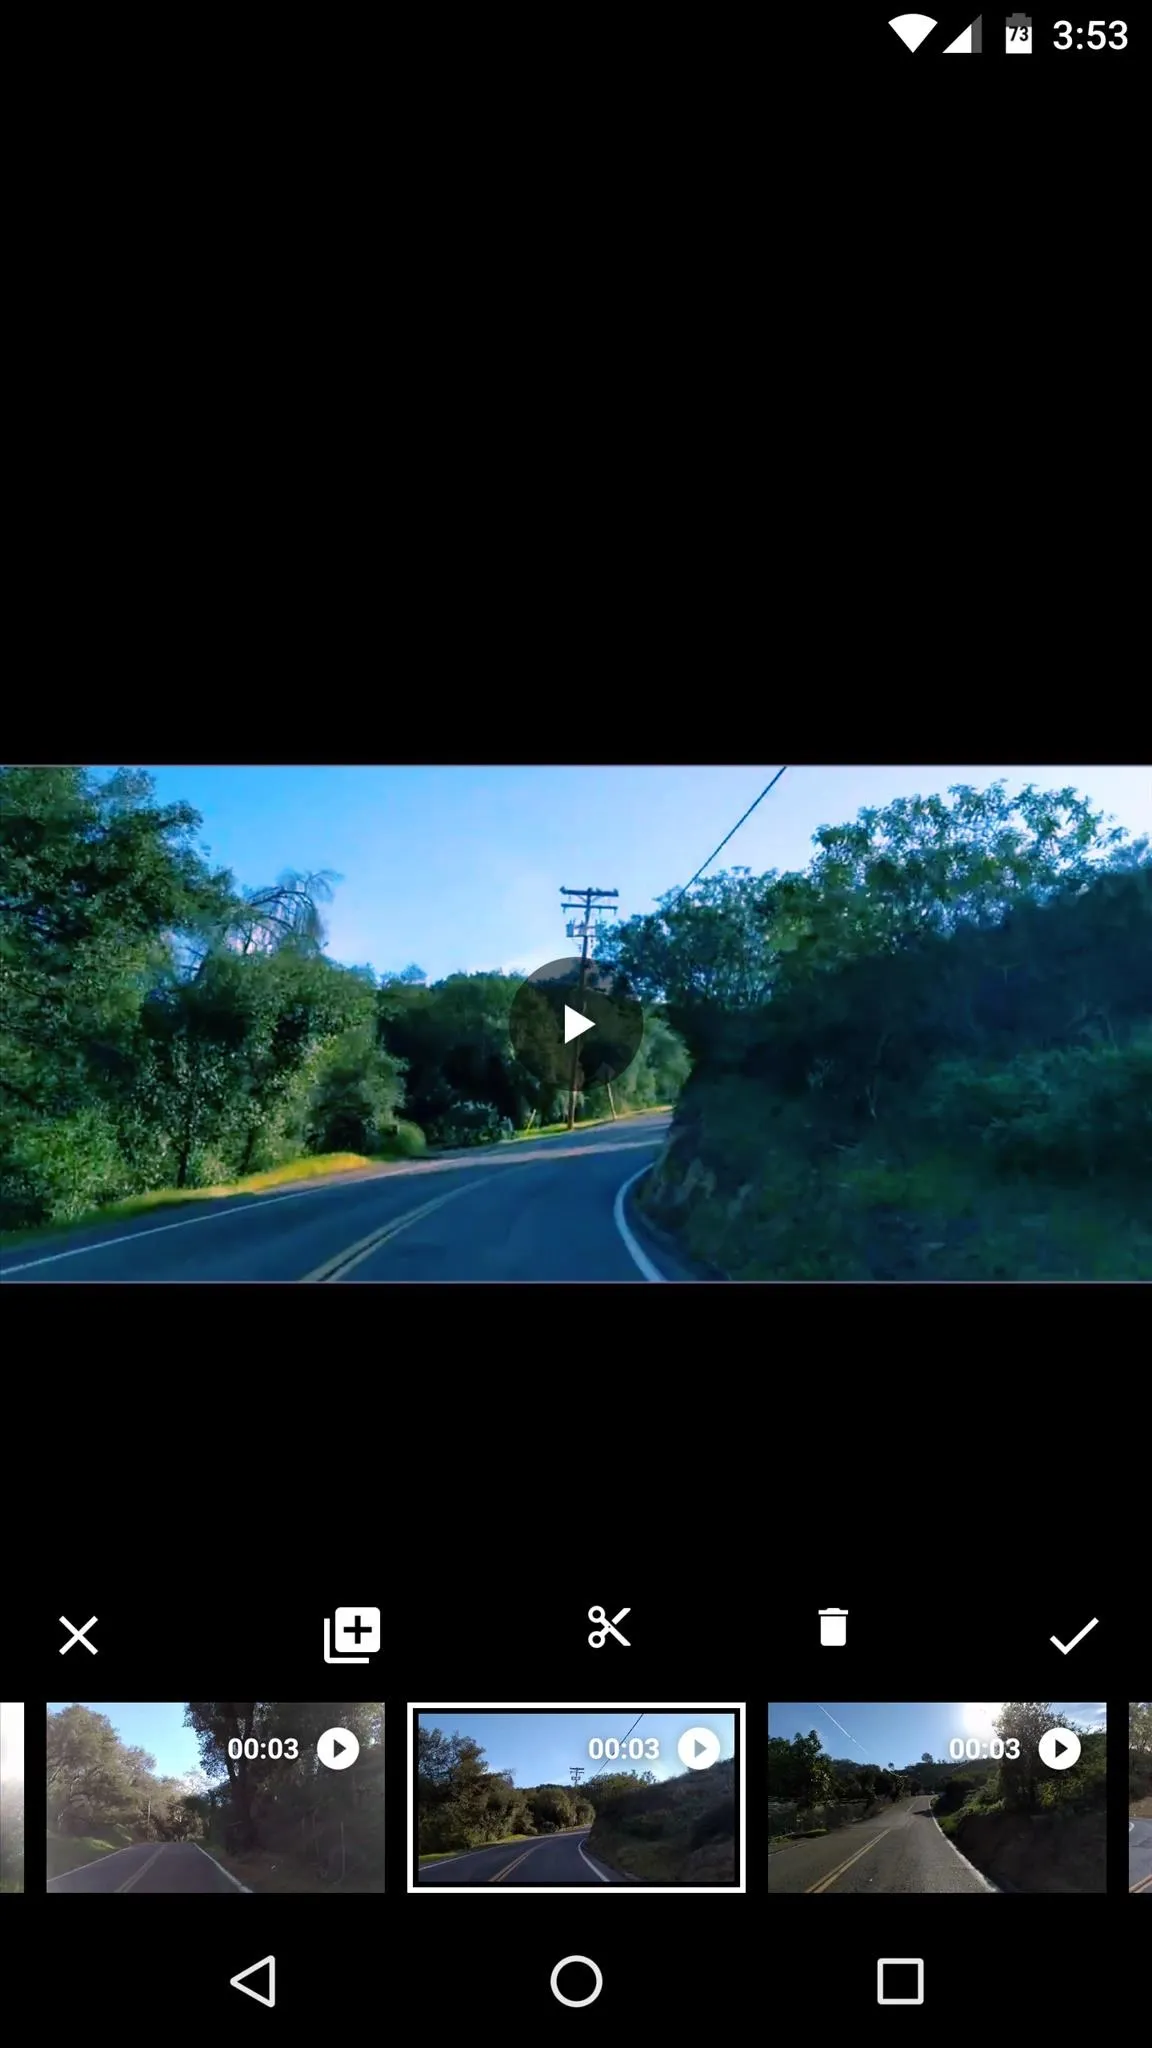
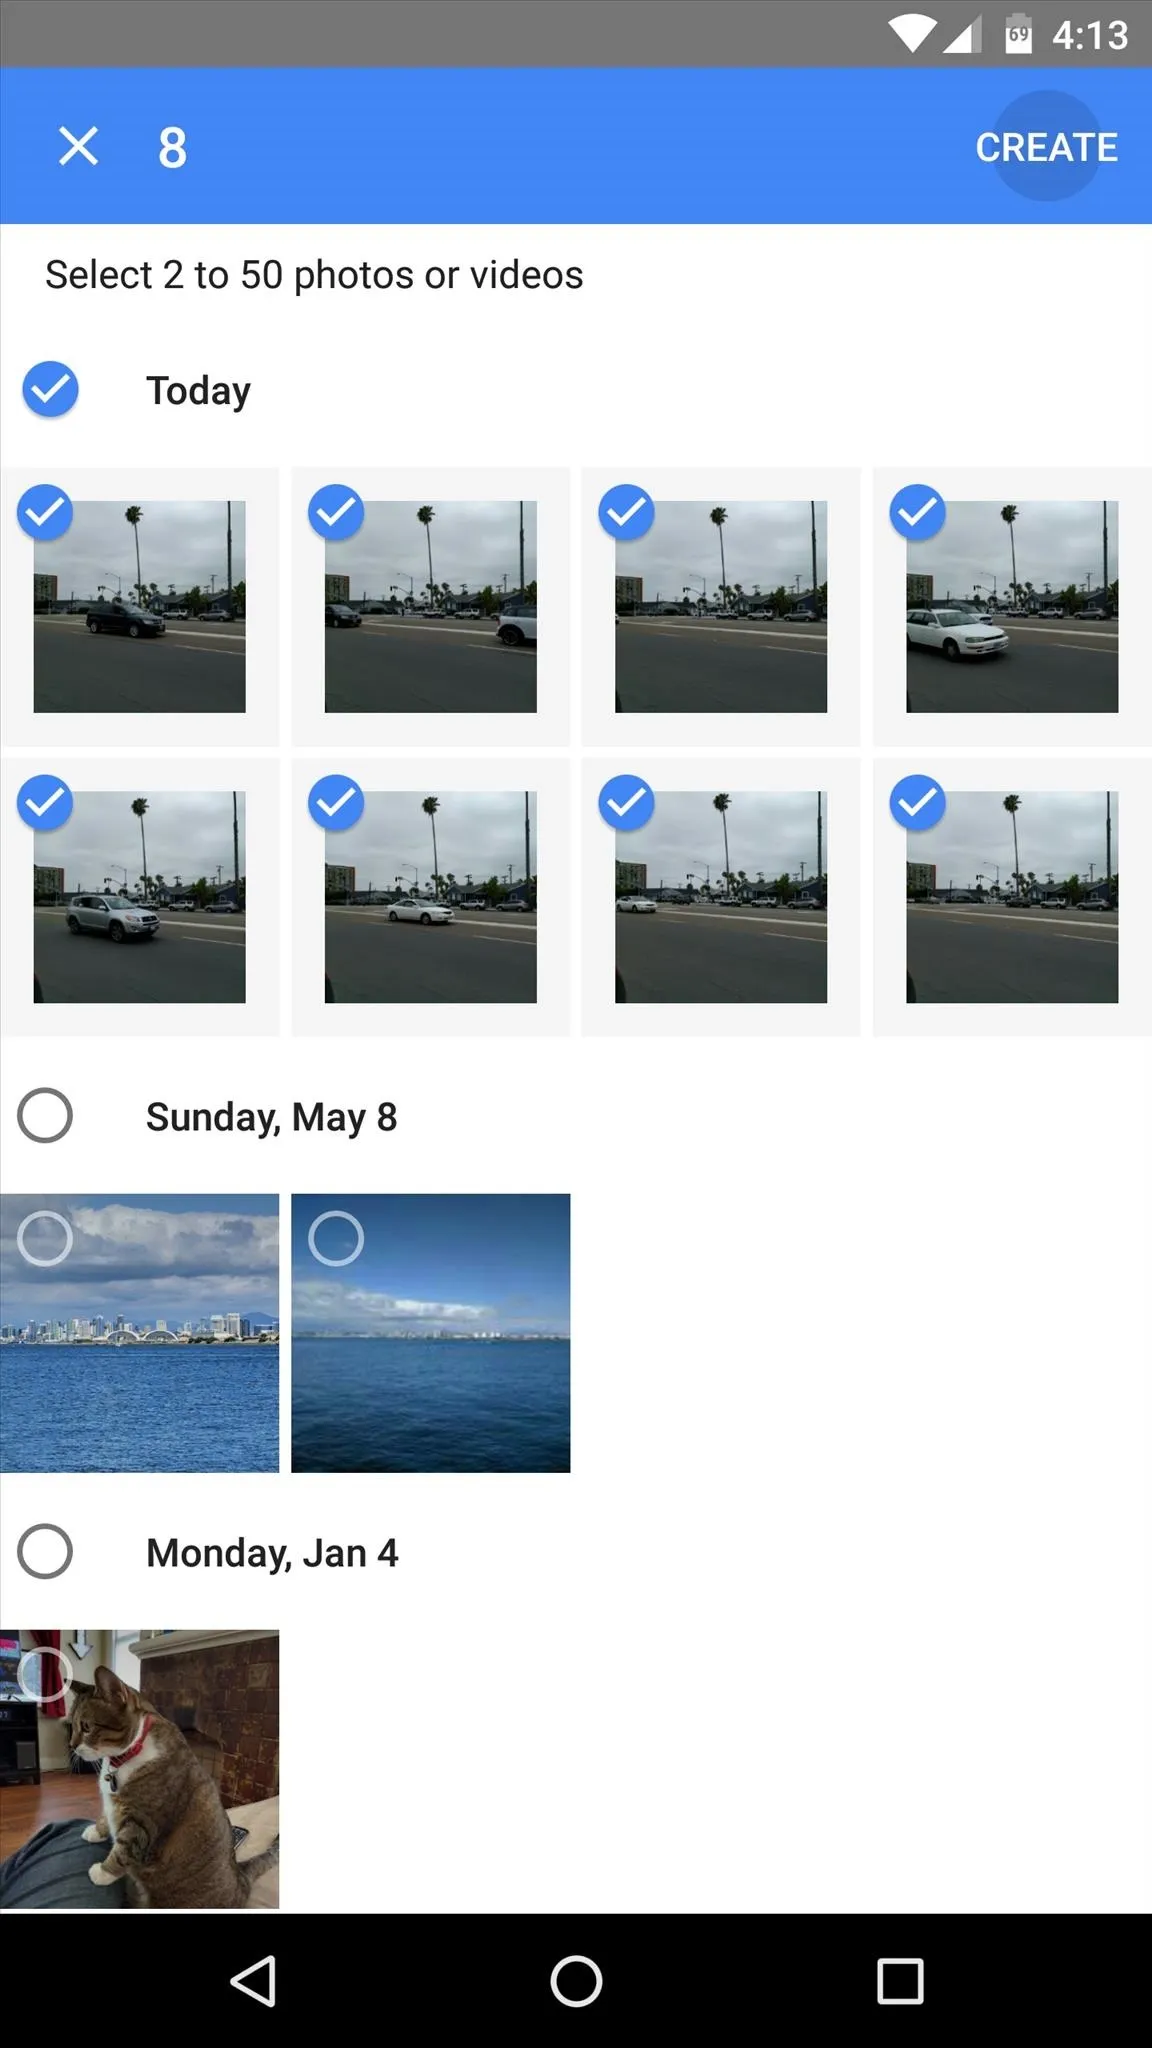
Next up, select any photos or video clips that you'd like to include in your home movie, then press the "Create" button. Within seconds, you'll already see a preview of your home movie—but don't jump the gun just yet, and instead, take note of the three icons at the bottom of the screen. From left to right, these allow you to adjust the filter effects, background music, and the clips being used in your home movie.
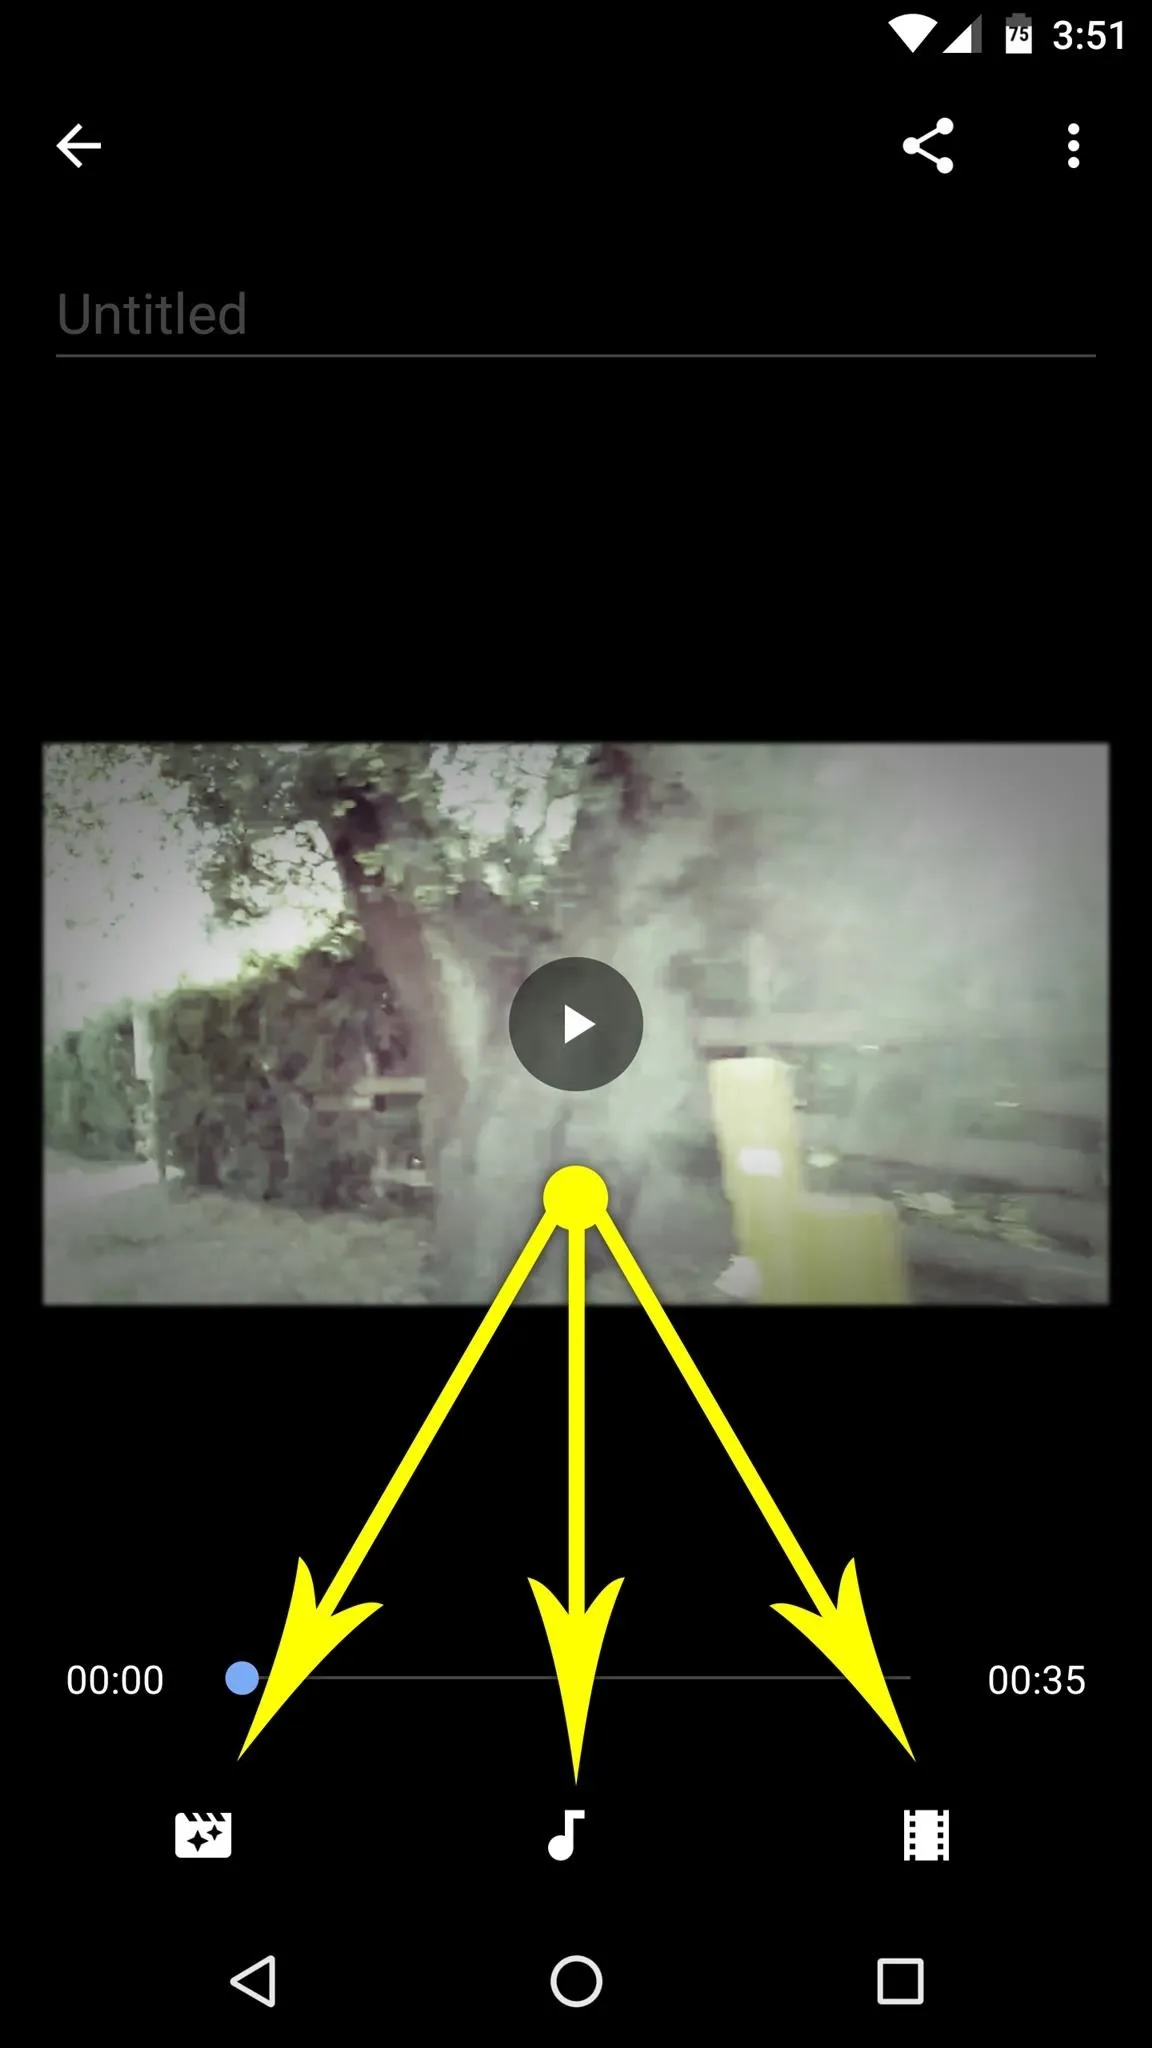
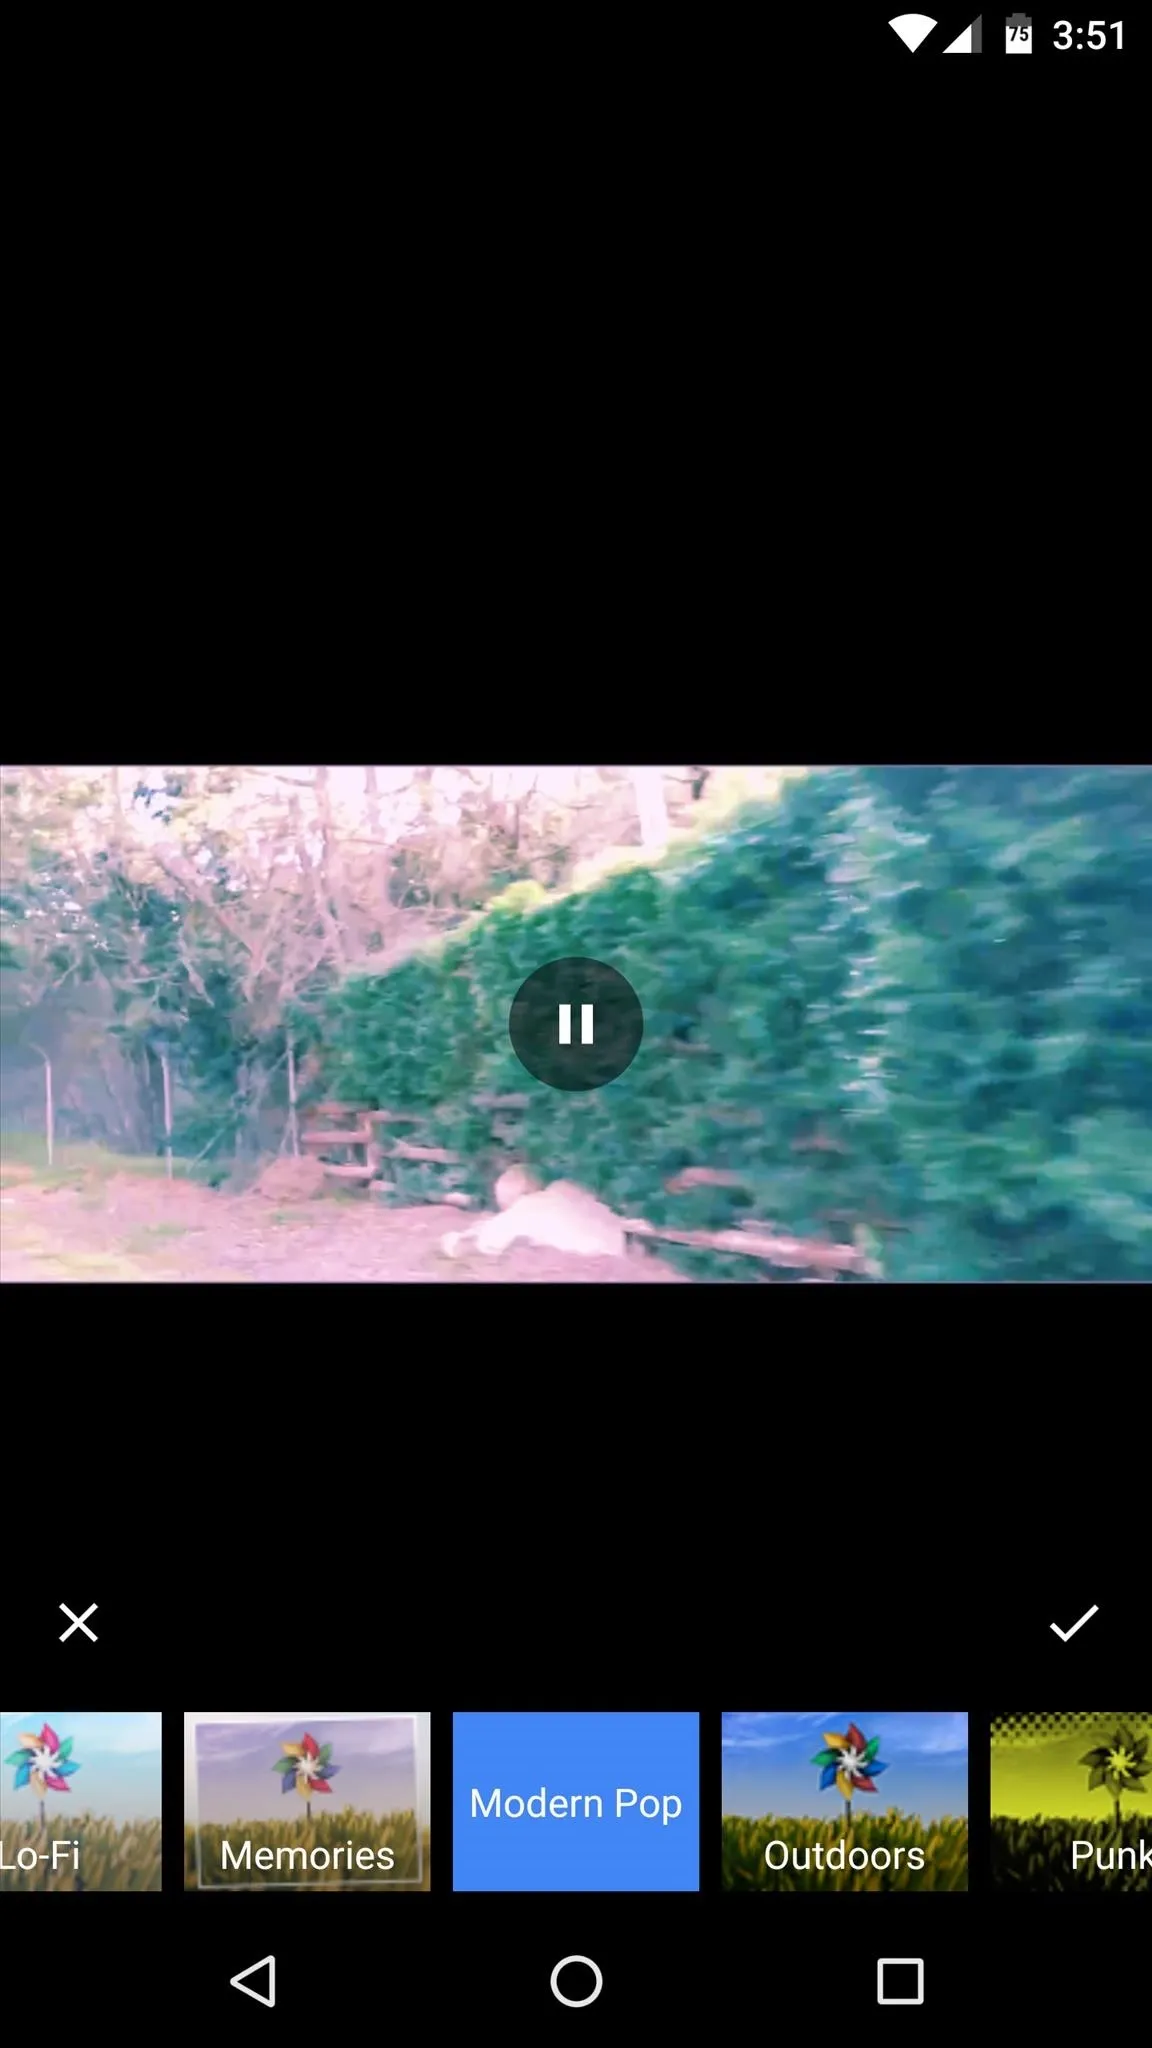
By tapping the first of these three buttons, you'll be able to adjust the filter being used on your video, which also comes with its own unique set of transition animations and other effects.
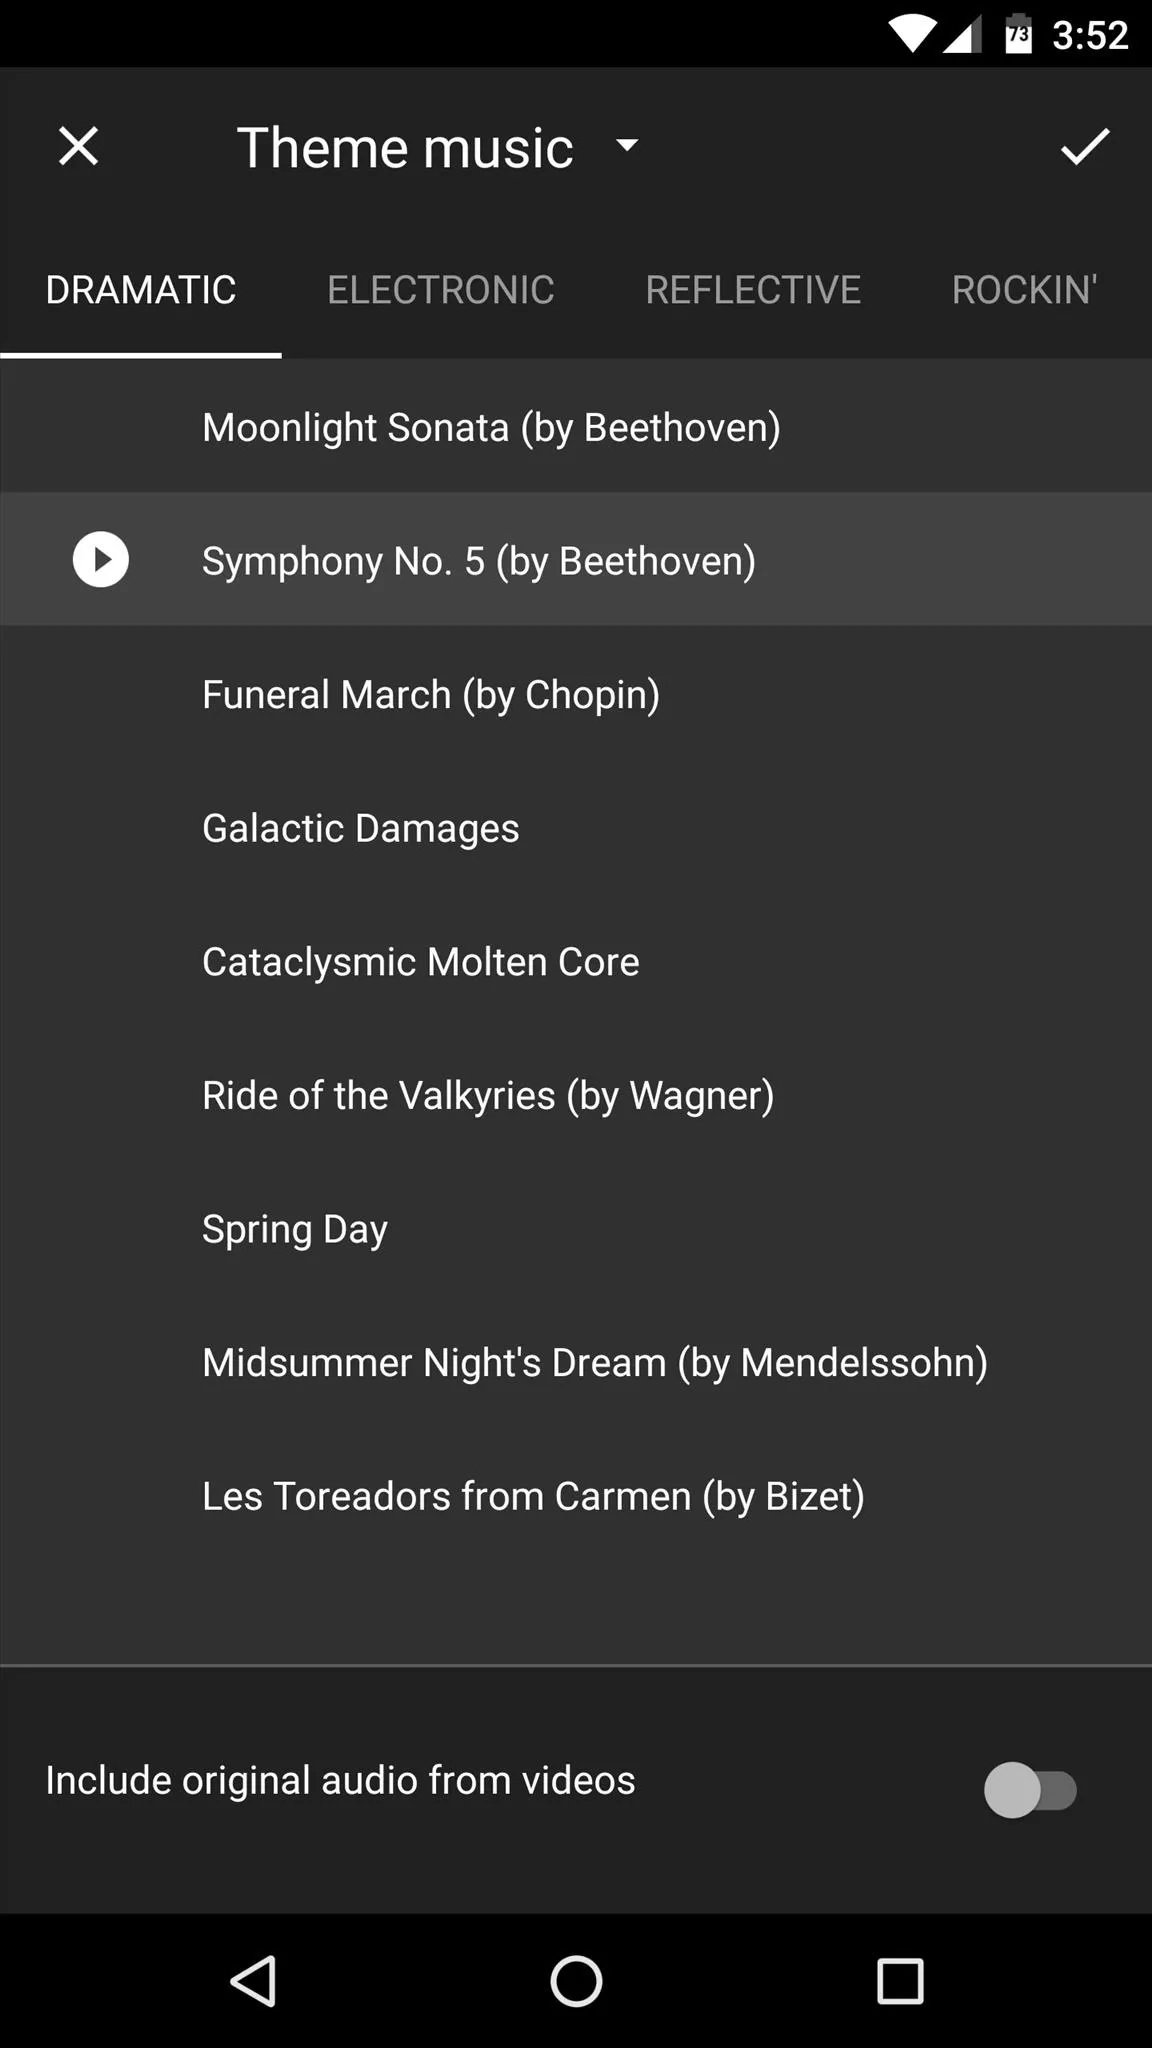
If you tap the second icon at the bottom of this menu, you can choose different background music to use, and even select from your own music library. The timing of any video transitions will be adjusted automatically to match the beat of your background music.
Finally, the third button in this interface allows you to rearrange and adjust any video clips or photos being used in your video. You can drag and drop elements to move them around the timeline, and you can even adjust the length of each video segment that you'll see in the final product.
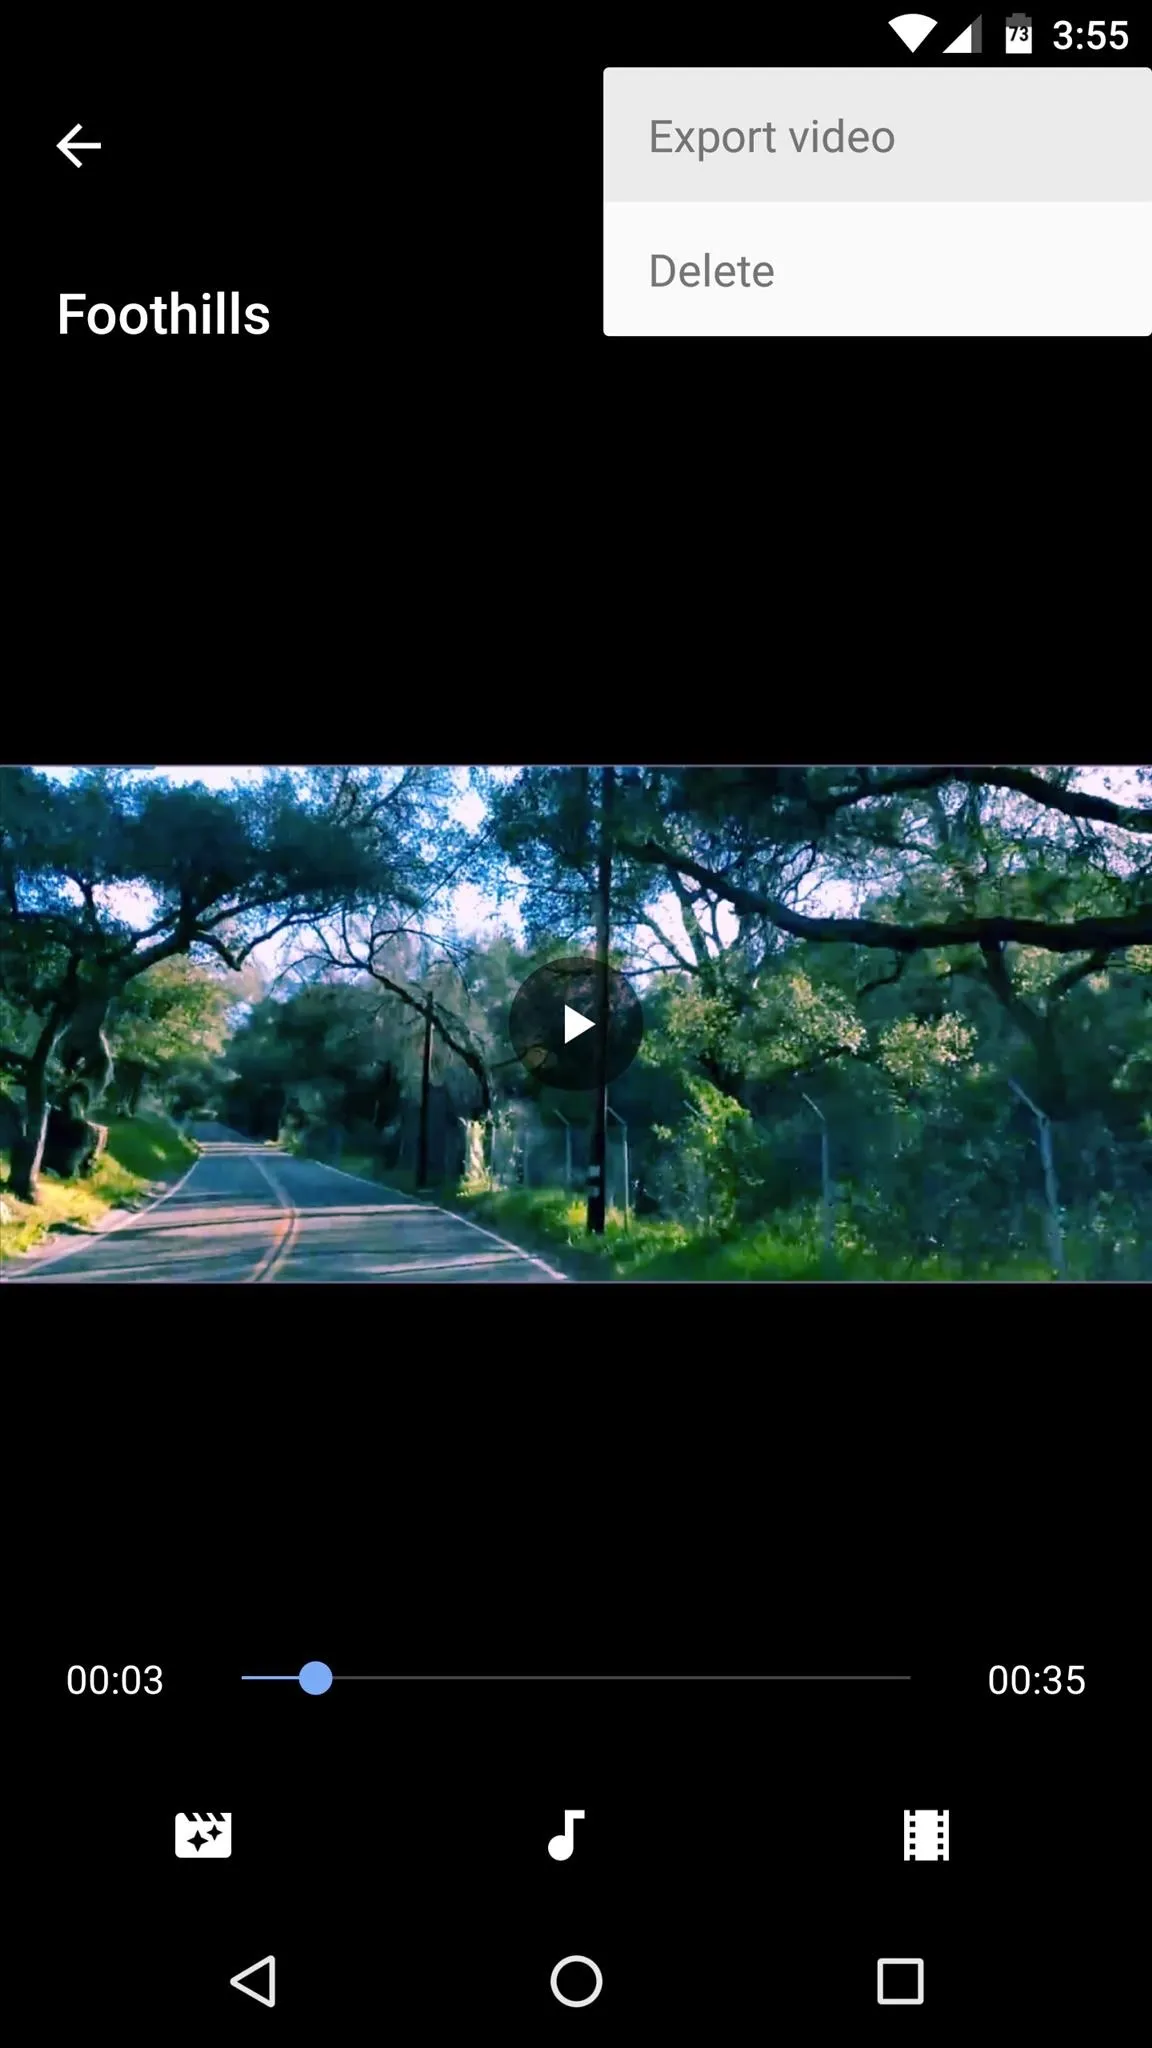
Next, you can give your movie a title by typing it into the field at the top of the screen, but note that the title will show up as an overlay at the beginning of your video.
Aside from that, you can simply press the back button to finalize your work, and your movie will appear at the top of the Photos tab in Google Photos' main menu. Otherwise, if you'd like to save a hard copy of your video directly to your device's internal storage, you can tap the three-dot menu button at the top of the video editing interface, then choose "Export video."

Once you're done there, your pro-quality movie will be ready for prime time. You can share the video using the standard share function in Google Photos, or if you chose to download a copy, you can upload the video to any compatible service. And of course you movie will be available on the Google Photos site.
Creating an Animated GIF
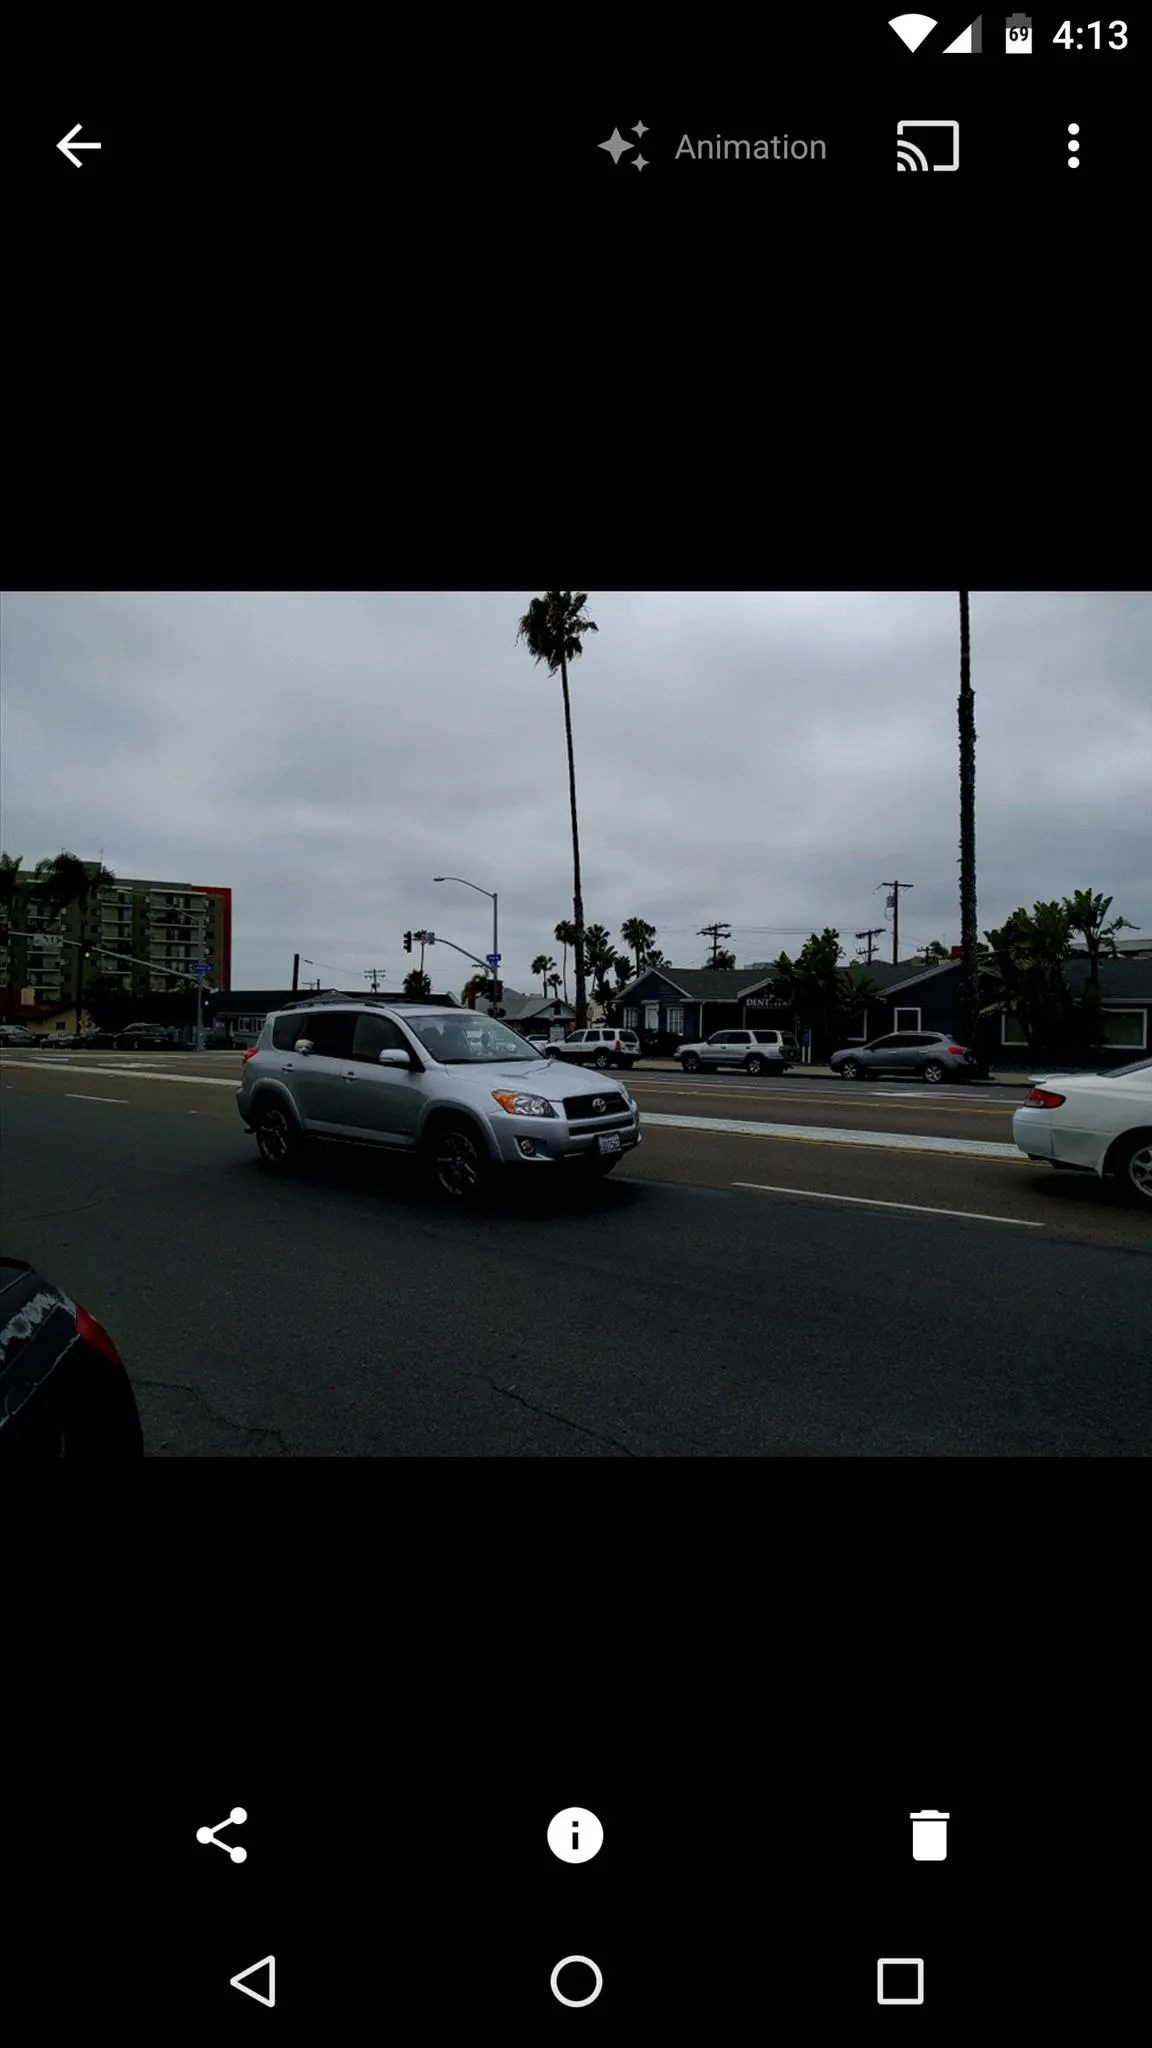
If you'd rather take the simpler and more shareable approach of turning your pictures into an animated GIF, Google Photos has you covered there as well. It's worth noting, though, that this feature works best when you've taken a series of sequential photos beforehand.
To start, head to the Assistant tab again, but this time choose the "Animation" option. From here, select any set of sequential photos, then press the "Create" button at the top of the screen. Within seconds, you'll be greeted by your animated GIF, and Google Photos will have already cropped and aligned the images to make the transition between each frame as seamless as possible.
Similar to the "Movie" option, the animated GIF you created will be available at the top of the Photos tab in Google Photos as soon as you press the back button.
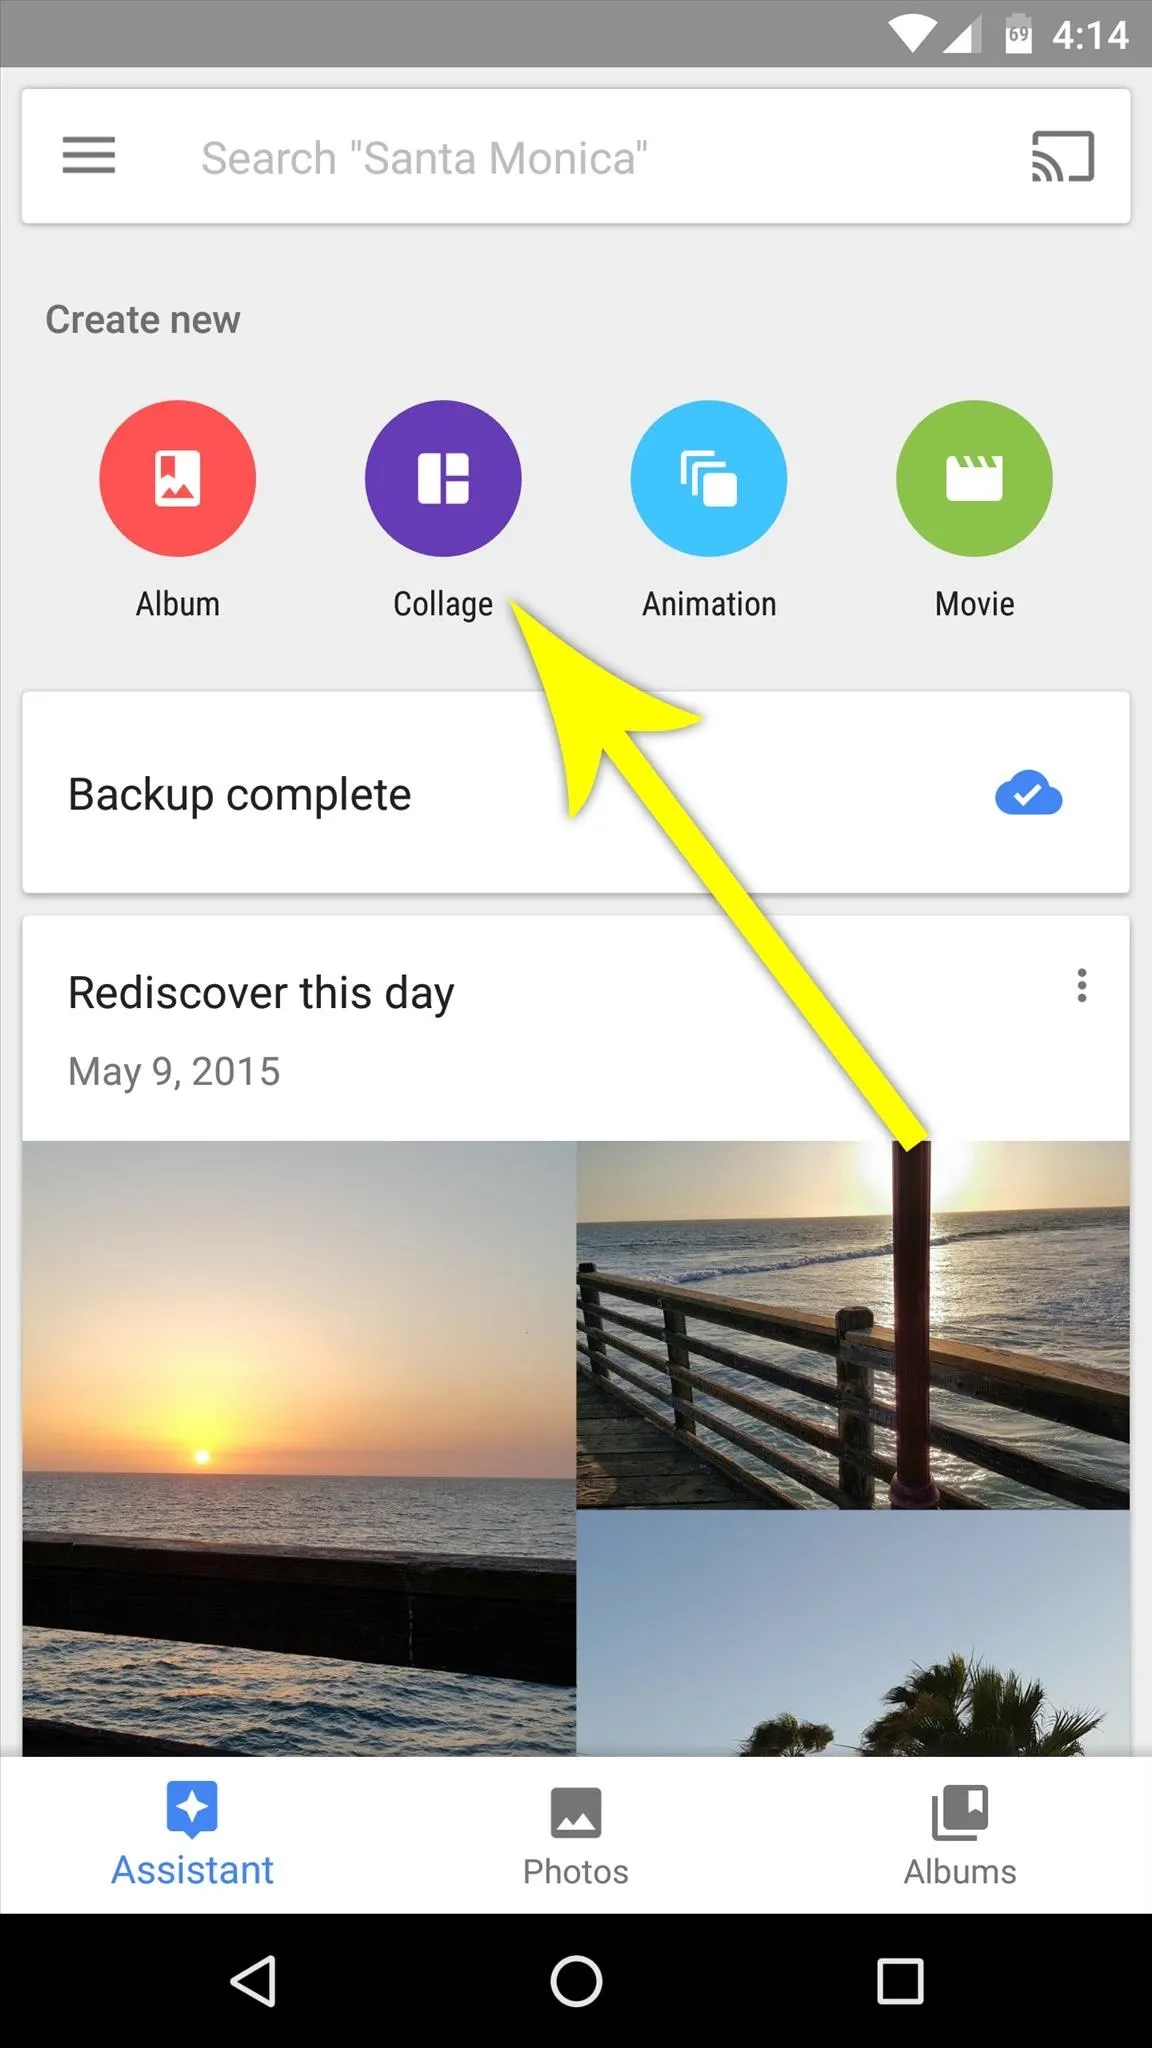
Creating Collages
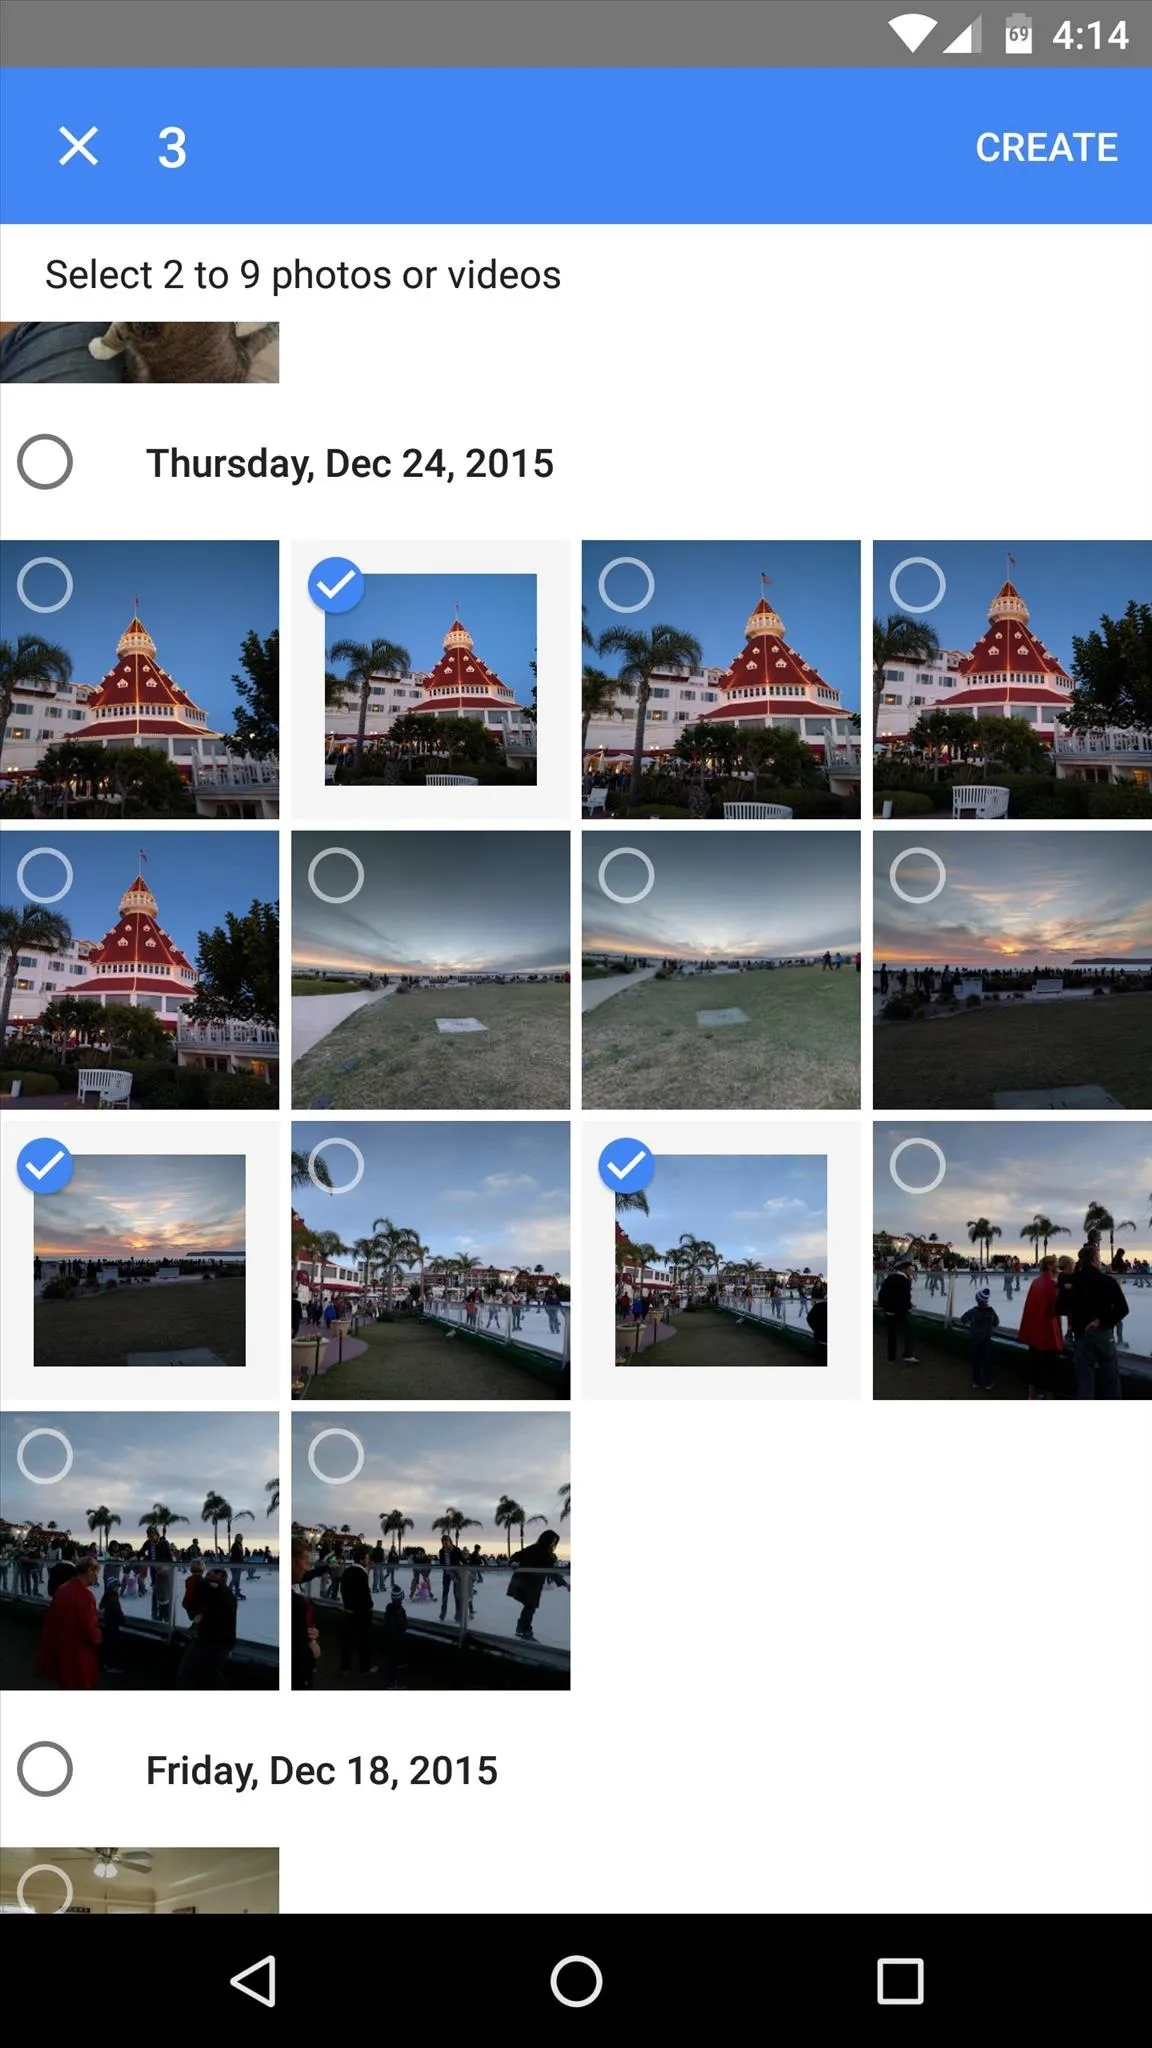
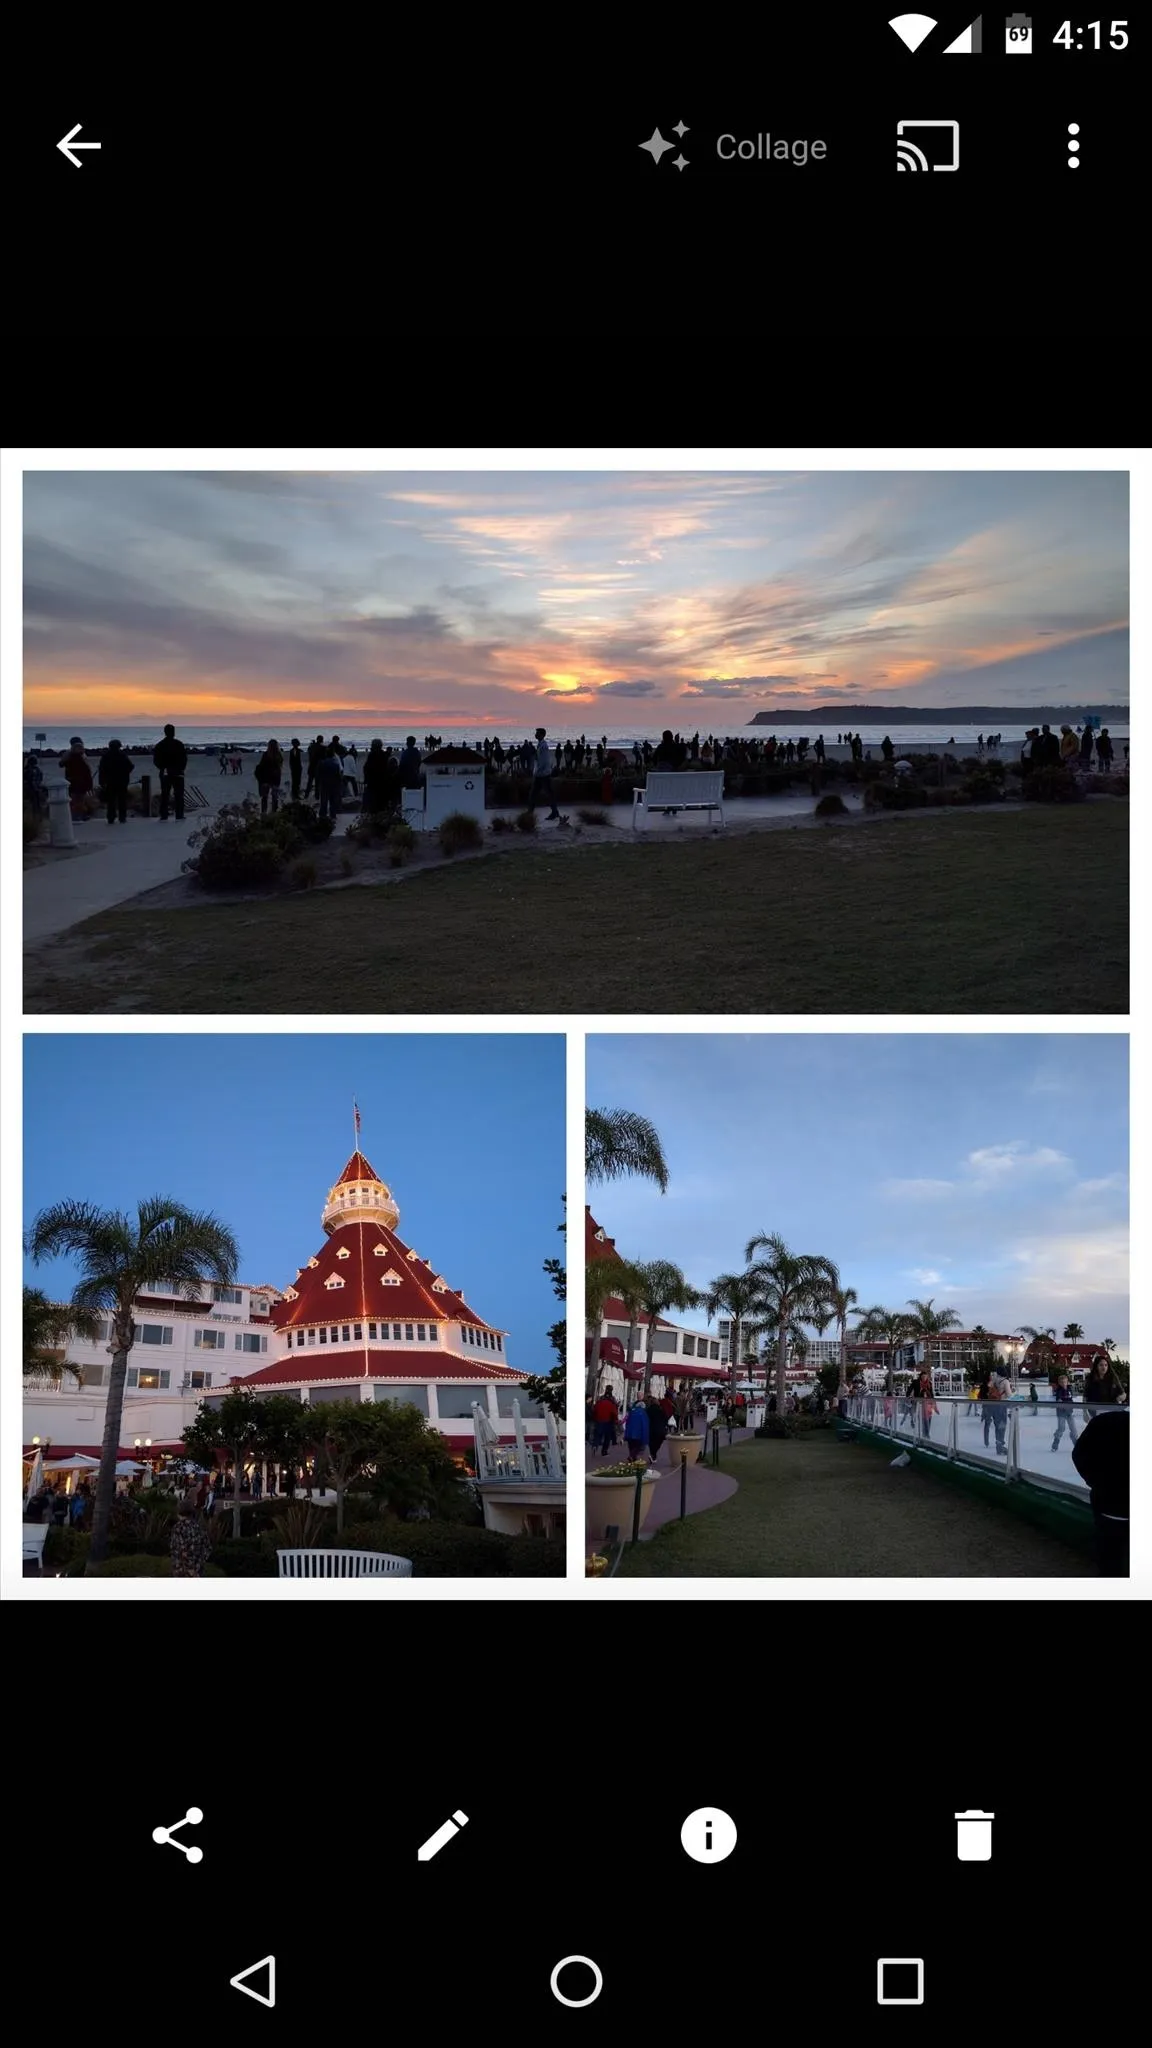
Finally, you can use Google Photos to combine multiple images into a nice collage rather easily. To start, select the "Collage" option from the Assistant tab, then choose anywhere from 2 to 9 pictures. Once you tap the "Create" button, the images will be aligned automatically and framed up into a beautiful collage, which can then be viewed or shared from the Photos tab in the app's main menu.
- Follow Gadget Hacks on Facebook, Twitter, Google+, and YouTube
- Follow Apple Hacks on Facebook and Twitter
- Follow Android Hacks on Facebook and Twitter
- Follow WonderHowTo on Facebook, Twitter, and Google+
Cover photo and screenshots by Dallas Thomas/Gadget Hacks


Comments
Be the first, drop a comment!