


For the longest time, Instagram didn't have a native collage feature. If you wanted to post a story with an assortment of photos, you'd need to use the company's Layout app or a third-party collage maker. Thankfully, that is no longer the case since Instagram now bakes Layout directly into the story camera.
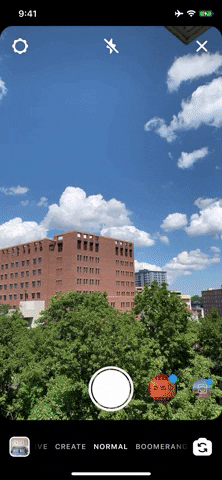
Layout has been available on Instagram since Dec. 17, 2019, when the feature began rolling out, and it's simple to access. Fire up the story camera, then choose the Layout option. If you have the old-style interface, swipe over to "Layout" in the feature carousel at the bottom. On the newer interface, the menu is on the left, and the Layout button should be readily visible, so tap that.
- Don't Miss: Add Song Lyrics to Playing Music in Your Stories
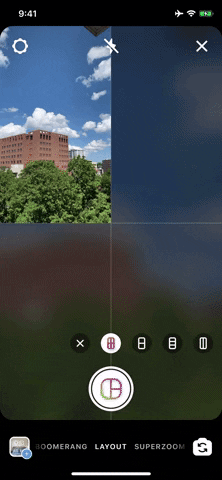
From here, you have six different layouts to choose from, each varying in the number of photos and how Instagram displays them in a grid:
- 2 by 2 (portraits)
- 2 by 1 (squares)
- 3 by 1 (landscapes)
- 1 by 2 (thin portraits)
- 3 by 3 (squares)
- 1 by 2 (portraits) + 1 by 1 (square)
The older story camera layout (left) vs. the newer version (right).
The older story camera layout (left) vs. the newer version (right).
You can quickly swipe or tap between these collage options to see which layout is right for your post. When you pick one you like, using it is just as easy.
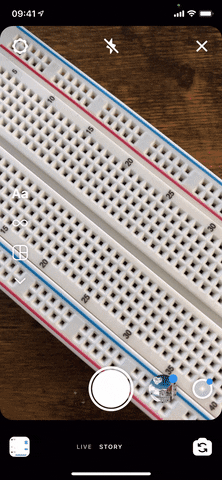
When you tap the shutter button, Instagram takes a photo and uses it to fill the first available space in the layout. If the size of the picture doesn't fit the frame, you can pinch and move it around with two fingers to crop it better. Tap the shutter again, and it fills the next slot, and so on.
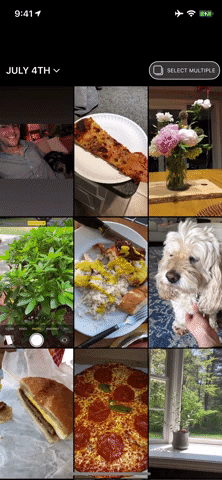
You can also fill spaces with photos in your library via the photo button in the bottom left. To add just one photo from your storage to the collage, tap it. If you want to choose more than one image at a time, tap "Select Multiple," select your images, then tap "Next."
Taking photos (left) vs. selecting multiple photos (right).
Taking photos (left) vs. selecting multiple photos (right).
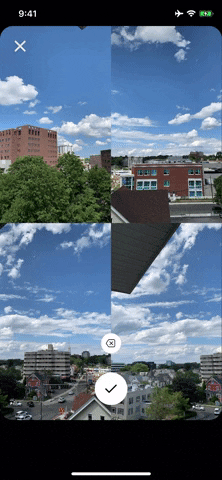
If you're unhappy with the photo that filled the last available space, tap the delete button above the shutter. Keep doing that until all the images you want to remove are gone. You can also tap the "X" in the top left to remove all pics.
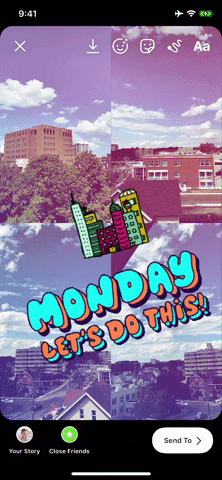
When you've filled all available spaces, you can tap the checkmark that appears to finish the layout. From here, you can add all the usual bells and whistles to your post, including text, stickers, GIFs, drawings, etc. If you change your mind, tap the "X" in the top left, then "Discard," to restart from scratch.
Deleting images one by one (left) vs. a finished product (right).
Deleting images one by one (left) vs. a finished product (right).
Then, just hit the "Your Story" button to post it there right away, or choose "Close Friends" to send it to your pre-selected group of users. Alternatively, tap "Send To" to see more options.
Cover photo and GIFs by Jake Peterson/Gadget Hacks


Comments
Be the first, drop a comment!