


Samsung and Google have done some amazing work together in the past, particularly with Android related projects. But after years of an inexplicable lack of interoperability, the primary smart home hardware divisions from both companies are finally on the same page — starting right now.
As of Jan. 14, 2021, you can now add your Nest cameras, thermostats, and doorbells to your SmartThings Hub. Cameras can serve as motion detectors or sound sensors, doorbells can do the same with the addition of button functionality, and thermostats can trigger events based on temperature, humidity, or mode. Things also work the other way around with the thermostat, so you can adjust your A/C, heater, or fan based on events happening in your home.
Update SmartThings
First, make sure your SmartThings app is on the latest version. You should also note that the SmartThings Classic app has been deprecated, so this feature is only available in the new SmartThings app.
- Update SmartThings: Android Play Store | iOS App Store

Add a New Device
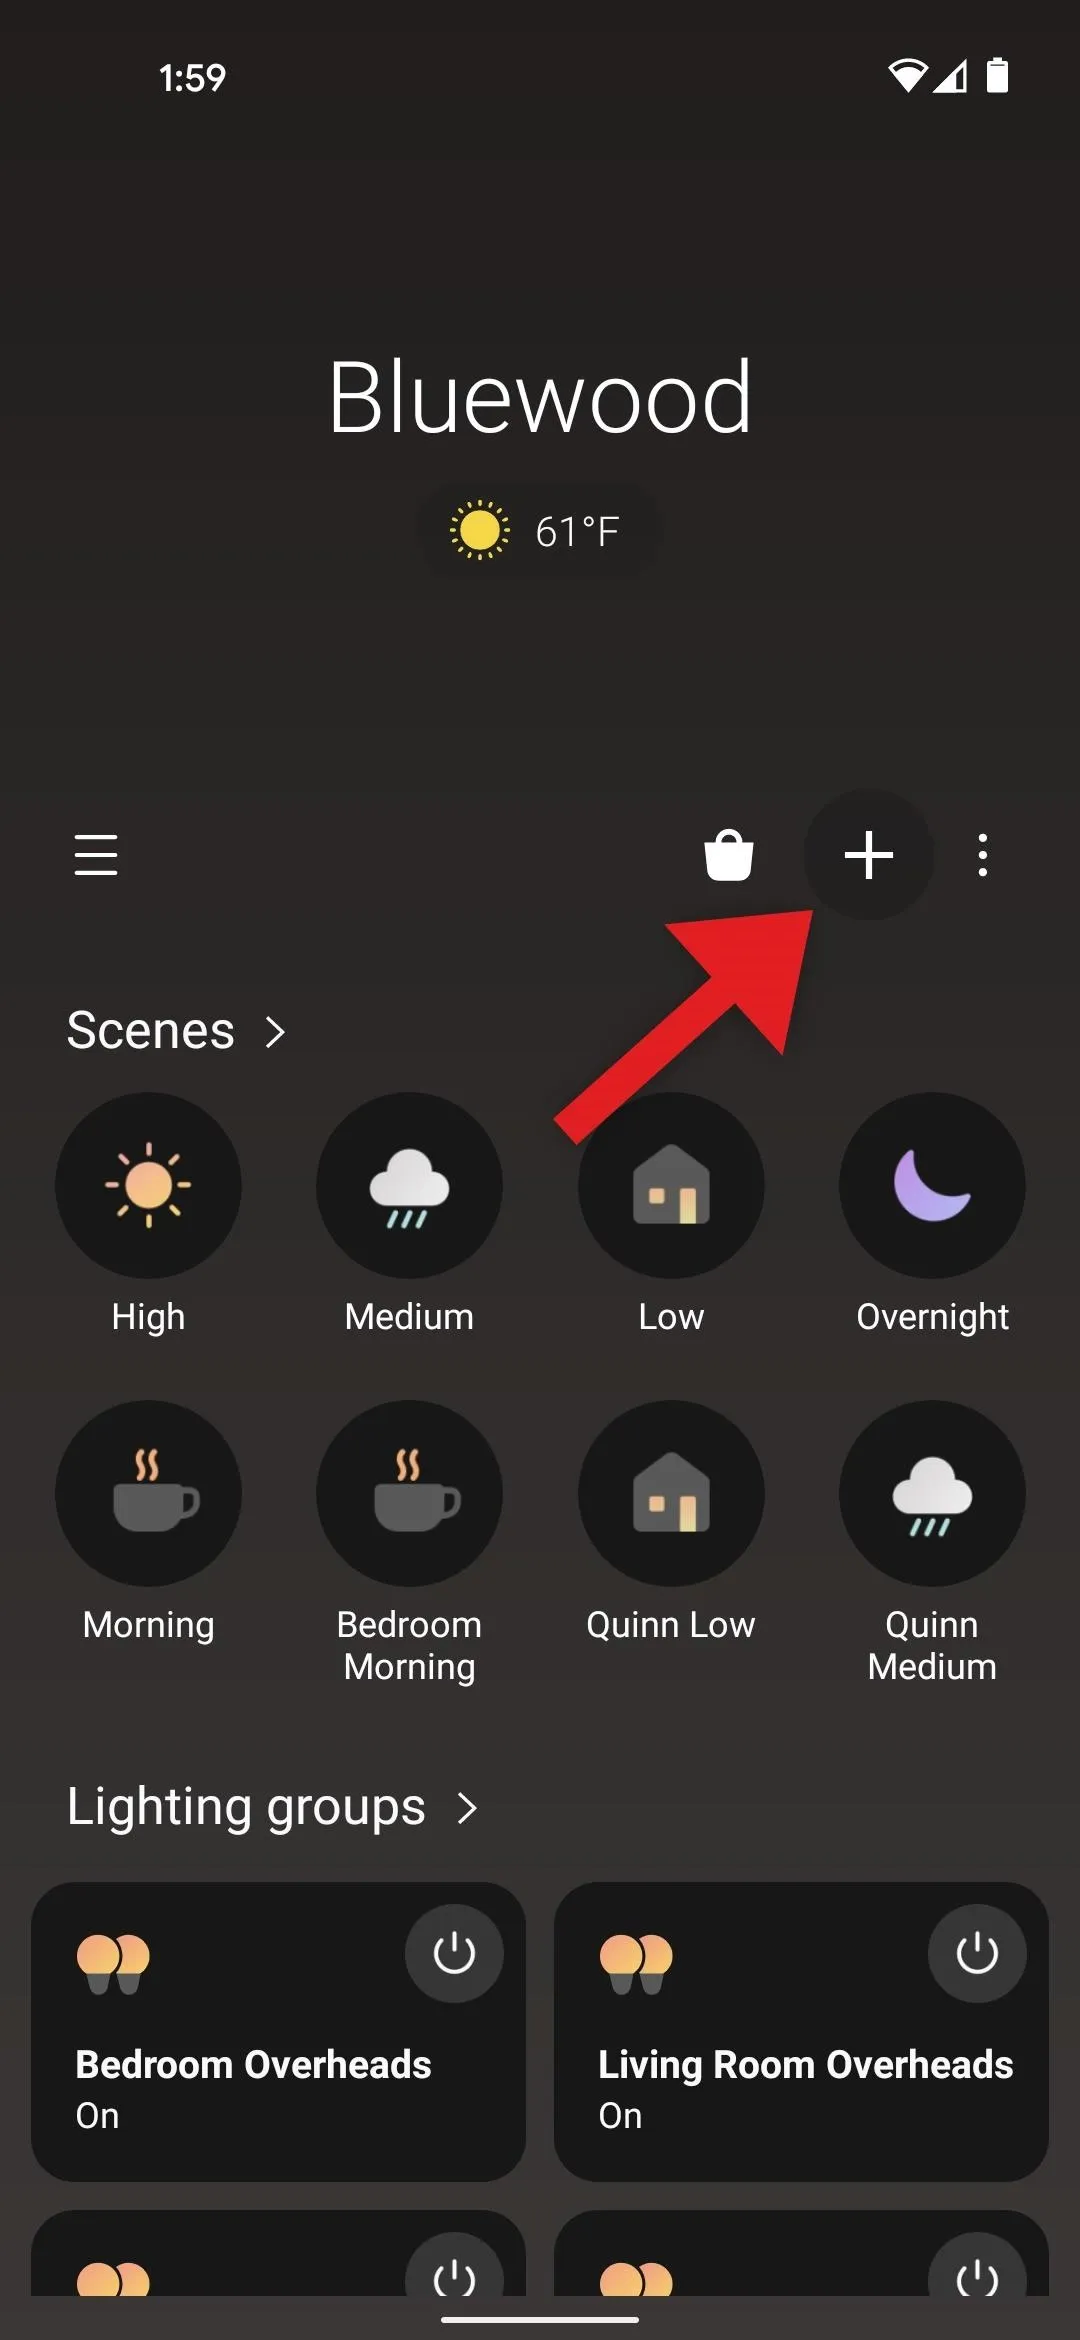
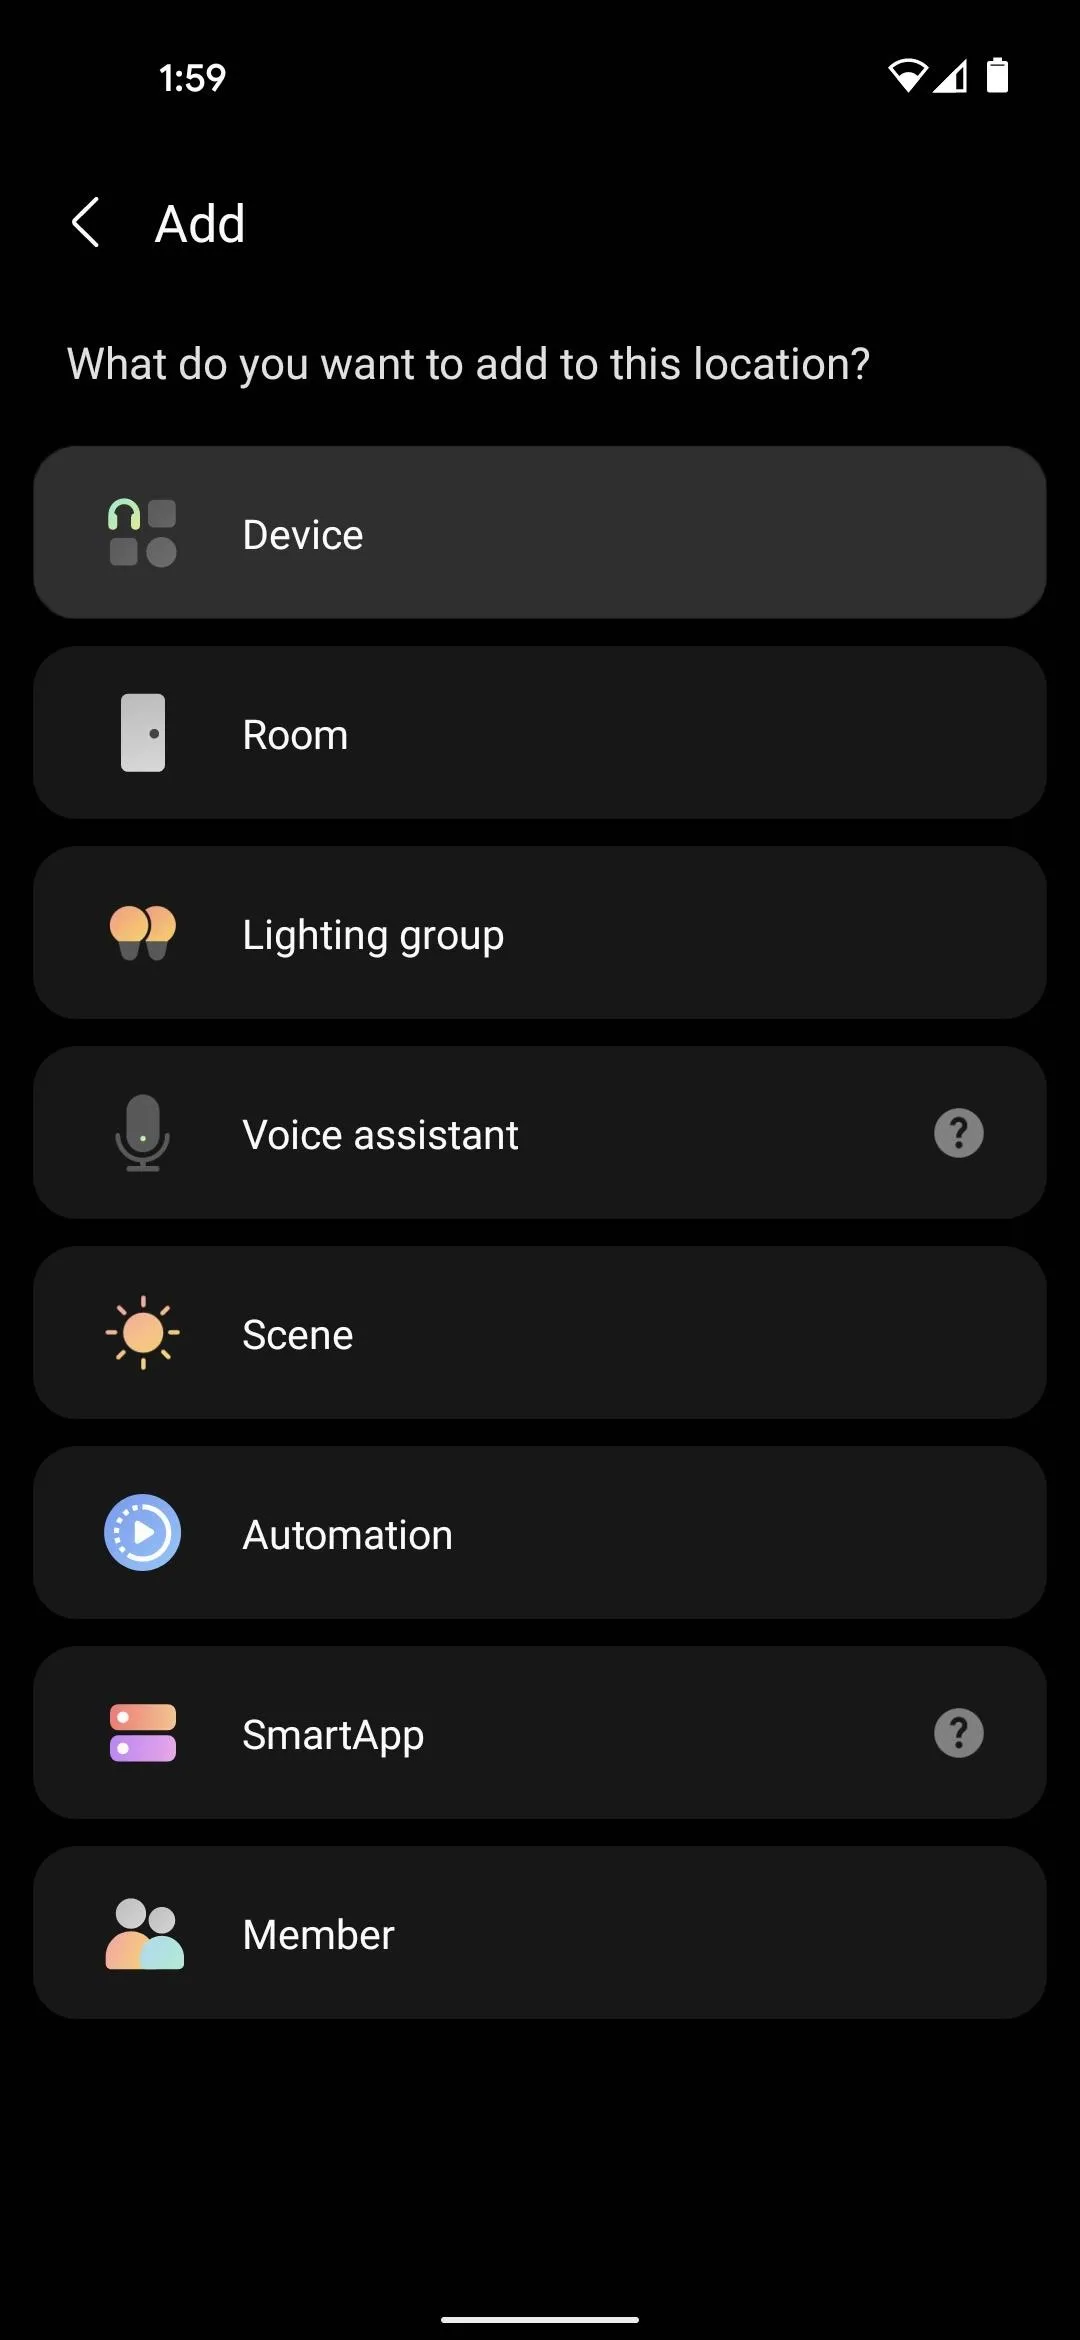
From the main menu in SmartThings, tap the + button towards the top-right corner. On the Add screen, go ahead and select "Device."
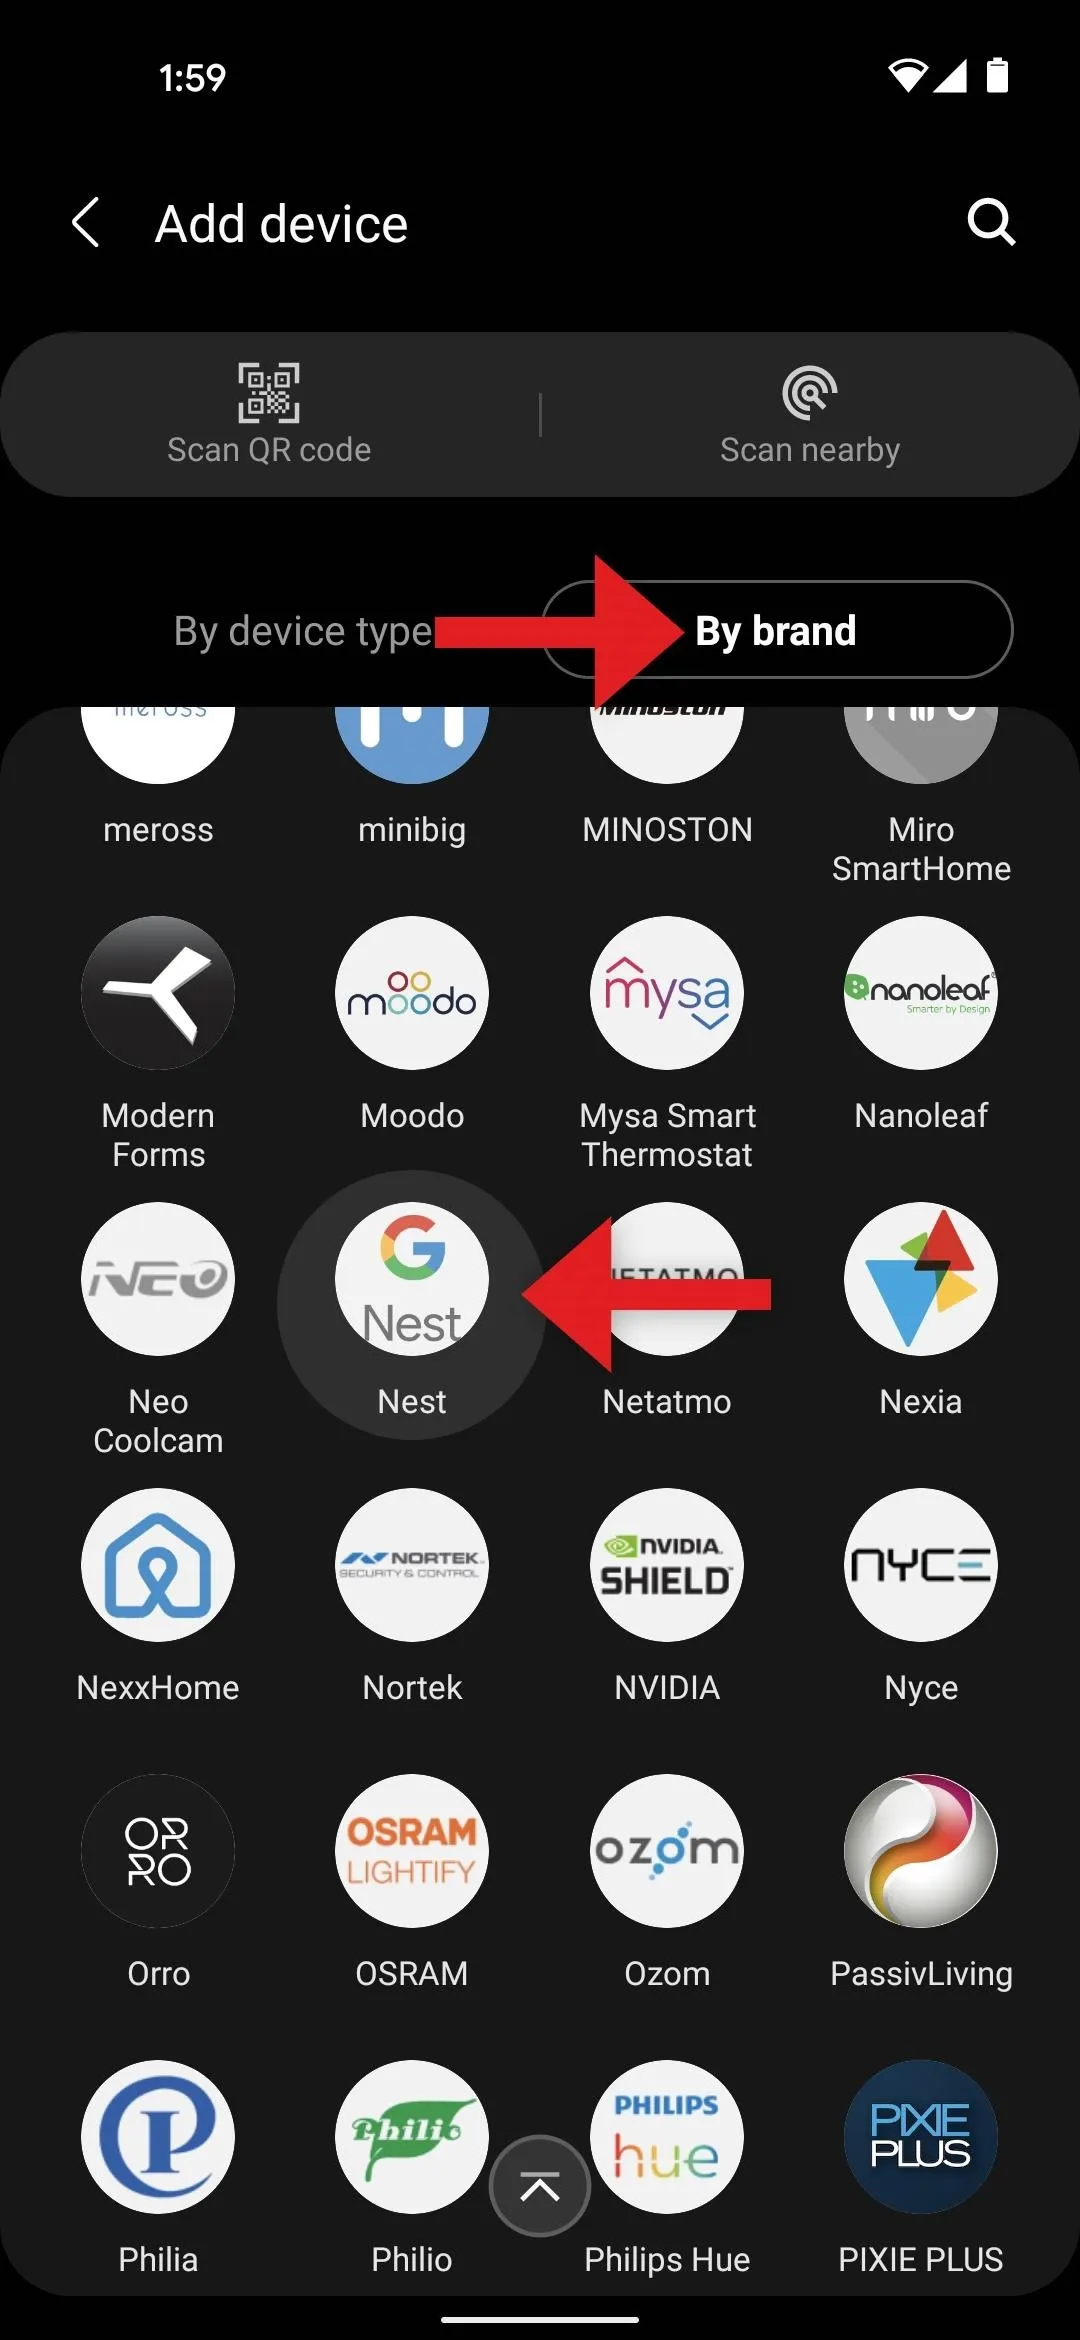
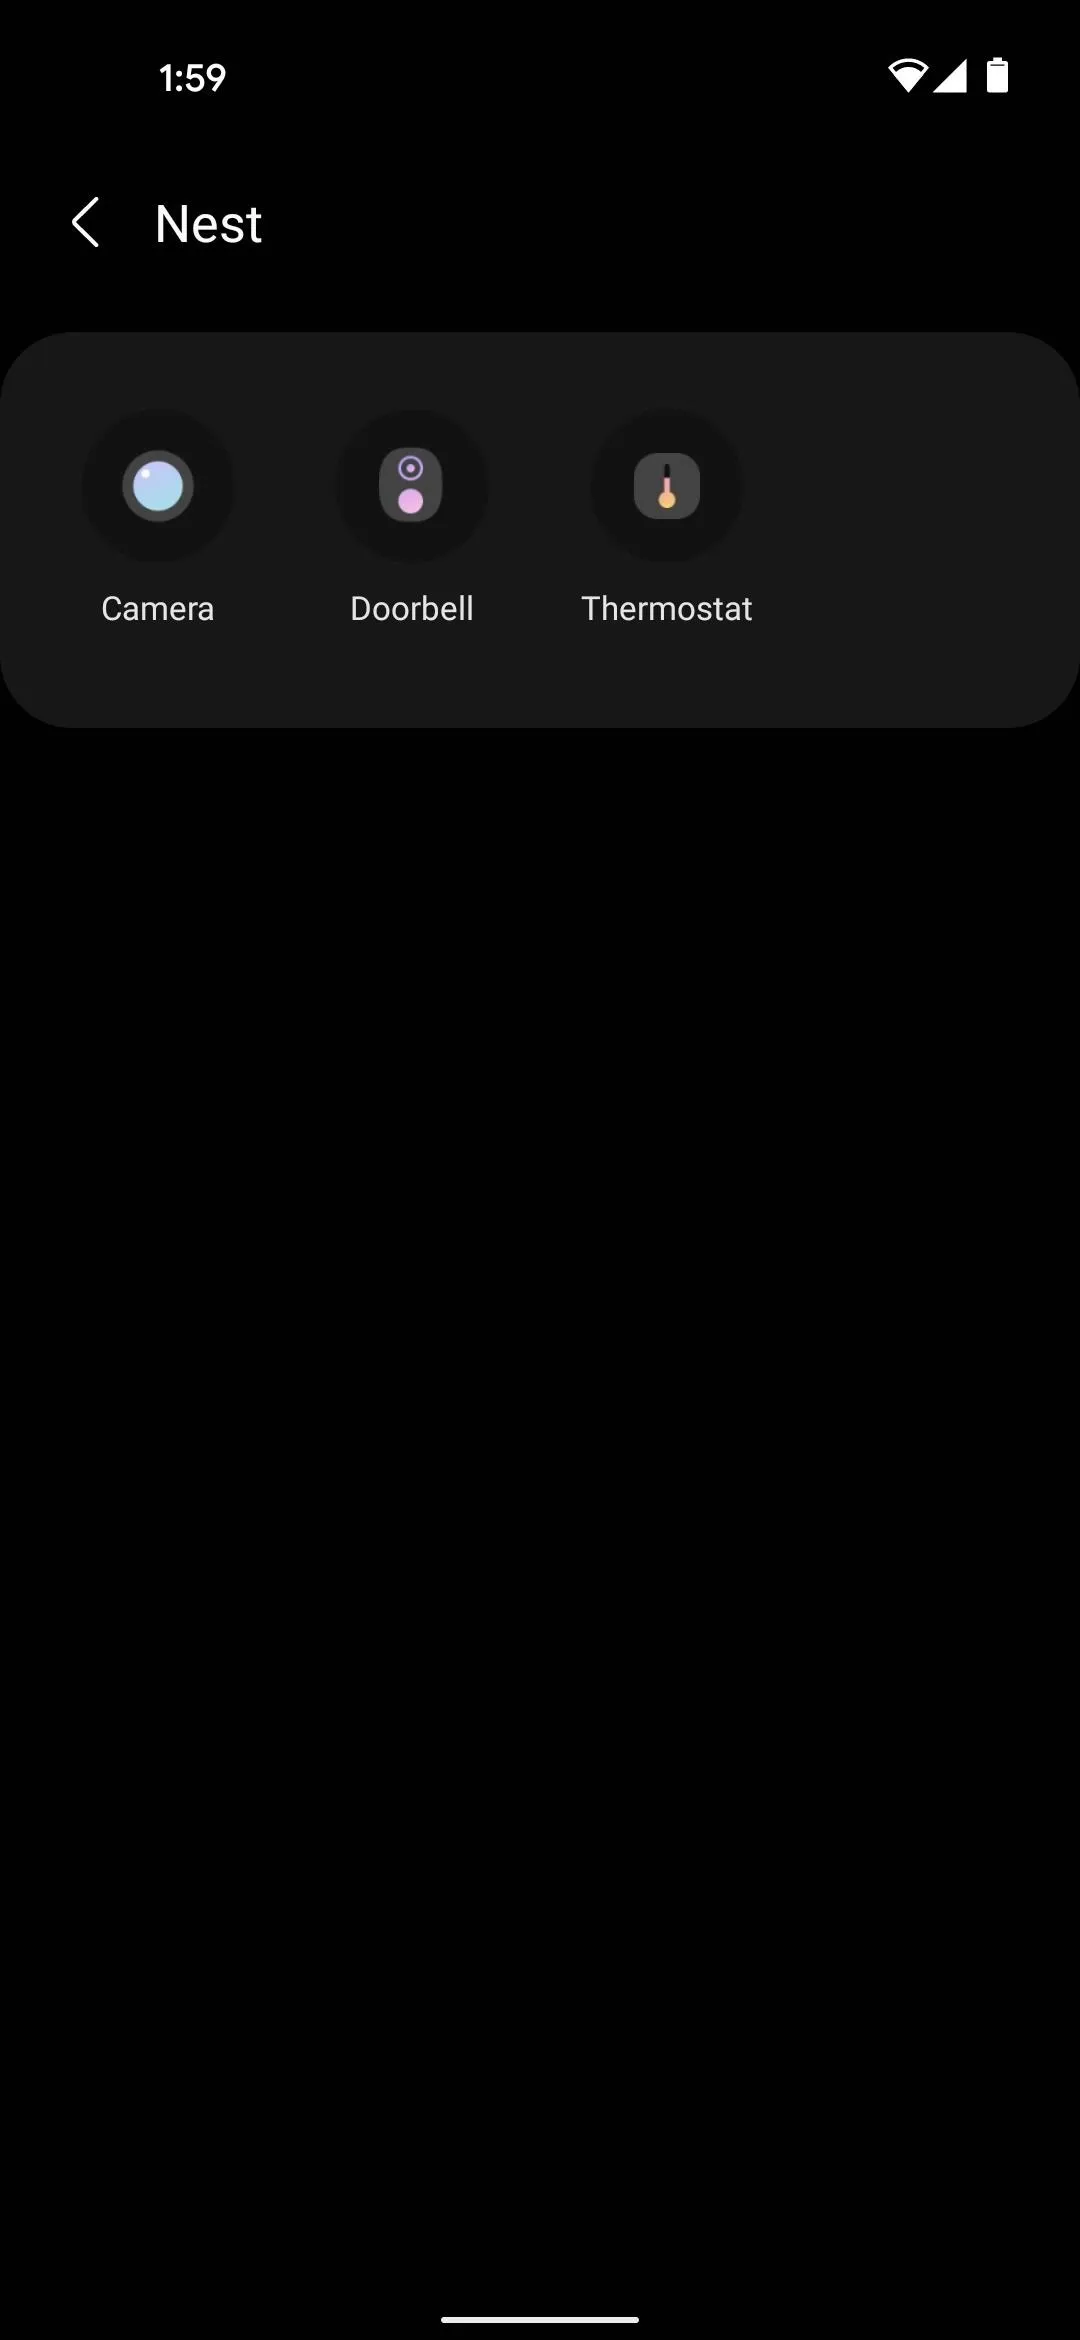
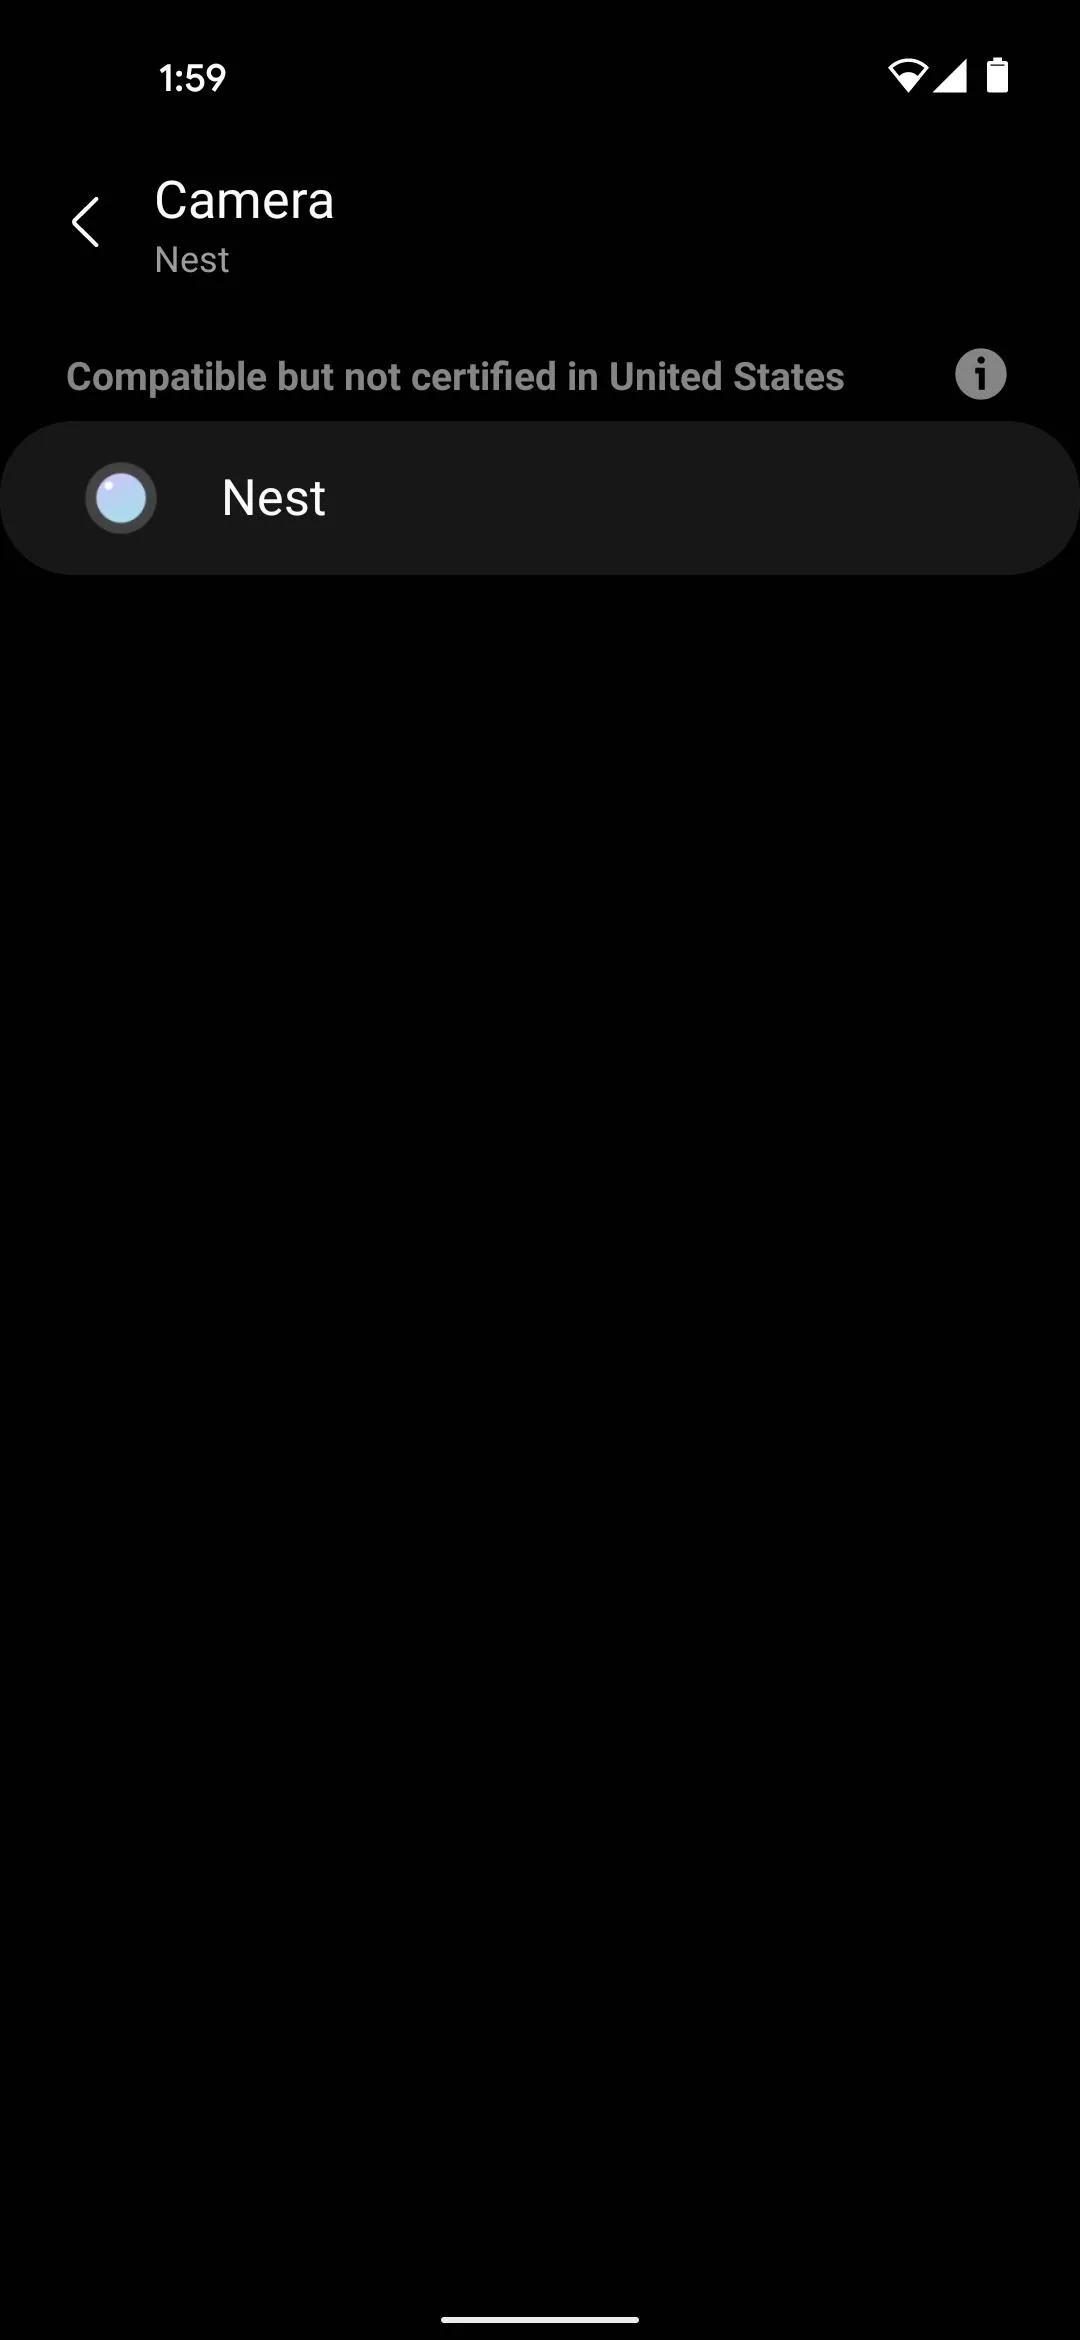
Now, make sure the By Brand tab is selected, then scroll down the list and select the new "Nest" entry. Here, you can choose between "Camera," "Doorbell," and "Thermostat" as the device type. If you have more than one of these device types, just choose one for now. Finally, tap "Nest" on the last device screen.
Choose the Data SmartThings Can Access
Next, select your home under Location, then choose a room to add the device(s) to. If you're adding more than one device in more than one room, just start with one for now. Press "Next" when you're done here.
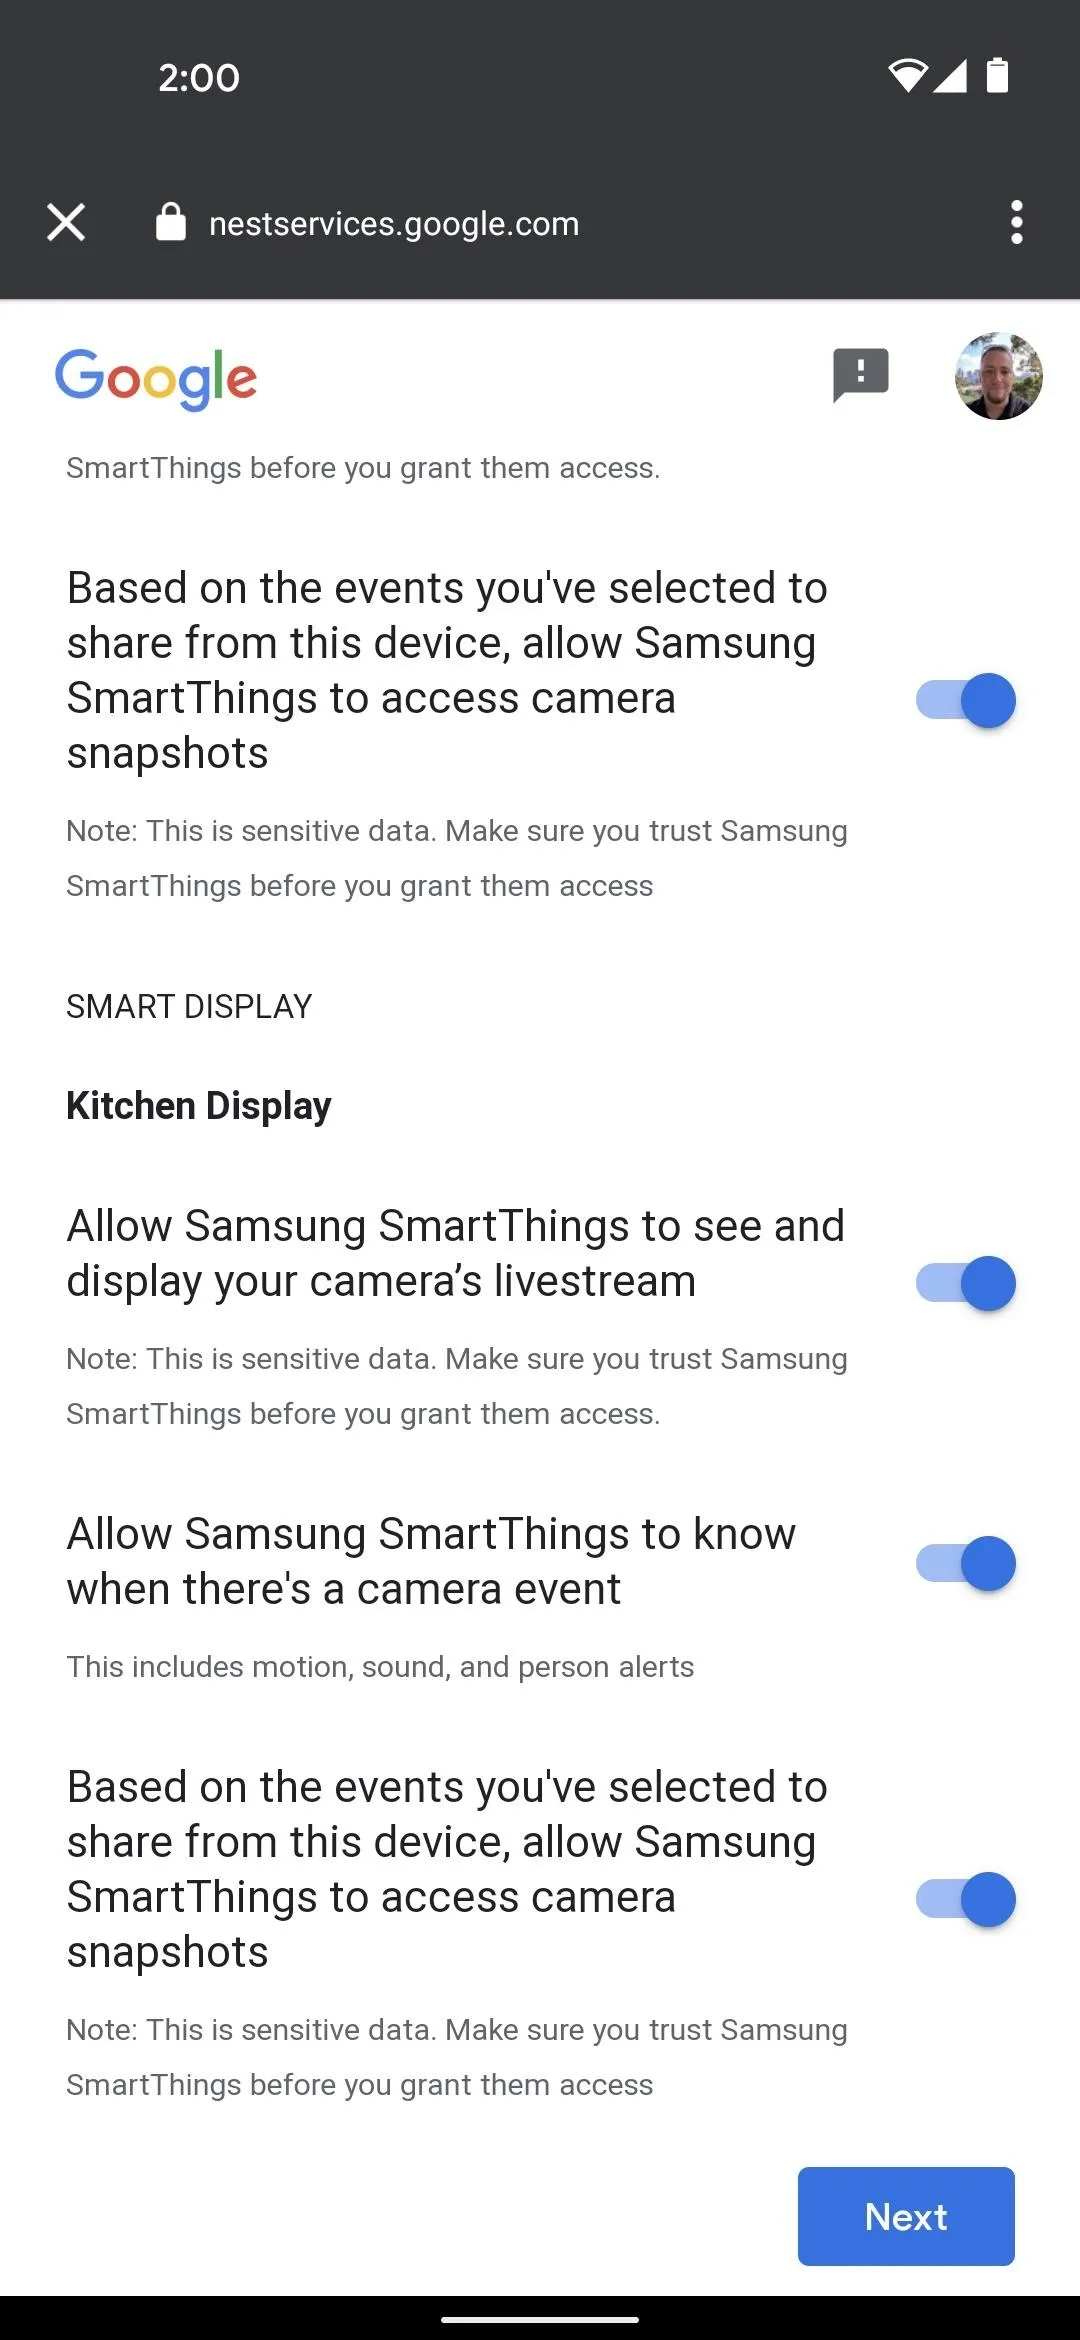
From there, you'll be asked to sign into the Google account you use with Nest. Once you've done that, start by enabling the toggle next to "Allow Samsung SmartThings to see information about your home." You'll then see all of your Nest devices listed individually. Enable the toggle next to each one you want to use in SmartThings, then enable the subsequent permission toggles that appear underneath.


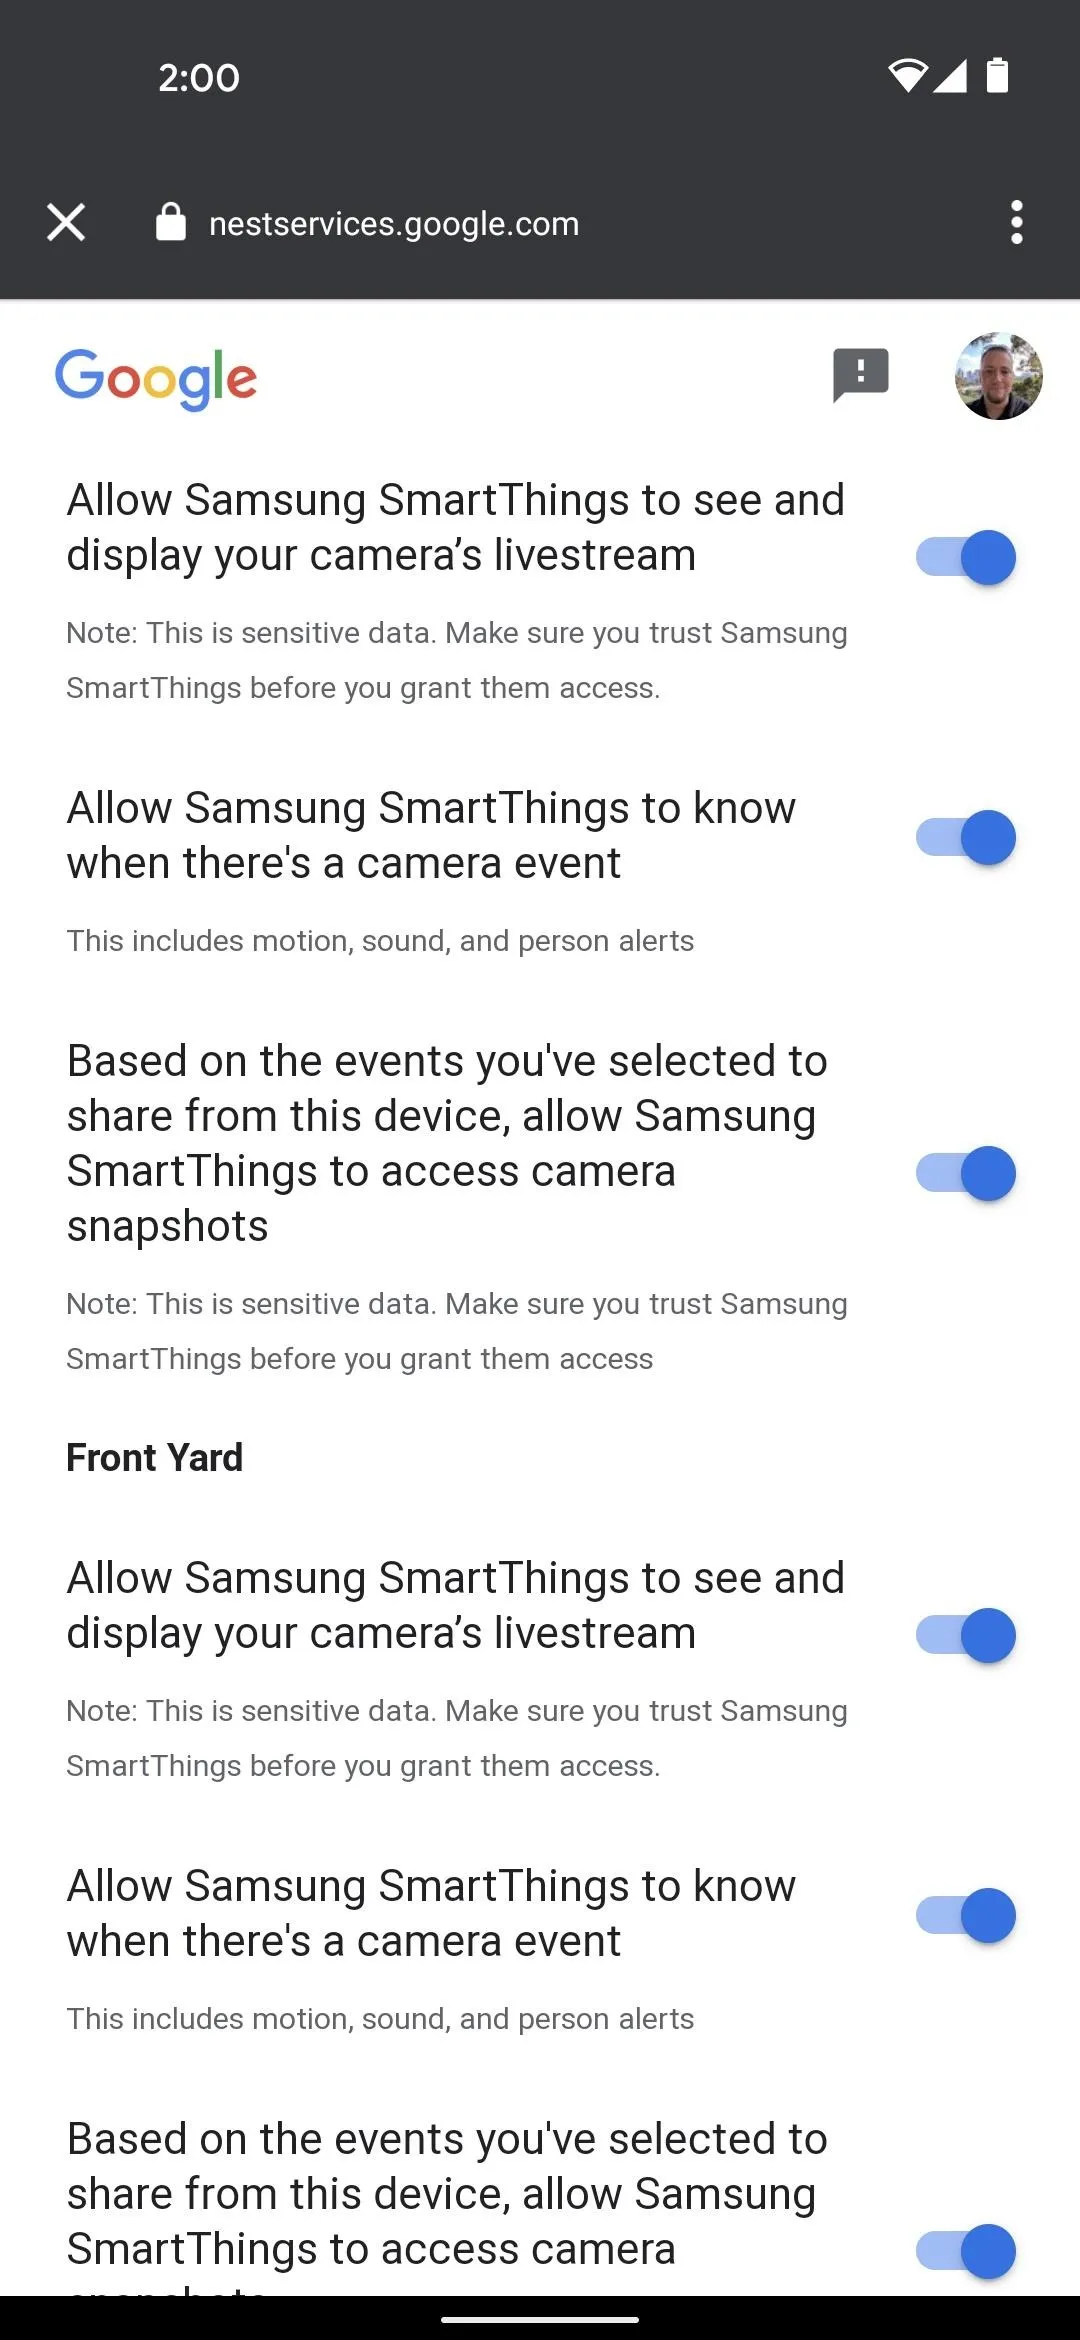
You can opt not to allow access to certain functionality, but that would limit the possibilities for future automations, so be aware.
Connect Your Nest Account to SmartThings
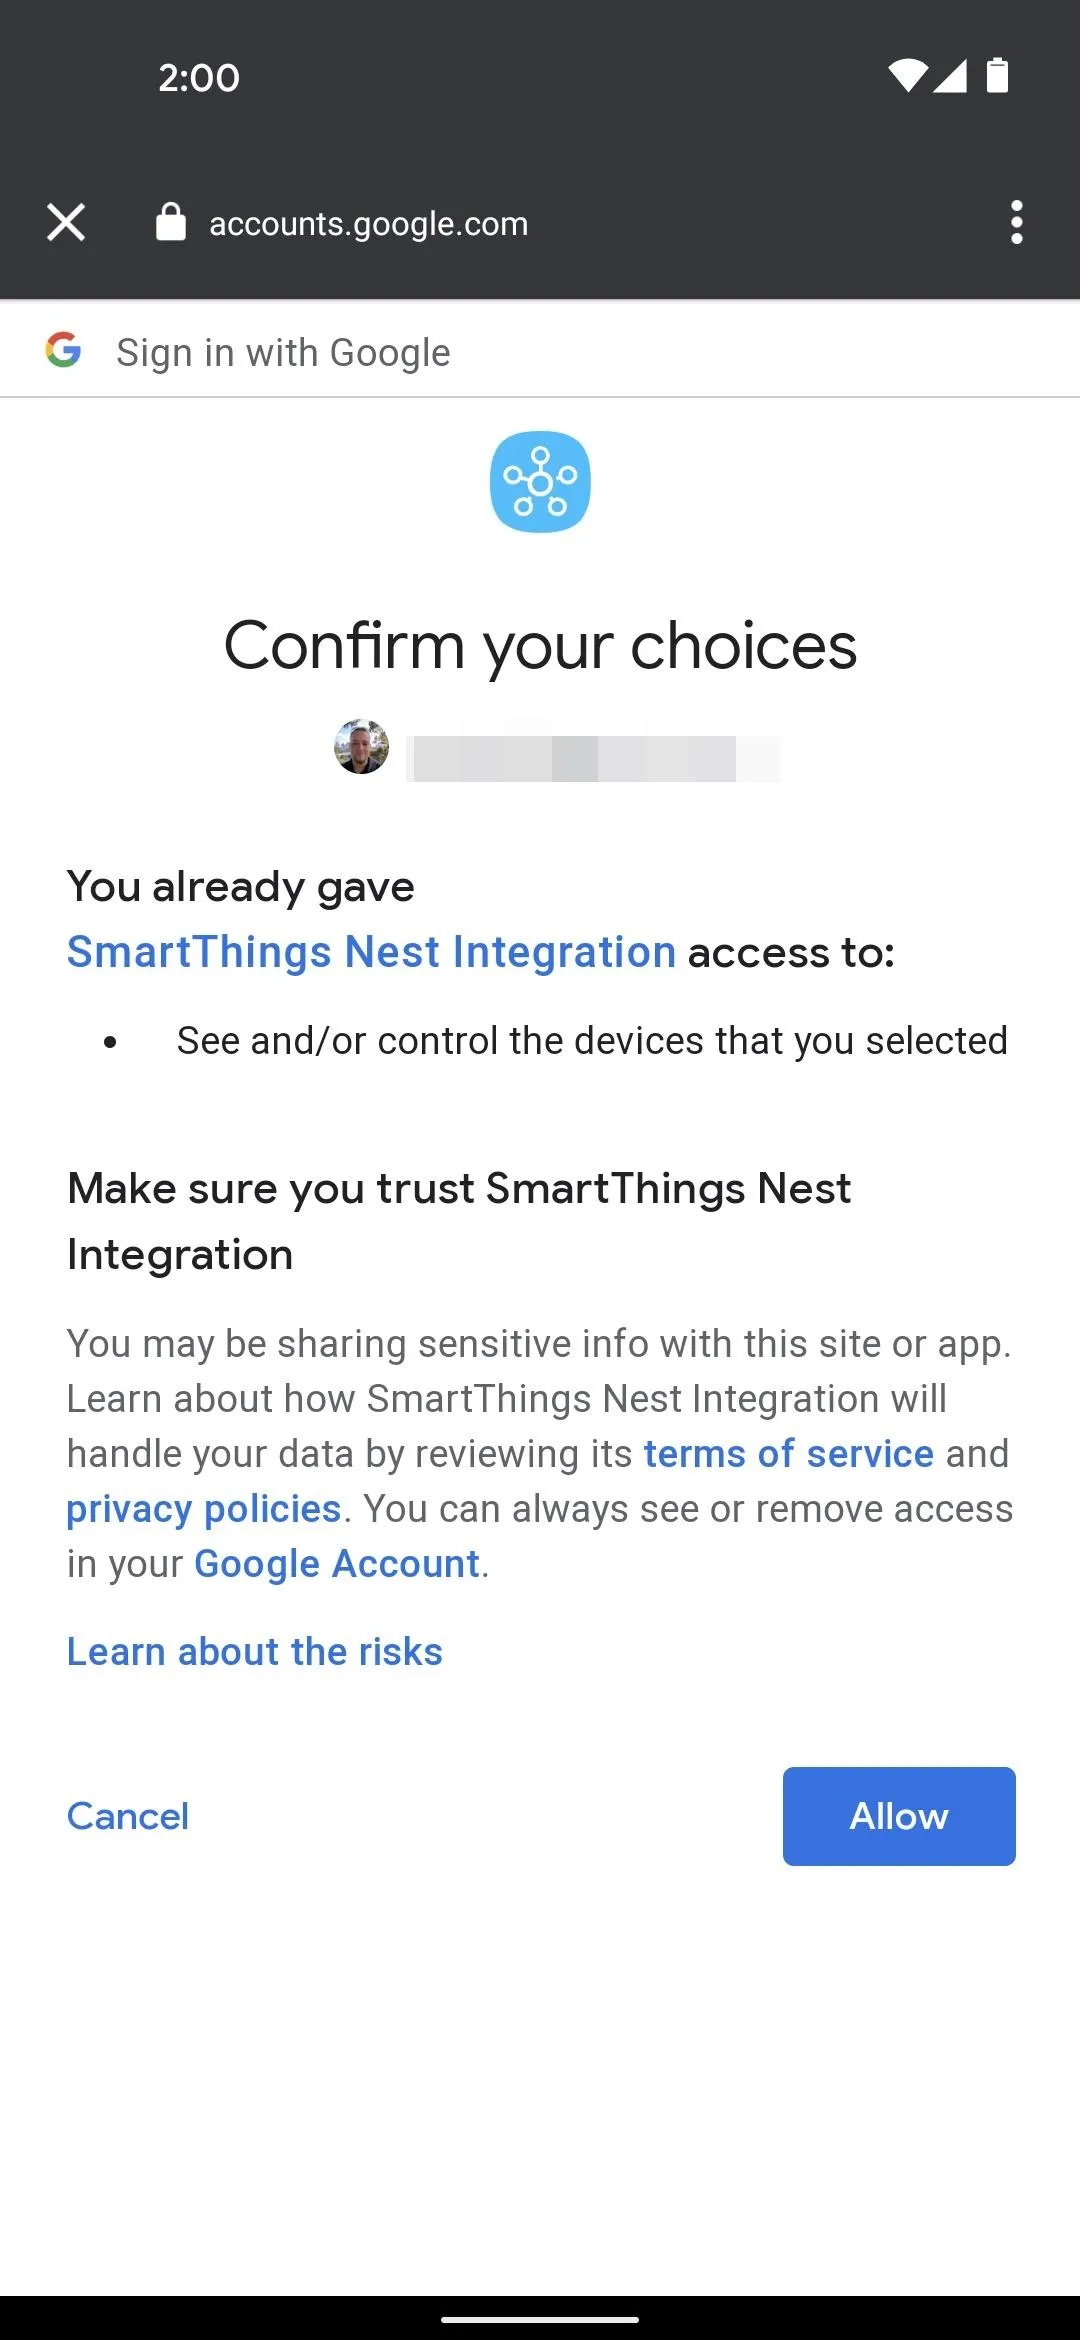
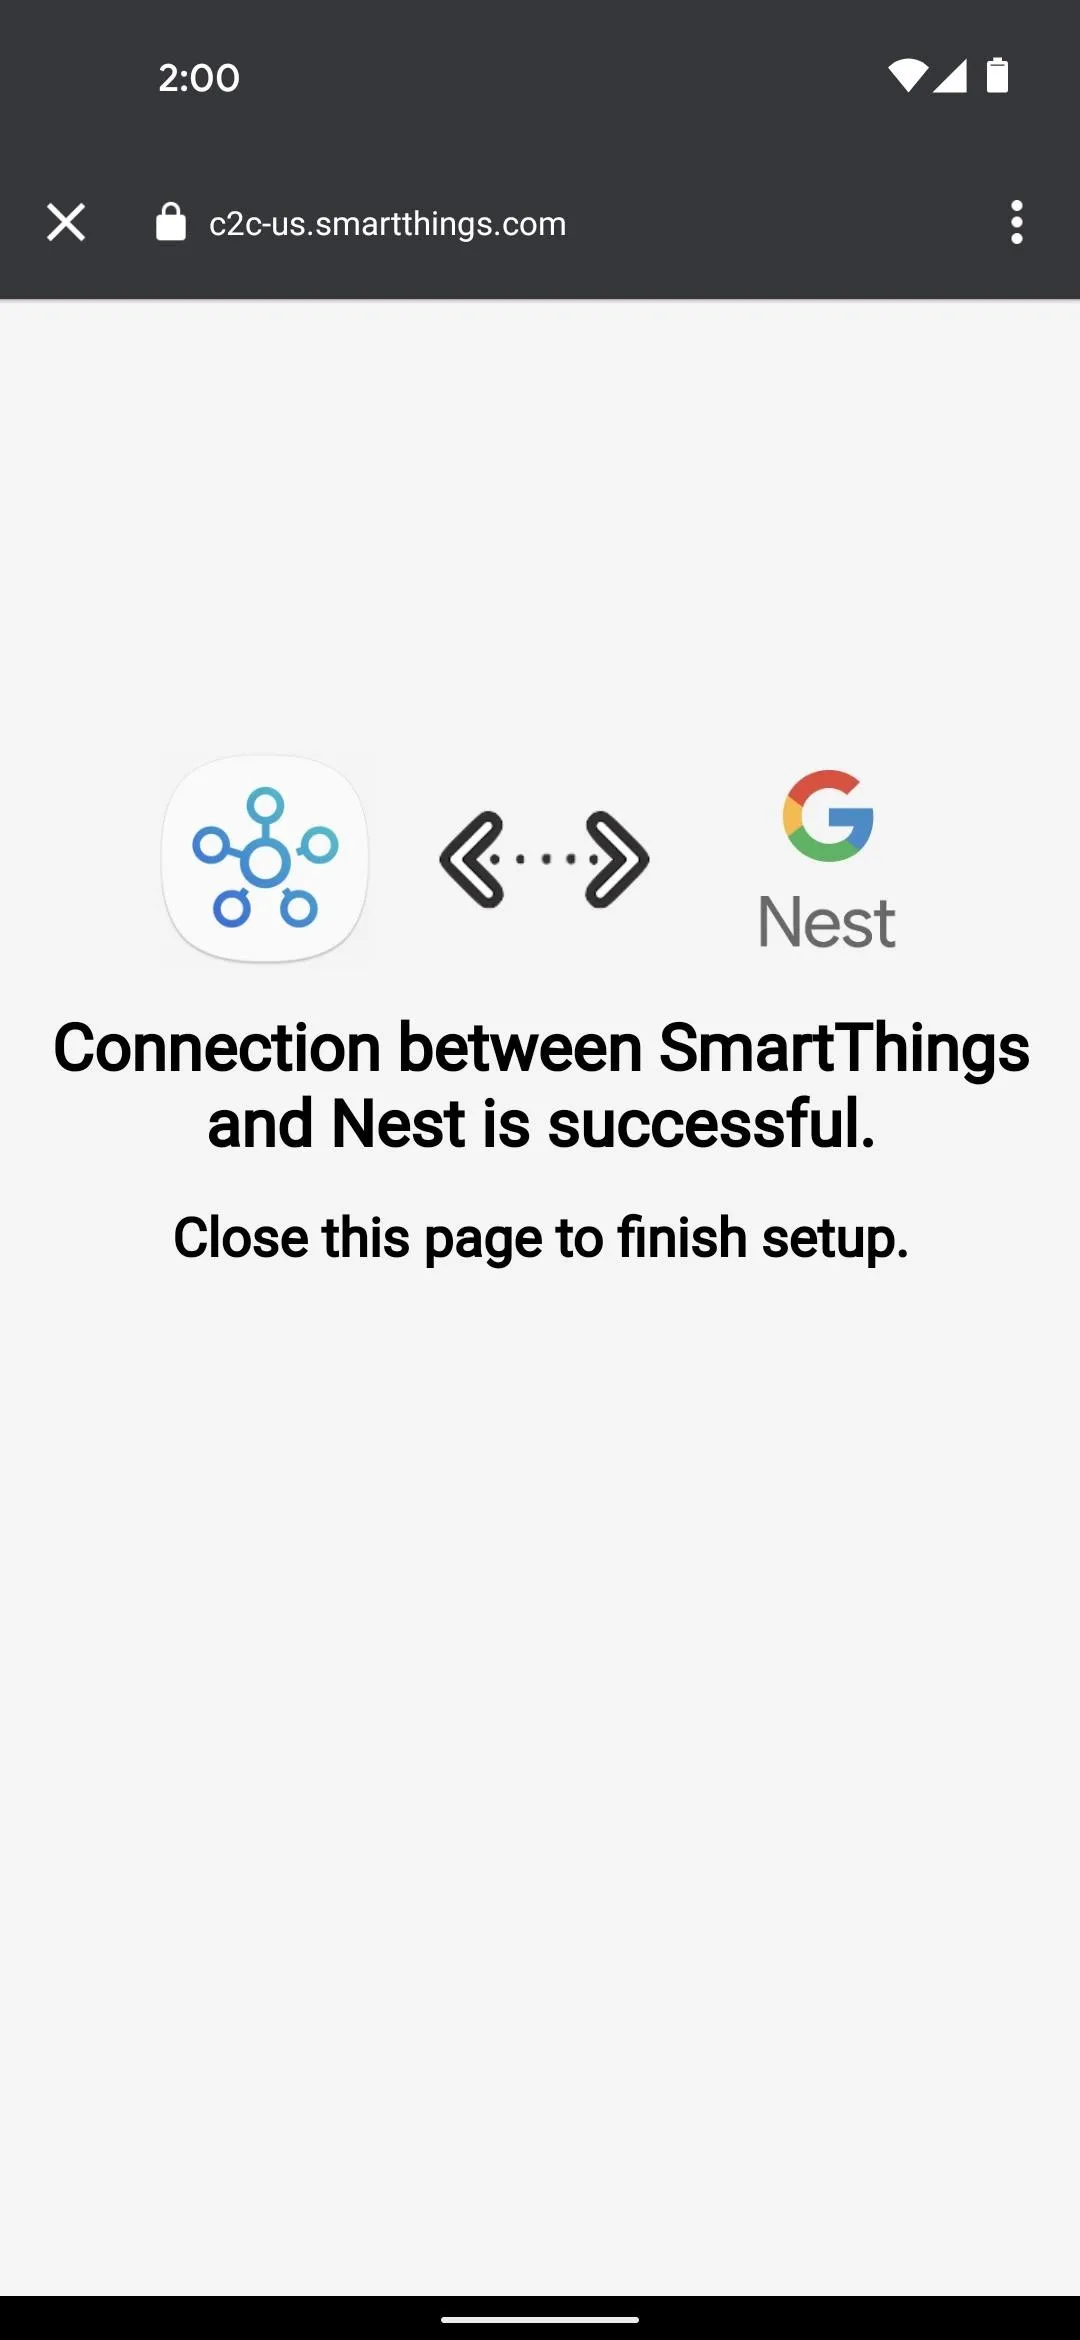
Once you've enabled all of the devices and permissions you're comfortable with, scroll down to the bottom of the page and tap "Next," then tap "Allow" to confirm your choices. When you're finished there, tap the "X" button (Android) or "Done" button (iOS) in the top-left corner to wrap things up.
Find Your Nest Devices in SmartThings
Now, you'll find all of your Nest devices in the Devices section of the hamburger menu (three lines in the top-left corner). Alternatively, they'll also be in the room you chose during setup, so you can visit the Room section in the hamburger menu to see them in one group.
If you had multiple Nest devices spanning multiple rooms, you'll want to manually reassign the other devices to other rooms in your house at this point.

"Rooms" and "Devices" in the hamburger menu.
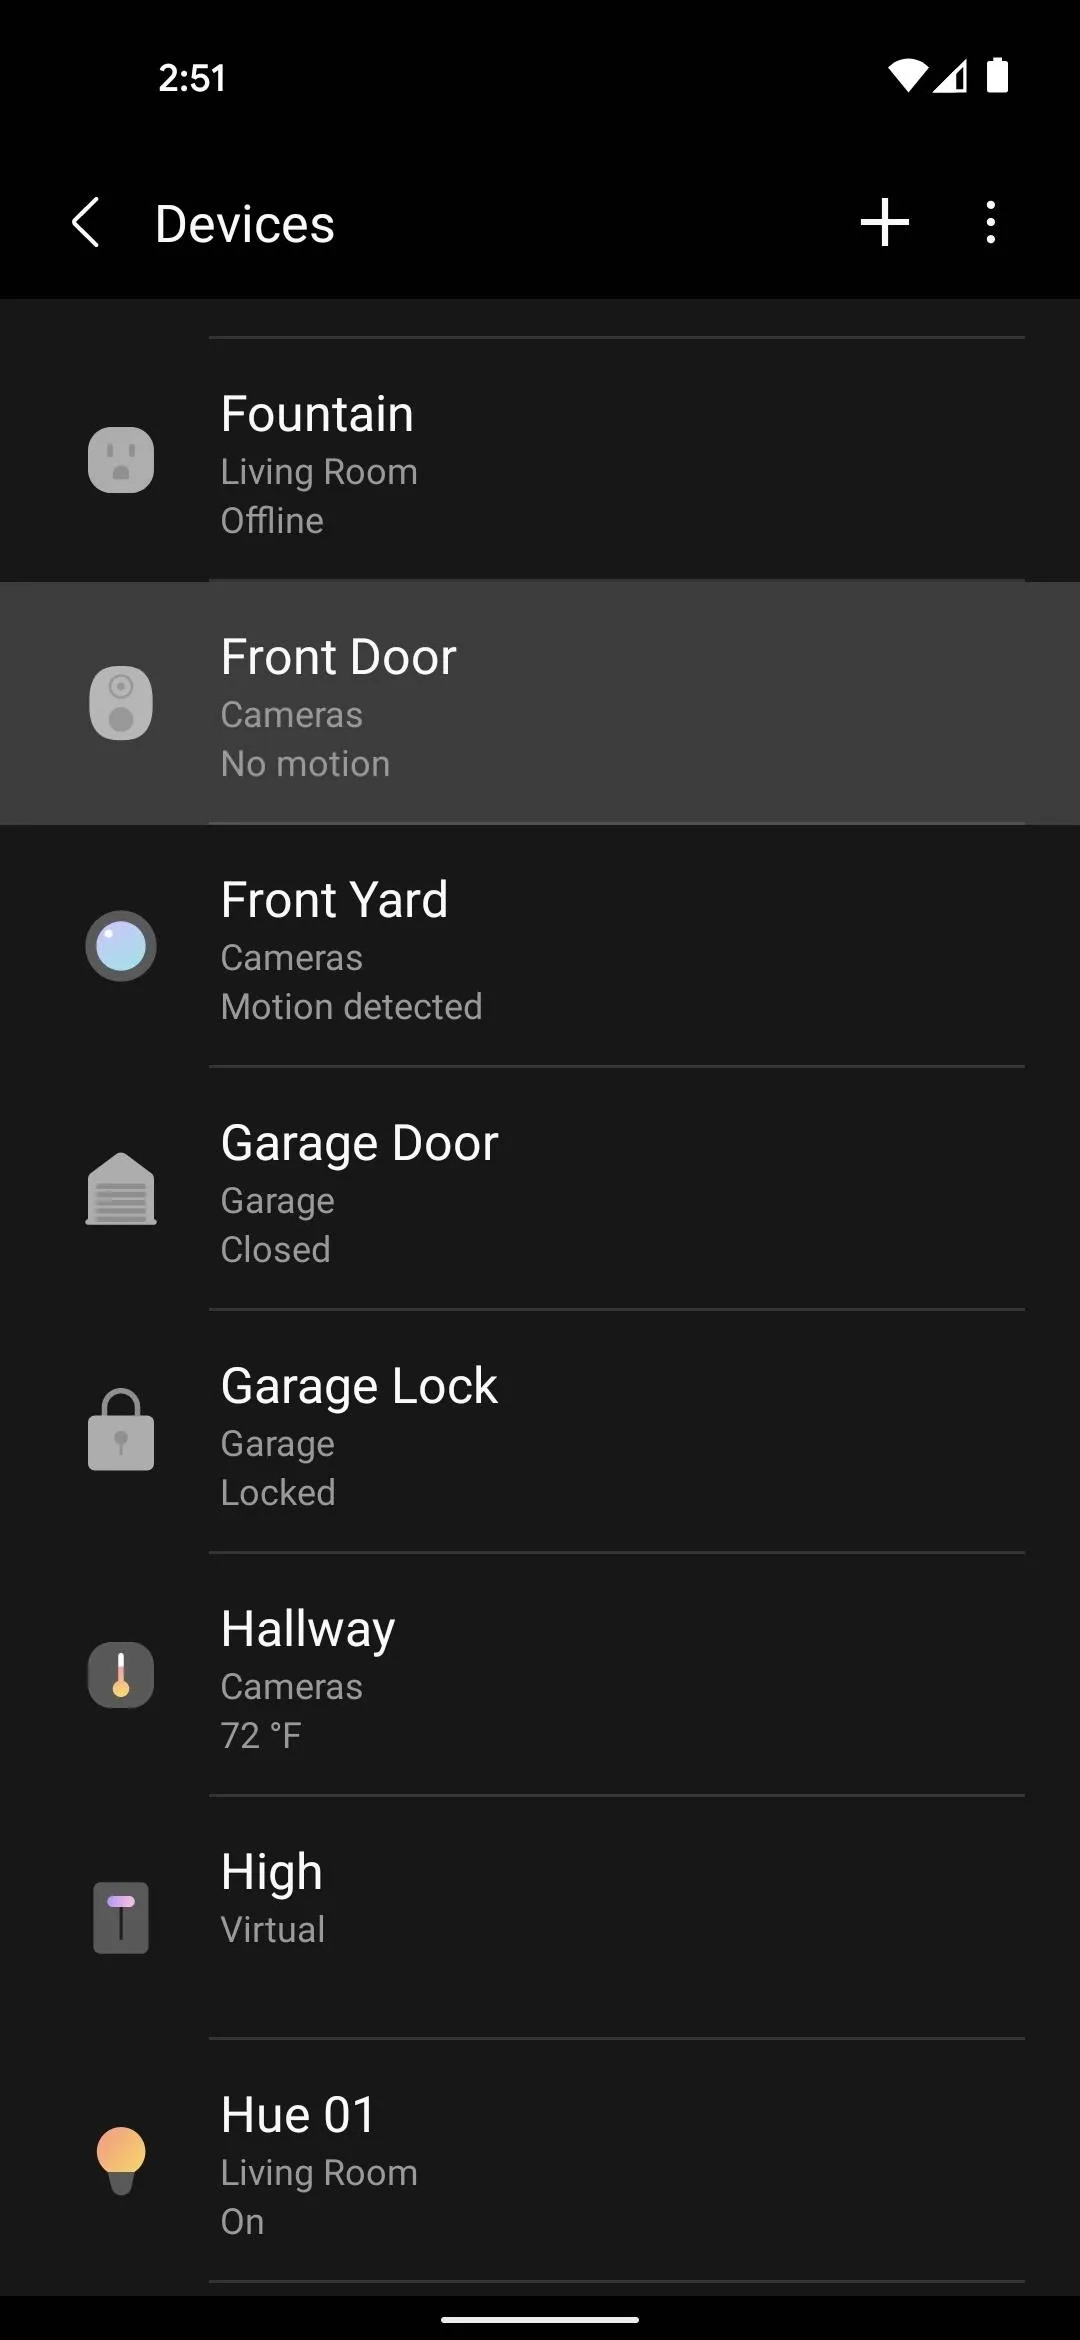
Locating Nest Hello doorbell in the Devices menu.
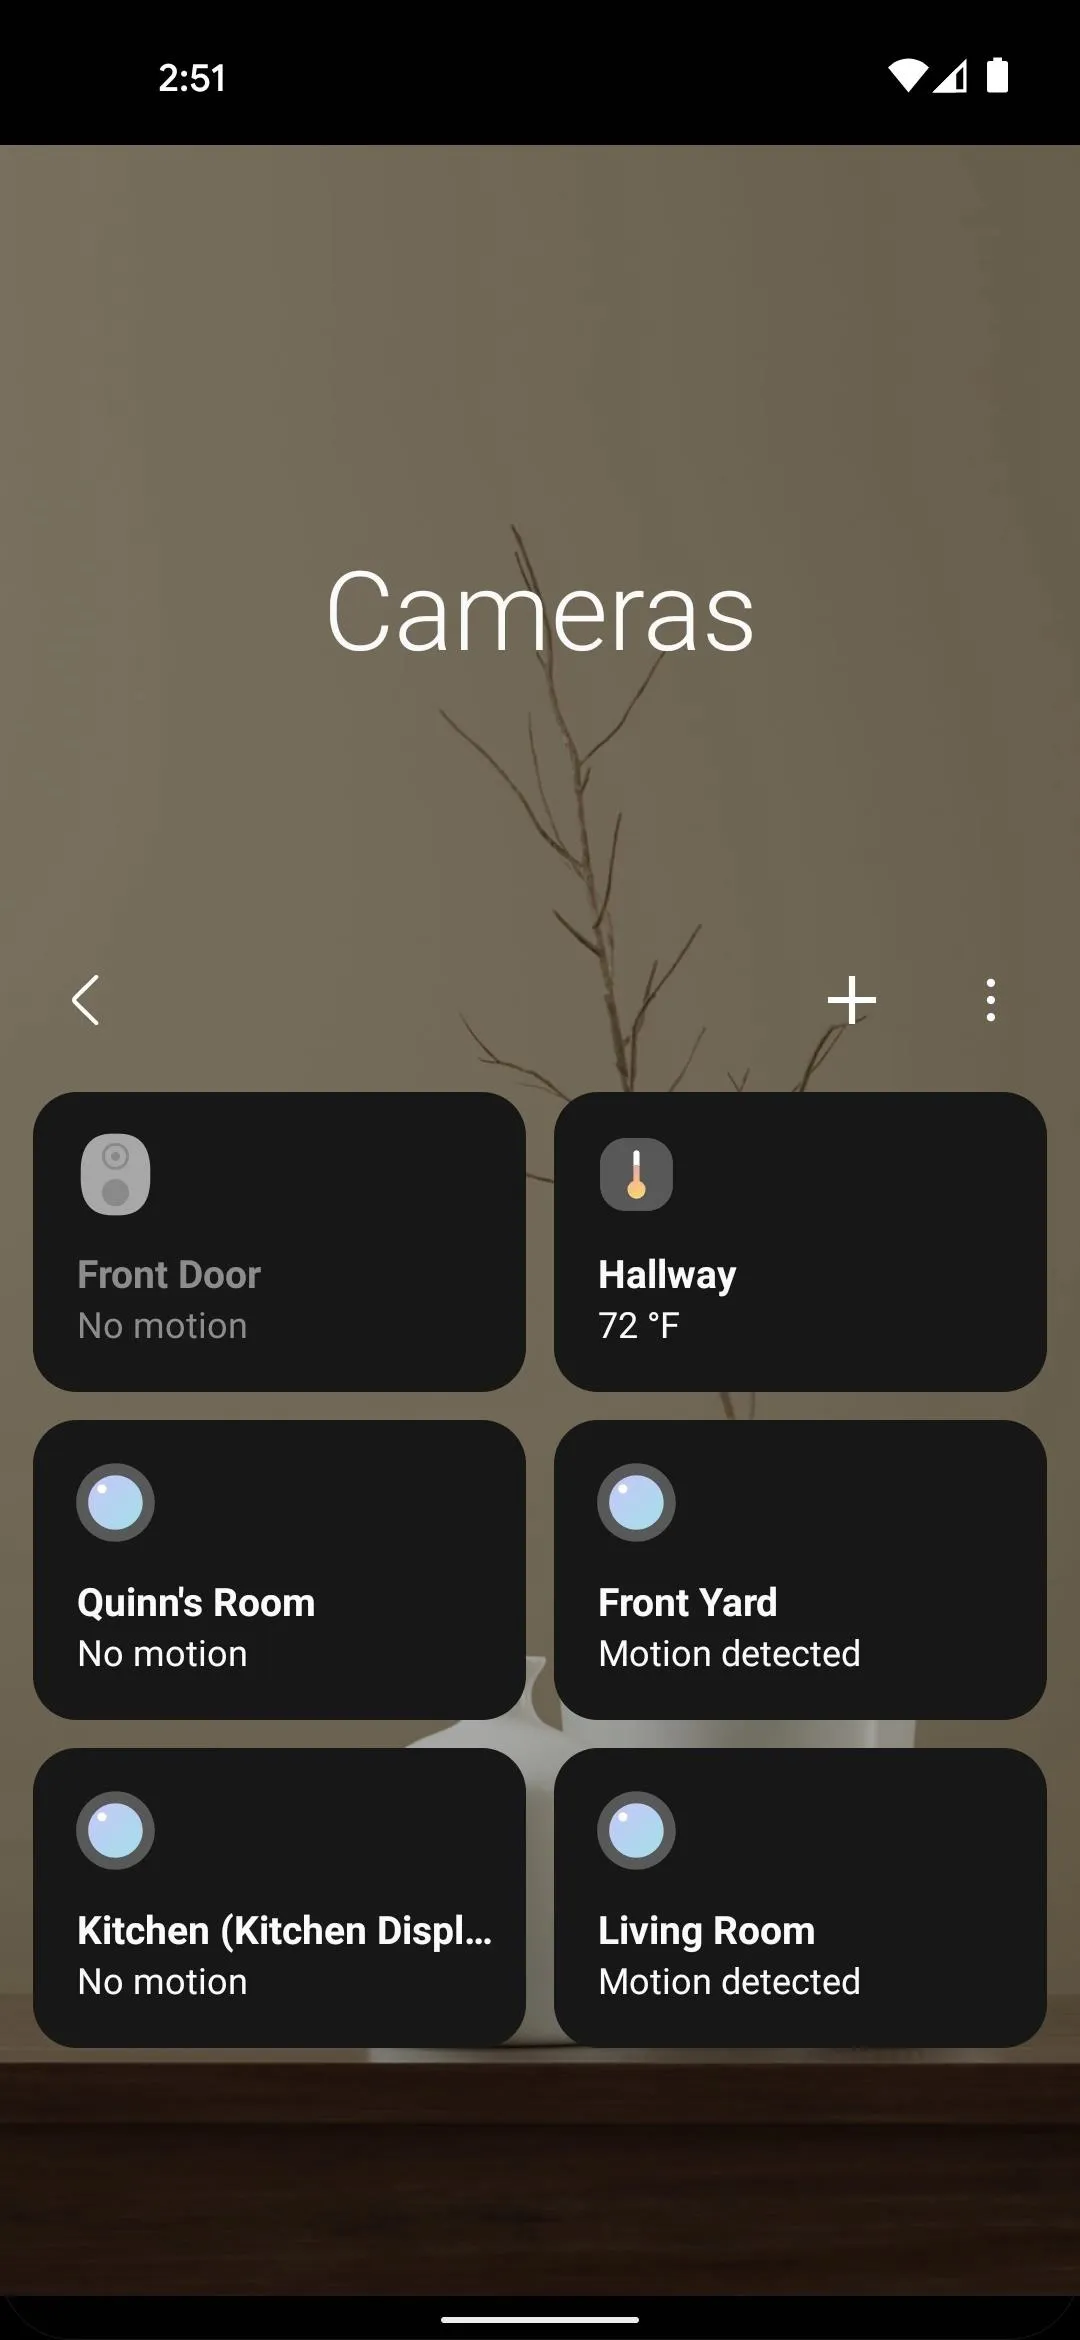
Viewing Nest devices in the Rooms menu.
"Rooms" and "Devices" in the hamburger menu.
Locating Nest Hello doorbell in the Devices menu.
Viewing Nest devices in the Rooms menu.
View & Control Your Nest Devices
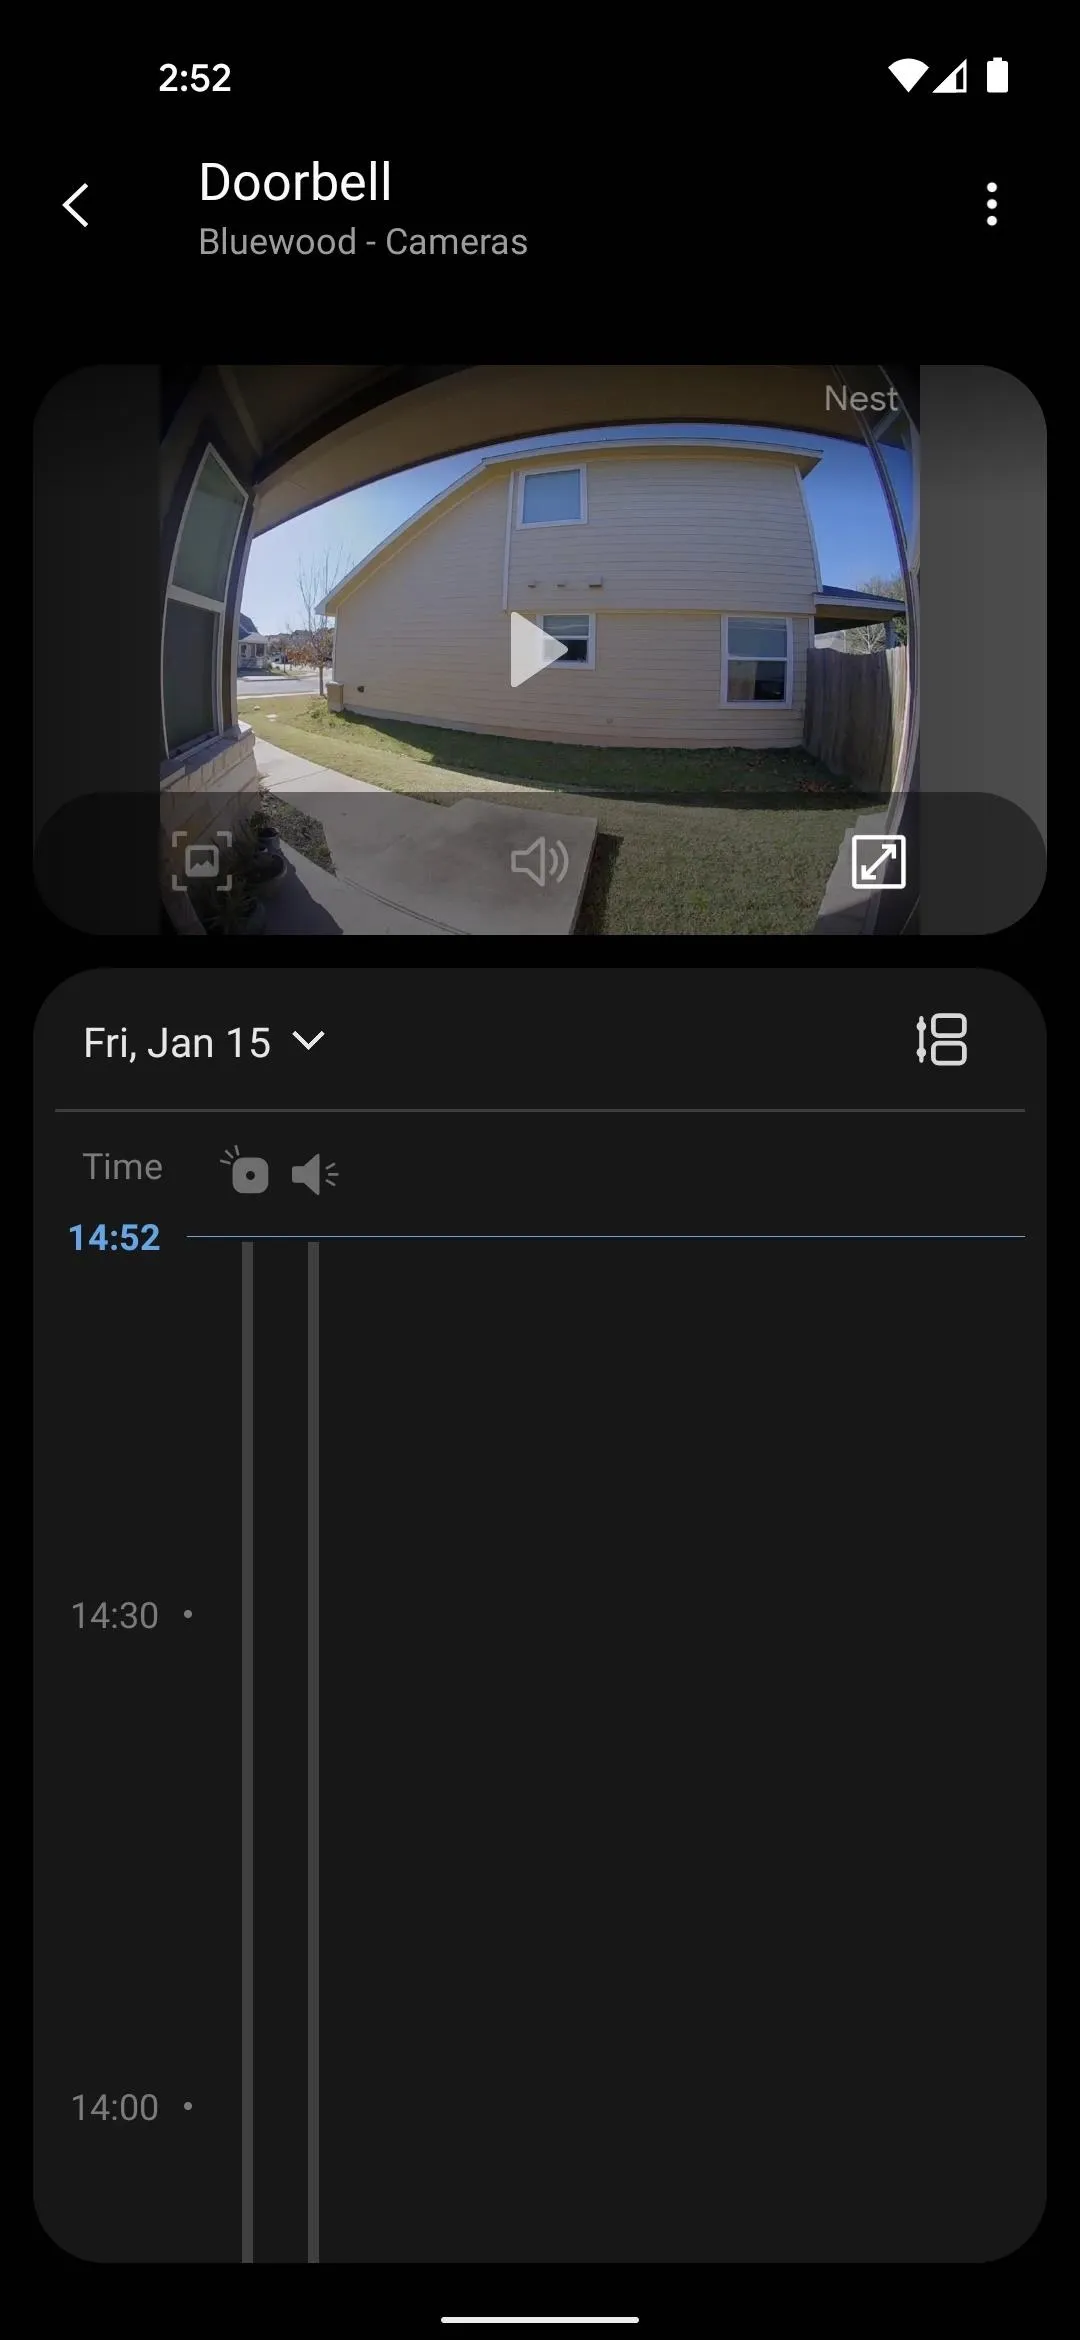
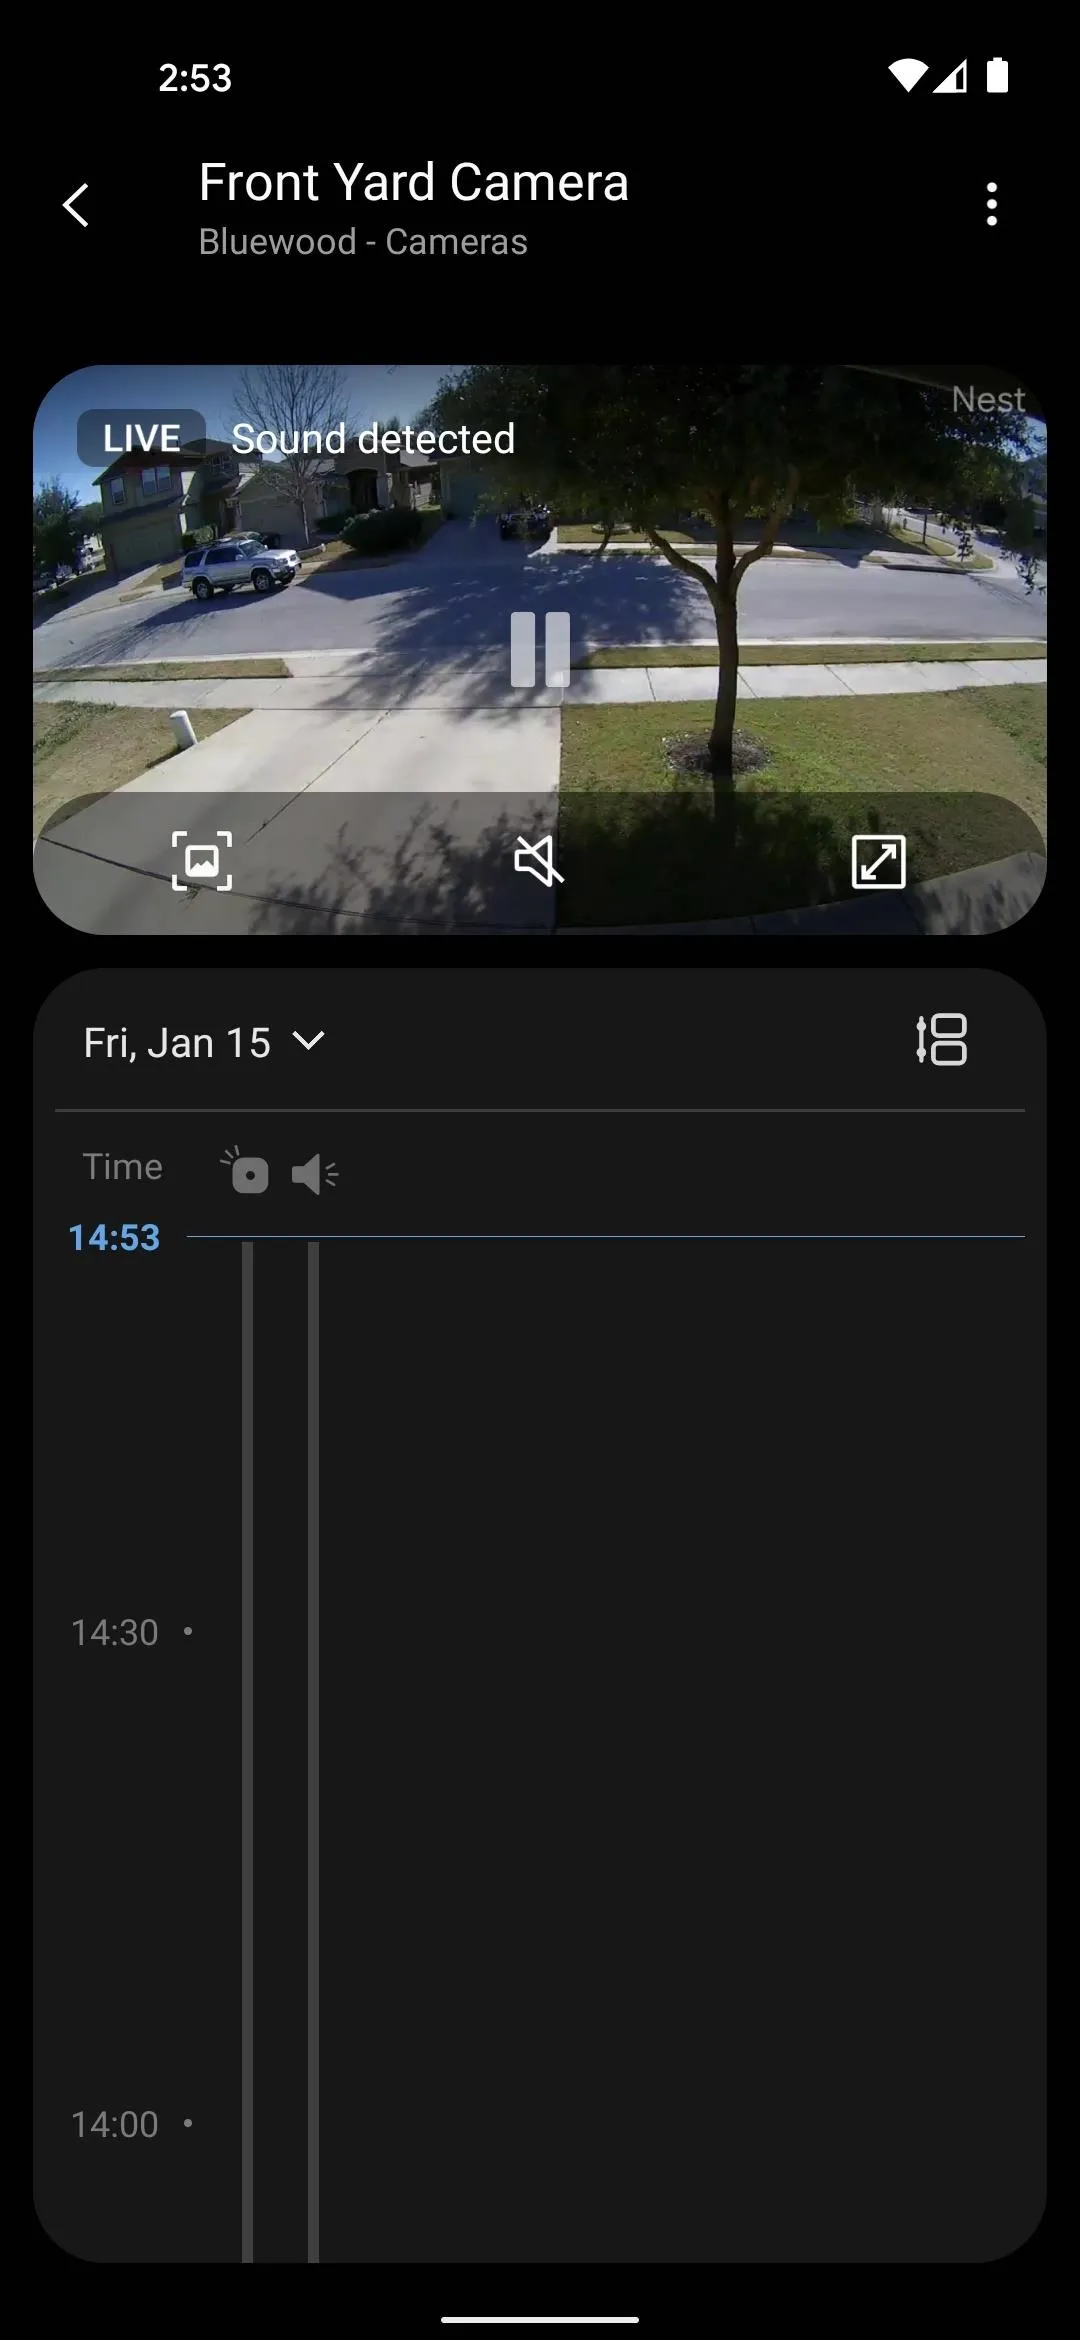
Now, just like any other device in SmartThings, you can tap one of your Nest products to view its current status. For doorbells and cameras, this means you get a live feed of the video with a text overlay letting you know when sound or motion is detected. You can scroll the timeline beneath the video feed to view past footage.
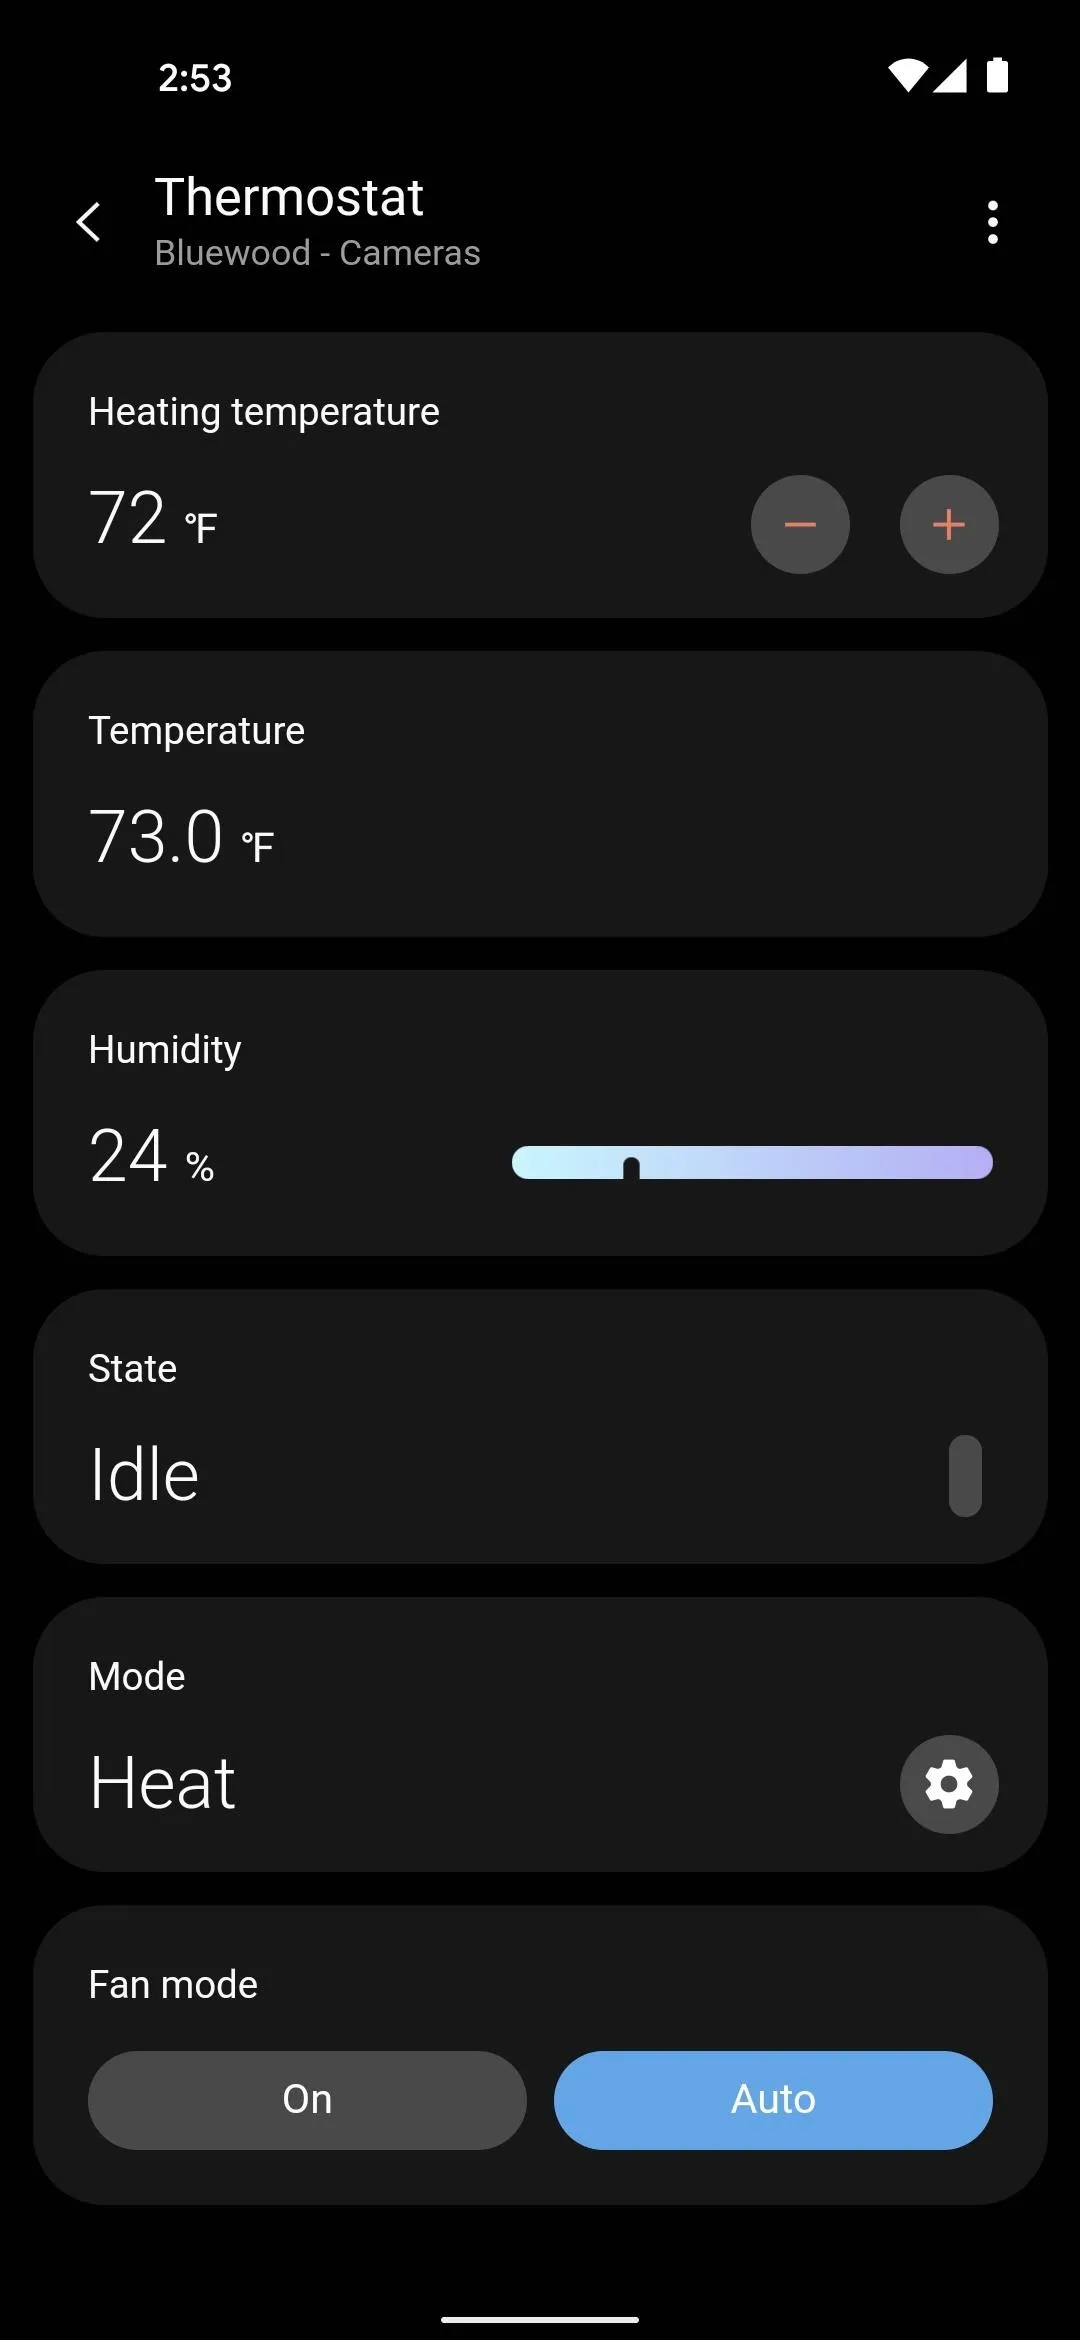
For thermostats, you'll be able to see target temperature, actual temperature, humidity, mode, and more. In addition, you can change the target temperature, operating mode, and even turn the fan on — though unlike the actual Nest app, you can only turn it on for a 15 minute interval, after which it automatically turns back off.
Create Automations with Your Nest Devices
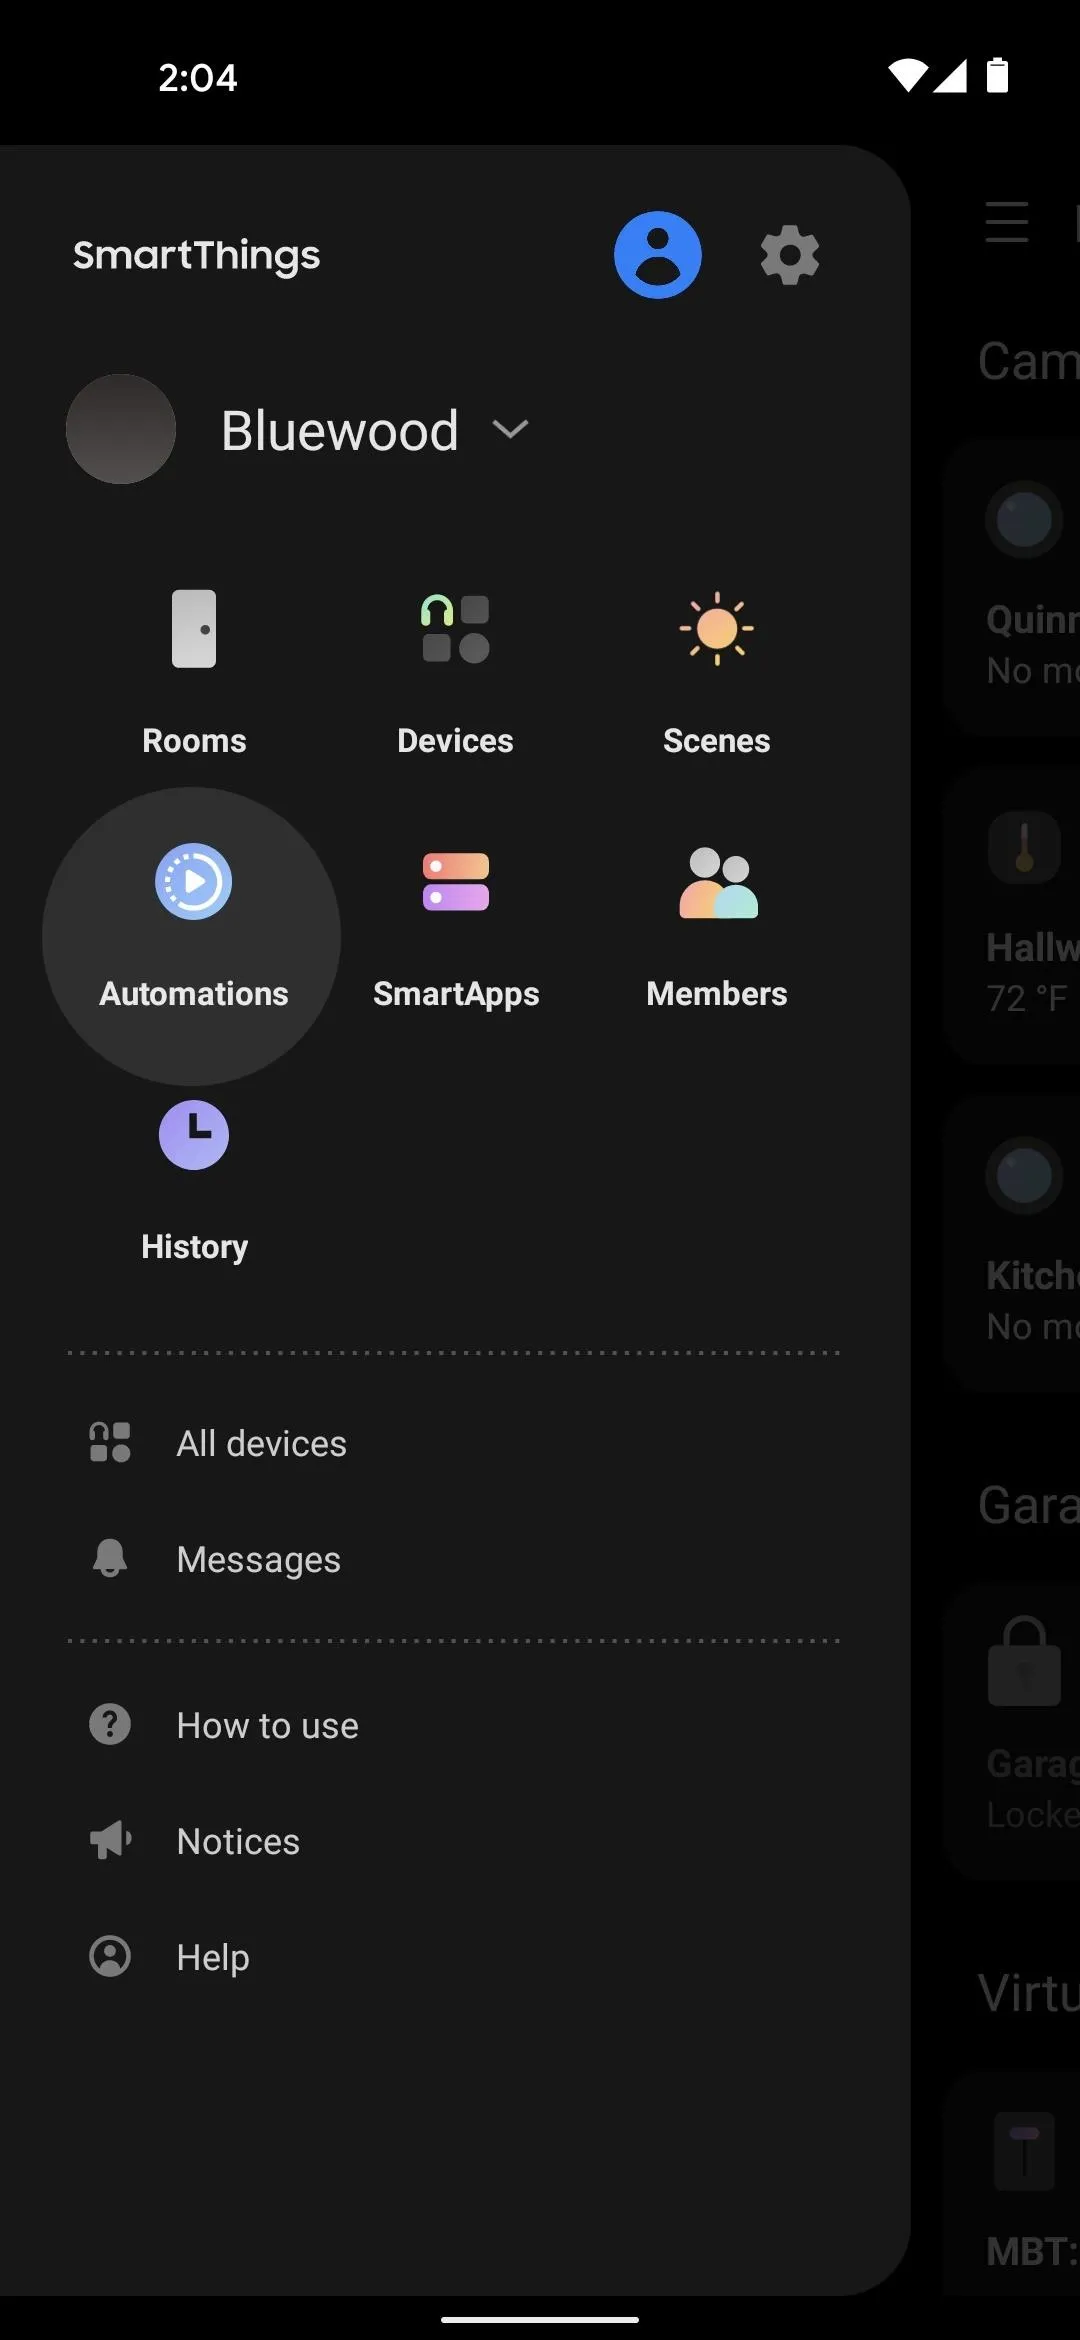
Here's the fun part: using your Nest products as presence sensors to trigger automations. For starters, open the hamburger menu (three lines in the top-left corner), then select "Automations." On the next page, tap the + button towards the top-right.
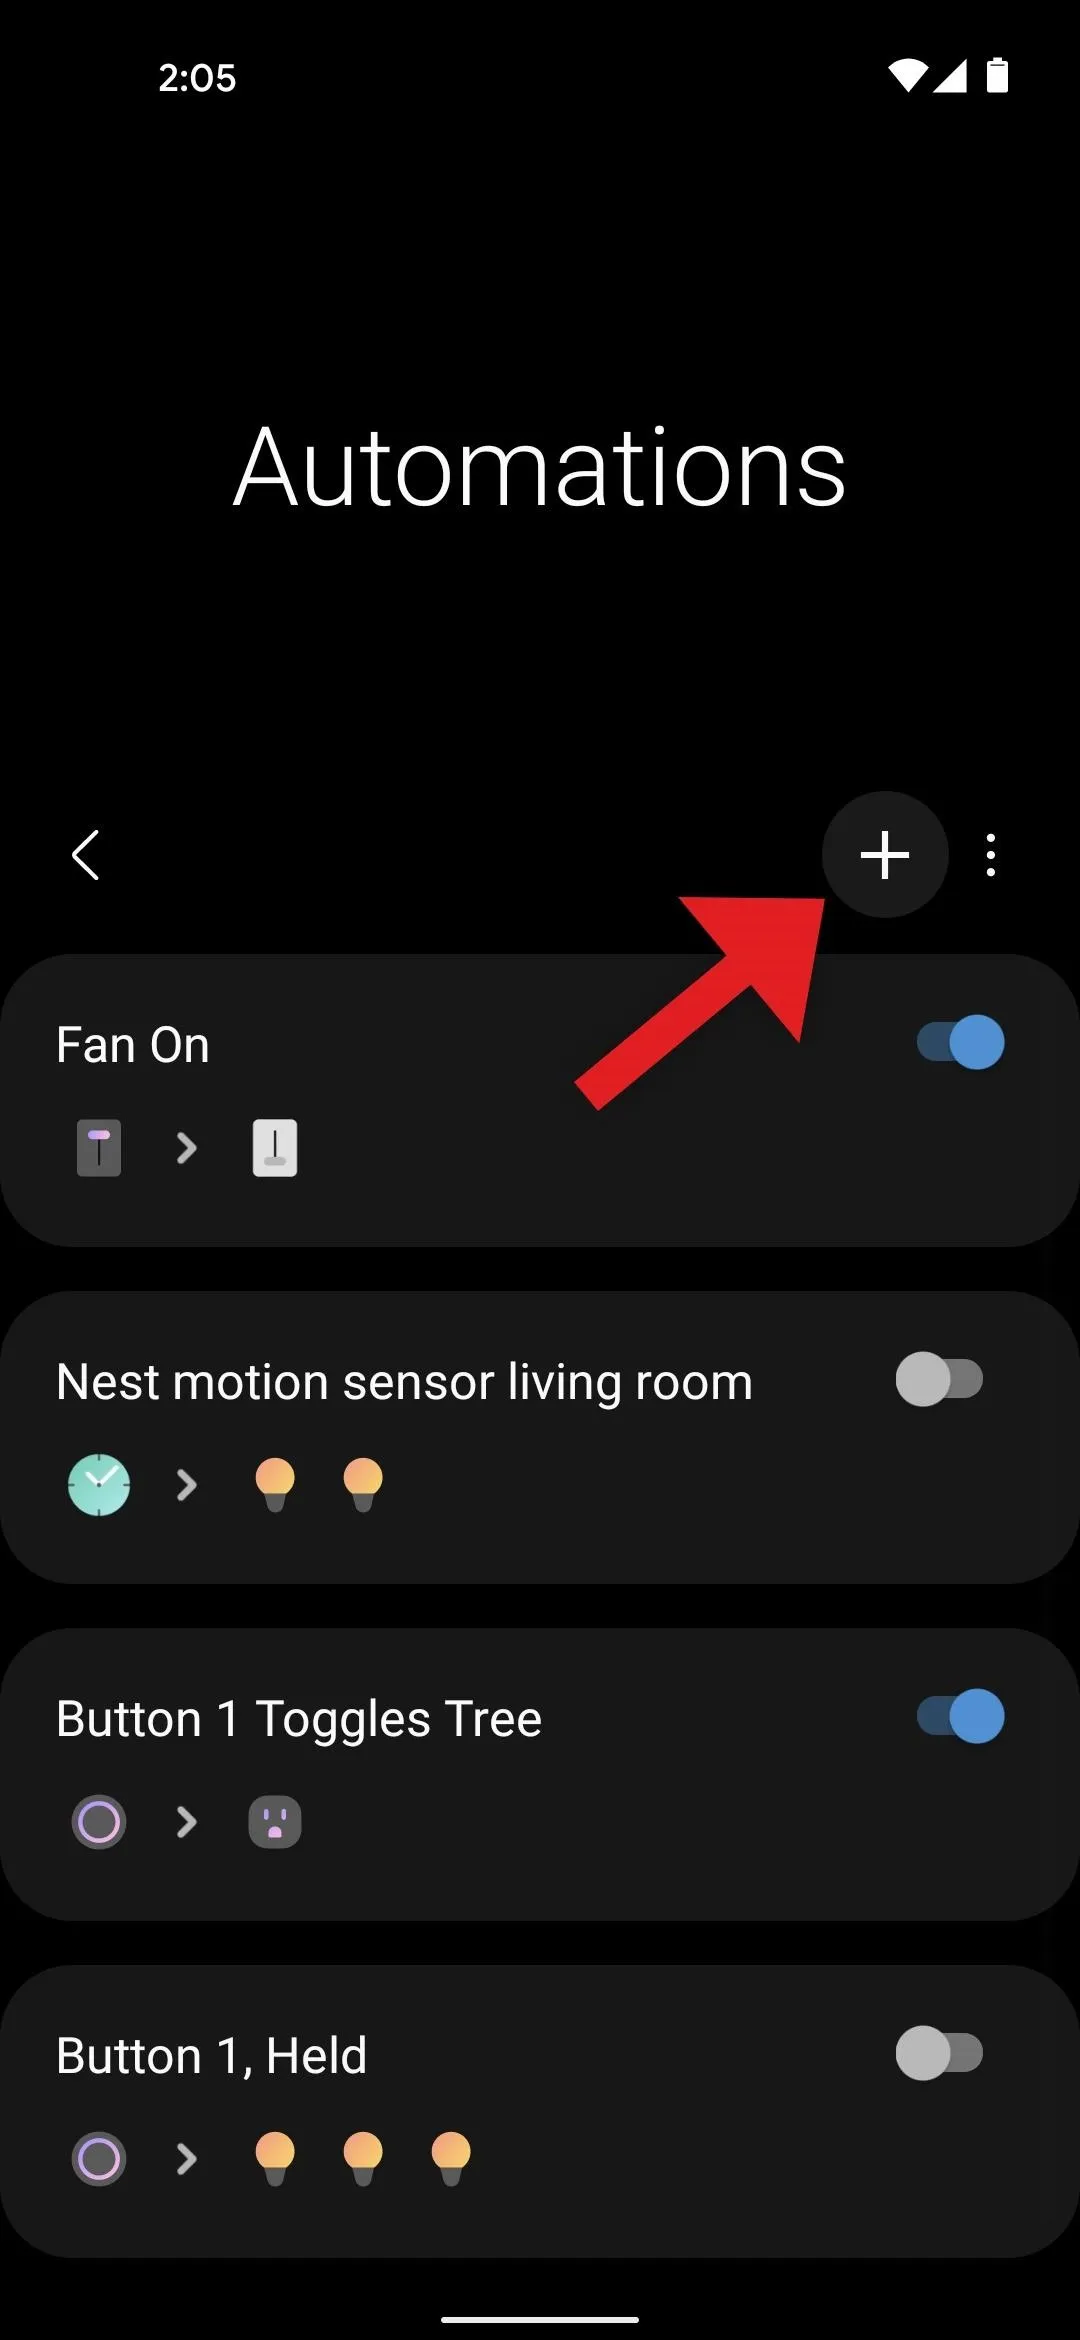
Here, you can add a Nest product under the "If" field (i.e., the trigger for an automation), though note that cameras and doorbells won't appear under "Then," meaning SmartThings cannot trigger them to perform any actions — but hey, they don't perform many actions anyway. You can, however, create automations that change your thermostat's target temp or operation mode by including it in the "Then" field.
But your primary use-case will likely be using cameras or your thermostat to trigger events in your SmartThings system (e.g., turn on lights or lock doors). In these cases, select your Nest device after tapping the + button under the "If" field, then you'll see the available sensors. Select one, then choose how you want it to trigger an action. Once done, you can head to the "Then" section to complete your automation!
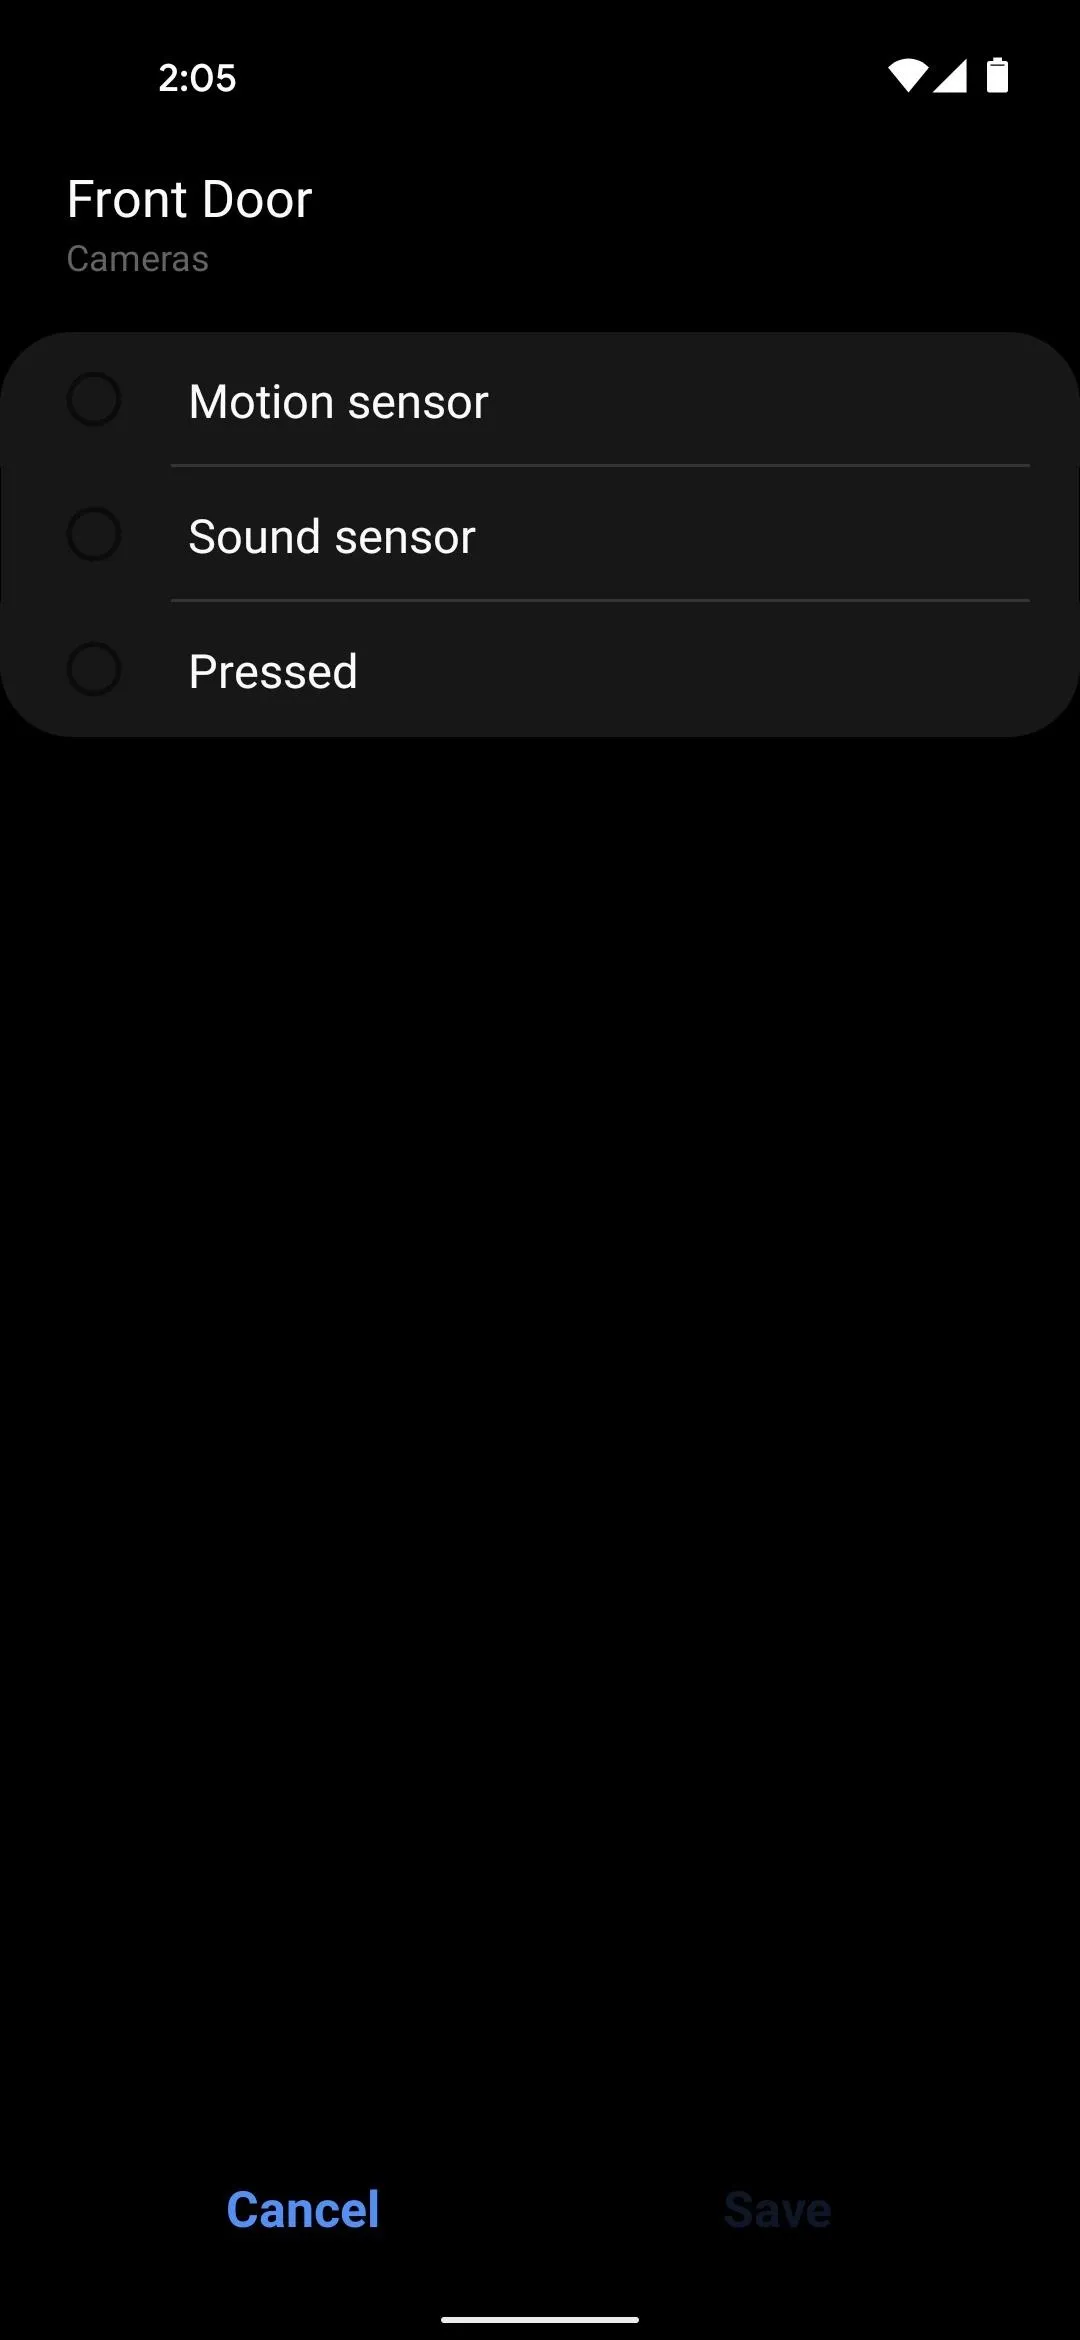
Doorbell options.
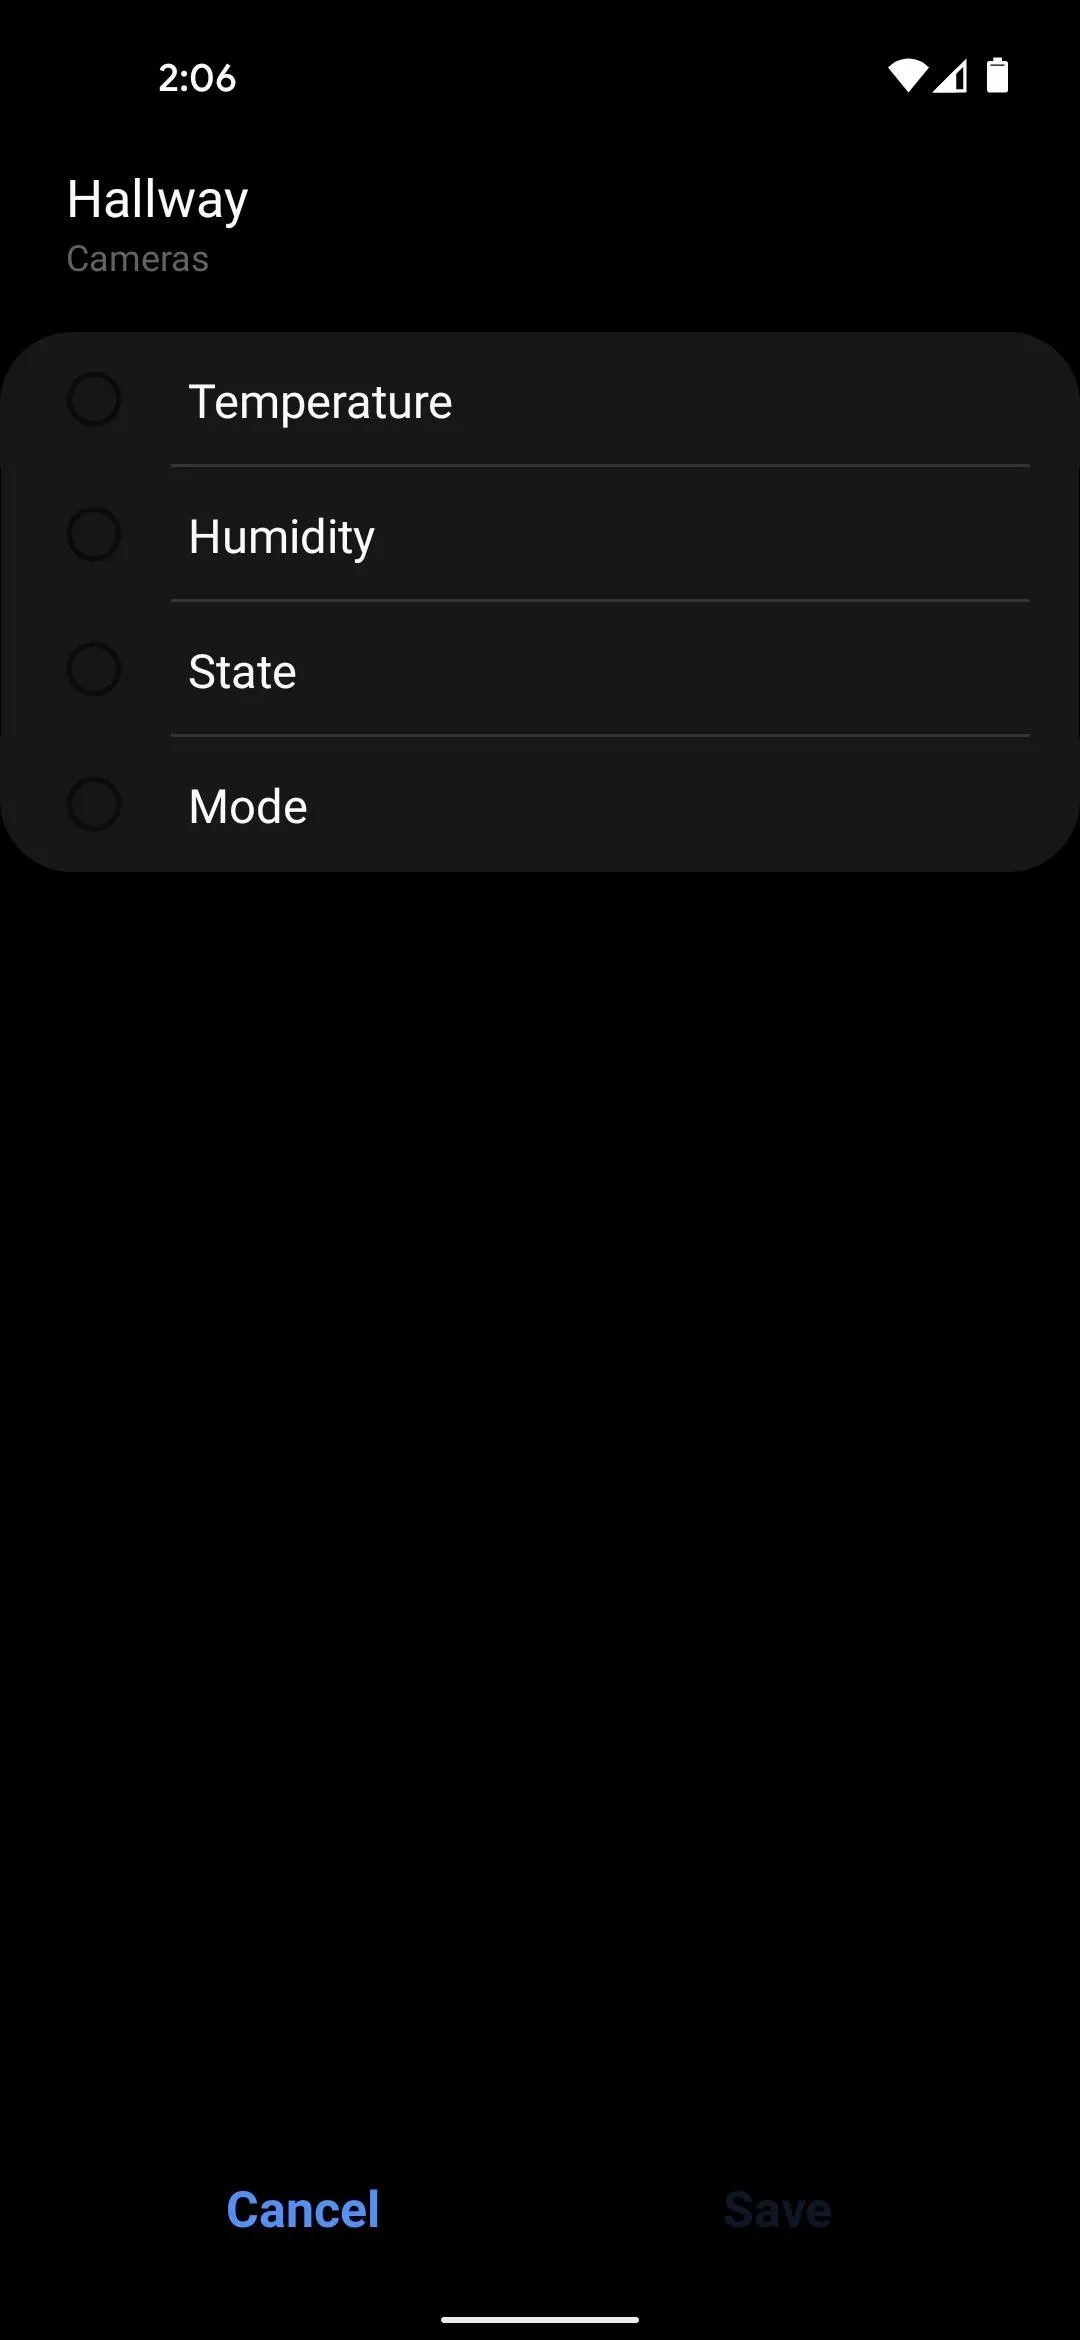
Thermostat options.
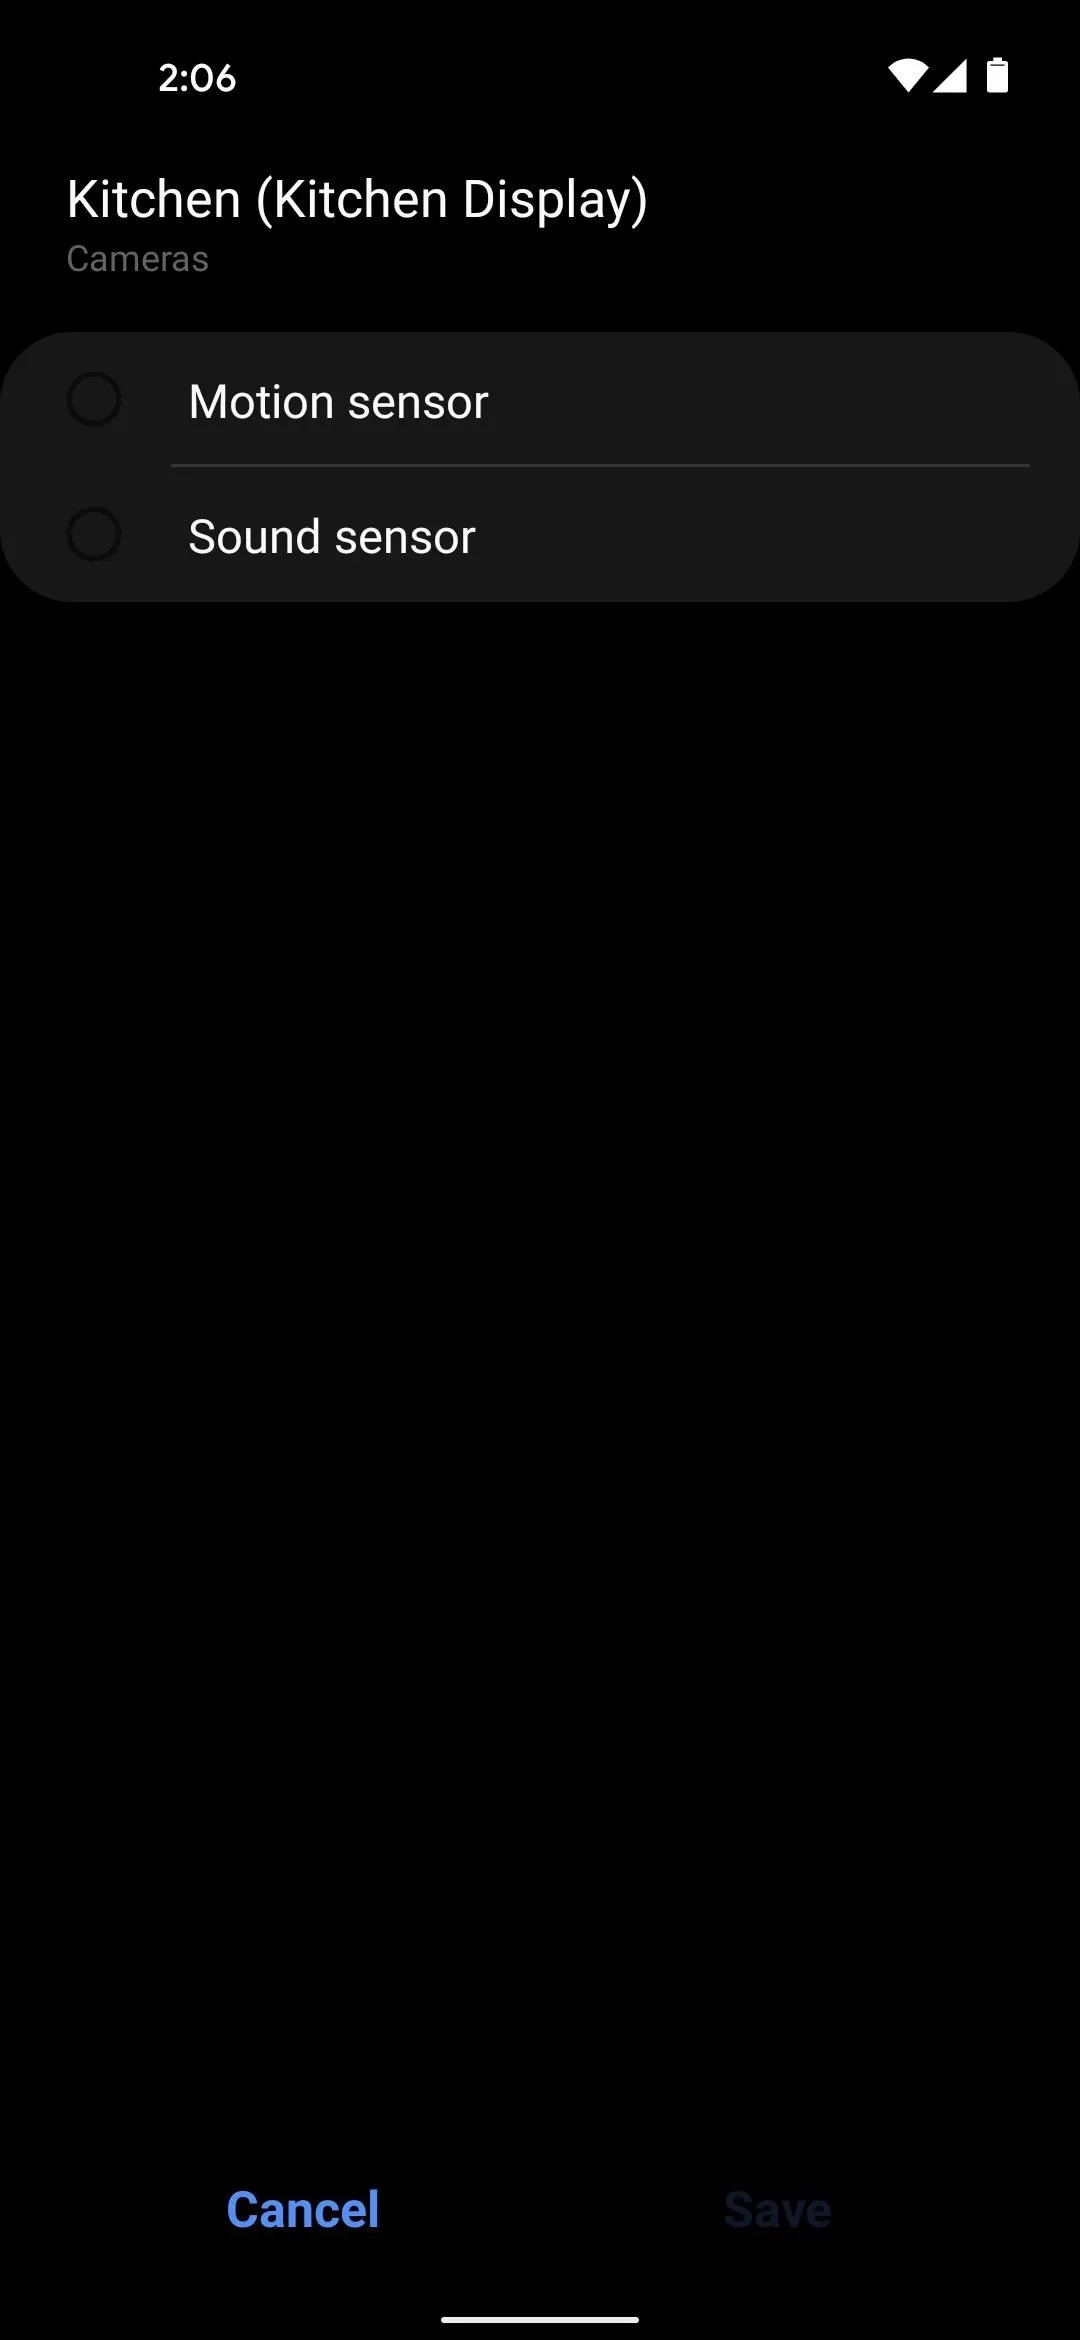
Camera options.
Doorbell options.
Thermostat options.
Camera options.
Cover image and screenshots by Dallas Thomas/Gadget Hacks


Comments
Be the first, drop a comment!