
Whether it's an ex you can't stand, that annoyingly political friend of a friend, or good old fashioned trolls, the block feature on Facebook can be a great way to de-stress your feed. It will keep people from contacting you, and it will also prevent them from viewing your profile altogether. It's not just a tool for the full desktop website — in fact, the blocked list is easy to manage right from your phone.
At the same time, if you've used the block list feature before, it's easy to forget exactly who you blocked, and that can lead to some awkward moments if you ever bump into that person in real life. Thankfully, it's just as easy to unblock individuals as it is to block them, giving you complete control as to who can interact with you on Facebook.
Accessing Your Blocked List
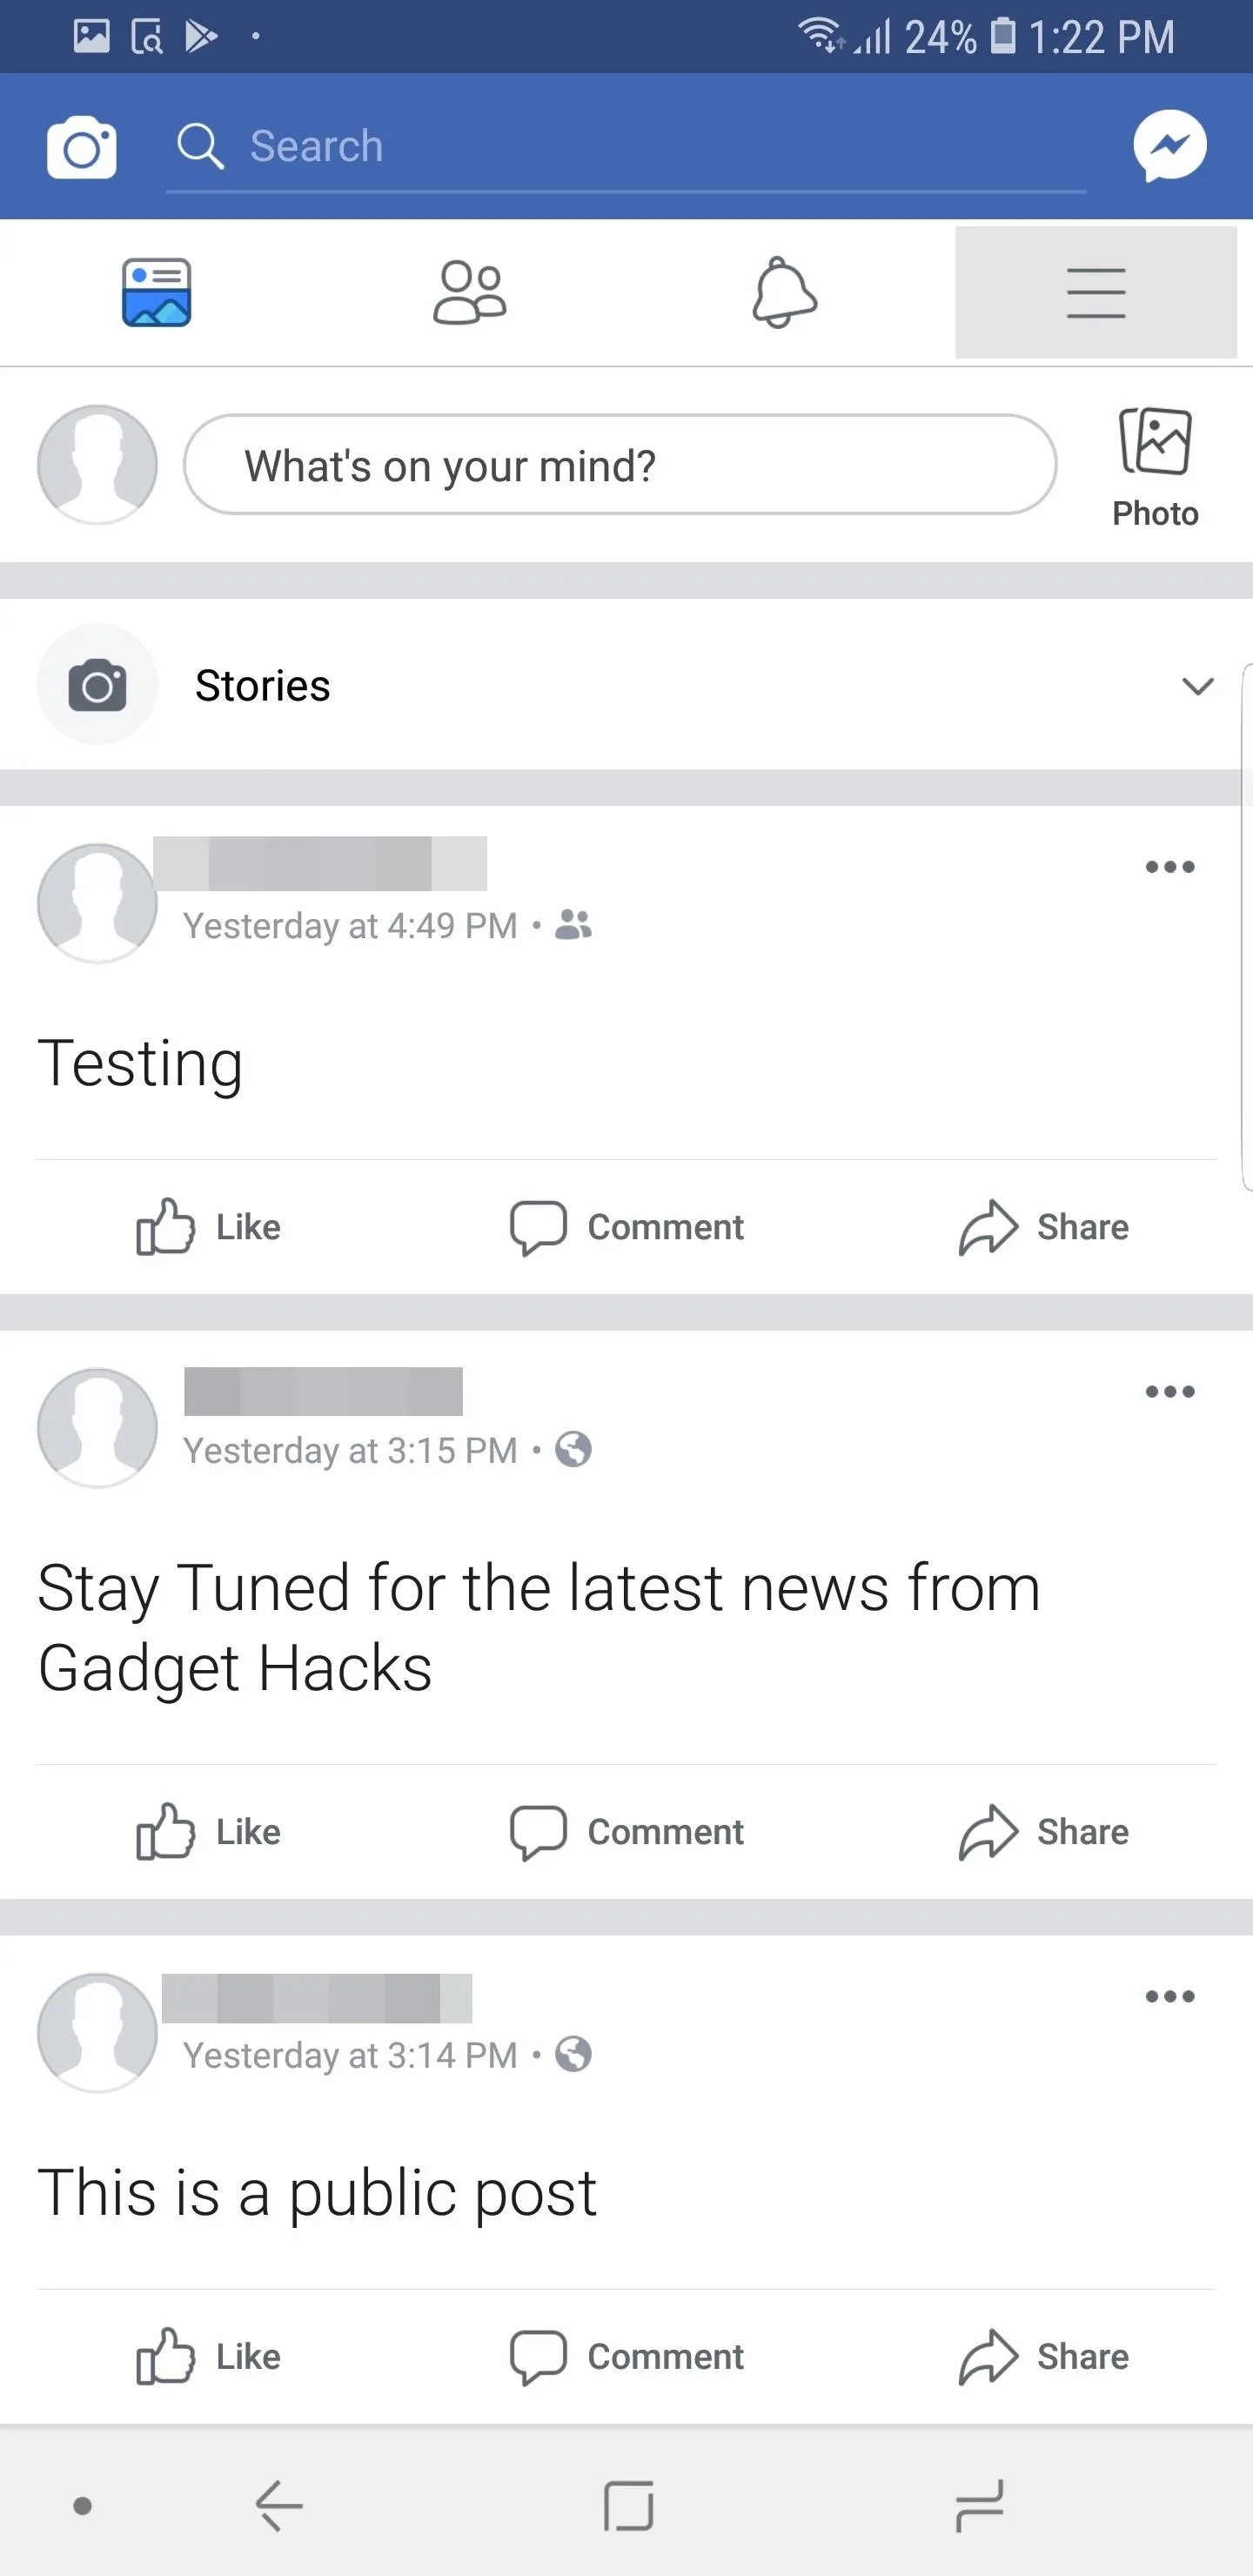
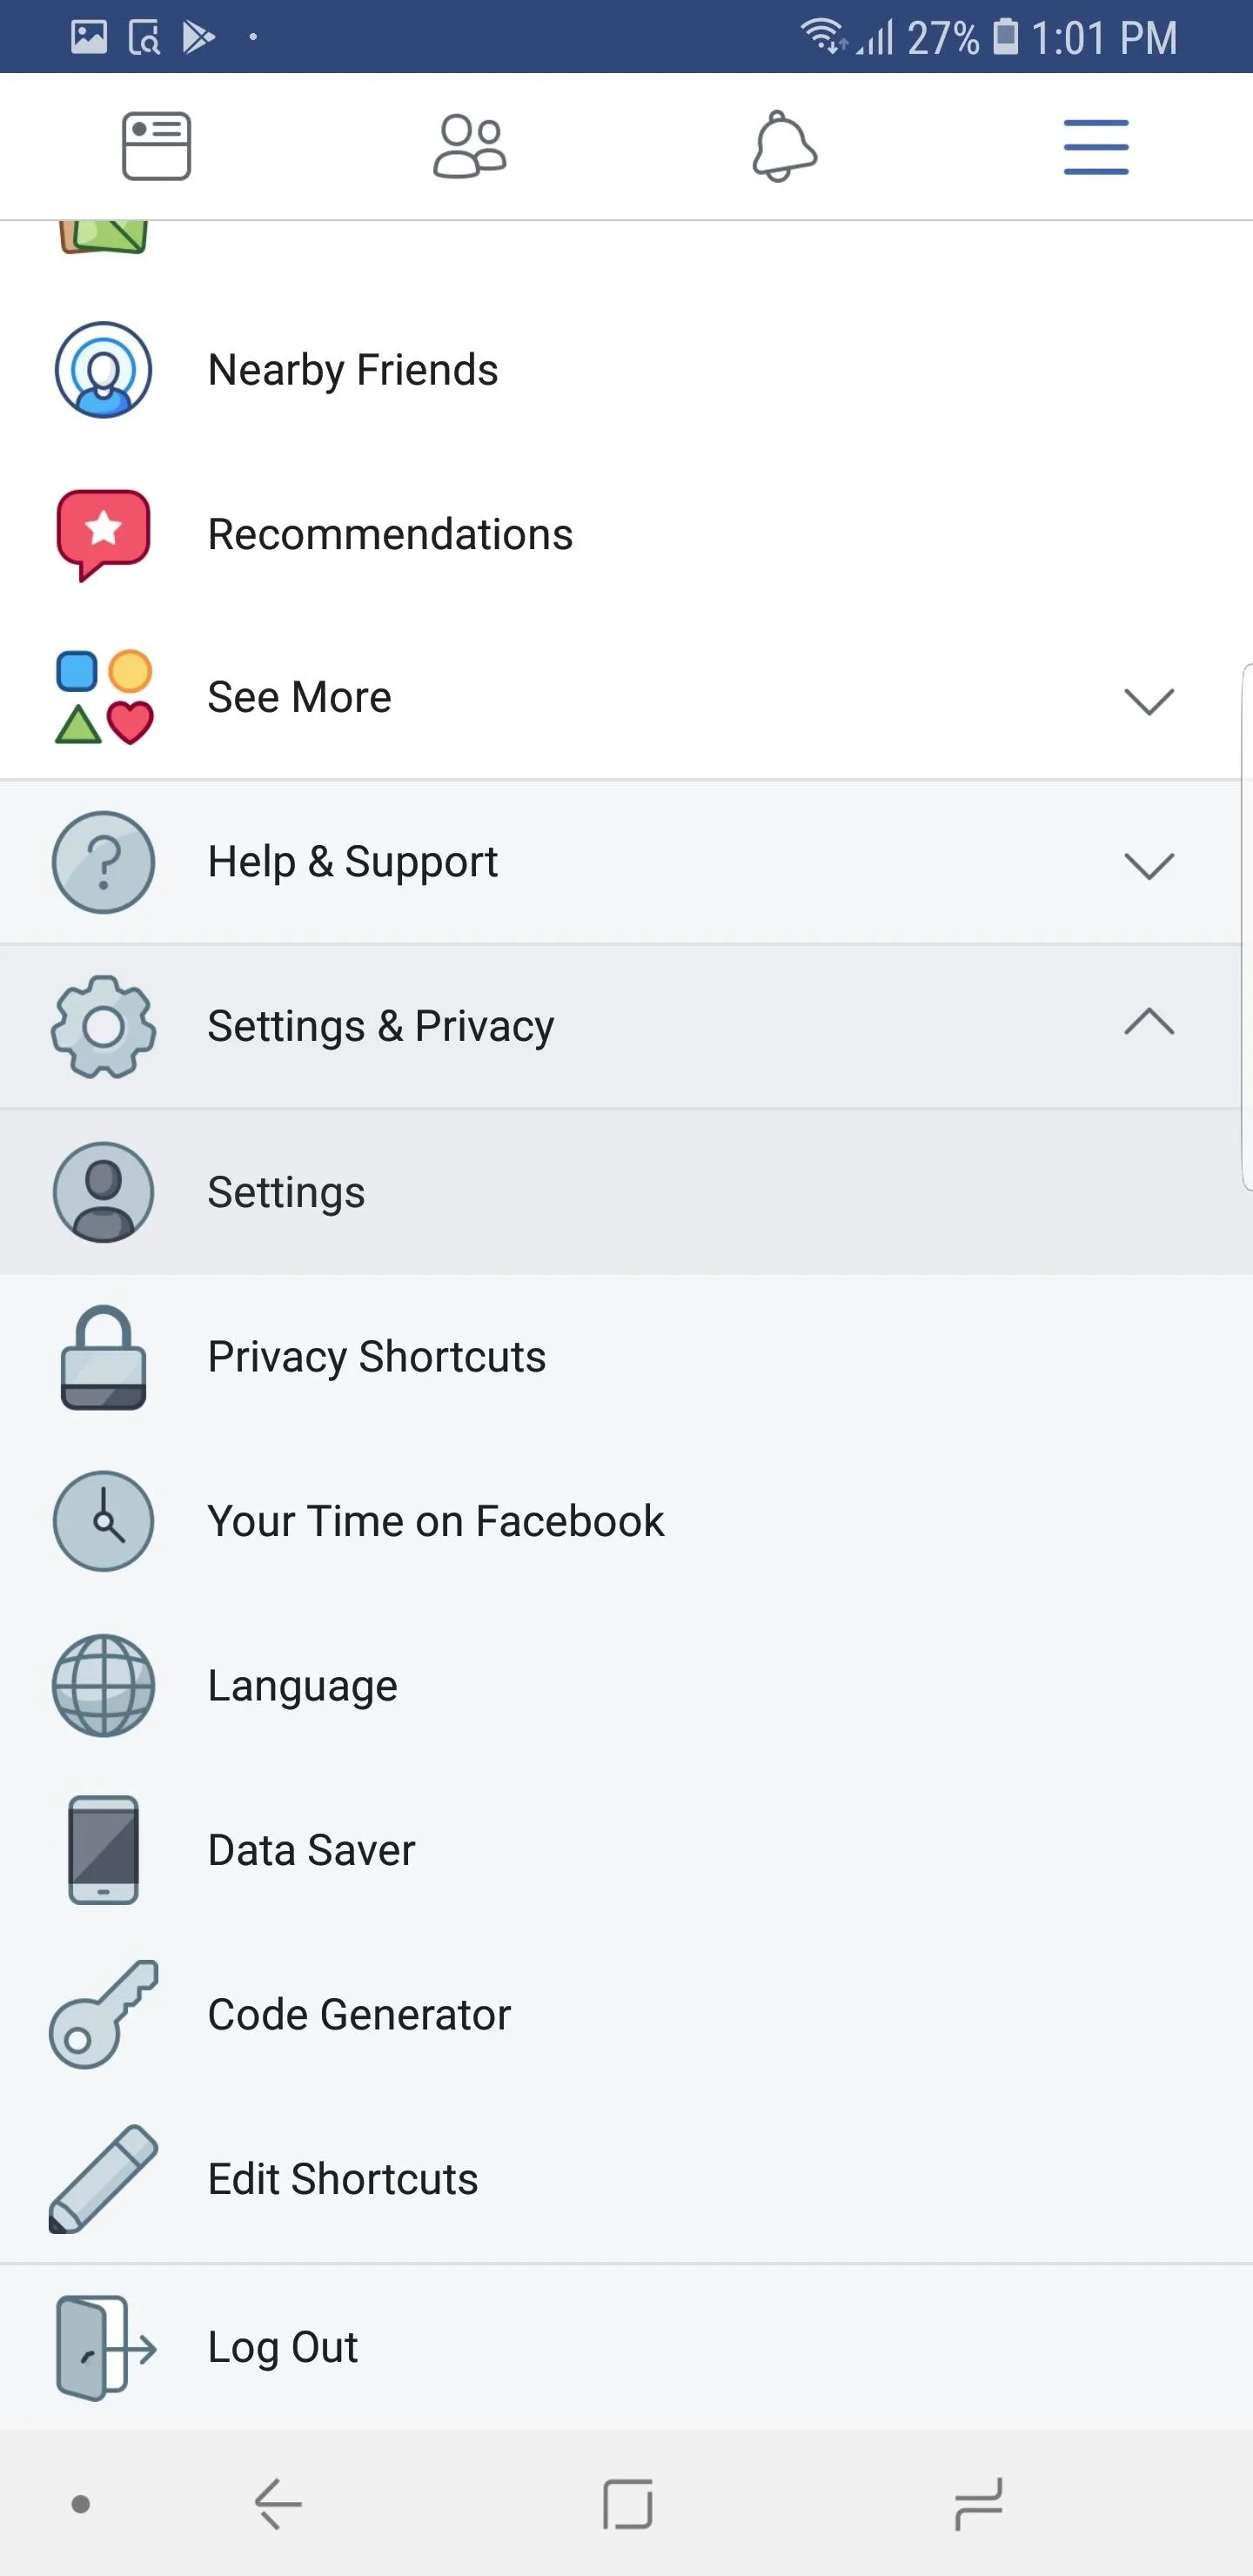
First, let's go over where to find the block list. To start, tap the three horizontal lines located on the upper-right corner (Android) or bottom-right corner (iPhone). Tap the "Settings & Privacy" drop-down menu and select "Settings."


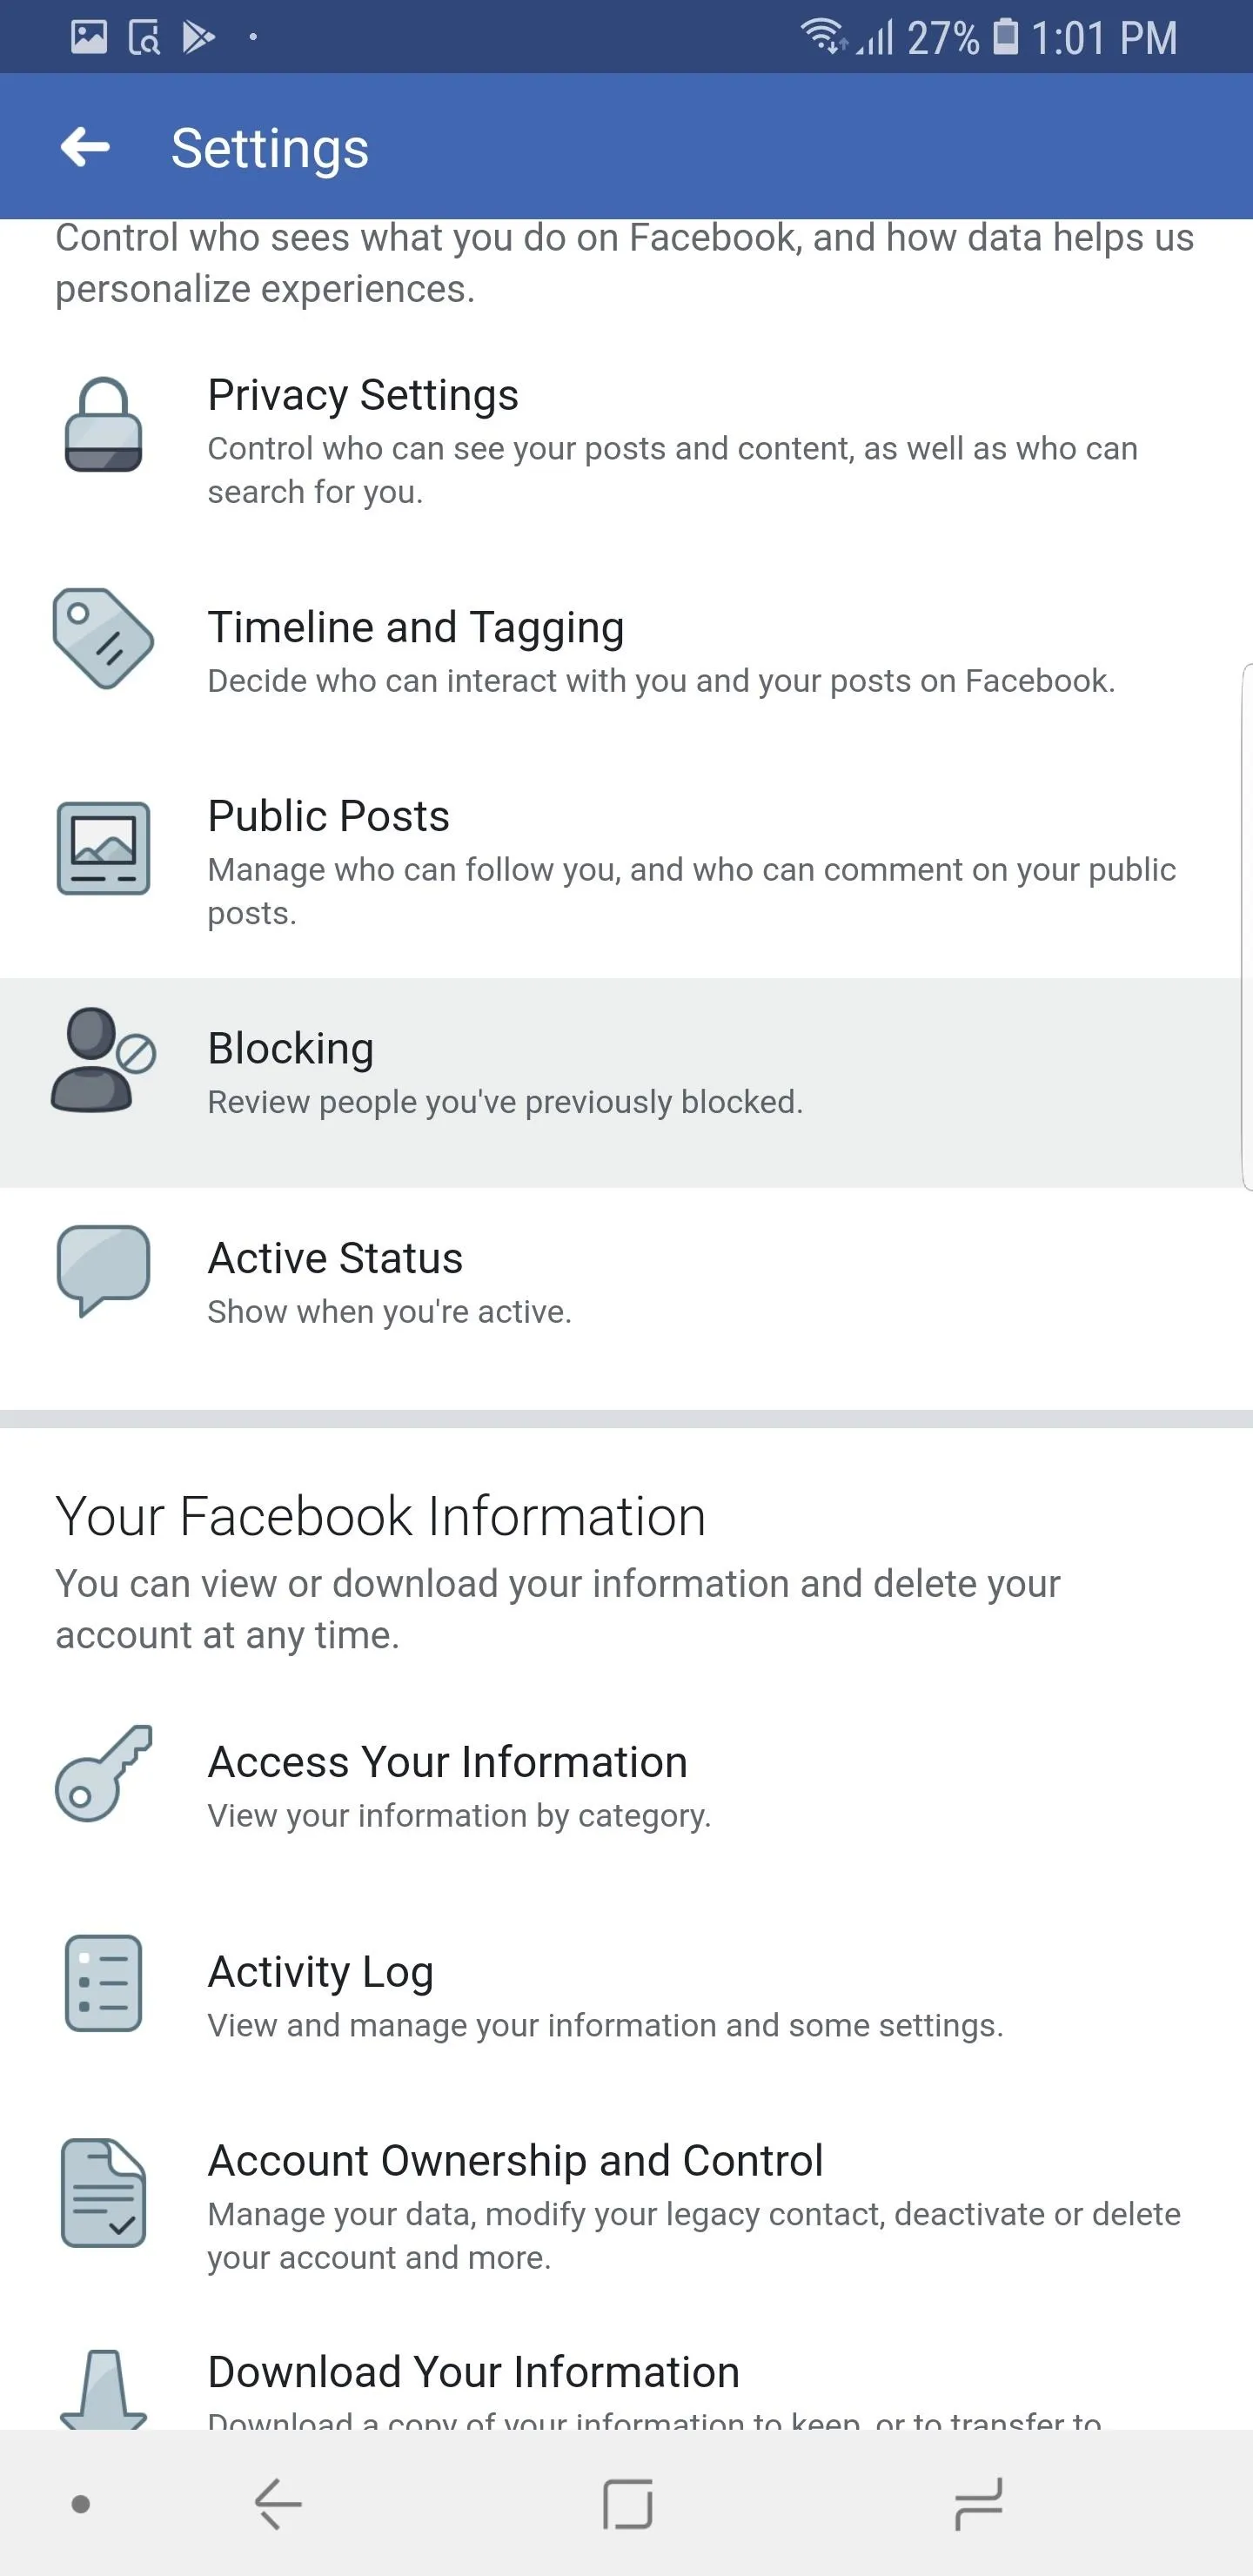
Under the Privacy grouping, choose "Blocking" to see the full list of individuals you've prevented from accessing your profile, messaging you, or showing up in your feed in any way.


Manage Your Block List
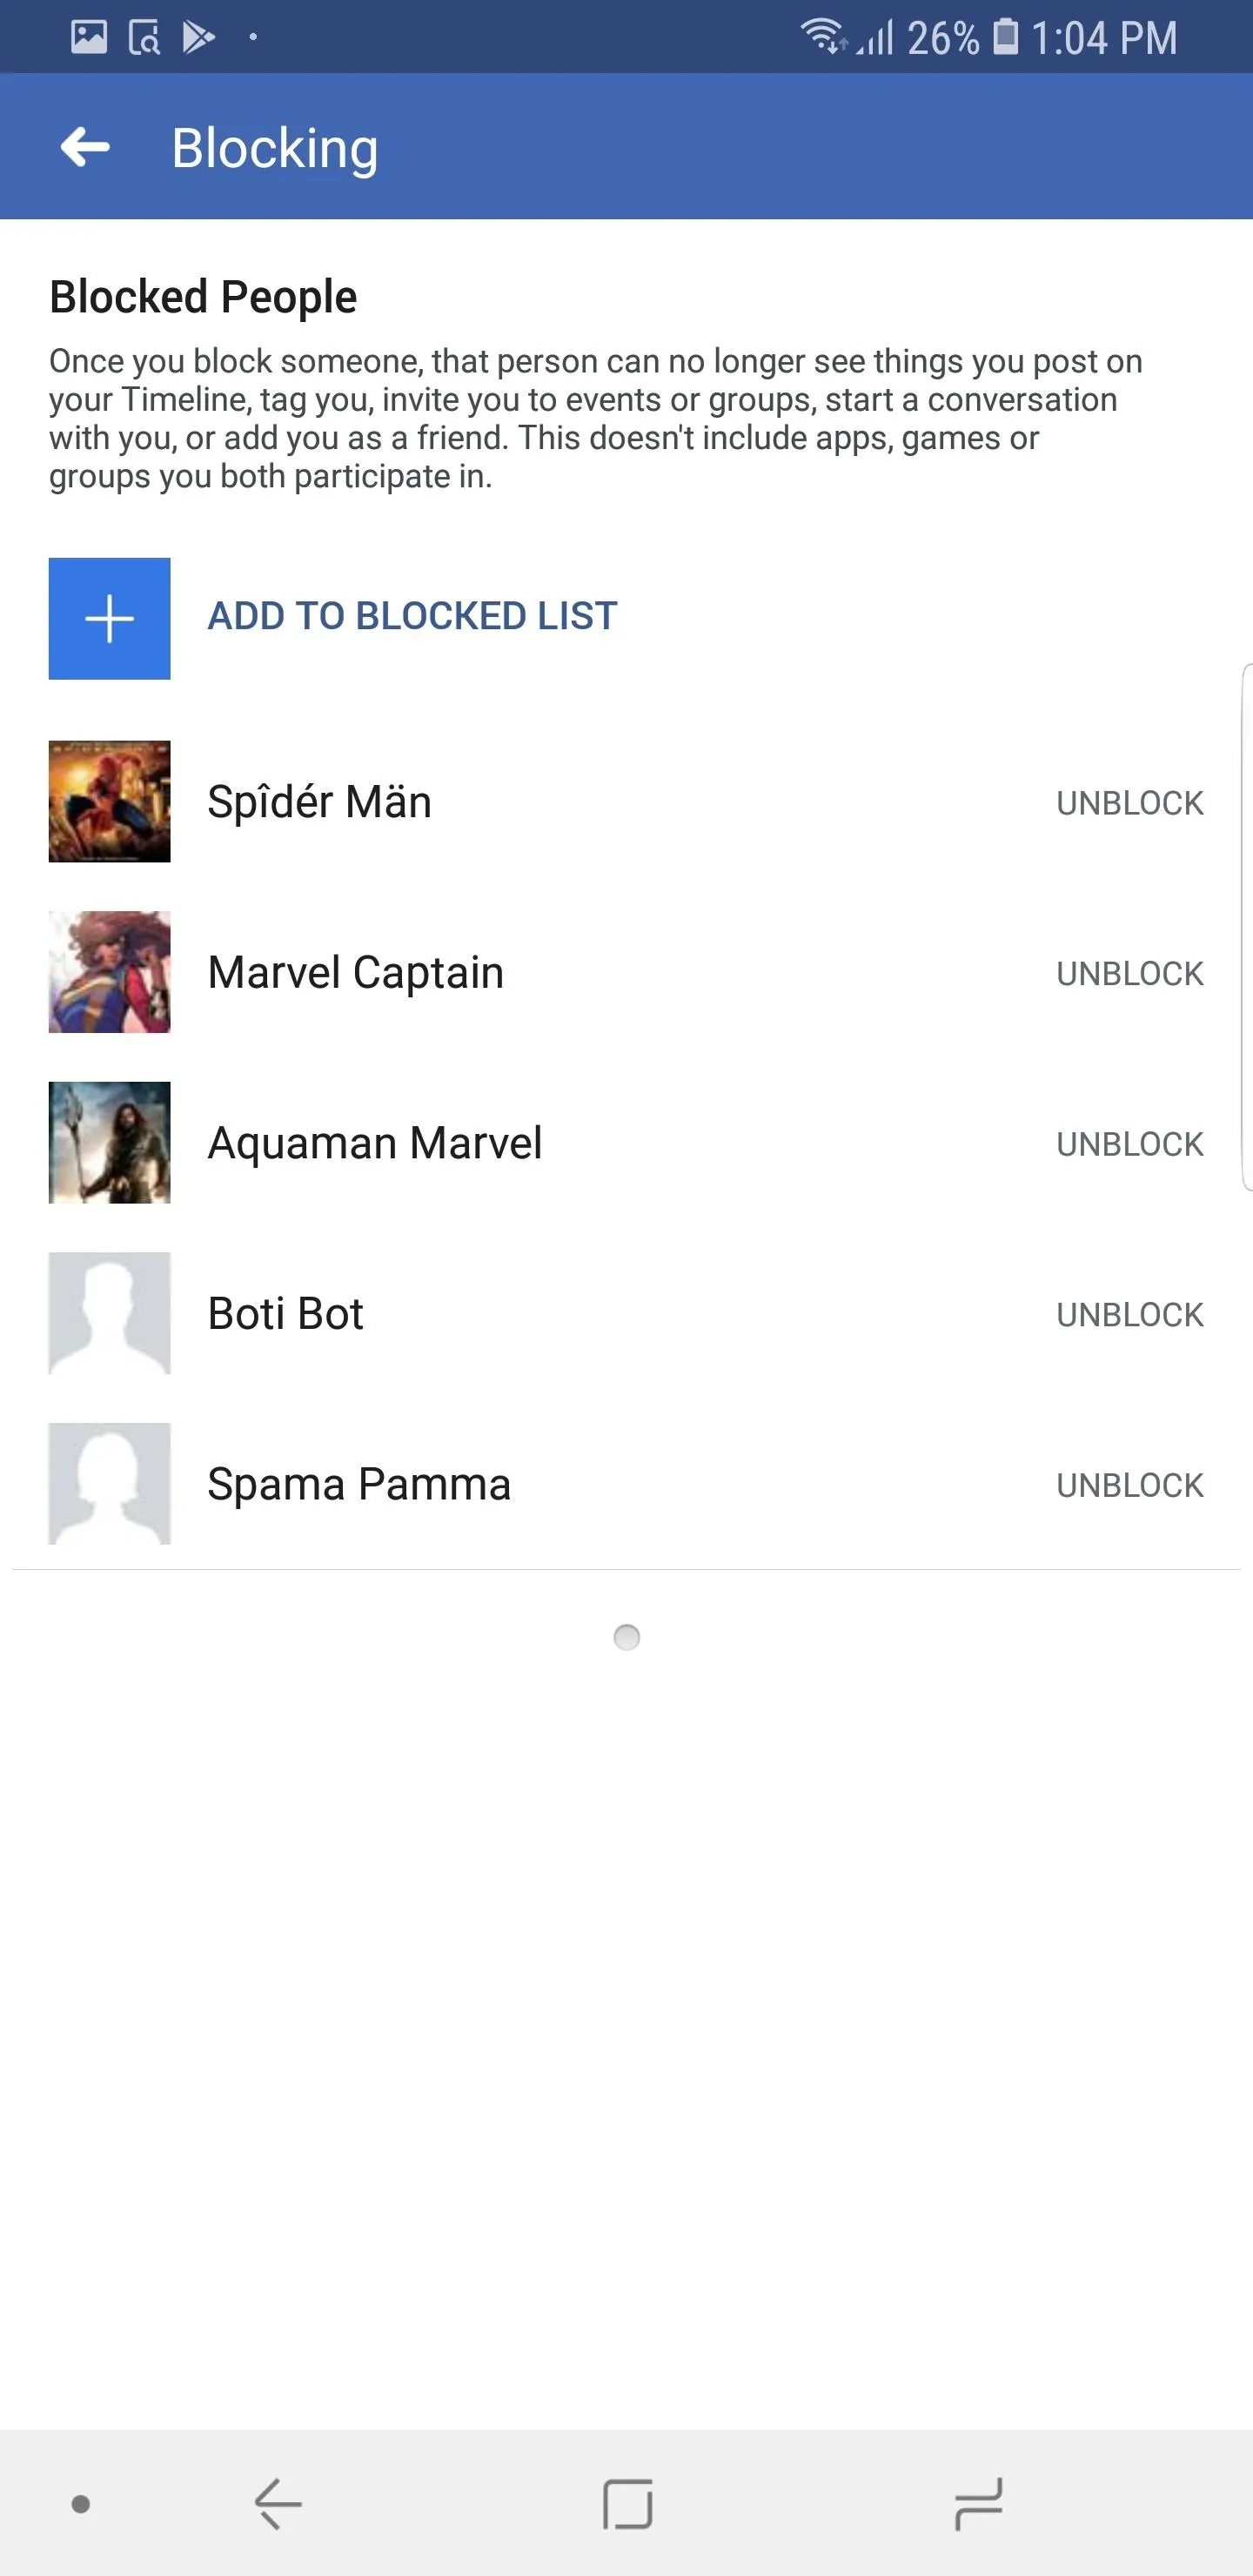
From here, you can unblock individuals or block new ones. To return viewing access to an individual, select "Unblock" to the right of their name on the list. If you want to block someone, tap the plus sign, then type in their name. Once you find their profile, select "Block" next to their name to prevent them from interacting with you or viewing your profile on Facebook.
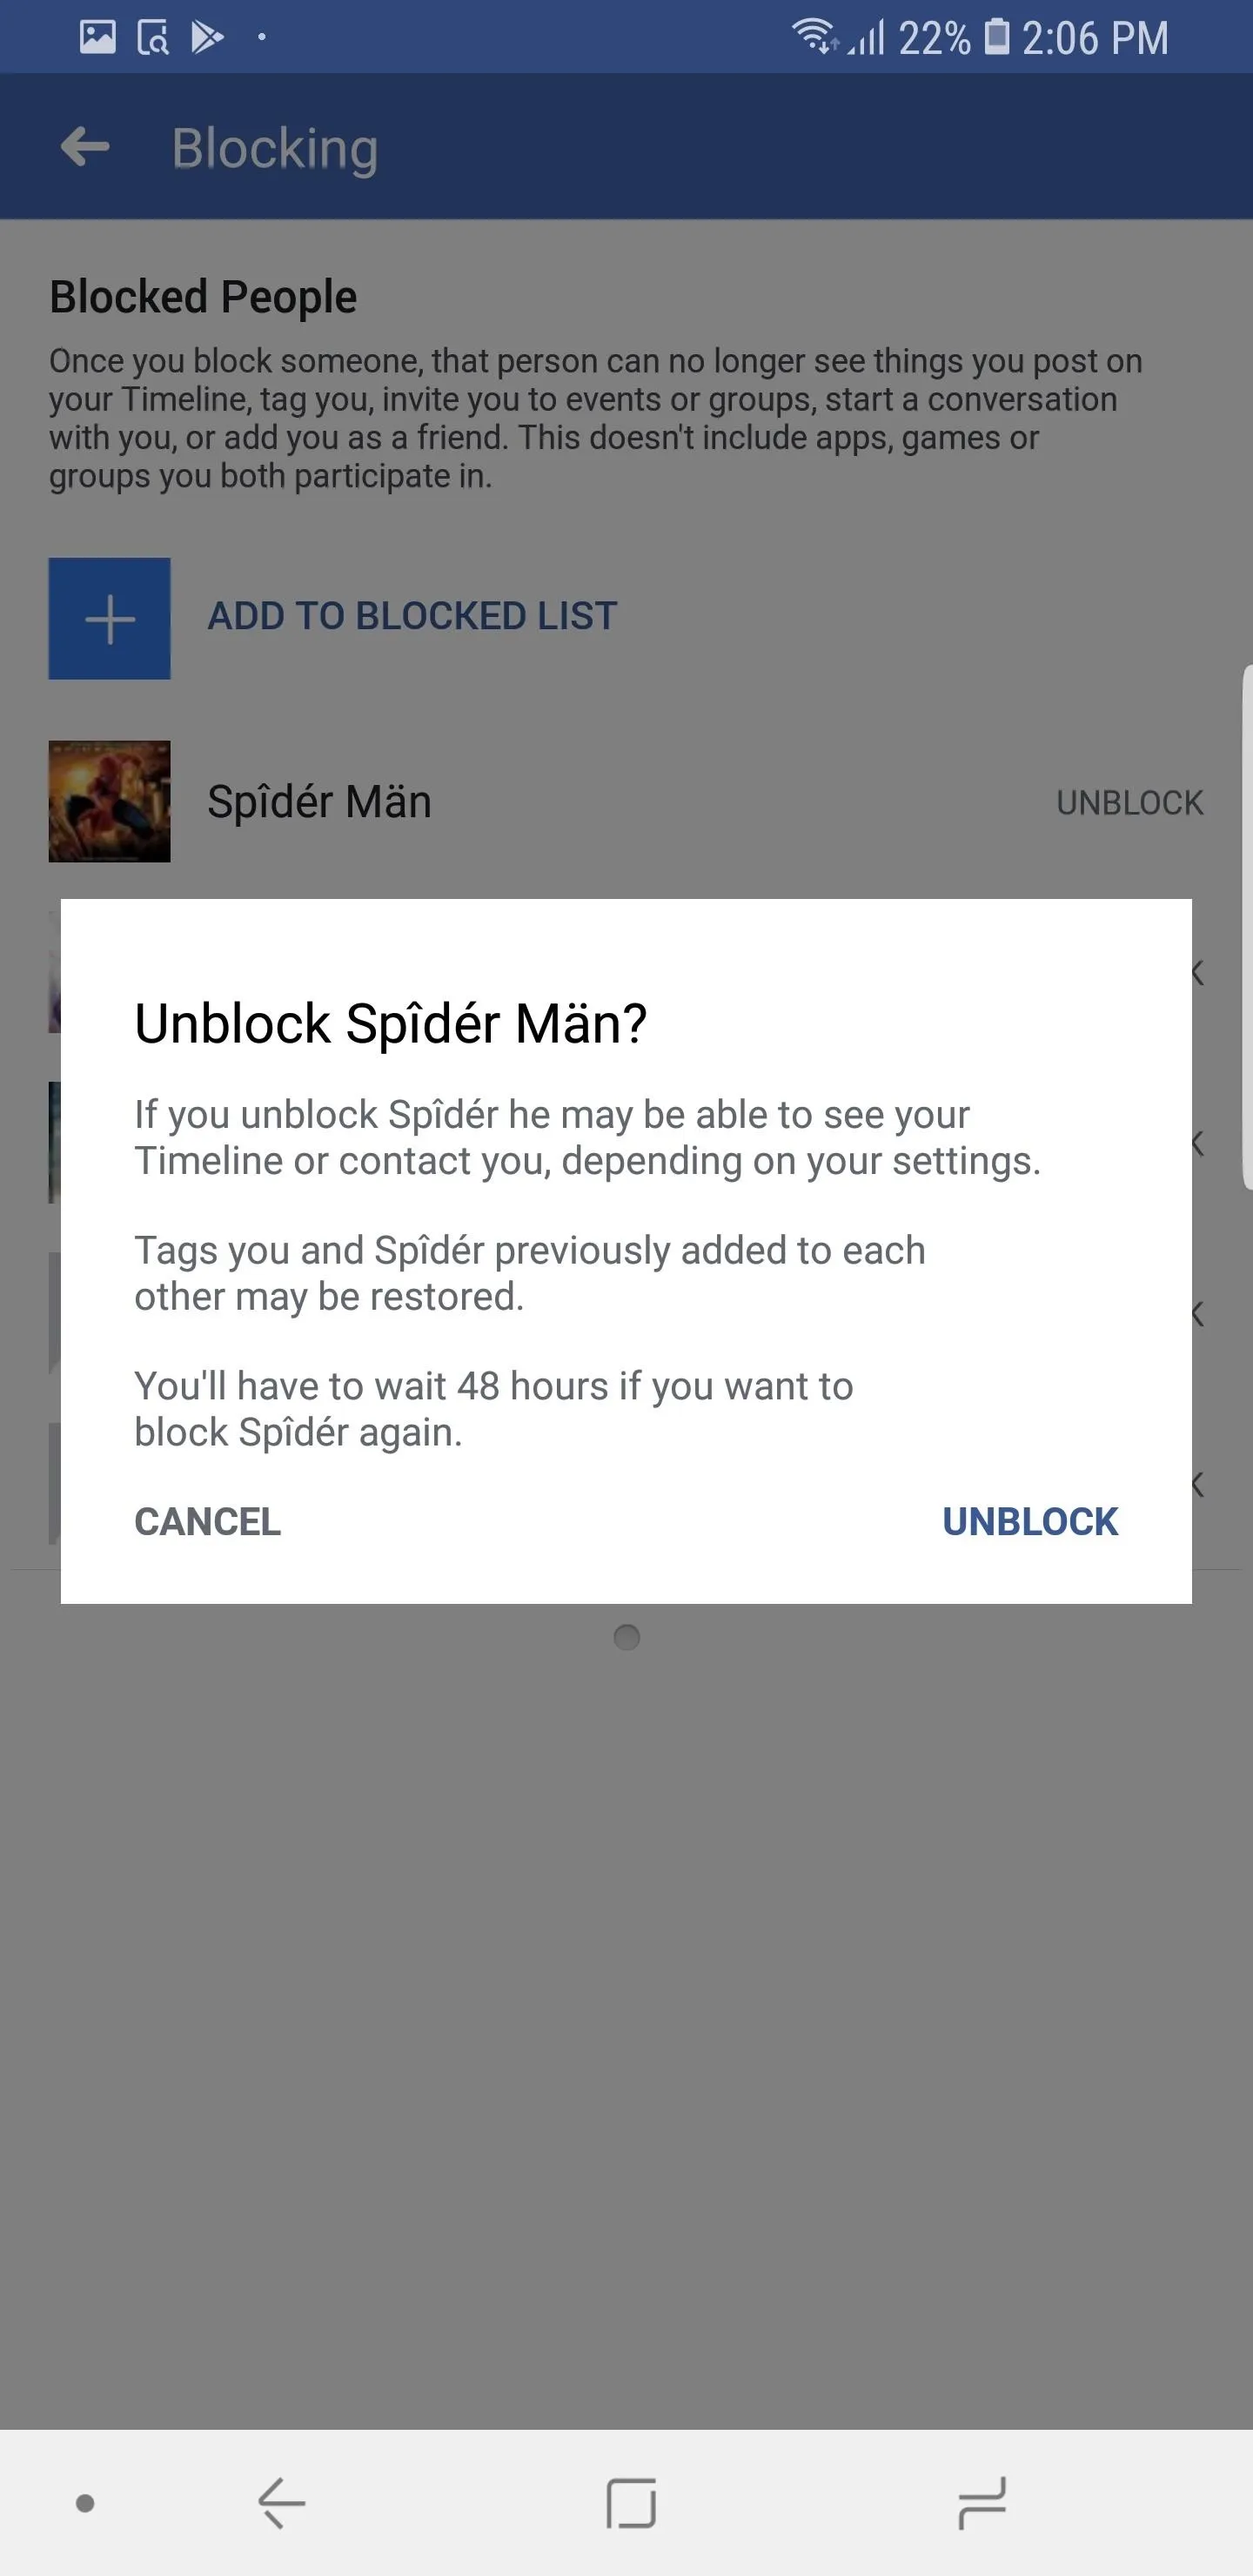
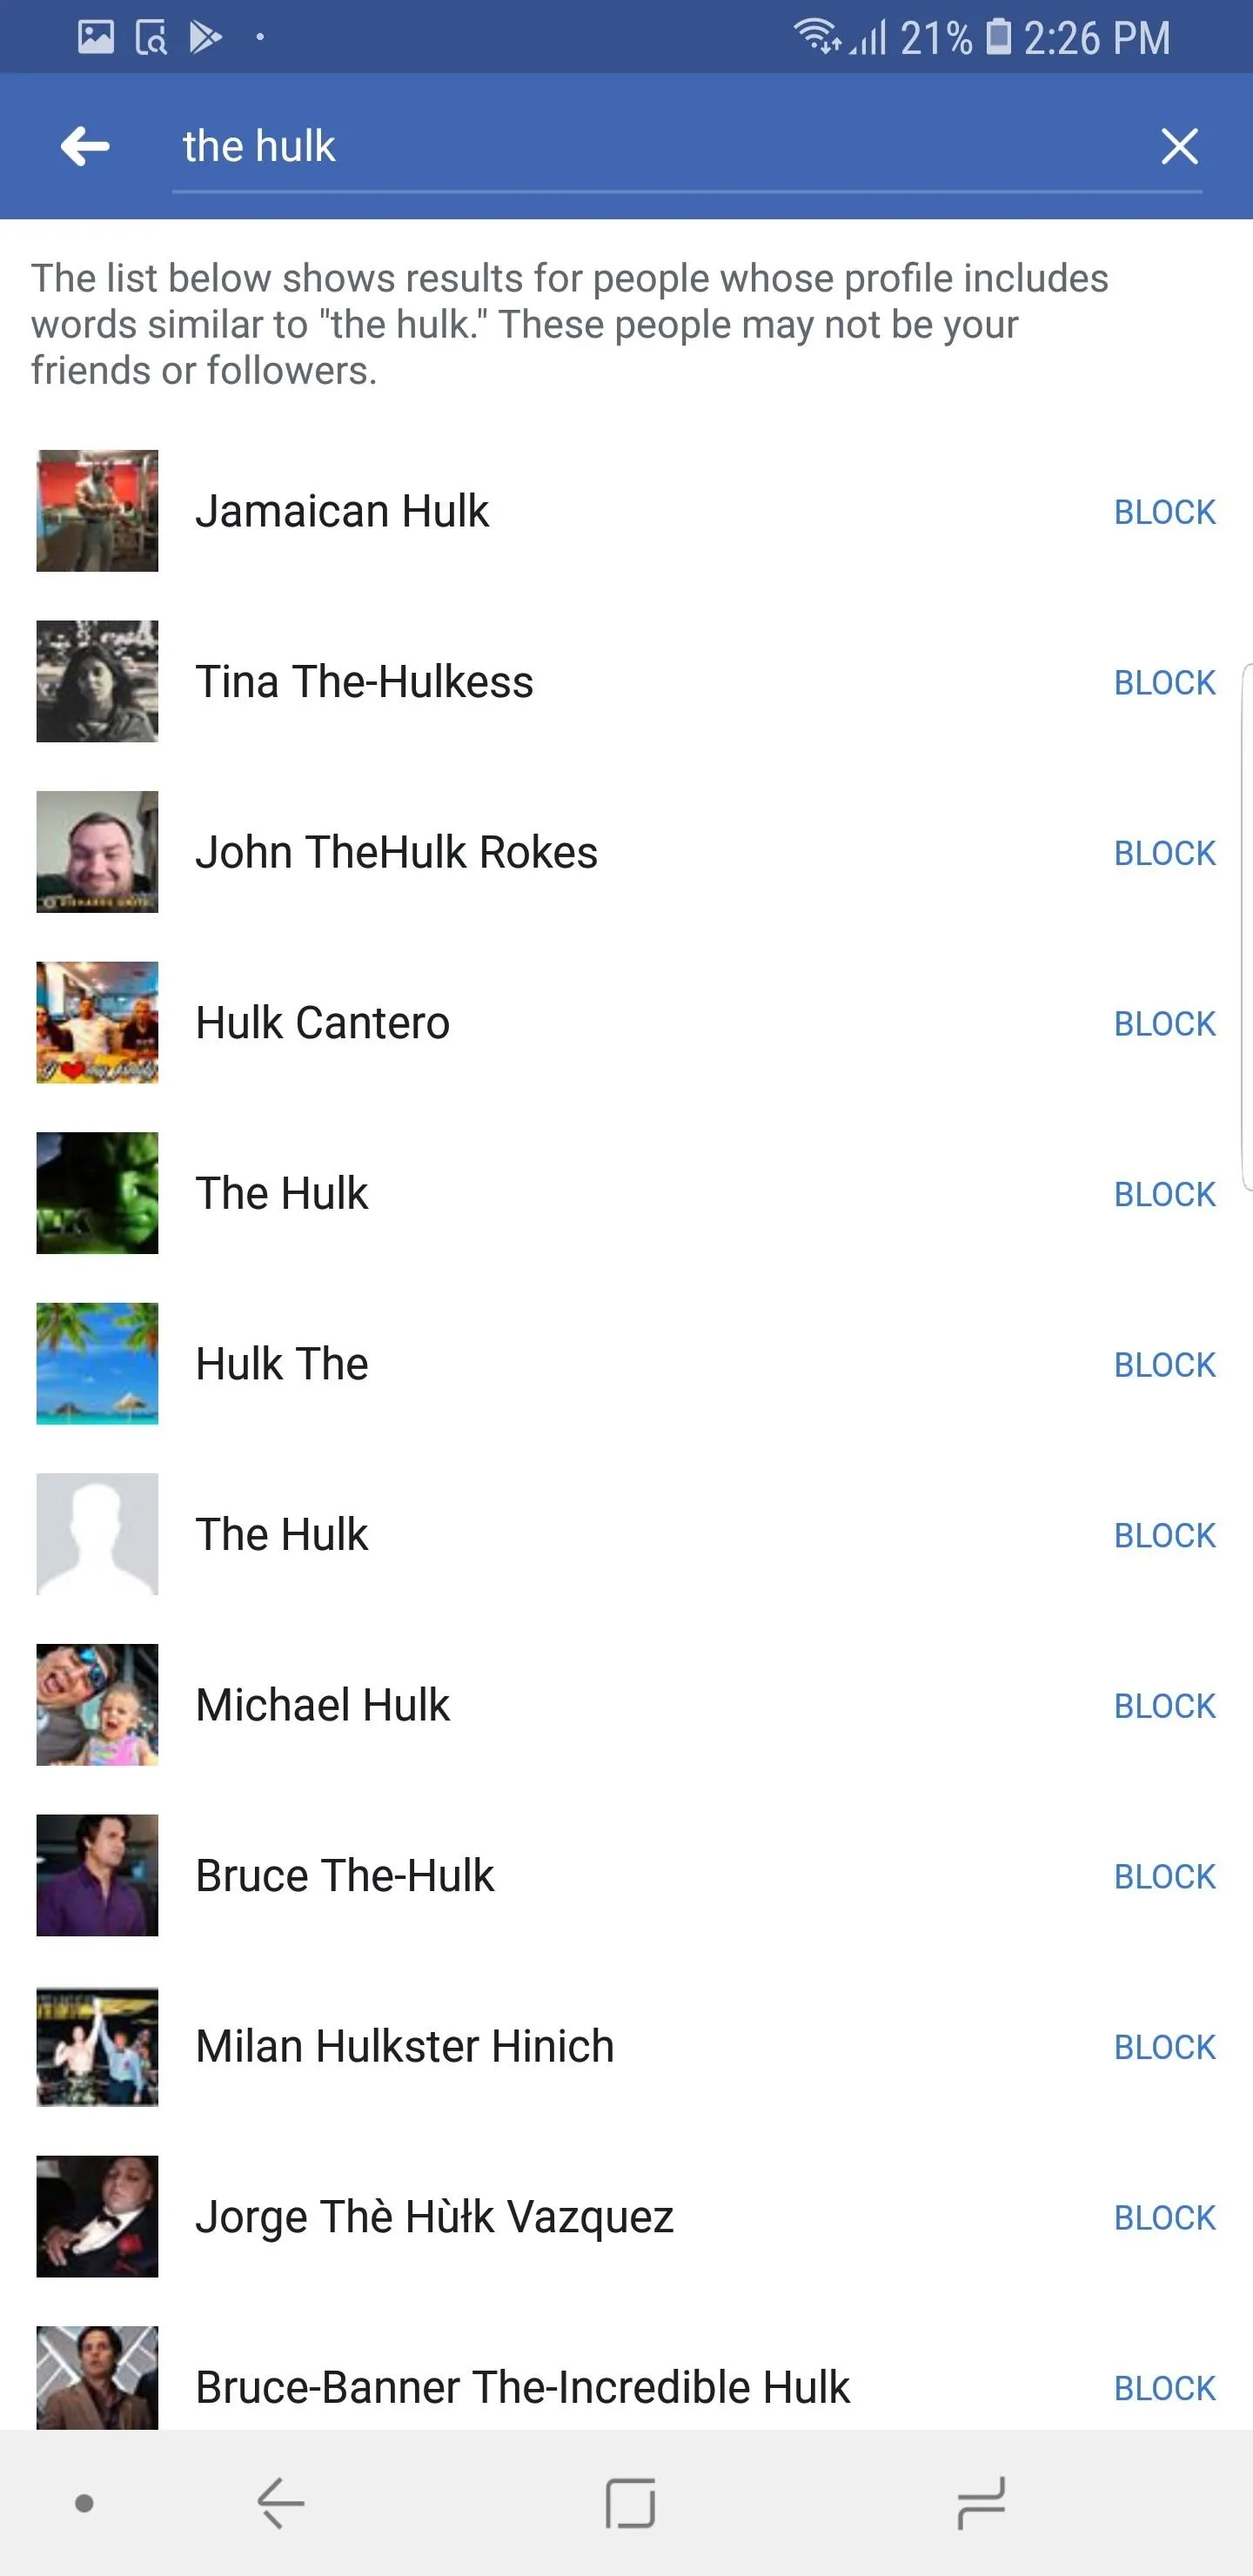


Keep in mind that if your profile is set to public, the person can still view your profile if they sign out of their Facebook account. So if you really want to prevent them from stalking you, set your profile to private.
This article was produced during Gadget Hacks' special coverage on becoming a social media expert on your phone. Check out the whole Social Media series.
- Follow Gadget Hacks on Pinterest, Reddit, Twitter, YouTube, and Flipboard
- Sign up for Gadget Hacks' daily newsletter or weekly Android and iOS updates
- Follow WonderHowTo on Facebook, Twitter, Pinterest, and Flipboard
Cover image and screenshots by Jon Knight/Gadget Hacks





Comments
Be the first, drop a comment!