


With so much money on the line, it's no surprise that cryptocurrency exchanges are prime targets for cybercriminals. Because of this, the importance of keeping your personal account as secure as possible cannot be overstated. Binance is one step ahead in this regard, as it requires you to enable two-factor authentication to keep your bitcoins and alt-coins safe.
Though you can sign in, execute trades, and make deposits on Binance, the popular exchange requires you to enable two-step verification on your account for making withdrawals as a safeguard from unauthorized access. While users from mainland China have the option of receiving SMS-based authentication to get into their accounts securely, the rest of us have to rely on Google Authenticator to stay safe from hacks.
Install Google Authenticator on Your Phone
If your don't already have it, Google Authenticator is a free app that adds a layer of security to any accounts that you sync it with. You can grab it for either iPhone or Android below.
Enable Google Authenticator on Binance
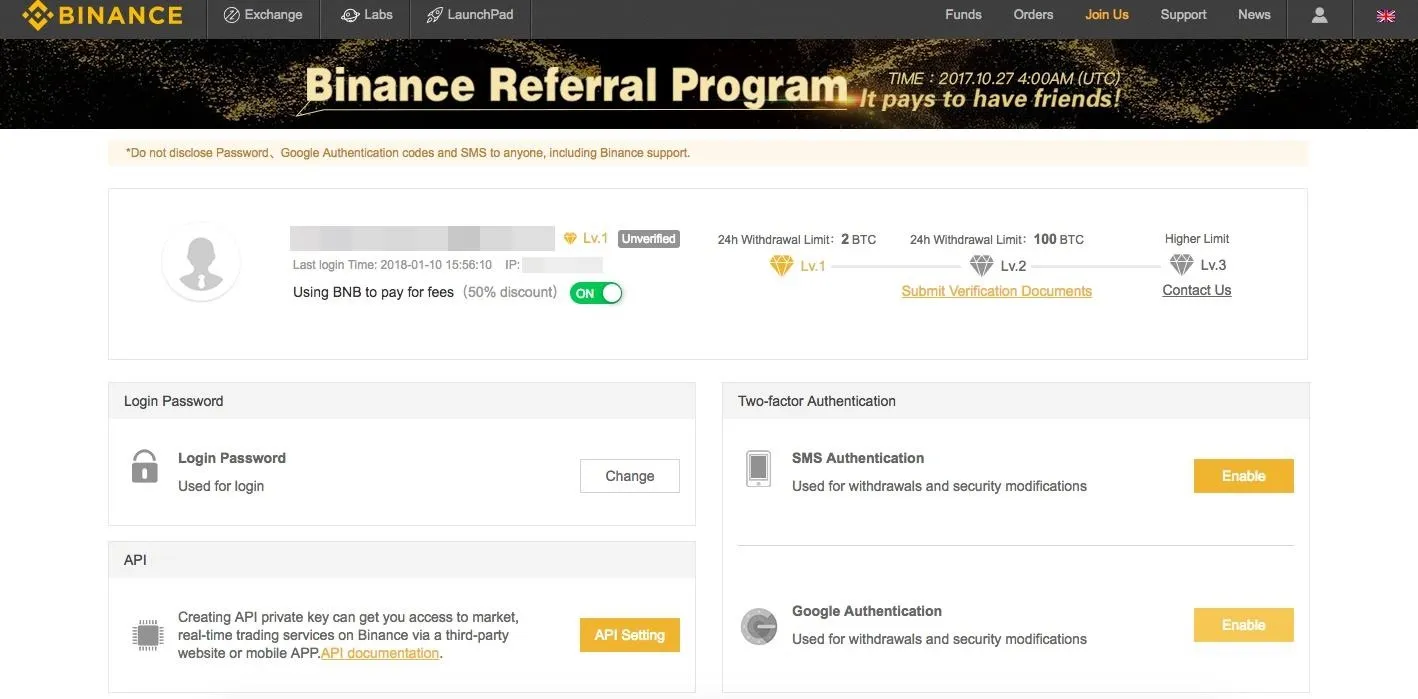
With Google Authenticator installed on your iPhone or Android, head to the Binance website on your desktop, laptop or mobile device, then sign into your Binance account. You'll now be taken to your user dashboard, so click on the "Enable" button next to the Google Authenticator section near the lower-right corner.
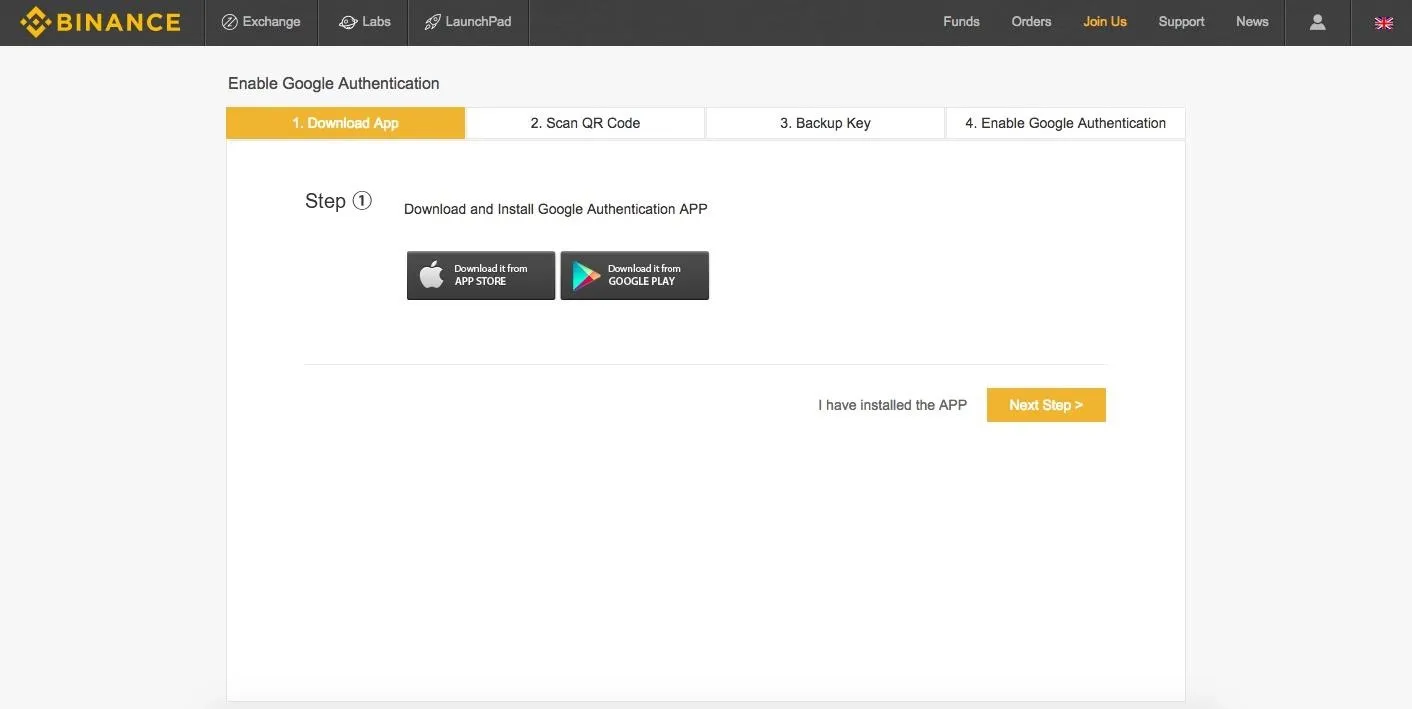
From there, follow the steps either by clicking on the numbered tabs at the top of the box or the "Next Step" button in the lower-right corner of the screen. Steps 2 and 3 are essentially the same and reveal your backup key, though step 2 includes a QR code that you can scan with your smartphone if you're using your Mac or PC.
Regardless of whether you went with Step 2 or 3, it's extremely important that you write down your 16-digit backup key and keep it somewhere safe — we recommend making more than one copy. Binance will need it to verify your account if your phone ever gets lost, damaged, or stolen. That said, keep your phone handy if you're using a Mac or PC, and proceed to the next step.
Add Binance to Google Authenticator
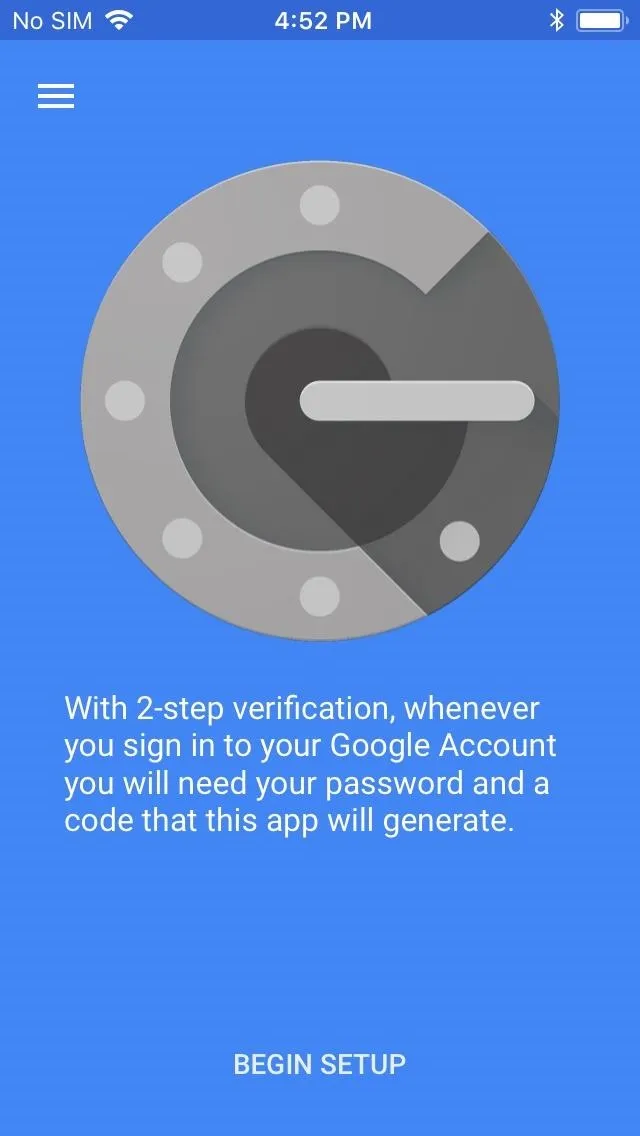
On your iPhone or Android device, open the Google Authenticator app and either tap on "Begin Setup" (iPhone) or "Begin" (Android). A prompt will appear at the bottom of the screen asking you to either "Scan Barcode" or "Enter a Provided Key," so tap on your preferred method to proceed.
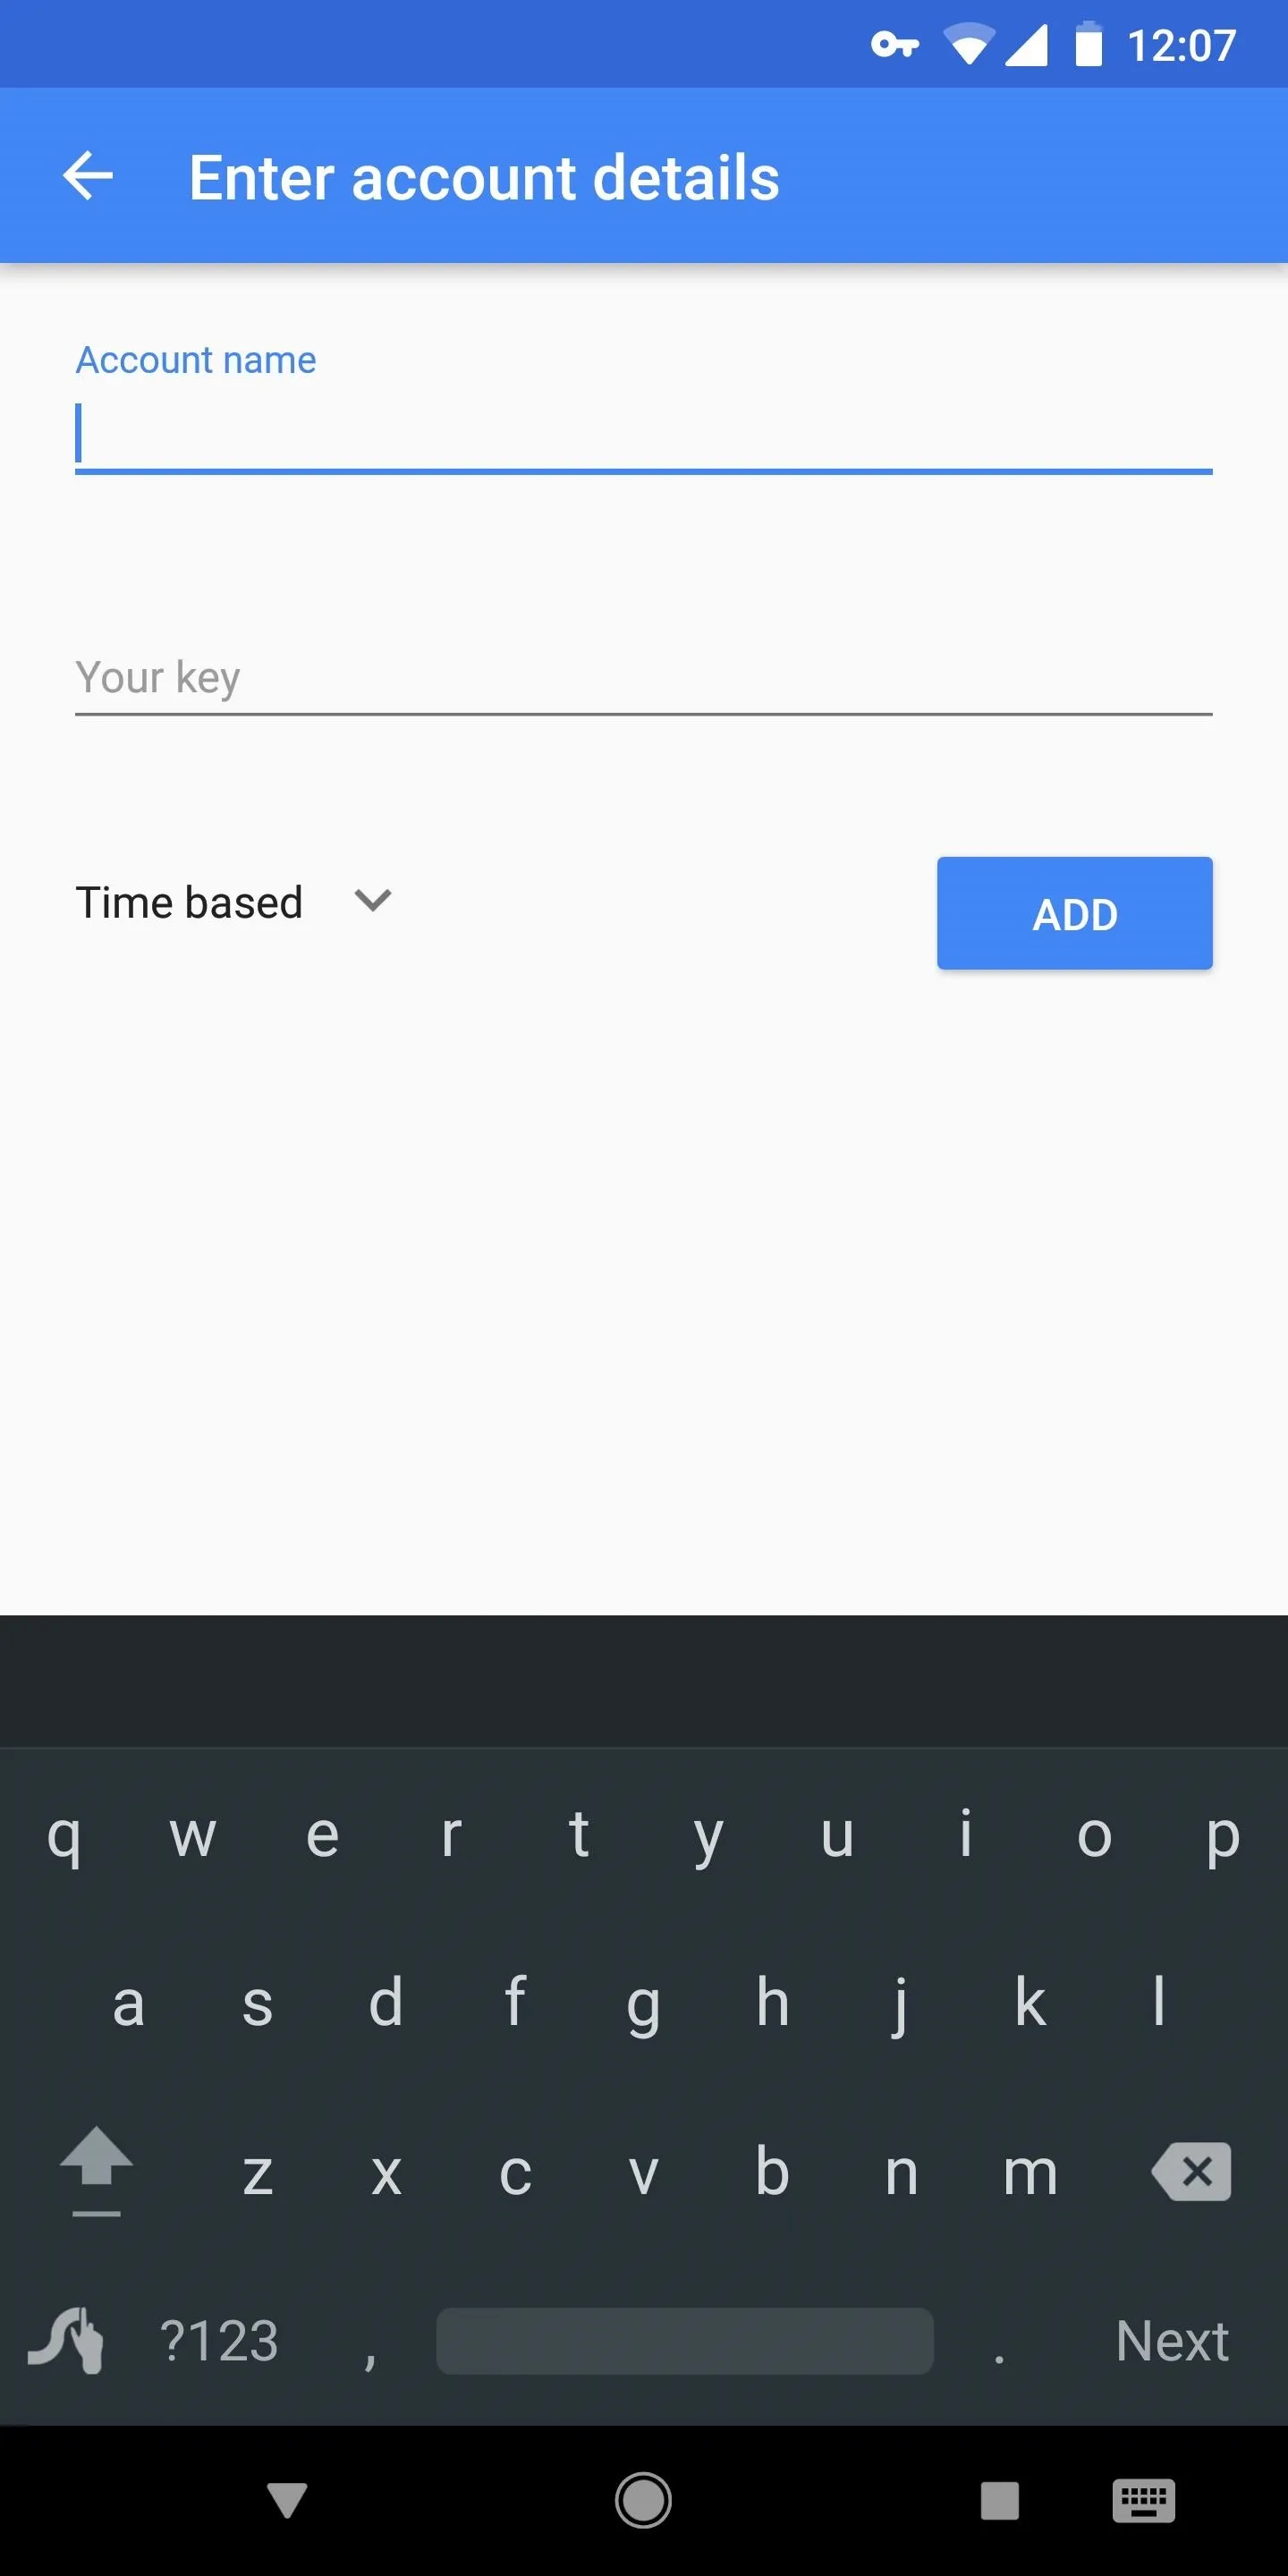
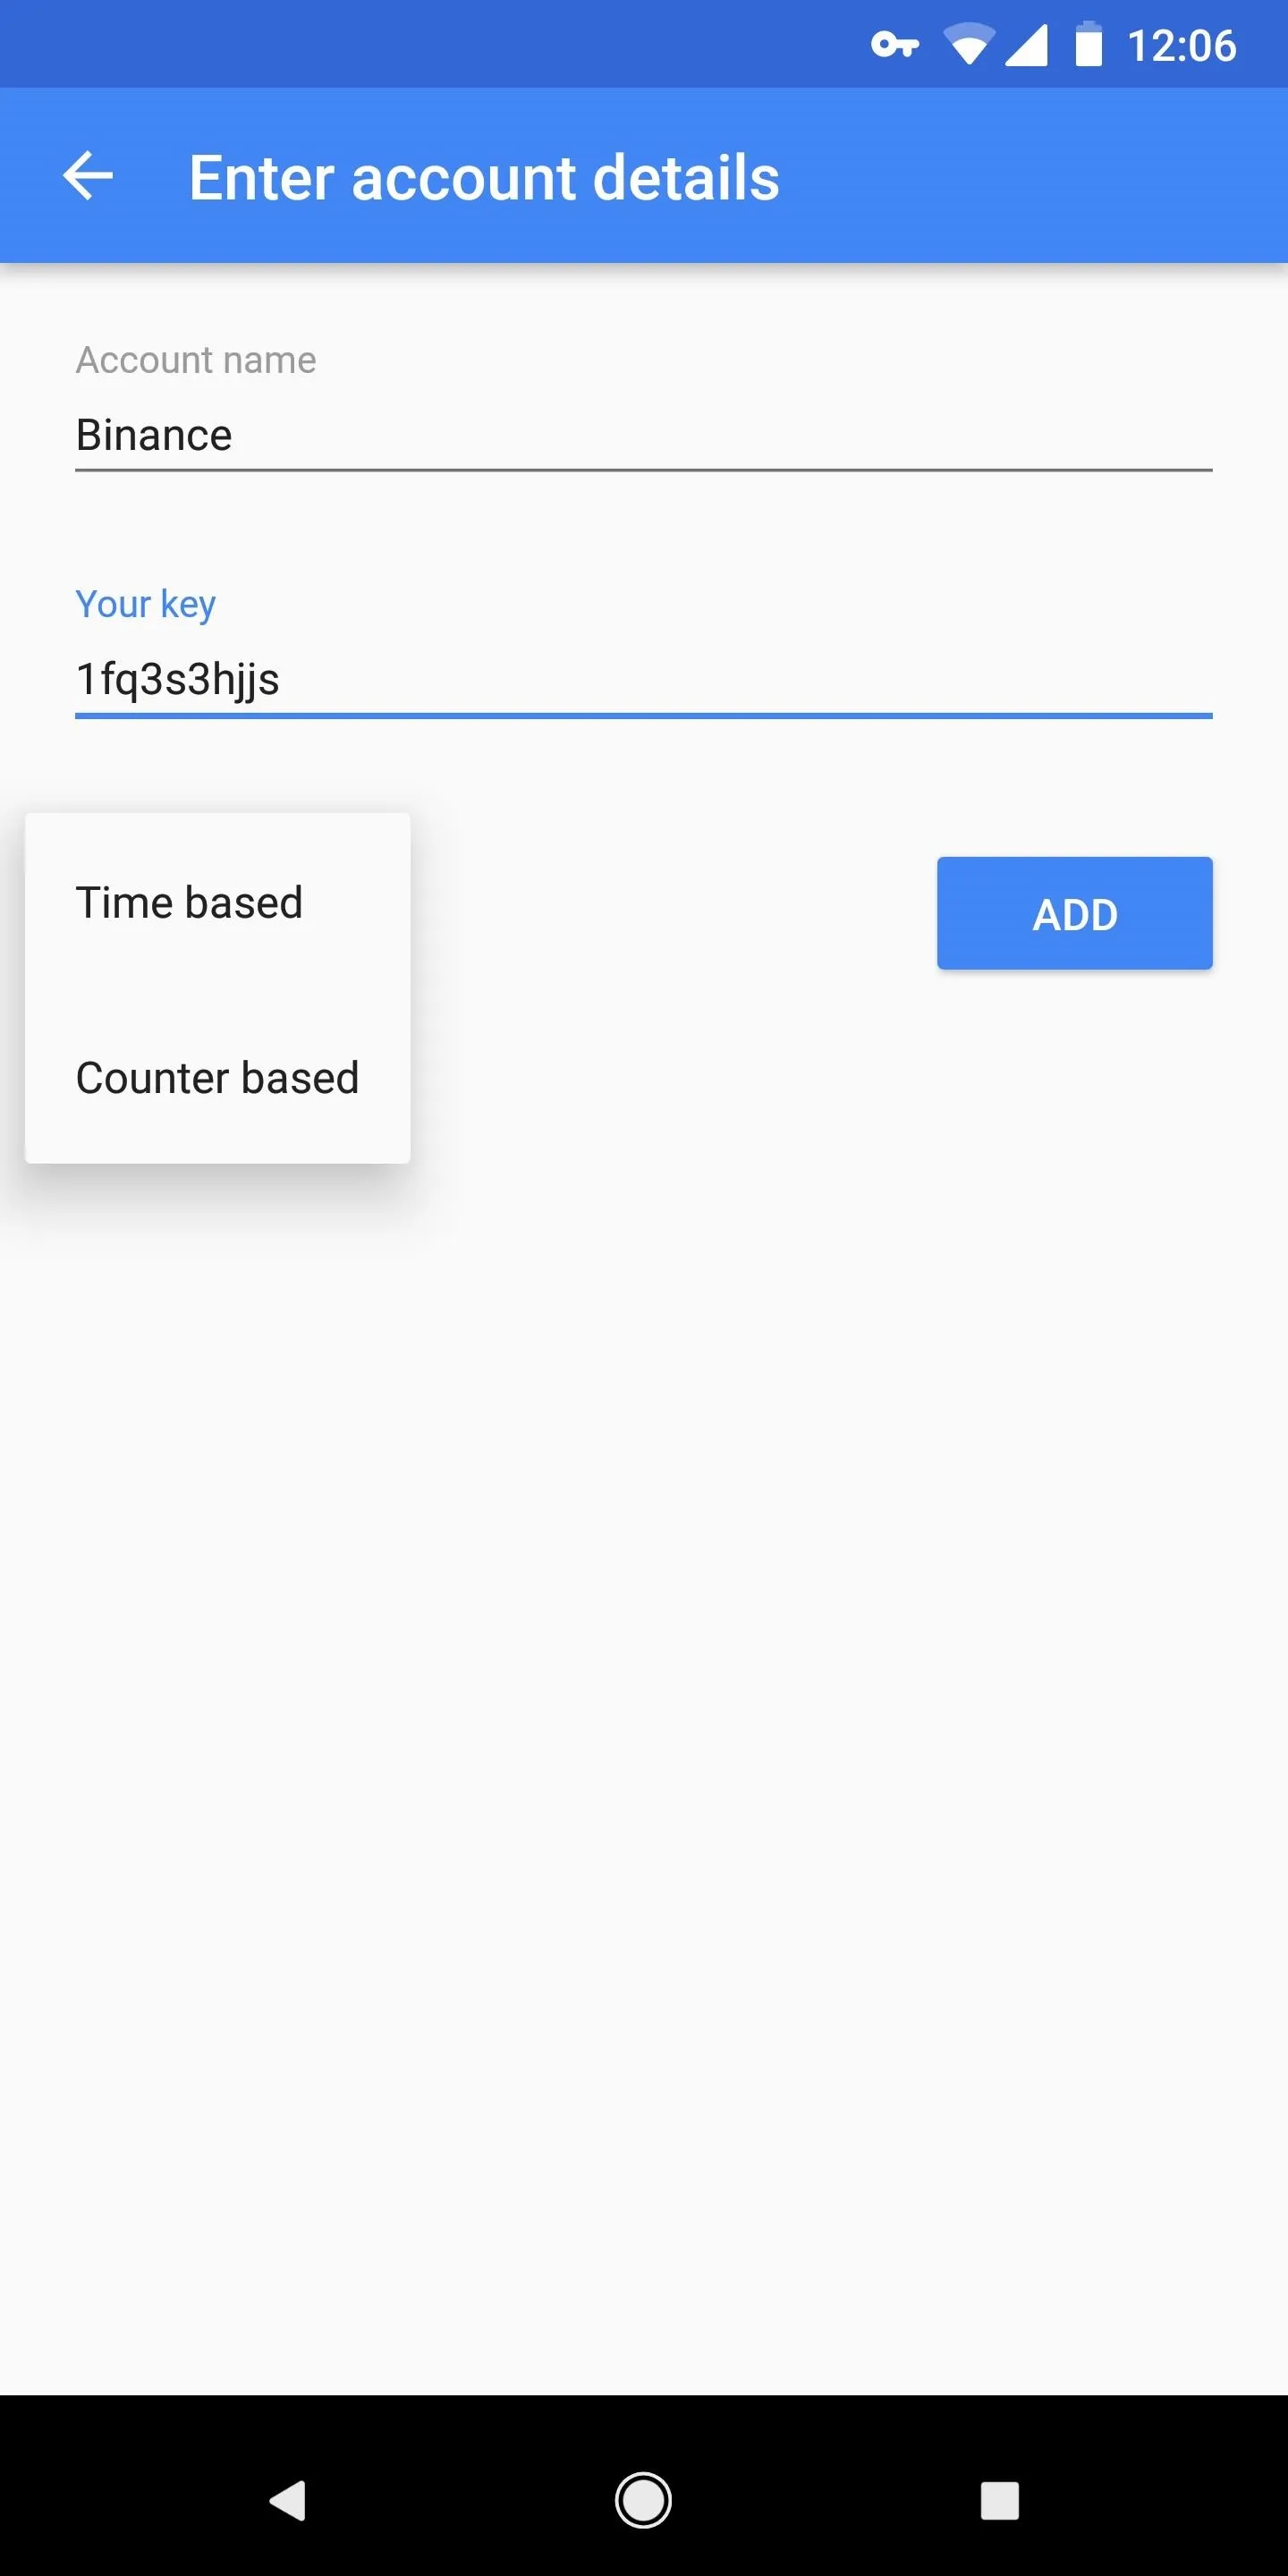
If you opted to enter you Binance backup key manually, enter your desired account name and backup key in the fields provided. From there, you'll need to choose between "Counter based," which refreshes every five seconds upon tapping, or "Time based," which automatically refreshes every 30 seconds. We recommend using the latter, as it gives you more time as you switch between Google Authenticator and Binance to sign in or make withdrawals. Once you're done, tap on either the "Add" (Android) or check (iOS) button, and Binance will be added to Google Authenticator.
If you're using a Mac or PC and chose to scan your backup key's QR code, first give Google Authenticator the permission to use your phone's camera by tapping "Grant" or "Allow" on the confirmation prompt that appears. Your camera is now free to scan your key, so simply point it towards the QR code and Binance will automatically be added to Google Authenticator.

Finalize Setup on Binance
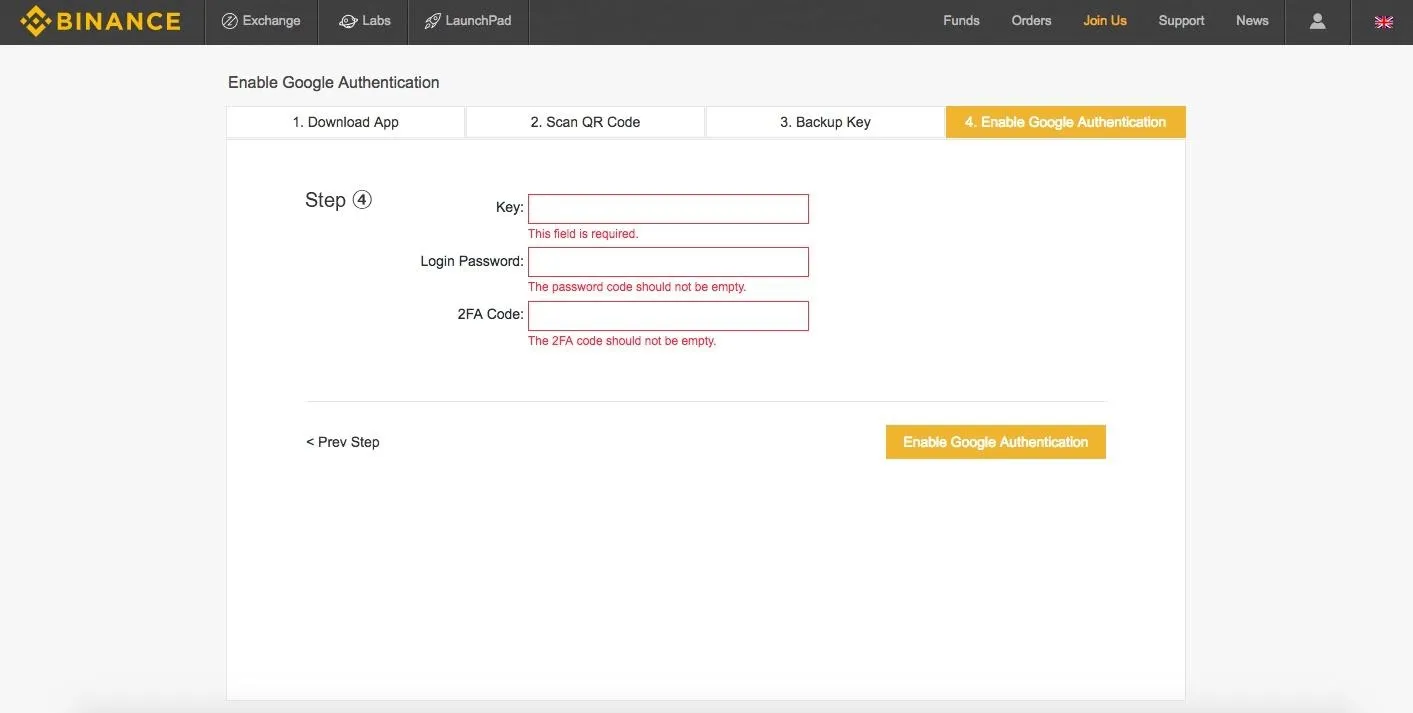
With Binance added to your Google Authenticator app, head back to your Binance account on your browser to finalize two-factor authentication setup. To do so, click on "4. Enable Google Authentication" near the upper-right corner of the screen, then input your your 16-digit backup key, login password, and 6-digit 2FA code from Google Authenticator app in the fields provided.
From there, click on the "Enable Google Authentication" button on the lower-right corner once you're done. You can now exit your browser.
Log into Binance with 2FA
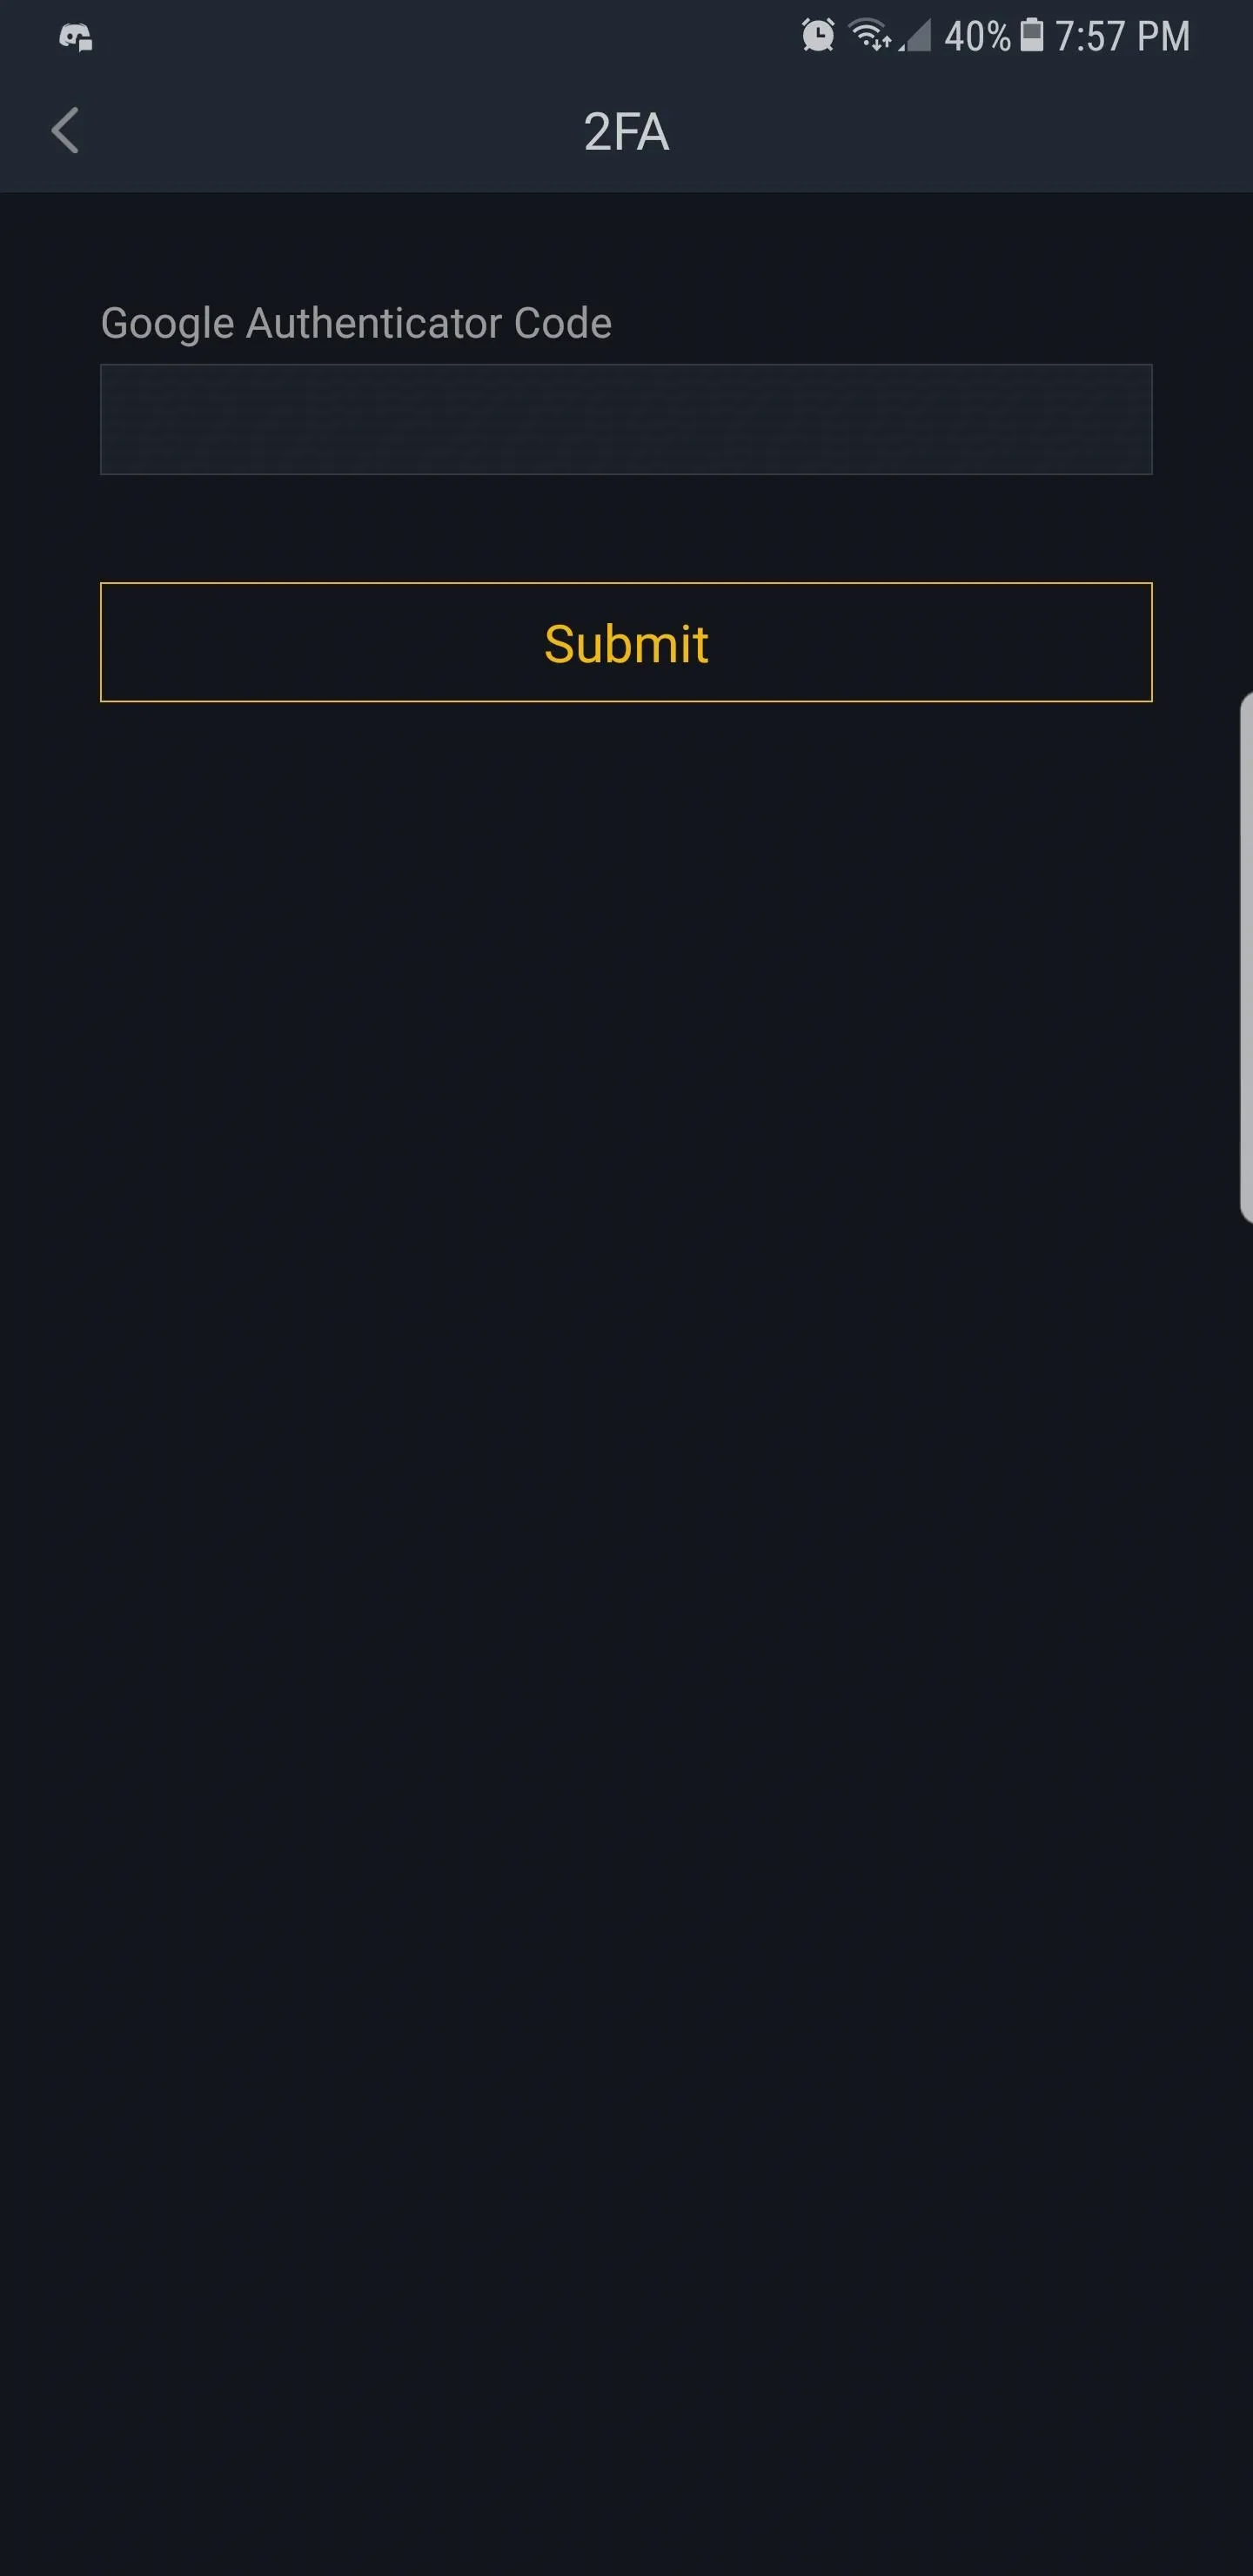
Now that Google Authenticator has been set, Binance will now ask you for your 2FA code every time you sign into Binance and to confirm withdrawals. Using two-factor authentication is really simple, though.
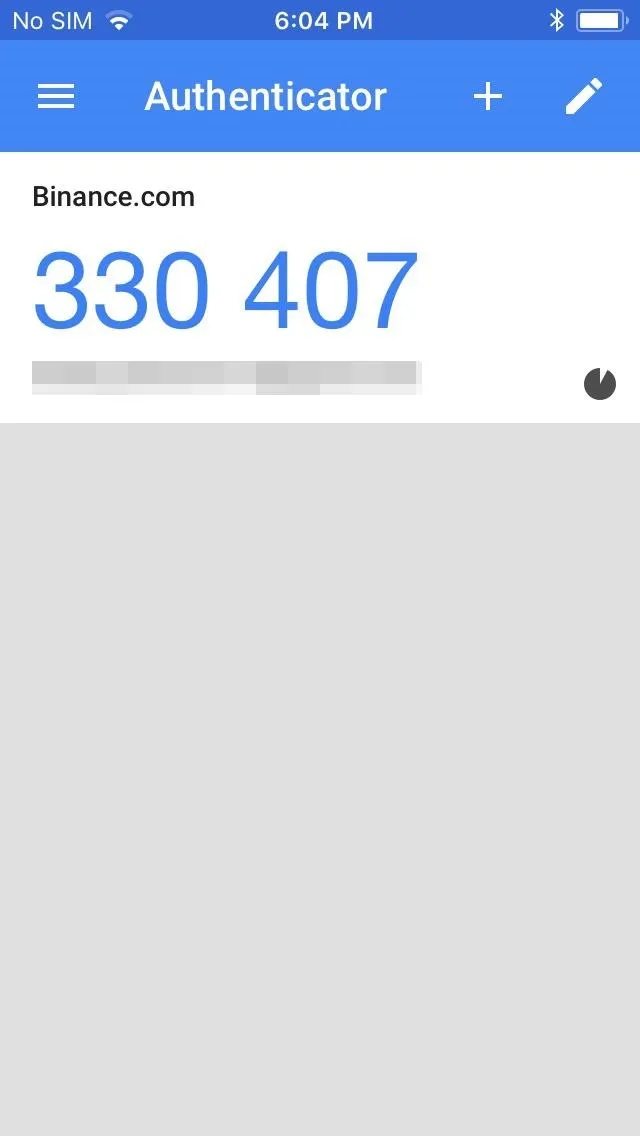
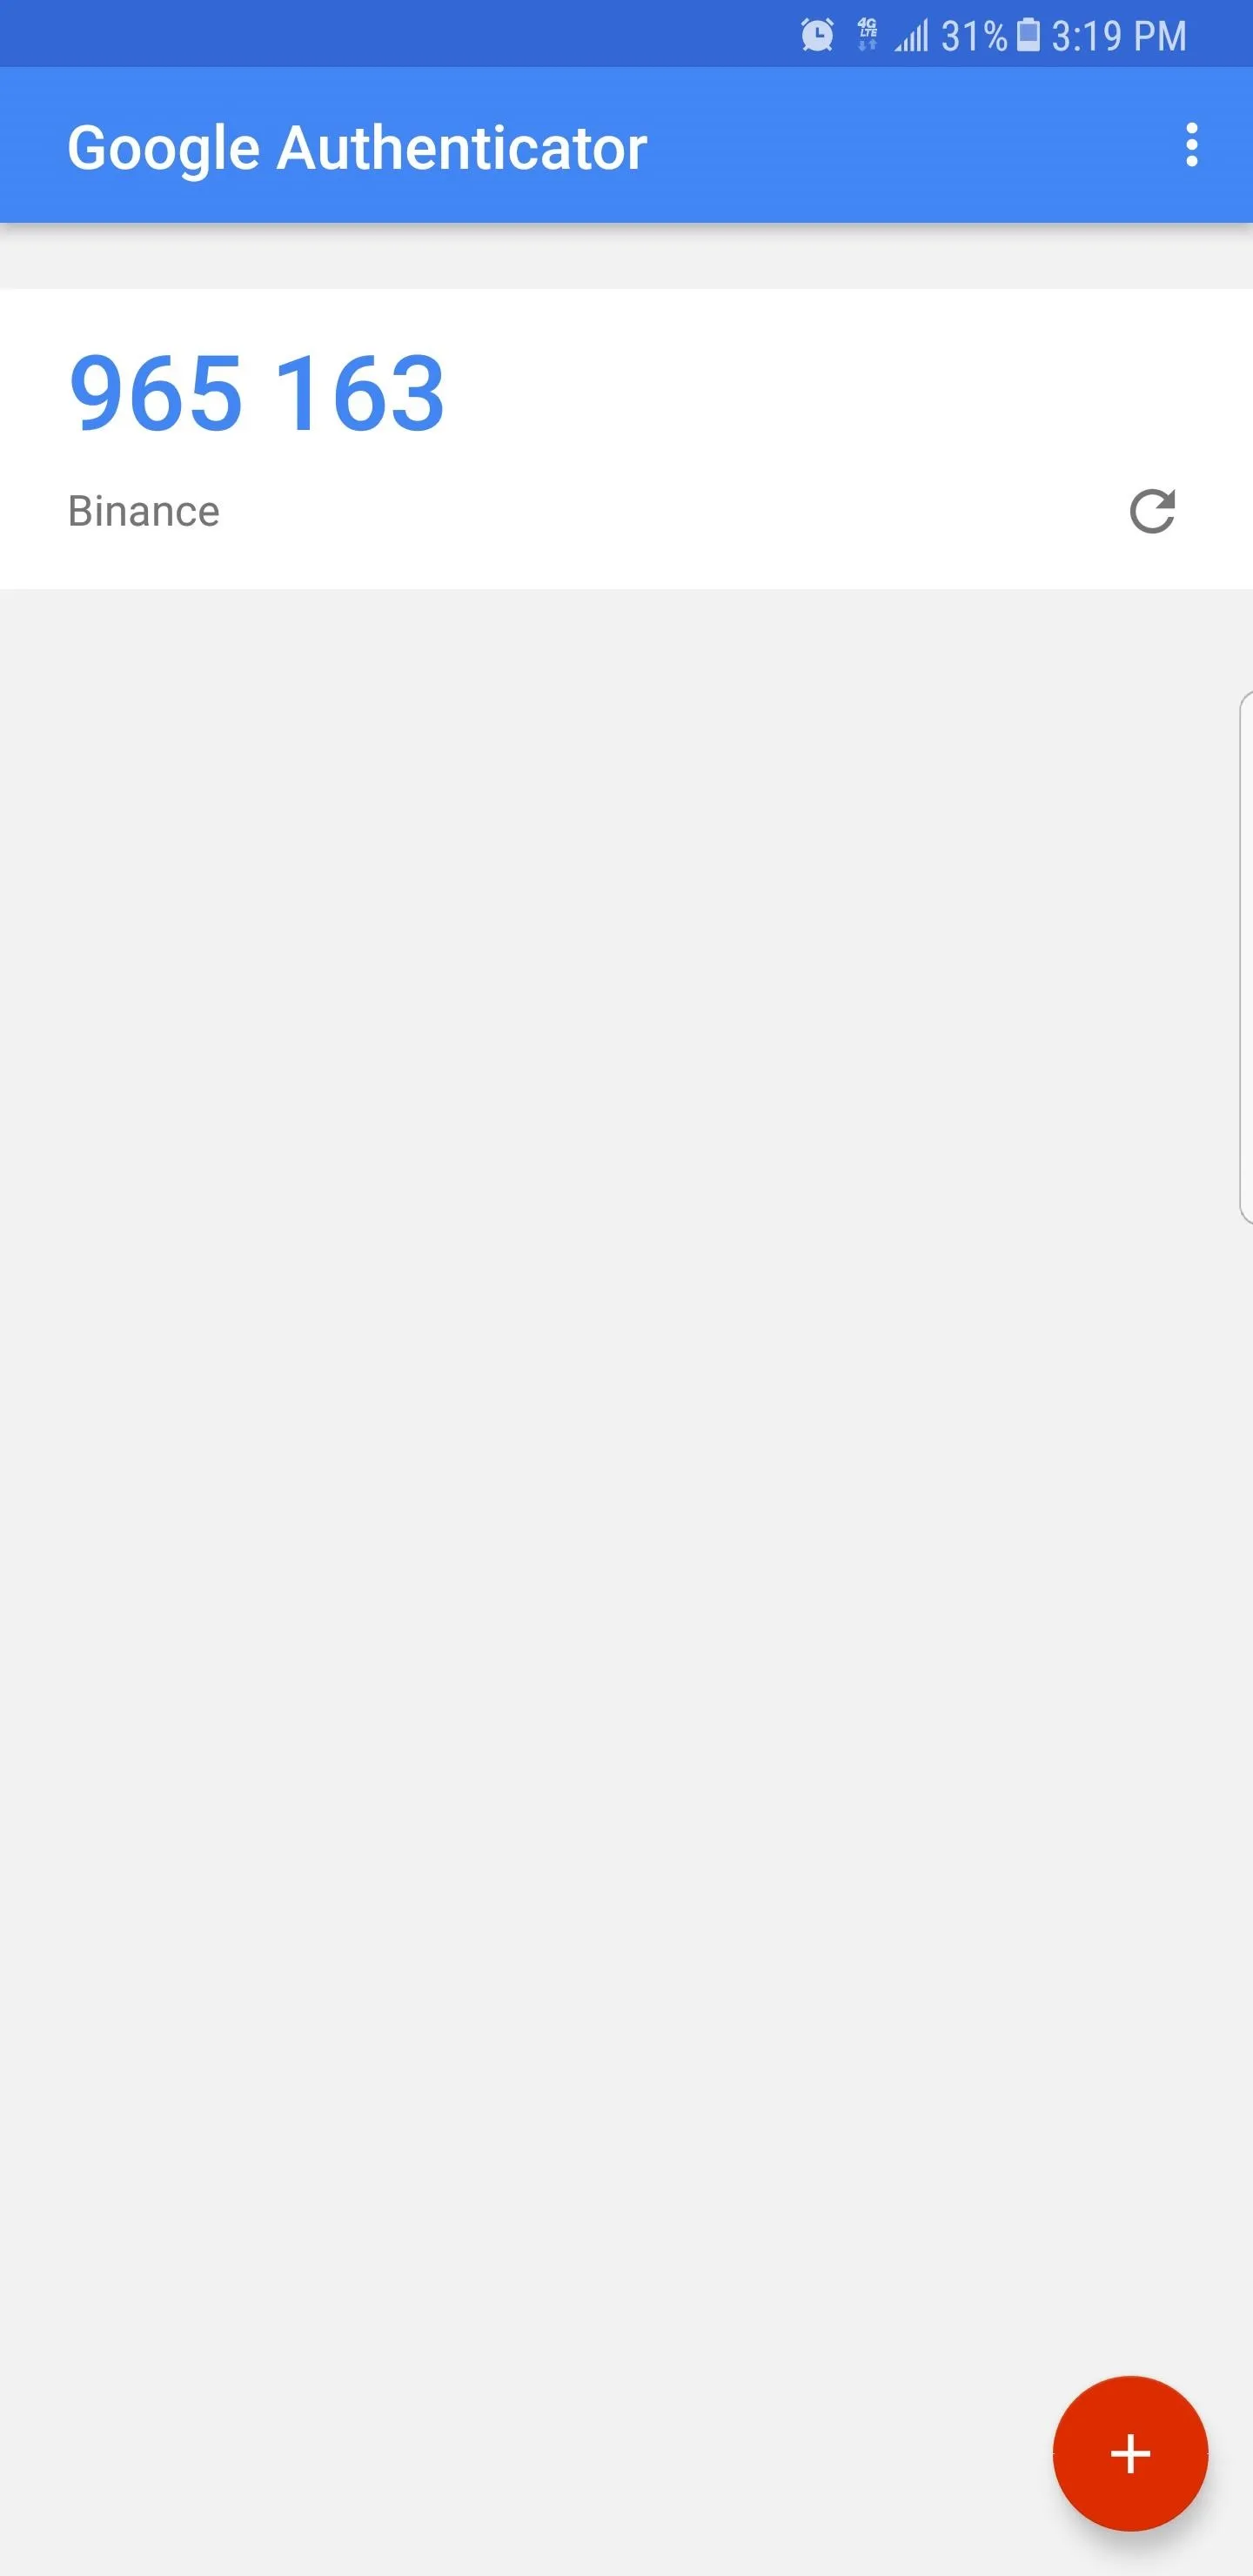
Log into the Binance app with your email and password as you normally would. From there, you'll be prompted to enter your Google Authenticator 2FA code. So open the Google Authenticator app and you'll see a list of all accounts you've attached to Google Authenticator (if you've only added Binance, that's all you'll see). Just take note of the 6-digit code listed above "Binance" here, then switch back over to the Binance app and type the code into the provided field to log in.

If you ever uninstall the Google Authenticator app or get a new phone, you'll have to reinstall it to regain access to your Binance account. Aside from that, you'll just need to retrieve your 16-digit backup key that you copied in Step 2, then re-enter it manually in Google Authenticator as outlined in Step 3. Once complete, you'll be able to log into Binance as you normally would.
With Google Authenticator now attached to your Binance account, you'll be significantly safer from outside threats, as no one can get into your account without physical access to your smartphone and the Google Authenticator app it contains. Even better, you can now make withdrawals straight from the Binance app — to learn more about that aspect, just check out the following guide.
- Follow Gadget Hacks on Facebook, Twitter ,YouTube, and Flipboard
- Follow WonderHowTo on Facebook, Twitter, Pinterest, and Flipboard
Cover image and screenshot by Amboy Manalo/Gadget Hacks


Comments
Be the first, drop a comment!