Snapchat is a wonderful app that allows users to "talk with pictures." You can send other users pictures of what you have going on in your day-to-day life, and they can respond with what's happening in their own. It's a seamless way to have a conversation with someone using visuals — sometimes even faster than you would be able to with words.
In some cases, though, you really aren't looking to have a one-on-one conversation. Sometimes you want to send a single Snapchat to your masses of adoring fans, a la Facebook status updates or tweets on Twitter. In that instance, adding a snap to "My Story" is exactly what you want to be doing. People who want their followers to be able to passively drop in on their life should read on, as "My Story" is a killer feature for both the famous and the layperson.
Take a Picture Using Snapchat
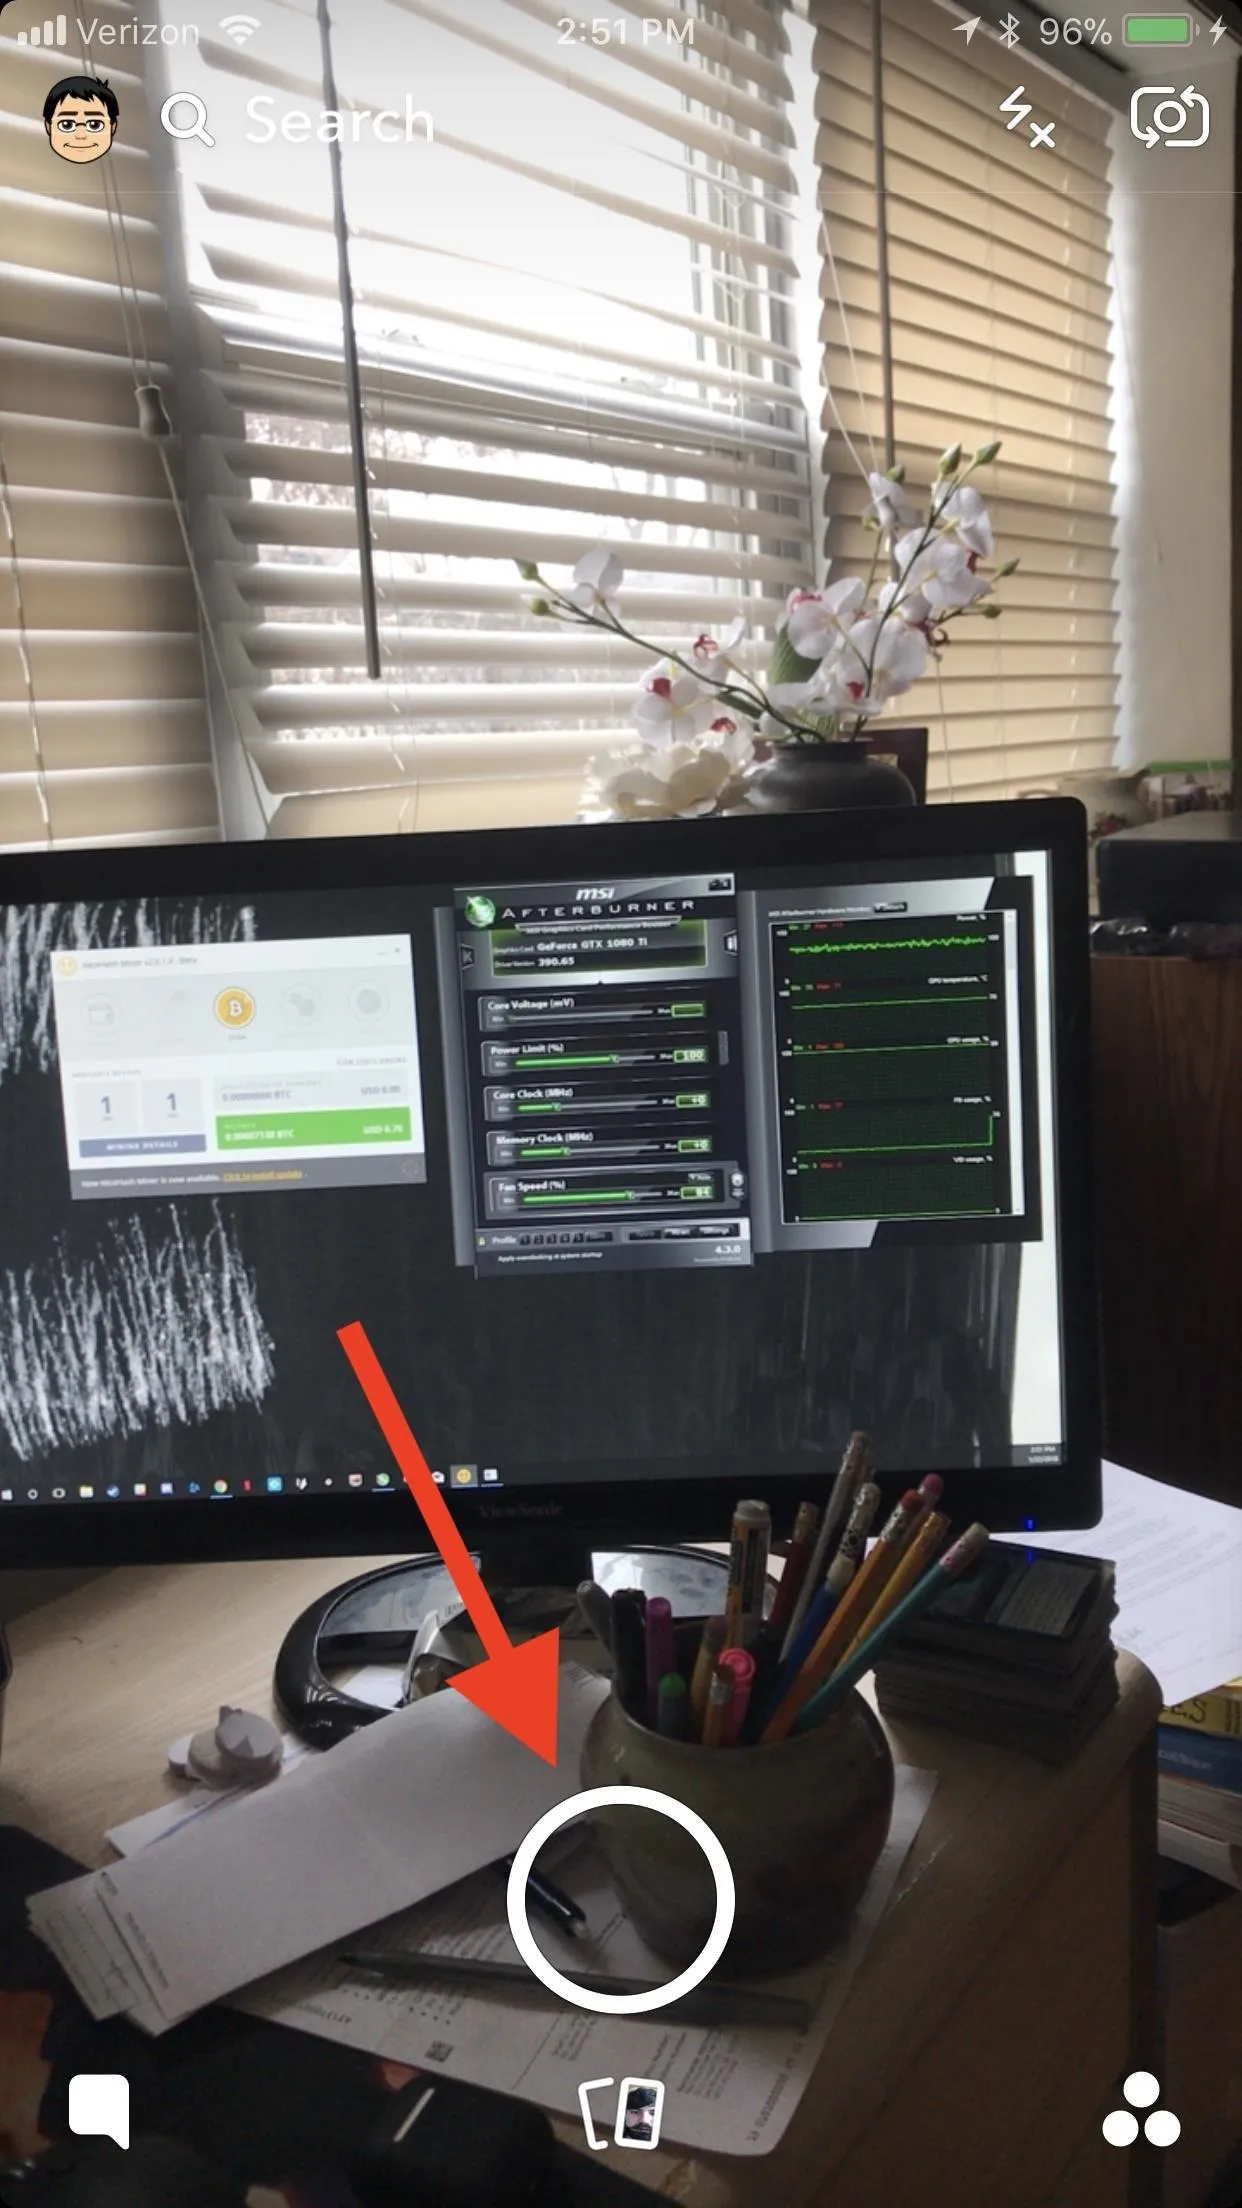
Just as you would when sending a shot to a single person, open up Snapchat and take a picture by tapping the white circle in the center on the bottom. Don't forget that you can switch which camera you're using (front or rear facing) by either double-tapping the screen or by tapping the camera icon in the top-right corner.
Add the Picture to 'My Story'
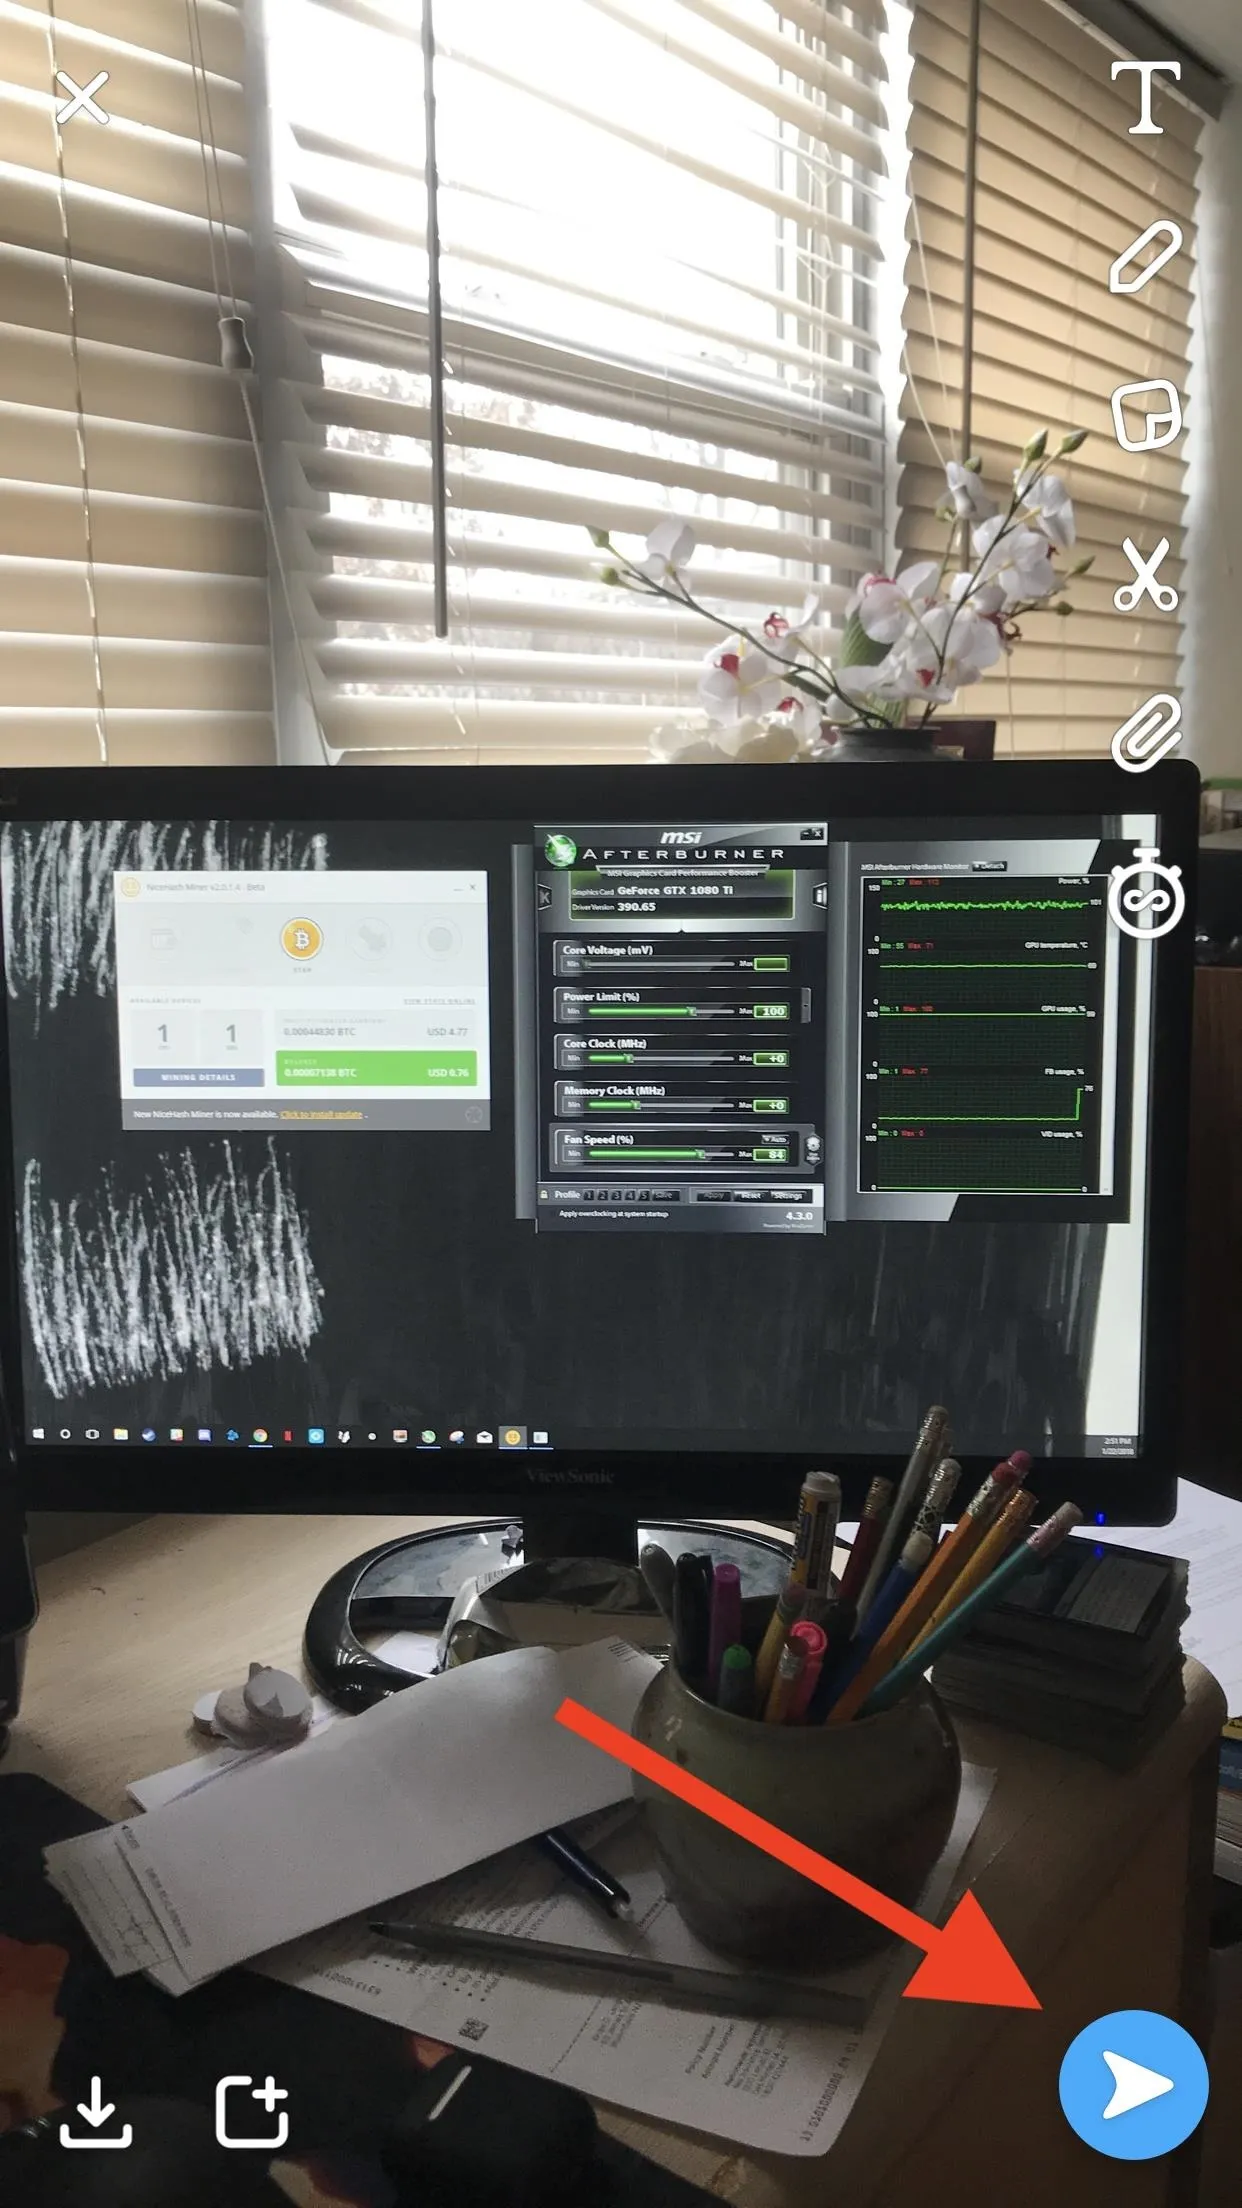
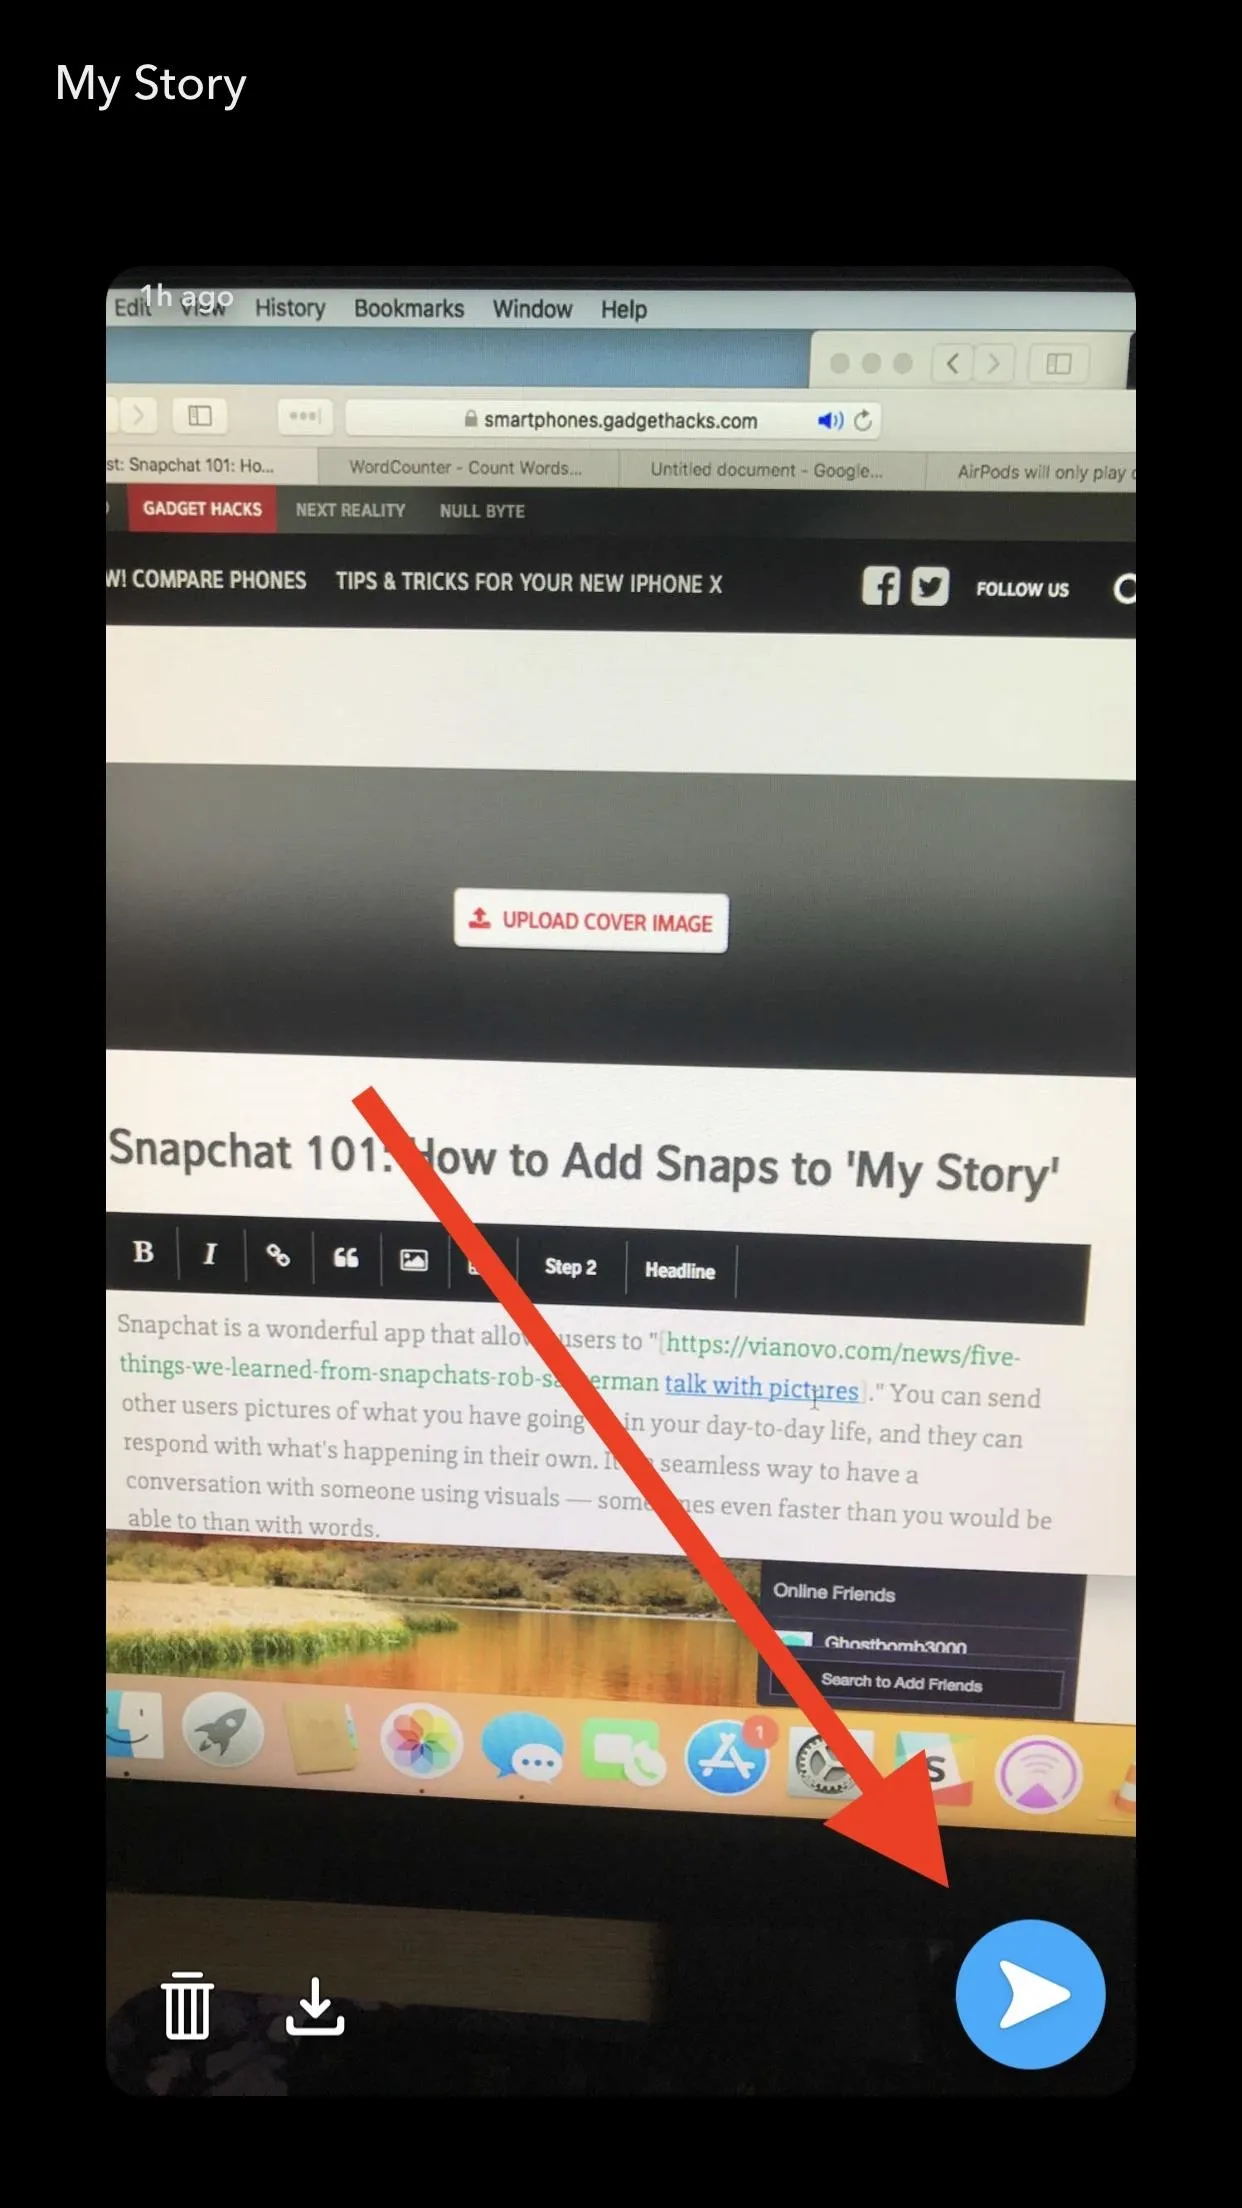
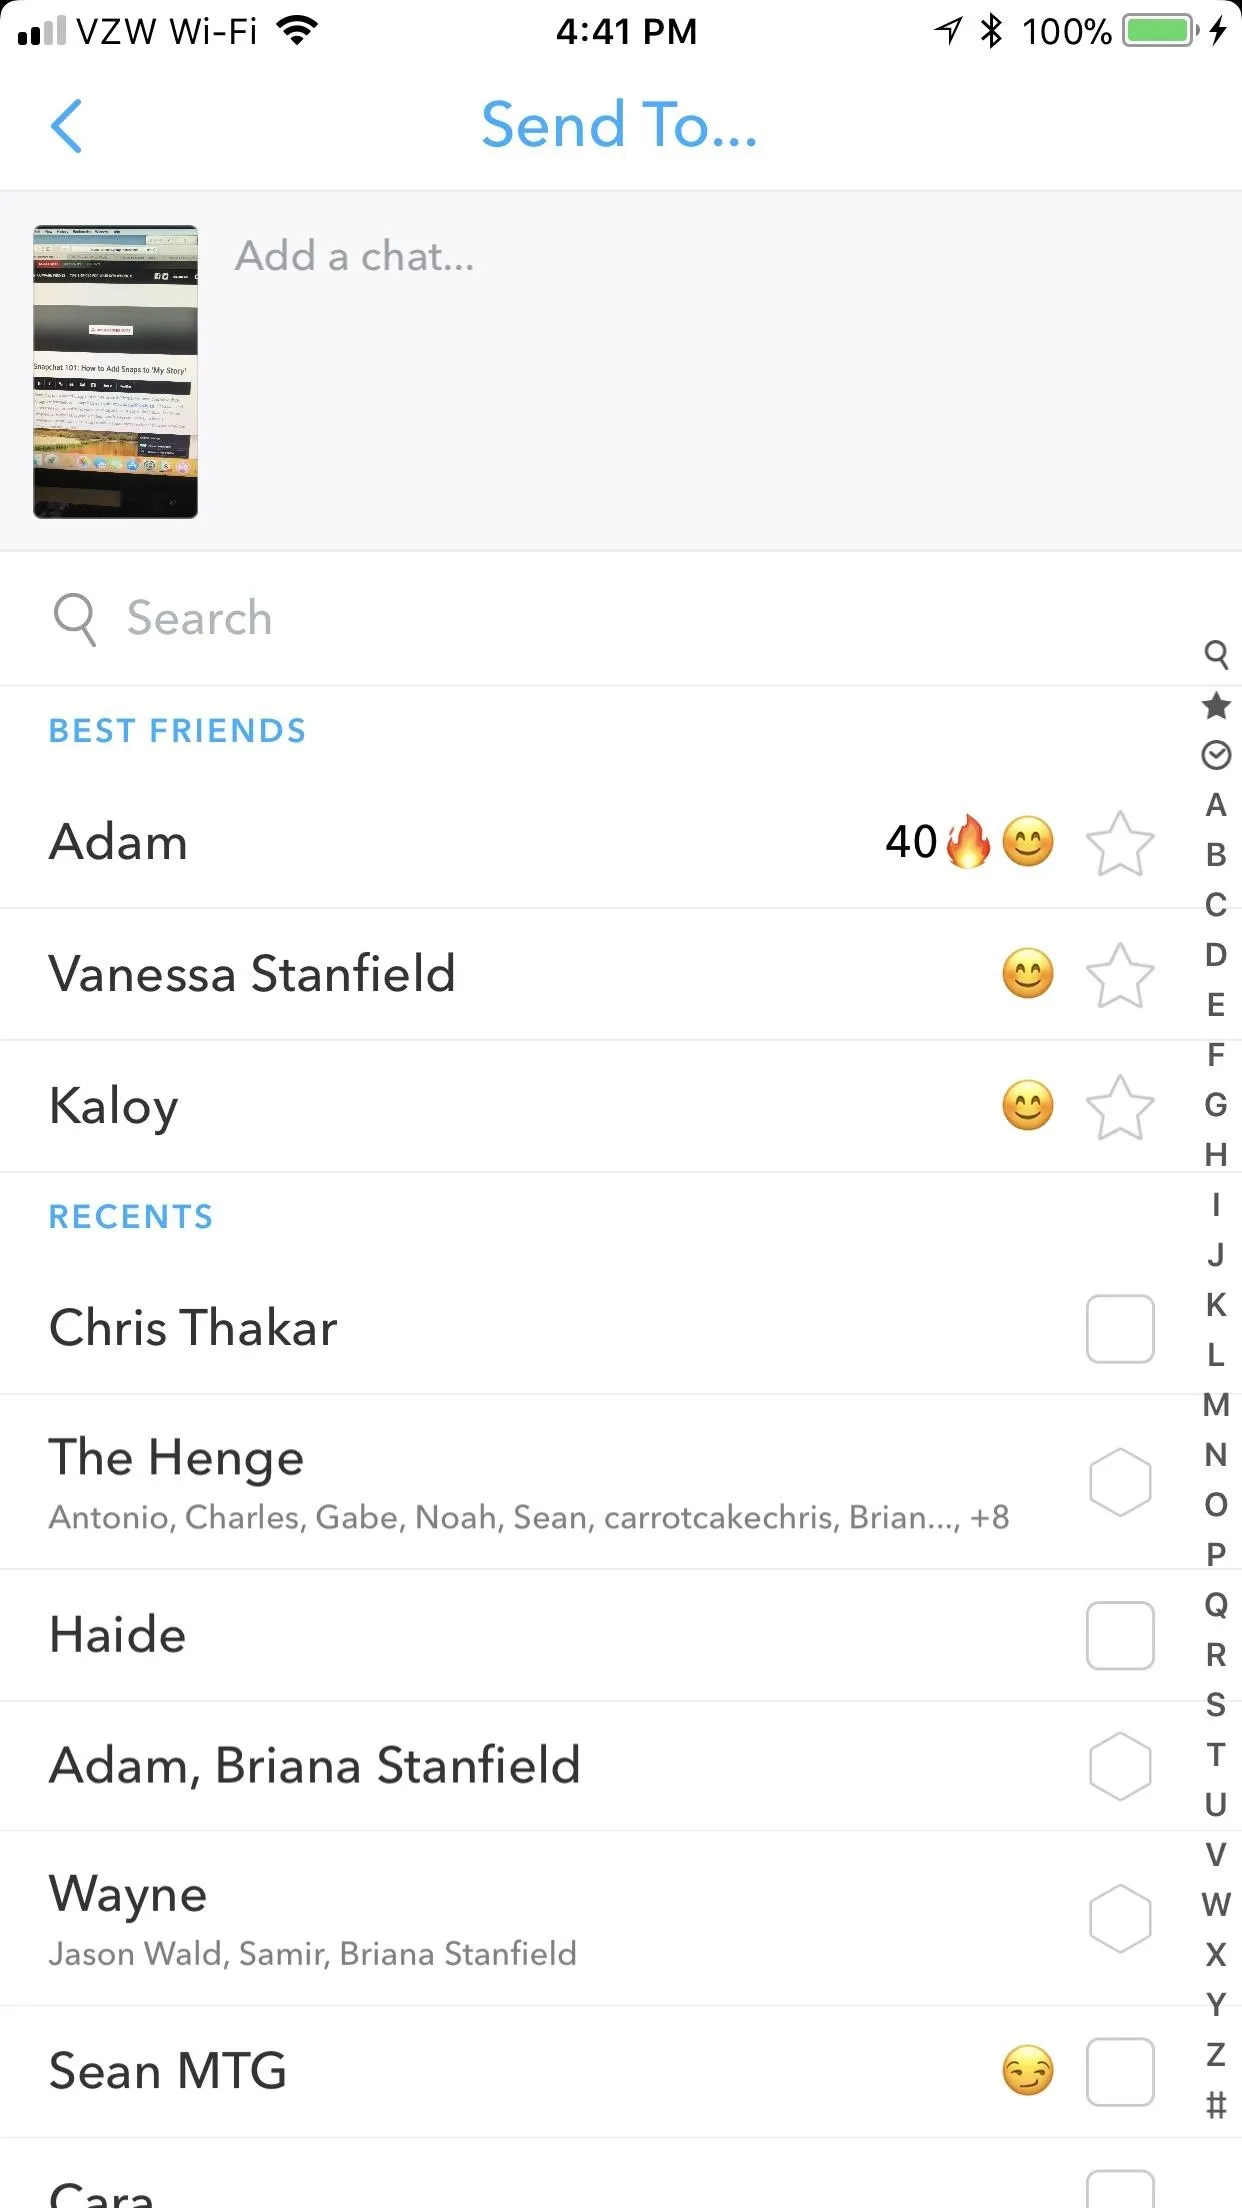
Next, tap the blue "send" icon in the bottom-right. Now, a list of potential recipients will appear before you, just as when you sent Snaps to individual people. This time, though, tap "My Story" (right at the top of the list) and hit the white send icon in the bottom-right corner.


View Snaps on 'My Story'
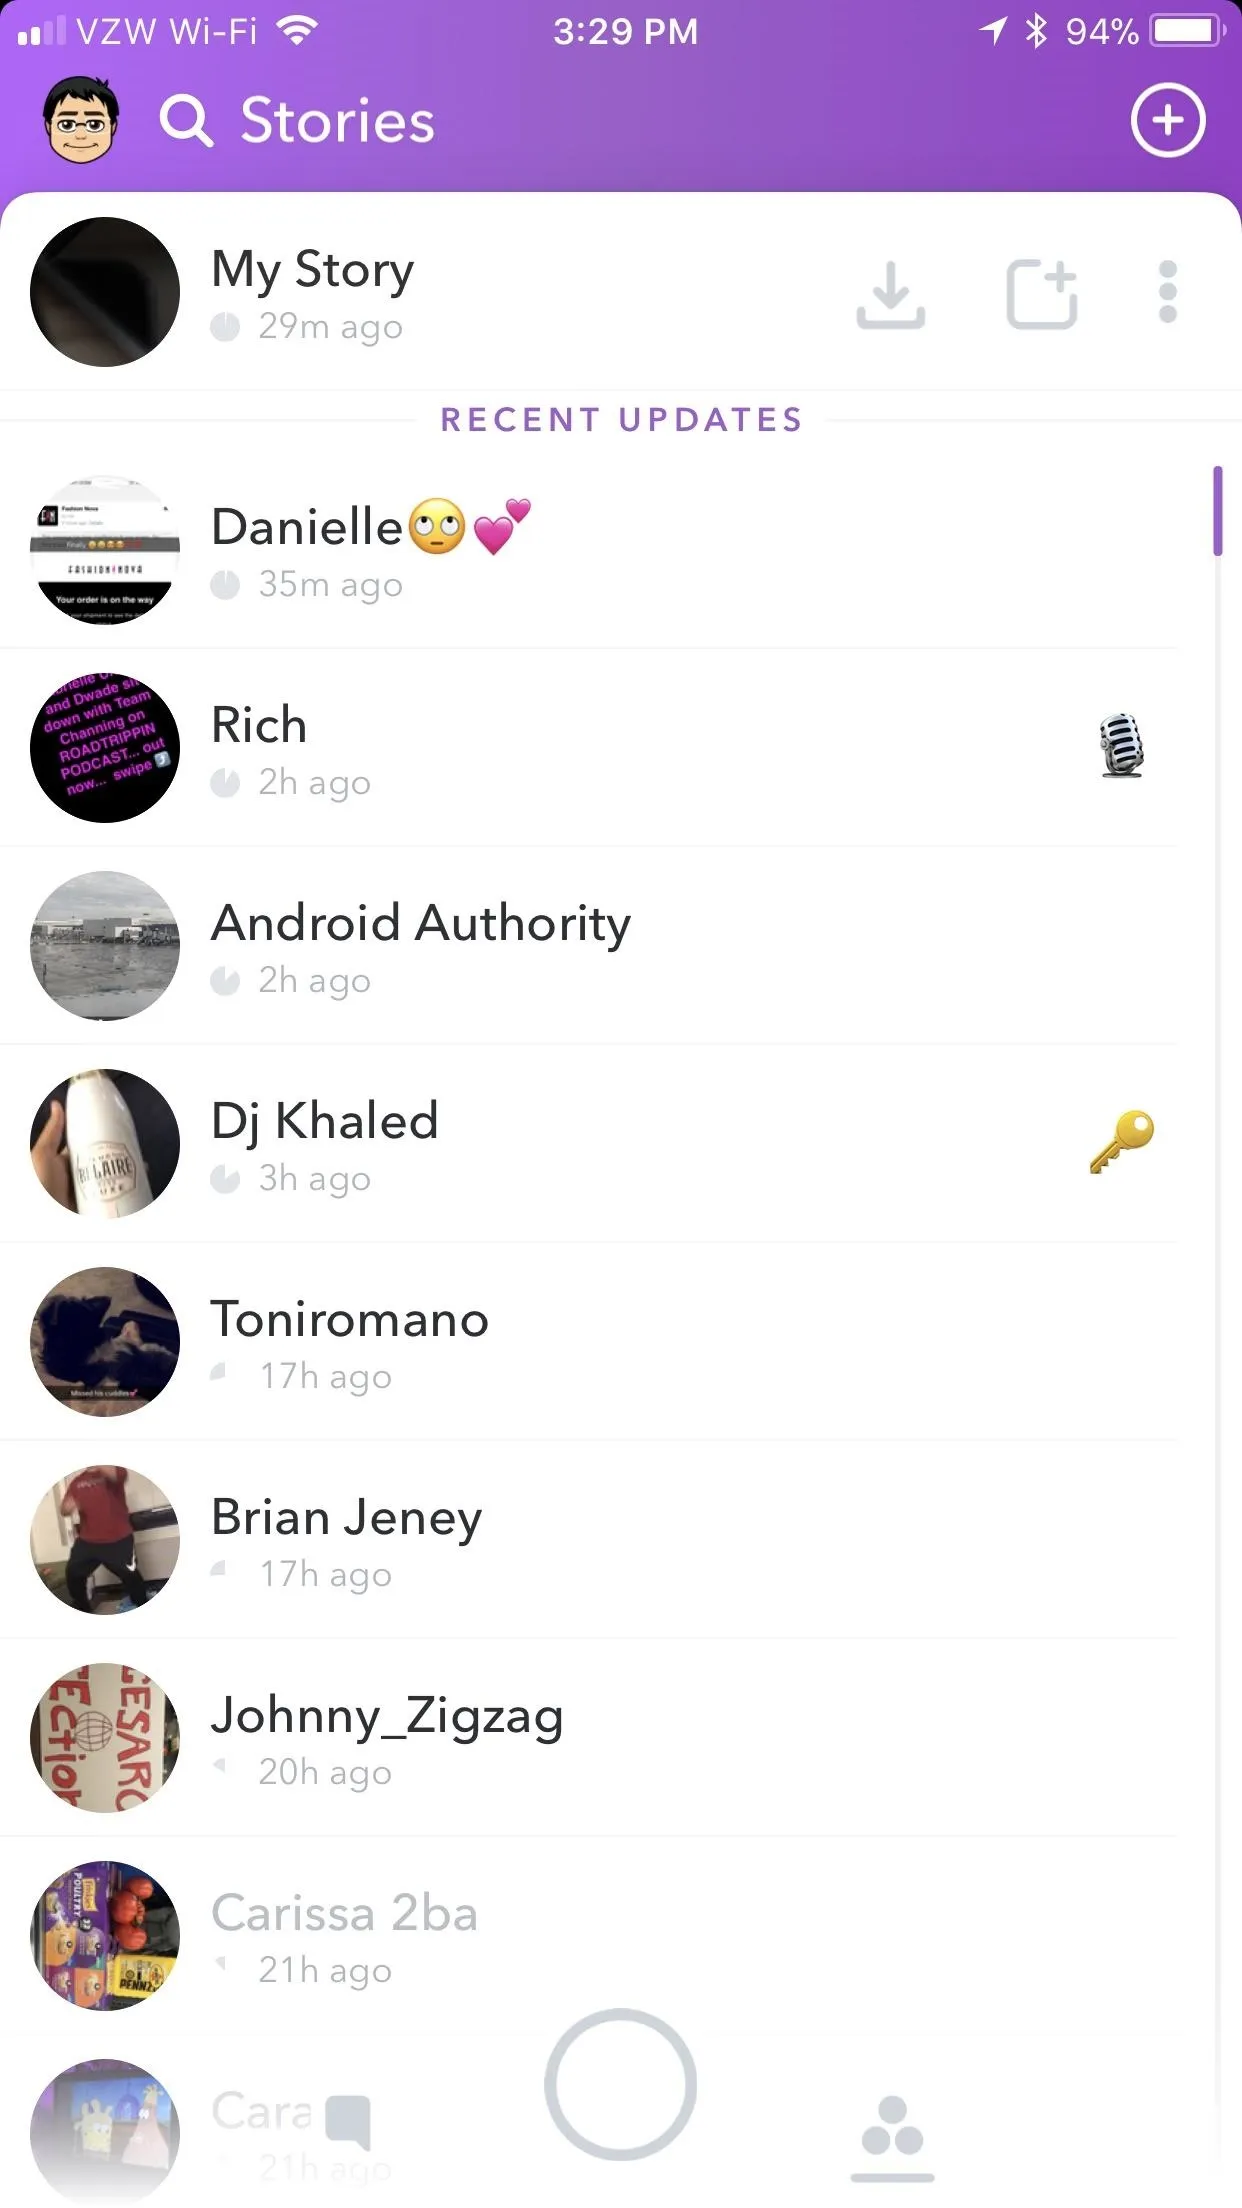
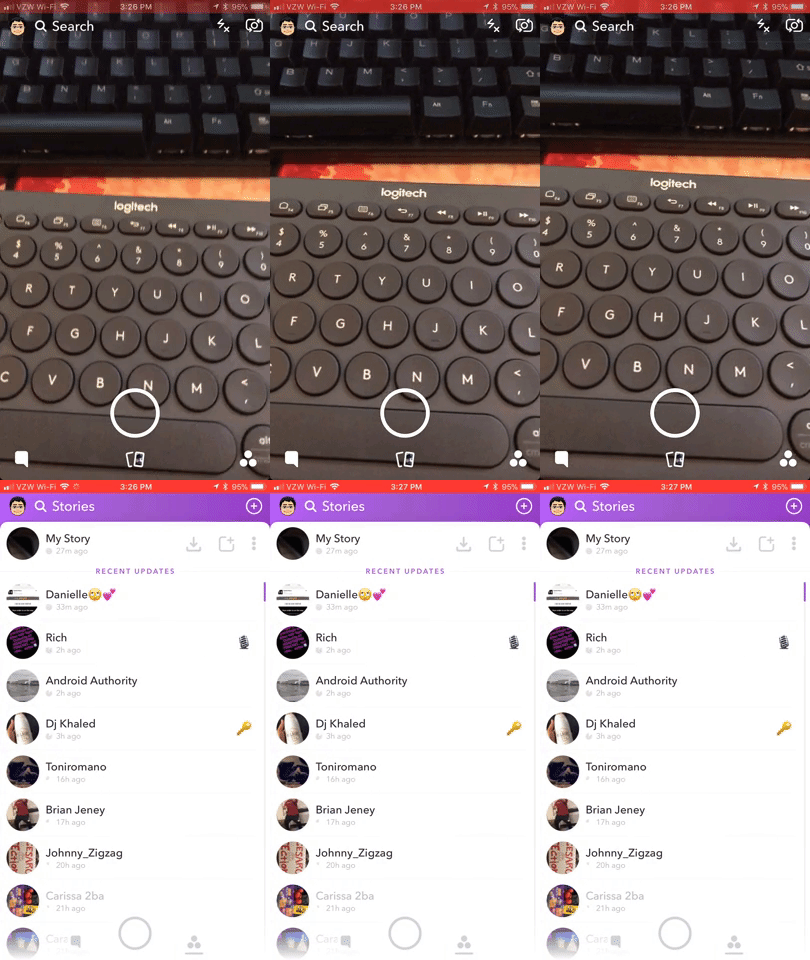
After you add a snap to "My Story," you'll be taken directly to it. However, if you want view snaps from "My Story" starting from elsewhere in the app, you can find it (and your friends' stories) in the rightmost screen in Snapchat. Swipe right from anywhere inside Snapchat to get to the Stories tab.


Download "My Story"
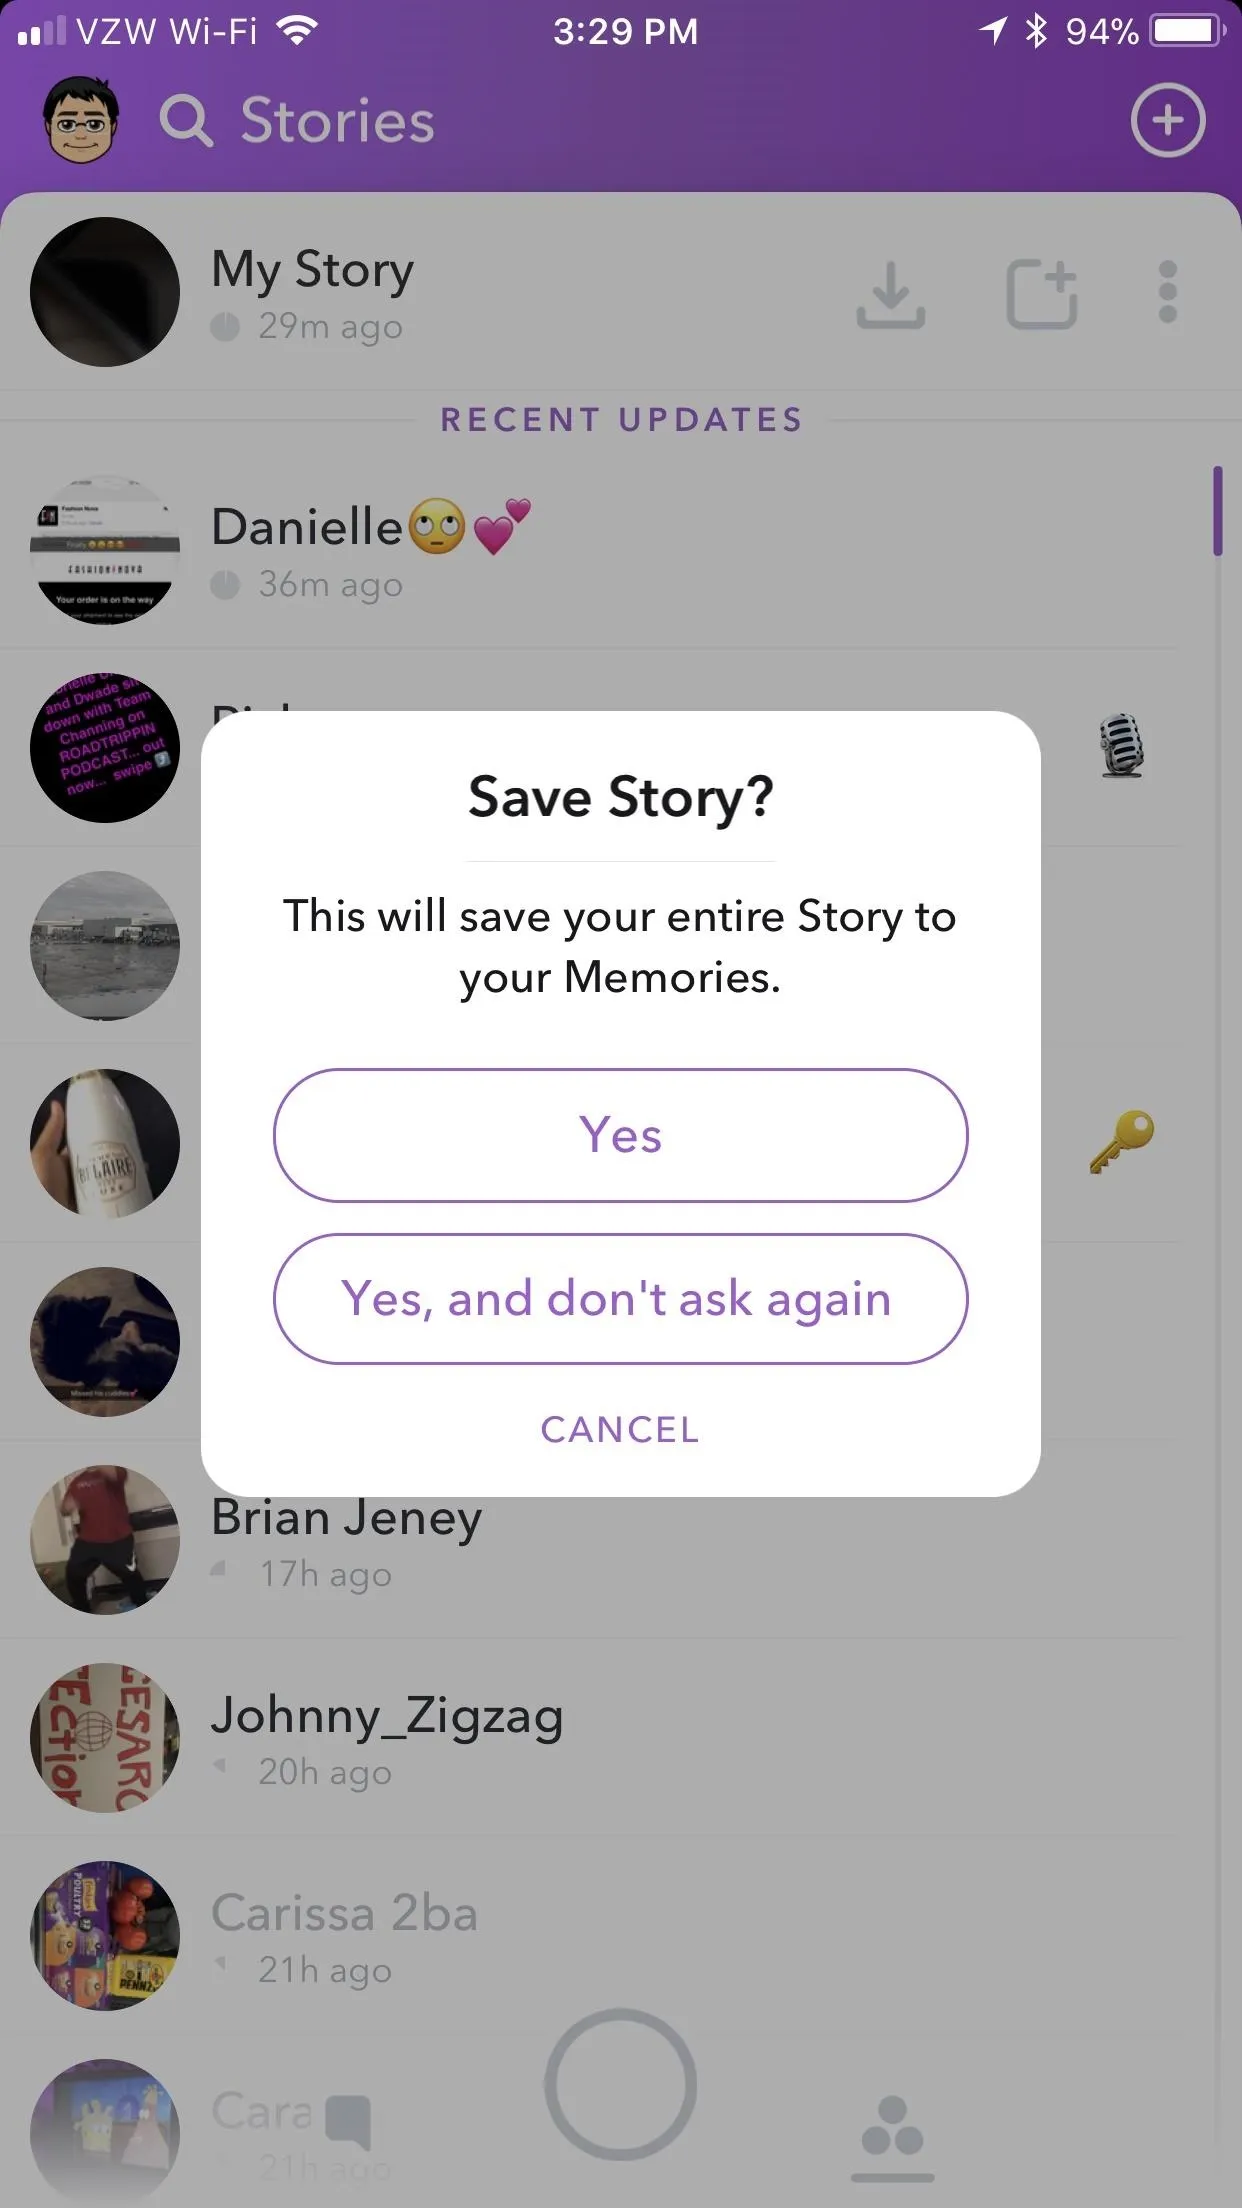
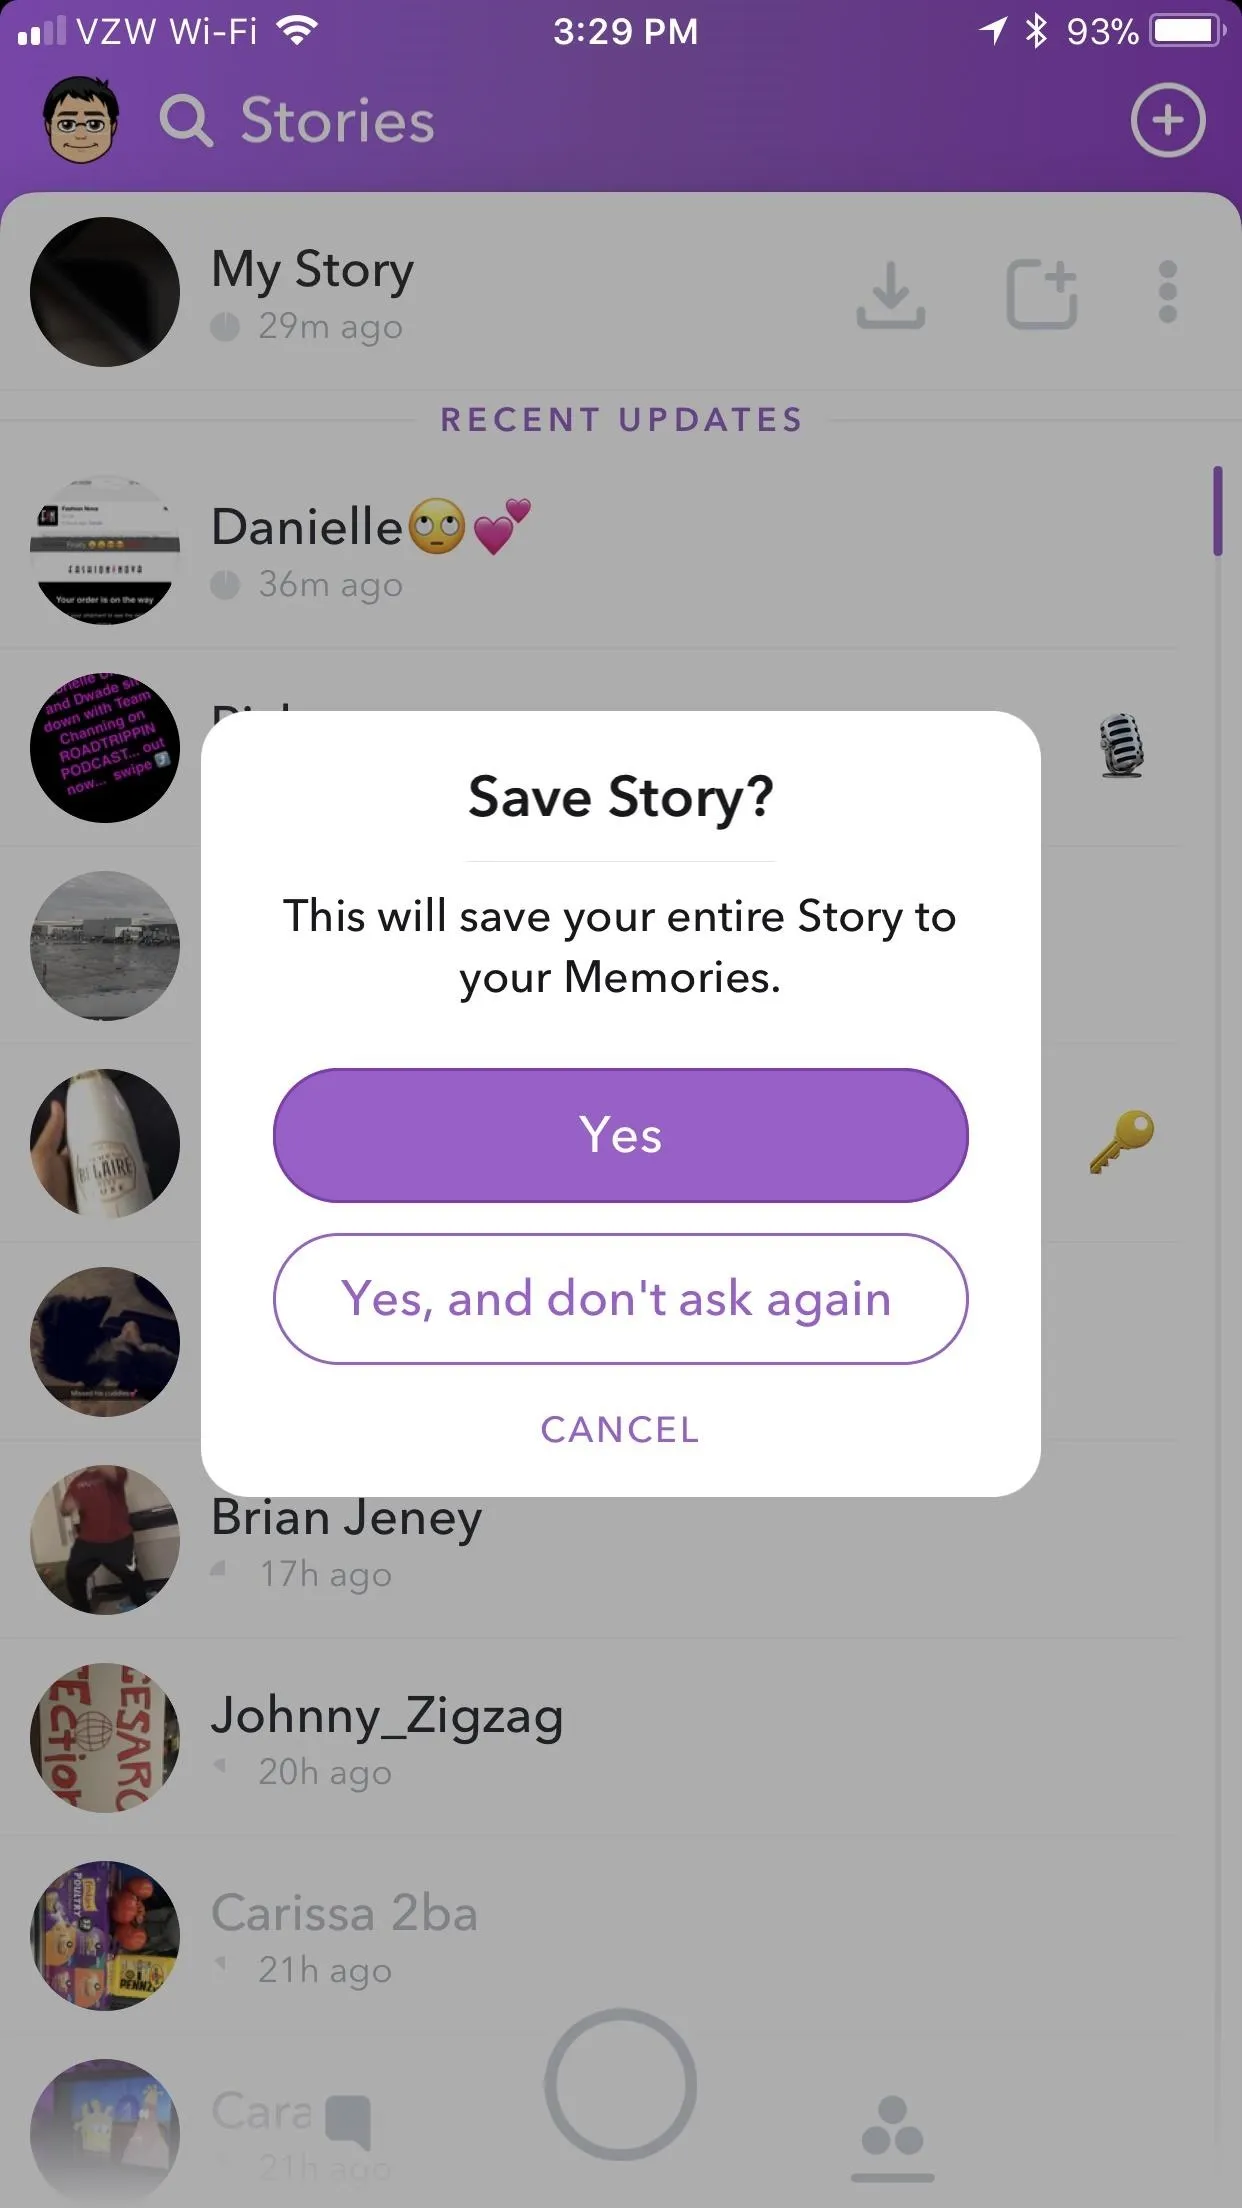
Even Snaps on "My Story" don't last forever — they'll disappear after just 24 hours. Download "My Story" by tapping the download icon in the "Stories" tab, then hit either "Yes" or "Yes, and don't ask again" when asked if you you'd like to "save your entire Story to your Memories." If you tap "Yes, and don't ask again," Snapchat won't ask you before downloading "My Story" in the future — it'll just do it.


See How Many People View Snaps on Your 'Story'
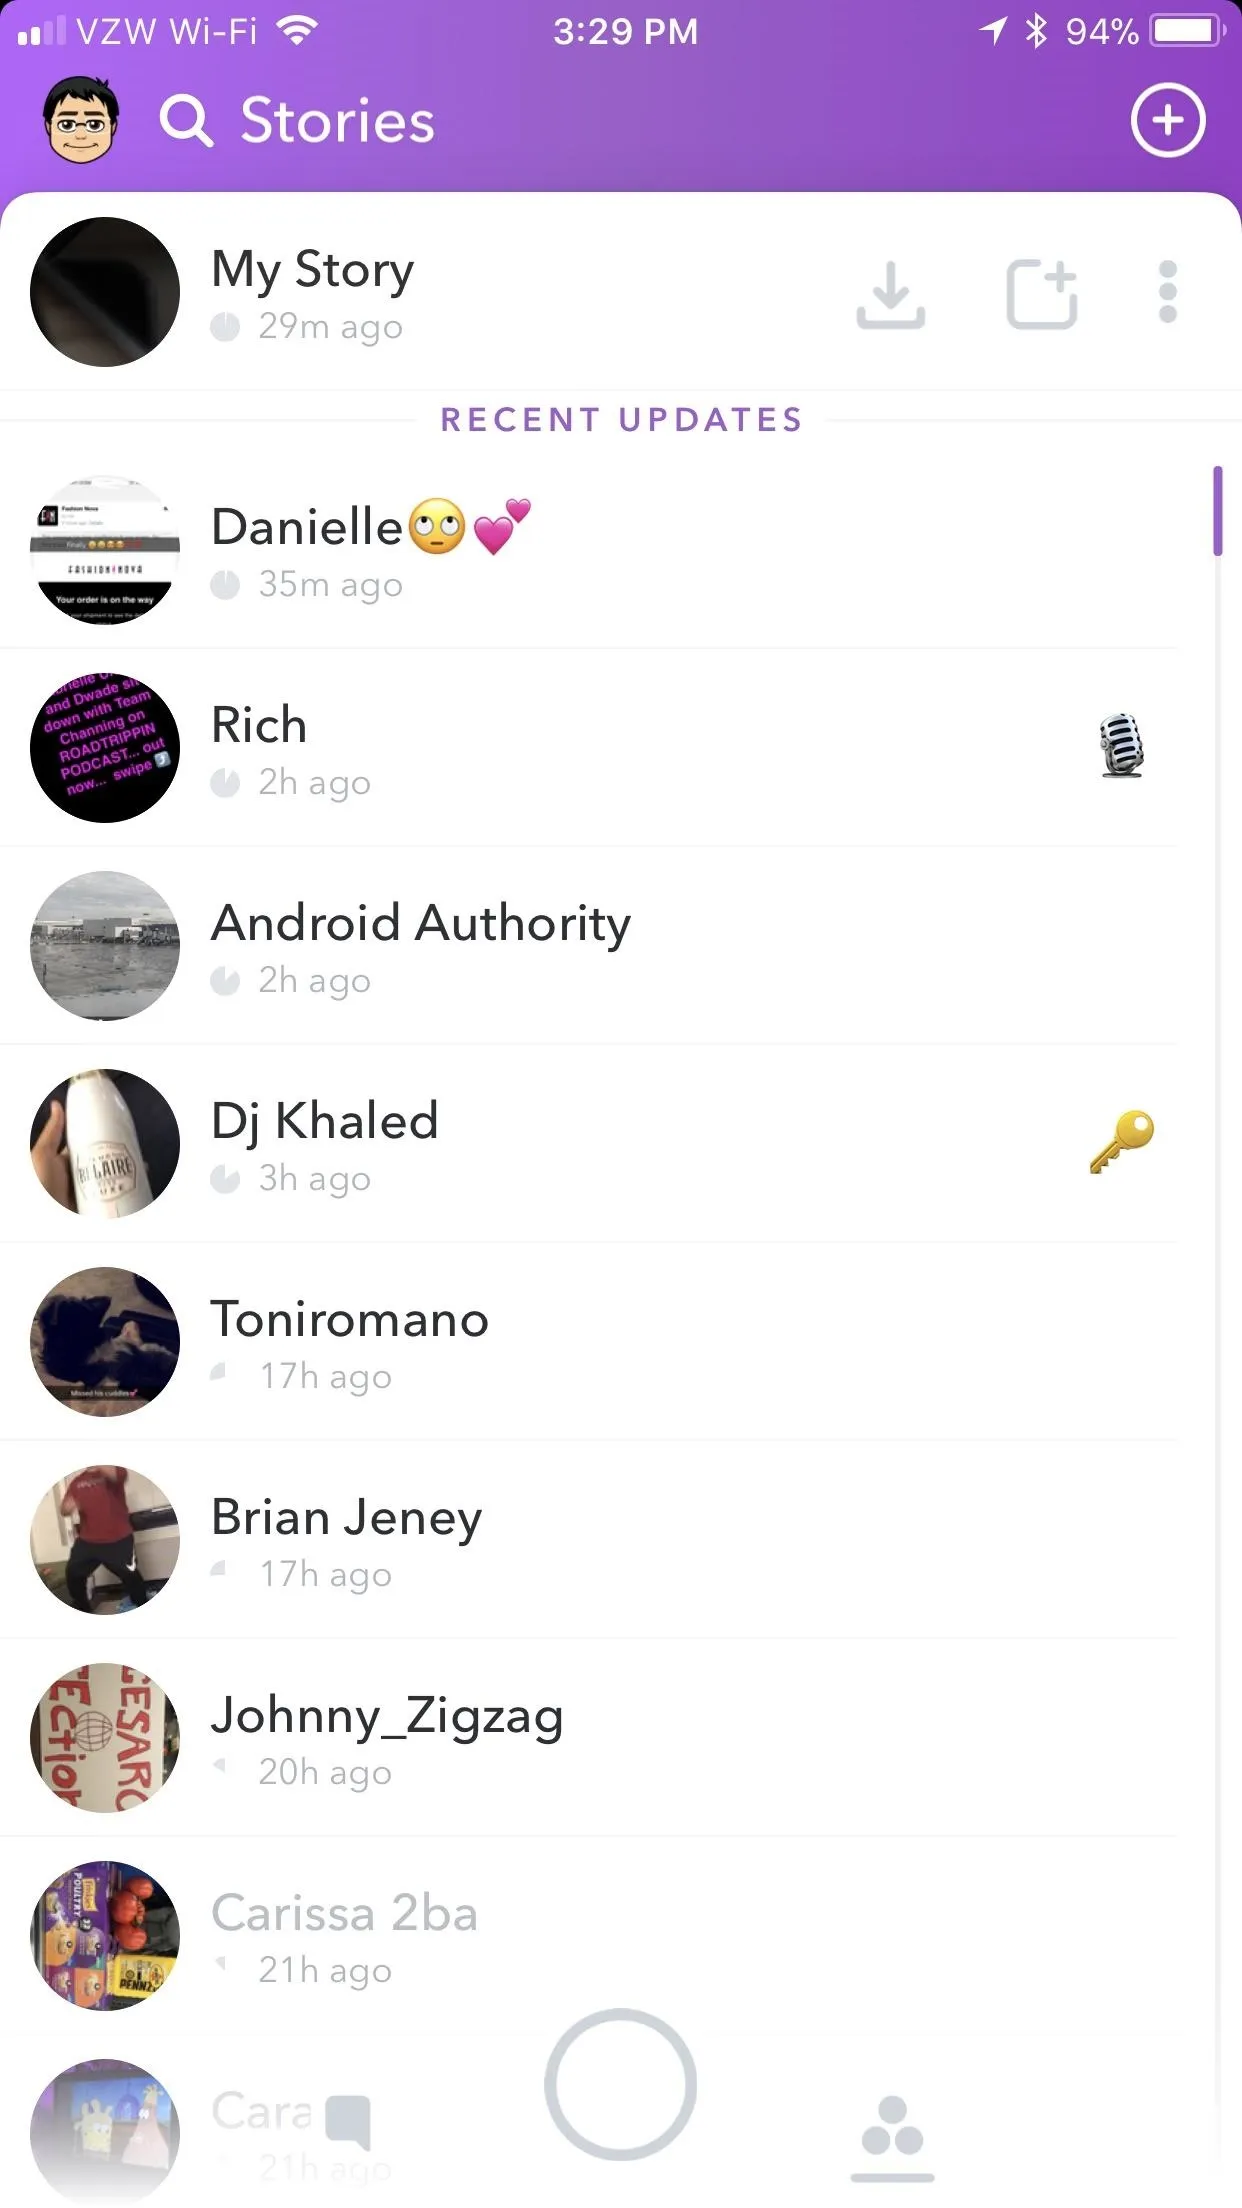
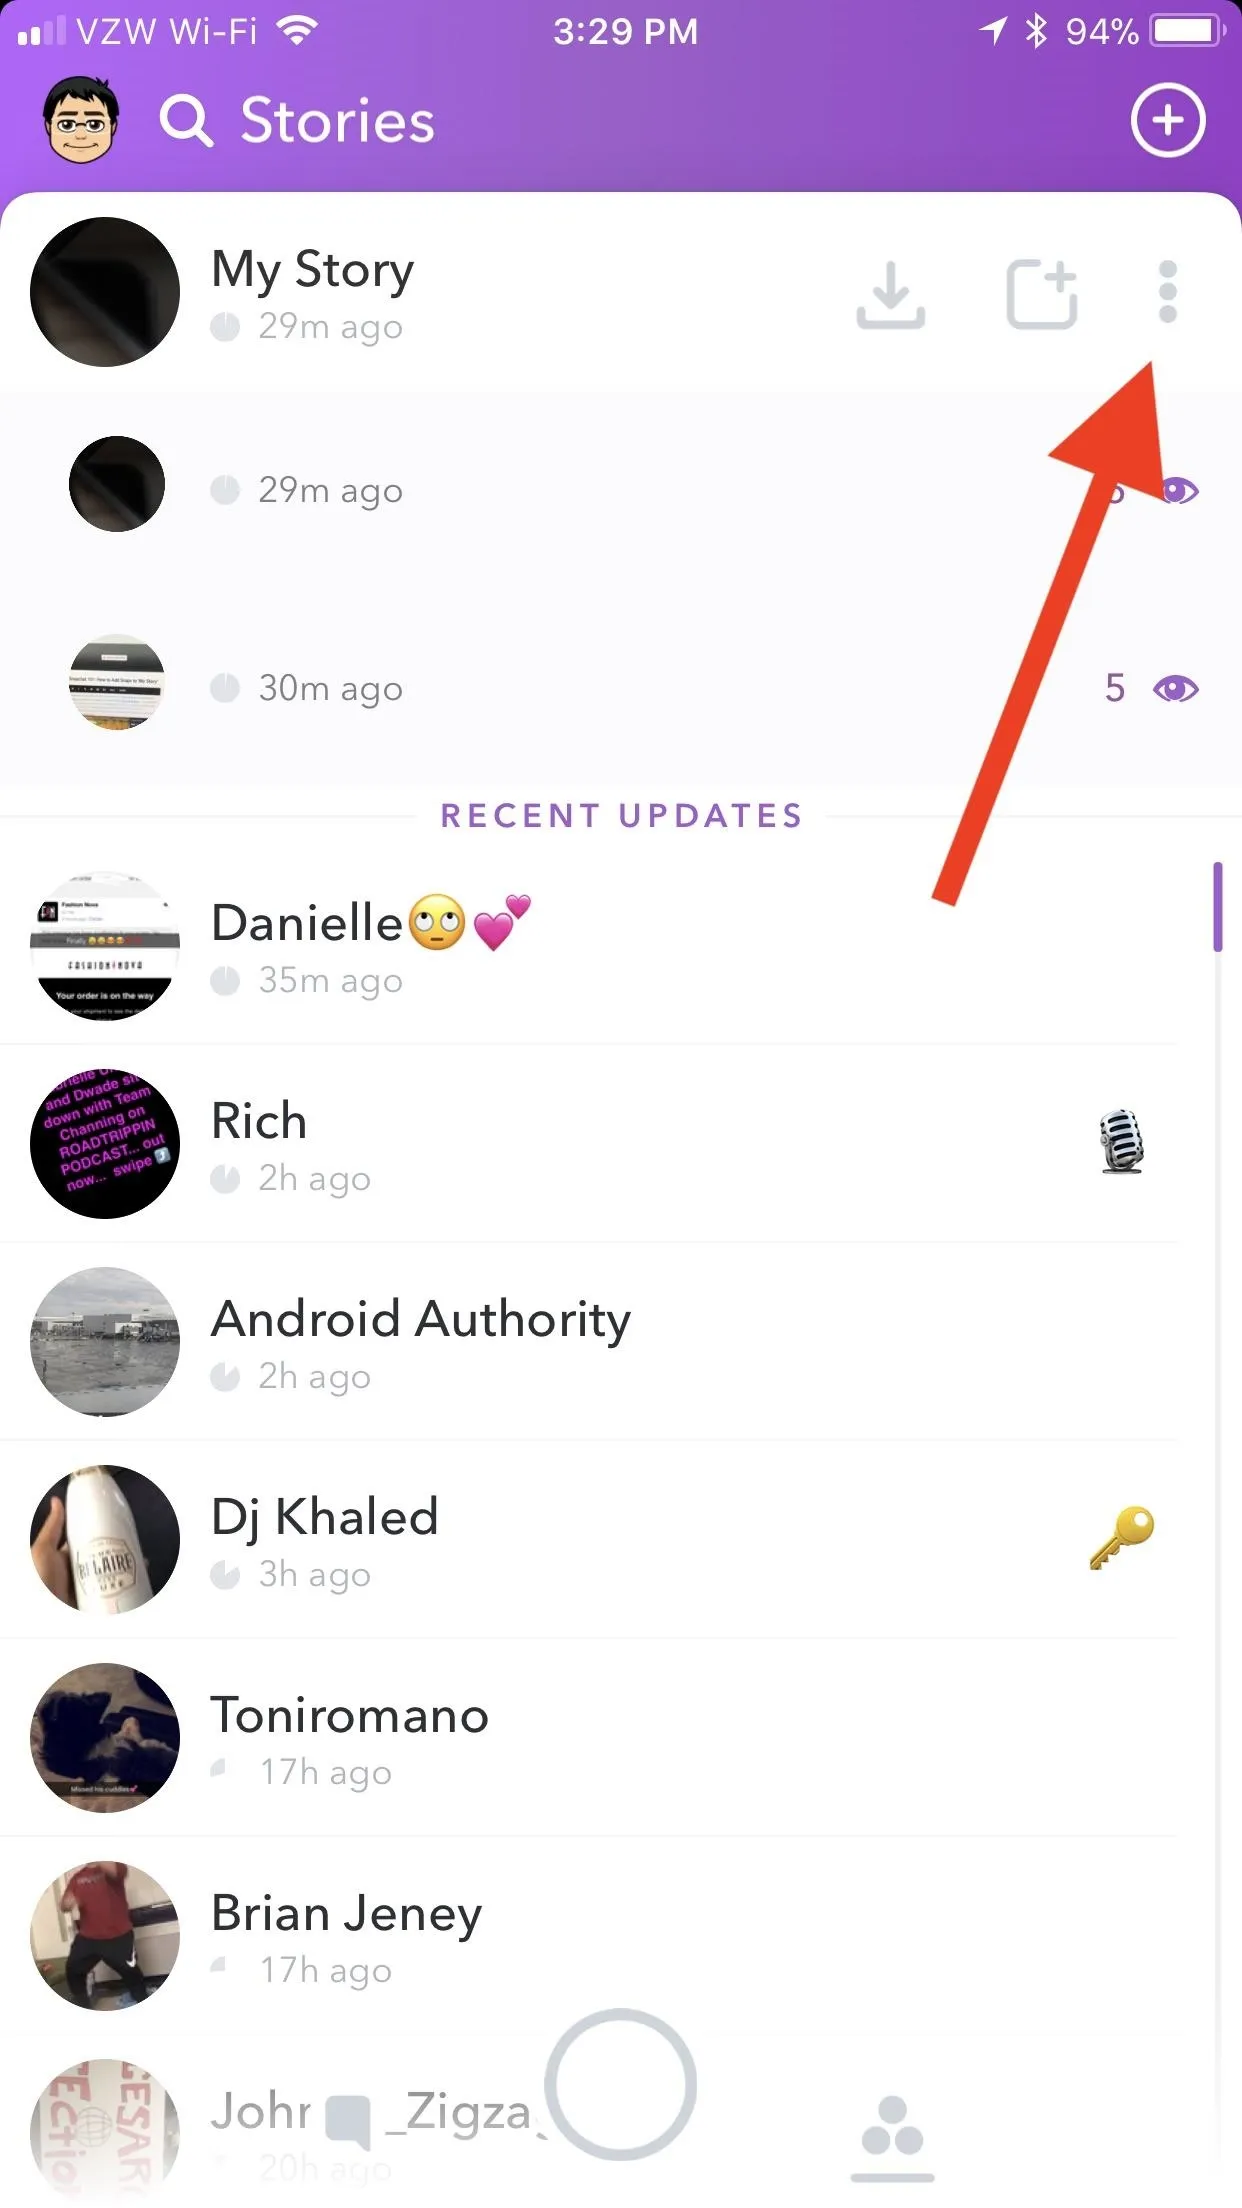
Tap on the three-dot-menu next to "My Story," and you'll see all the snaps you added to "My Story" within the last 24 hours. Alongside them, you'll see a number with a eye icon next to it. This indicates how many people viewed individual snaps in your "Story" since you posted them.


Edit Snaps on 'My Story'
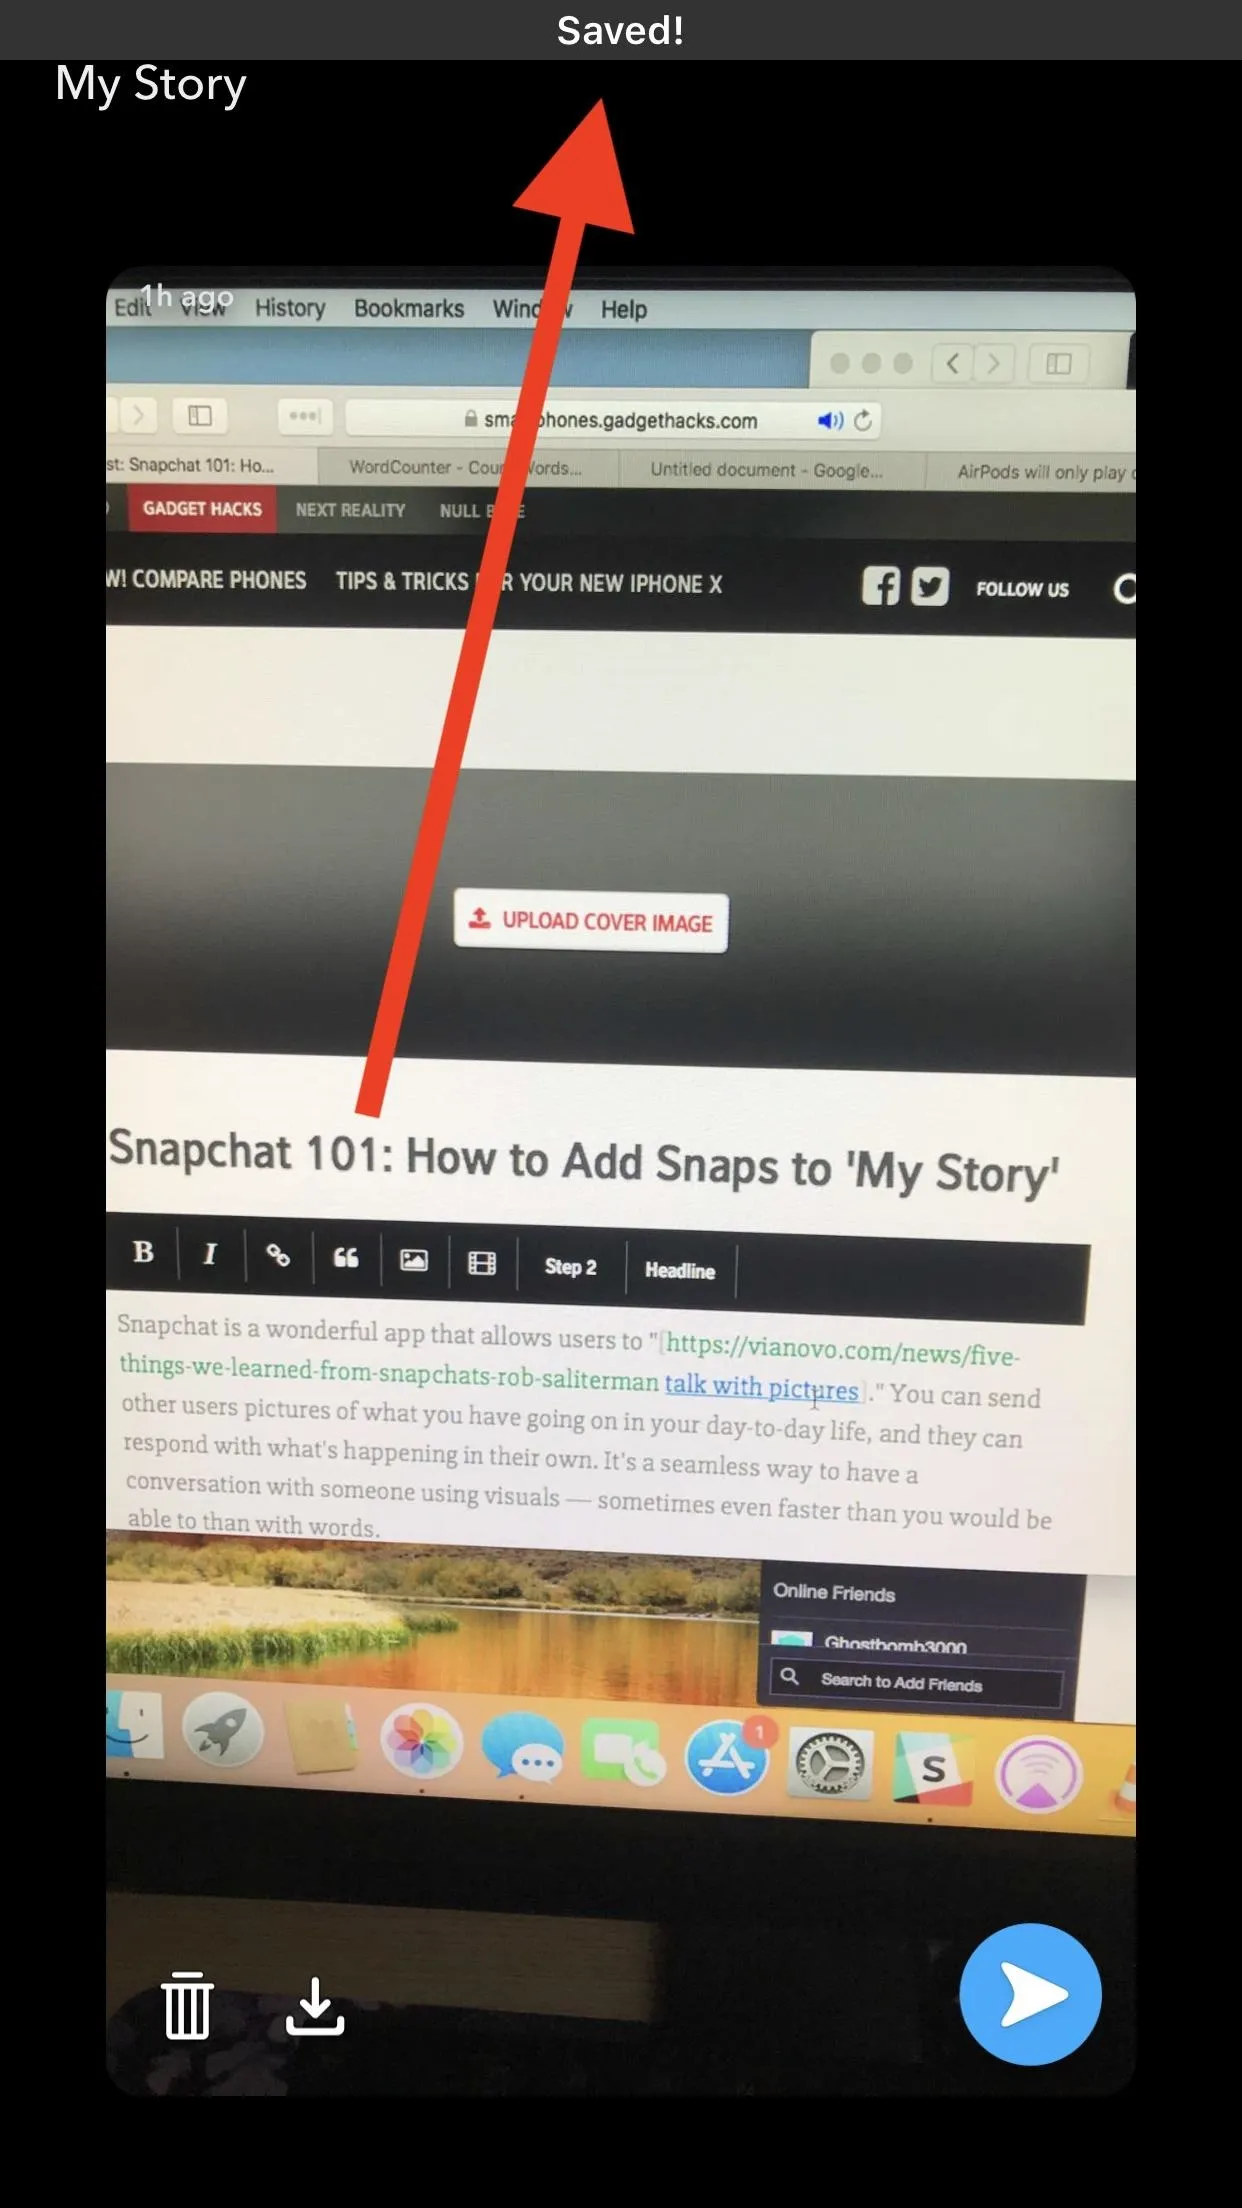
Once you've expanded the list of snaps on "My Story" as you did in Step 5, tap one of them to open it up. From here, you can tap the download icon to download one of your snaps (as we did in Step 4).
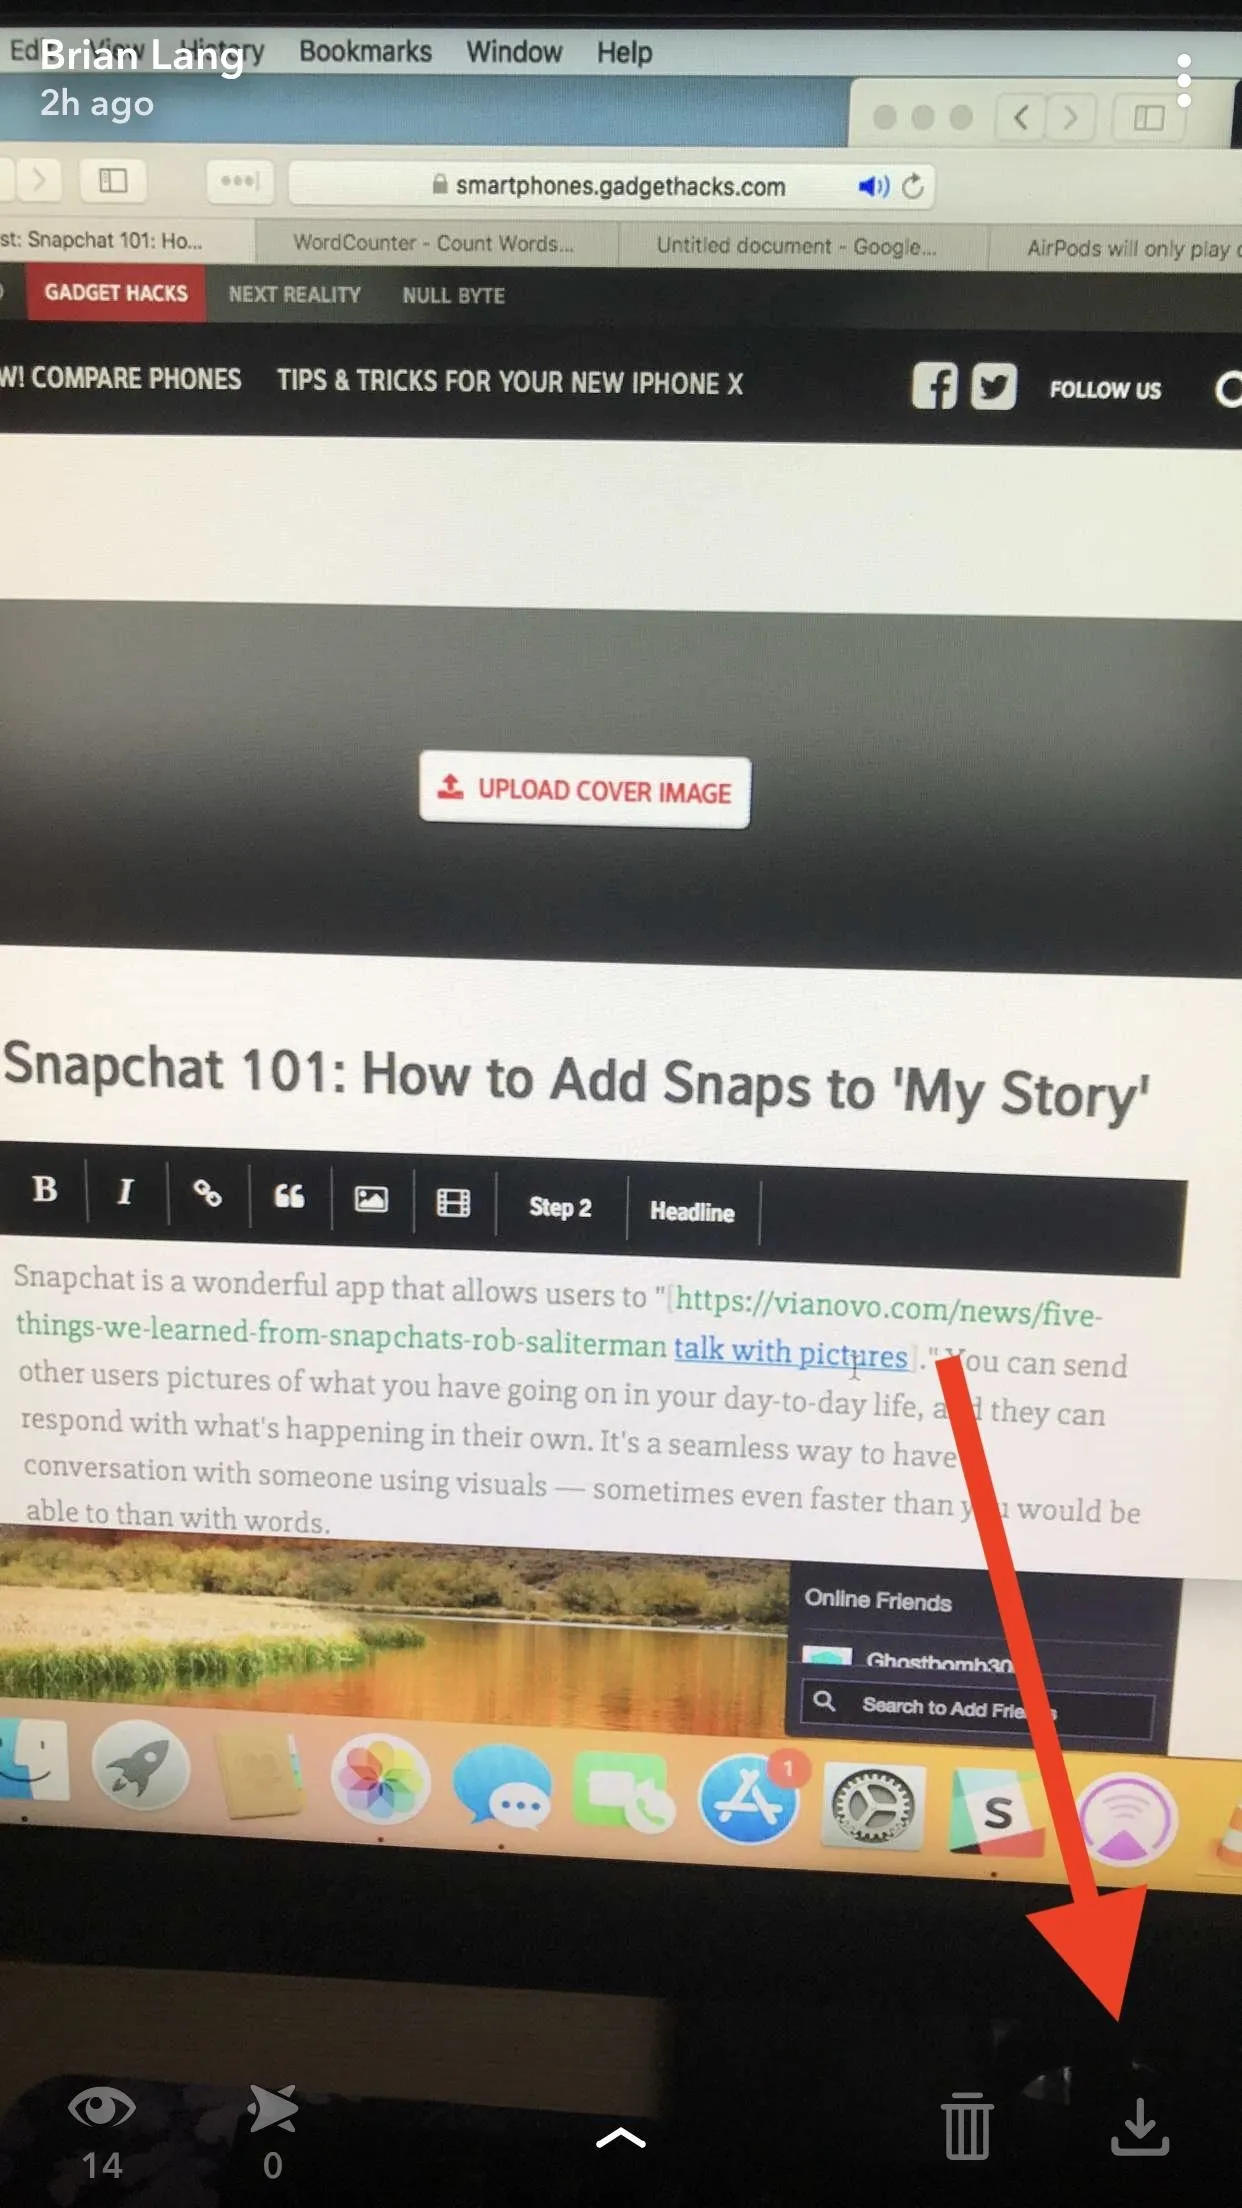


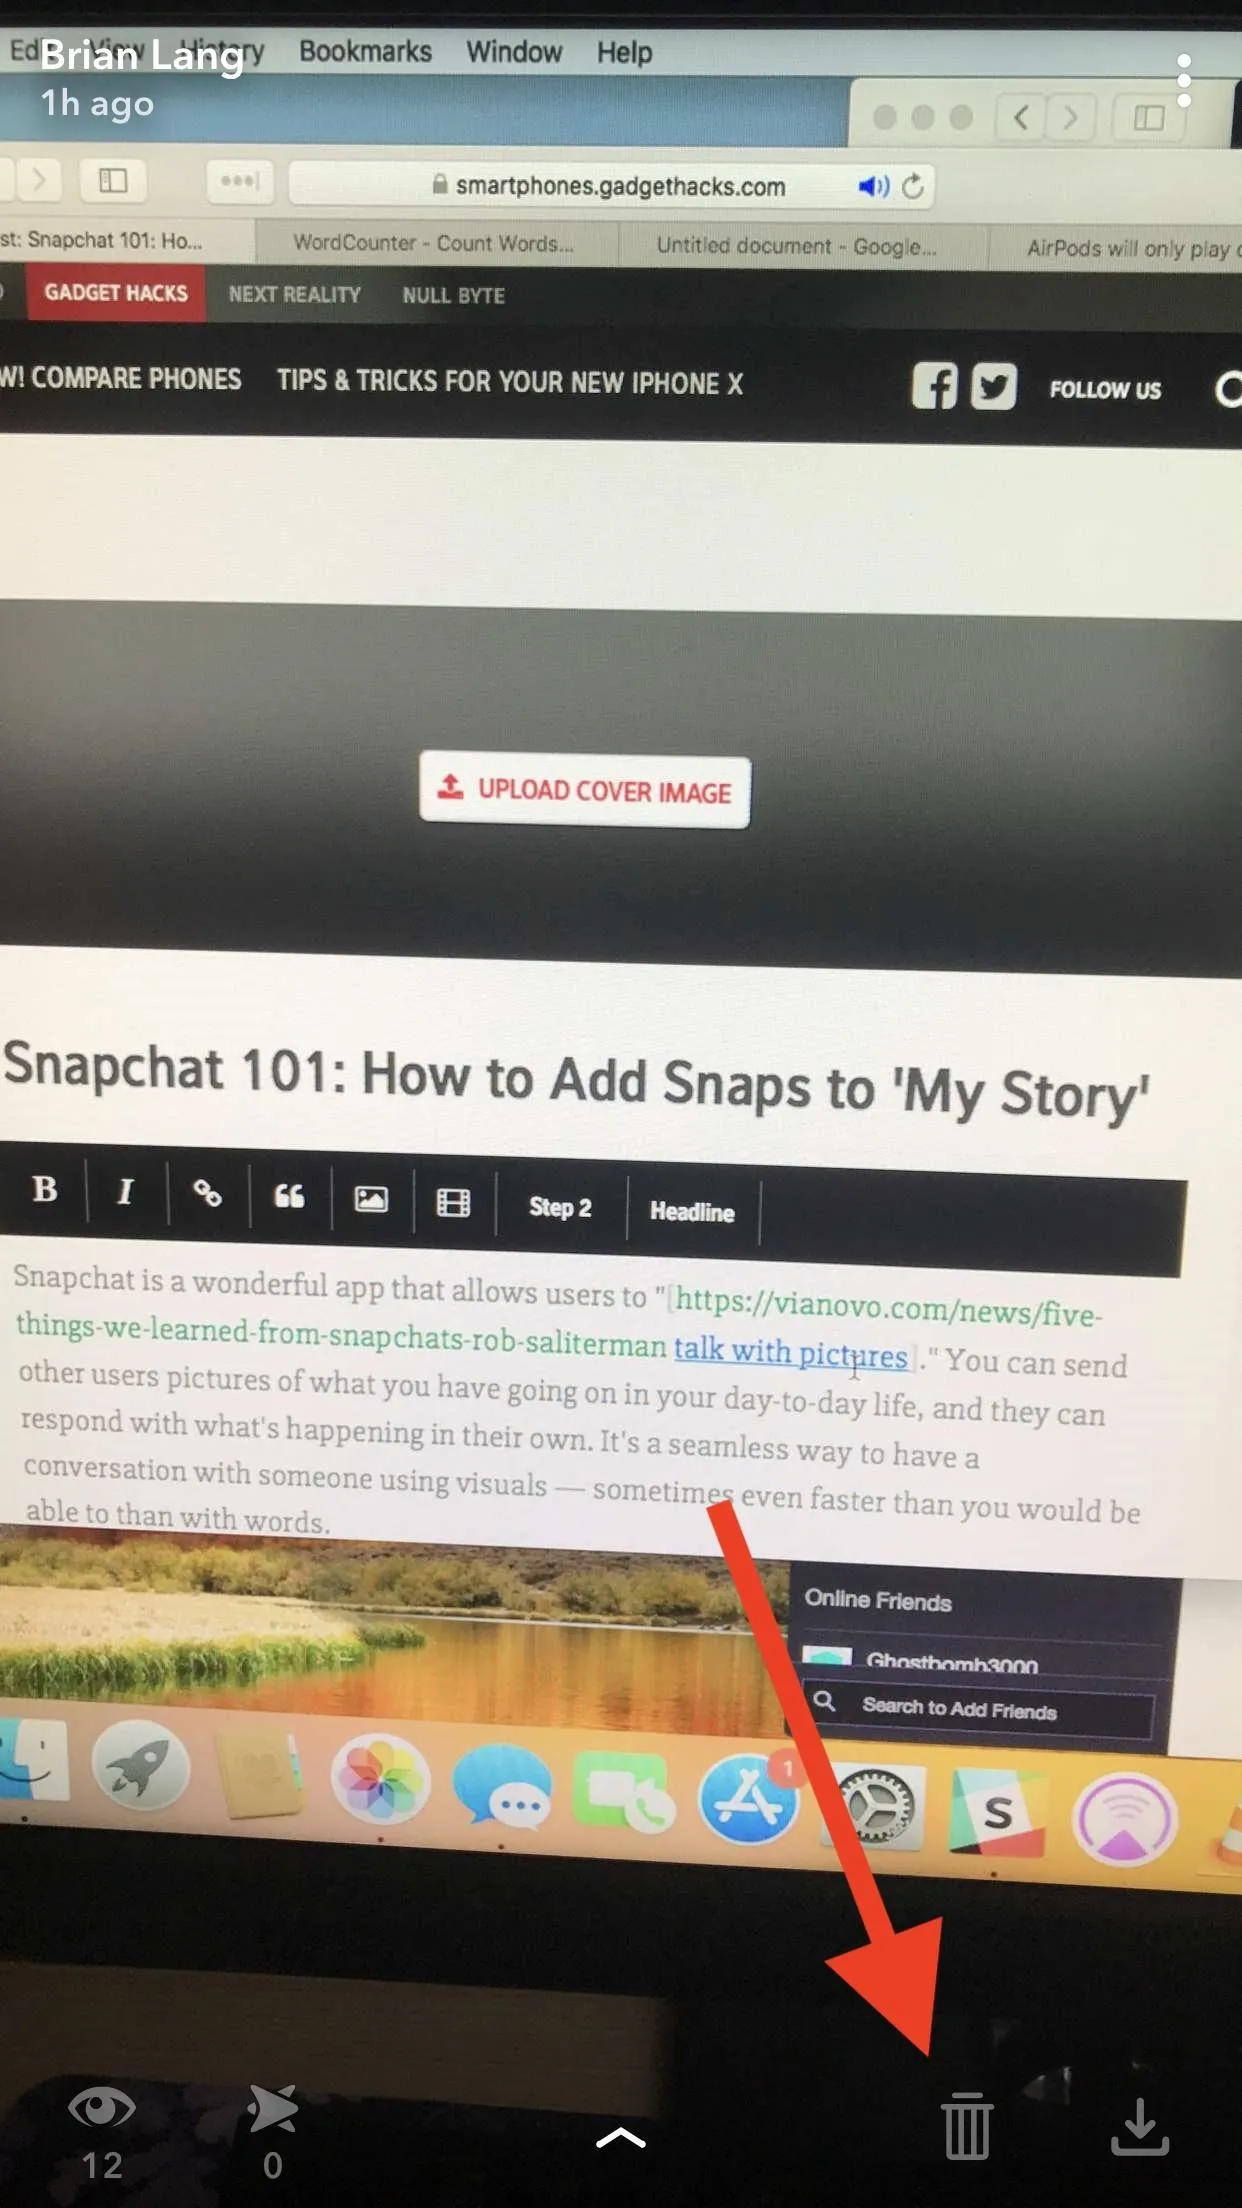
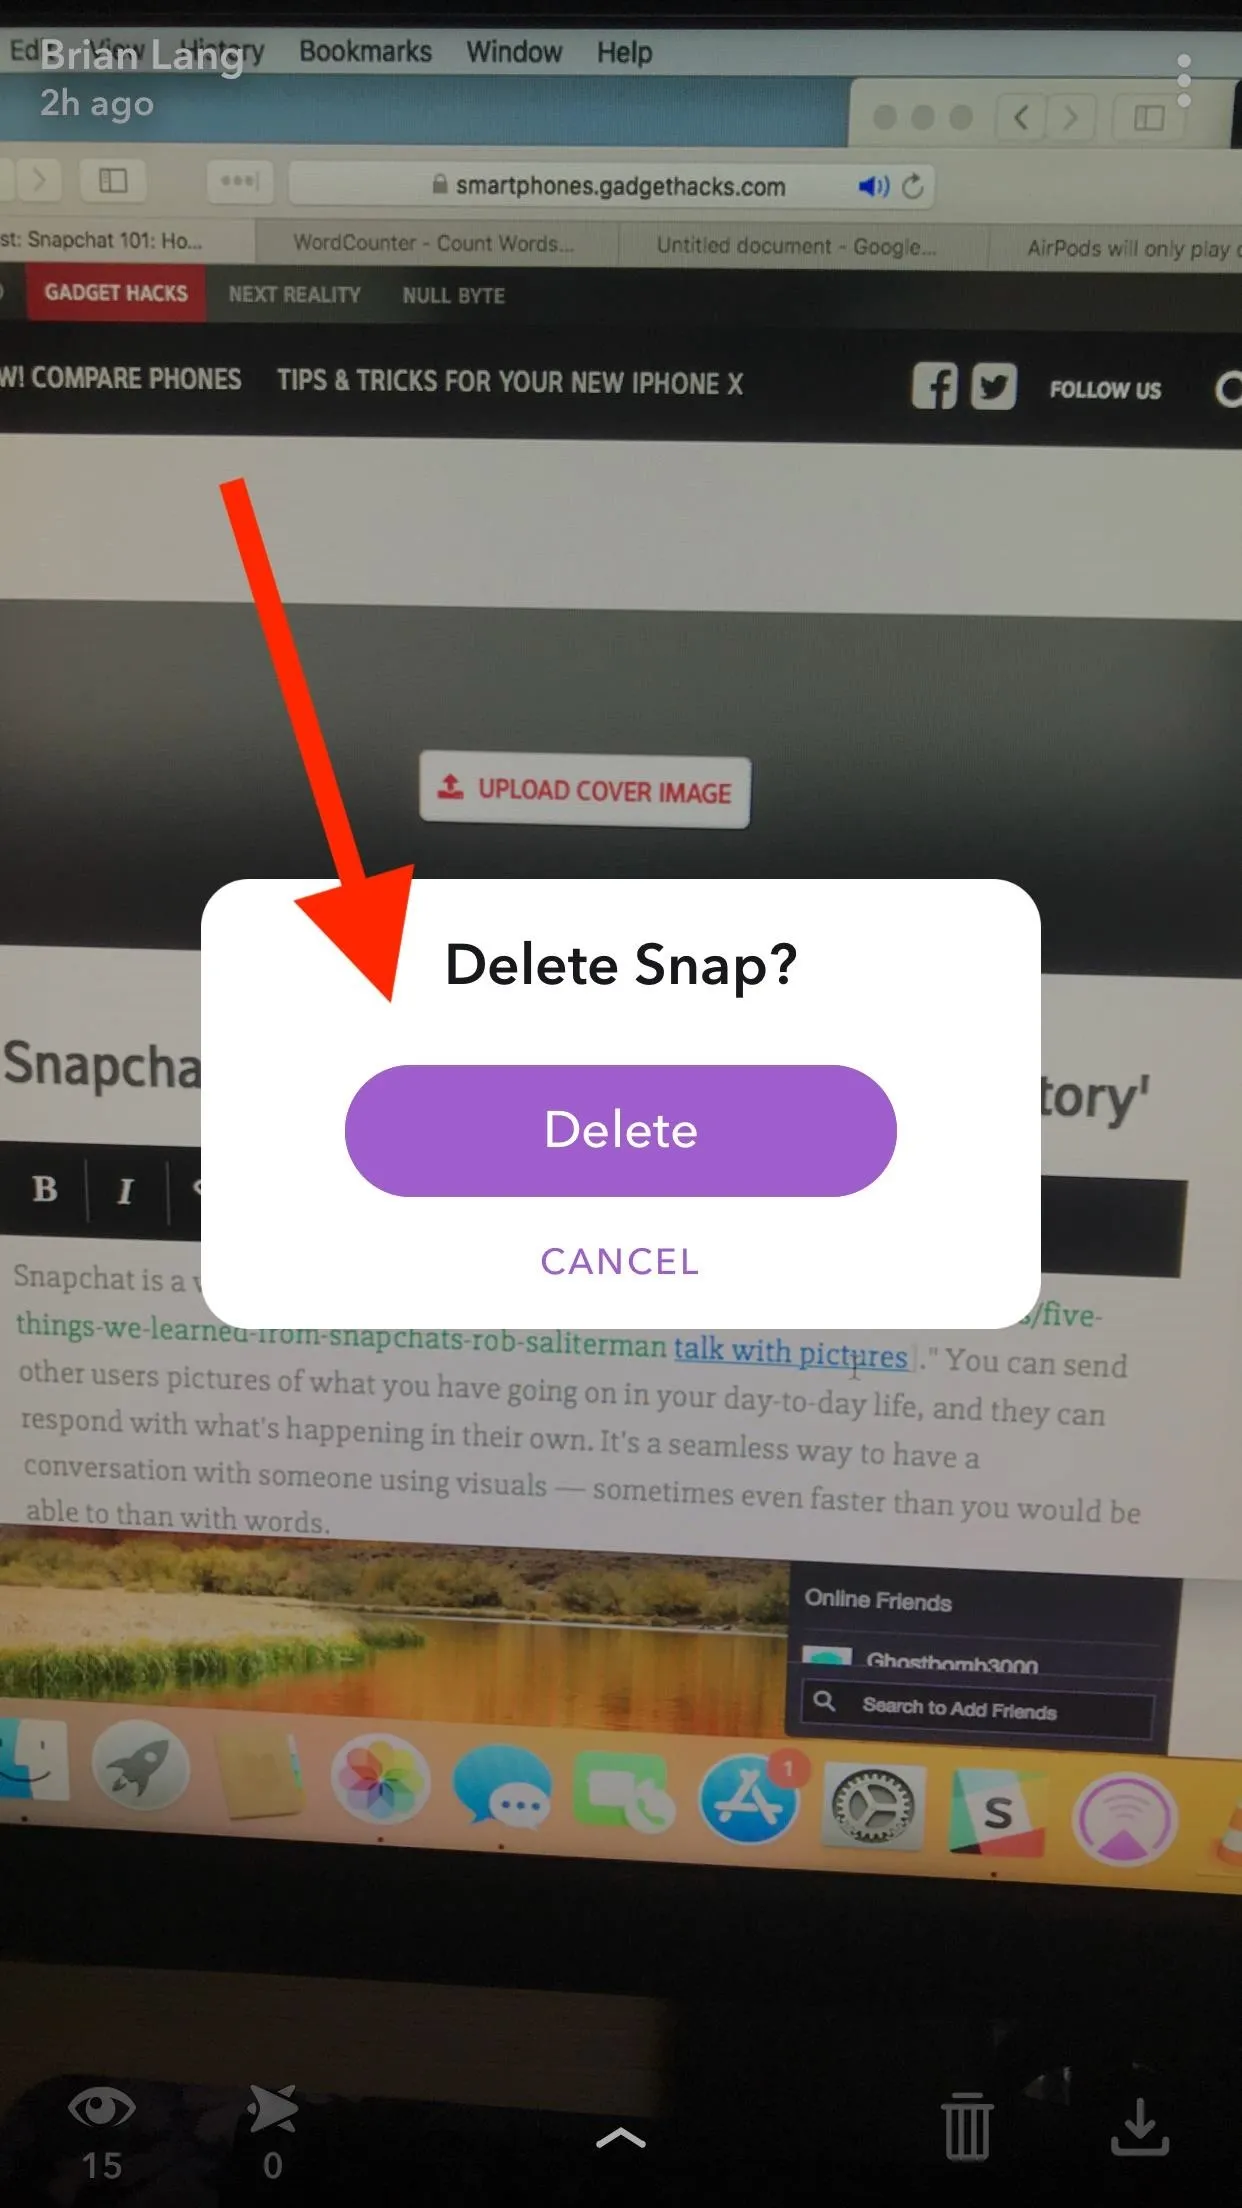
You can also delete a snap by tapping the garbage can icon next to the download icon. Tap "Delete" to confirm that you want that snap deleted.


Additionally, you can re-send a snap as long as it's on your "Story." Tap three-dot menu in the top-right corner, then hit the blue "send" icon. Now, just choose who you want to send it out to by tapping the people you want to see the snap, then tap the white "send" icon in the bottom-right.


What's the best snap you've ever put on "My Story?" What about the best one you've ever seen? Let us know in the comments below.
- Follow Gadget Hacks on Facebook, Twitter, YouTube, and Flipboard
- Follow WonderHowTo on Facebook, Twitter, Pinterest, and Flipboard
Cover image via Tim Savage/Pexels, screenshots by Brian Lang/Gadget Hacks








Comments
Be the first, drop a comment!