Before heading out on a hike, or any excursion for that matter, it would be wise to take a map with you just in case you get lost while on your quest.
But let's be realistic, few people are going to use a physical map—or even know how to obtain or read one—in this digital age. We are used to navigating with our smartphones, which is extremely convenient, unless we're out of range for any type of data connection.
So, instead of resorting to confusing maps or finding your way home by reading the sky, here's the trick to saving offline maps in Google Maps on Android and iOS devices. We've previously shown you how to do this, but the Google Maps app has changed a lot since then.
Choose Your Location
Enter a location of interest and bring it up on the map. Next, tap the microphone icon in the search bar and say "Ok maps" to initiate the saving process.
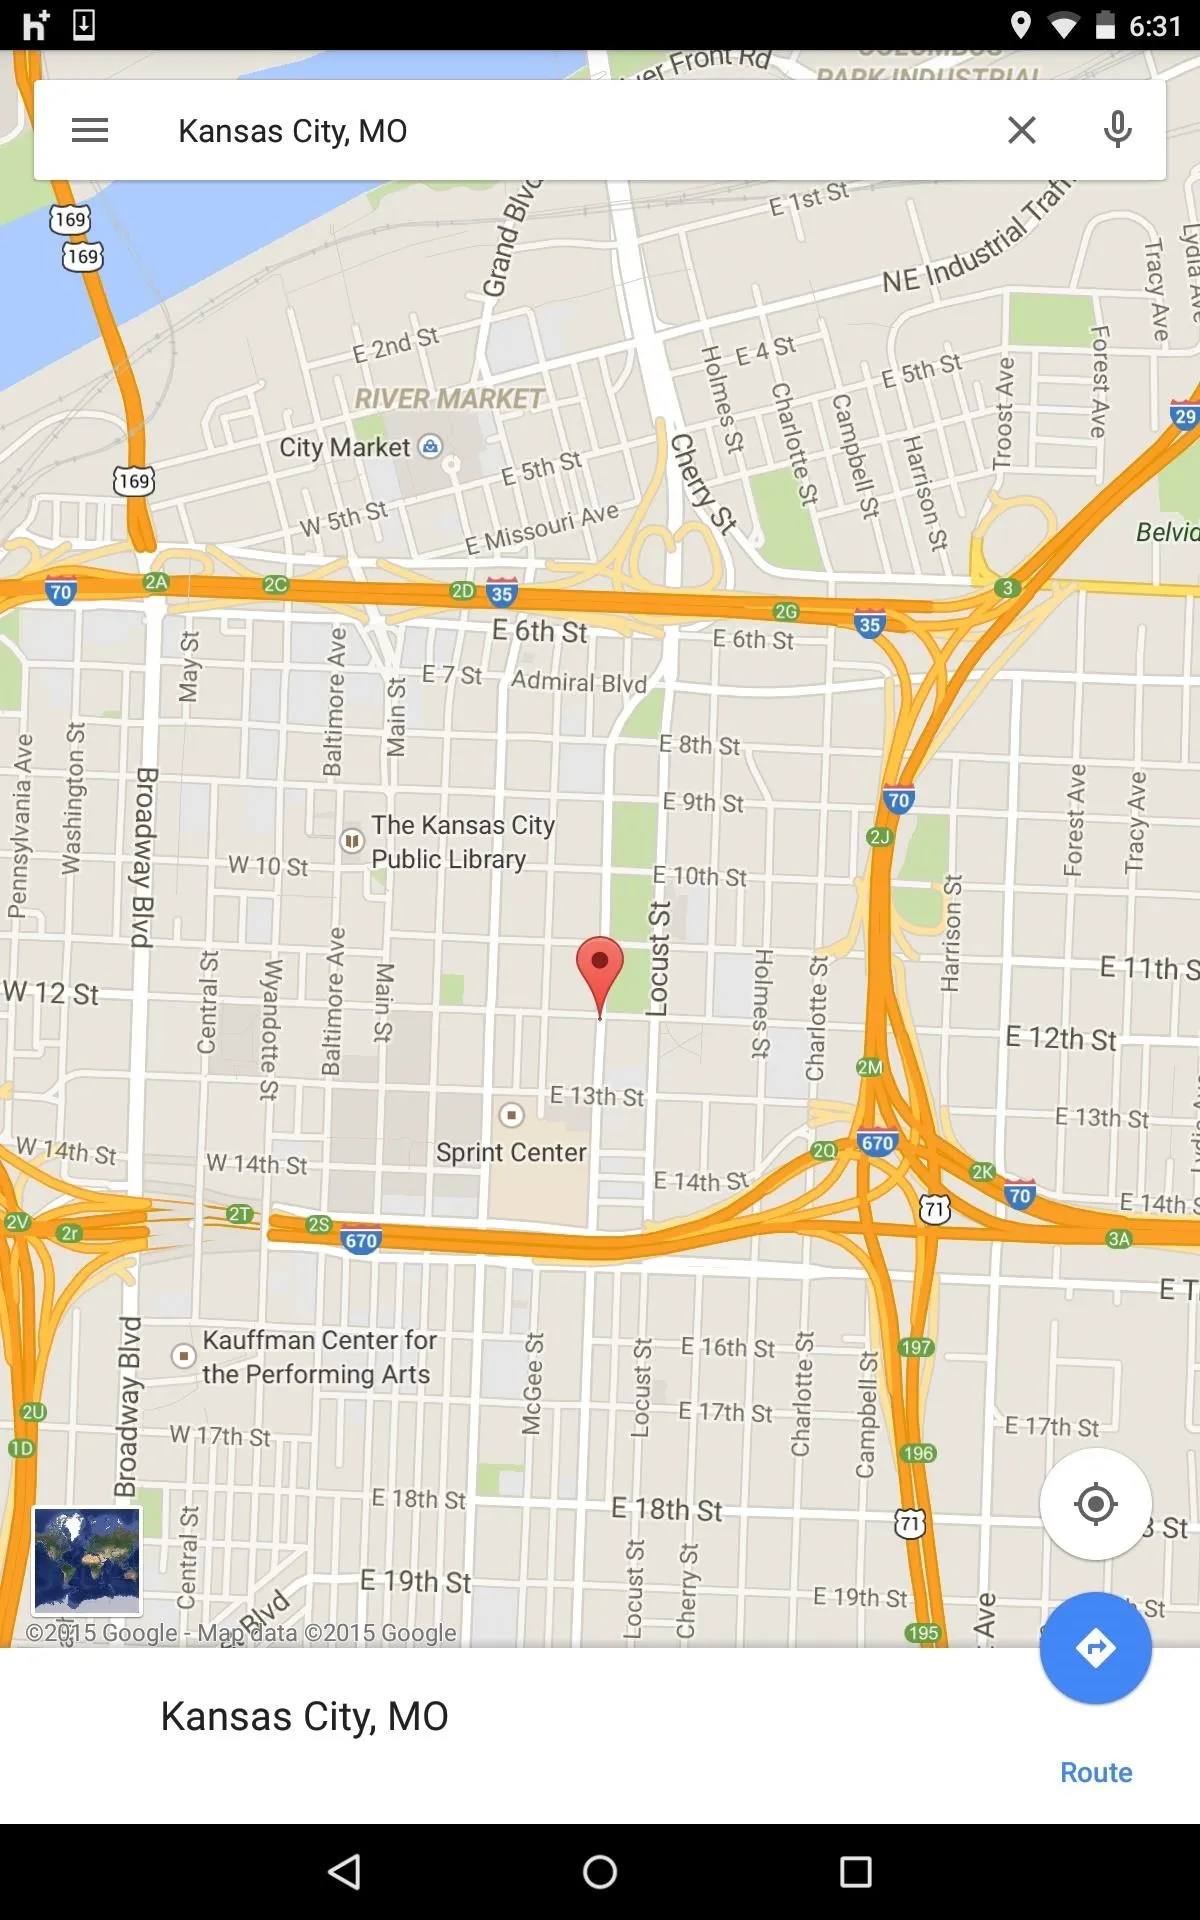
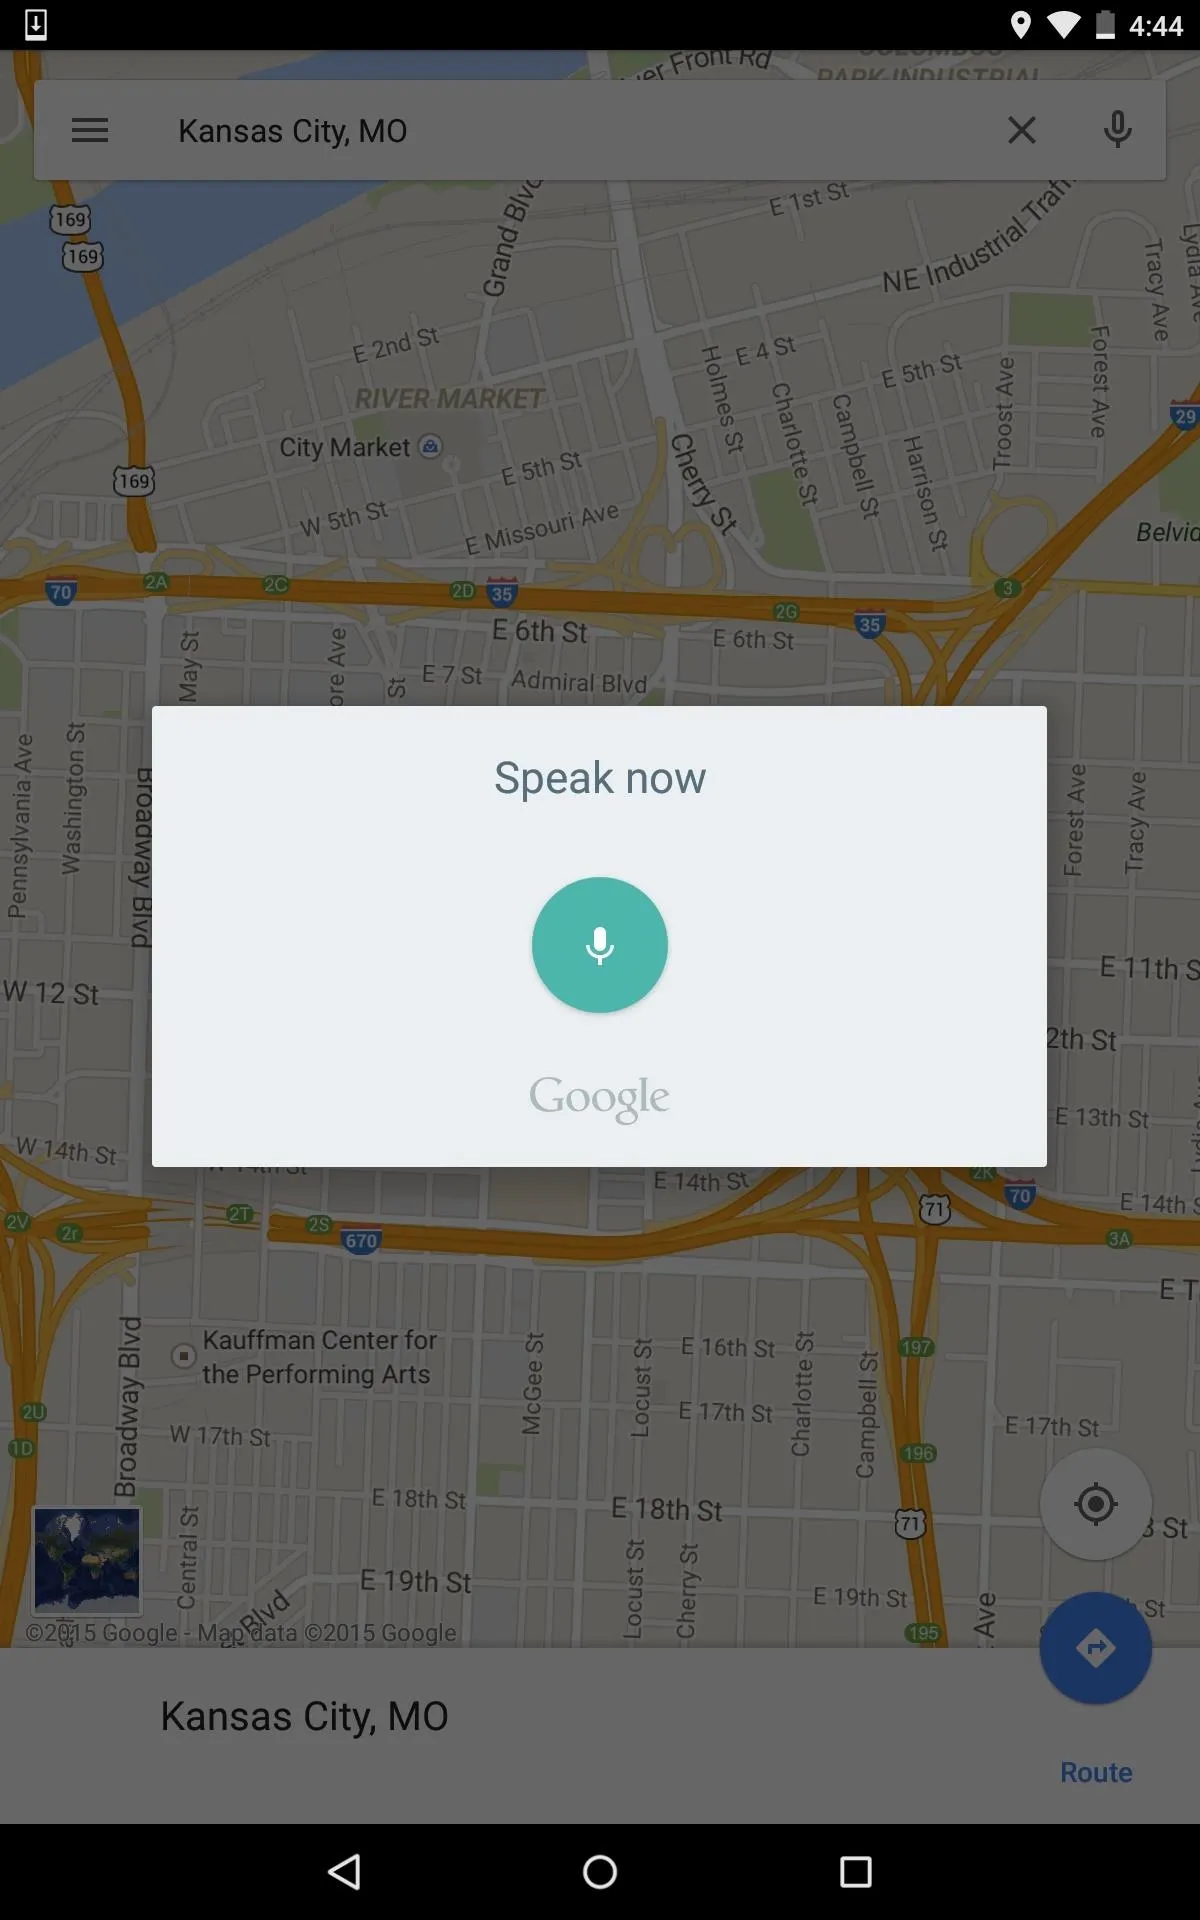


Alternatively, you can also type out "Ok maps" and hit "Search," or simply scroll down to "Save map to use offline" after tapping in the search box.
Save the Offline Map
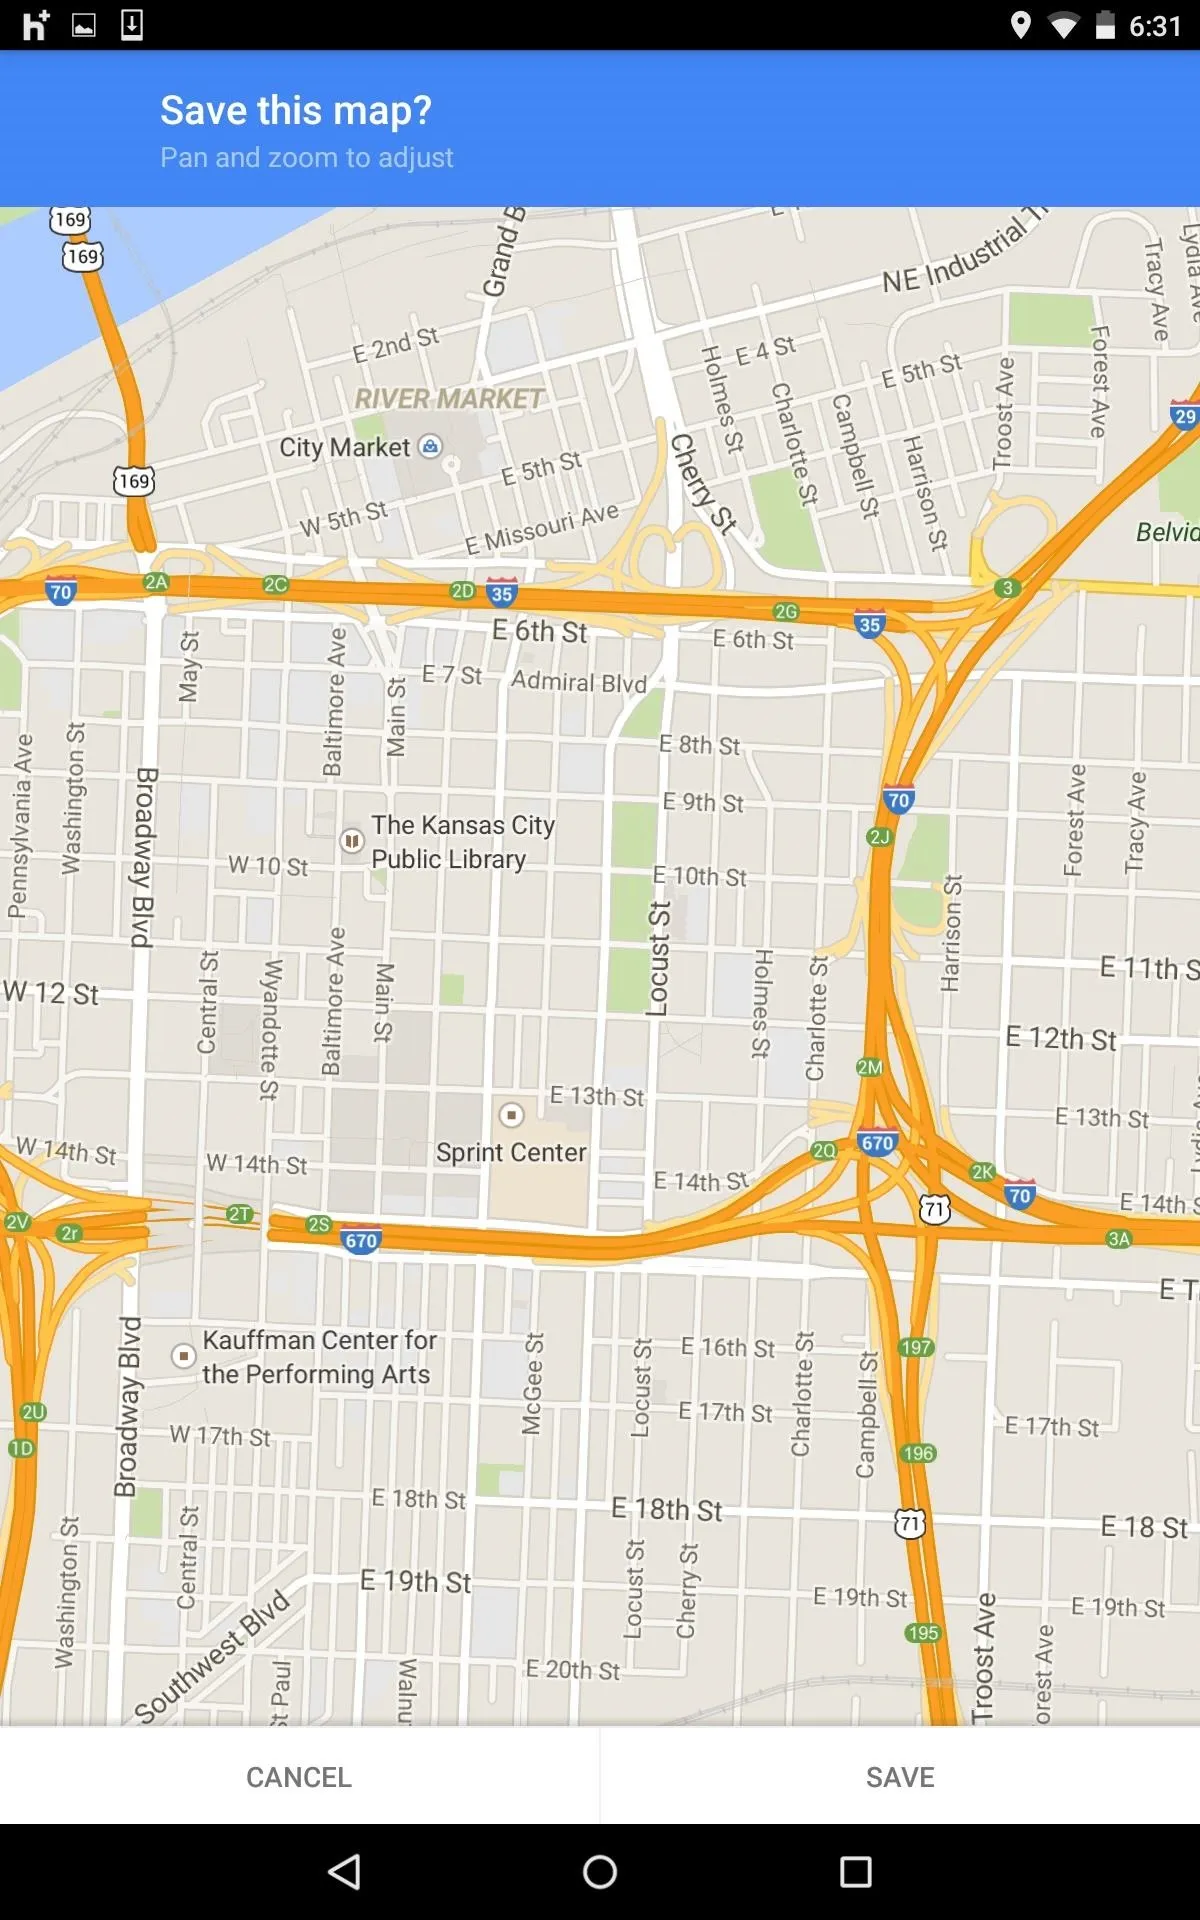
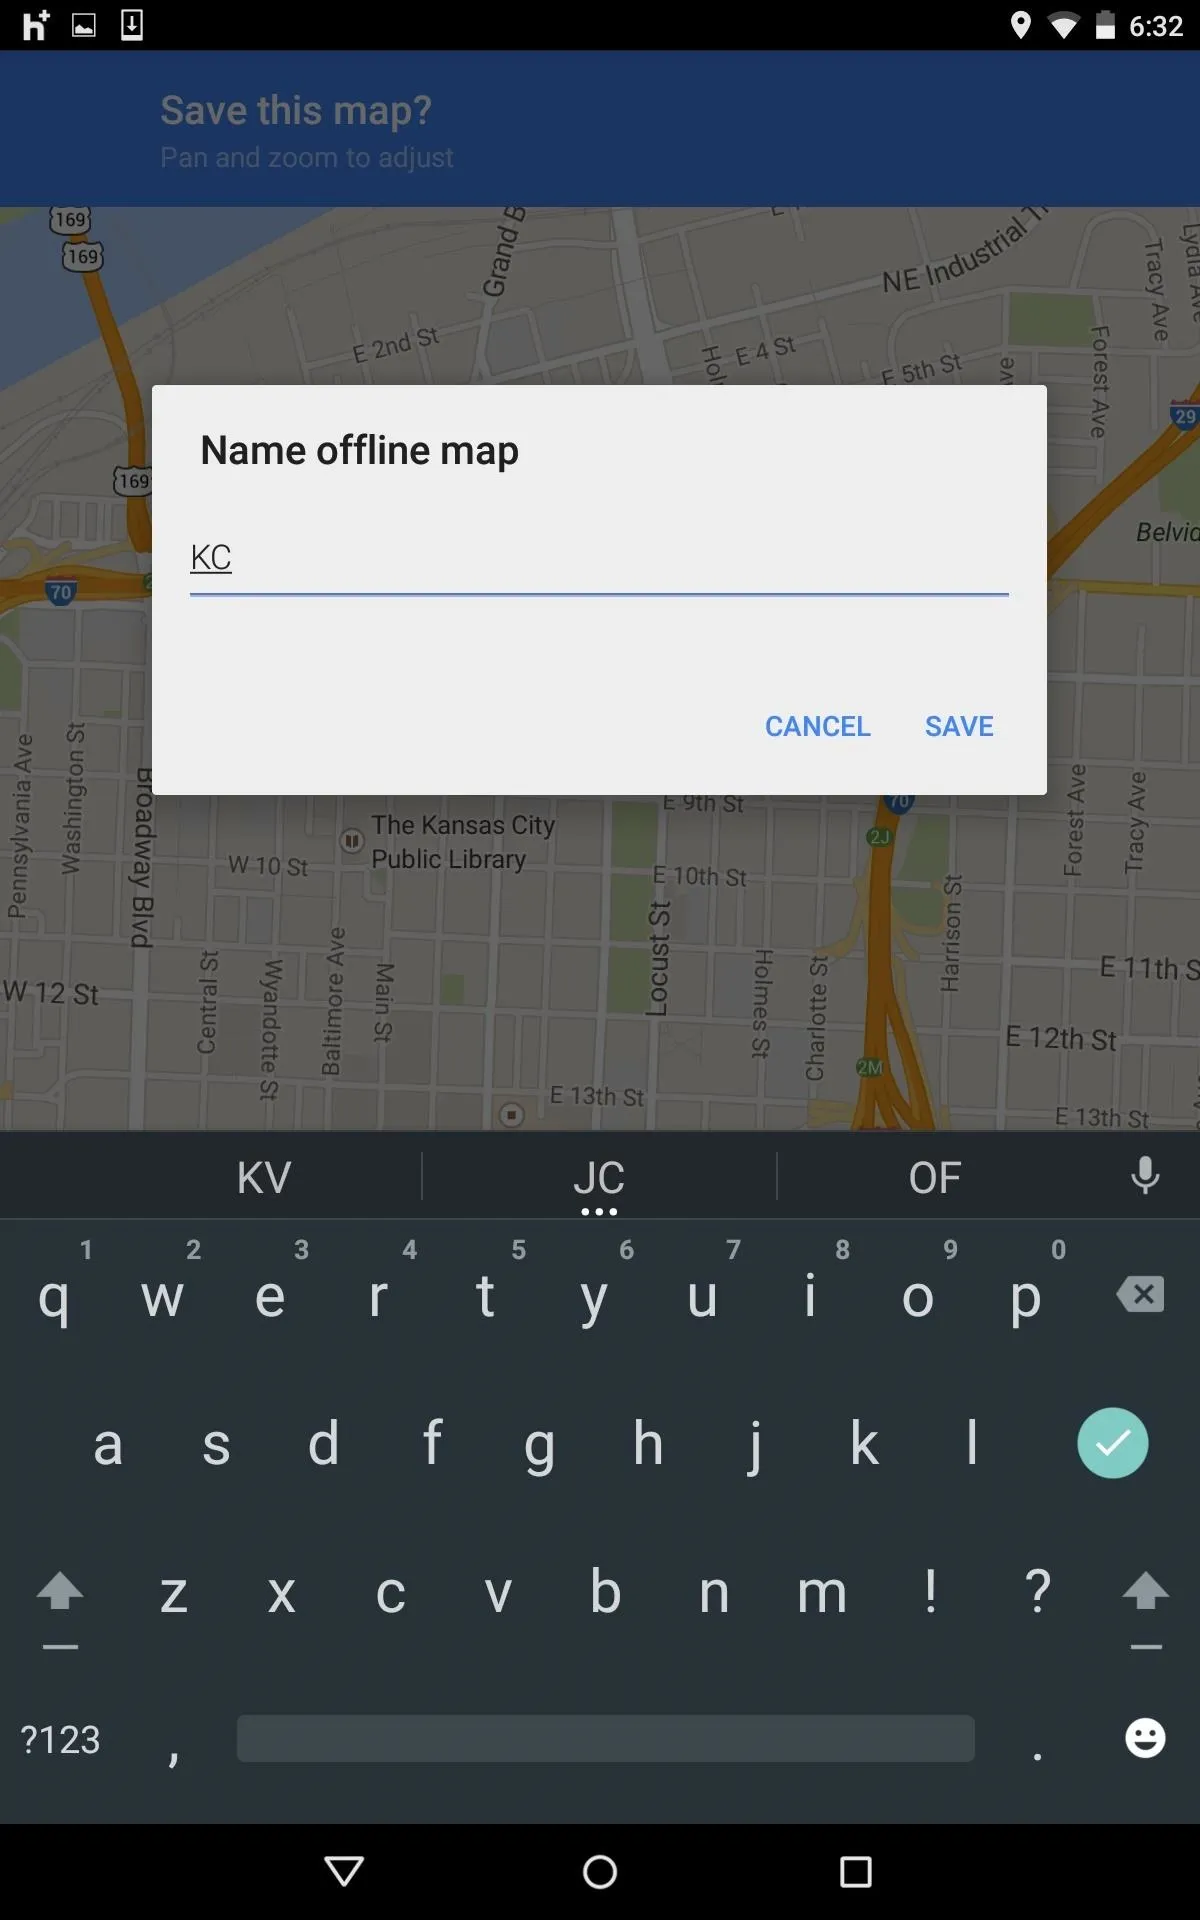
A new screen will pop up asking if you'd like to "Save this map?" Adjust the area by zooming in or out, then name it and tap "Save." The map will save an area up to 50km x 50km in distance.


Access Your Saved Location
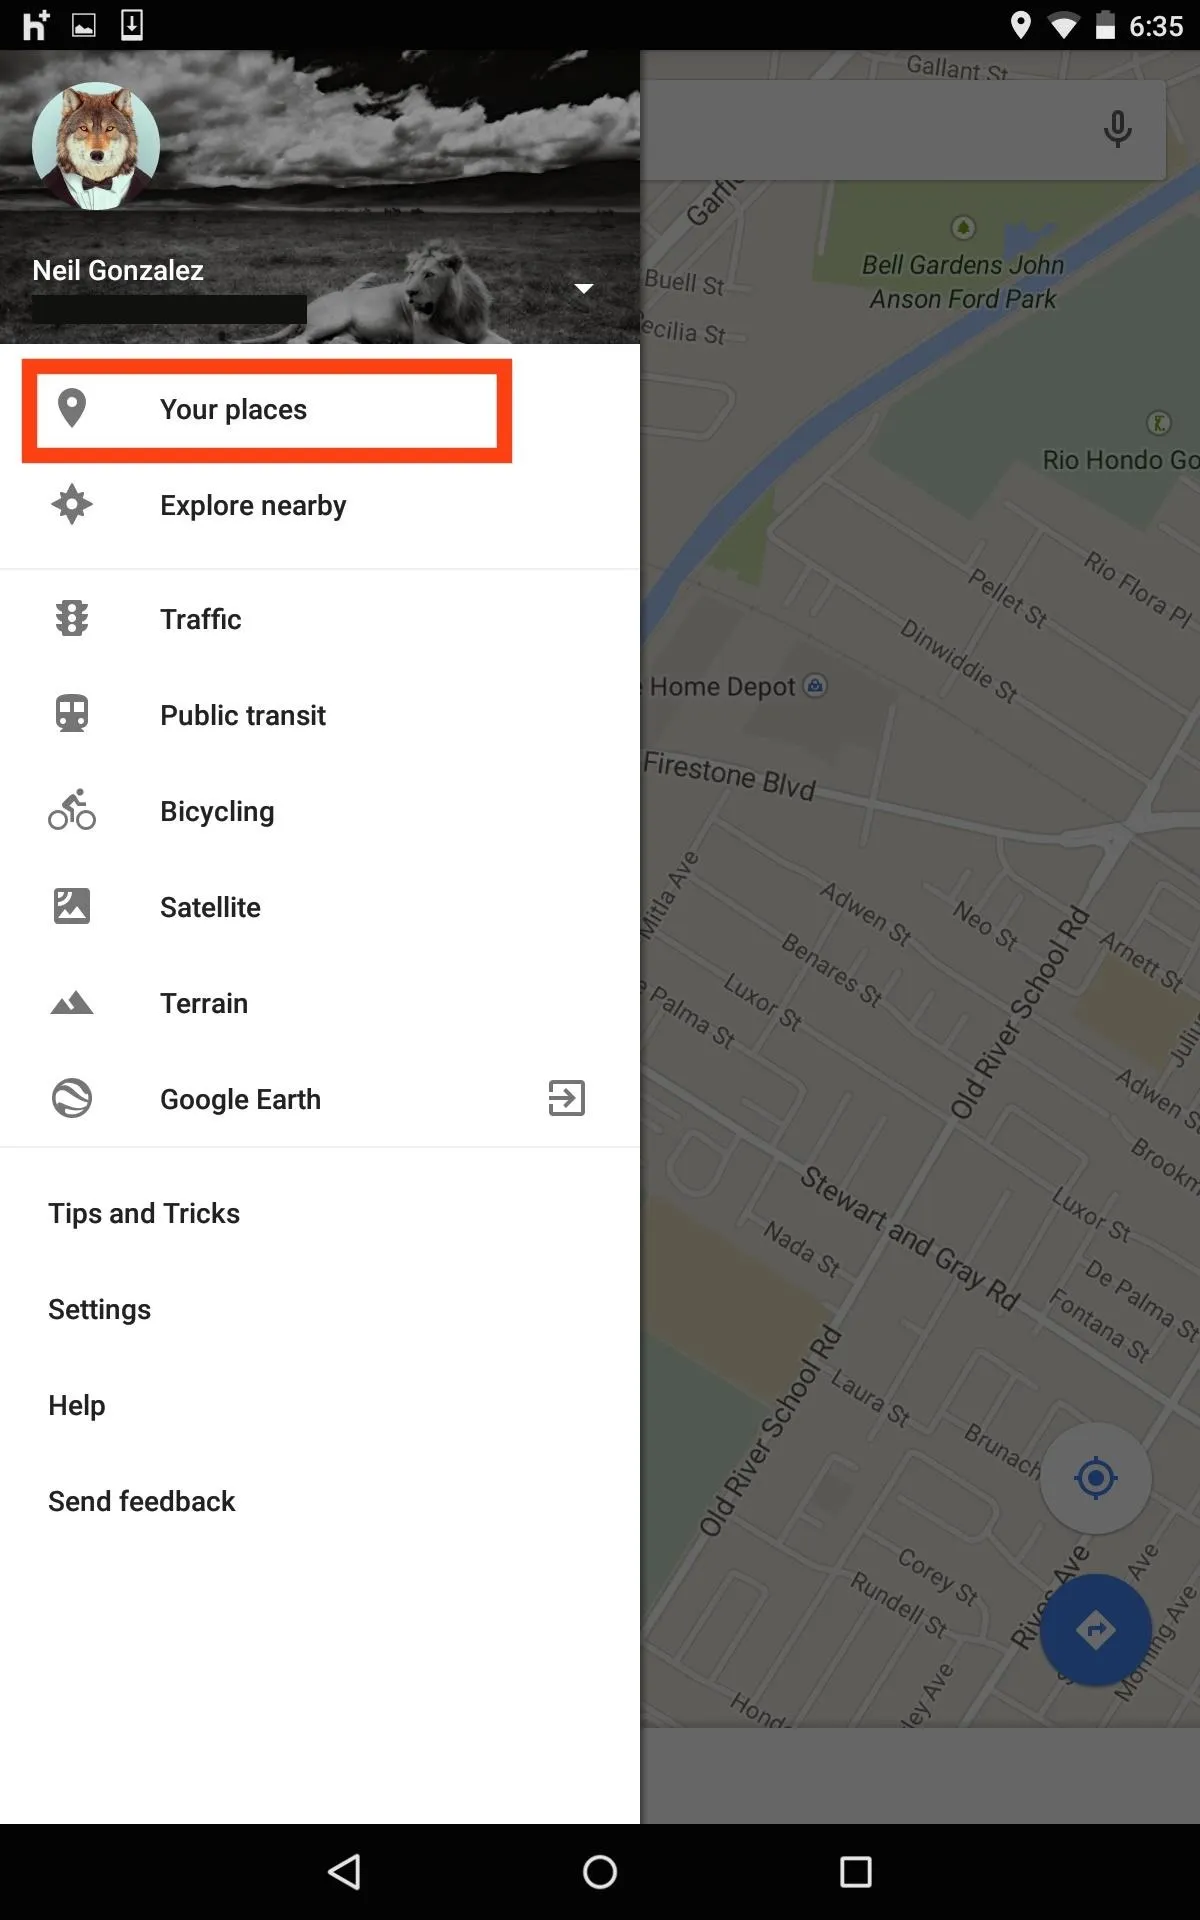
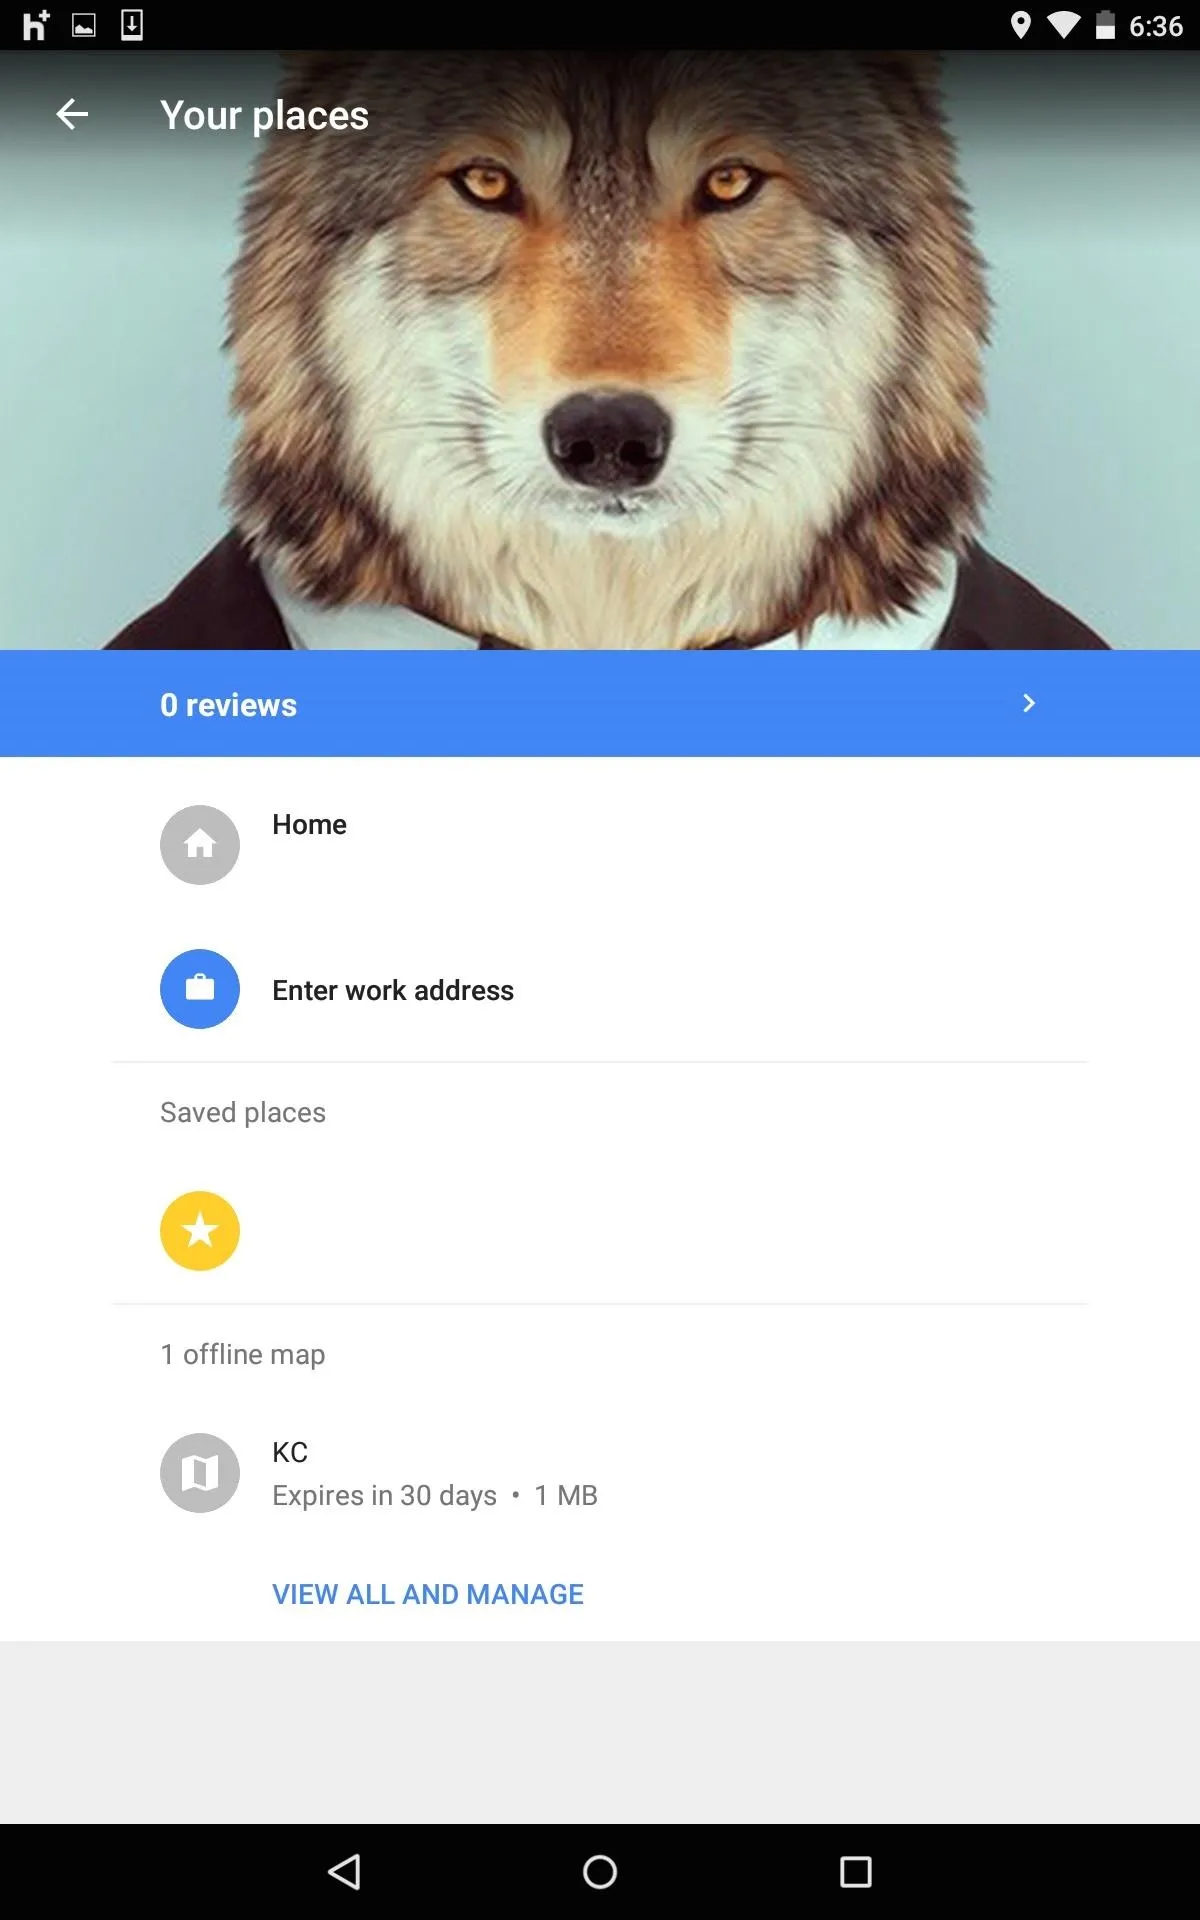
Once you've saved your location, enter the Maps settings and select "Your places." You will see your offline maps towards the bottom of the page. In order to save space on your device, saved maps will expire after thirty days.


If you didn't know about this small feature before, you do now. So let us know what you think by commenting below, or catch us over on Facebook, Google+, or Twitter for more tips.


Comments
Be the first, drop a comment!