IFTTT (short for If This, Then That) is an amazing piece of software that automagically links actions on your phone with online services and real-world objects. For example, an applet could read: "if you come home, then turn on Wi-Fi." IFTTT goes further than just using simple smartphone functions, though — thanks to applets, it's fully configurable with a ton of smartphone apps.
Even with IFTTT's simple interface, it can still be intimidating for a new user. The process of finding and applying applets isn't always straightforward, and searching for exactly what you need is frequently unintuitive. After all, smartphones can be automated to perform a myriad of functions, and your needs don't always reflect those of the general public. So if you're just getting started with IFTTT, I'll clear up these issues for you.
Find Applets with the 'Discover' Tab
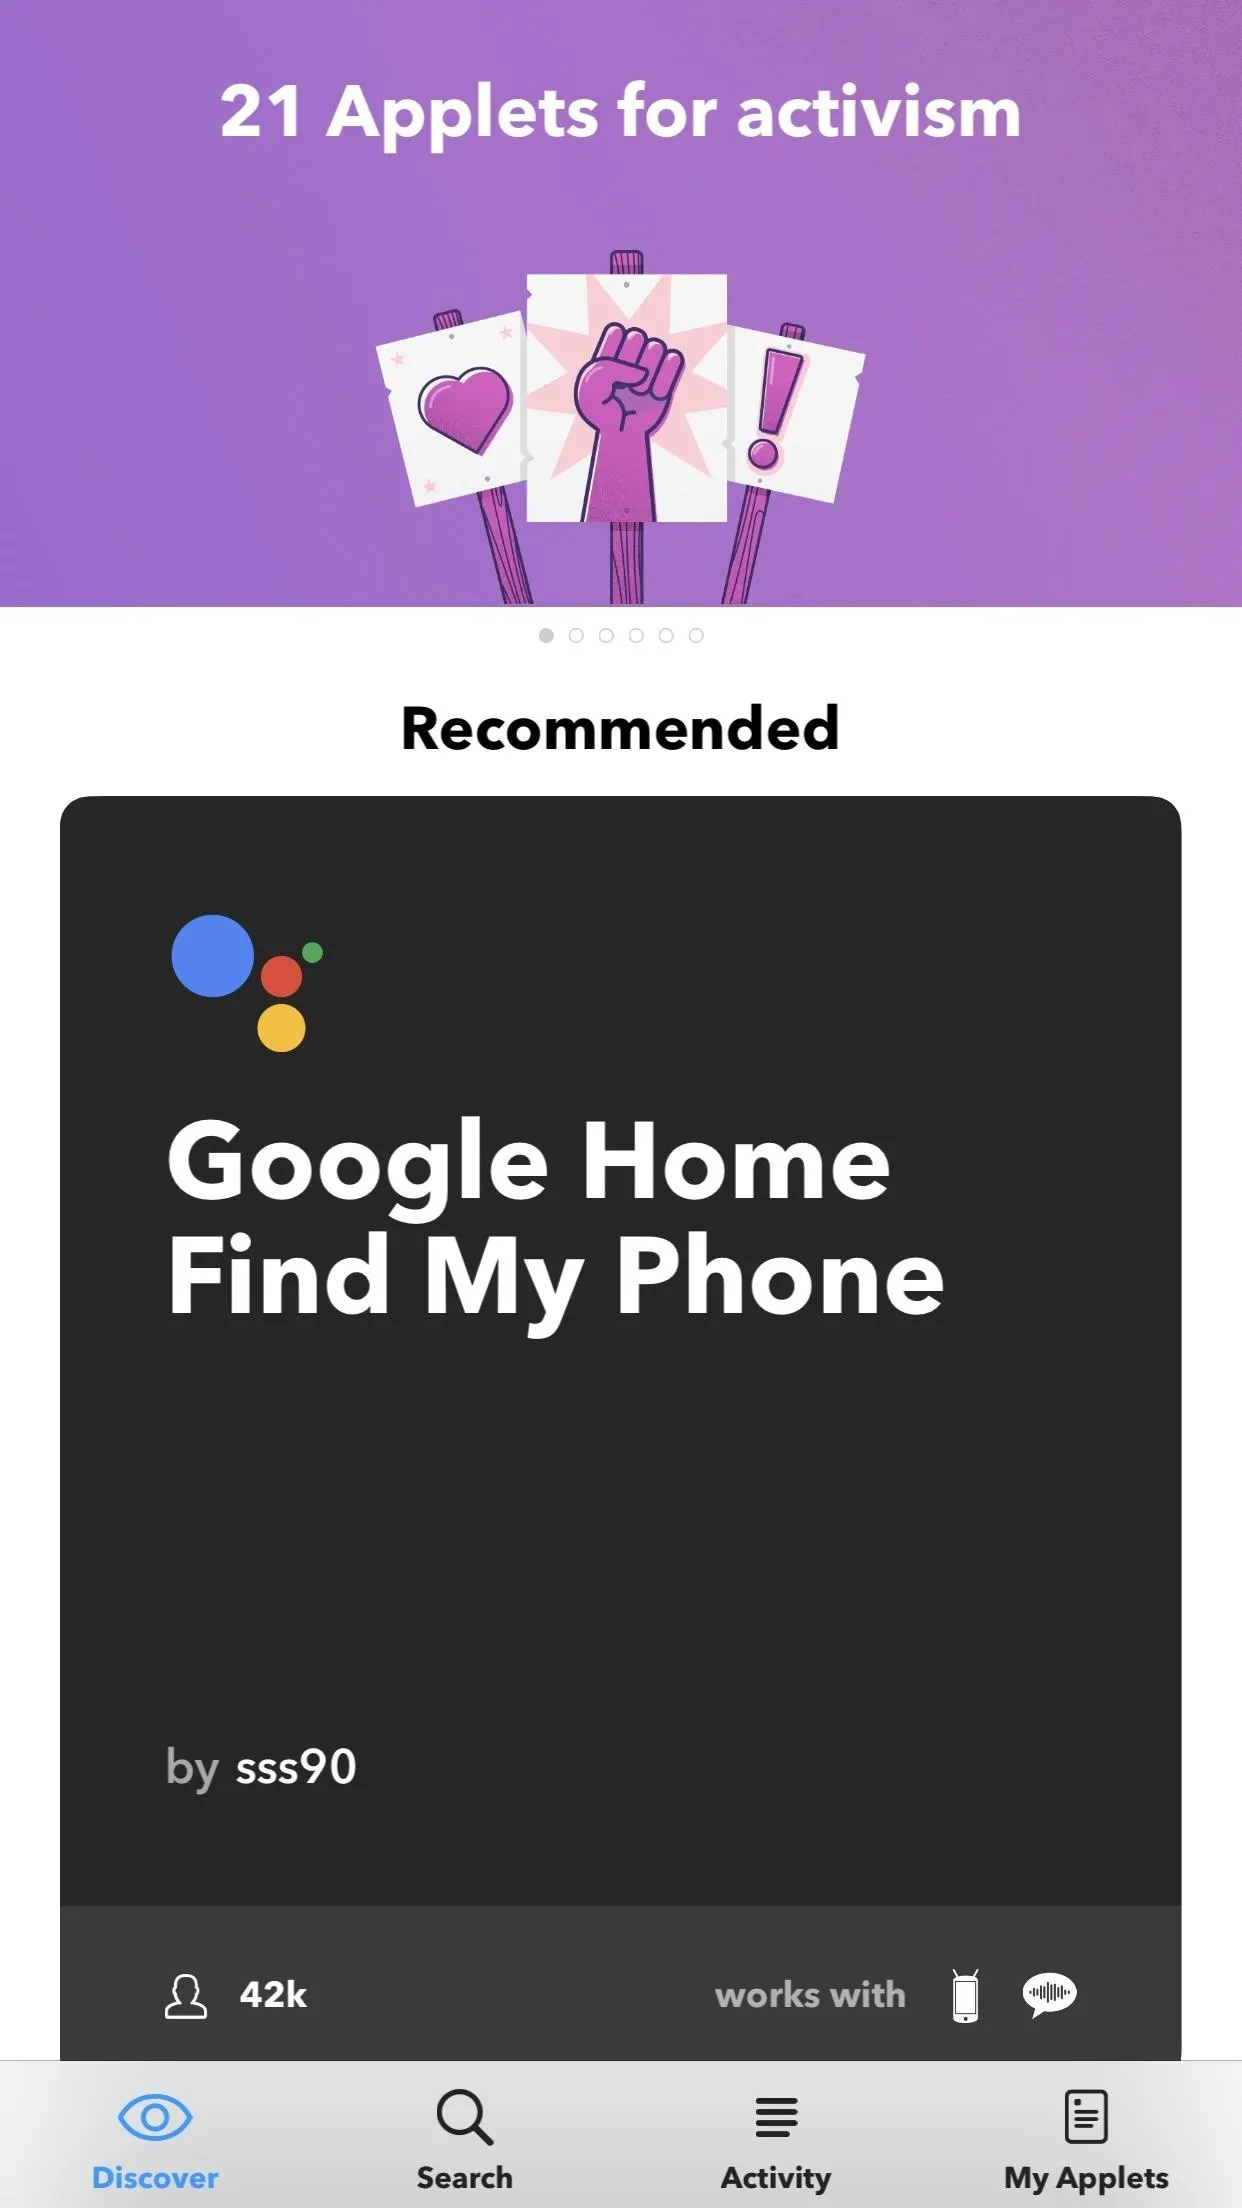
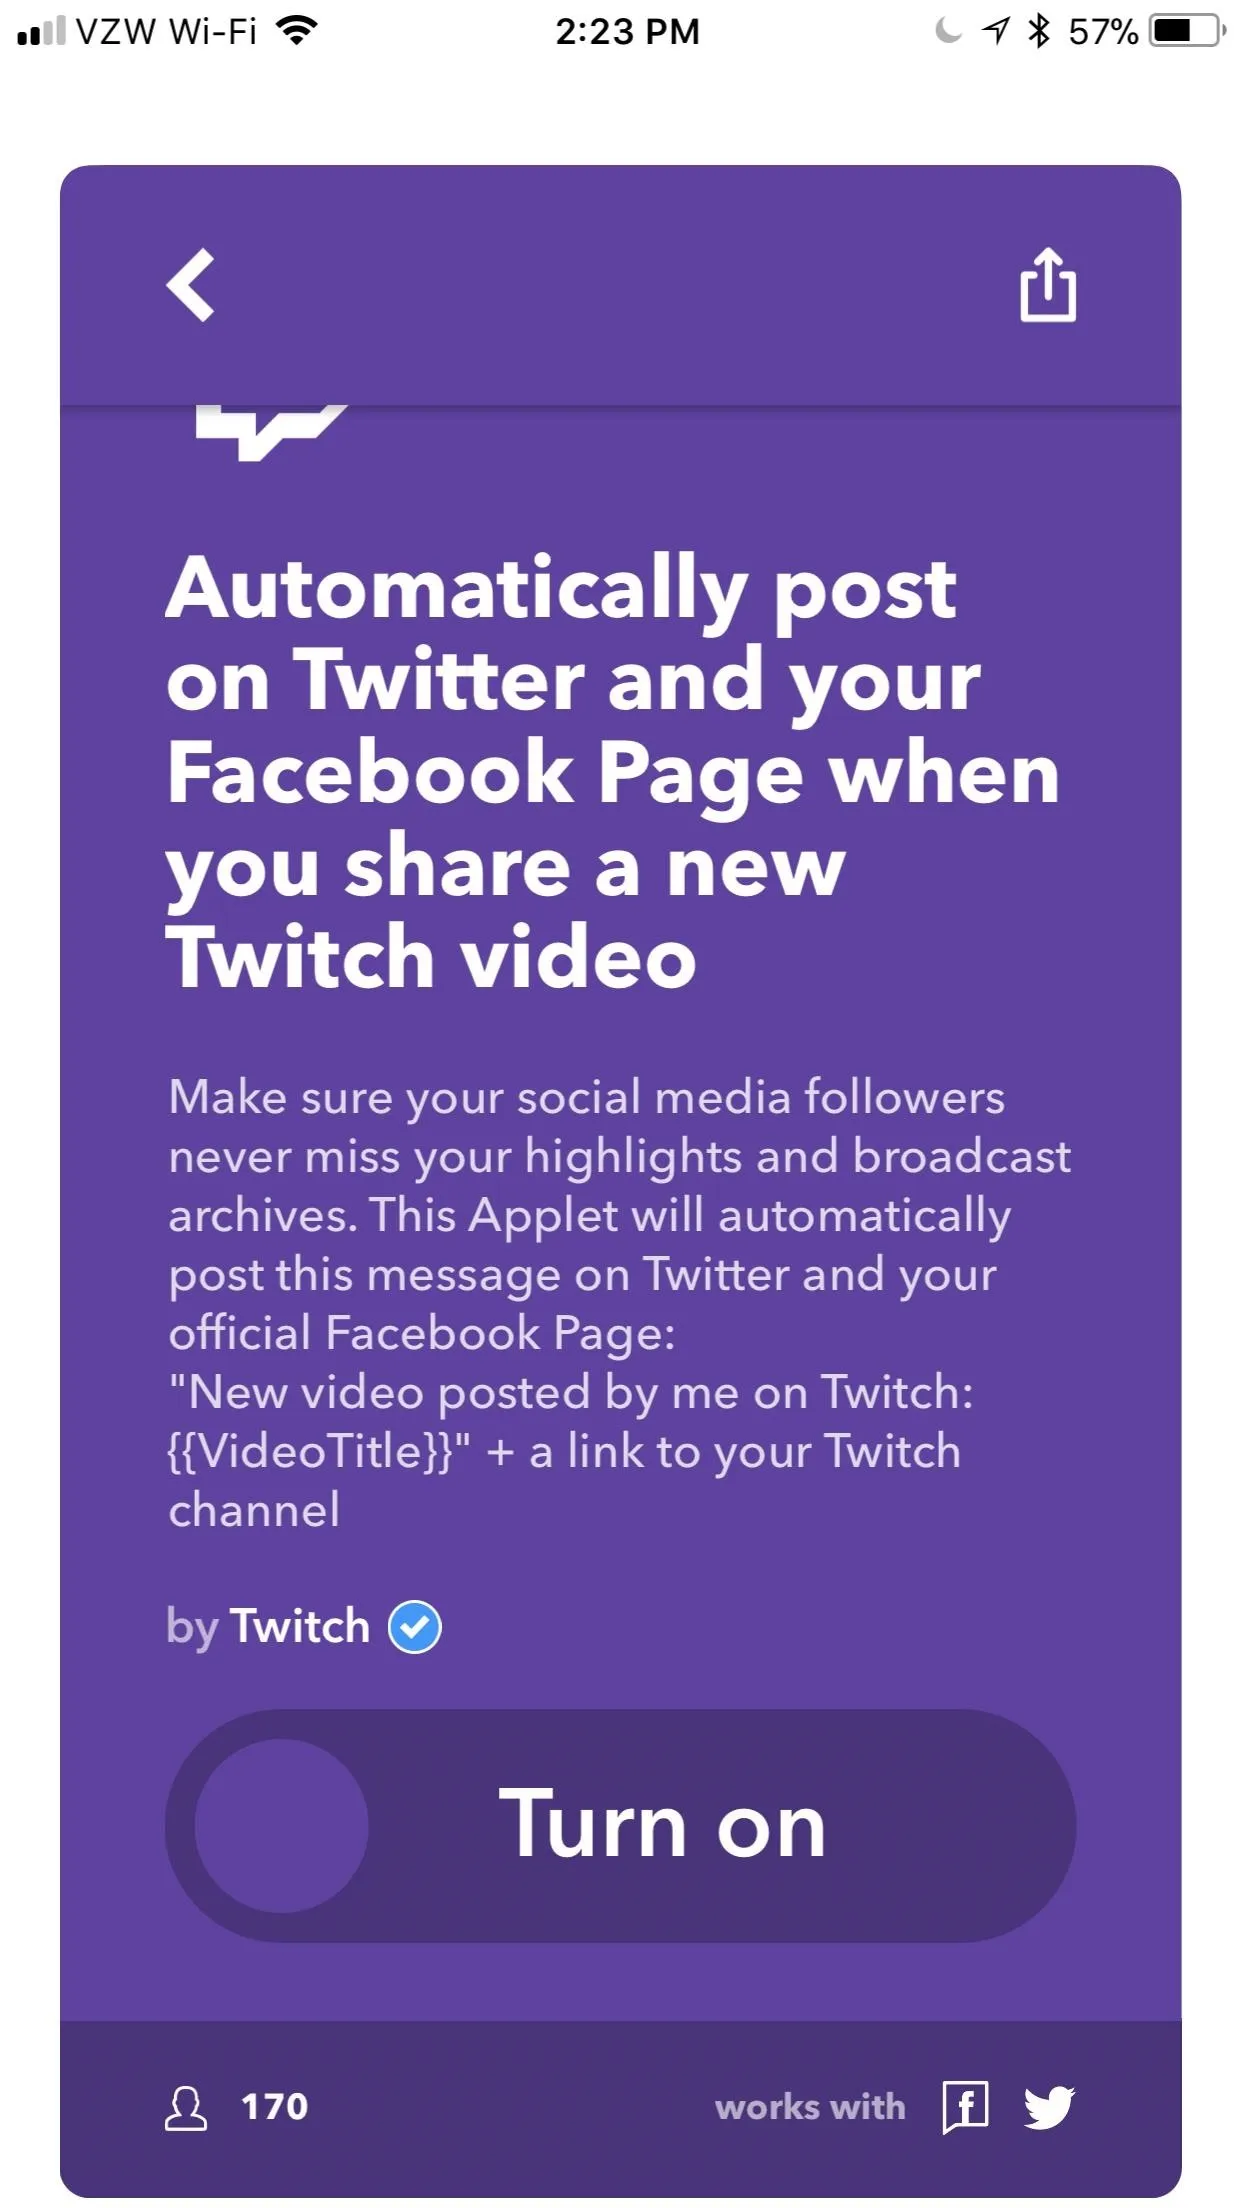
Immediately after you install IFTTT from the iOS App Store or the Google Play Store, you'll be greeted by the Discover tab. This tab curates the most popular applets from across IFTTT, and they should all have straightforward labels that make it easy to understand what they do.
Some of the applets in the Discover tab are created by official developers like Google or IFTTT themselves (verified developers have a blue check next to their names), while others are created by regular IFTTT users. Either way, these applets are usually very safe and stable additions.
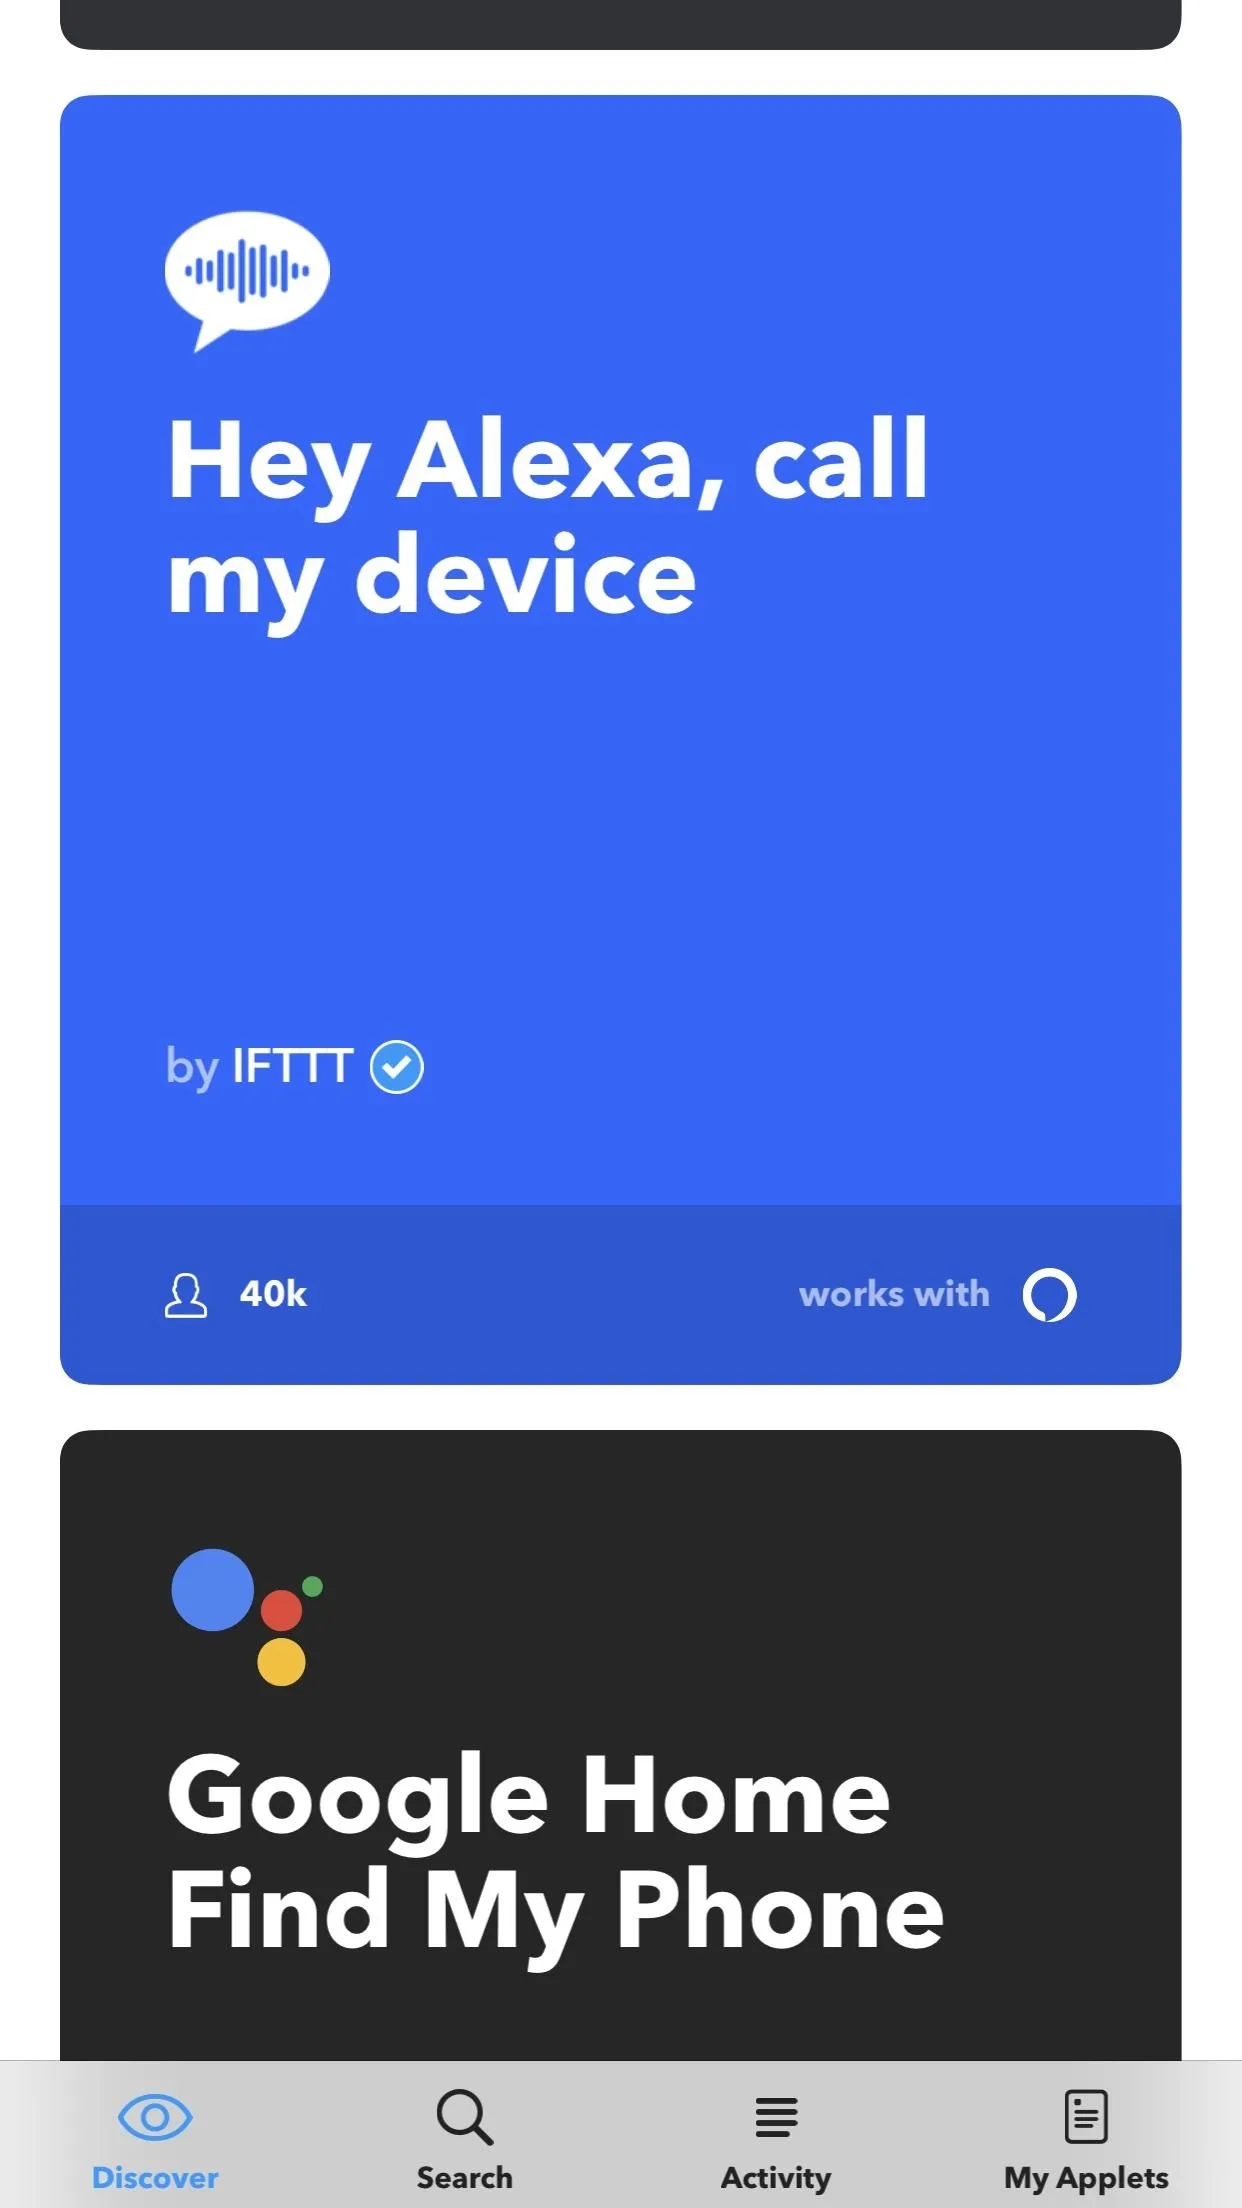
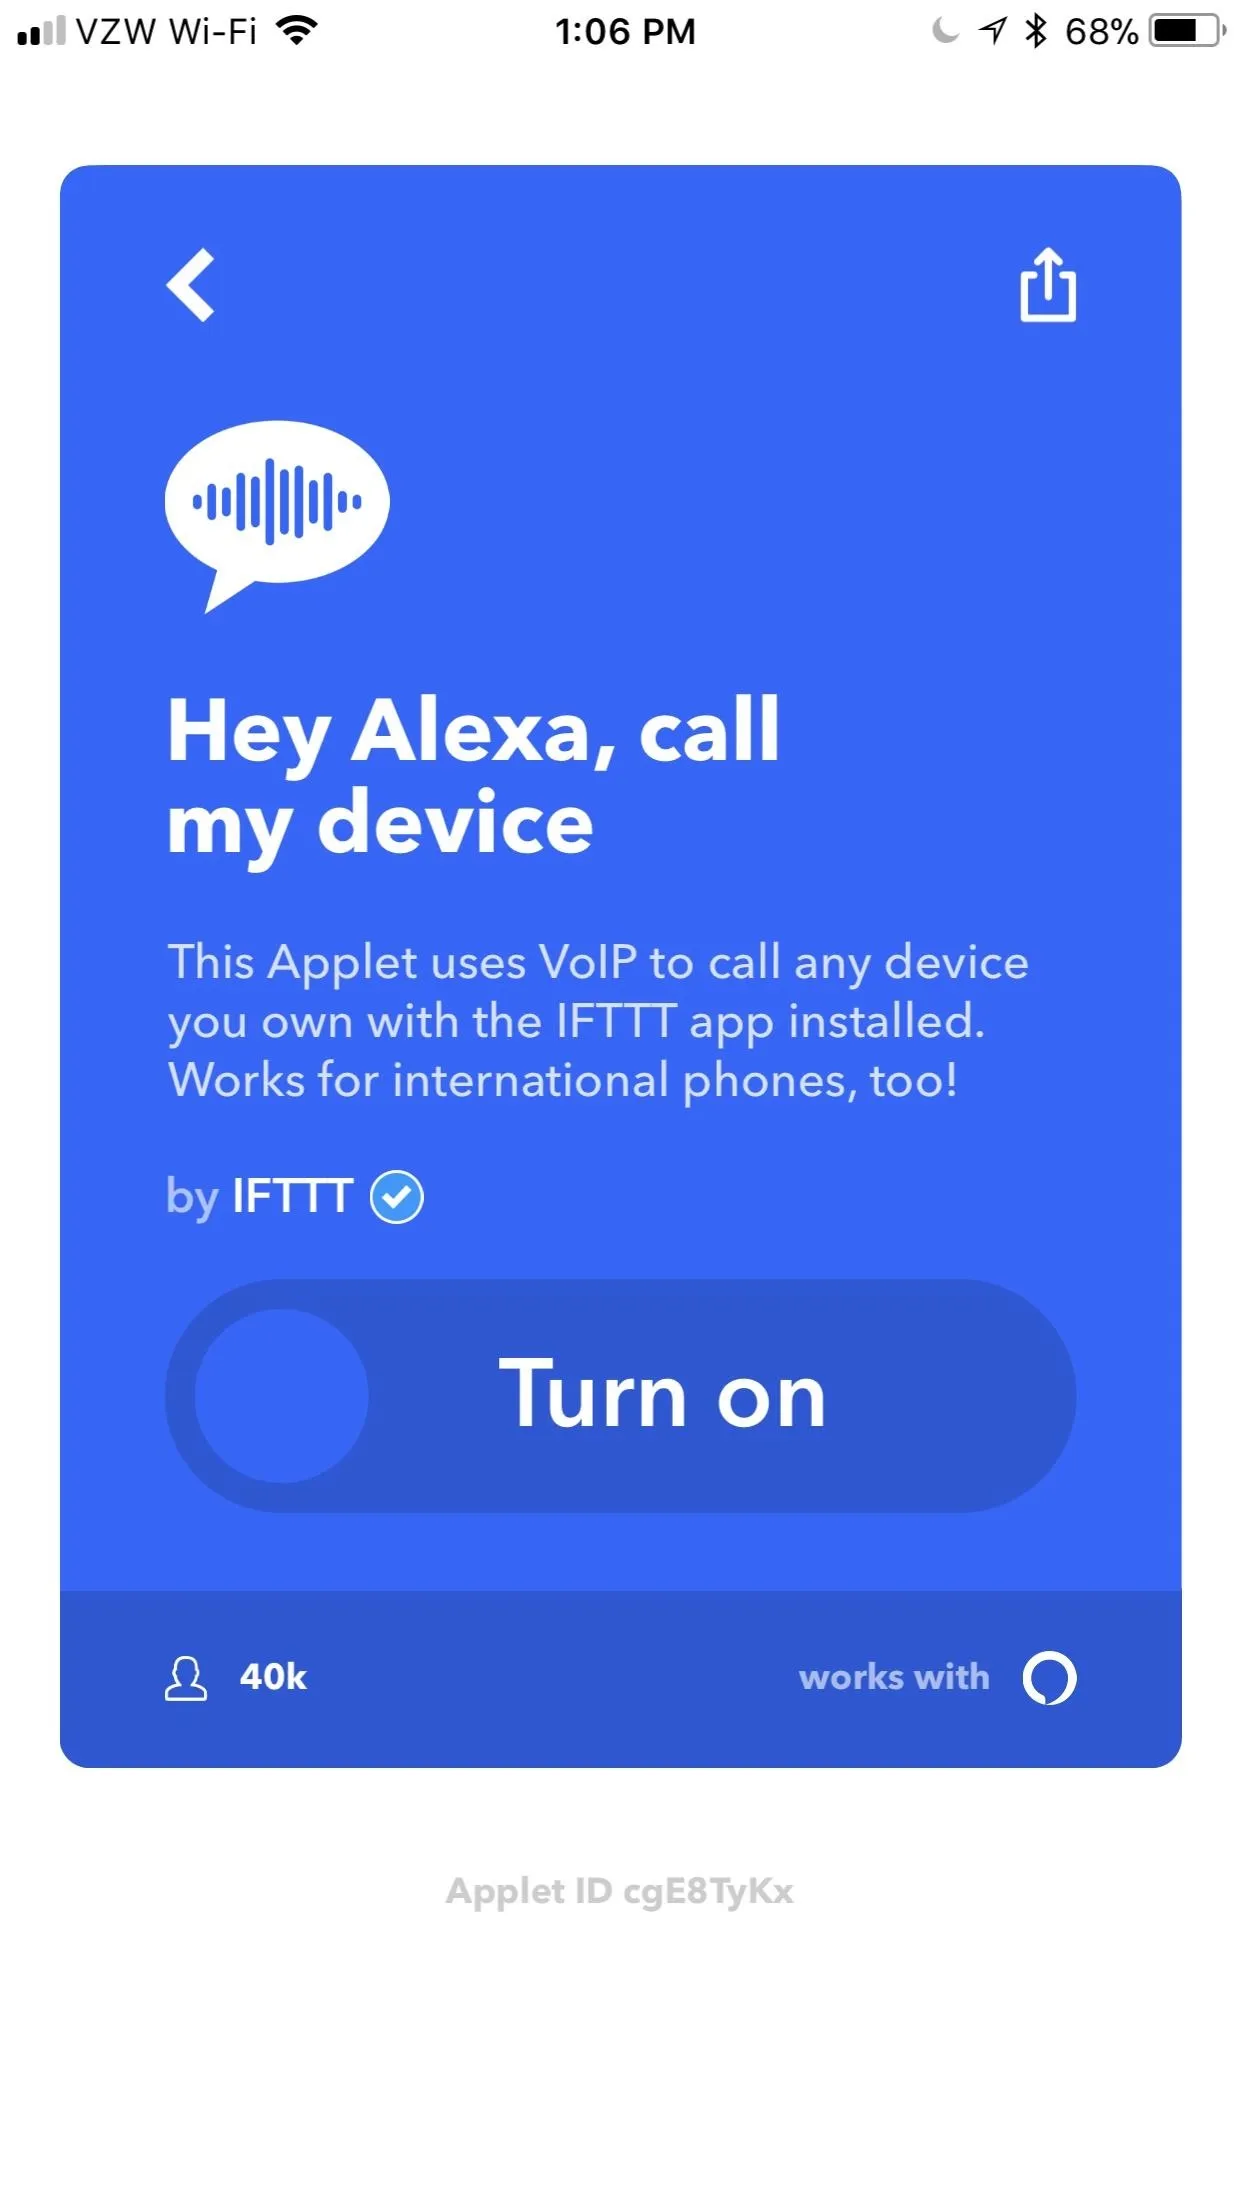


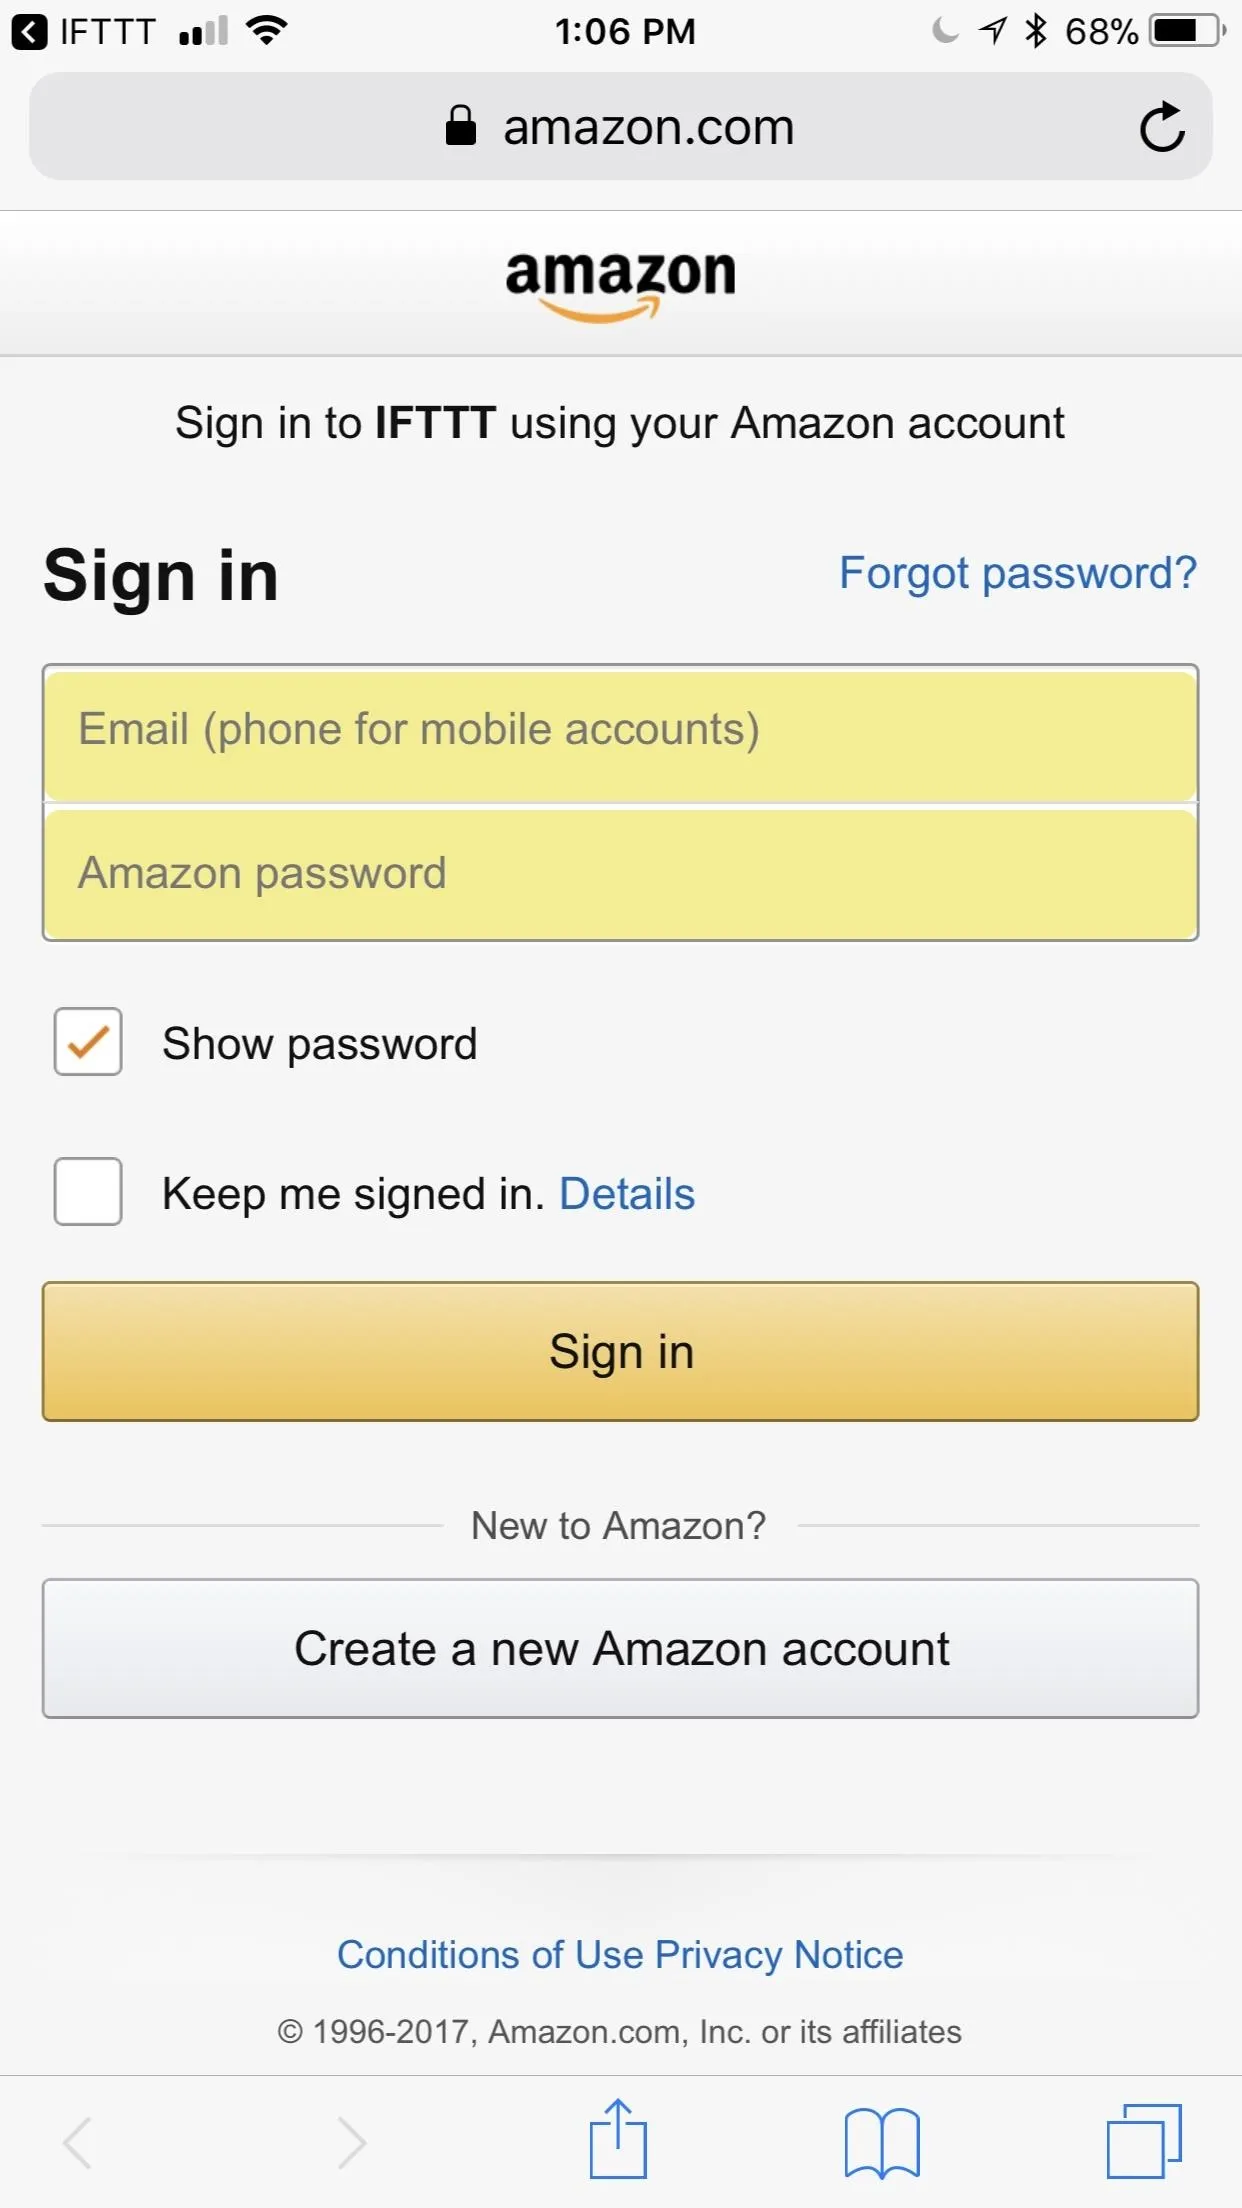
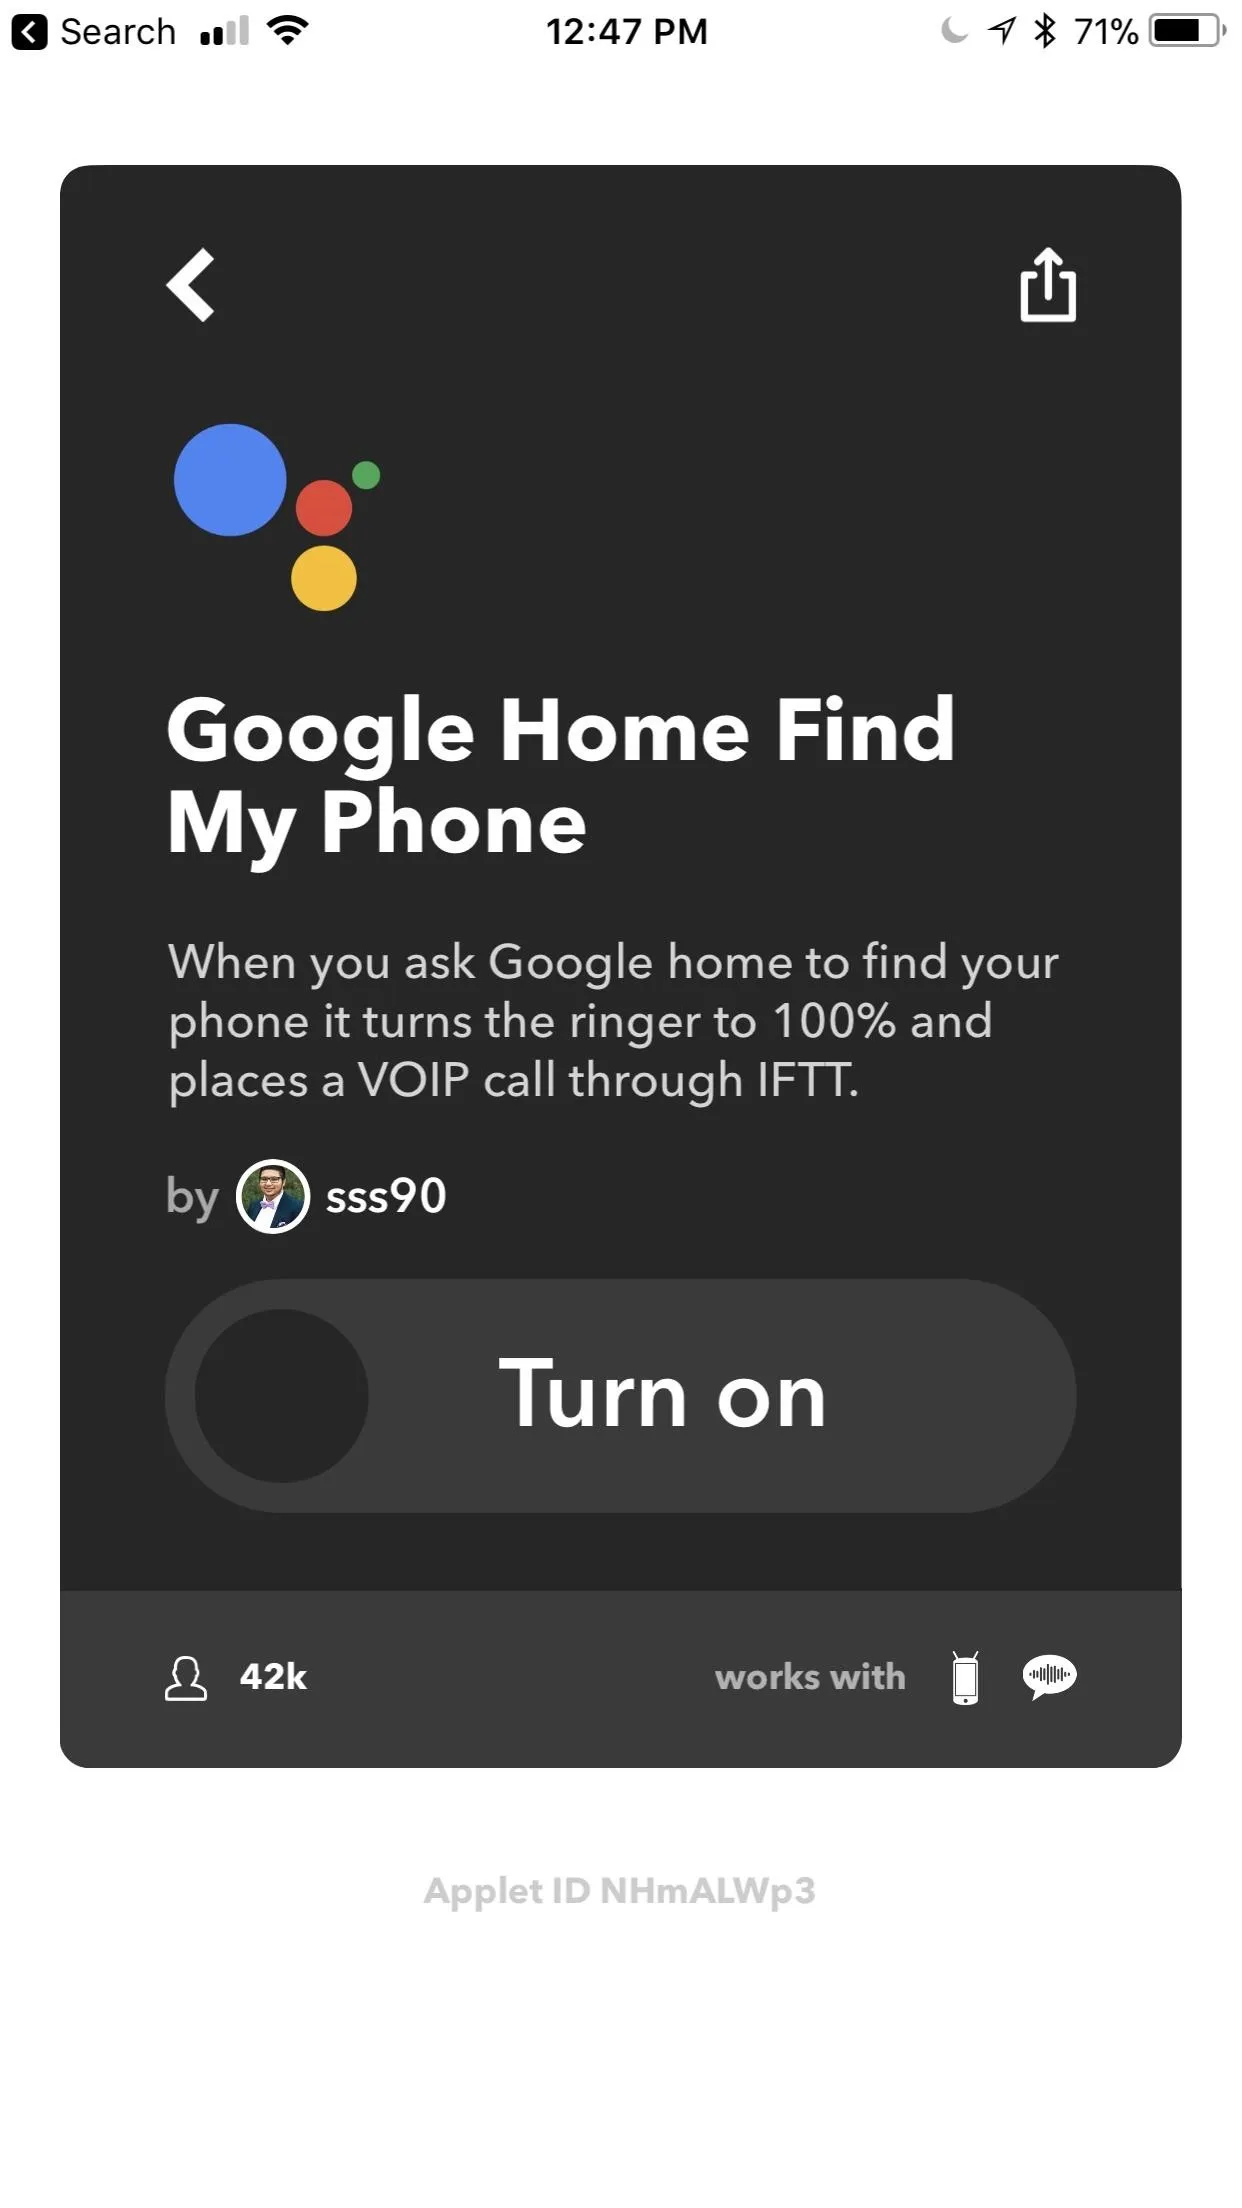
If one of these applets tickles your fancy, tap on it, then tap "Turn on." Sometimes you'll need to give IFTTT permission to access certain accounts or devices, but that's as easy as following the provided prompts. Other applets may require you to sign into an account. For example, if you choose an applet that uses Amazon Alexa, you'll need to sign in to your Amazon account.
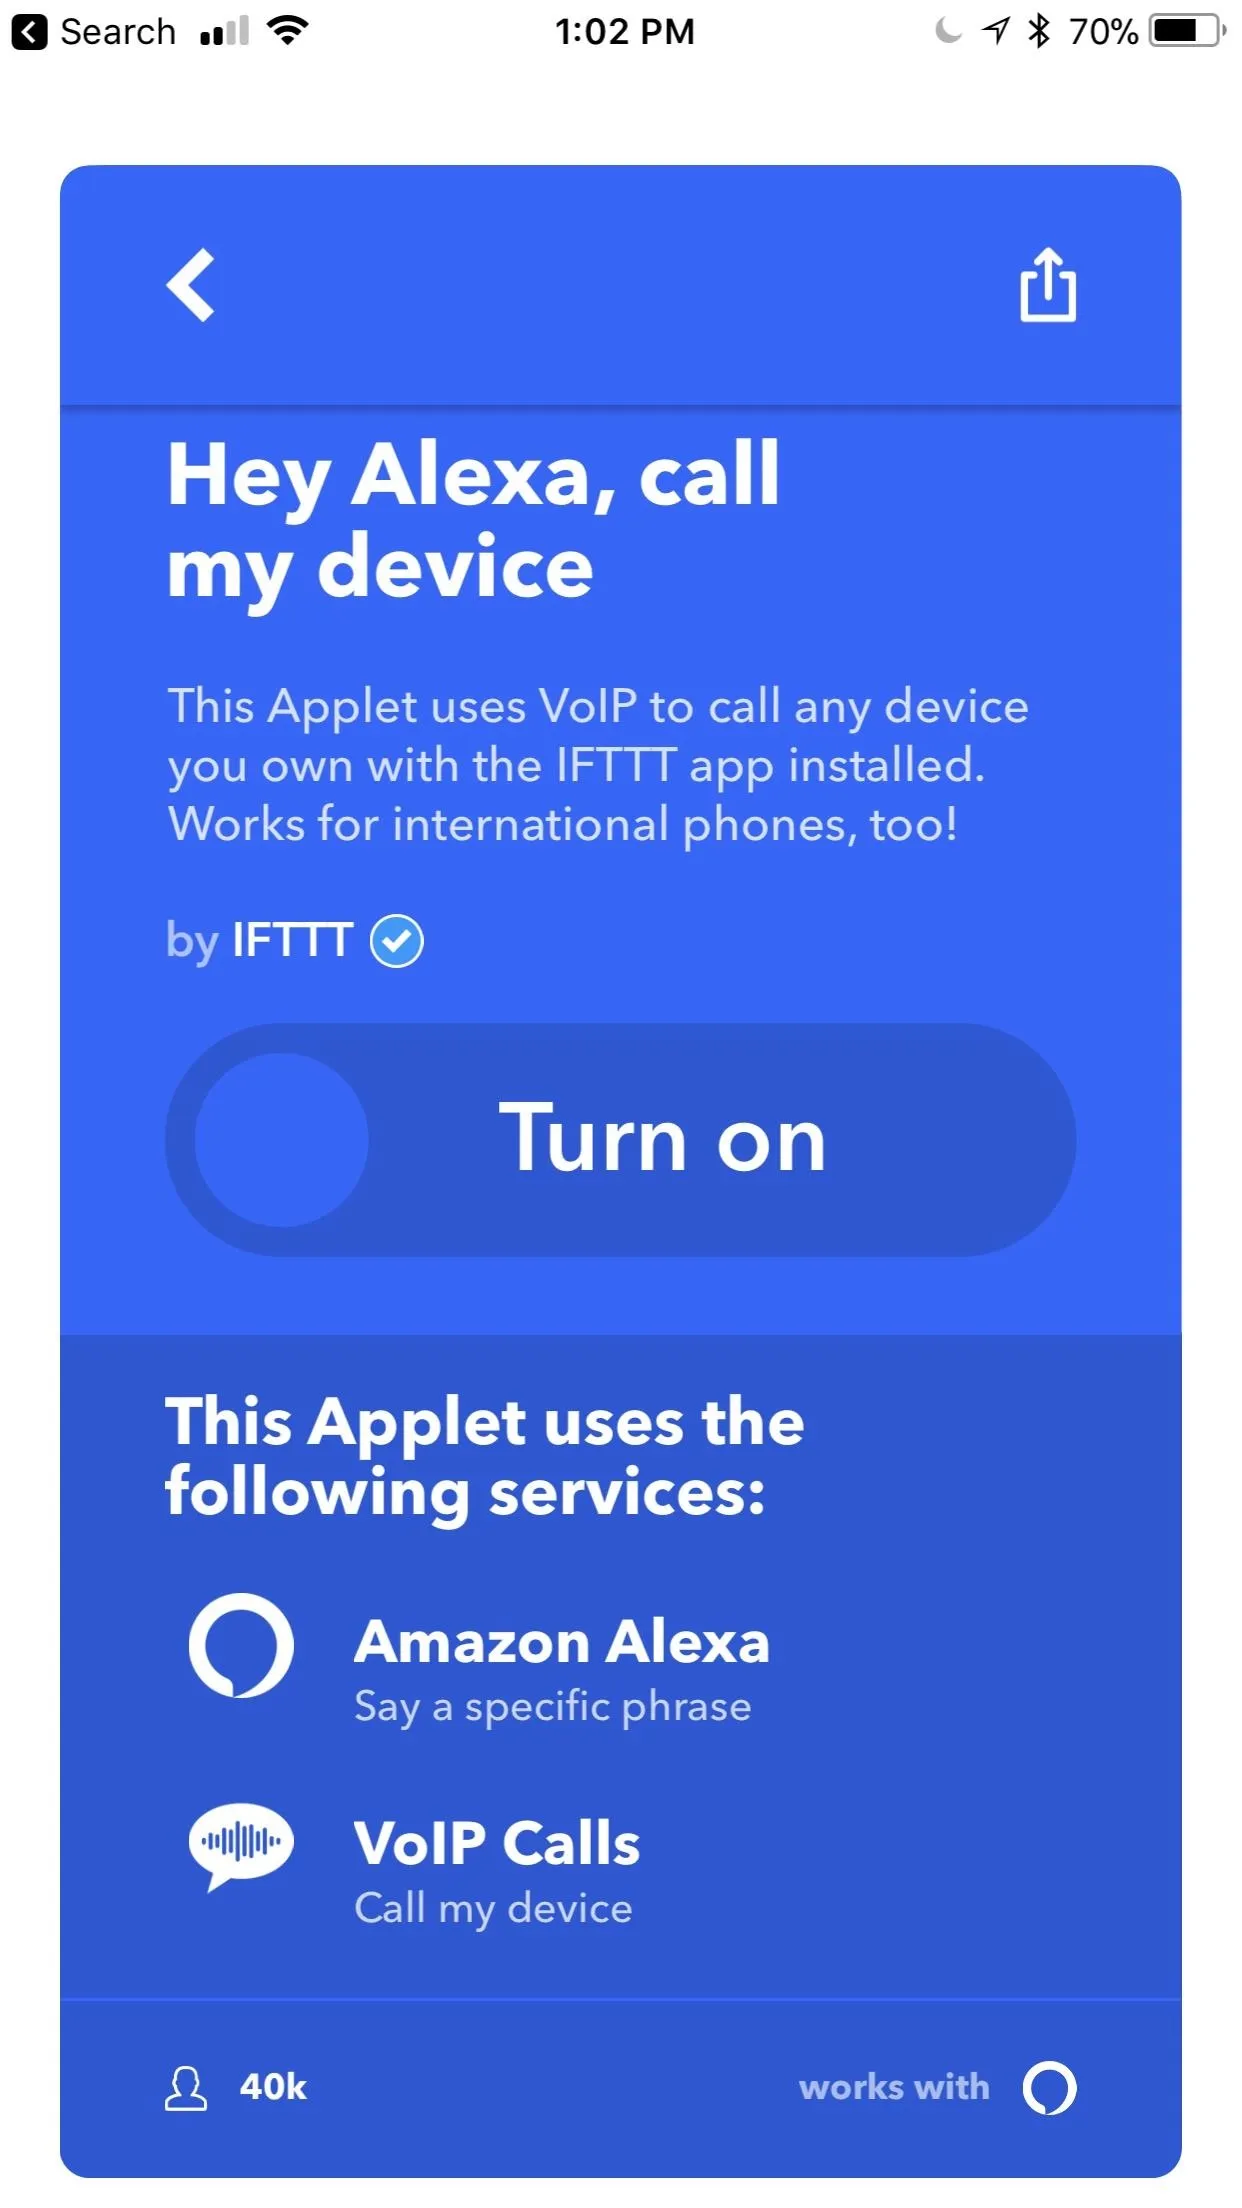
To see what permissions the applet will need before you tap "Turn on," tap on the app icon in the bottom-right corner of the card. This will expand the card, showing exactly what the applet uses in order to function.



Tip: iOS Users, Beware of Android-Only Applets
If you look at the bottom-right corner of the applet cards, you'll notice that some have an icon of a phone with alien antennas — this means the applet requires an Android device. If you're using an iPhone, IFTTT will still allow you to add these applets to "My Applets," but they won't perform any actions. While this isn't harmful in any way, it can clutter things up, so just look out for it.


Use the 'Search' Function to Find Specific Applets
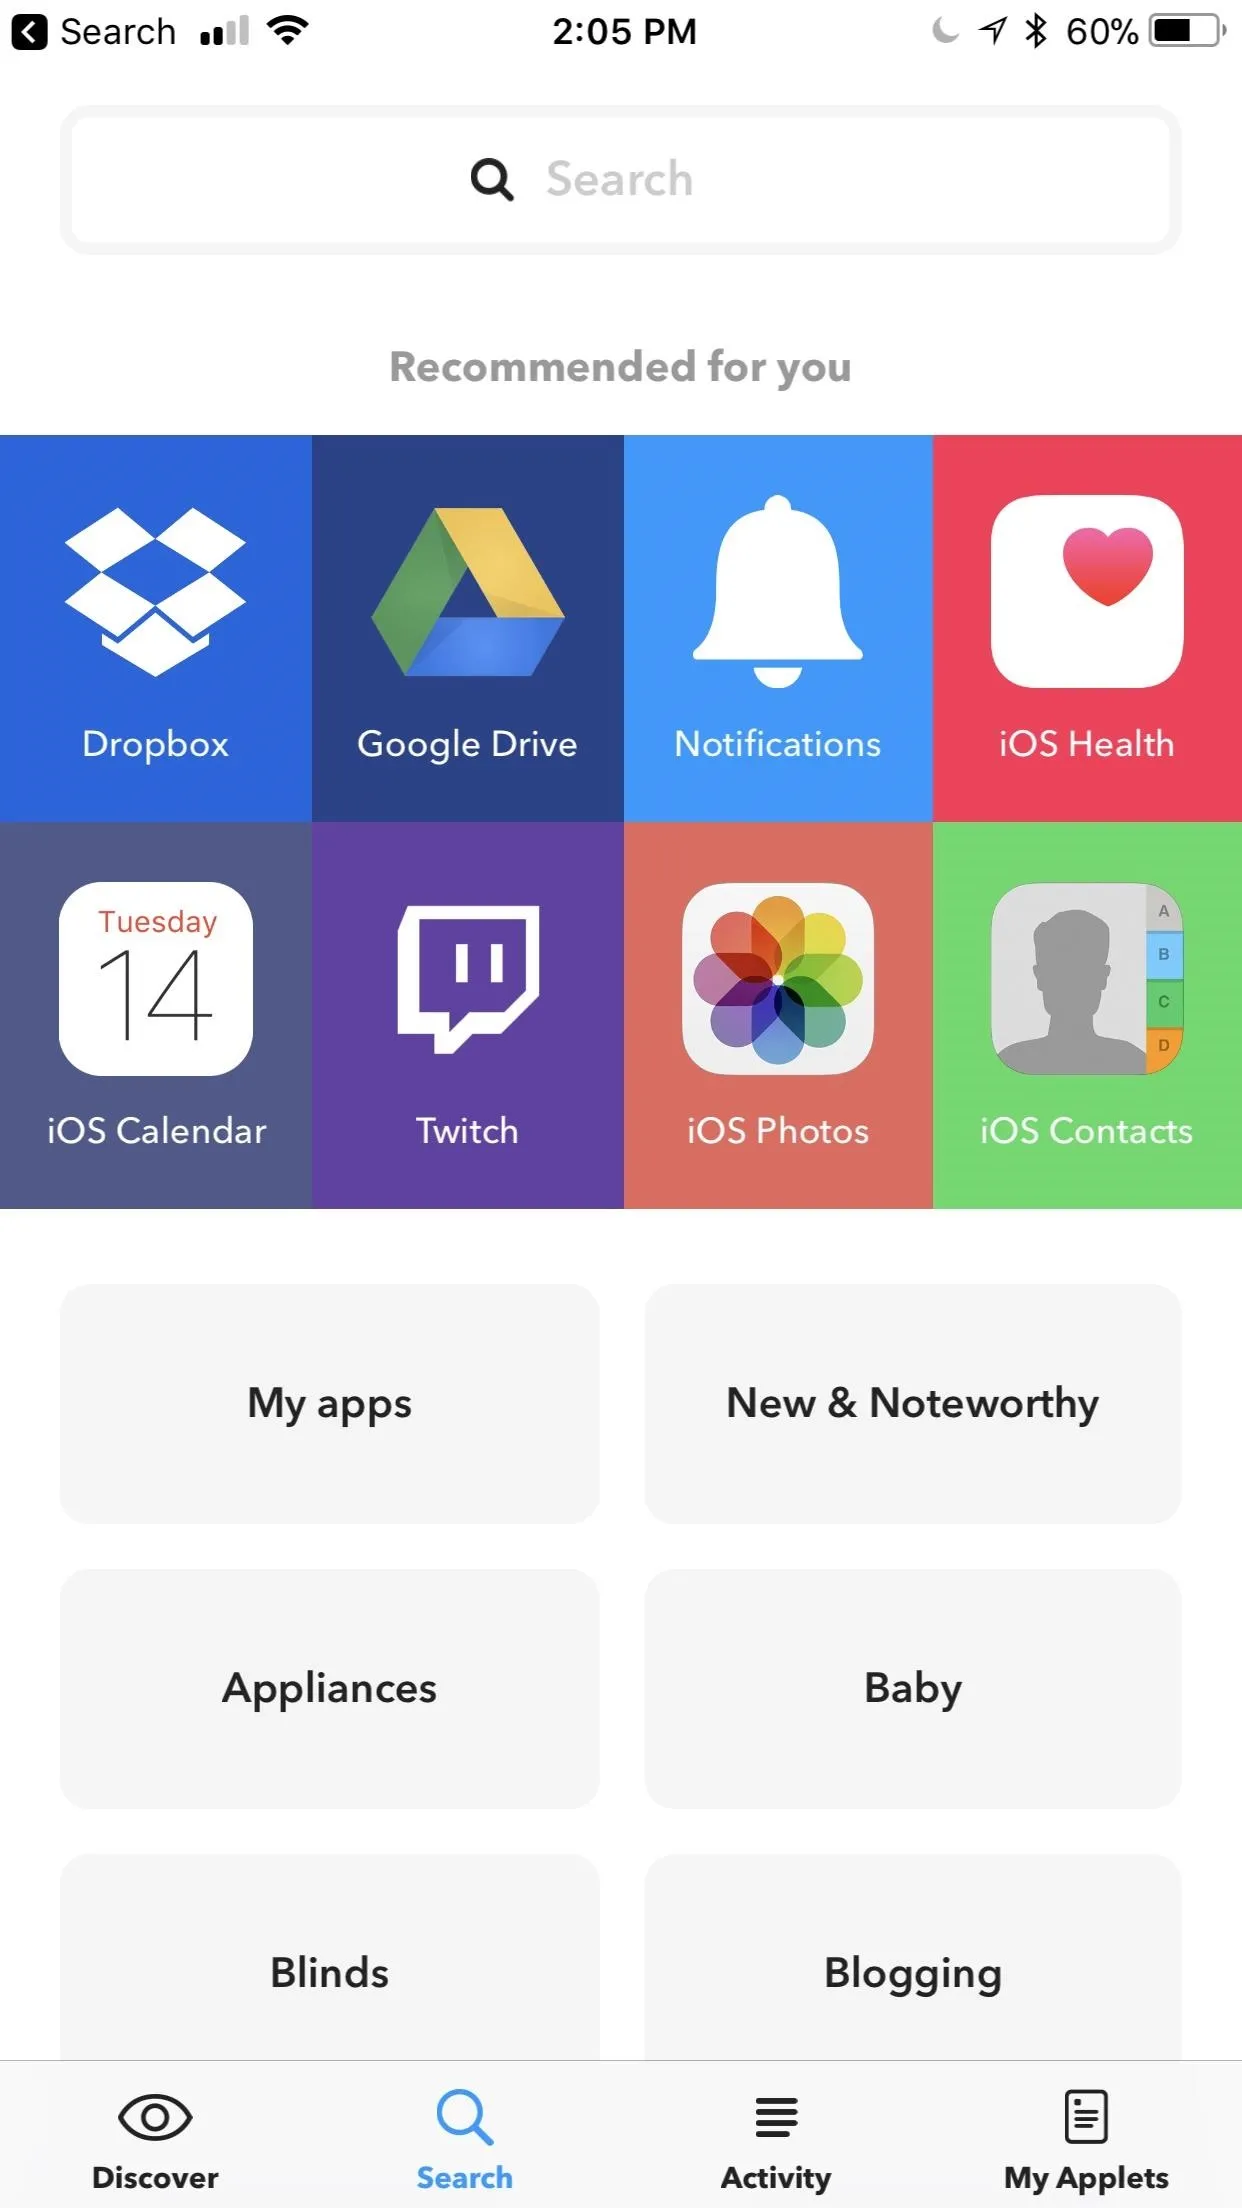
Discover is a great way to get started, but you'll find a bunch of great applets in the Search tab along the bottom, as well. IFTTT will display some of your most-used apps in the "Recommended for you" section just beneath the search bar, where you can browse applets sorted by the apps they leverage. Once again, if you find something you like while poking around in here, just select it, tap "Turn on," then follow the prompts to finish setup.
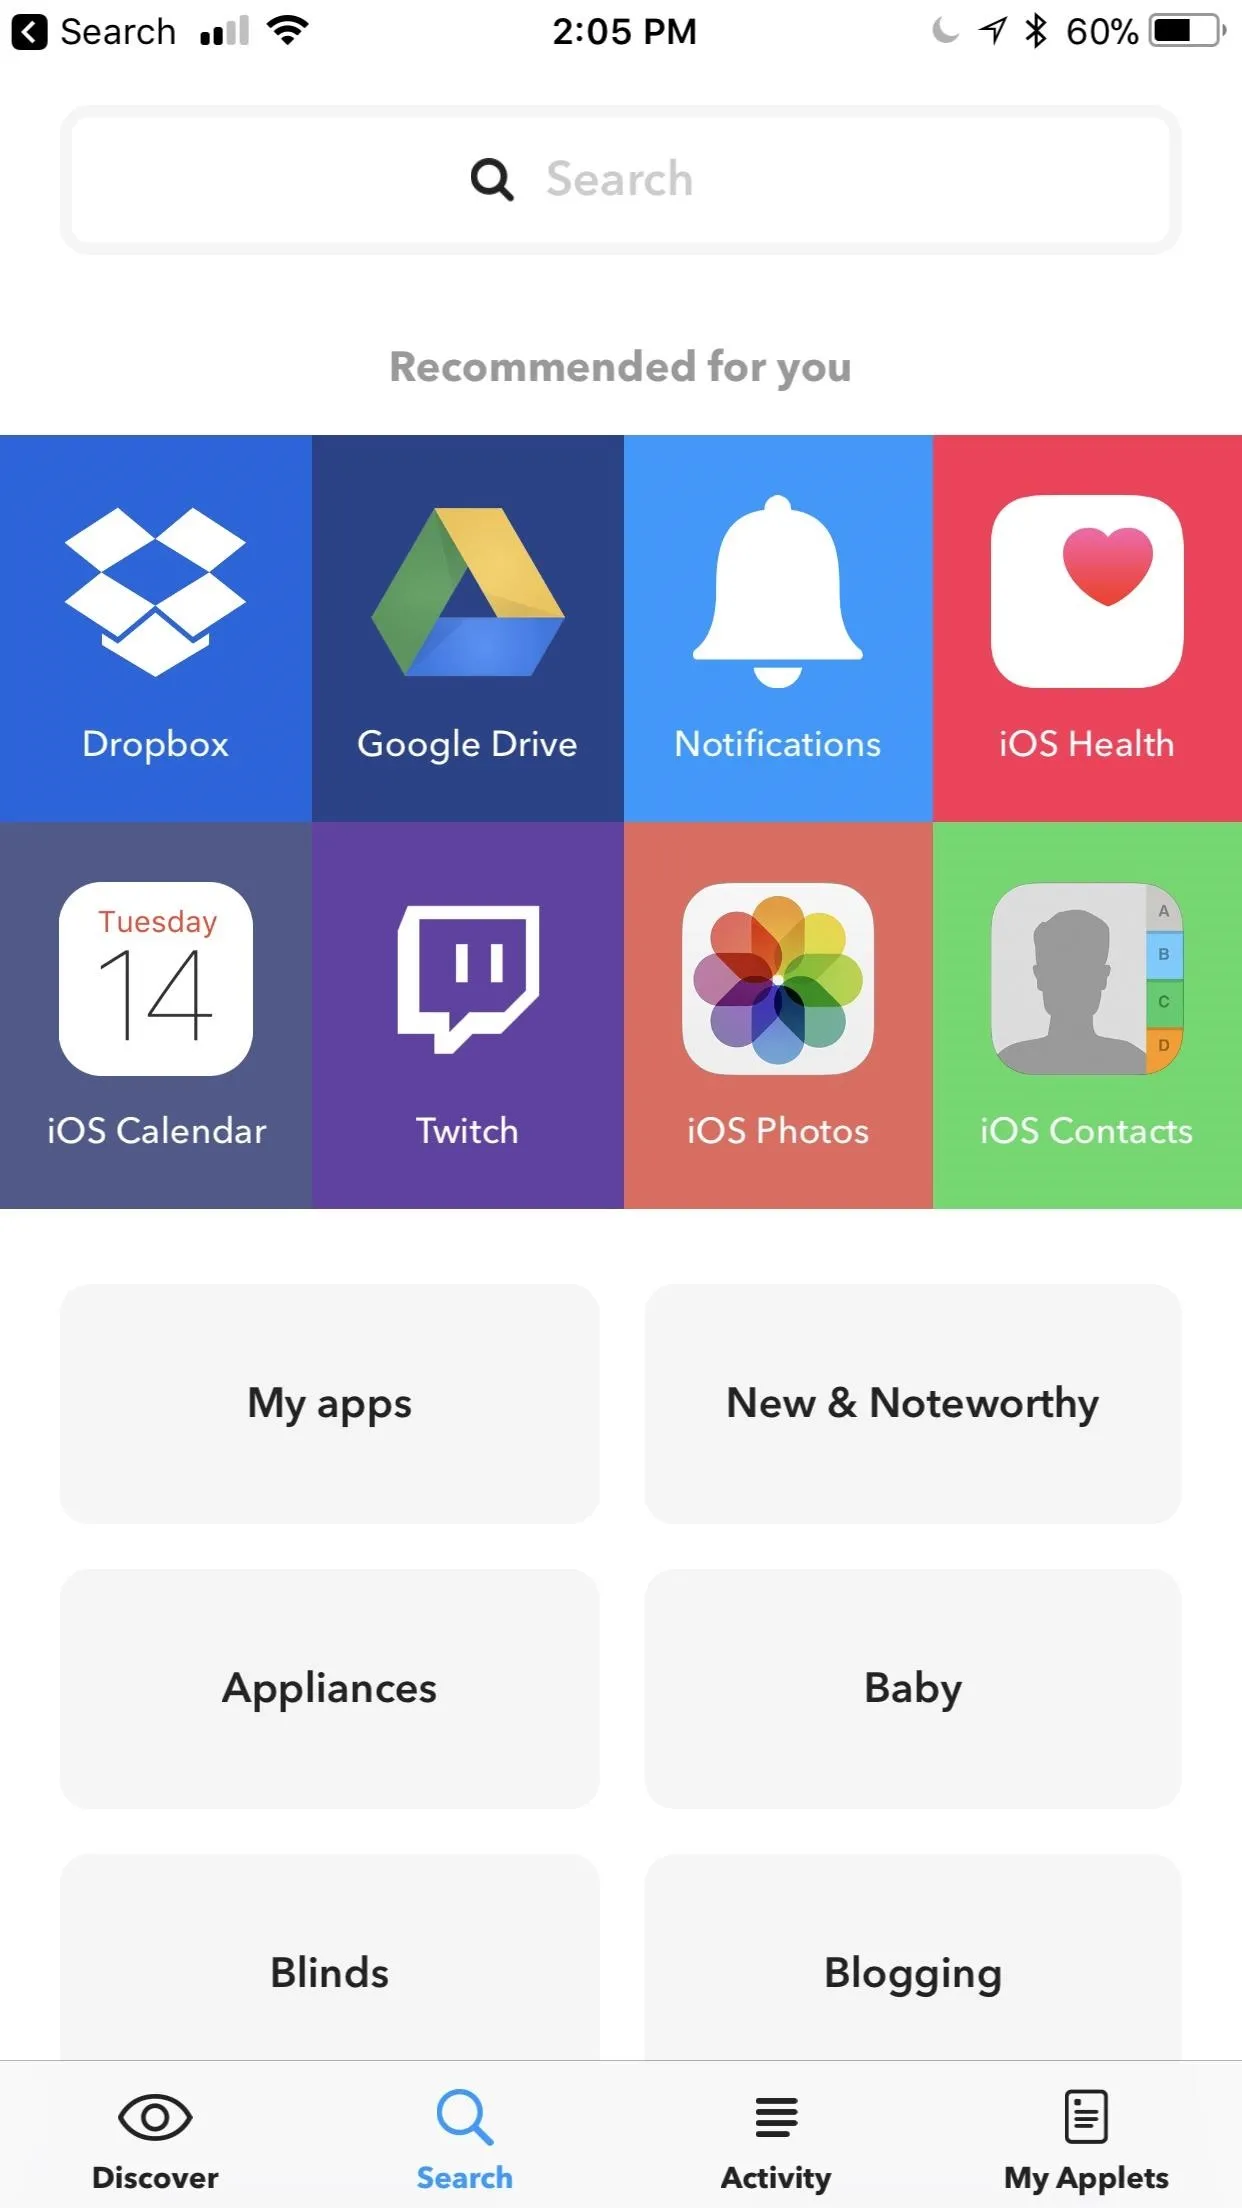
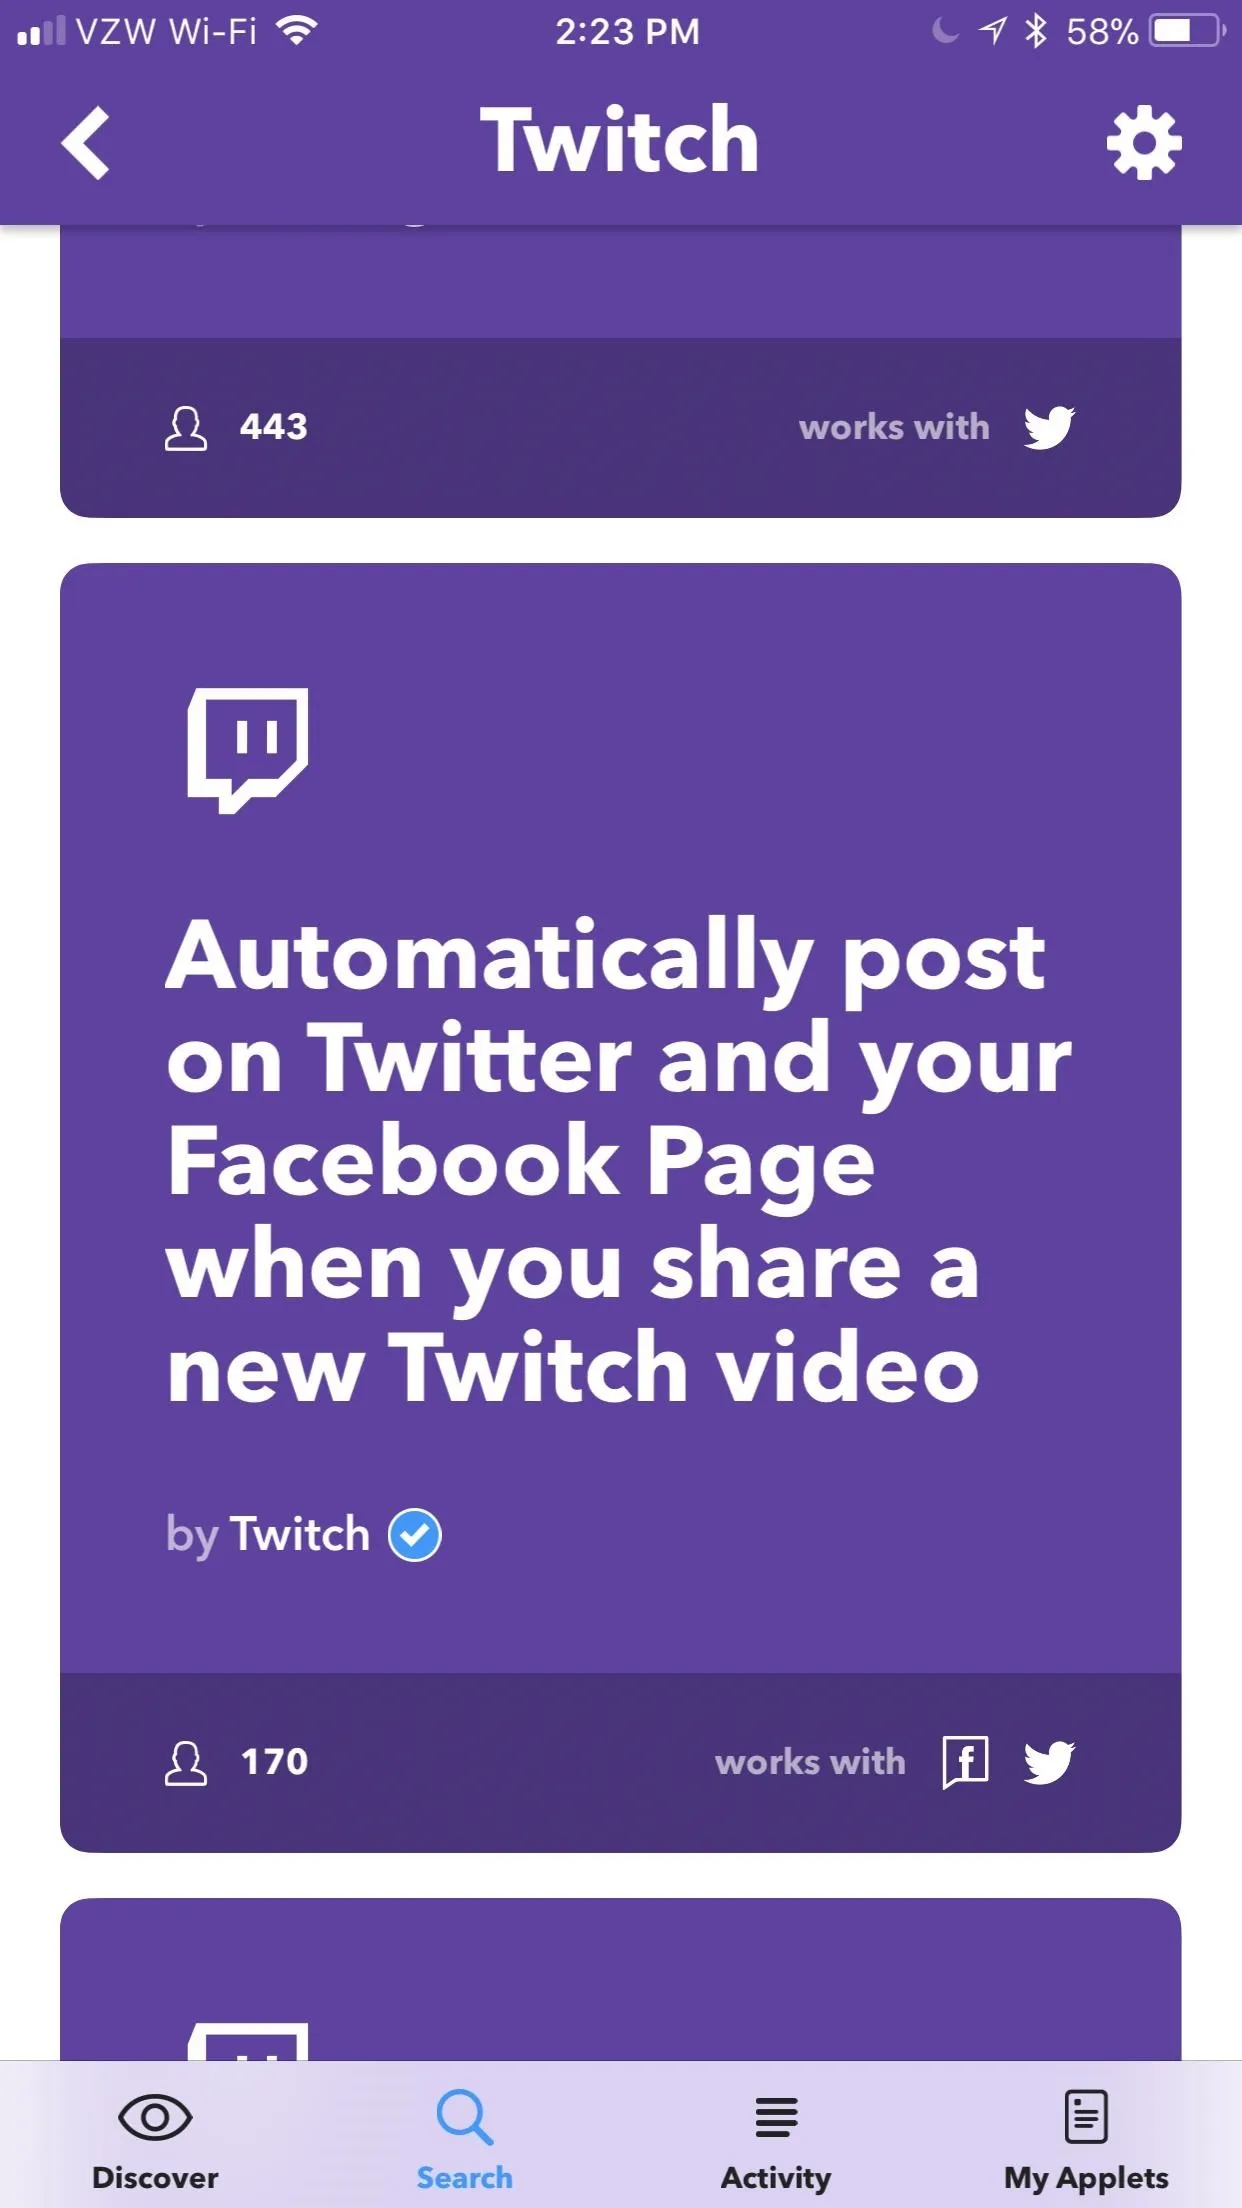


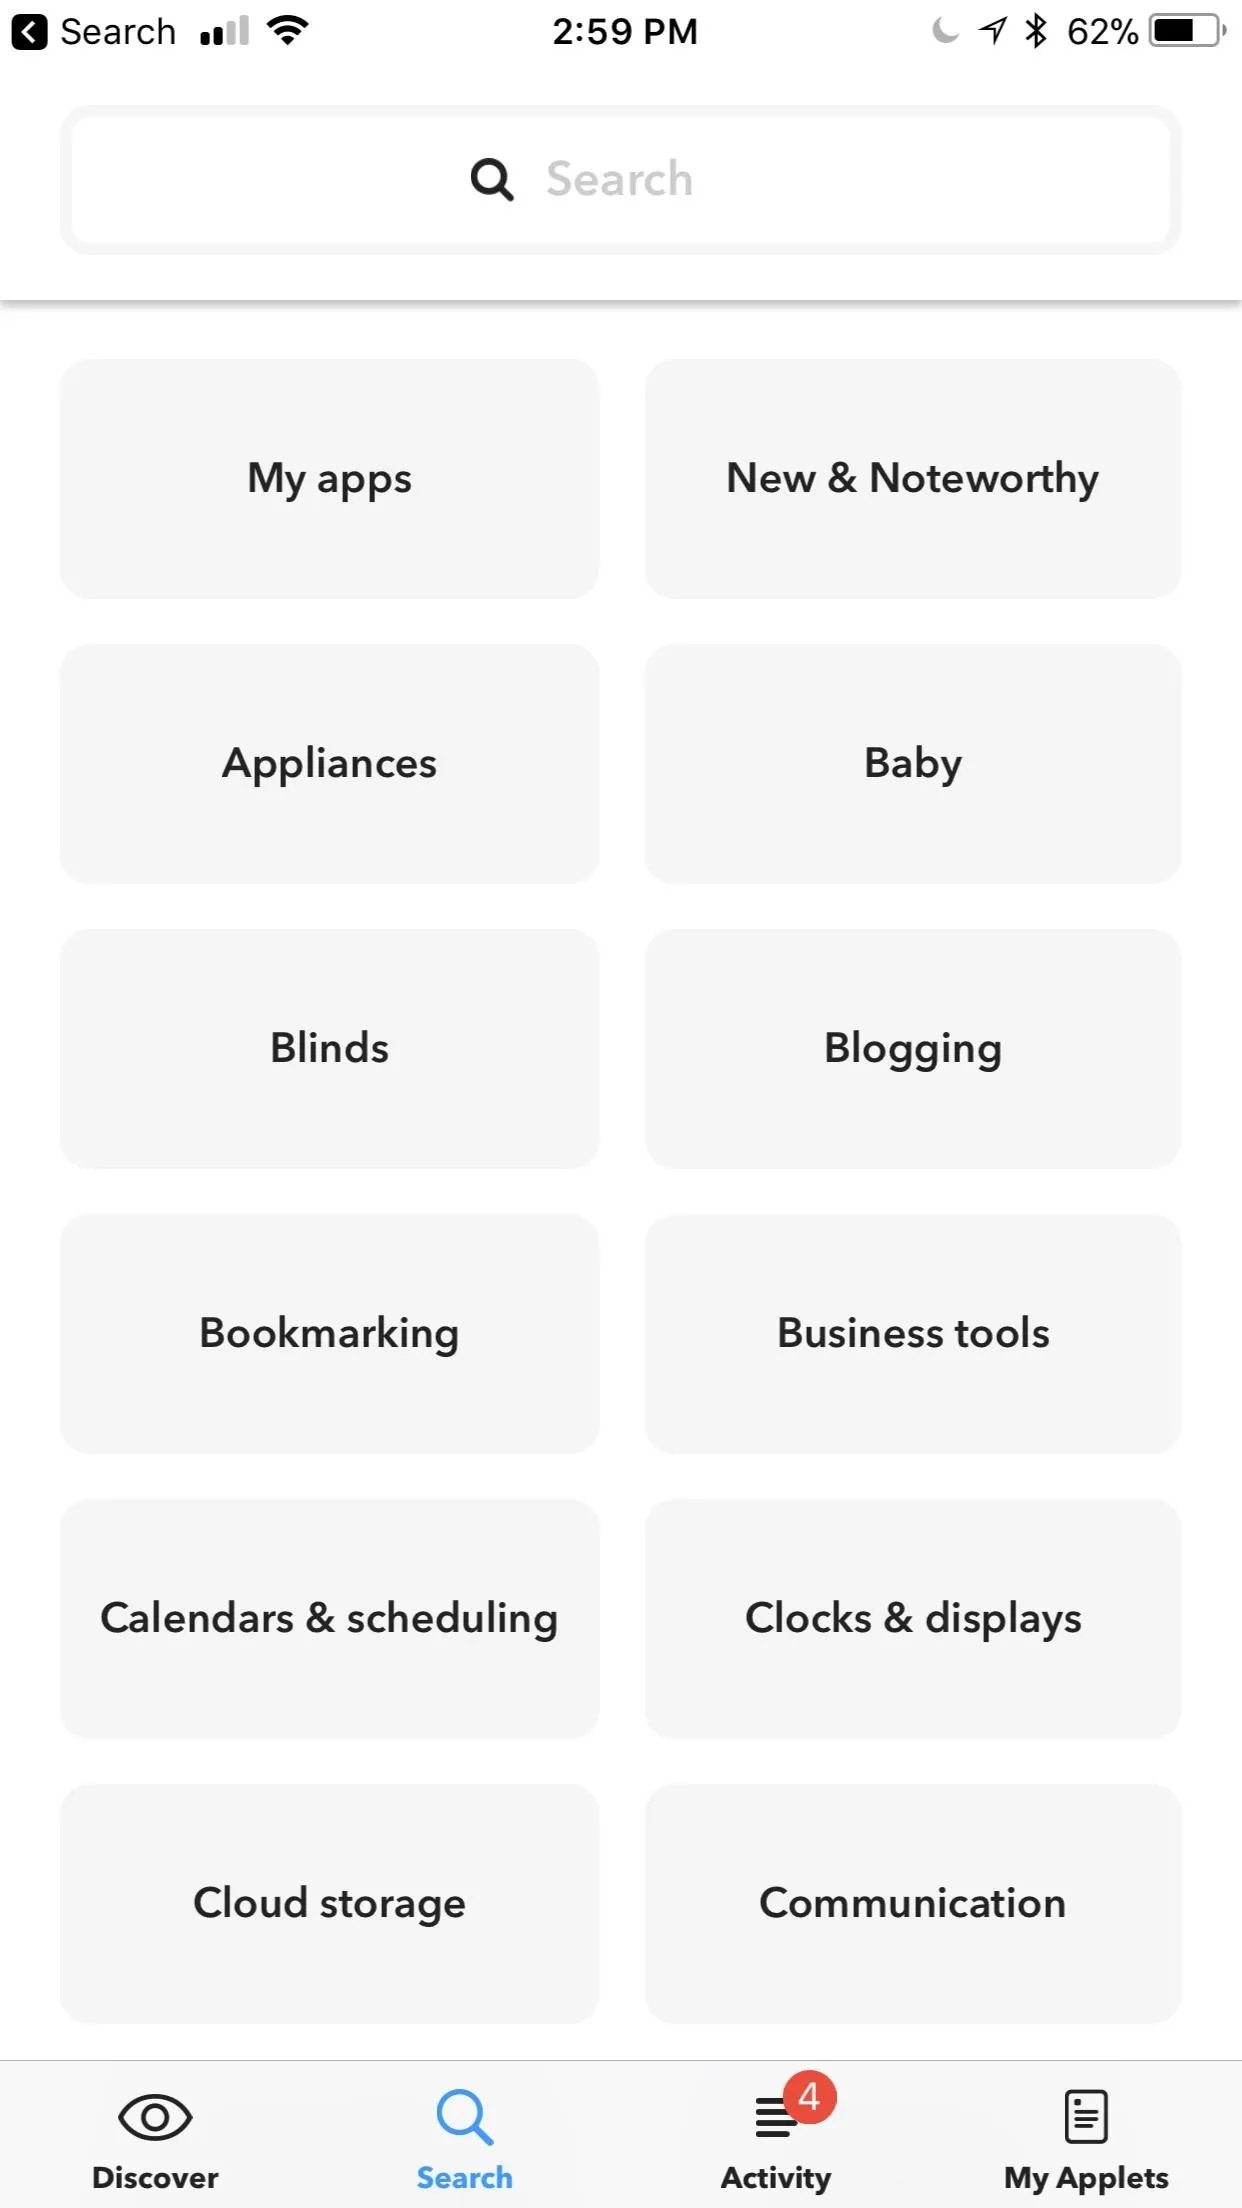
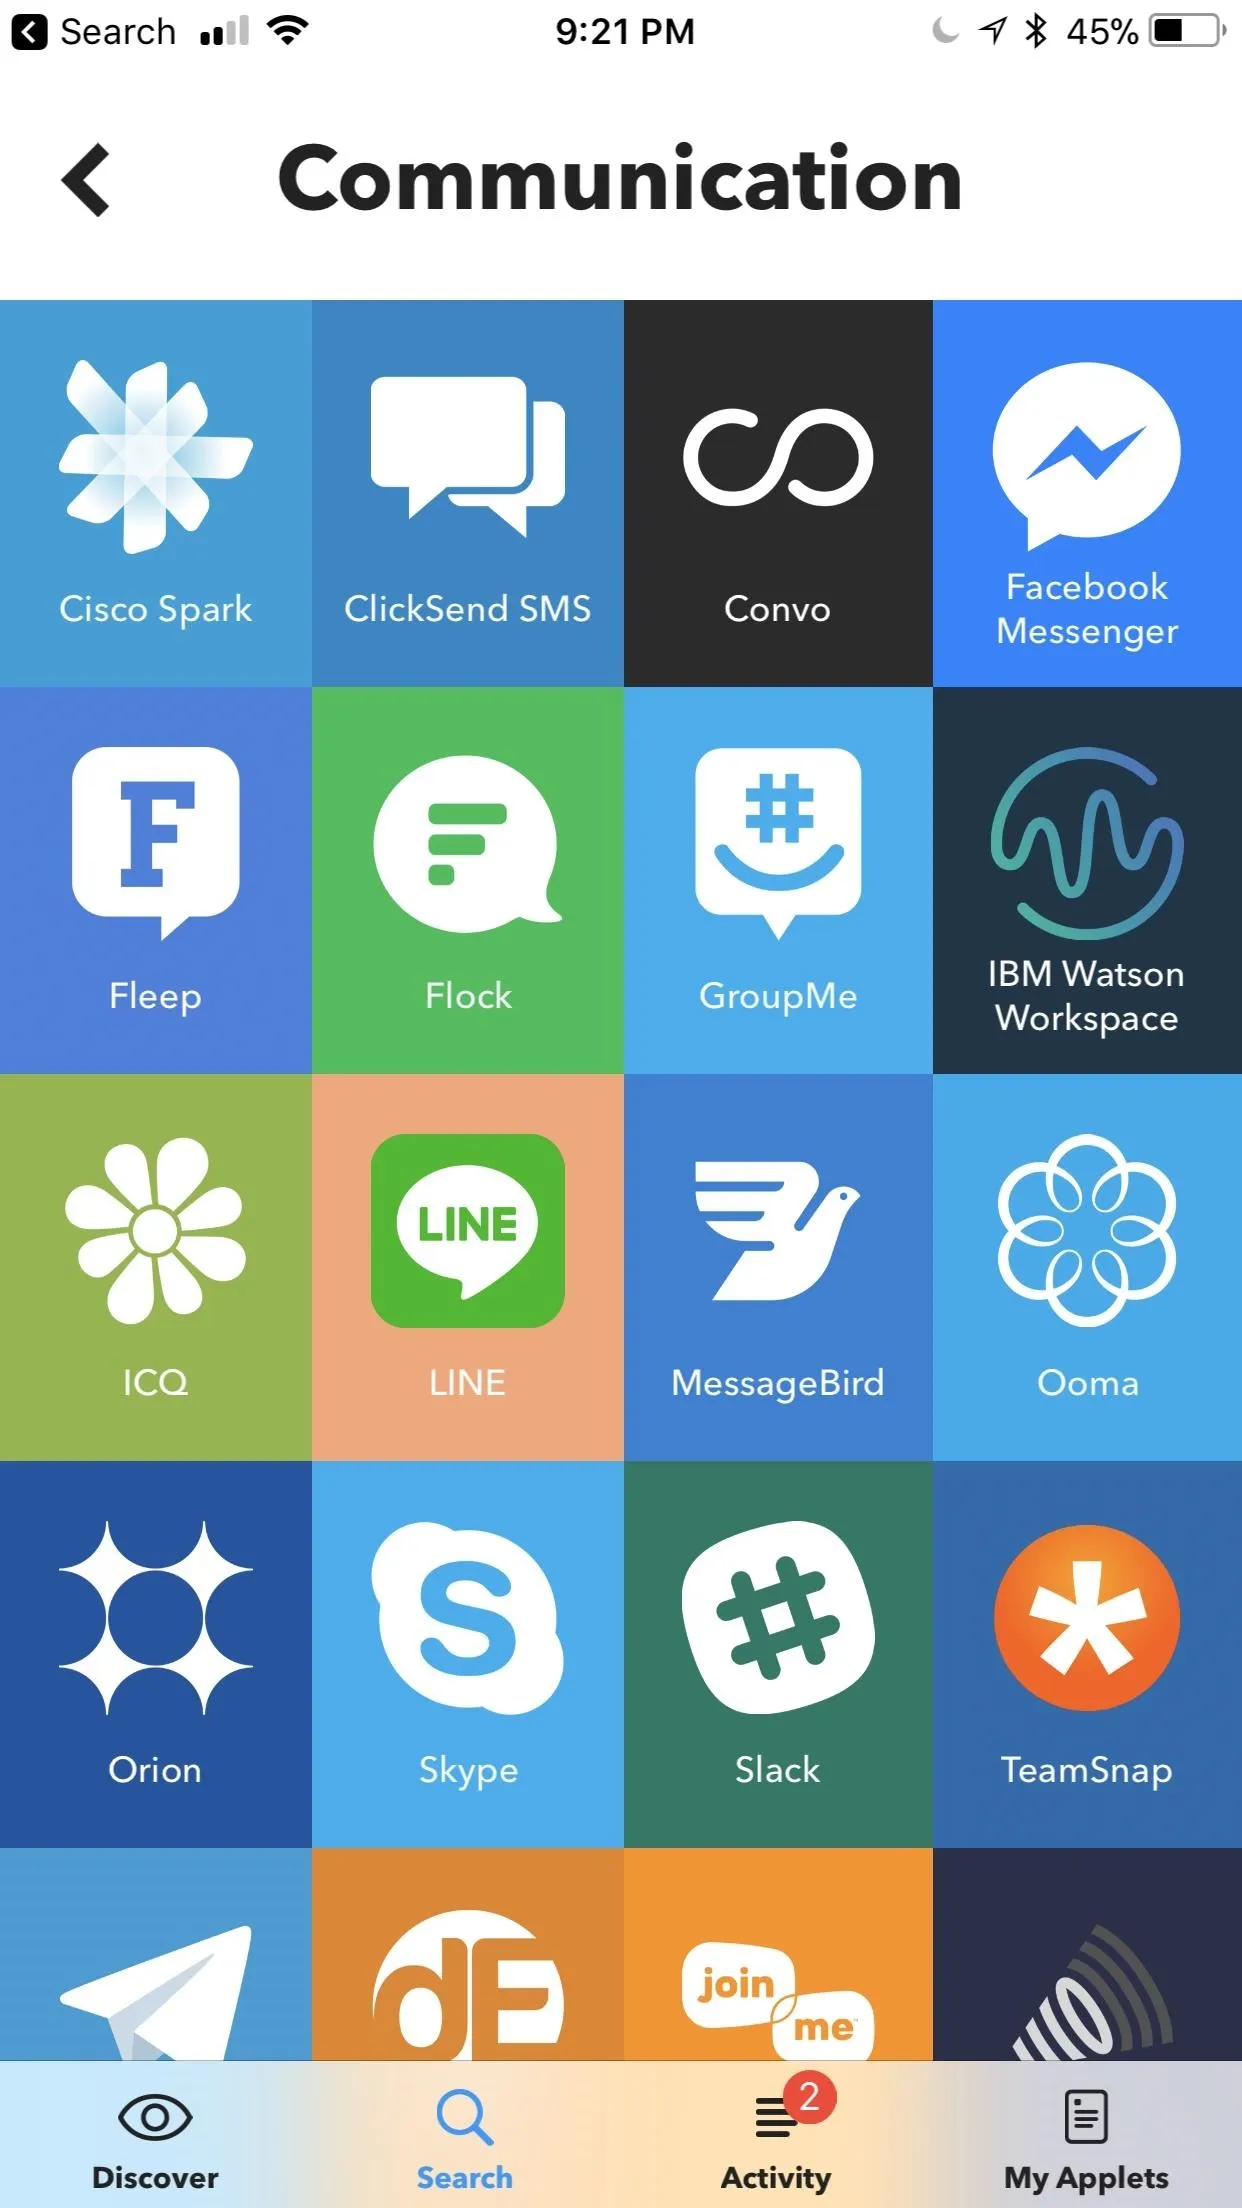
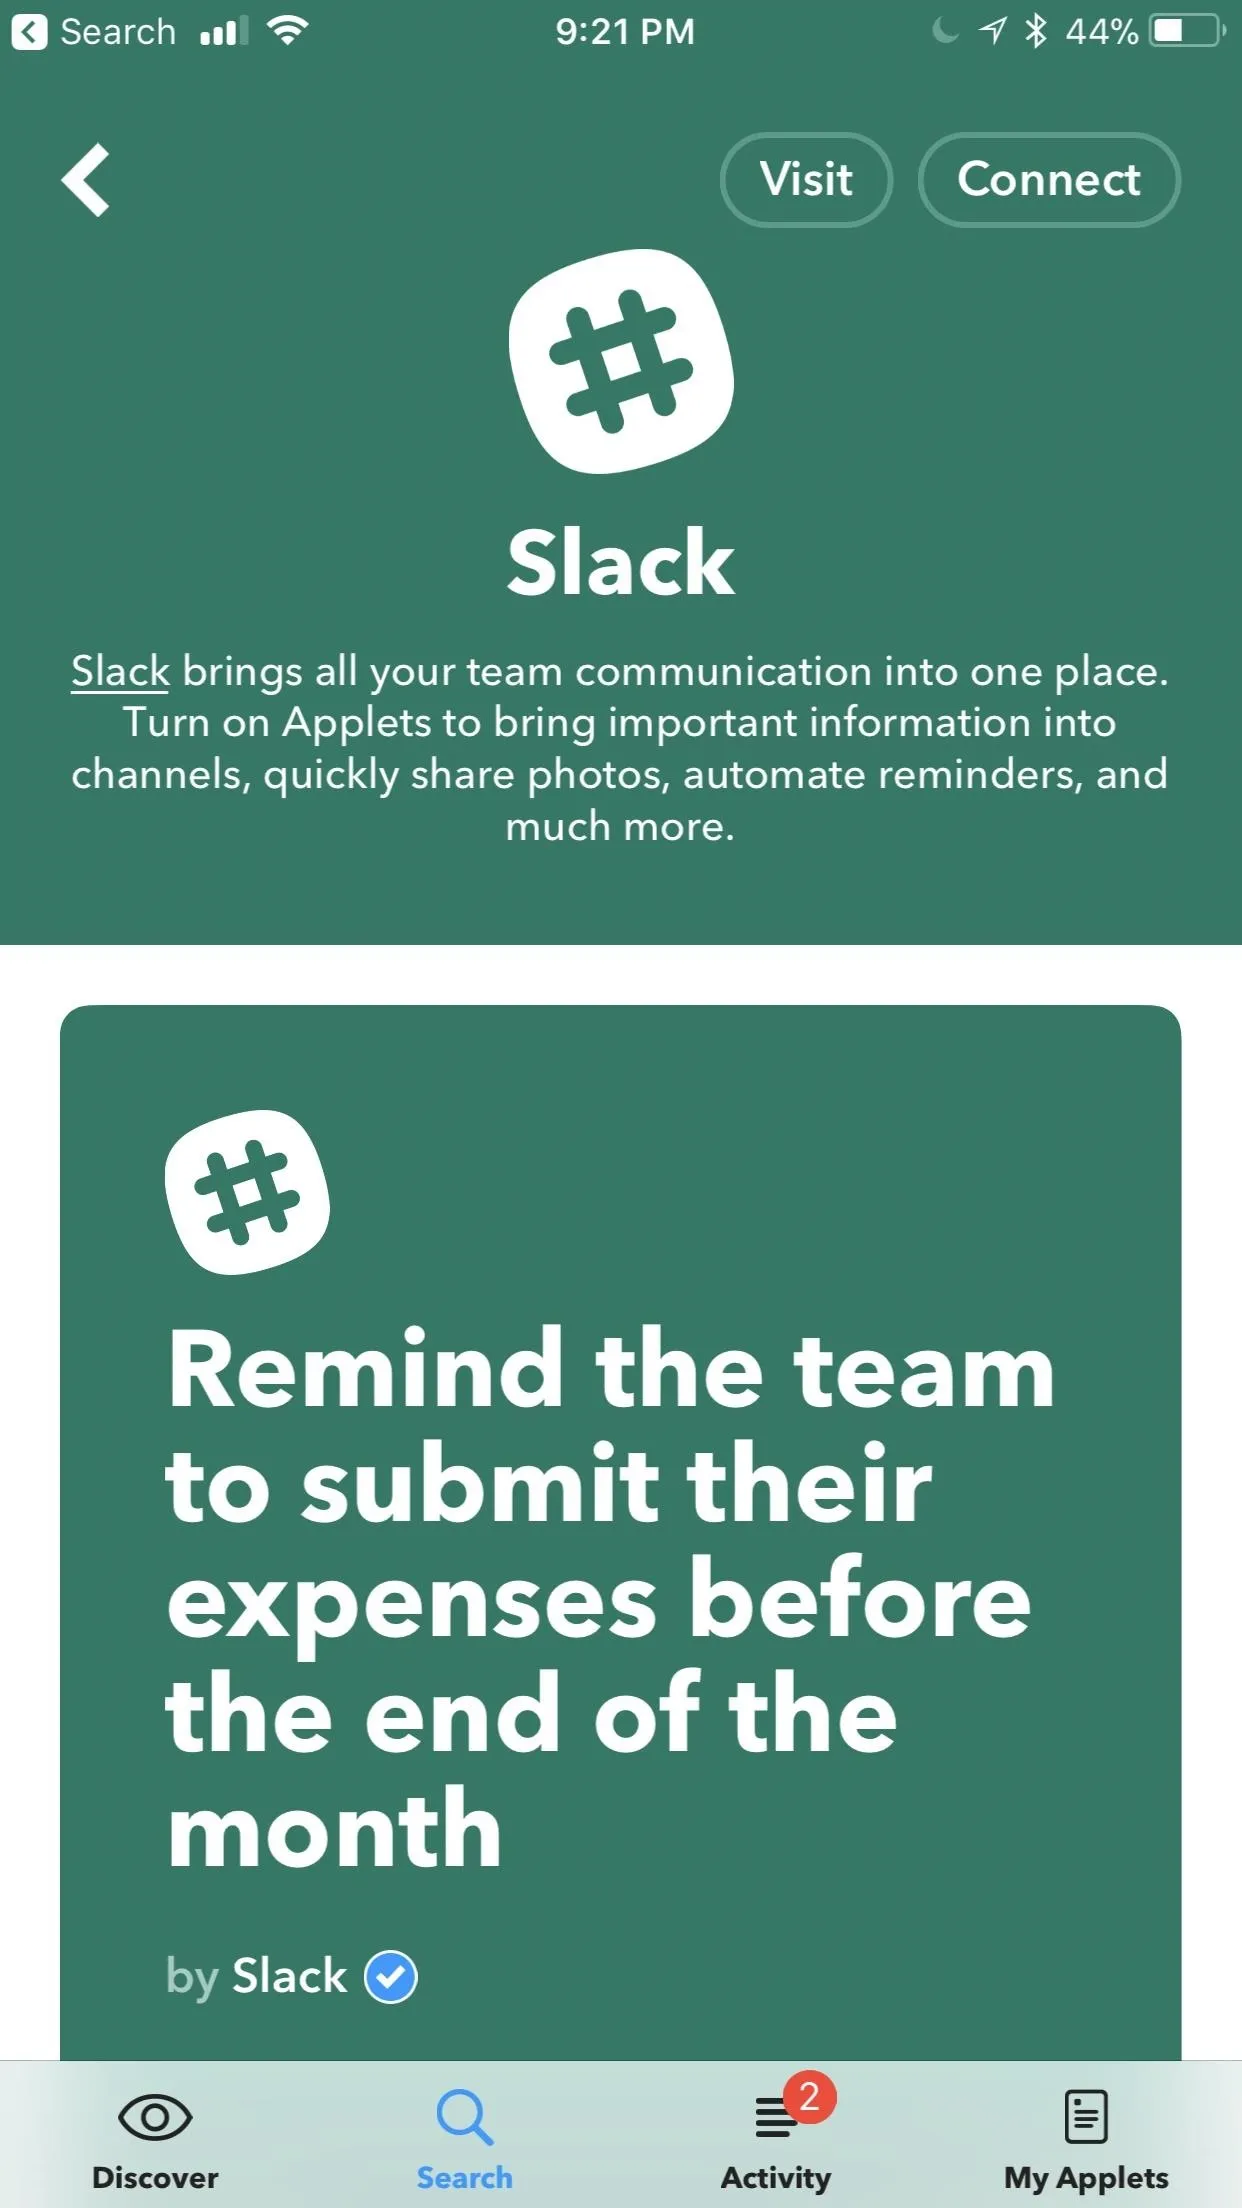
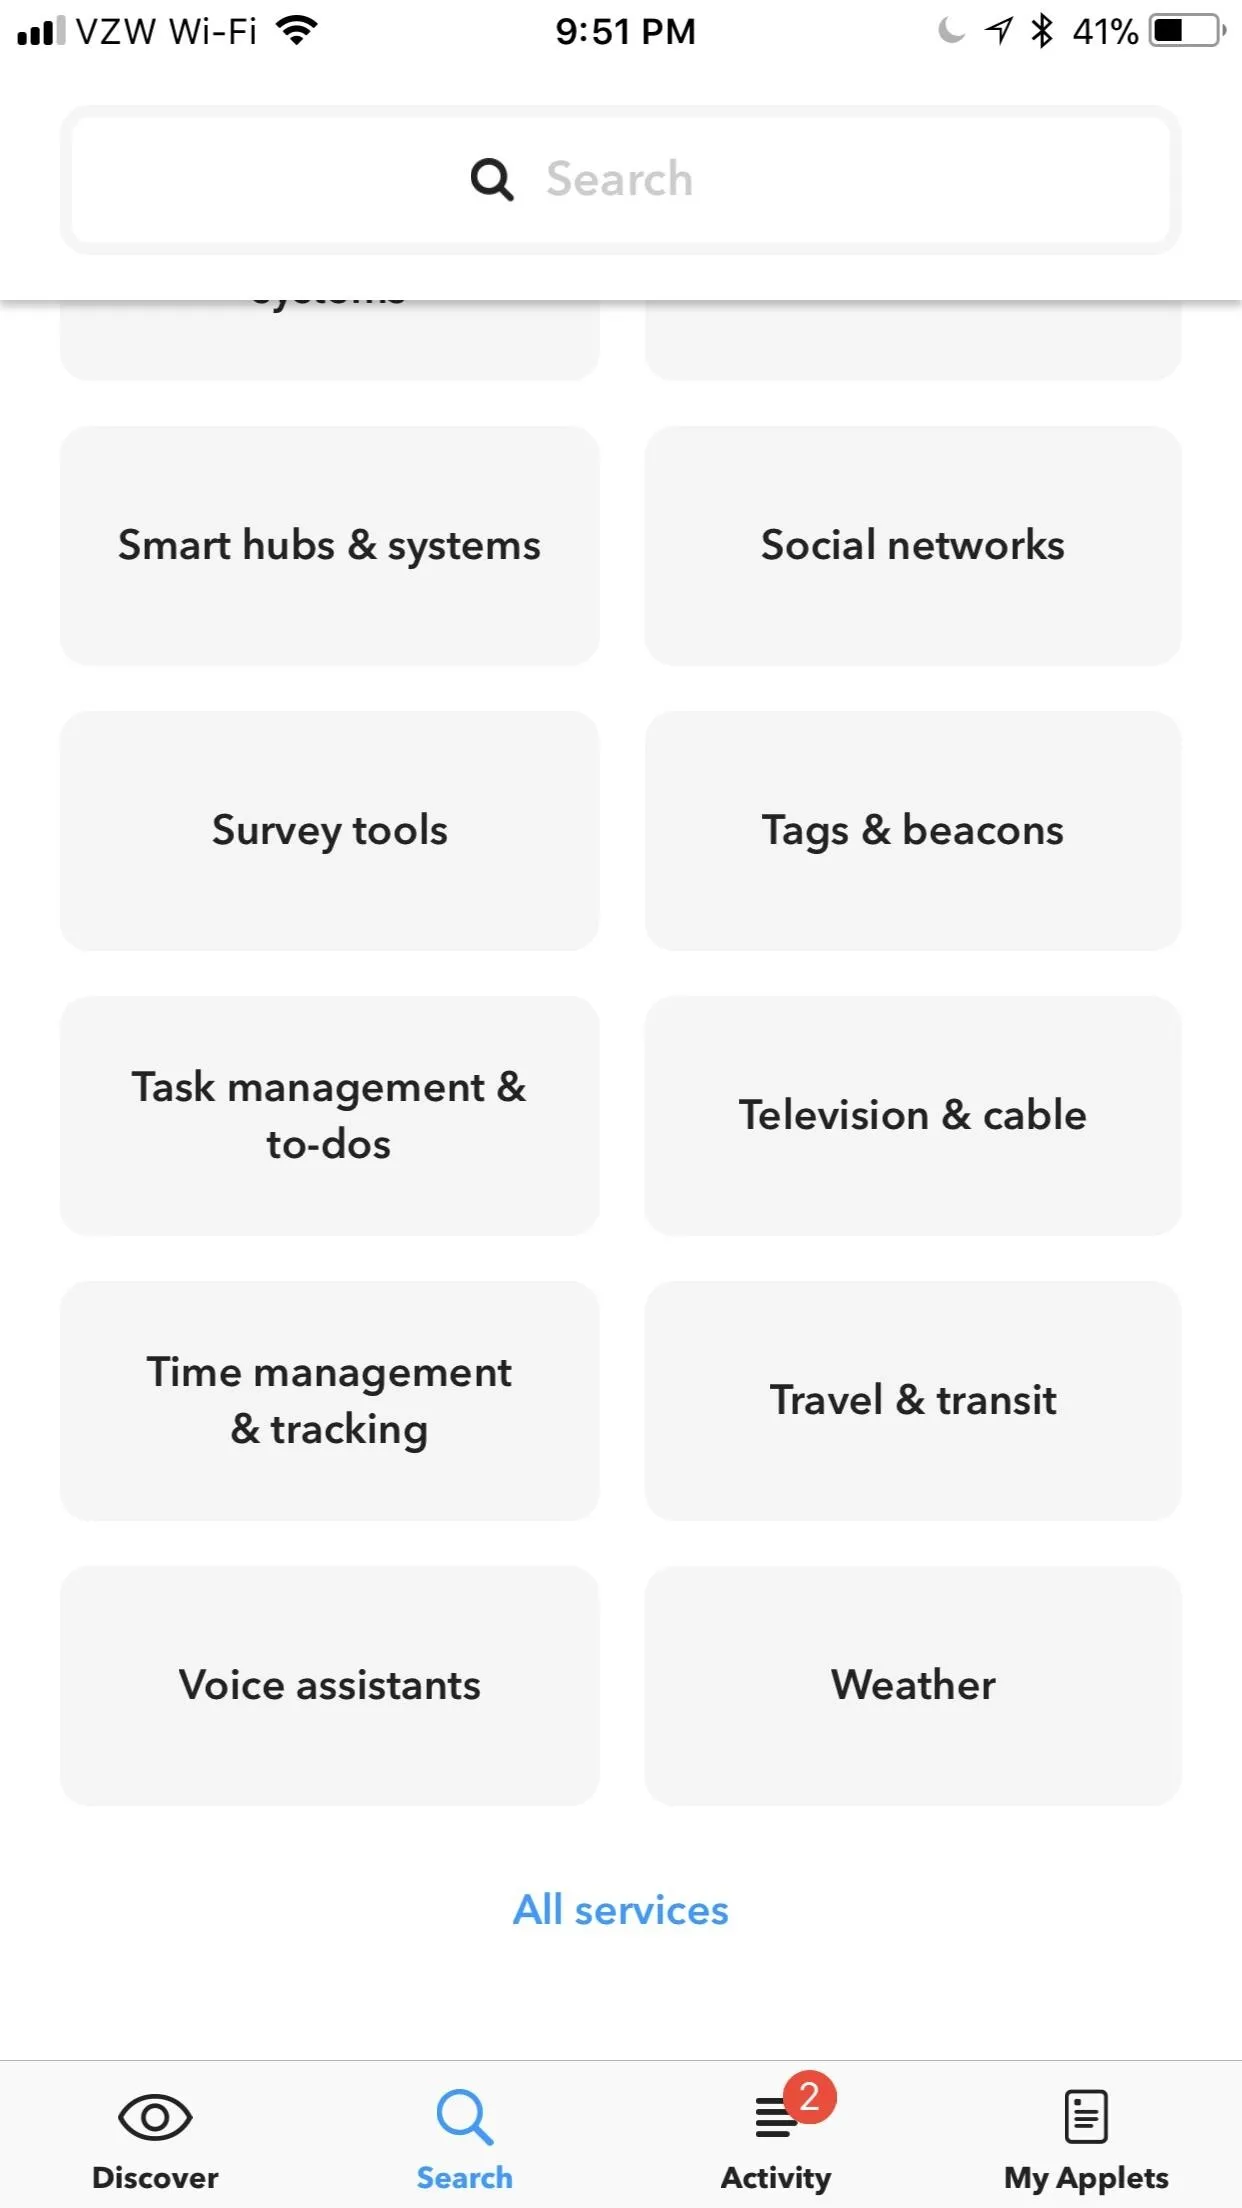
If you scroll down even further on the Search tab, you'll see applets sorted by functions, like "Blogging" or "Communication." Tap on one of these and a list of applications pops up that pertain to each category. For example, Slack didn't appear under my "Recommended for you," but it's an application that I use daily. By finding it under "Communication," I can easily add Slack applets to "My Applets."


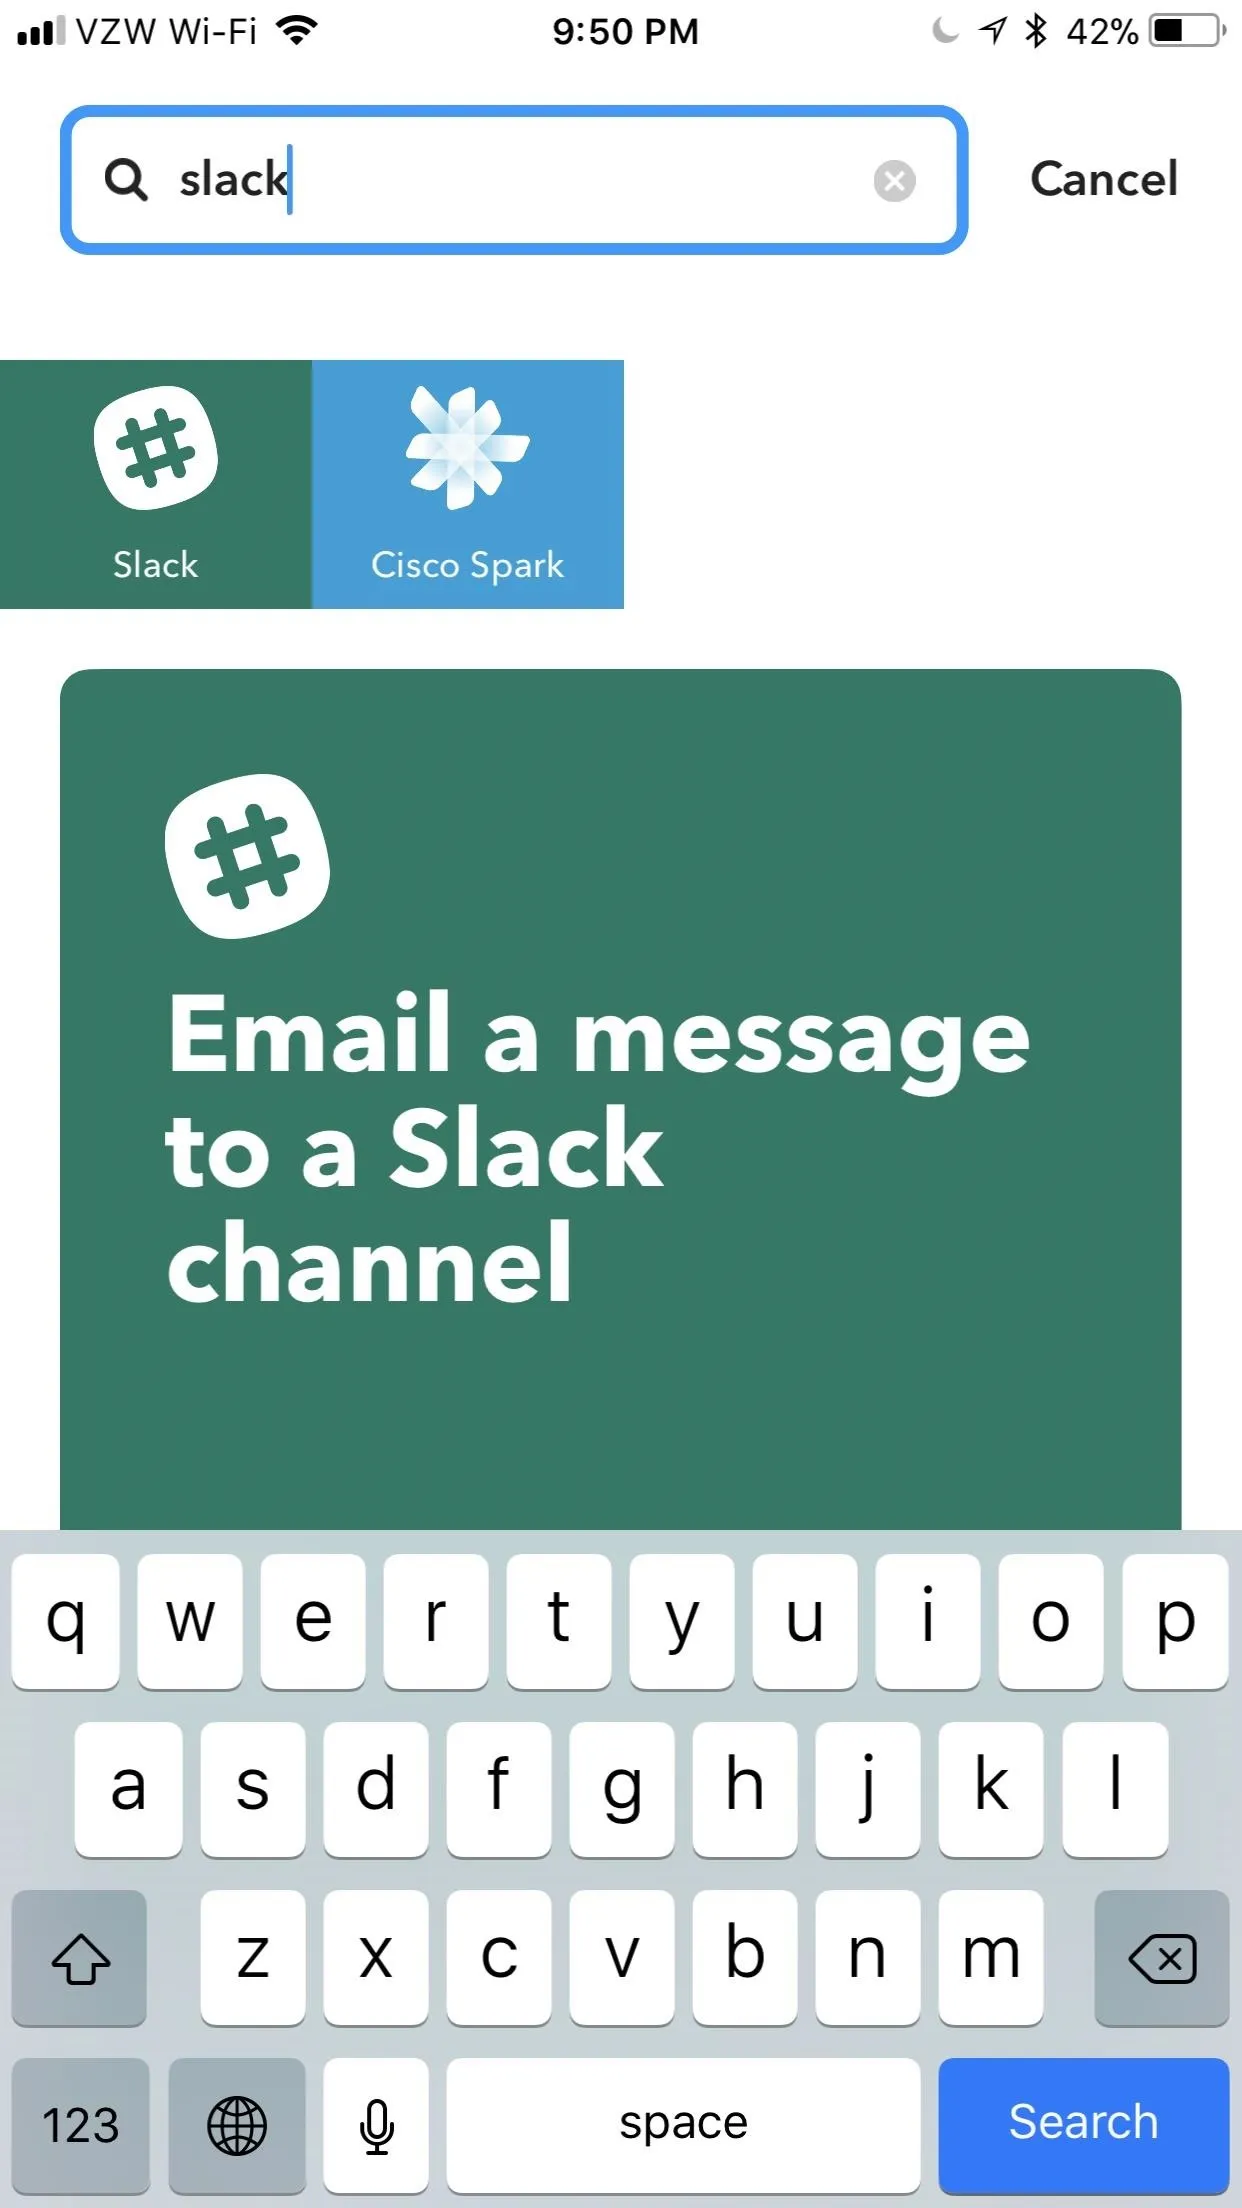
Additionally, you can use the search bar at the top to manually search for apps that you use. Just type in an app's name, then either select the category result at the top, or scroll through the search results to find applets that leverage the app you searched.


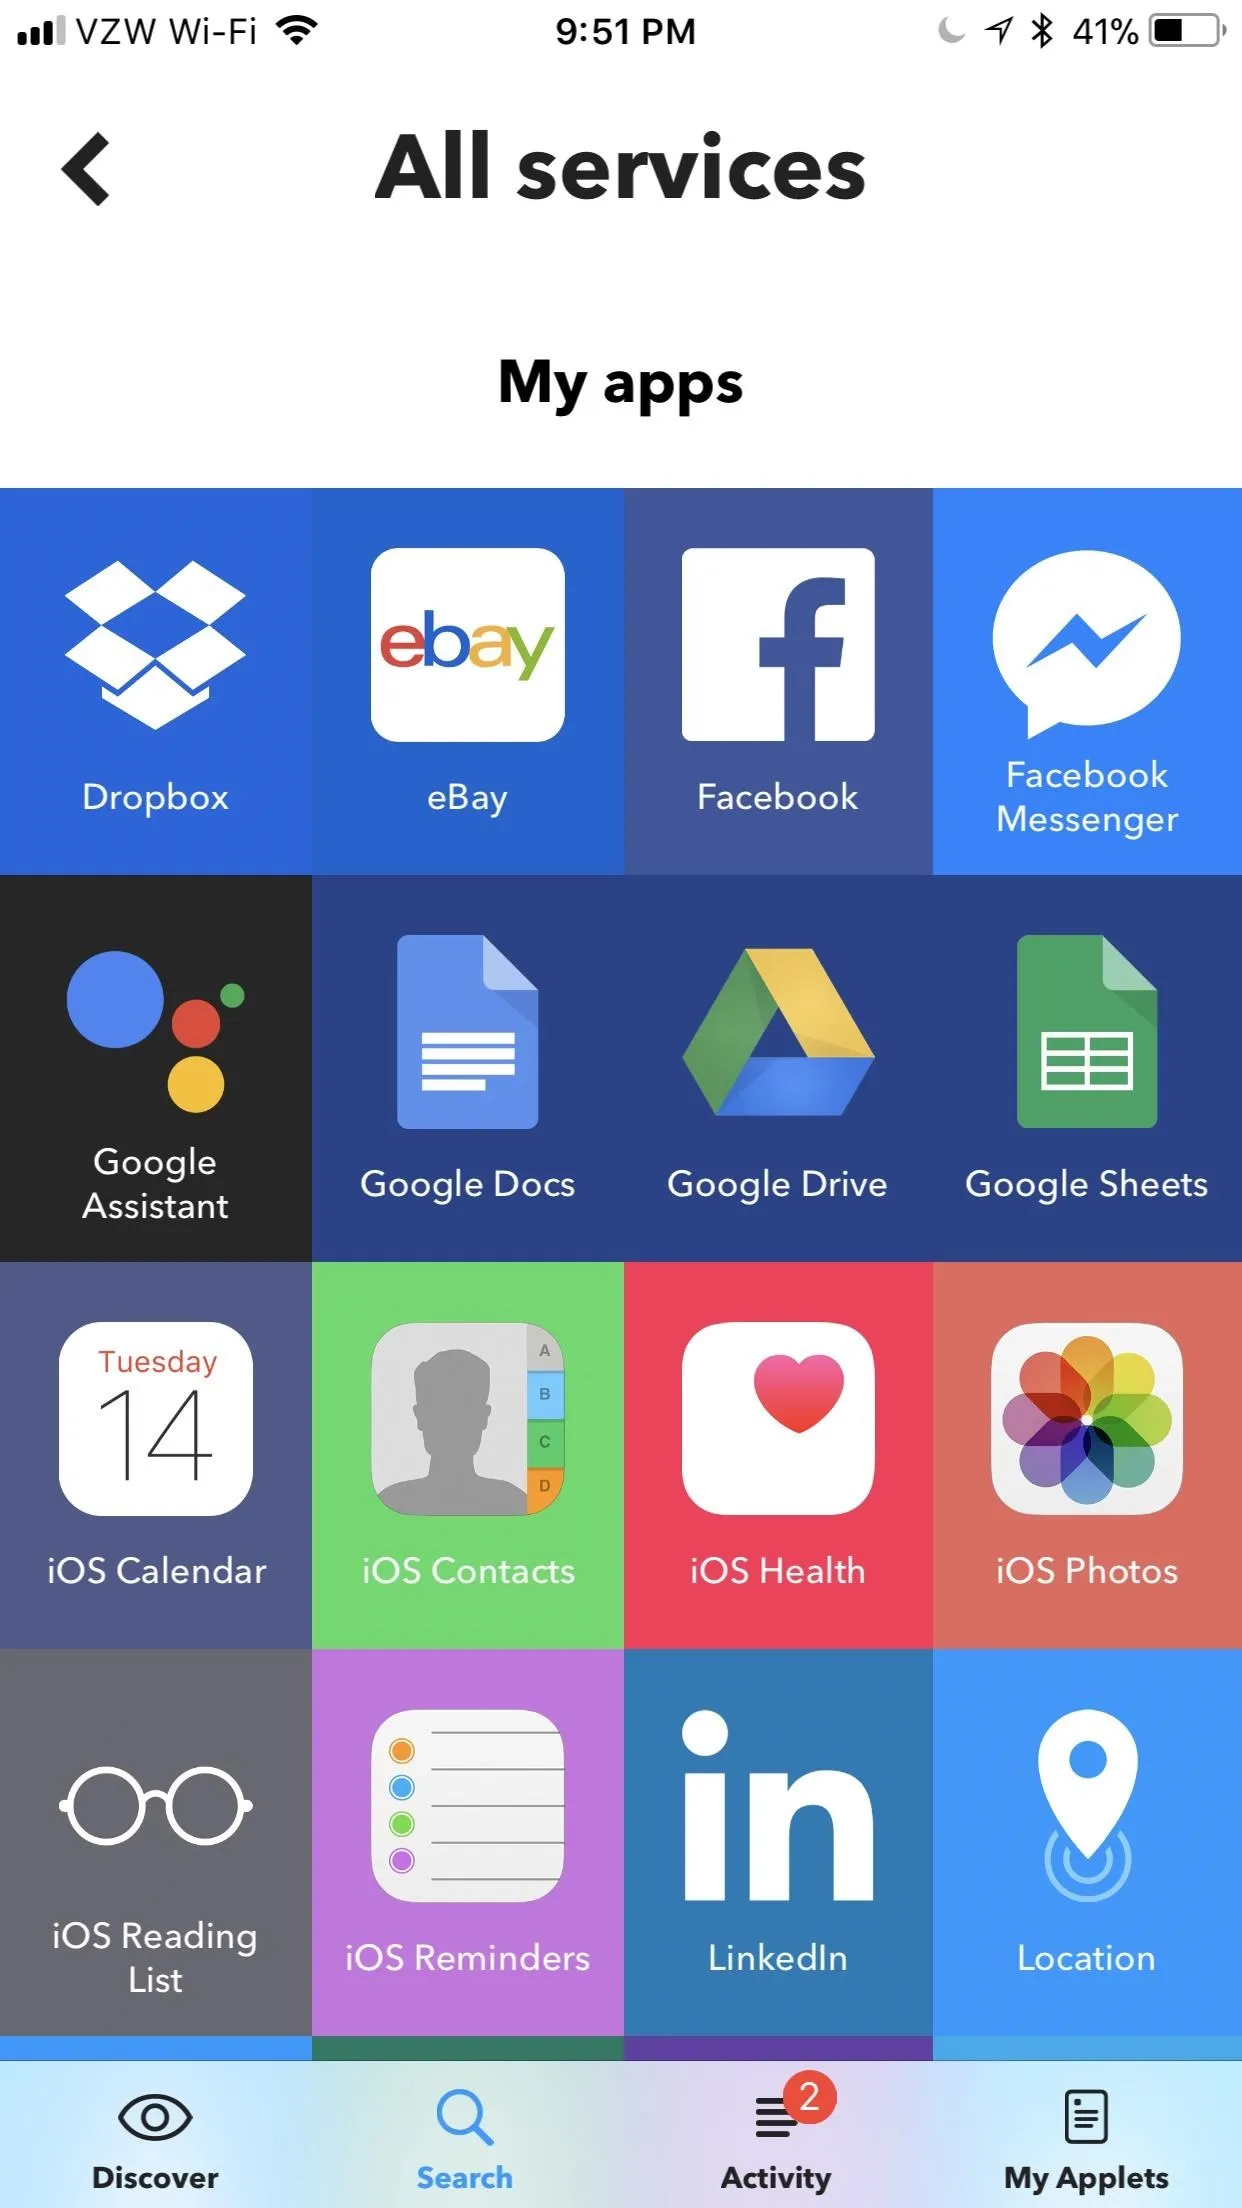
To find a comprehensive list of all IFTTT-compatible apps that you currently use, scroll to the bottom of the Search section and tap "All services." Every app with IFTTT integration will be shown before you, where you can add applets to "My Applets."


Manage Your Applets
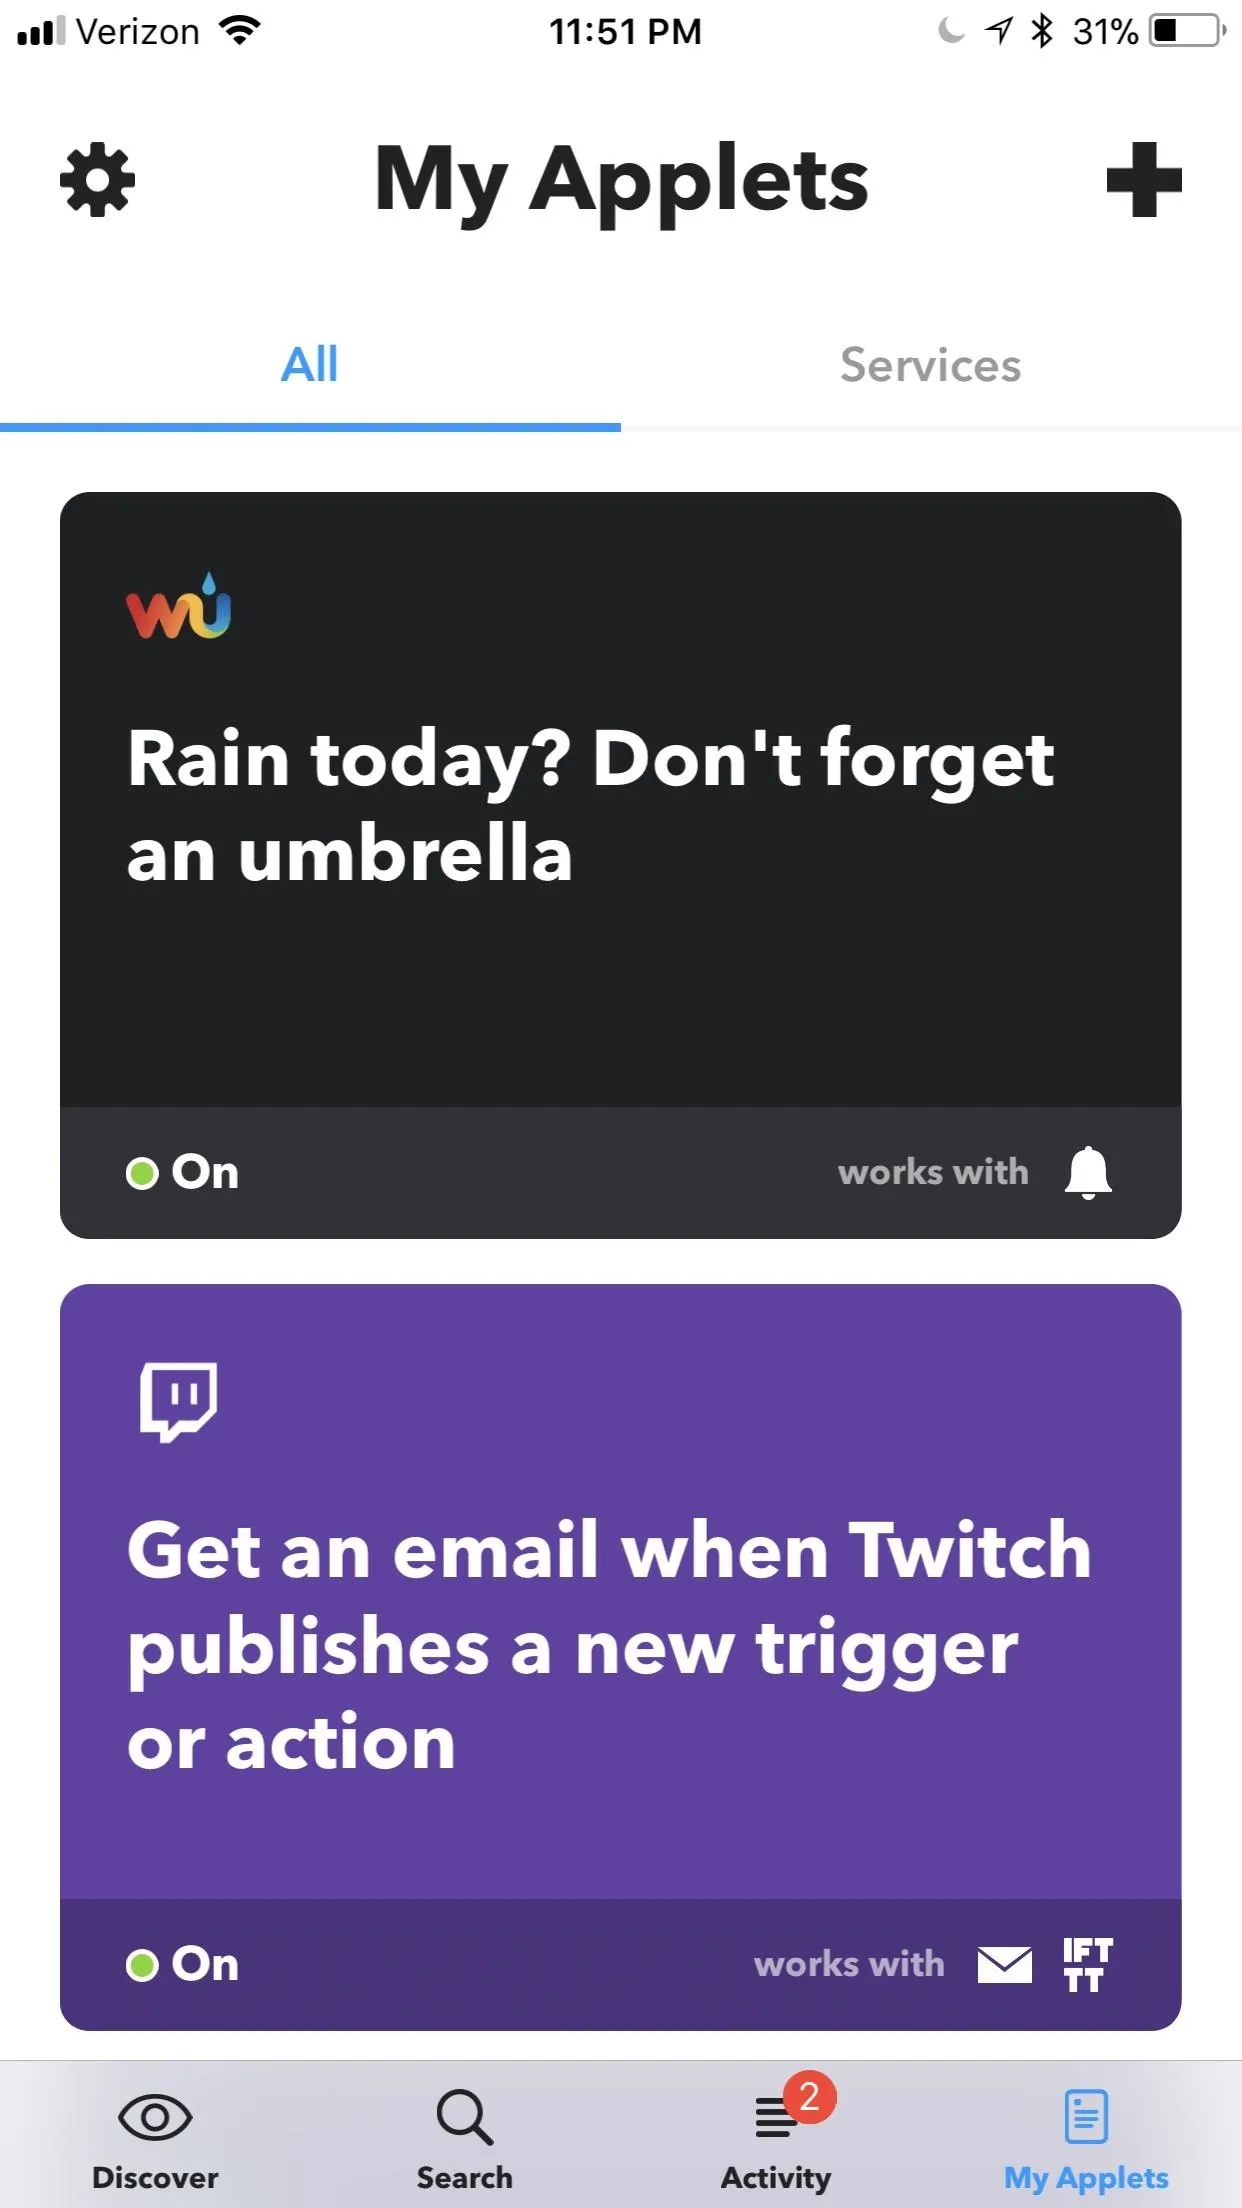
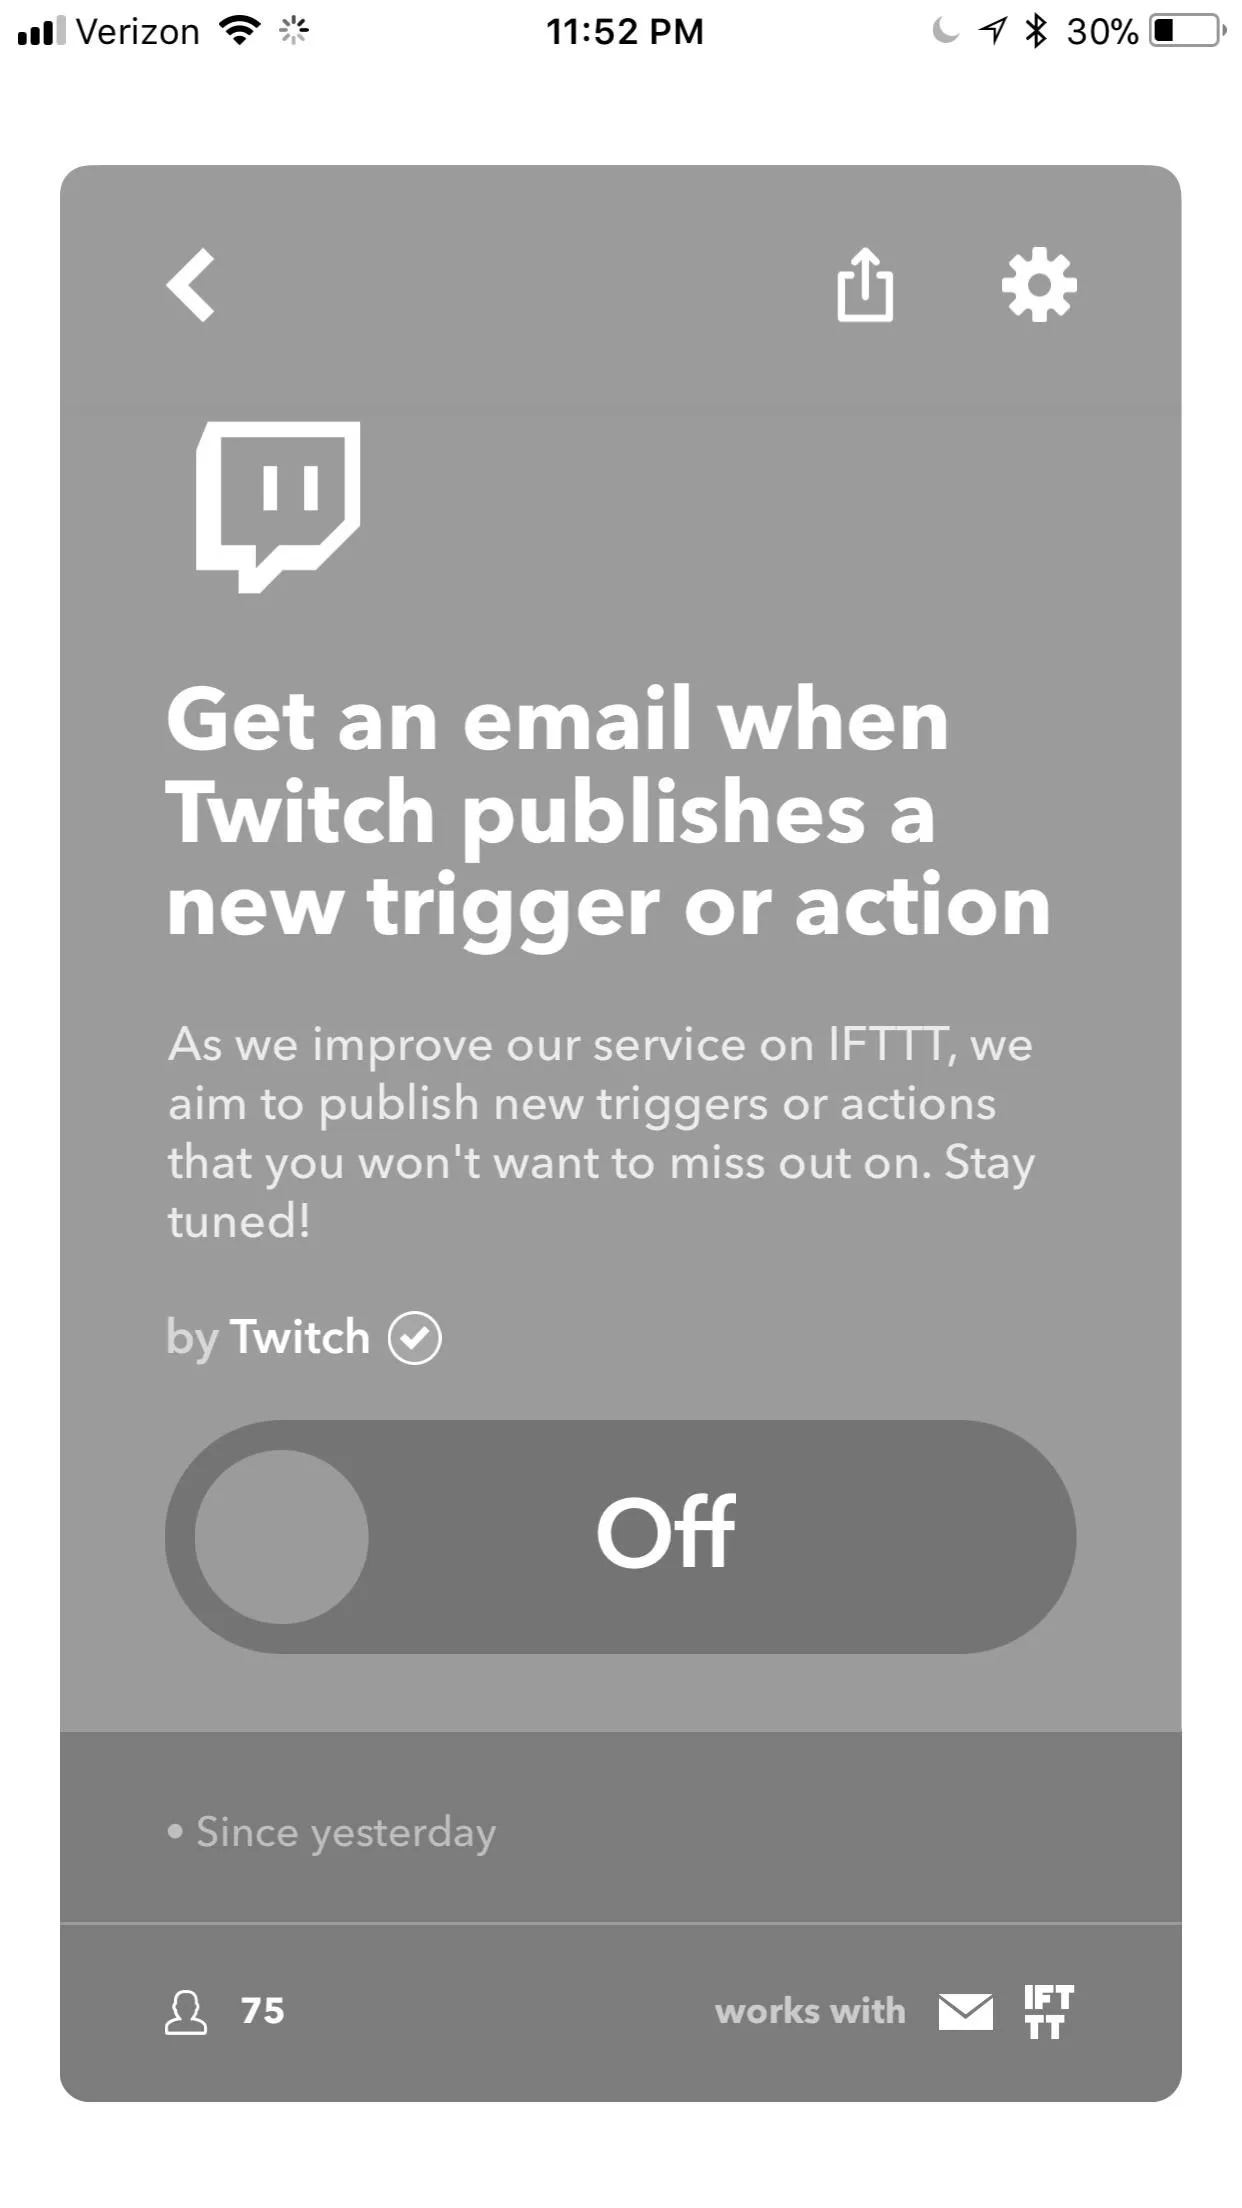
When you use IFTTT, it can be difficult to keep track of all the applets that you've added. Fortunately, IFTTT holds them in the My Applets tab along the bottom. From here, tap on any of the applets you use. This will open up the same type of submenu that you used to add new applets. Here, you can switch off applets you want to temporarily disable.
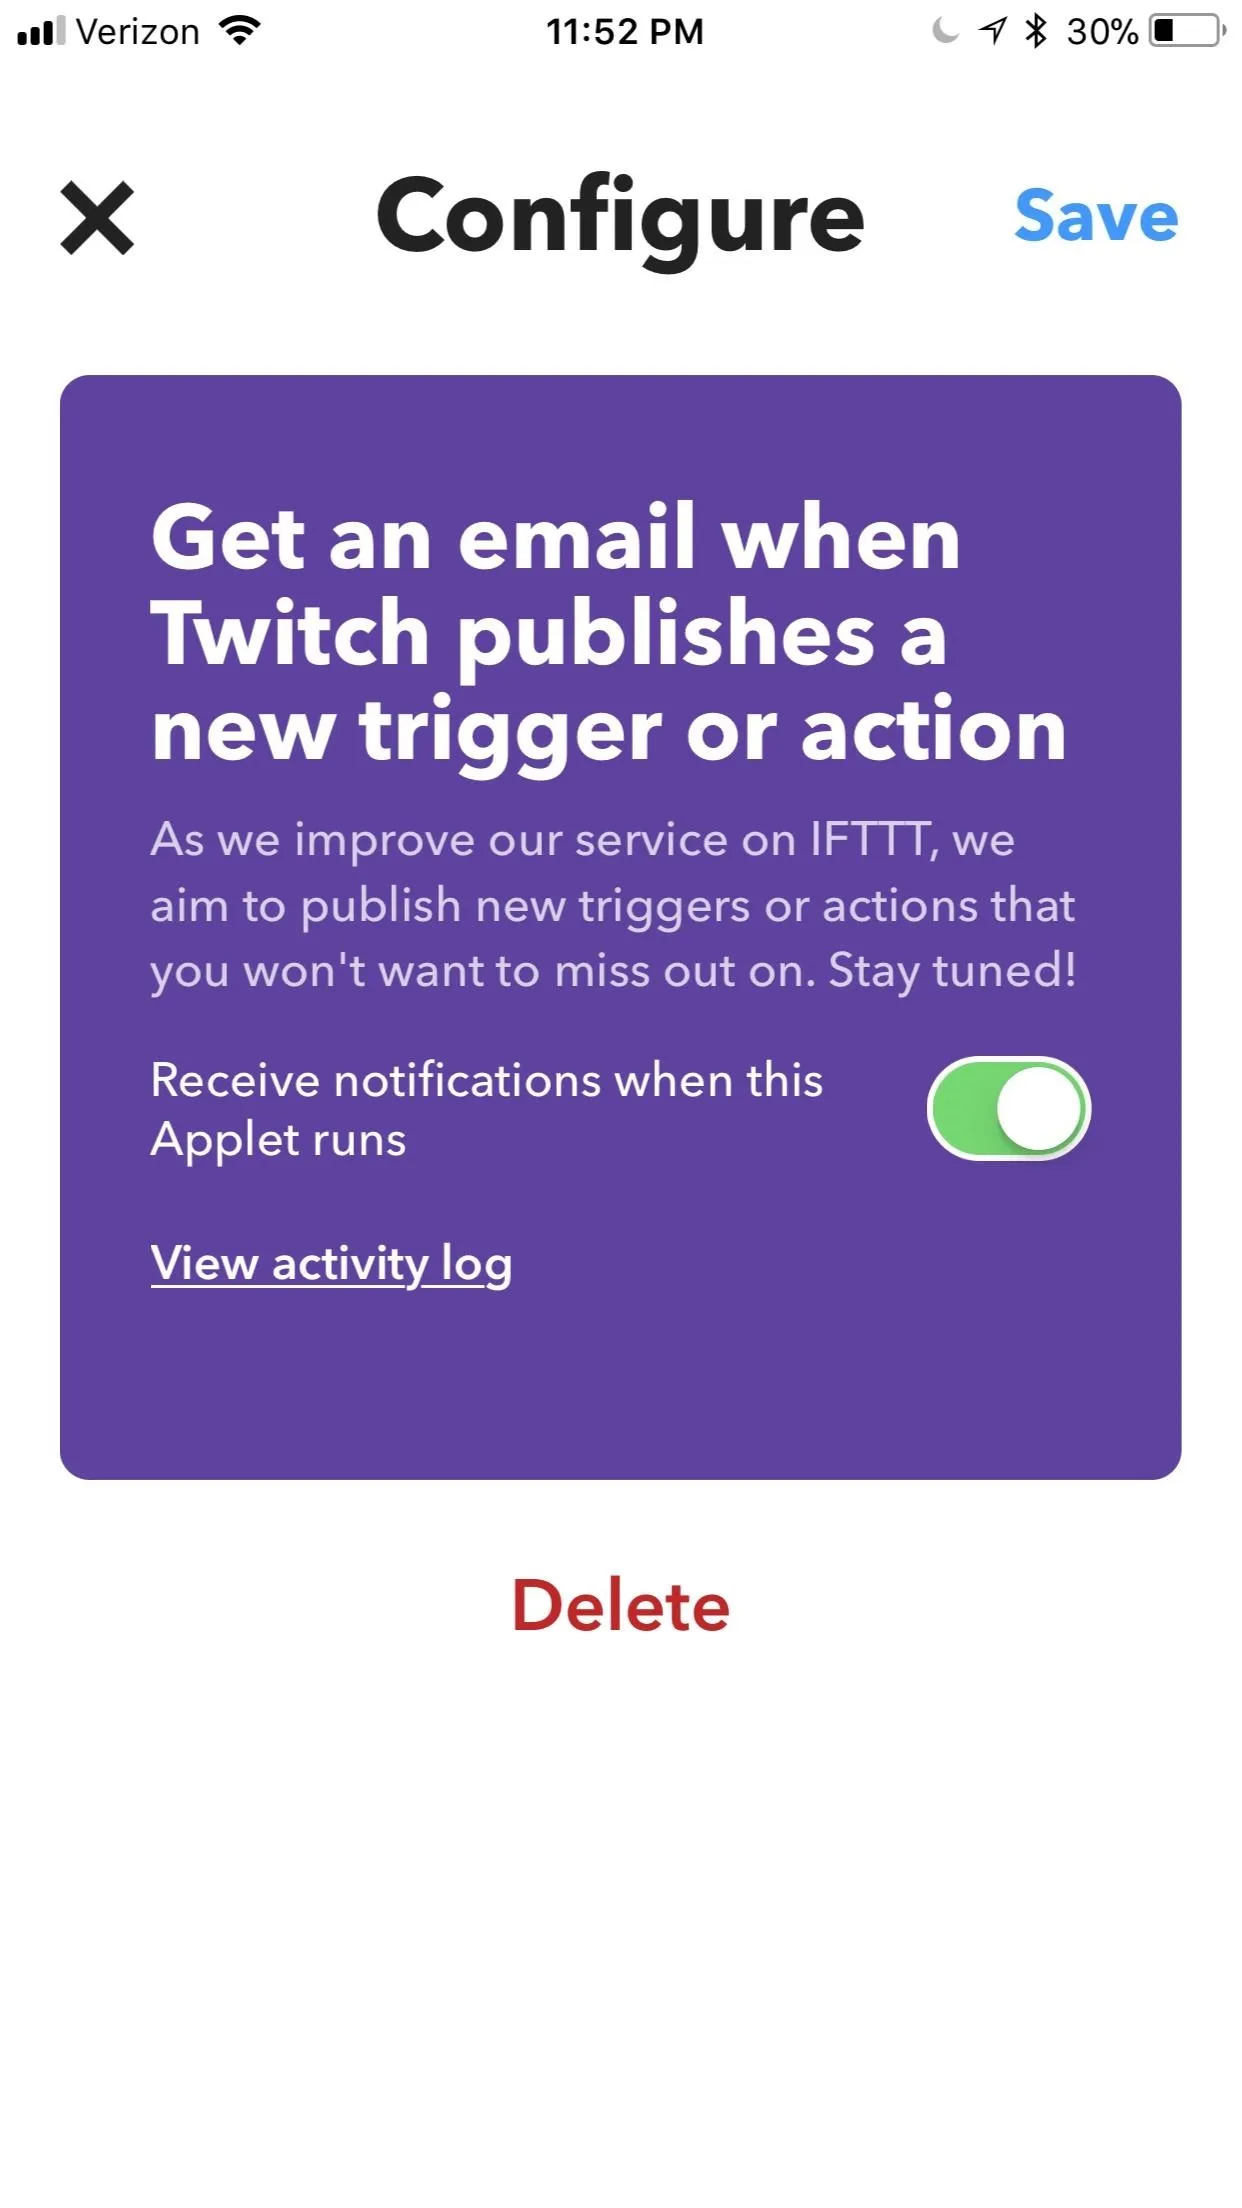
If you want to permanently remove the apple, tap on the gear icon in the top-right corner, then press "Delete."


What applets have been your favorite so far? What apps do you wish had IFTTT integration? Let us know in the comments below.
- Follow Gadget Hacks on Facebook, Twitter, YouTube, and Flipboard
- Follow WonderHowTo on Facebook, Twitter, Pinterest, and Flipboard
Cover image and screenshots by Brian Lang/Gadget Hacks





Comments
Be the first, drop a comment!