When it comes to streaming services, Google Play Music is one of the best options for both Android and iOS. Perhaps its single greatest feature is the fact that you can upload as many as 50,000 of your own songs to Google's servers, then stream your library to any device without ever paying a dime.
If you wanted to get fancy with it, you could take things a step further and subscribe to Google Play Music Unlimited to combine your library with Google's massive database of millions of songs. If you do, Google will even throw in YouTube Red for free, and your uploaded songs will serve as a data point for Play Music to recommend other songs from Google's streaming radio service.
Whether you opt for the free or paid version, uploading your own music library is the ideal first step. So in the first article of this series, we'll show you how to upload MP3s and other audio files from your computer, and even take you through the process of jumping ship from Spotify or Apple Music. It may seem daunting at first, but it couldn't be any easier than just following this guide step-by-step.
Get a Google Account
First, Google Play Music requires you to have a Google Account. Feel free to skip this step if you already have one, but let's break this down quickly for those who don't.
To get started, head to this page. From there, tap "create your Google Account" under the Make a new account header, then fill out the information on the next page. You'll confirm these details at the bottom of the page.
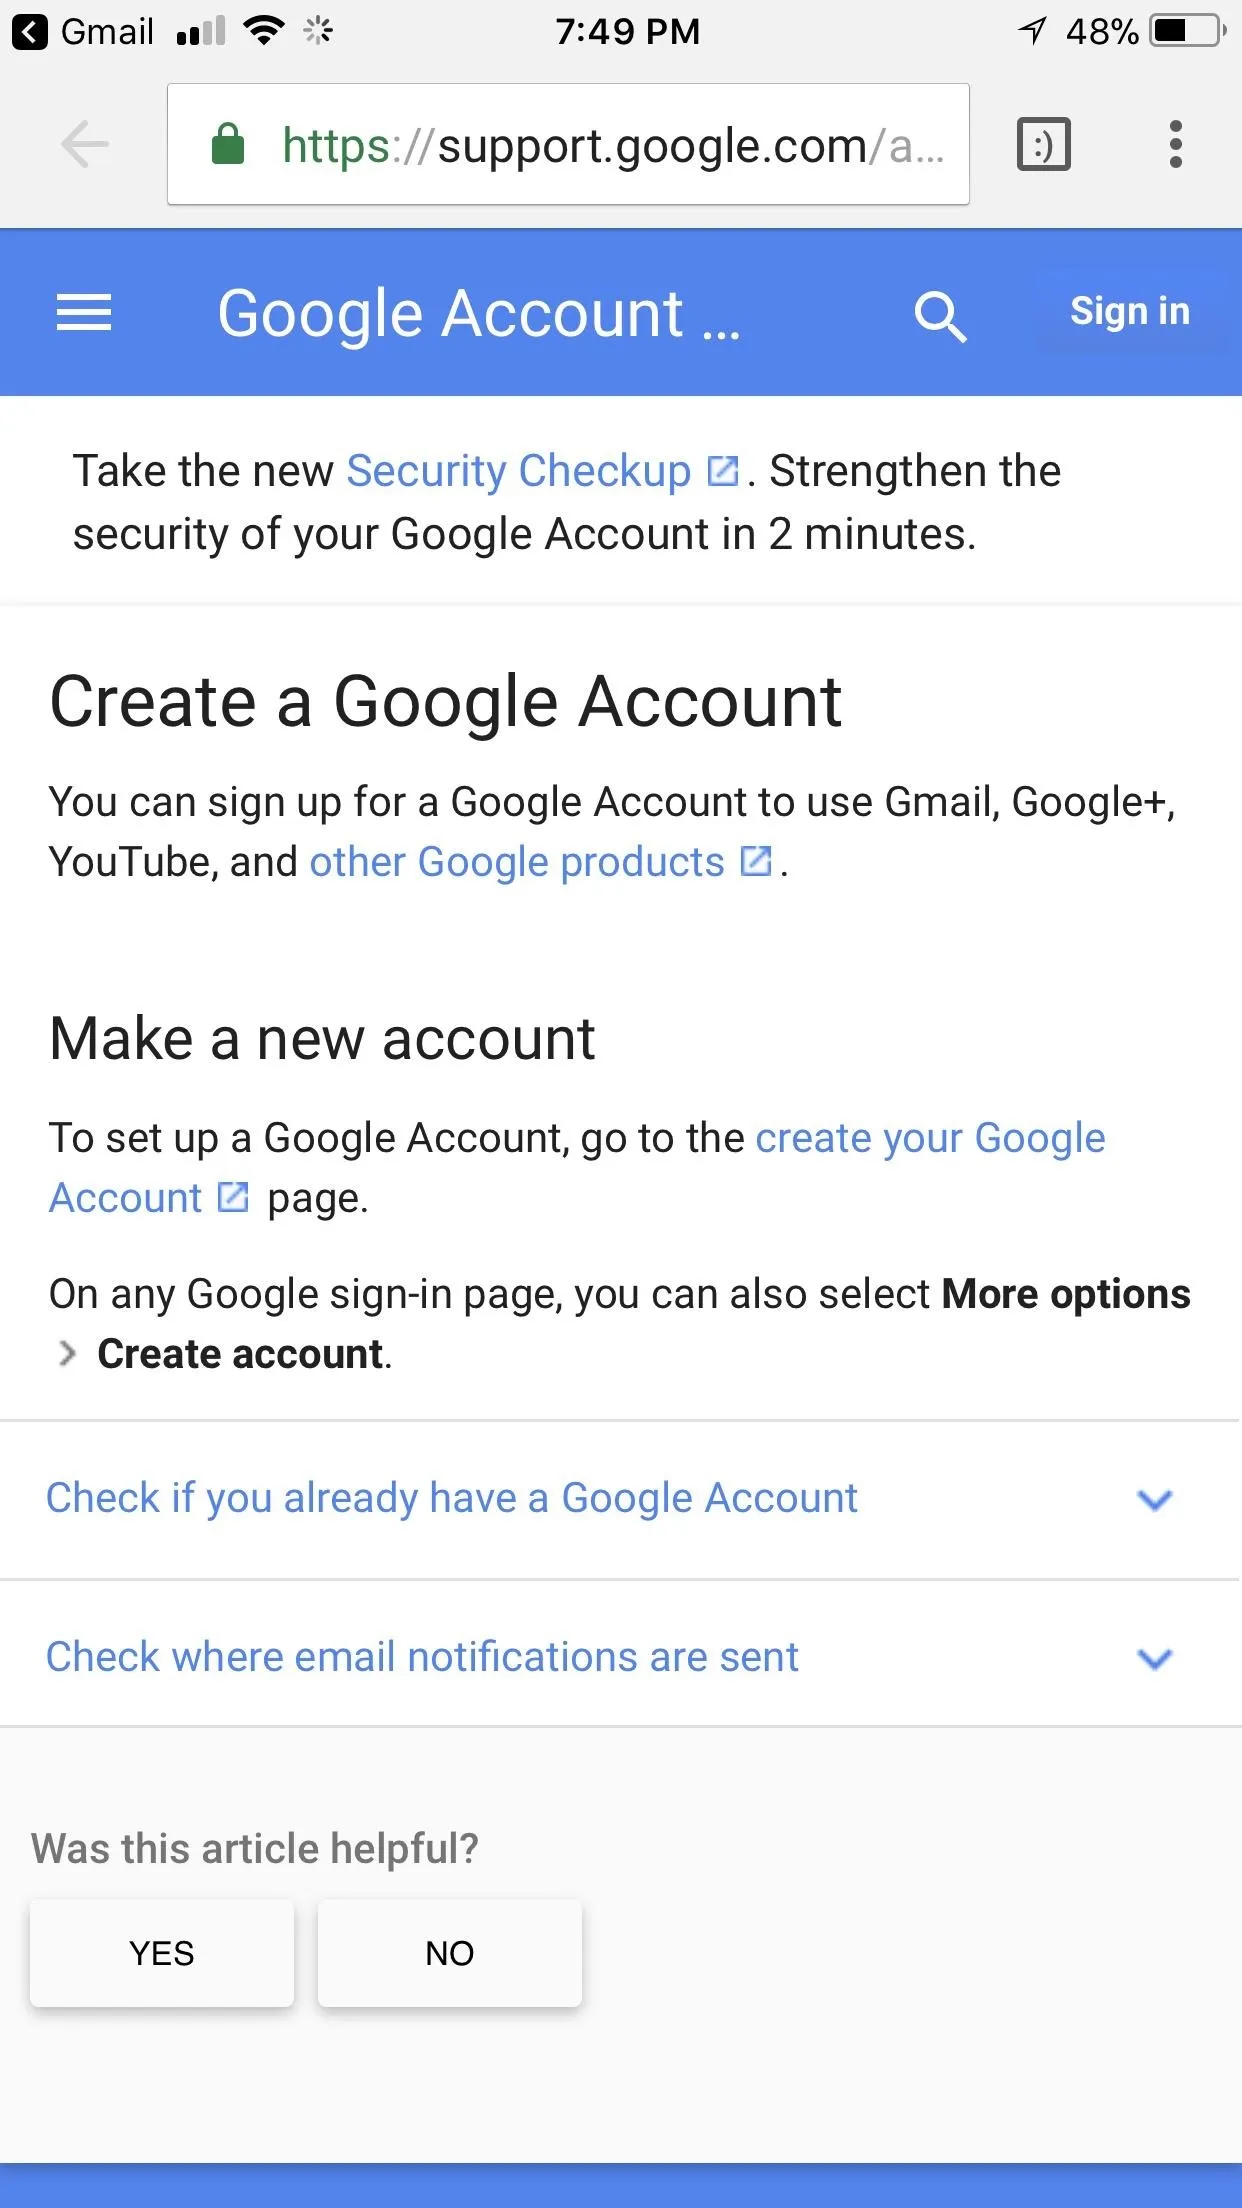
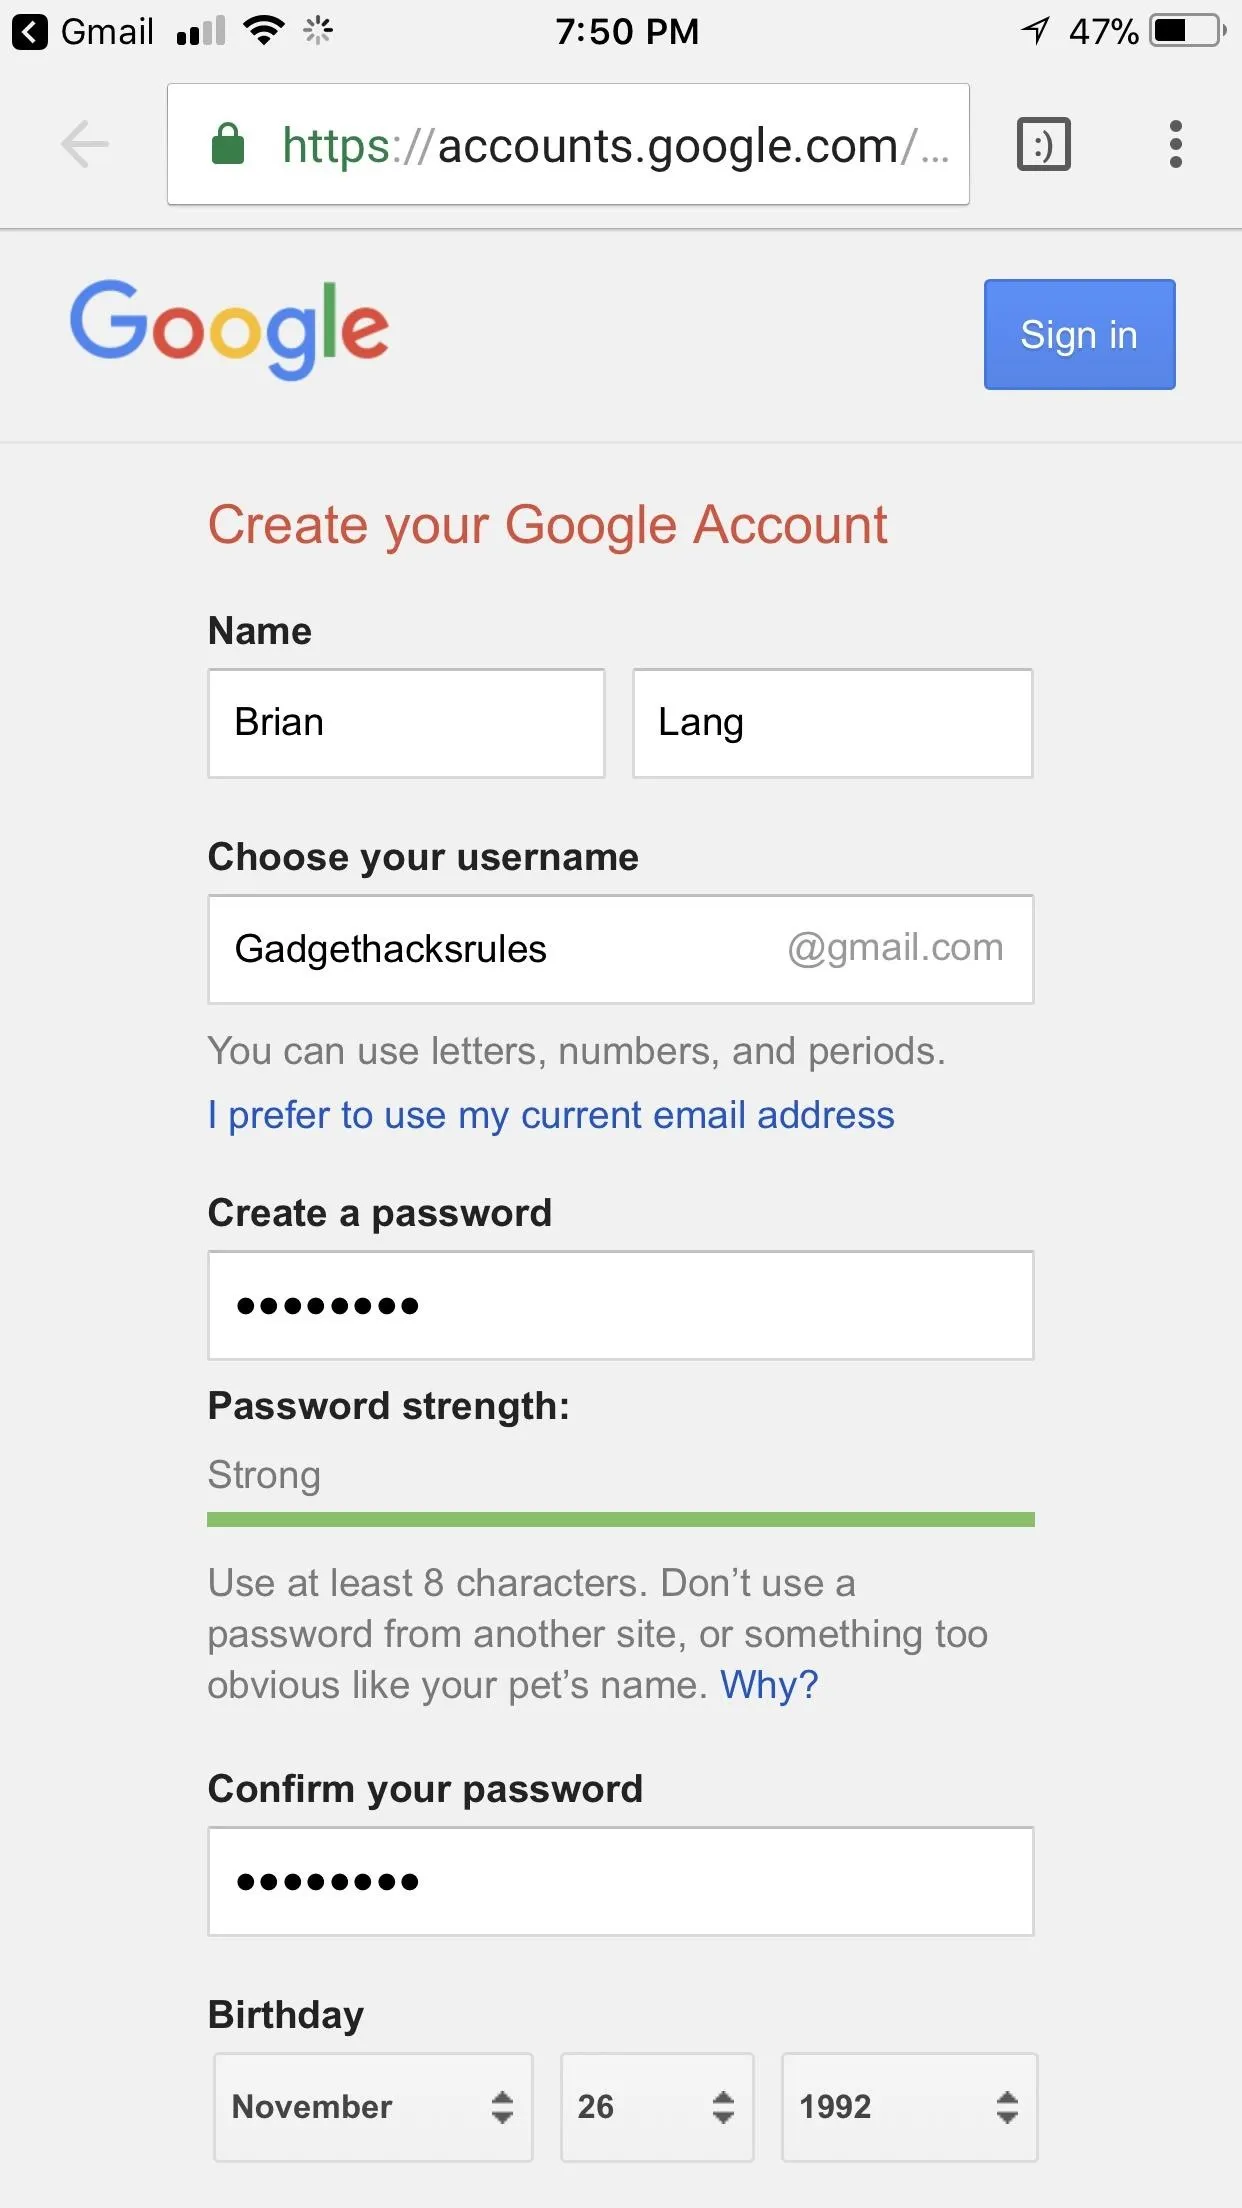


Once you've got that taken care of, you may want to consider signing up for Google Play Music Unlimited. You don't need this service if you simply want to stream your own music library from the cloud, but if you want to add unlimited streaming radio access to "mix in" with the music you've uploaded, you can sign up for an Unlimited account here.
Upload Your Library
Google knows that not everyone organizes their music library the same way, so they've provided several methods for uploading your existing songs to Google Play Music. Below, we'll walk you though all the ways you can upload your library.
Uploading Music Using 'Music Manager'
This first option is your best bet if all of your music is currently stored on your Mac or Windows PC. Google has a handy app called Music Manager that will automatically upload up to 50,000 of your own songs, so start by heading to the following link to grab the utility.
Once you download Music Manager, go ahead and open the EXE (Windows) or DMG (Mac) file to run the installer, then log in with the same Google account you created in Step 1. Once that's taken care of, follow the prompts in the installer to "Upload songs to Google Play," then when you get to the Where do you keep your music collection? screen, tell Music Manager where to look for your music files.
If your music library is in your computer's default Music folder, select "My Music folder" (Windows) or "Music folder" (Mac). If your library is on iTunes, select "iTunes" instead. Otherwise, select "Other folders," then use the file picker that comes up next to select the main folder where your music is stored.
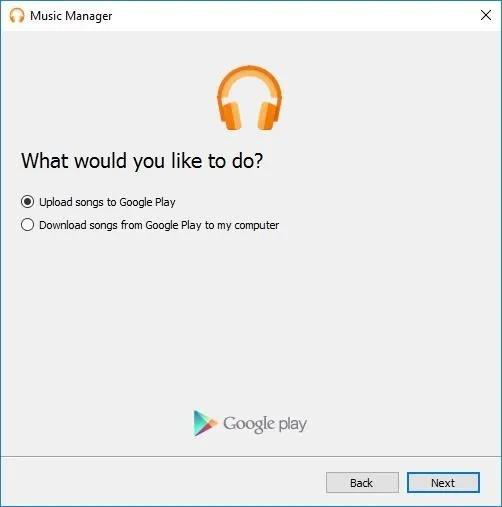
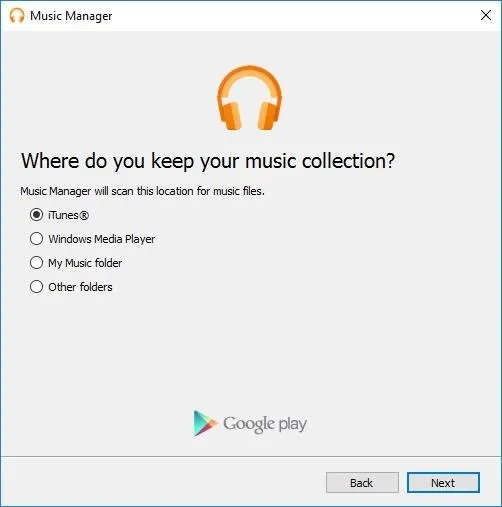


Once you've selected your music library's location, Music Manager will scan for compatible files (MP3, AAC, WMA, FLAAC, OGG, M4P, or M4A) and automatically upload them to the cloud. The process can take quite some time, so keep Music Manager open until the progress meter reaches 100%.
Uploading Music via Google Chrome
If you'd rather upload your library in more bite-sized chunks, Google will let you upload your music via Google Chrome. First, you'll need to sign into Chrome with the Google account you plan to use for streaming music, then download the Google Play Music Chrome extension. Once you've done that, open Google Play Music on the web at this link, then click on the hamburger menu up in the top-left corner and select "Upload music."
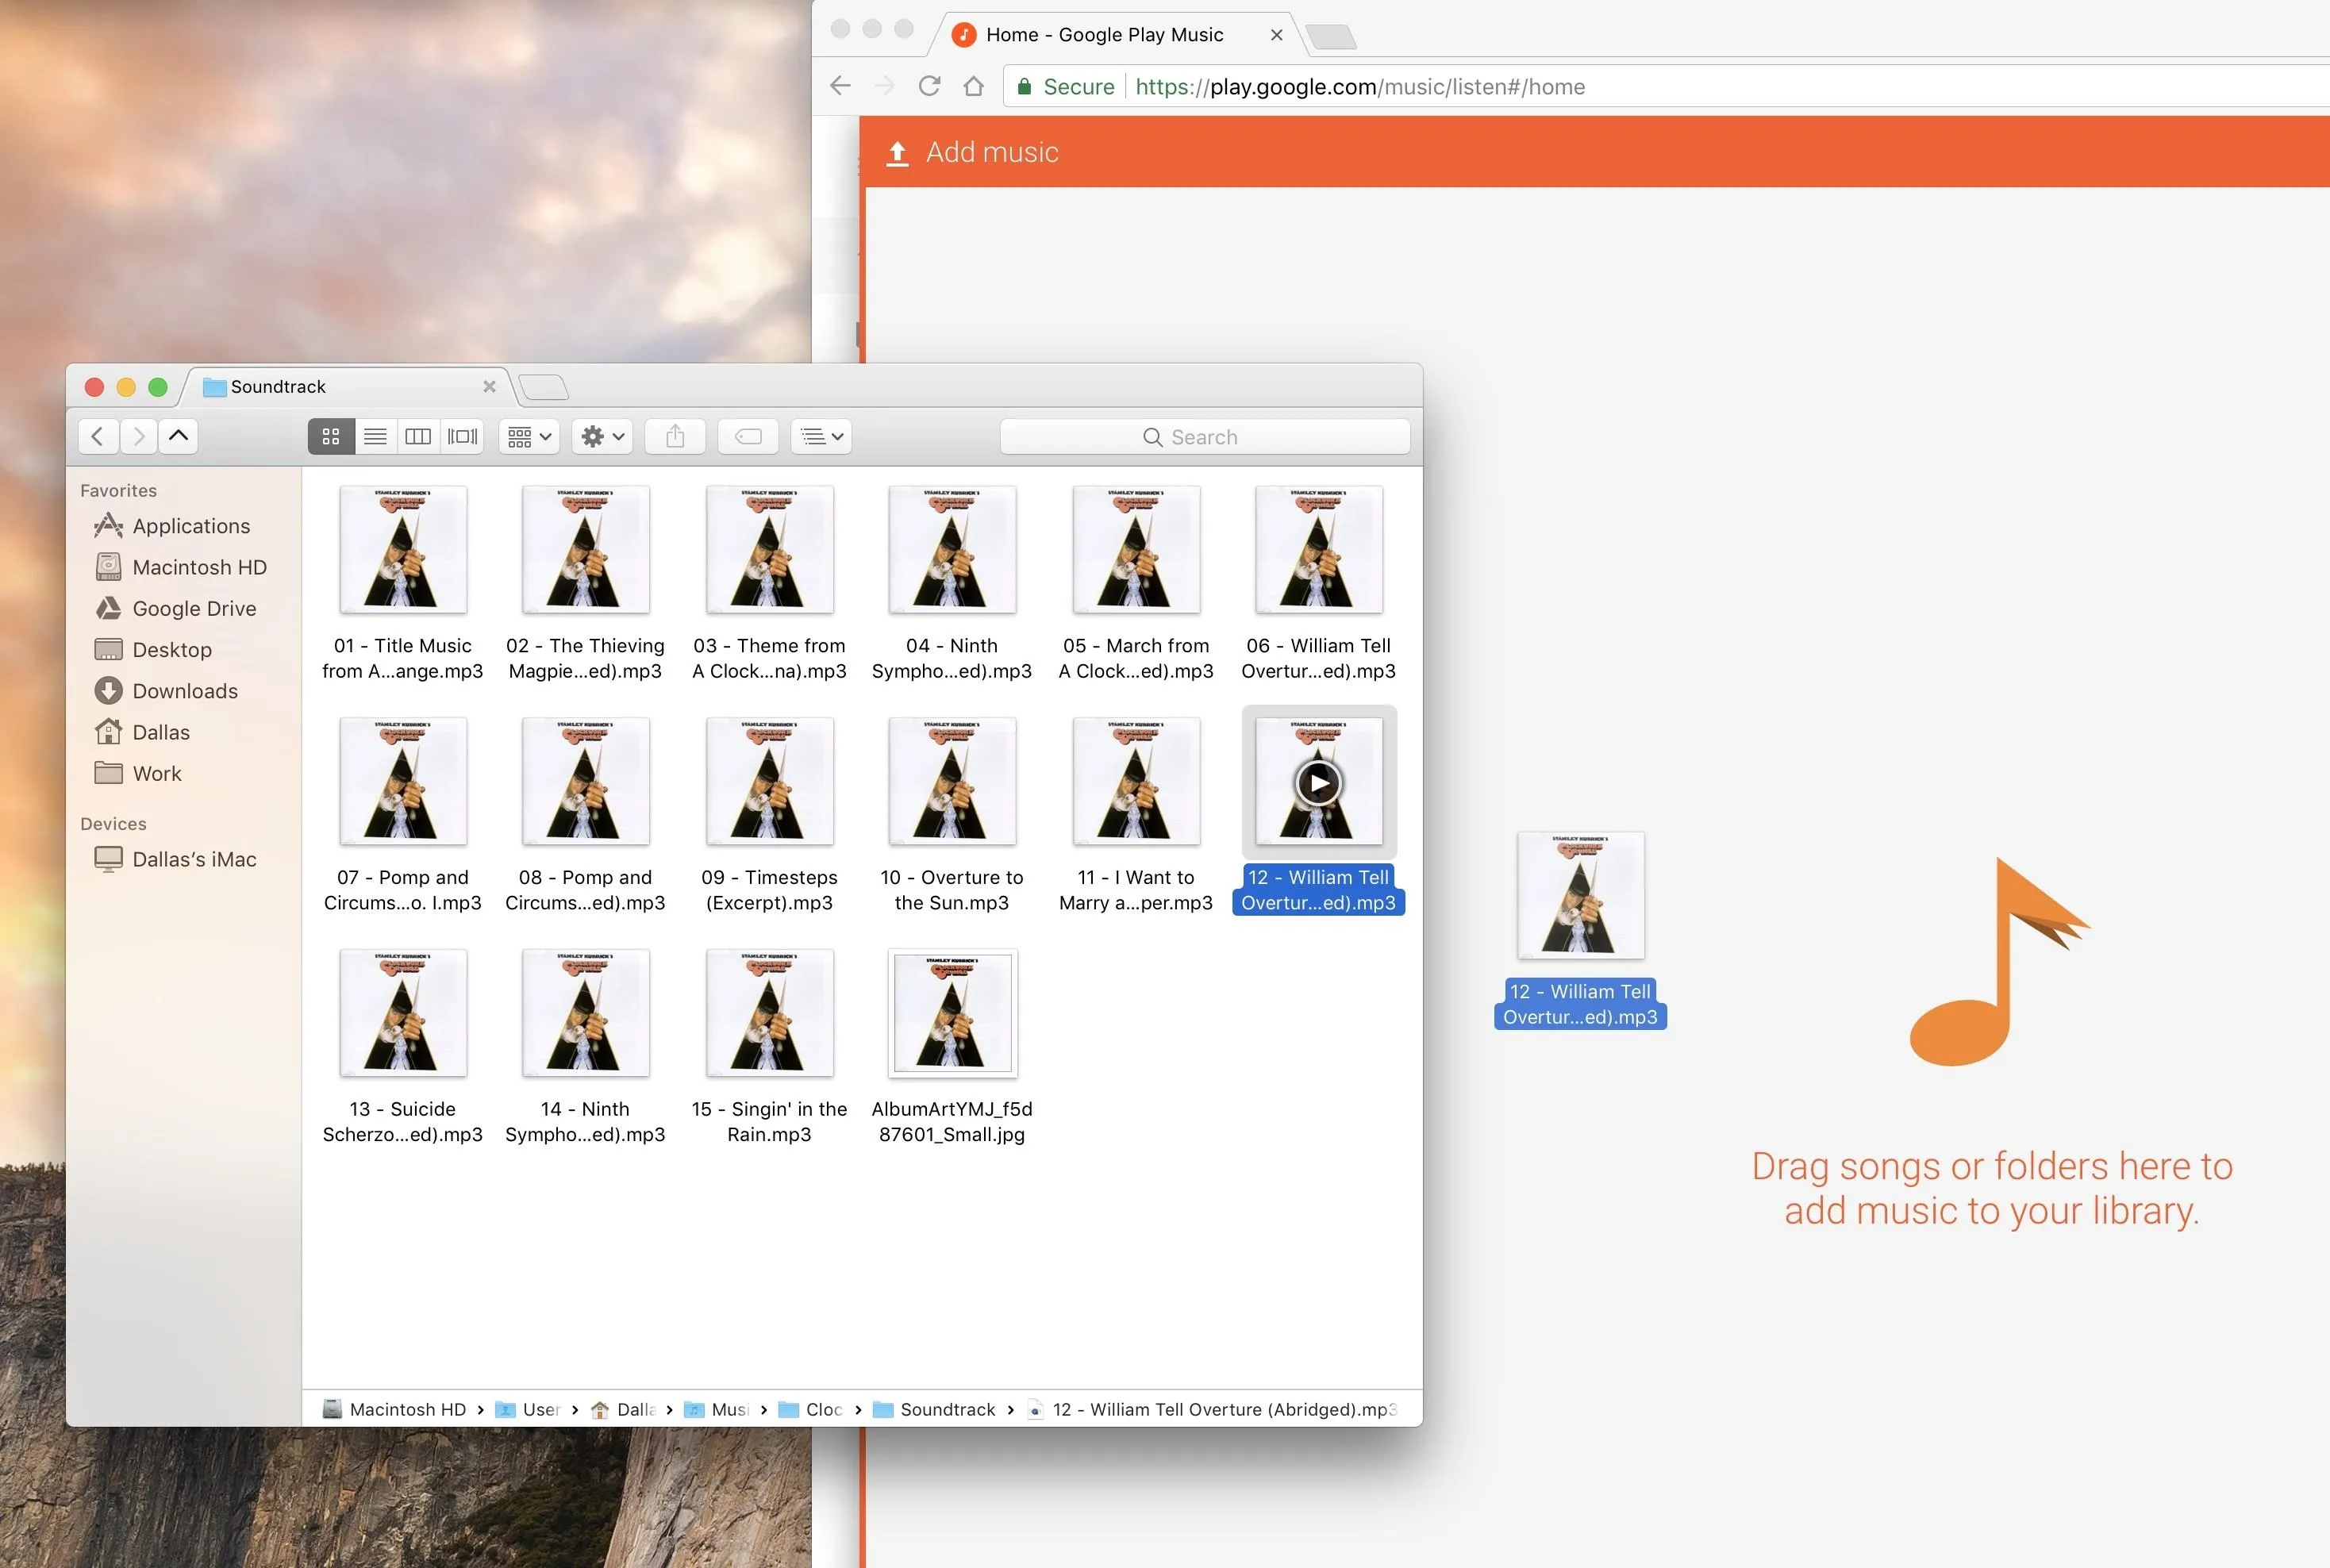
From there, open your music library in Windows Explorer of Mac's Finder app, then you can drag and drop files files to upload. You can also hit "Select from your computer" to manually choose what you upload. Once you've selected any tracks or folders, wait until the upload has finished before closing Chrome or the Google Play Music tab.
Importing Your Apple Music or Spotify Playlists
If you're interested in migrating your Apple Music or Spotify library, you're in luck. There's this great program called Stamp that you can use to import your Spotify or Apple Music playlists into Google Play Music. This feature works best with Google Play Music Unlimited, as it doesn't actually import any audio files to your library. Instead, it transfers any stations or playlists you've created on one streaming radio service to another.
Stamp comes at a cost, however. To use it to transfer playlists from one platform to another (e.g., Spotify to Google Play Music), Stamp charges you a one-time fee of $9.99. If you'd like to transfer playlists from more than one service into Google Play Music, you can pay $14.99 to use Stamp across all platforms.
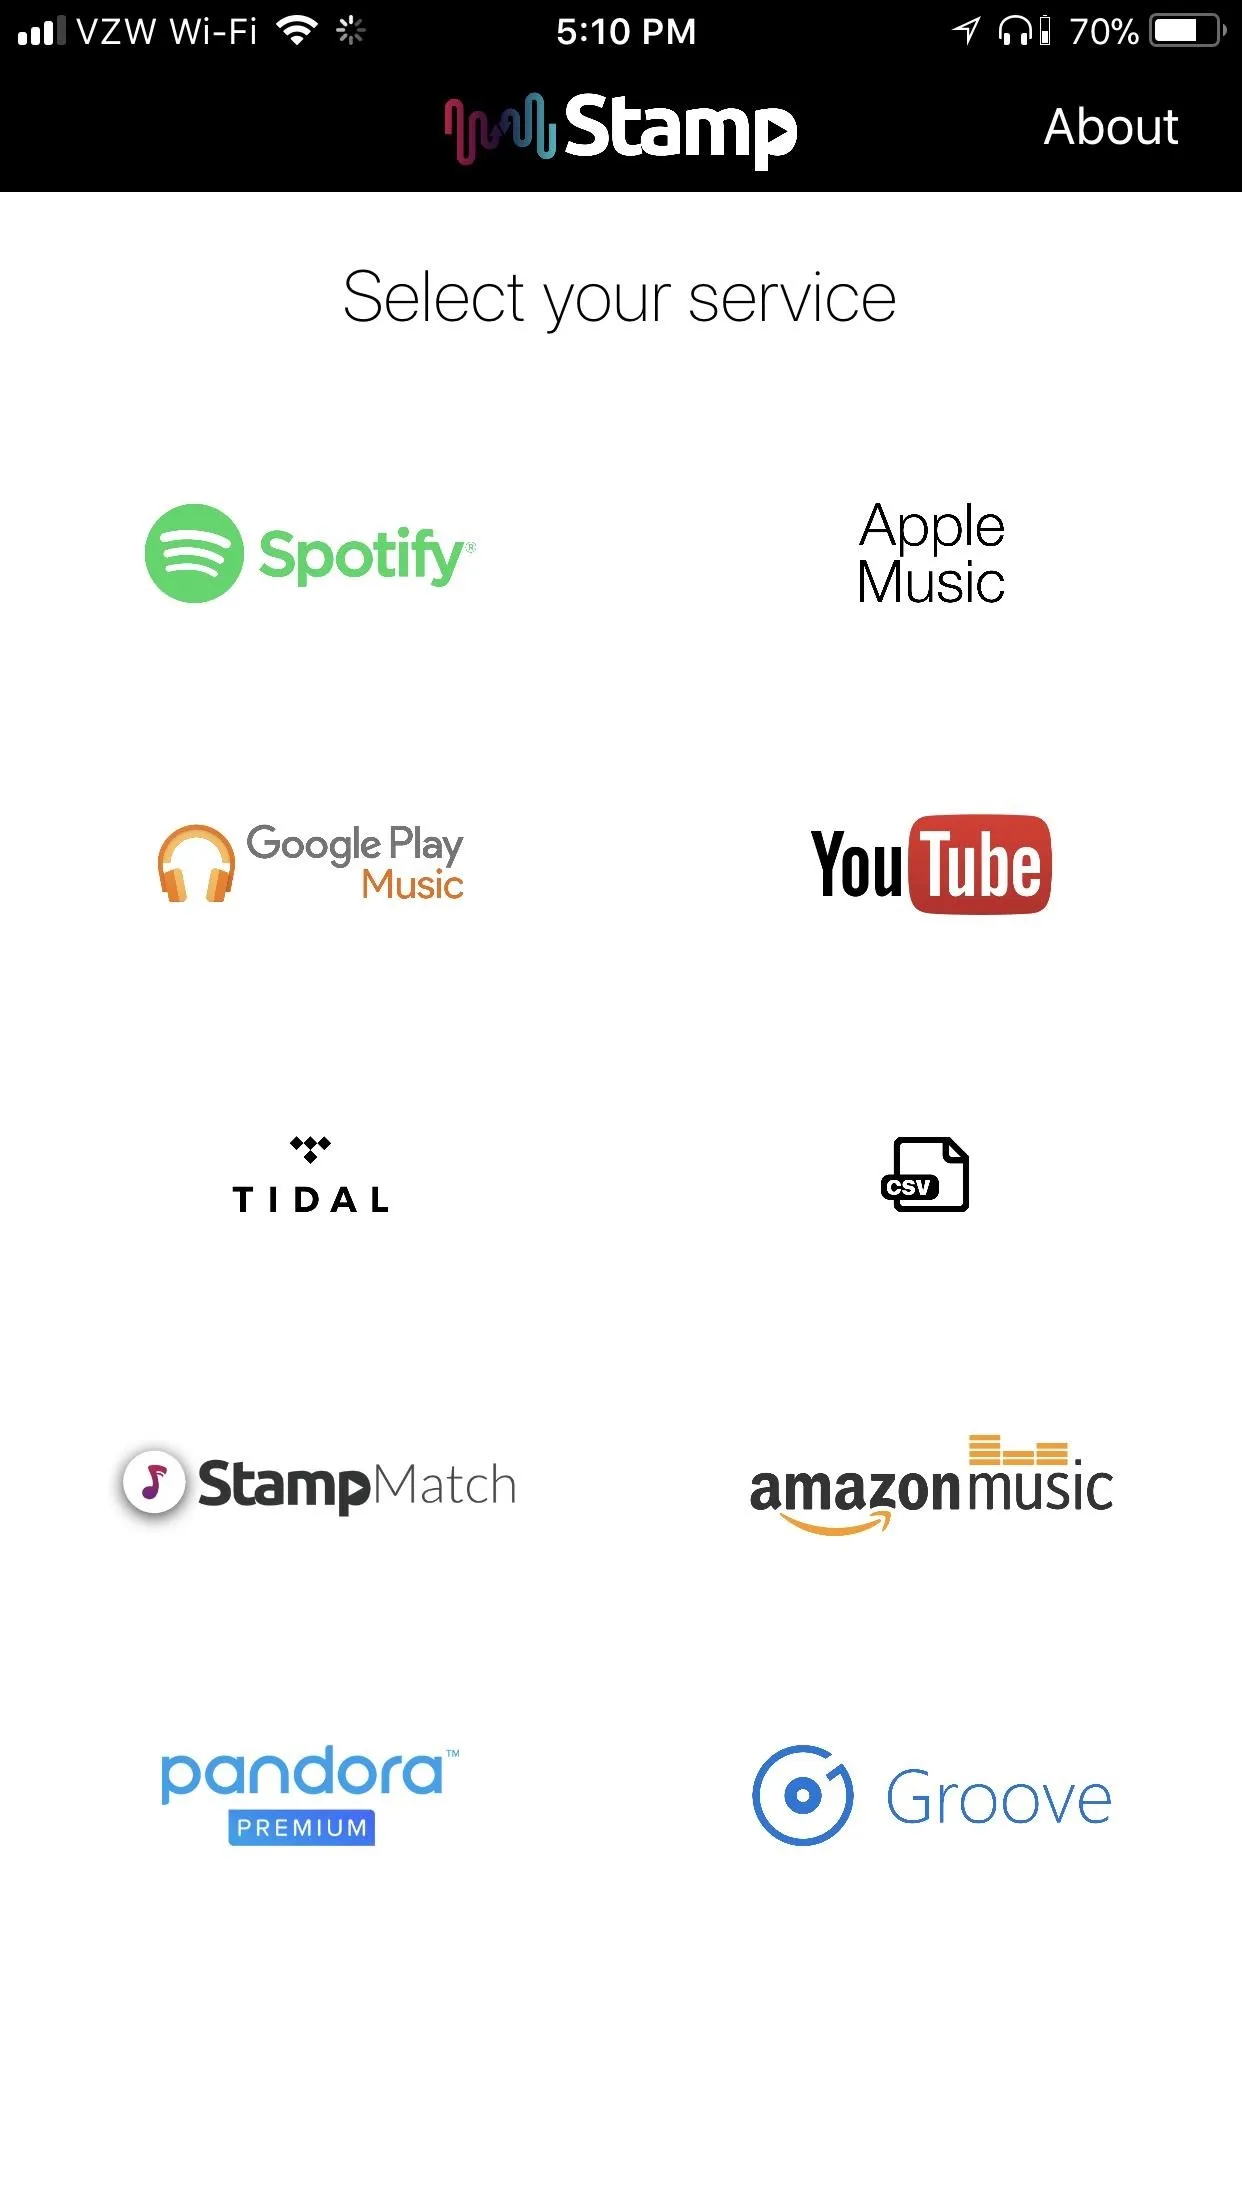
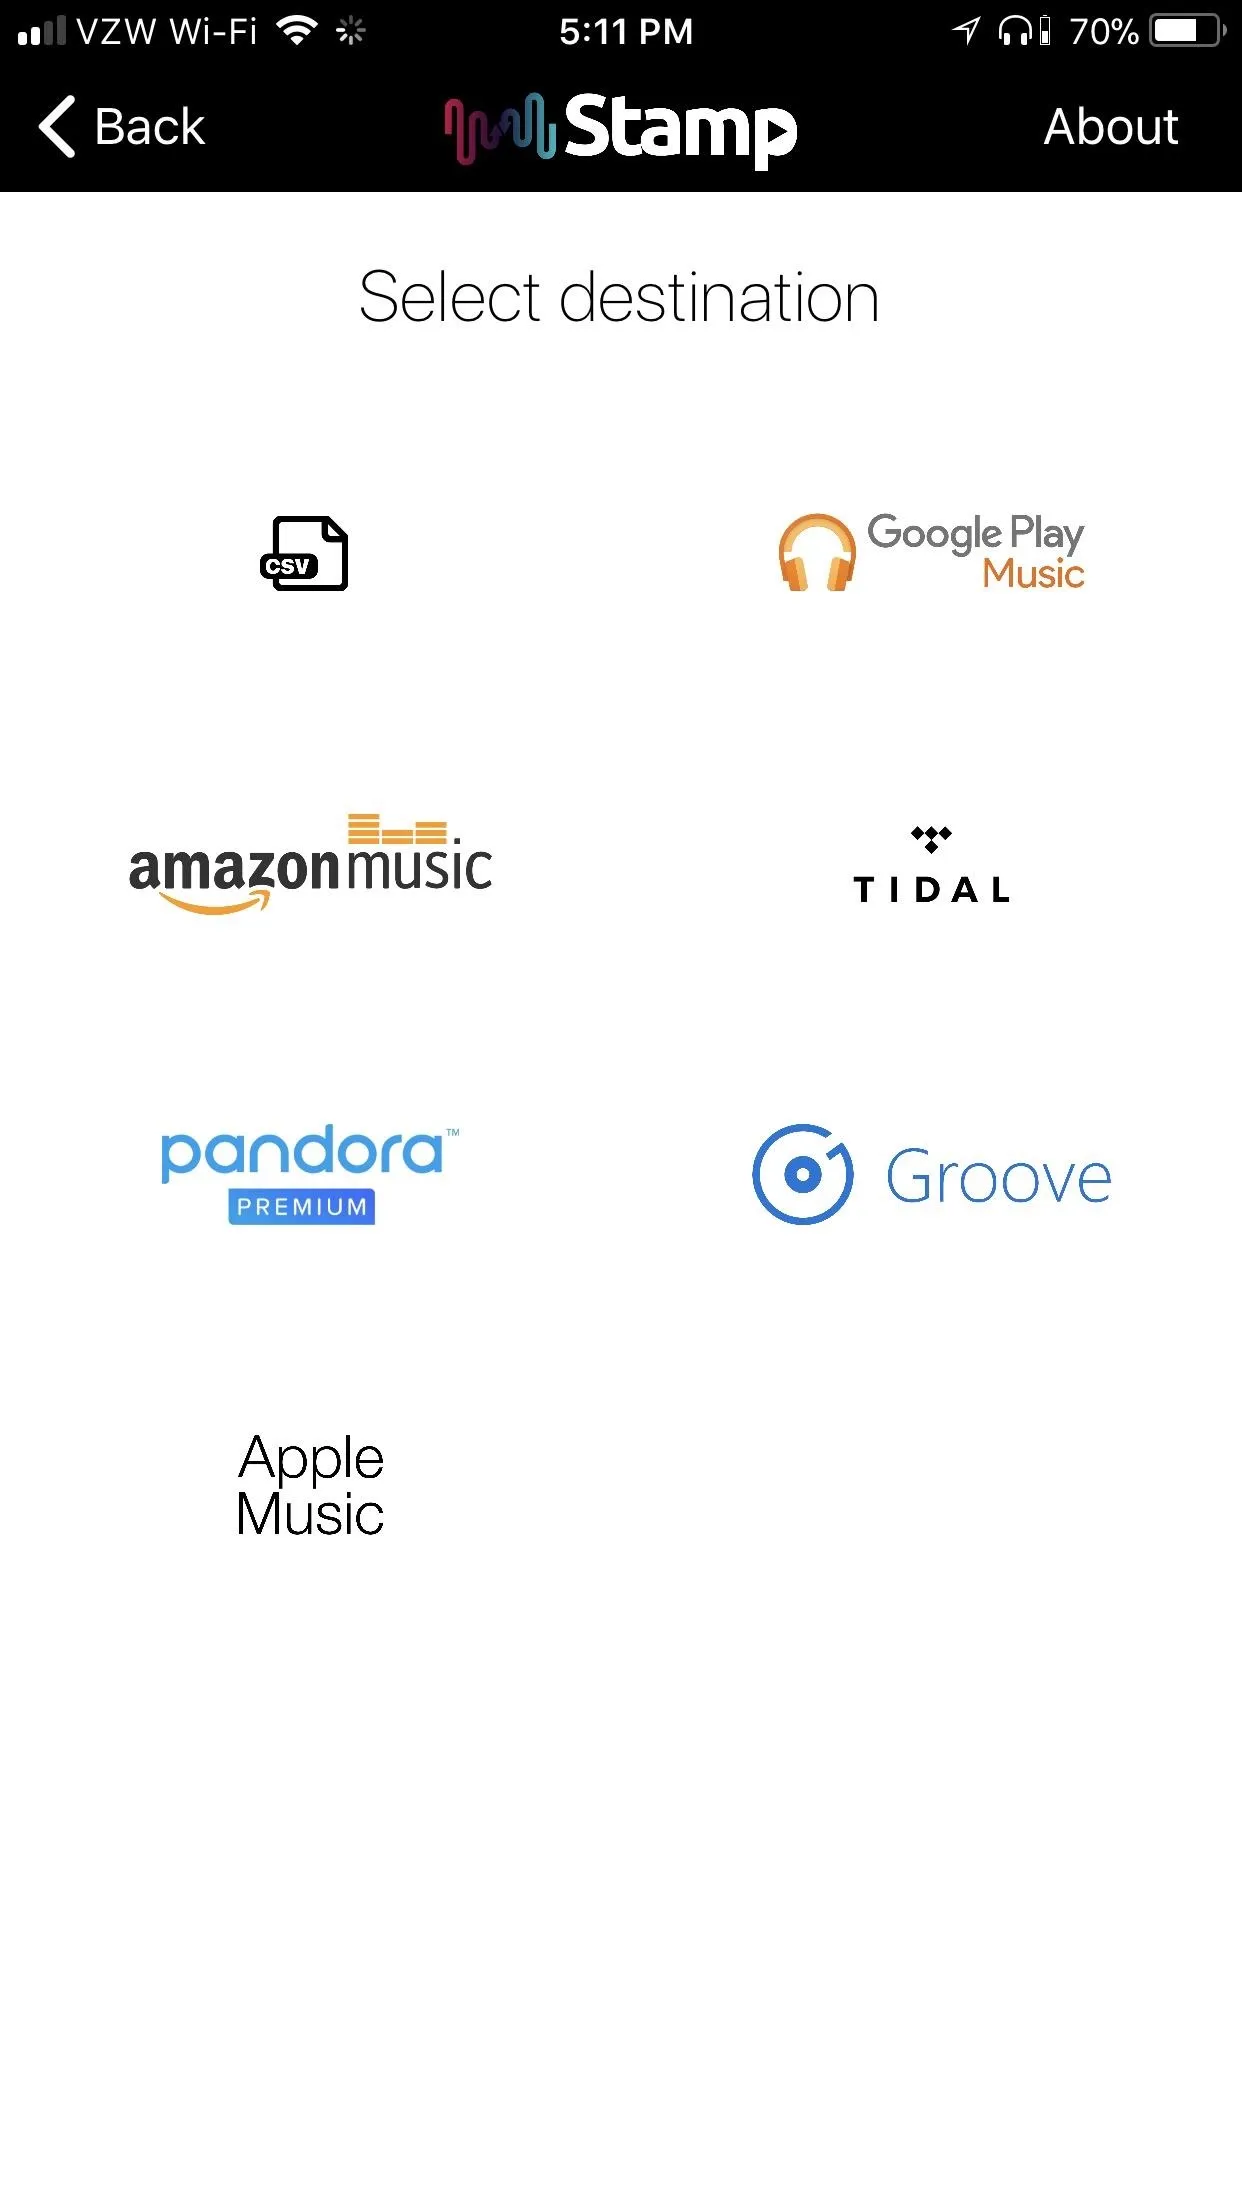
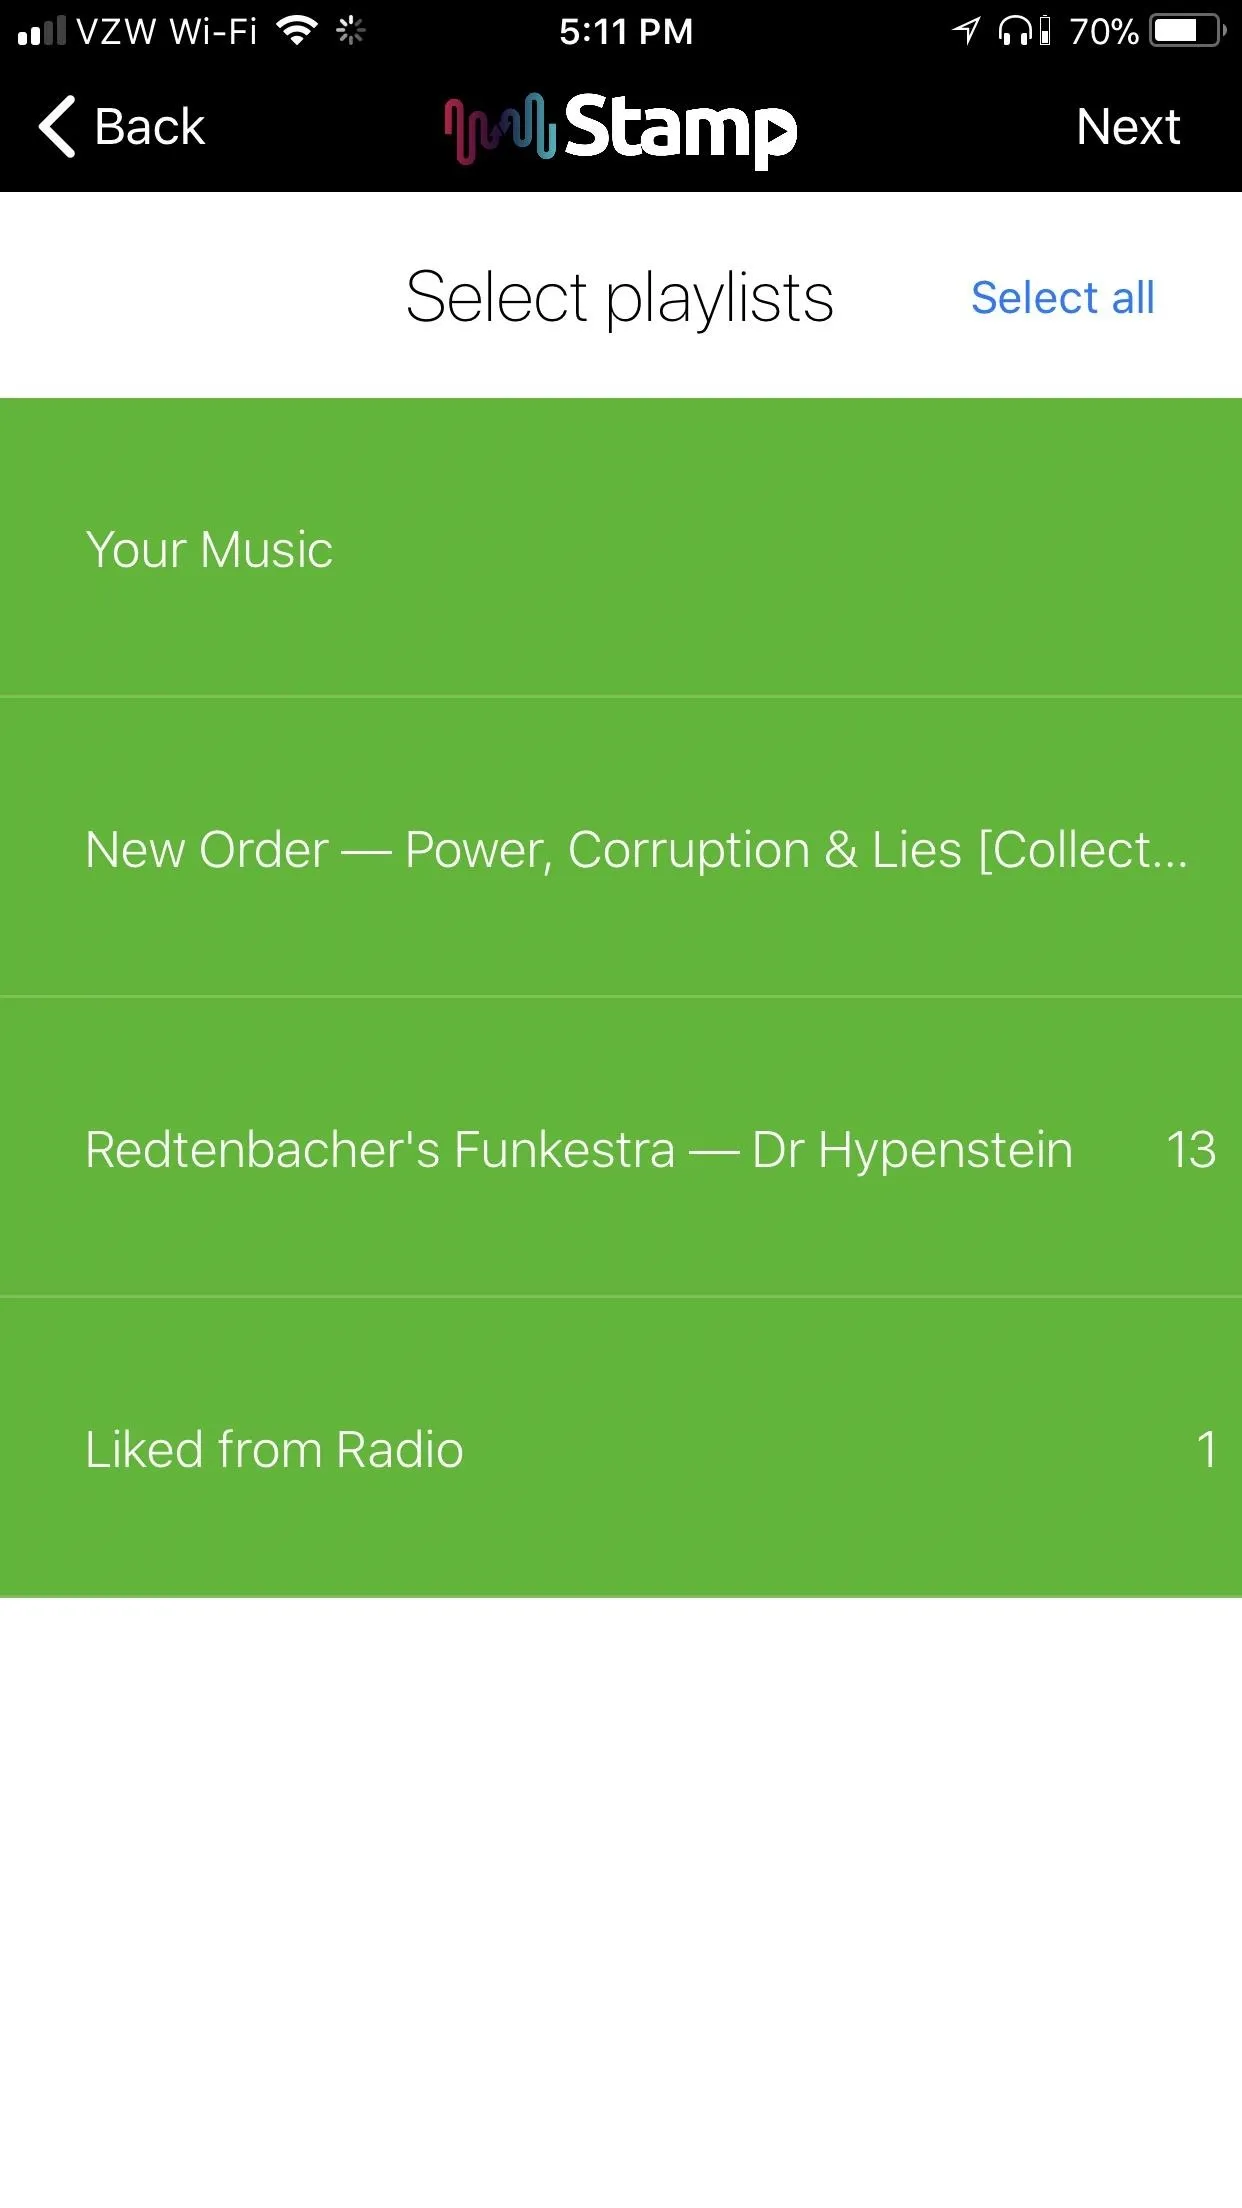
Once you've installed the program on your smartphone, your Mac, or your PC, select the service you're importing from, then the service you're importing to. Finally, just choose the playlists you want to import, then they'll be waiting for you in Google Play Music.


Stream Your Music Anywhere
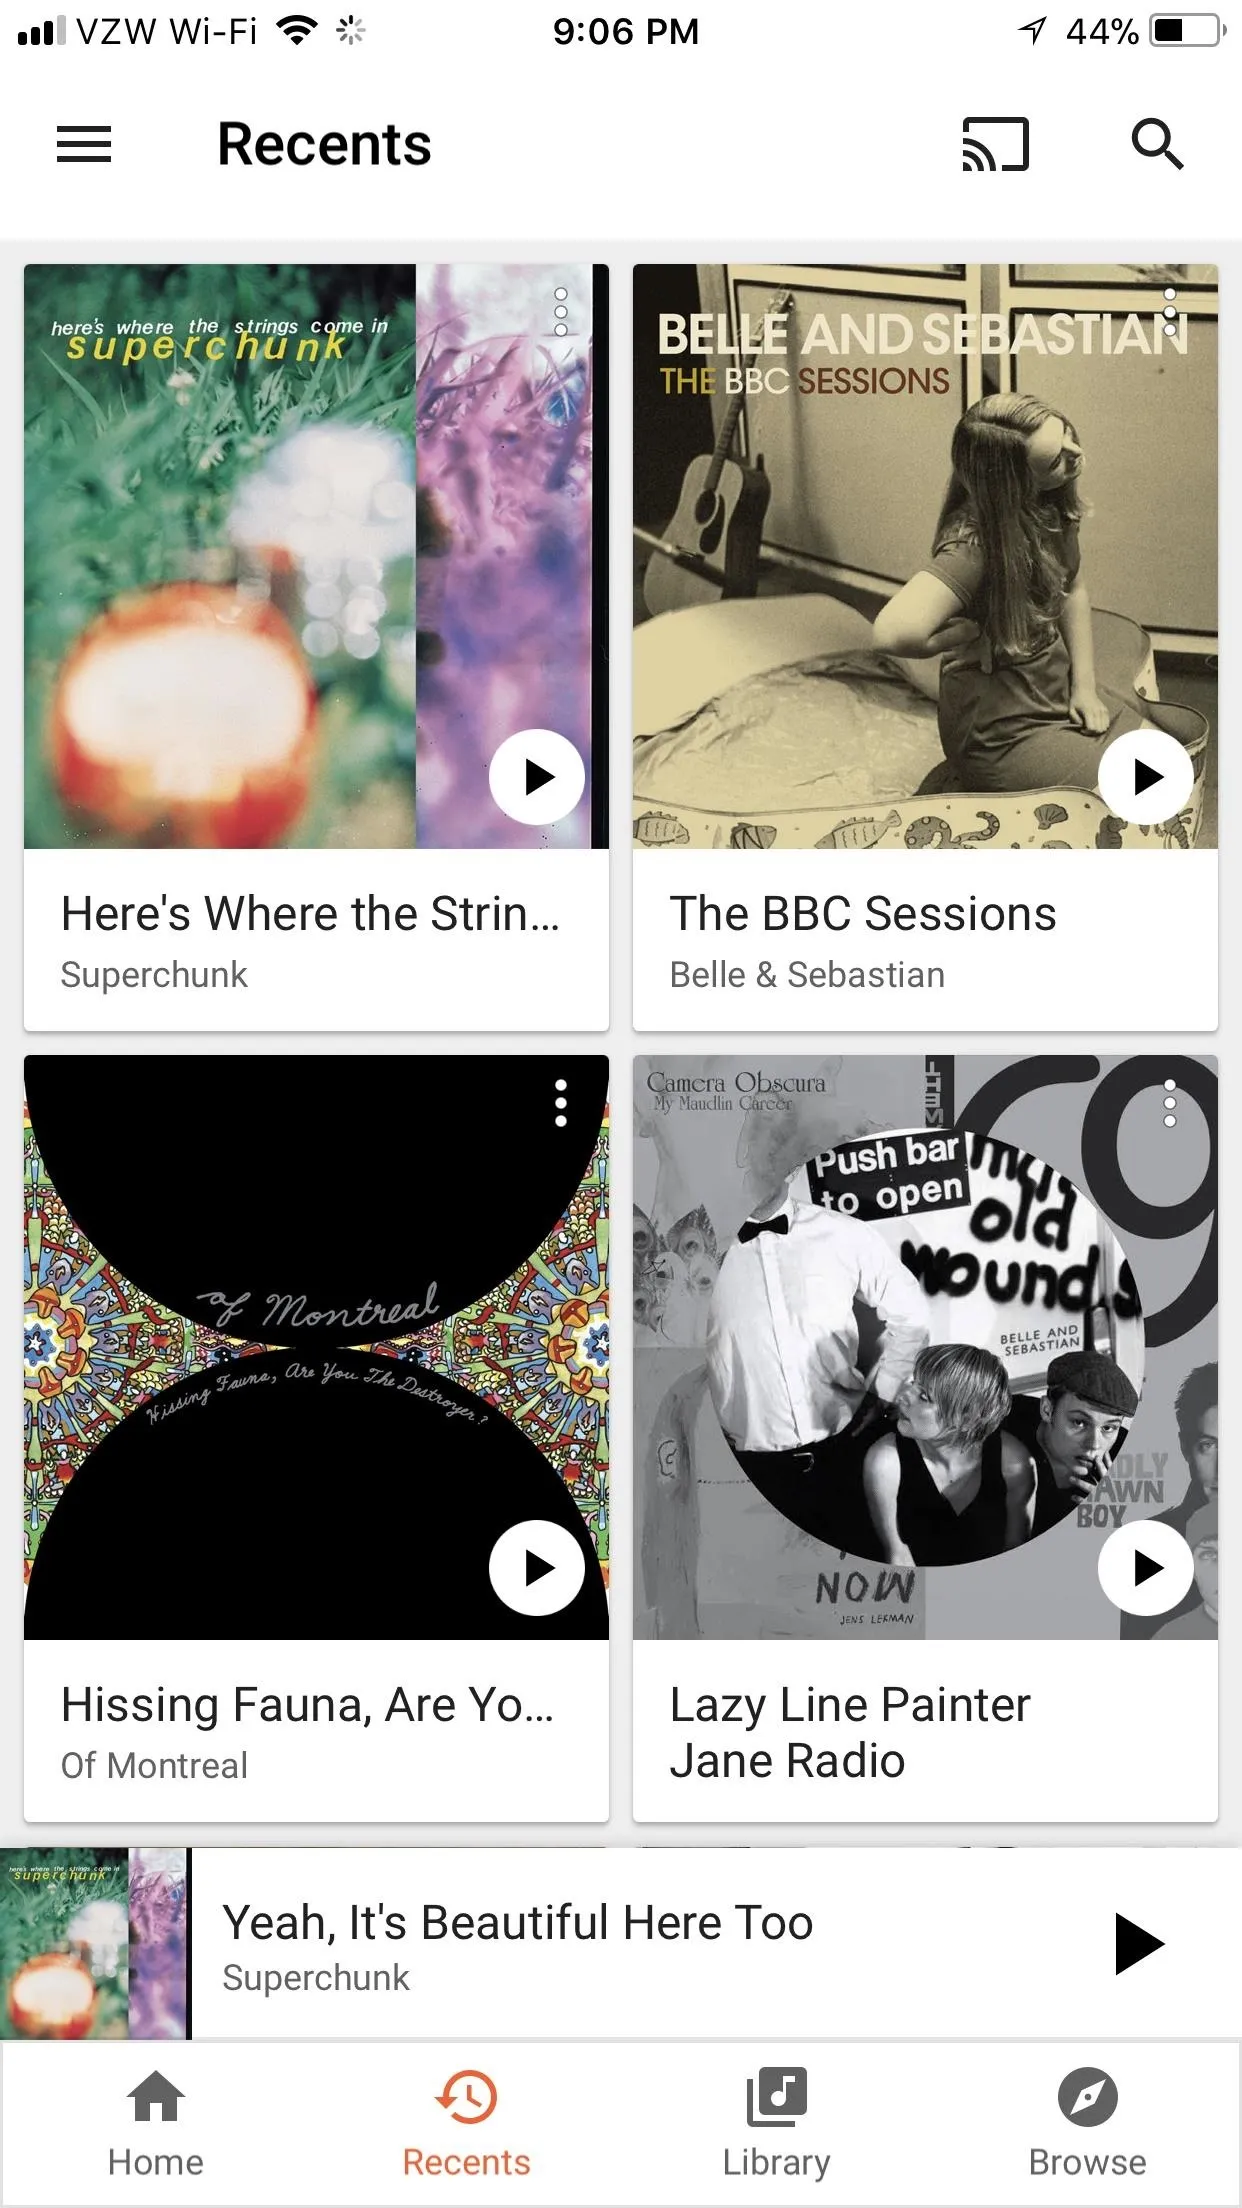
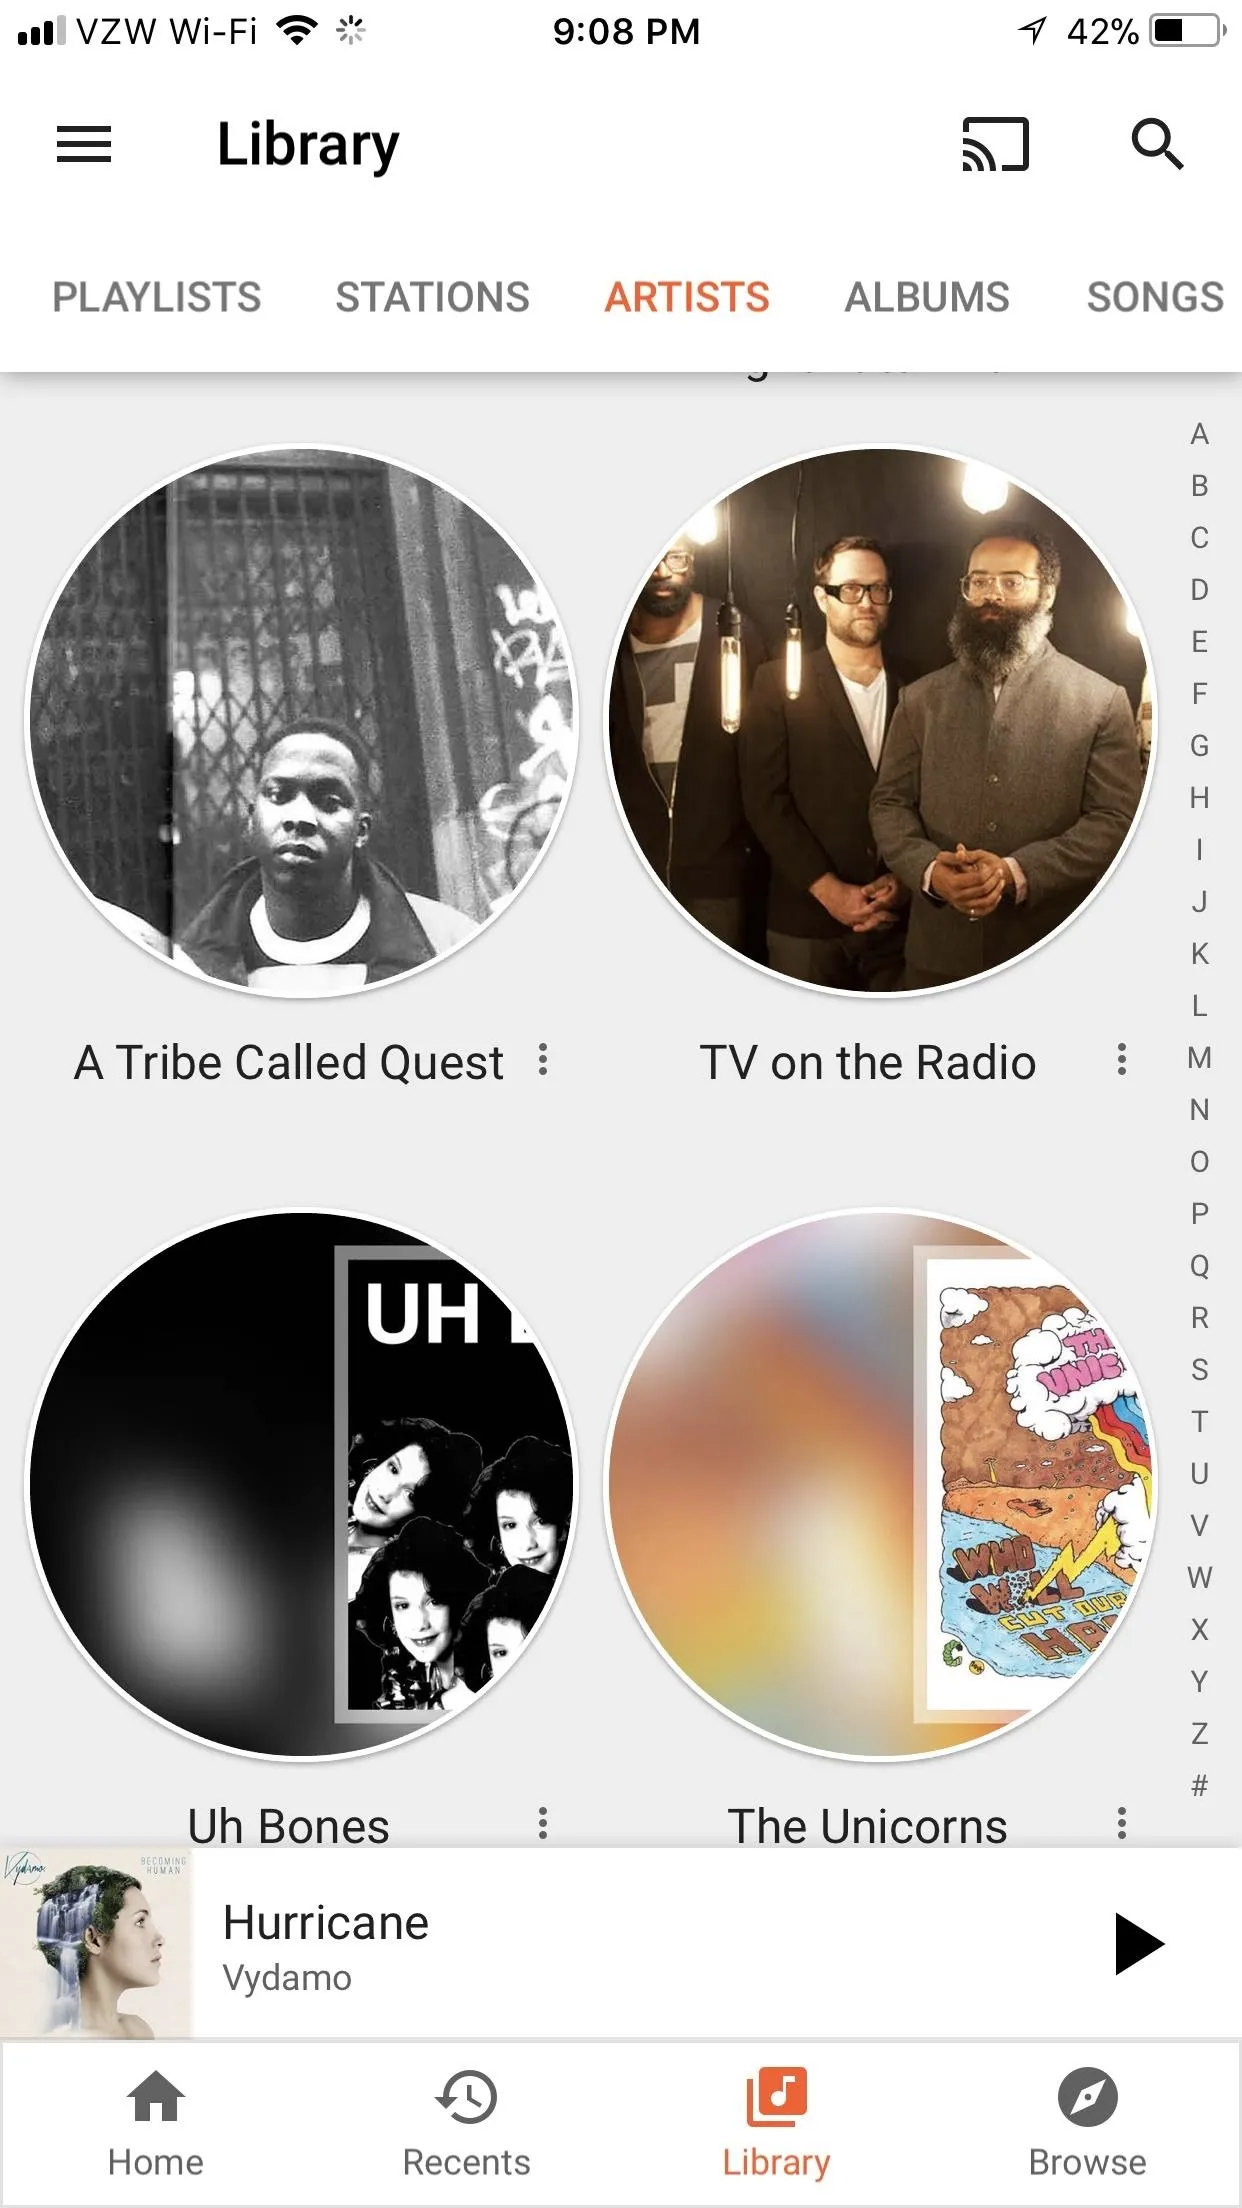
Once your library is uploaded, you can listen to it on your computer here, or by using the Google Play Music app for iOS or Android.
From inside the apps, you can find the songs you've uploaded in the Library tab. On iOS, this is as simple as tapping the "Library" button at the bottom of the screen. On Android, open the side navigation menu by swiping in from the left or by tapping the hamburger icon, then select "Library." The desktop interface works the same way, but the menu is all the way over on the left side.


Which of the above methods worked best for your particular music library? How are you liking Google Play Music for your personal music library on the go? Let us know in the comment section below.
- Follow Gadget Hacks on Facebook, Twitter, Google+, YouTube, and Instagram
- Follow WonderHowTo on Facebook, Twitter, Pinterest, and Google+
Cover image and screenshots by Brian Lang/Gadget Hacks





Comments
Be the first, drop a comment!