If you've been paying attention to the smartphone industry, you've certainly noticed a rise in dark mode lately. With most phones now sporting OLED panels, which use less power to display darker colors, users have been begging developers to include a dark theme in their apps. Lately, Google has been happy to oblige.
Google has been very active when it comes to dark themes. Now that they're working on a system-wide dark mode for Android 10, they've actively added the feature to many of their apps, including Messages and the Phone app. Adding the feature to Gboard is an important win for dark theme users. For many of us, the virtual keyboard is almost always open as we tweet, post, message, and send emails, so making it dark can potentially save a lot of battery life.
Download the Latest Version of Gboard
First, head to either the Play Store (Android) or App Store (iOS) and download the latest version of Gboard.

Access Settings
Once installed, you need to access the settings menu for Gboard. To do that on an iPhone, simply select the Gboard app from the home screen. For Android users, open up the keyboard and long-press the comma key, then slide your finger over to the settings icon that appears and let go.

Accessing Gboard's settings menu on Android.
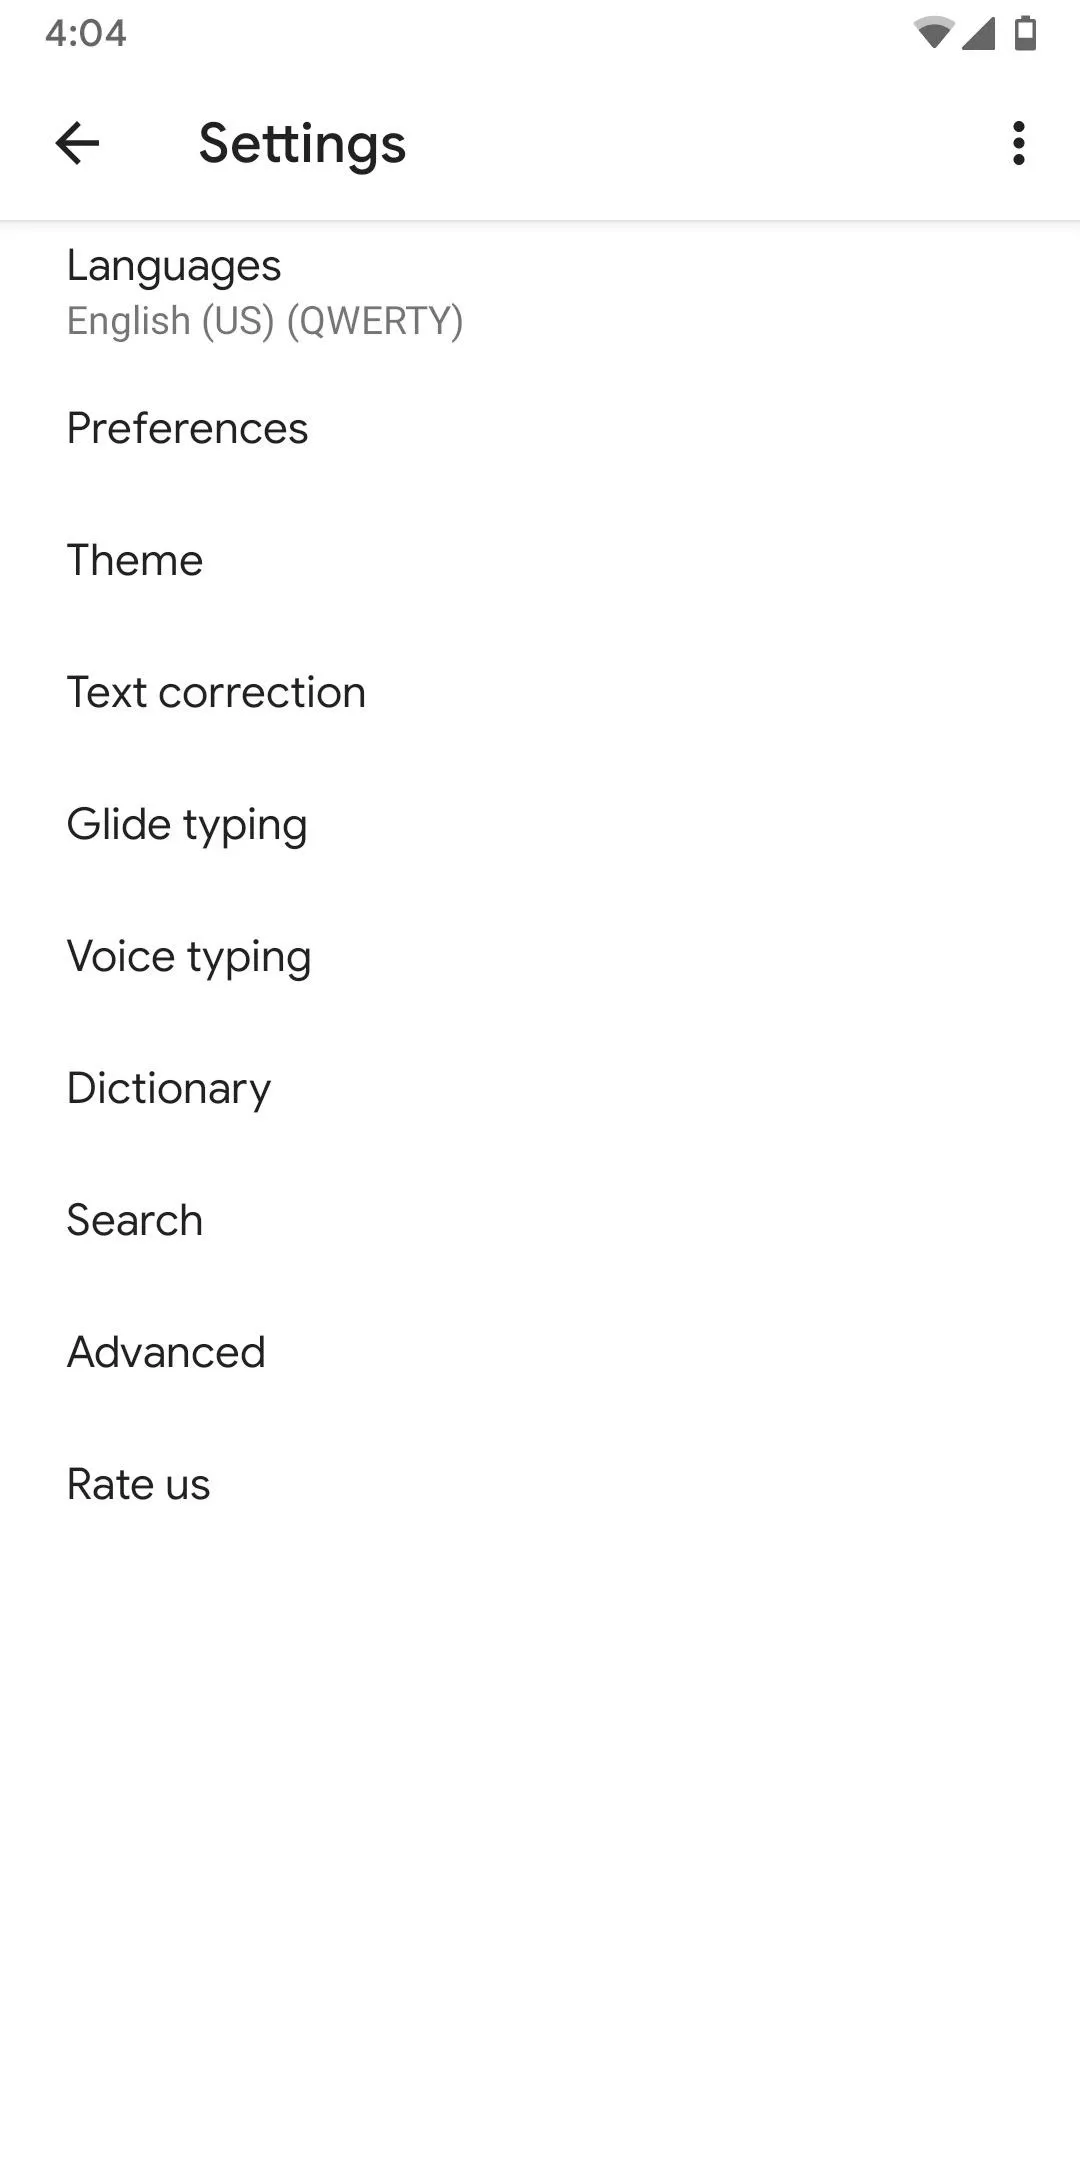
Gboard's settings menu.

Accessing Gboard's settings menu on Android.

Gboard's settings menu.
Change the Theme
Now, choose "Theme" and select a dark theme from the list. On iOS, by default, there will only be one dark theme option. For Android, there are several more dark mode options. The main difference will be the accent colors, but some dark themes are darker than others. Either way, the choice is yours.
On iOS, the theme is automatically applied once you select it. However, you can tap the pencil icon to customize the theme a bit further. If you do, you'll be able to change the color of Gboard's background and its keys, but note that both of these will be set to the darkest options by default. The more interesting option in this menu is "Enable background on keys" — if you disable this, your keyboard gets a more flat, stealthy look. After you've made your adjustments, be sure to tap "Done."
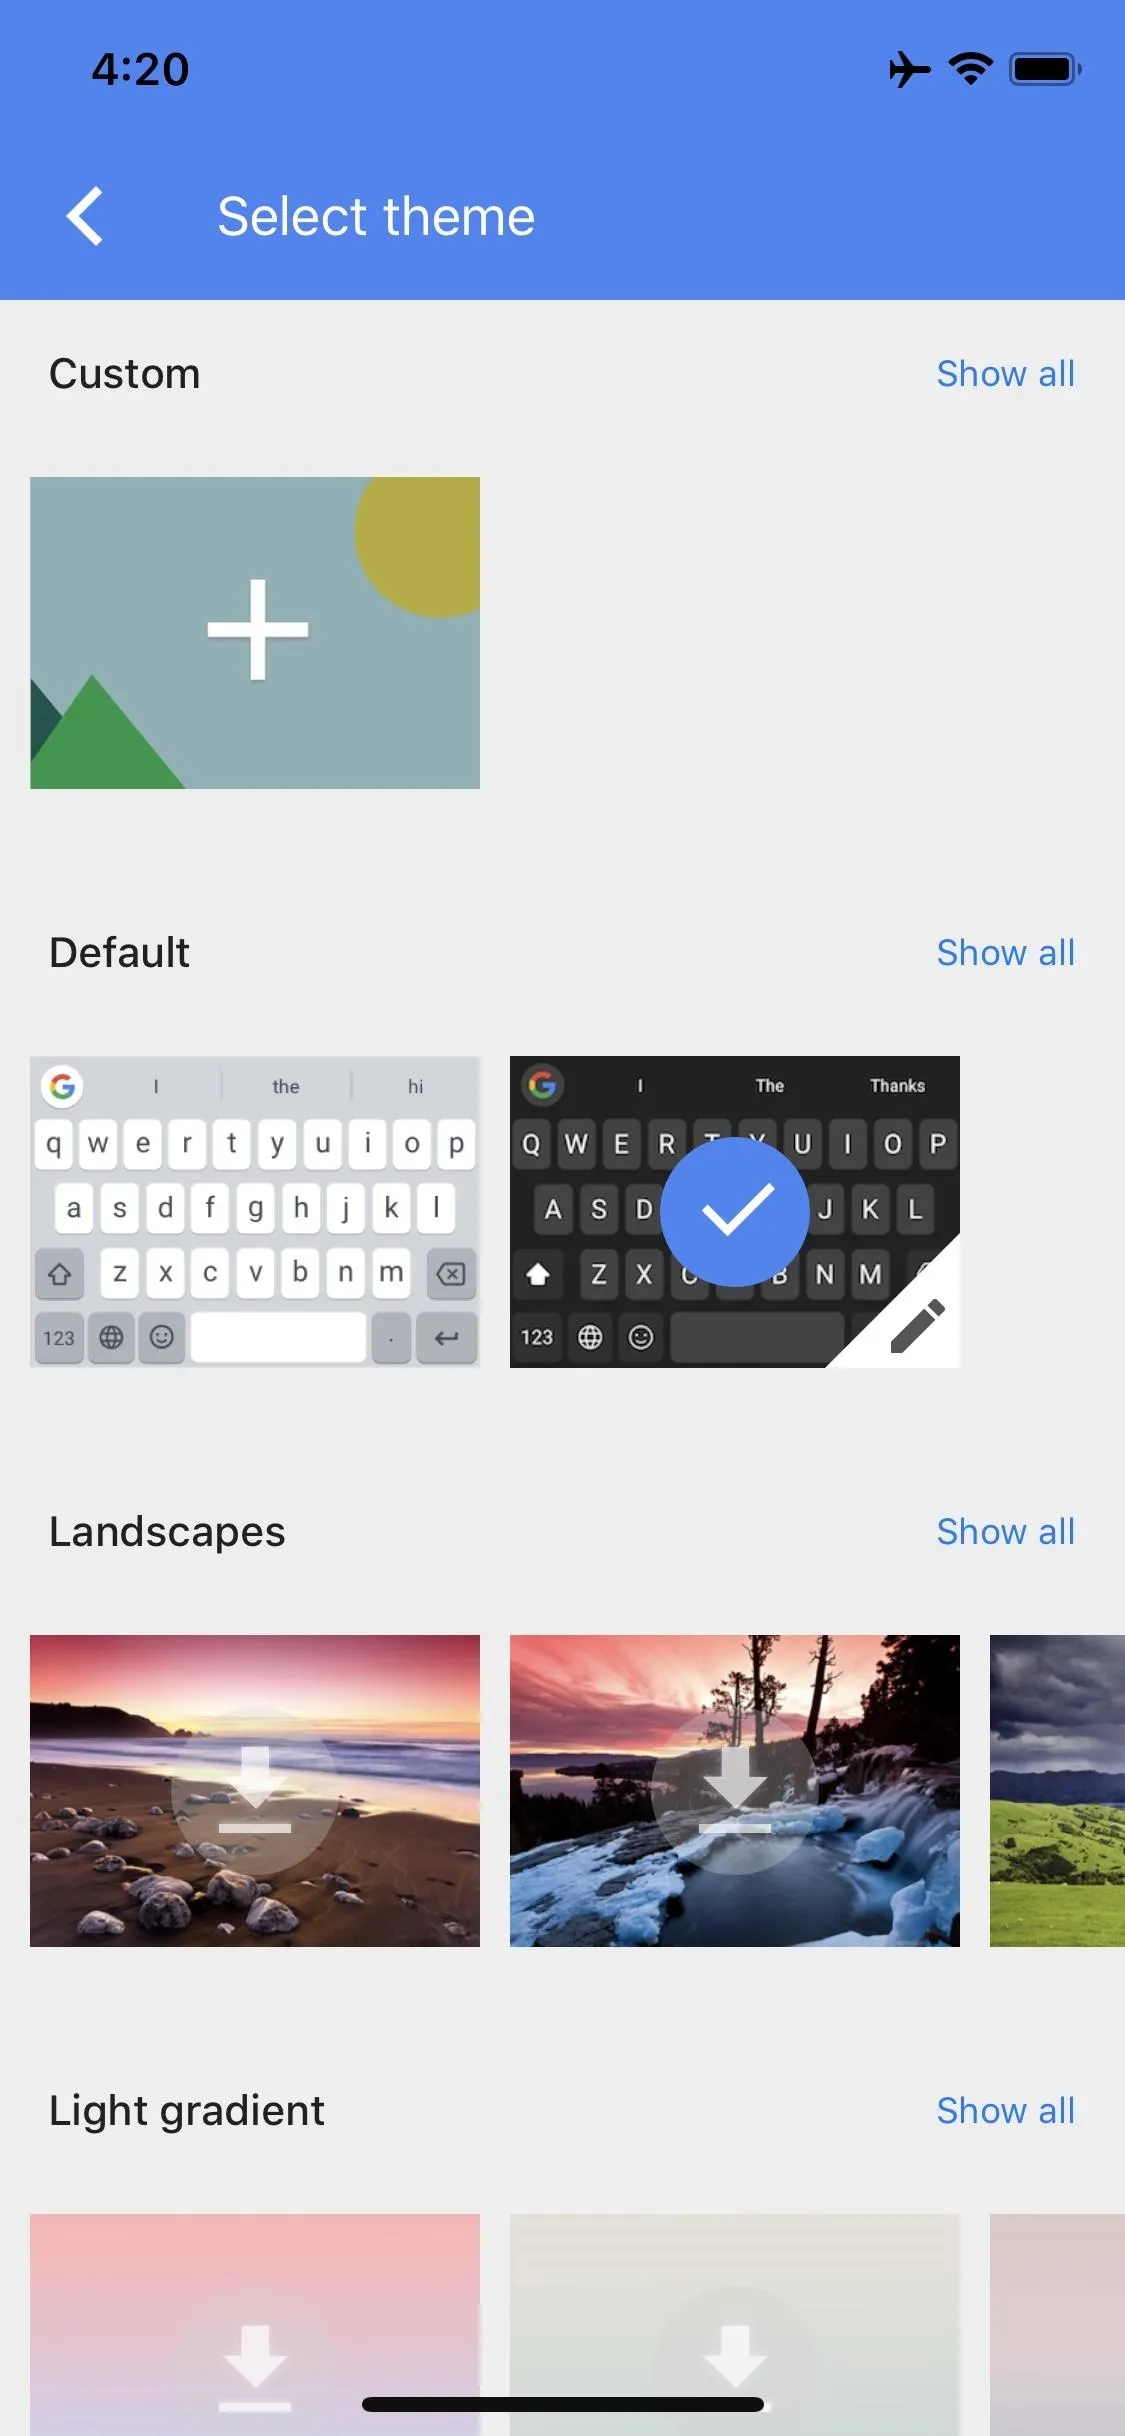
Selecting the dark theme on iOS.
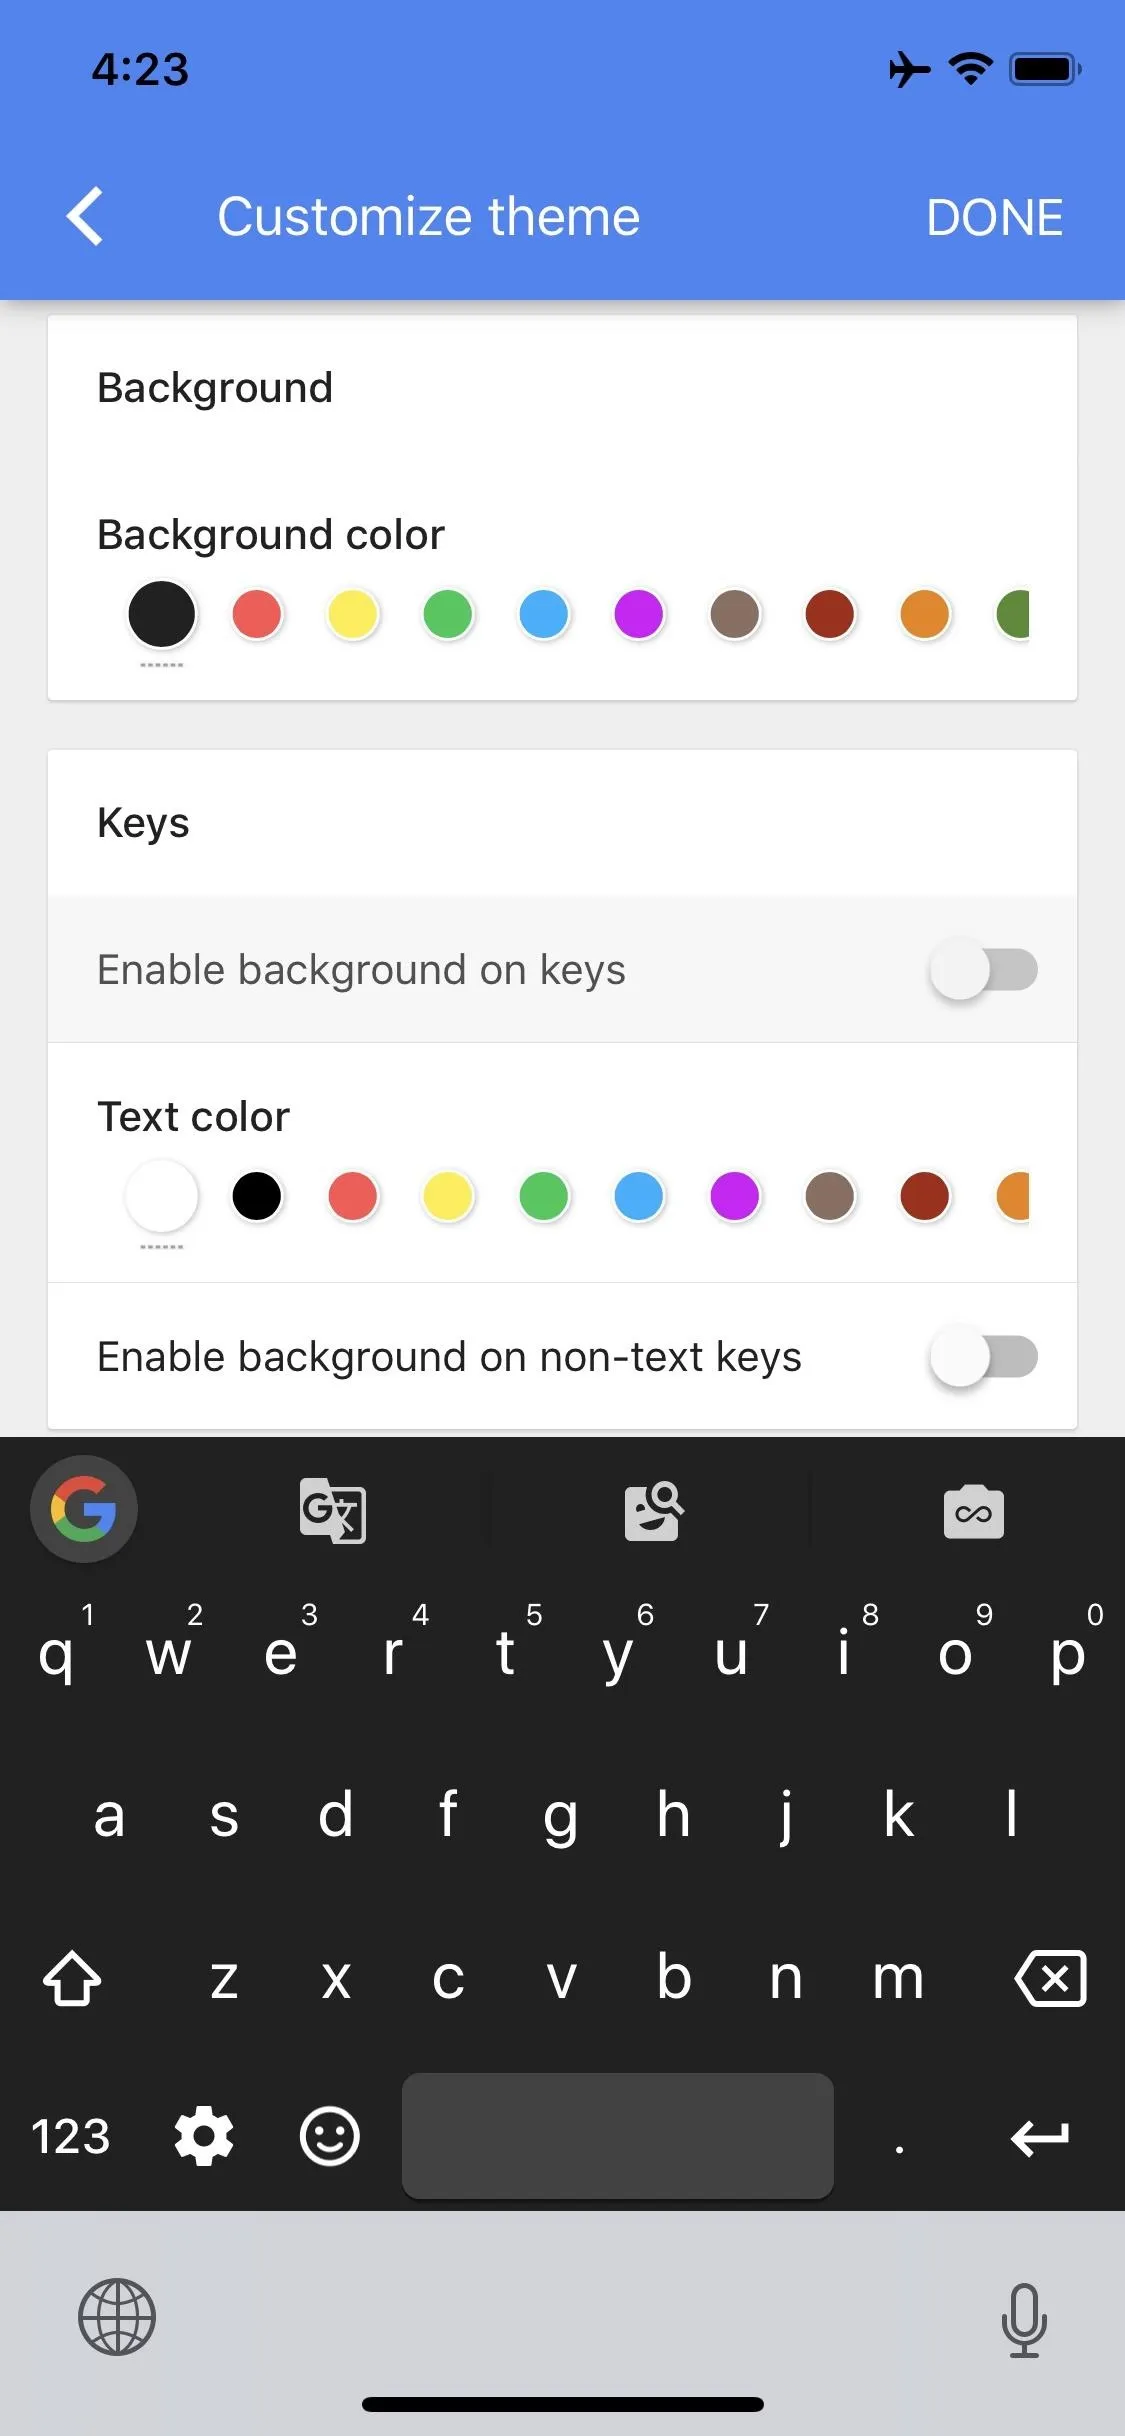
Customizing the dark theme on iOS.
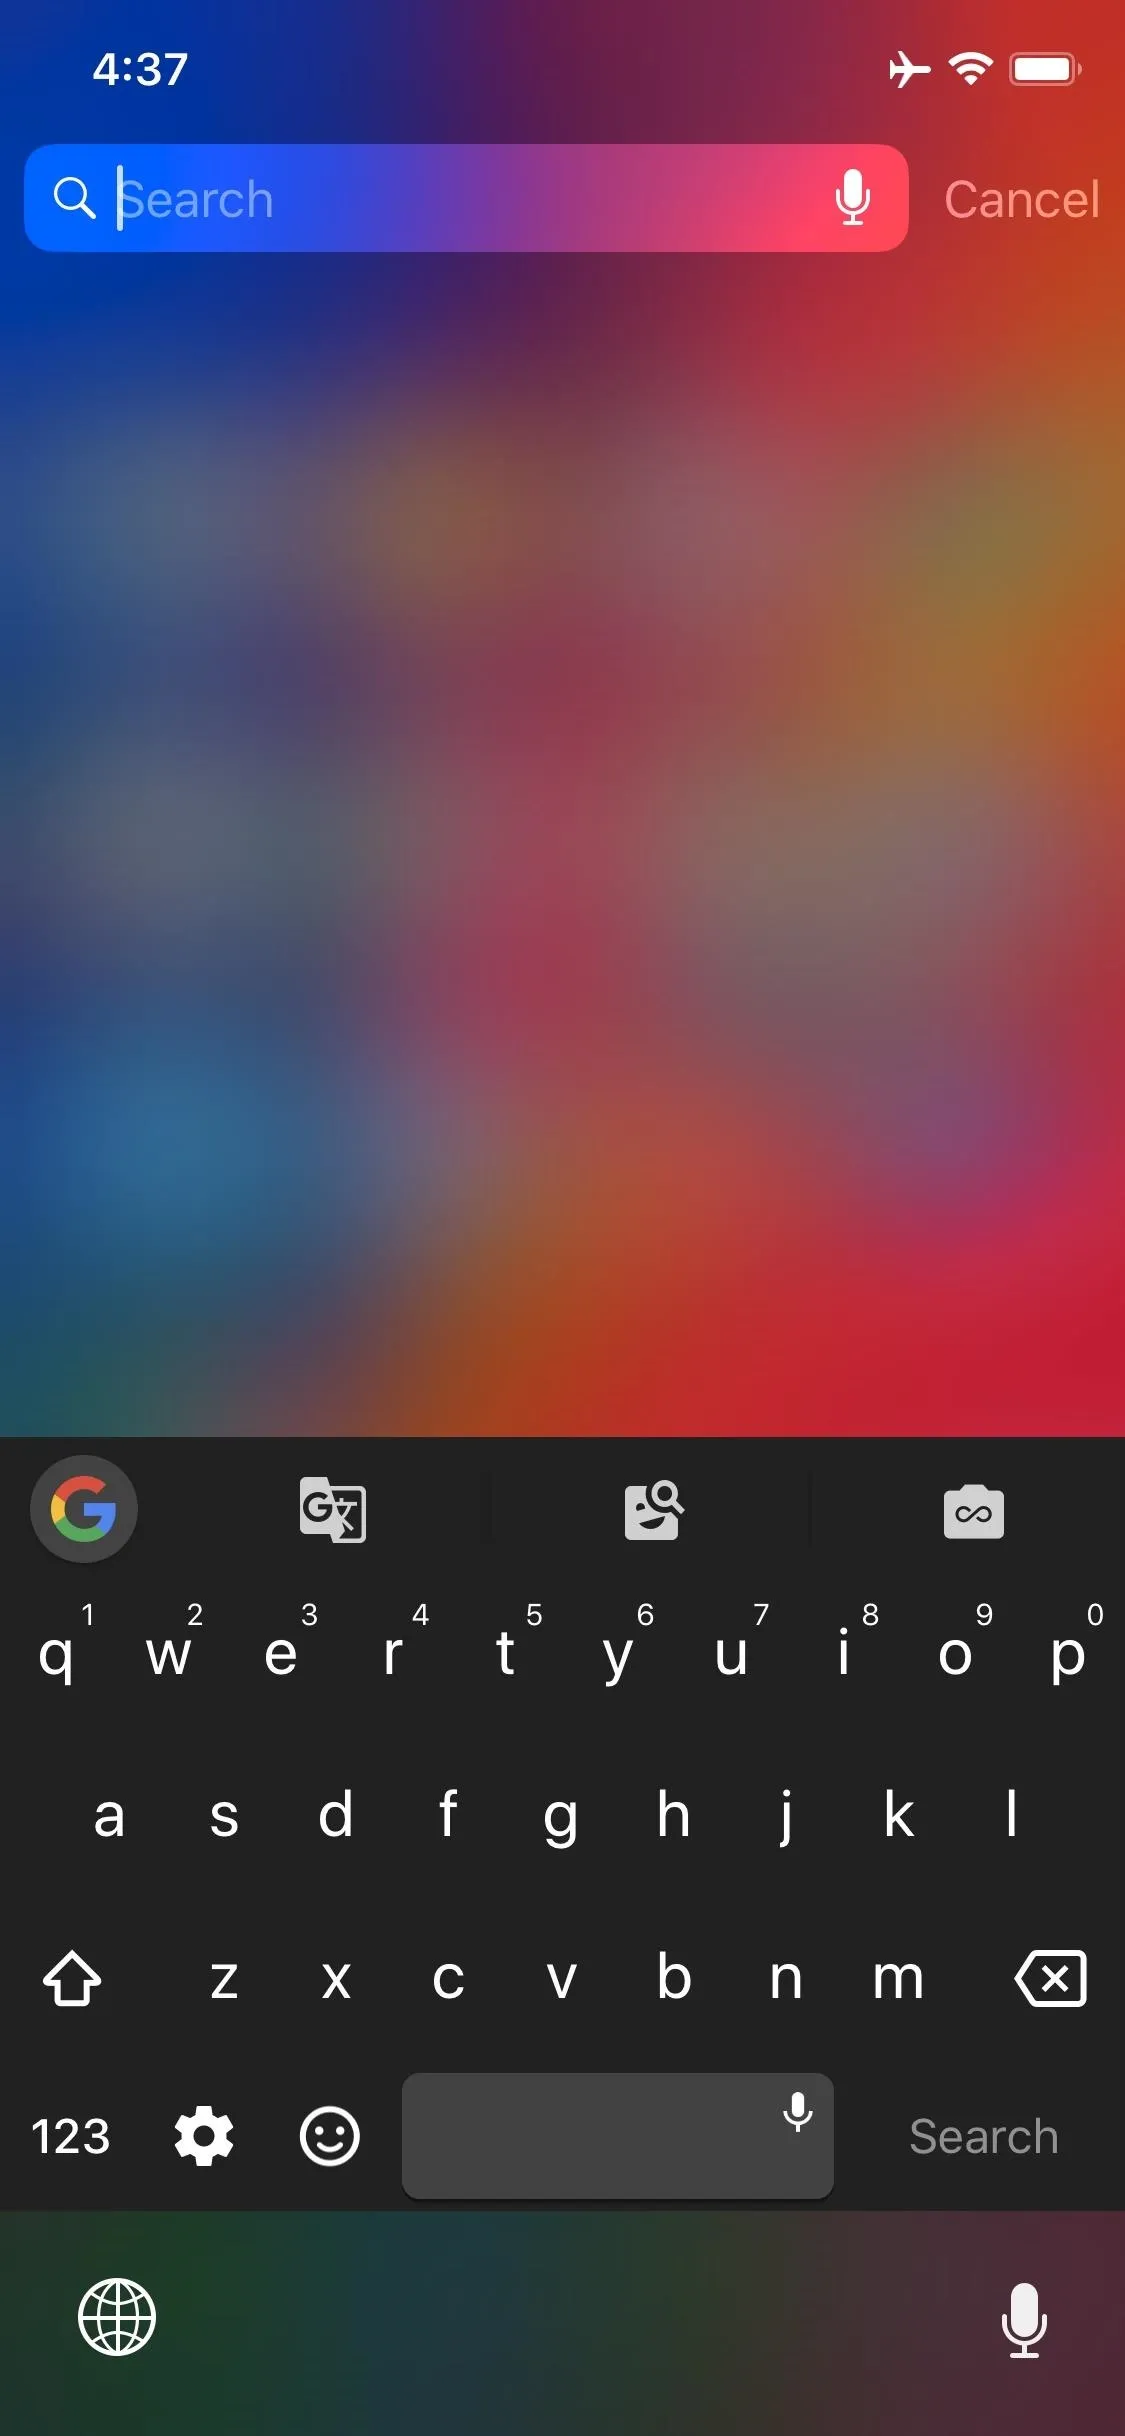
Gboard's dark theme in action.

Selecting the dark theme on iOS.

Customizing the dark theme on iOS.

Gboard's dark theme in action.
On Android, when you select a dark theme, you'll automatically be prompted to customize it further. The main option to look for here is "Key borders." If you disable this toggle, the lighter gray shading around the letters of your keyboard will go away, making it even darker. Once you've made your choices, be sure to tap "Apply."

Selecting a dark theme on Android, disabling key borders, then applying it.
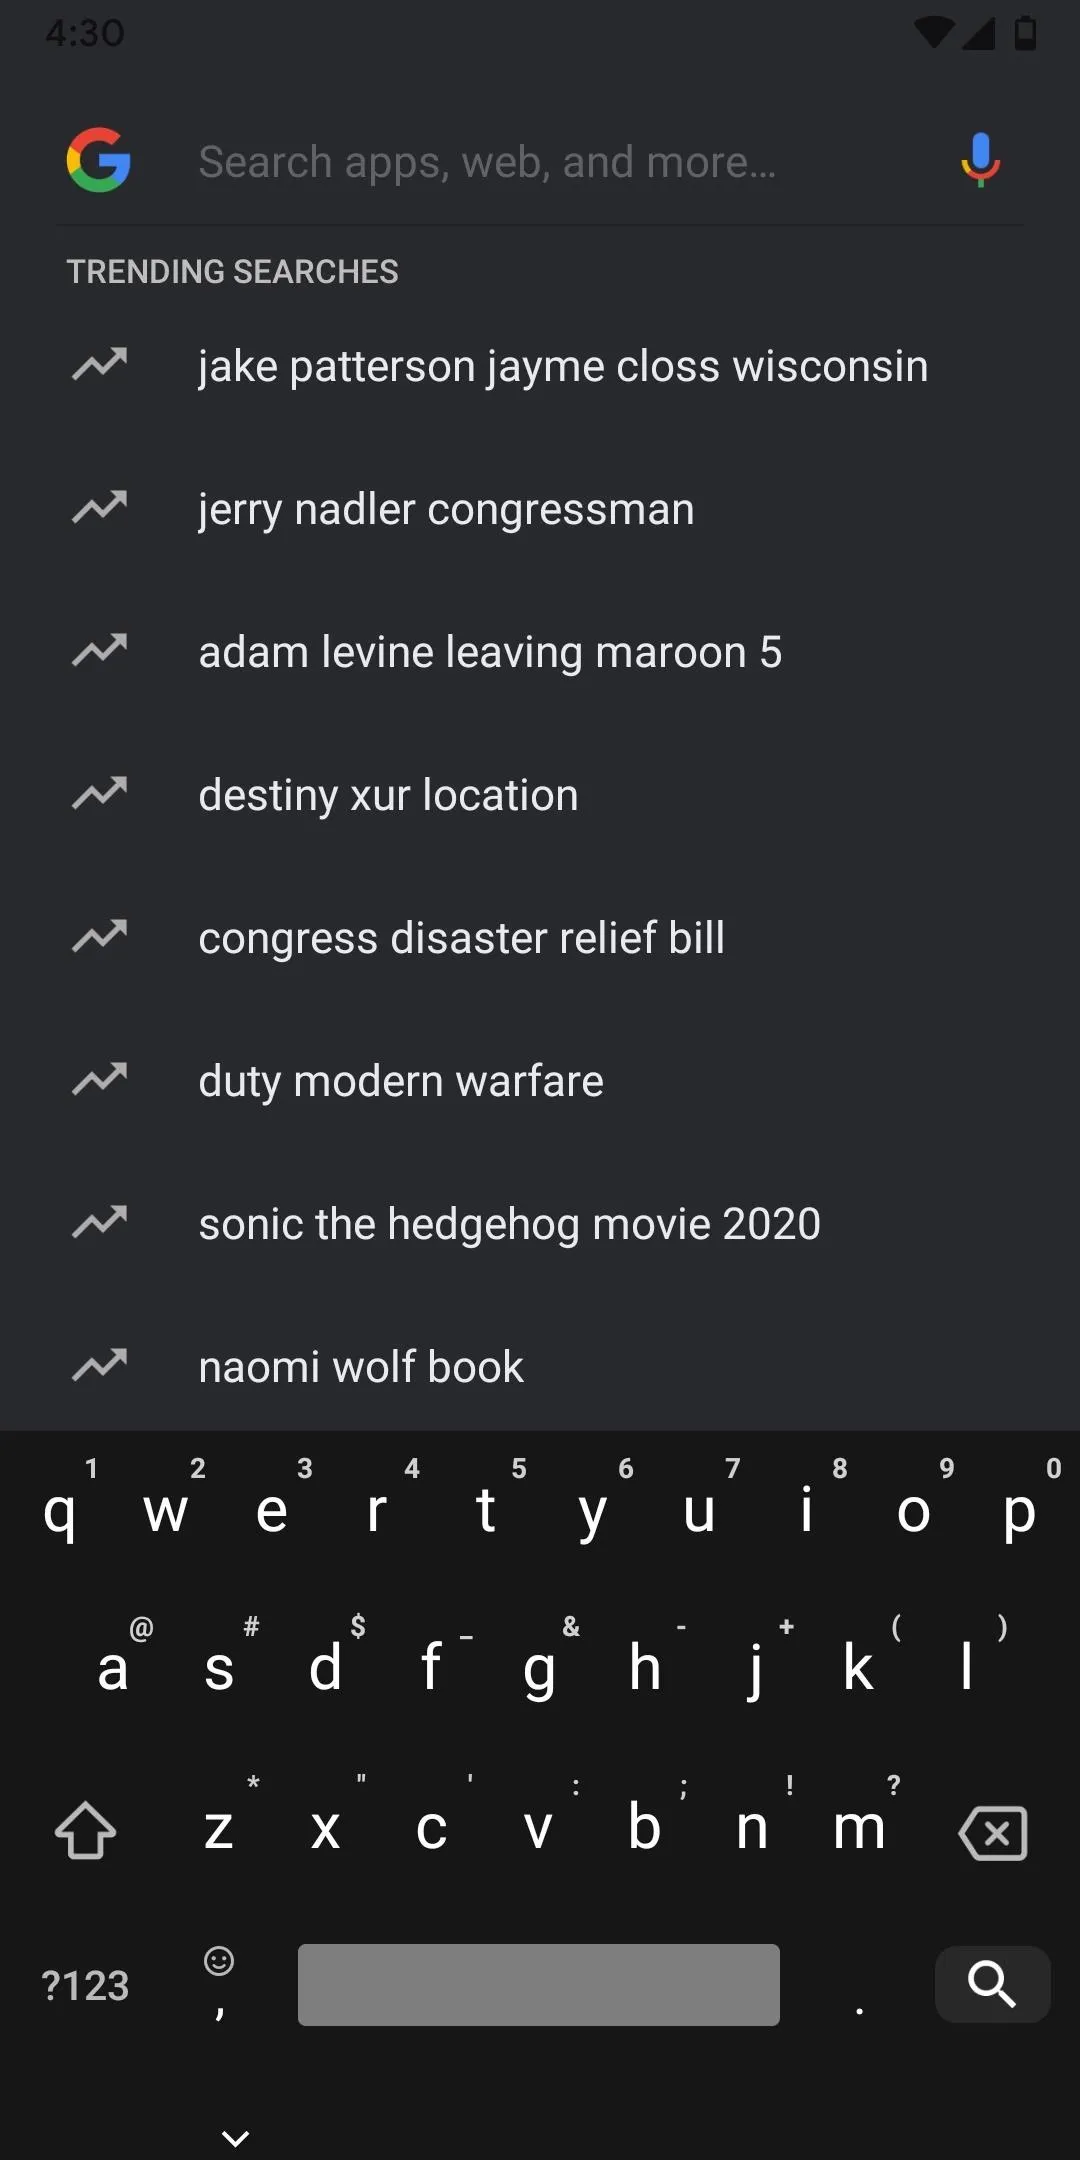
Gboard's dark theme in action.

Selecting a dark theme on Android, disabling key borders, then applying it.

Gboard's dark theme in action.
Go Fully Custom (Optional)
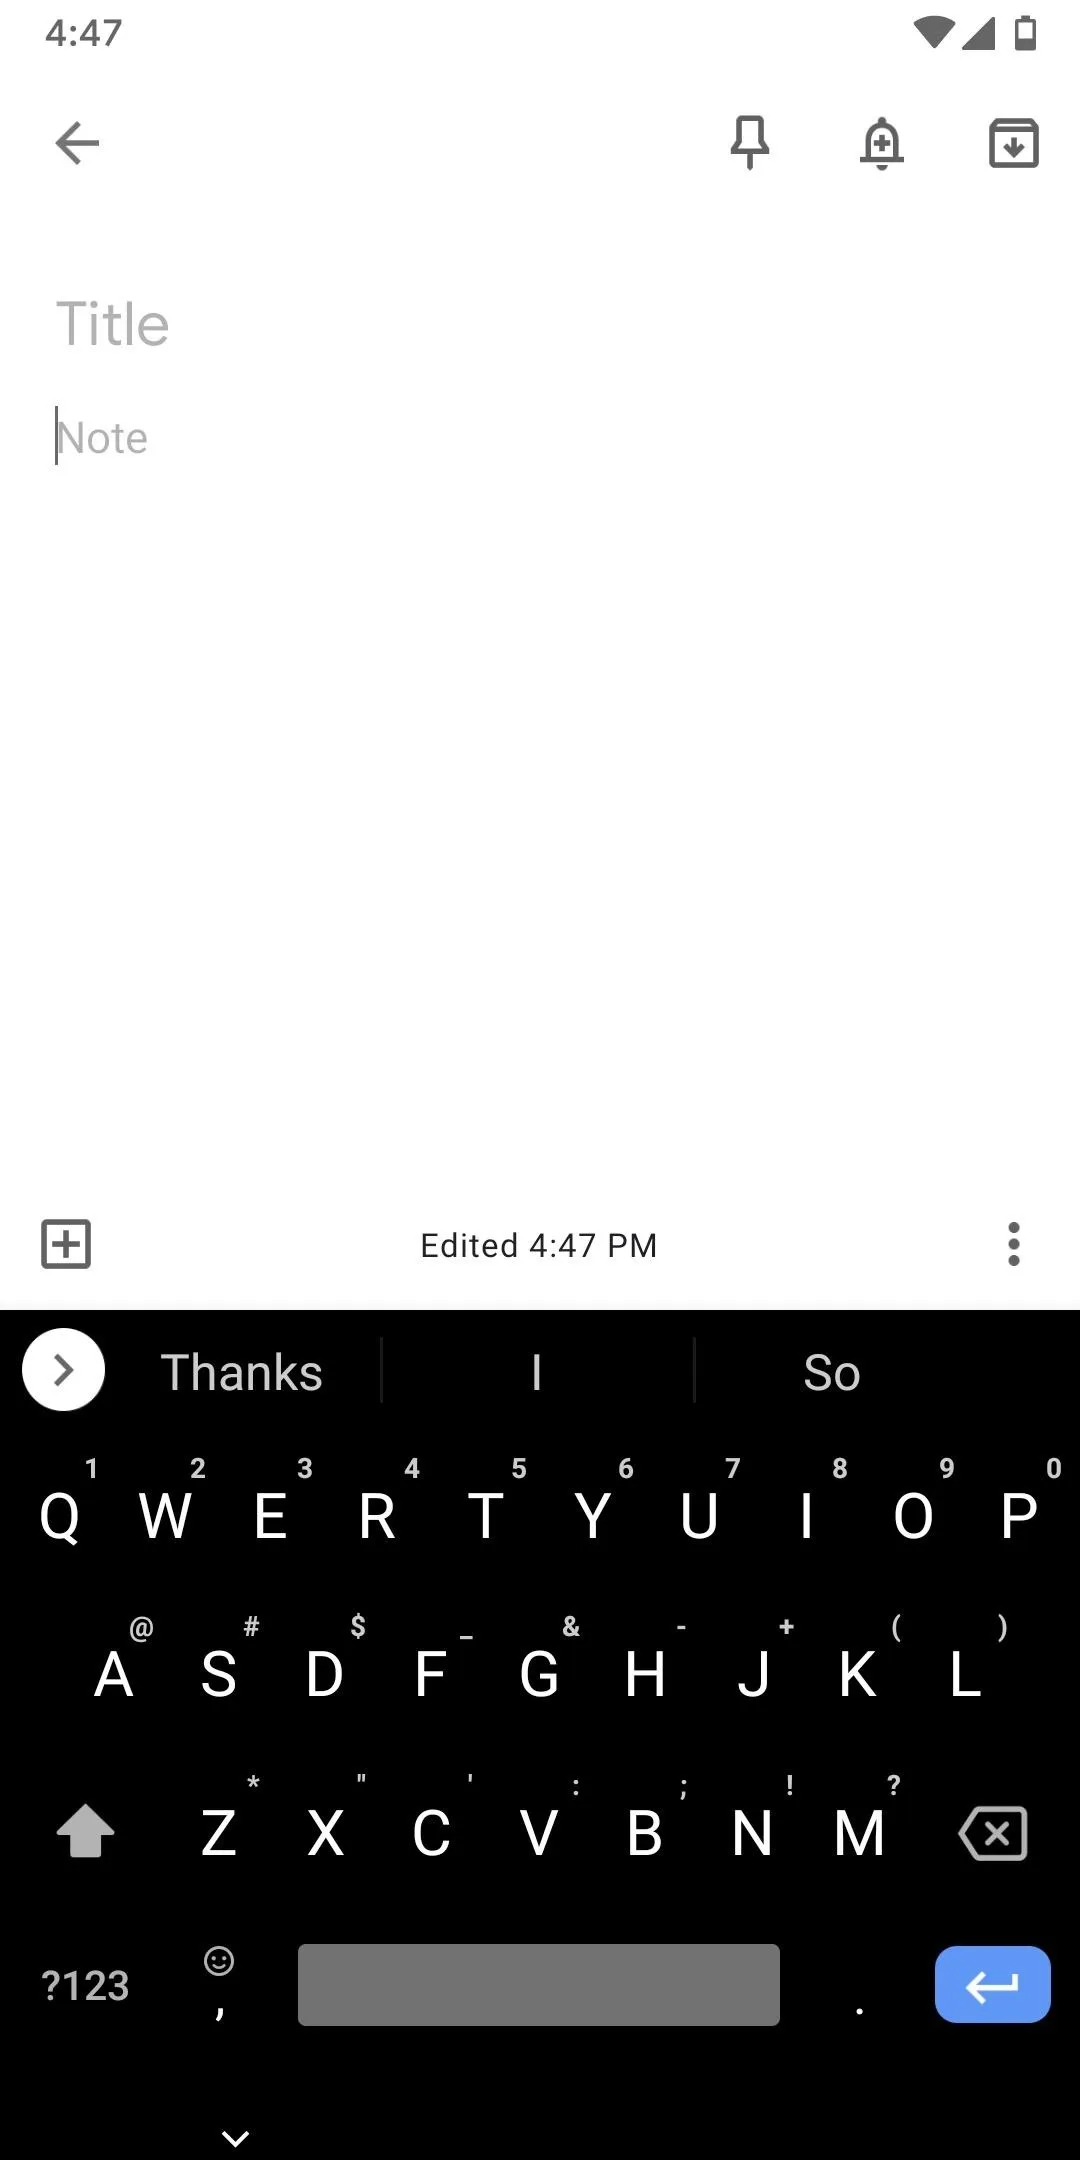
If you feel like the default dark themes aren't dark enough, you can get a fully black keyboard if you make your own custom Gboard theme. First, you'll need a pure black picture saved to your phone, such as this one.
Beyond that, head back to Gboard's settings and select "Themes" again. This time, choose the first option — the colorful theme with the + button overlaid on it. From there, select the black picture from your camera roll, then resize if need be and tap "Next." After that, you can adjust the brightness, but that's not needed since this is fully black already. So choose whether or not you want to display key borders, then simply hit "Apply" to get a fully black Gboard theme.



- Follow Gadget Hacks on Pinterest, Reddit, Twitter, YouTube, and Flipboard
- Sign up for Gadget Hacks' daily newsletter or weekly Android and iOS updates
- Follow WonderHowTo on Facebook, Twitter, Pinterest, and Flipboard
Cover image and screenshots by Jon Knight/Gadget Hacks







Comments
Be the first, drop a comment!