
For some of you, whether or not to delete Facebook is a daily struggle. One reason you might not have pulled the trigger on your Facebook account yet could be because of Messenger, which provides millions of people with different devices an easy way to communicate with each other. But here's a secret you might not know: you don't need to have a Facebook account to use Facebook's popular chat app.
To be clear, though, you do need to keep your Facebook account if you want to hang on to your Messenger app as it stands. Deleting your Facebook erases your Messenger account and all of your chats, so if you don't want to lose that data, you can't go nuclear.
However, that doesn't mean you can't use Messenger without Facebook — you just have to start from scratch. We'll show you how easy it is to set up a new Messenger account without a Facebook account, and afterward, we'll briefly talk about another option available to you if you want to keep the Messenger account you have right now that's connected to your Facebook.
You Don't Need to Delete Your Current Messenger Account
If you genuinely want to use Messenger without having any other connection to Facebook, you will have to make a new Messenger account. Starting a new Messenger account still lets you message people on Facebook, so you won't miss out there. You can delete your old Messenger account if you have one, but it isn't necessary for making a standalone Messenger account. If you have an existing Facebook account, though, you may hit some annoying hiccups.
Start from Scratch with Messenger
To begin, either install the Messenger app on your device, if you don't already have it, or delete and reinstall Messenger, then open it. If you don't have an active Facebook account on your device, tap "Create New Account" on the first screen. Otherwise, with an active Facebook account on your phone, Messenger will try to log you in using that, but you can avoid this by tapping "This isn't me" at the bottom, then tap on "Create New Account."
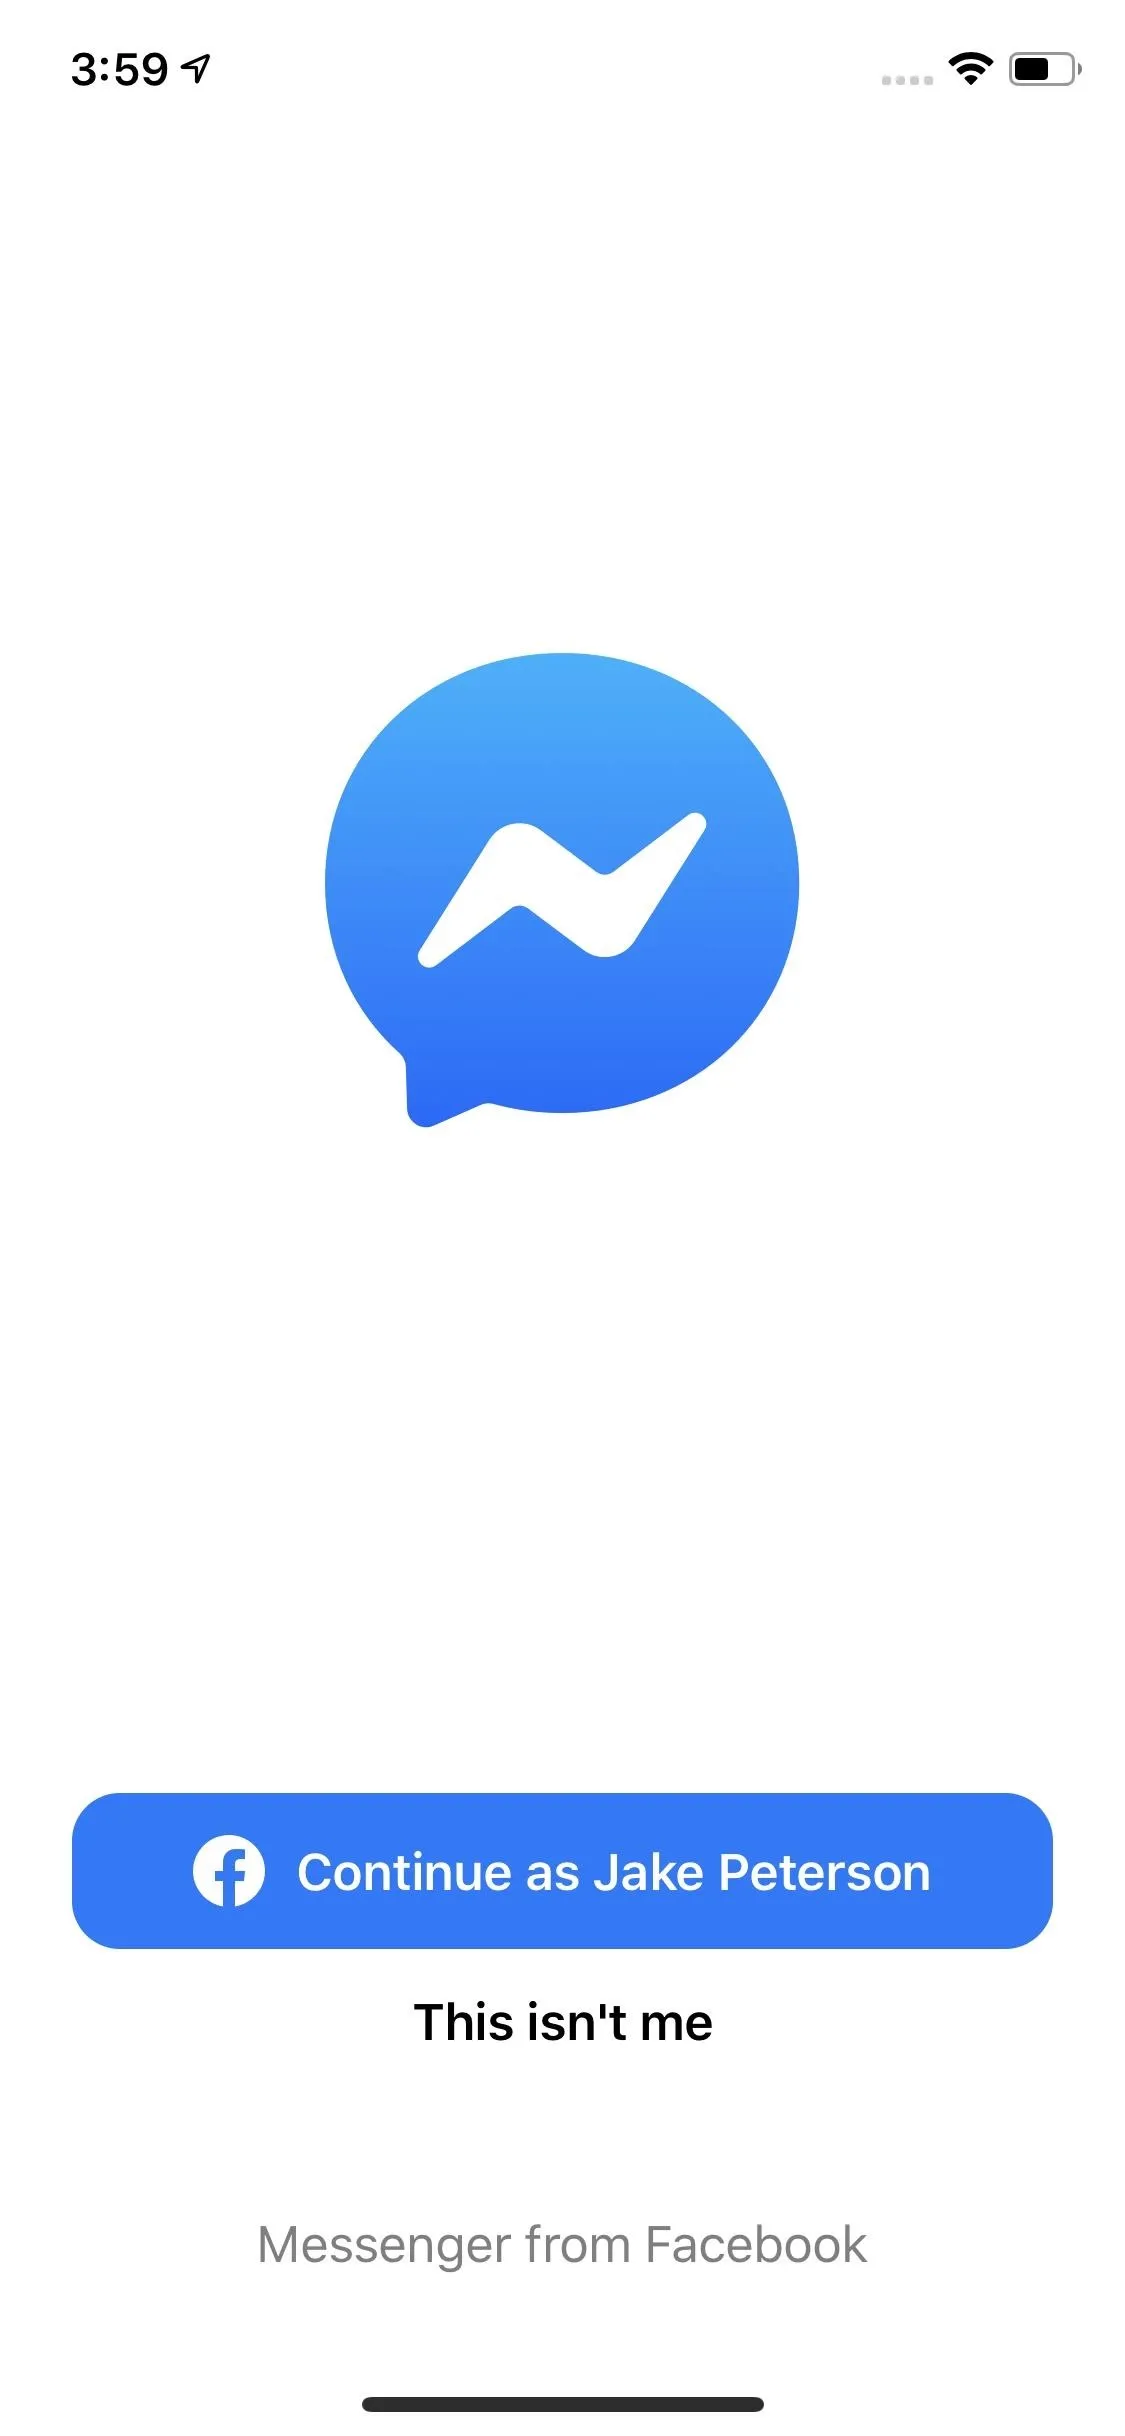
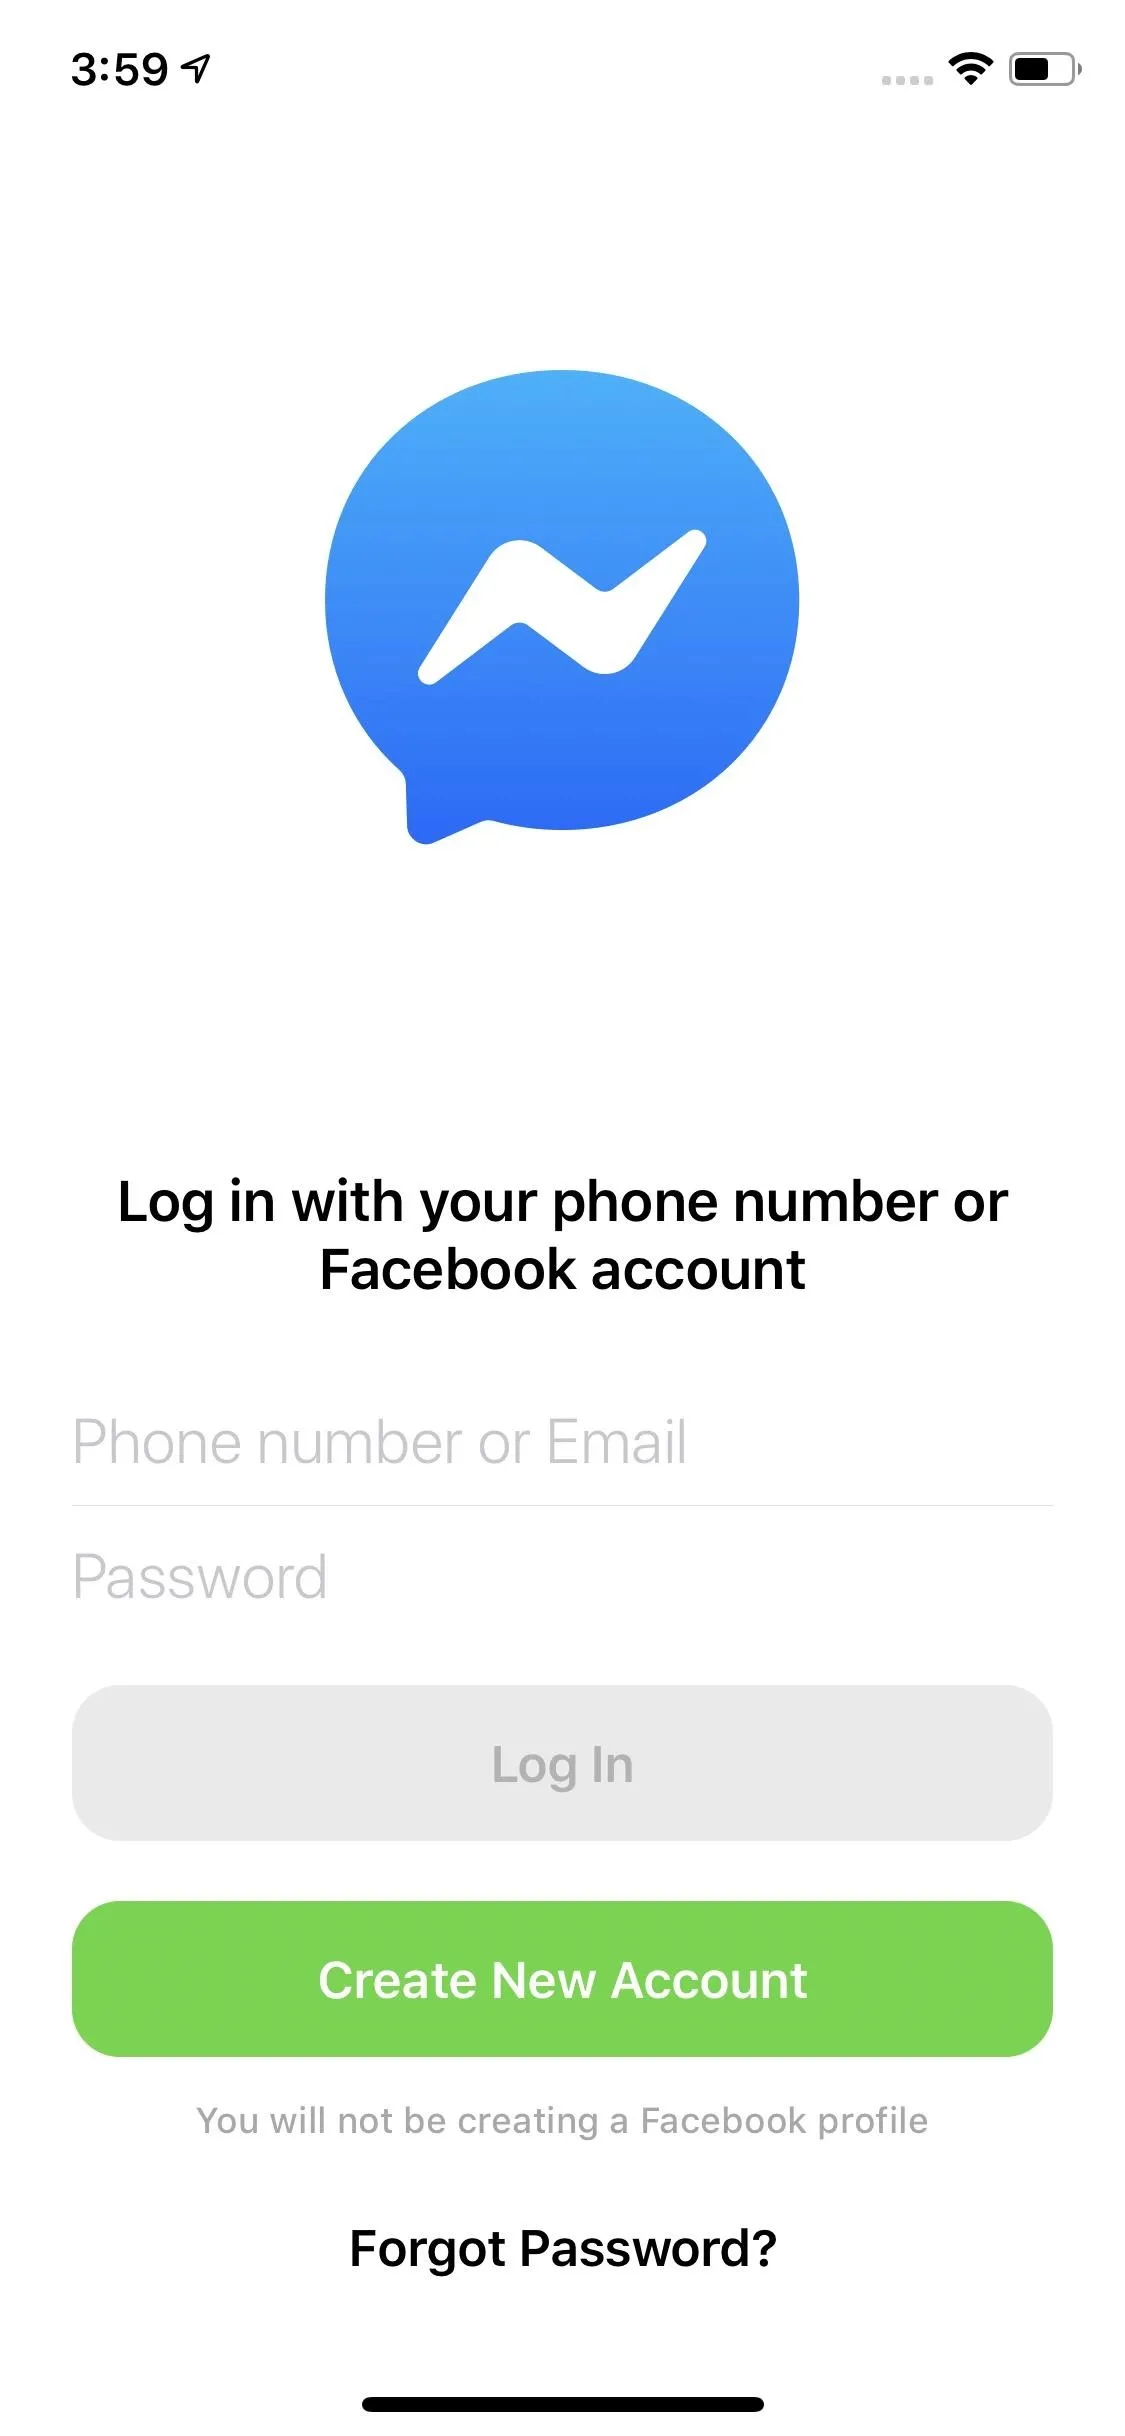


If you're using an Android phone, you may need to tap "Continue" on a pop-up before moving on to the next step. You won't see this pop-up on an iPhone.
Enter Phone Number & Create Password
On the signup screen, enter your phone number when prompted, then tap "Next." Now, you'll have the option to create a password. Facebook isn't clear about exactly what it needs from your password, but it will stop you if your password isn't strong enough. So, try to make it something with at least a small variety of punctuations and numbers. However, we recommend you use as strong a password as you can.
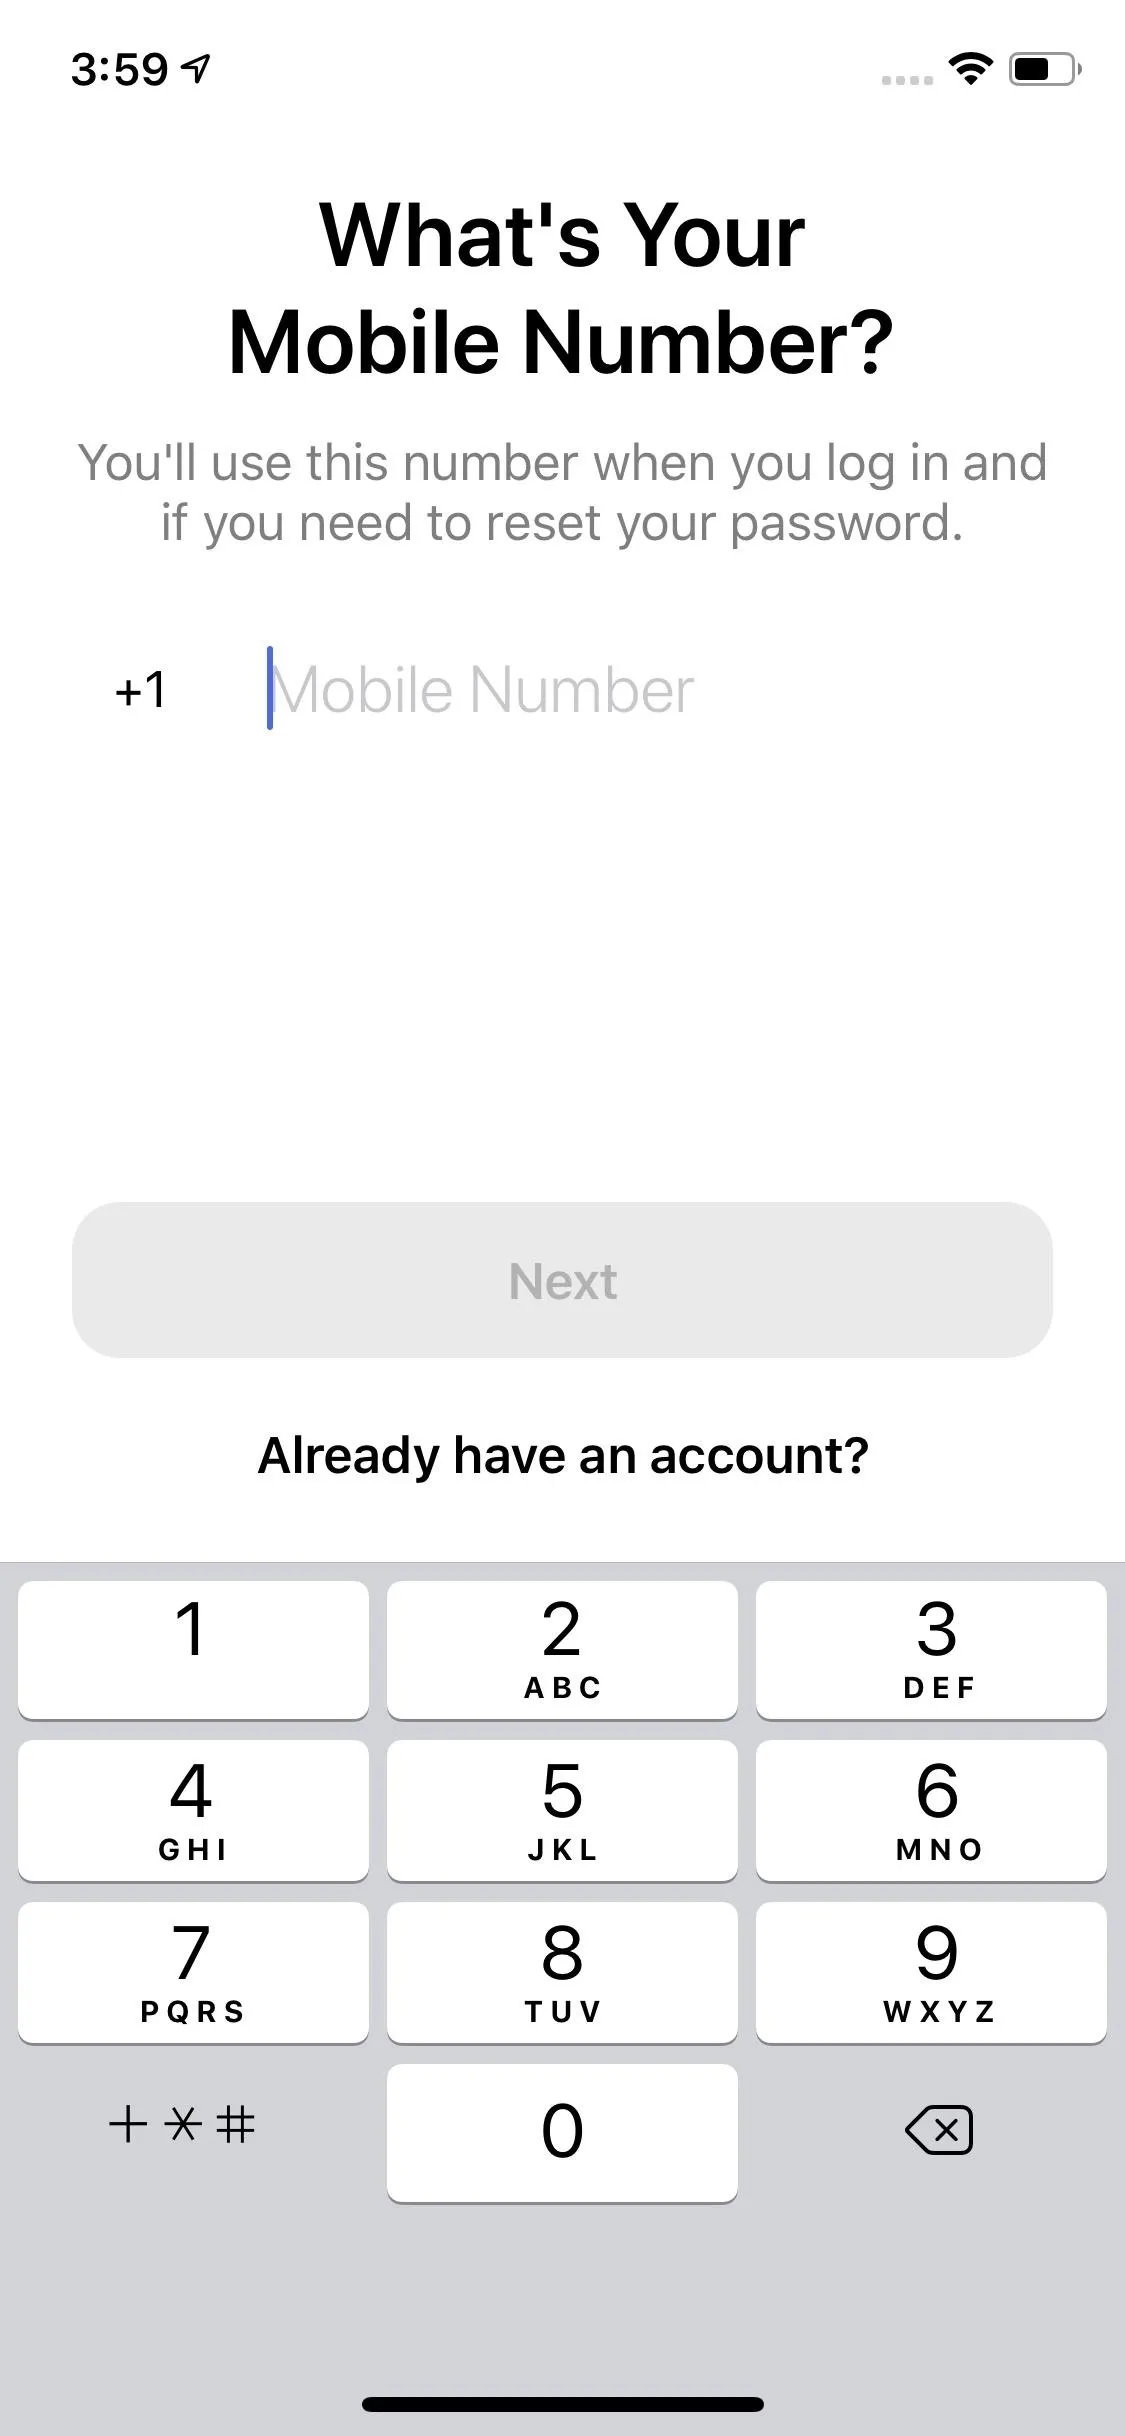
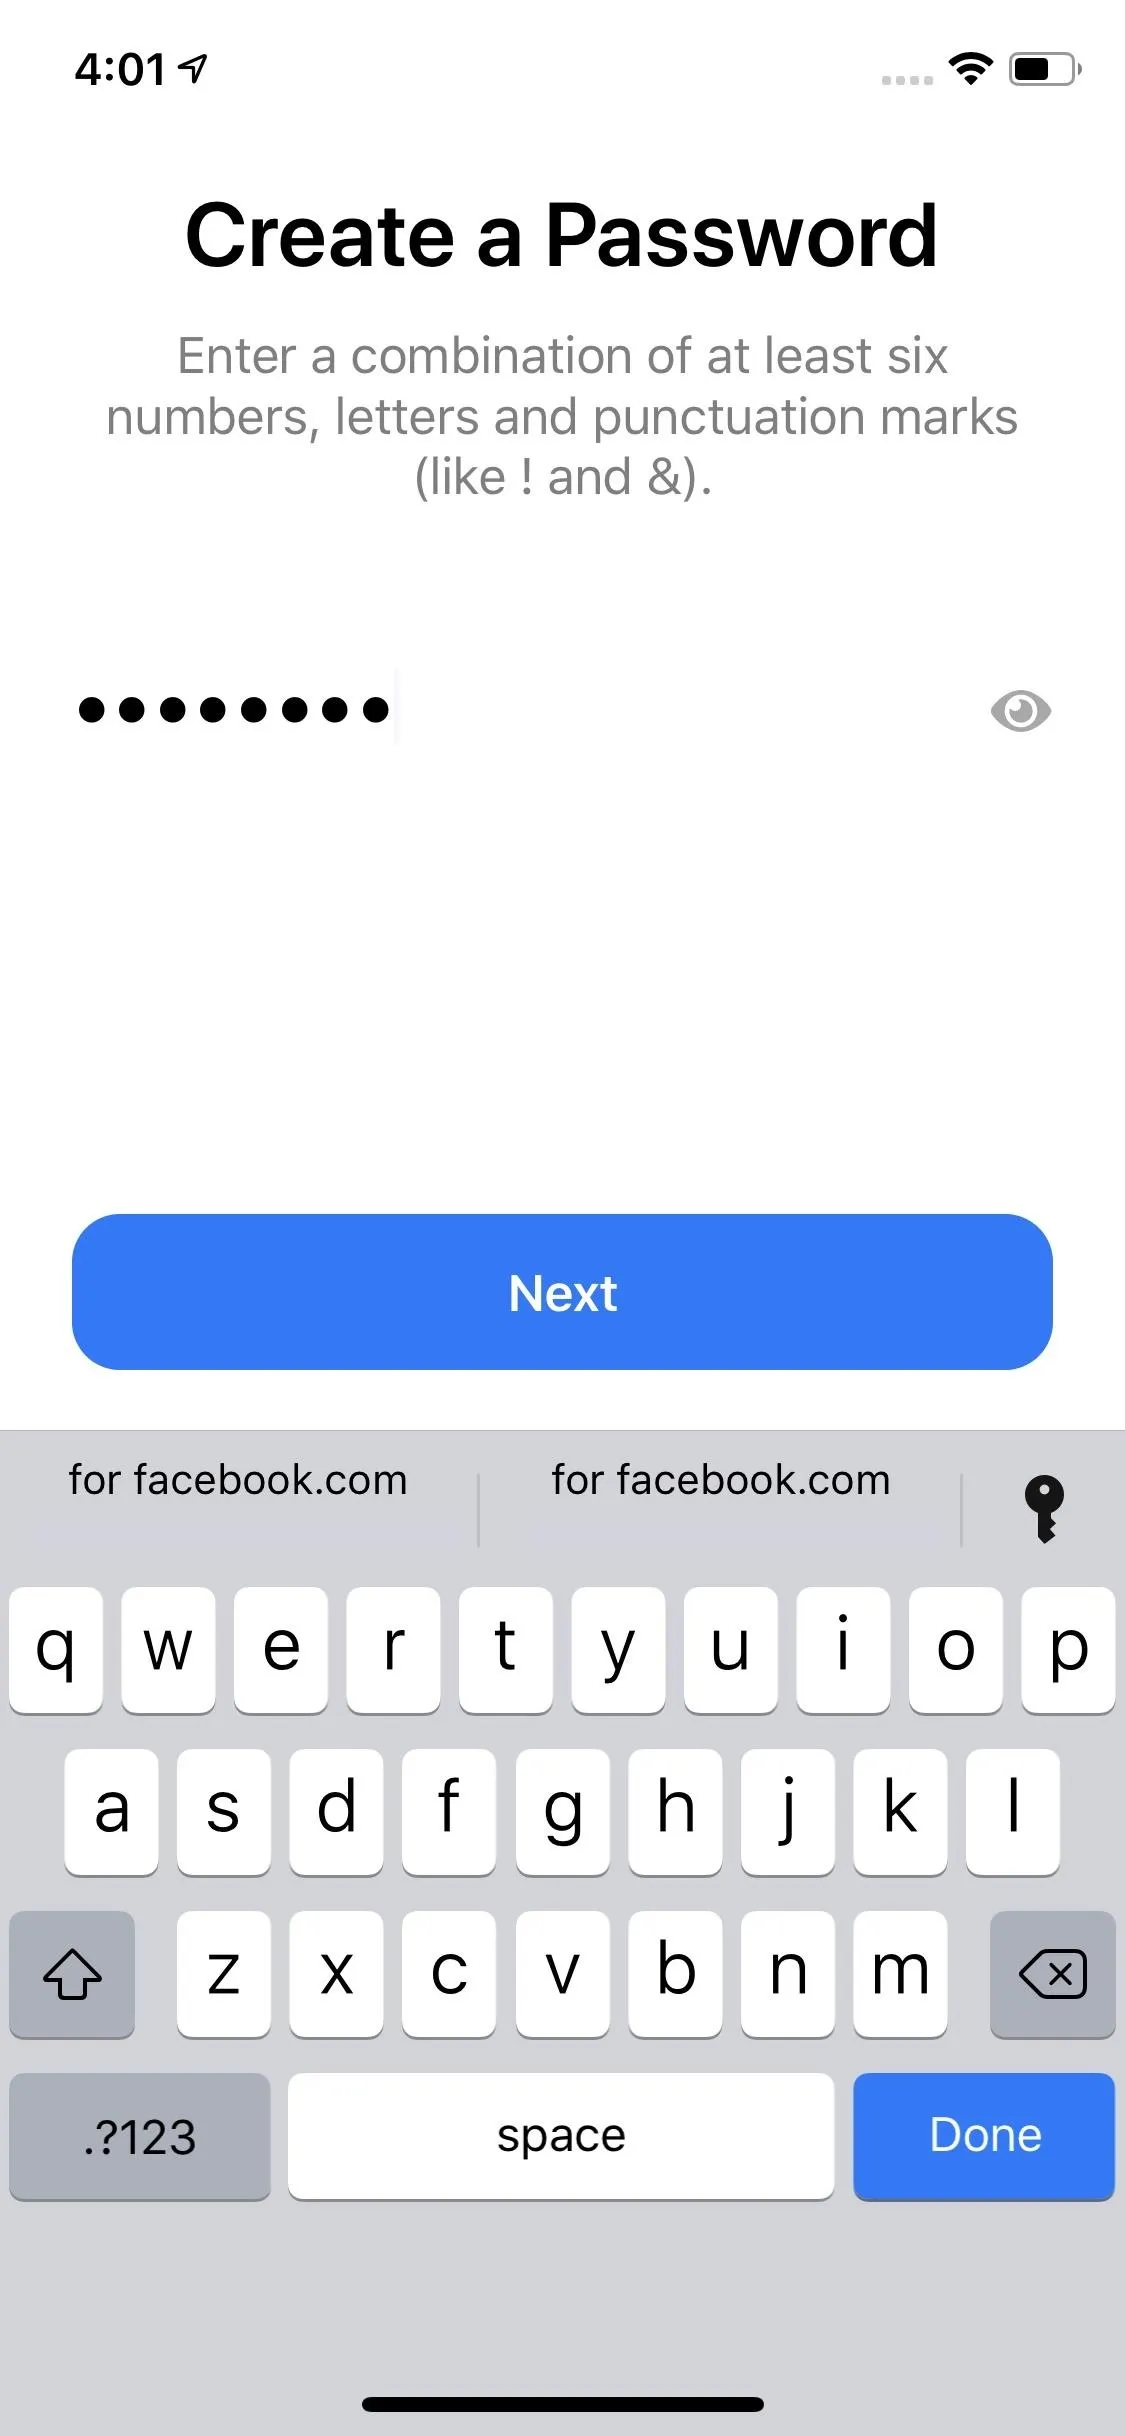


Add Name & Confirm Phone Number
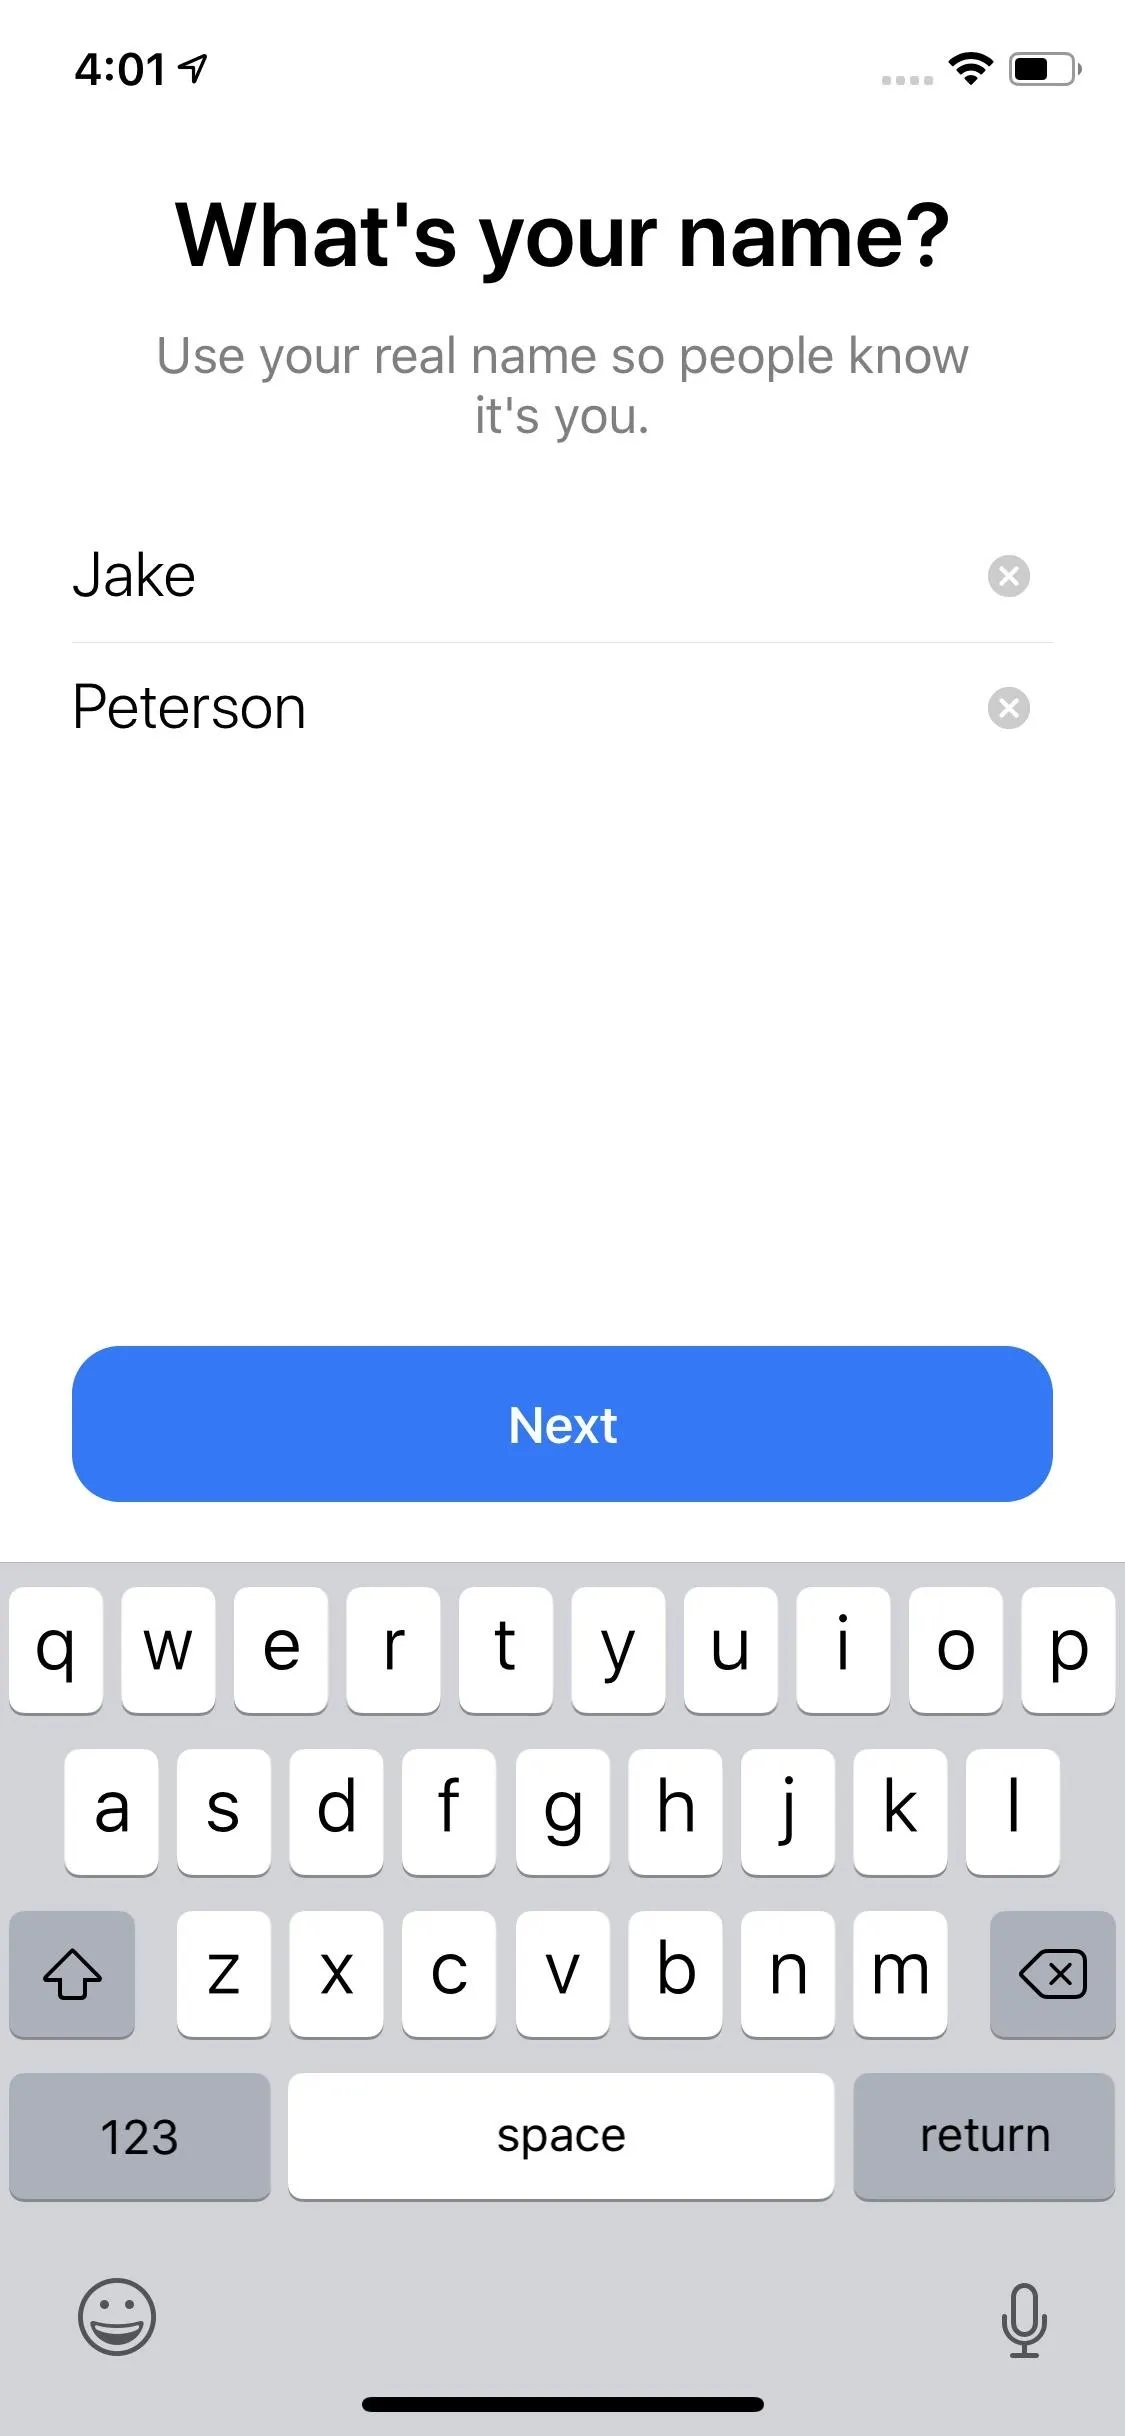
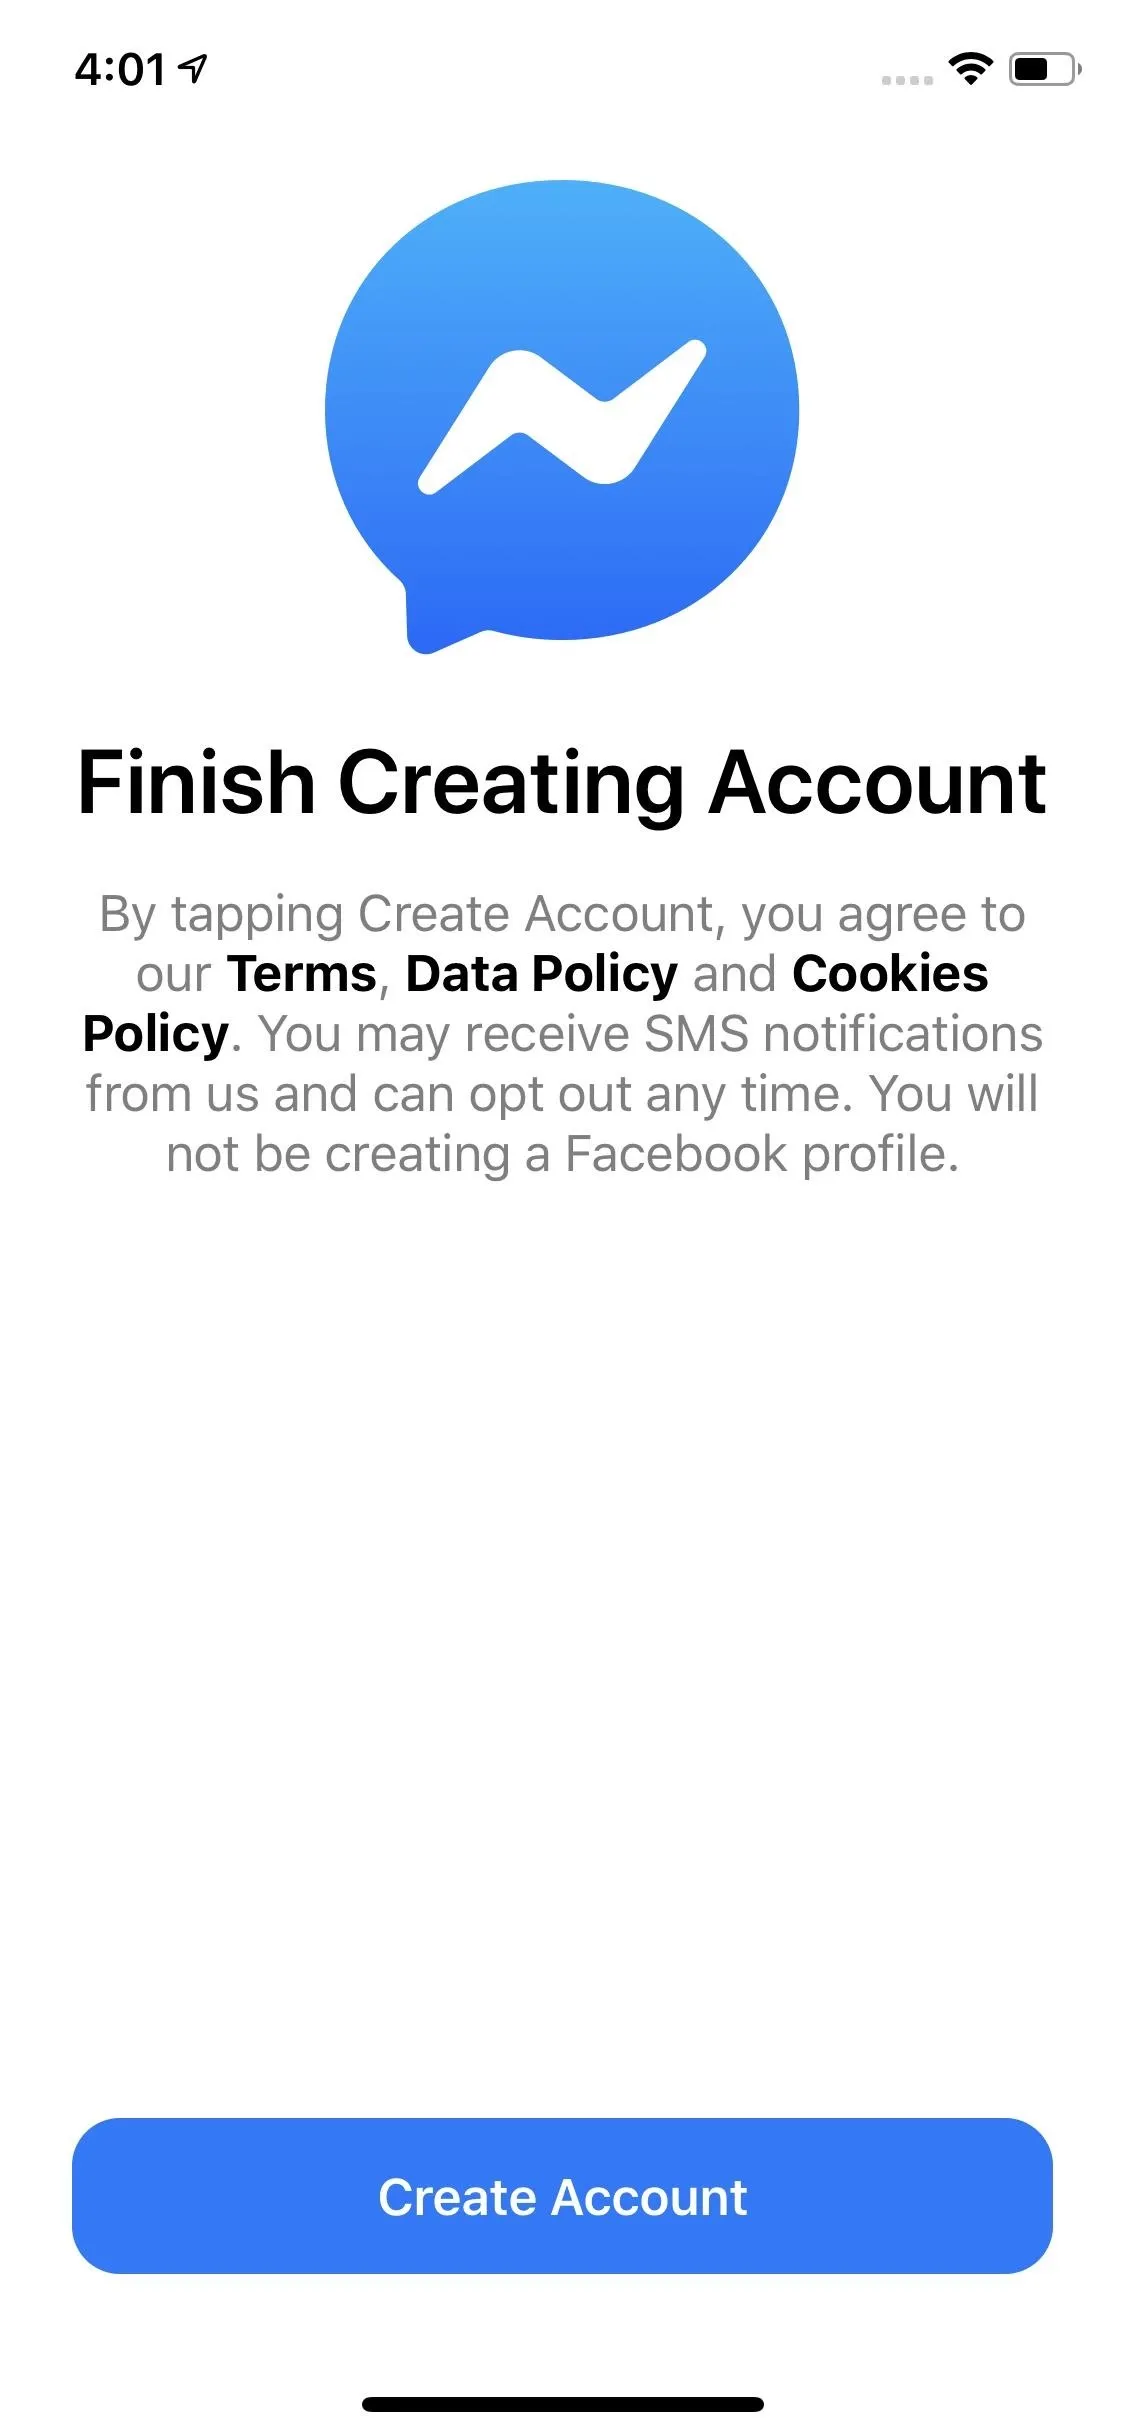
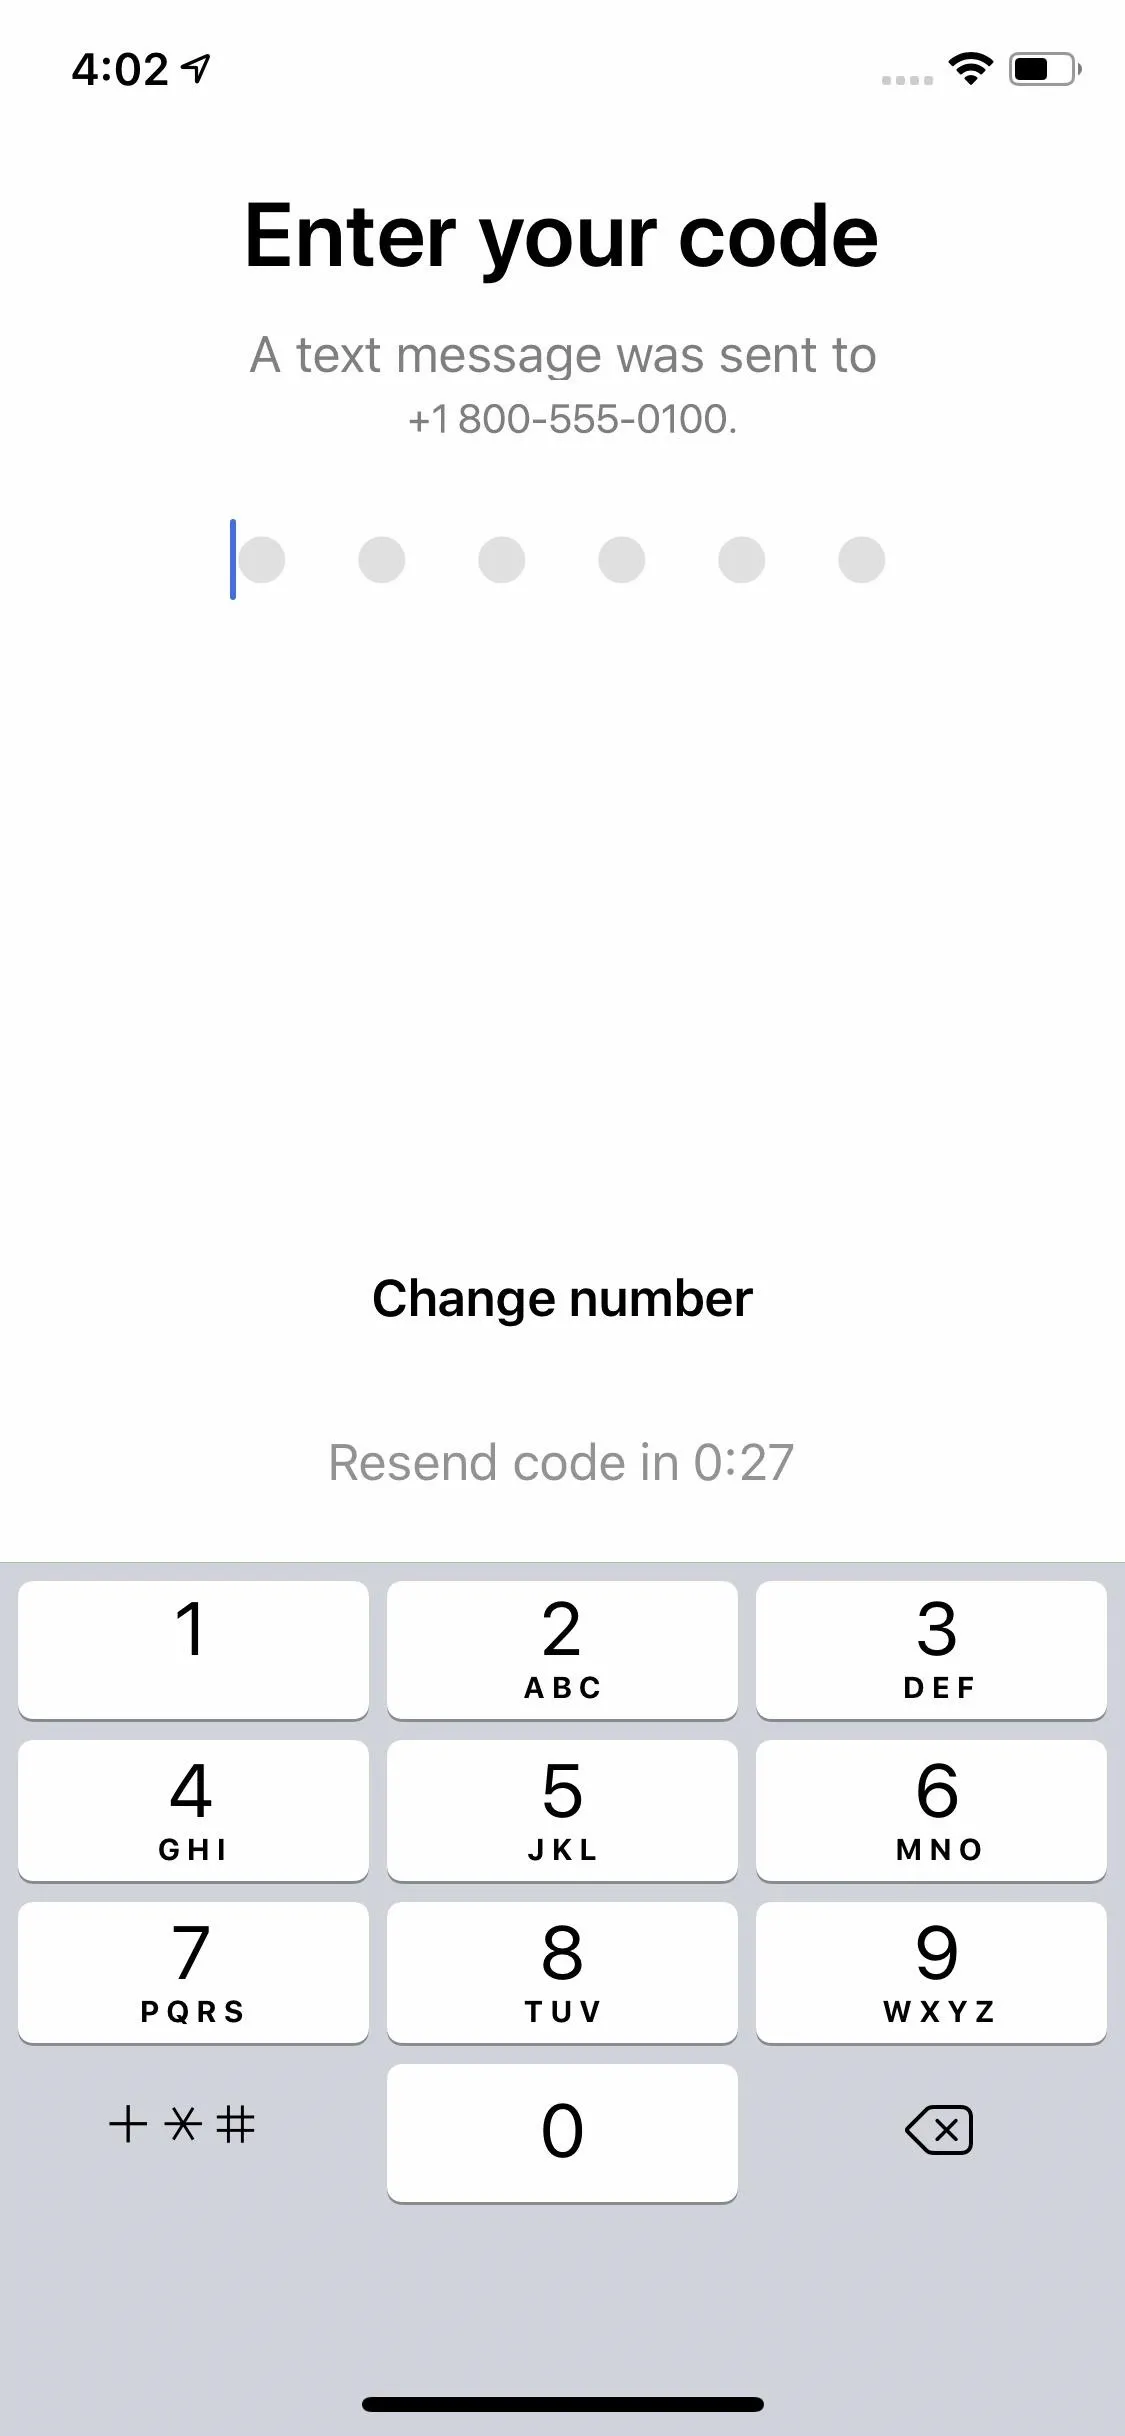
After choosing a password, enter your name, then tap "Next." On the following page, tap "Create Account," then enter the code sent to your attached phone number. If you don't see the code, you'll have the option to resend the code after 60 seconds. If you need to change your number entirely, tap "Change number" and follow the instructions before eventually returning to this point.


Skip Login (If Applicable) & Add a Photo
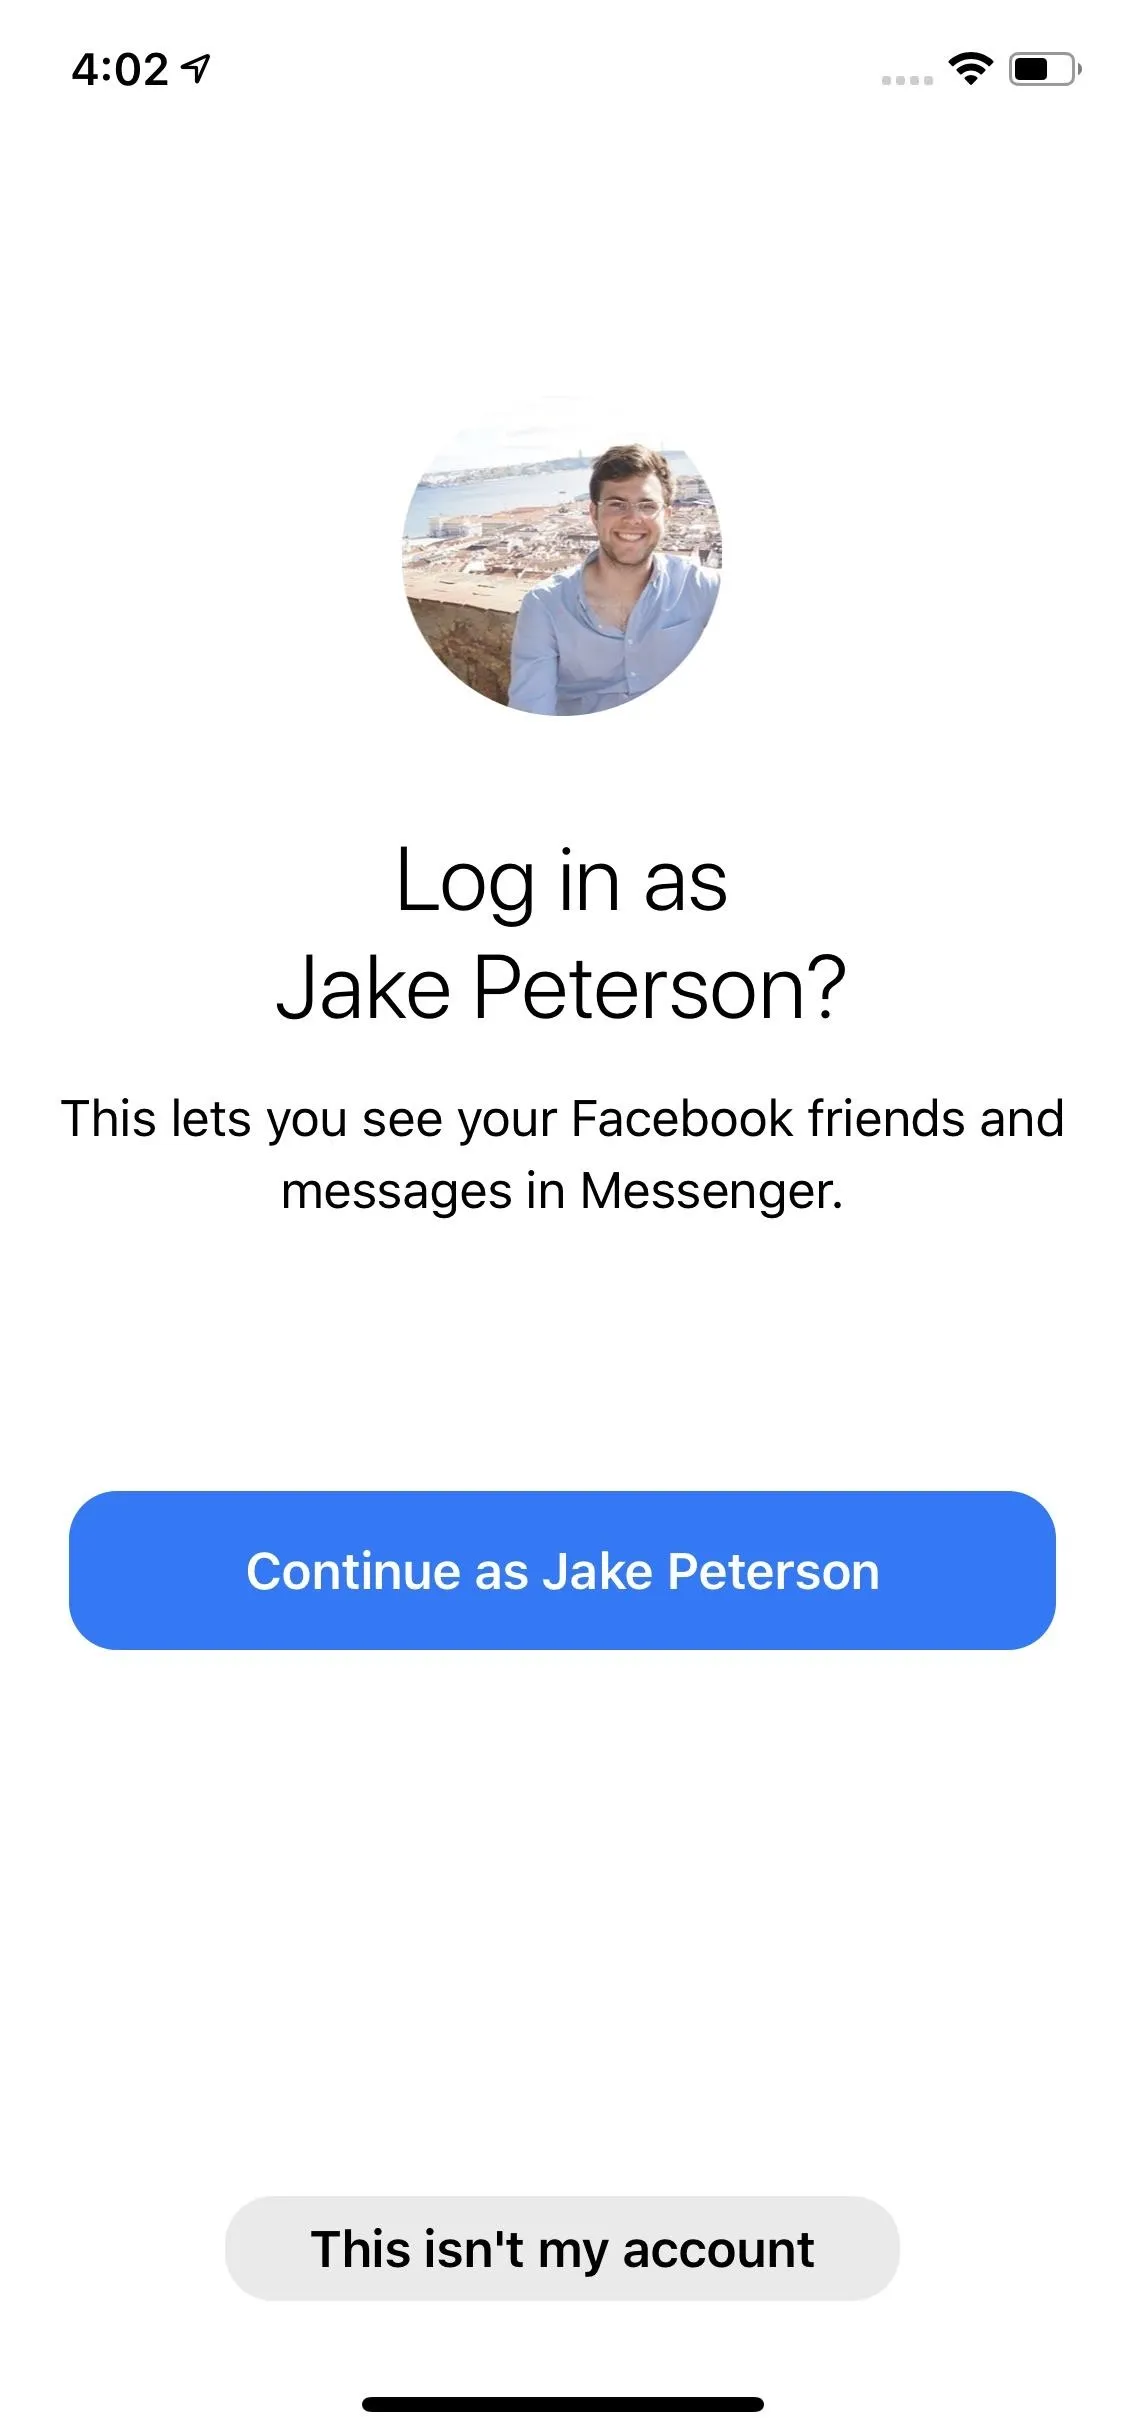
If your phone is tied to an existing Messenger or Facebook account, Messenger may present you the option to log in with that account. Just tap "This isn't my account" to skip that option.
Next, you'll have the option to add a photo to your profile. You can either choose one from your phone or take one then and there with your camera. Choose the option that works best for you, and remember that you can always change your profile picture once your account is all set up. You will need to grant Messenger the appropriate permissions for the option you choose, i.e., Photo app access if choosing a photo on your phone, and Camera app access if taking a new photo.
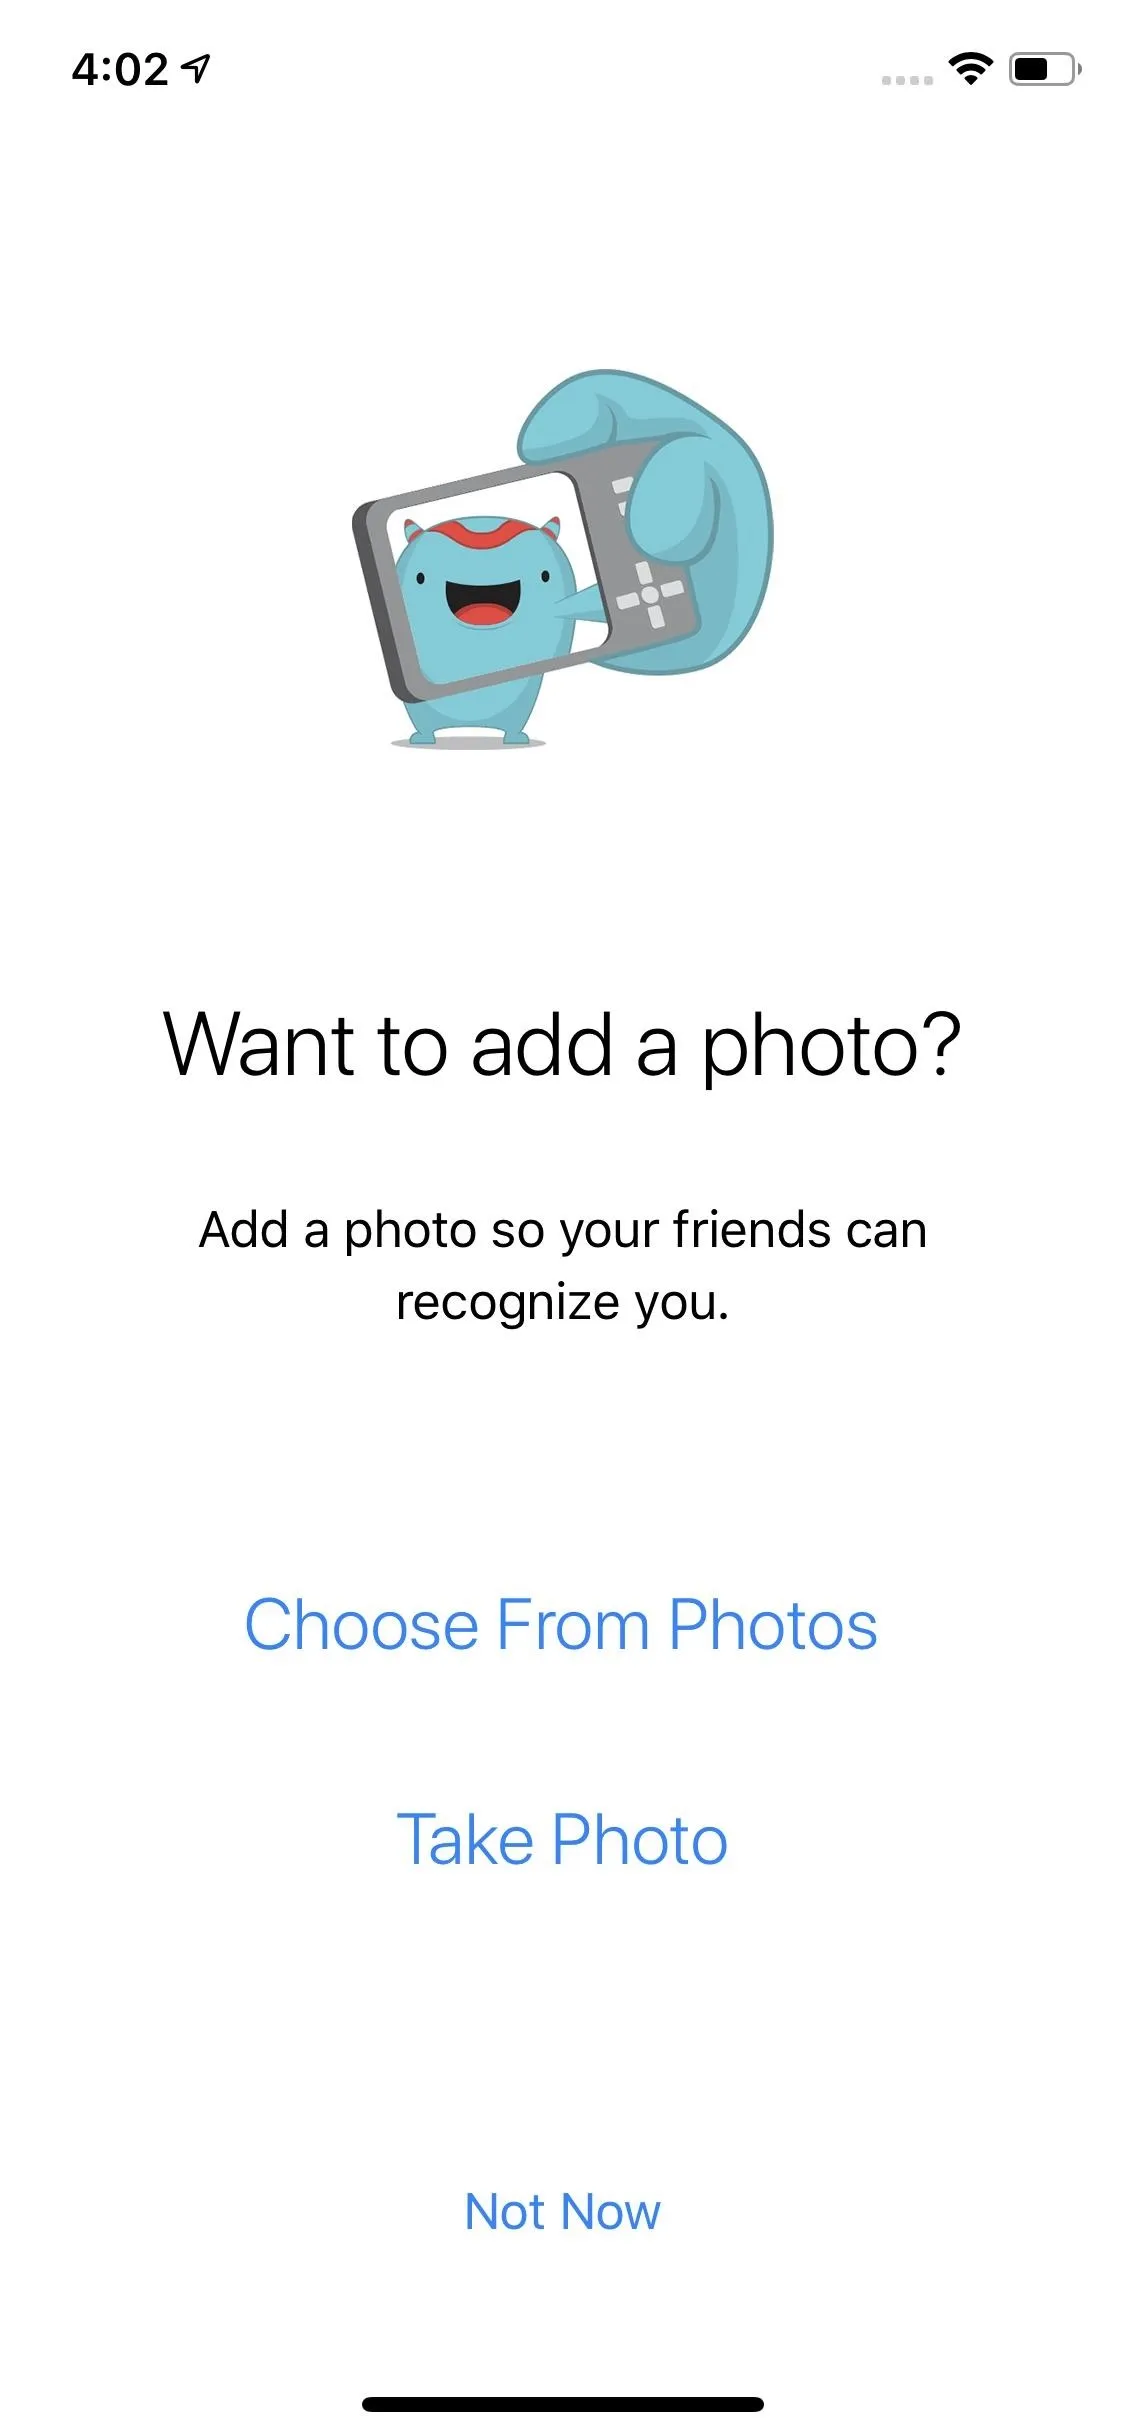
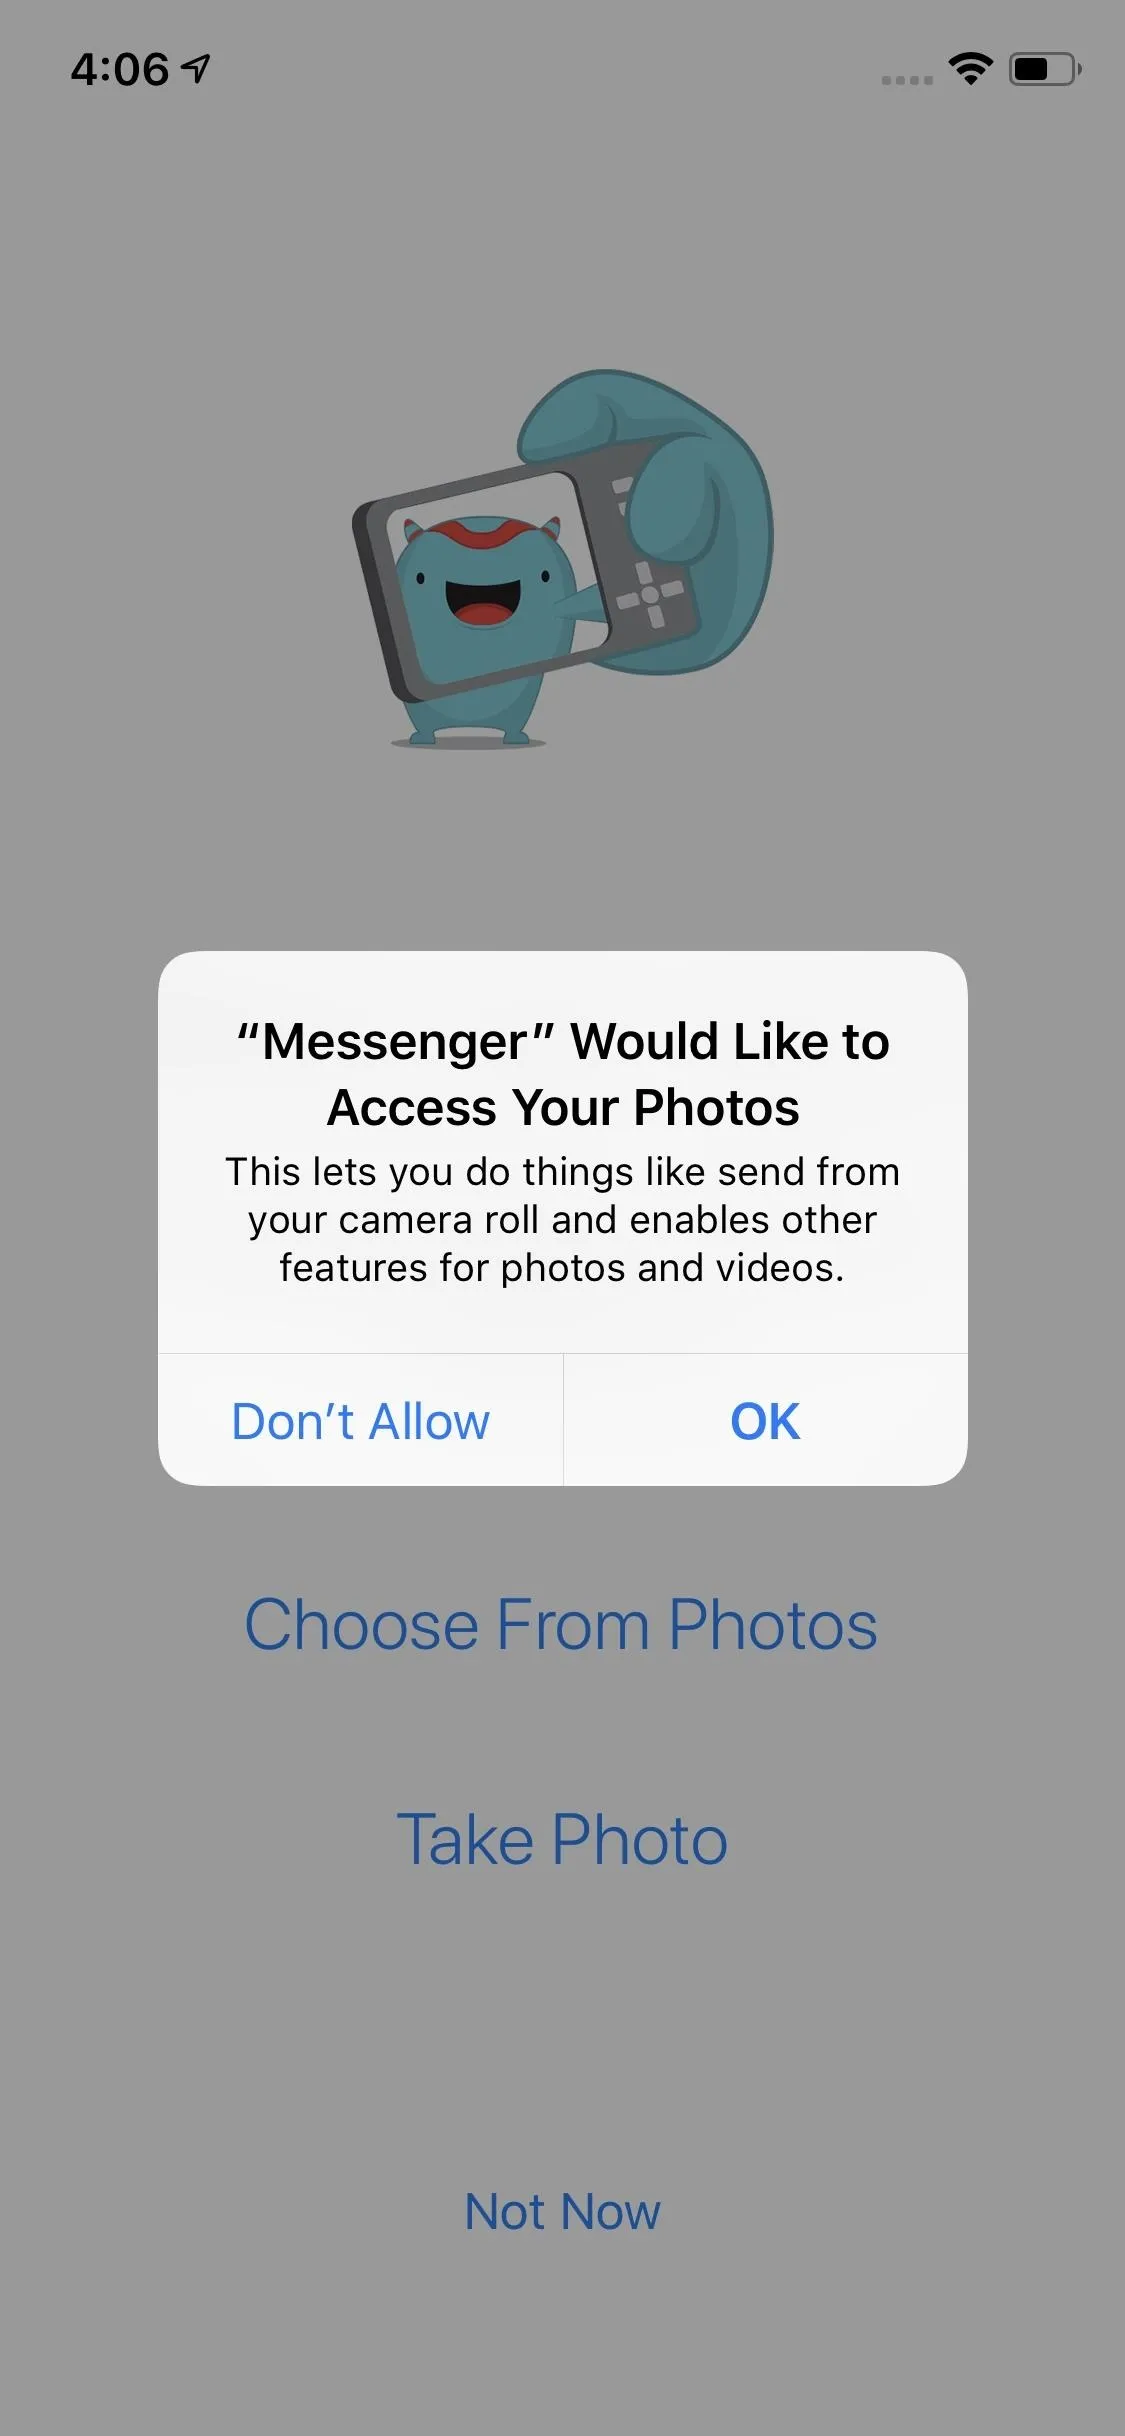


If you don't want to add a photo at this time, tap "Not Now" to skip it.
Enable or Disable Notification & Contacts Permissions
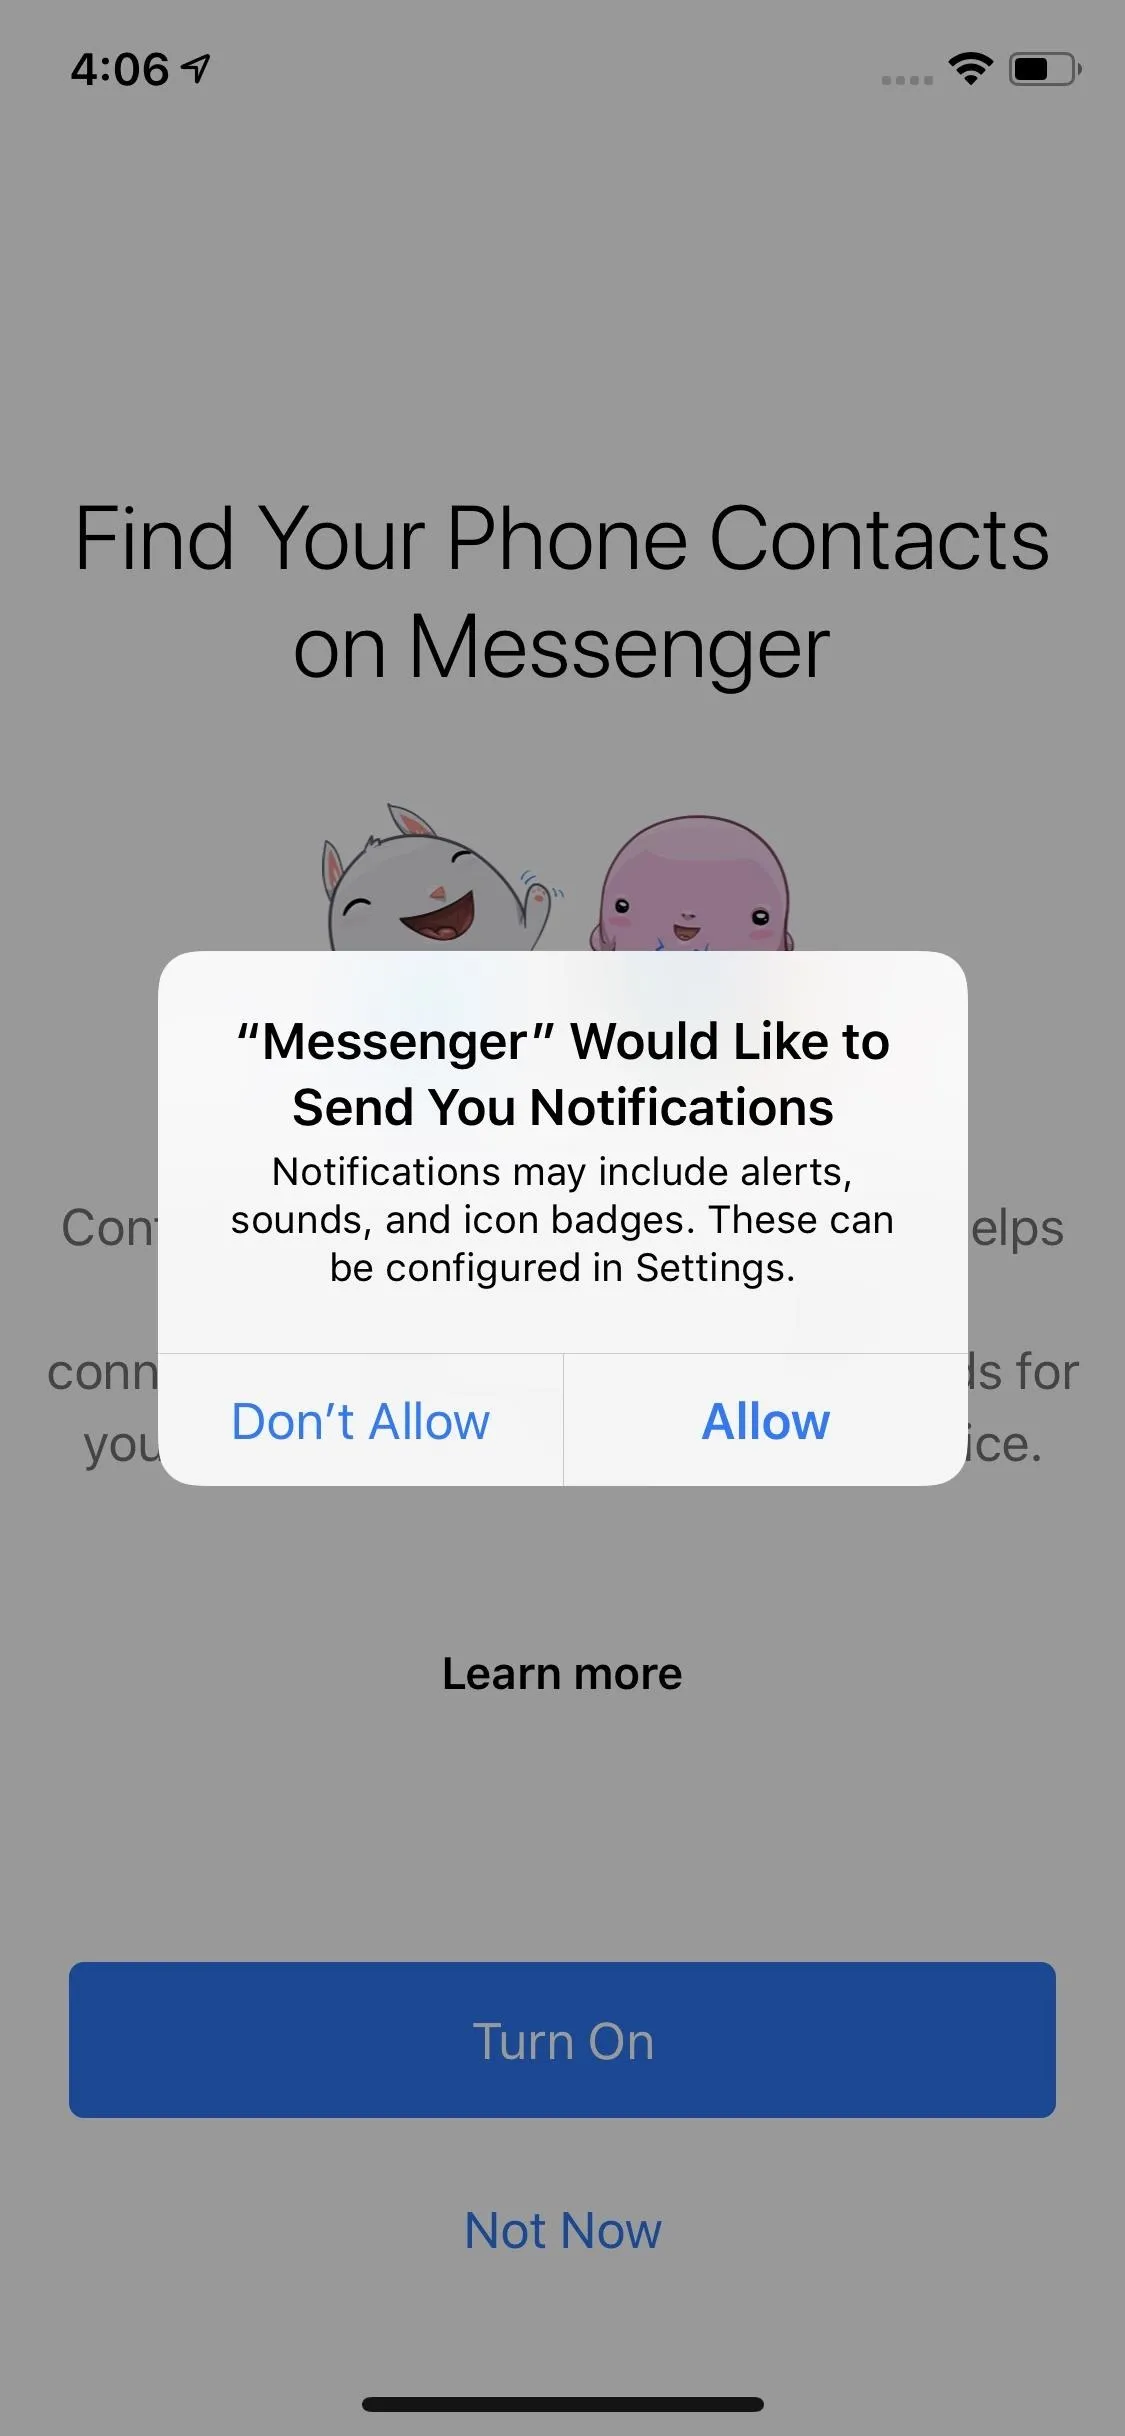
Next, Messenger will want permission to send you notifications, which makes sense, as an excellent messaging app should send you reliable, real-time notifications when you receive a new message. However, you can always deny Messenger permission to send notifications, to keep the messaging to the app itself. This option can be changed later, so feel free to choose whatever option works for you. Just know that Chat Heads on Android may not work, if you want to use those.
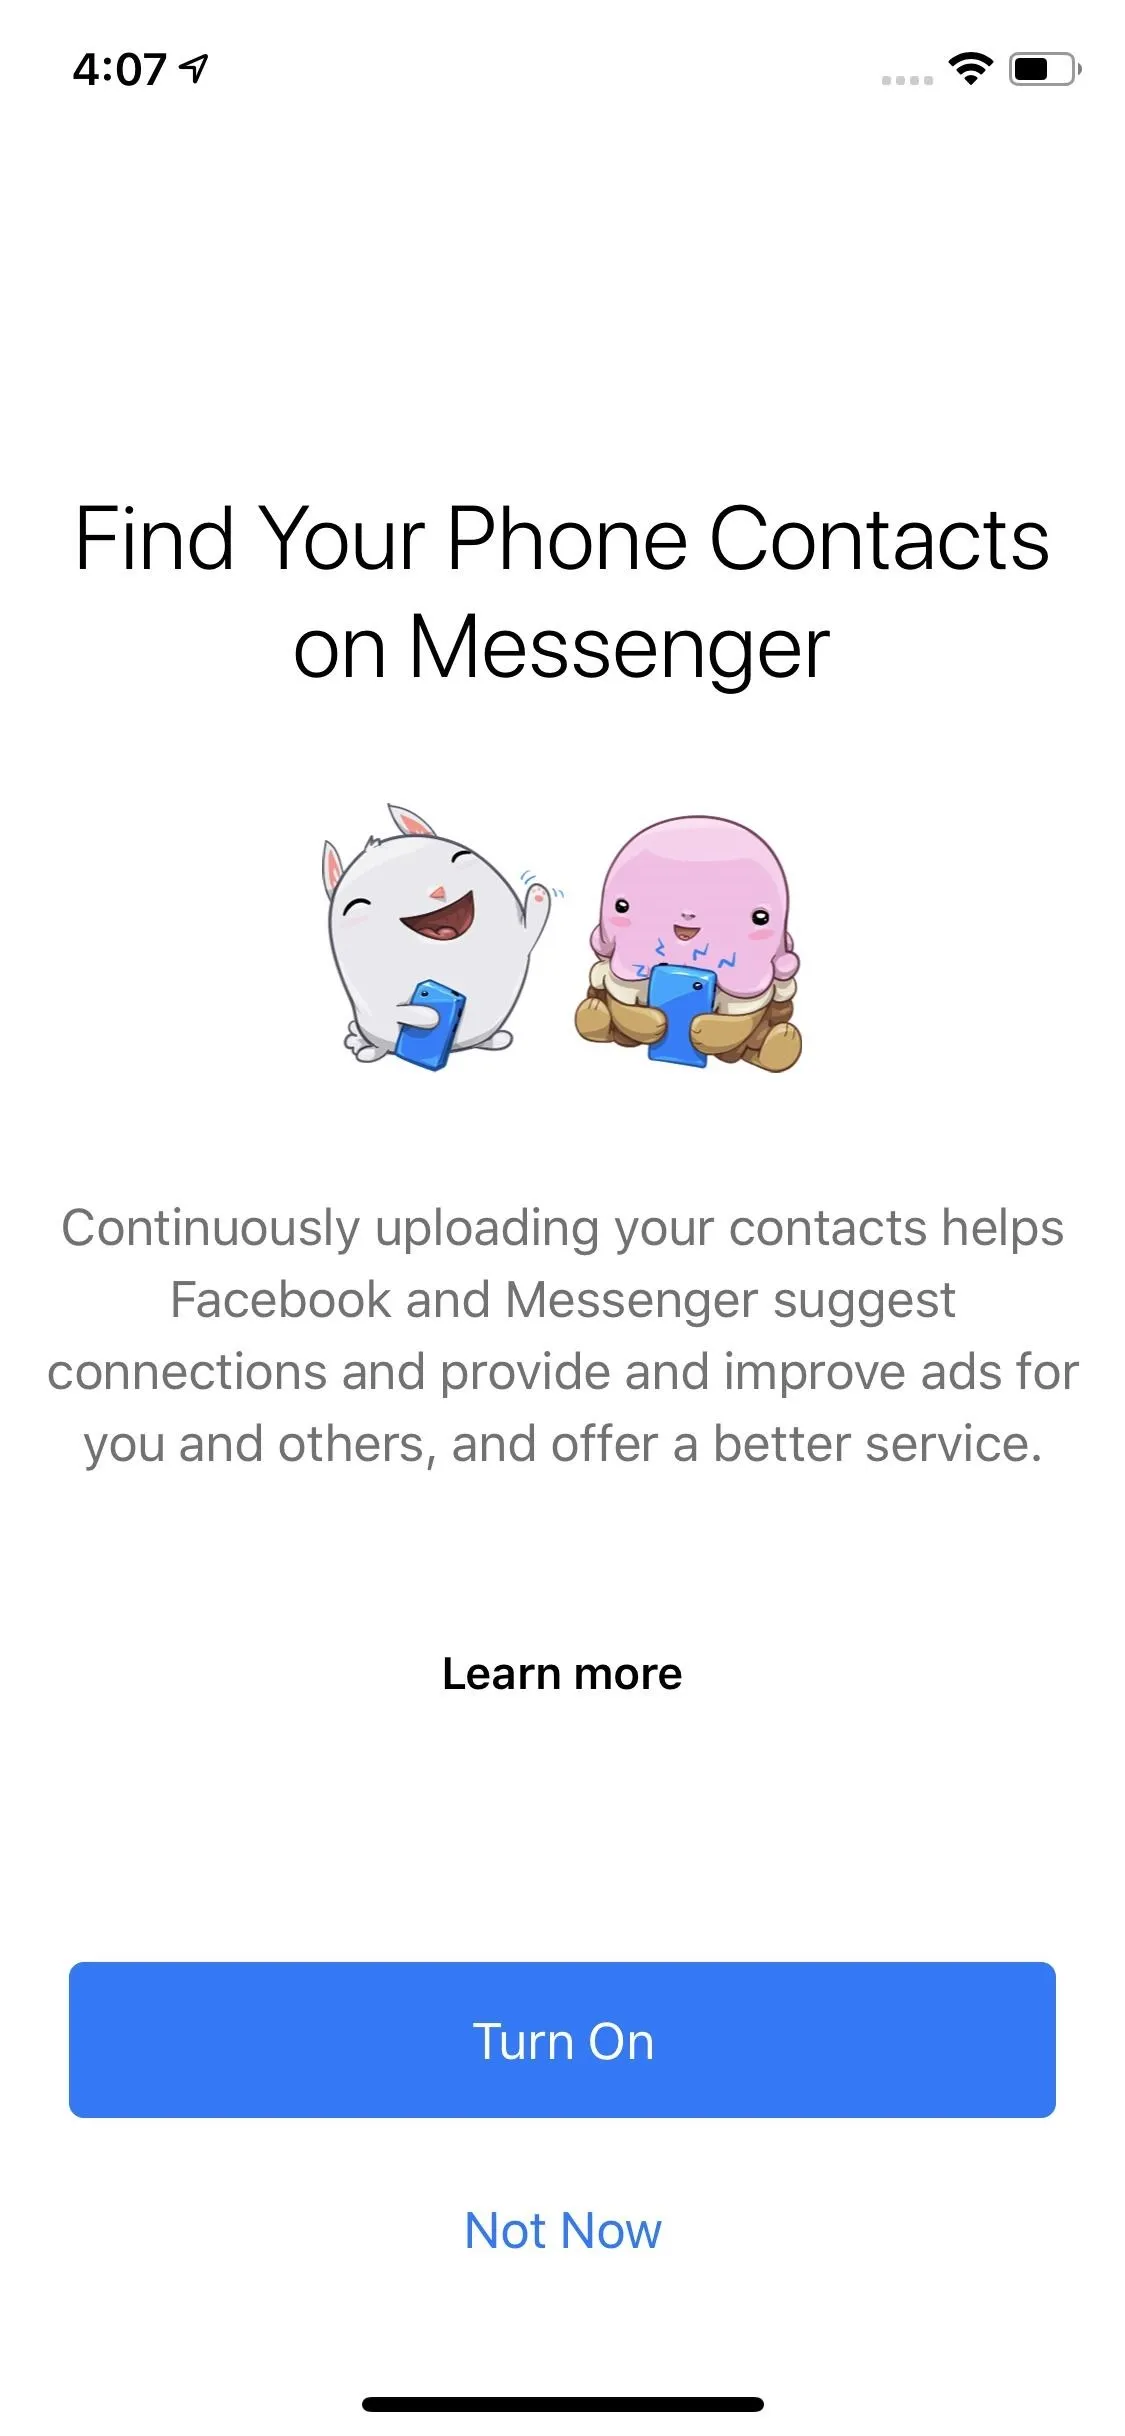
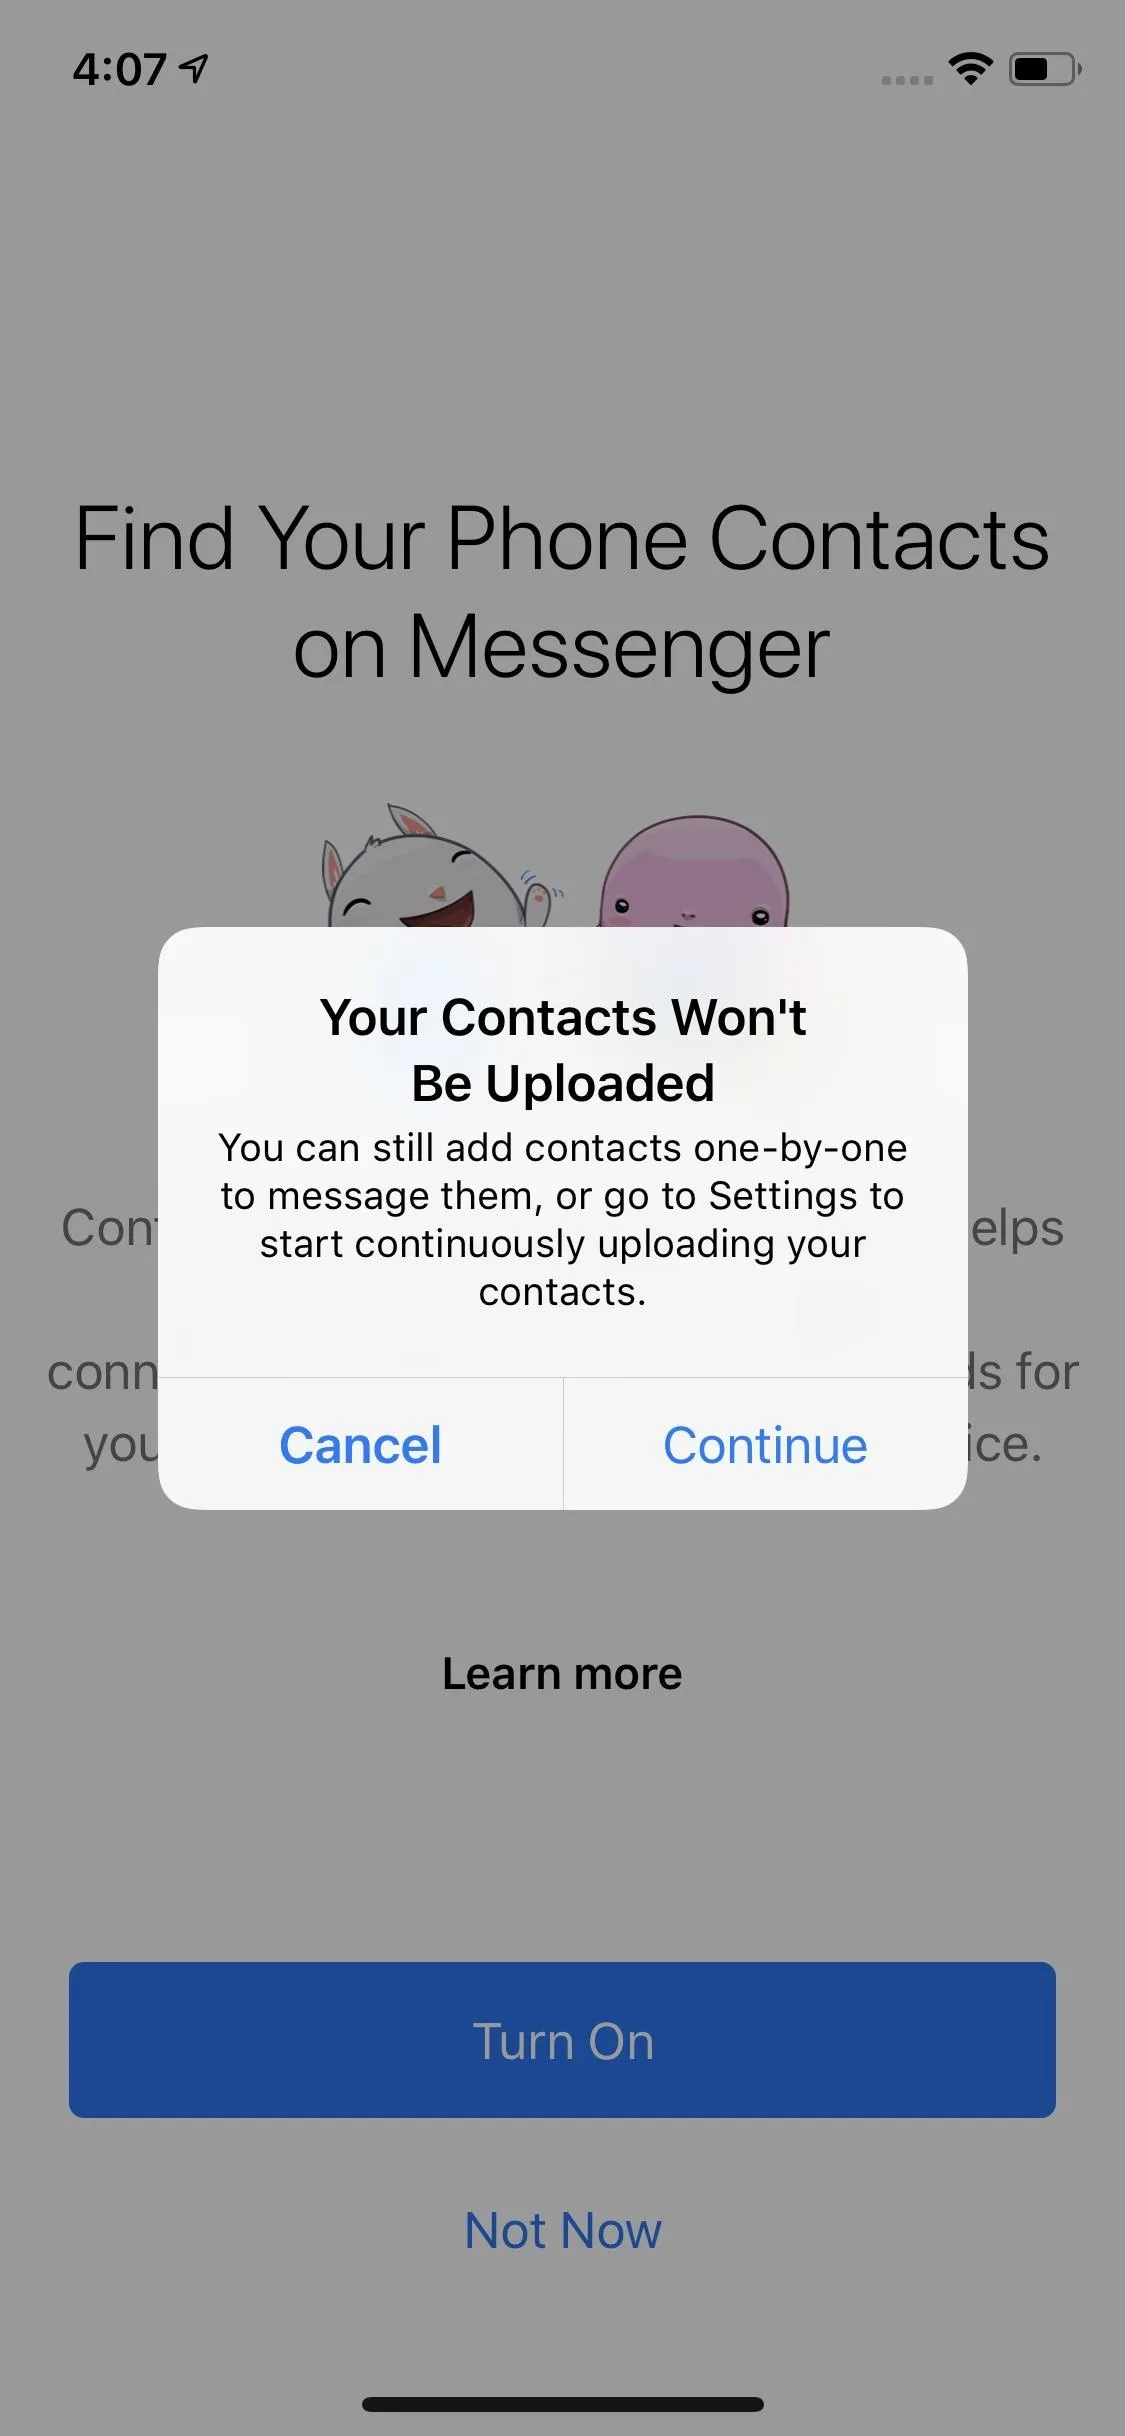
Next, Messenger will want you to connect your phone's contacts, so you can find and message these people on the app. You can enable this by tapping "Turn On" and granting Messenger permission to your phone's contacts on the pop-up. However, you can also choose "Not Now" if you'd rather not let Messenger see your contacts. You'll need to tap "Continue" on the following pop-up to move forward. Again, you can change this option later.


Start Messaging Contacts
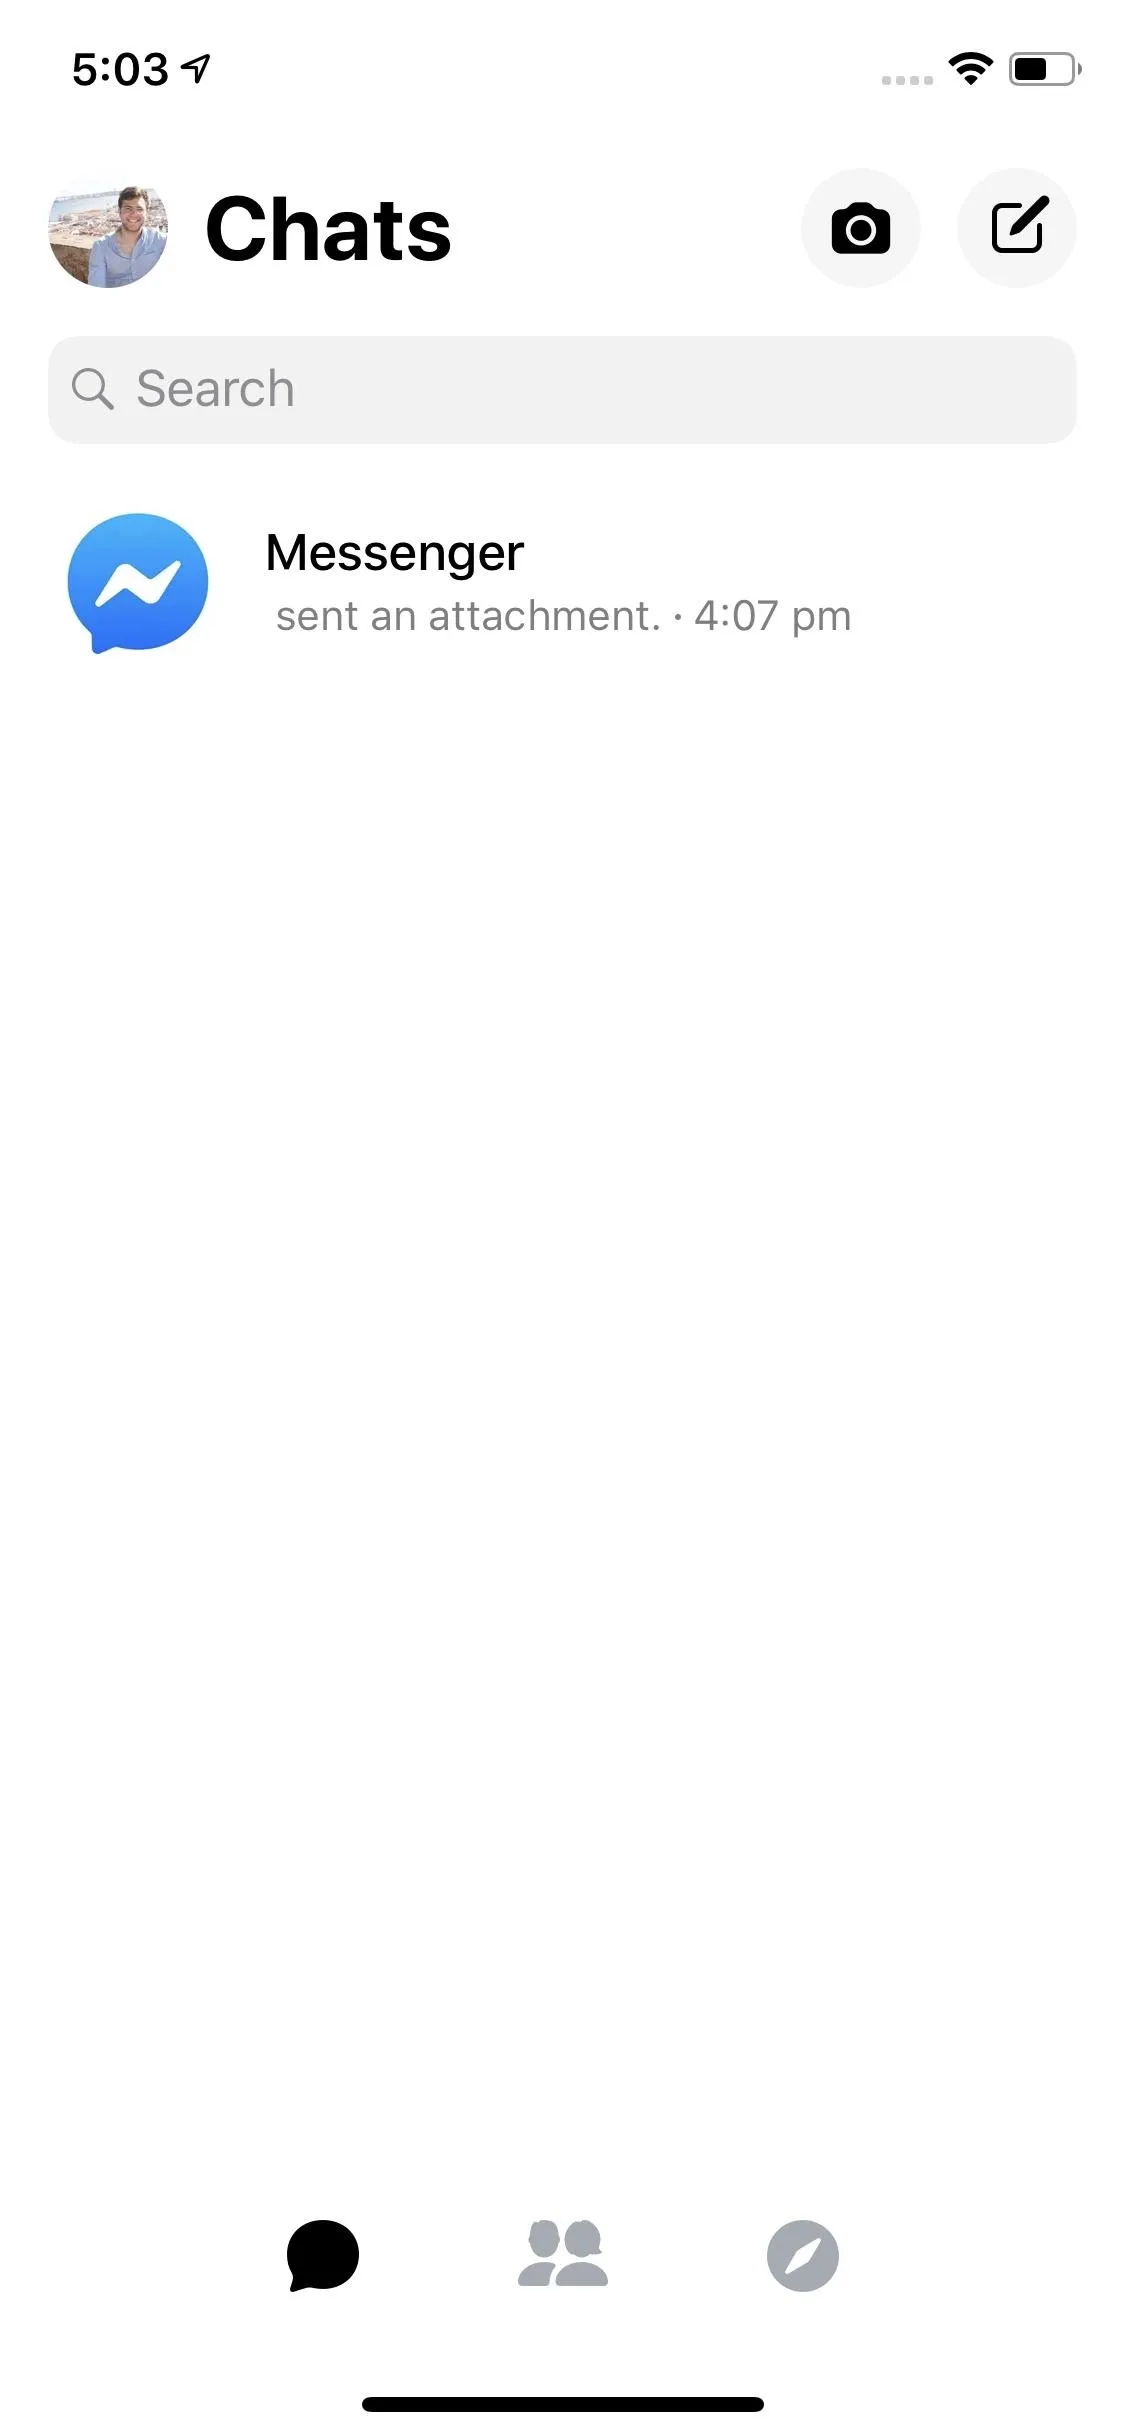
Congratulations! You've successfully created a Messenger account with no ties to a Facebook profile. If you linked your contacts, those with Facebook accounts would appear here. Otherwise, you can effortlessly search for the names of any Facebook contacts you're missing.
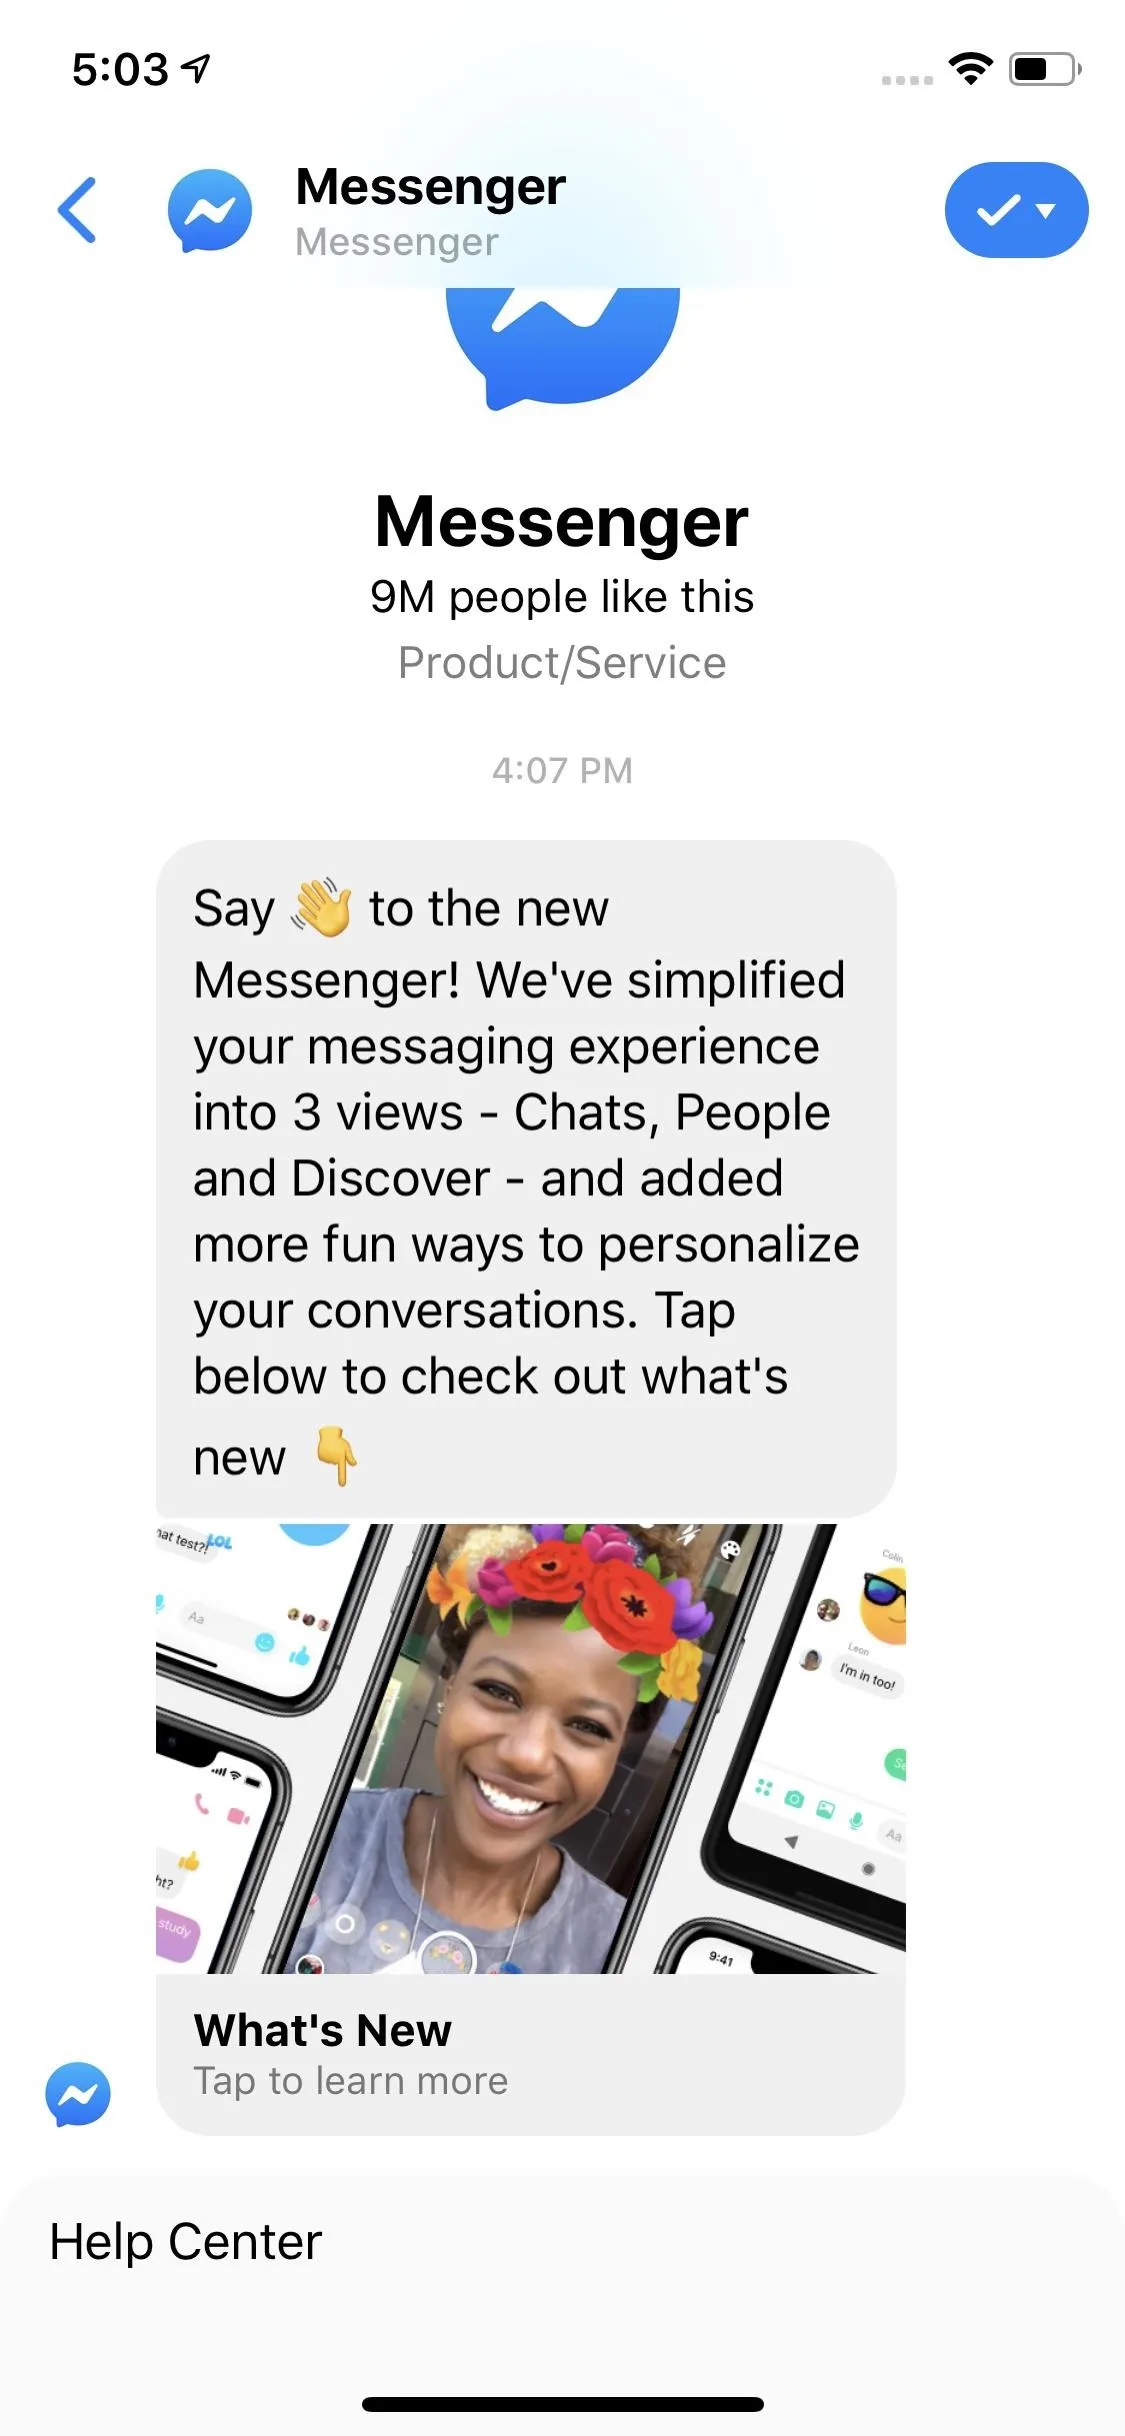


If you're sick of Facebook and already have a Messenger account connected to that, you can deactivate your Facebook account instead of deleting it. Doing so will allow you to use Messenger still while you're Facebook account is on hold.
This article was produced during Gadget Hacks' special coverage on texting, instant messaging, calling, and audio/video chatting with your smartphone. Check out the whole Chat series.
Cover image and screenshots by Jake Peterson/Gadget Hacks



Comments
Be the first, drop a comment!