In 2018, there are more ways than ever to watch your favorite sporting events. You can stream them with a number of services, or you can simply watch it on a TV. Many fans will even watch it at a sports bar. The problem with a sports bar is that you won't be able to hear the game over the sound of dozens of loud bargoers.
No matter how loud things get, with the use of an app called Tunity, you can listen to the game — even at an overcrowded sports bar. With Tunity, you're able to physically scan your TV, then playsthe audio from the TV on your phone. With just your Android or iPhone and a pair of headphones, you can listen to the game in real time.
Install Tunity
First, you need to install Tunity on your phone. To do that, you can either search for "Tunity" on Google Play or the App Store, or you can use the link below to jump to it. Tap on "Install" (on Android) or "Get" (on iOS) to download and install it, then open it up.

Create an Account
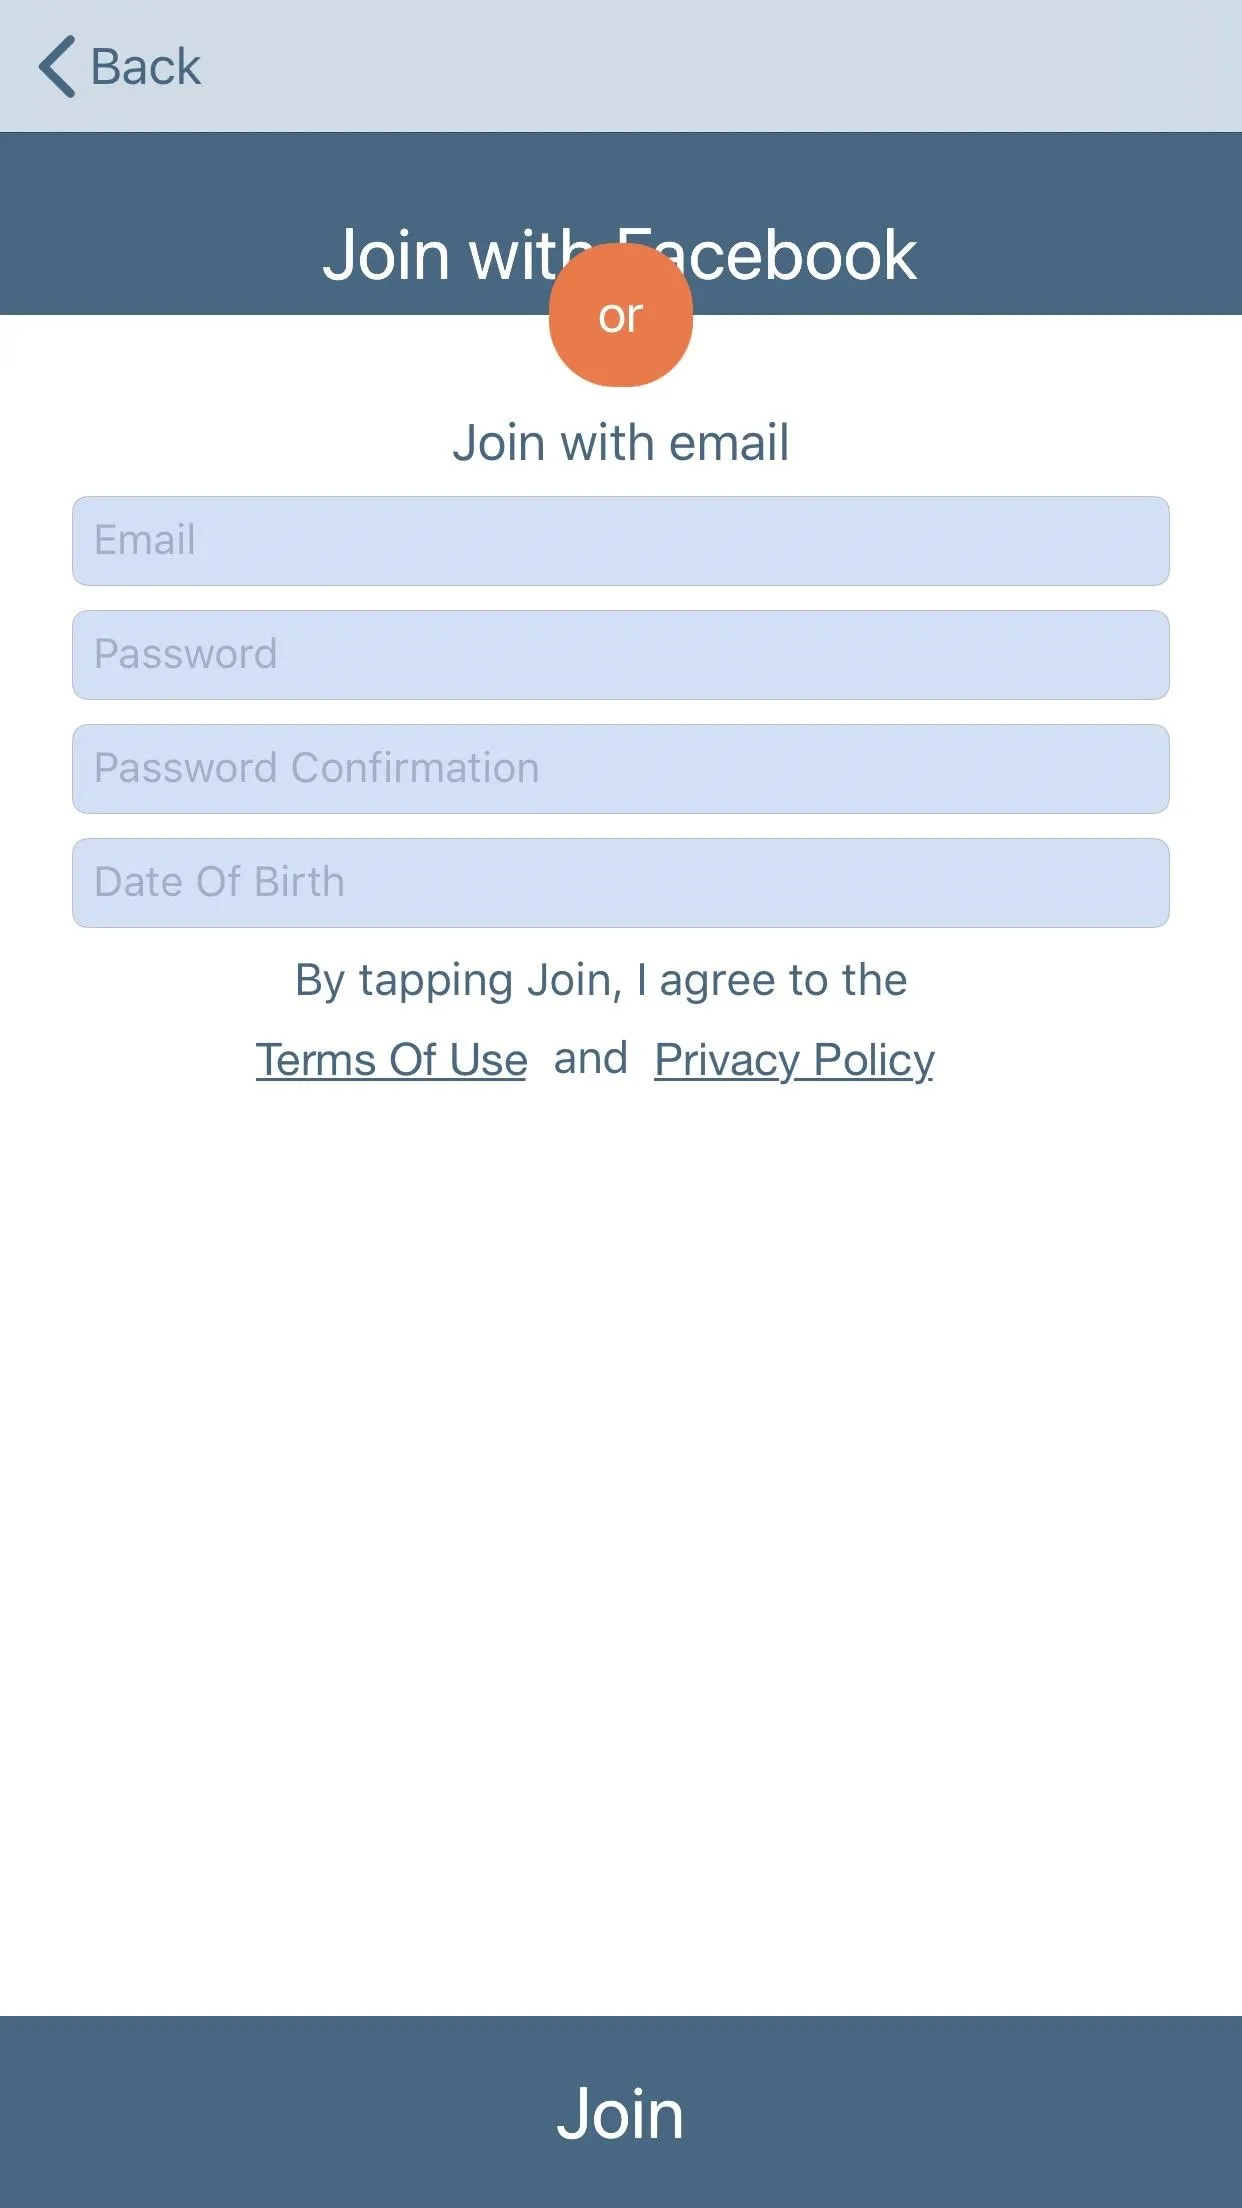
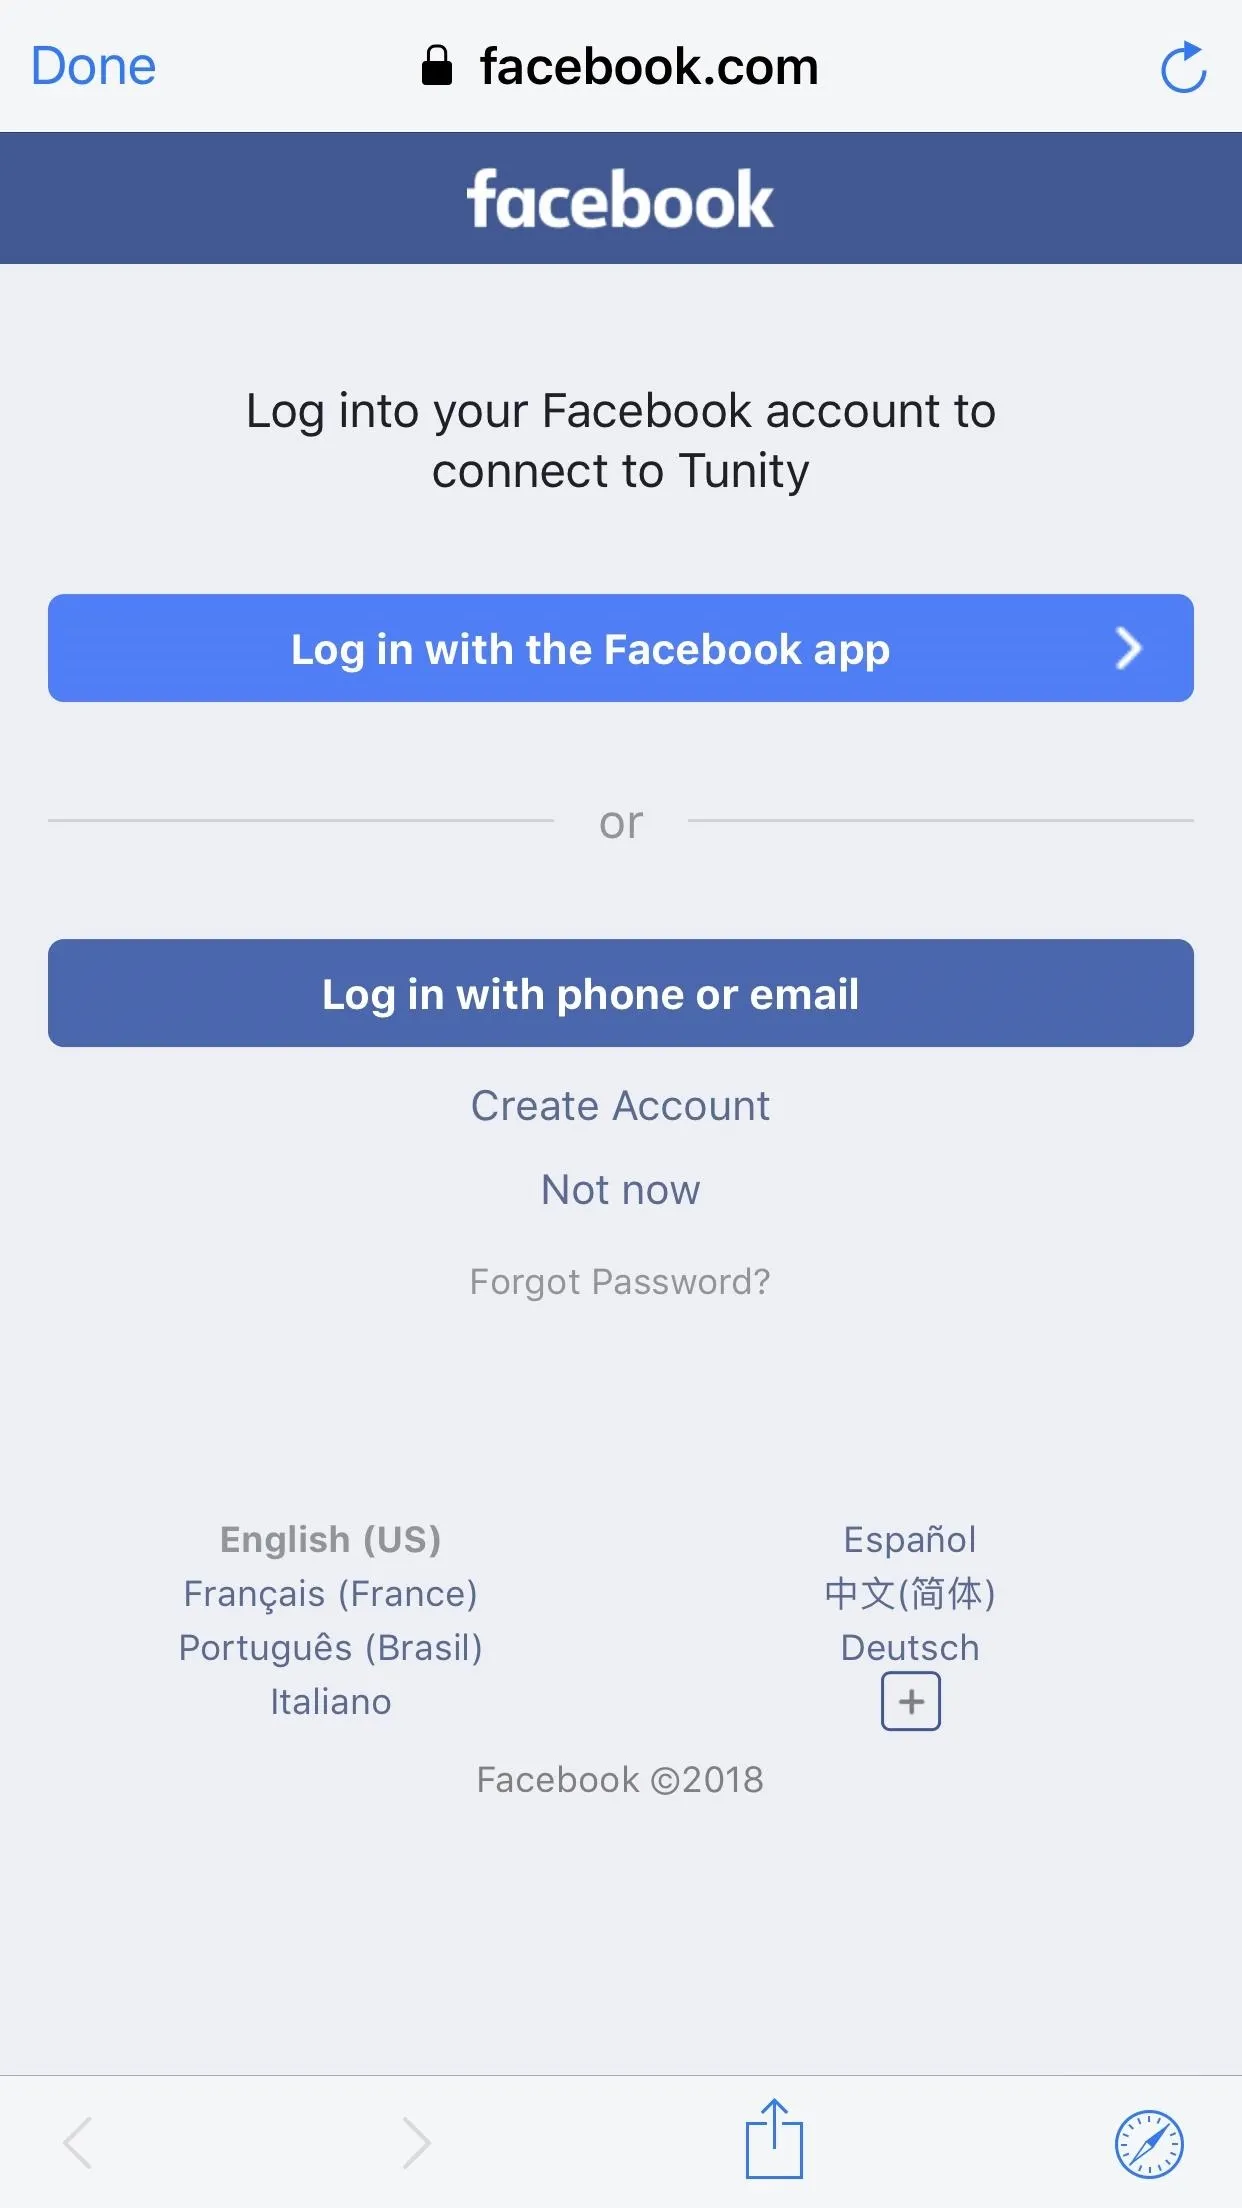
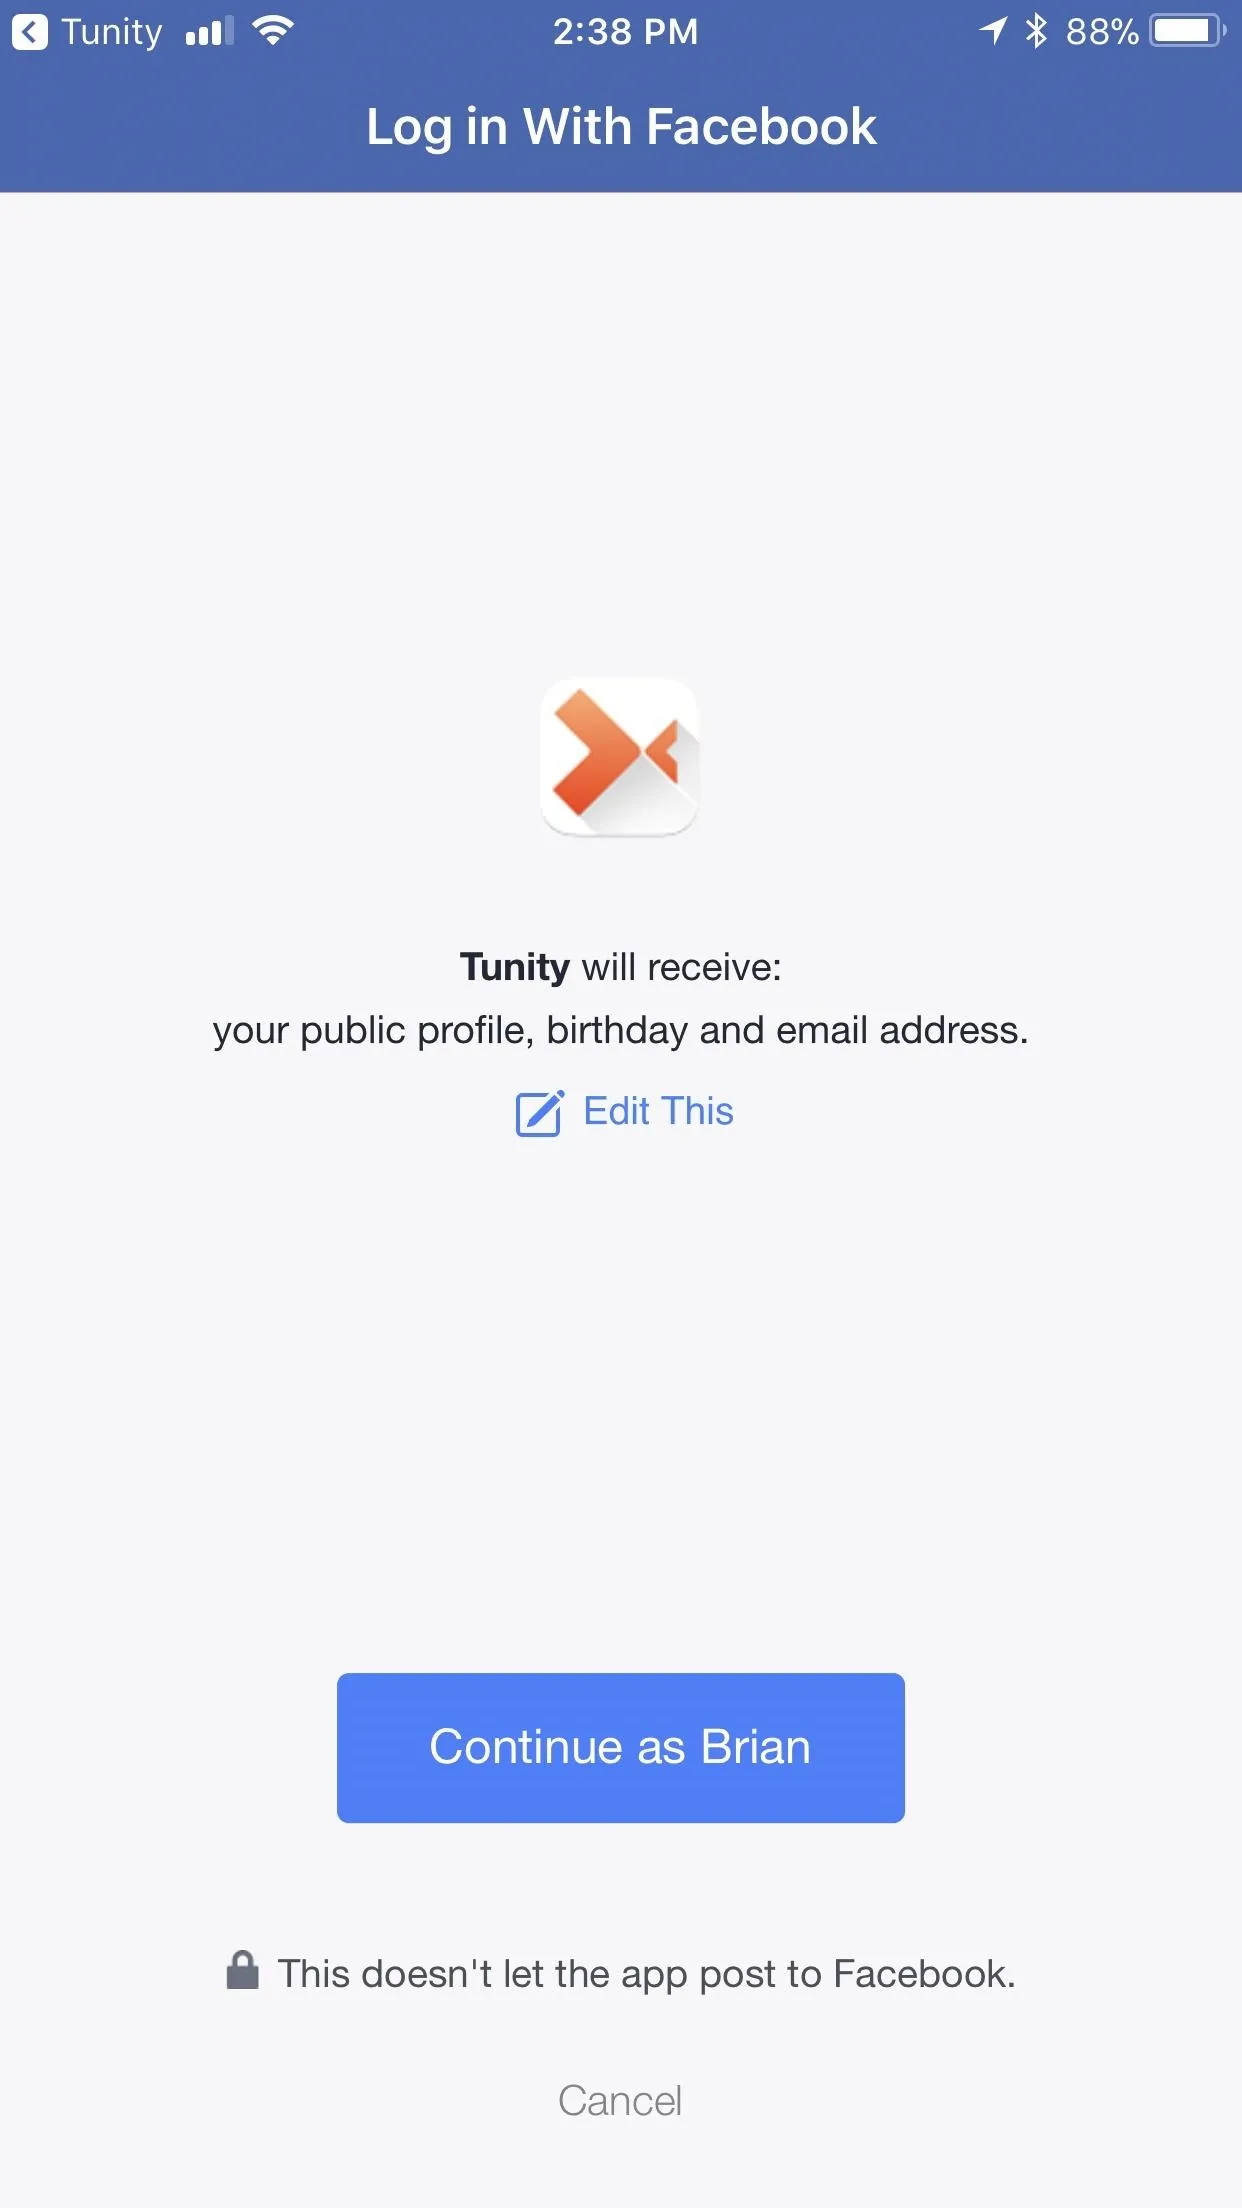
Once you first open up the app, you'll be prompted to either "Join" or "Login." If you have an account, then log in. If not, tap "Join." You can either "Join with Facebook" or "Join with email." To create an account with your email address, simply enter the information it asks of you. To login Facebook, tap "Join with Facebook," then log in with your Facebook account.


Give Tunity Permissions
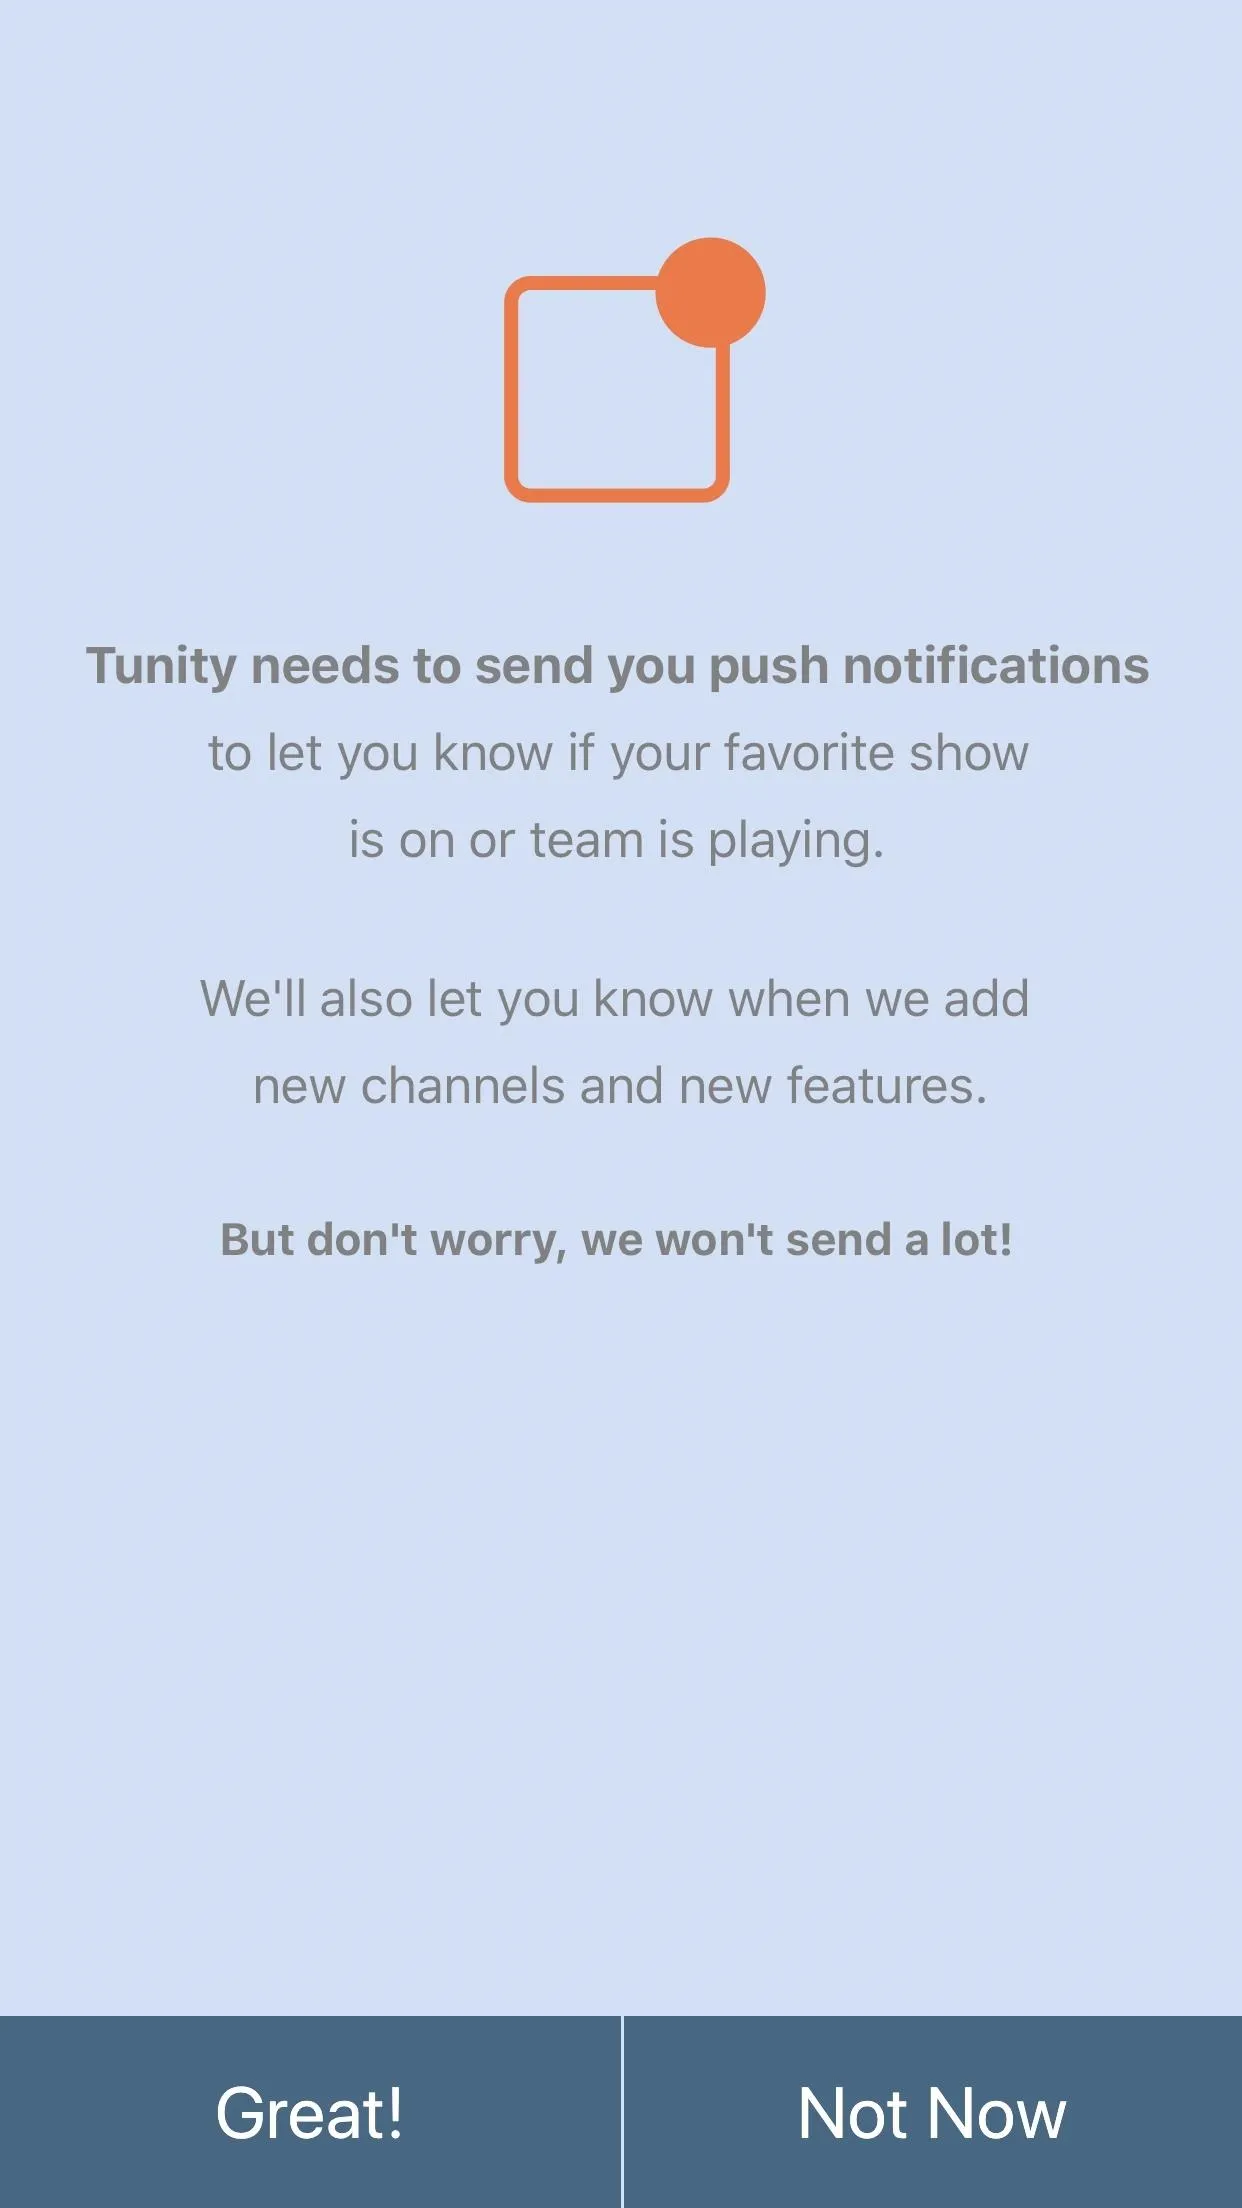
For Tunity to work properly, it needs permission to access certain functions on your phone, regardless of whether you're on Android or iOS. On iOS, first Tunity will ask you if you want to receive notifications. It has no effect on the app itself, so feel free to select either "Great!" or "Not now."
Next, it's going to ask you if you want the audio to play only while you're in the app, or outside of it as well. Again, there are no wrong answers here. Tap "Always" if you want Tunity to play when you're outside the app, and "While Using" if only want to hear the audio only inside the app.
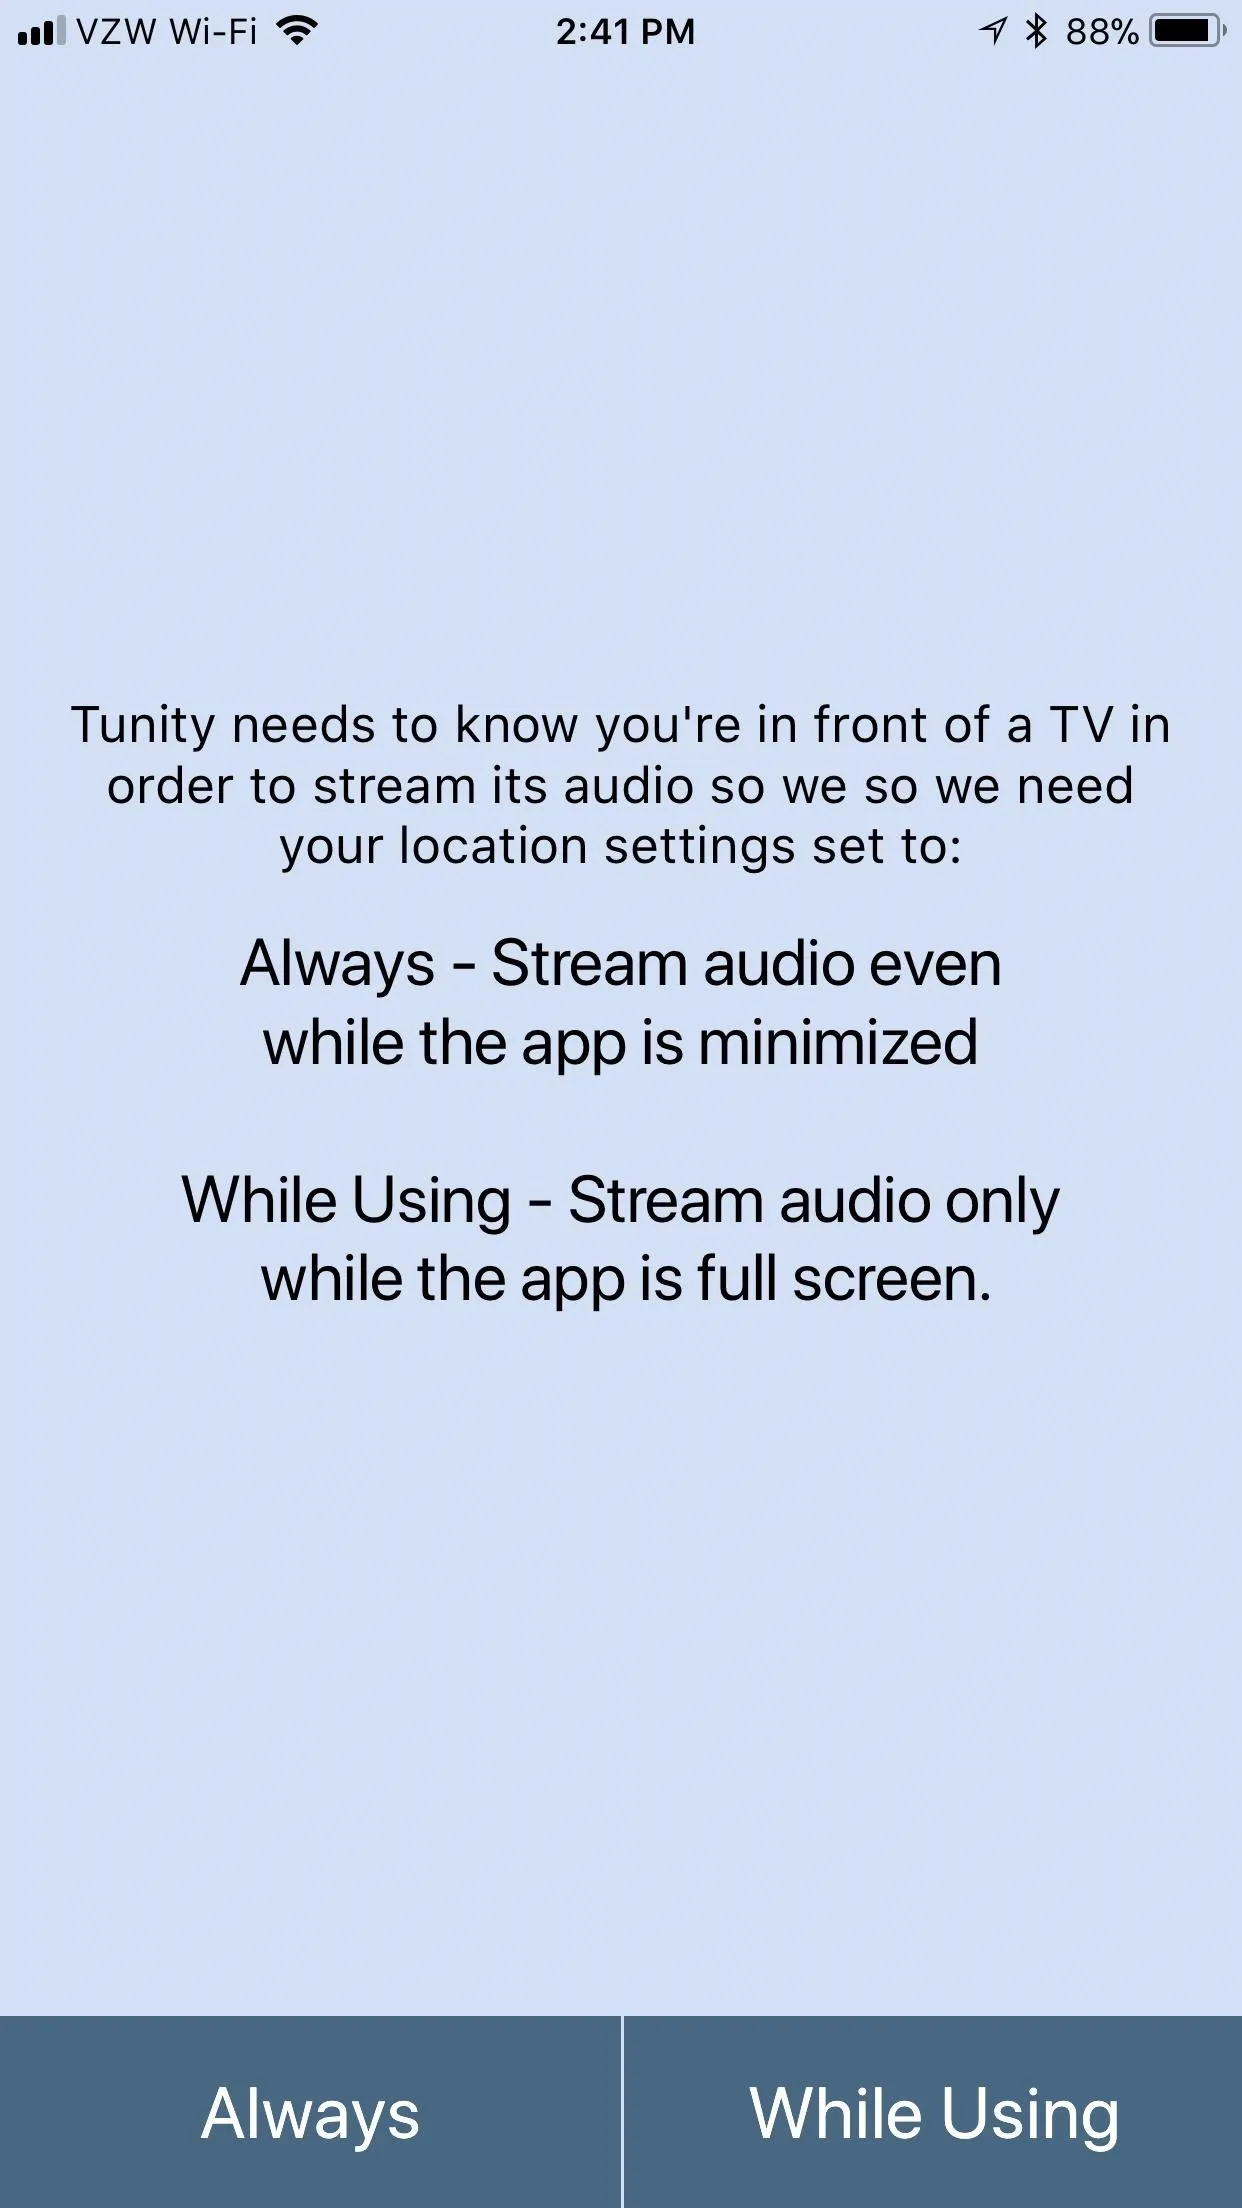


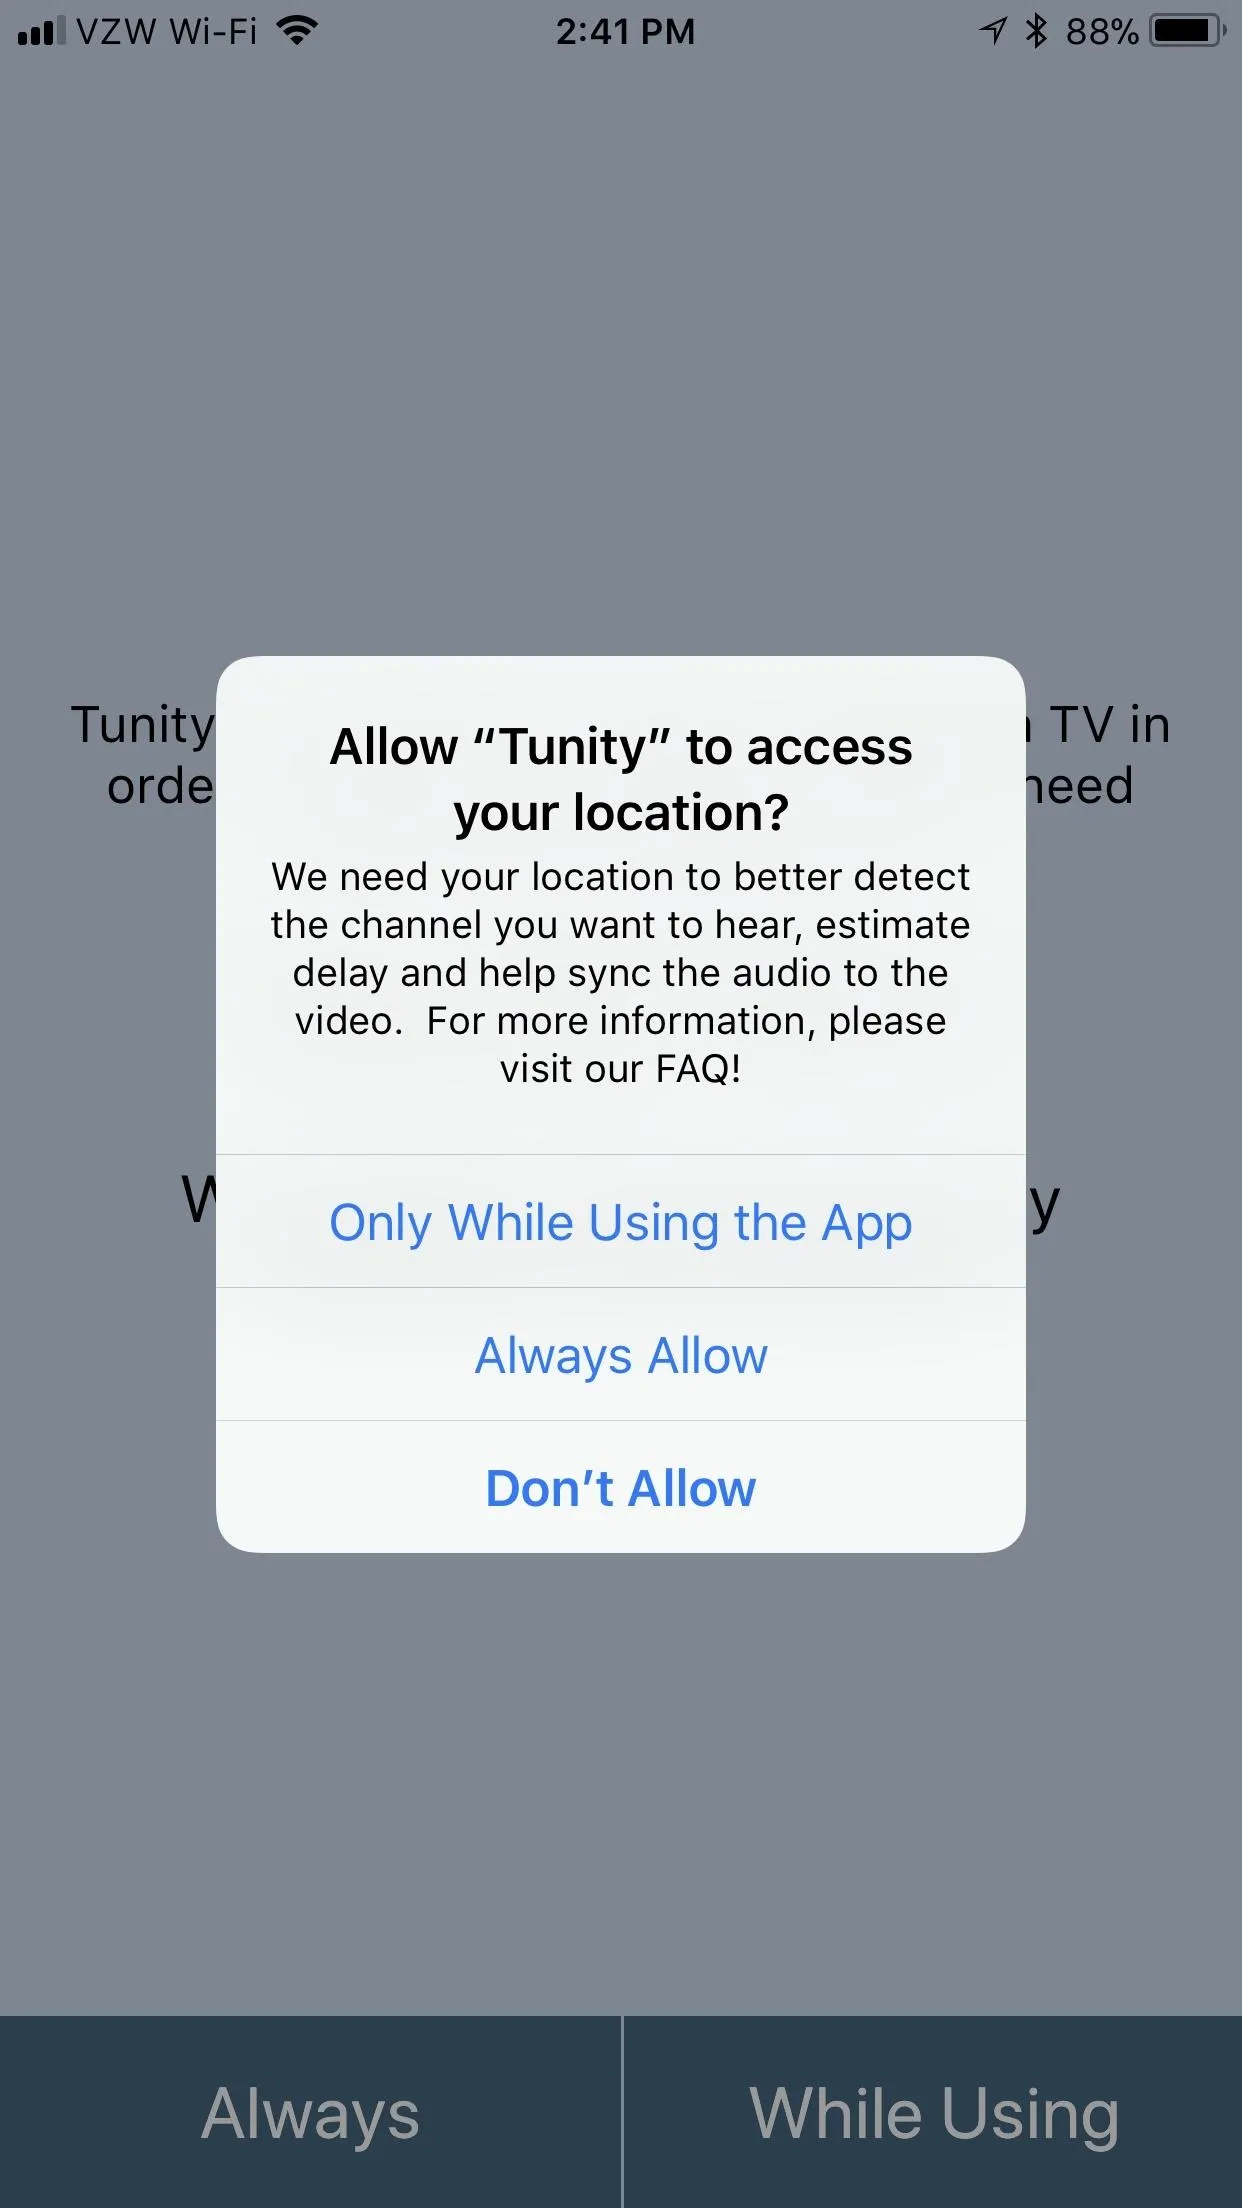
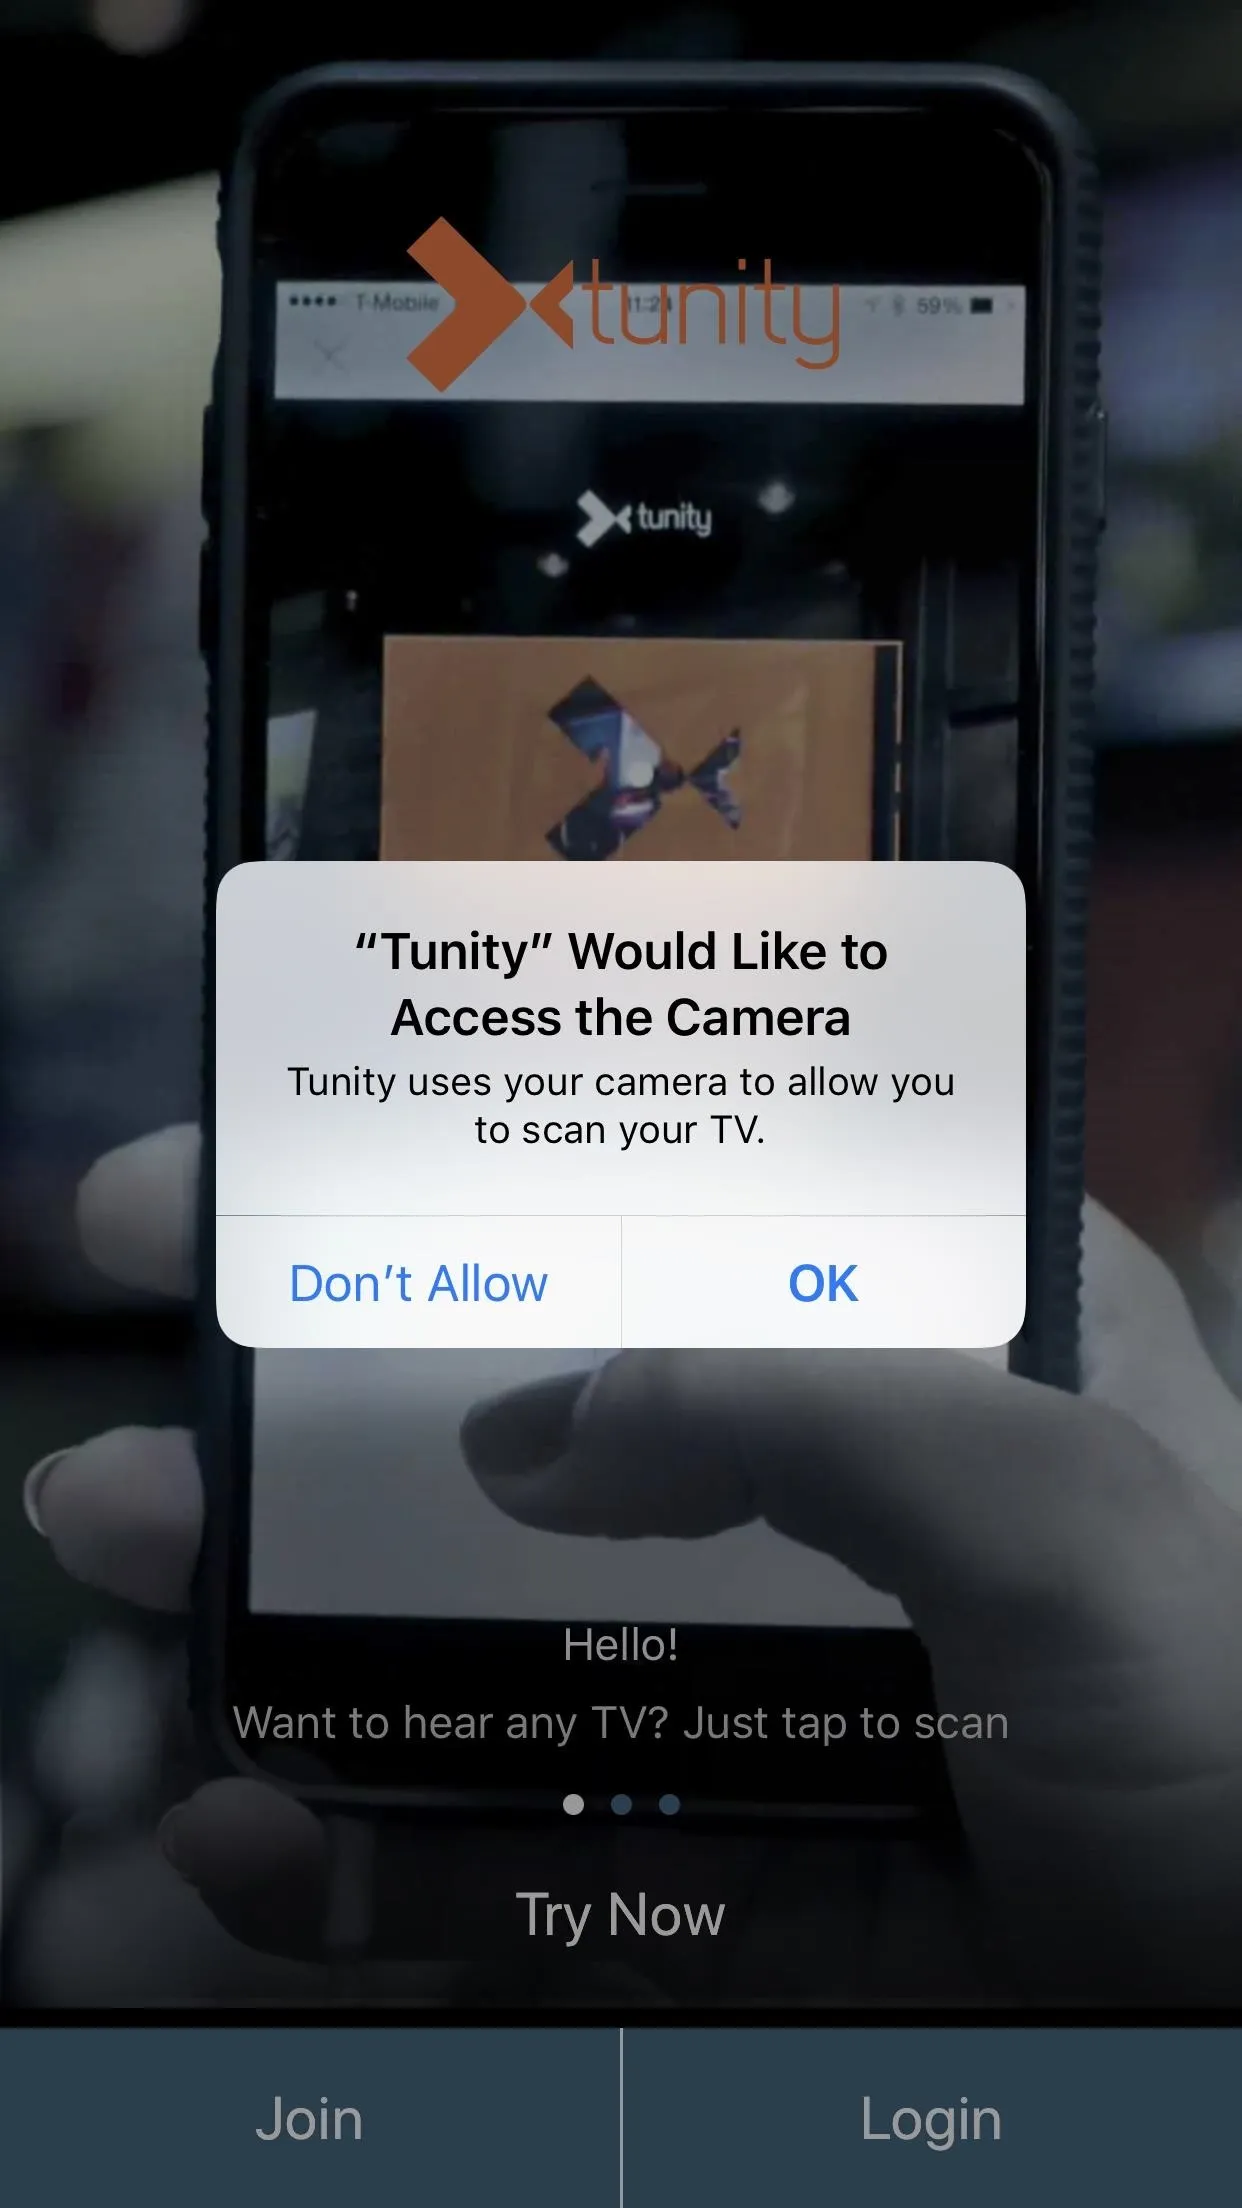
Next, you need to give Tunity access to your location. Tap either "Alway Allow" or "Only While Using the App." Finally, it'll ask you to access the camera. Tap "OK" to grant it access.


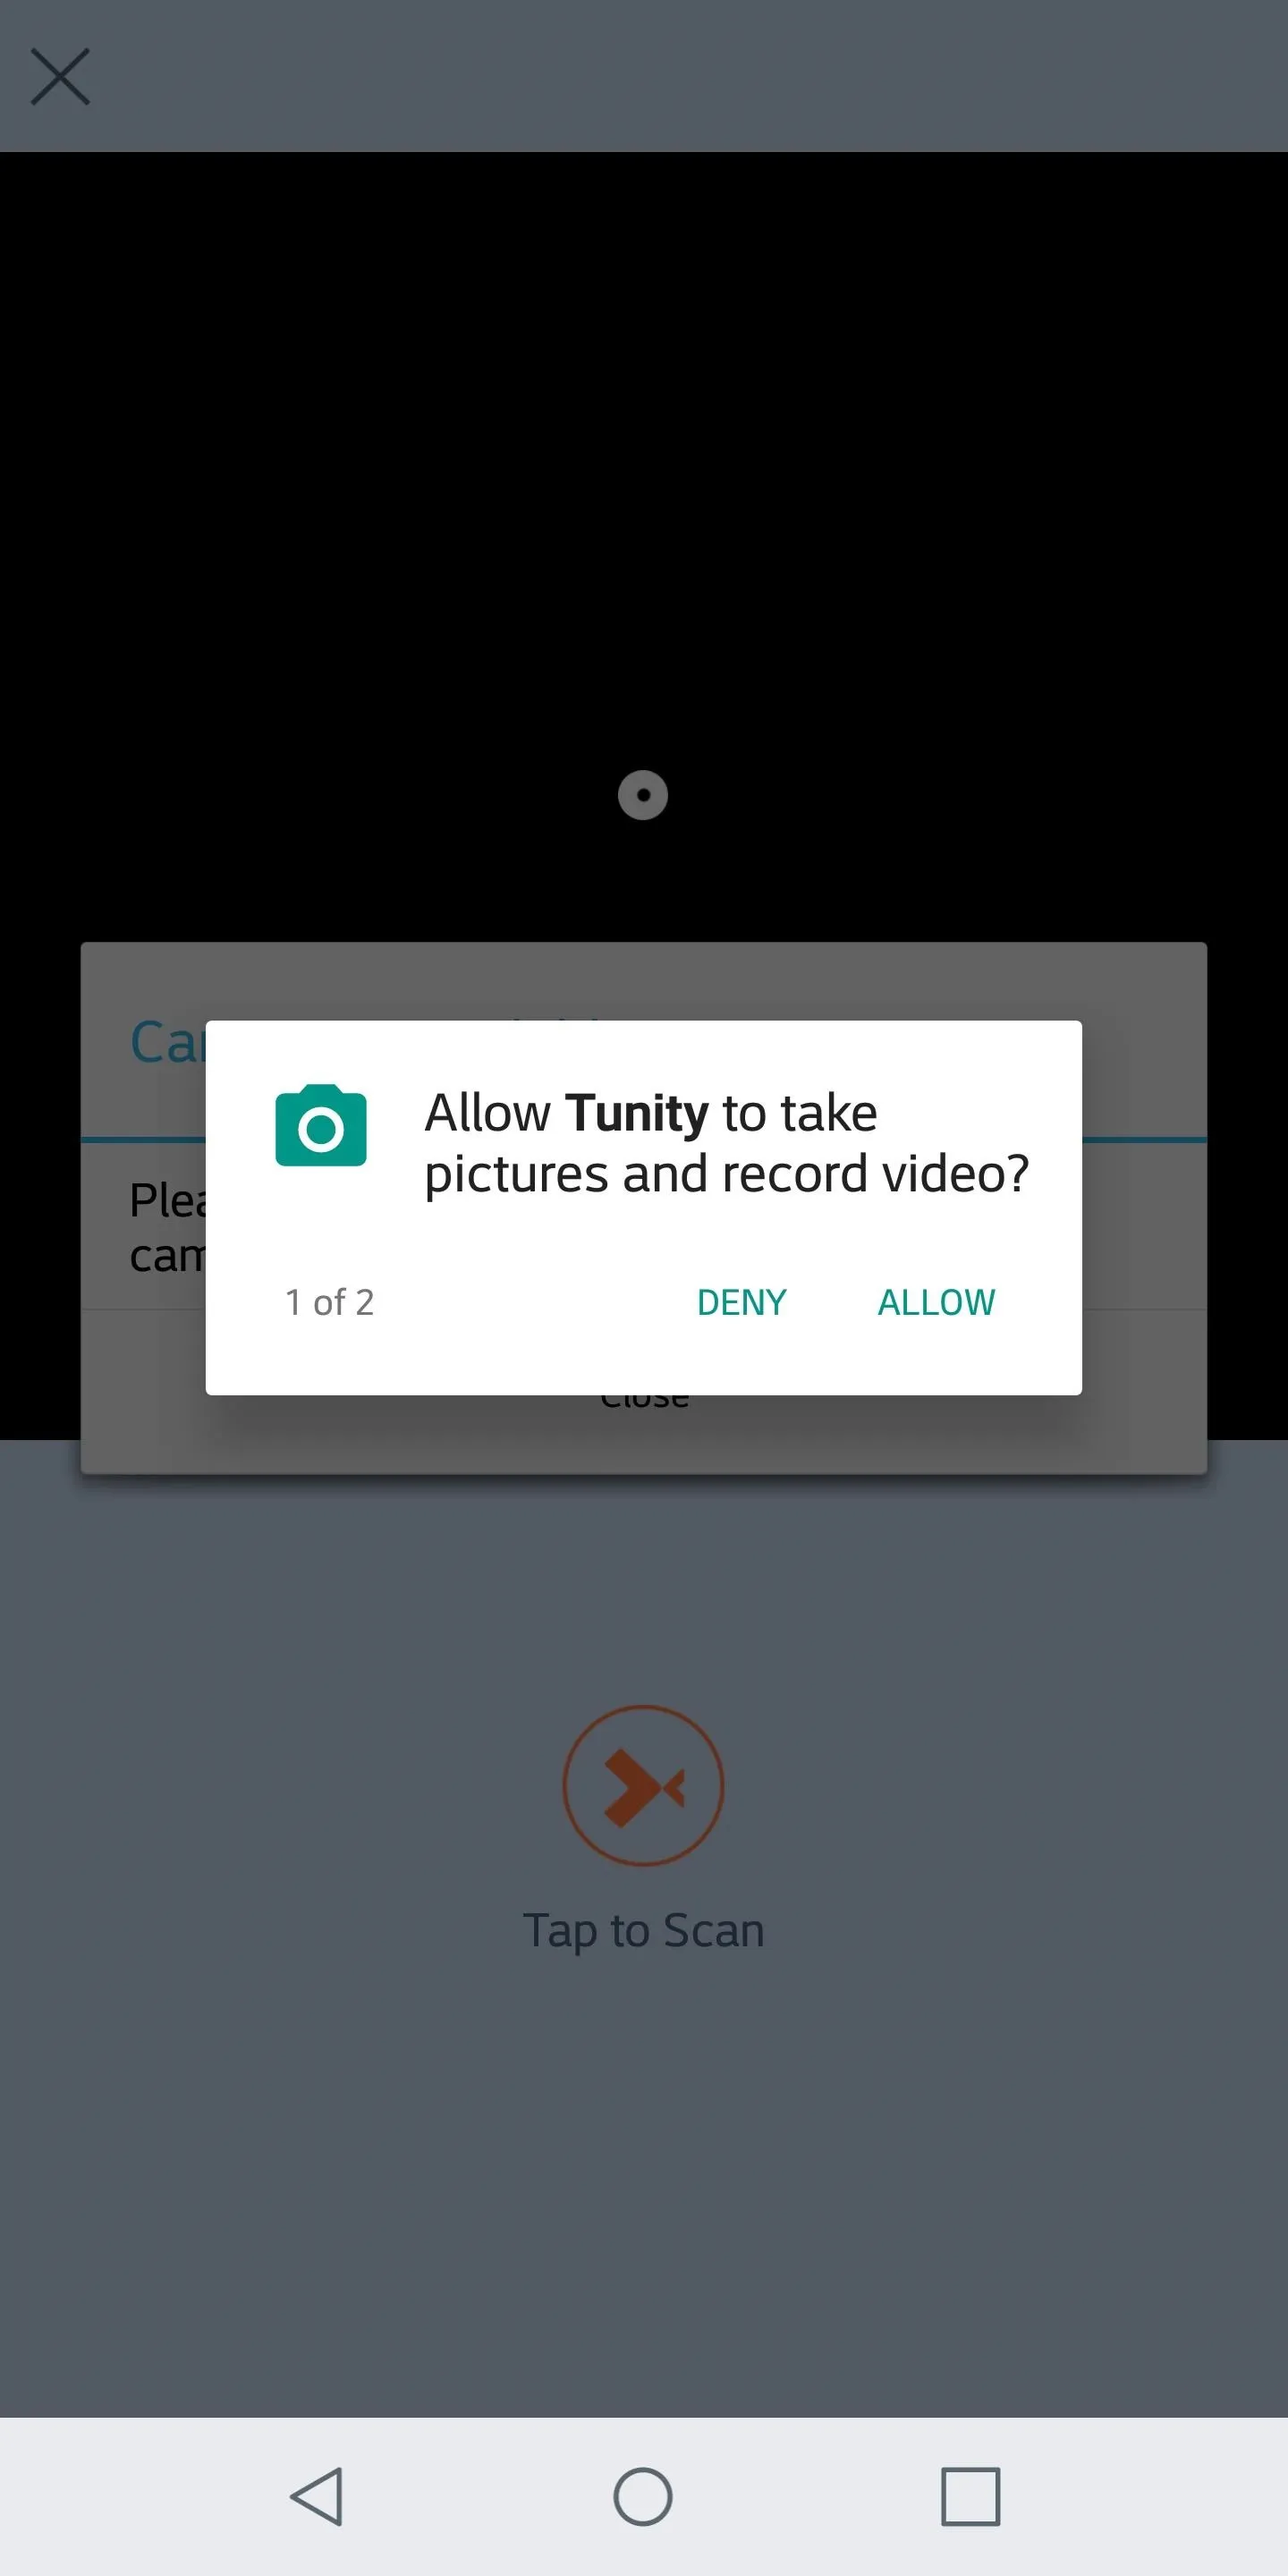
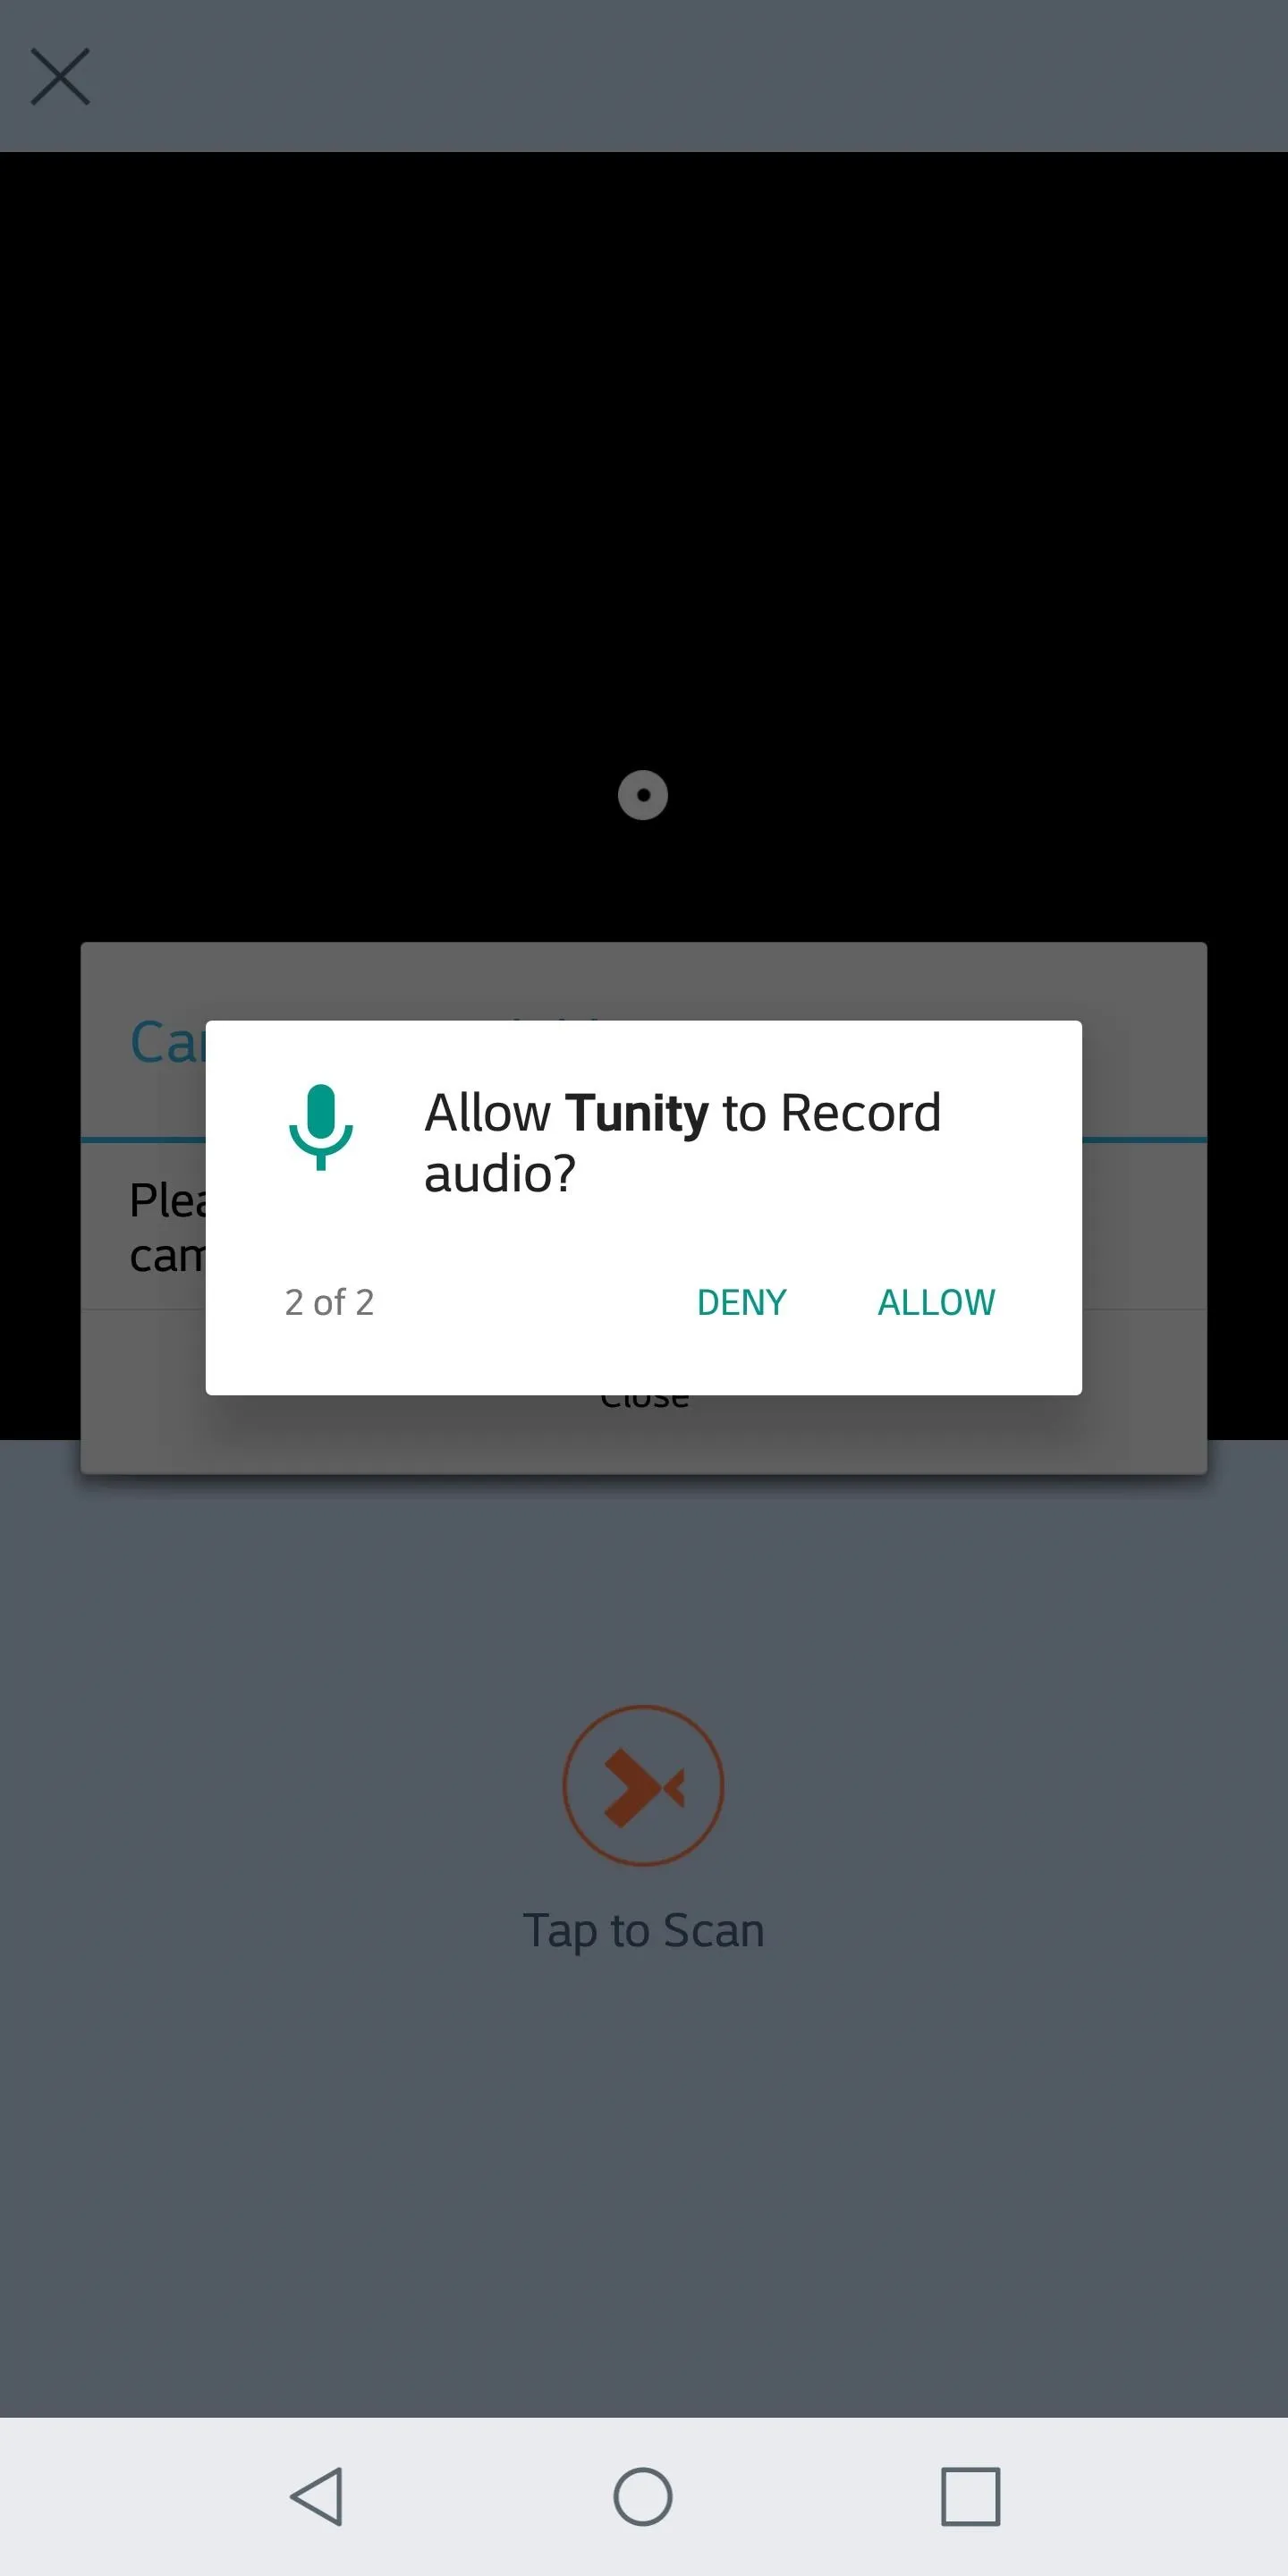
On the Android side of things, the permissions are slightly different. "Allow" it to access your pictures and record videos, and also "Allow" it to record audio. Finally, tap "Allow" when prompted to give the app location access. If you don't have location features enabled on your phone, you'll have to tap "Go to Settings" first and enable location services.


Scan Your TV
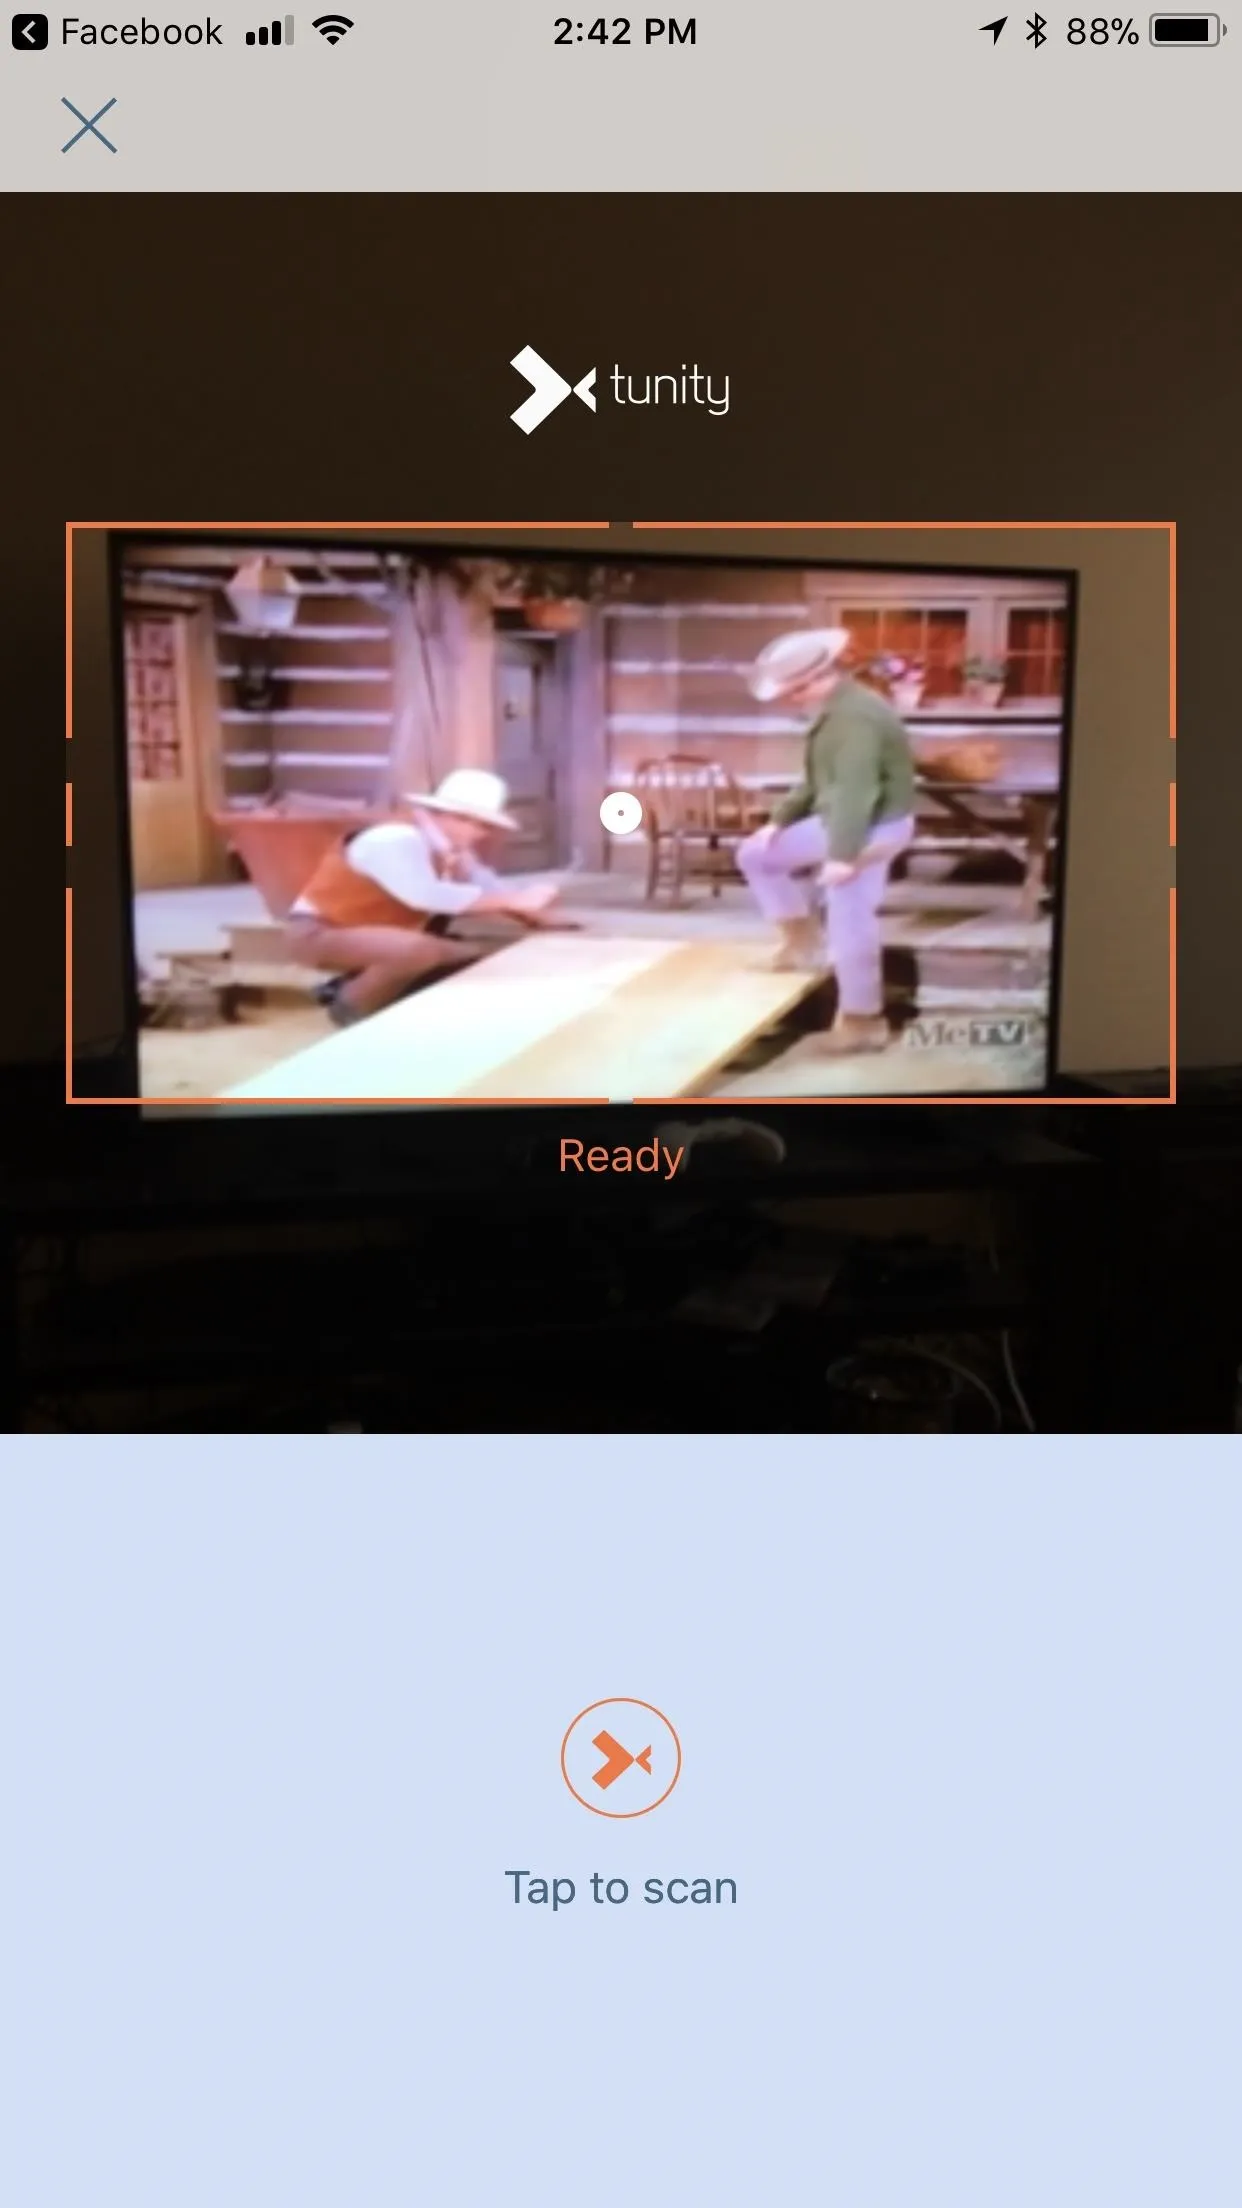
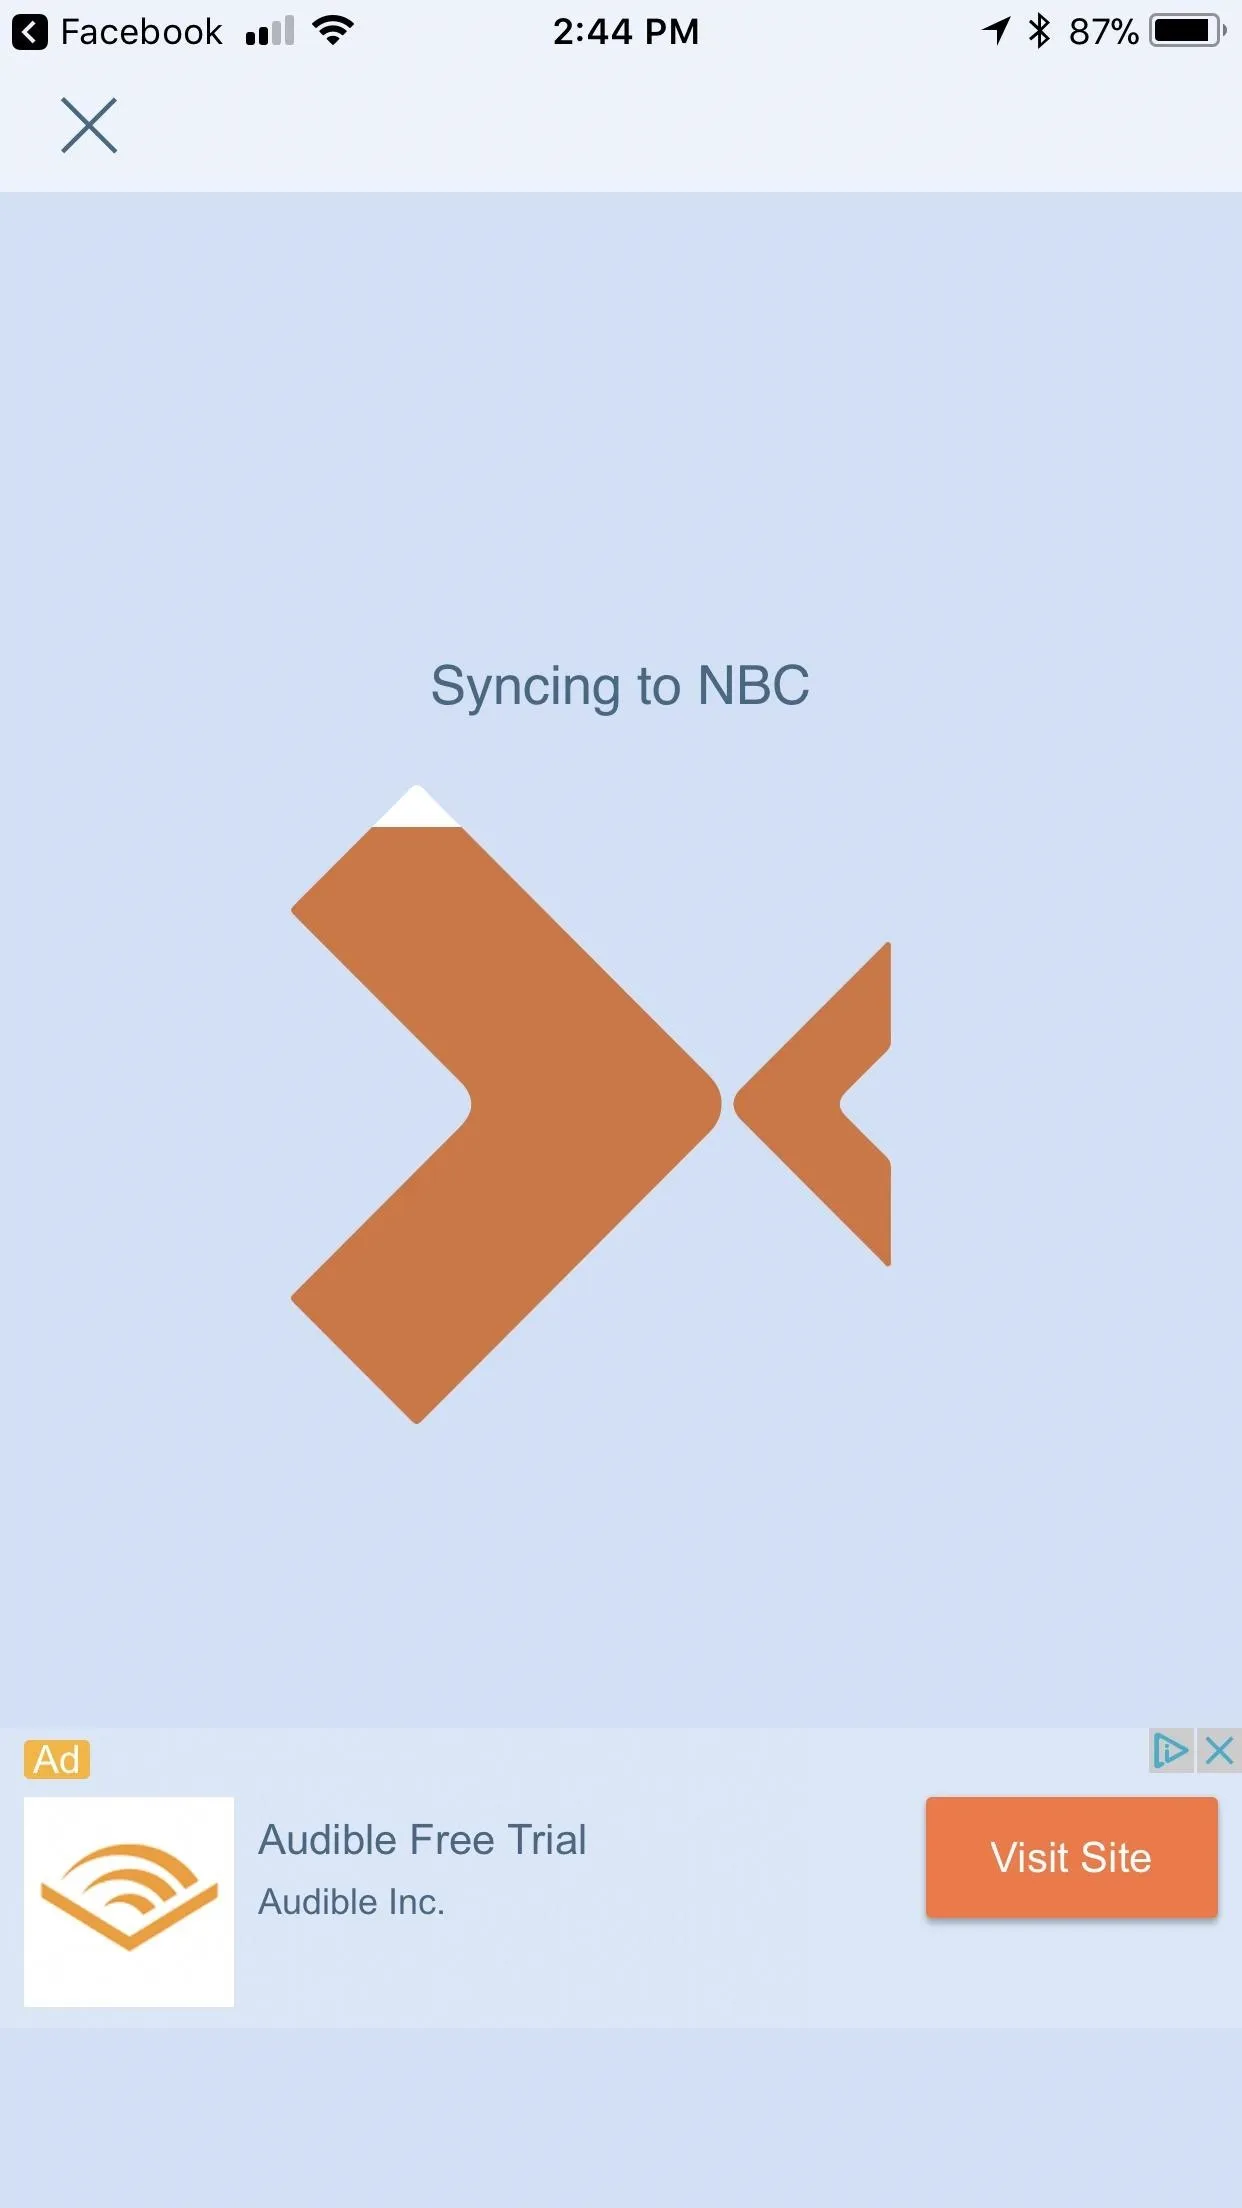
This step is the same for both platforms. Point your camera at the TV and make sure it's inside the orange box. To scan, tap the Tunity logo in the bottom of your screen once it says "Ready." It'll say "Scanning..." for a time, and then sync with whatever channel you're currently watching.


Fine Tuning
Now, your audio should already be playing. However, there's a good chance it's not properly synced. Luckily, some controls will appear at the bottom that allow you to fine tune them. The two back buttons on the left will let you scrub backwards (the leftmost once goes back further). The right ones will scrub forwards, and the stop icon will stop the audio. The icon that looks like a speaker with a line through it will mute your audio.


Who are you planning to watch with Tunity? Do you plan on celebrating championships with the help of Tunity? Let us know in the comments below.
- Follow Gadget Hacks on Facebook, Twitter, YouTube, and Flipboard
- Follow WonderHowTo on Facebook, Twitter, Pinterest, and Flipboard
Cover image and screenshots by Brian Lang/Gadget Hacks





Comments
Be the first, drop a comment!