
Snapchat is in the midst of a massive redesign — one that not everyone loves. Still, it's clear that this is a decision fueled by money, and Snap Inc. believes this redesign will help attract more advertisers. Even so, Snapchat has a few more tricks up their sleeves to make a little extra dough. And while the average user couldn't care less about ads, they very easily could care about custom Filters and Lenses.
The ability to create custom Geofilters and Lenses will allow the average user to make a location-based Filter or Lens that is incredibly customizable and suitable for a myriad of occasions. Of course, this level of customization doesn't come without a price, with Geofilters costing as much as $1,000 in some cases.
Step 1: Go to Your Filters & Lenses
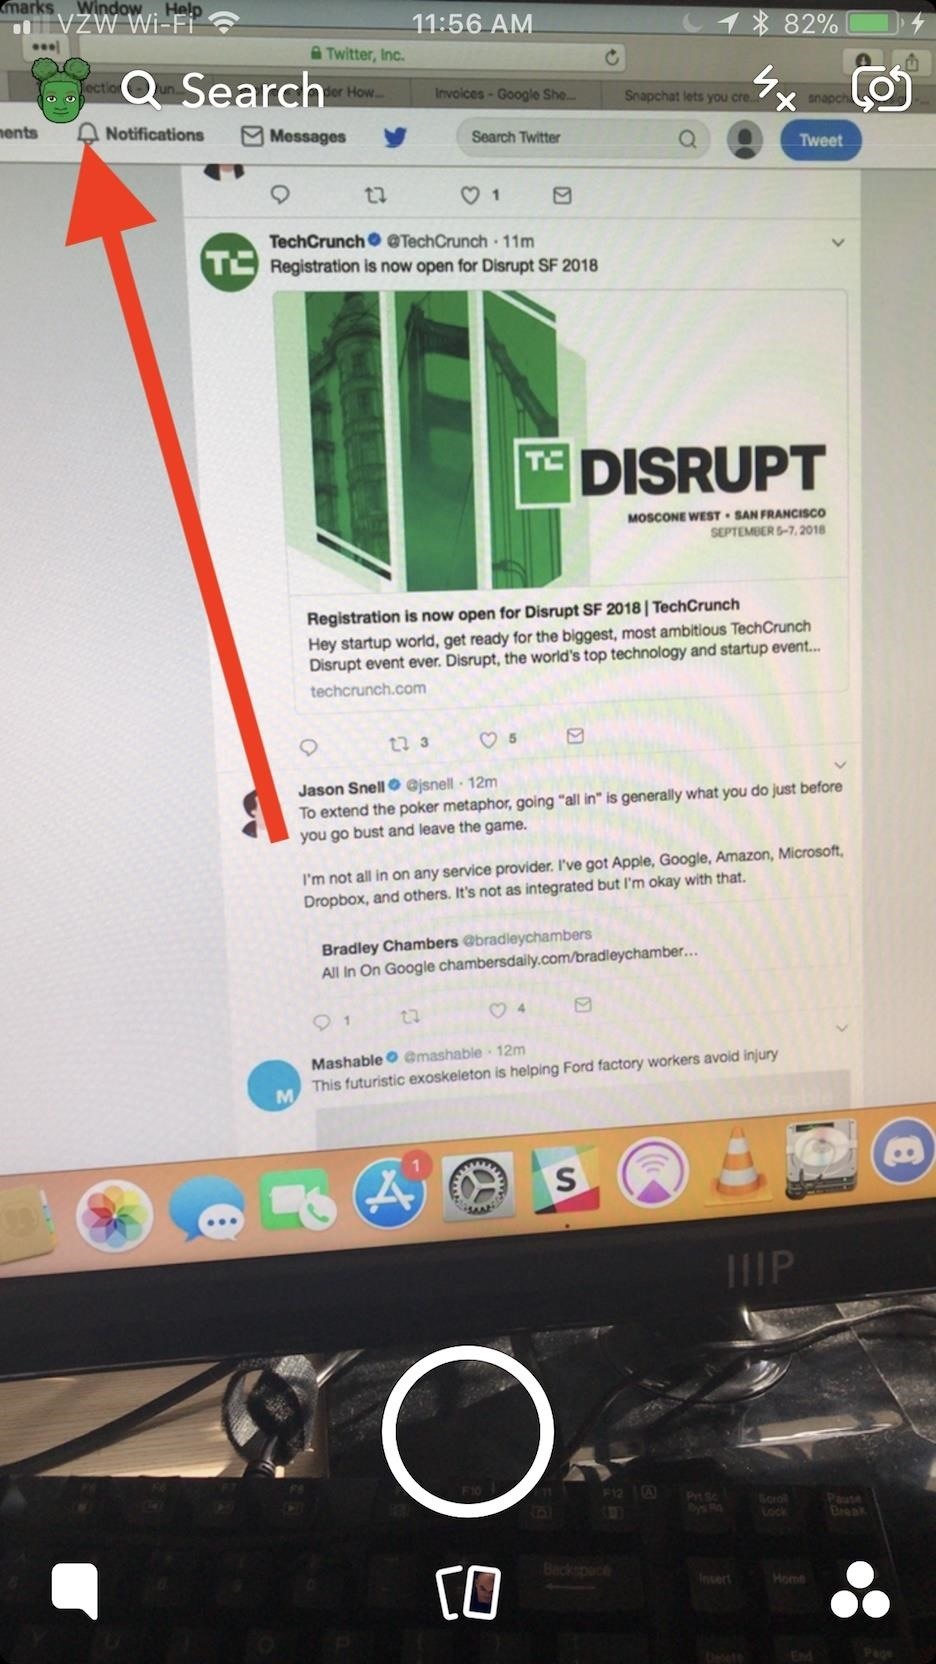
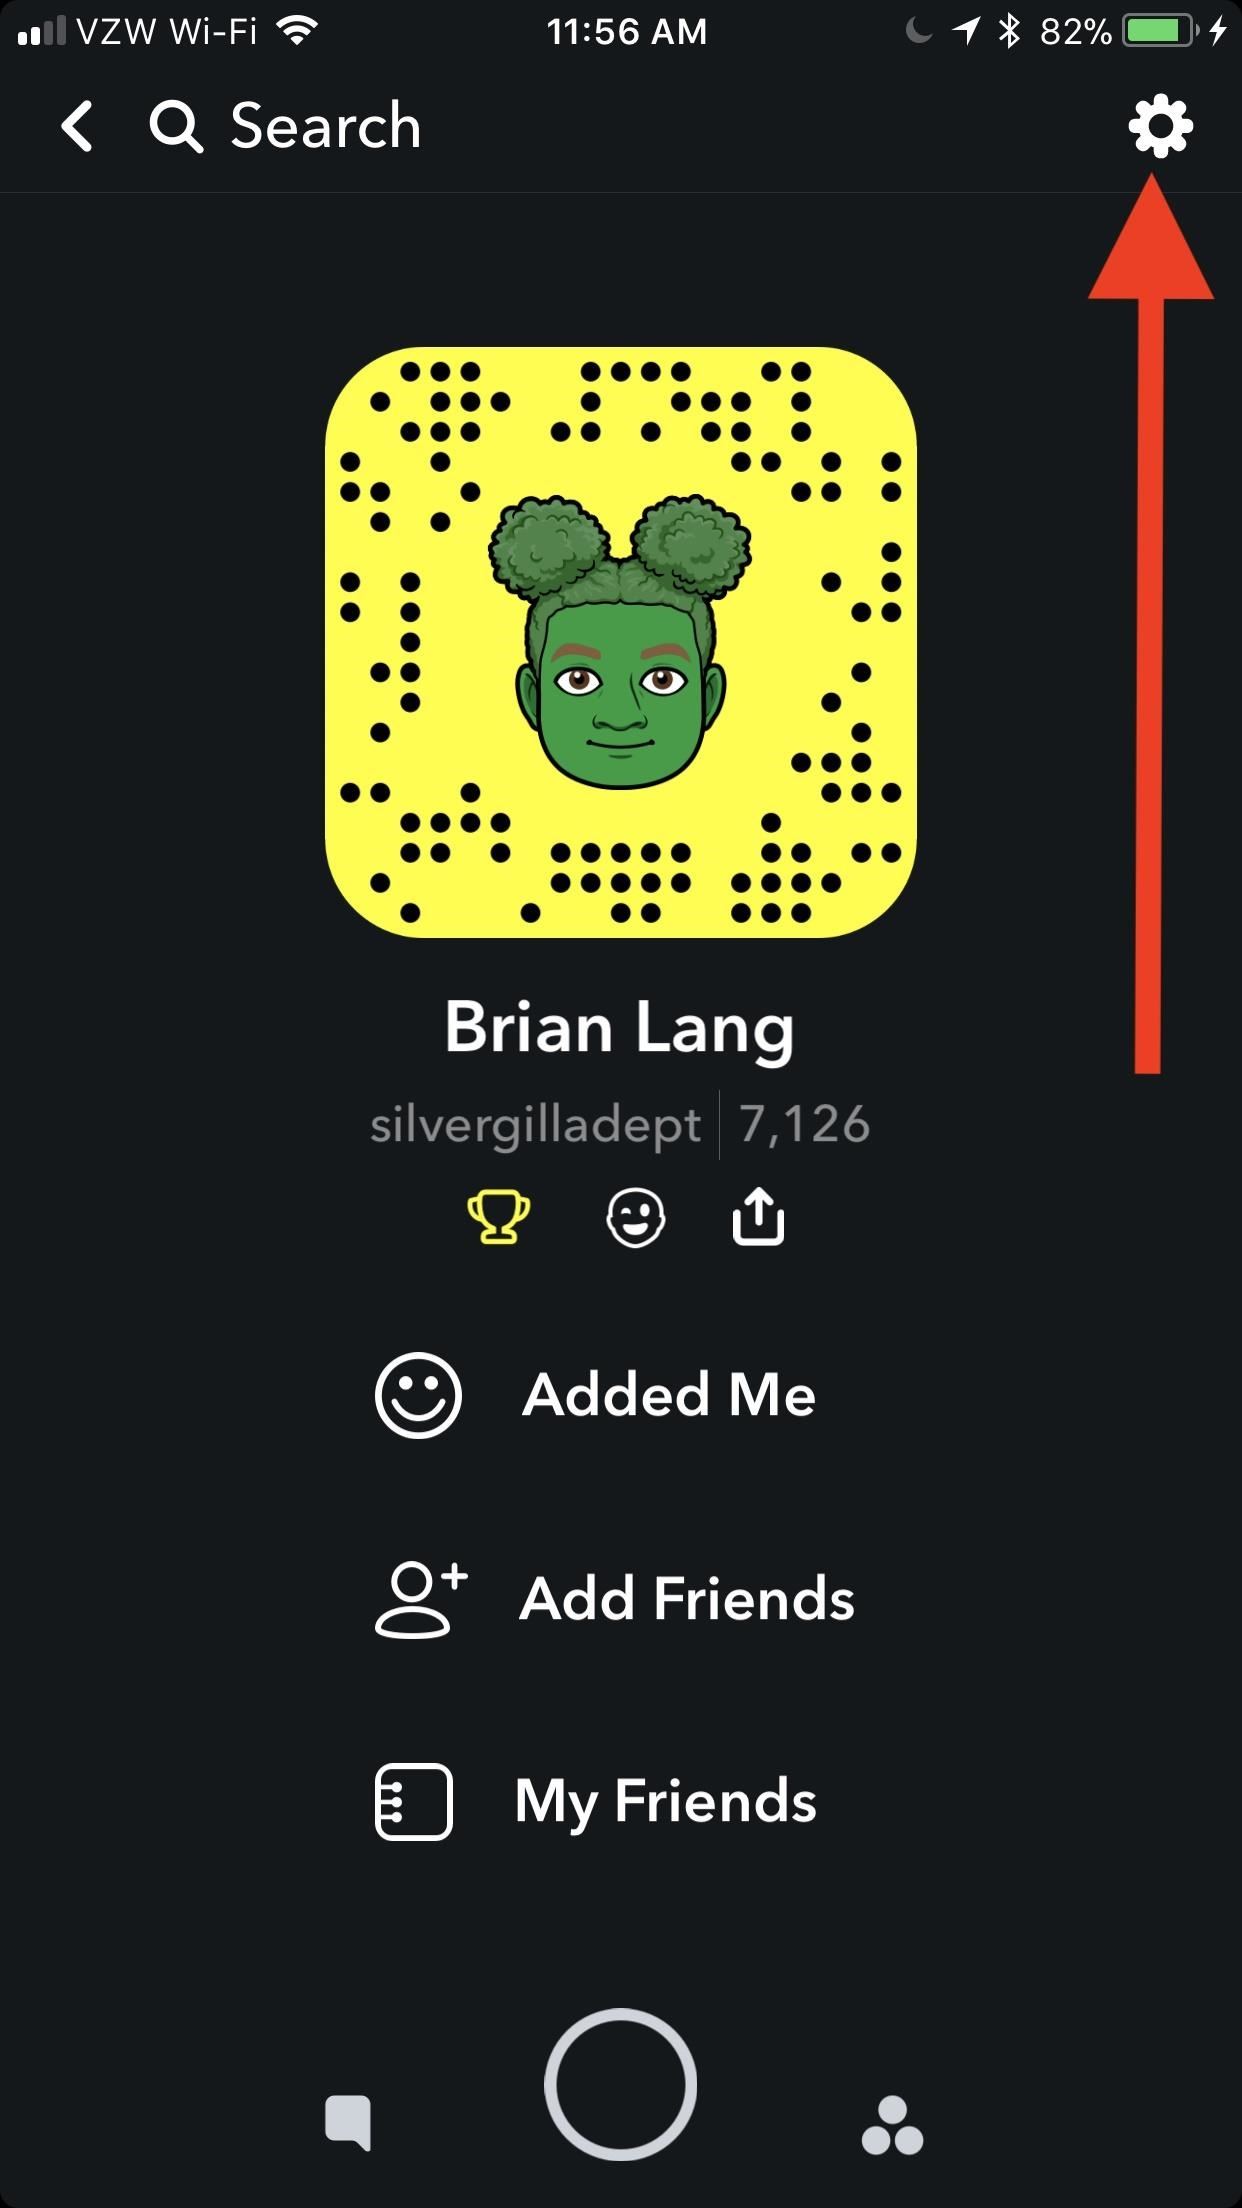
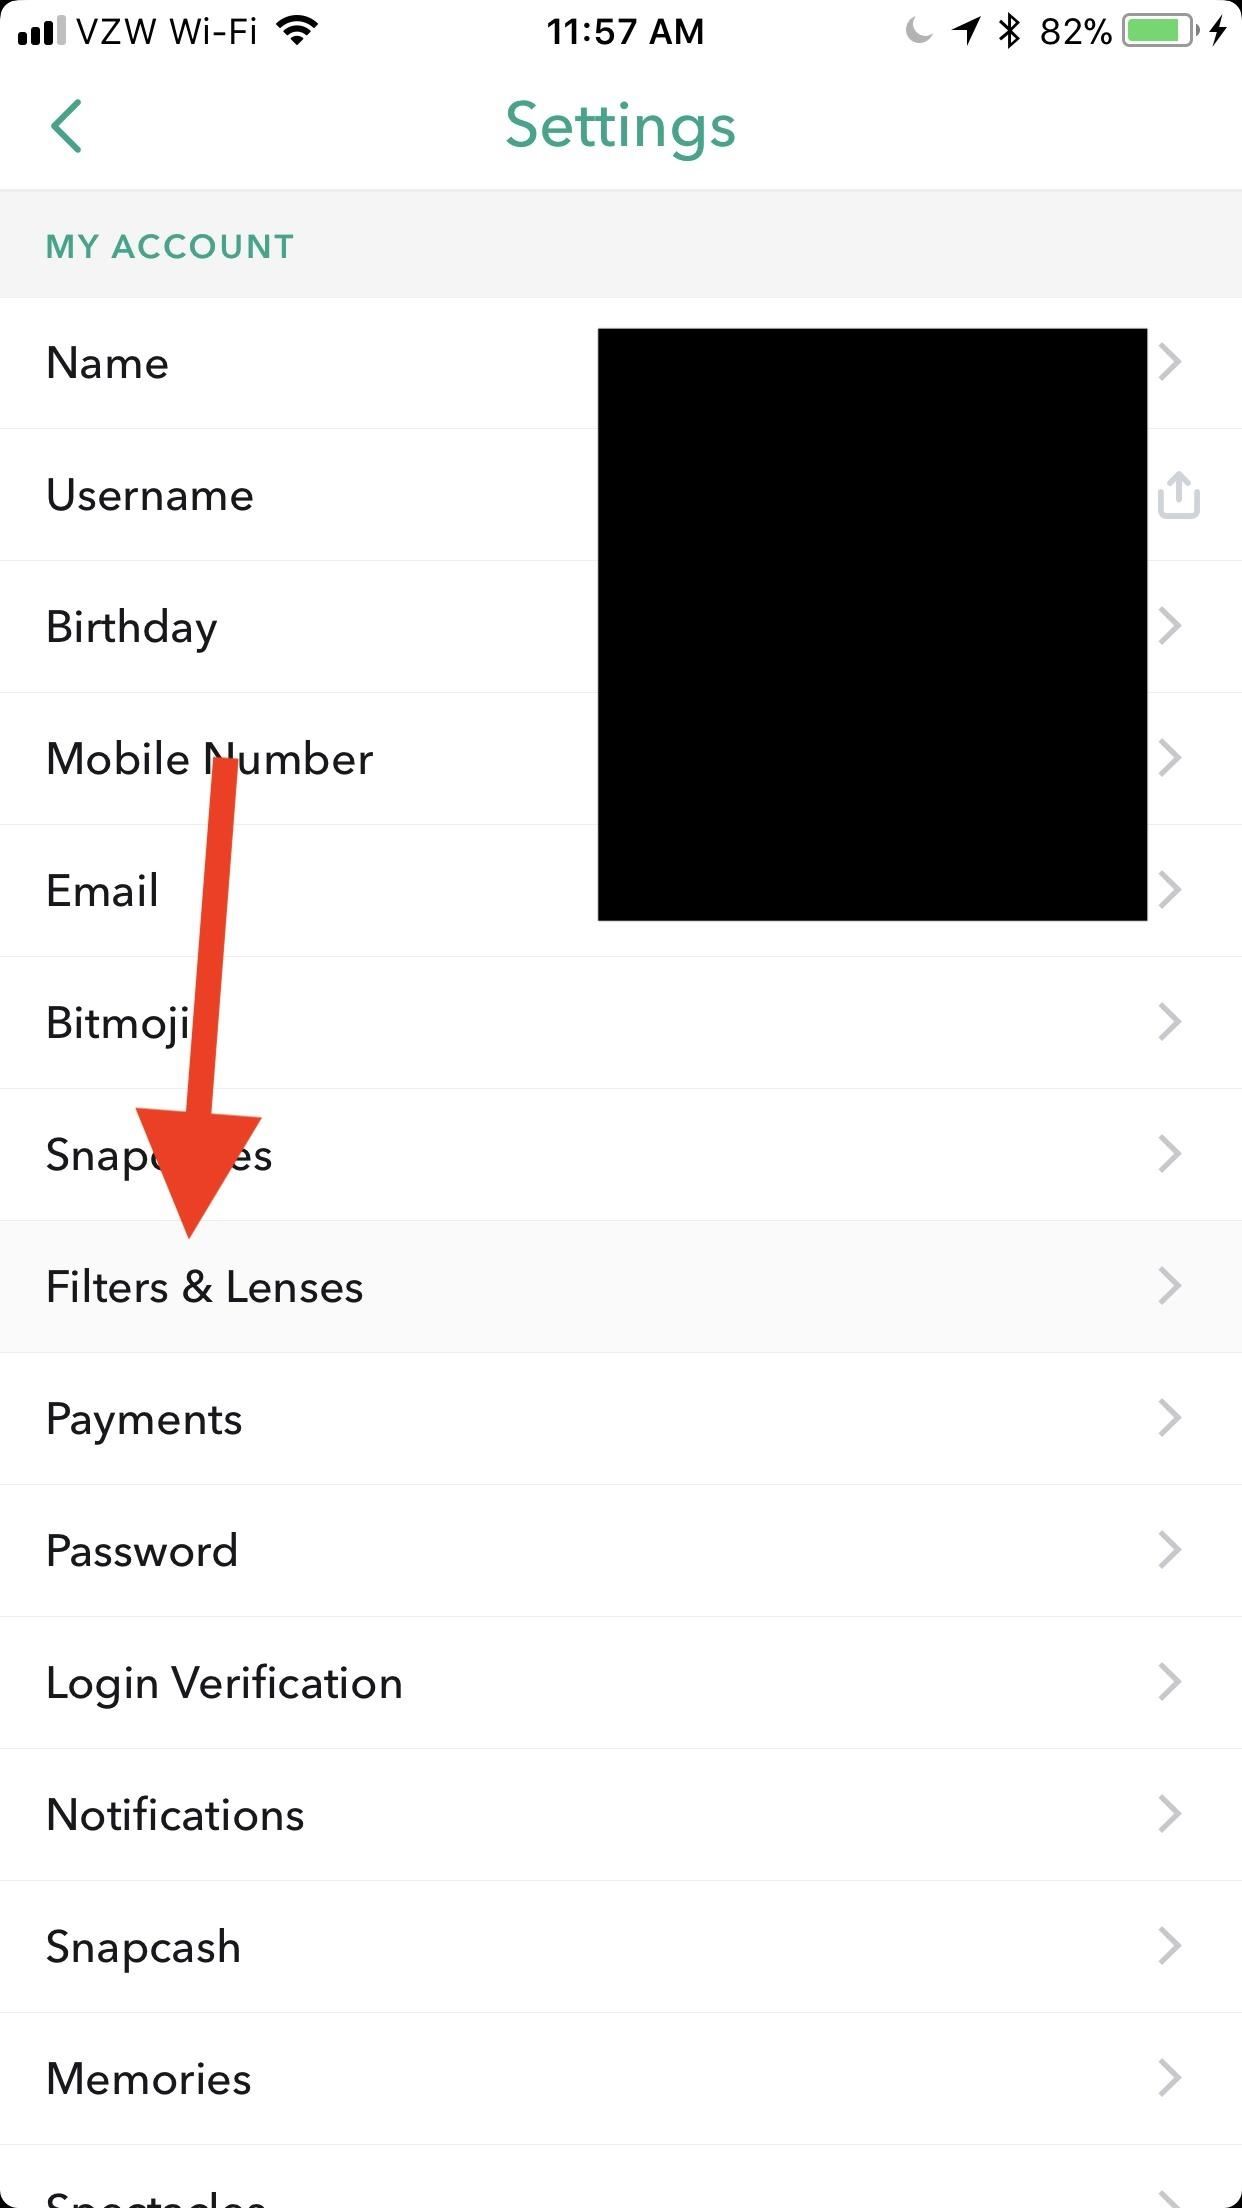
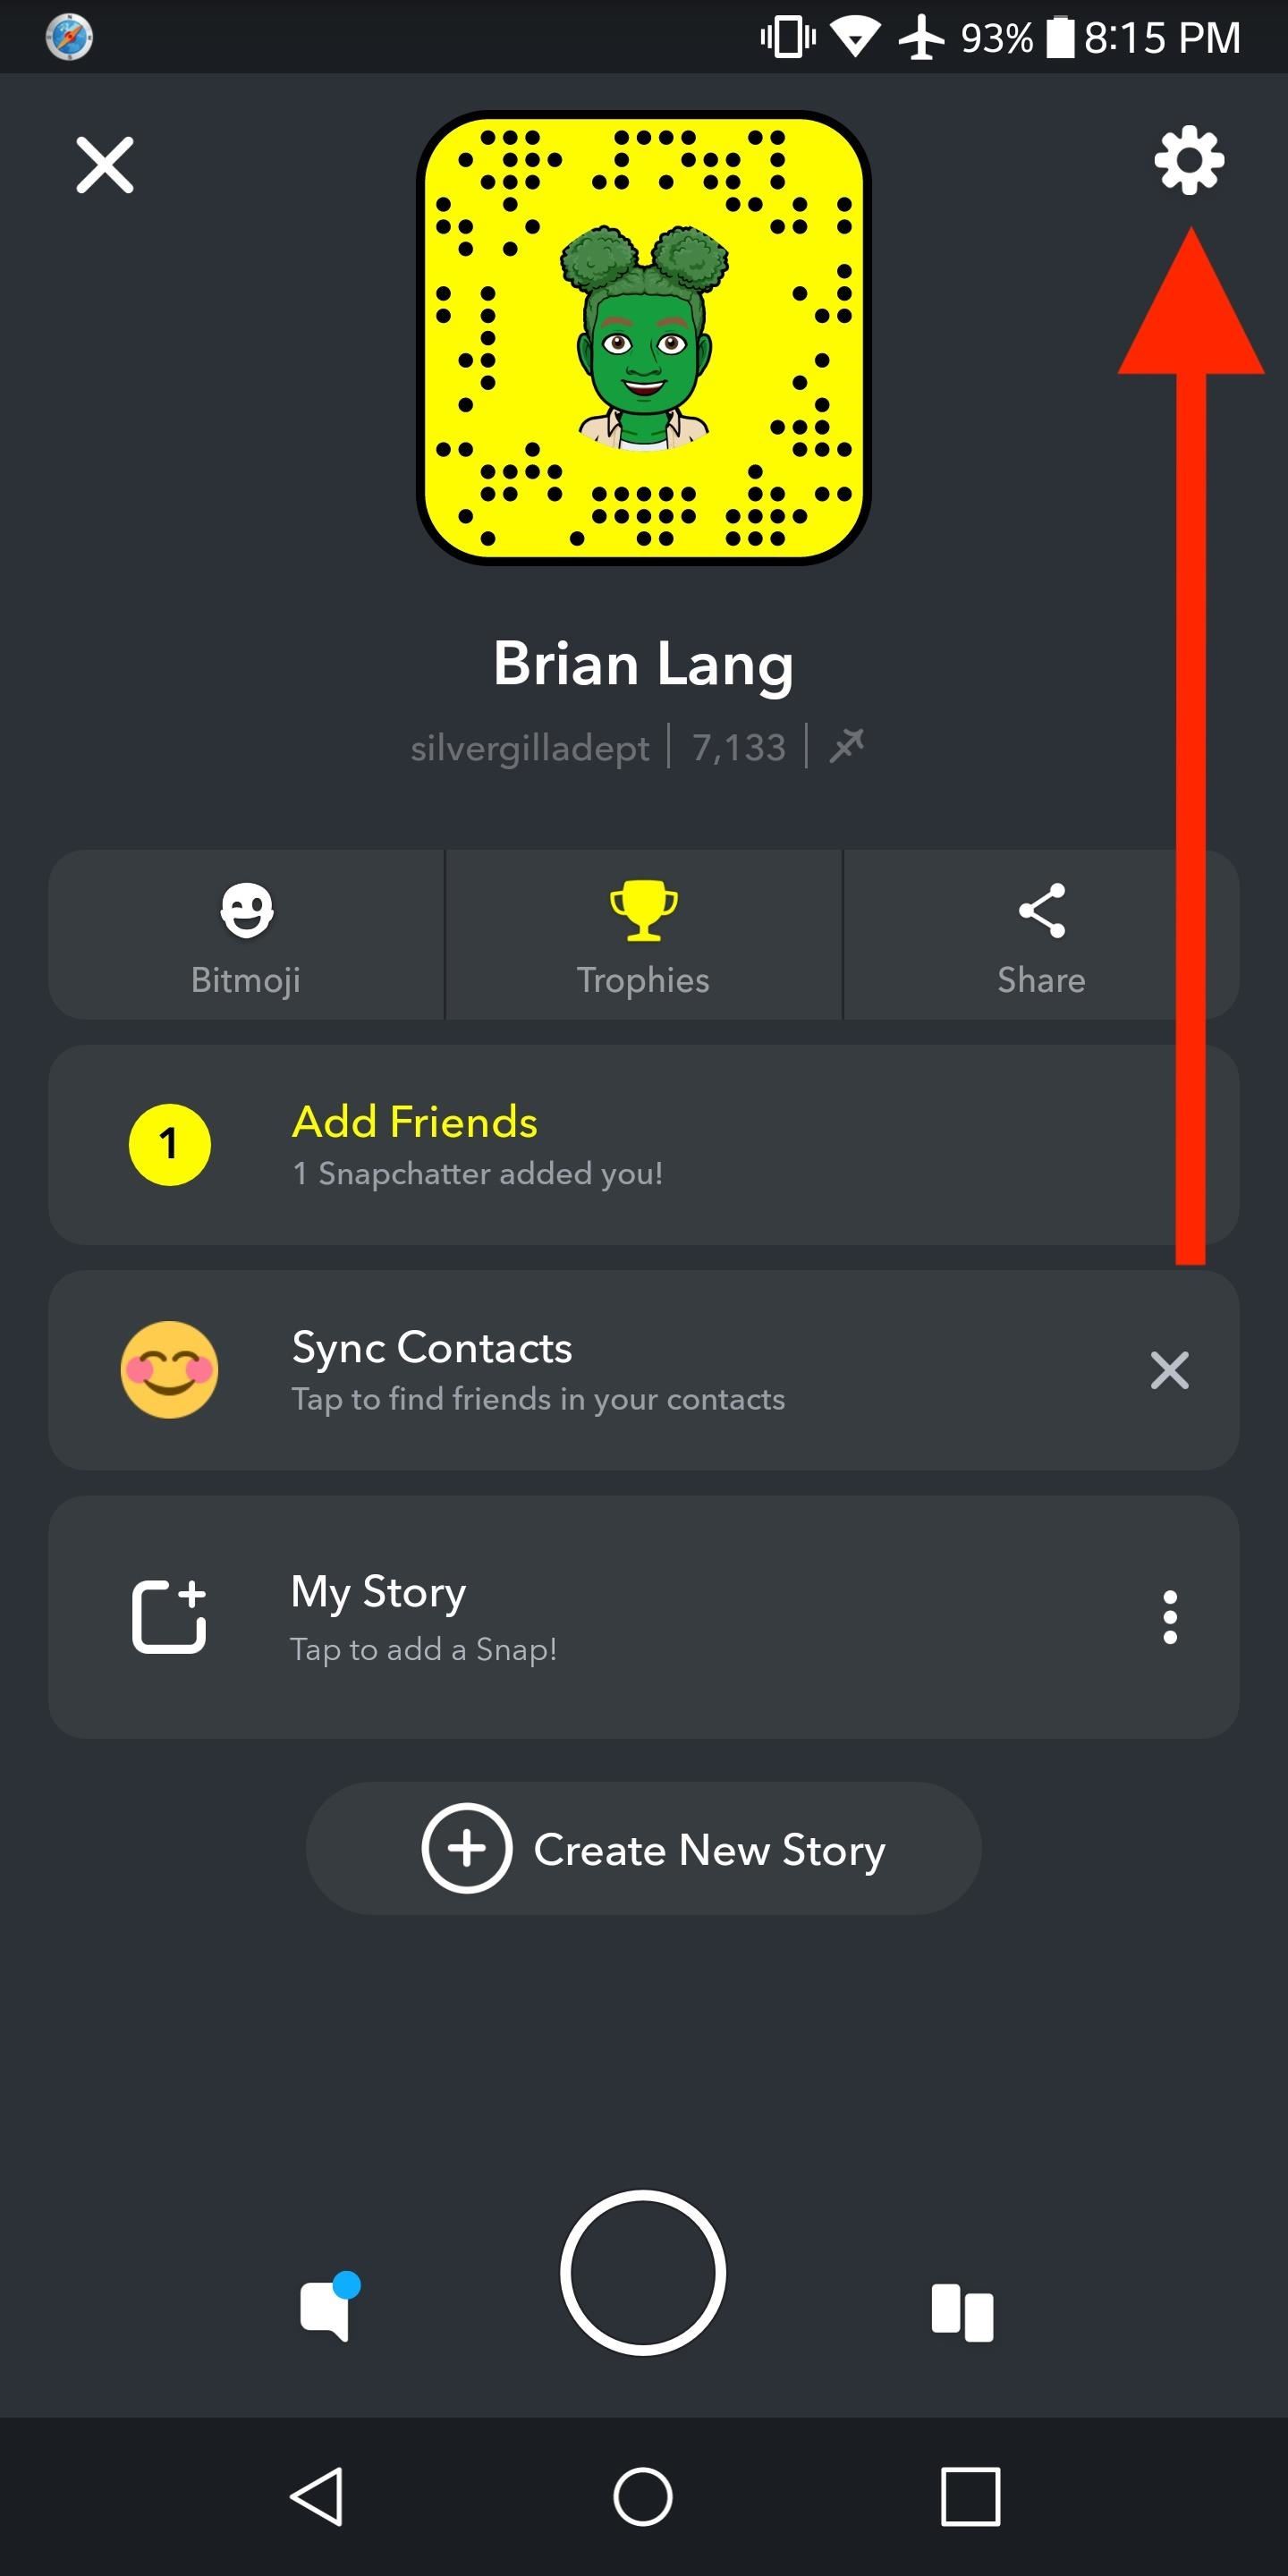
From the main screen (where you would take a Snap), tap your Bitmoji in the upper-left corner. Now, you'll be taken to a new screen where others can add you as a friend. Tap the gear icon in the top-right corner to get to the Settings. Inside the Settings menu, select "Filters & Lenses." It only says "Filters & Lenses" for iPhones.
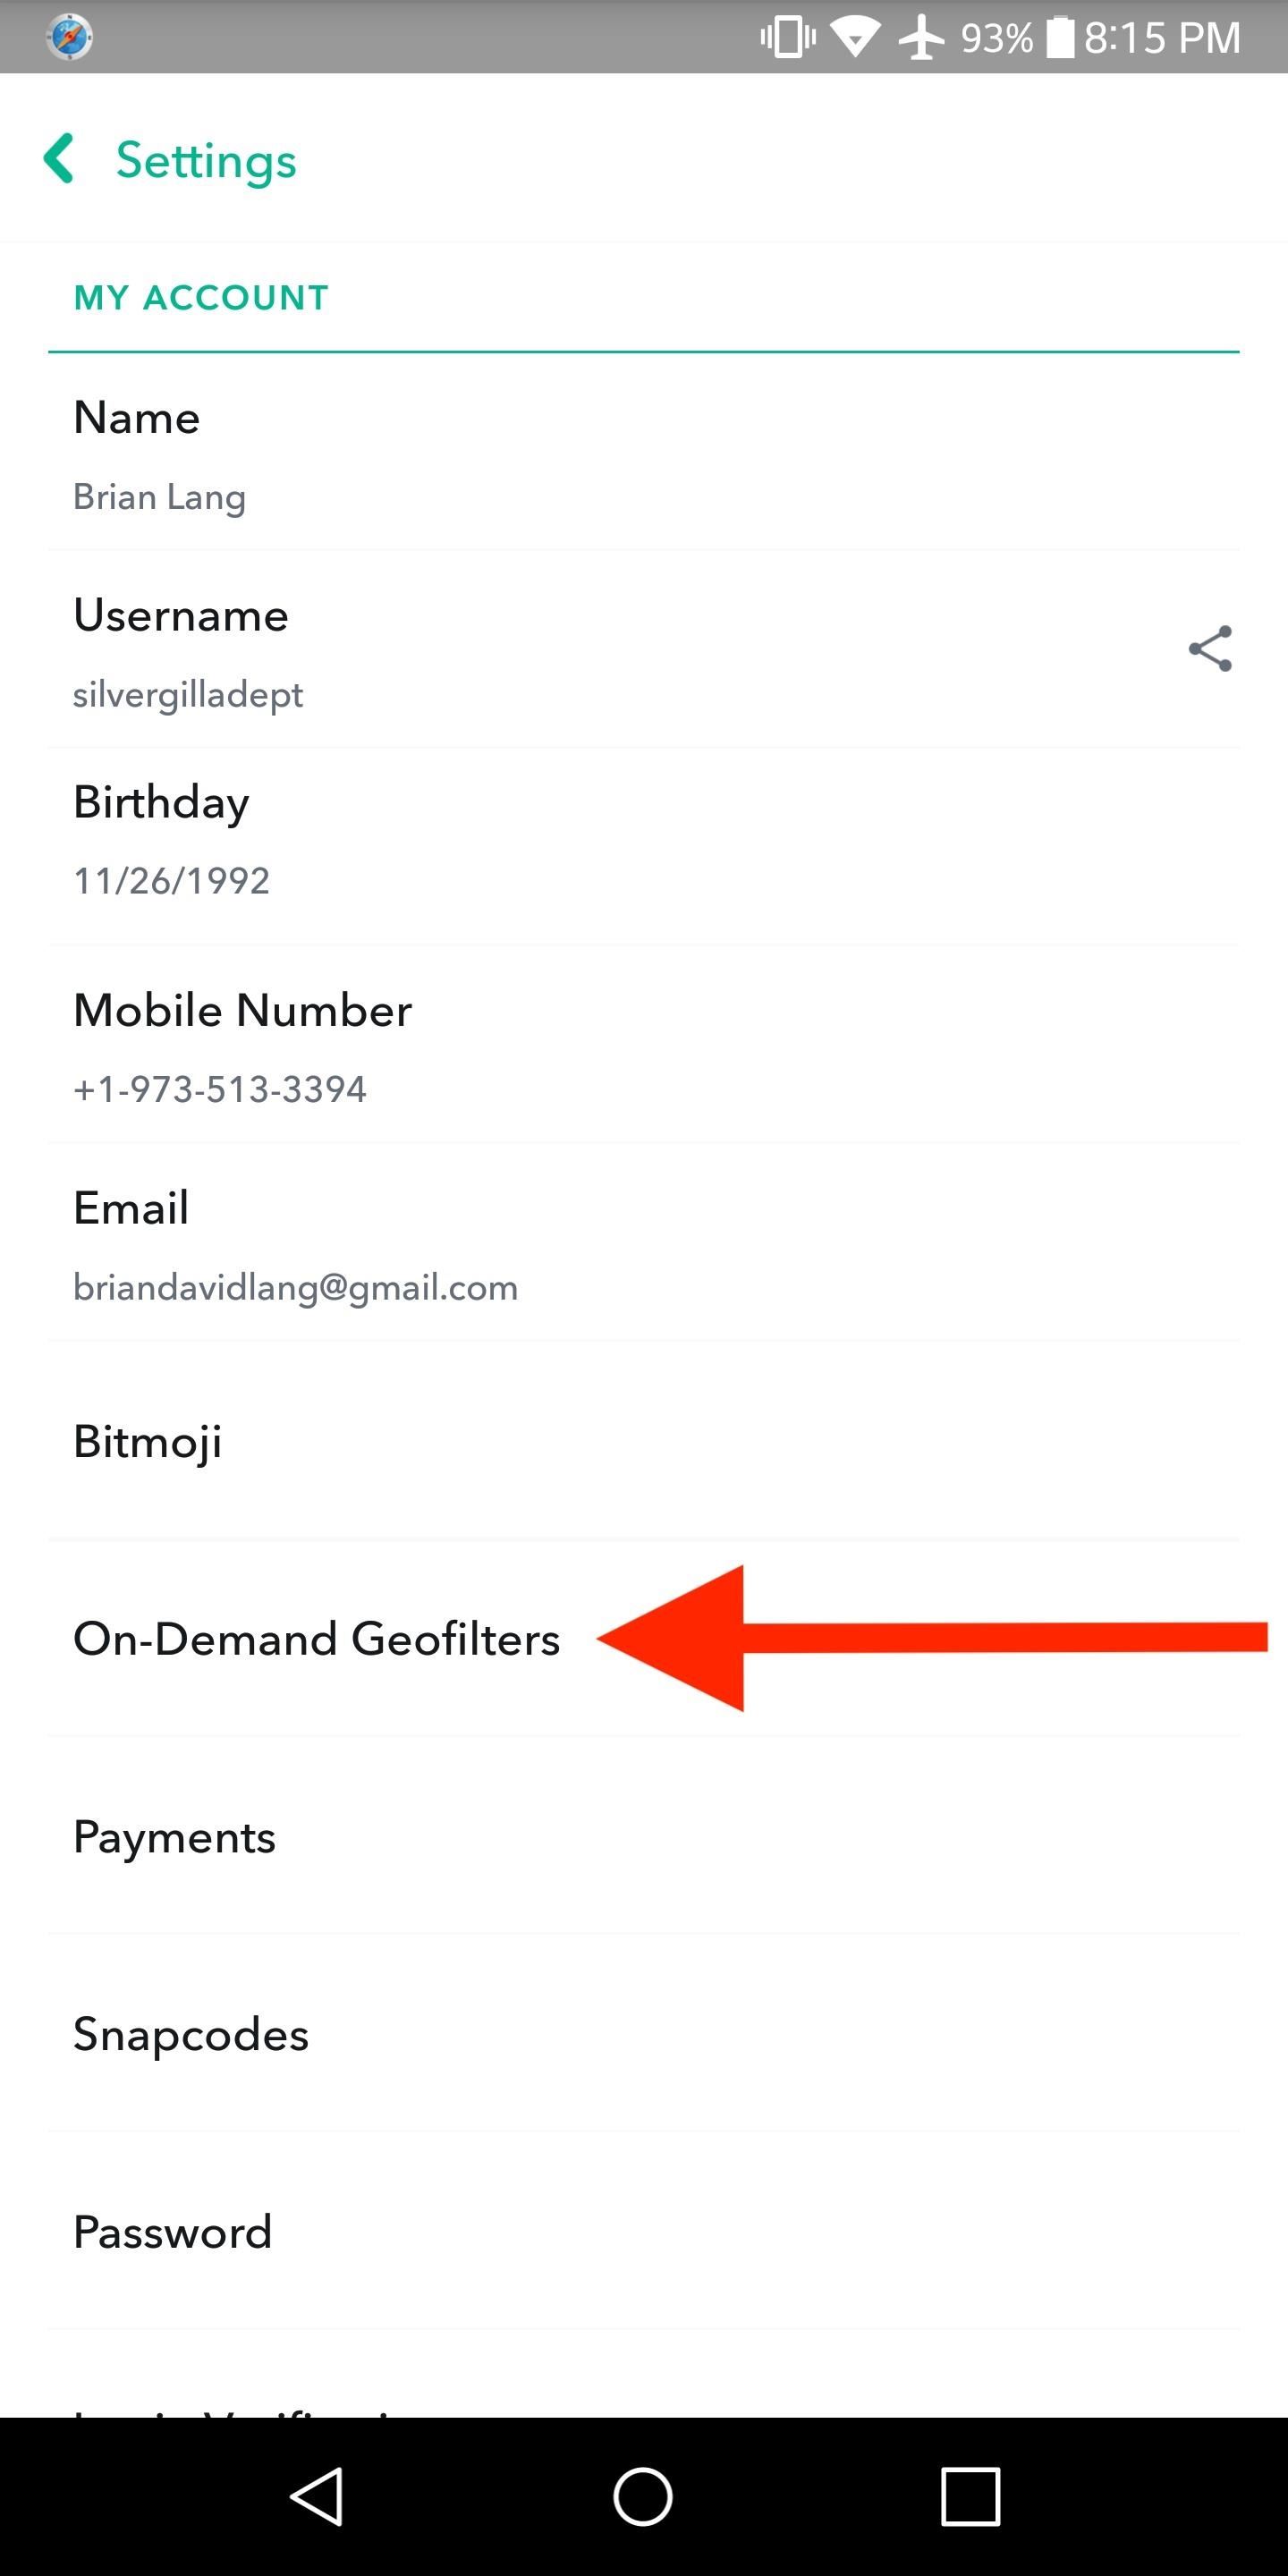
On Android, go to the Settings the same way as on an iPhone. From the Settings, though, tap "On-Demand Geofilters." The name is different because Snapchat on Android hasn't yet gotten the ability to create custom Lenses as well as Geofilters. The option will be coming soon.
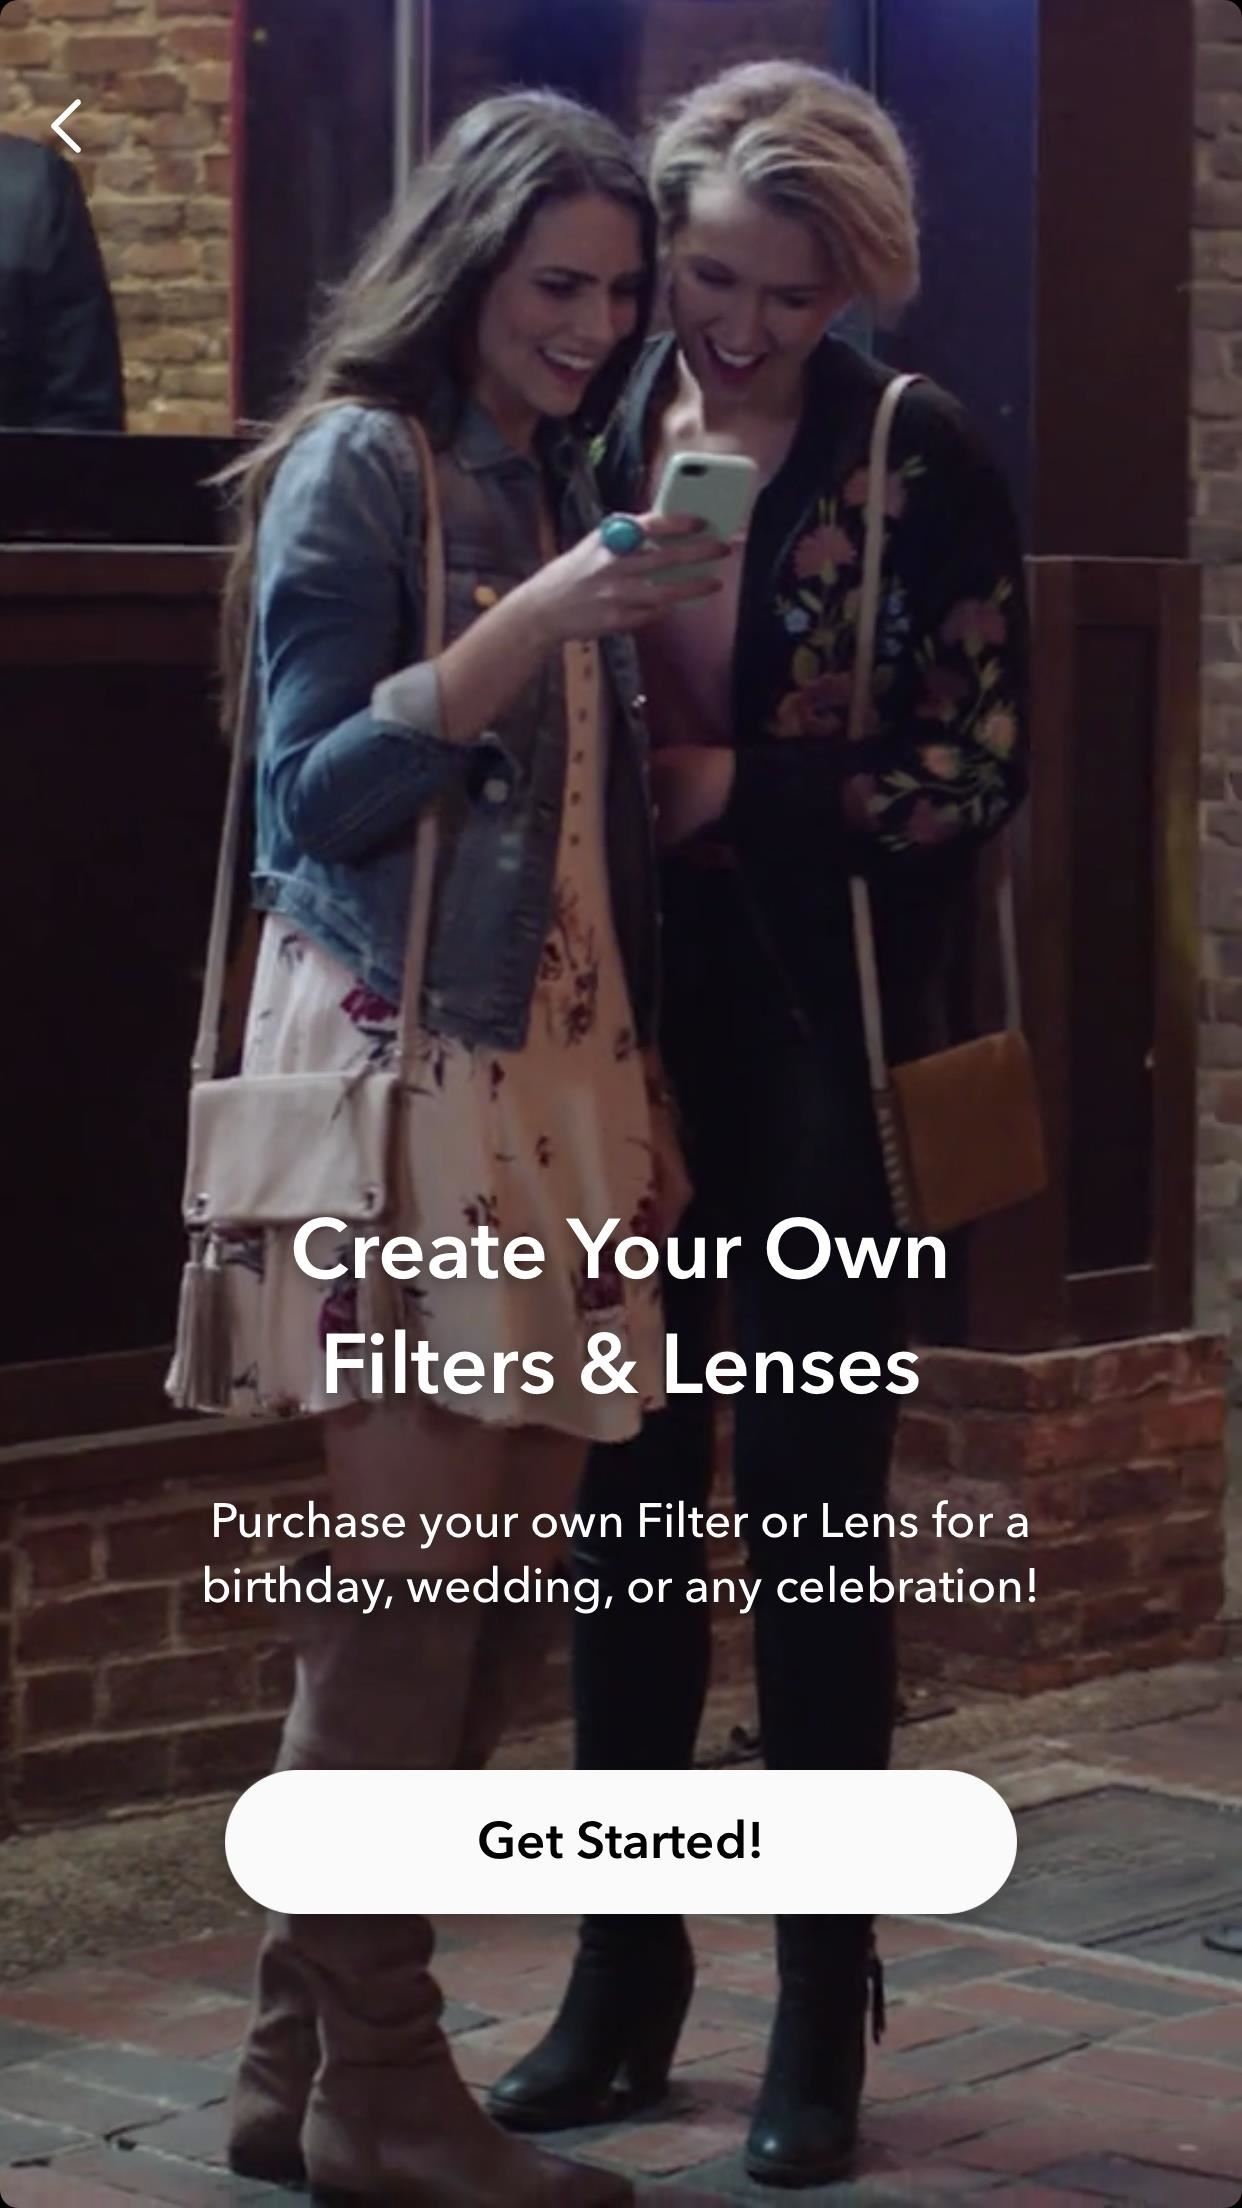
Step 2: Choose Either a Filter or Lens
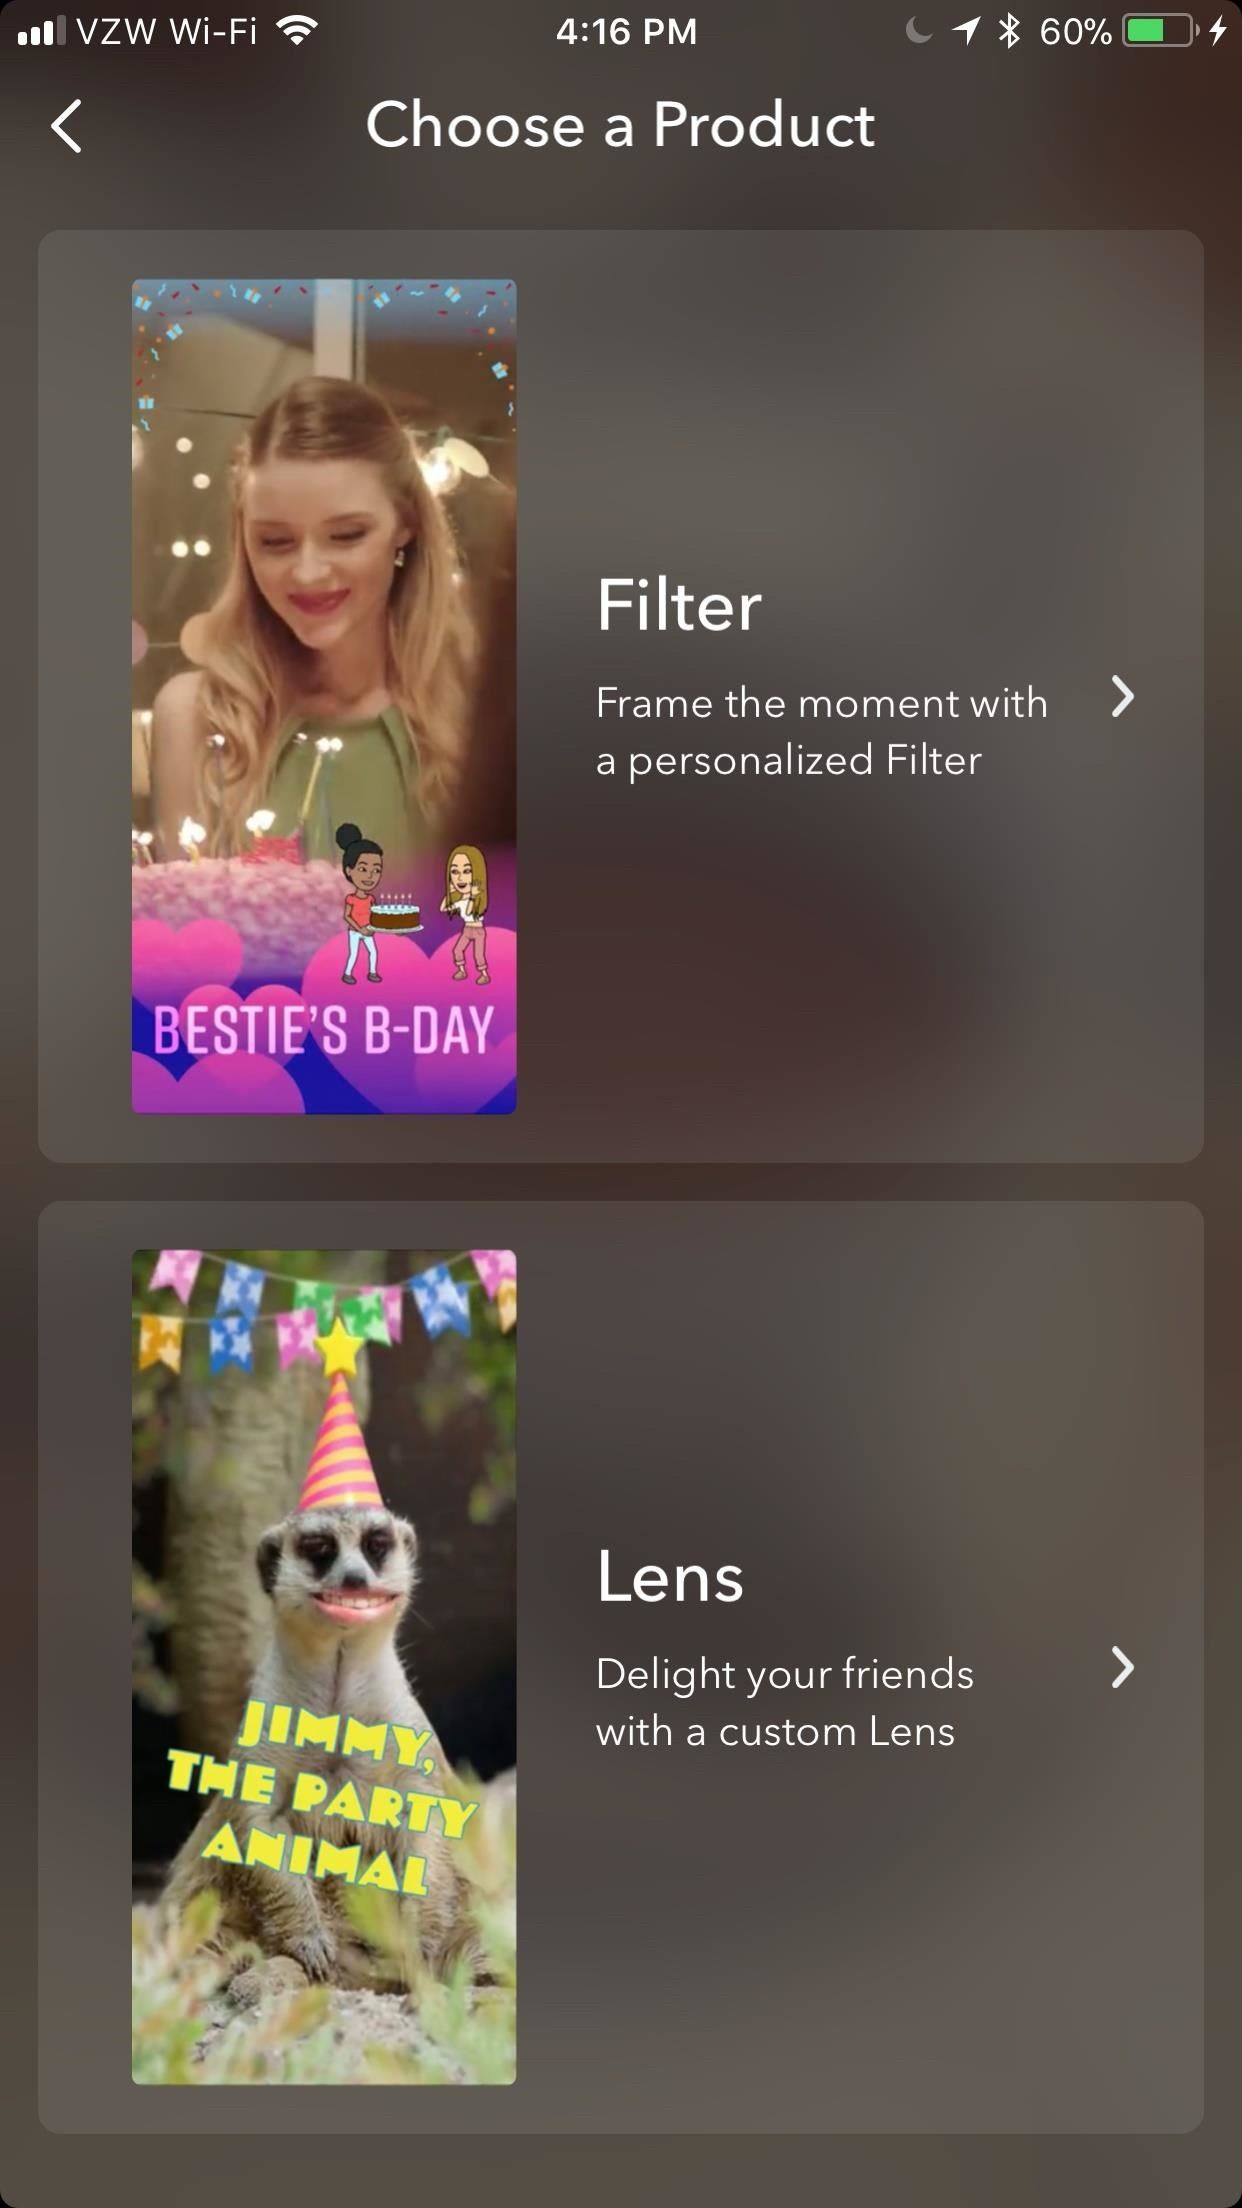
Basically, a Filter is an overlay that is superimposed onto an image, whereas a Lens is more of an in-depth AR experience. To learn more about them, check out our article on Snapchat Filters and Lenses. For our purposes here, think of Filters as frames or borders that will surround your image. Lenses, however, will have a third dimension to them (like the Dancing Hot Dog).
The next screen you'll see is where you can select either a "Filter" or "Lens" for your Custom Snap. I'll cover each option below with a separate section.
Filters
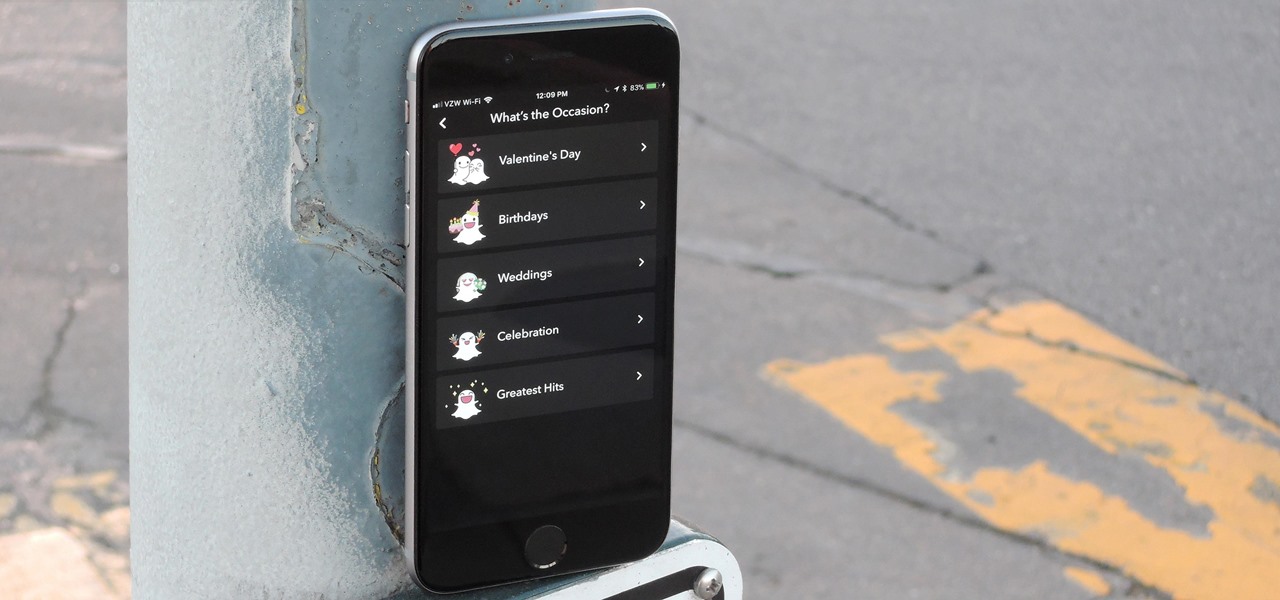
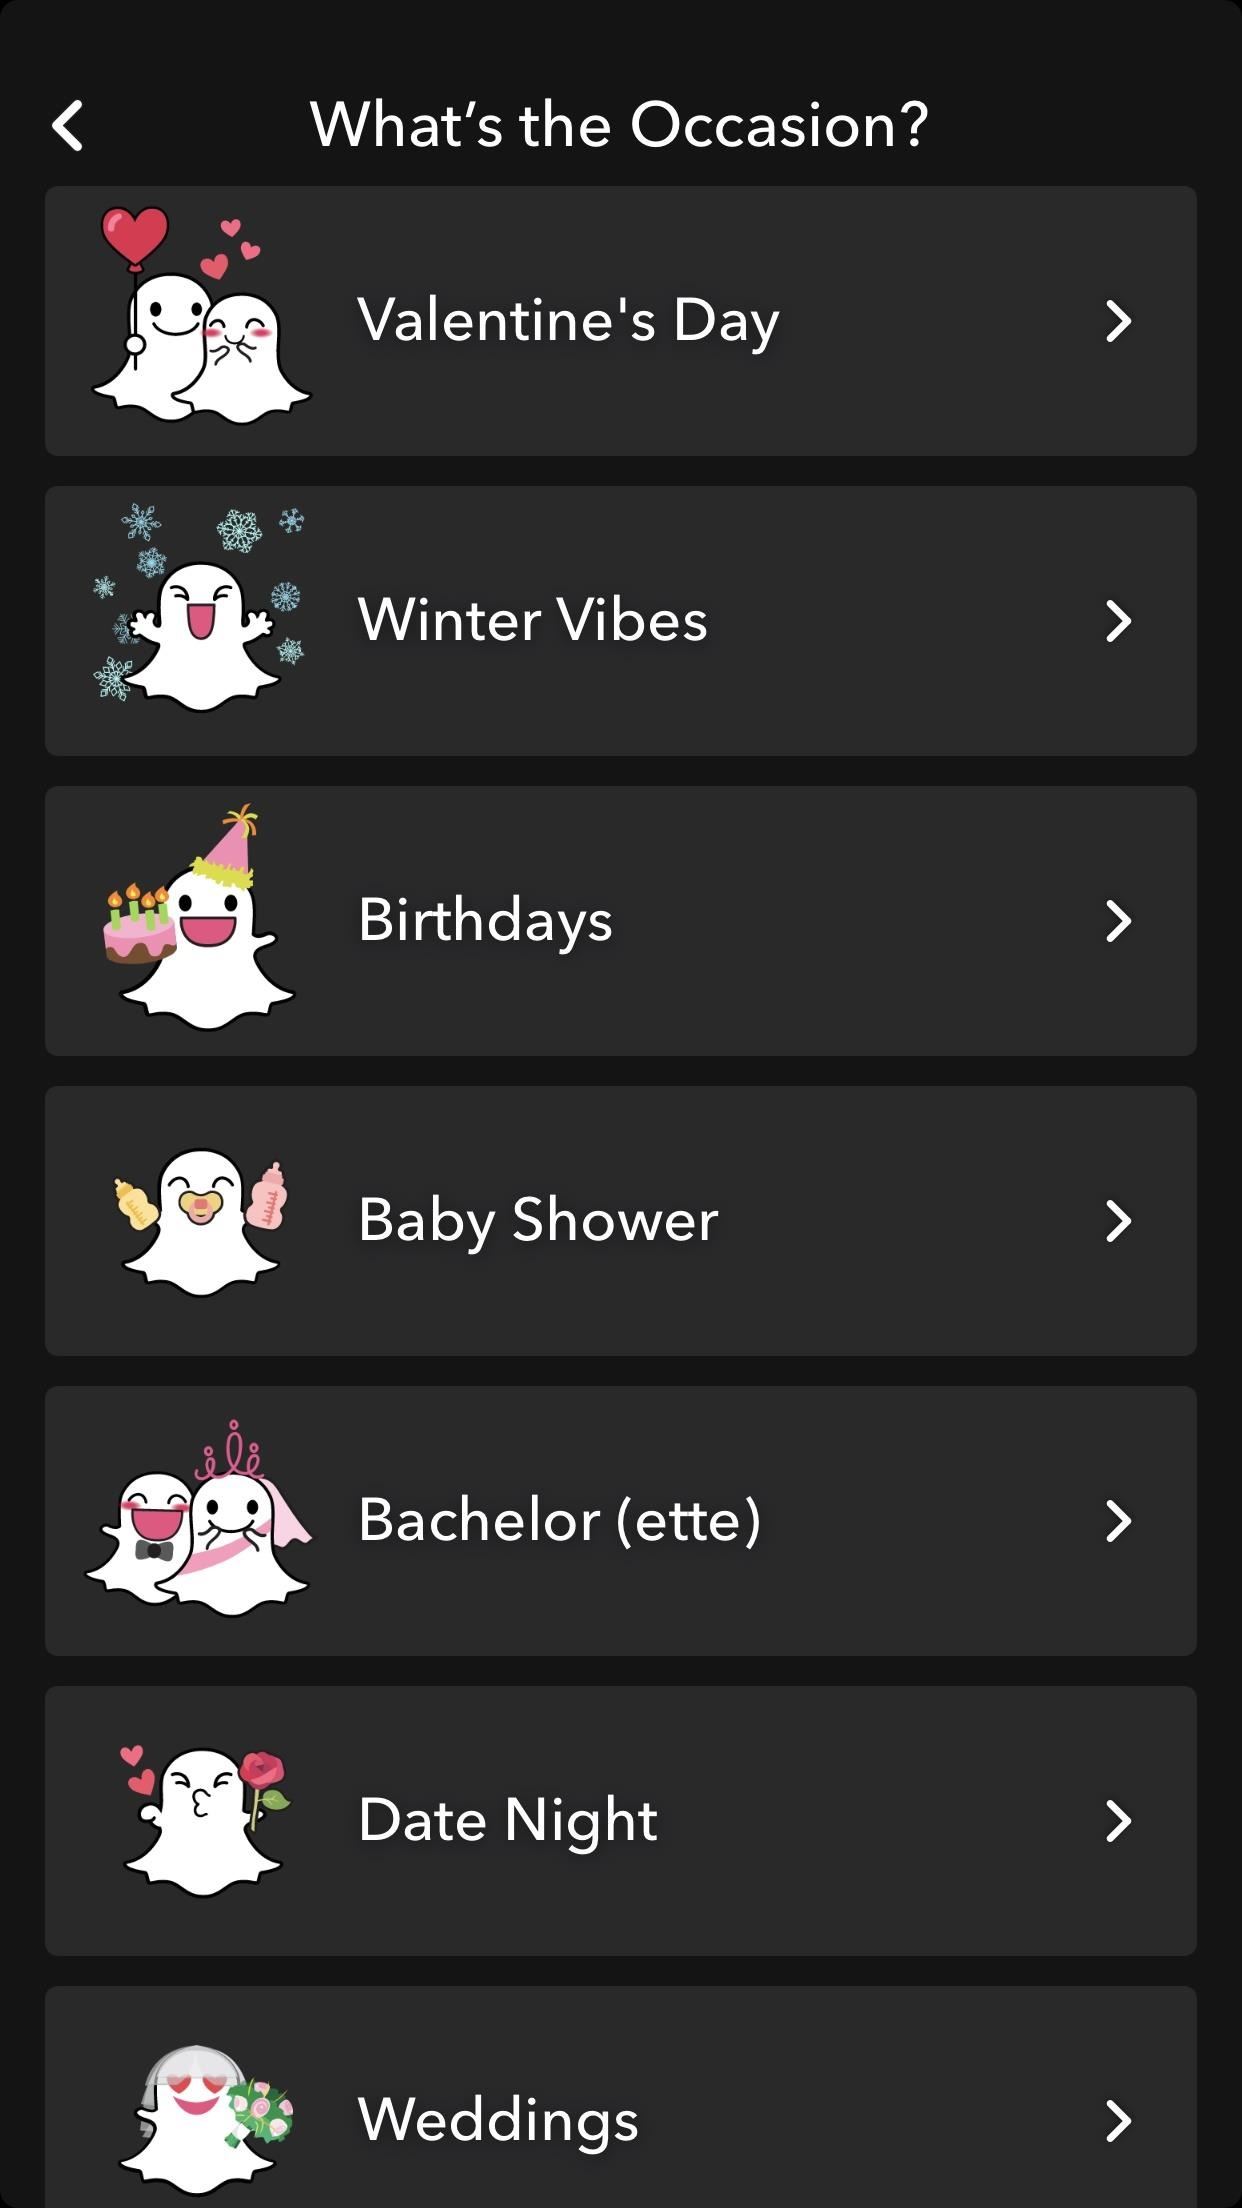
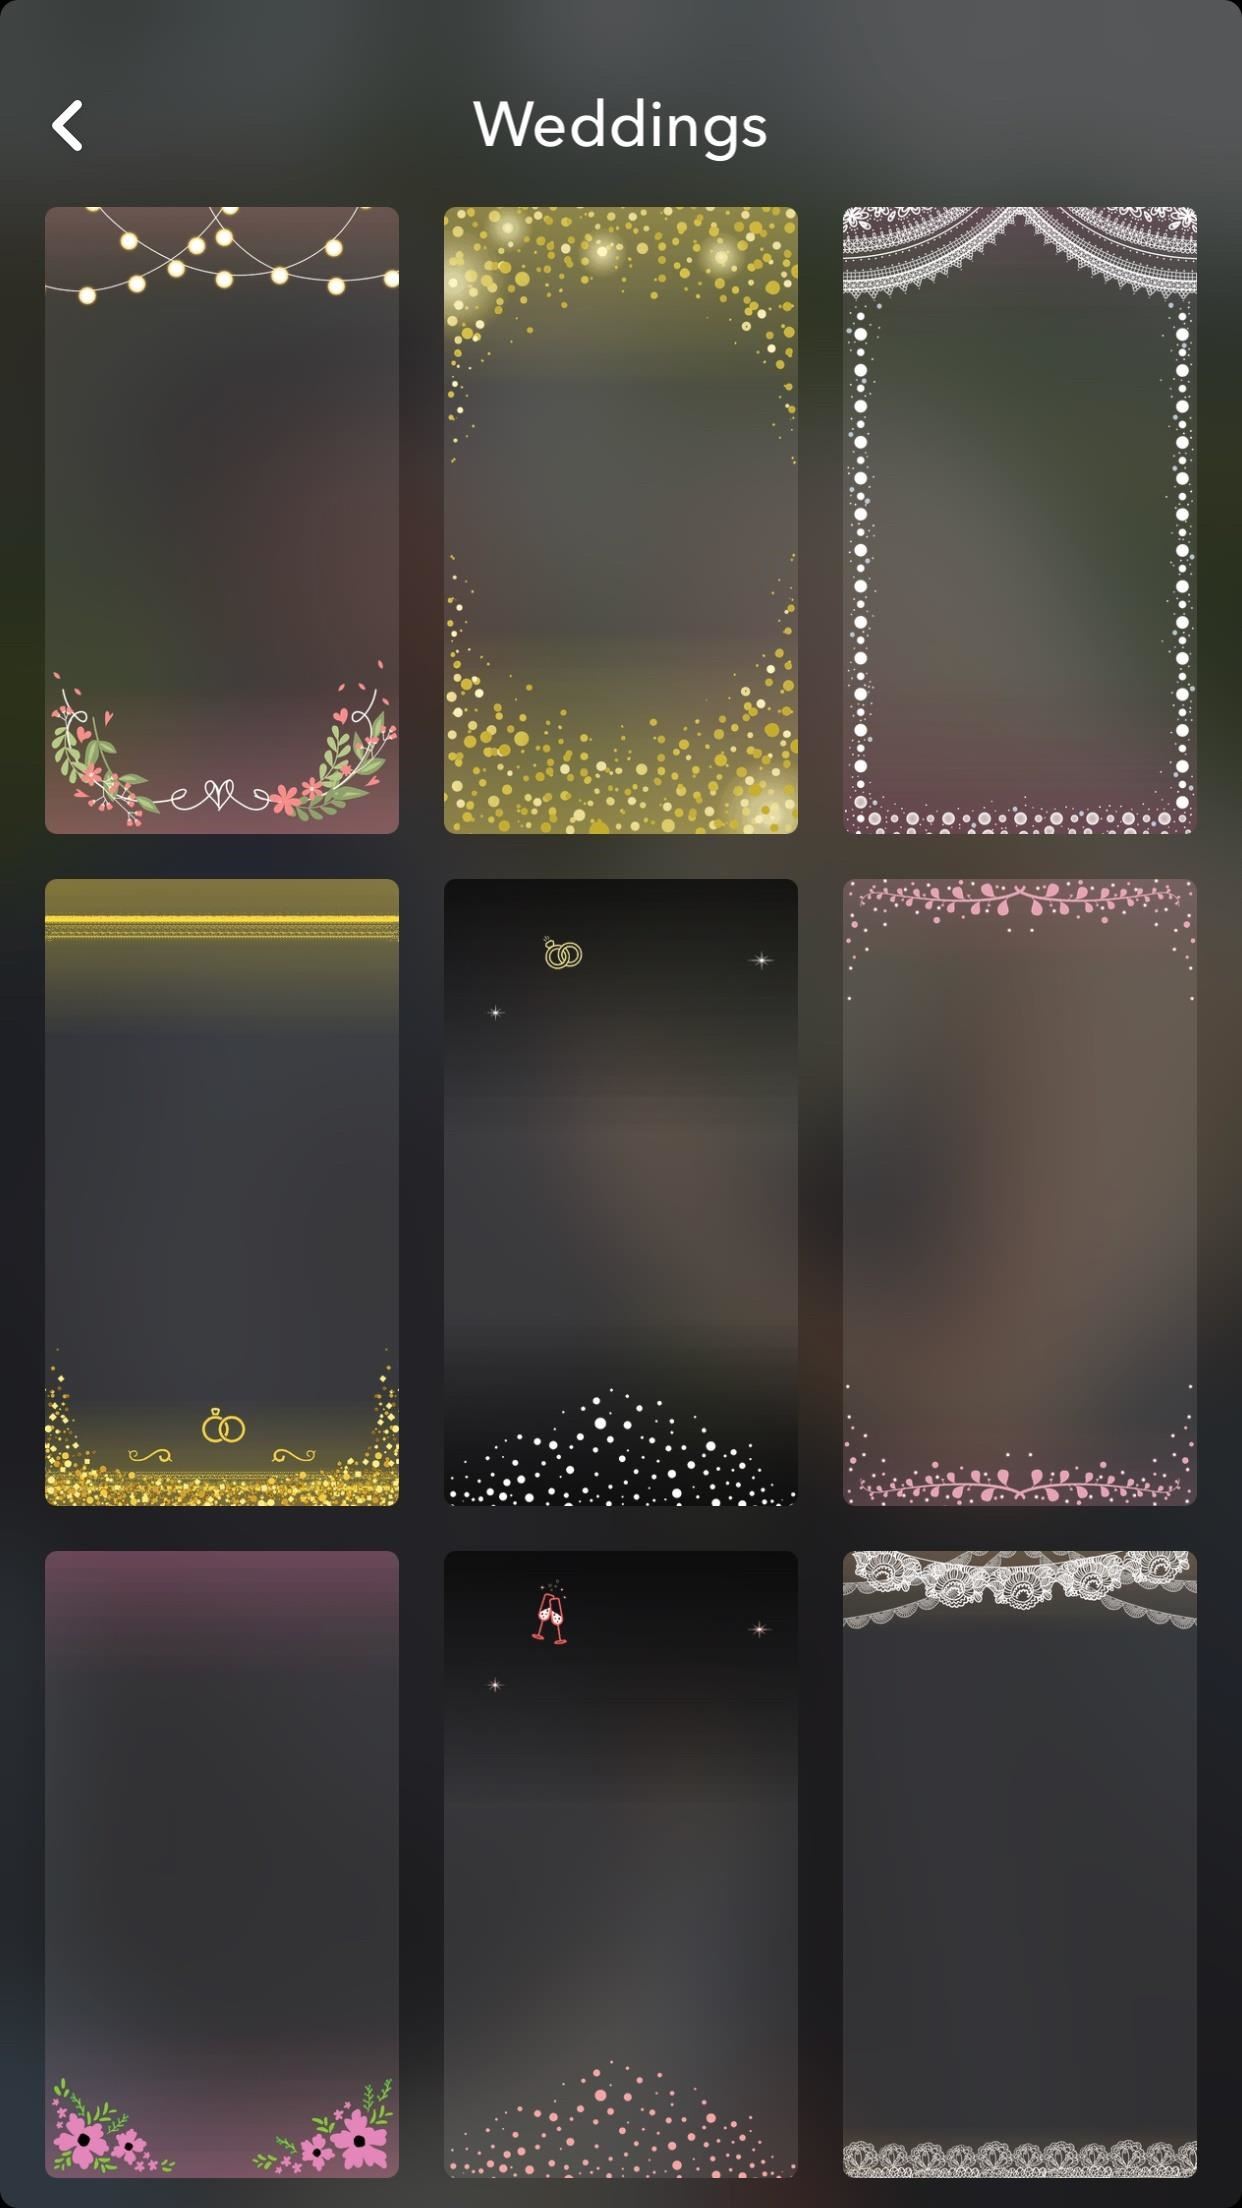
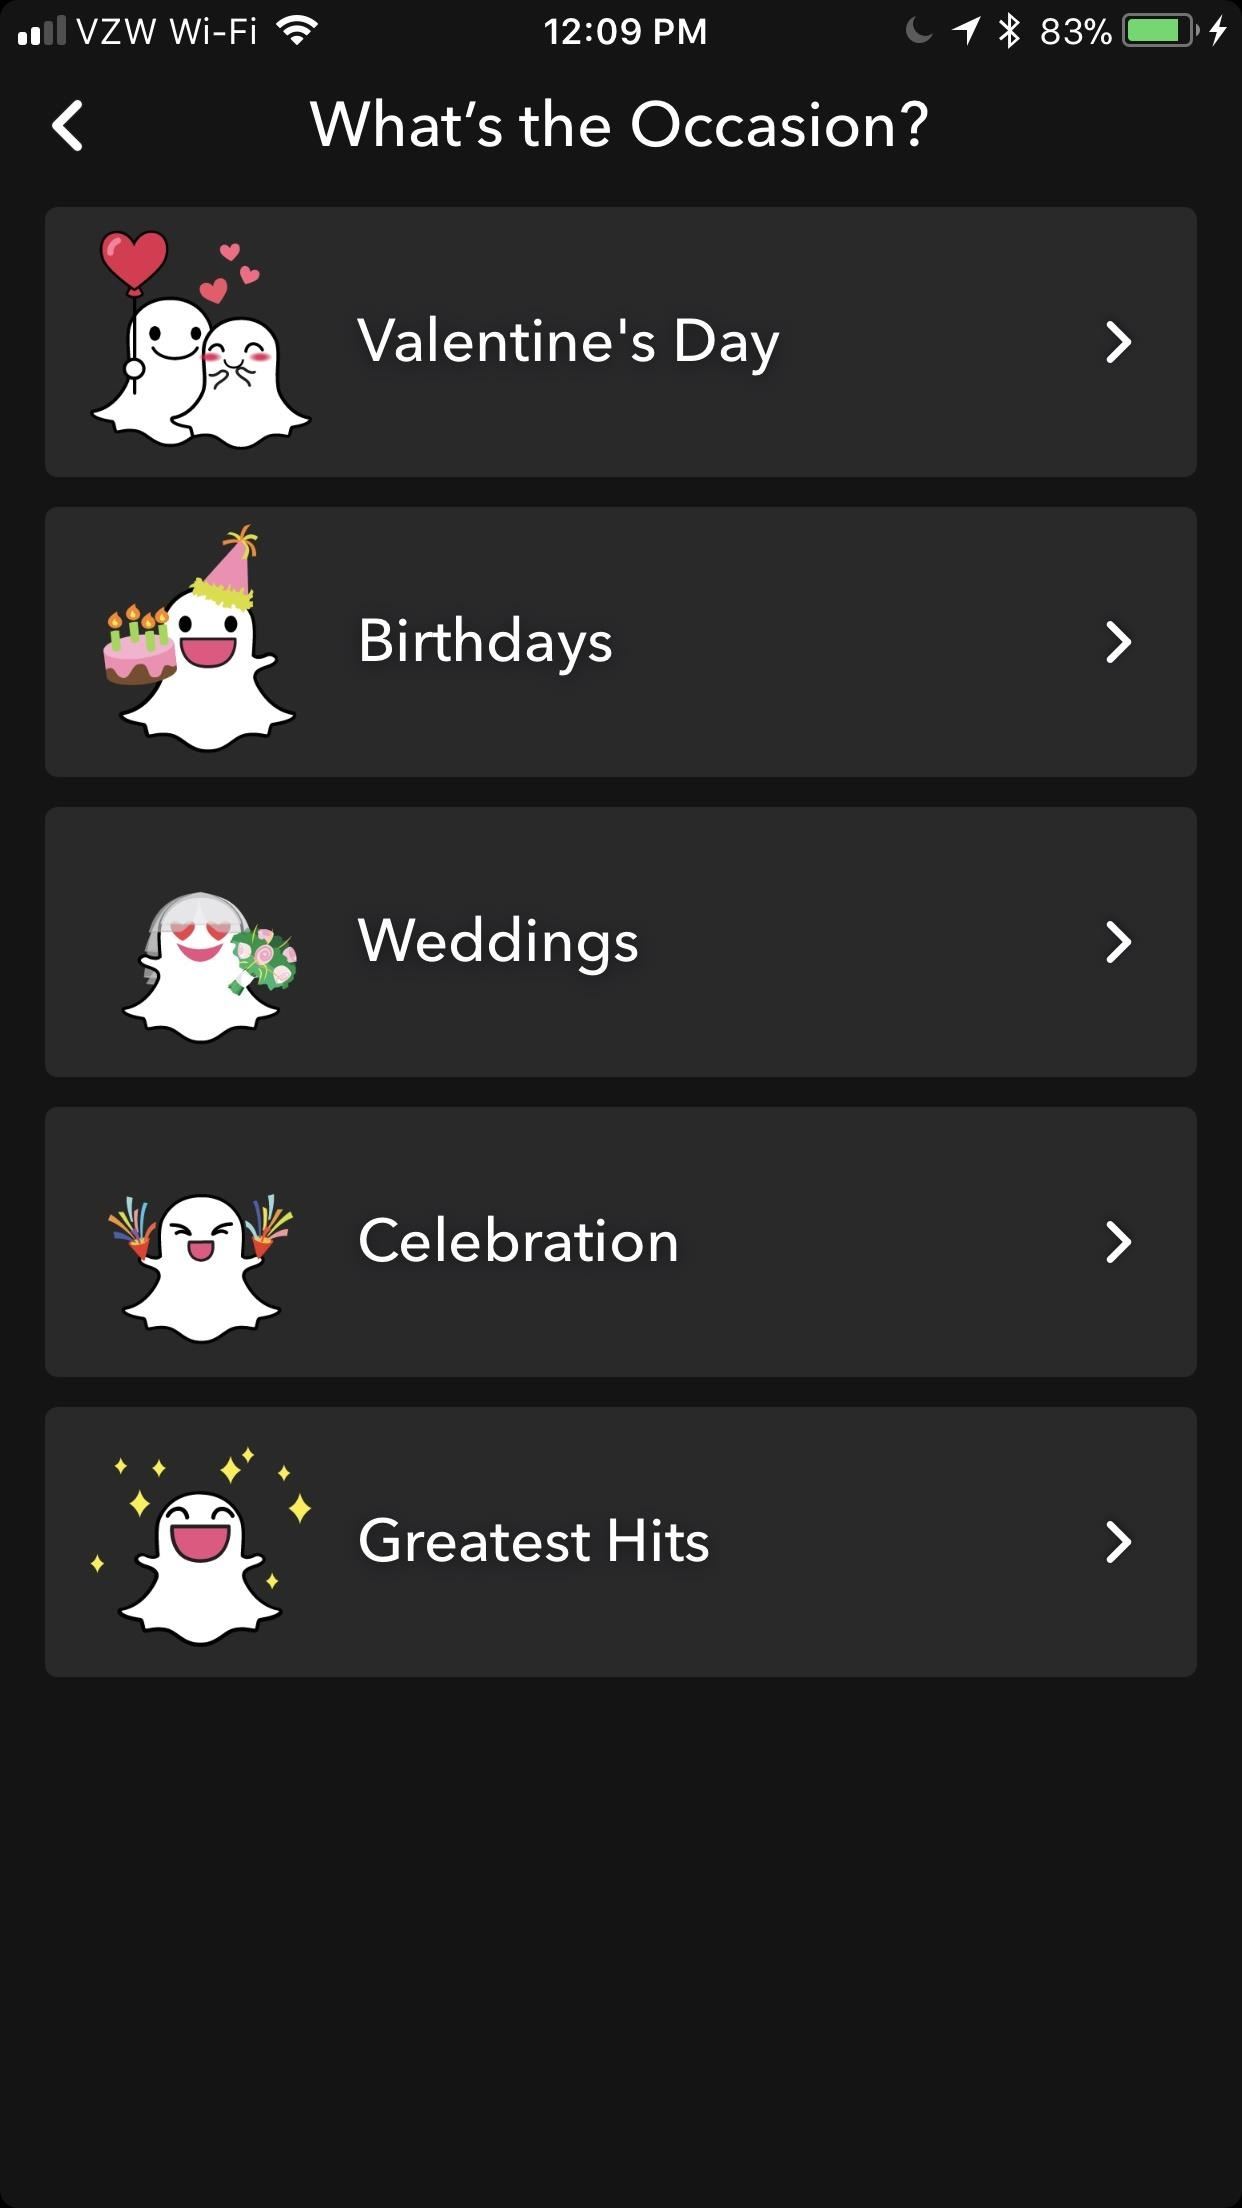
Filters might be less flashy than Lenses, but they're a lot more customizable. After choosing "Filters," Snapchat will ask you "What's the Occasion?" Choose one of the options like "Valentine's Day" or "Birthdays." You can even "Start from Scratch" and make your own, but that option is a little too bare bones for my liking. Once you select an occasion, pick your Filter.
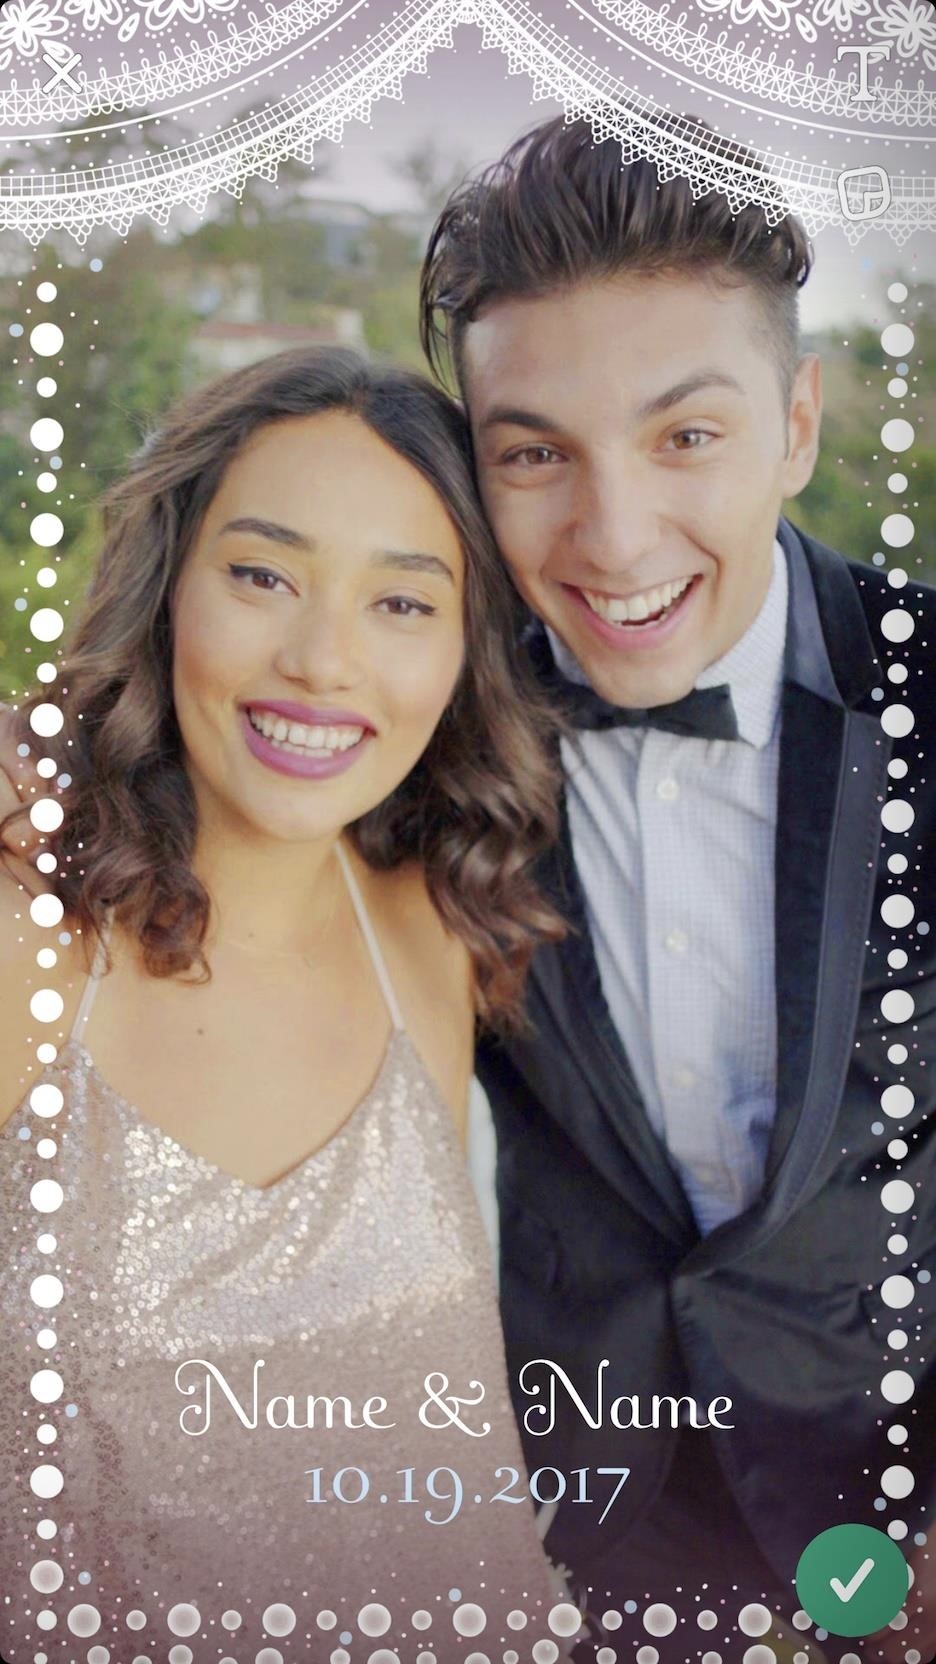
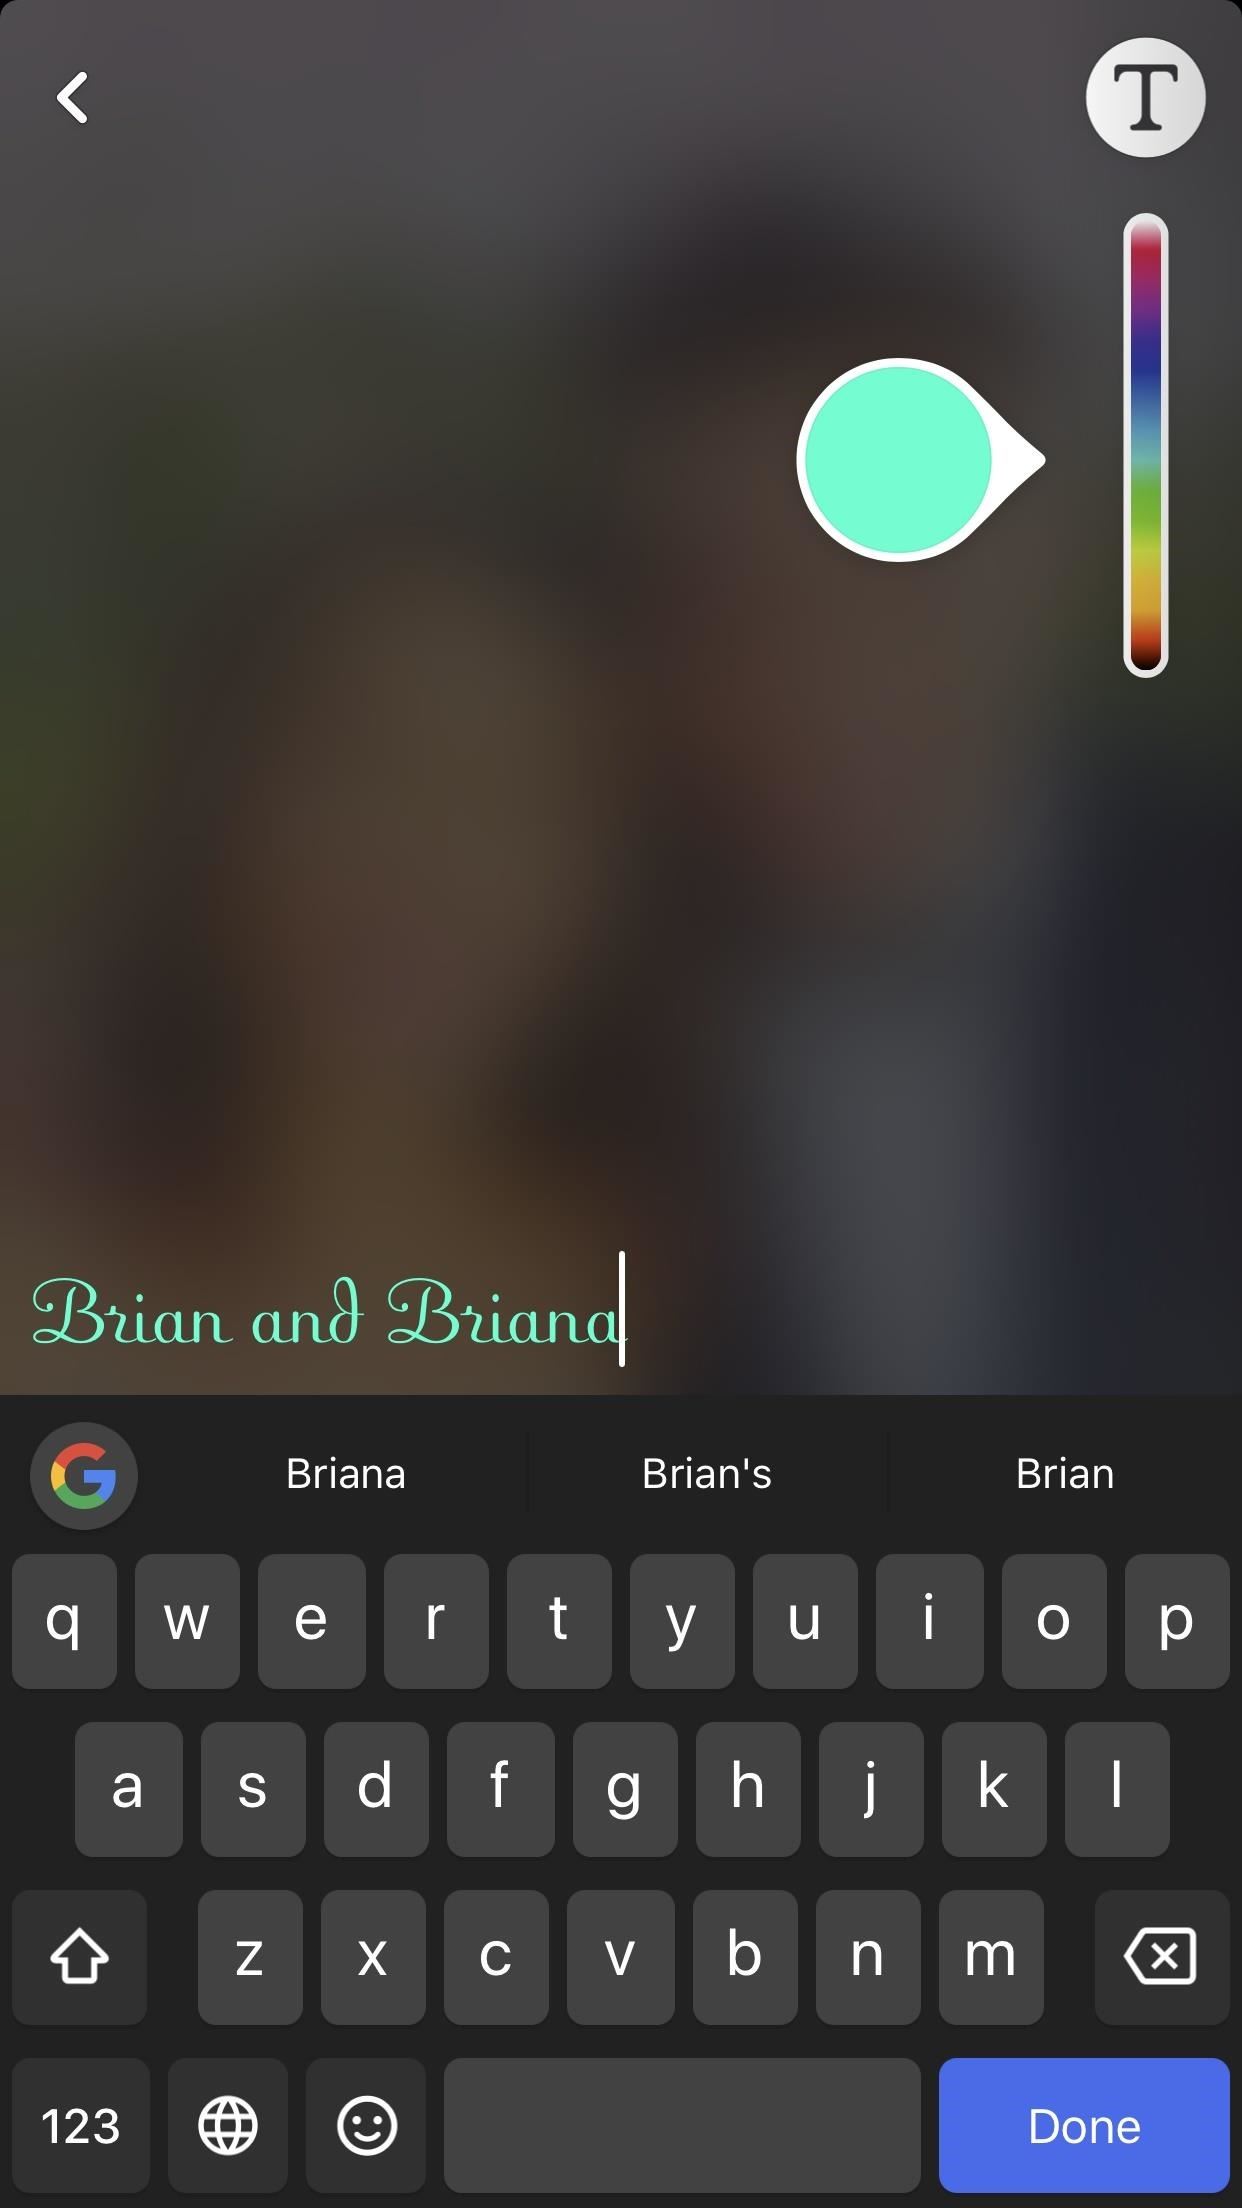
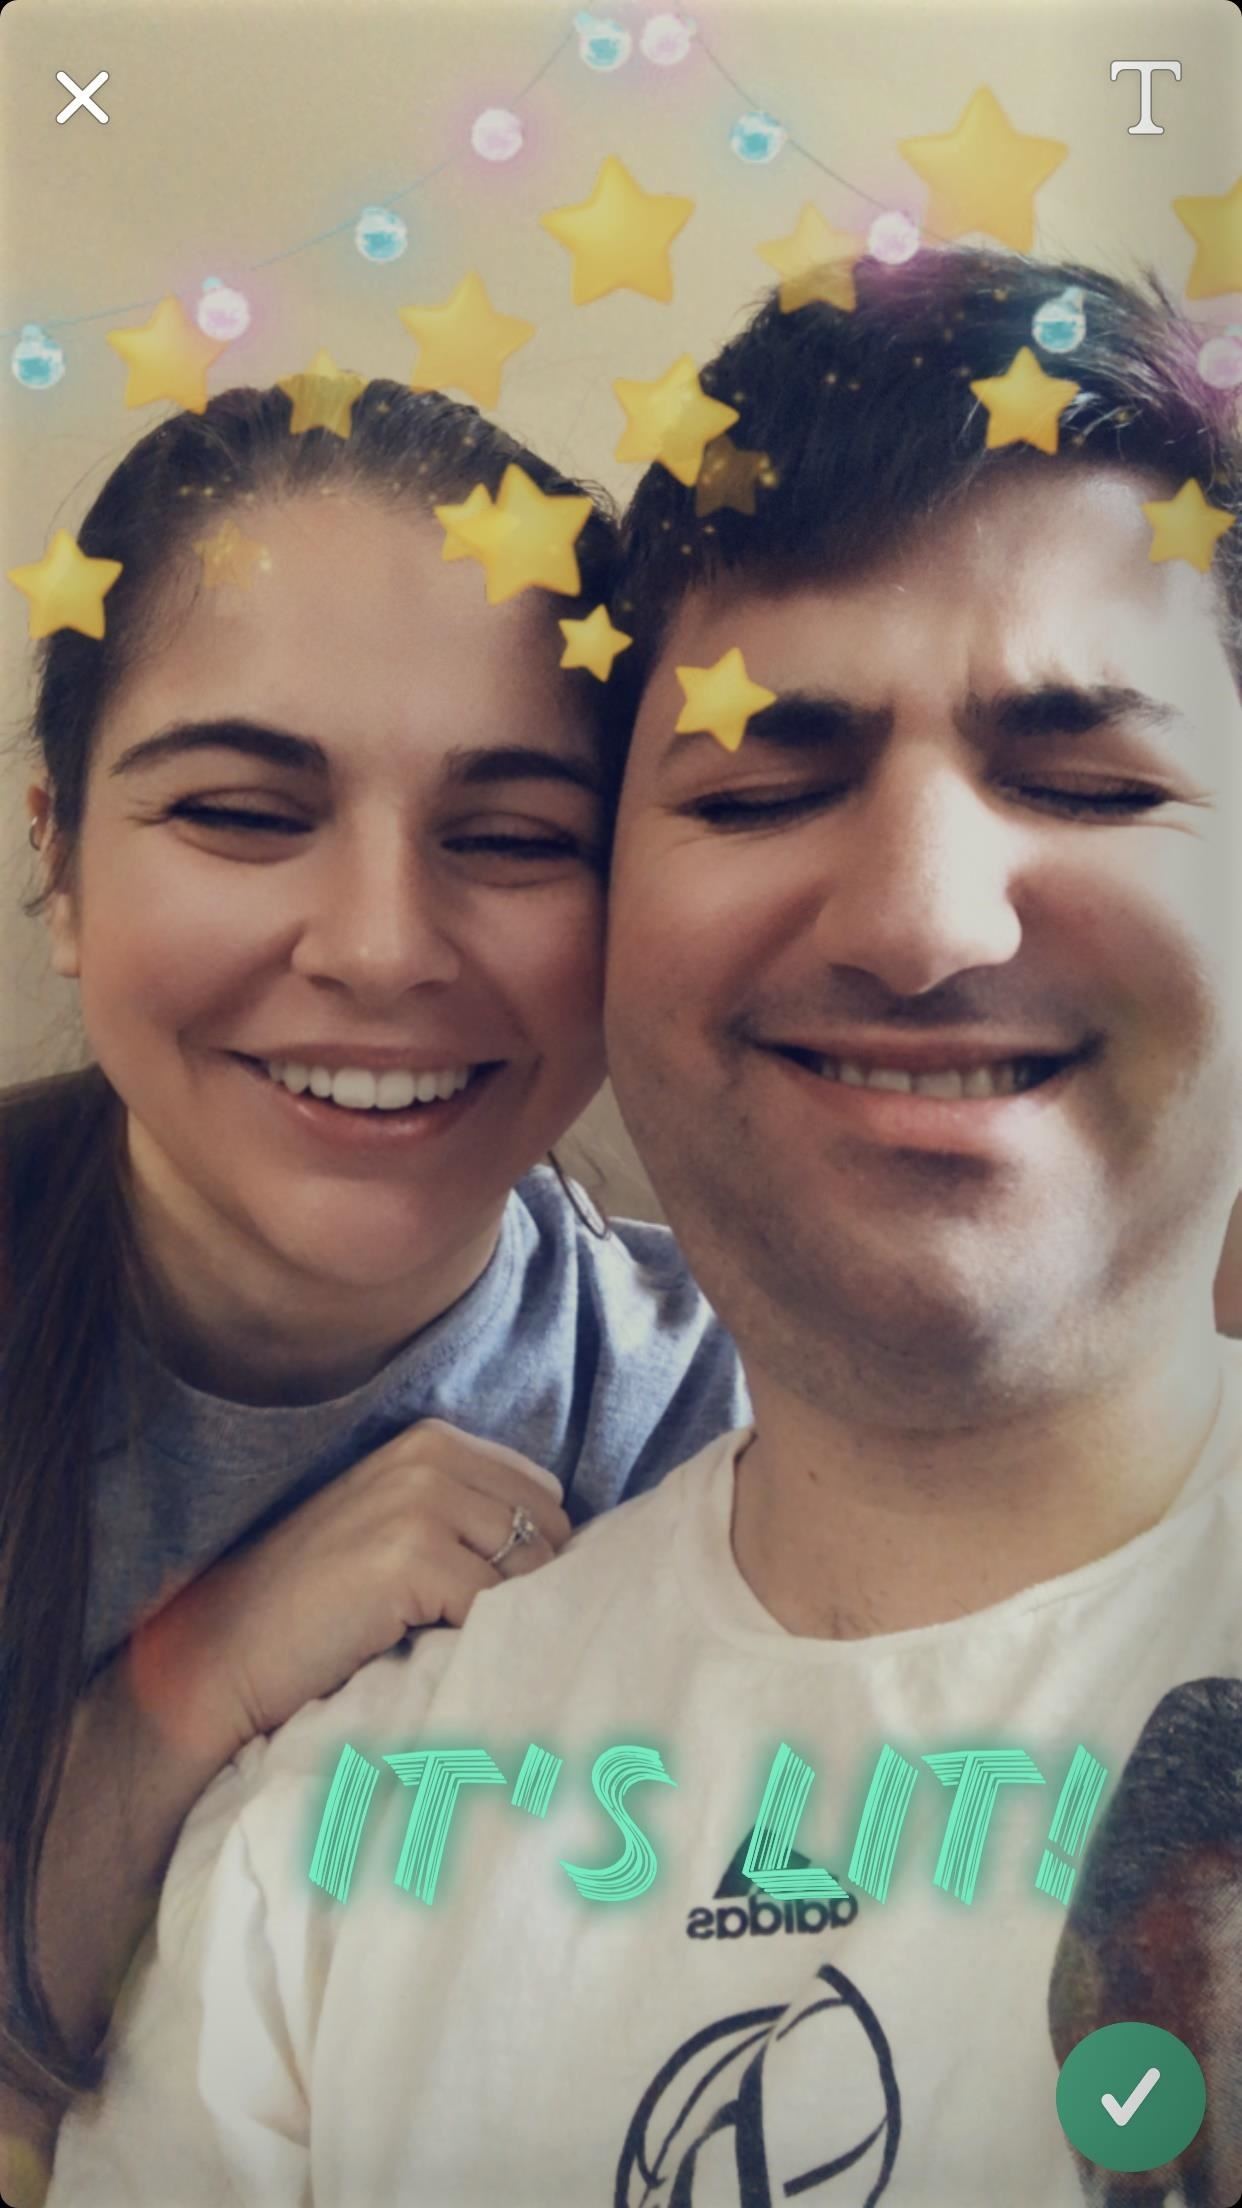
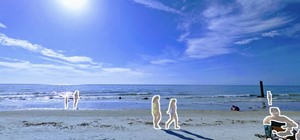
Once you've selected your Filter, you can edit it in the same way you would edit any other Snap. You may have noticed that you can't actually change the image — because that image will be filled in by your friends as they take Snaps. At least you can decorate it with your own Bitmojis and Stickers to spruce it up. Once you're content with it, tap the green check mark in the bottom-right corner.

Lenses
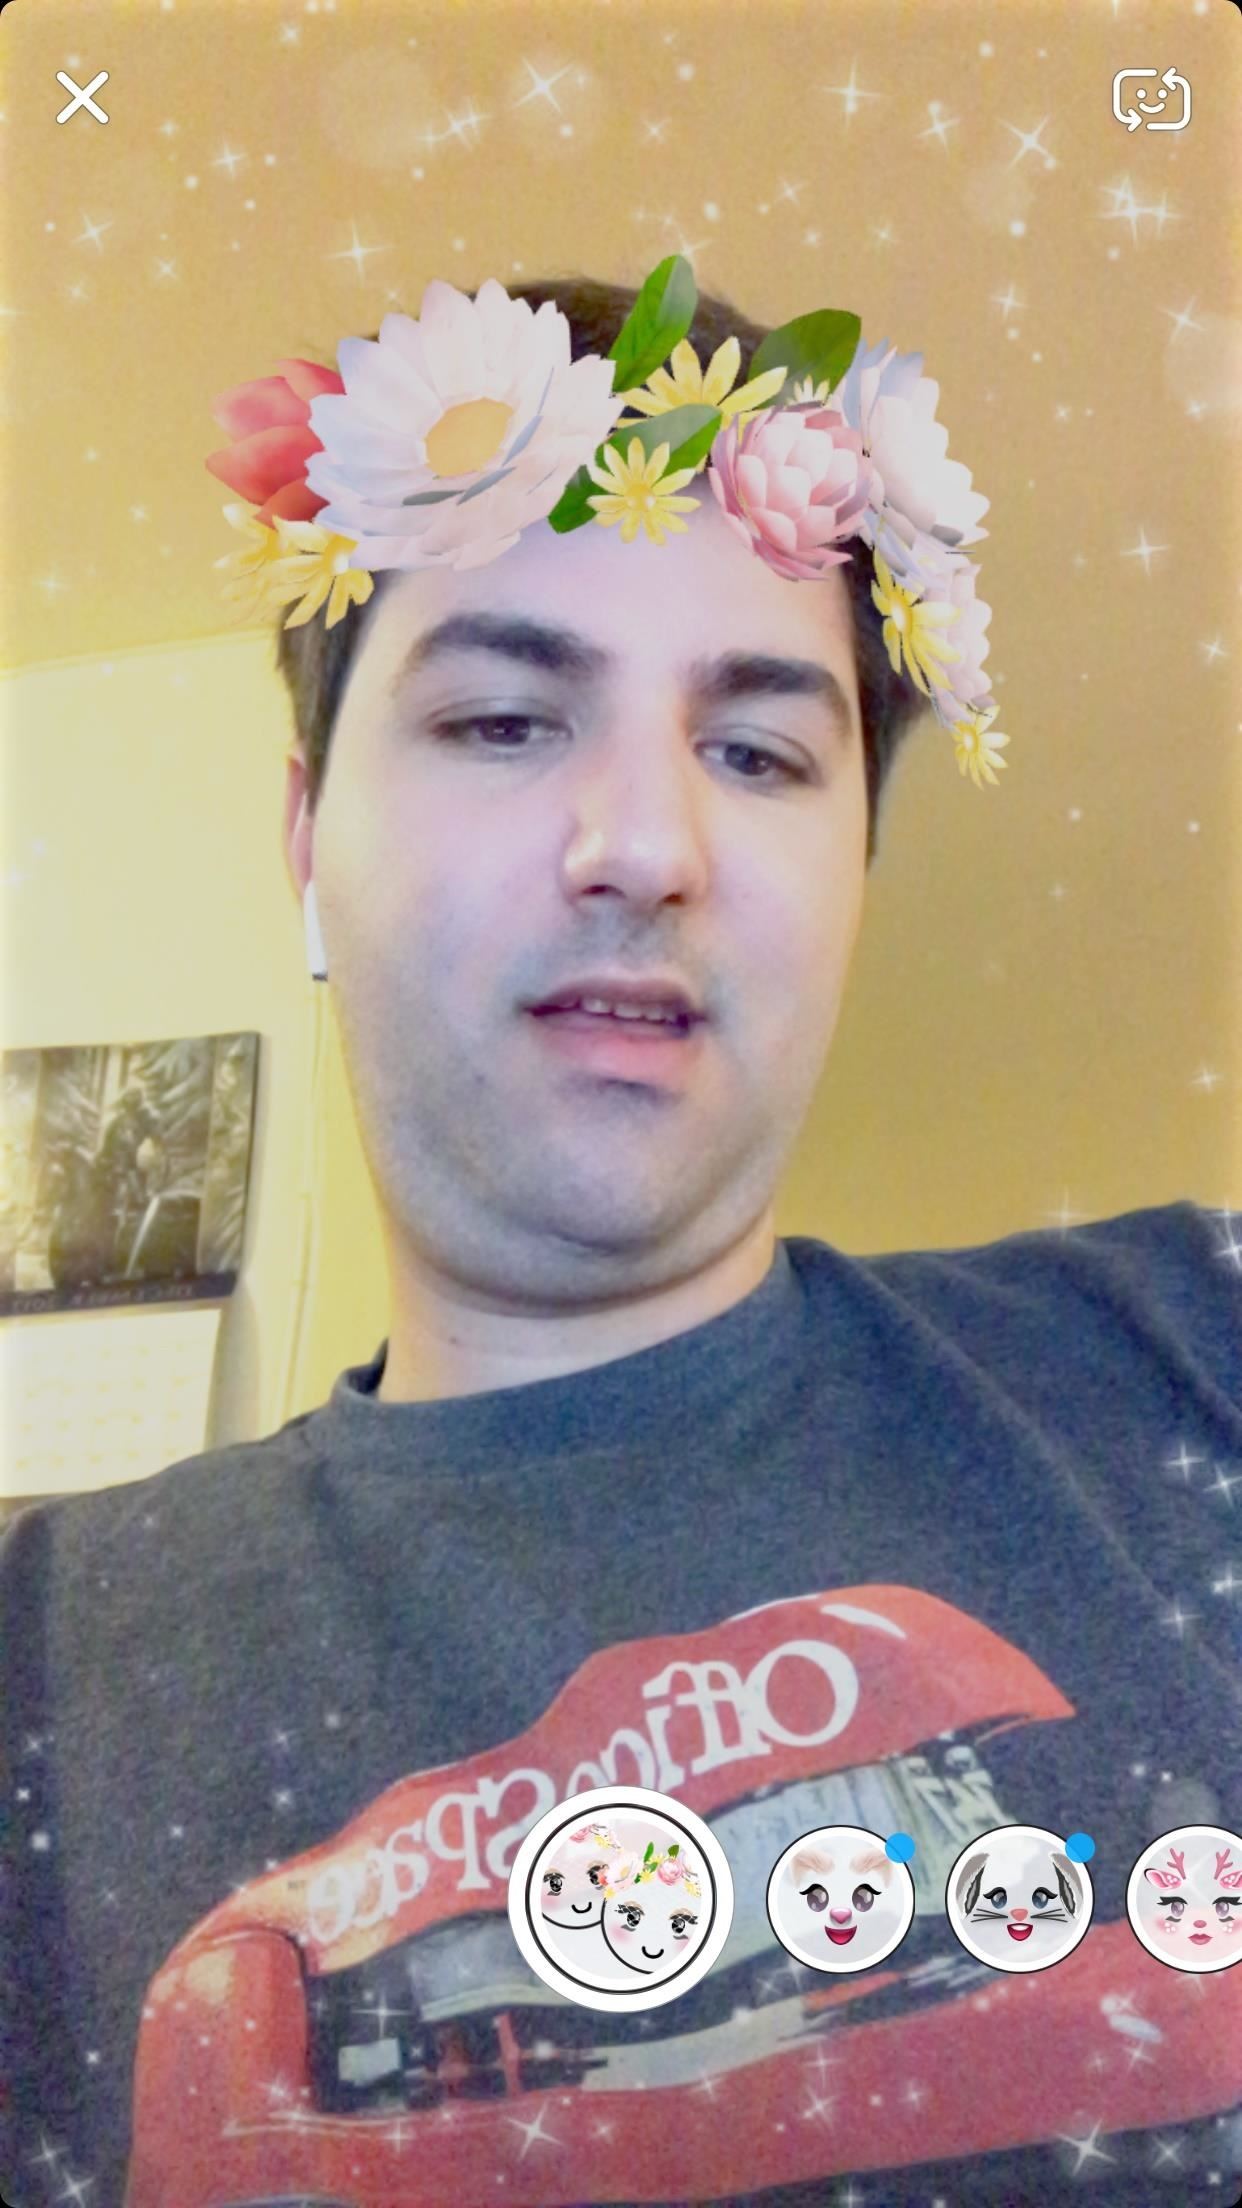
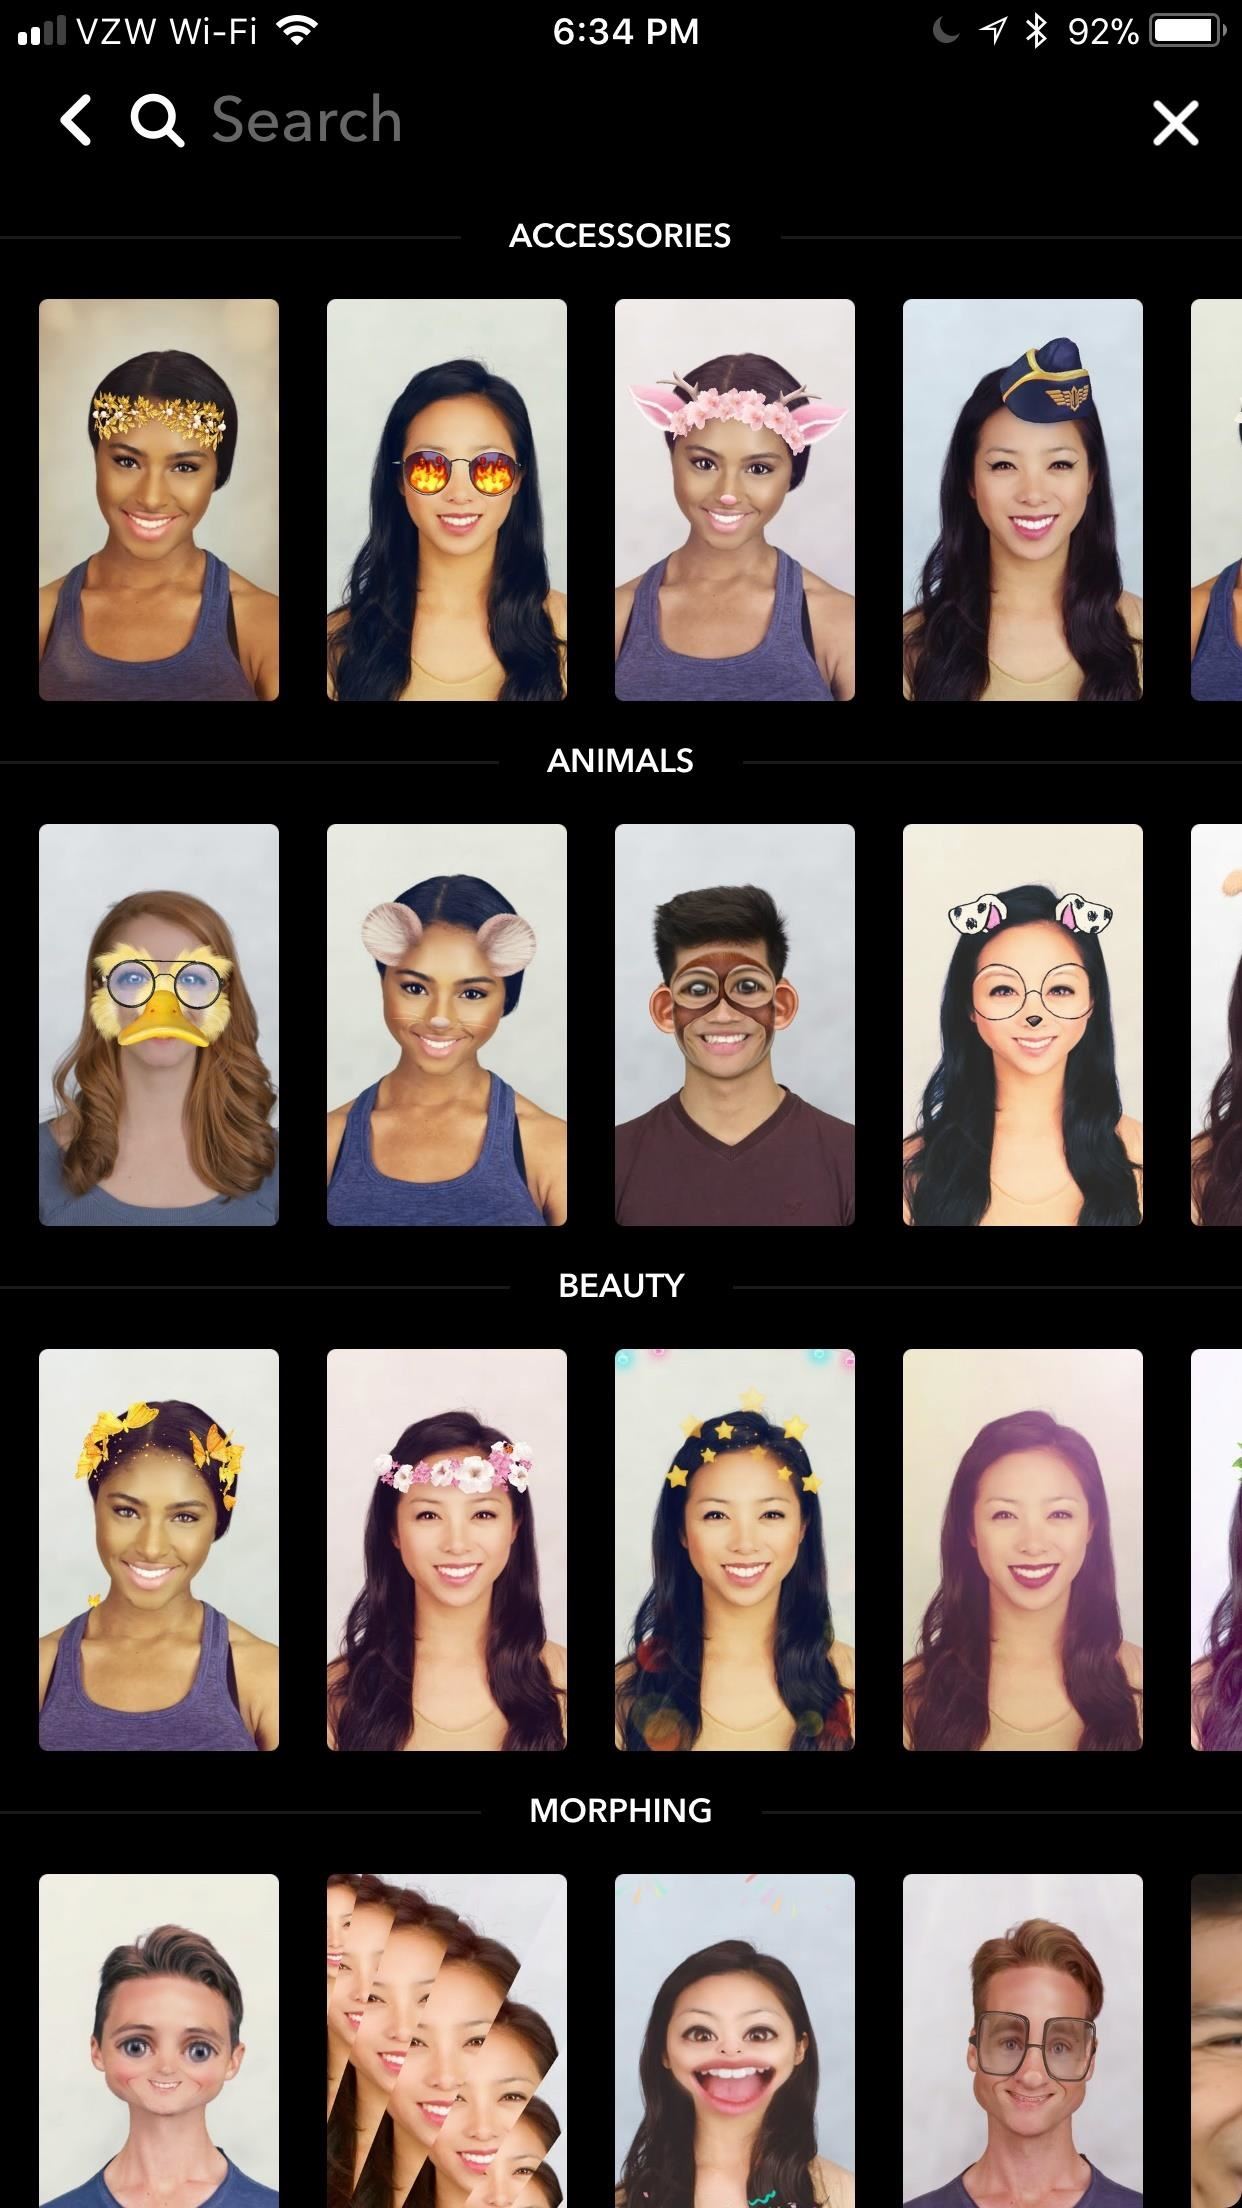
Lenses are definitely cooler than Filters, but they're much more limited. As with Filters, you start by answering the question: "What's the Occasion?" Your options are much more limited here, though. By selecting an occasion, you'll be given a series of Lenses that encapsulate that occasion. Snap a shot, then tap the check mark in the bottom-right to continue.
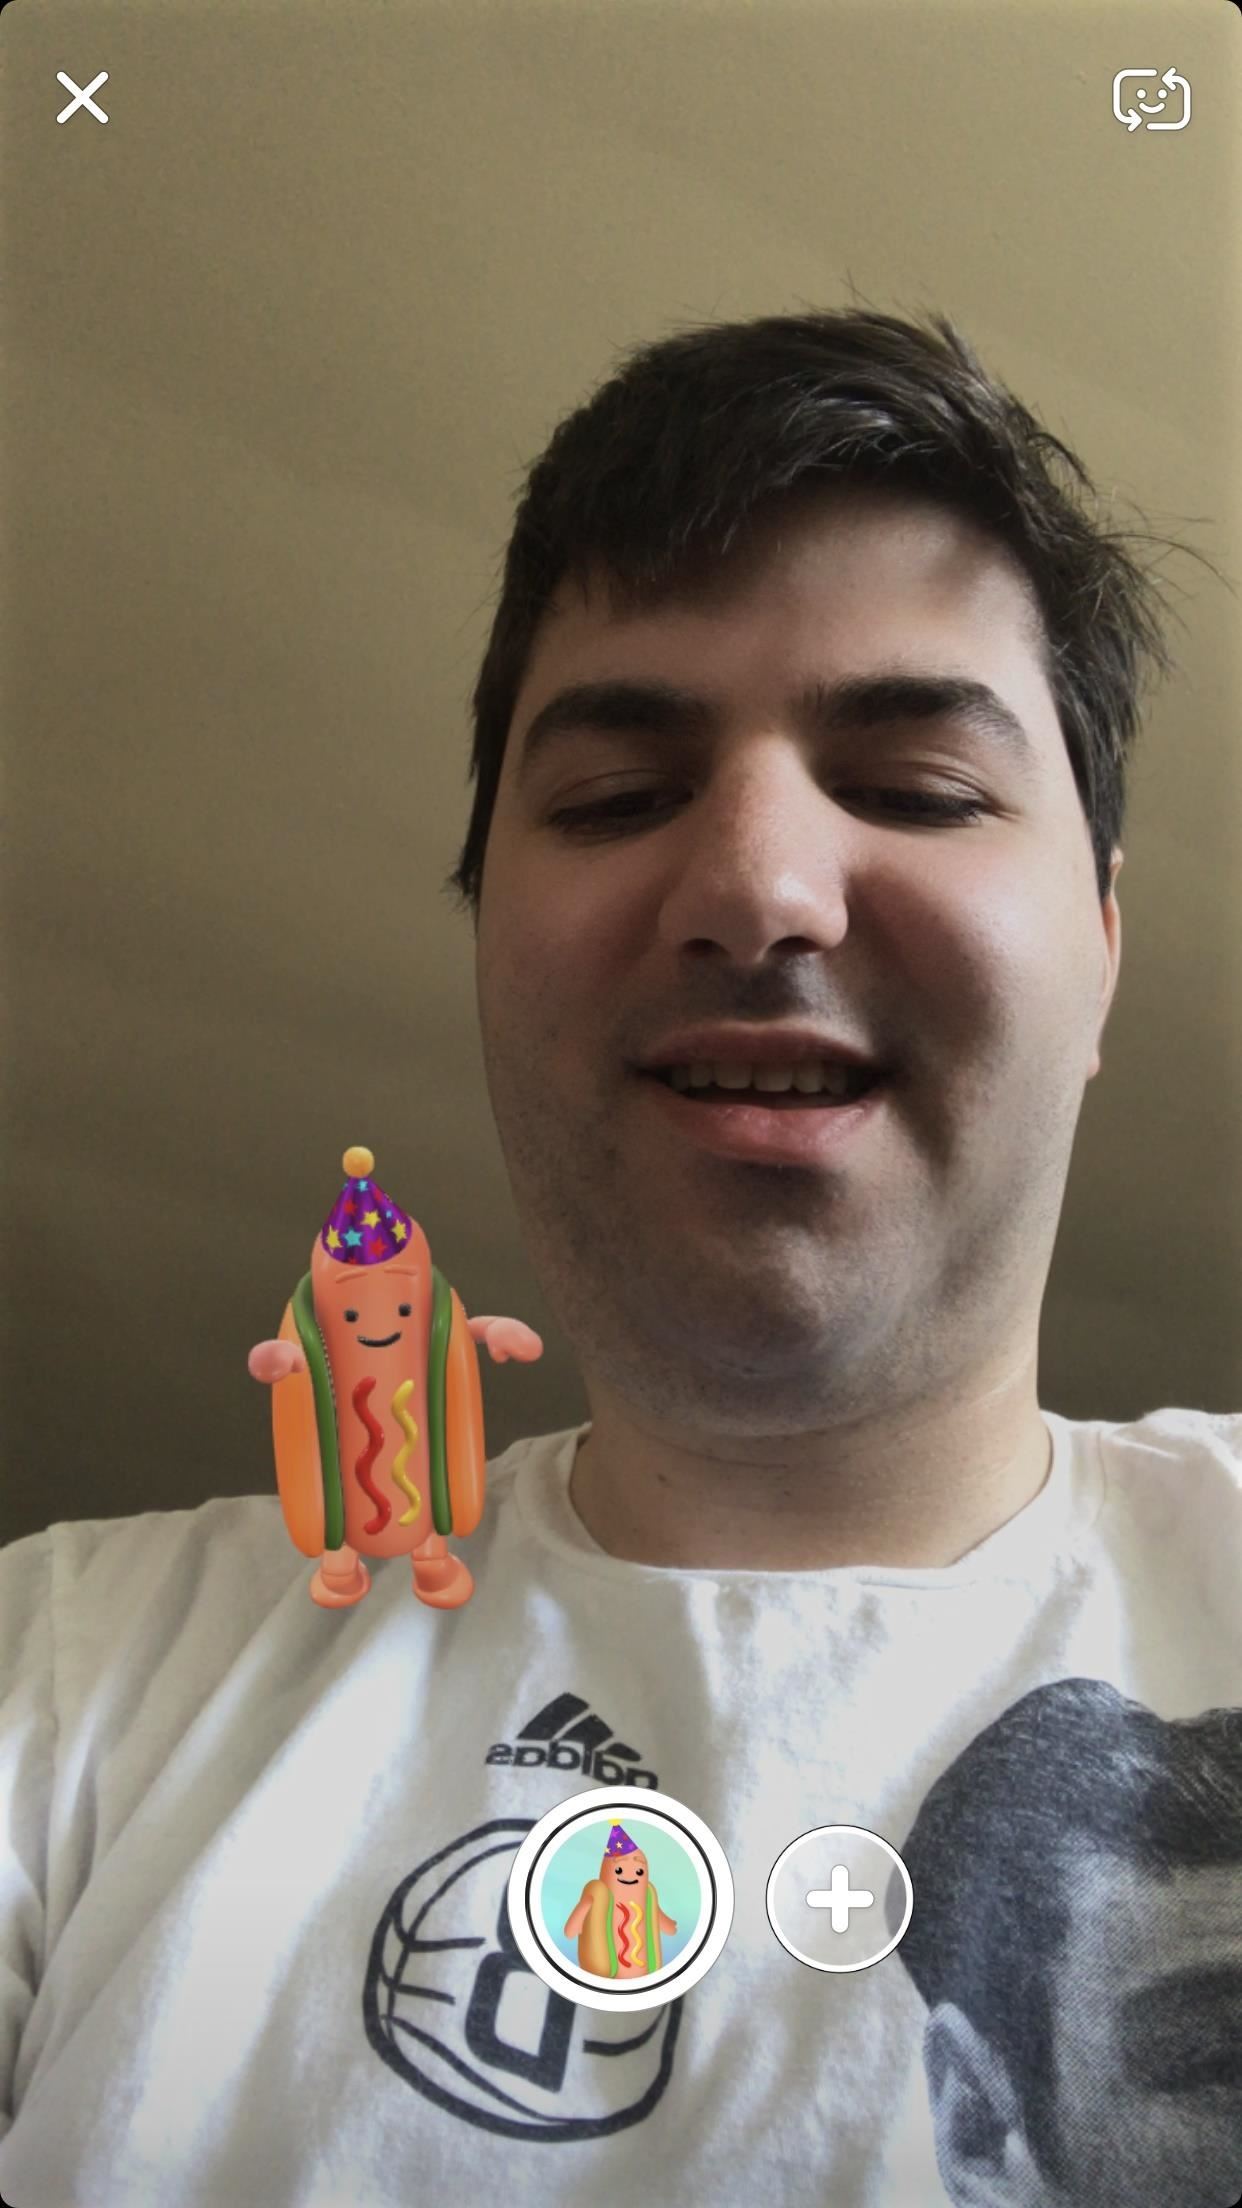
You can also choose "Greatest Hits," which is where you'll be able to use older Lenses that have been phased out. Just tap the plus icon and choose from the options pictured. There are a ton to choose from. Don't worry, the hot dog is one of them <3.
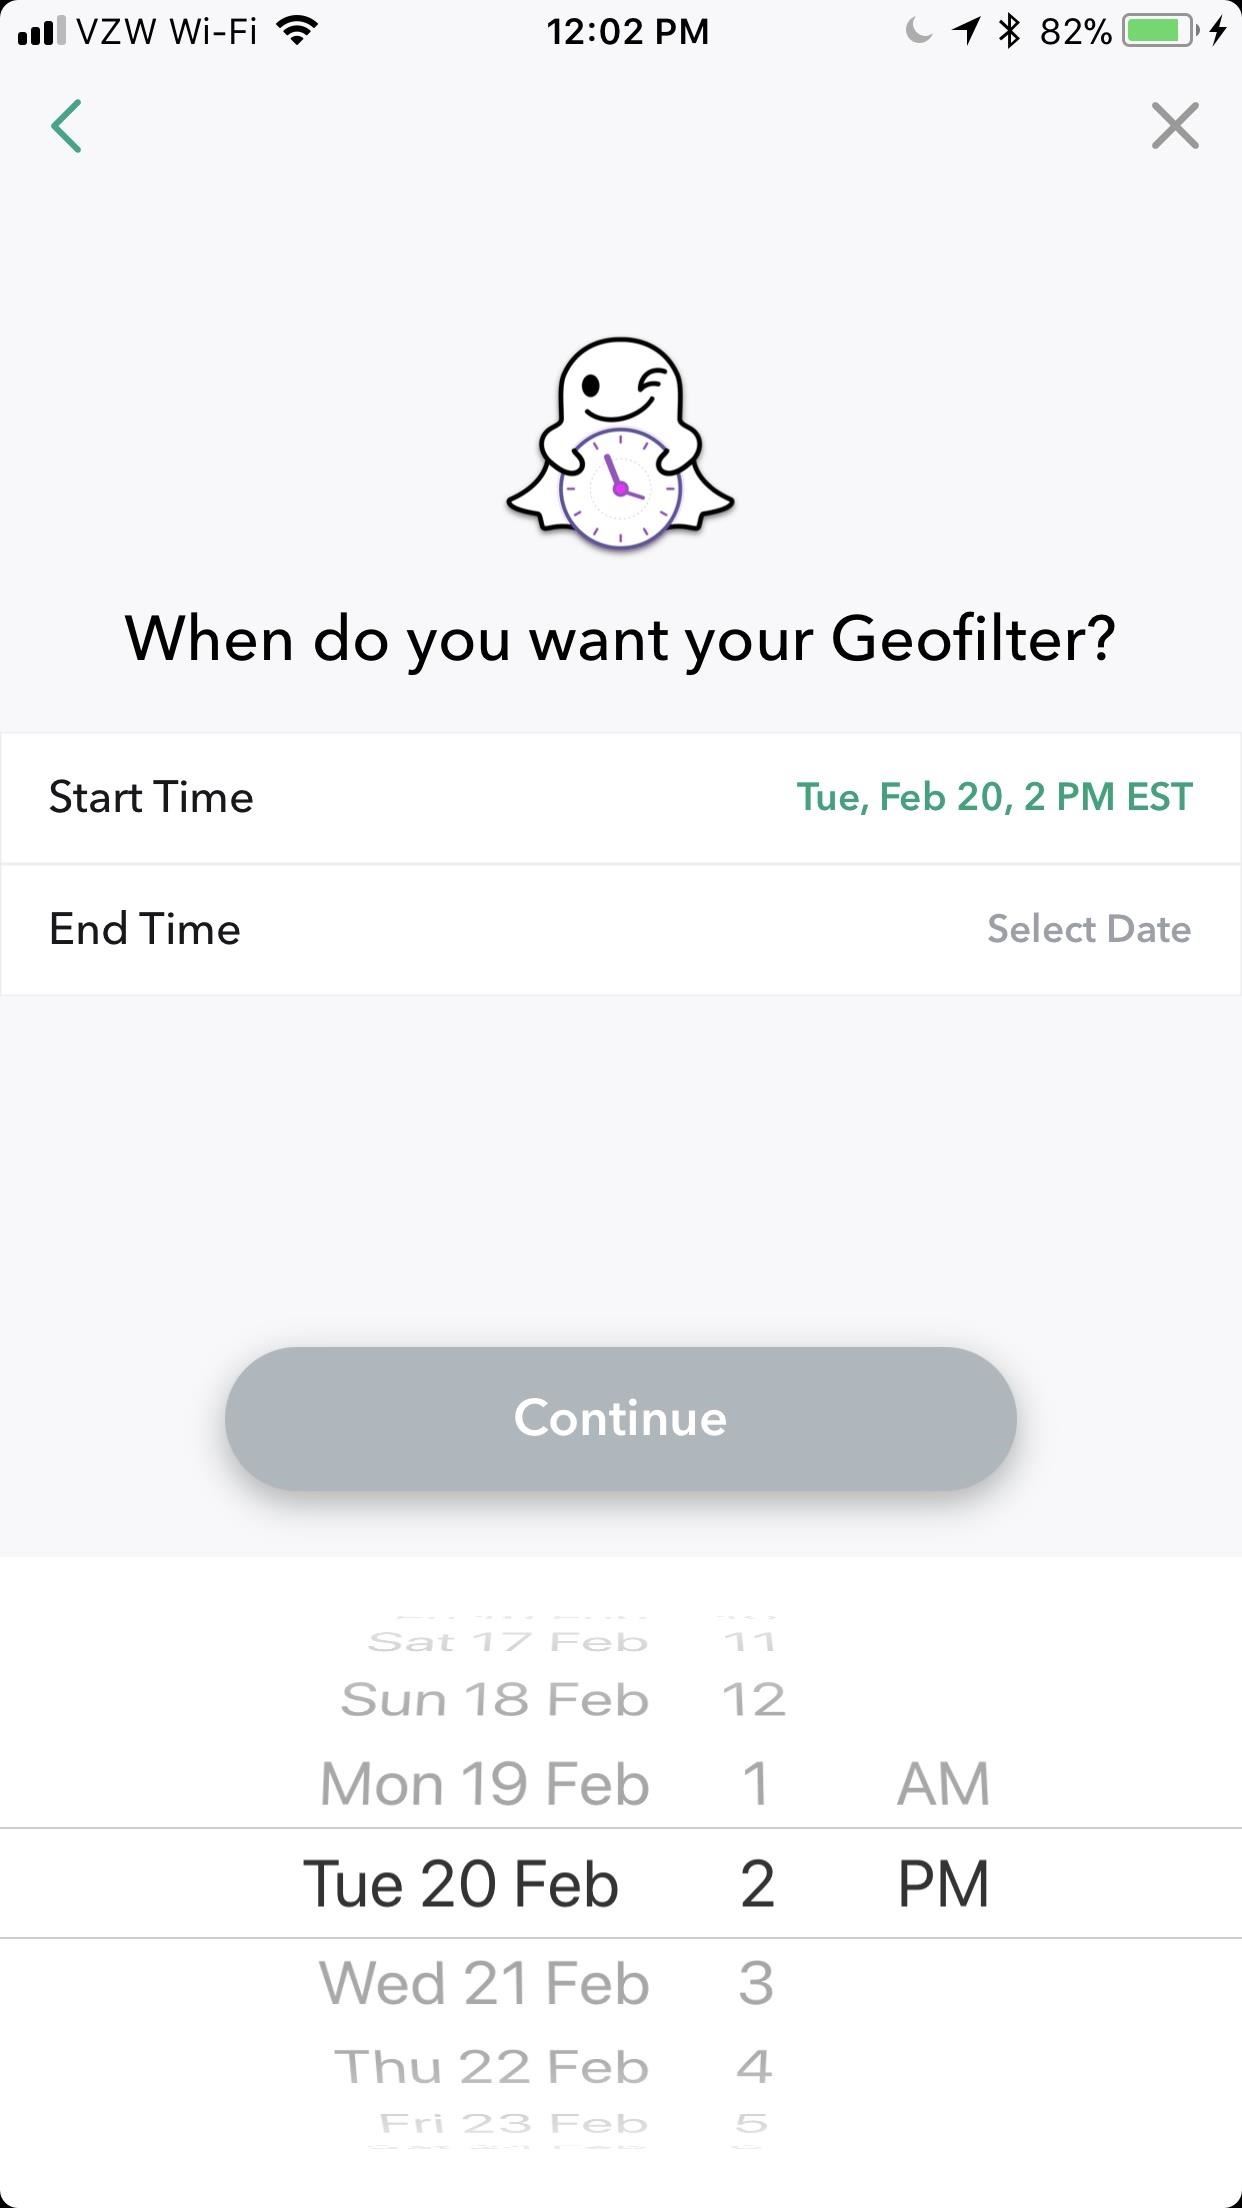
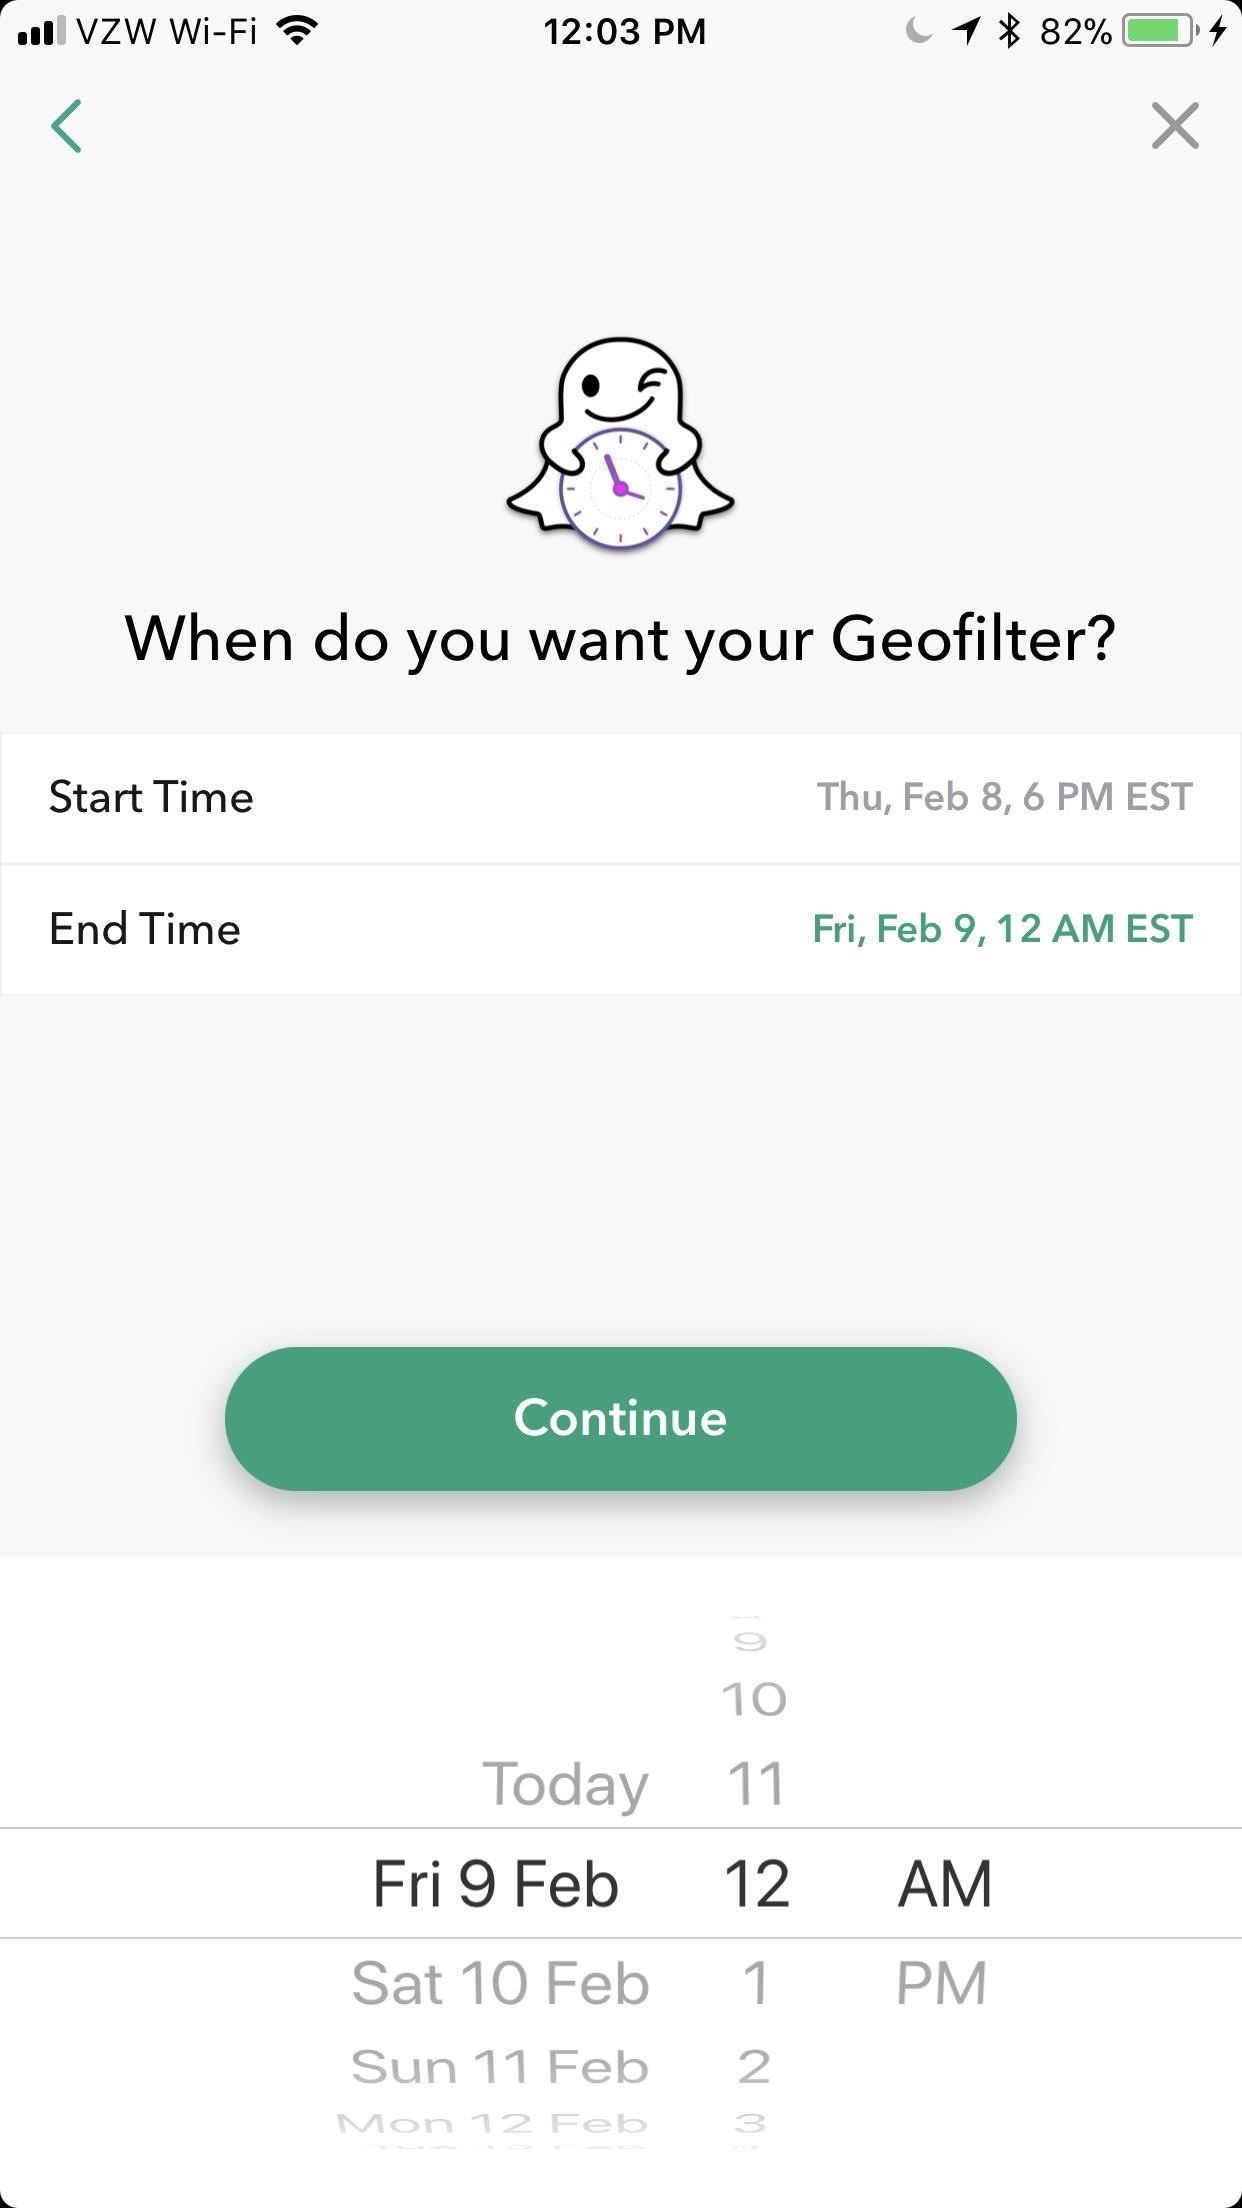
Step 3: Select How Long You Want Your Custom Filter/Lens to Run For
On the next screen, choose exactly how long you want your Custom Filter or Lens to be "on" for. You can have it run for up to 5 months, but that duration would cost you at least $400. If you only want it to be active for a day or so, expect it to run you $6. Once you pick a "Start Time" and "End Time," tap "Continue."
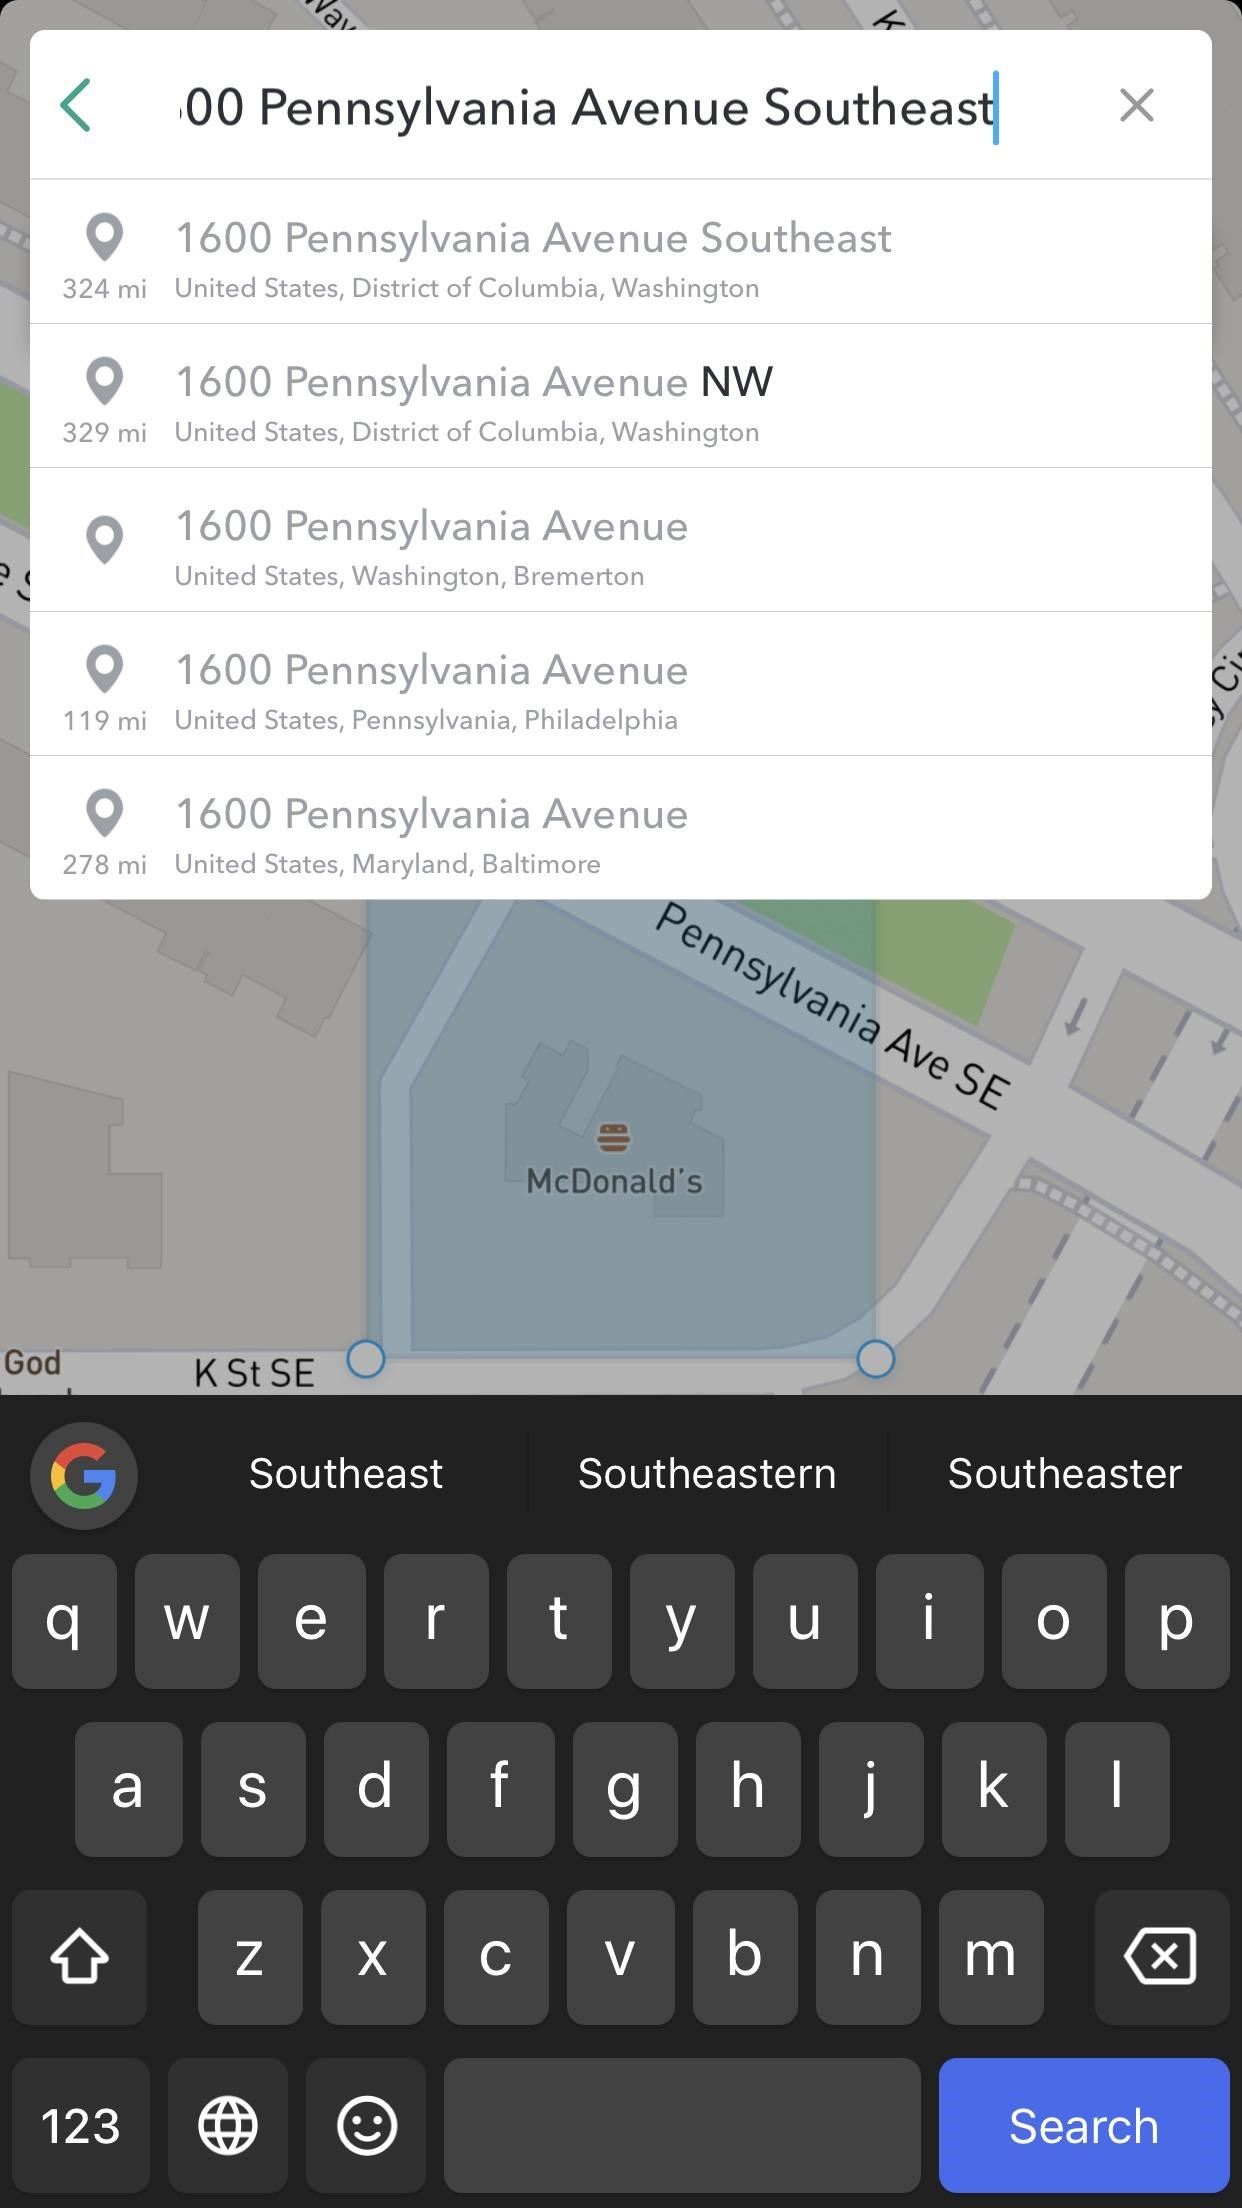
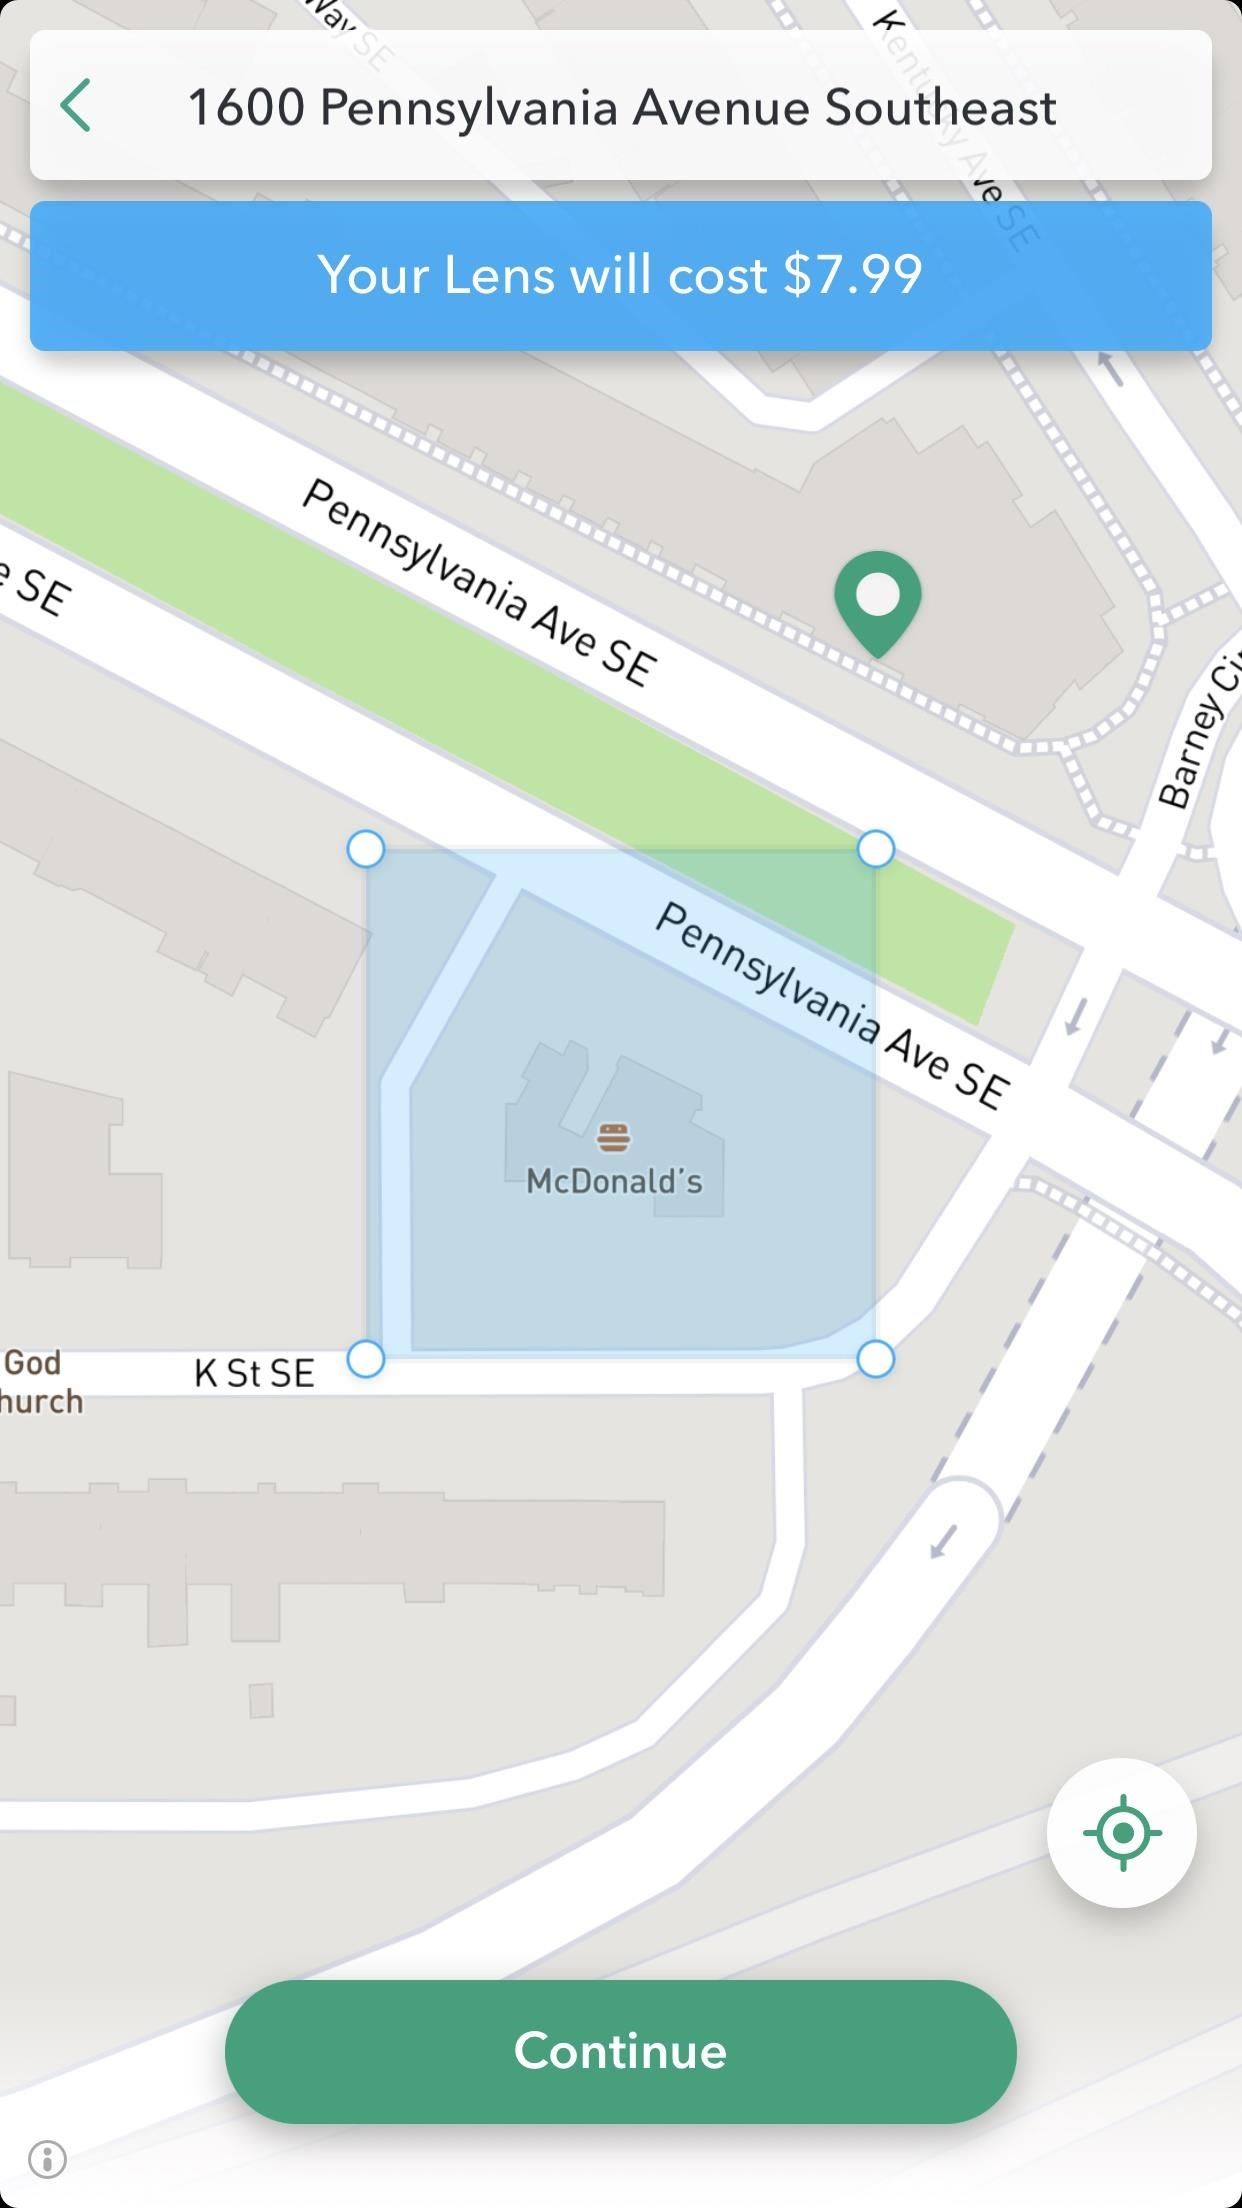
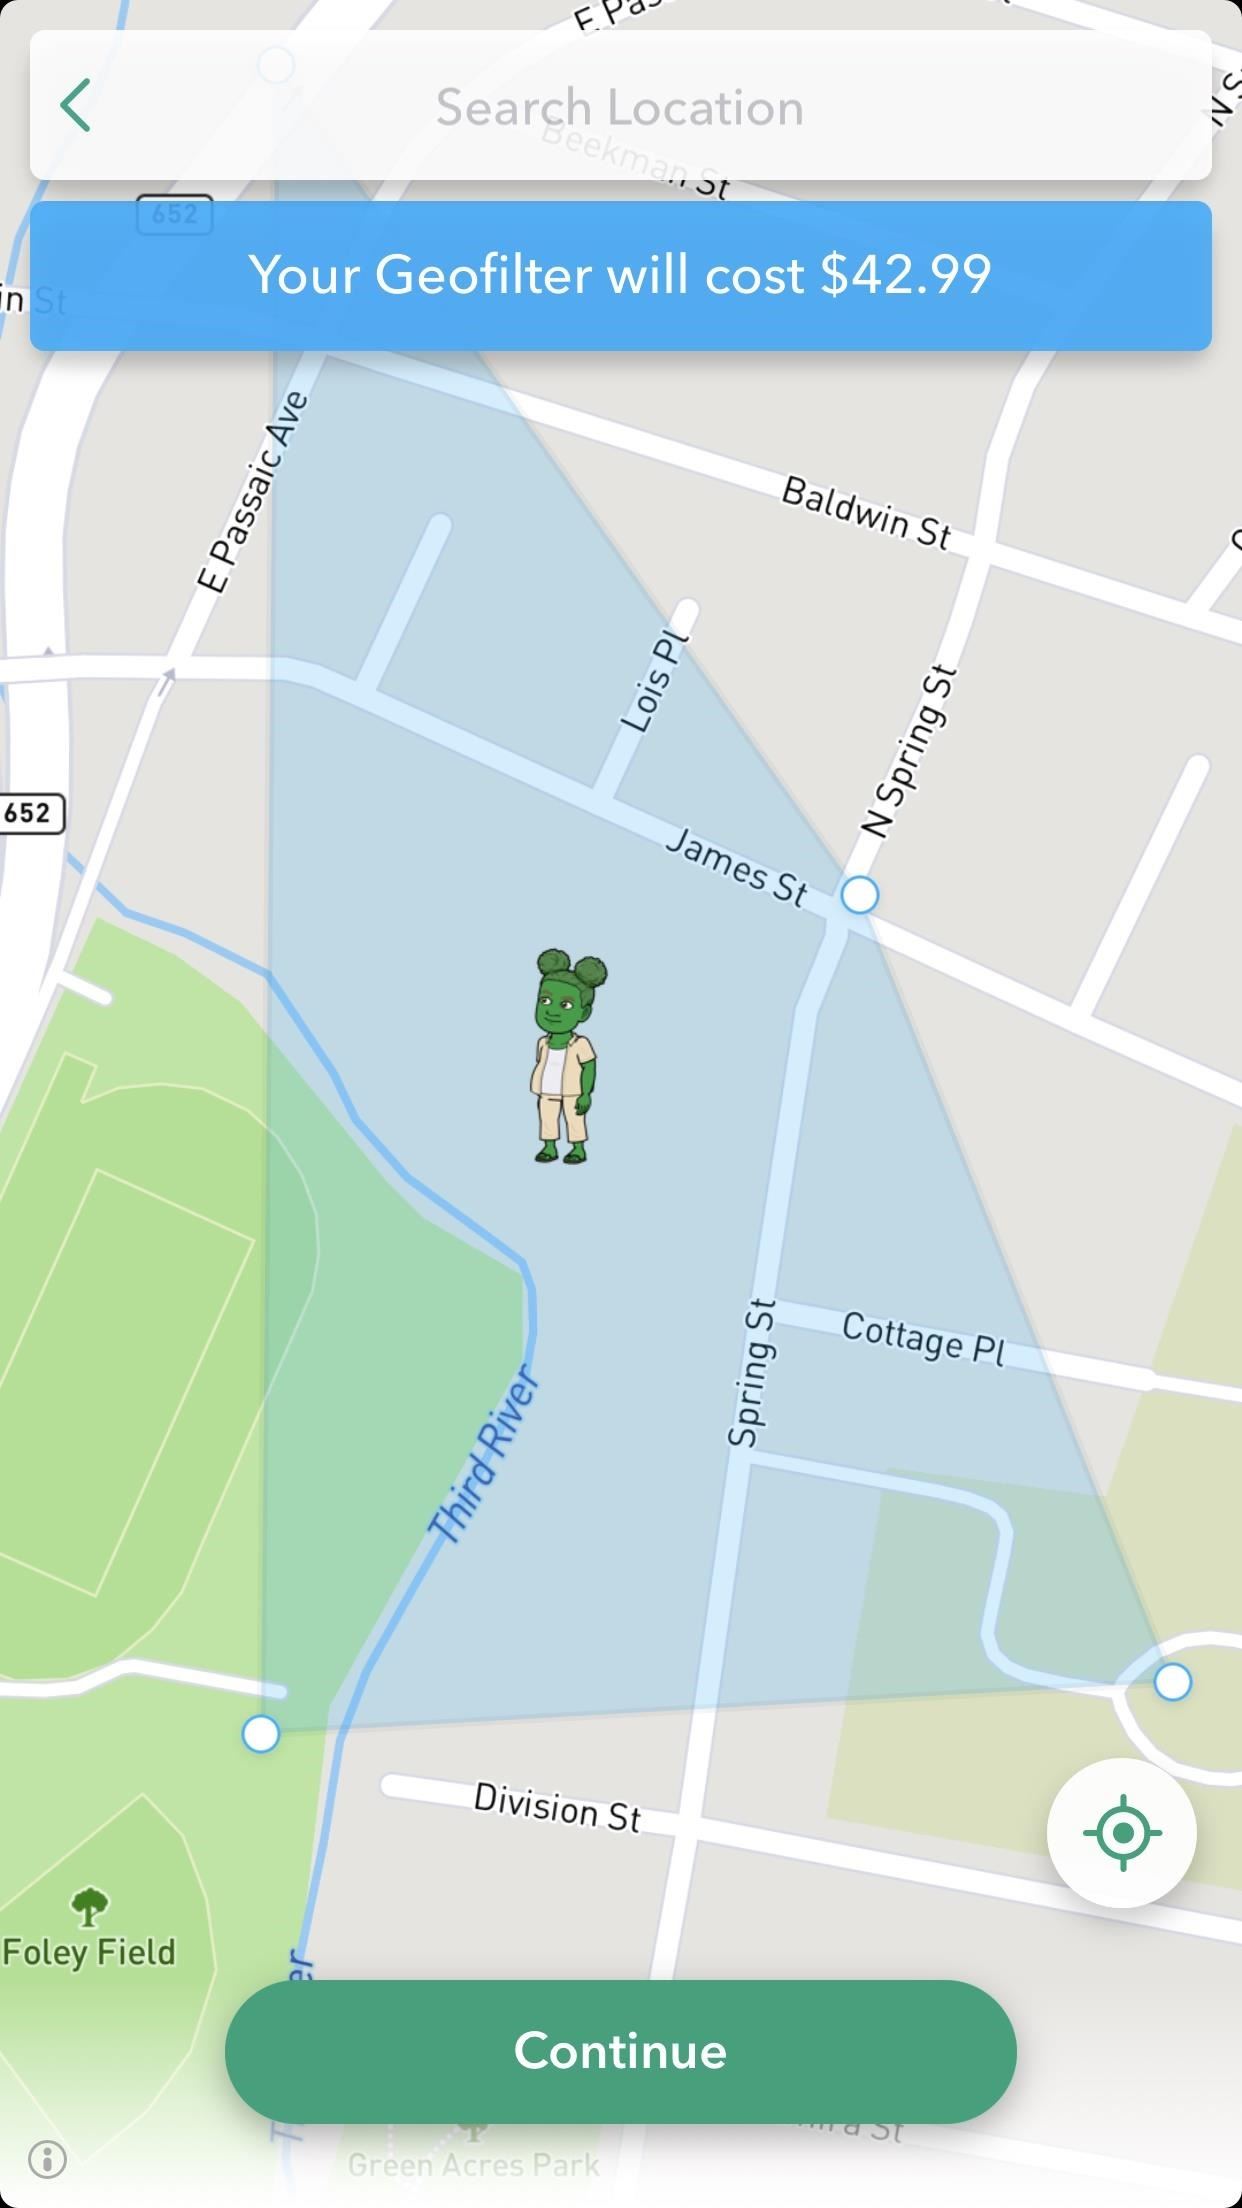
Step 4: Make a Geofence Around the Area for Your Custom Filter/Lens
The other determining factor for cost is how large of an area you want your Geofilter to span. This is the only area where your custom Filter or Lens will be available, so you'll want to choose wisely. When your phone's GPS reports that you're outside of this Geofilter area, the Snapchat app will not display your custom creations. If you're on Android, however, you can spoof your location in Snapchat pretty easily — giving you some more leeway when setting up your Geofence.
By default, it'll key in on where you are right now, but if you want to choose a different area, hit the bar that says "Search Location" and type in a different address. Tap on the desired location when it appears in the drop-down menu, and the Geofence will move there.
If you want to come back to your current location, tap the GPS icon in the bottom-right corner. You can use the four little circles surrounding the Geofence to dictate its shape, and you can resize the area by using a pinching gesture. Tap "Continue" to finalize your Geofence.
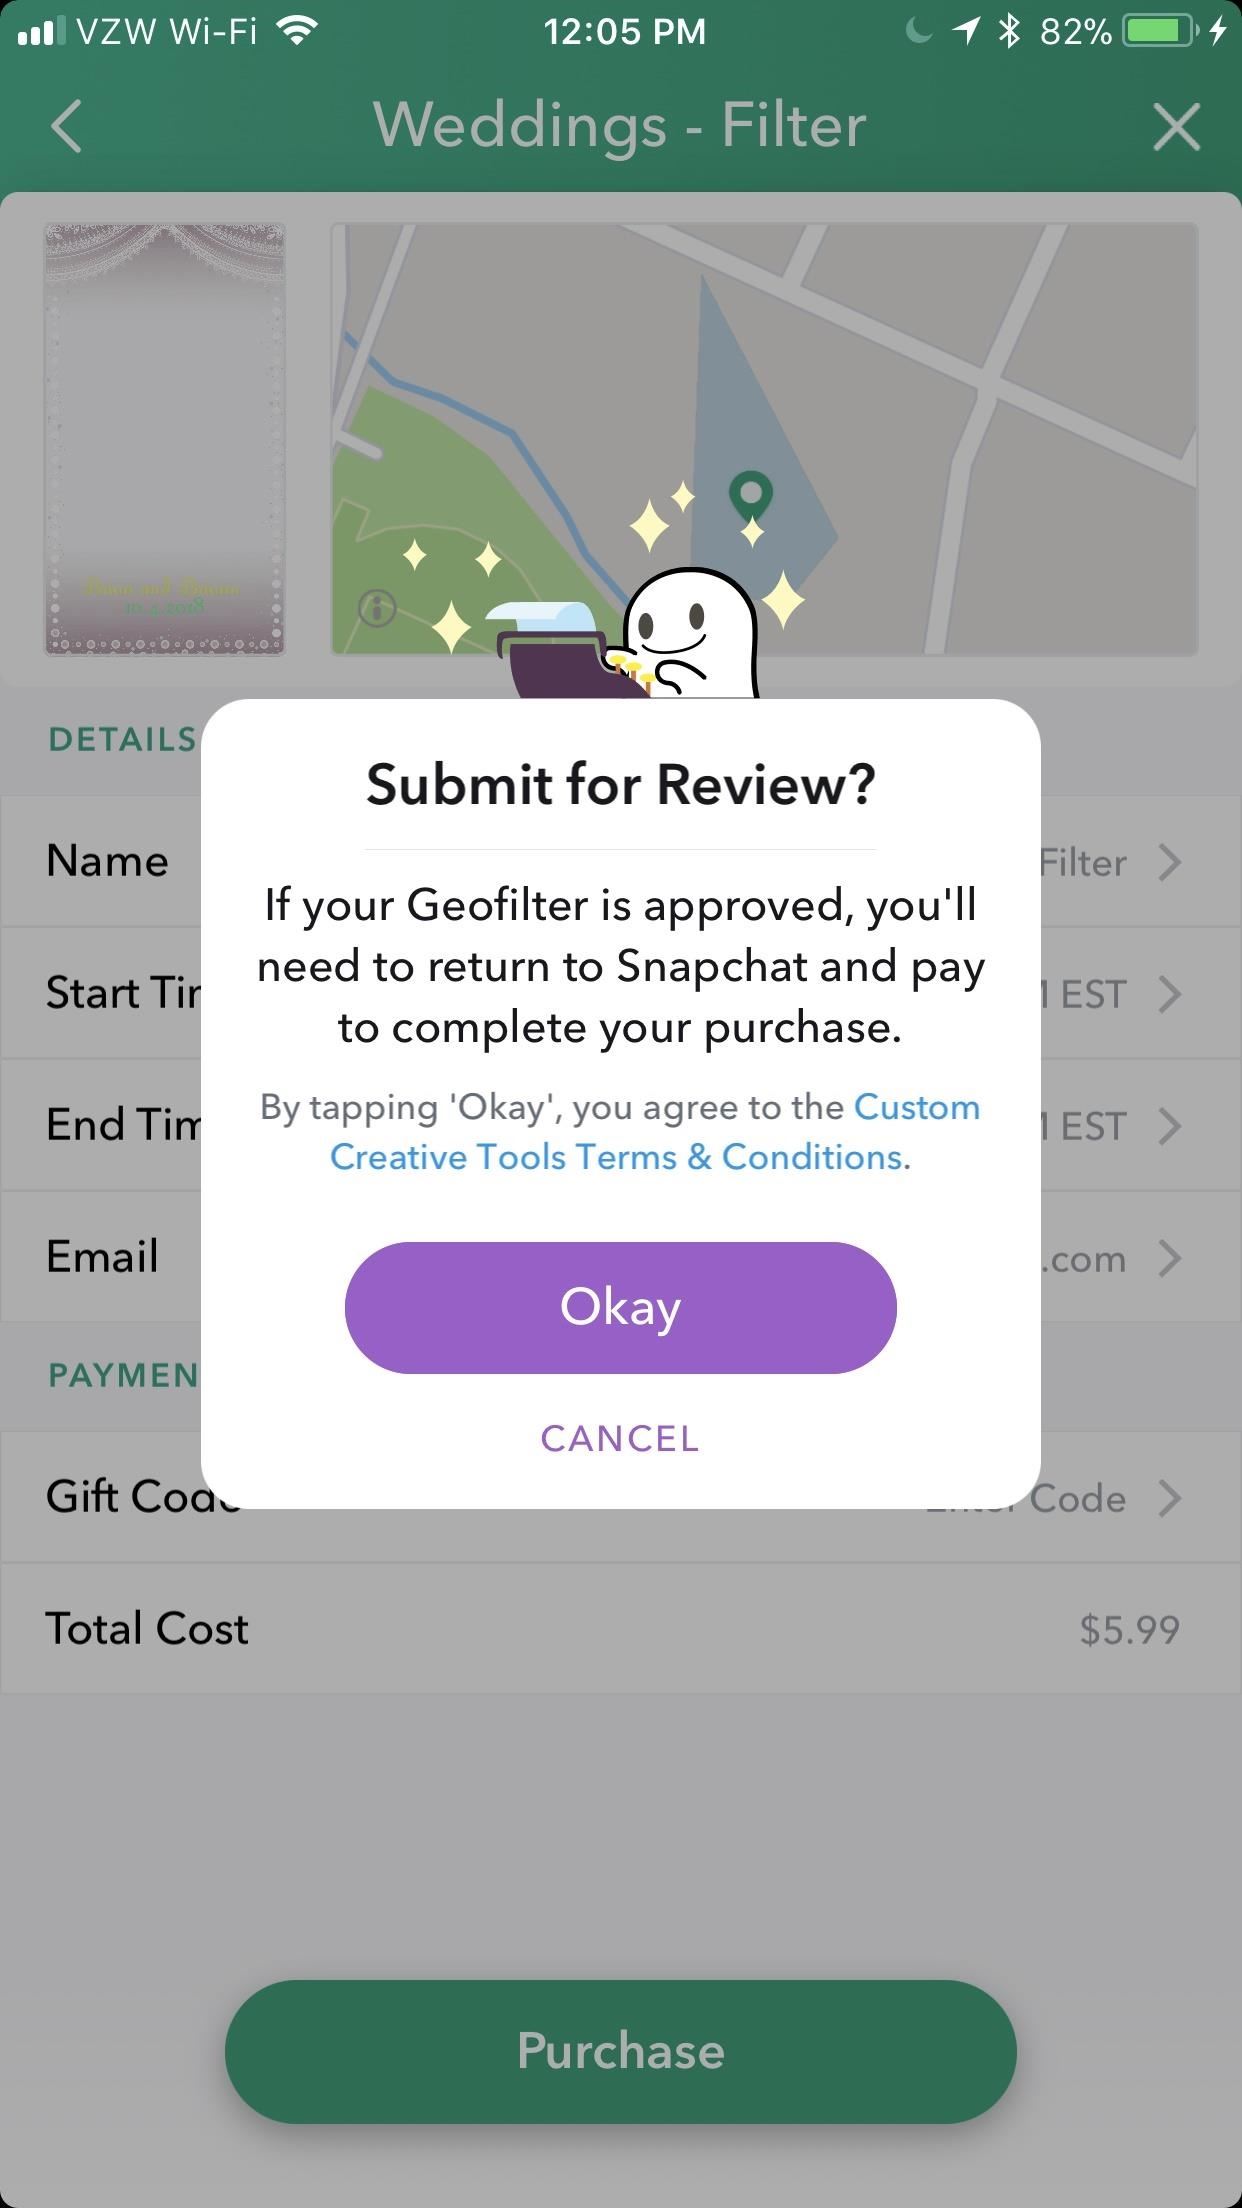
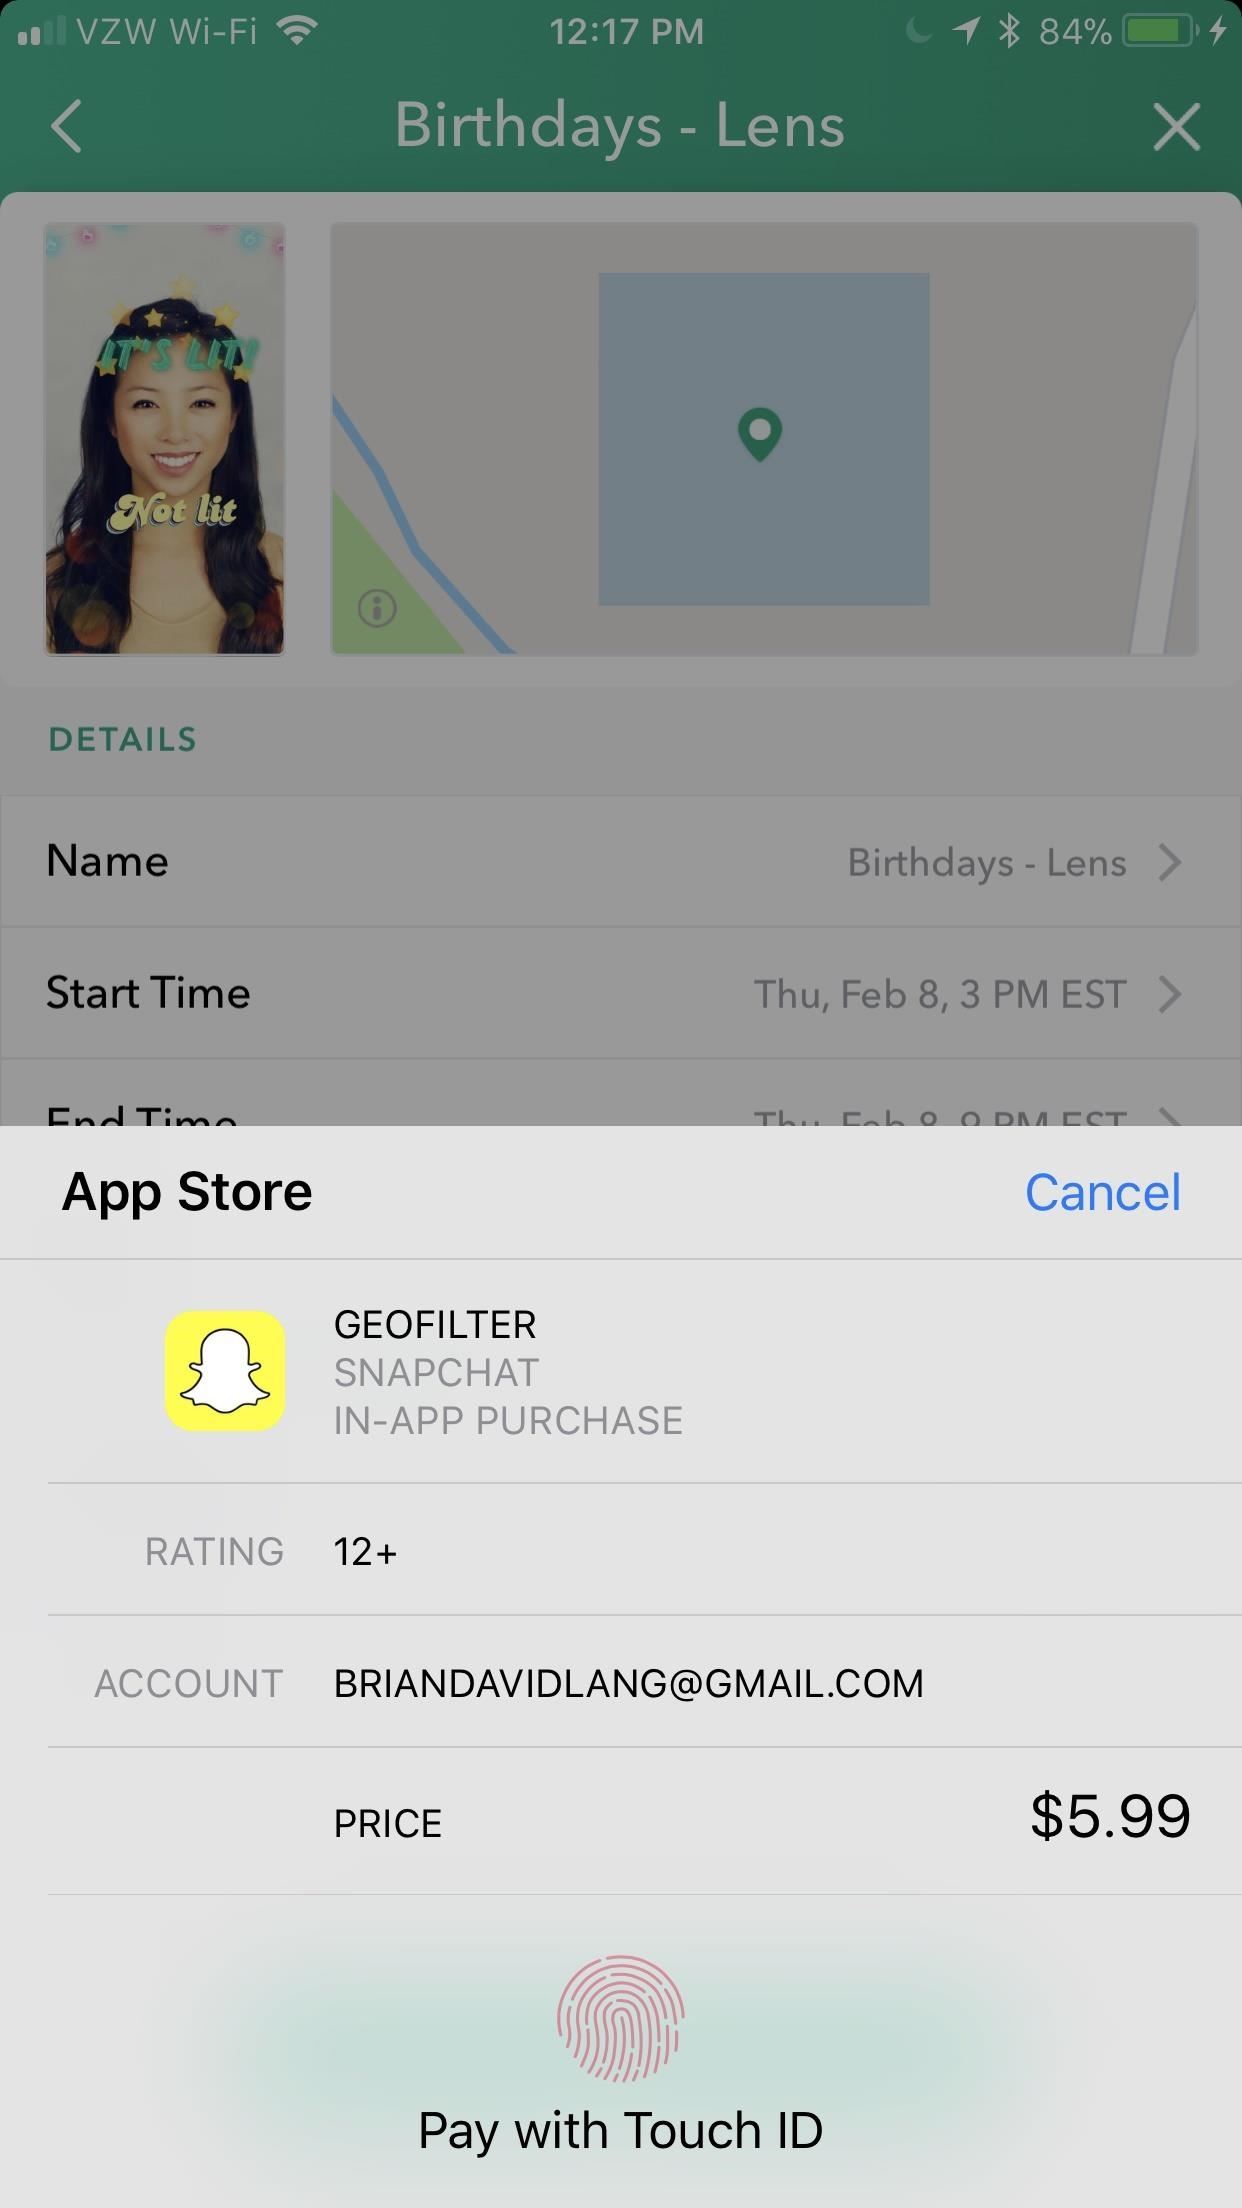
Step 5: Buy Your Geofilter
On the final screen, confirm that you want the Geofilter. If you've never had a custom Geofilter before, it needs to be manually approved by Snapchat. Once it is, you'll be notified in-app, where you can find it under the "Filters & Lenses" section of your "Settings."
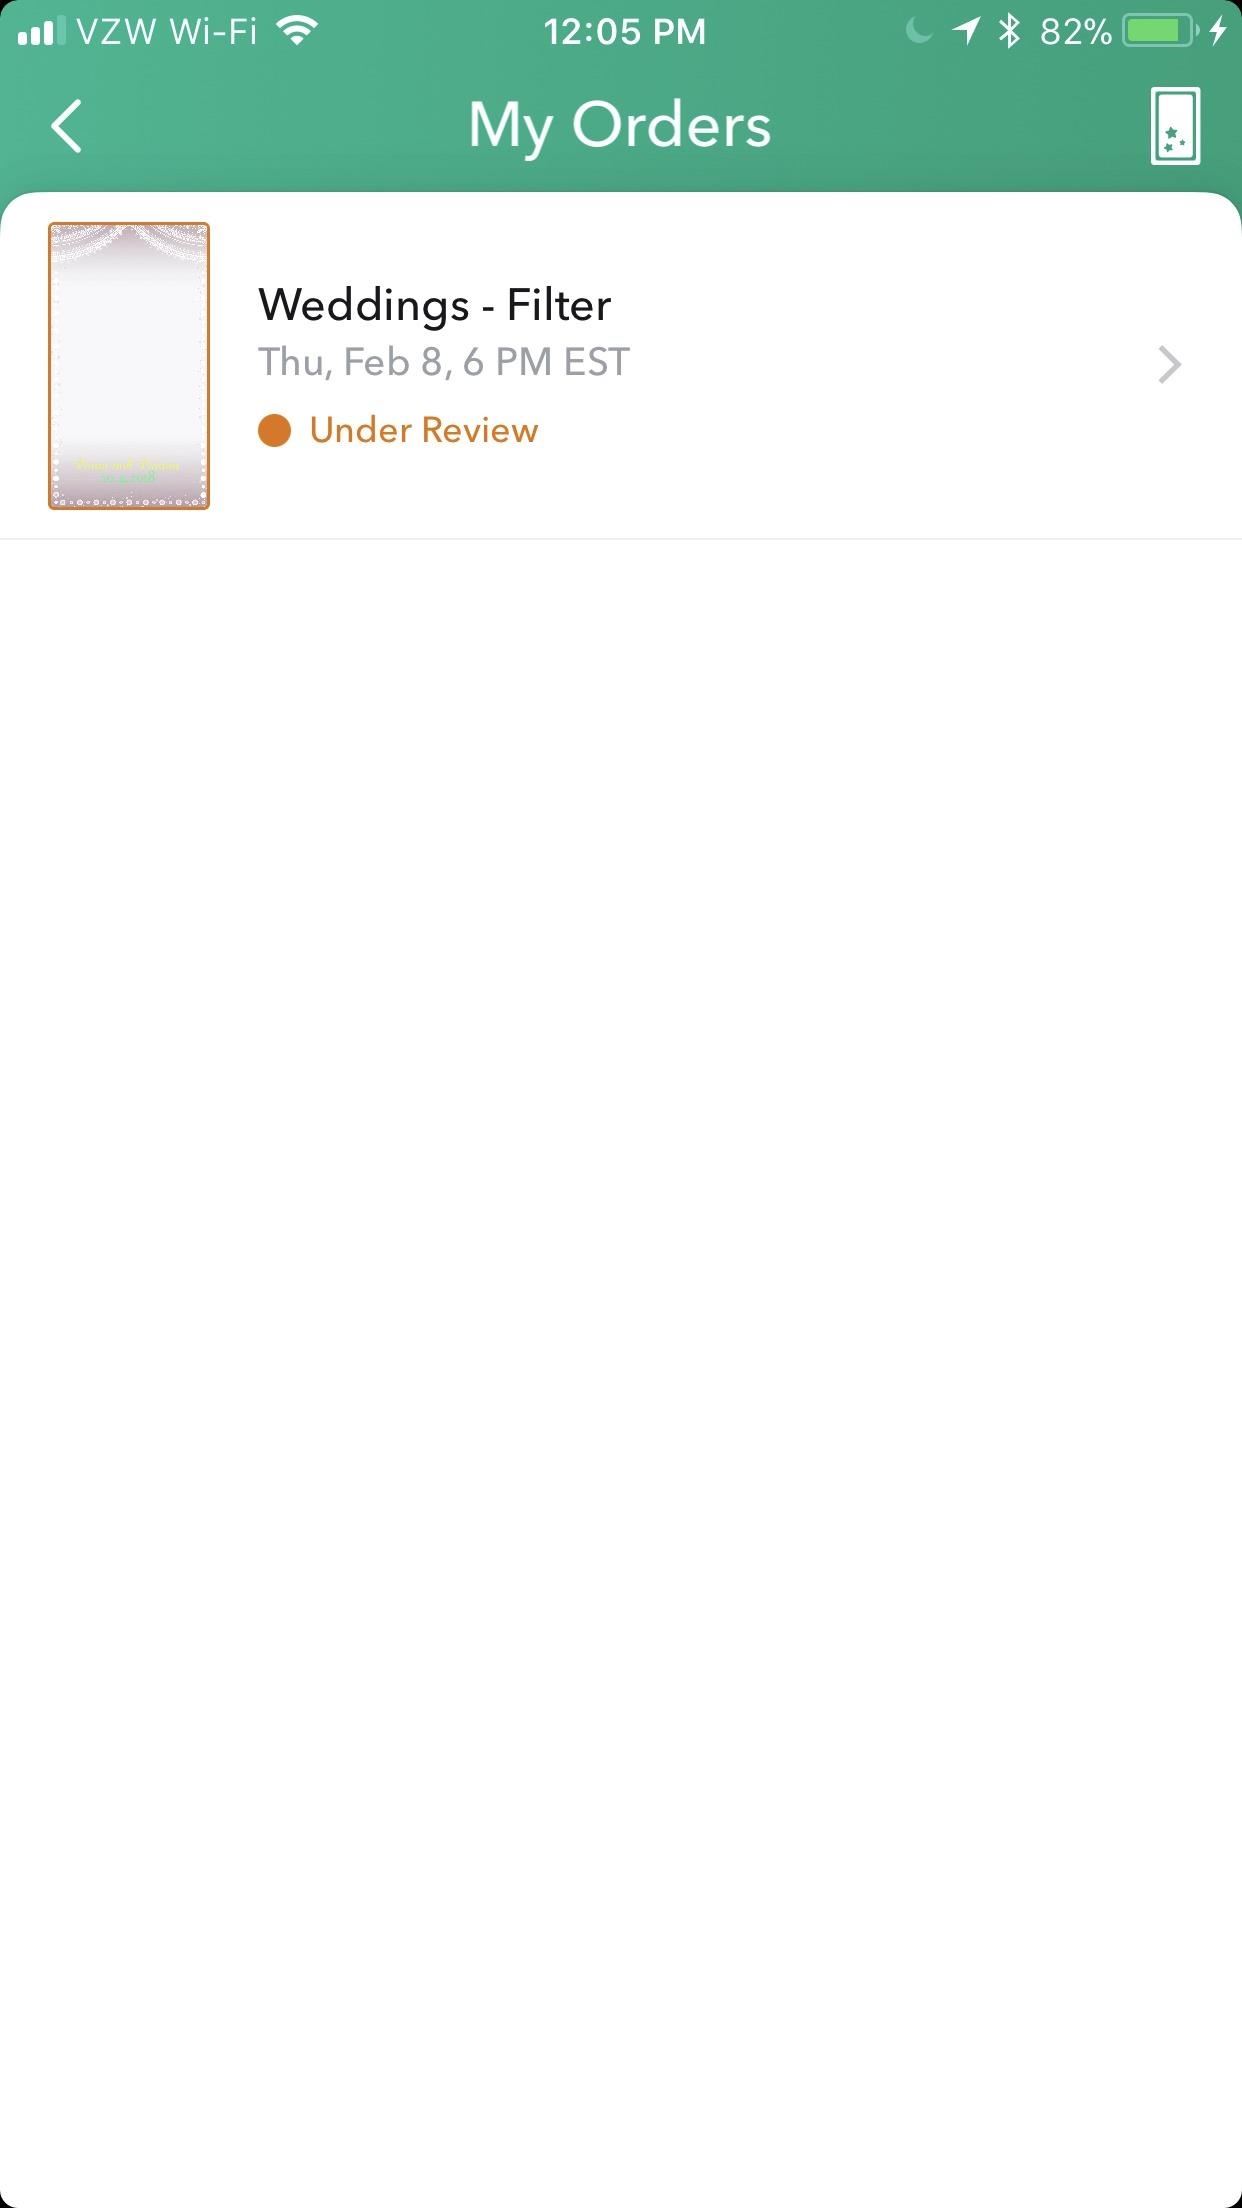
Once it's approved, tap on it from inside "Filters & Lenses." You'll be brought to the final purchase screen, where you can hit "Purchase" to buy your Geofilter. You'll pay for it through either Google Play or the App Store.

What types of Geofilters are you planning on buying? What occasions are you going to buy them for? Let us know in the comments below.
Just updated your iPhone? You'll find new emoji, enhanced security, podcast transcripts, Apple Cash virtual numbers, and other useful features. There are even new additions hidden within Safari. Find out what's new and changed on your iPhone with the iOS 17.4 update.


Be the First to Comment
Share Your Thoughts