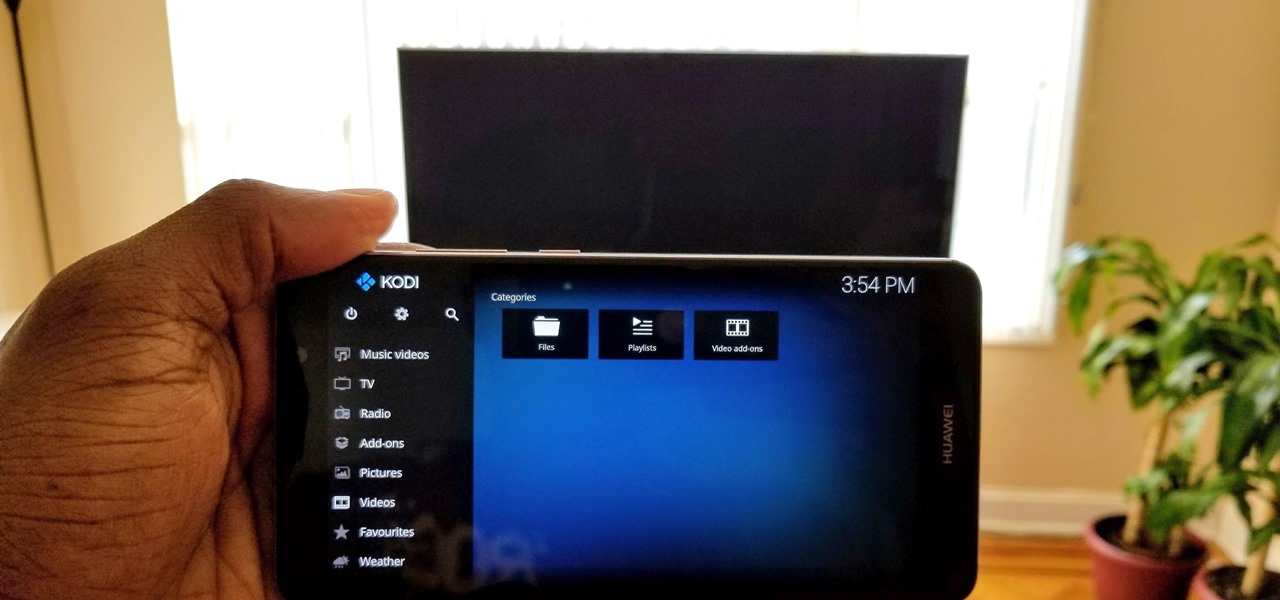

Over the years, Kodi (formerly XBMC) has become one of the most popular media players. It provides all the essential functionality needed for any home theater setup while remaining open source and free. However, Kodi is not limited to just your living room. With the Kodi app for iOS or Android, you get a streaming media player that can act as a video player, music player, picture gallery, and so much more.
One of the key aspects of Kodi is its ability to play locally-stored files. With Kodi, you can add folders that contain your favorite videos (or other media content) to play through its slick interface. Once added, using add-ons such as Plex, you can stream your media to other devices on your home network like your Android TV, Apple TV, Roku, iPad, and many of the other devices you use to consume media.
Step 1: Add Files to Kodi
The process to add media is pretty straightforward. In this example, we will be using videos, but it's the same process for both music and pictures.
Open either Kodi for Android or Kodi for iPhone (follow the instructions in this link to sideload Kodi), then scroll through the menu until you find the type of file you wish to add. If you are adding a video, use the Video menu instead of Movies. By adding your video to the Video menu, you will not only keep your files organized, but the Movies menu has additional functionality geared toward movies such as collecting and displaying information found from IMDB.
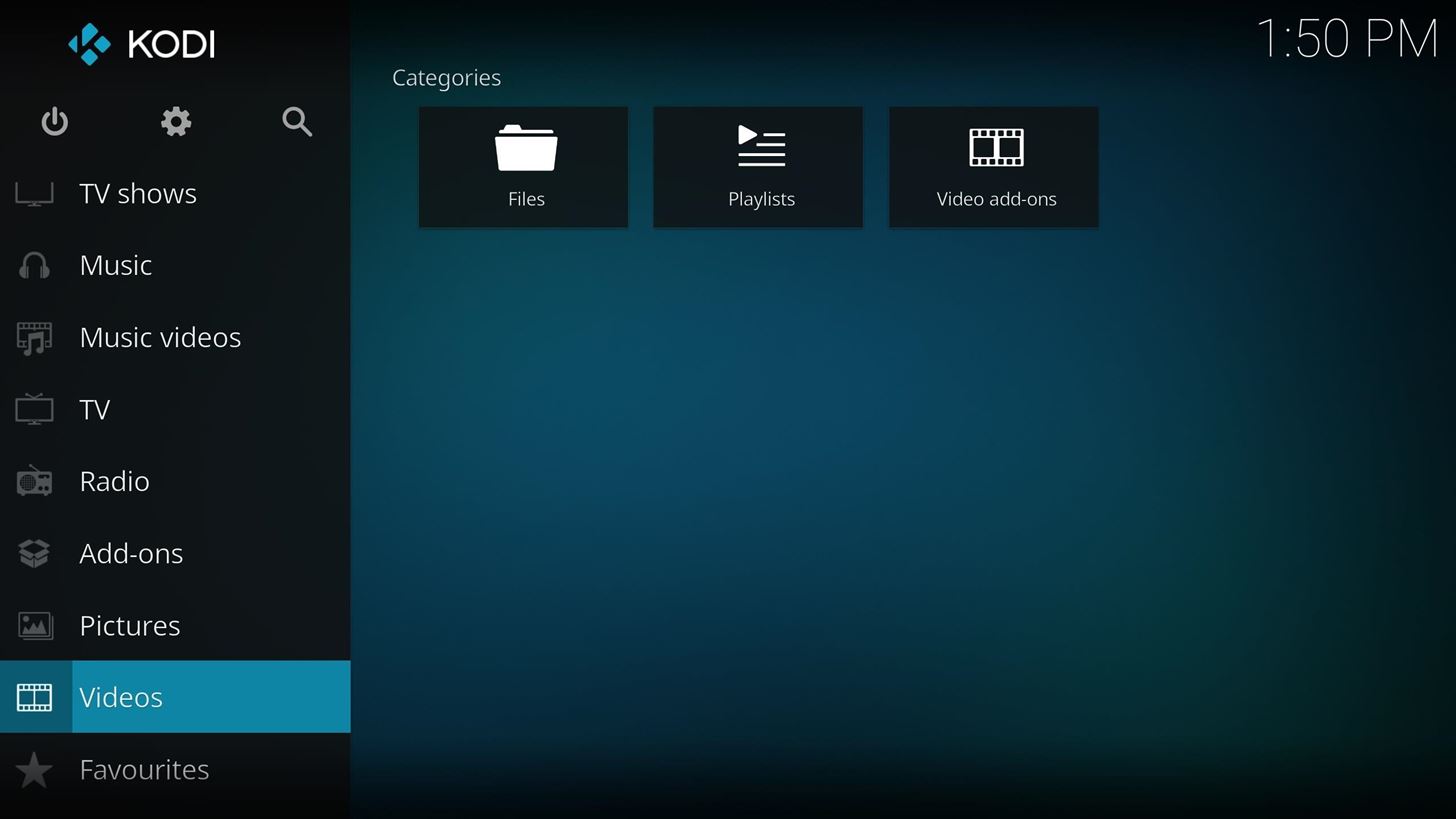
When you select theVideo menu, you are greeted with three options. To add your content, select "Files," then choose "Add videos," which will bring you to a new screen entitled "Add video source." This screen will allow you to navigate to the folder on your phone which contains the videos you want to add to Kodi. By adding a folder, any files of that type (in this case, videos) that you add to the folder in the future will also be accessible through Kodi.
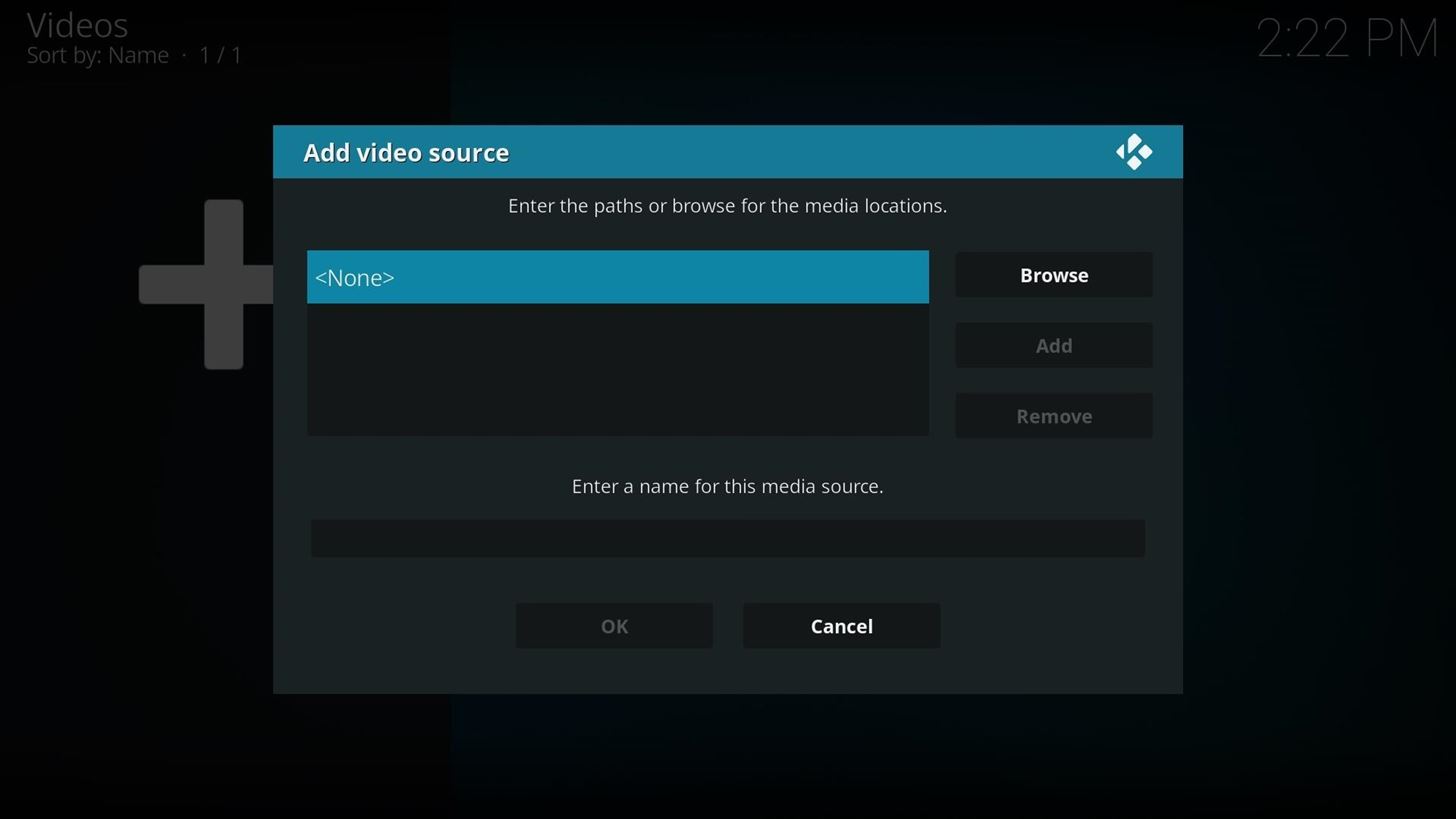
So next, select the "Browse" button, which will reveal the possible file locations that Kodi can access. For your locally stored files, you will select "External storage." Here you will find a list of folders created by Android.
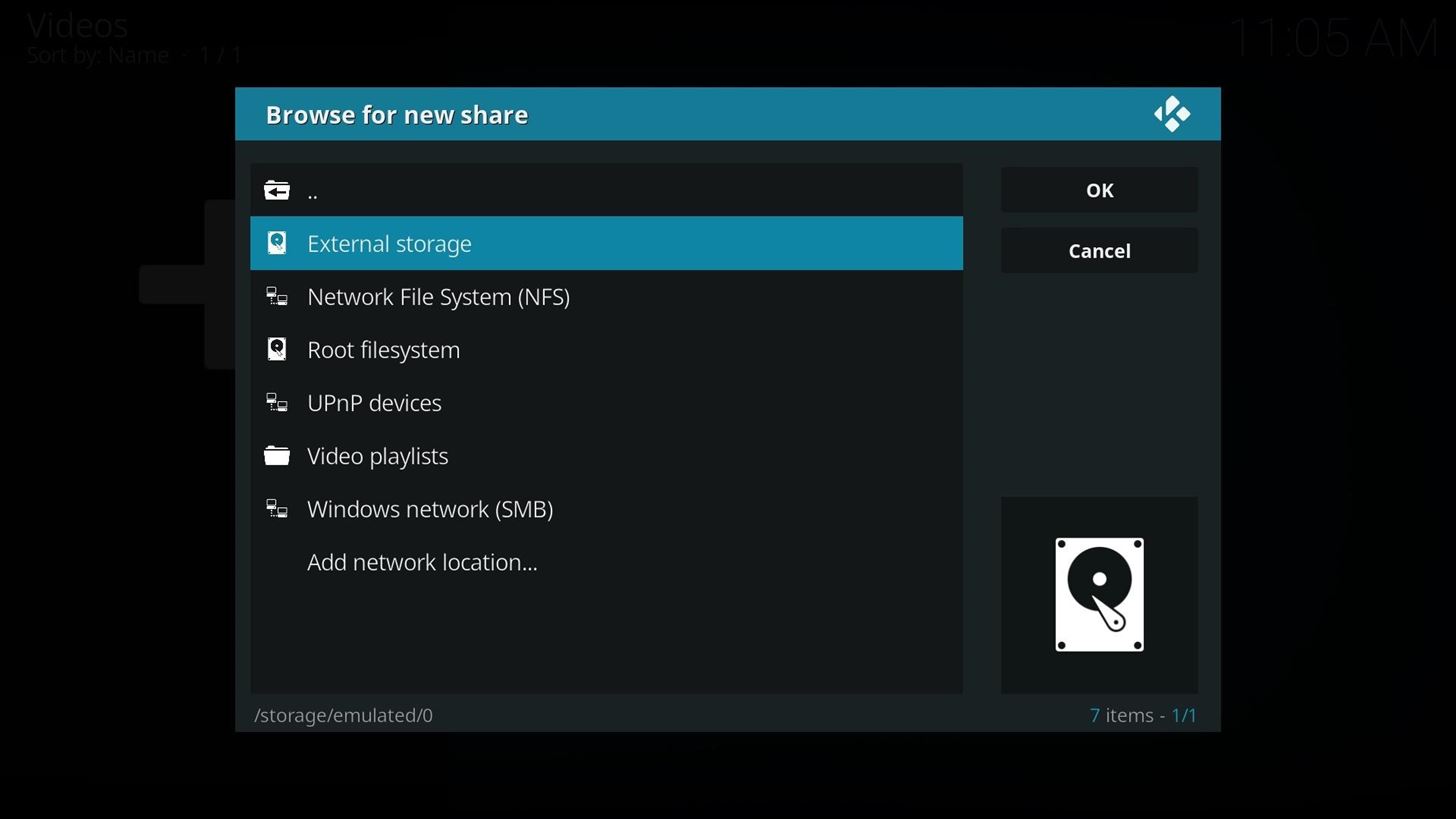
If you want to add videos that you have taken with your camera, select DCIM folder. Or, if you want to add videos that you downloaded from the browser, select the Download folder. In either scenario, once you select the folder, it will appear as if the folder is empty. Kodi is only displaying folder, so the lack of any listing means that only files are within this folder. Select "OK" to return to the "Add video source" screen with its field populated. If you want, you can change the name of the folder as it is known to Kodi in the field above "OK" and "Cancel." If not, select "OK" near the bottom.
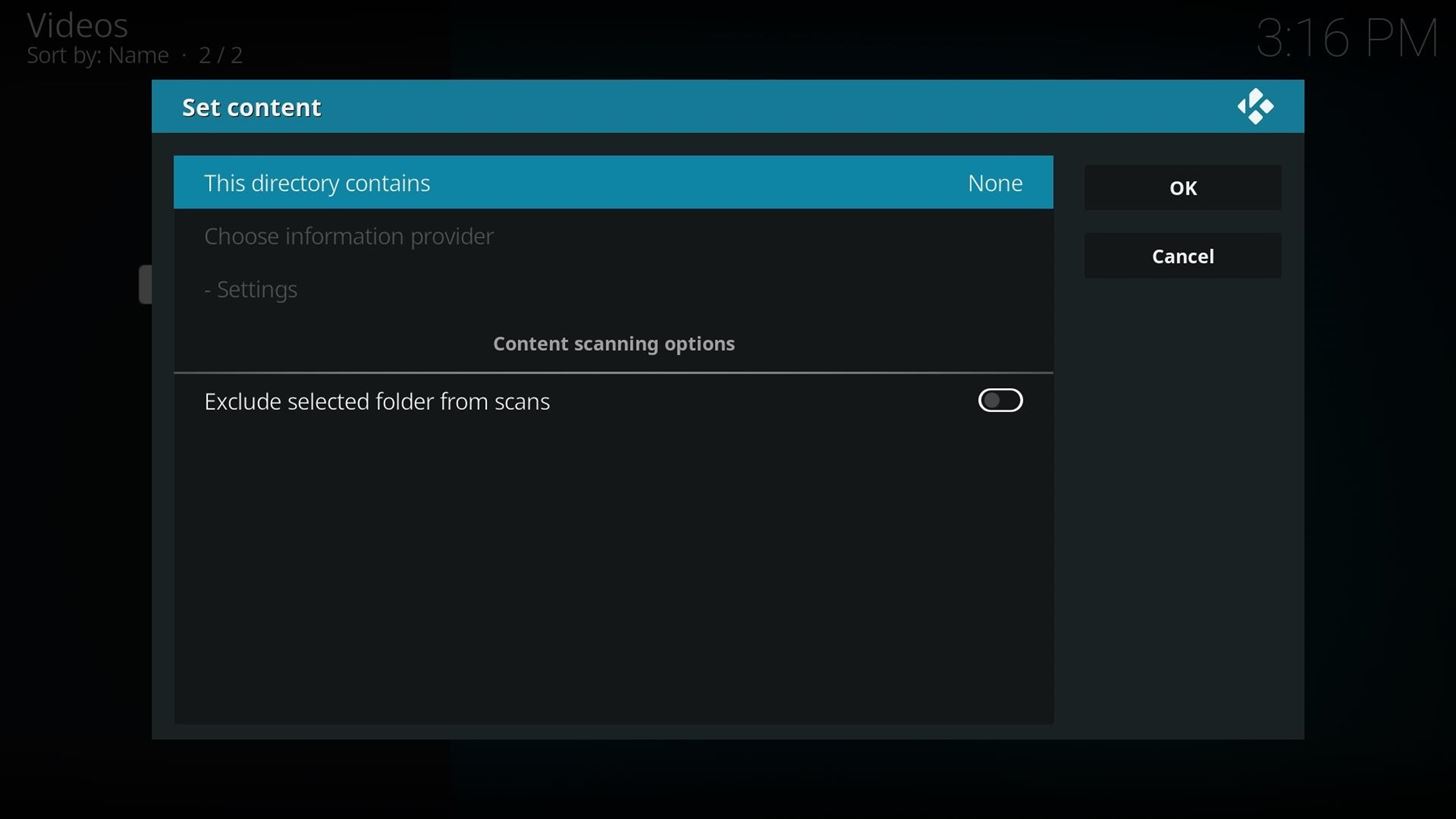
Another screen that is known as "Set content" will emerge — ignore it and select "OK."
Step 2: Browse Your Media Library in Kodi
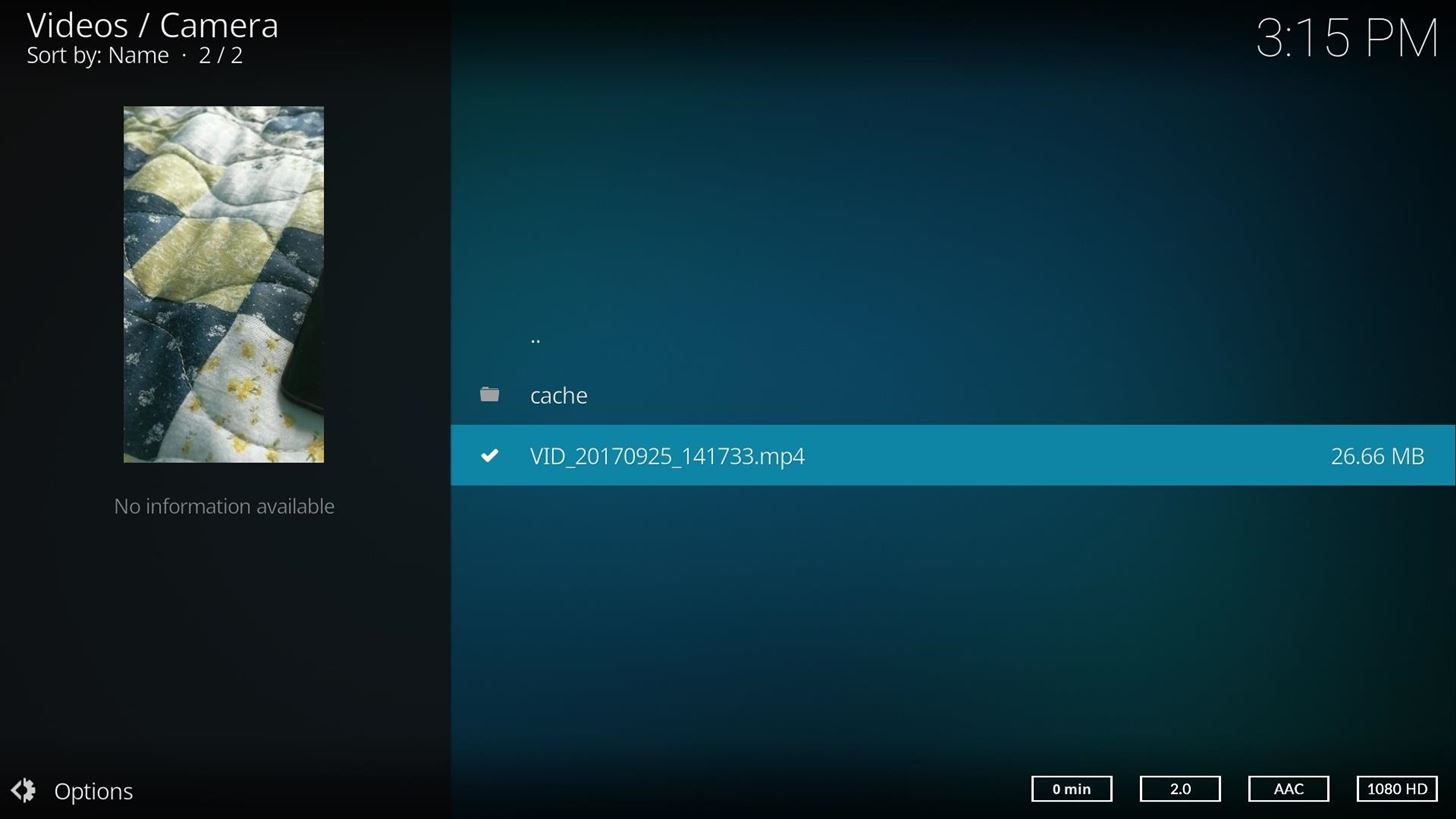
To watch your content, select the folder you added to Kodi which will pop up above the "Add videos" button. Once selected, you see all the video files located in that folder. Choose the file you wish you play and Kodi will immediately begin playback for you.
With Kodi, playing your content is simple. And with Kodi's versatility, it can be one stop shop for all your media. Now that you know how to add media, what content have you added to Kodi? Let us know in the comment section below.
Just updated your iPhone? You'll find new emoji, enhanced security, podcast transcripts, Apple Cash virtual numbers, and other useful features. There are even new additions hidden within Safari. Find out what's new and changed on your iPhone with the iOS 17.4 update.


Be the First to Comment
Share Your Thoughts