
You may already know that you can build a functional circuit on a sheet of paper with the graphite from a pencil, but you'd probably never think of using it to fix an electronic device. This same principle can be used to bring back a bricked phone, but can also repair a damaged or corroded trace in a printed circuit board.

Redditor 404ClueNotFound spilled water on his favorite computer keyboard (like so many of us have done before). The damage was minimal, but after drying it out, one key still wouldn't work. He didn't want to throw out the whole keyboard over one broken key, so he opened it up to find out what was causing the problem.
He noticed a small corroded area on the circuit board and tried fixing it with aluminum and a copper wire, but to no avail. Some research suggested that graphite may be a good conductor, in lieu of expensive conductive ink, so he decided to give it a try. The graphite from a regular pencil was enough to bridge the gap in the circuit and get the key working again.
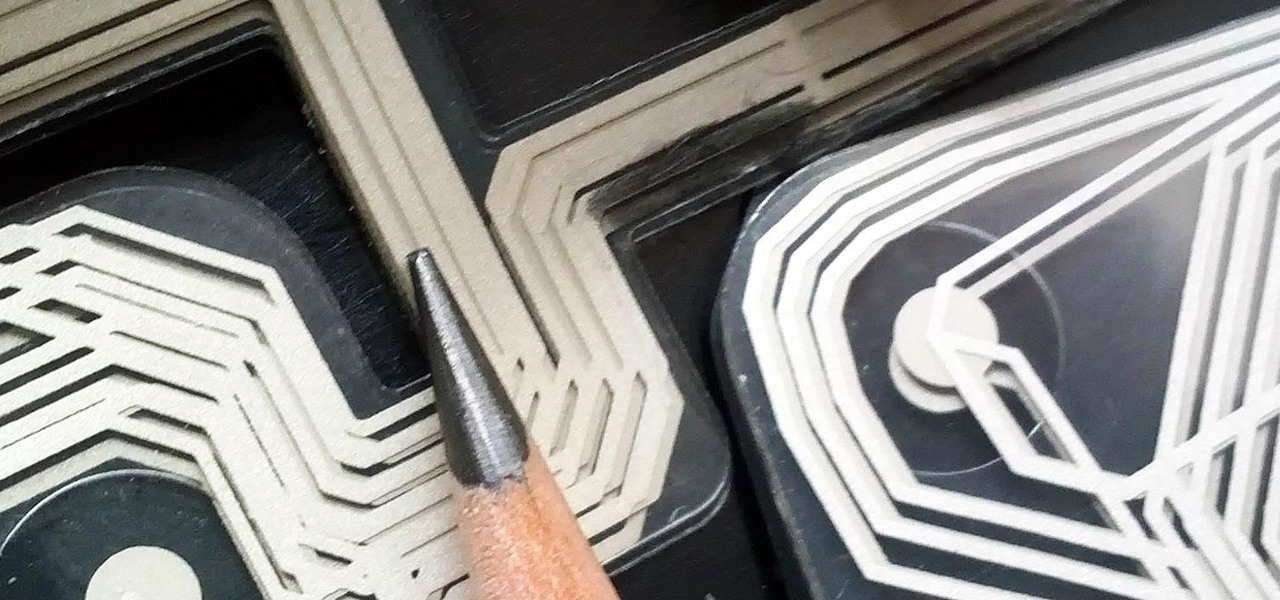
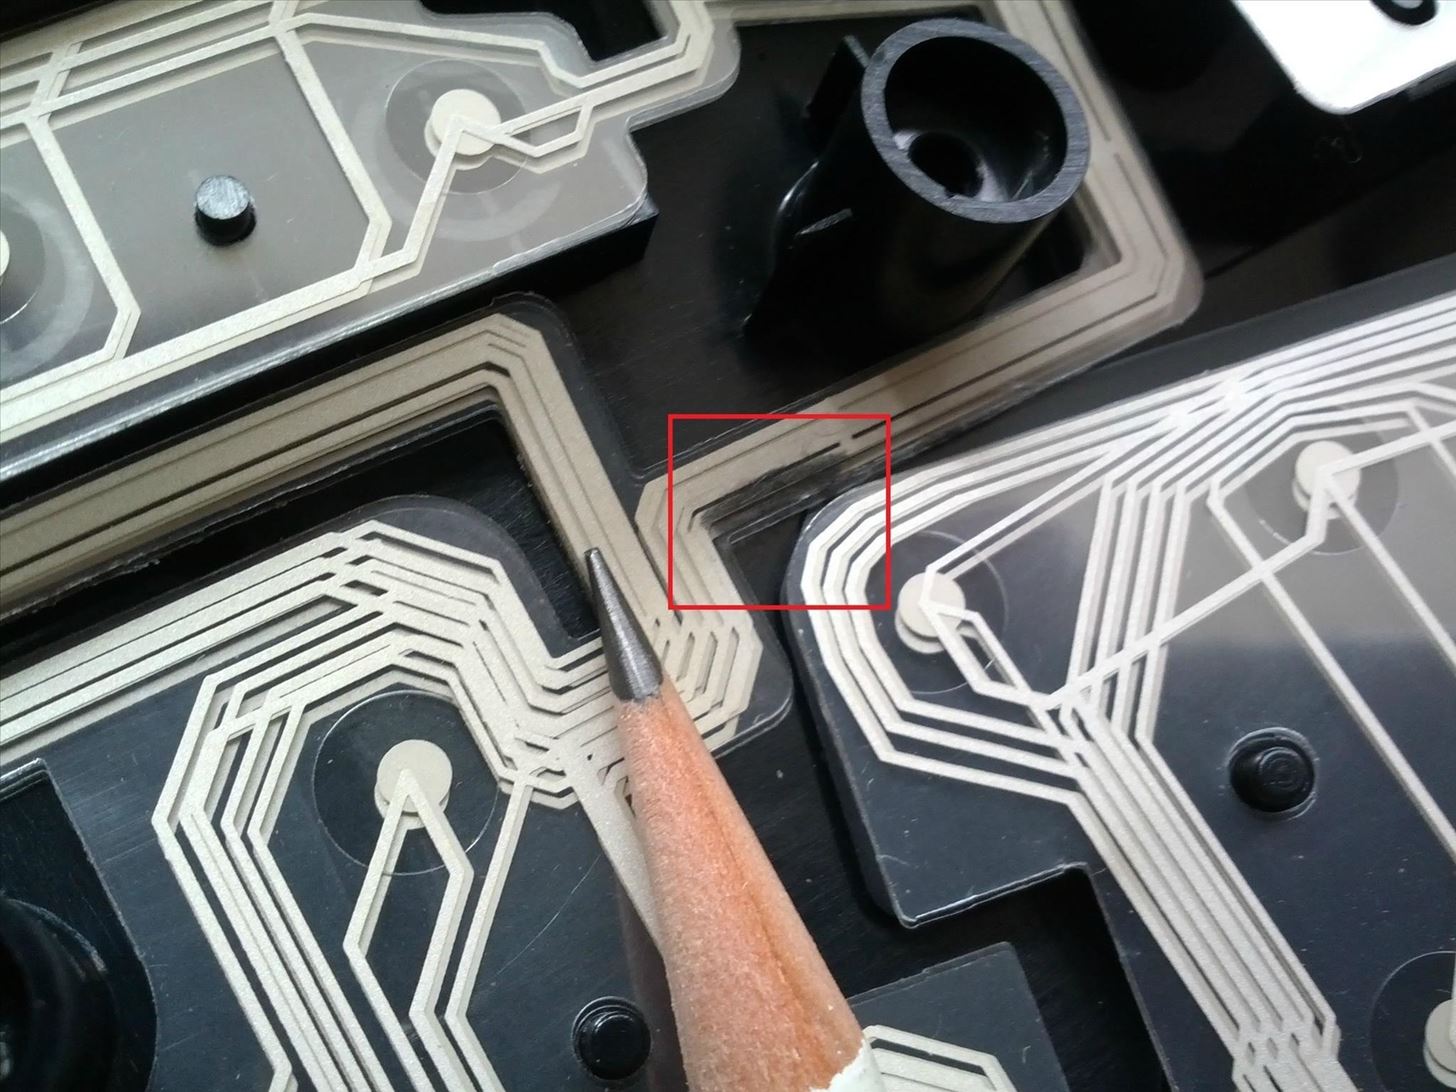
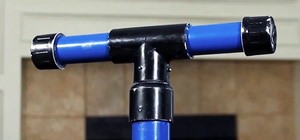
The fix is really simple. All you have to do is draw over the corroded area a few times with a pencil. You can see the graphite a little to the right of the pencil lead in the photo below.
This trick isn't just good for keyboards—it should fix light damage to the PCB in other electronics like a GPS, game controller, or remote control. Depending on the design, it can also work for a laptop keyboard if the flexible circuit board isn't too hard to get to due to other components. Just keep in mind that the circuit paths may be printed on both sides.
Have you ever tried an unconventional fix like this one? Share it with us in the comments below.
Just updated your iPhone? You'll find new emoji, enhanced security, podcast transcripts, Apple Cash virtual numbers, and other useful features. There are even new additions hidden within Safari. Find out what's new and changed on your iPhone with the iOS 17.4 update.


5 Comments
Why there is just my comment in here, after two weeks of posting this tuto, is it really works? Okay, I'll be first trying, I'll try into a keyboard of numerique's coffer, I hope that way help me, I let you know.
NOt worked, sorry, but I think because my problem is different damaged or corroded trace in a printed circuit board, thanks anyway :)
It worked like magic!!
I had the exact same problem - my cat spilled water over my keyboard - the keyboard stopped working - so I opened it up and dried the circuit sheets (it has 3 sheets inside). After that everything seemed to be working again but after few days i realized that only one key isn't working - so I opened up again the keyboard and noticed that the line on the circuit sheet of that key is corroded - so I applied graphite and now it is working again :)
Just make sure you apply enough graphite on the side where it's printed on and it should work like charm
I always had a very curious personality and love taking things apart to find the mode of failure and come up with ways to fix it. When I was 14 years old my friend was throwing away this small musical keyboard because he said the keys worked but it was stuck on piano sounds and that the buttons to change the sound with didn't work. He told me I could have it if I wanted it. I took it home and ripped into its guts. After following the printed circuit leading up to the contacts for the switch pads I found a section that appeared to be damaged possibly due to moisture damage. This was before the days of Internet so I had to come up with a solution. I didn't own a soldering iron so trying to solder a bridge was out of question. While brainstorming I remembered that sticking a pencil into an outlet could shock a person since graphite is conductive. Lol. So after carefully scraping off the non conductive lamination off the non damaged sections of that printed circuit to make sure I could make good contact on both ends of the damaged section, I took a fine point pencil and went over the damaged section a bunch of times making sure I was making good contact. I put it back together and BAM! All the buttons came back to life. I kept it for a while and had a little fun with it and then decided to give it back to my friend. He was very happy to have his keyboard back in working order. I have used that trick on a whole bunch of circuit boards with great success. The only time it doesn't work is if the damaged section is long or if the circuitry is sensitive to resistance since graphite has a higher resistance than copper which a lot of circuit boards use.
Used this to repair chipped pins on a ram stick (don't ask) seems to work. I'll be sure to update the status if it stops working.
Share Your Thoughts