


If you've just started a freeform editing project in Adobe Premiere Clip on Android or iPhone, what's next? The first thing you're going to want to do is trim down the video clips you imported into your draft, that way you can lay them out perfectly in your timeline and create the best video possible.
Luckily, Adobe Premier Clip makes trimming a video an easy task, and it's the same process no matter if you're using the iOS or Android version. Just make sure you've started a freeform project, imported your photos and videos, and rearranged your media in the project in the order you want before checking out the instructions below.
Trimming a Clip in Adobe Premiere Clip
Once you have a project set up with the clips you wish to see in your video, it's time to trim. Chances are, most of the clips in your project need to be trimmed down somewhat. There are probably sections of each you'd like omitted from your final video, like your dad sneezing before he opens his Christmas present or when you dropped the camera before Kimmy scored that goal (she will never forgive you for missing that goal). To begin trimming:
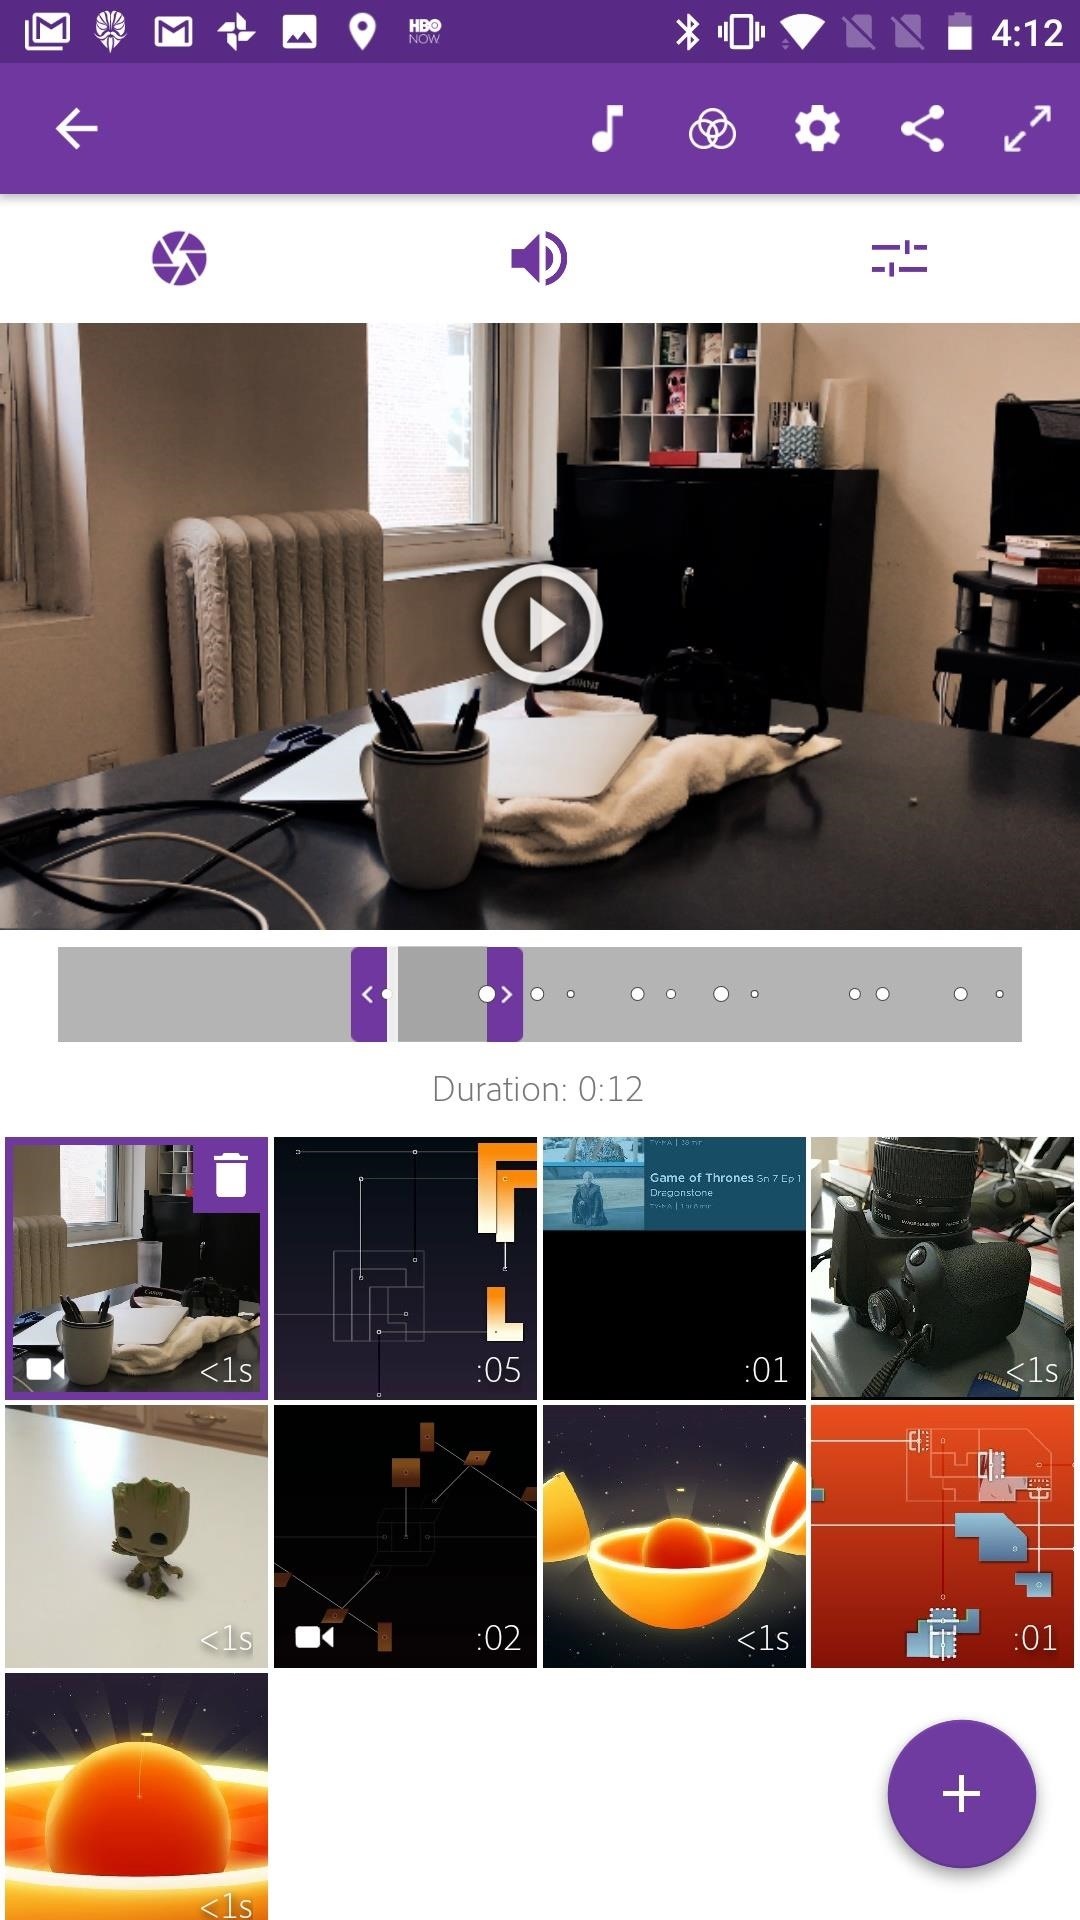
- Select a clip to trim by tapping on it.
- You will see a long gray bar beneath the video player. Either tap the play button on top of the video to watch the video or use the white vertical slider in the gray bar to scrub through the video.
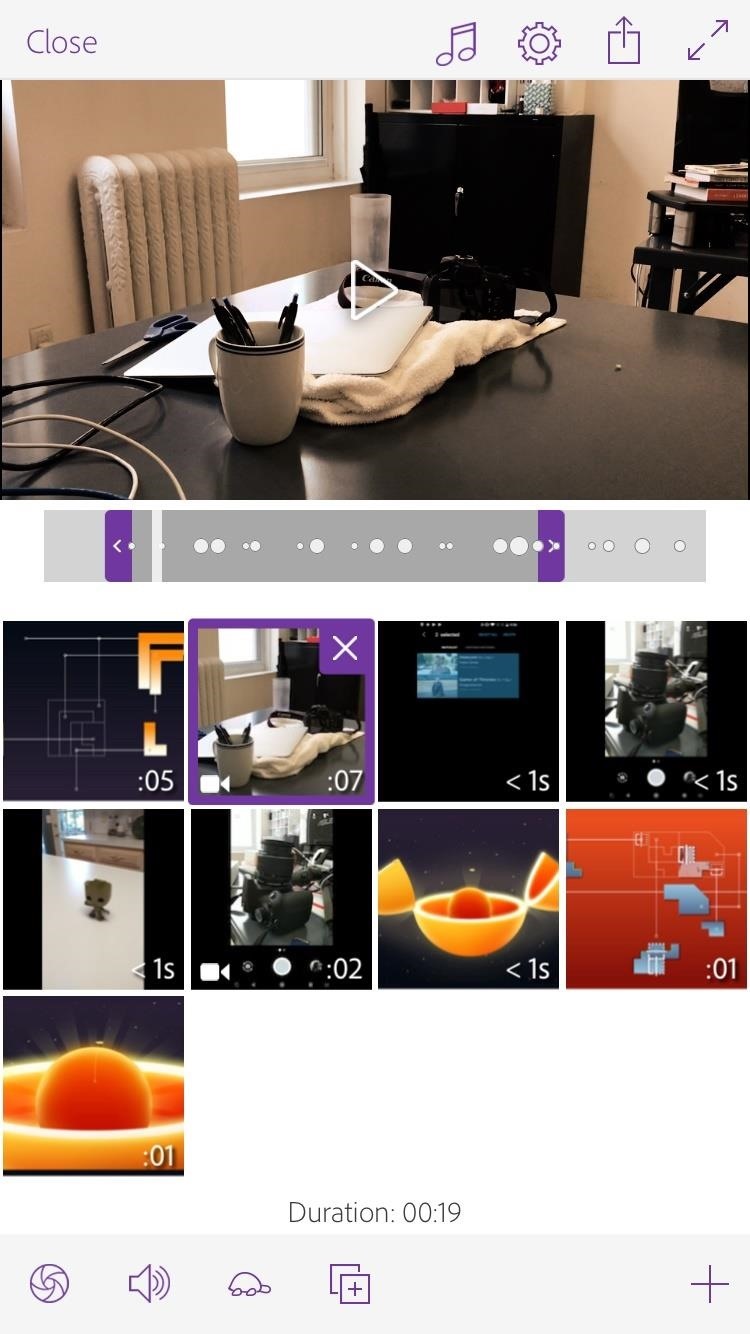
- When you have found the spot in the clip you'd like to start with, drag the left purple slider to that point. This will eliminate anything before that purple slider. This is your "in" point. You can still slide it back more if needed — it won't erase anything before it.
- Likewise, when you find a point where you'd like the clip to end, drag the right purple slider to that point. This is your "out" point.
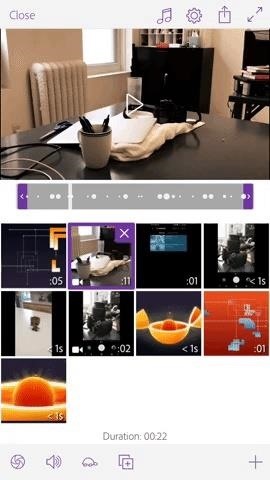
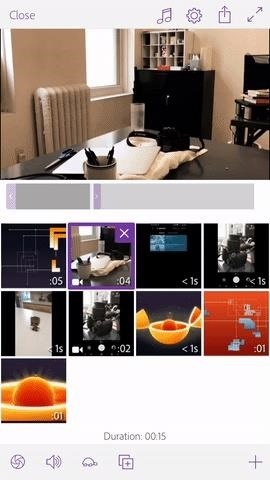
Once you have an in and out mark set, you can drag on the video player itself with two fingers, which will move the parameters set by your in and out points to different points in the clip. For example, if you have the first five seconds of the clip as your set parameters, moving the parameters in this way will select any given five seconds of the clip. This is useful if you need to cut the clip to a particular length, but aren't sure where to make that cut.
There is no need to save your trimming — Premiere Clip will remember what in and out points you have set for each individual video or image. Once you save or share the video, your trimming will follow.
Speaking of which! Once you've trimmed all the clips in your project to your liking, you're probably going to want to save or share your video. Make sure to check out our full guide on that to see how it's all done.
This article was produced during Gadget Hacks' special coverage on smartphone-based video creator tips for filming and editing. Check out the whole Videography series.
Just updated your iPhone? You'll find new emoji, enhanced security, podcast transcripts, Apple Cash virtual numbers, and other useful features. There are even new additions hidden within Safari. Find out what's new and changed on your iPhone with the iOS 17.4 update.


Be the First to Comment
Share Your Thoughts